By Jake Caballero – Images by Taylor Kempkes
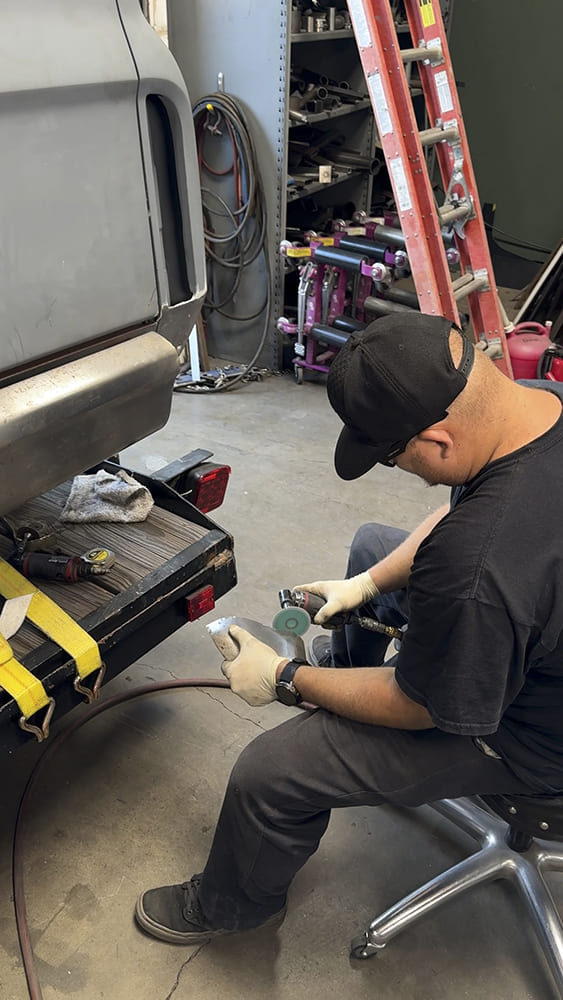
Details. It’s all in the details—the little ones and the ones that require a decent amount of fabrication. Whether it’s something as simple as clocking your wheels/tires or, in this case, as major as cutting up a bumper for a nice, clean, tight fit, the details matter when it’s all said … and done! Our pal Jake Caballero—who most recently fabbed up the stainless exhaust for the 1948 Chevy—sliced up a Classic Industries replacement rear bumper for a 1967-72 C10 and was kind enough to give us some insight on the whys and hows of the procedure:
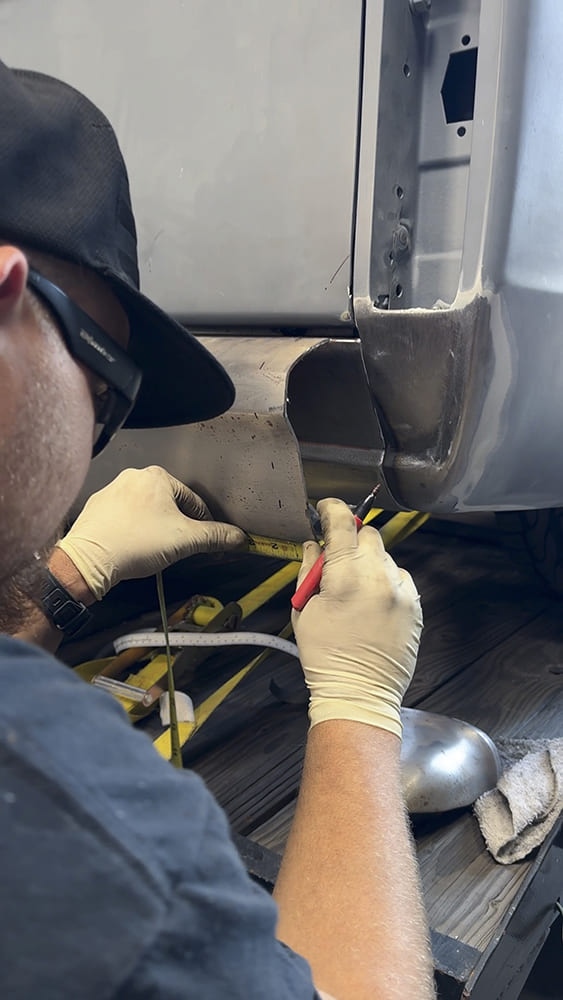
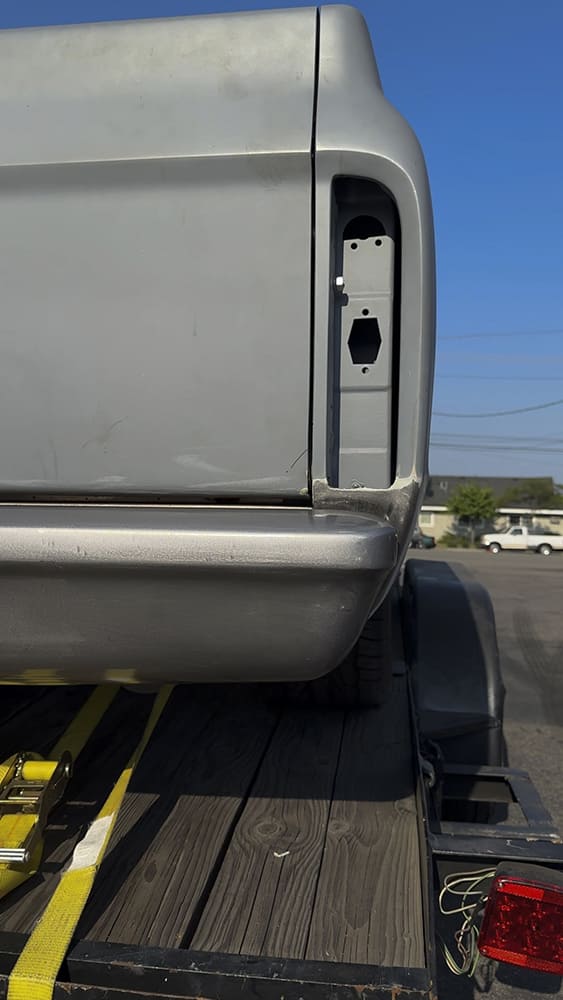
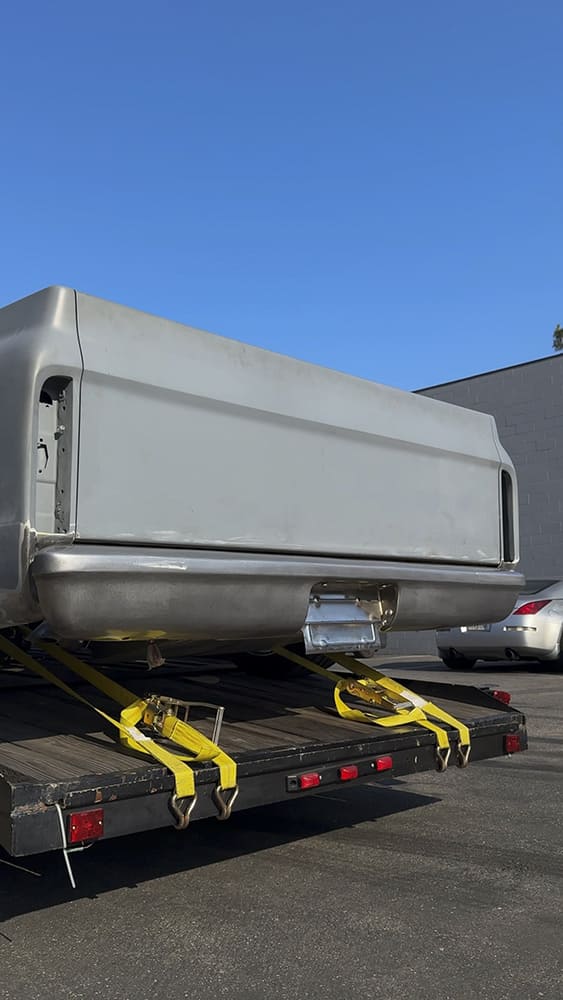
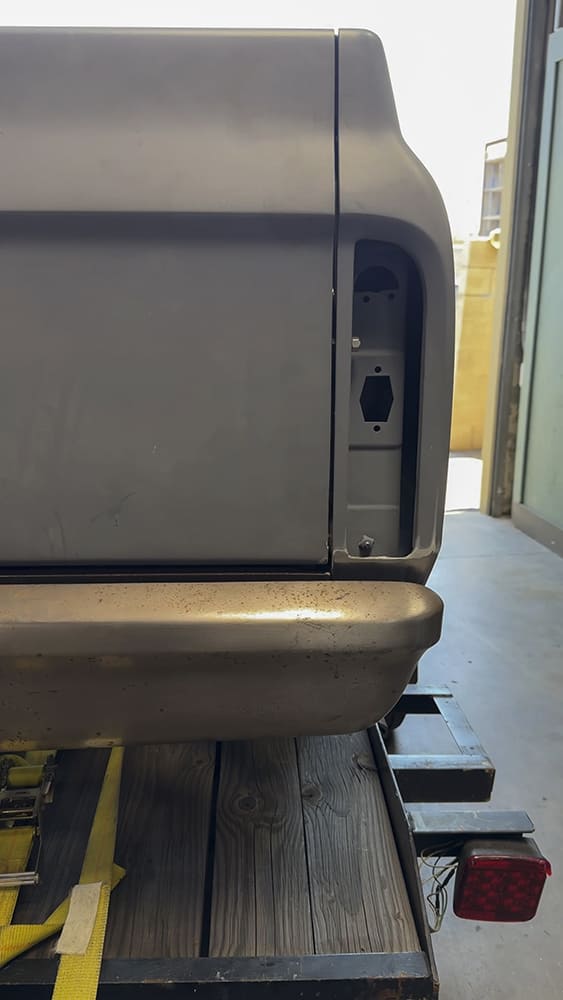
“It first started with a chat with the customer. The customer wasn’t a fan of how much the bumper stuck out on either side of the bed; he wanted the bumper flush with the sides. I took some careful measurements and it looked like 2-1/4 inches would do it. Next was the decision on where to cut the bumper. Making things simple was the name of the game. I didn’t want to take material out of the center of the bumper, which would require to open the license plate opening and require to move the already-welded mounts from shaving the bolts. Also removing the 1-1/8 inches from each end was going to be challenging as well because the bumper tapers at the end and would need a section added horizontally, ultimately creating more work. I found the sweet spot where I wouldn’t get into the mount and also wouldn’t get into the taper of the bumper.
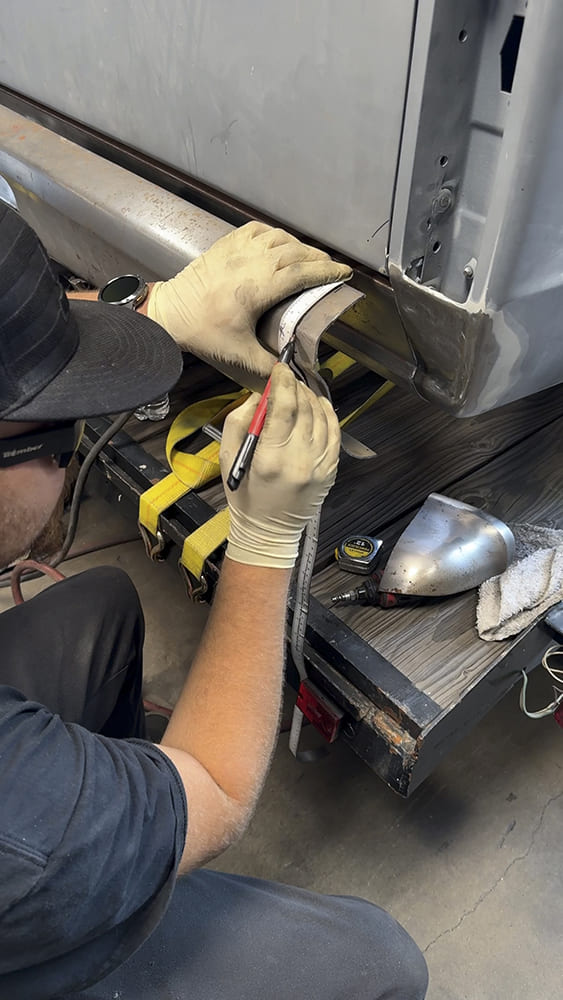
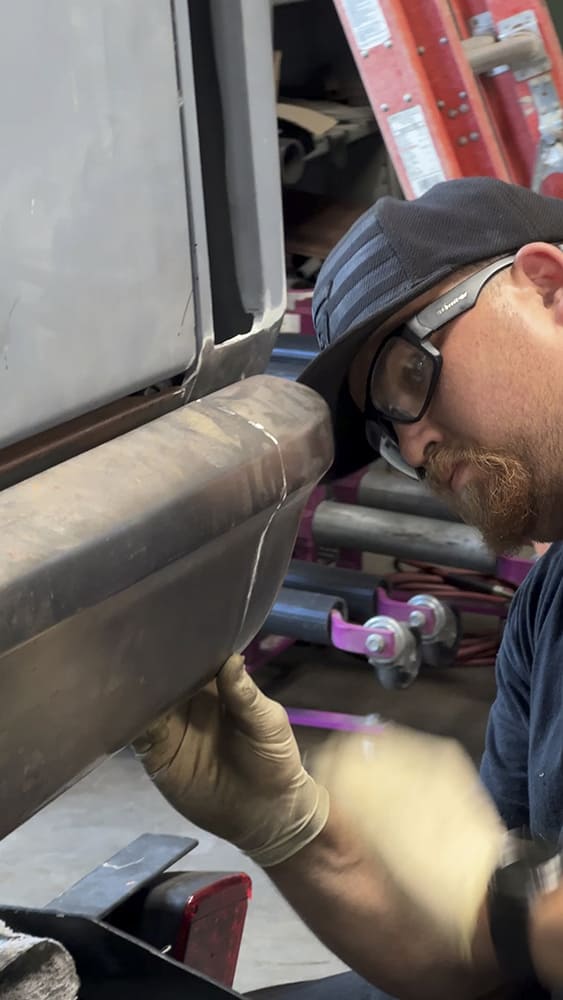
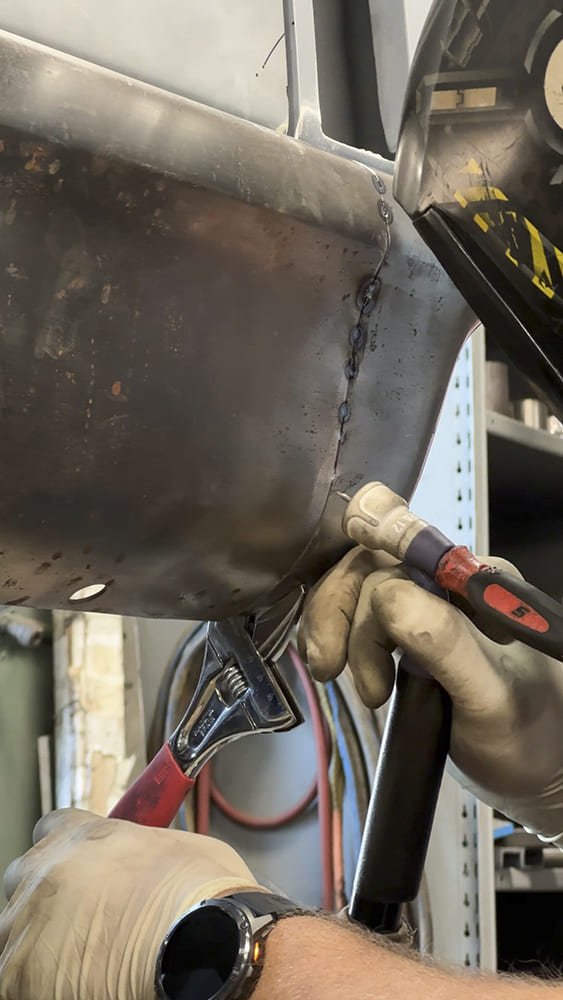
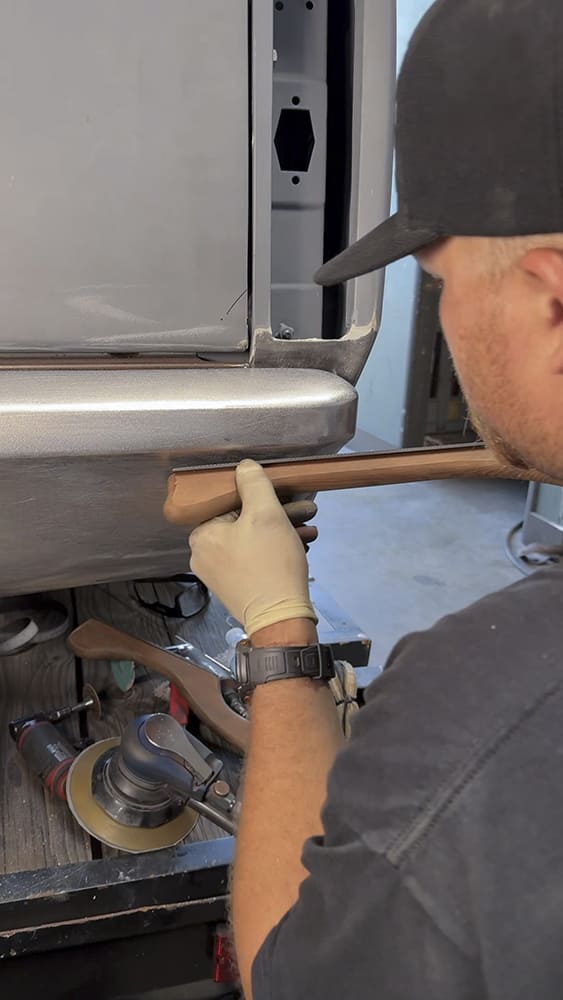
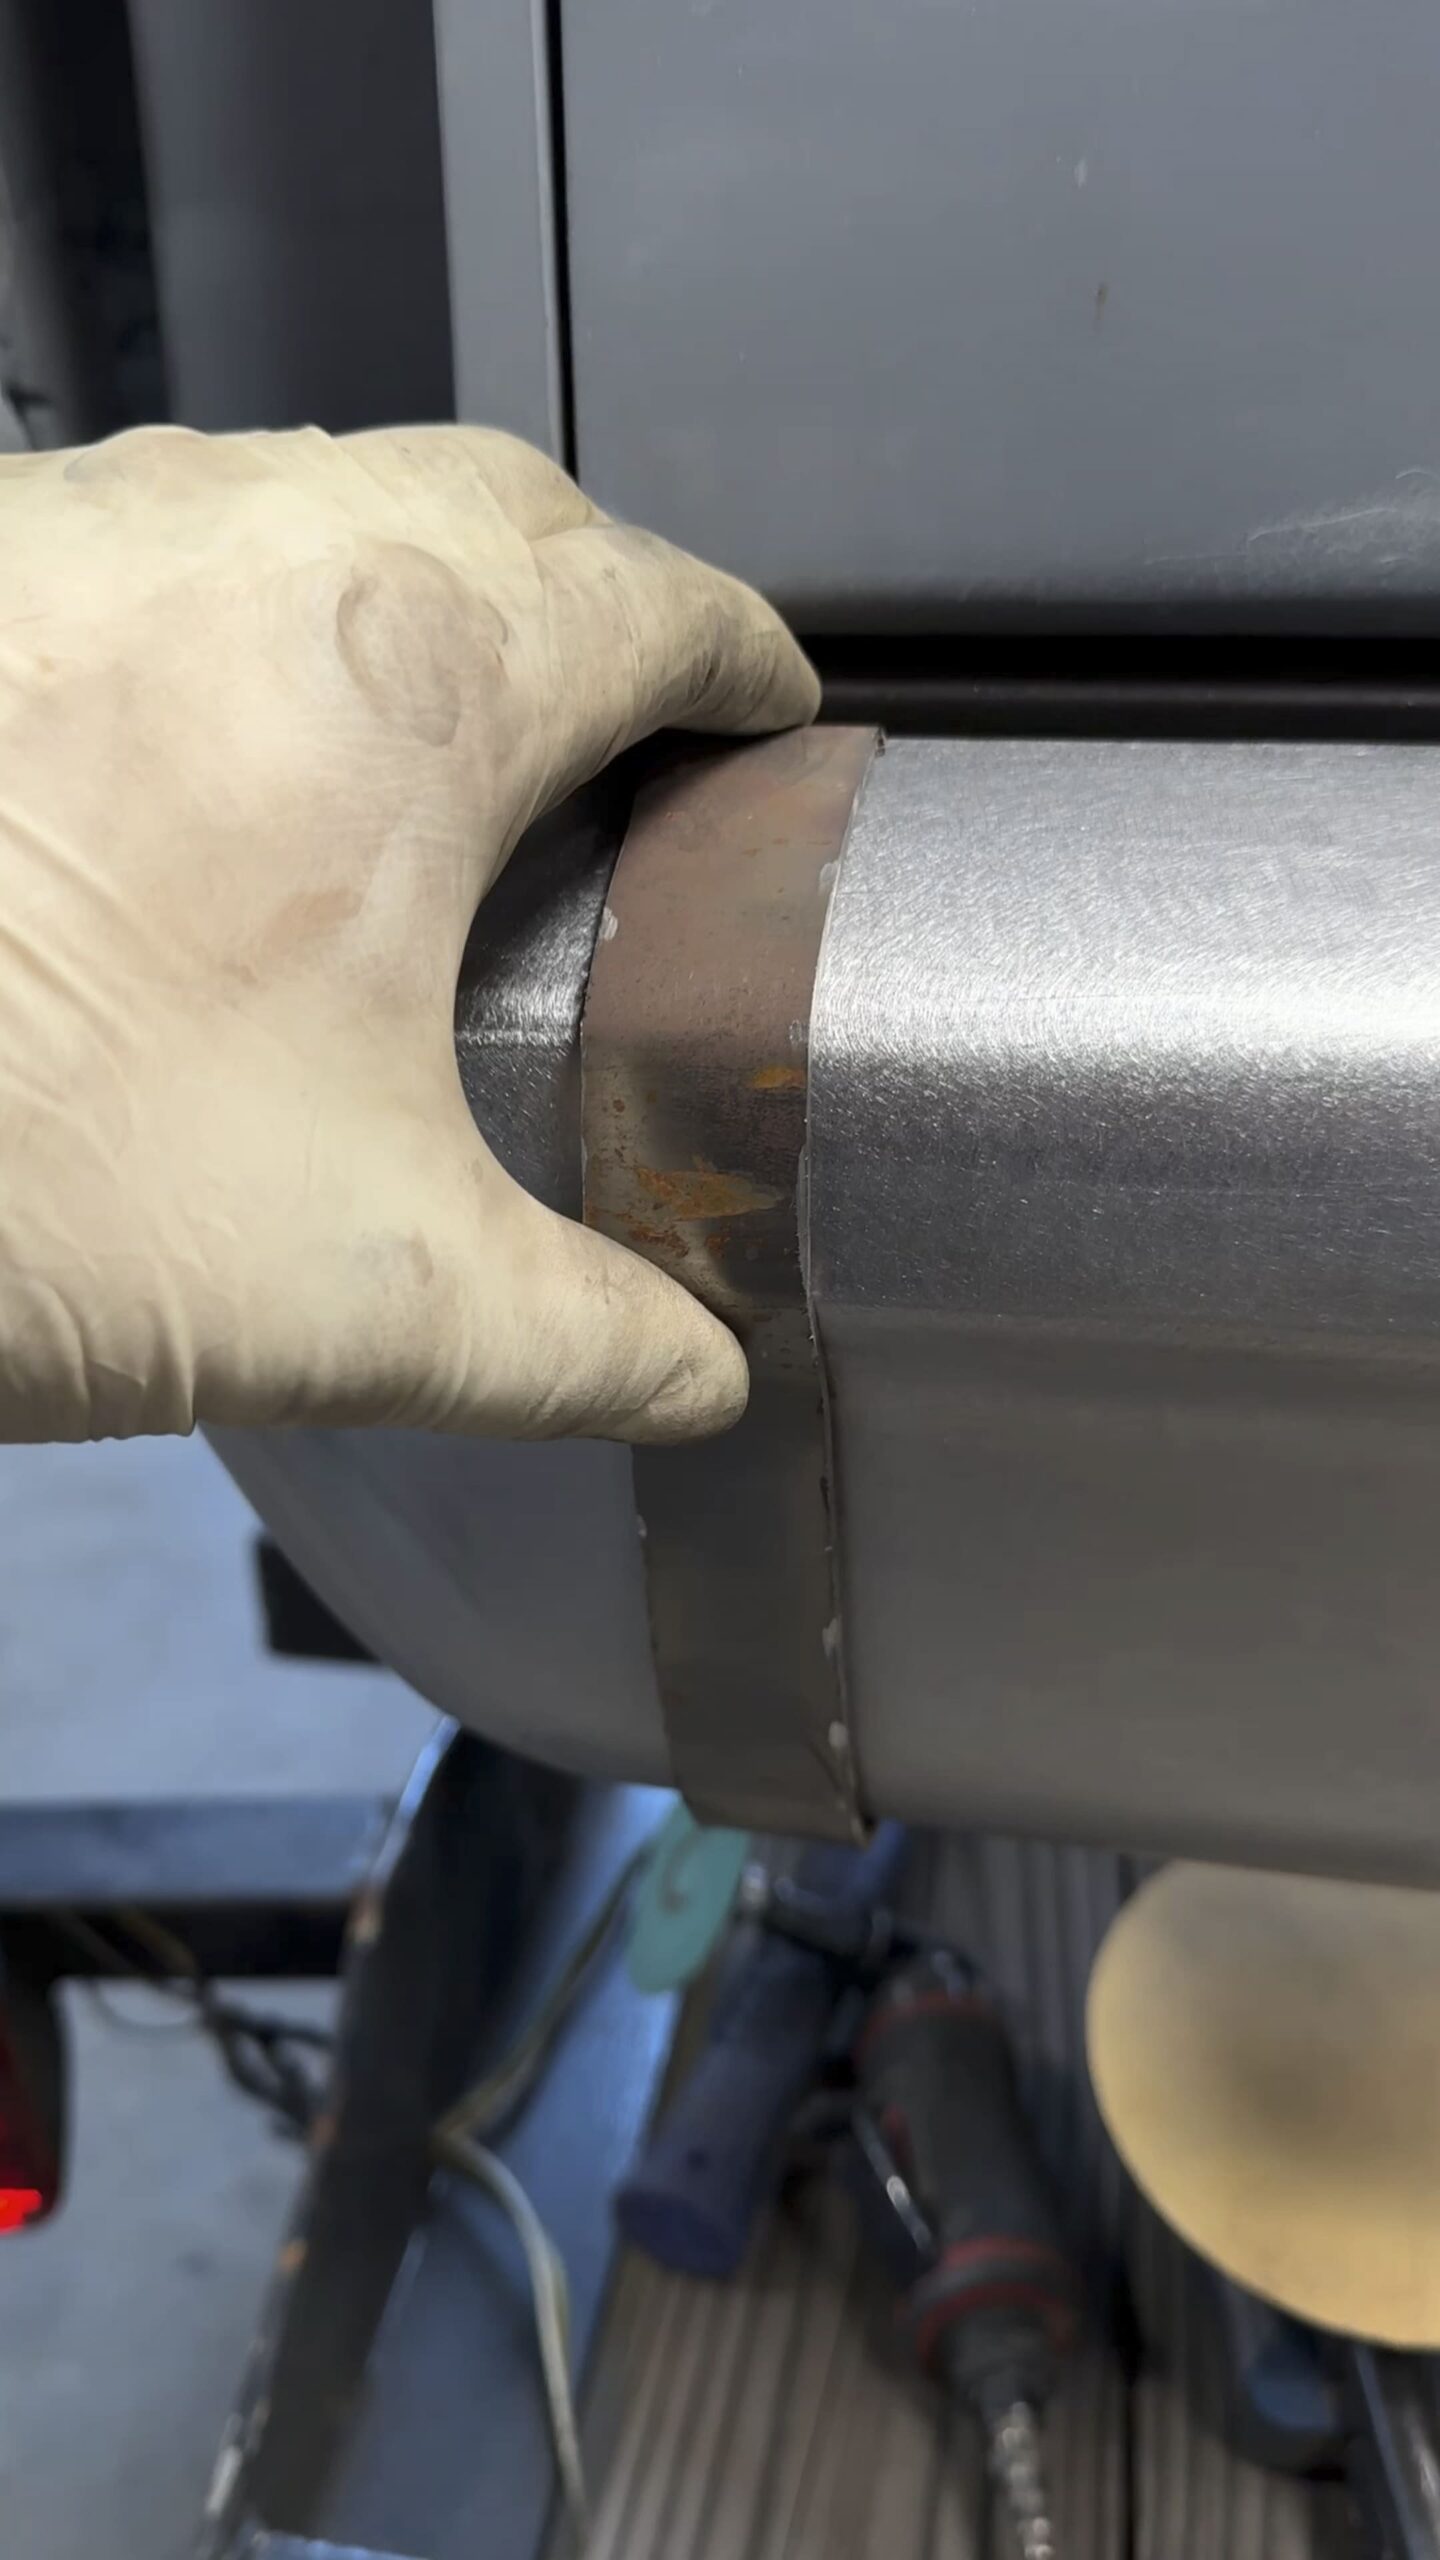
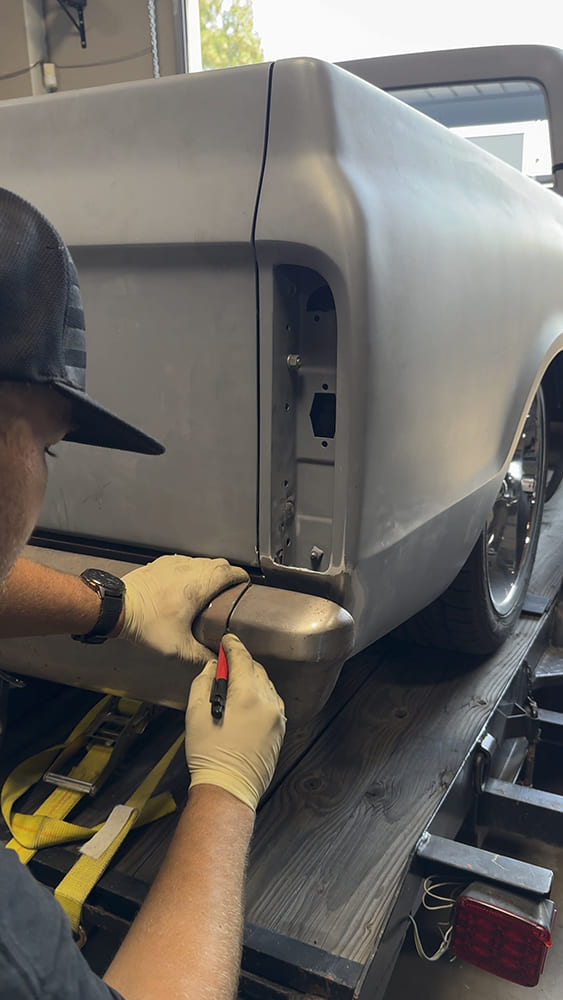
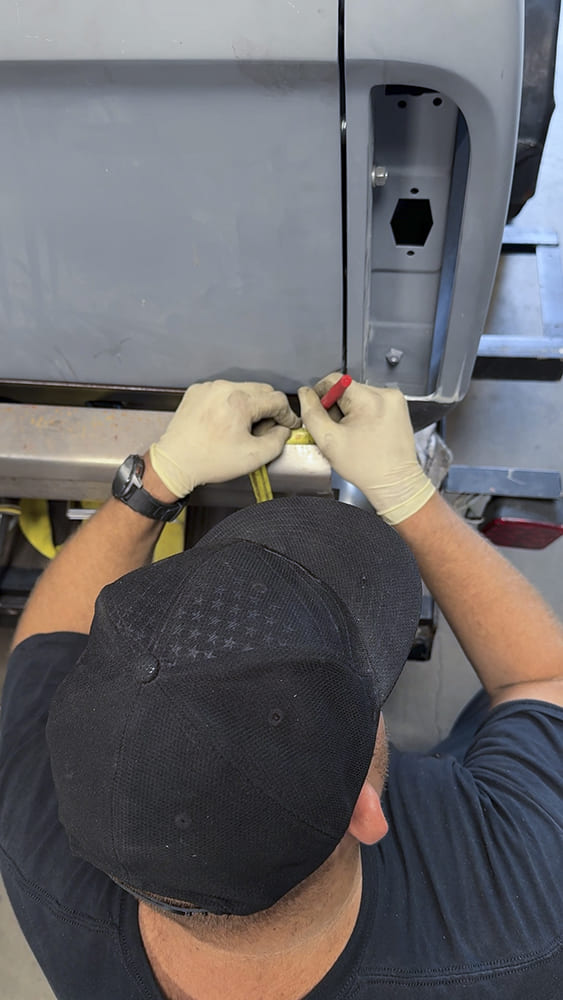
“I was lucky enough to already have the Classic Industries replacement bumper stripped before it was dropped off. I recommend removing chrome or paint before starting the cutting process. I started with a magnetic ruler to stick it on the bumper a step back to see if the cut was where I liked it. Then, I marked the 1-1/8 inch per side then used a 90-degree die grinder with a cut-off wheel to cut both lines. I recommend taking your time when cutting to get the straightest cut possible because we have to weld the pieces back together.
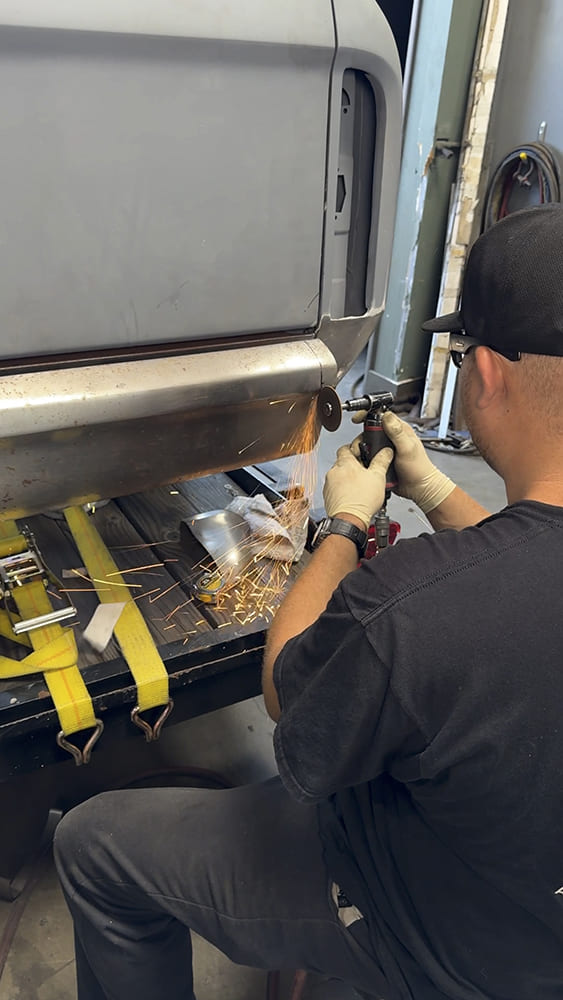
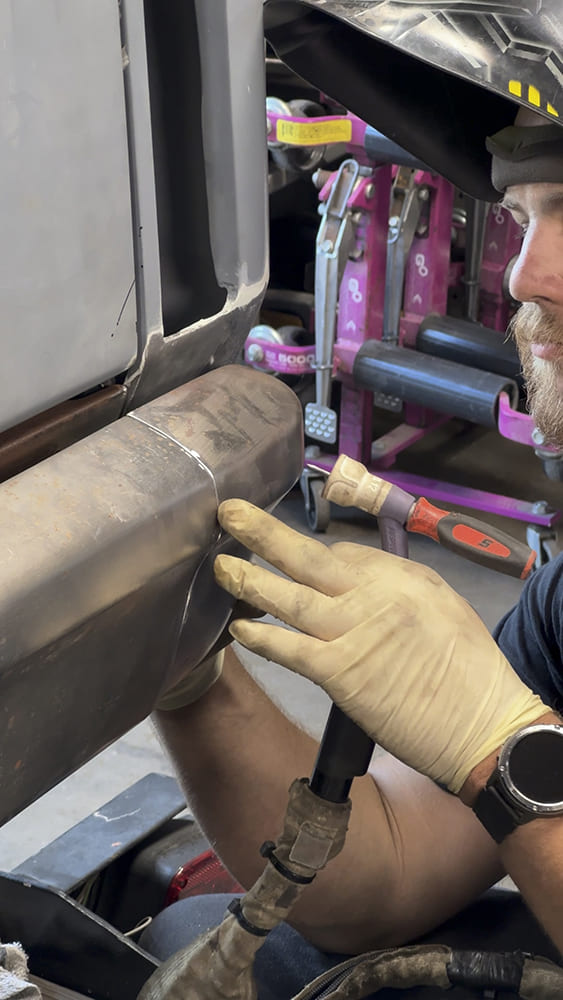
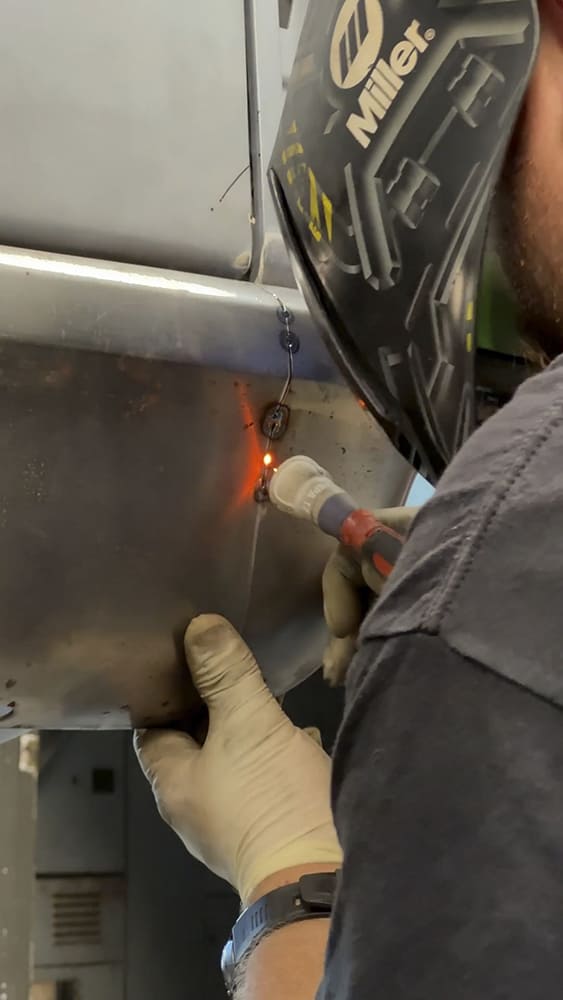
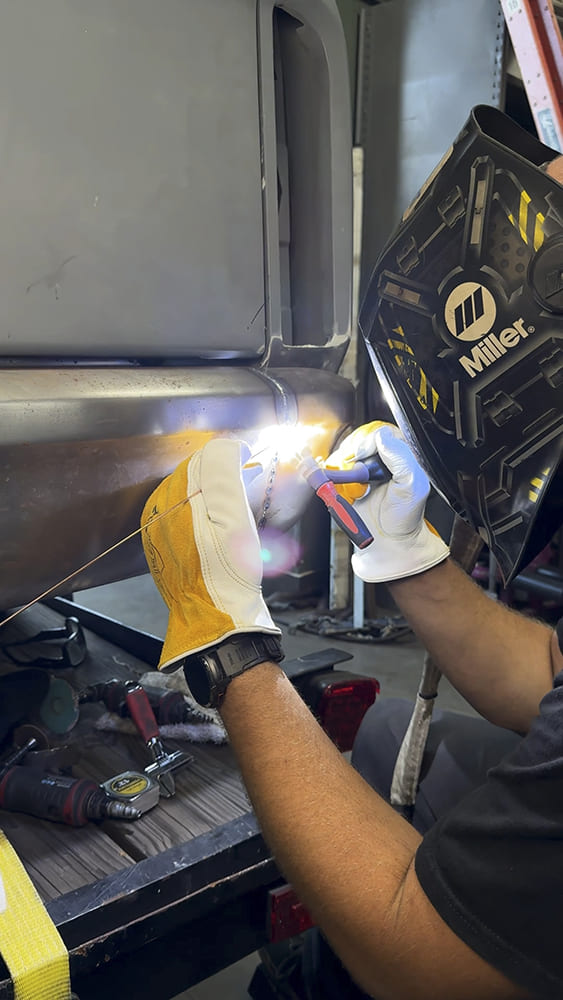
“Next was welding. I used our Miller TIG welder to get the job done. First, starting at the top, a small fusion tack was done to hold the piece in place then repeated with 0.045 filler every 1/2 inch. Toward the bottom a crescent wrench aided in pushing/pulling the lower piece in place to get perfect alignment of the two sections. At this step taking your time and running a straightedge across to make sure the alignment is perfect will make the end result perfect. If you find a spot where either side is low, a hammer and dolly can be used to flatten out each side so the panel fitment is perfect. Before fully welding, more tacks were added in-between each previous tack. Now with tacks at every 1/4 inch, it was time to fully weld. Starting at the top is one continuous weld from top to bottom. Applying even heat across the entire weld cuts down on distortion.

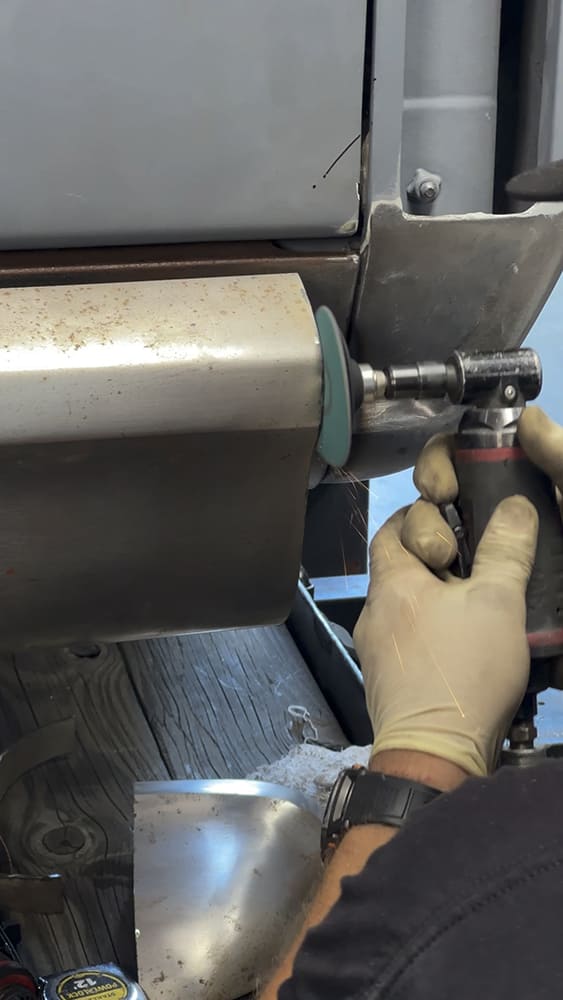
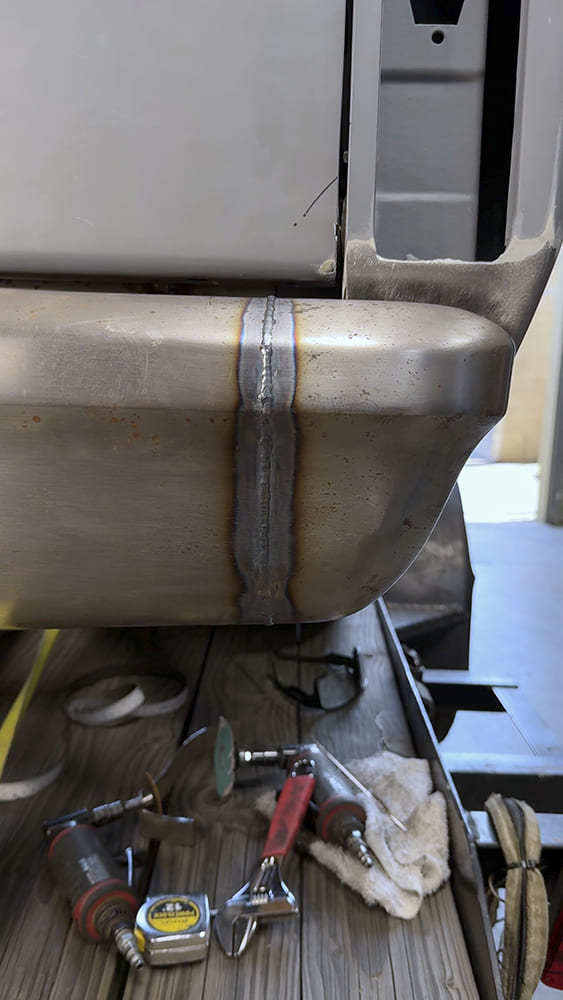
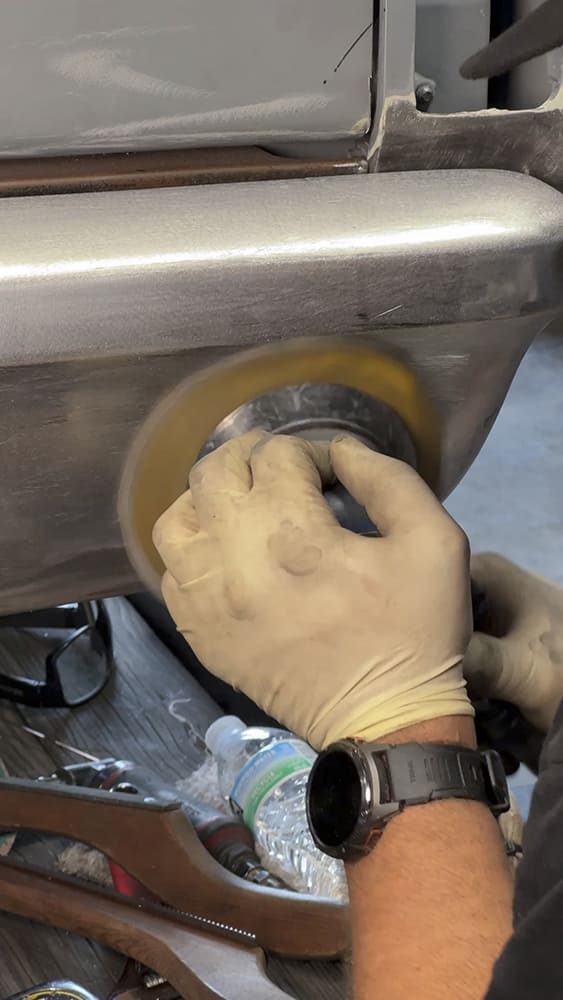
“Once the welds have cooled off, I chose to attack the welds with a vixen file. Filing the welds makes sure that your work stays flat. I opted to not use a grinder because of the risk to dig into the base material and cause waves. Once the welds were smoothed down and gone, 80-grit sandpaper was used on a block to remove the file scratches. Then 150-grit on a DA to remove the 80 scratches. Finally using a Scotch-Brite pad on a 6-inch DA refined the surface finish to perfection. Now the bumper is ready for chrome.
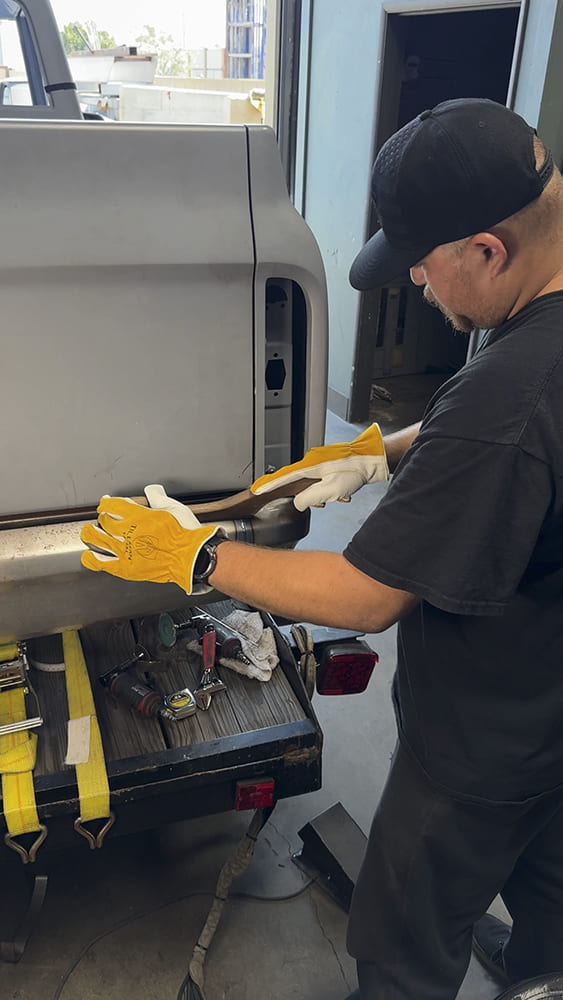
“After tackling the shortening of the bumper, it shows how easy it can be for anyone who knows how to weld that they can shorten their own bumper at home. A few helpful tips: Make sure your cuts are as straight as possible. Make sure your fitment is perfect. Make sure to not put a lot of heat in the weld to limit distortion. Make sure when you file the welds that only the weld gets filled down, not the material around it. Last tip: take your time—don’t rush it … it’s all in the details for the best results!”

Check out this story in our digital edition here.