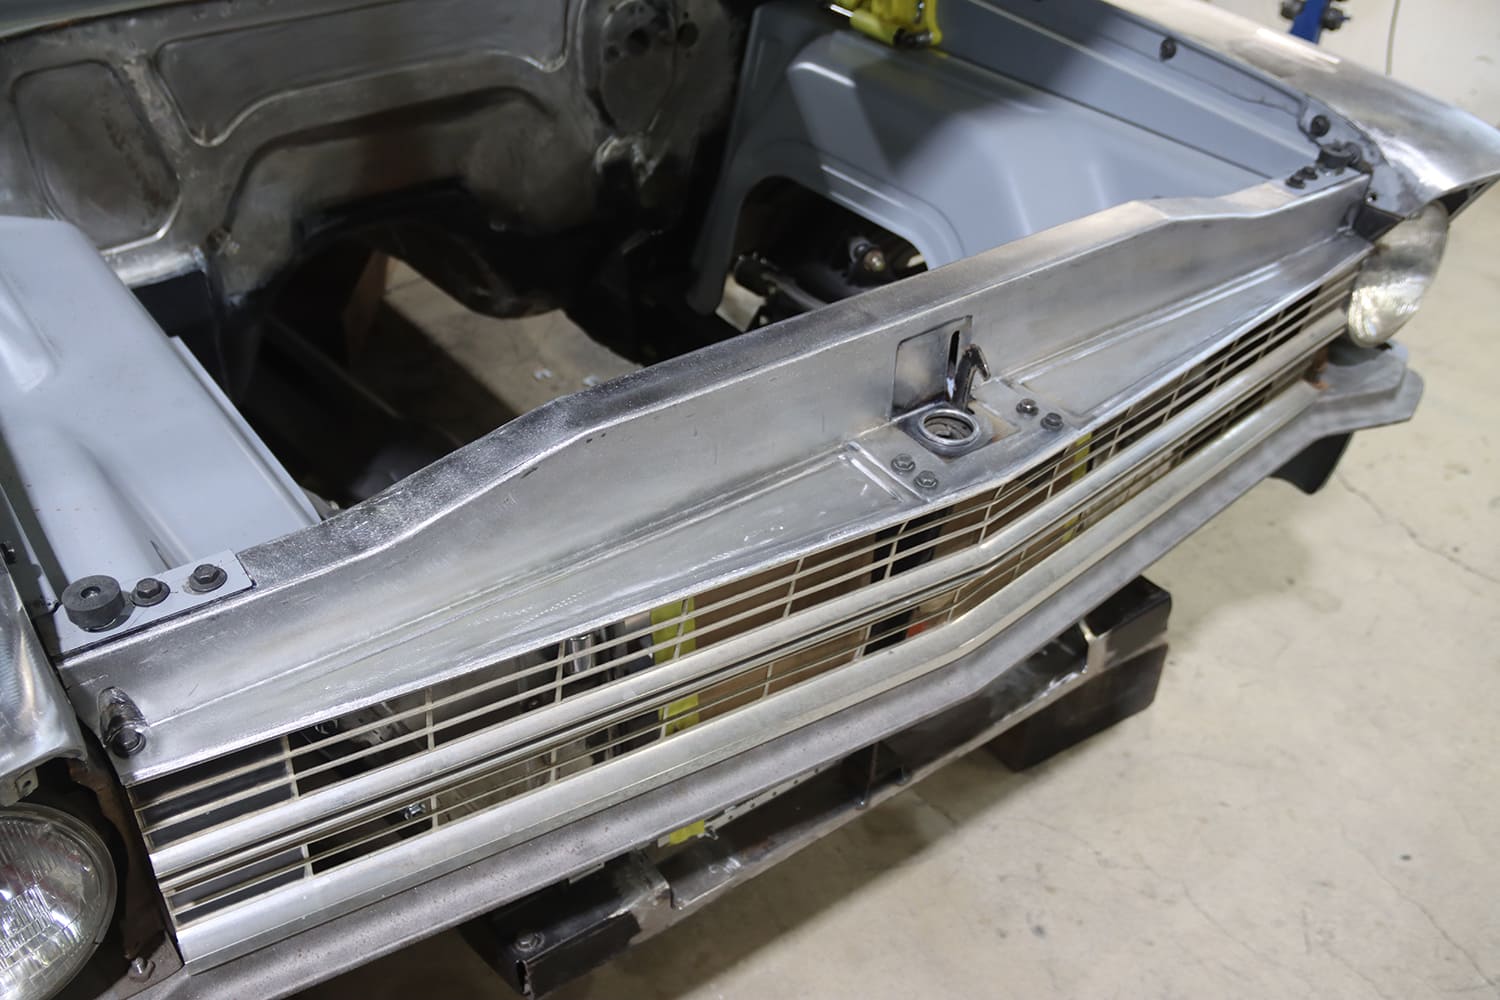
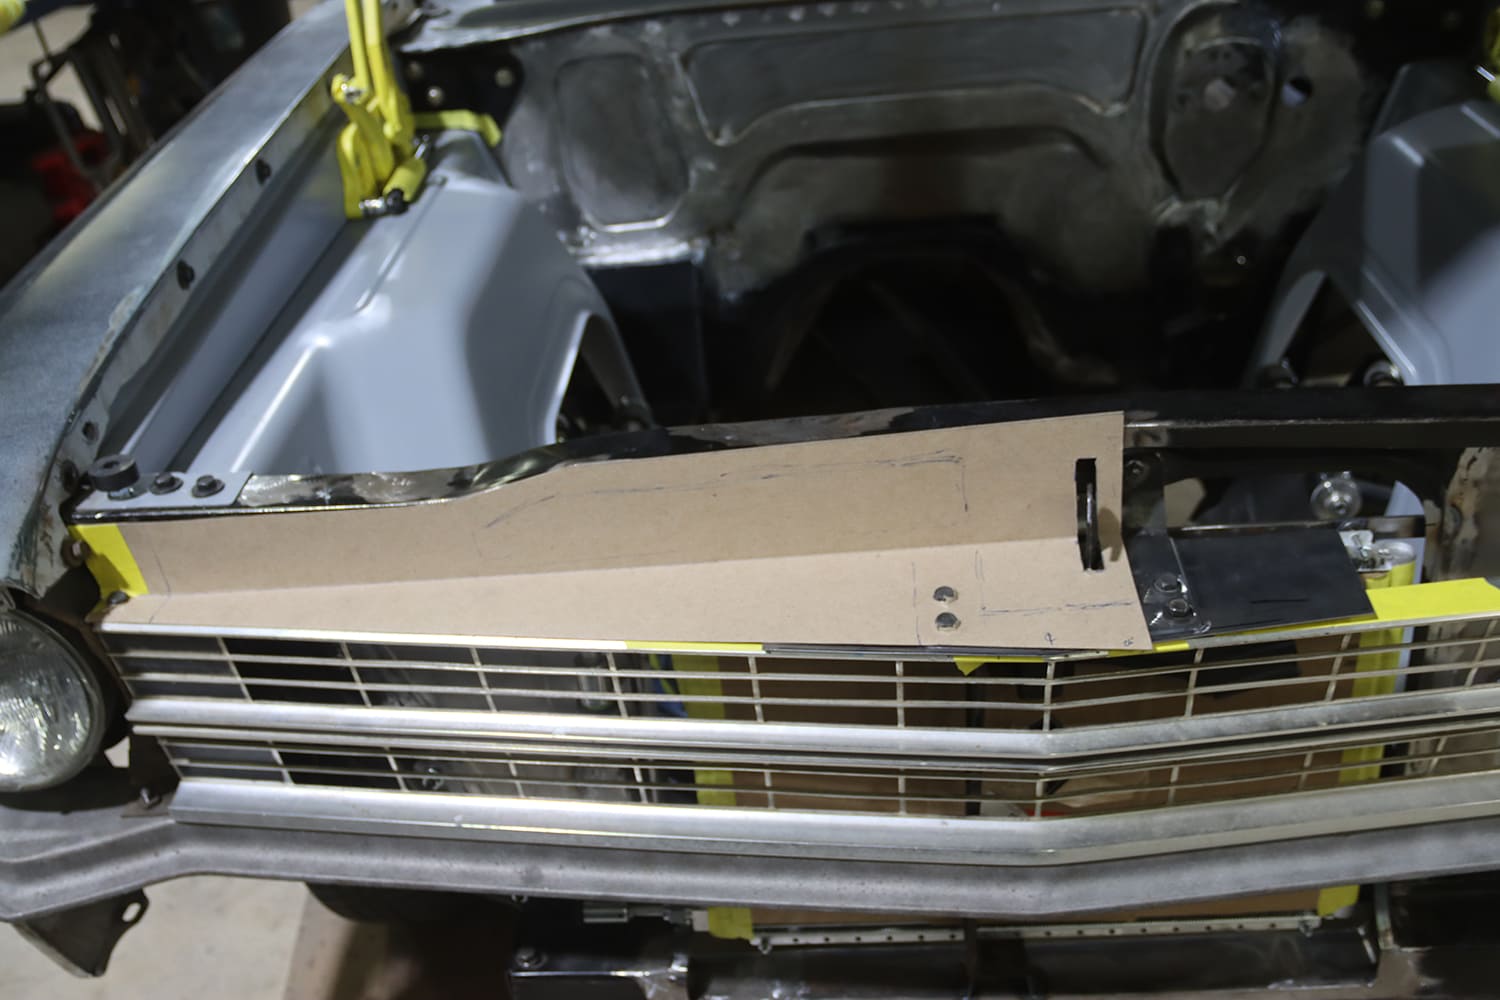
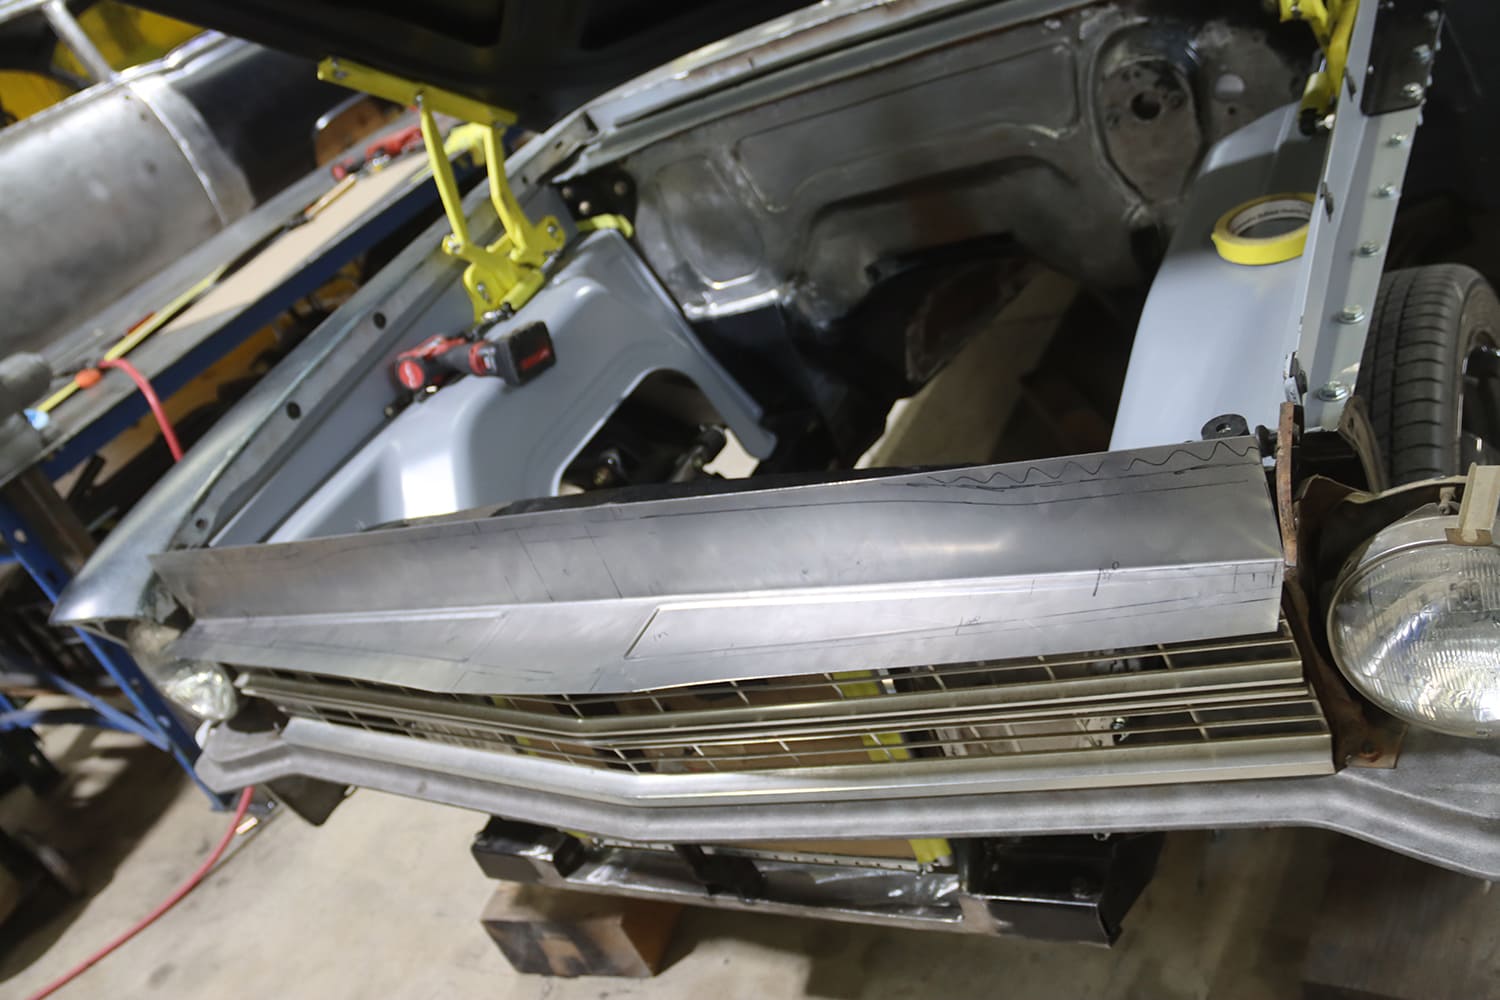
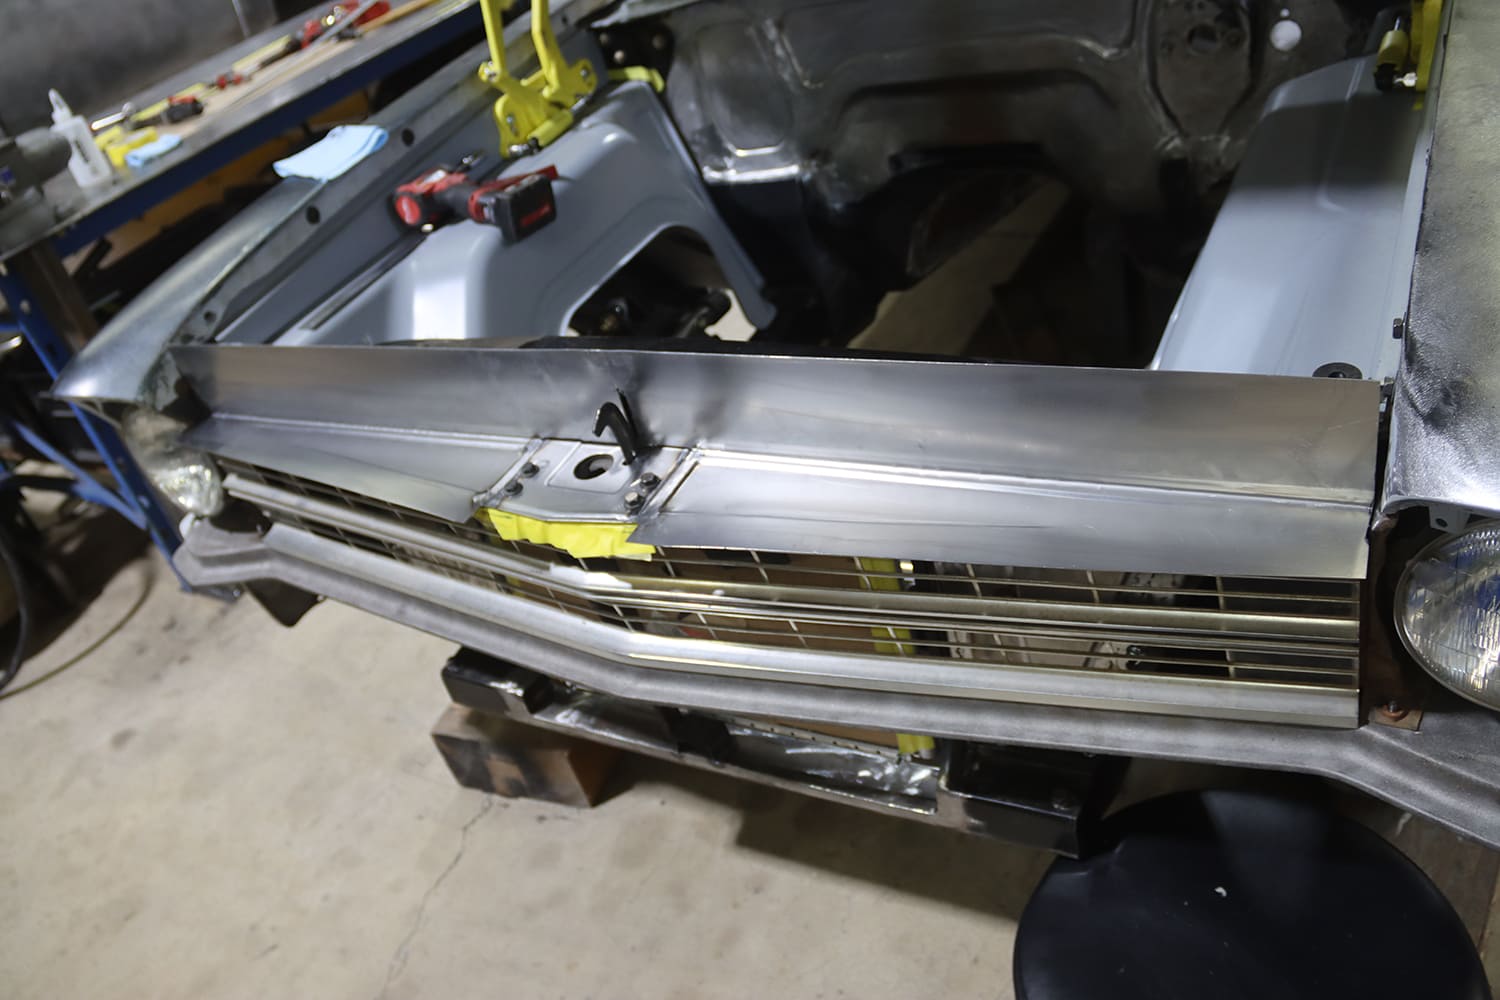
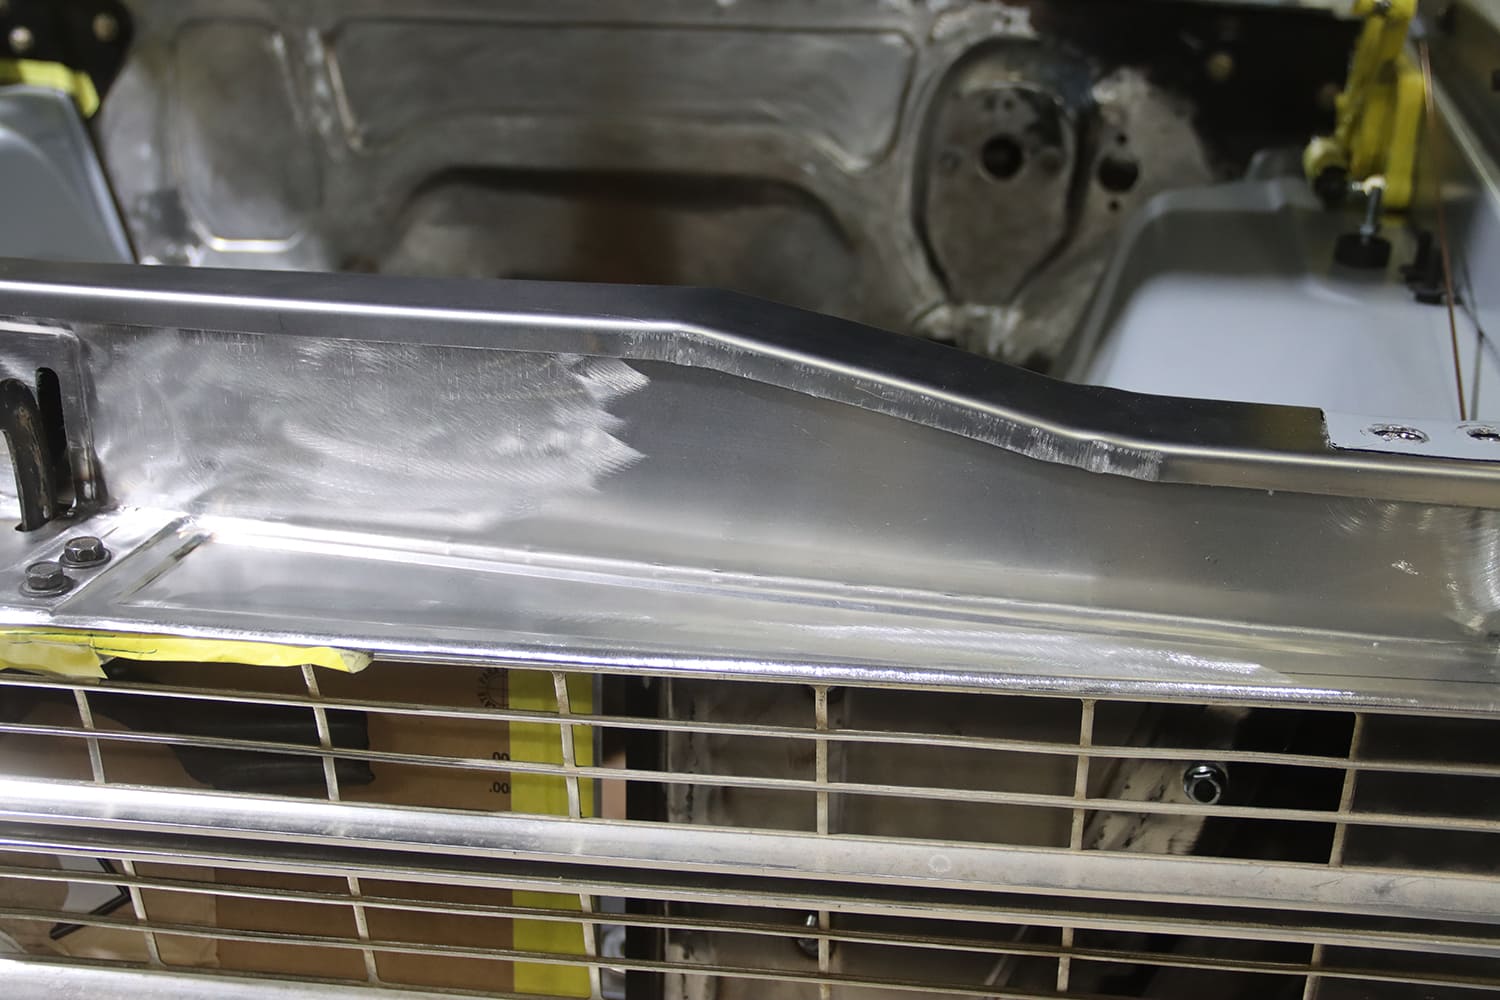
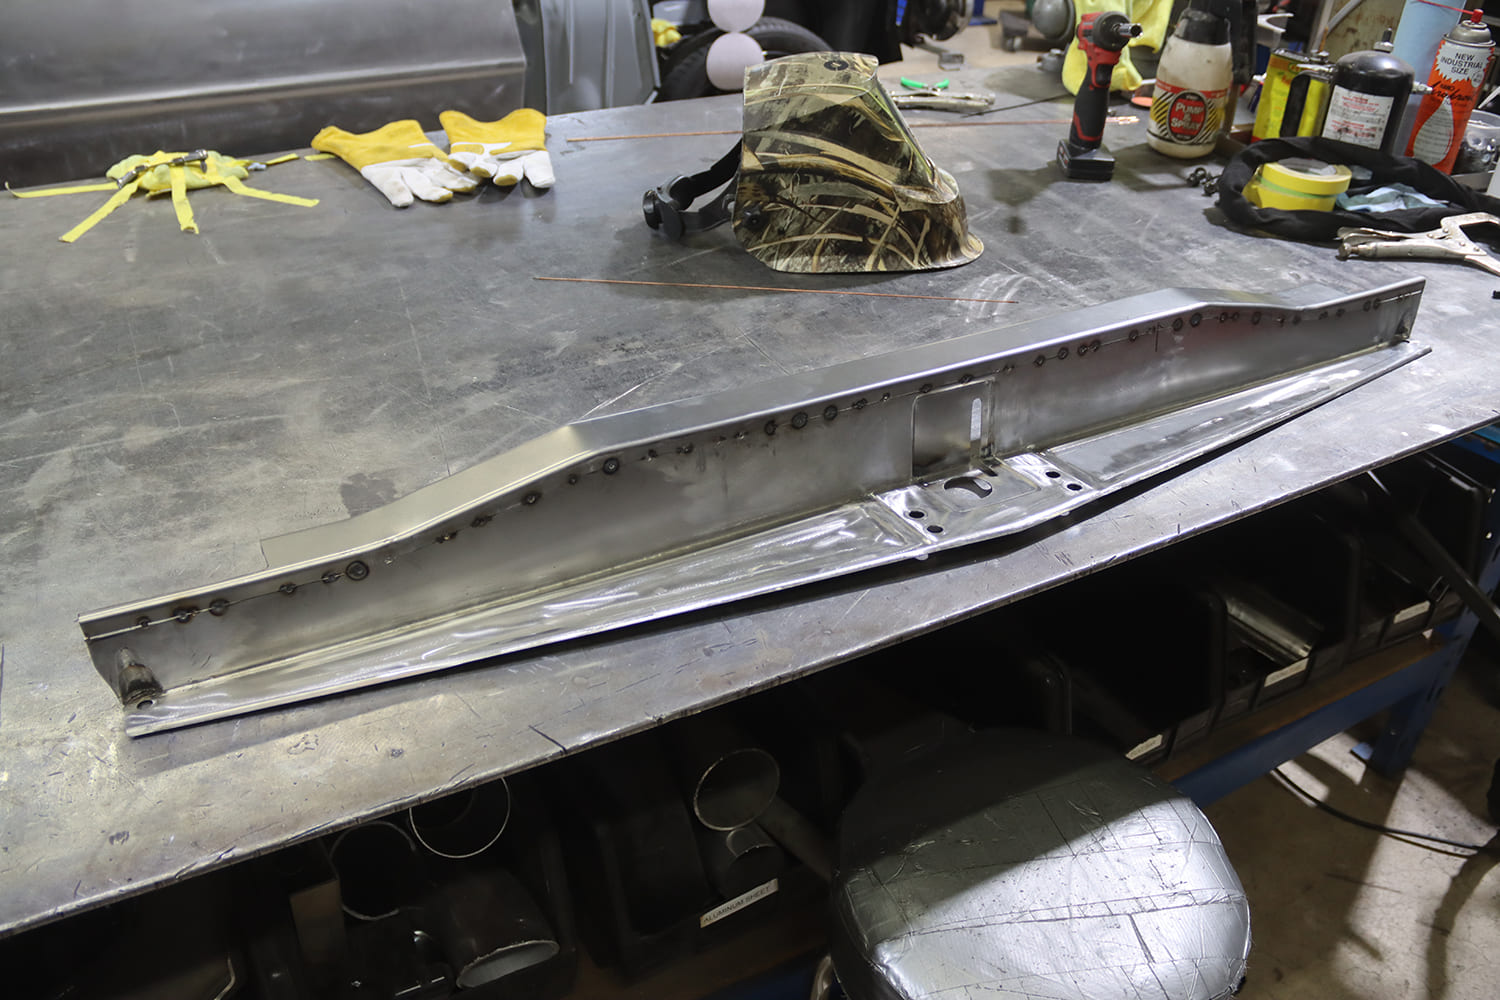
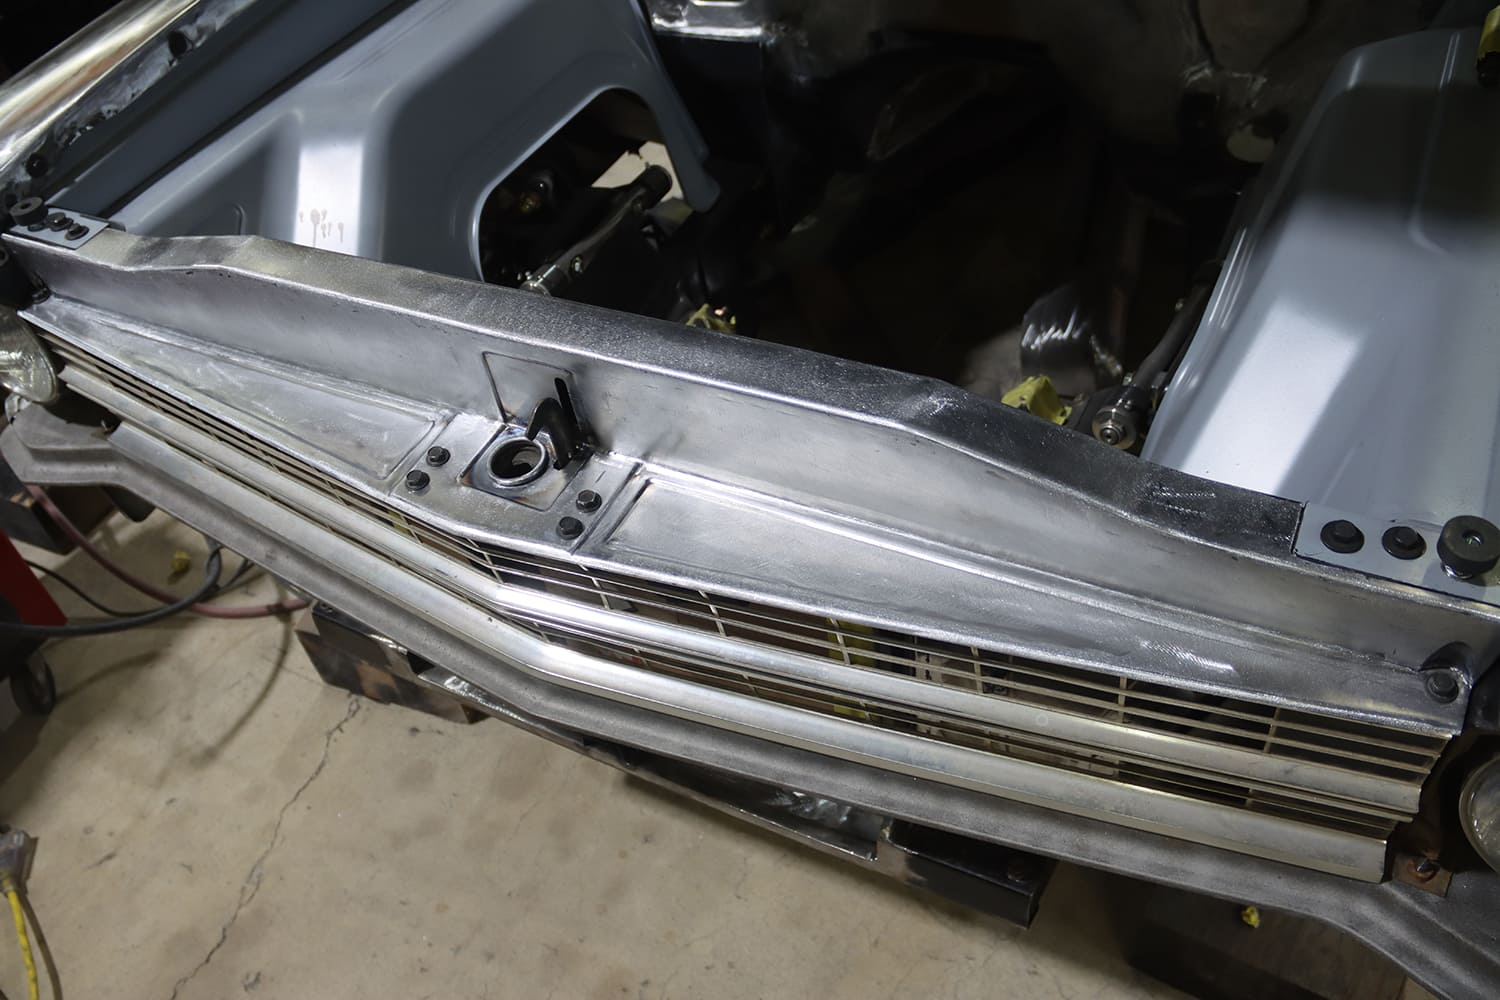
MetalWorks Dayton Eitner fabricated this core support cover for this 1967 Chevy II from 18-gauge sheetmetal. All the attaching fasteners will be replaced with polished hardware after the car is painted.
A core support cover delivers more than just style. There is a functional benefit, as well. Just take a look at any modern car. In the last 15 years or so, the quality of hot rods being built has reached an all-time high. While budgets and build styles differ, the one thing all these first-class cars share is the attention paid to small details often overlooked. A good example is the modified core support on the 1967 Chevy II being built at MetalWorks Classic Auto Restoration.
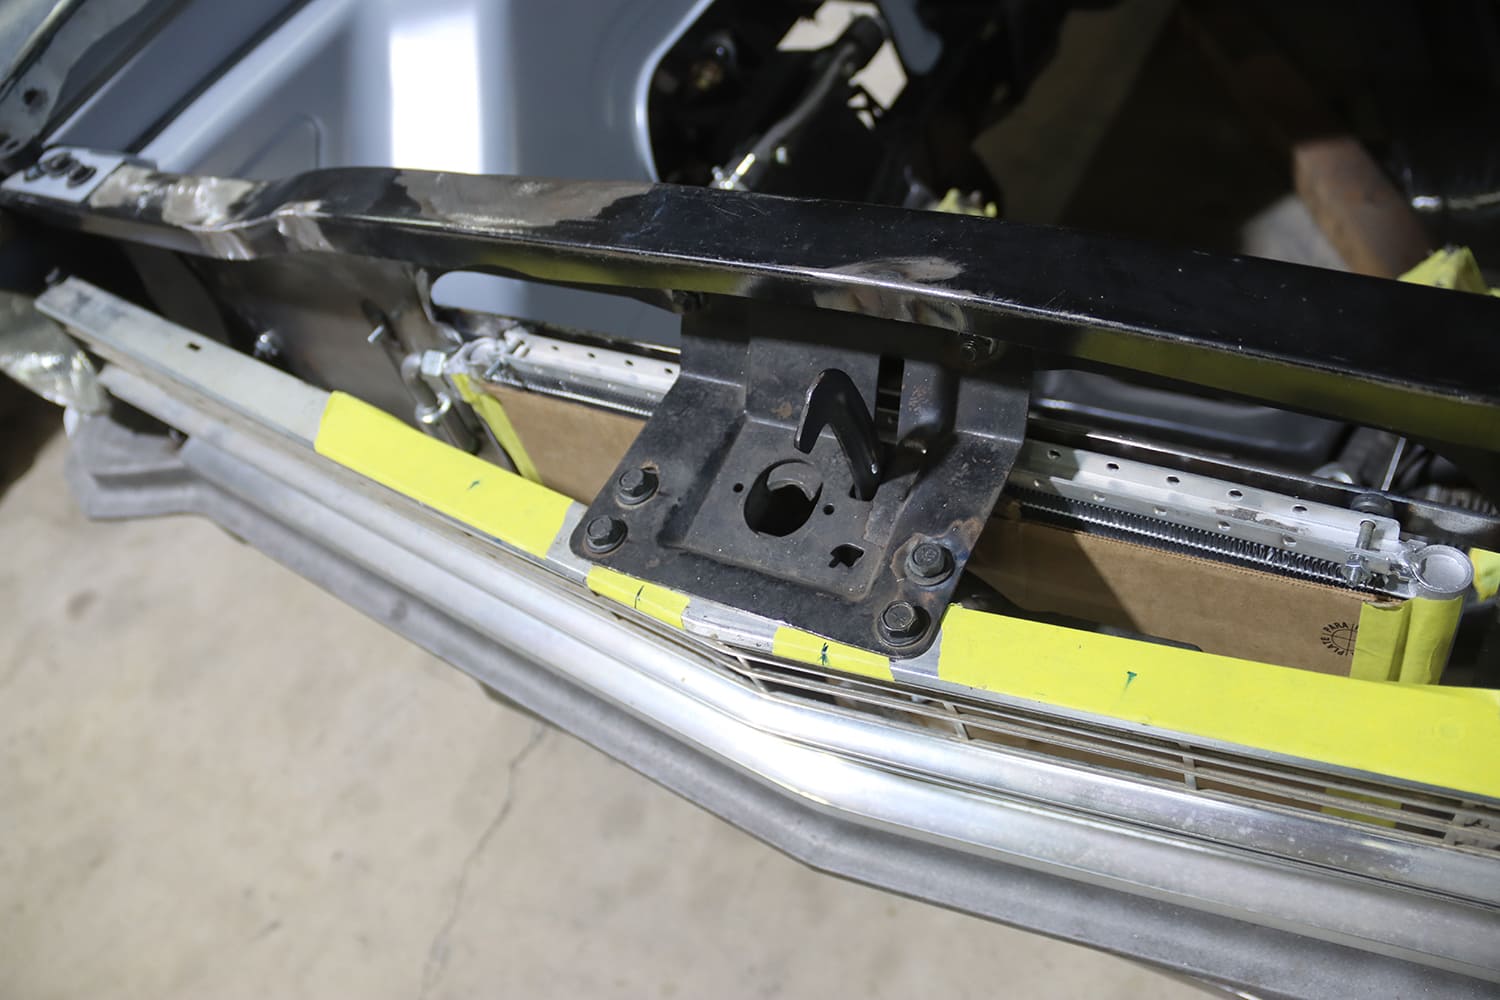
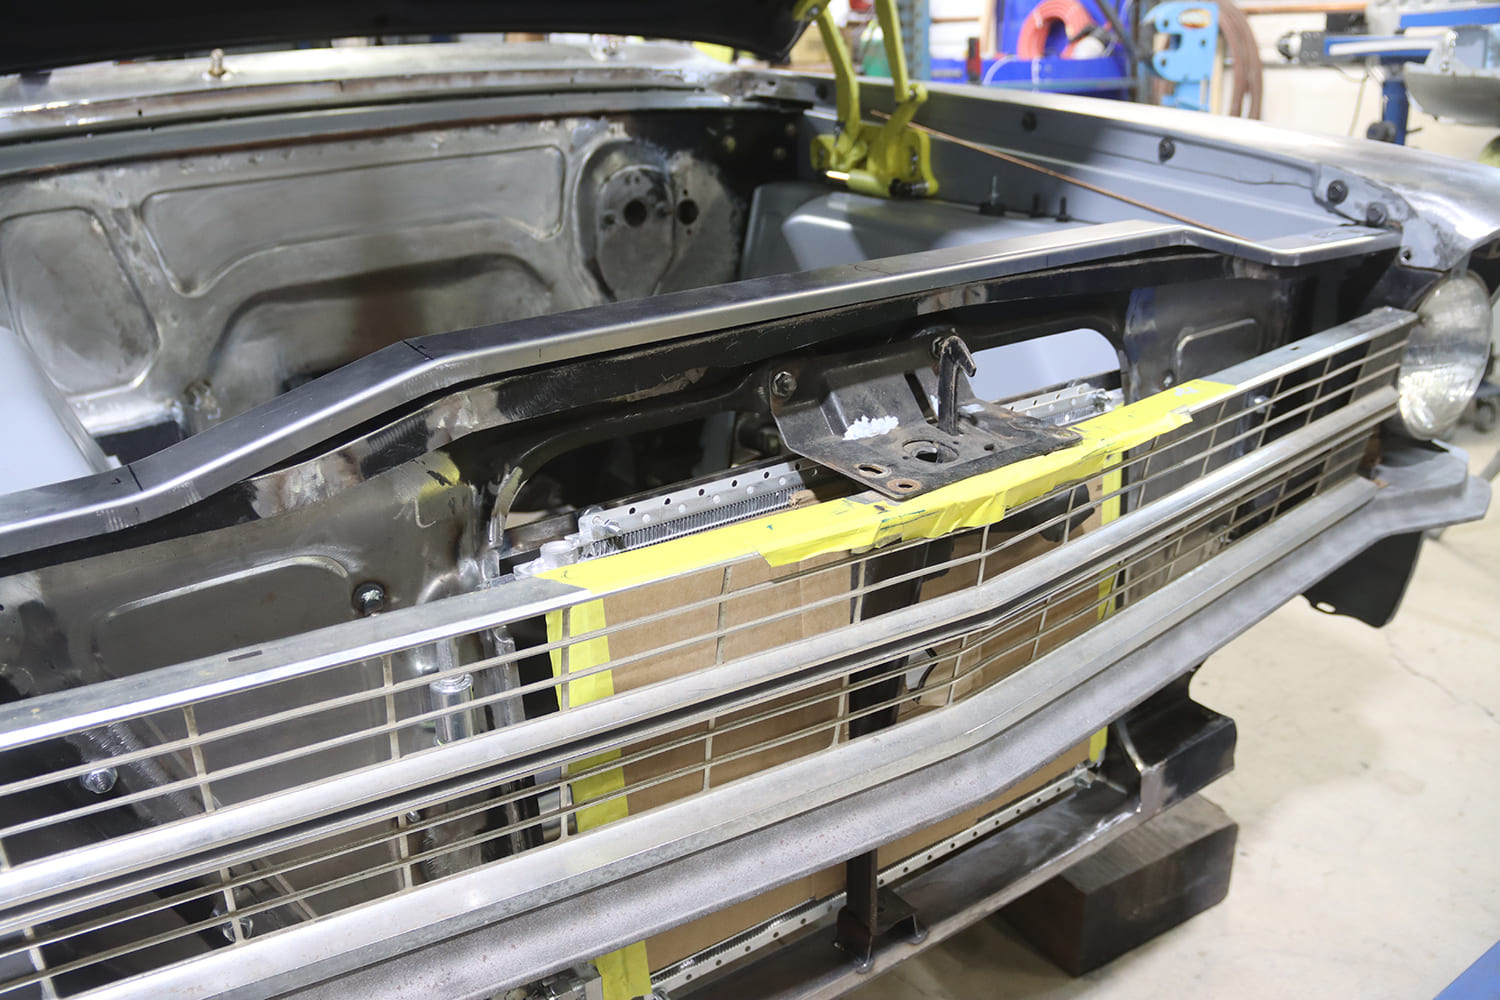
Open the hood on just about any car and you’ll see something like this. Not pretty, but practical.
Fabricated by MetalWorks’ Dayton Eitner, his innovative sheetmetal work not only cleans up the area under the hood that’s usually overlooked, but it also serves a practical purpose. By sealing off the space between the grille and the core support, all incoming air is forced through the radiator, helping to keep the engine cool. Talk about a two-for-one—what could be better than something that looks this good and is functional, too? Here’s how it was done.
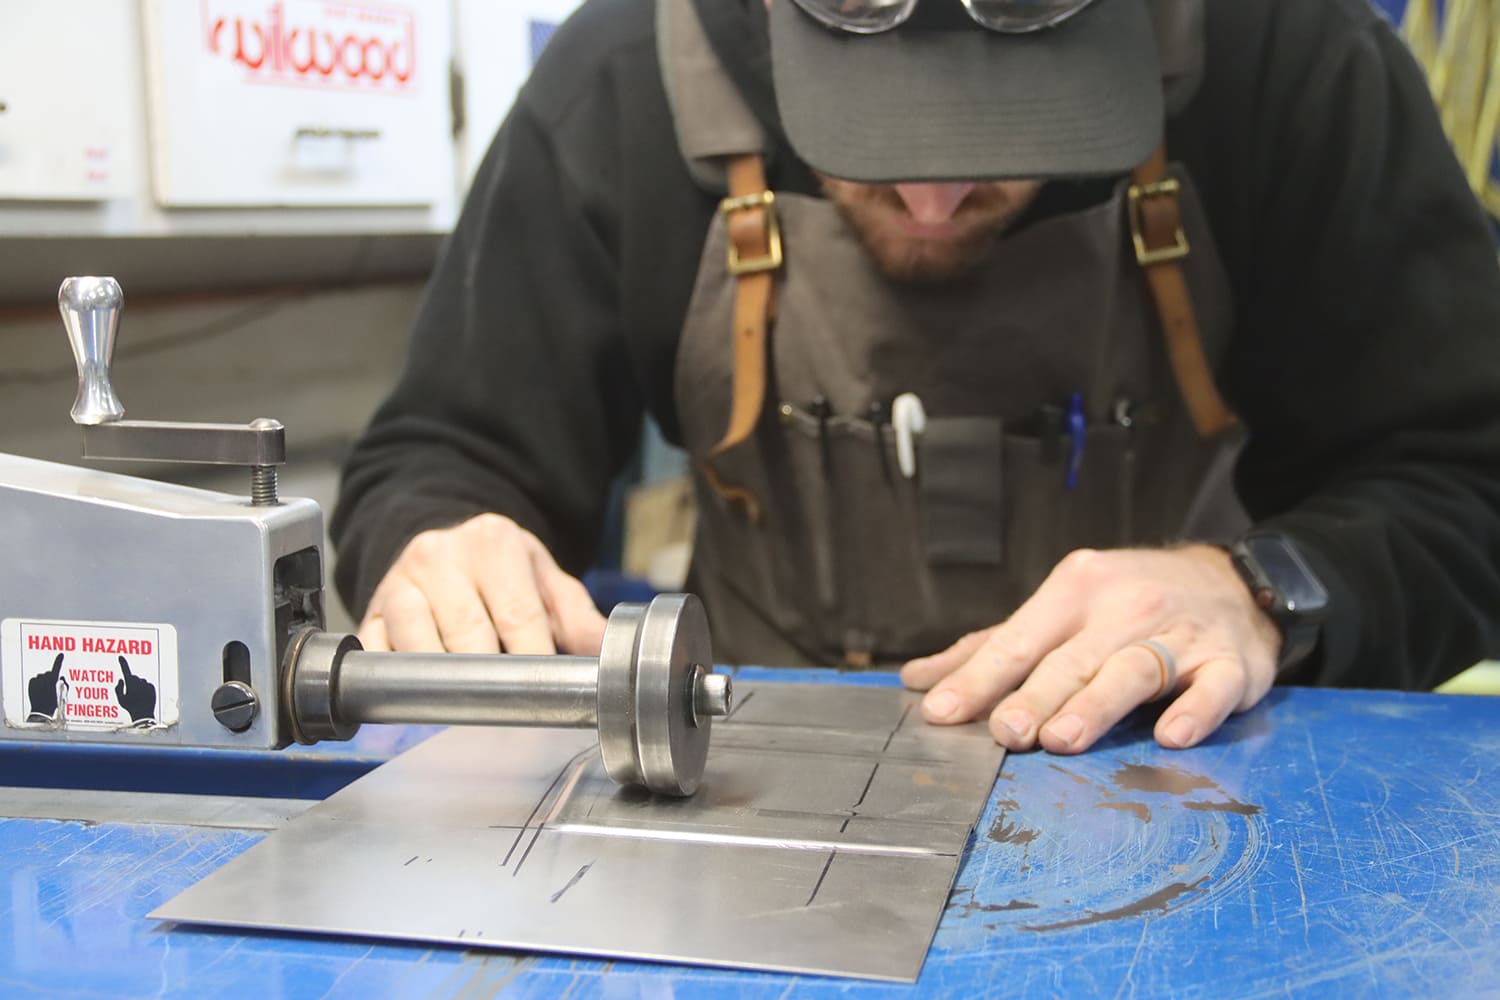
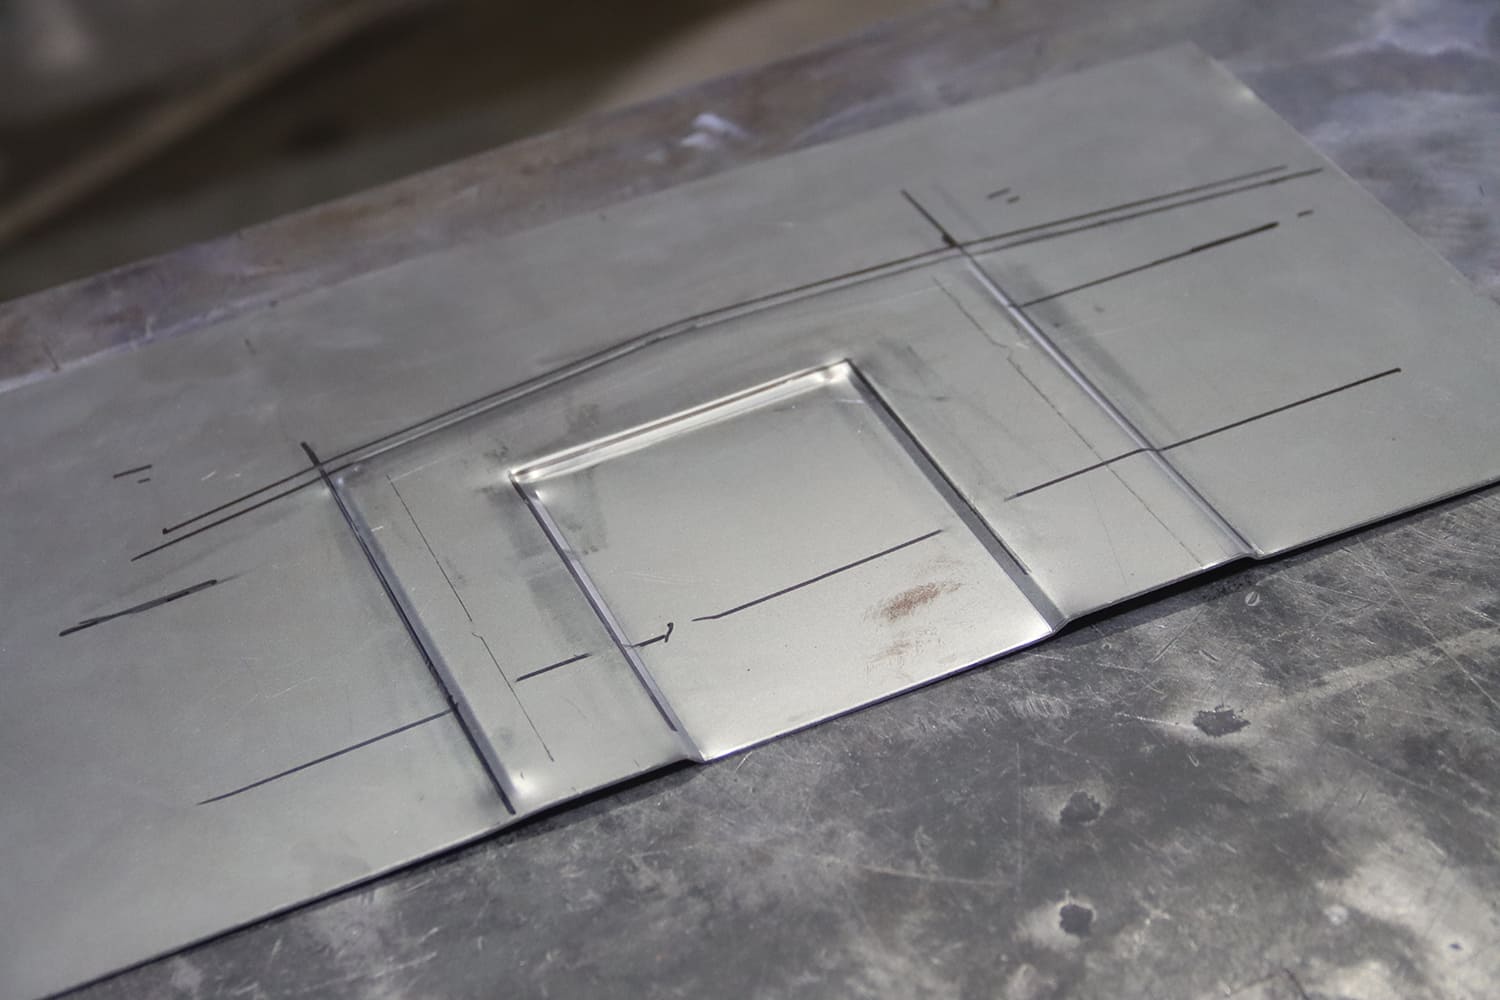
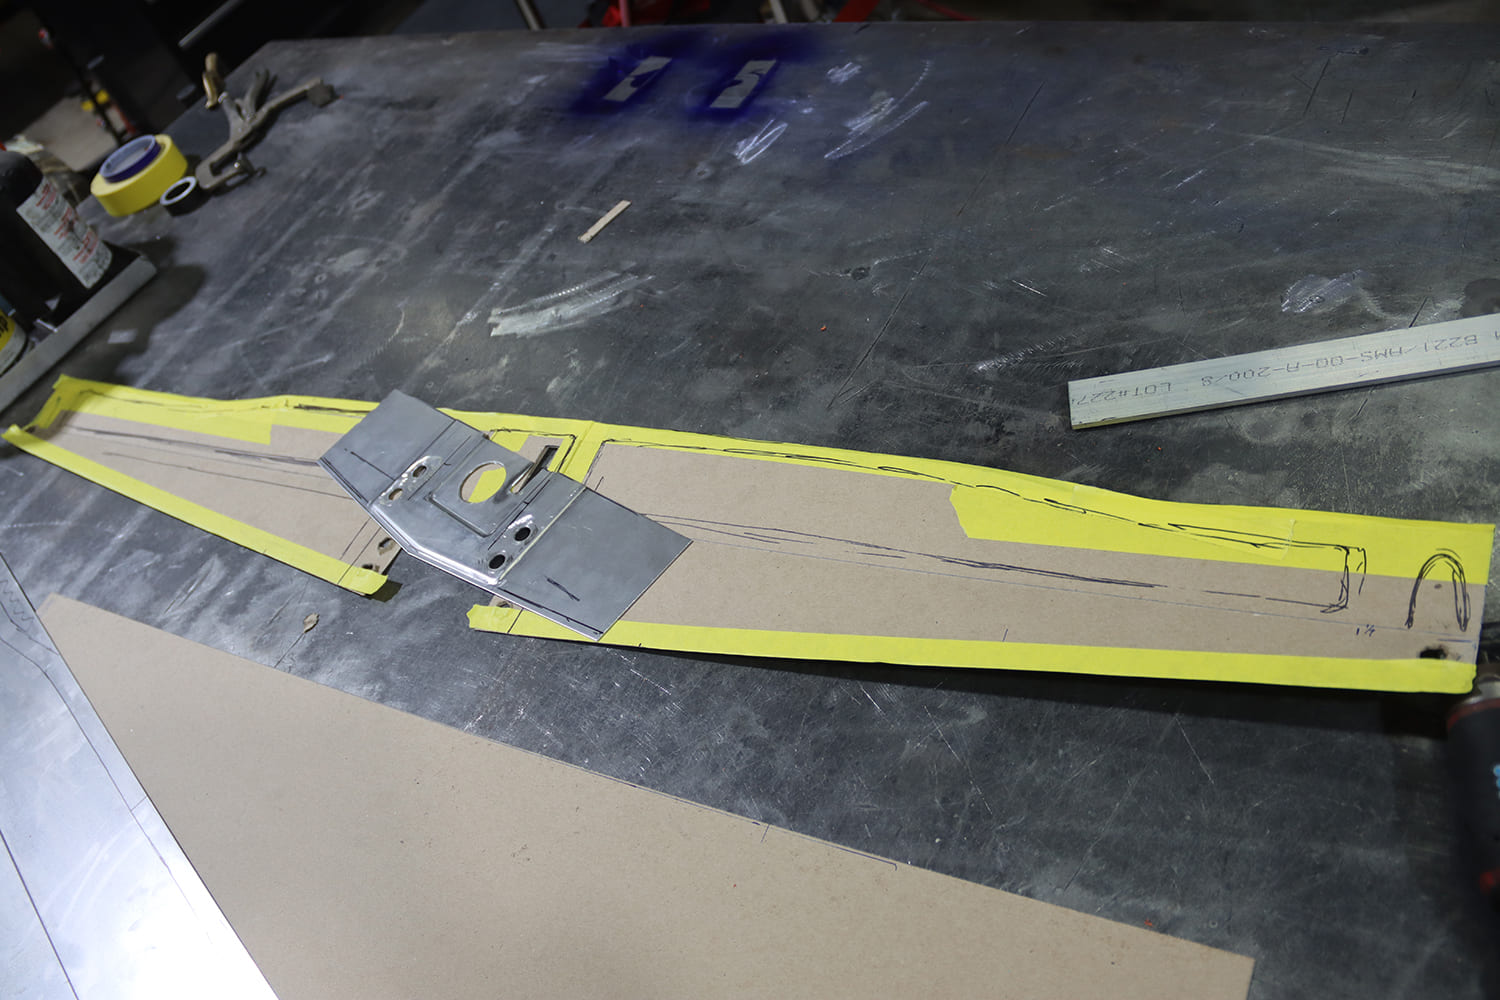
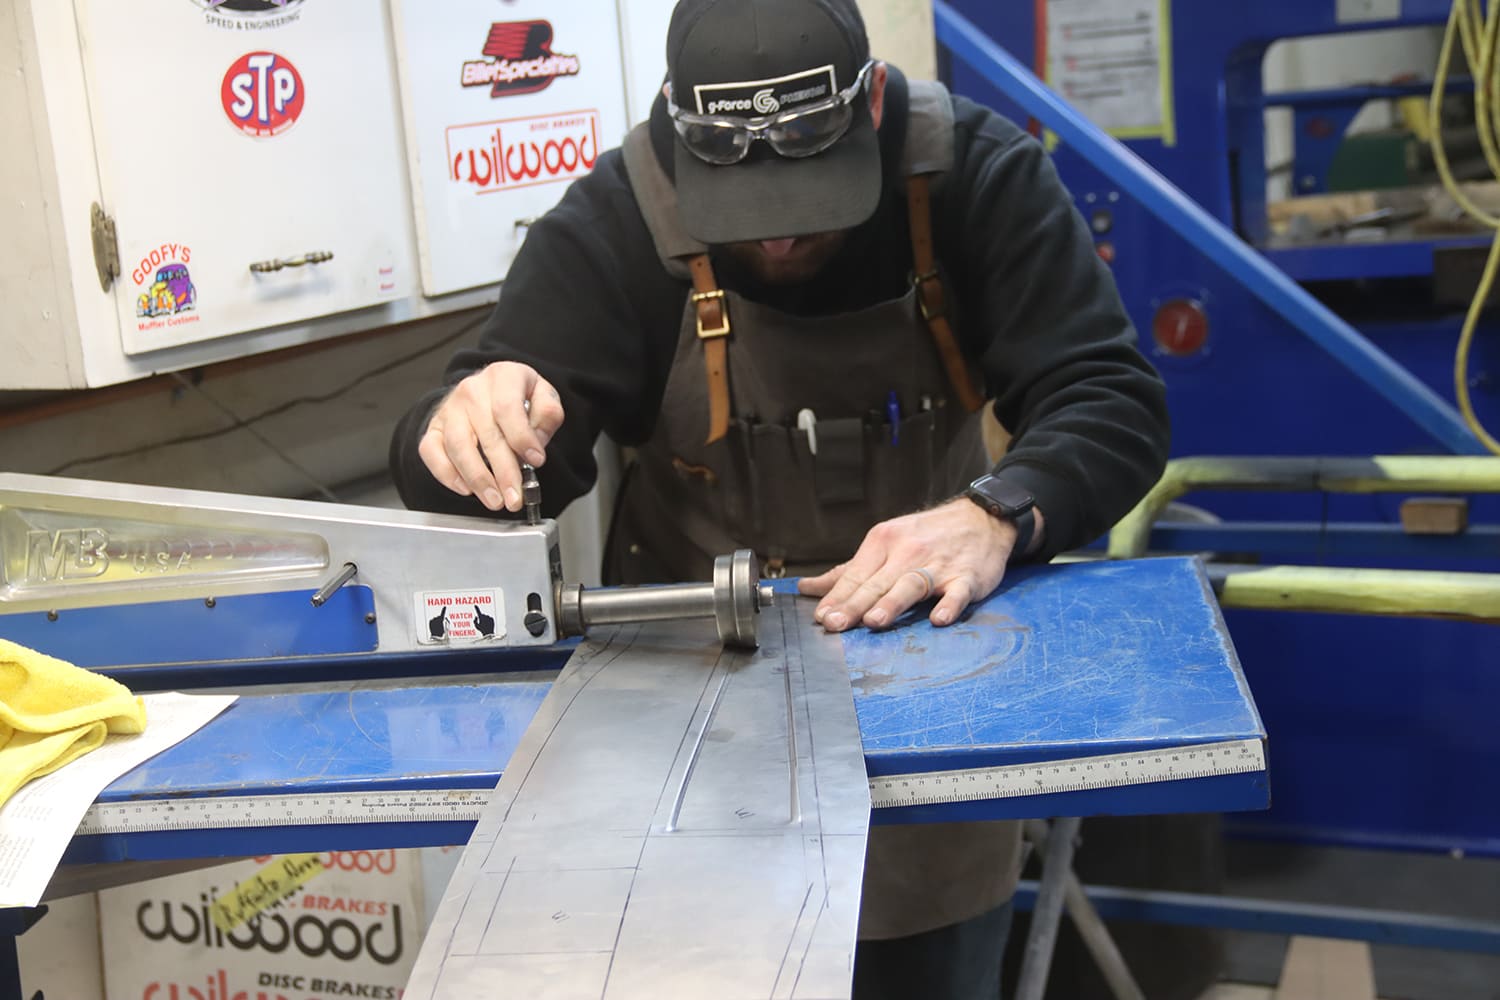
Dayton began fabrication of the sheetmetal cover by designing a piece that would fit over the factory latch assembly.A bead roller was used to shape the centersection of the cover to fit the stock latch plate.
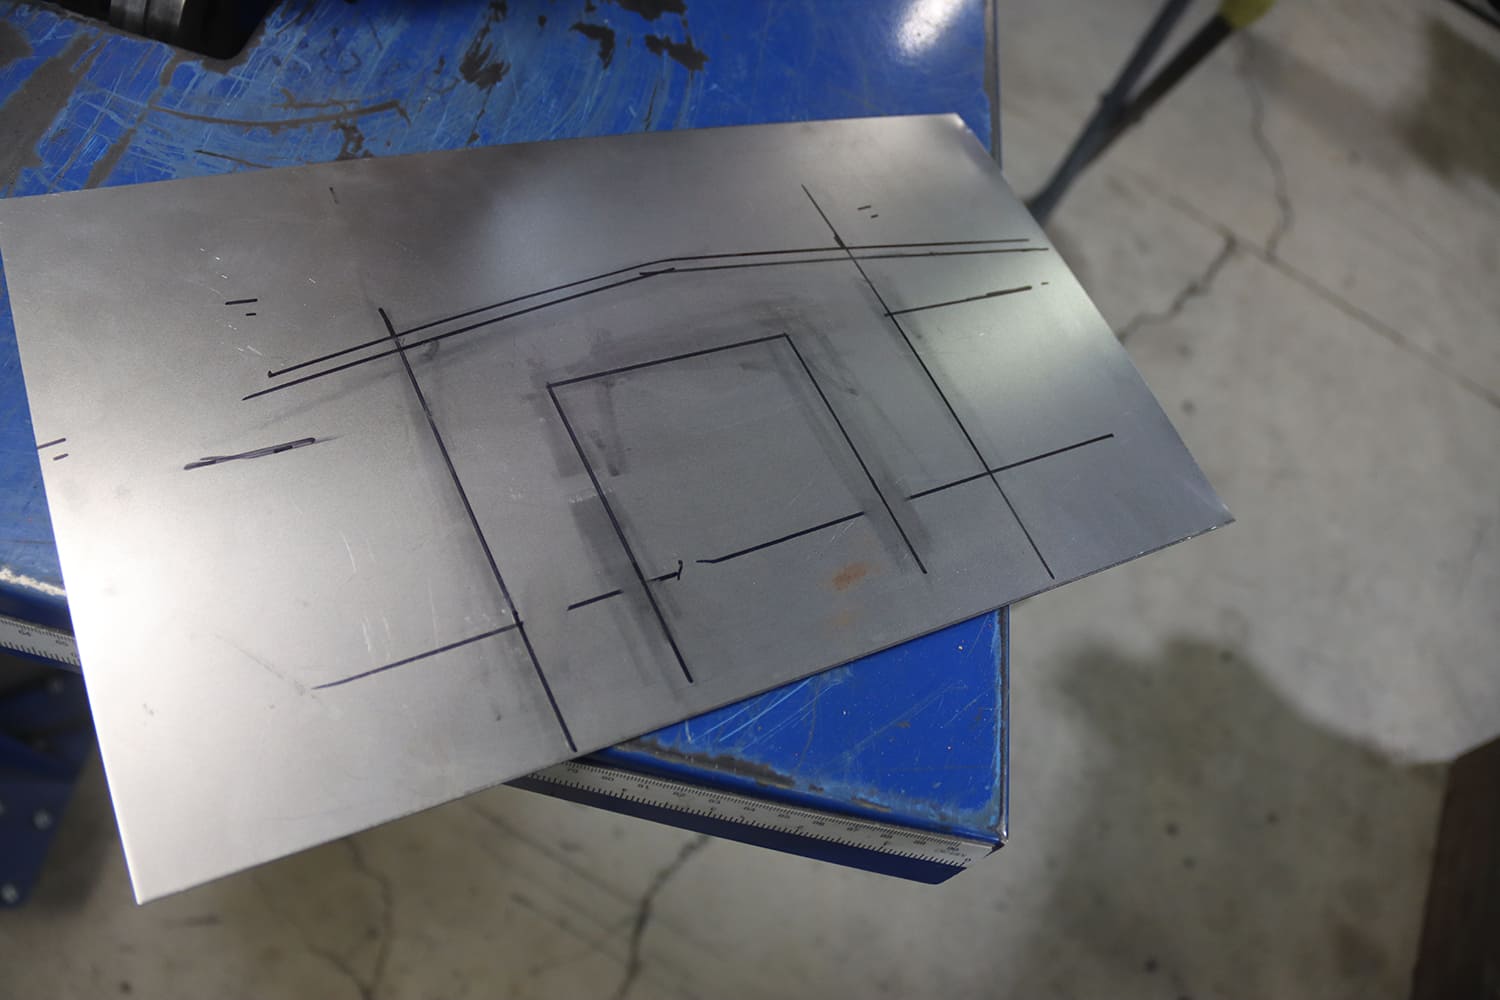
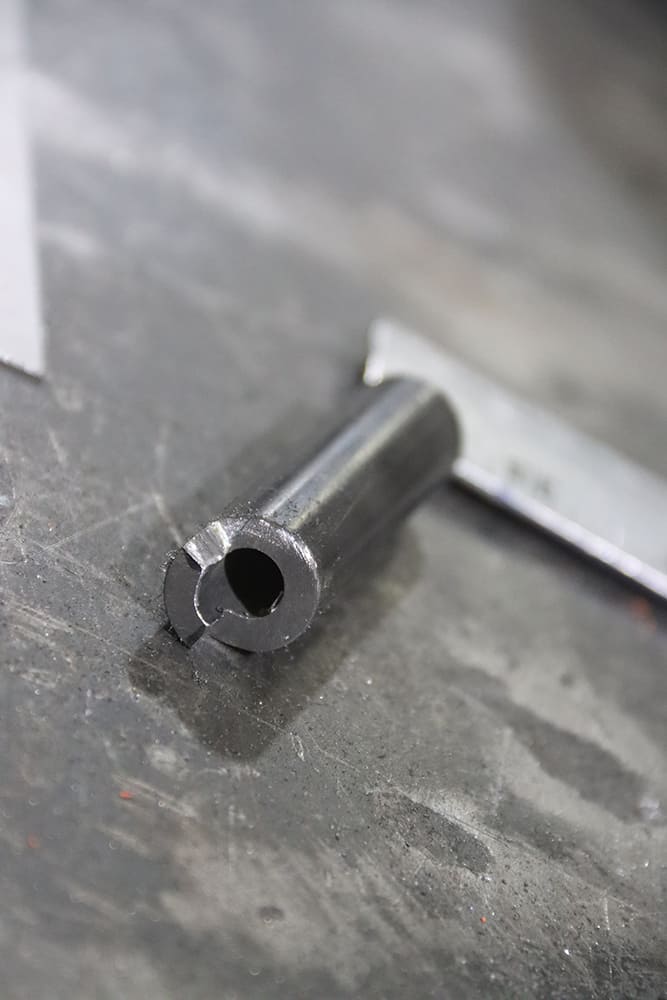
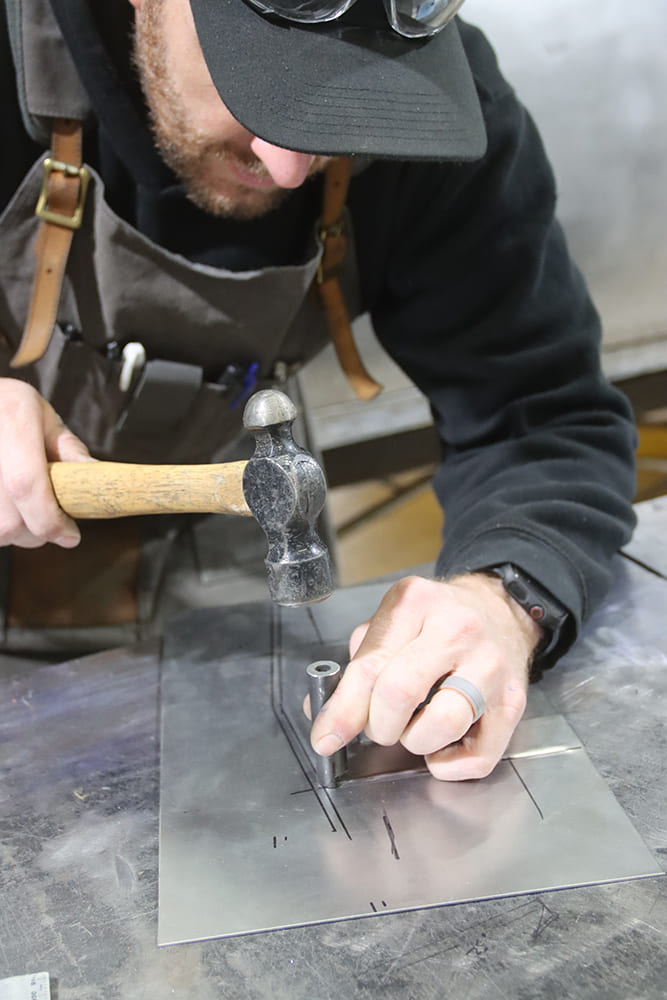
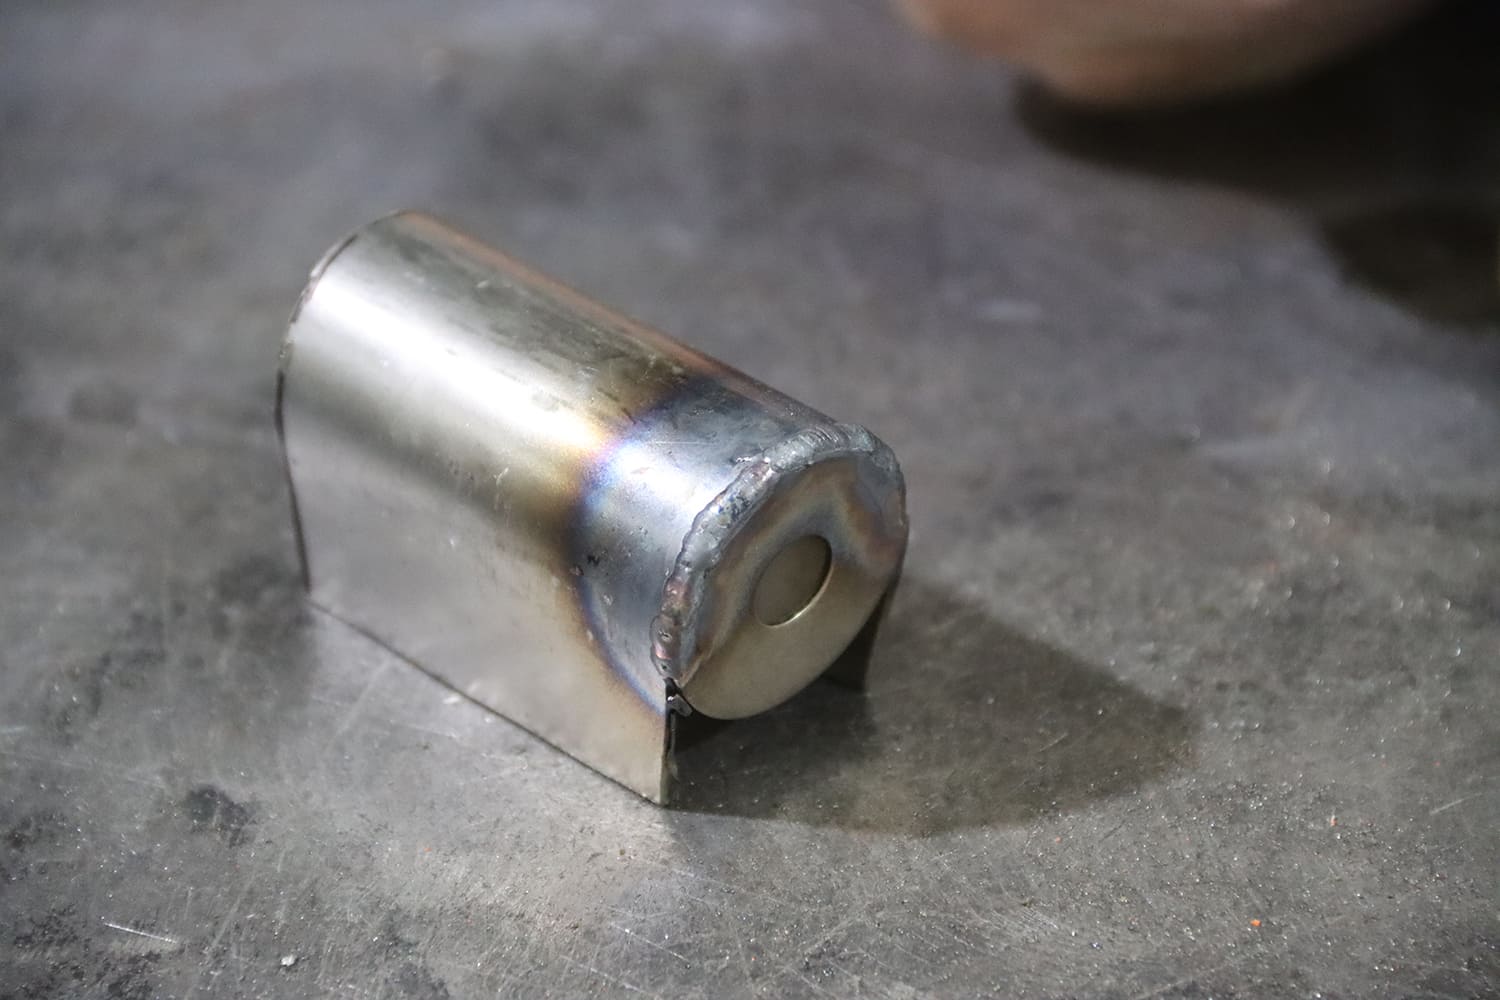
The latch plate cover was cut oversized to allow for final trimming. Note the crisp corners in the bead rolls.Dayton’s secret for clean corners when bead rolling is using a tool made from steel tubing. The end of the tubing was trimmed to match the radii of the corners.A few delicate hits with a hammer and such a custom tool can shape and perfect the tight corners formed with a bead roller.
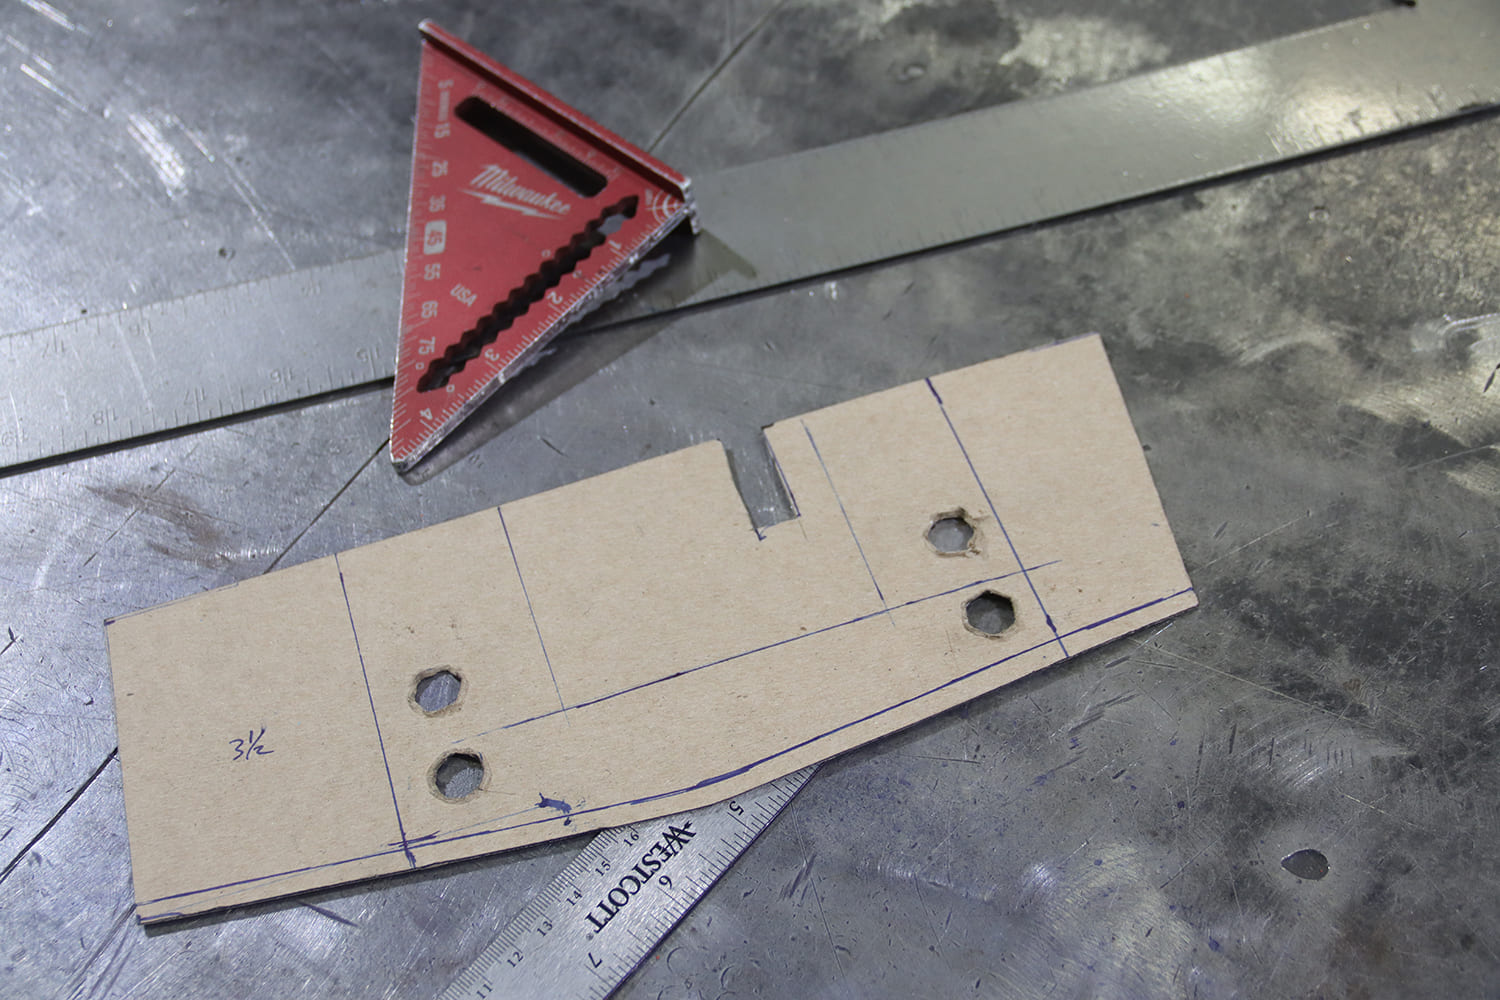
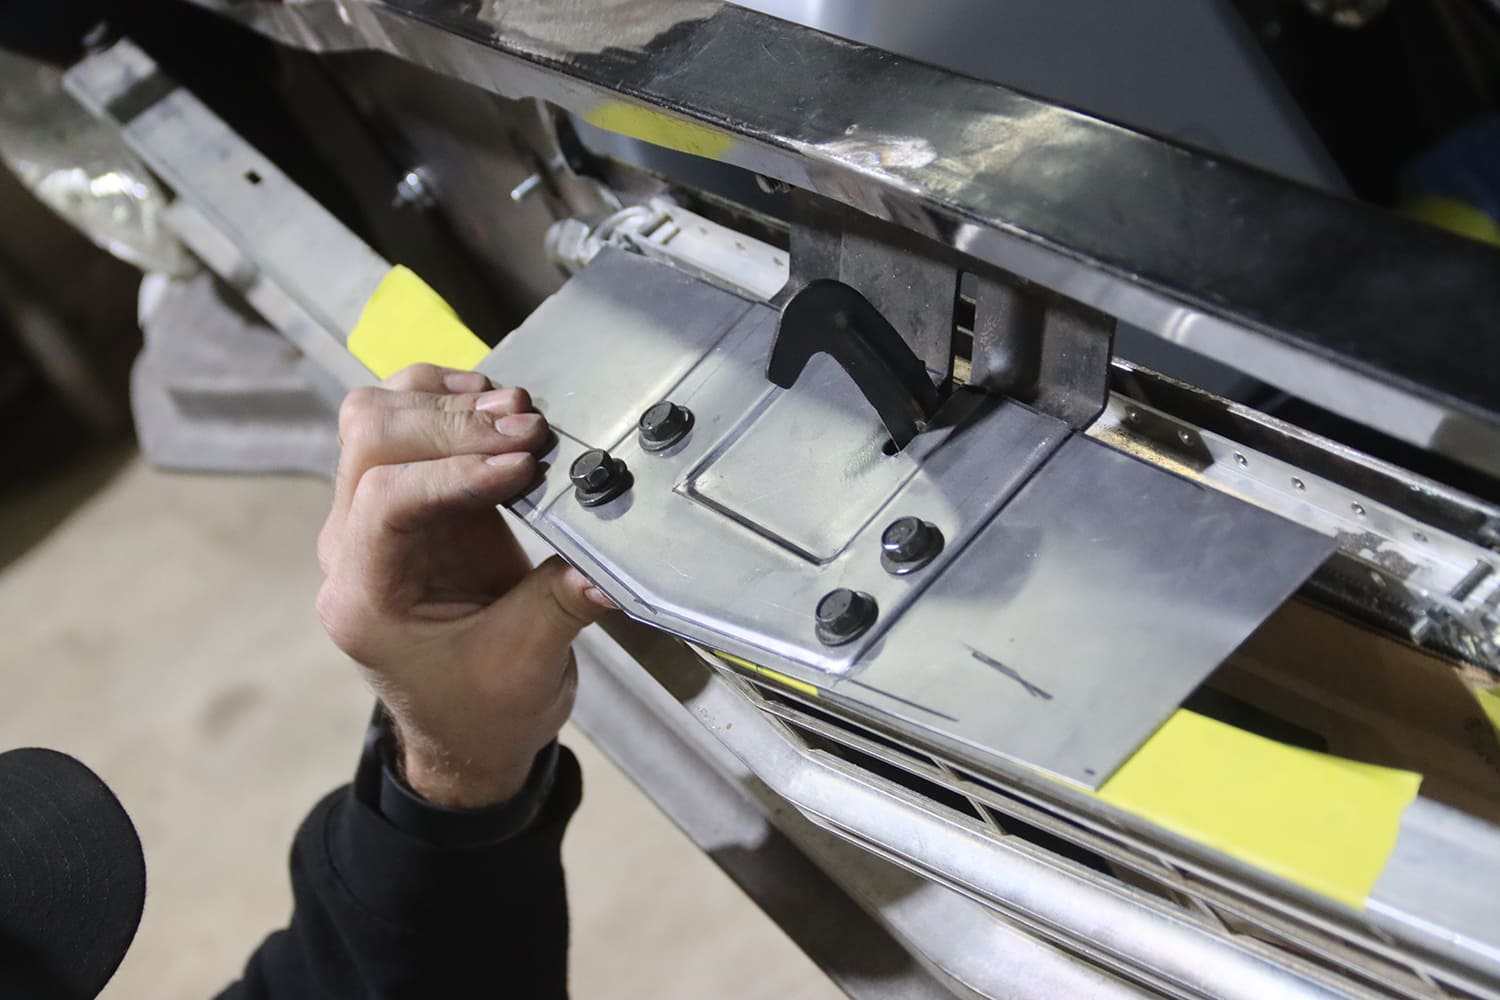
A cardboard template was made to establish the location of the holes that hold the latch in place and the slot for the safety catch.Here, the latch cover is bolted in place. The front edge and sides have not yet been trimmed to fit.
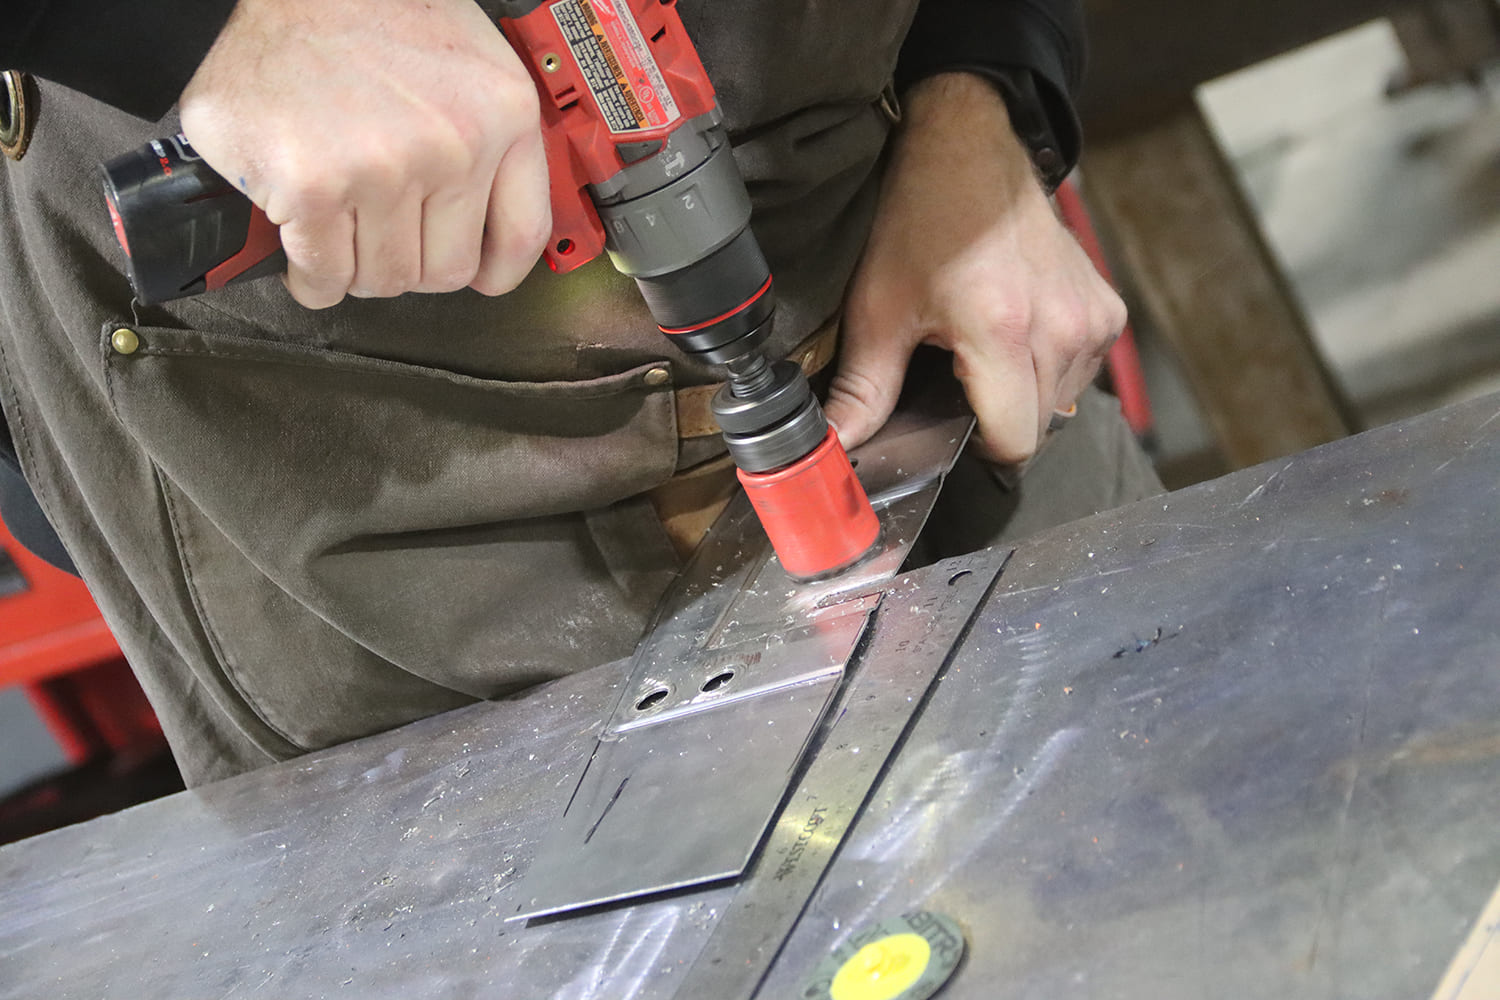
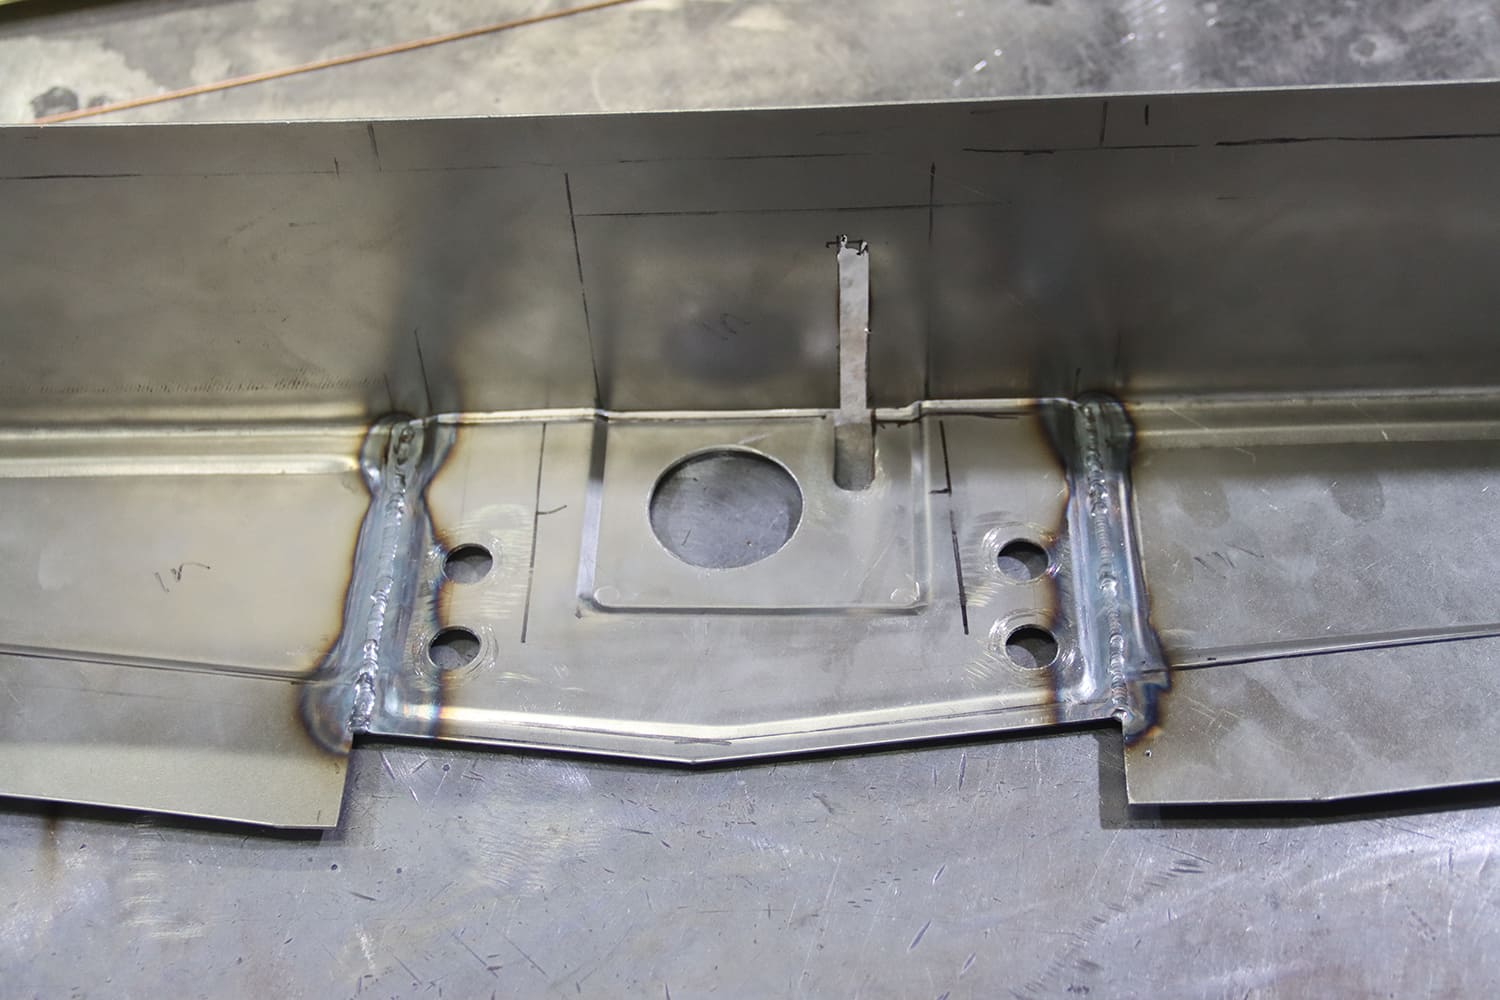
With the cover plate in place, the opening for the hood latch mechanism was marked and then cut out with a hole saw.The hole in the cover plate had to be large enough to accommodate the spring that wraps around the pin on the hood that fits into the latch.Cardboard was used again to make a template for the passenger side radiator core enclosure.
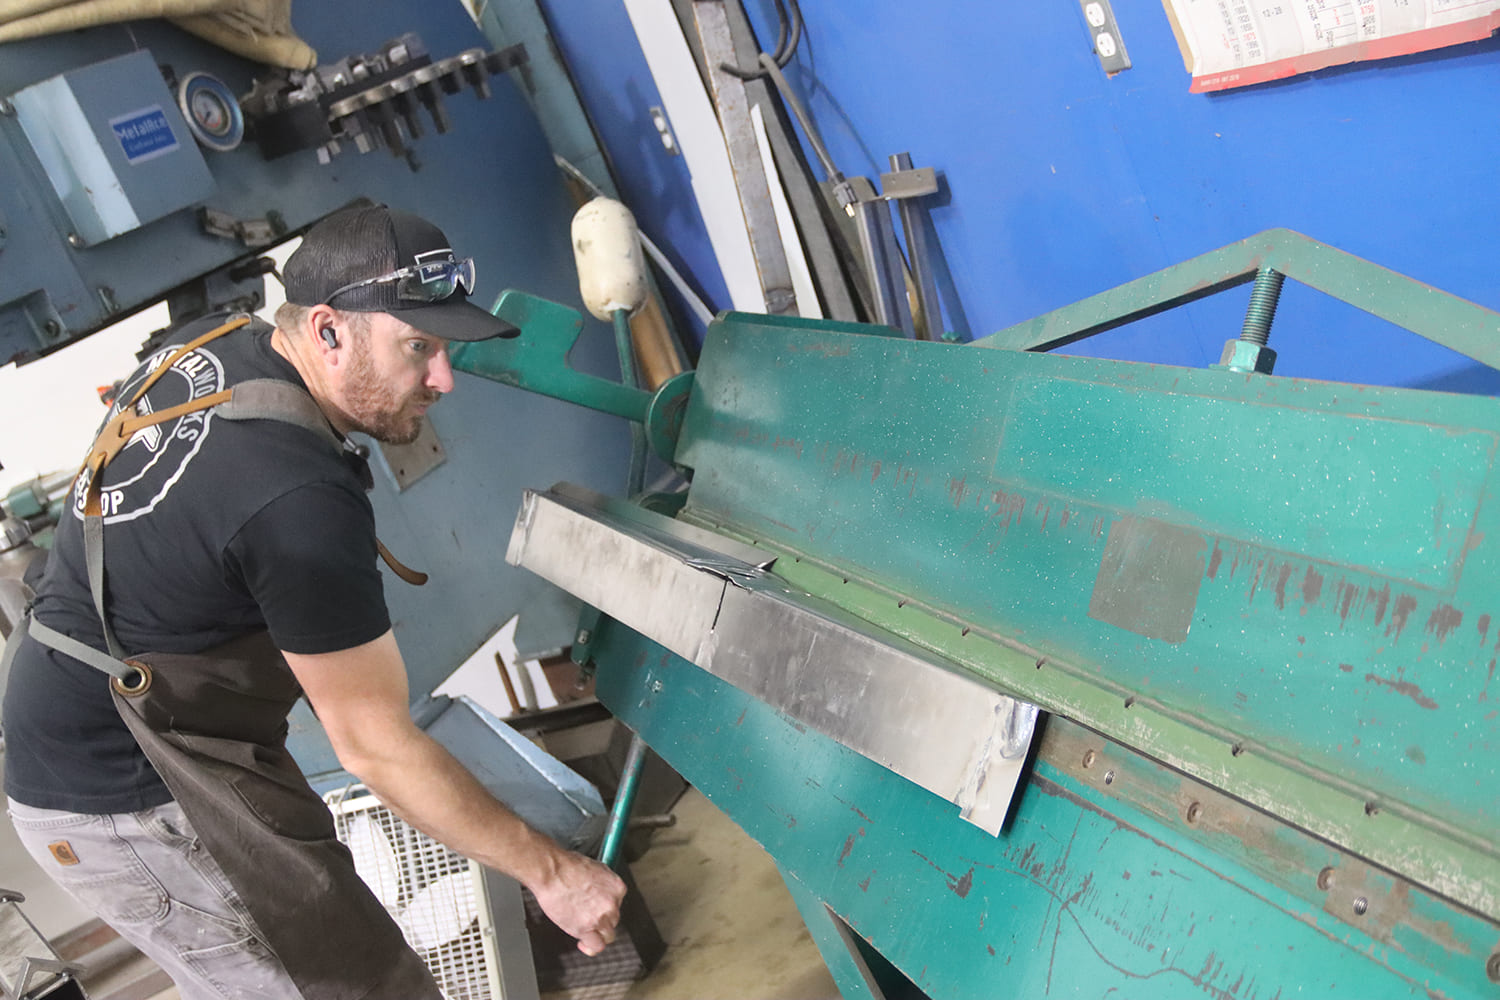
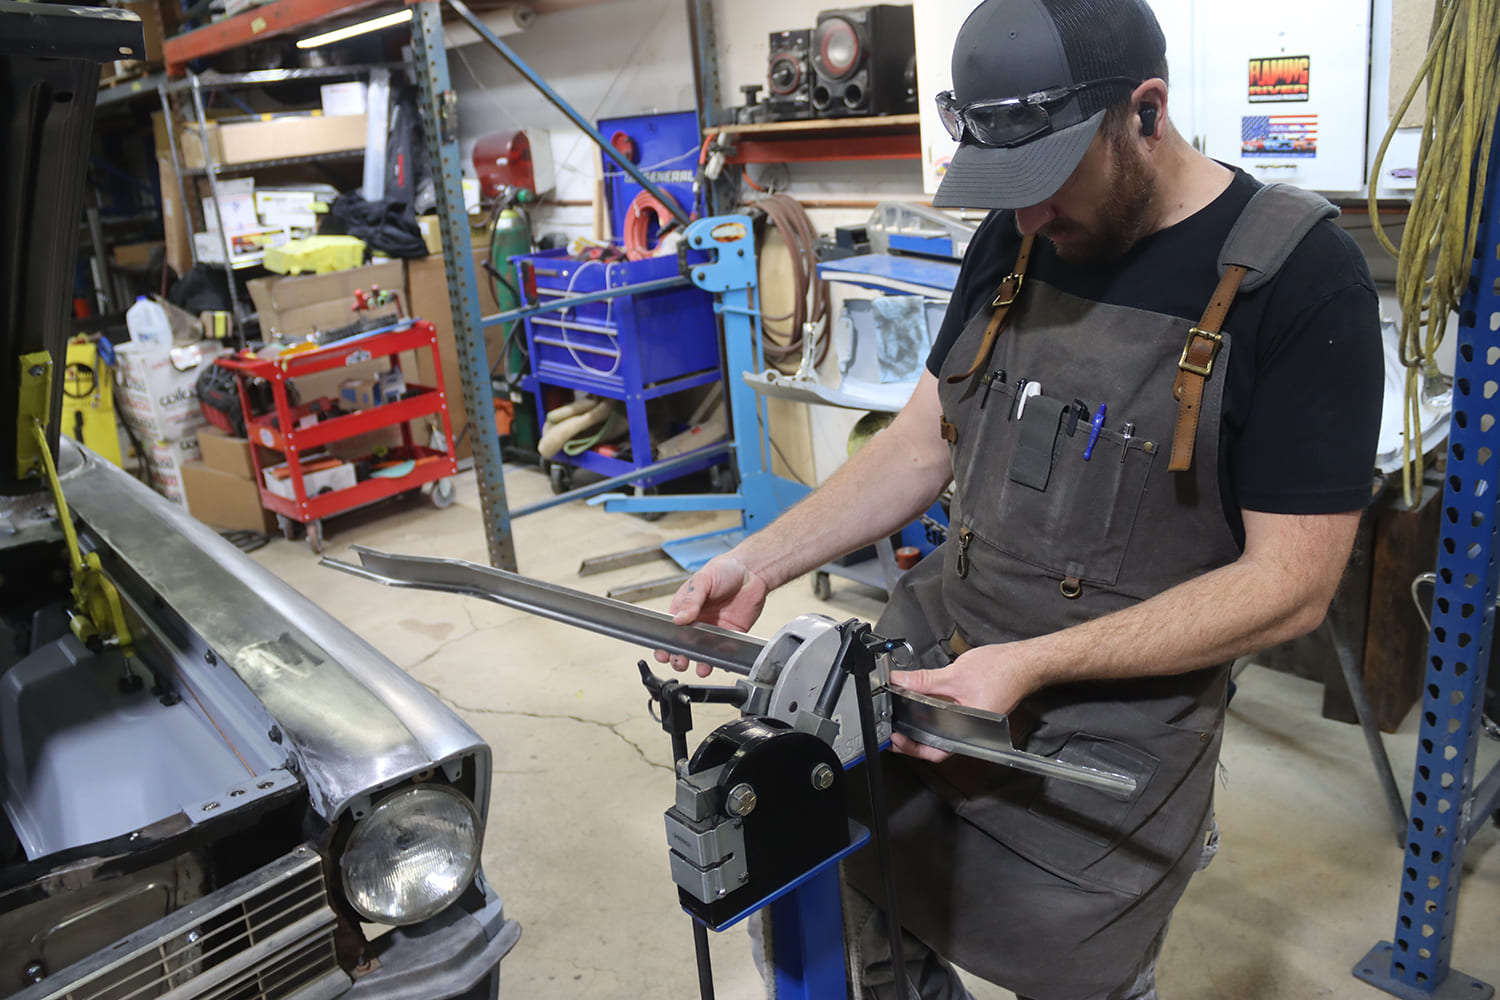
A second pattern was created for the driver side and then the two were taped together.The main section of the core support cover was again cut oversize to allow for final trimming, and a bead roller was used to add accents on both sides.After using the bead roller to create recessed accents in the panel and shaping the corners with the tool, a sheetmetal brake was used to make a 90-degree bend on the back side.The main panel was installed and marked for trimming to fit around the latch plate.
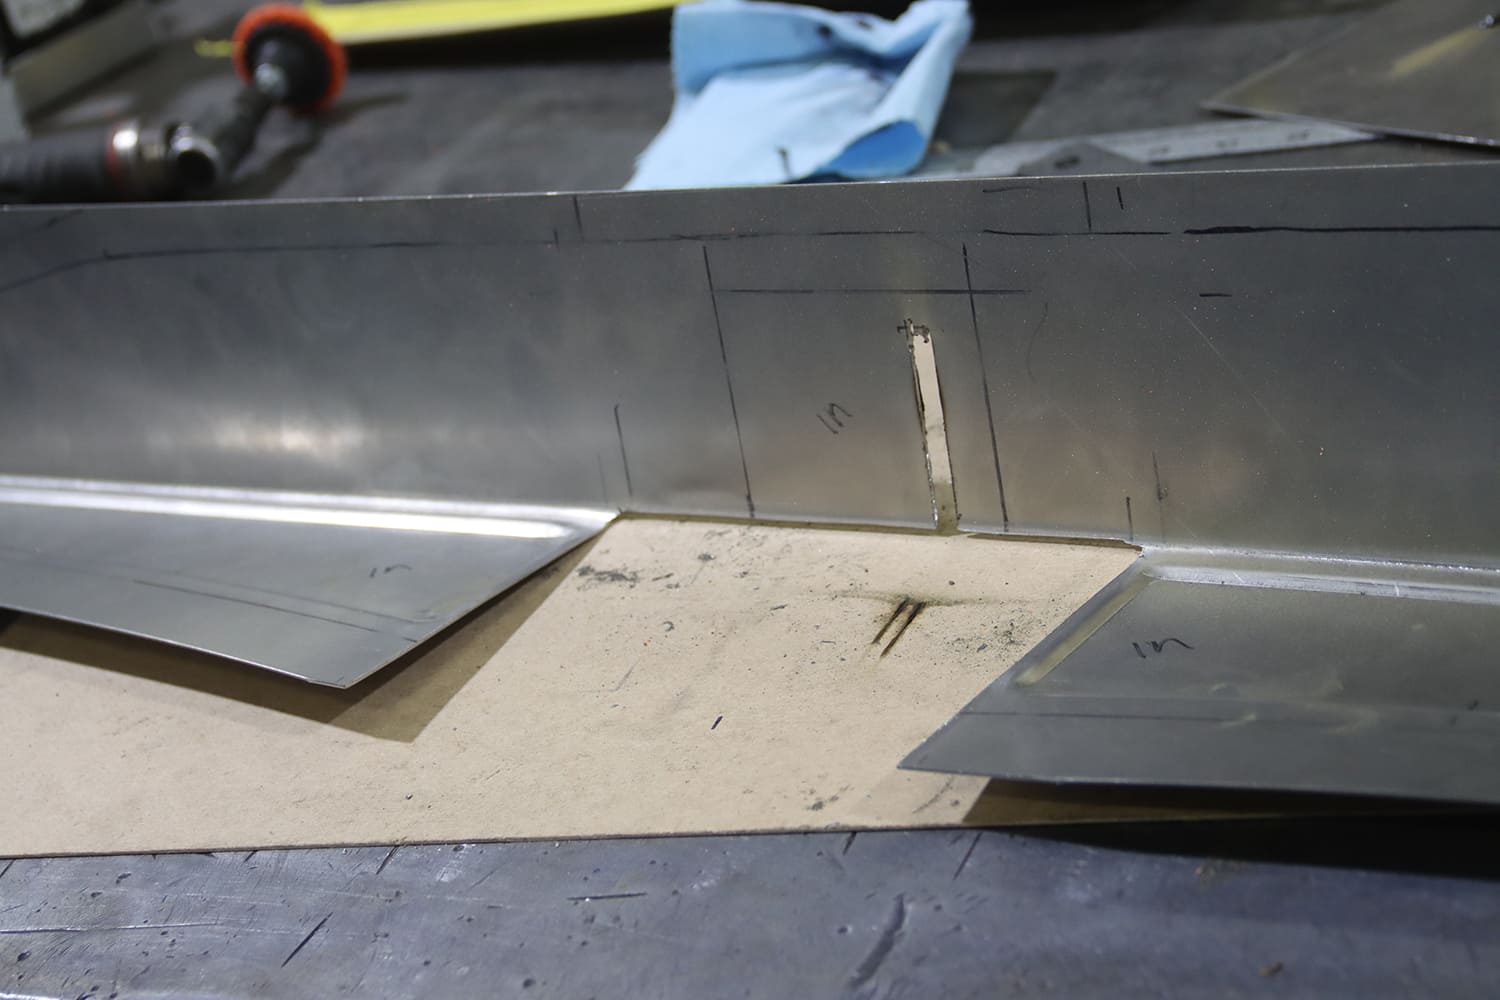
Here, the panel has been cut to accept the latch plate, and a notch was added for the safety catch.After careful trimming, the latch plate was welded into the main panel.With the welds on the latch plate ground smooth, the panel was now one piece. Note the front edge of the panel extends past the grille, and the vertical portion extends above the factory core support.With the panel secured by the hood latch bolts, the ends were cut to clear the bolts at the outer ends of the core support.
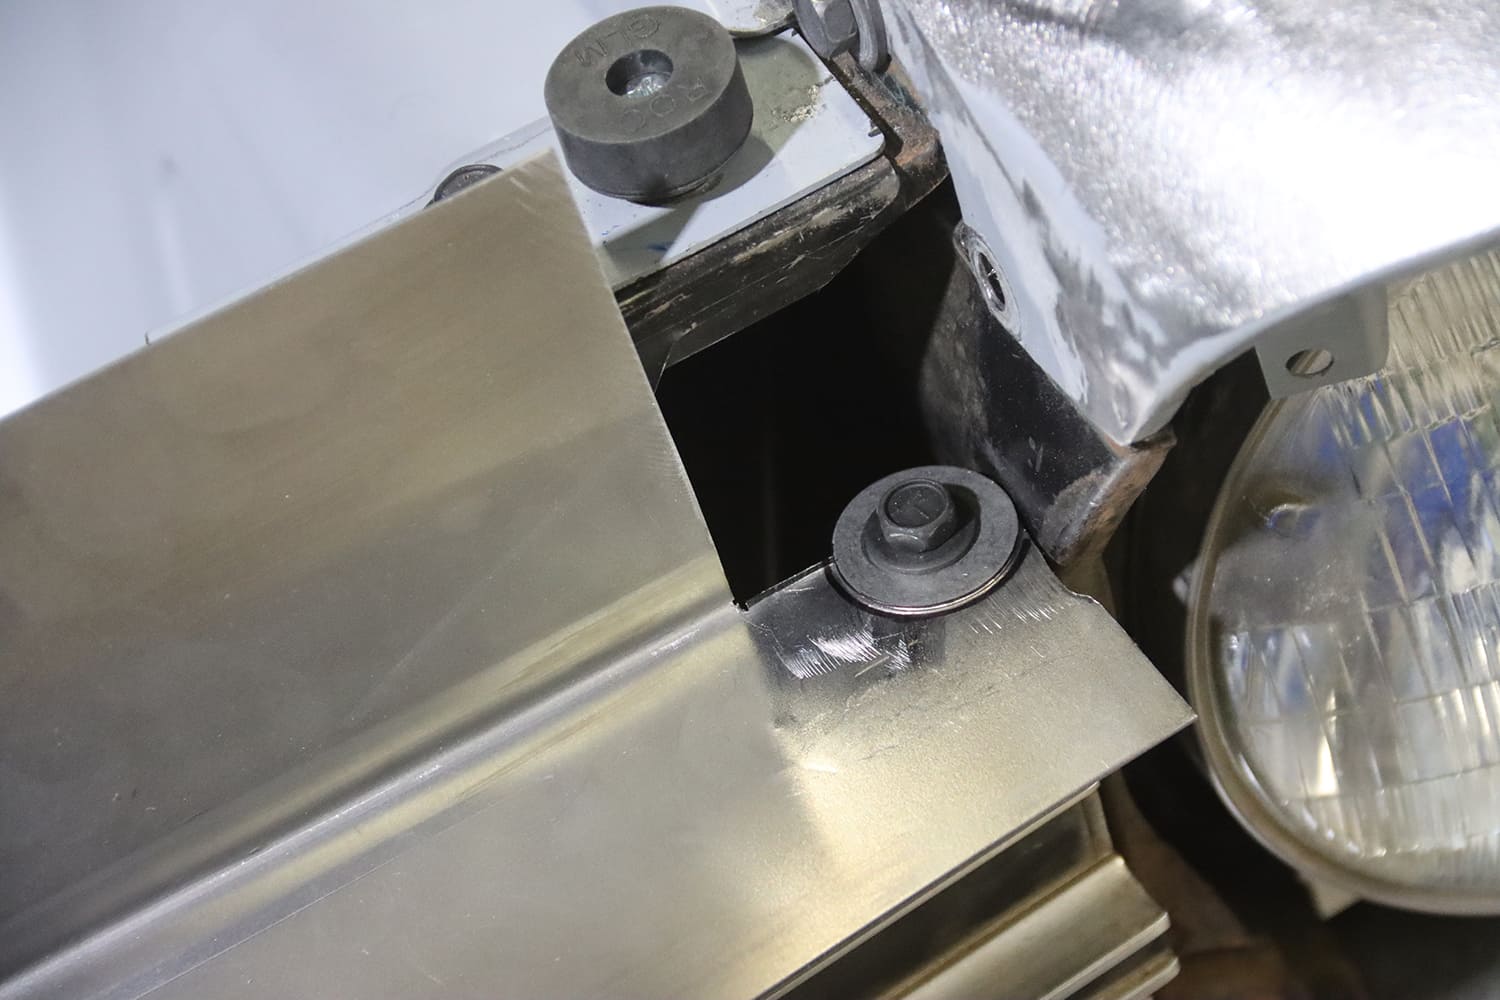
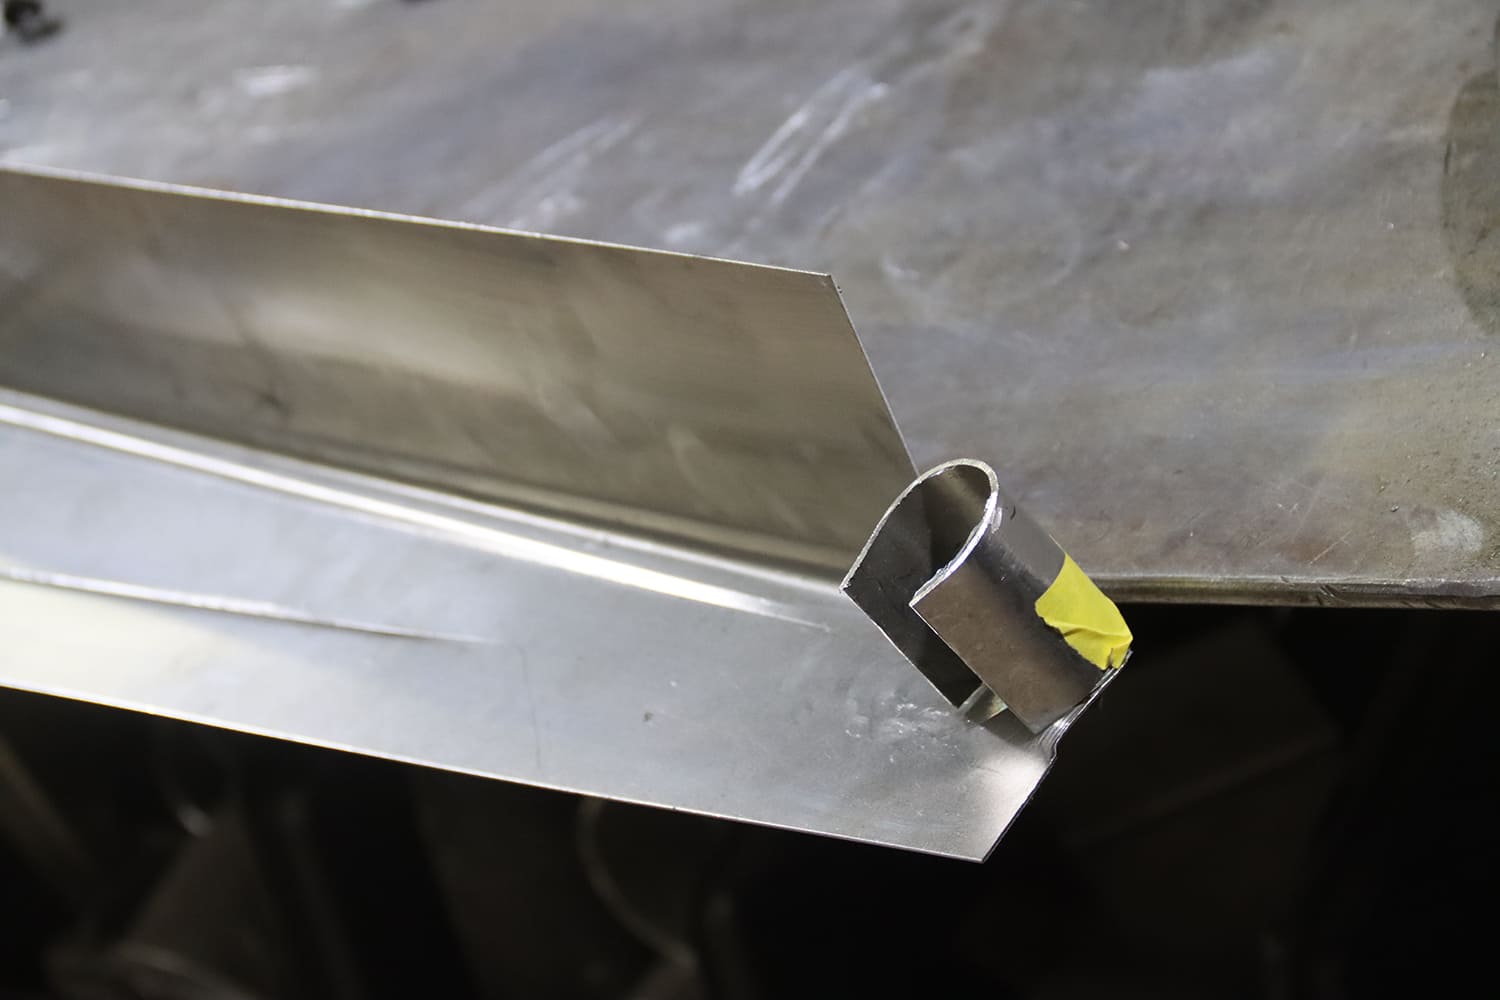
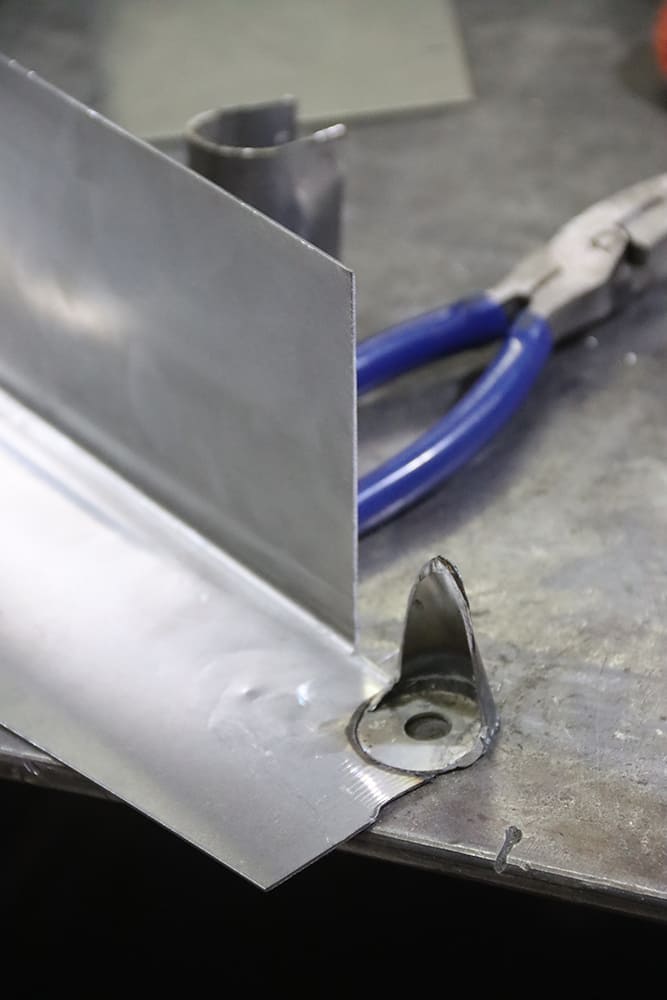
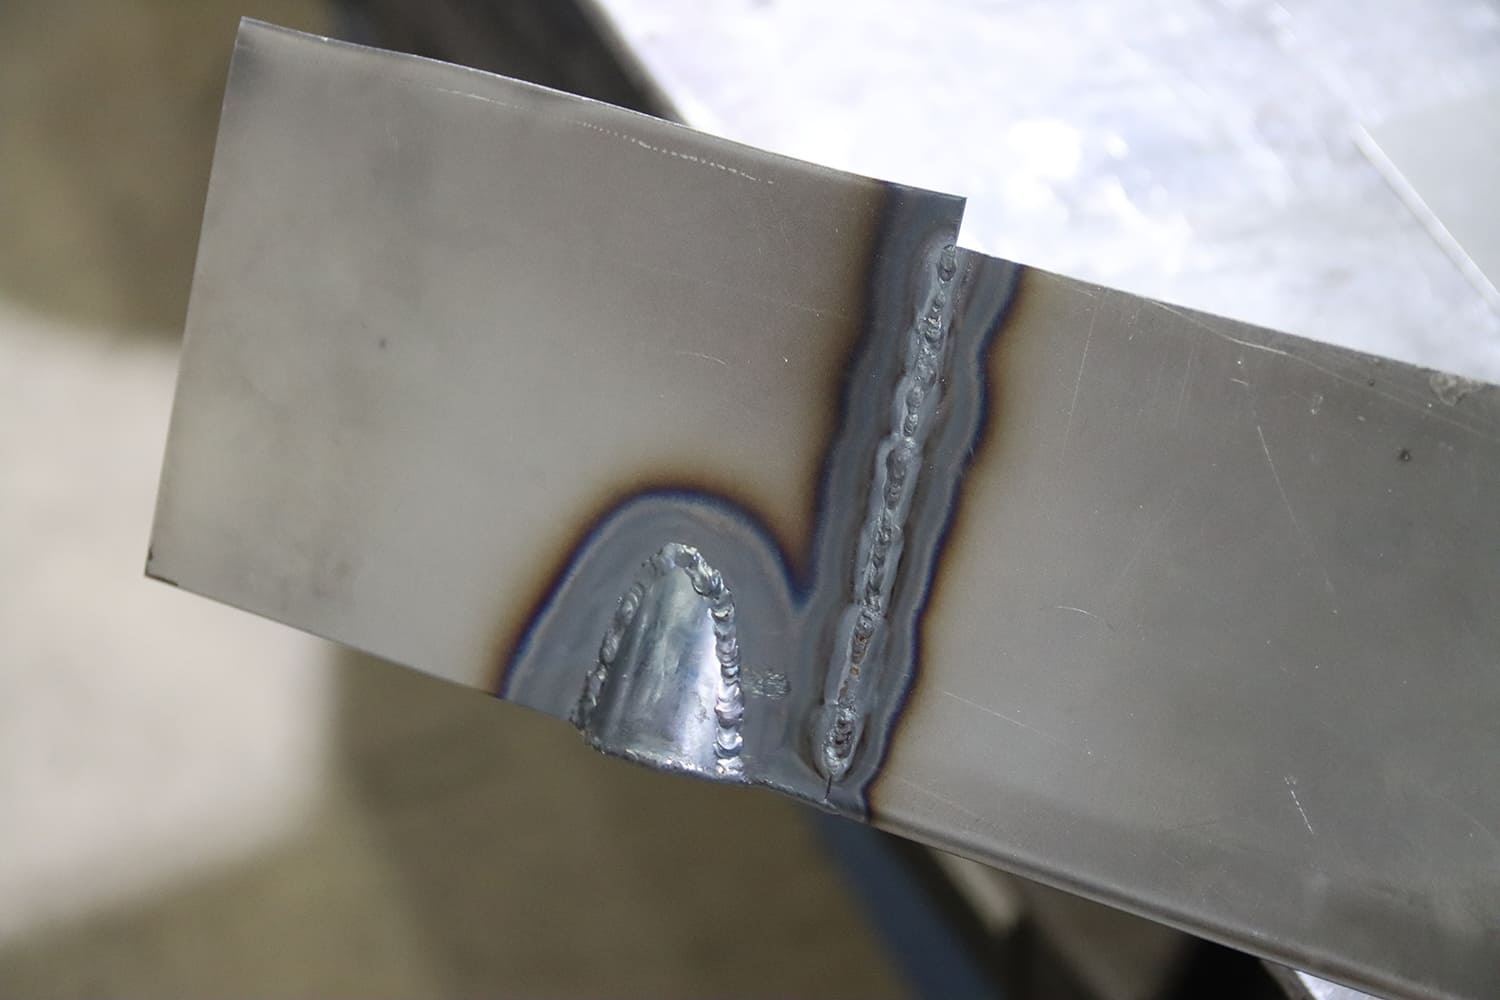
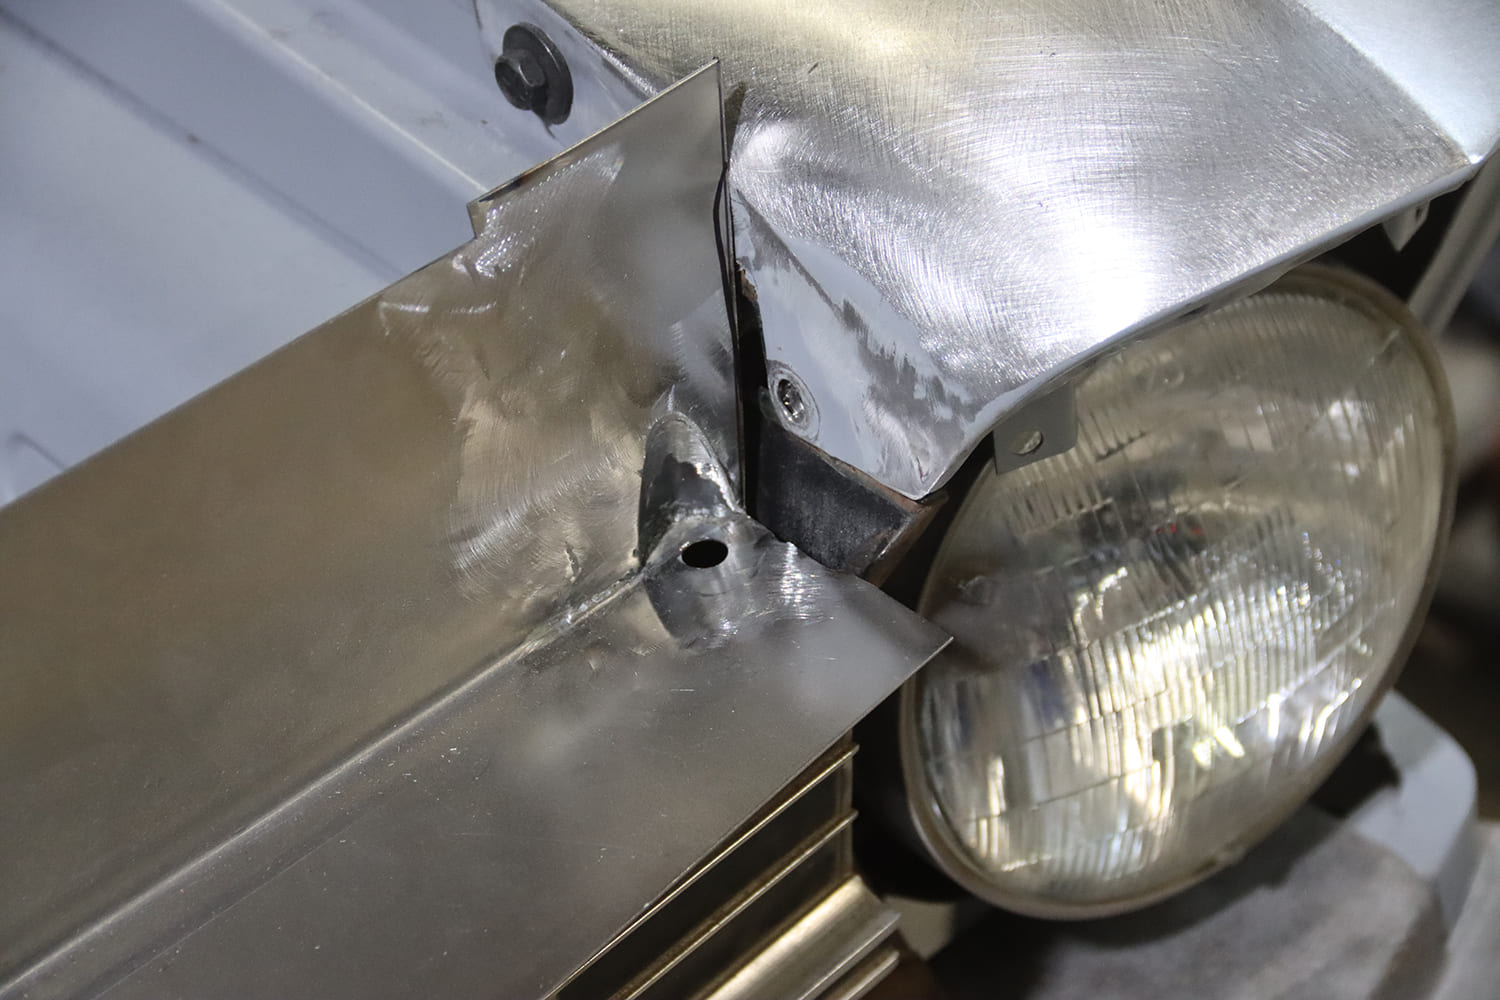
To accommodate the bolts at the ends of the core support, Dayton fabricated a pair of sheetmetal sleeves.Washers were welded onto the sleeves to hold the core support bolts and serve as reinforcements.The sleeves were trimmed as necessary, then welded to each end of the panel.
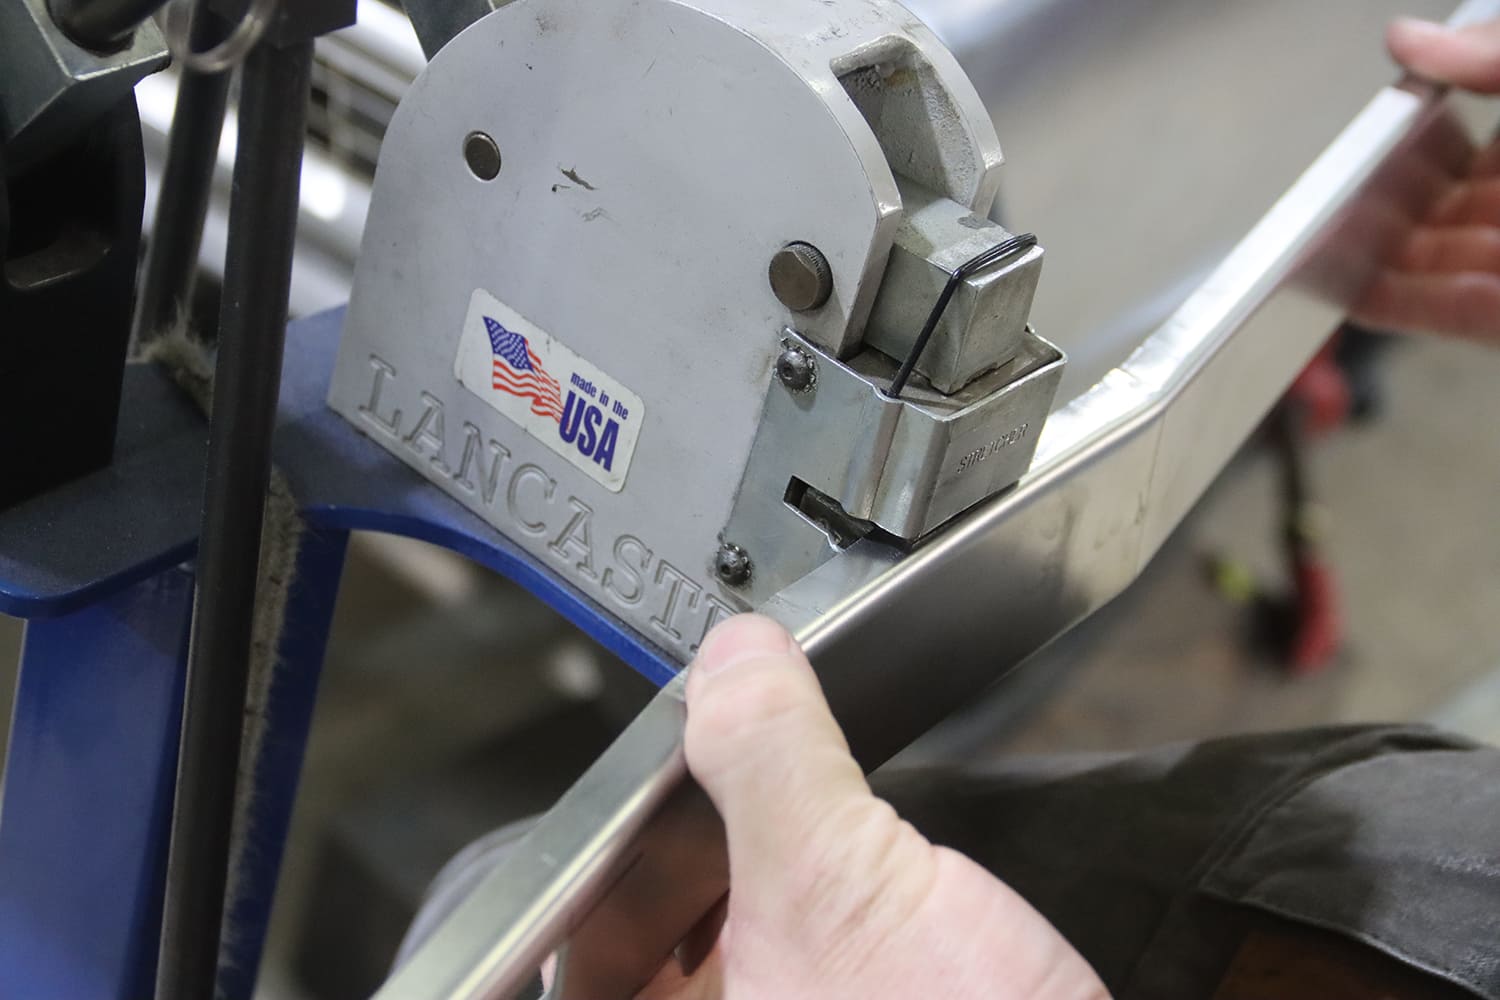
Filler pieces were notched for the sleeves and then welded in place.The notches added to the ends of the panel provide the clearance necessary for the bolts in the ends of the core support.To cap the top of the core support cover, Dayton formed a U-channel from sheetmetal.Using a shrinker/stretcher, Dayton shaped the U-channel to fit the factory cross-piece of the core support.After being cut to length, a test-fit confirmed the U-channel fit the core support perfectly.
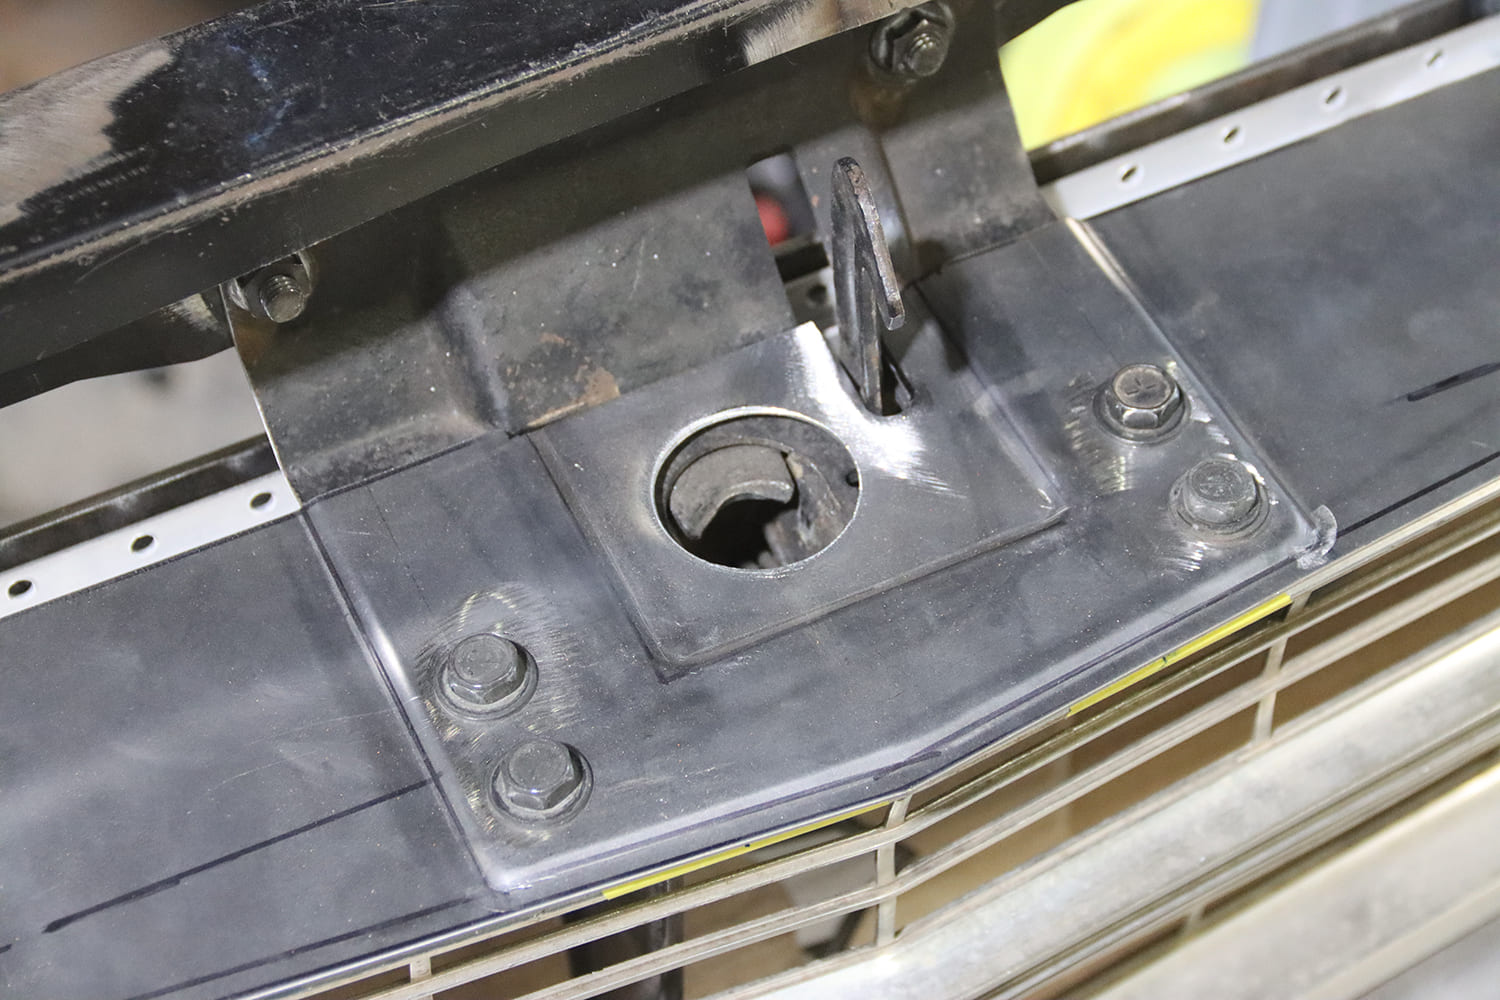
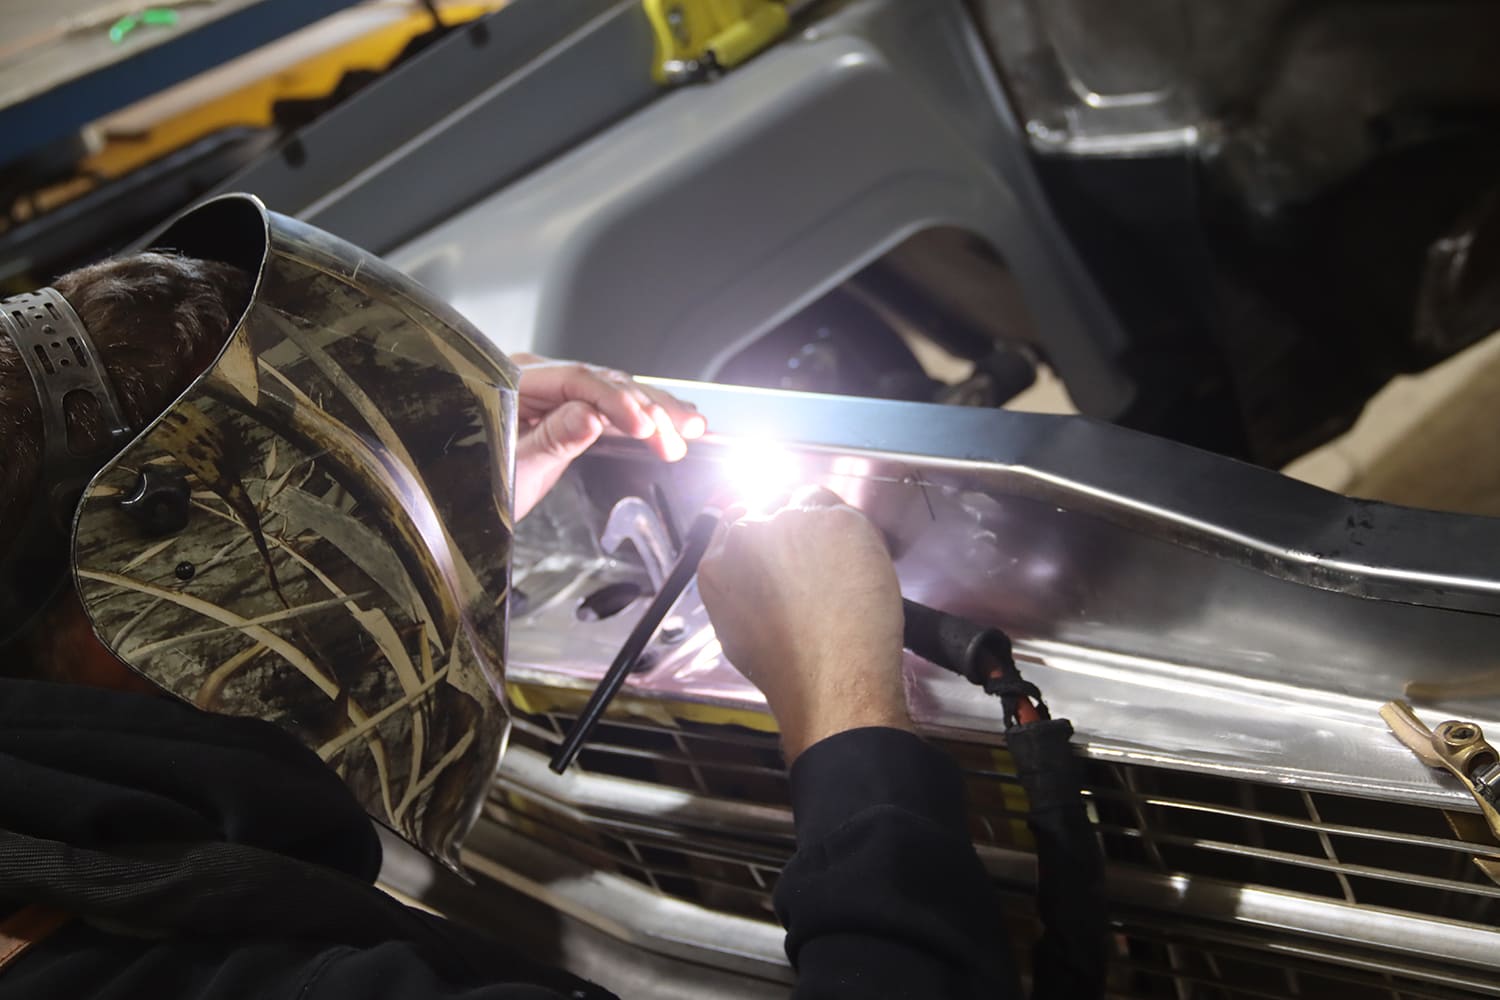
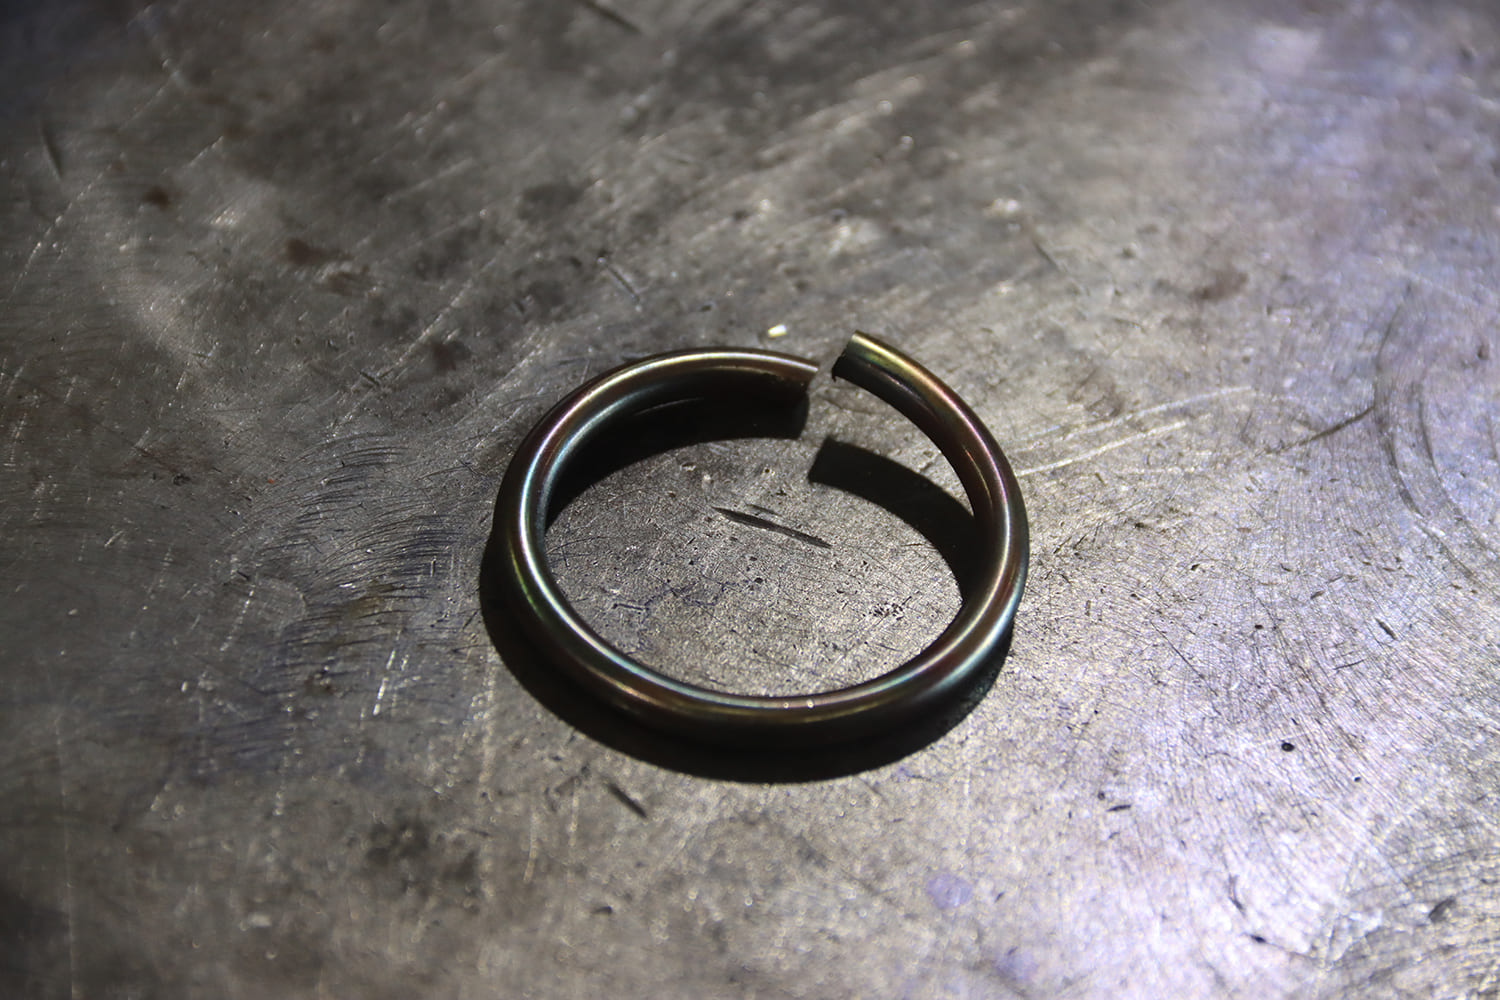
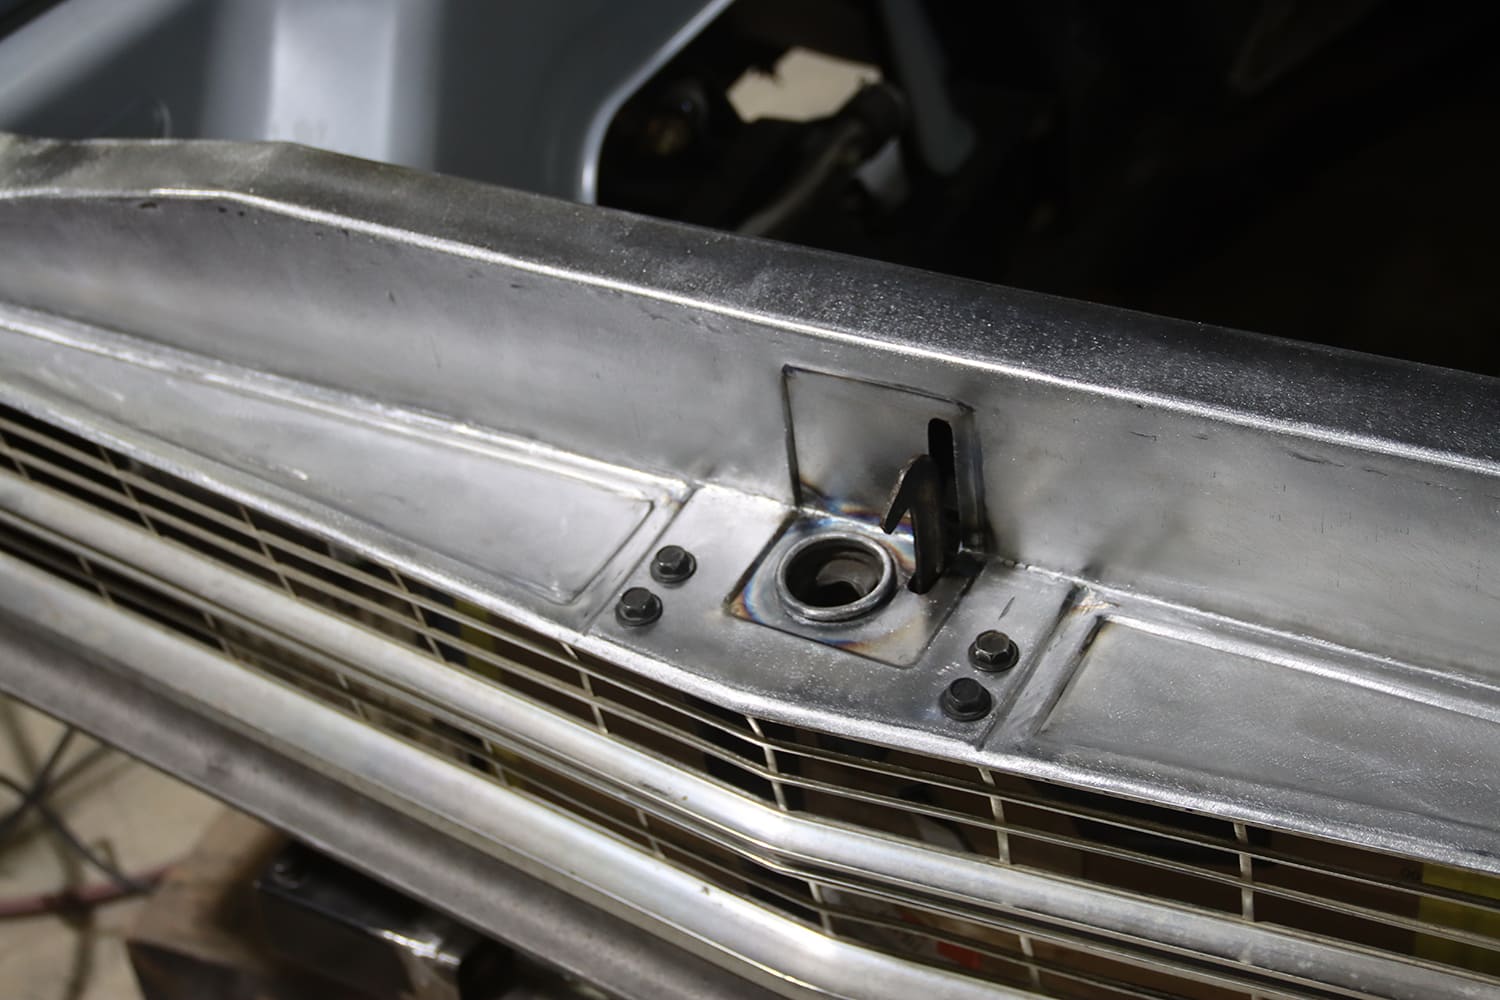
The vertical portion of the front panel was trimmed to match the edge of the U-channel.Satisfied with the fit, the front panel and top cap were held together with tack welds.The core support cover was removed, welded completely, then ground smooth.Using solid round stock, Dayton crafted a reinforcement ring for the latch opening that also provided a finished appearance.
Here, the latch with the reinforcement is in place. Note that when the safety catch is operated, it can fit into the vertical notch in the panel.The final step was to trim the front edge of the cover and add a slight downward curve to blend it into the grille. Nice work.
We use cookies to ensure that we give you the best experience on our website. If you continue to use this site we will assume that you are happy with it.