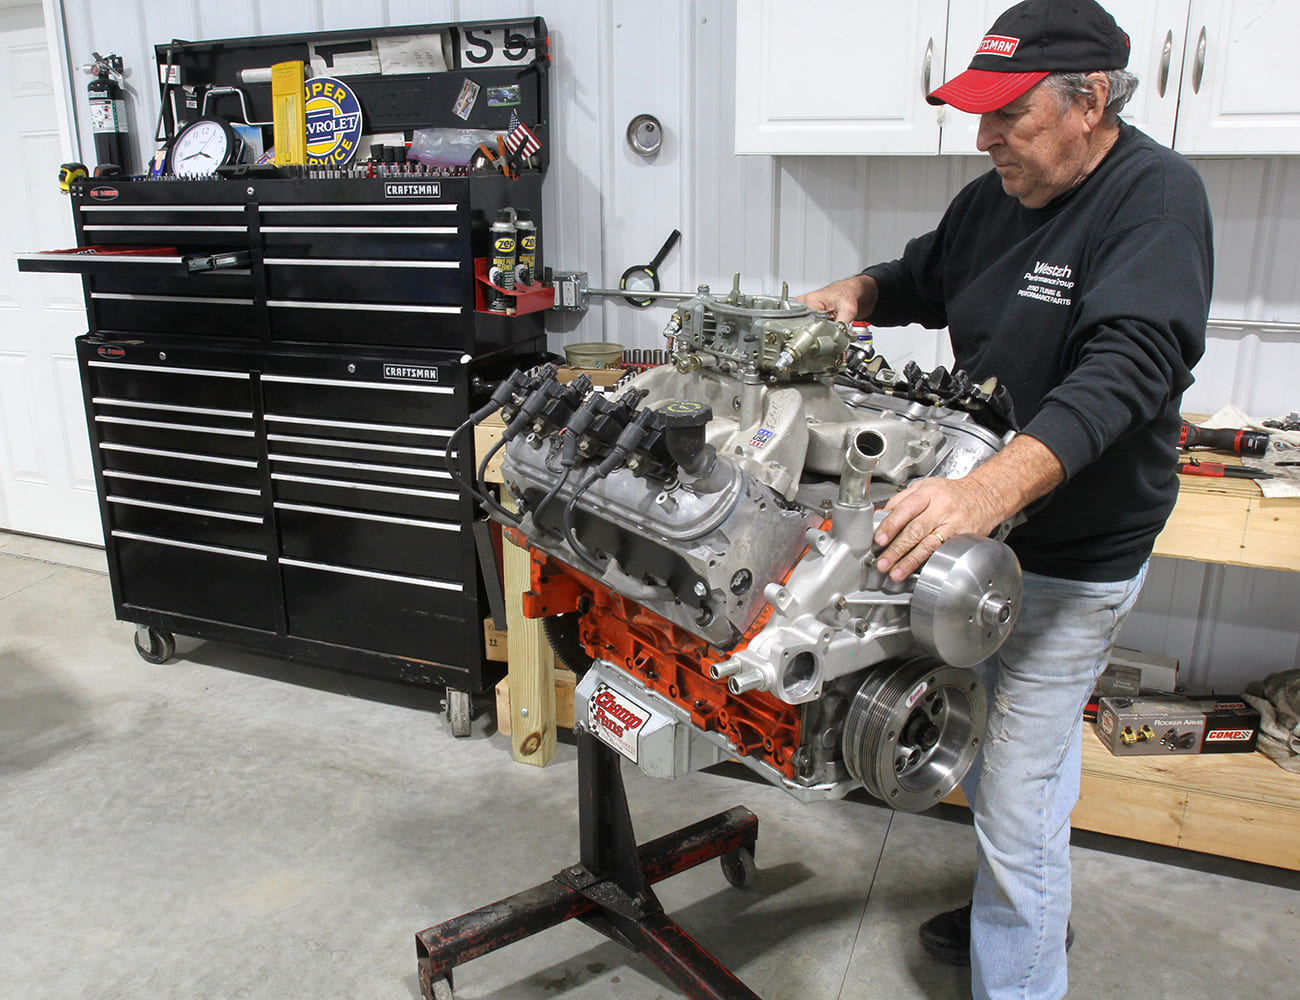
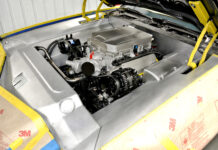
Cam changing is the classic approach to building any kind of performance engine, especially for LS engines. Bone-stock LS cathedral-port cylinder heads flow so well that a simple cam and valve spring swap on an otherwise-stock 5.3L LS engine can be worth as much as 80 to 100 more horsepower. There are hundreds of examples of these successful swaps. We stuffed a cam into a stock 4.8L (293ci) LS and, with a carbureted intake and headers, made an excellent 420 hp.
But what most of the YouTube videos don’t tell you is how to make this happen. For the LS engine veterans, you already know the drill. But for newcomers, a cam swap even on an LS engine can be intimidating. To minimize any concern you may have, this story will walk you through the process. To prevent this from becoming too tedious, we will assume you have some basic mechanical skills and metric hand tools, but you will still need a few specialty tools to pull this off.
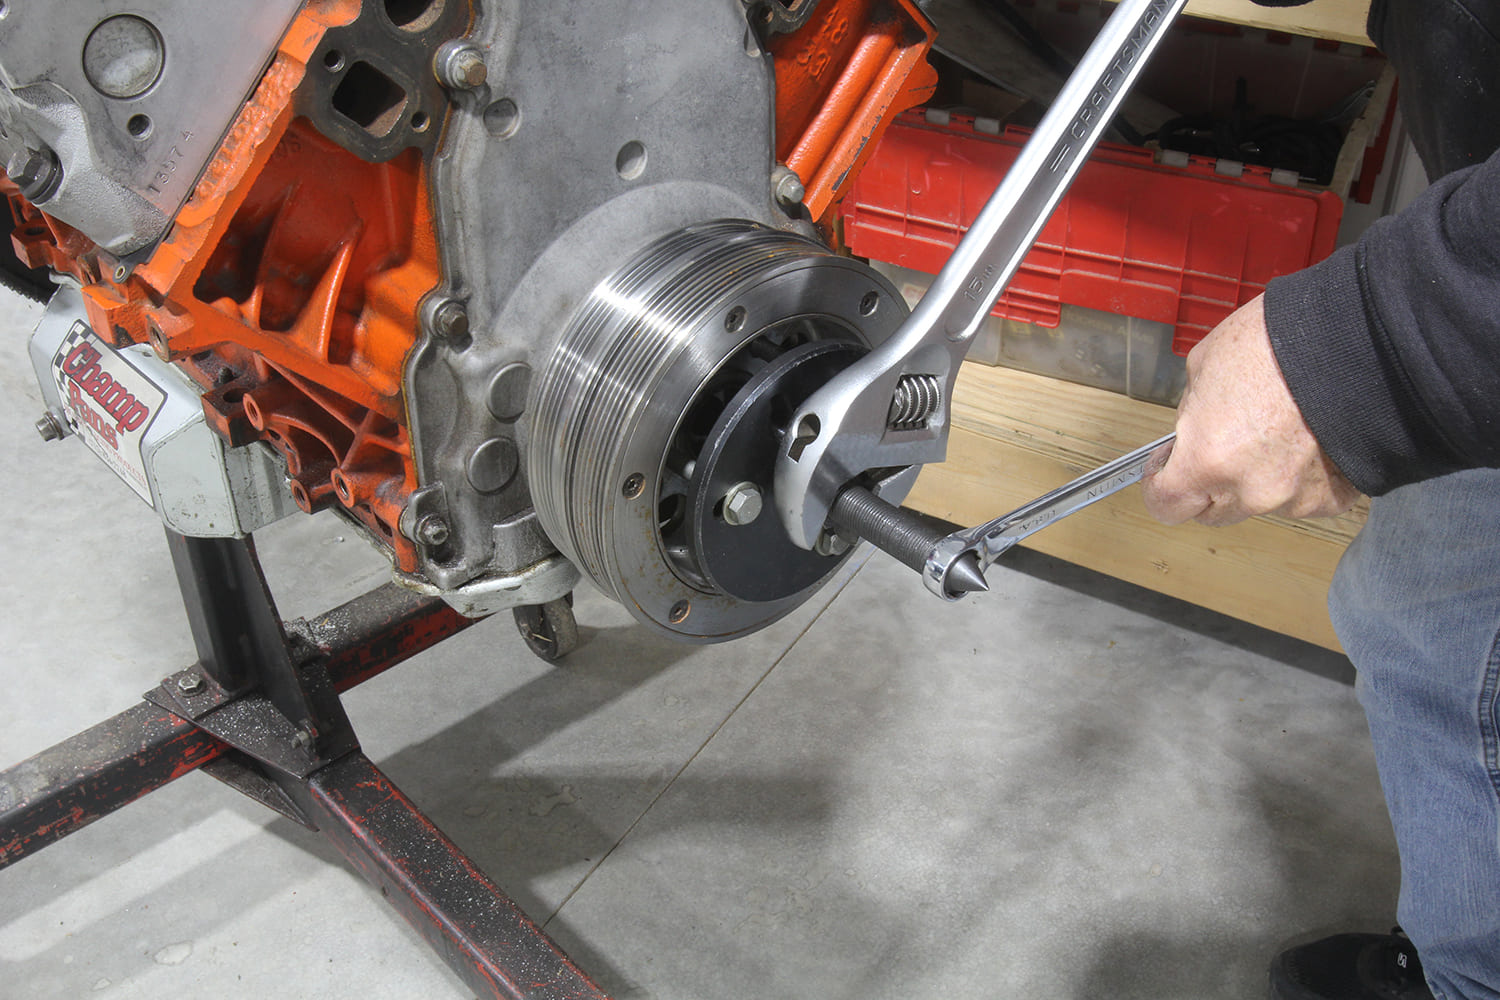
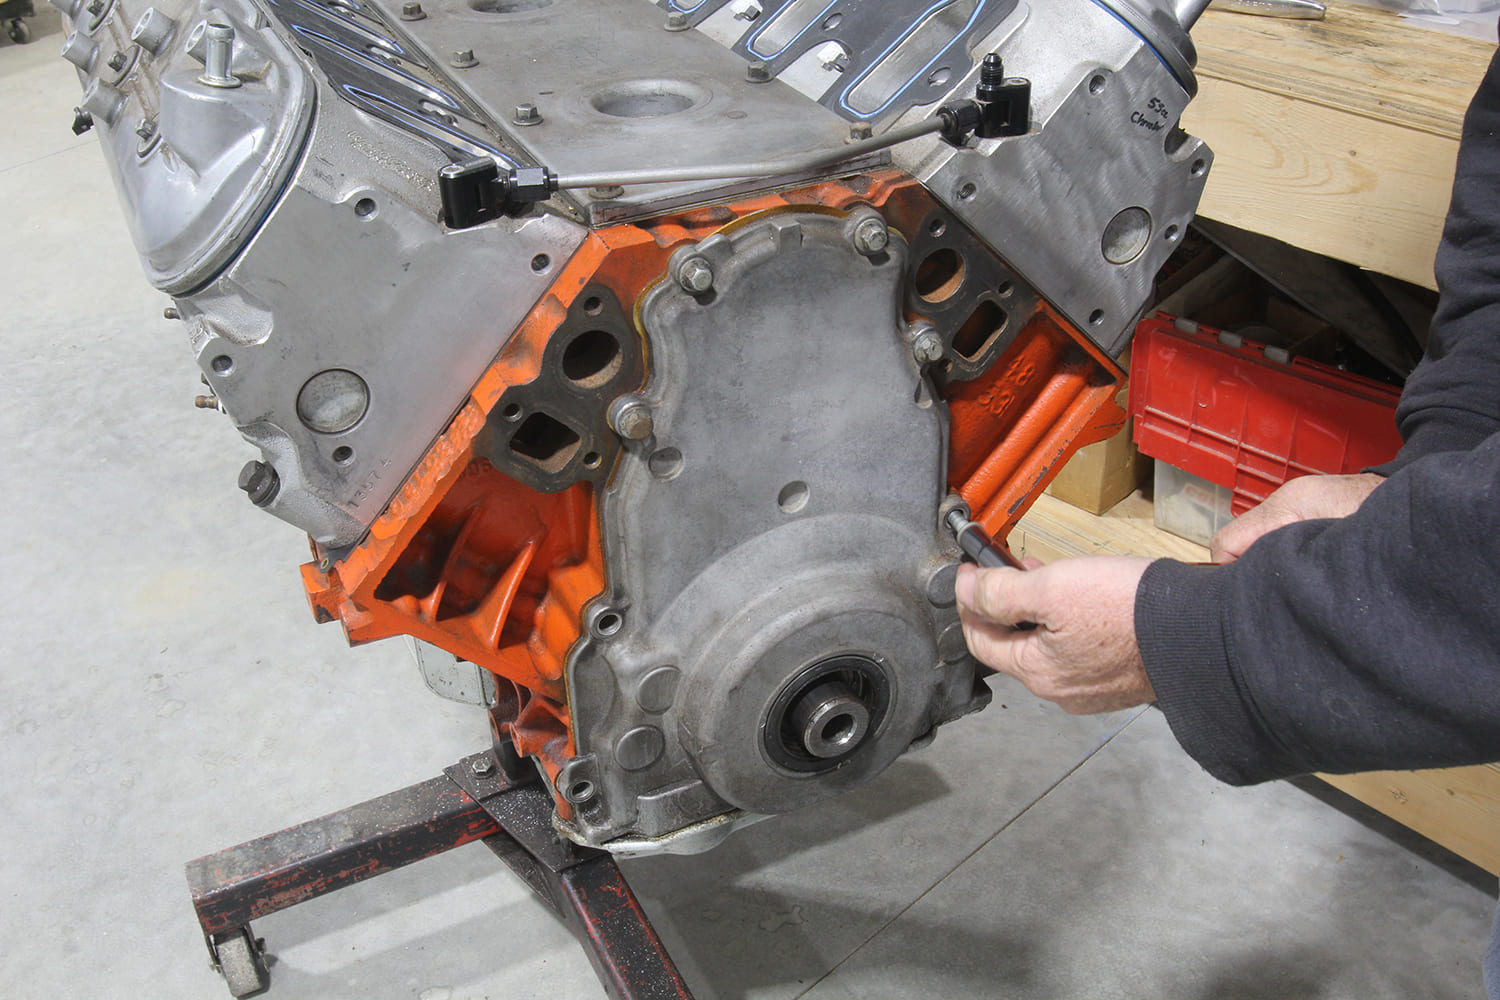
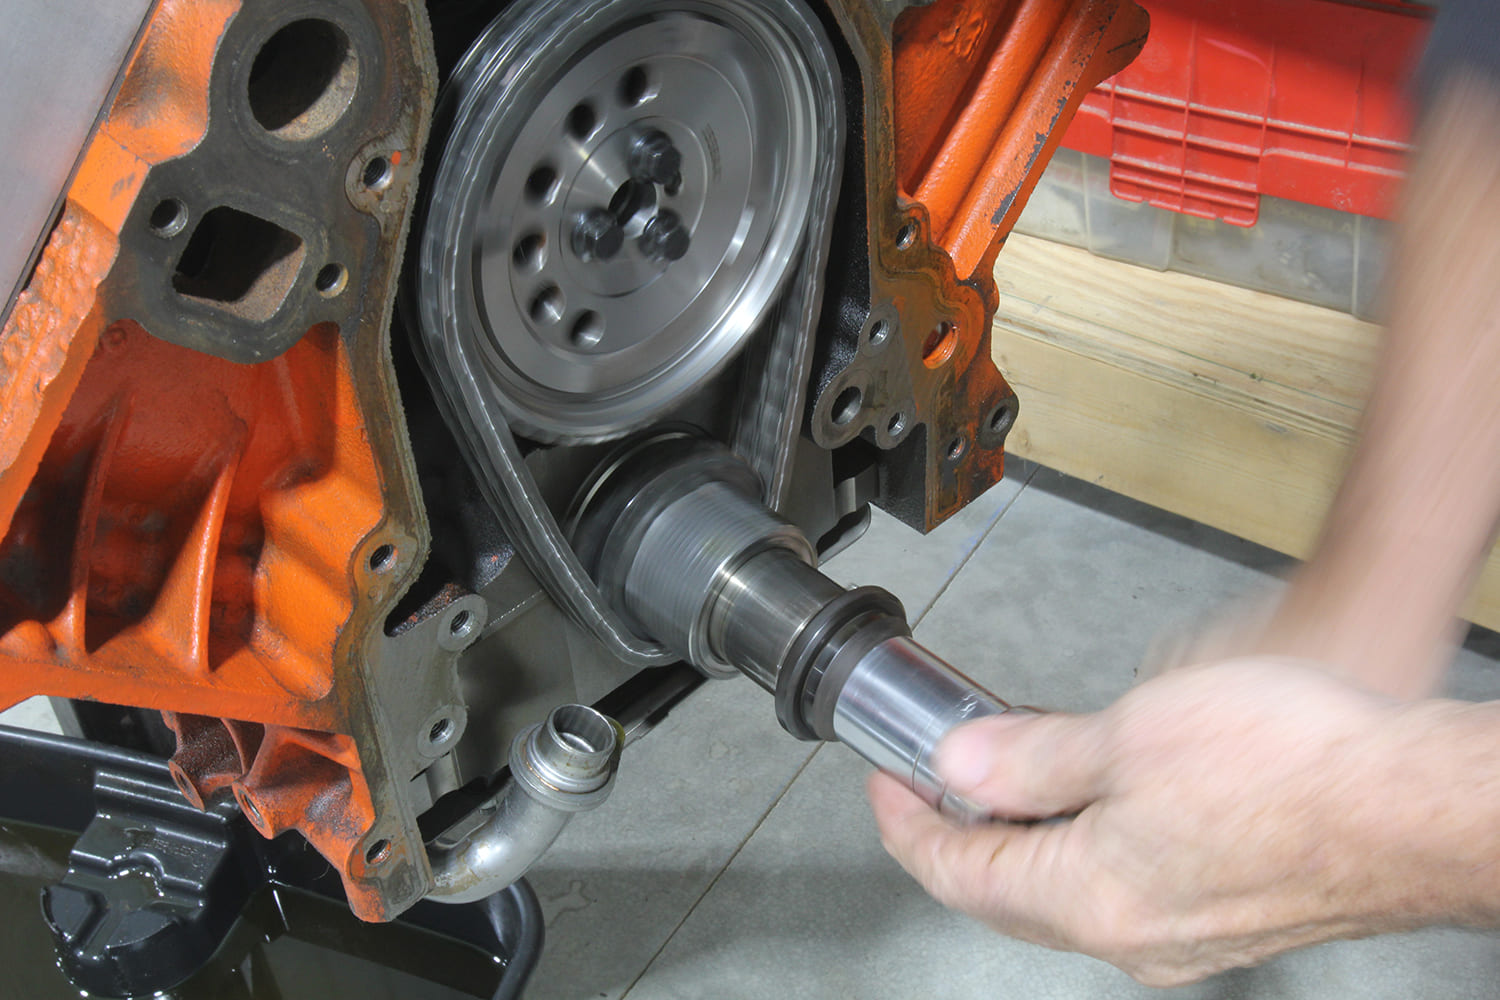
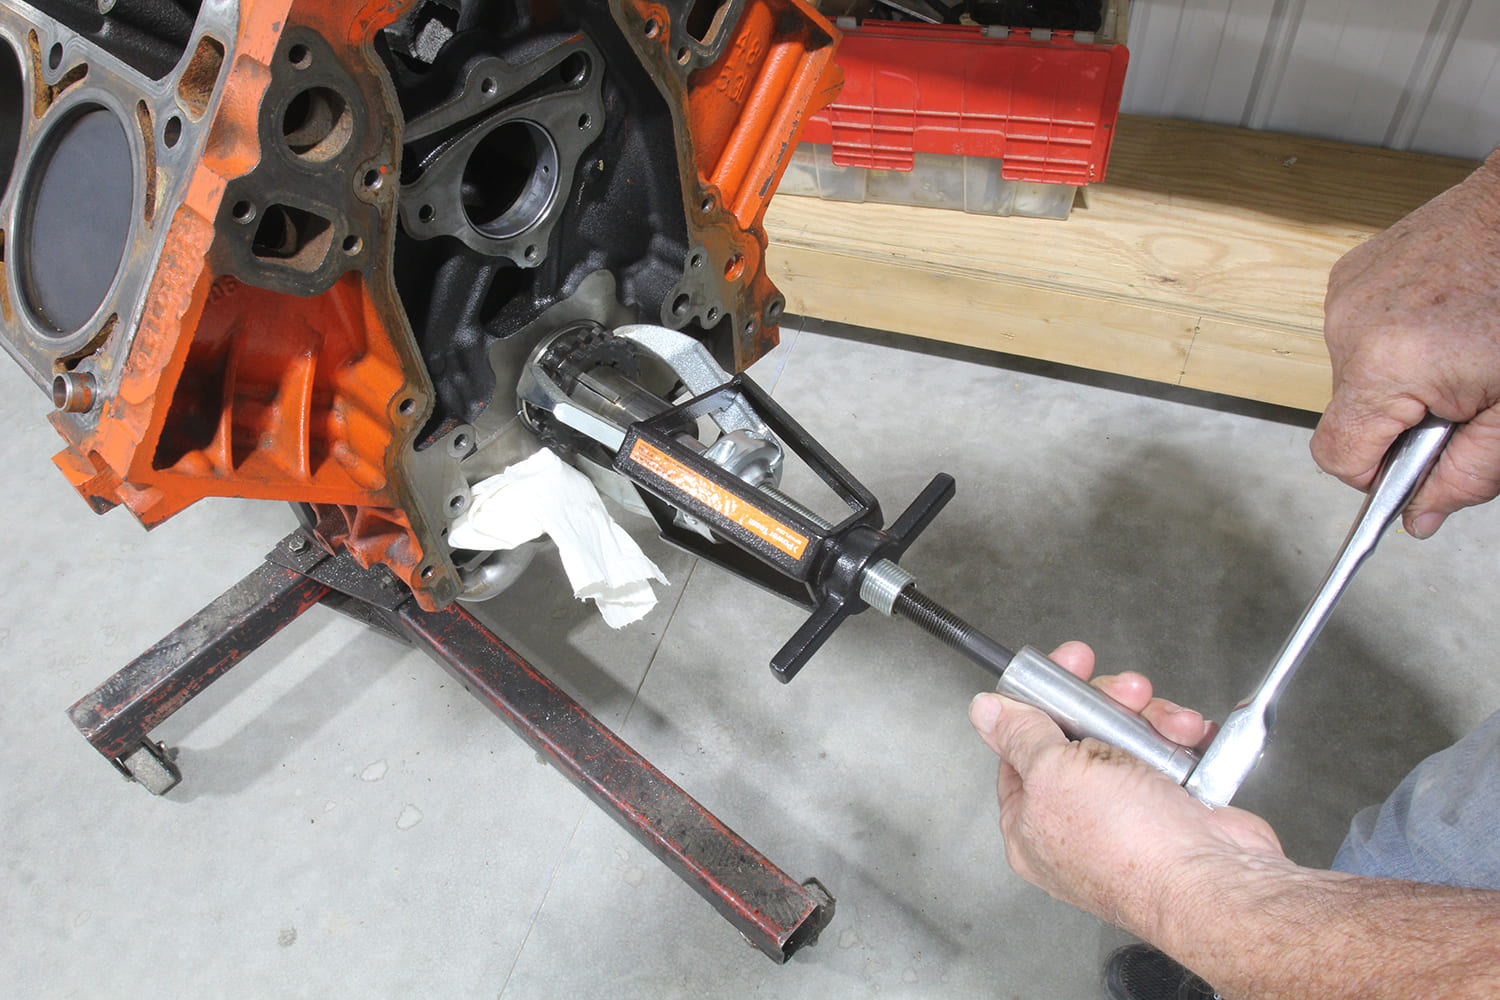
We will start this process by removing the harmonic balancer. Our engine is equipped with a Summit SFI balancer that has three holes to accommodate a traditional harmonic balancer puller. If your engine uses a stock balancer, this will require an LS balancer removal tool. We like to use the Posi-Lock three-finger tool for the stock balancers because we can use it for other jobs as well.
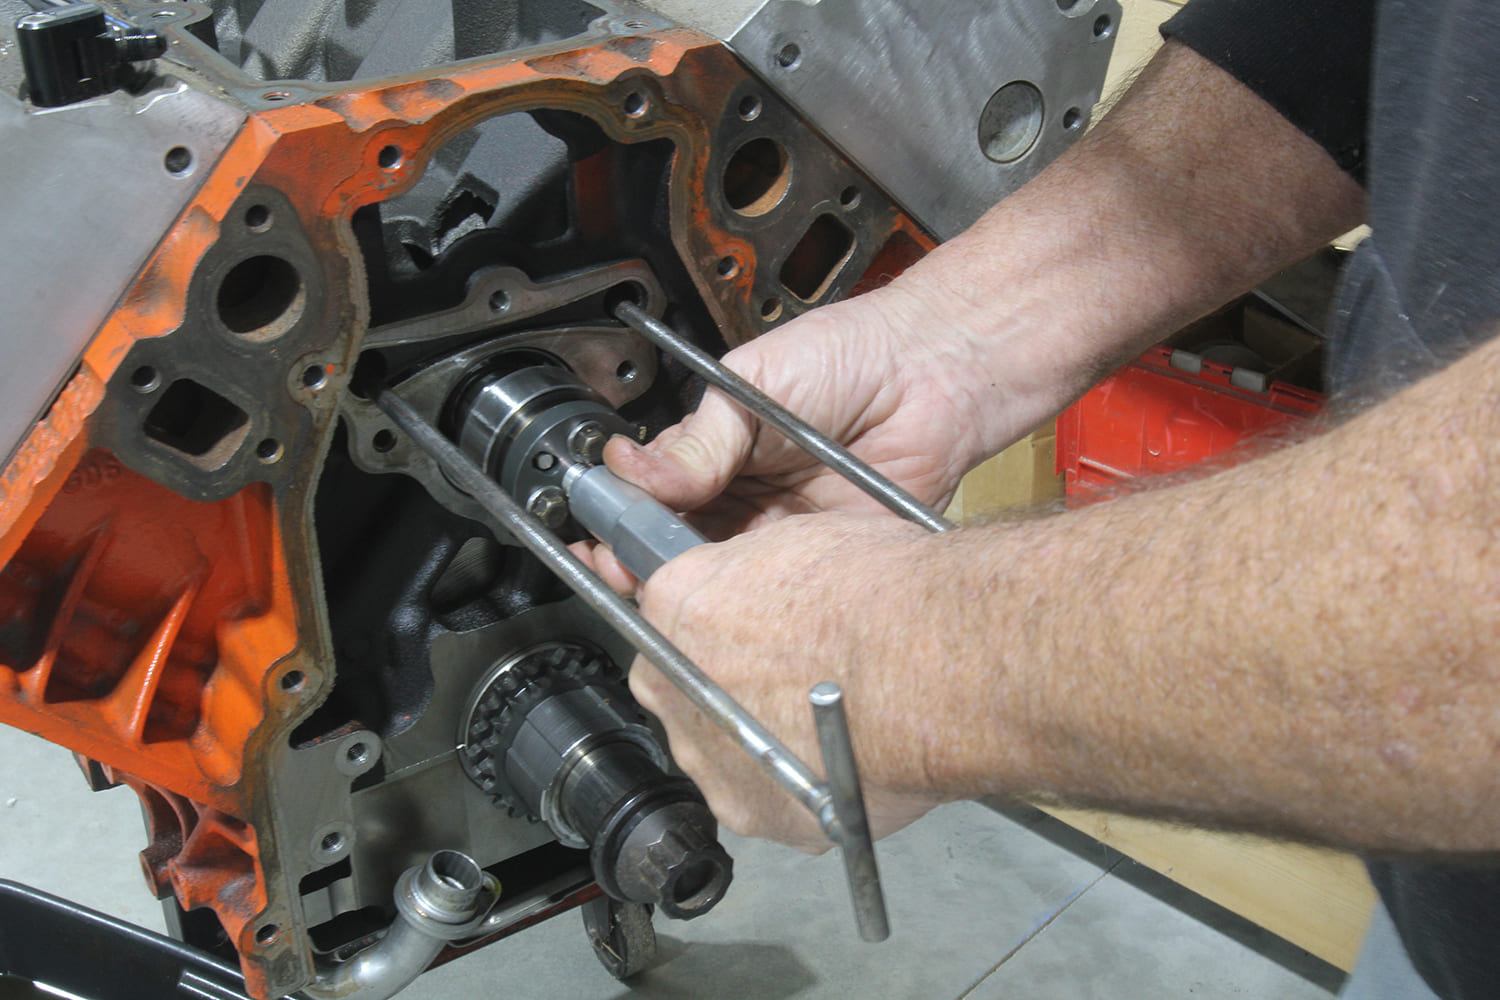
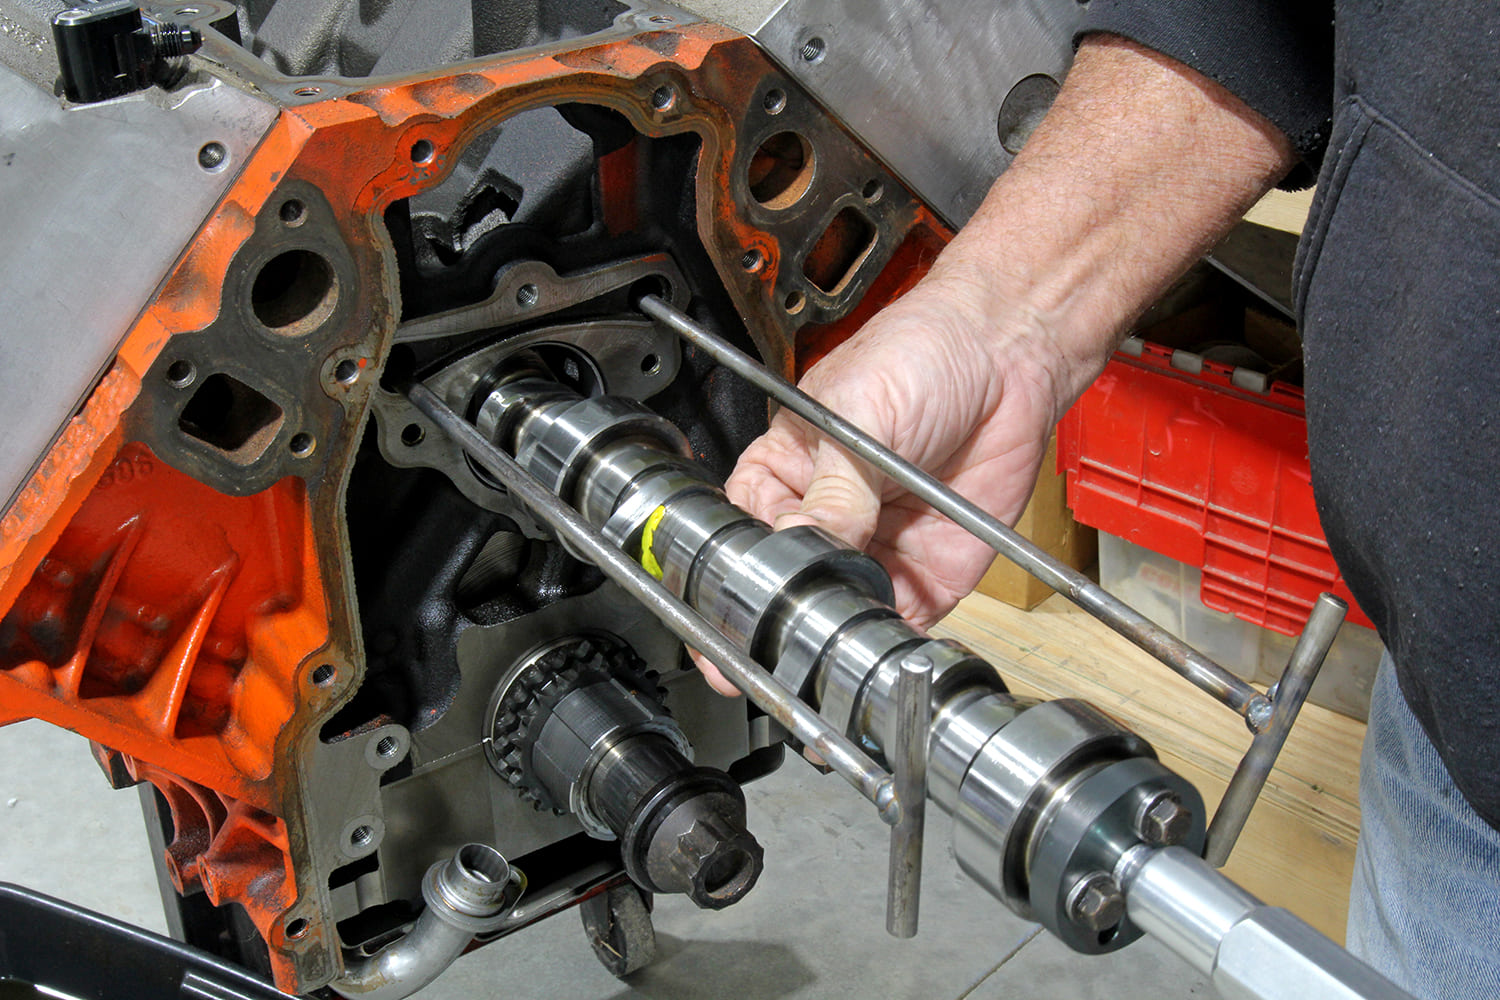
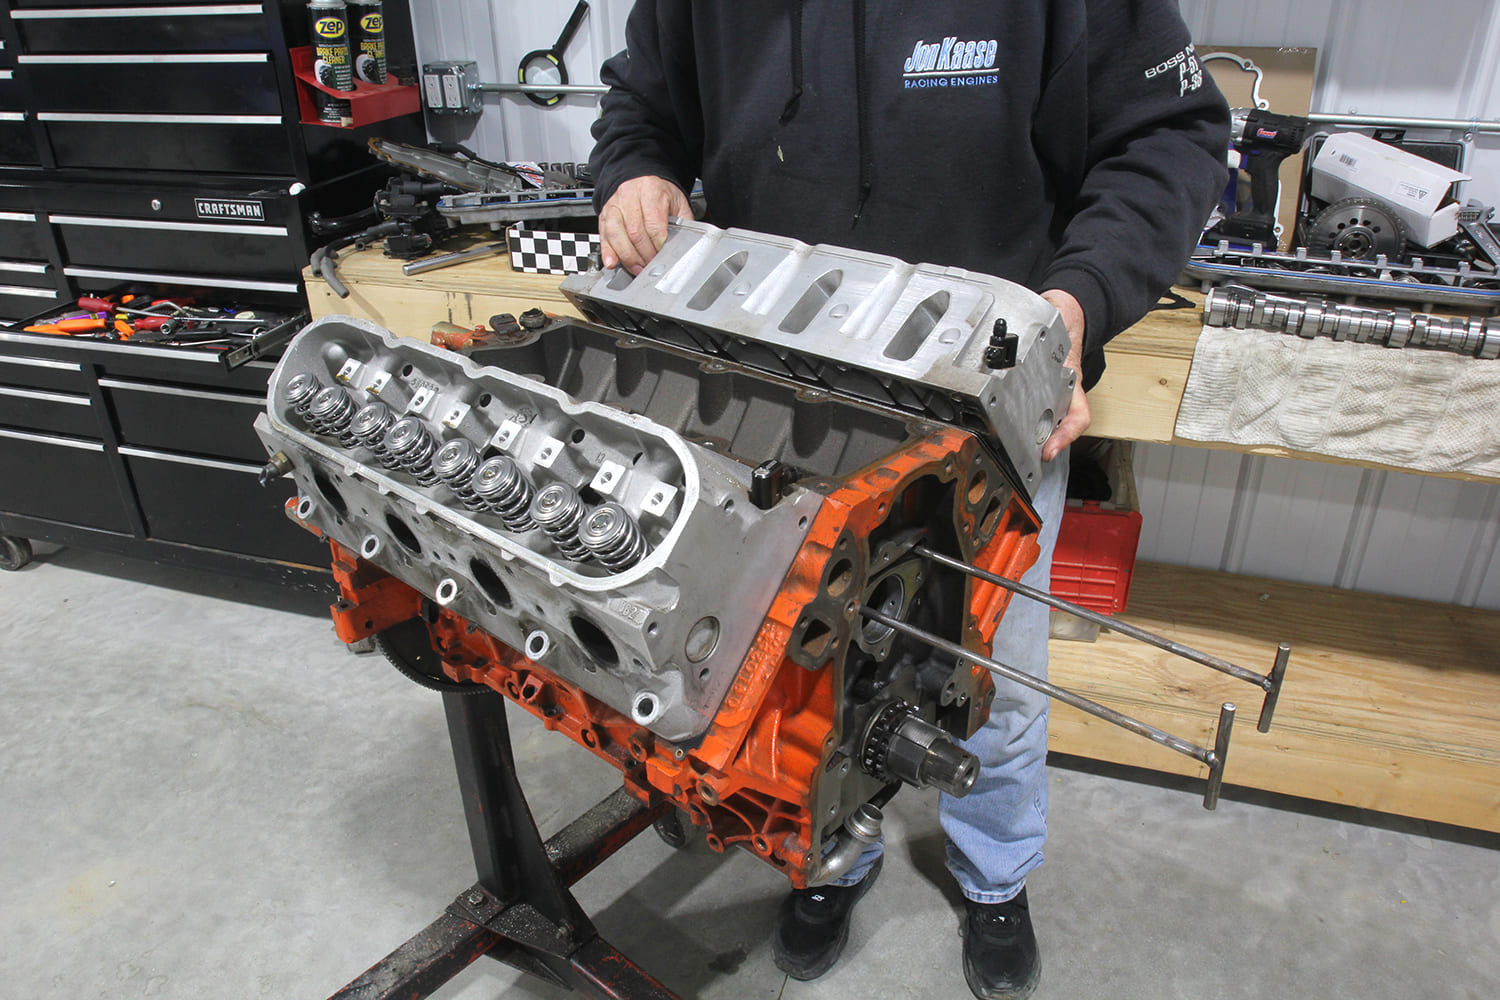
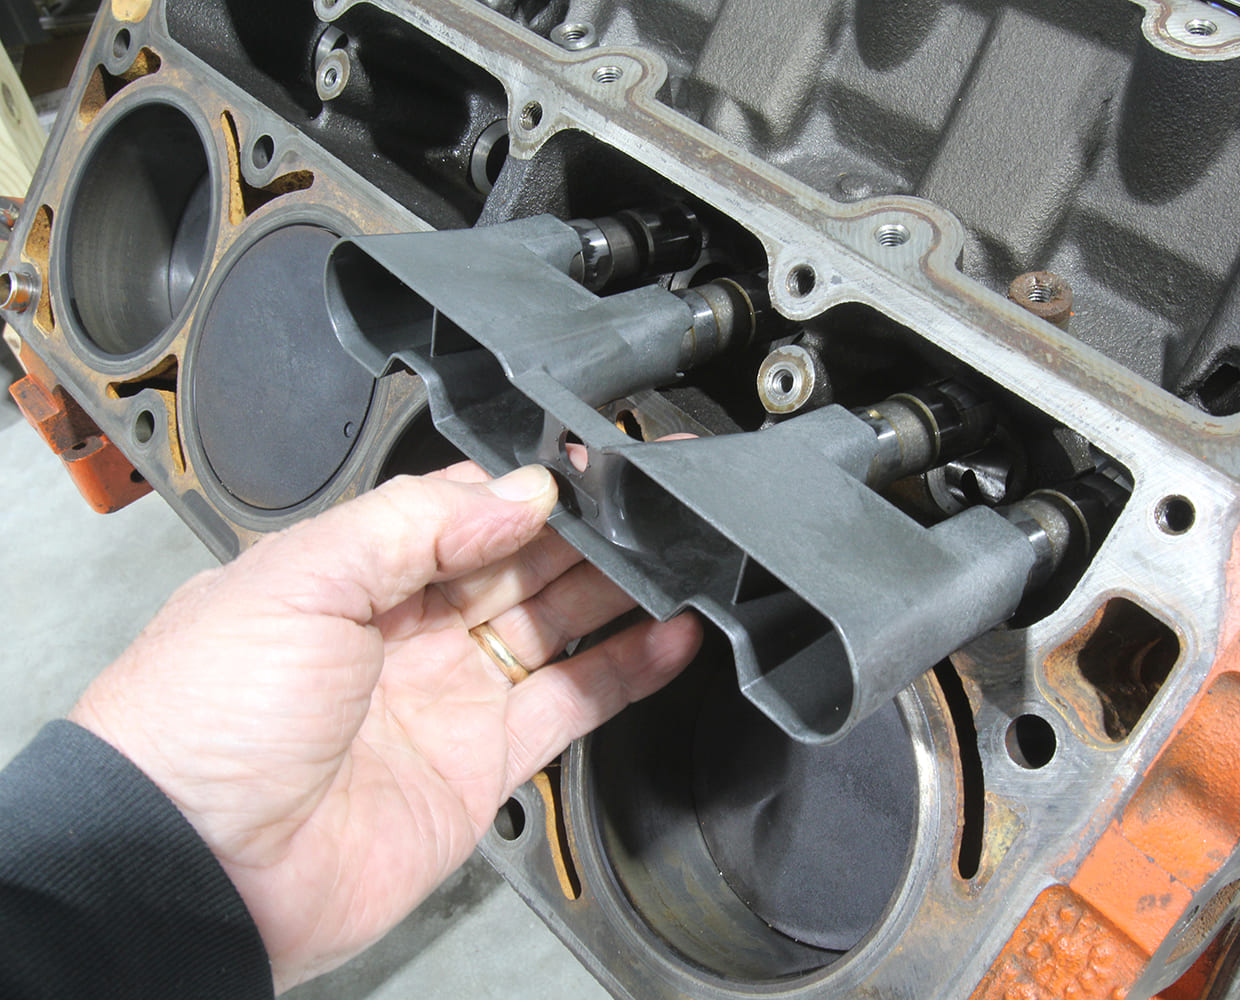
The good news about the specialty tools is that if engine wrenching will be a major part of your future, these items will make your life easier for years to come. A good three-jaw puller like the Posi-Lock version we use is useful for many other related automotive tasks. Sometimes we make our own tools to save both time and money. As an example, we used a pair of 5/16-inch steel dowel rods, roughly 24 inches long, to serve as lifter retainers when you want to swap cams on an older LS engine. All LS engines come with plastic lifter holders that will capture the lifters in the “up” position if you spin the engine over several times with the rockers and pushrods removed.
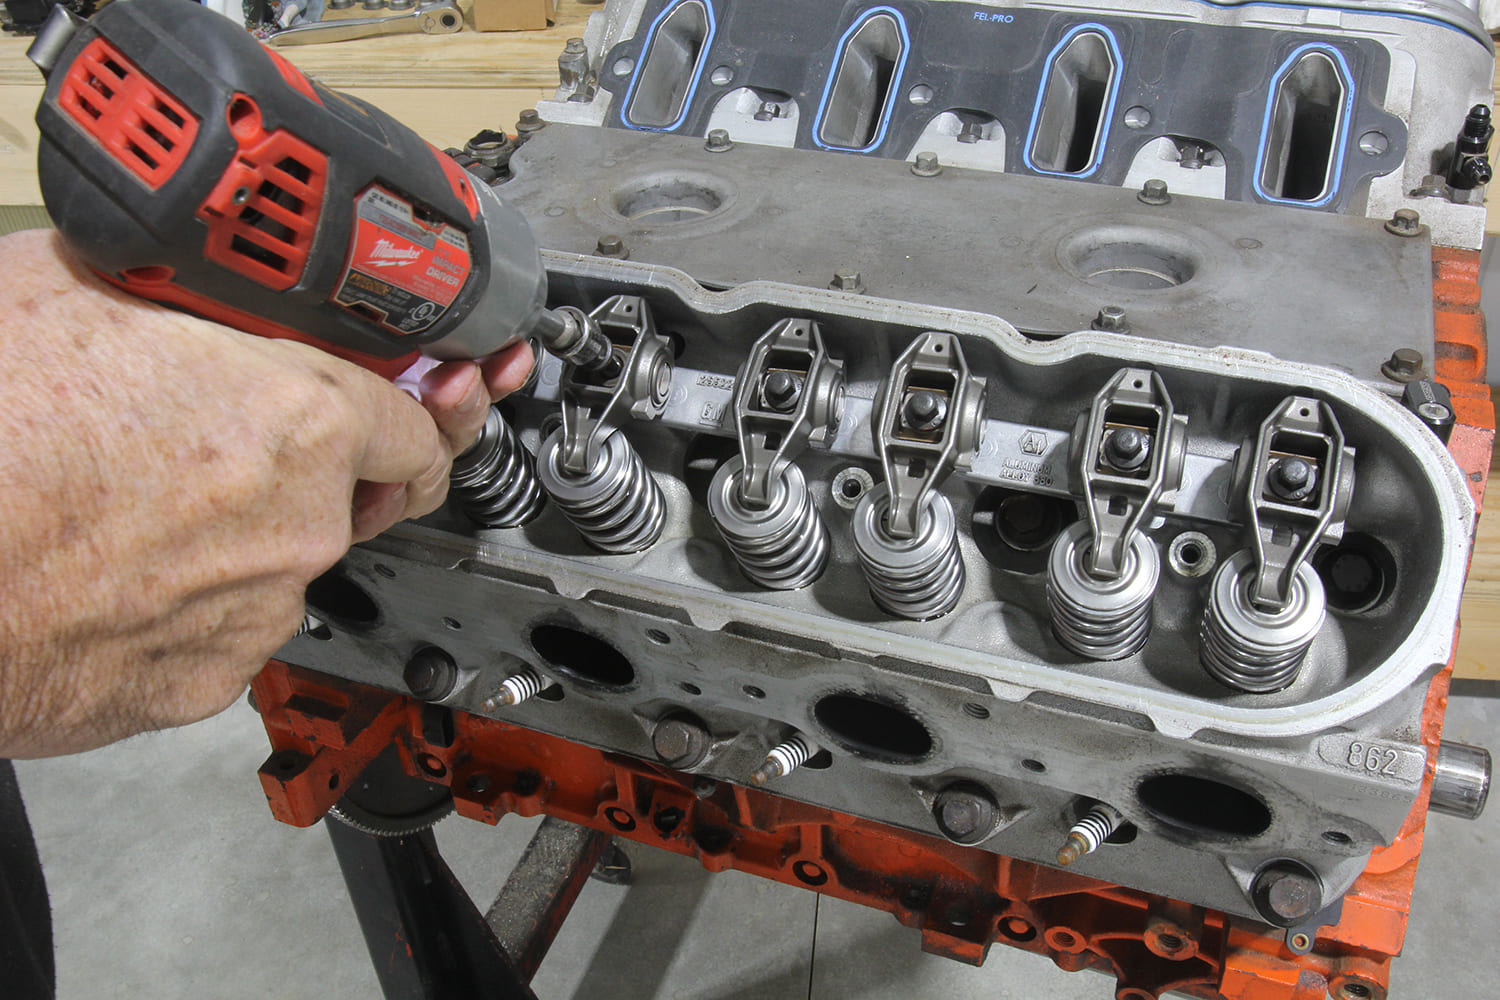
We then moved to the top of the engine and removed both coil packs, valve covers, rockers, and pushrods. This will allow the lifters to easily push up into the lifter holders.
However, experience has shown that on older LS engines these holders become brittle and may lose their grip on the lifters. A 5/16-inch dowel rod placed through each oil gallery will lock the lifters in place. You can buy a pair of these aluminum dowels from Summit; we welded handles onto two 24-inch steel dowel rods.
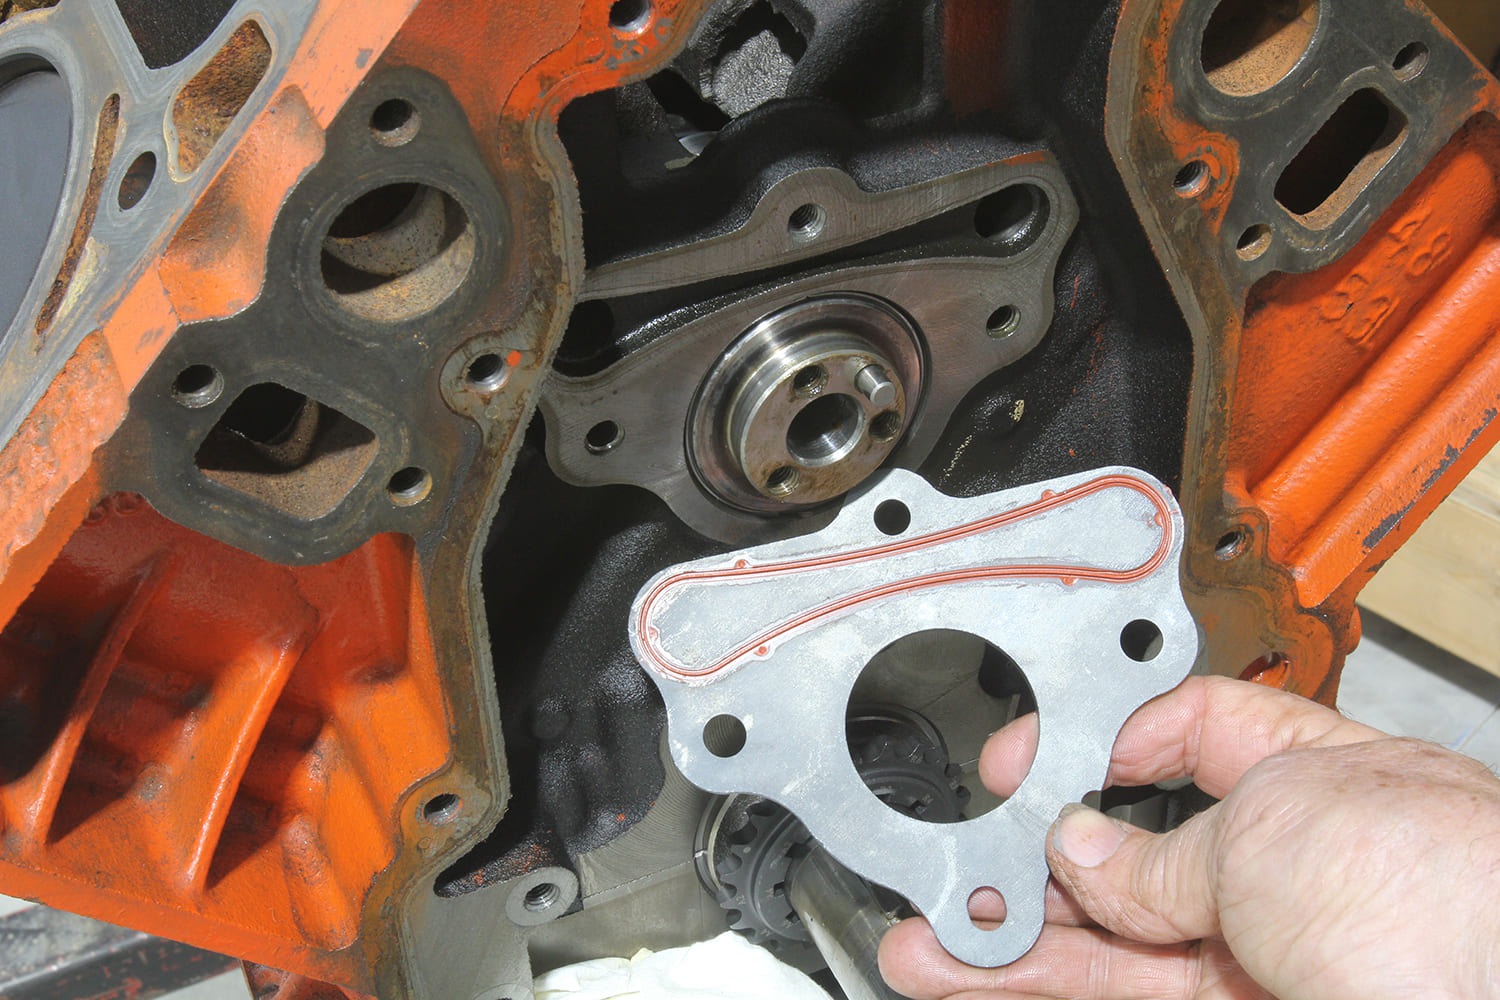
Next, we removed the front timing chain cover and the oil pump. To remove the oil pump, it was easier to drop the oil pan to access the pickup tube bolt. It is possible to remove this small bolt with the pan on, but it’s a challenge.
The 4.8L engine we’re using for these photos has already had a cam change and some upgrades, including an aftermarket timing set, pushrods, an oil pan, and an oil pump. But we’re going to assume that the engine you will be working on will be saddled with high-mileage components, including the oil pump, pushrods, and rocker arms, so we’re going to include new parts recommendations to perform a more professional conversion.
With the balancer bolt in, turning the engine over at least six full revolutions will ensure that all the lifters will have been pushed up into the holders and out of the way of the camshaft.
In this story, we show the removal of the oil pump because we will be replacing the timing set. However, if you are reusing the timing set, it’s possible to change the cam without removing the oil pump. This can save time when doing a cam swap as long as the timing set is suitable for reuse.
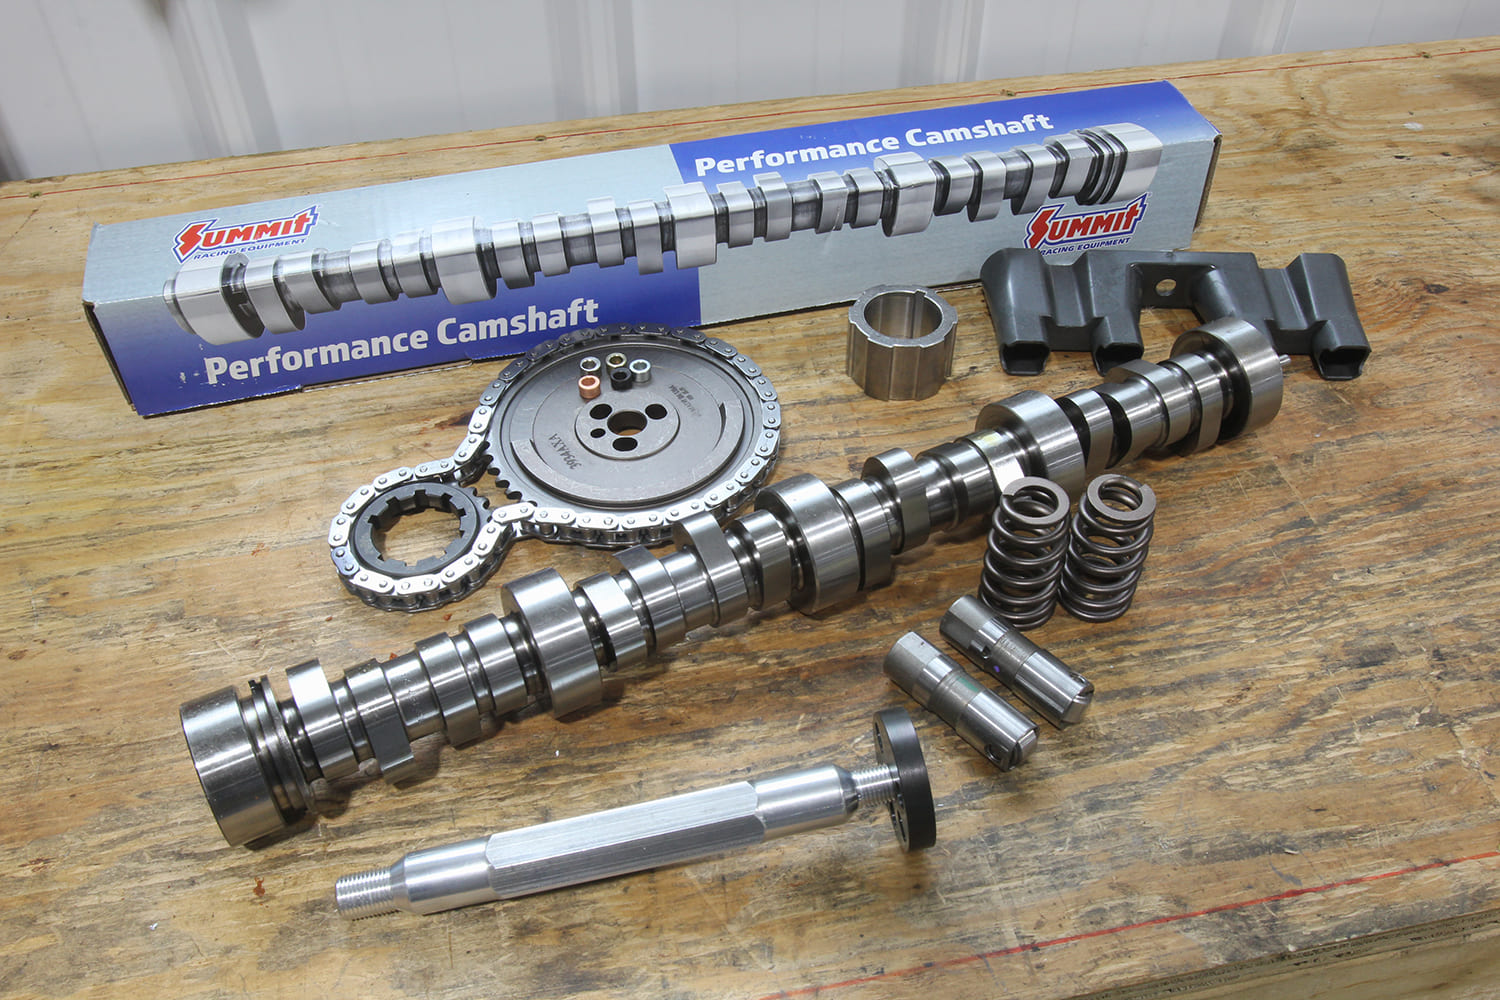
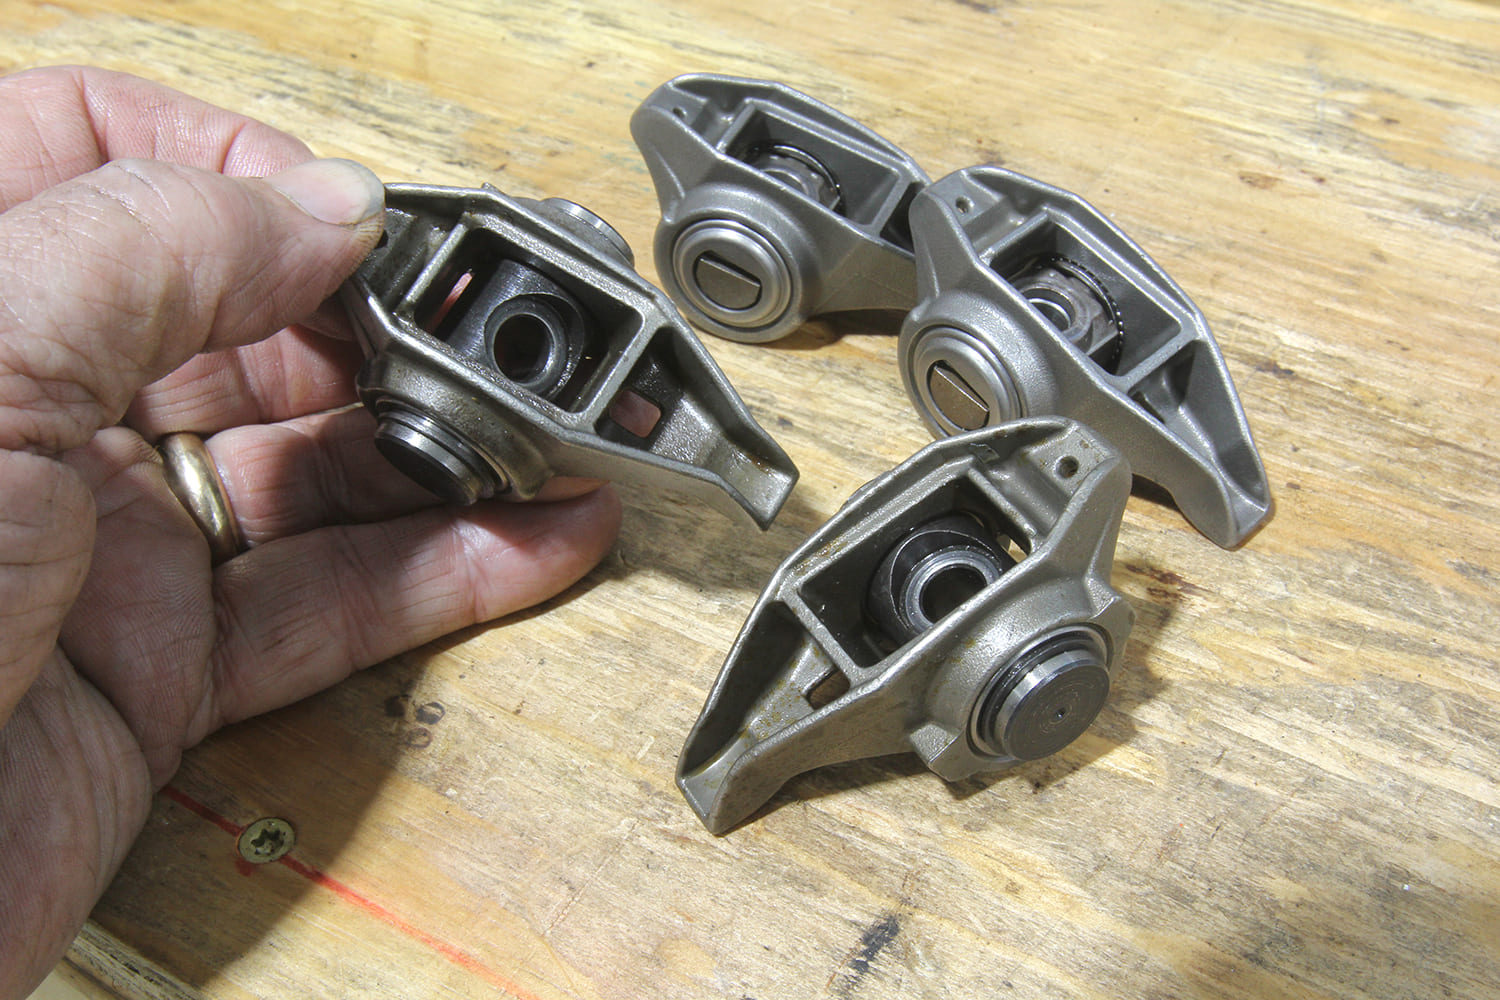
We went to SummitRacing.com and picked out a streetable cam for our 4.8L along with other parts for a typical used LS engine. The intake duration on the Pro LS Truck cam we chose is short, at only 218 degrees at 0.050-inch tappet lift, but it still offers 0.600-inch valve lift. We also added a rocker arm trunion upgrade because we don’t want those used rockers to fall apart working with the bigger cam and more spring pressure. If those tiny roller bearings were to somehow escape from a stock rocker, that would cause a serious problem.
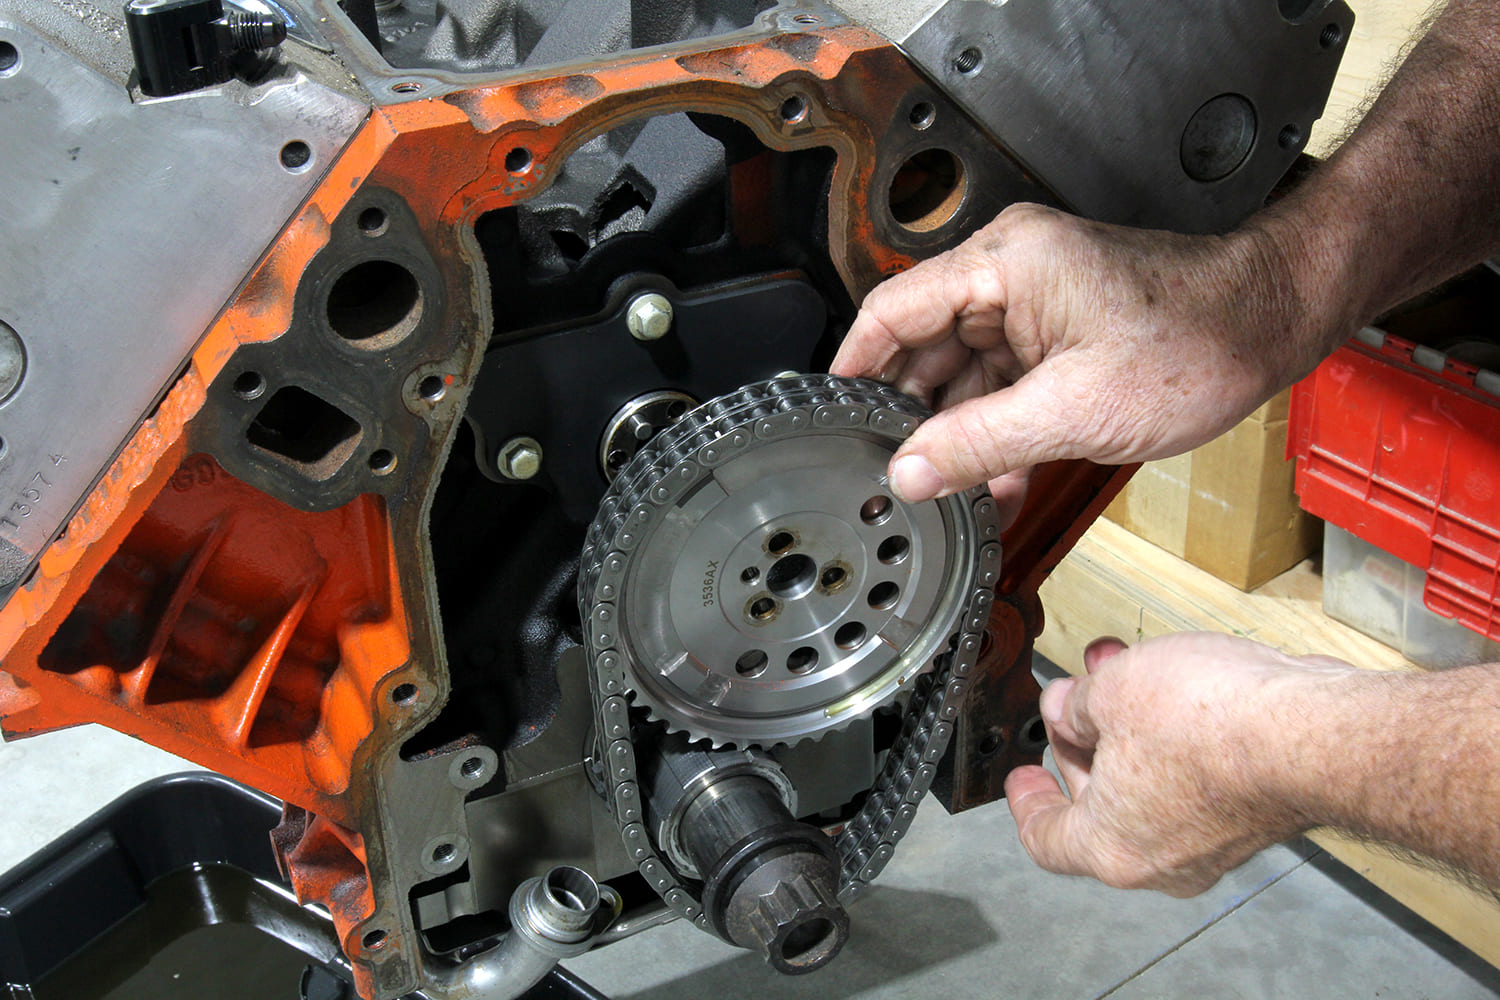
Next, we removed the timing set along with the cam limiter plate.
If you only intend to install the heads on your engine once or twice, the one-time use, OE-style bolts will save some money. But if there are multiple changes to your engine in the future, a set of ARP head bolts is worth the investment, since you can reuse them as often as necessary.
A cam swap in an LS engine is not a challenging process as long as you have the right tools and approach the exchange logically. The net result is not only a stronger engine with more power but will also offer a sense of accomplishment when that engine fires up for the first time with that new cam. It’s instant gratification.
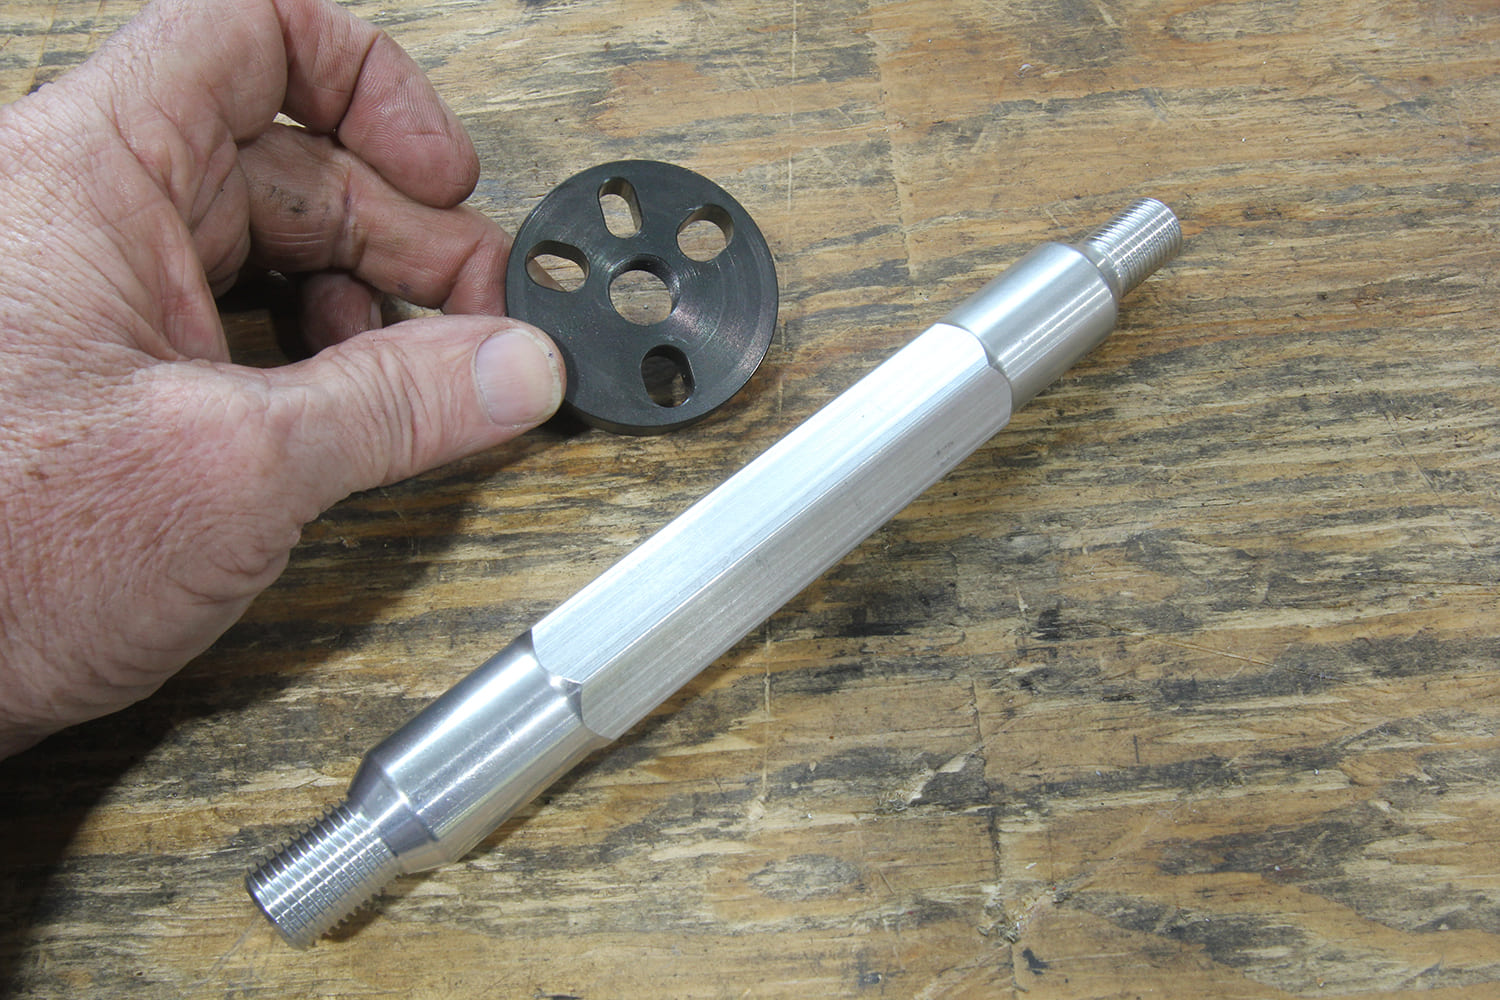
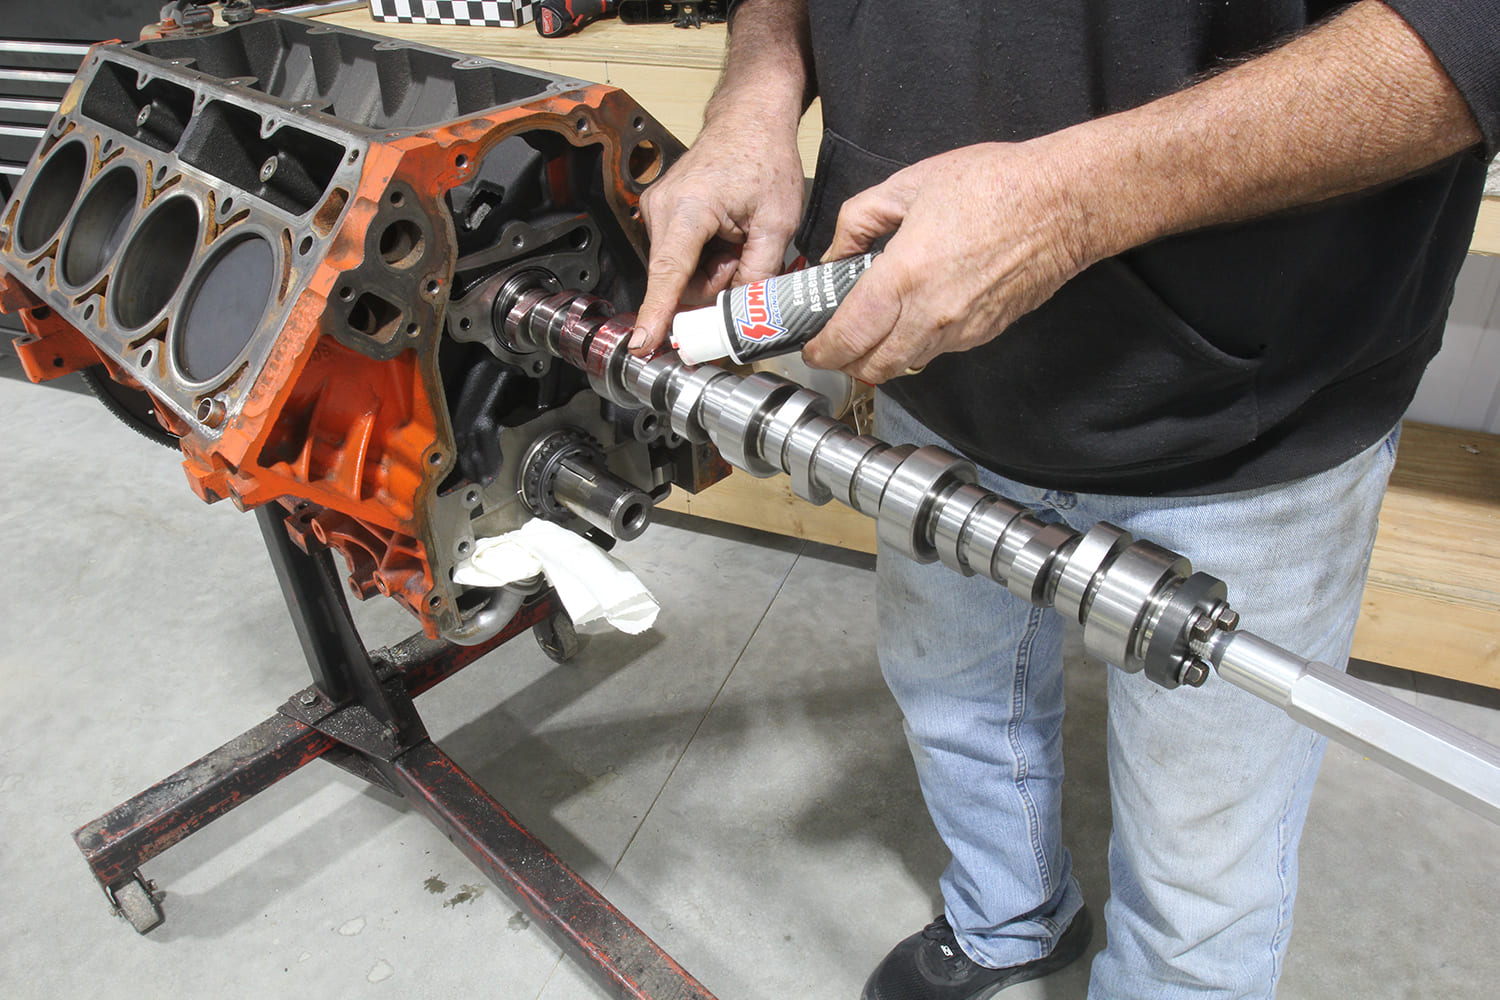
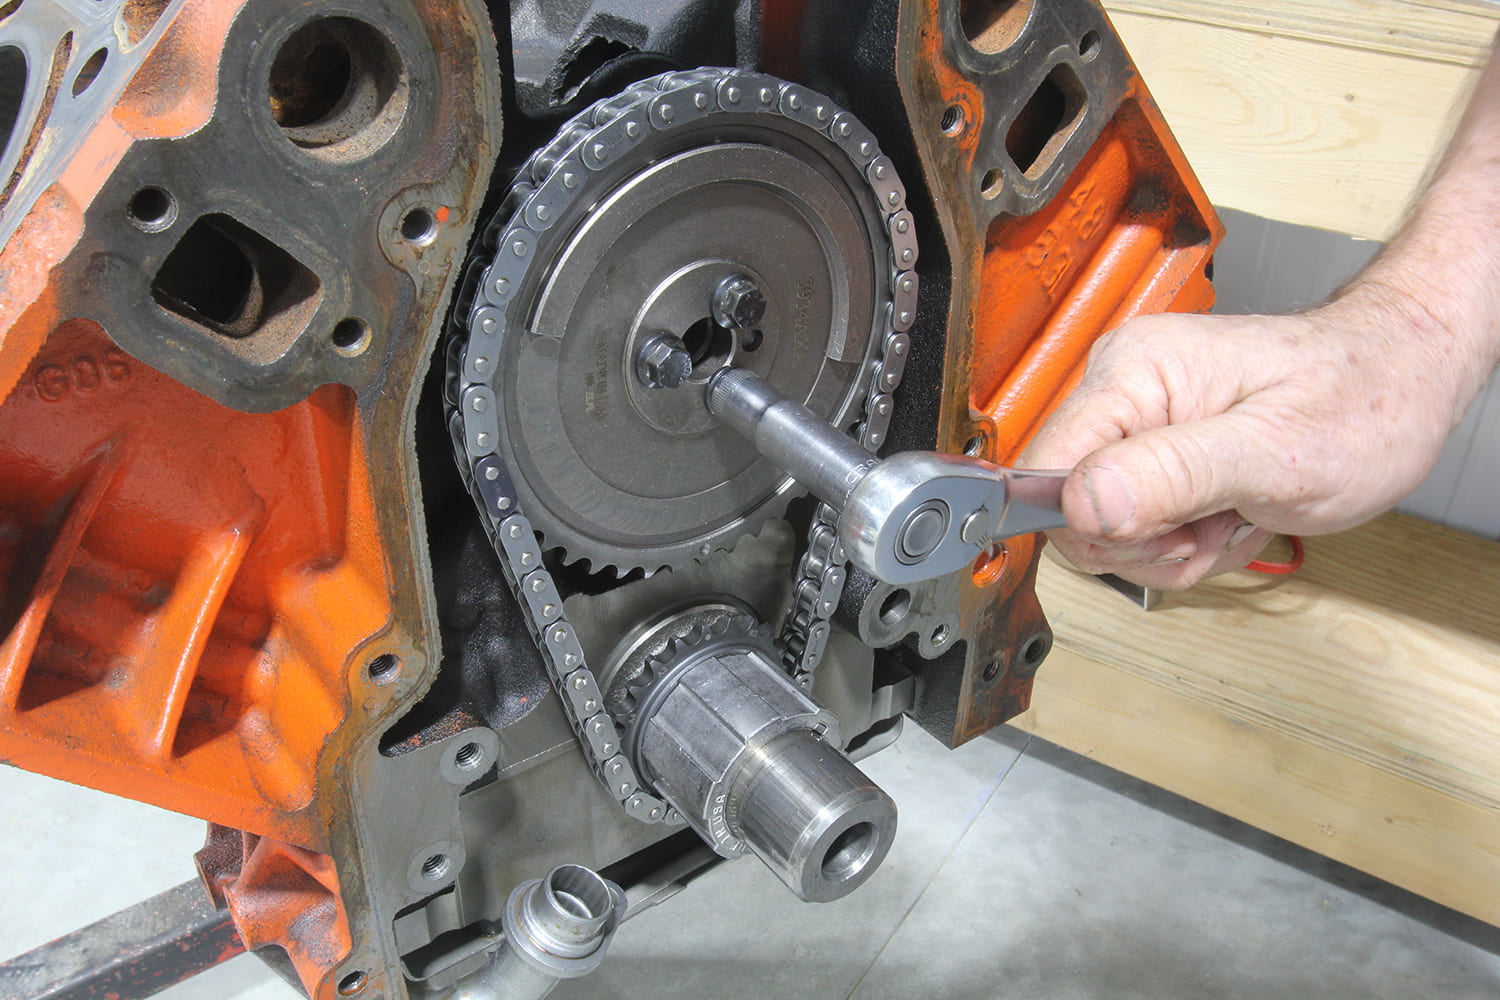
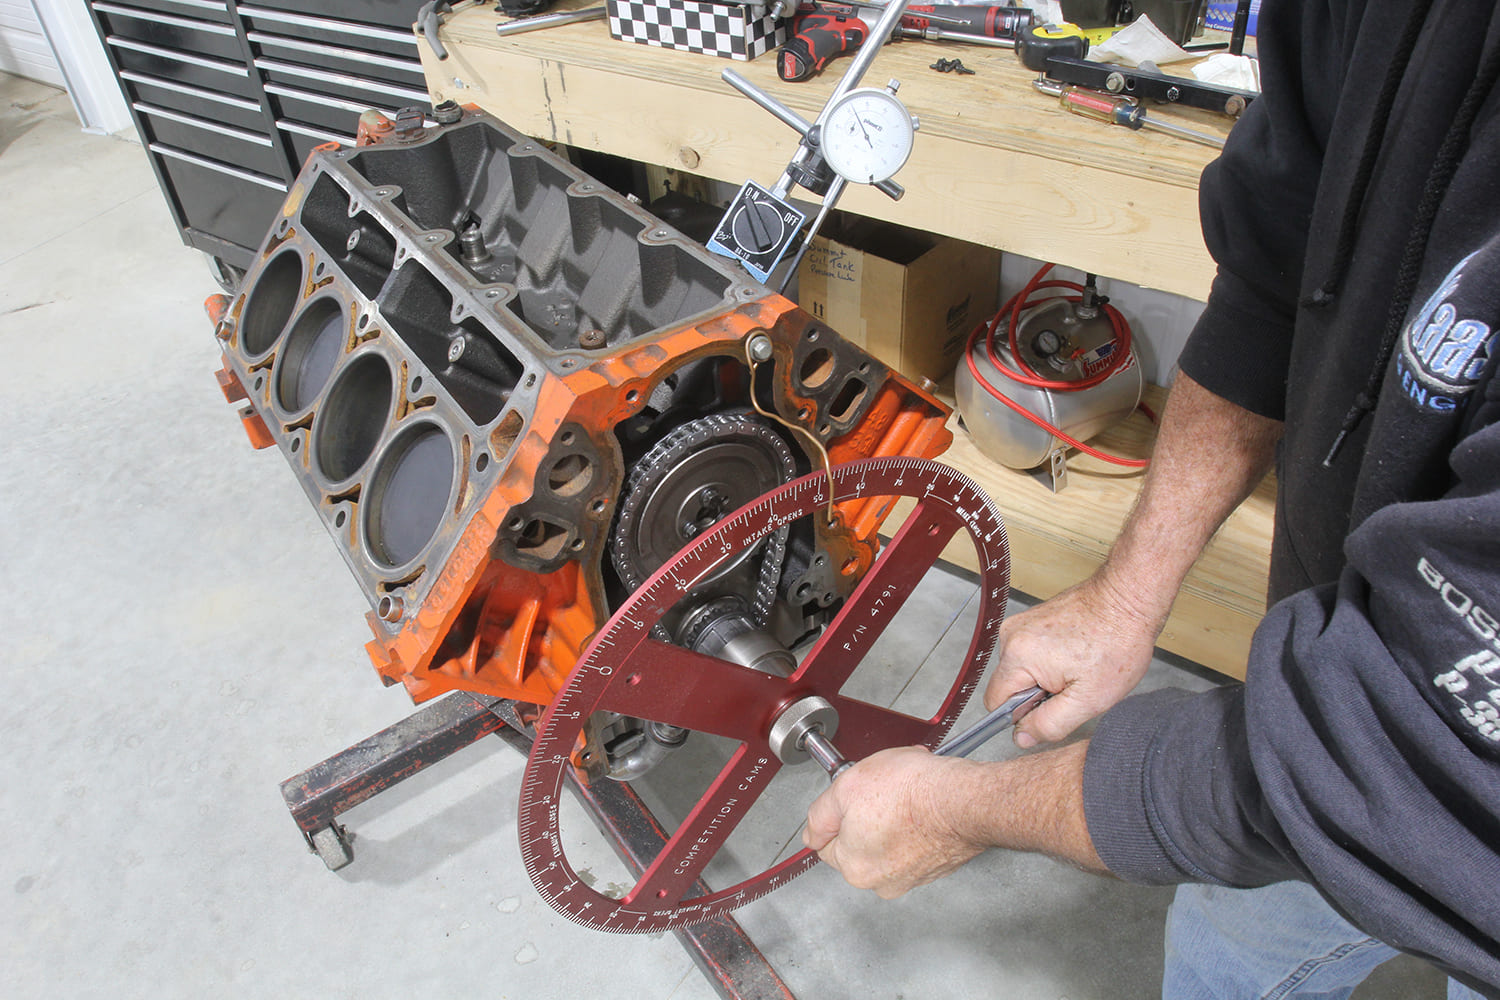
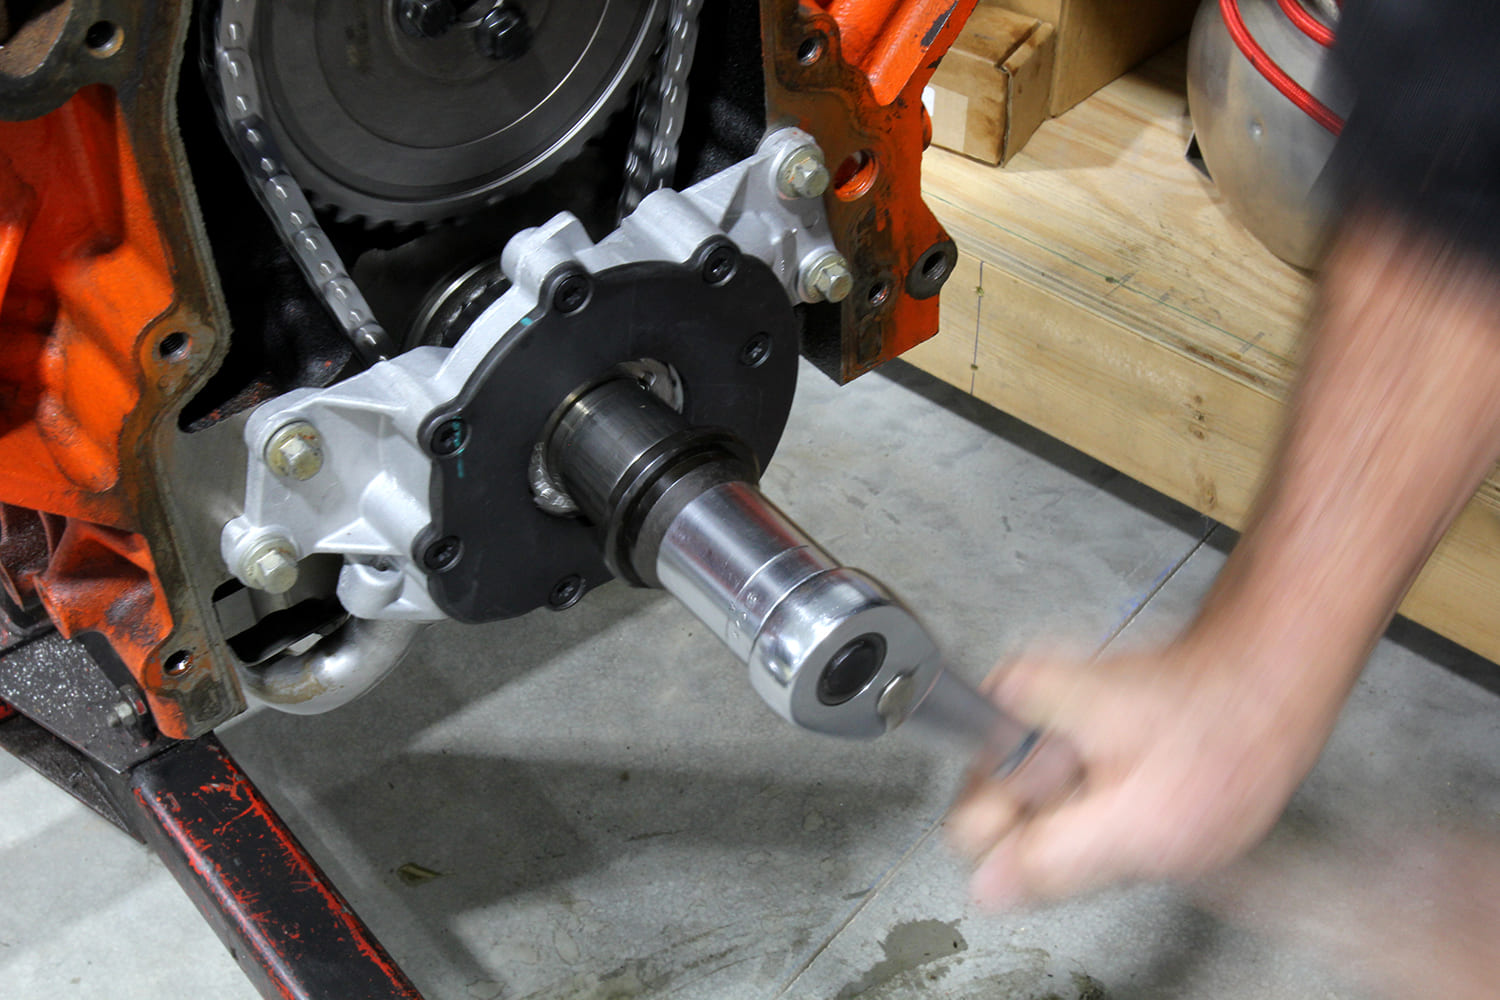
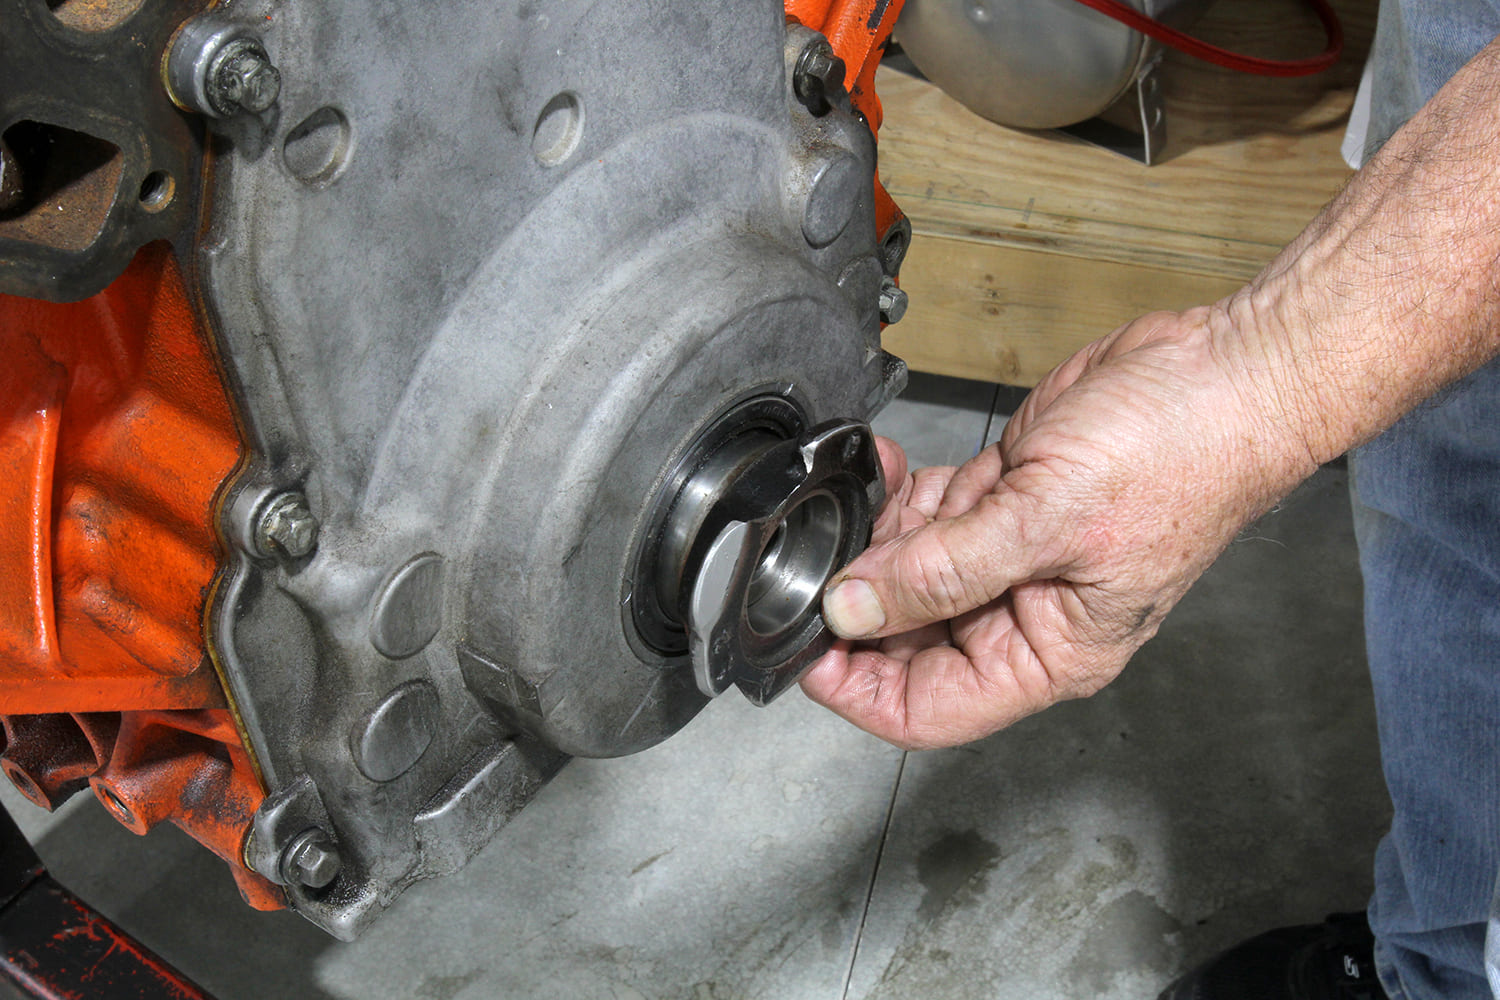
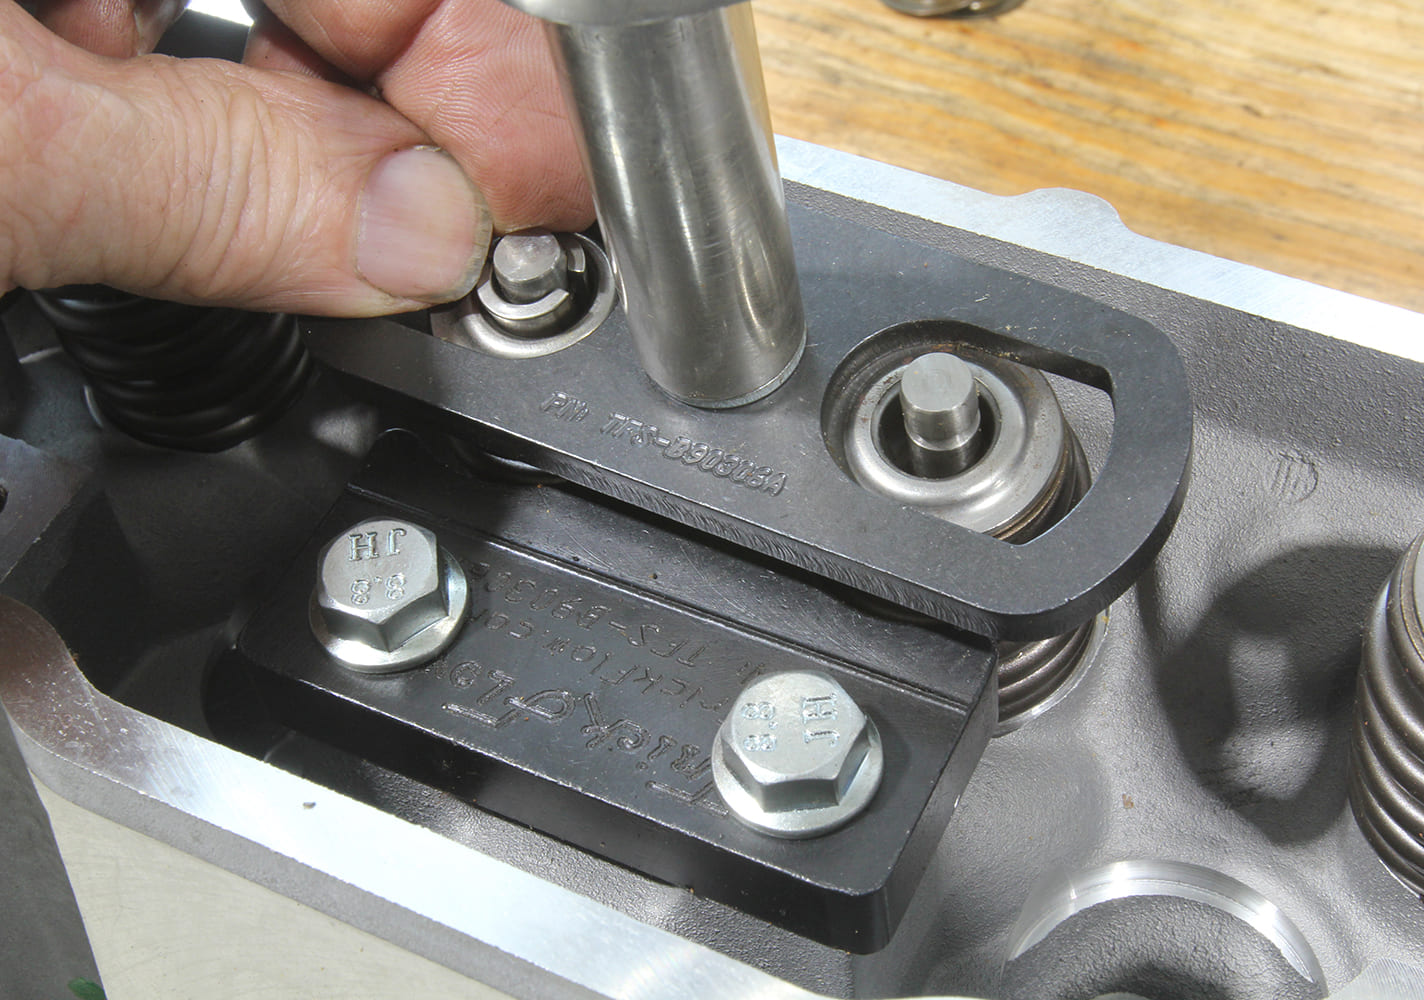
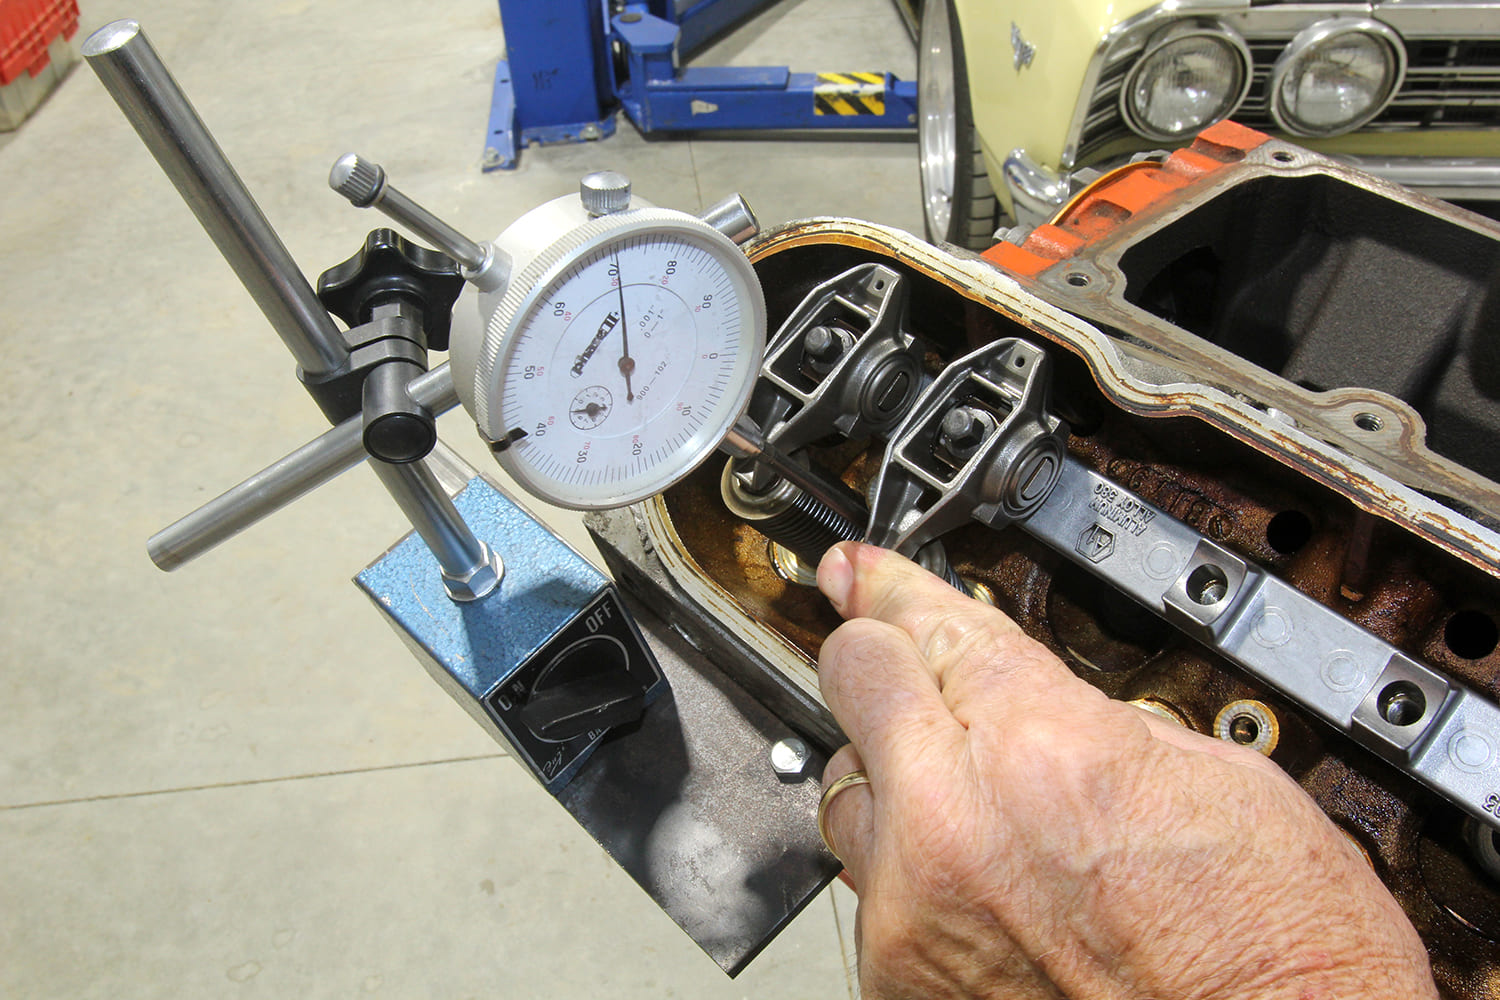
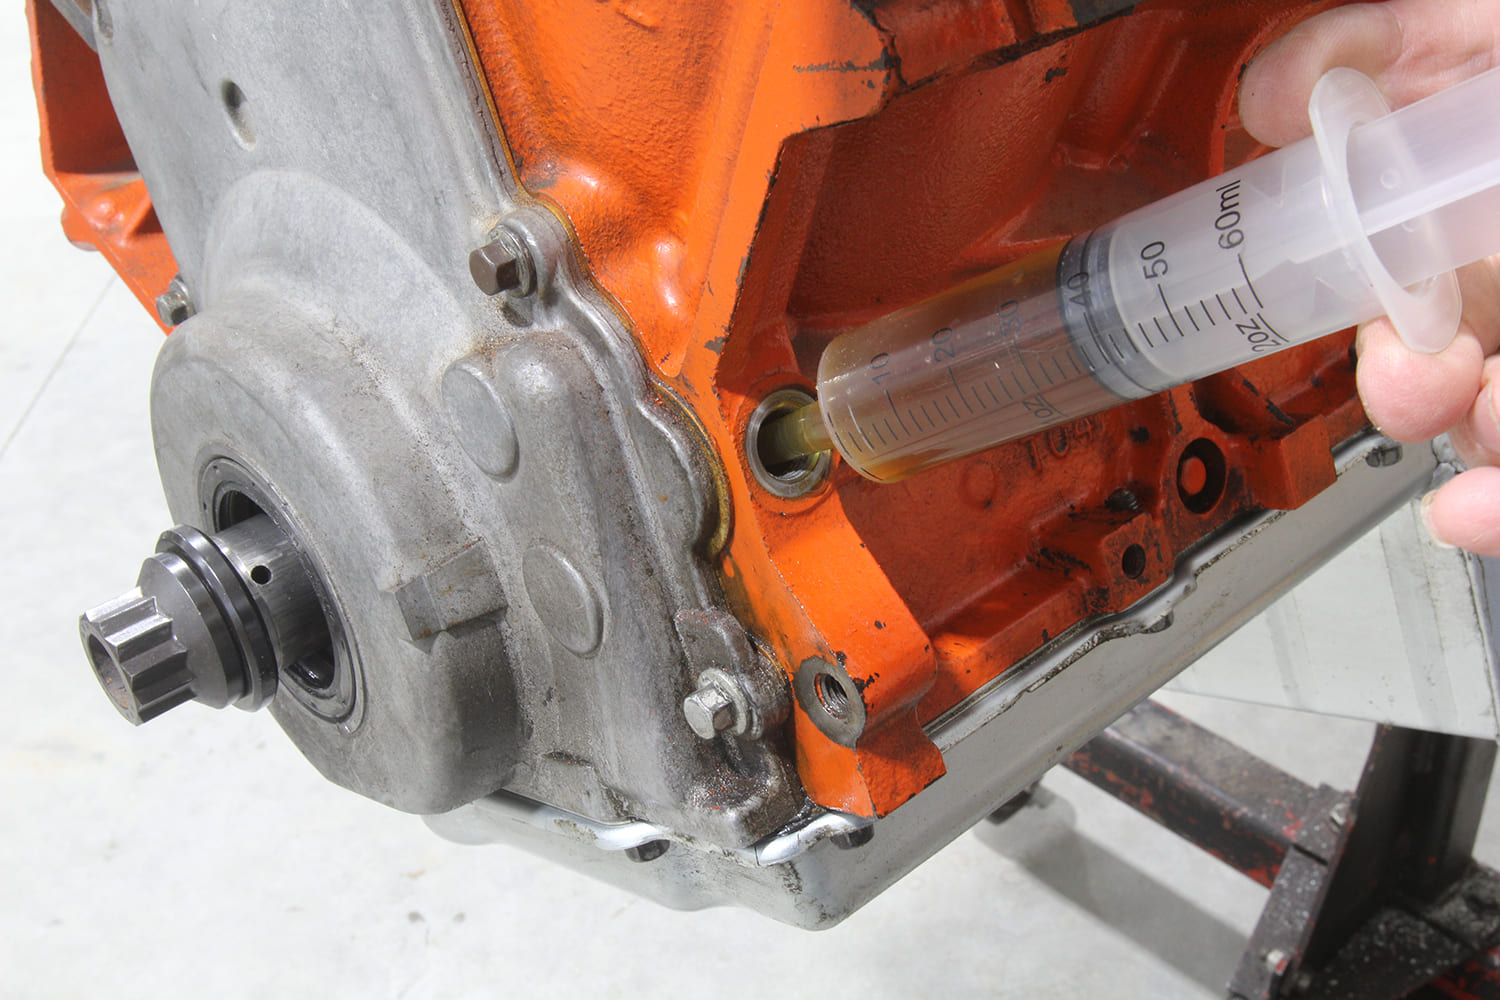
If you are just swapping the cam and reusing the lifters, it’s a good idea to use a pair of 5/16-inch aluminum, steel, or wooden dowel rods inserted into the oil gallery as shown to prevent the lifters from dropping as the cam is removed. If you intend to change lifters as well, this step is unnecessary since you must remove the heads to change the lifters.The Summit cam handle works for one- and three-bolt LS cams as well as for small- and big-block Chevys.We used our Posi-Lock three-jaw puller to remove the timing gear from the crankshaft, as it will be replaced with a new one.Since we will be installing new lifters, we will need to remove the heads to access them. The head bolts will also need to be replaced as they are one-time-use items.We lubed the cam and lifters with Summit assembly lube, then carefully slid the cam into place using the Summit cam tool.With cam in, we lubed the lifters, slipped them into the holders, and bolted them down. If you look at the indentation on the top of the holders, you can see they only go in one way, so be careful.It’s important to use a new cam limiter plate because the old unit seal is easily damaged. A new plate offers a fresh seal to prevent an internal oil leak that could be very difficult to identify.We matched the new cam with a Summit performance timing chain set that allows us to easily change the cam timing. We’ve already installed the crank gear using the 0-degree position as this cam is ground with 2 degrees of advance.We also took the time to degree the camshaft to make sure it opens and closes the valves at the proper time. When degreeing the cam on an LS, remember that on LS engines, the first lifter on the driver side is the intake lobe. We used a degree wheel holder for this operation to allow us to move the crank forward and backward. It’s difficult to do this with a crank bolt. We won’t go through the degreeing process, but it’s certainly smart to take the time to do this as part of any cam swap.With the new oil pump in place, it’s necessary to align it with the crankshaft. The GM recommendation is to remove the pump cover and place two 0.001-inch feeler gauges in opposing positions to align the pump gears. A simpler process is to position the assembled pump on the block with the bolts slightly more than finger-tight. Then rotate the engine several revolutions to align the gears. Torque the pump bolts in place, and you’re ready to go.We installed a new harmonic balancer seal and gasket on the timing cover and bolted them in place. With the cover in place, we used a hub cut from an old balancer honed on the inside to slide easily over the crank snout. We use this hub to center the seal since there are no dowel pins on LS engine front or rear covers.We installed the new valve springs and seals that came with the Summit camshaft. We used this slick TFS valve spring compressor tool to remove the stock springs, replaced the seals, lubed the valve stems, and finally installed the springs. This can be done with the heads on the engine, but you will need to put each piston at top dead center and use compressed air to keep the valves from dropping into the cylinder.Before we torqued the heads in place with the new single-use head bolts, we took the time to ensure that piston-to-valve clearance was adequate, as we were using a bigger cam with more lift and duration, along with a thinner head gasket. Clearances were acceptable with 0.120-inch on the exhaust and but slightly less at 0.100-inch on the intake.After we torqued the heads down, we upgraded the stock rockers with a stronger set of trunions and roller springs from Summit, along with stronger pushrods. This took about 90 minutes to perform the trunion swap, but is a great addition for any LS engine.With a fresh oil pump, it’s a good idea to prime it with oil before spinning the engine over to build oil pressure. We bought several large plastic syringes online and slowly pushed about 6 ounces of engine oil into this main oil galley that leads right to the oil pump. We tilted the engine on the stand to direct the oil into the pump. If the engine is in the car, use a short length of 3/8-inch rubber hose to ensure the oil gets to the pump.With the engine all buttoned up, we’re ready to drop it back into the car for some serious street action.
We use cookies to ensure that we give you the best experience on our website. If you continue to use this site we will assume that you are happy with it.