Purchasing a running/driving vehicle can be huge step in the right direction when it comes to building or restoring a classic Chevy muscle car, but buyer’s remorse is a real thing and sometimes that sleek street machine turns out to be a bridge too far. Our good buddy and lensman extraordinaire, Ryan Foss, recently decided to dive into the foray that is classic Chevy vehicle ownership, purchasing a well-heeled 1992 Chevy Camaro that has seen plenty of action on the streets and on the track.
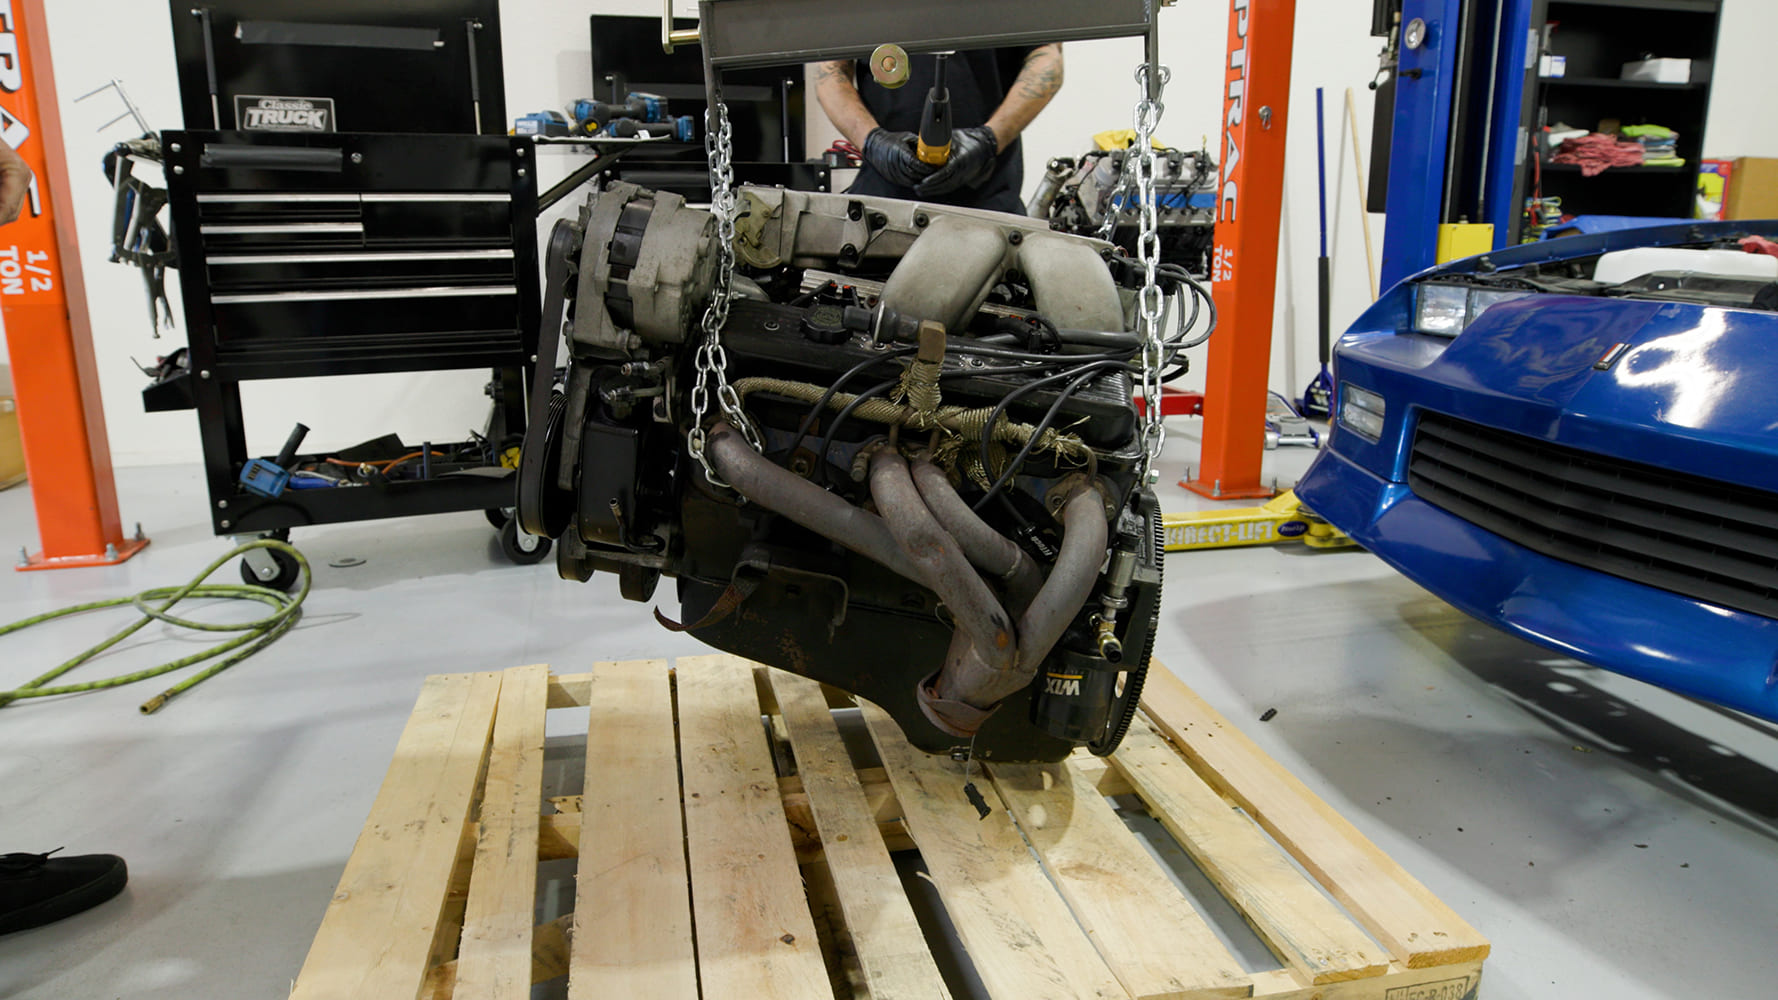
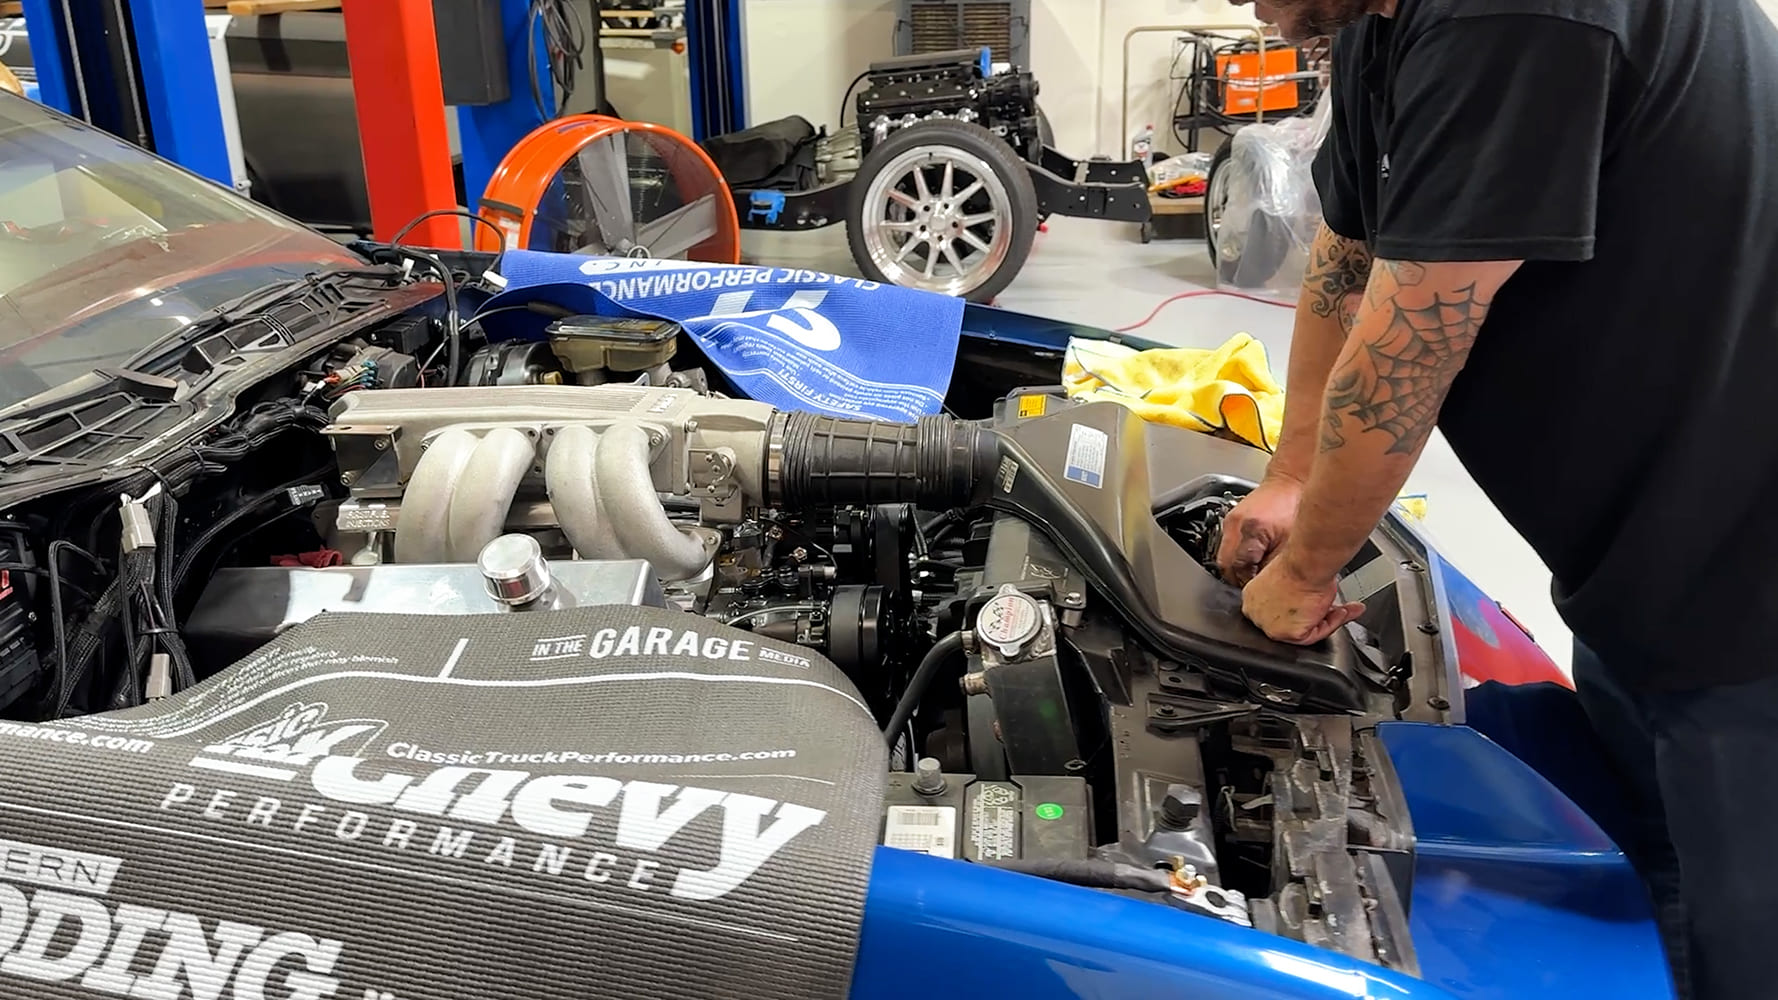
Here’s the original engine pulled from the Copmaro. Note the California-compliant “Smog” headers and the Rube Goldberg oil pressure plumbing, just a couple of the things we’ll be sorting with the new powerplant.
Unfortunately, that action reared its ugly head when the Camaro developed a strange noise coupled with vibration emanating from the drivetrain. A cracked or otherwise damaged flywheel was thought to be the initial culprit, but closer inspection from the local transmission shop cleared that hypothesis. Further probing revealed excessive crankshaft endplay, which meant at the very least, the center crank thrust bearing surface was toast. A history of hard autocross on throttle/off throttle driving made sense of the singular damage. Postmortem report, the engine would need to be rebuilt or replaced.
Foss weighed his options carefully. Rebuilding the existing engine made the most sense. But its internal shape and construction was an unknown. Purchasing a similar small-block crate engine was another solid choice. Of course, upgrading the Gen 1 SBC to a modern LS engine would be the ultimate, although more complex, transformation. Foss was presented an additional option when a long-forgotten, previously rebuilt engine was offered up. Originally built as a 383 stroker, similar to the engine that it will be replacing, it seemed too good to be true. As it turns out, it was.
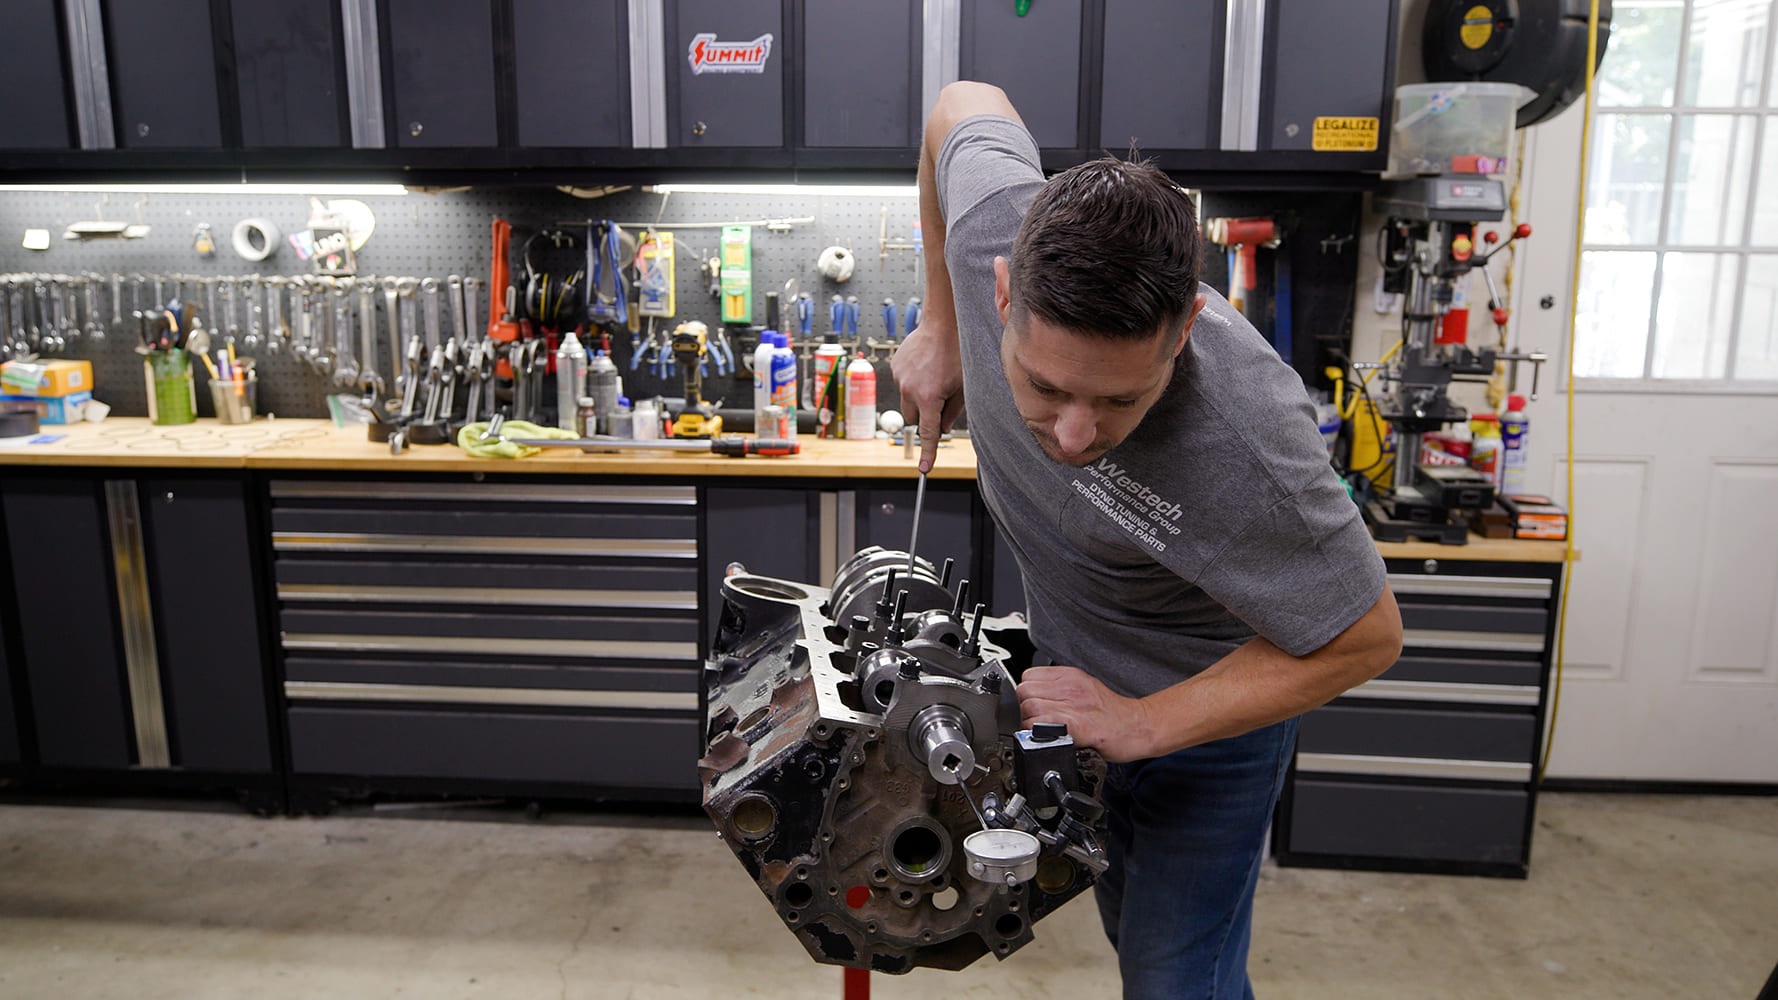
Evan Perkins of Westech Performance worked his magic building a bulletproof 383ci small-block.
Bringing the engine over to Evan Perkins at Westech Performance Group for initial inspection, it was soon found to have had water intrusion in the cylinders with the resulting damage too extensive to fix without a complete rebuild; which is exactly what Perkins proceeded to do.
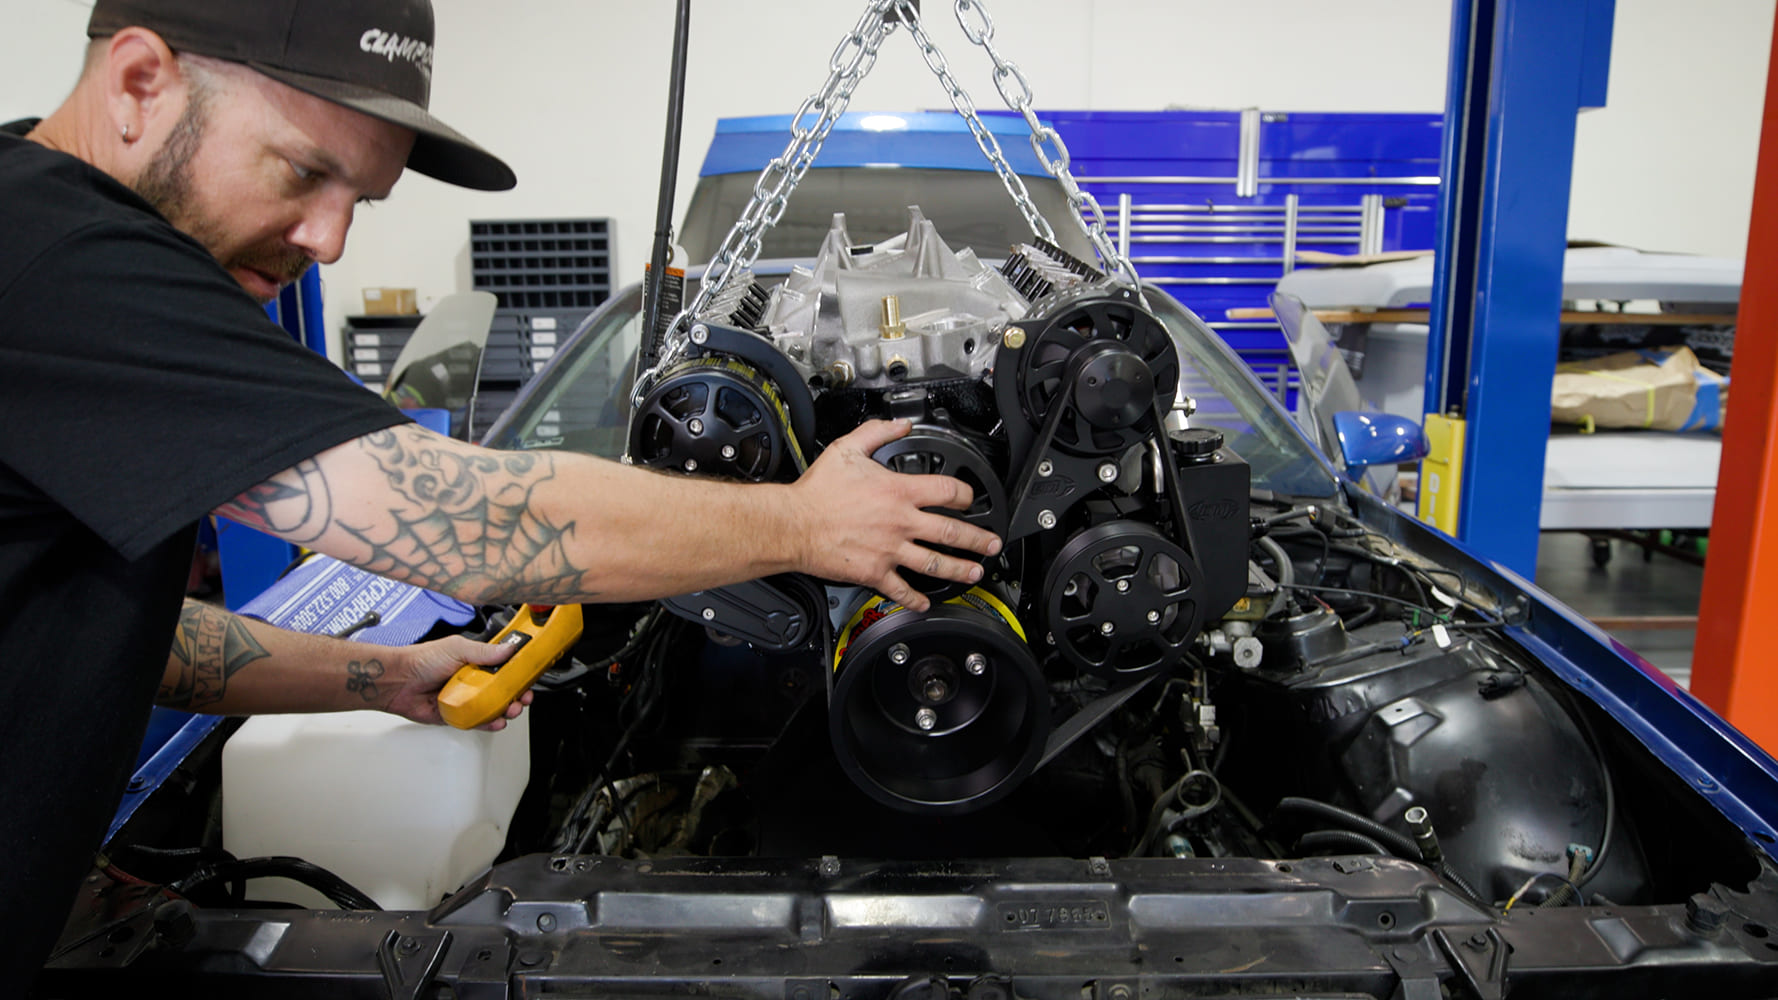
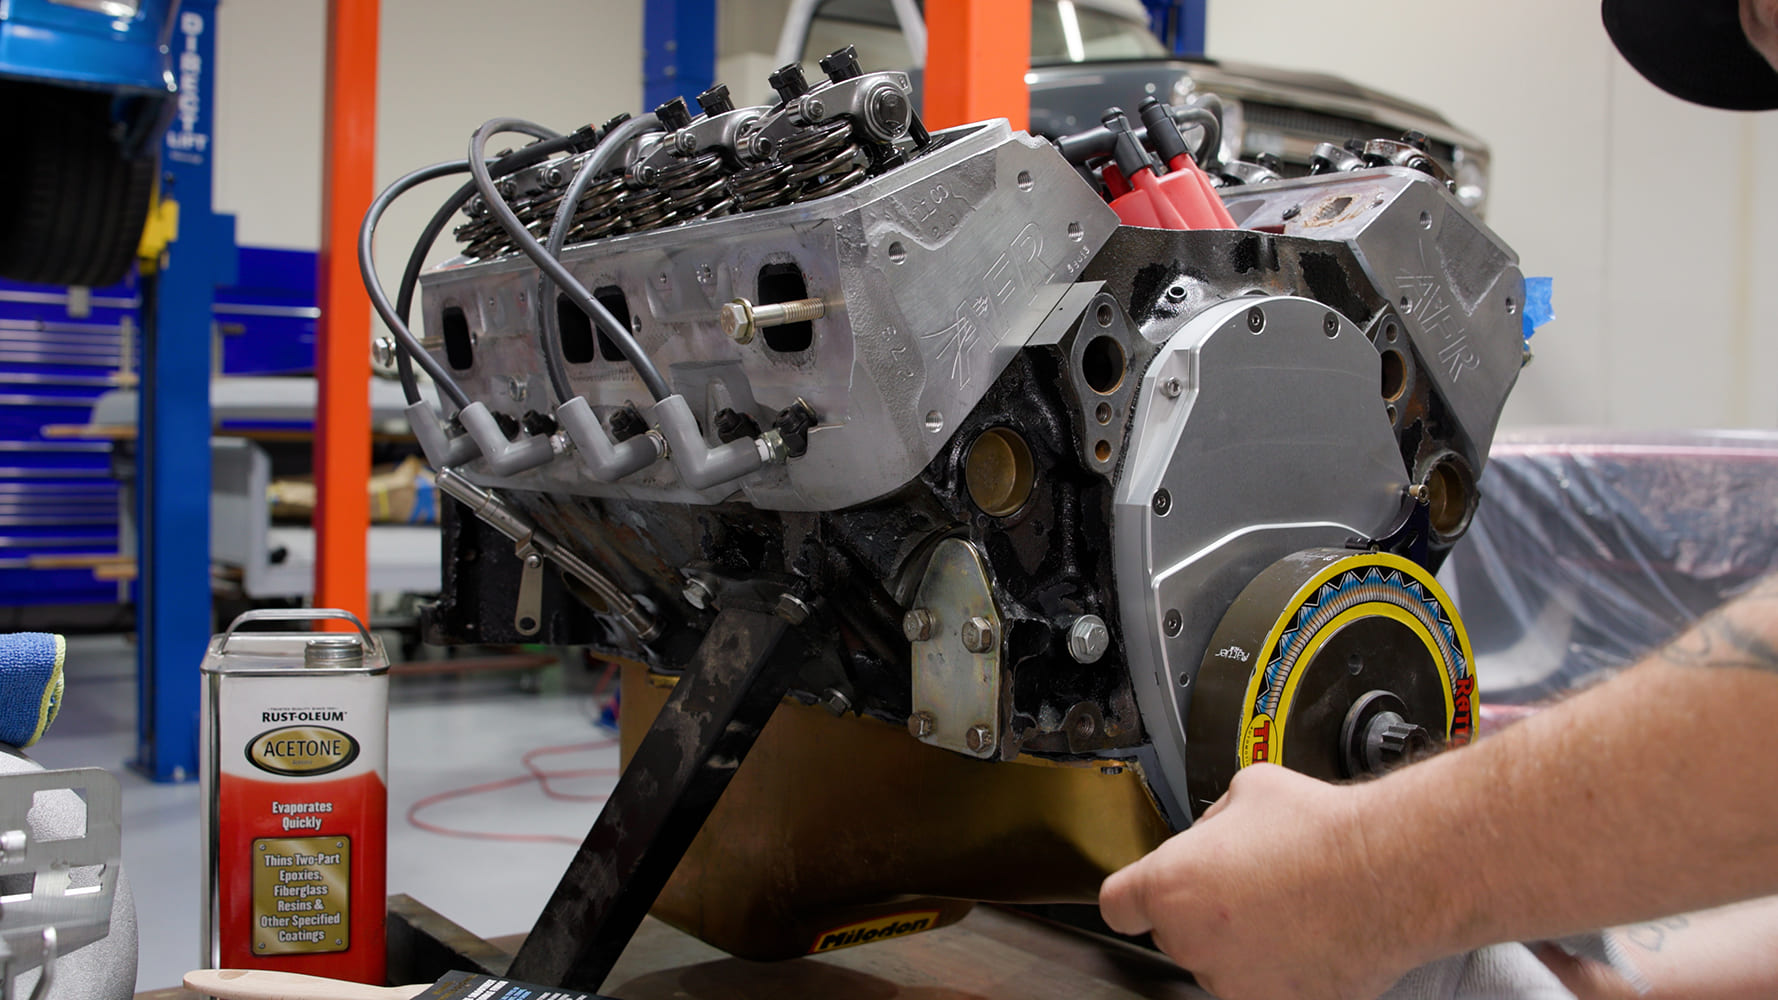
With the rebuild complete, the engine was brought to the In The Garage Media Tech Center where preparation and installation was completed by yours truly of Clampdown Competition. The engine was painted, accessories added, and the long-block was then hoisted into place. While we had the engine out of the car, it was also decided to upgrade the existing 700-R4 with a 4L60E transmission.
When Foss’ Copmaro is back on the road, it’s guaranteed to be a reliable beast of a muscle car, but for now, follow along as we take it from limp mode back to beast mode.
Here’s the original engine pulled from the Copmaro. Note the California-compliant “Smog” headers and the Rube Goldberg oil pressure plumbing, just a couple of the things we’ll be sorting with the new powerplant.
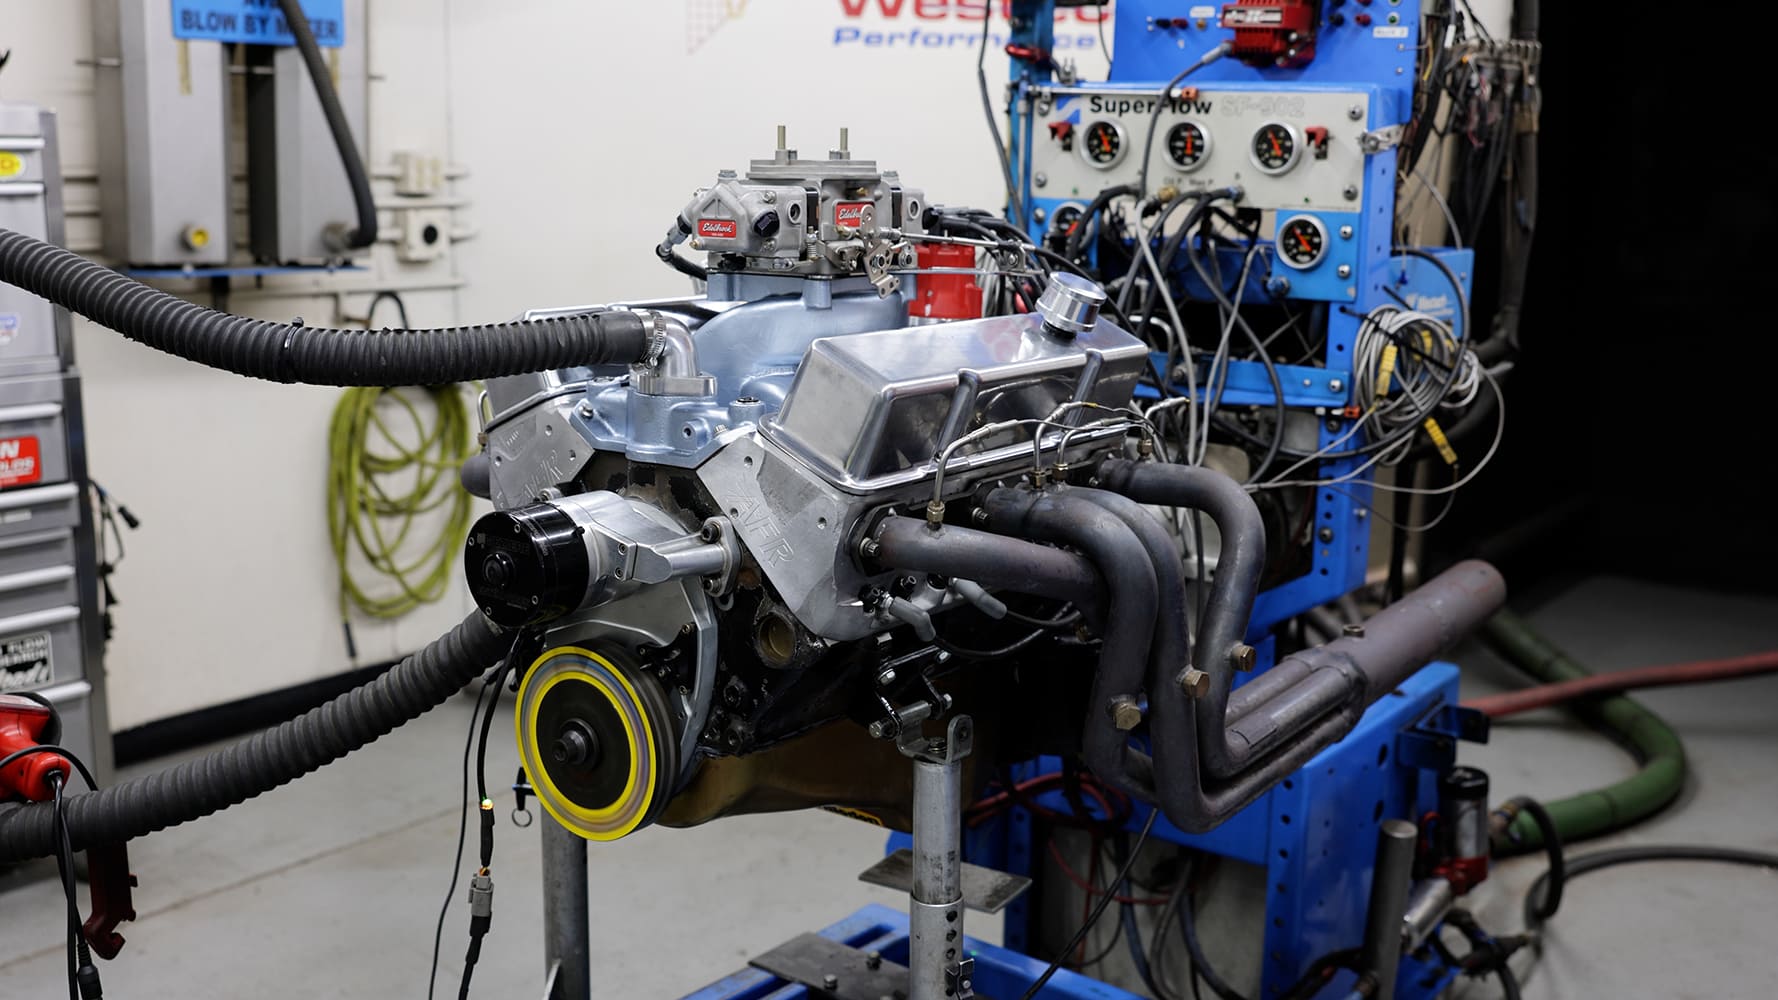
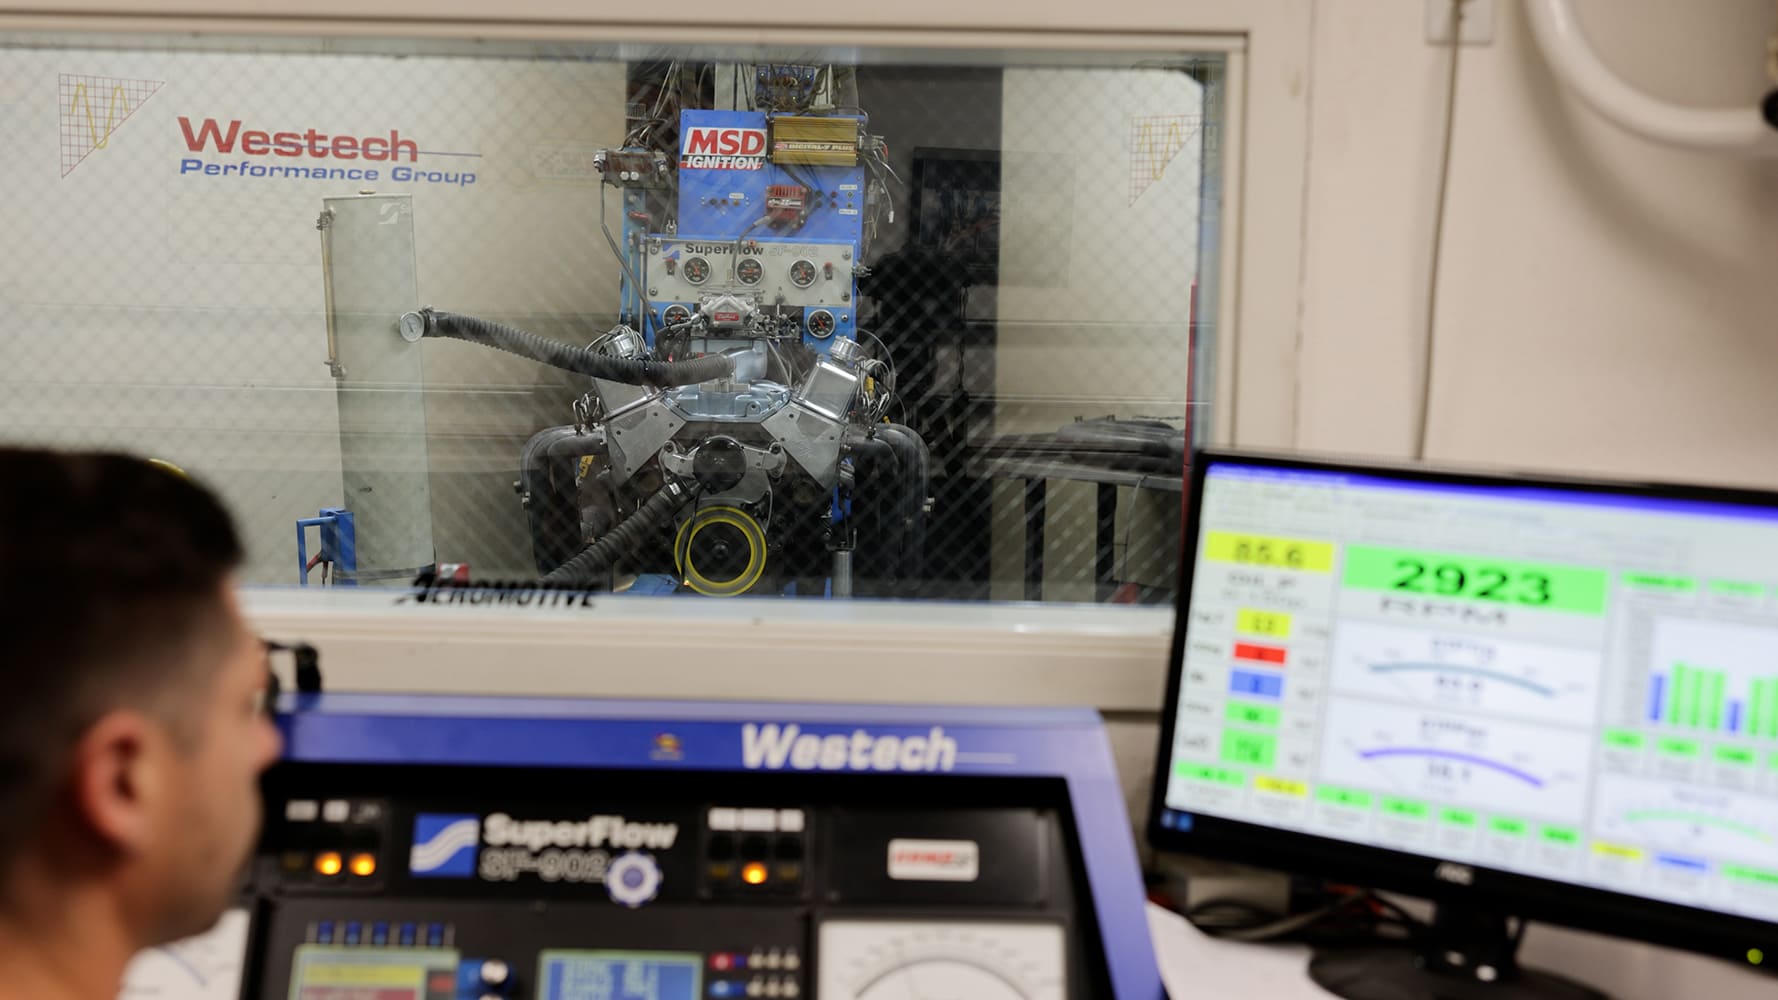
After buttoning up the long-block, Perkins proceeded to break the engine in before grabbing a couple naturally aspirated pulls on Westech’s dyno.
The results? 483 lb-ft of torque and 473 hp. Impressive!
With the engine dialed in internally, our attention shifts to the exterior.
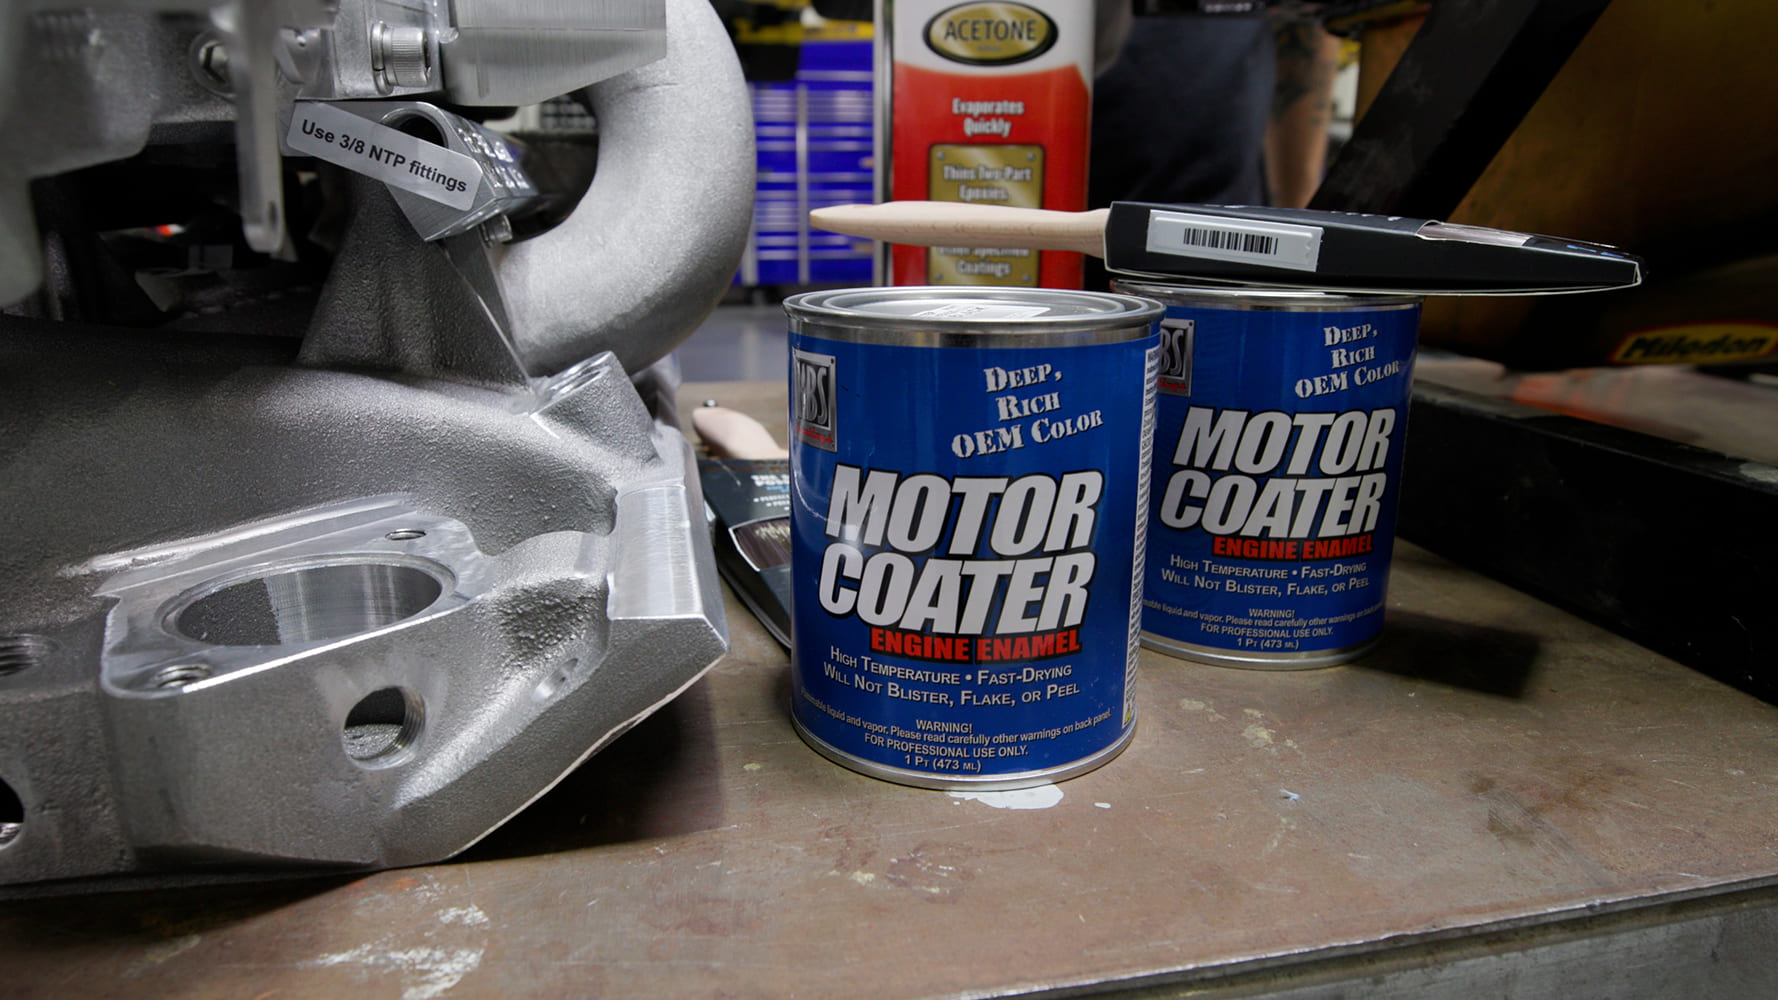
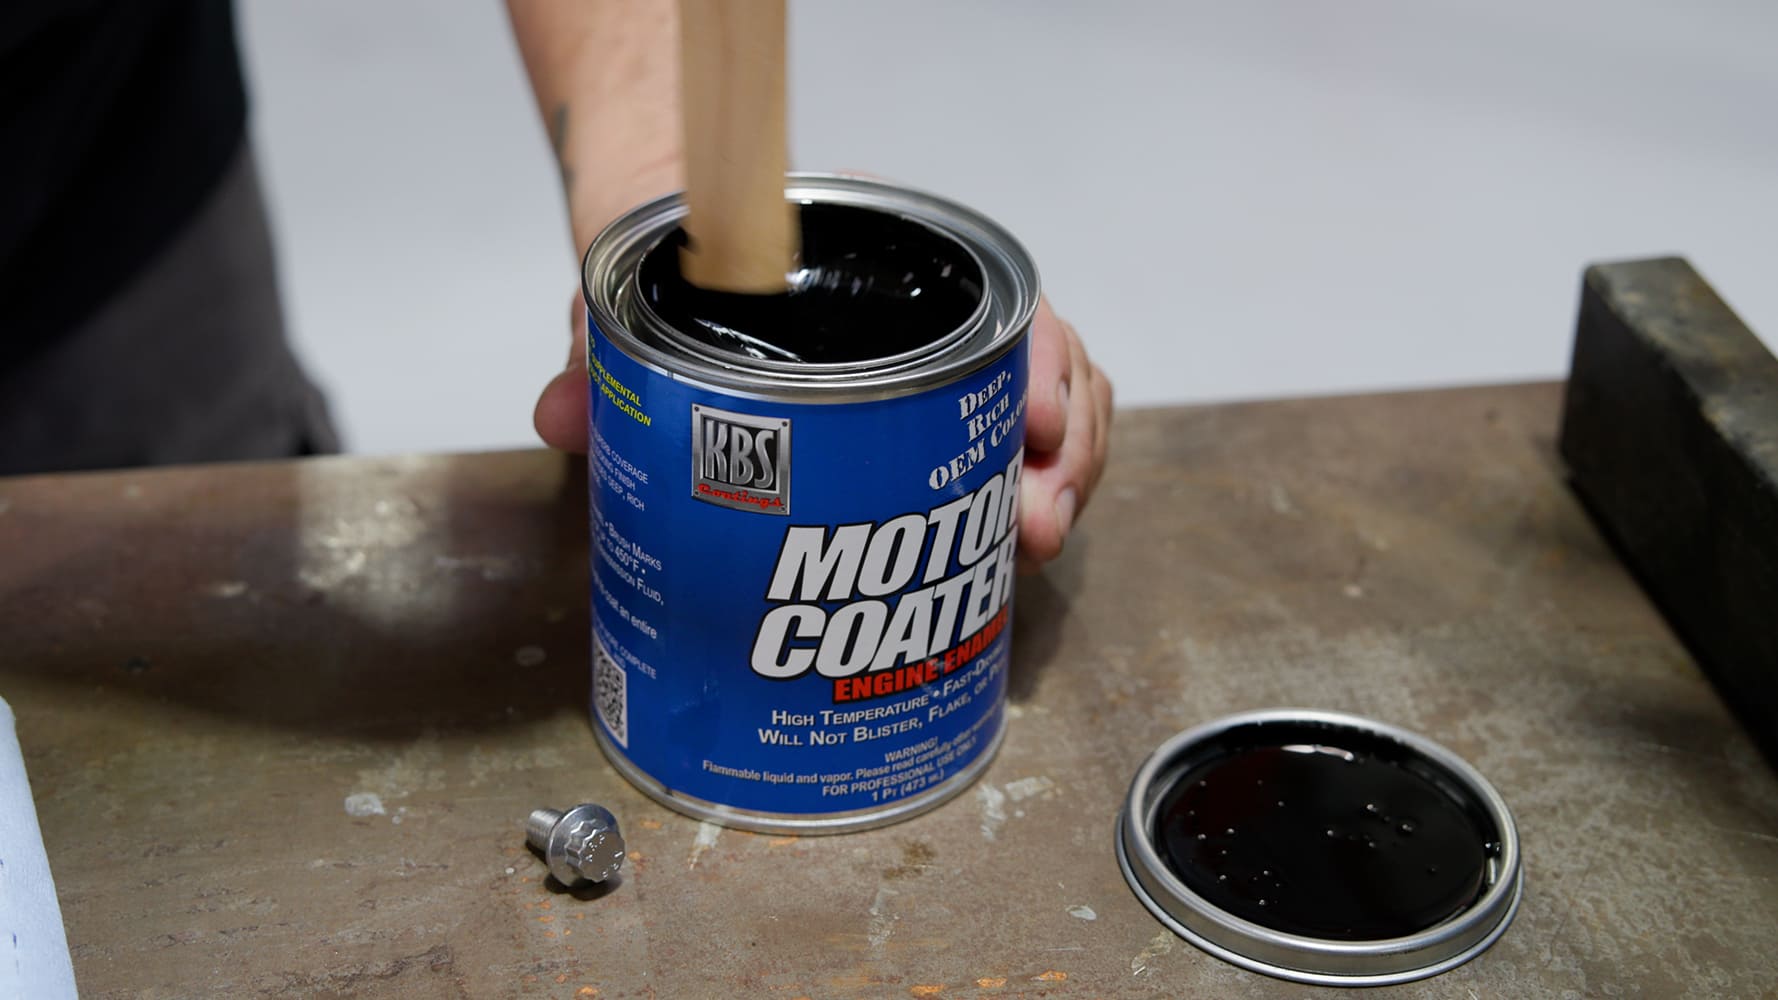
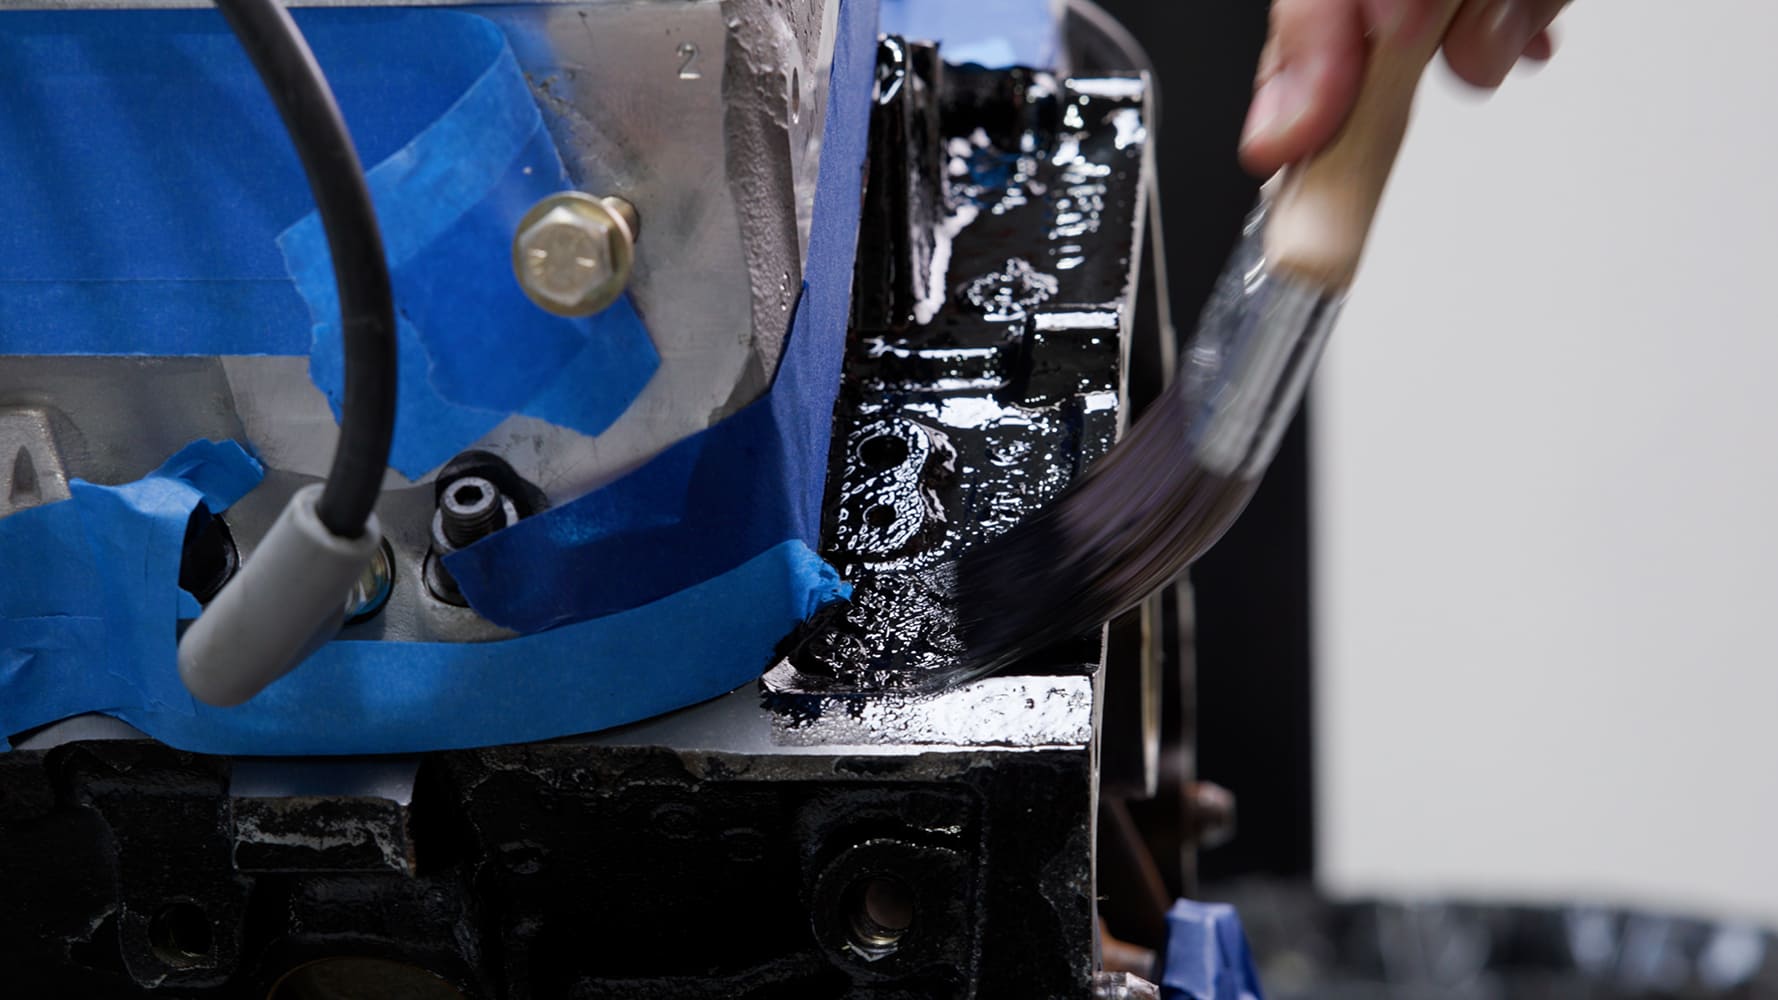
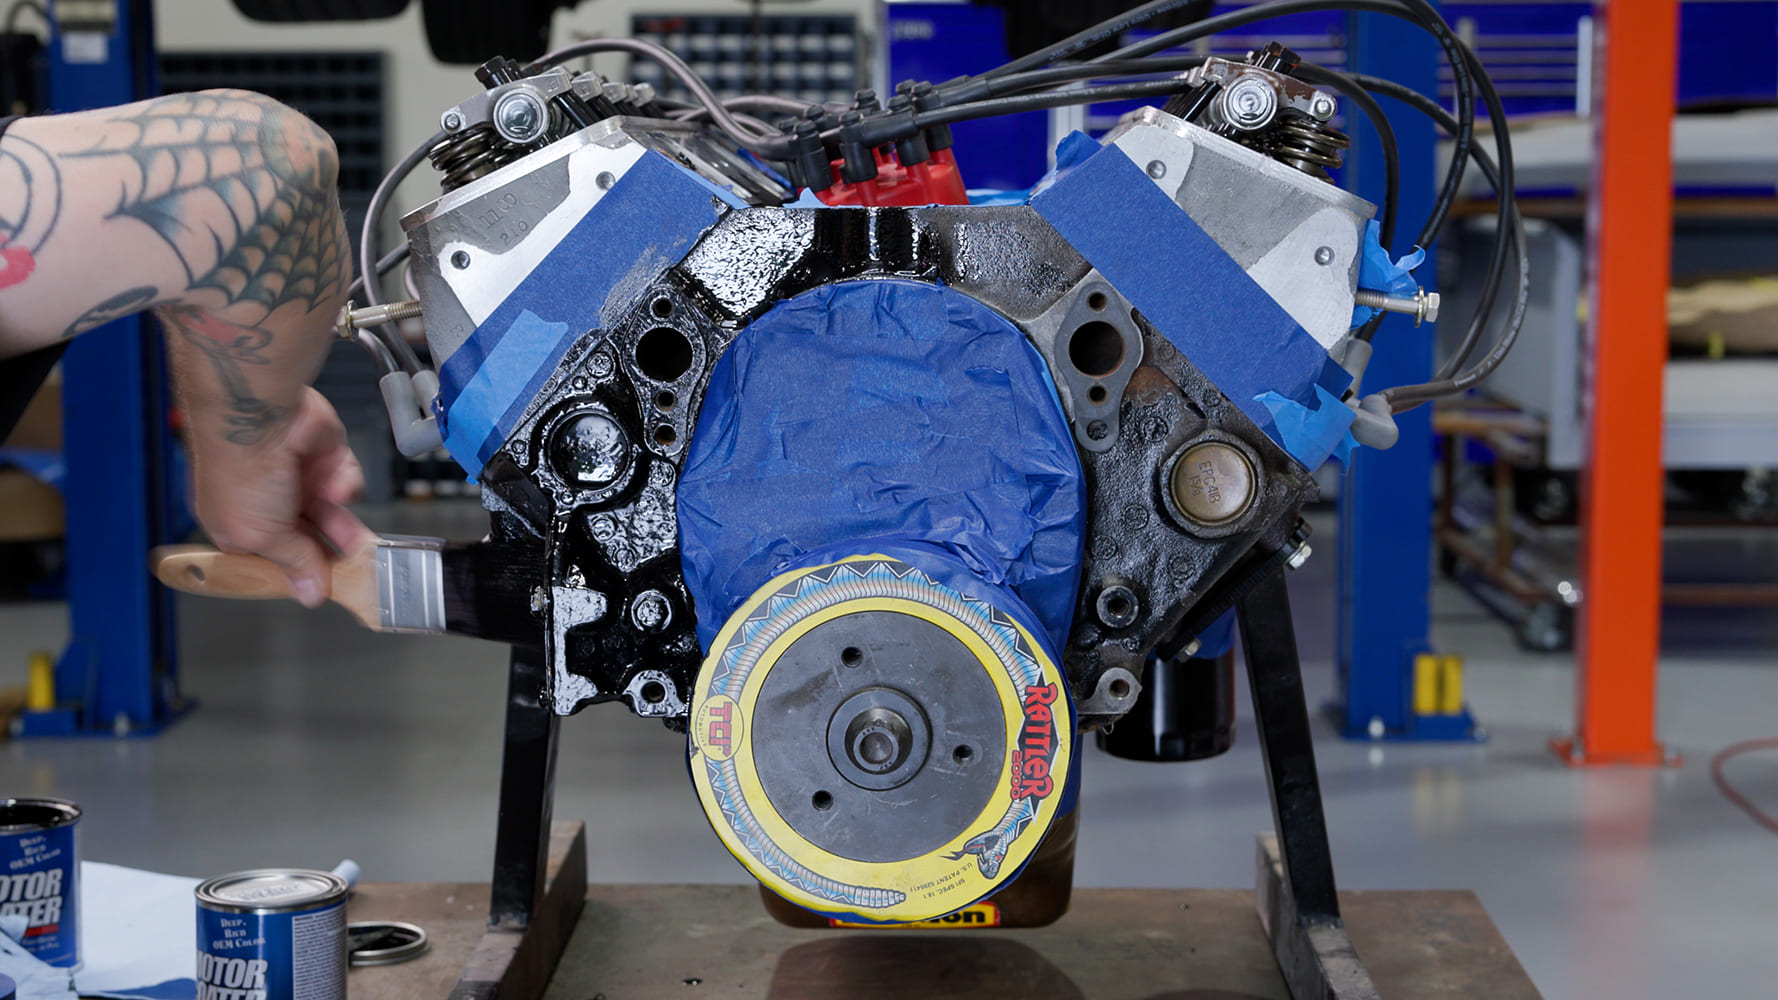
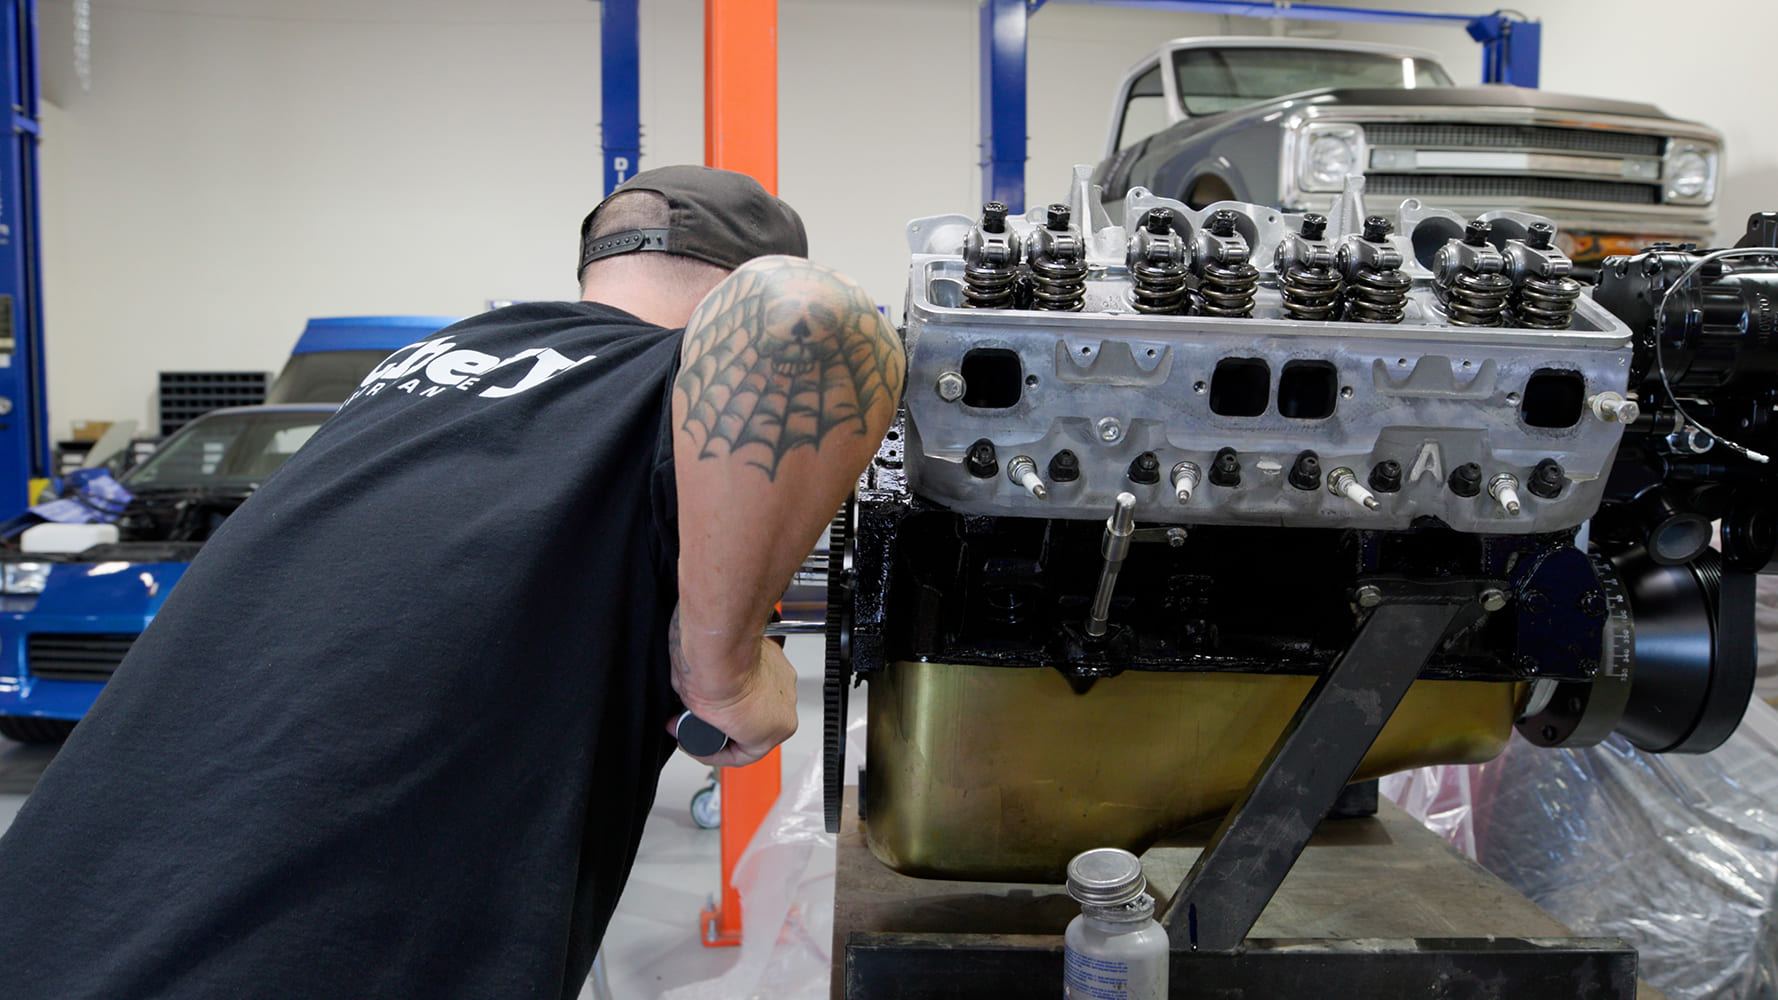
First up, we need to address the engine’s surface, as it came straight out of the hot tank and onto the rebuild stand. For that end, we’ll be painting it using a product from KBS Coatings called Motor Coater.
Motor Coater is easy to apply and offers superb coverage. Its special formulation creates a self-leveling finish, allowing it to be applied by spray and/or brush, with either method producing equally impressive results.
The resulting finish is tough, durable, and resistant to heat and chemicals thanks to its ceramic resin system. Motor Coater is also an incredible exterior-grade coating, exhibiting excellent resistance to discoloration, chalking, or fading with UV stability.
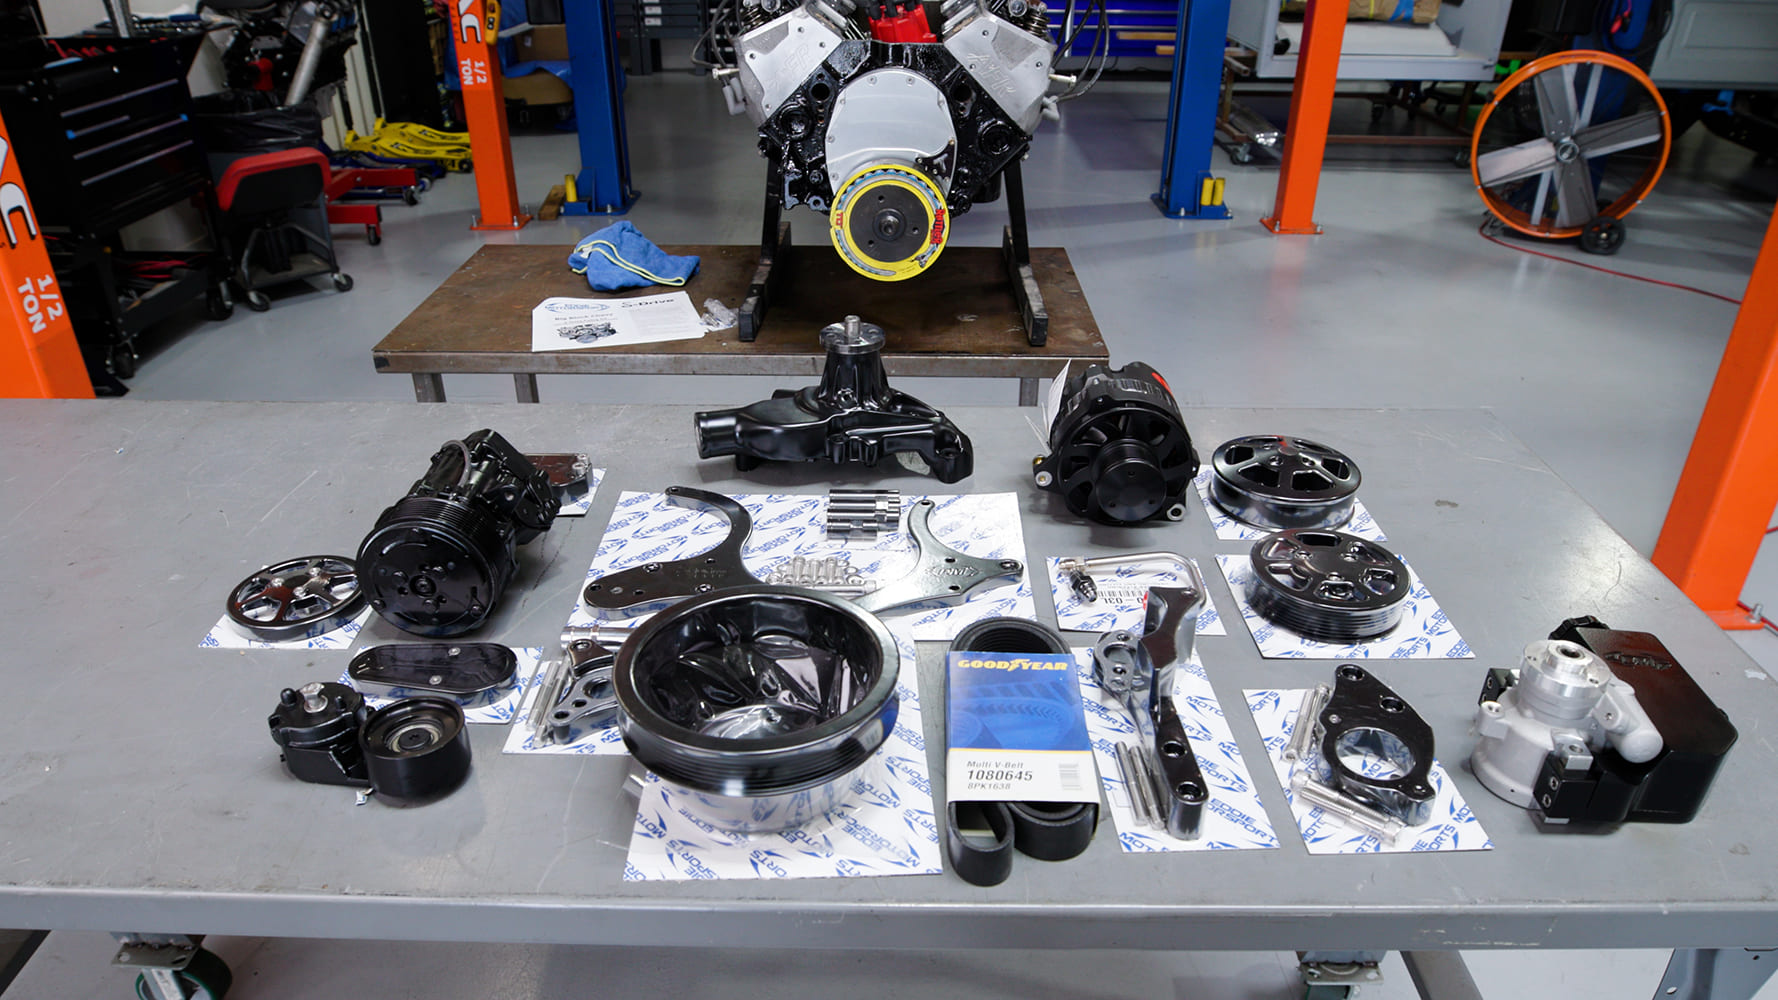
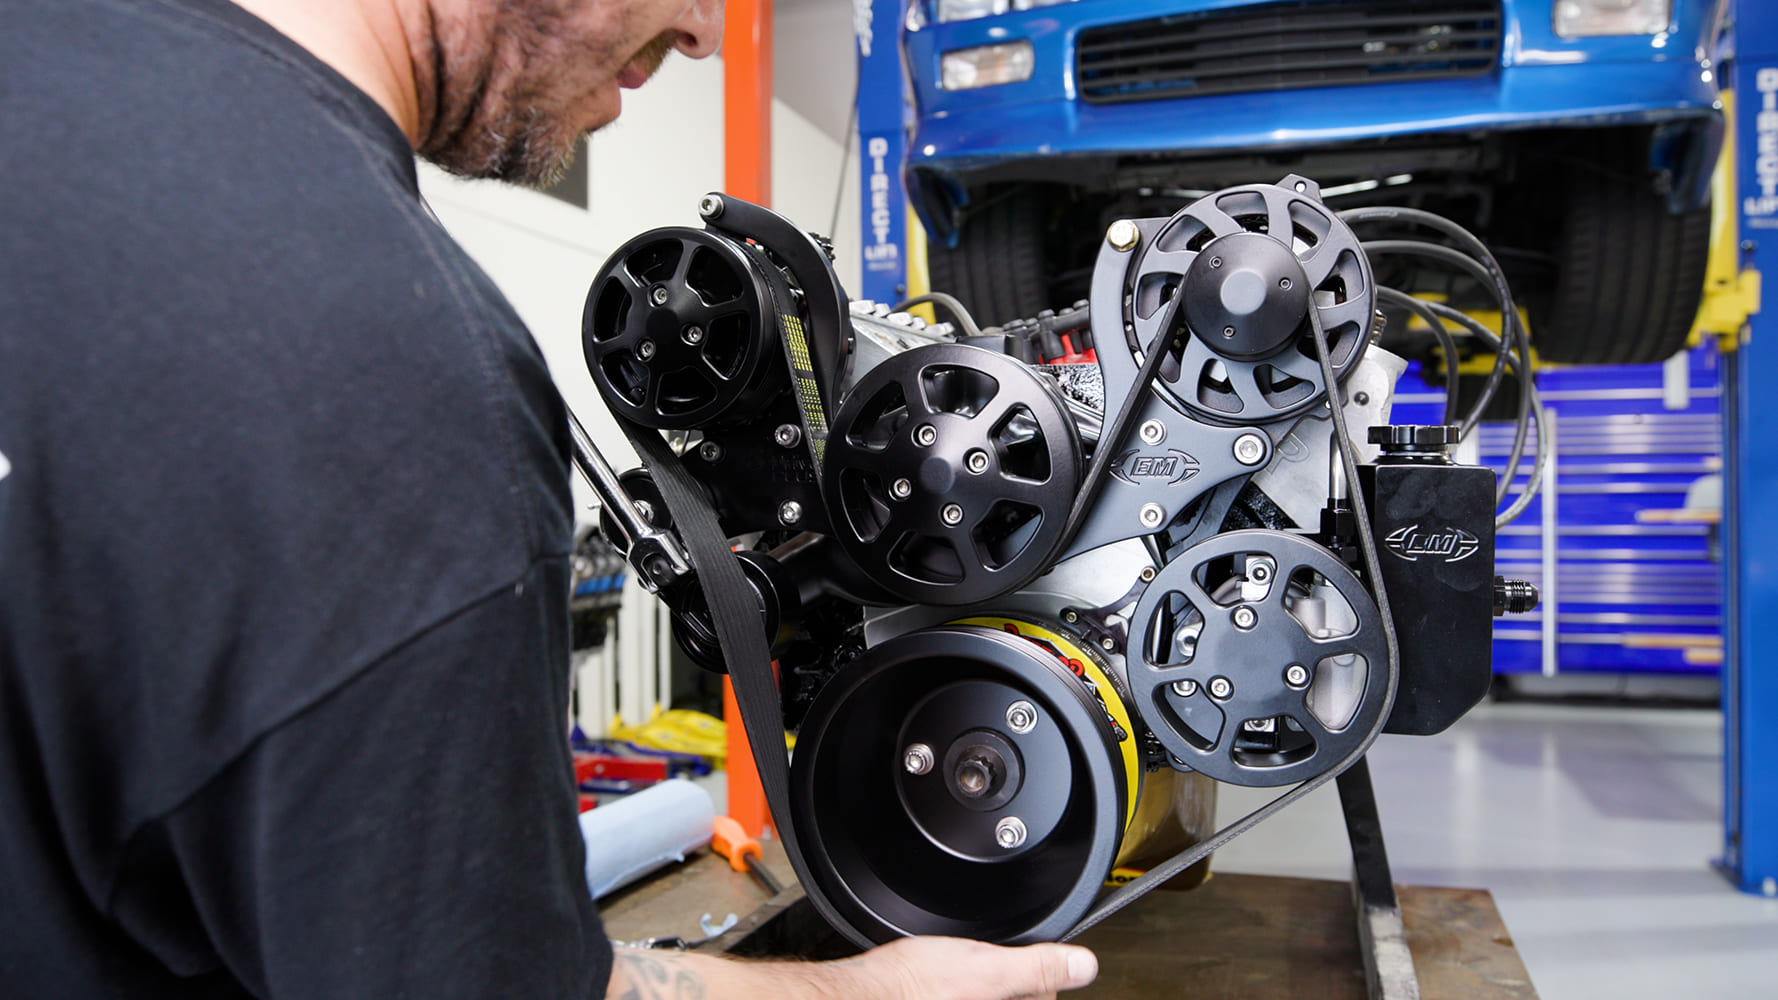
With the engine still on the stand and the paint drying, we prepared to install an Eddie Motorsports S-Drive accessory drive system in matching black.
We laid out the Eddie Motorsports S-Drive accessory drive system before installation. As you can see, you get a lot of pieces for your money, including brackets, pulleys, hardware, and drive components. Buying a complete drive system is the best way to ensure that everything works together.
The fit and finish of Eddie Motorsports S-Drive system is impressive With the hardware installed and torqued, the serpentine belt can go on.
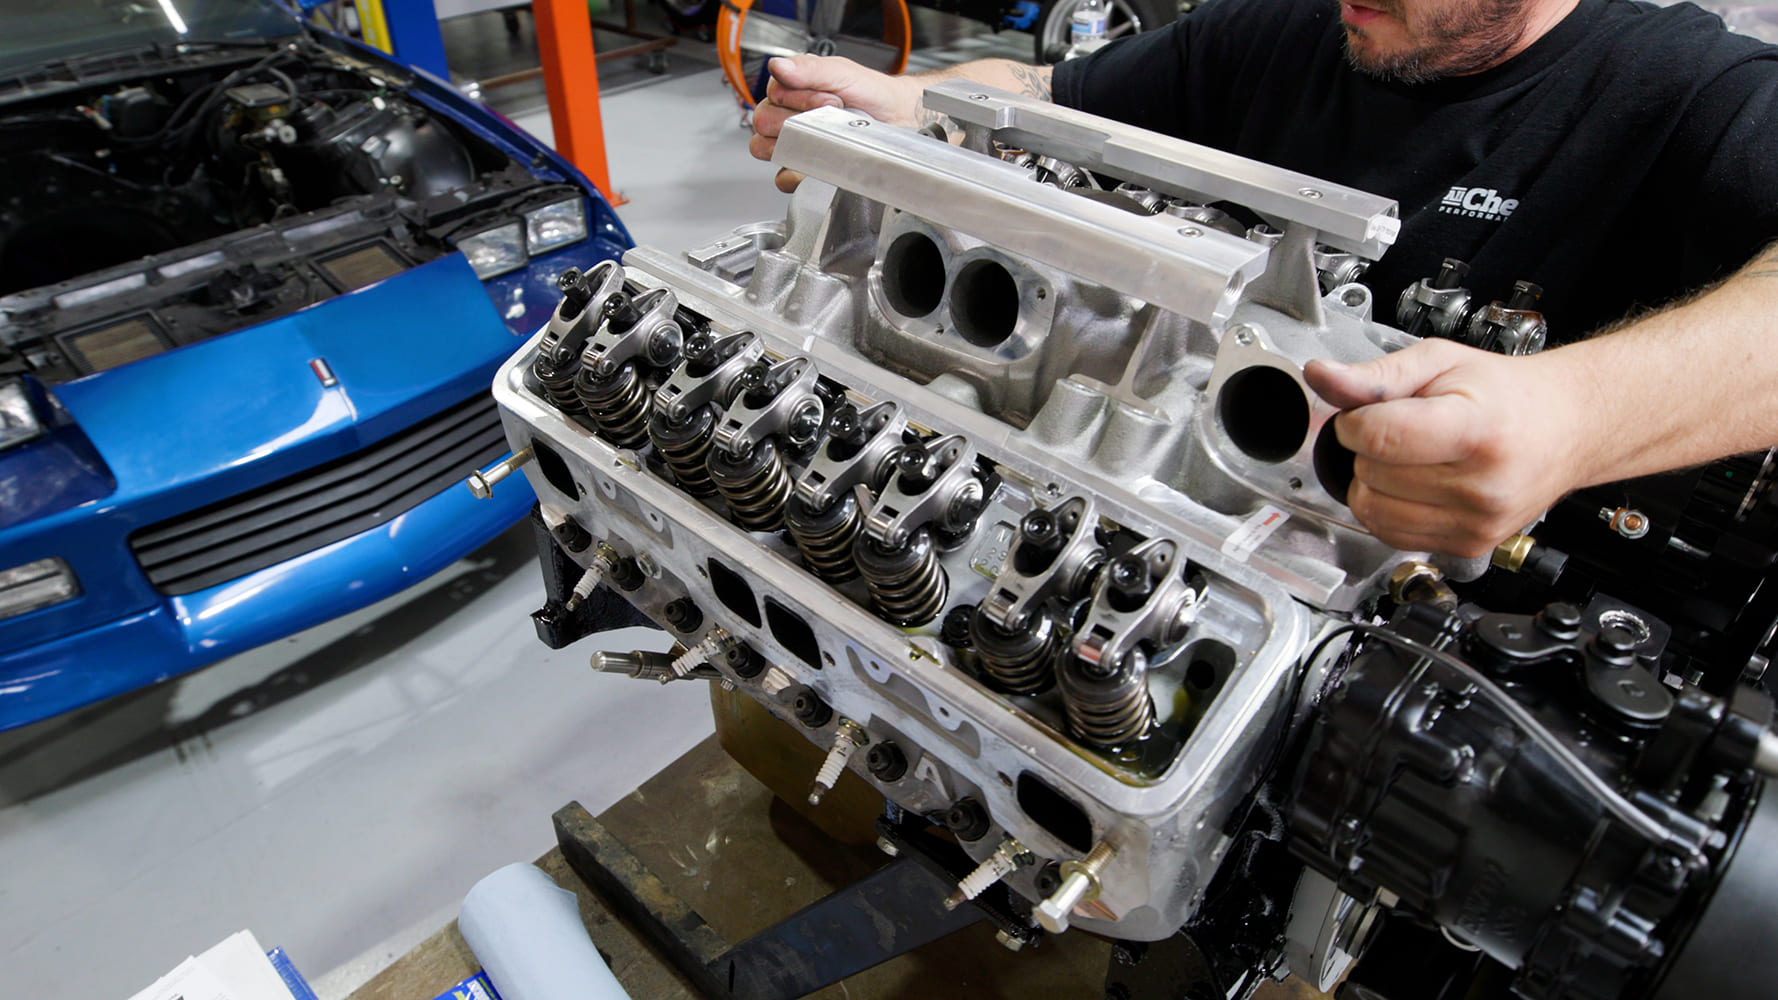
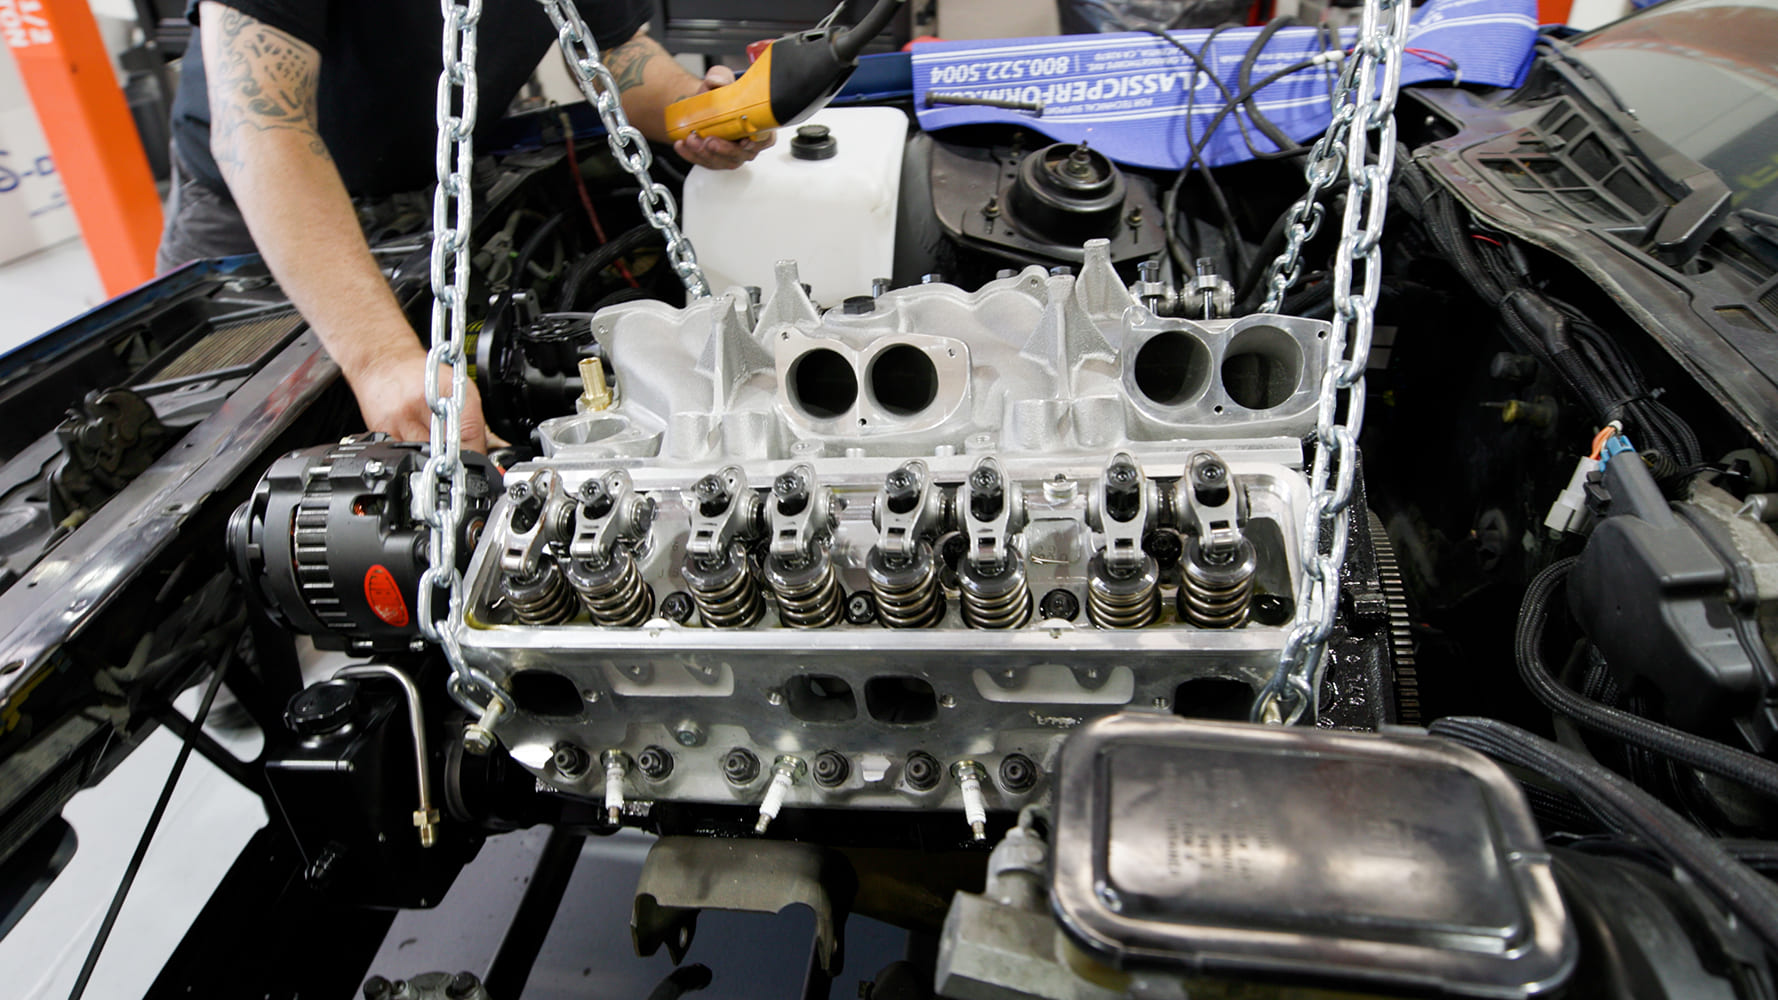
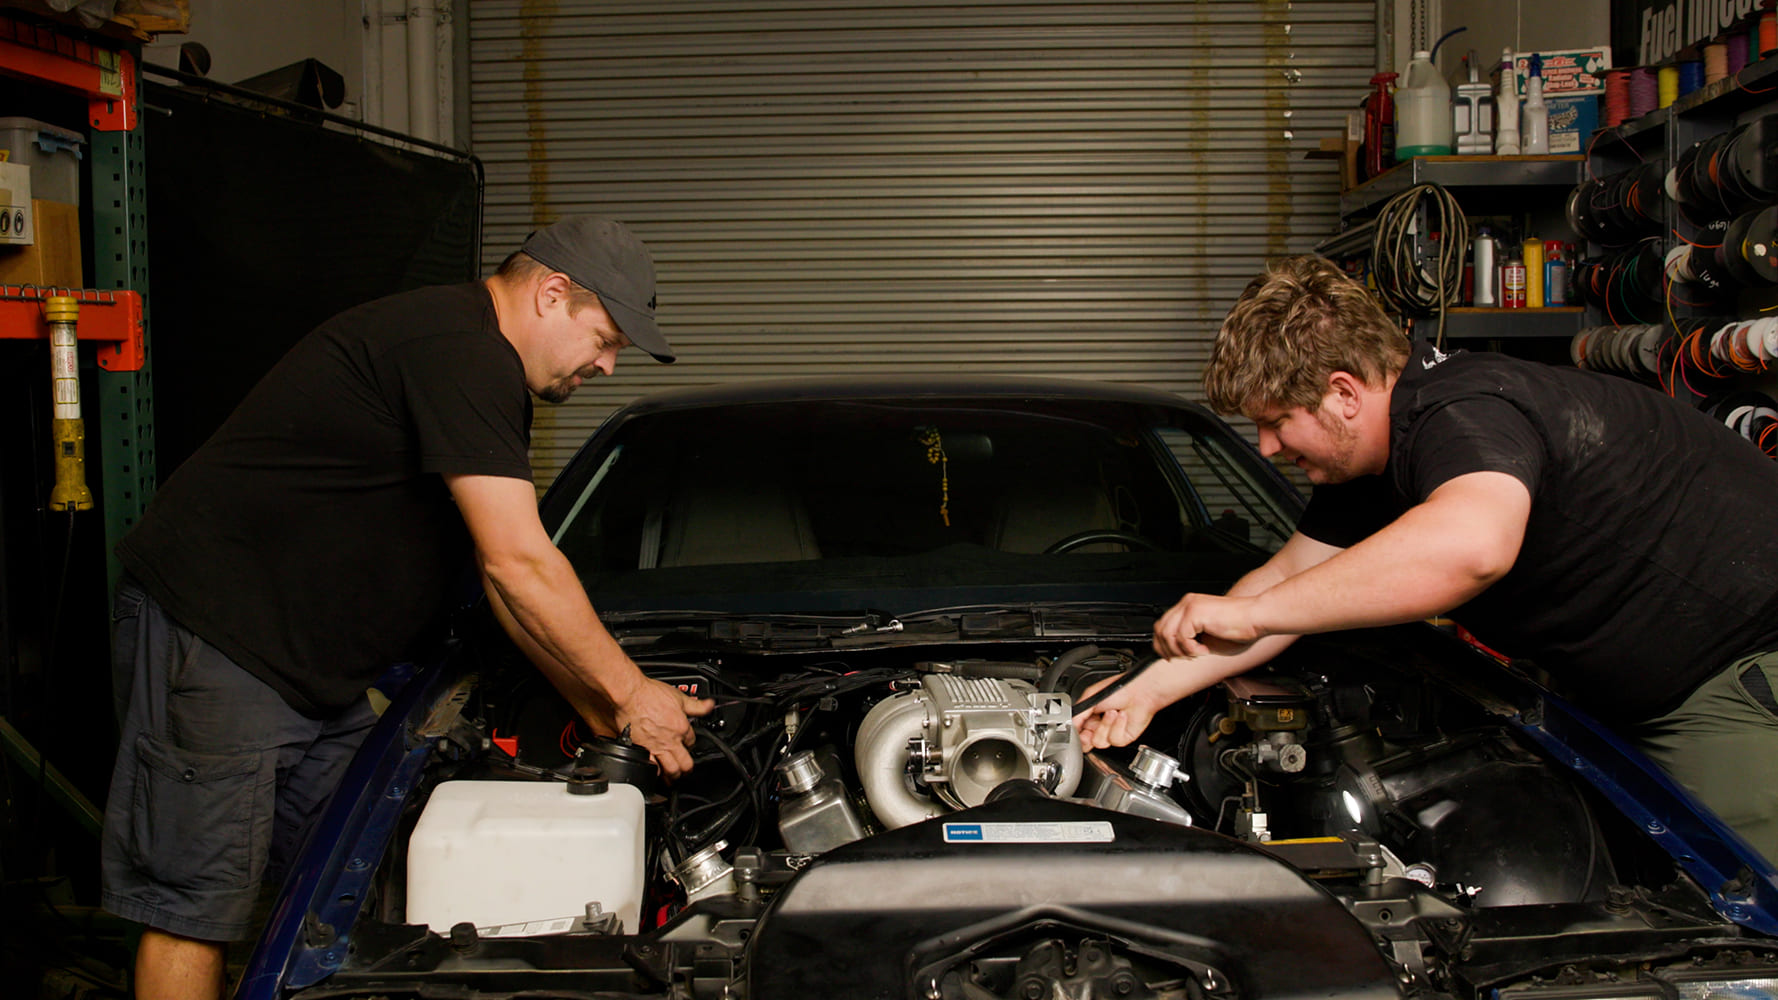
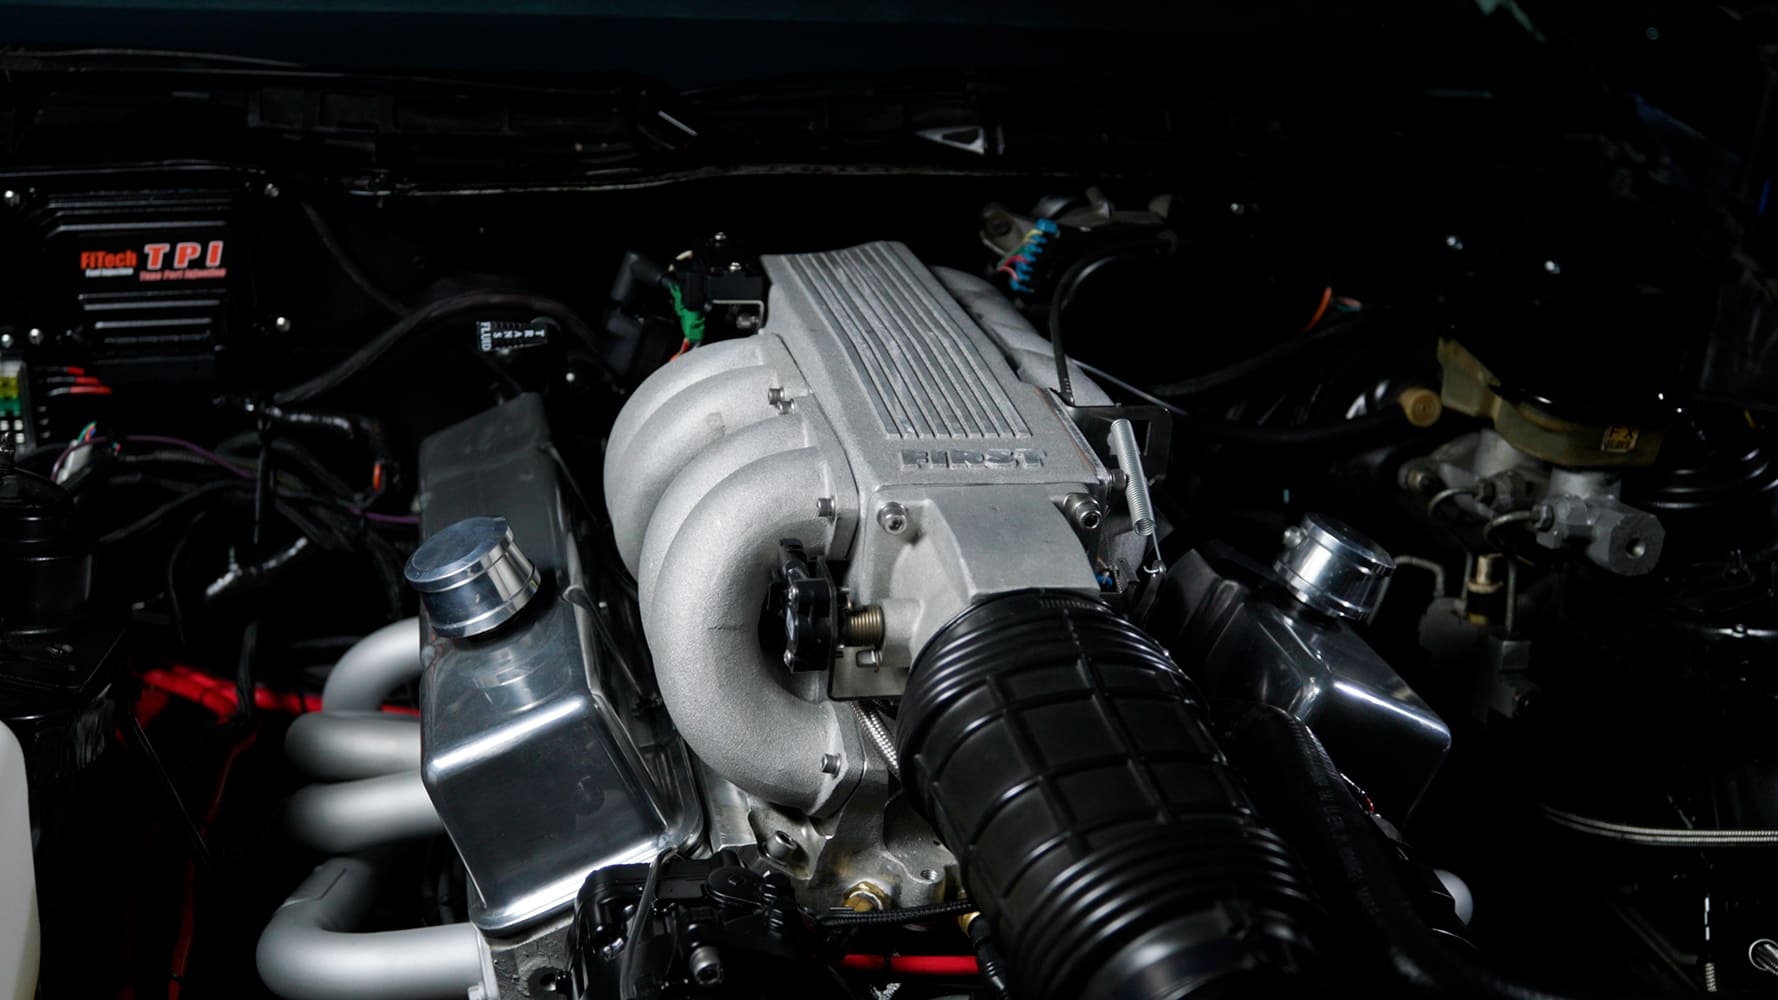
While the Copmaro will be brought to FiTech for ignition and EFI sorting, we decided to go ahead and install the First Performance Center First TPI EFI intake manifold. These are designed to look similar to the original TPI intake system, with improved performance and a clean design. They offer clearance for stock hood configurations, mate to the original airbox, and are available in two different throttle body sizes: 835 or 1,050 cfm.
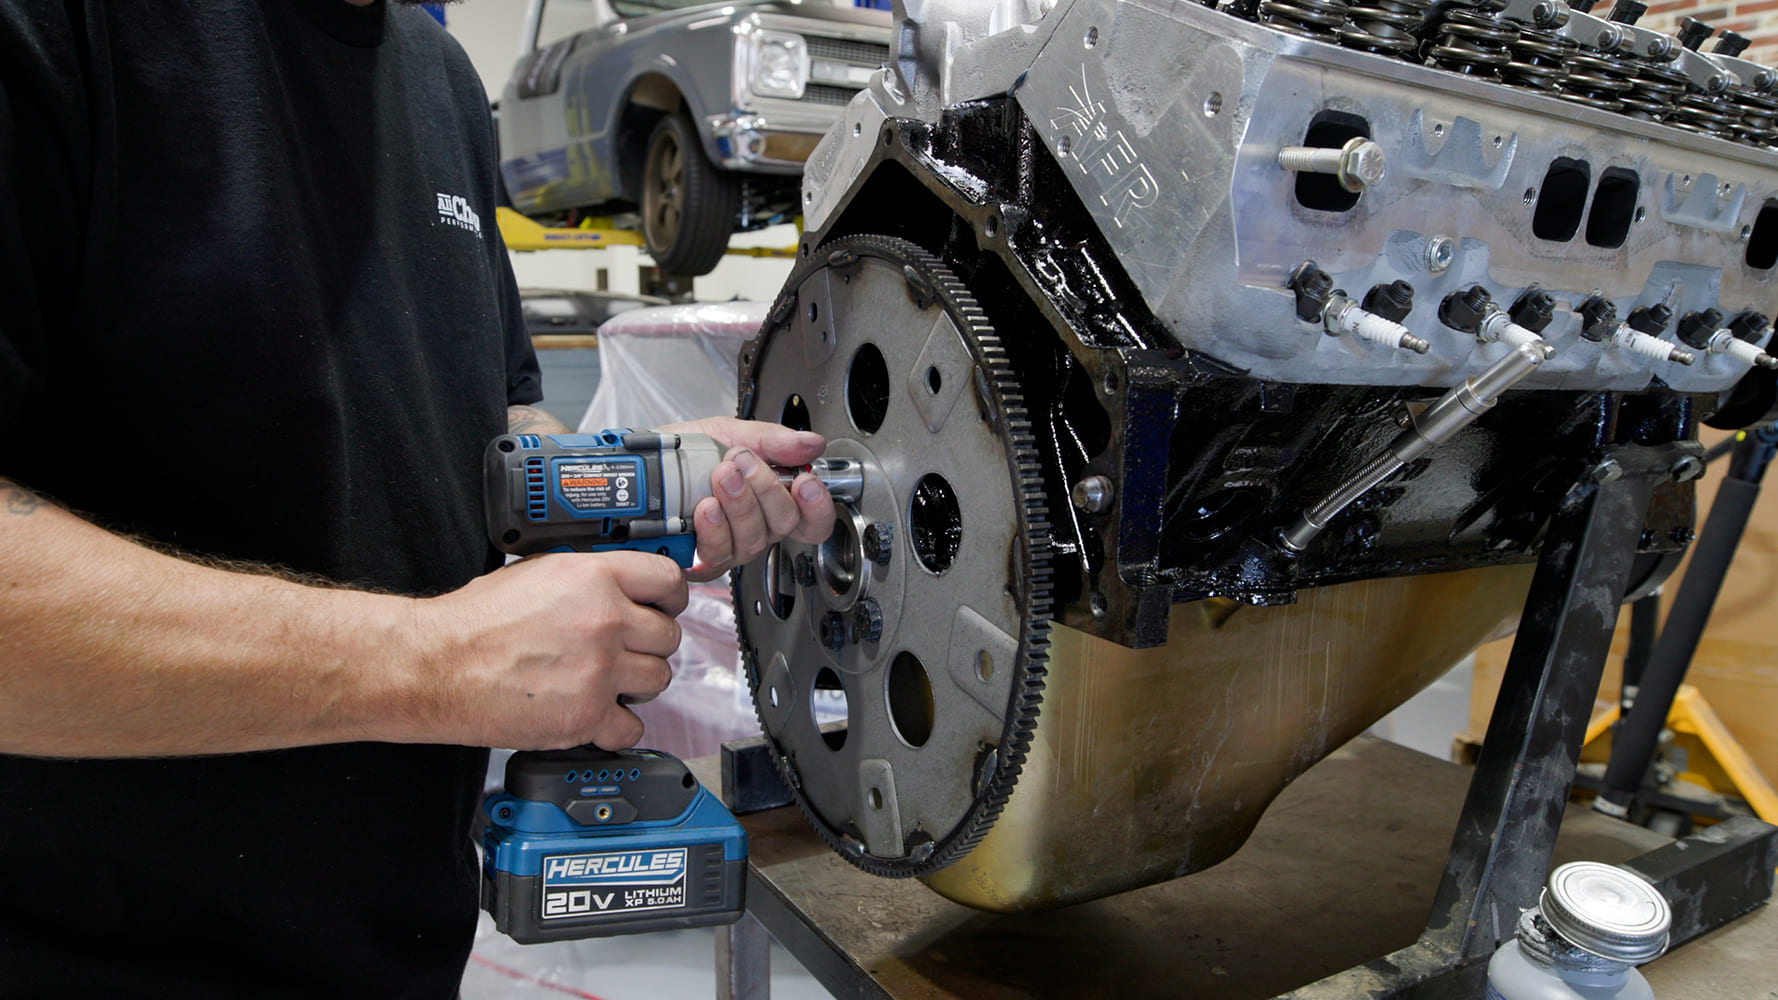
The last thing to be put in place before the big engine drop is a new flexplate from Gearstar Performance Transmission for the new 4L60E also sourced from Gearstar.
The 12-point ARP flexplate bolts are torqued to 85 Ft-Lbs with ARP Assembly Lube
Only the base of the First TPI intake manifold is in place while the engine is carefully lowered between the Copmaro’s inner fenders.
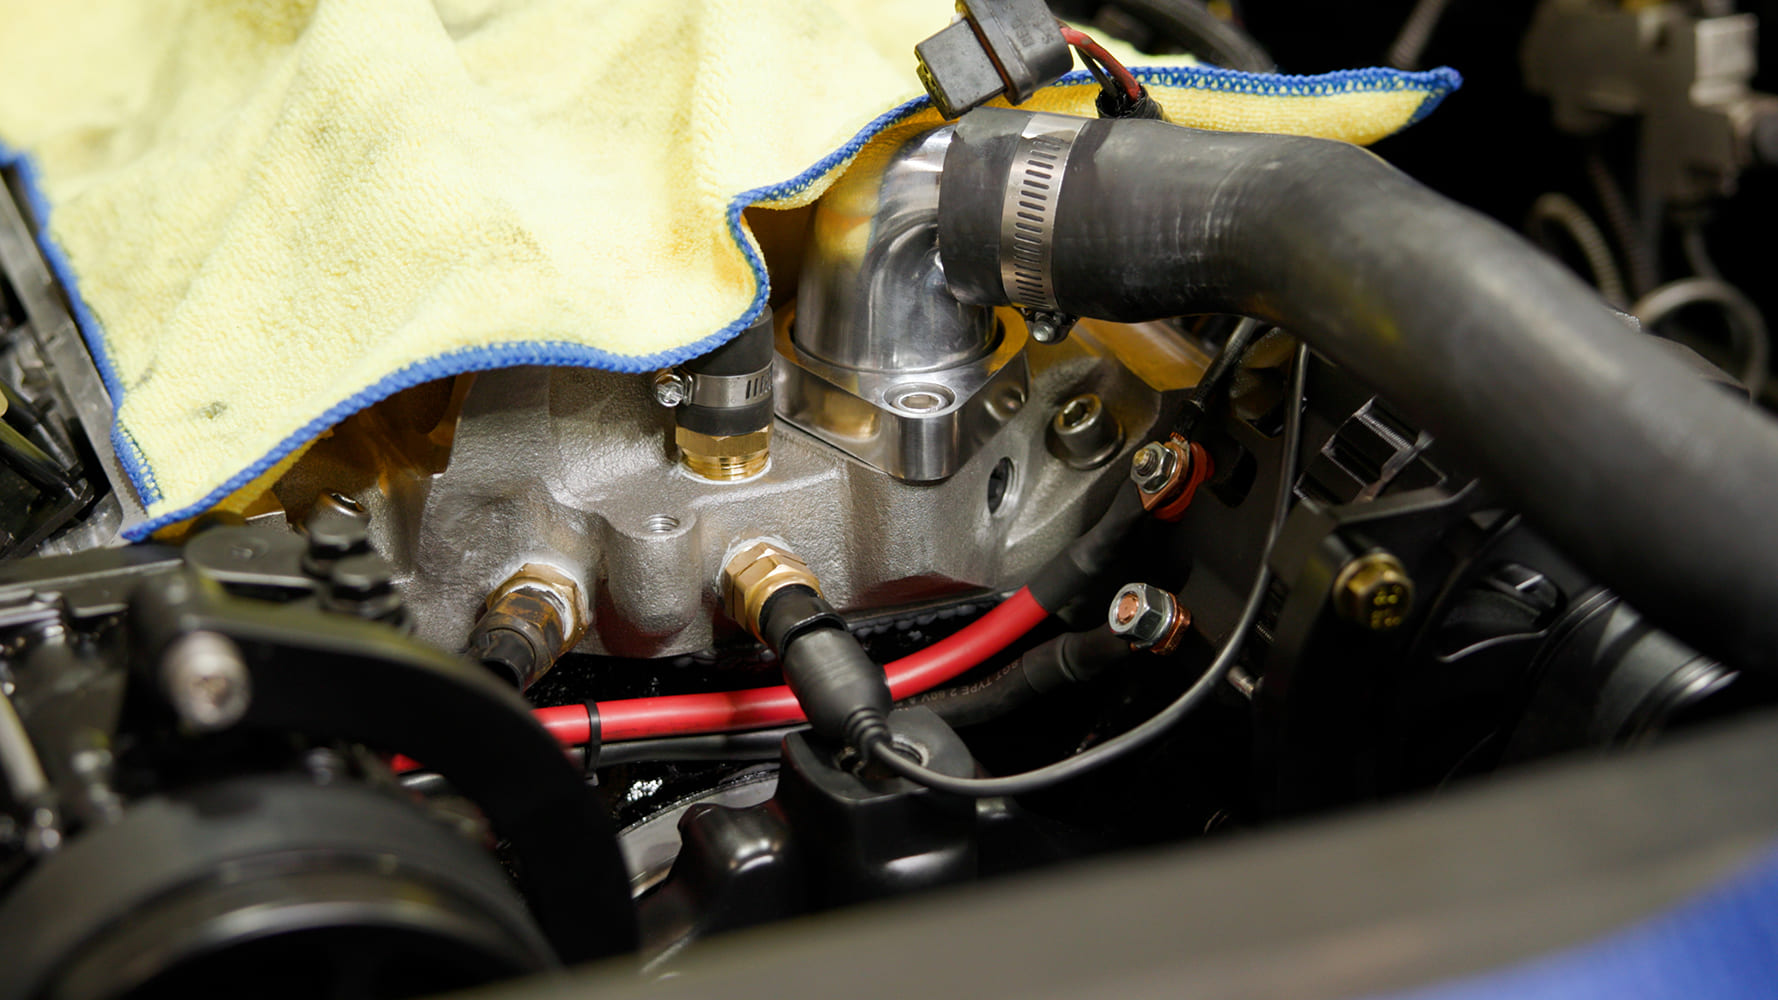
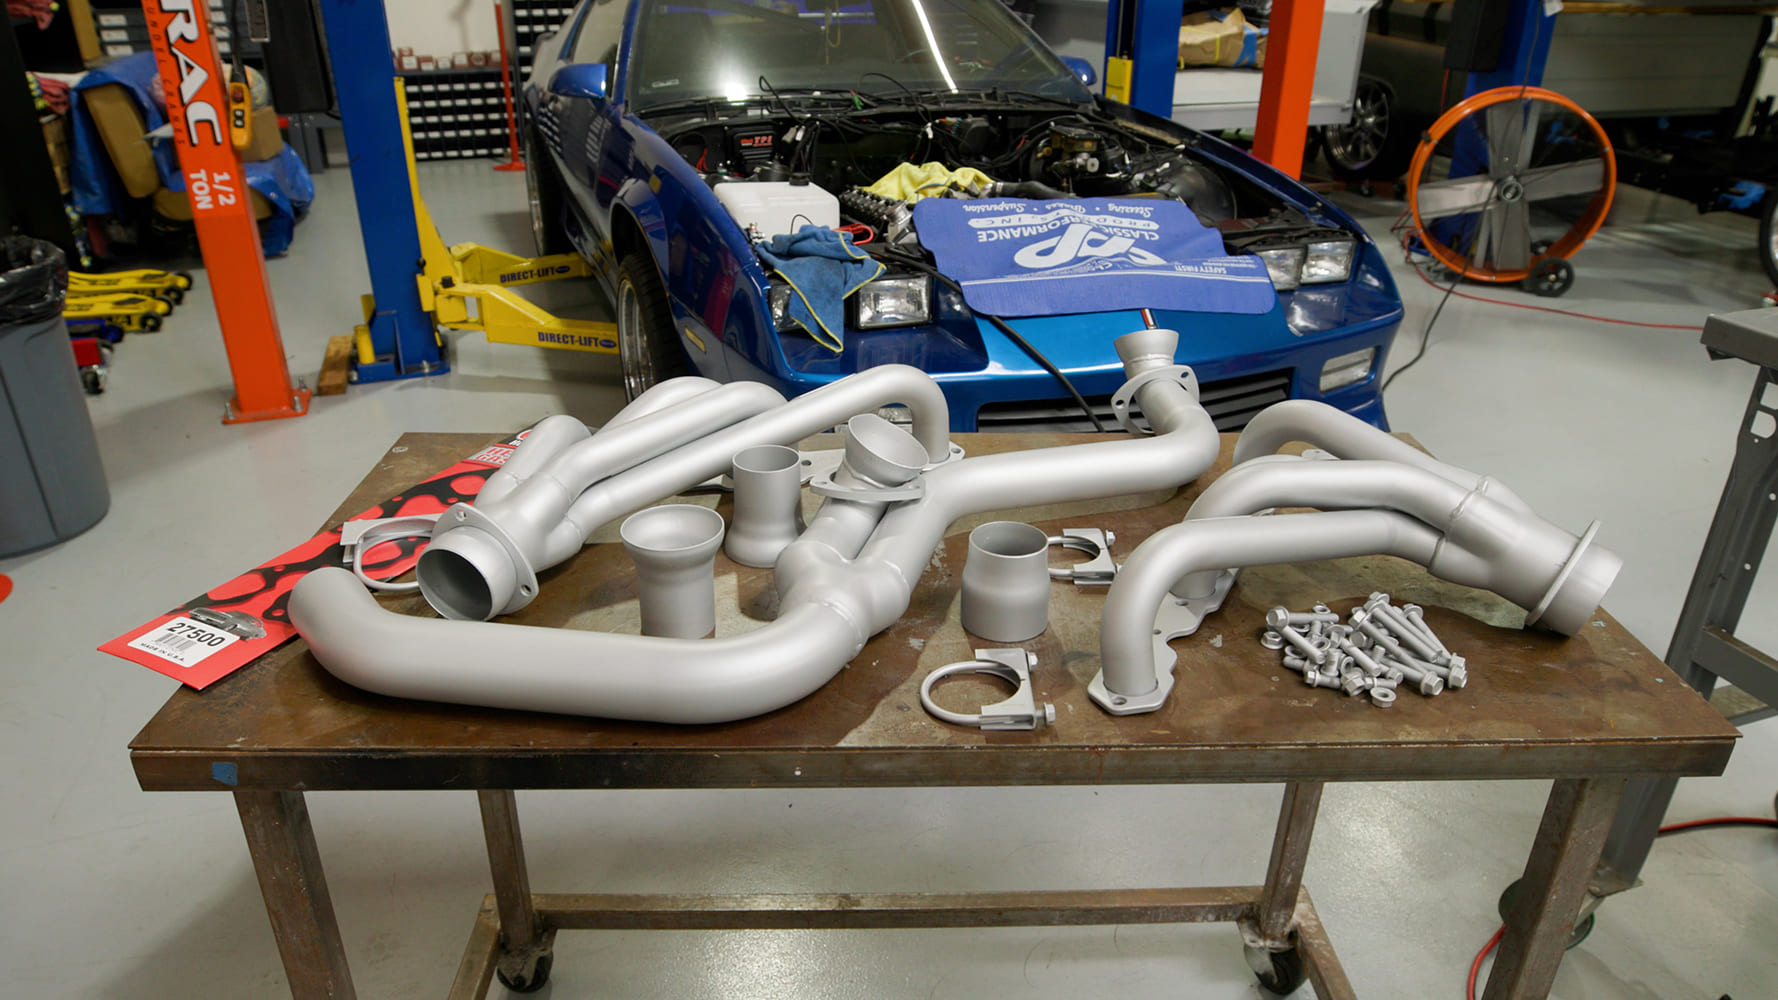
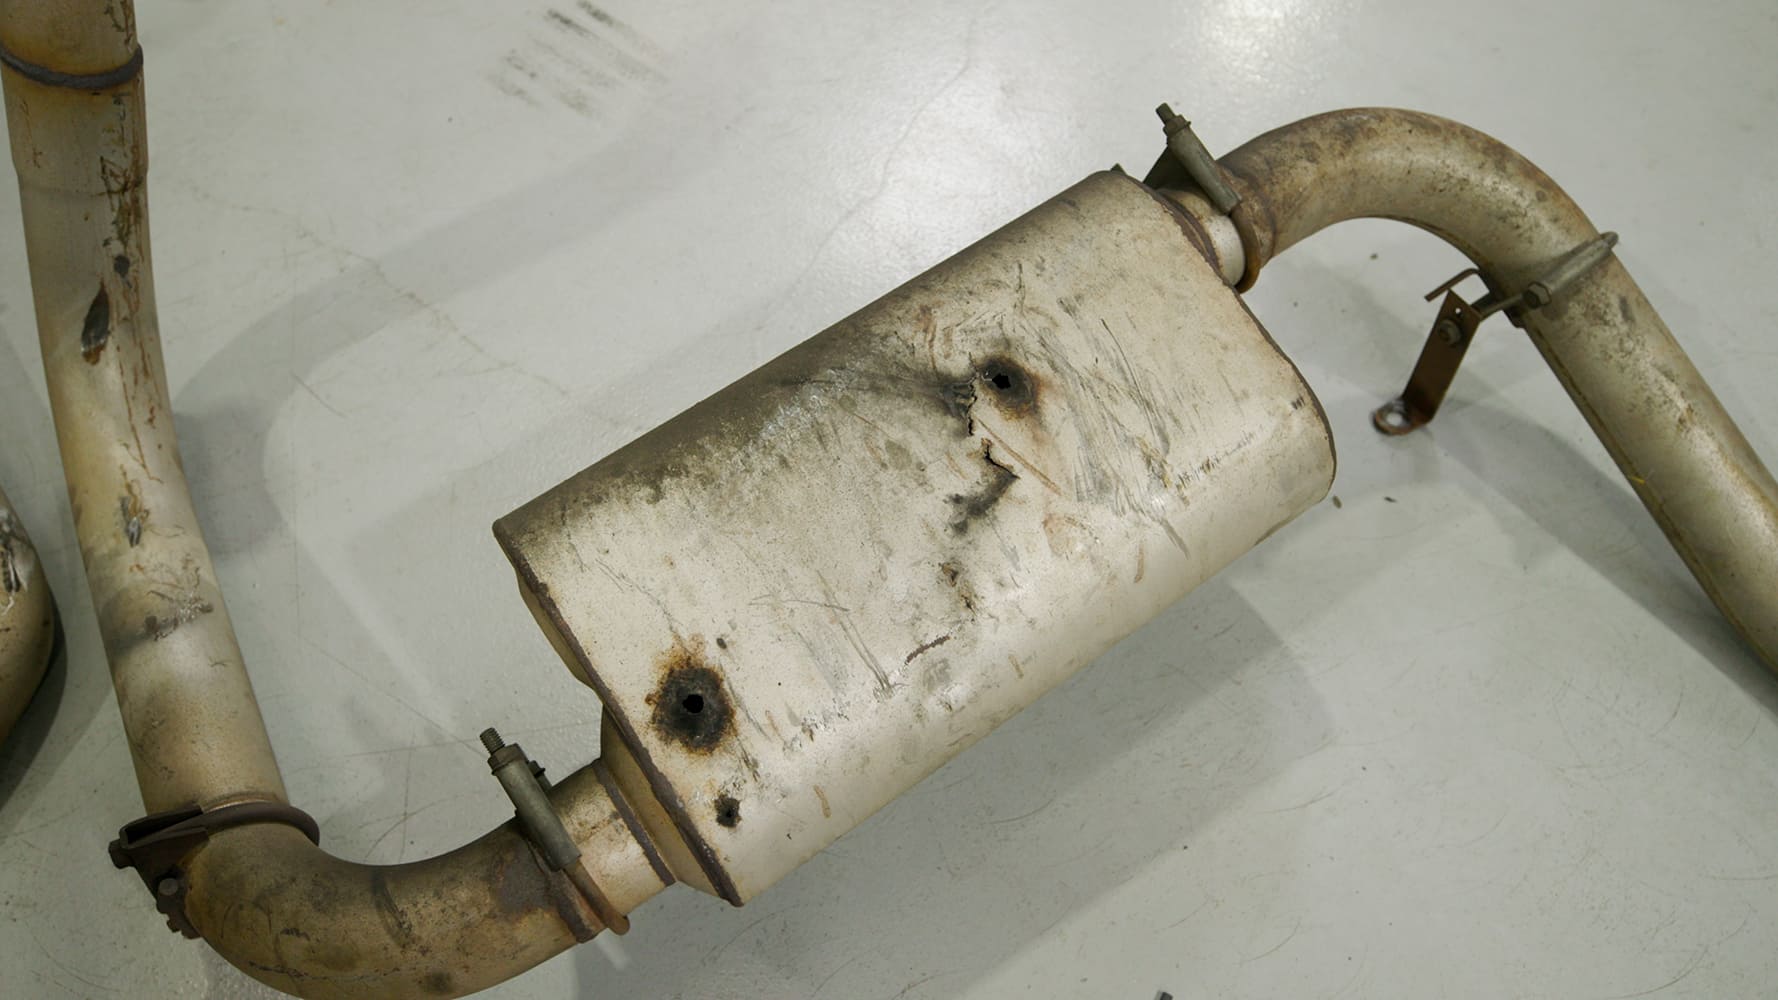
With the engine in place, sending units, coolant lines, and electrical connections are all finalized. The torque converter is then installed and the Gearstar Performance 4L60E was raised in place and secured, mated to a driveshaft custom built by Inland Empire Driveline Service.To replace those ugly Smog-compliant headers and to add a touch of additional horsepower, we opted for a set of mid-length, uncoated headers from Hedman Hedders. To keep our headers looking great for years, we sent out all the header components to Cerakote SoCal, which proceeded to coat the works in their proprietary coating, that is not only corrosion, chemical, and abrasion resistant, it is also stable at a wide range of temperatures, making it a great finish for any exhaust components.The question regarding why a person would drill holes in their exhaust was summed up succinctly; one would not, unless their name was Mother Nature. Years of moisture intrusion resulted in a metastatic cancer situation throughout the entire exhaust system.As previously mentioned, the First TPI intake was designed specifically to work with the Camaro’s air intake box.
With our portion of the installation complete, the Copmaro was then trucked over to FiTech Fuel Injection.
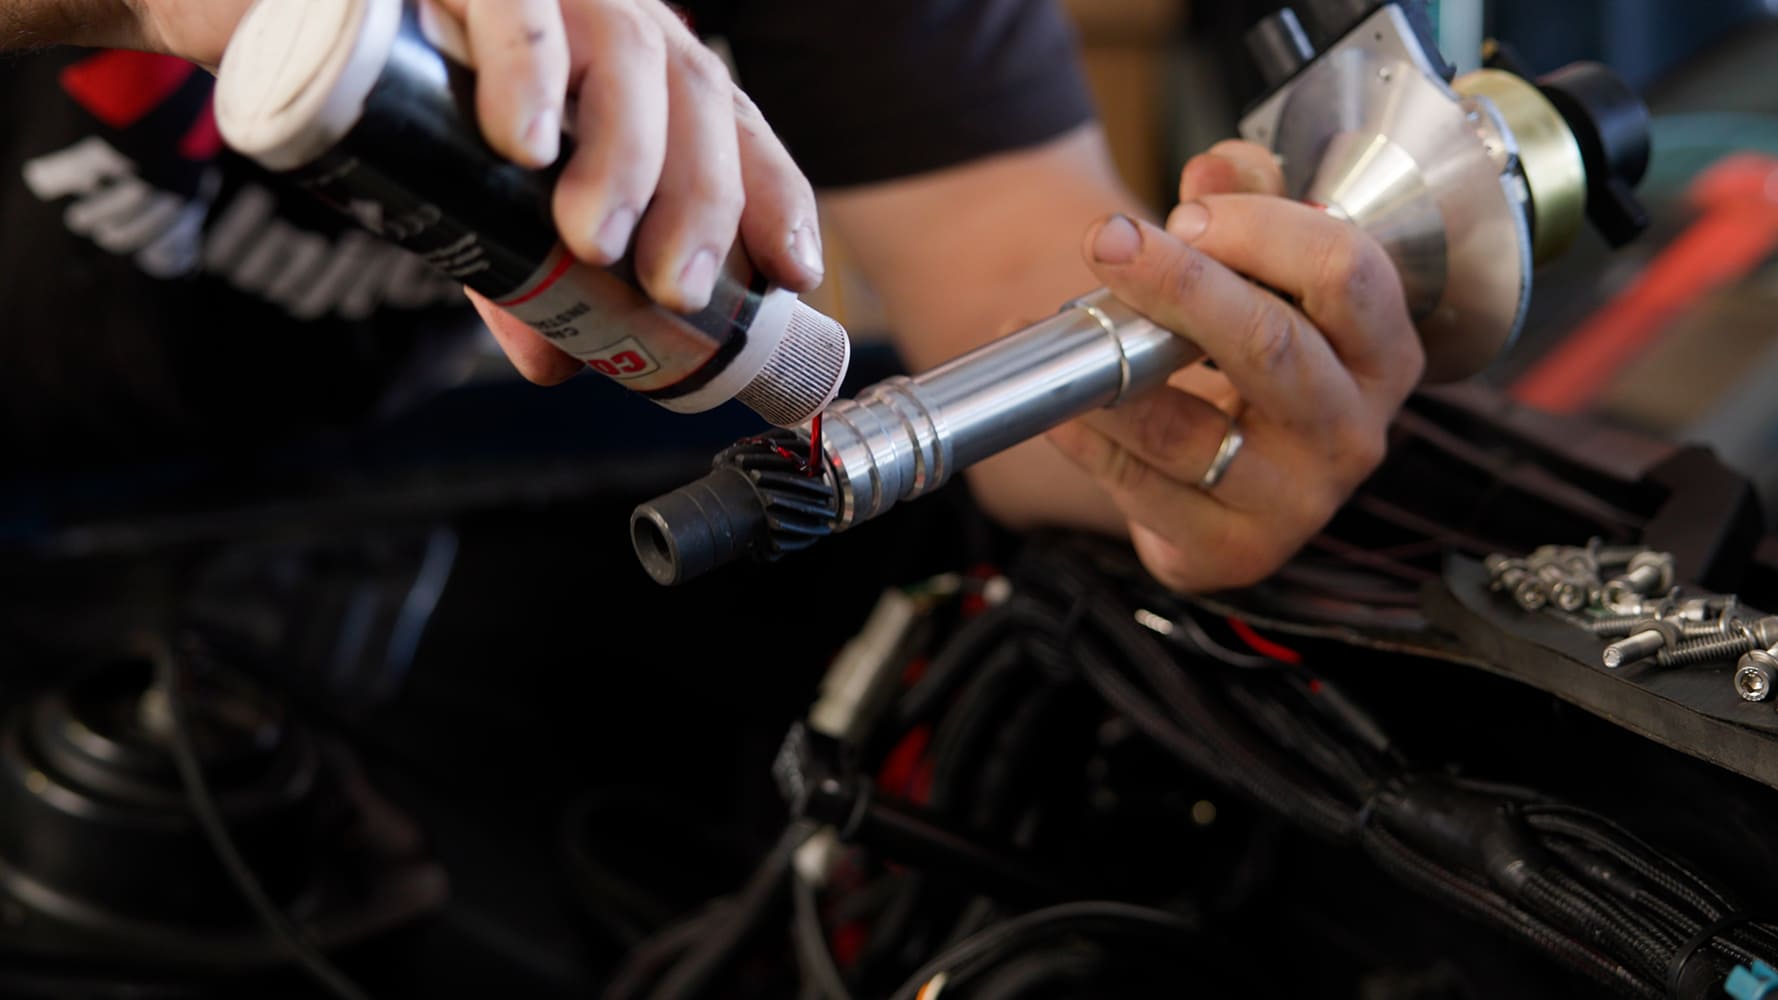
The guys sorted out our 383’s fuel and spark systems, including installing a distributor and coil from their Go Spark Ignition line.
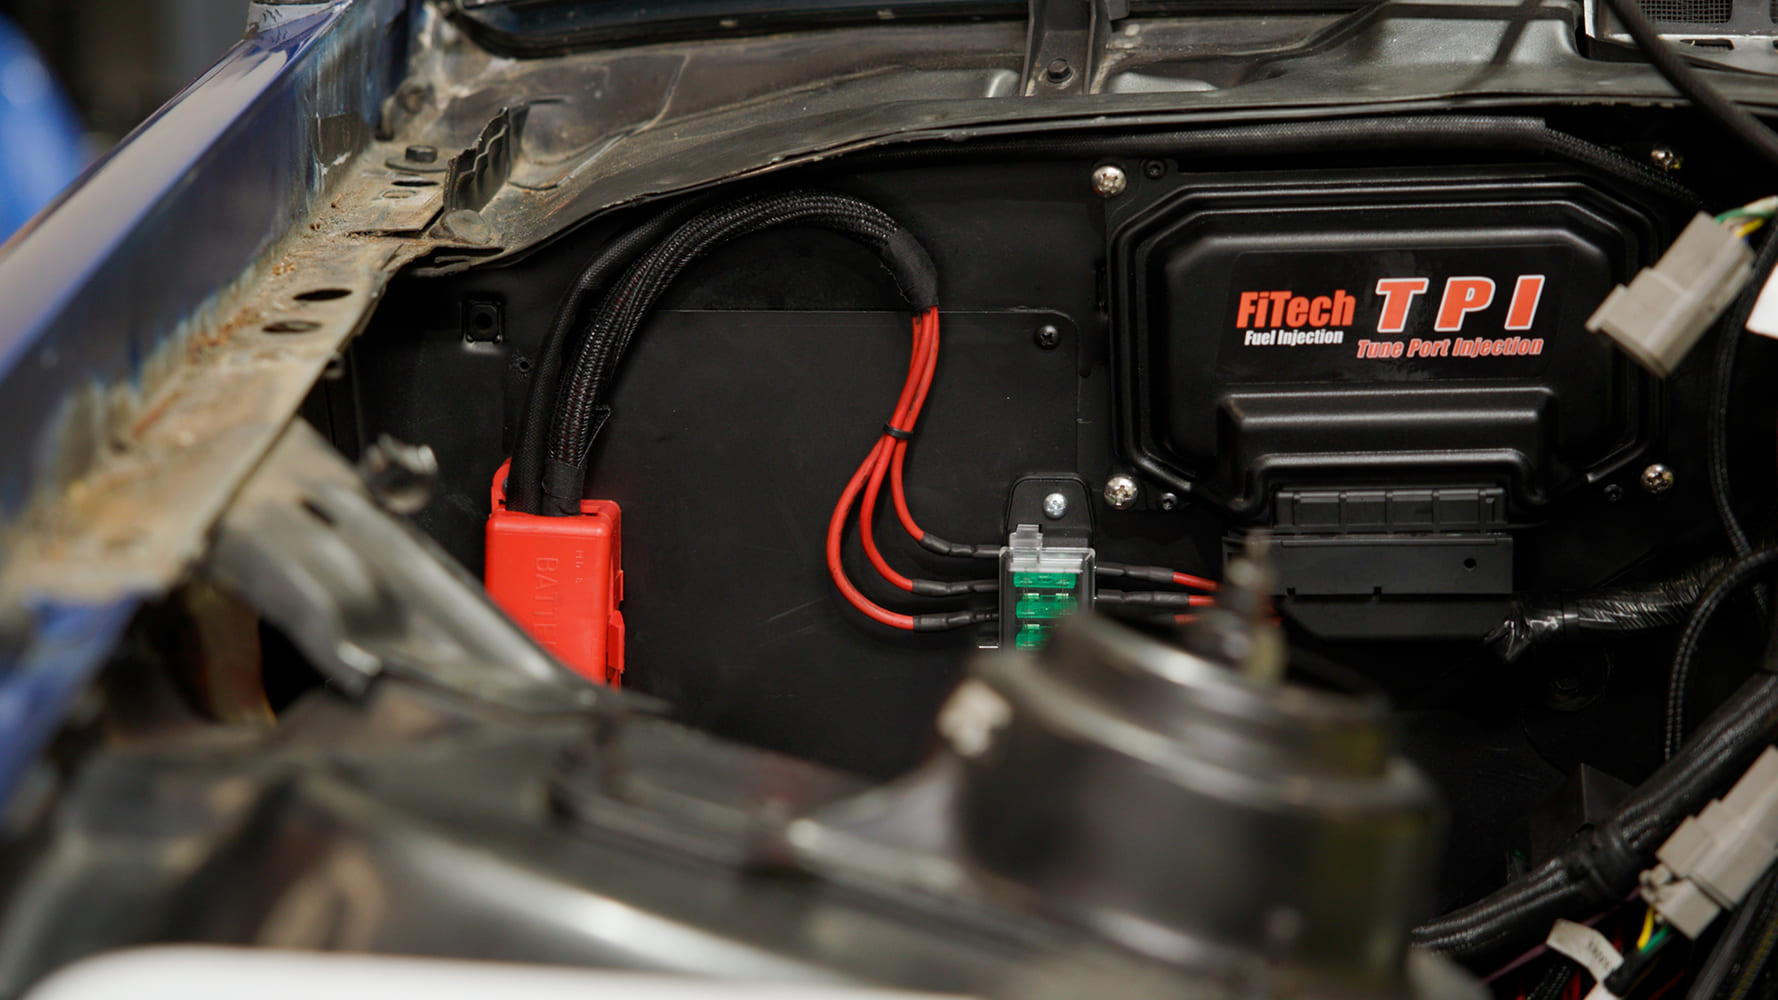
Here is FiTech’s Ultimate Small Block Chevy TPI Standalone EFI System (PN 38350). We mounted the compact unit directly to the firewall of our 3rd-gen Camaro.
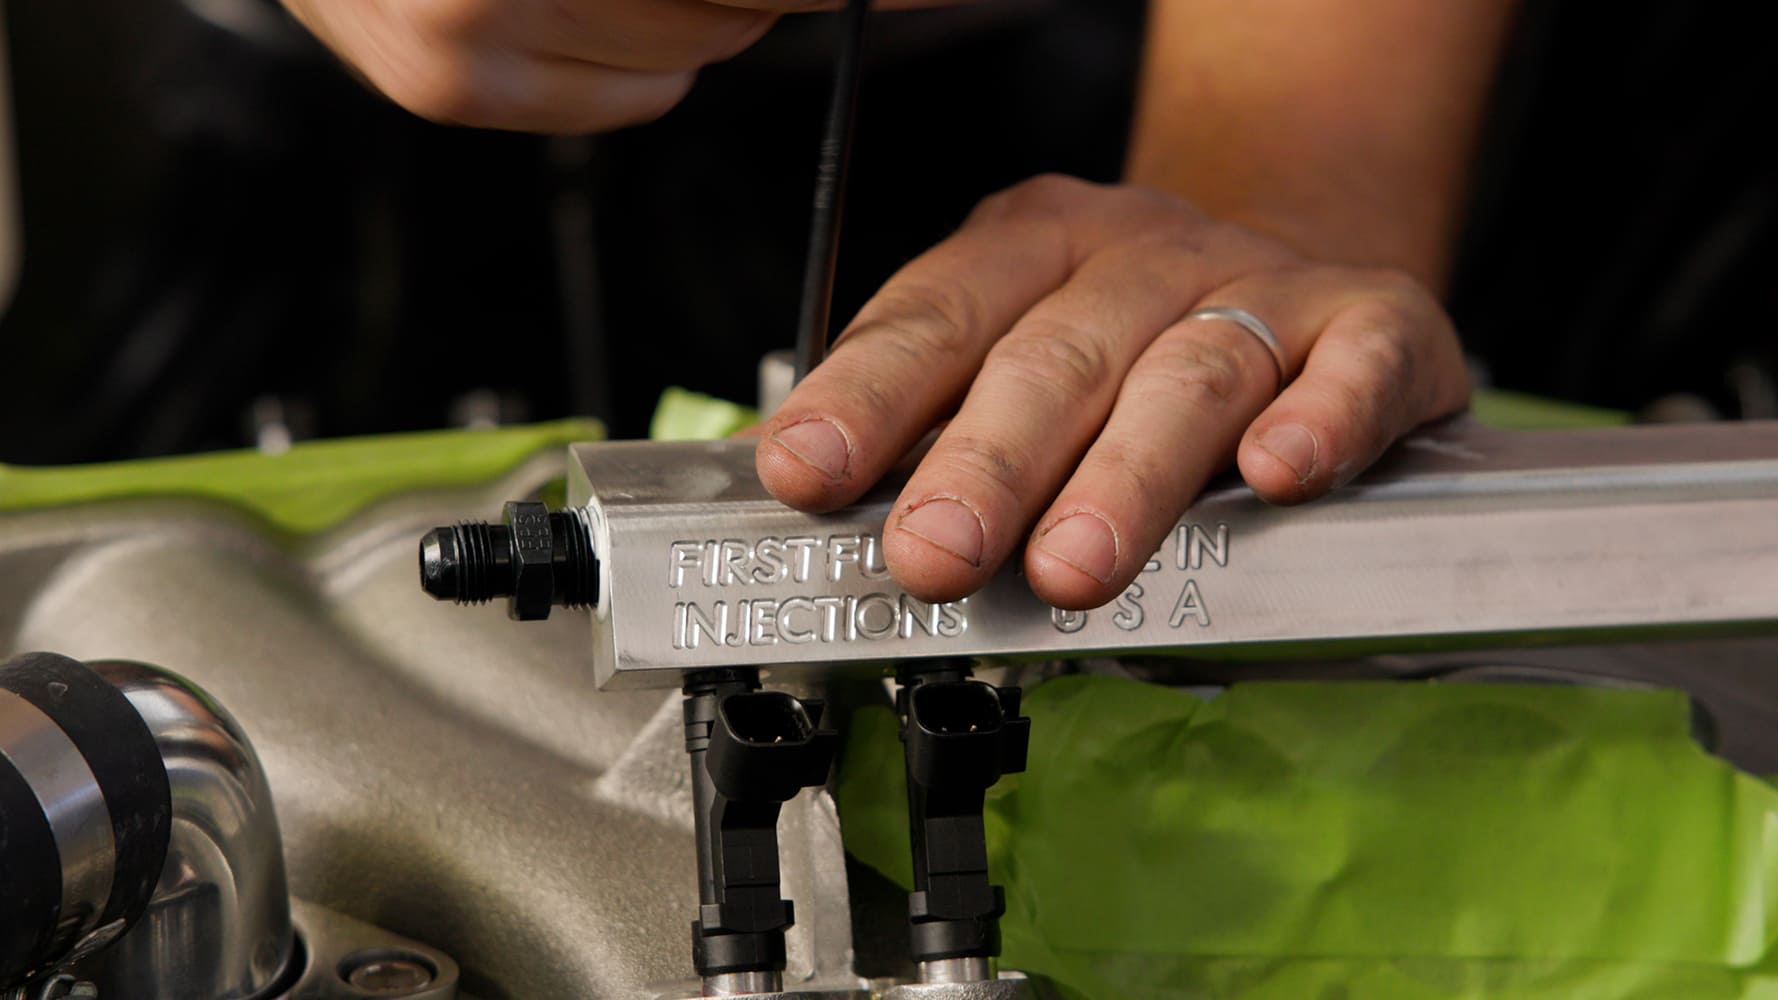
The injectors and First Performance billet fuel rails must be installed before bolting on the high-flow intake runners.
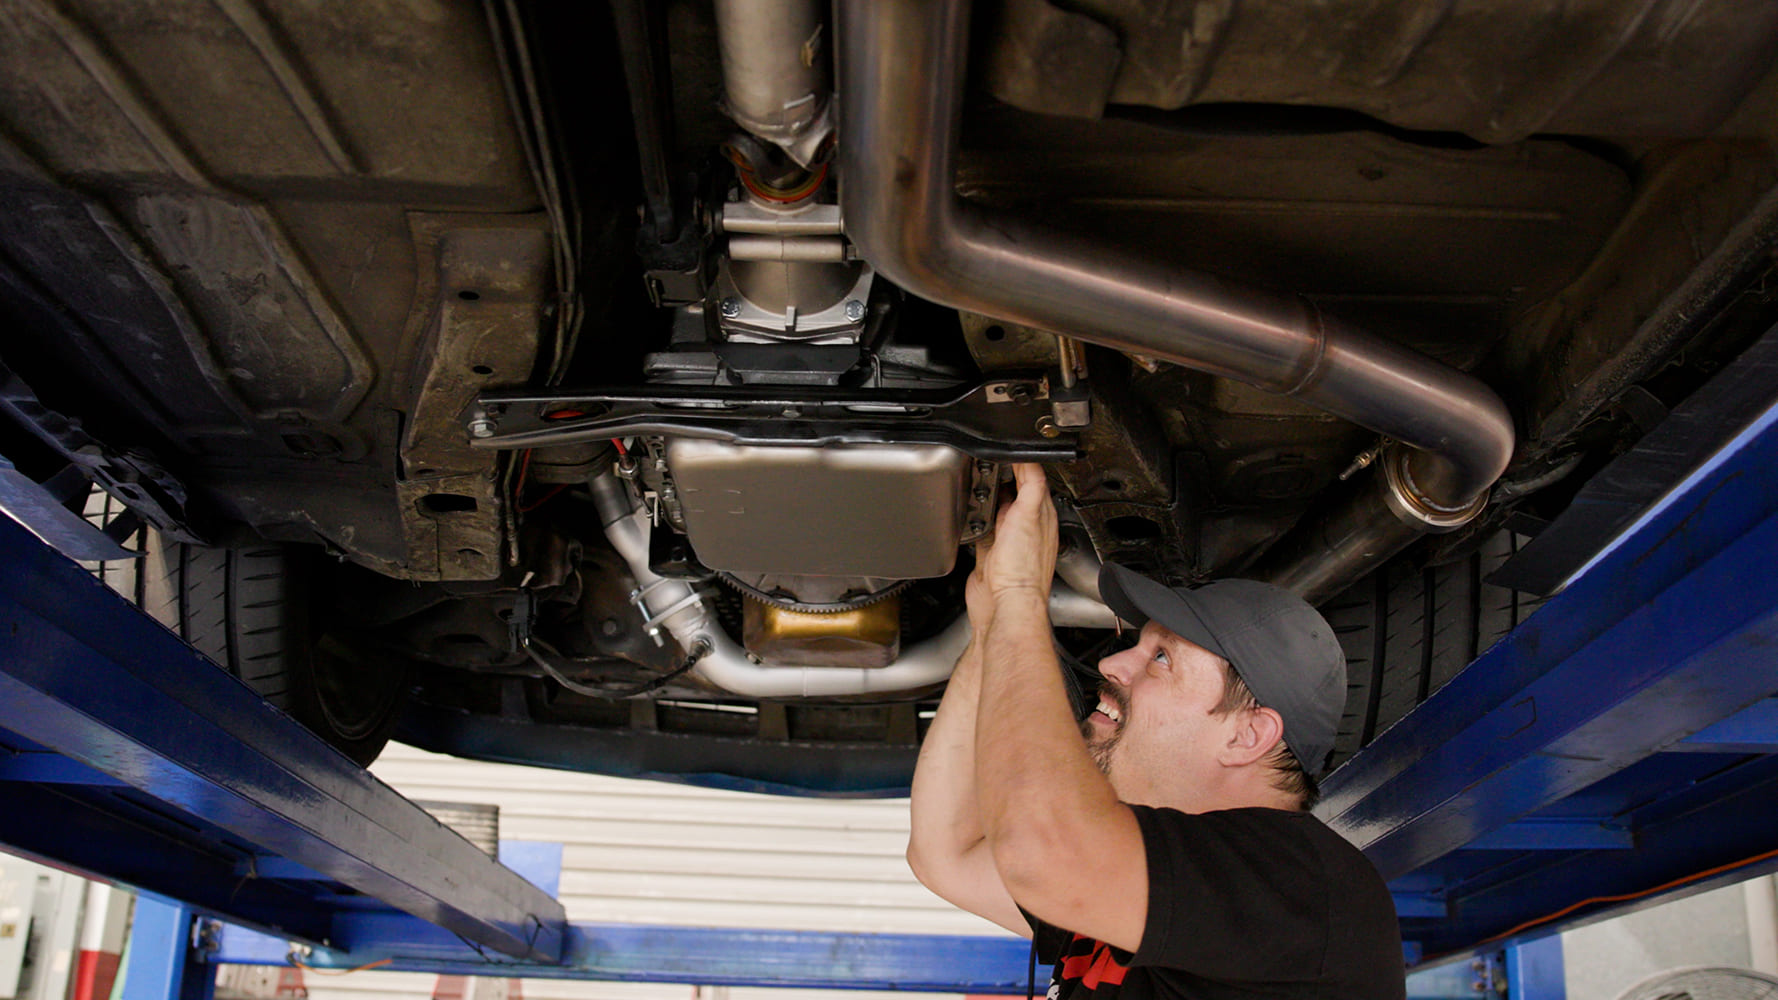
While the FiTech gang had the car in the air, we get a peek at the custom 2-into-1 exhaust installed at Muffler Man as well as the Gearstar 4L60E transmission.
We use cookies to ensure that we give you the best experience on our website. If you continue to use this site we will assume that you are happy with it.