


By Timothy Sutton – Photography by the Author
Watch Darryl Hollenbeck explain some Pro Tips on the perfect shine in our video here


The perfect shine. Easy to say but not so easy to achieve. All of us, regardless of the level of paint our hot rod sports, thoroughly enjoy keeping it all bright and shiny. We wander out to the garage and put in the time as often as we can to dust and polish our hot rod, looking to achieve the perfect shine. Of course, some of us try our darndest, but the end result is still anywhere from a 15- to 50-foot shine … meaning don’t get too close.


Given each of us has washed, waxed, polished, and tried everything else under the sun to make our pride and joy gleam, the fact remains oftentimes we miss the luster we want to achieve. I like to think of myself as a dedicated hot rodder and have spent many an hour cutting and polishing but the fact remains there was always something “missing” in the process. I would sand and sand then chase around scratches like a cat chasing its tail. Then off to the buffer and make it shine, but still it wasn’t quite right. I was correct, I needed to be taught a thing or two, so I felt like I should talk to a pro.


Knowing this I thought it best to visit one of the premier painters, and fellow hot rodder, in the country who understands what it takes to achieve the perfect shine; and he might just know a thing or two about making a hot rod shine. We visited Darryl Hollenbeck of Vintage Color Studio in Concord, California, a longtime hot rodder and painter who has spayed numerous award-winning hot rods. In fact, back in 2016, he built an America’s Most Beautiful Roadster winner himself with his 1932 Ford highboy roadster.


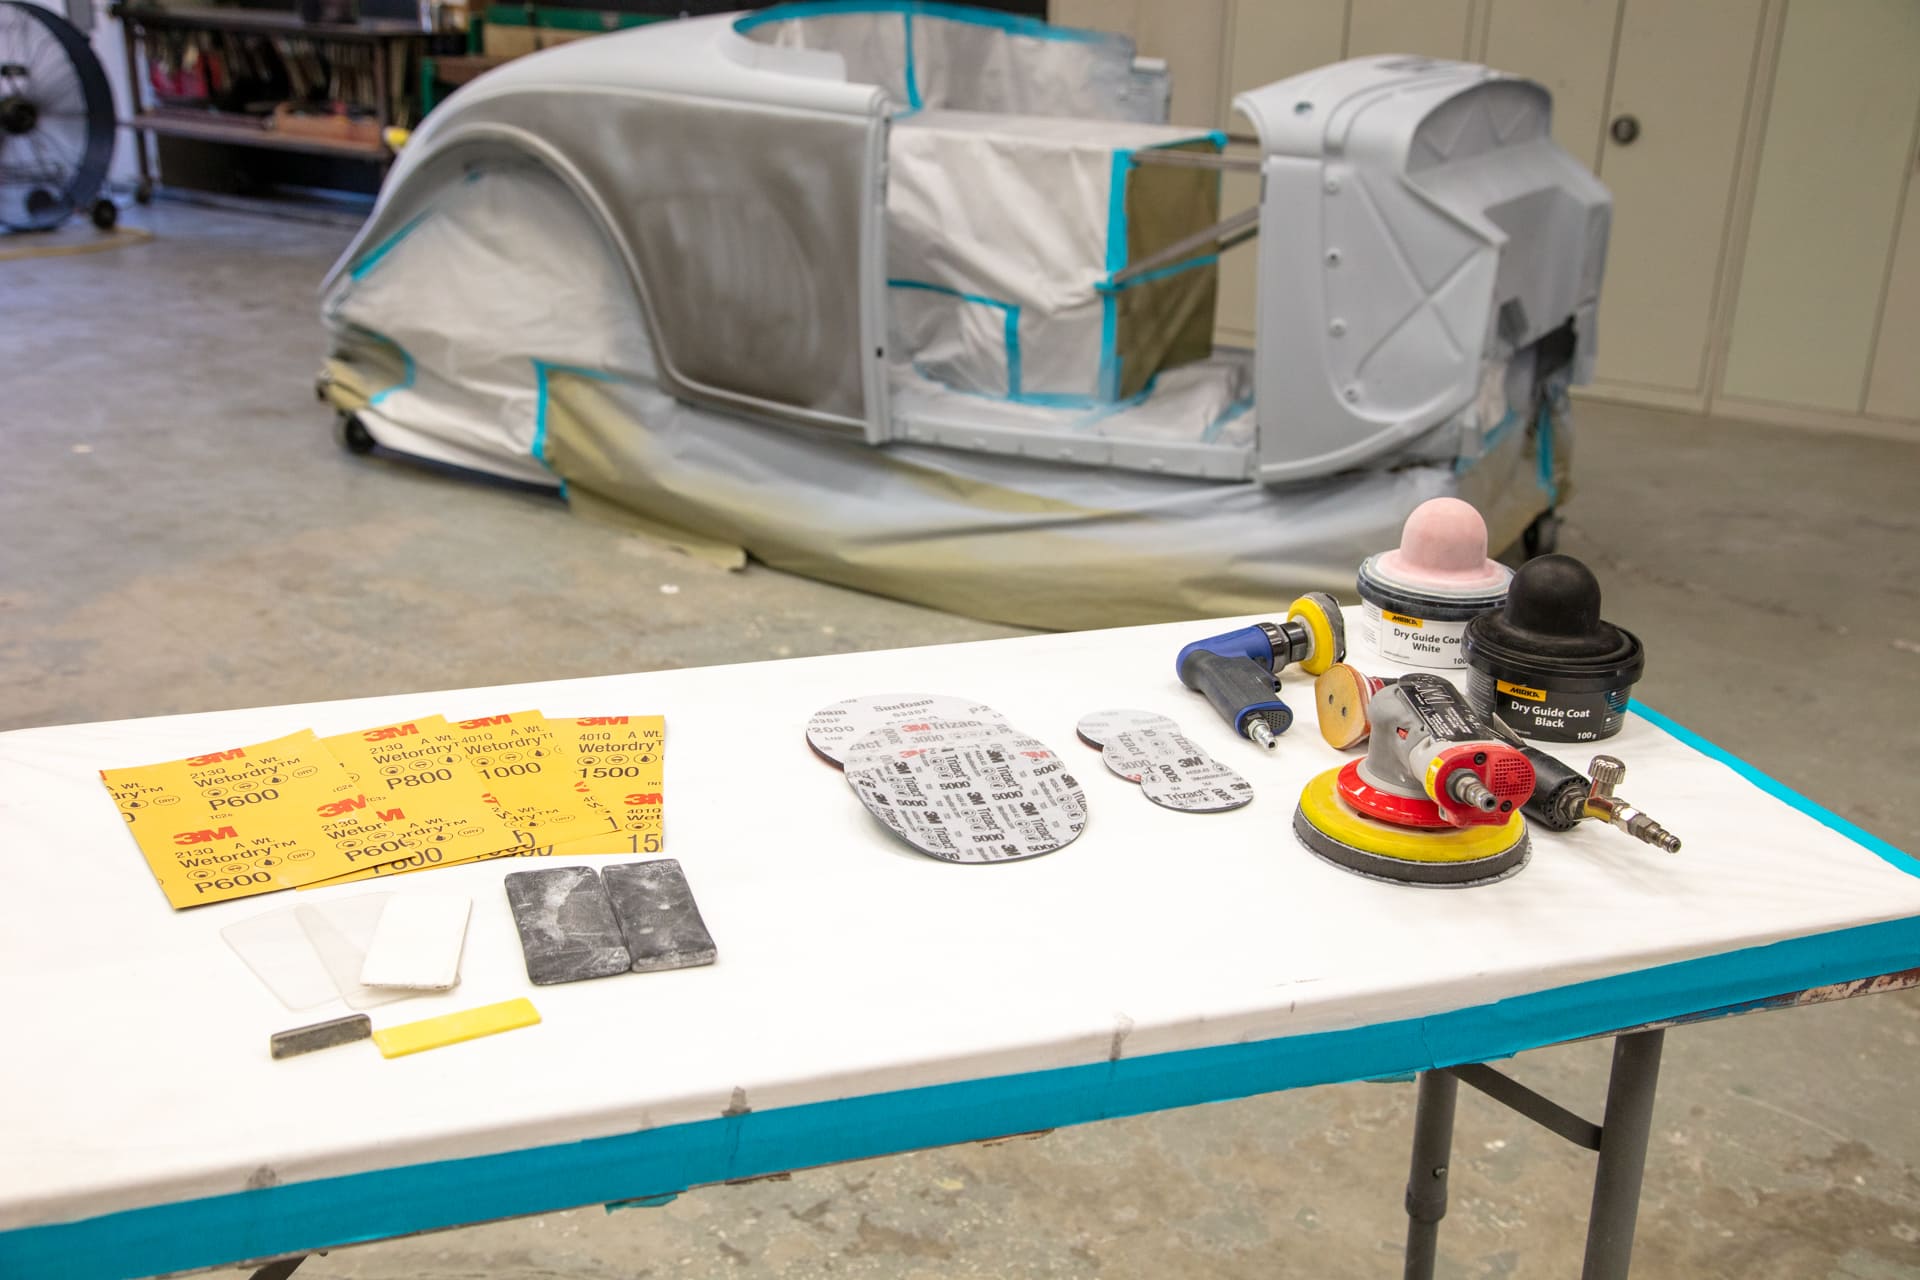
The Cutting Process
According to Hollenbeck every car that rolls through his shop is involved in this process. Time and experience have taught him what procedures and products work, thereby giving him the desired results.
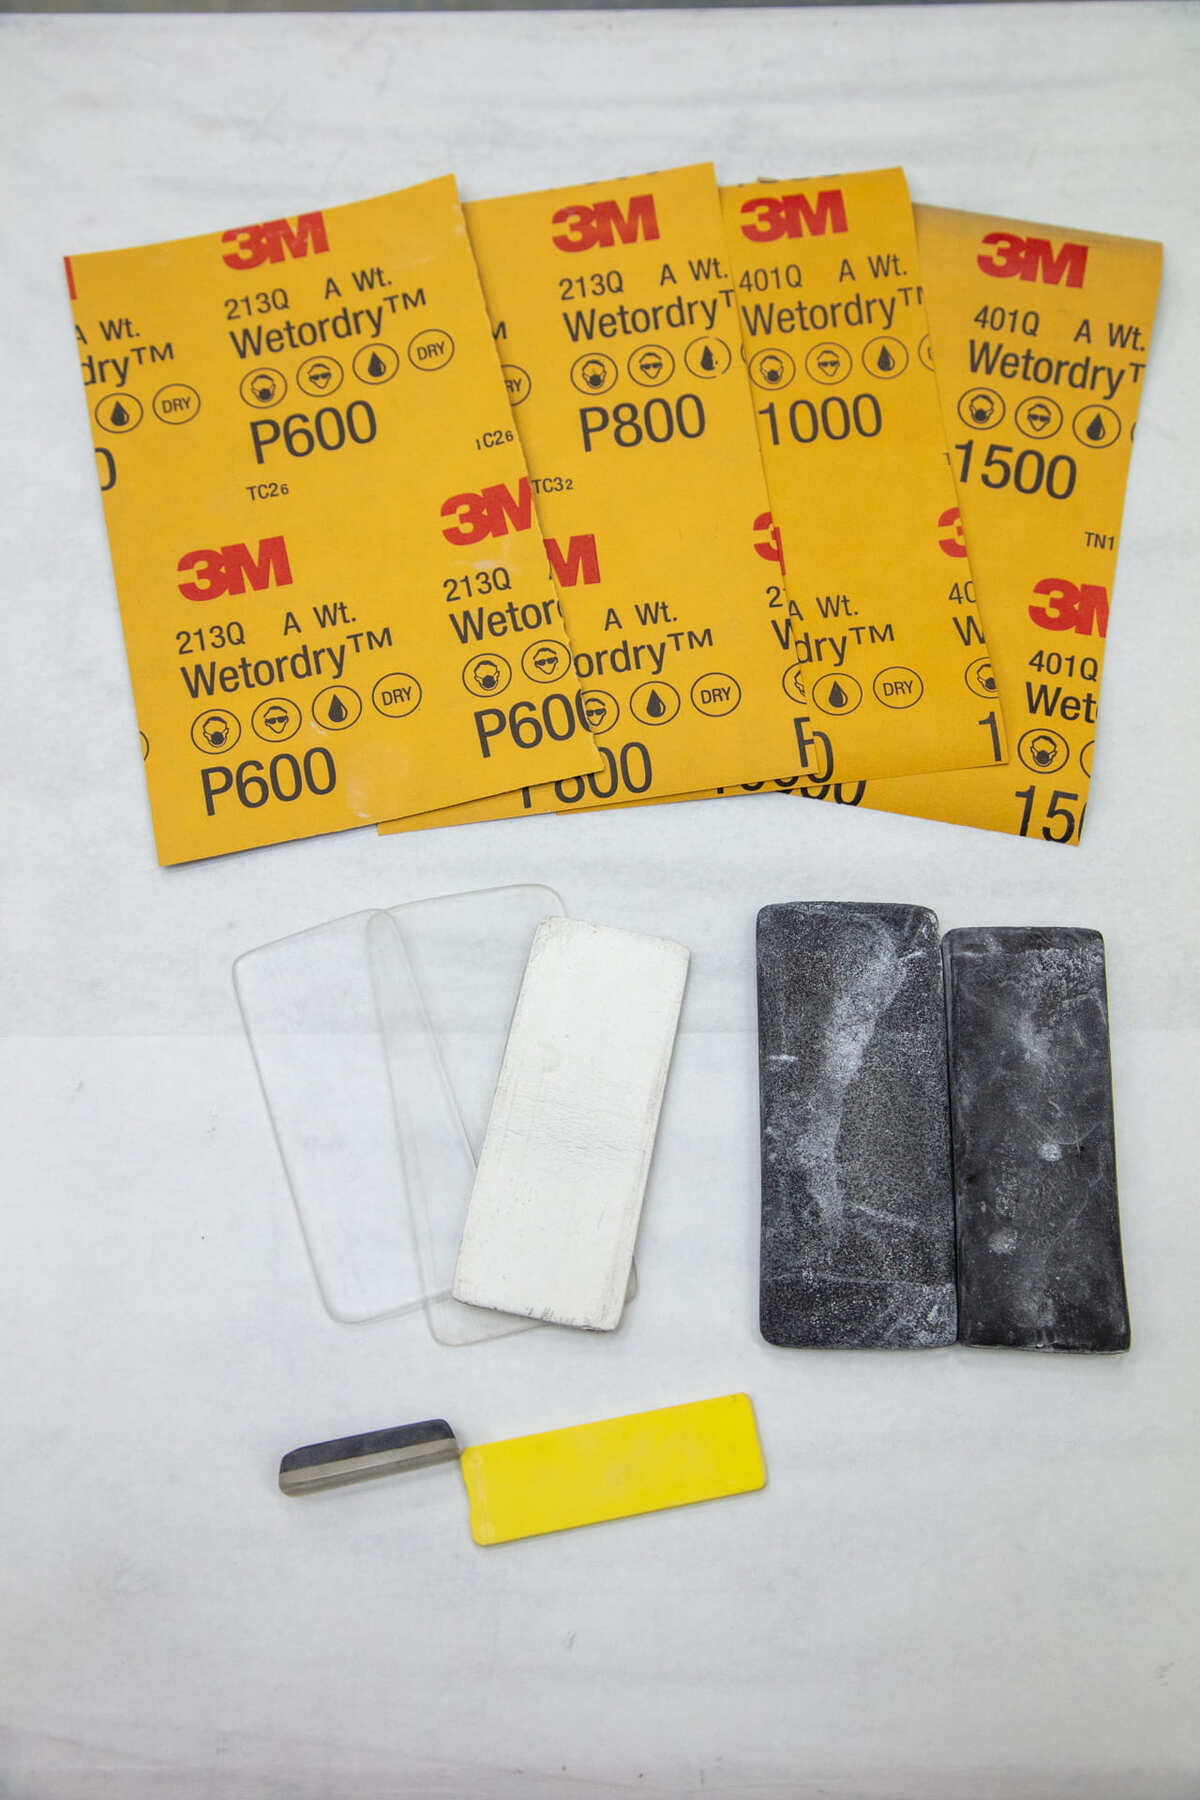
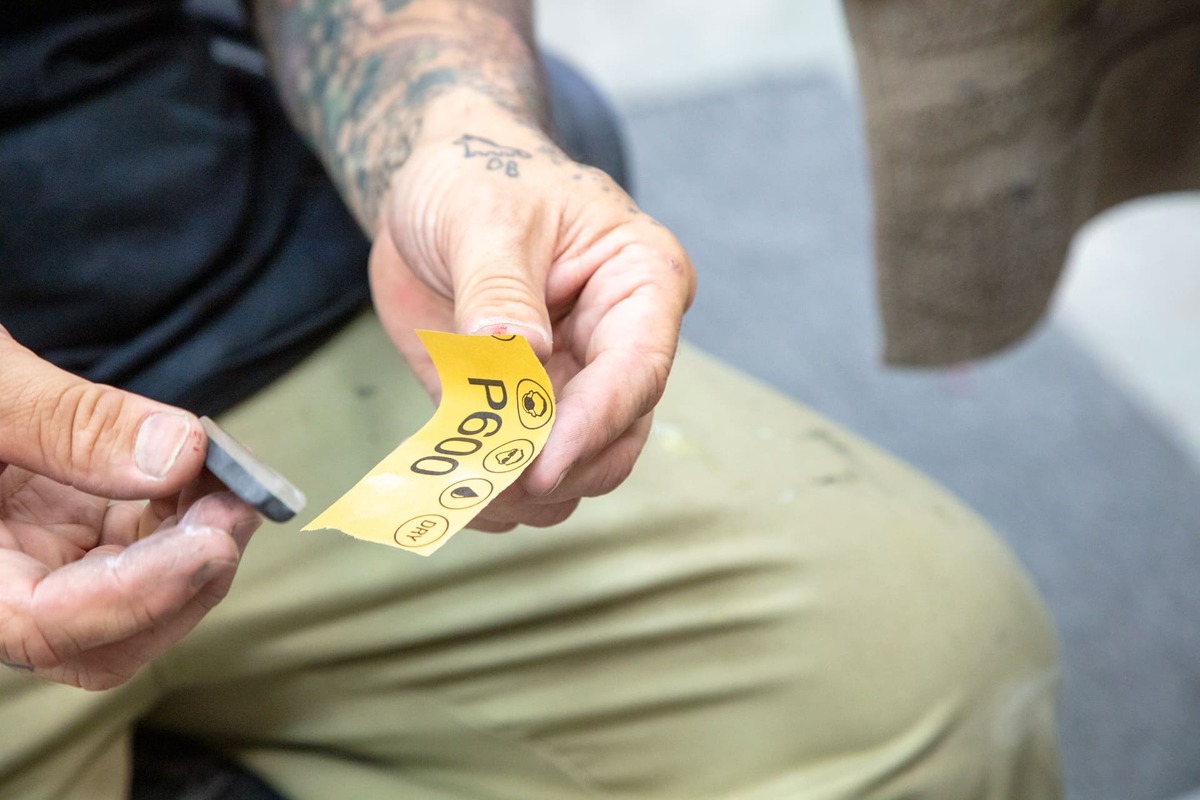
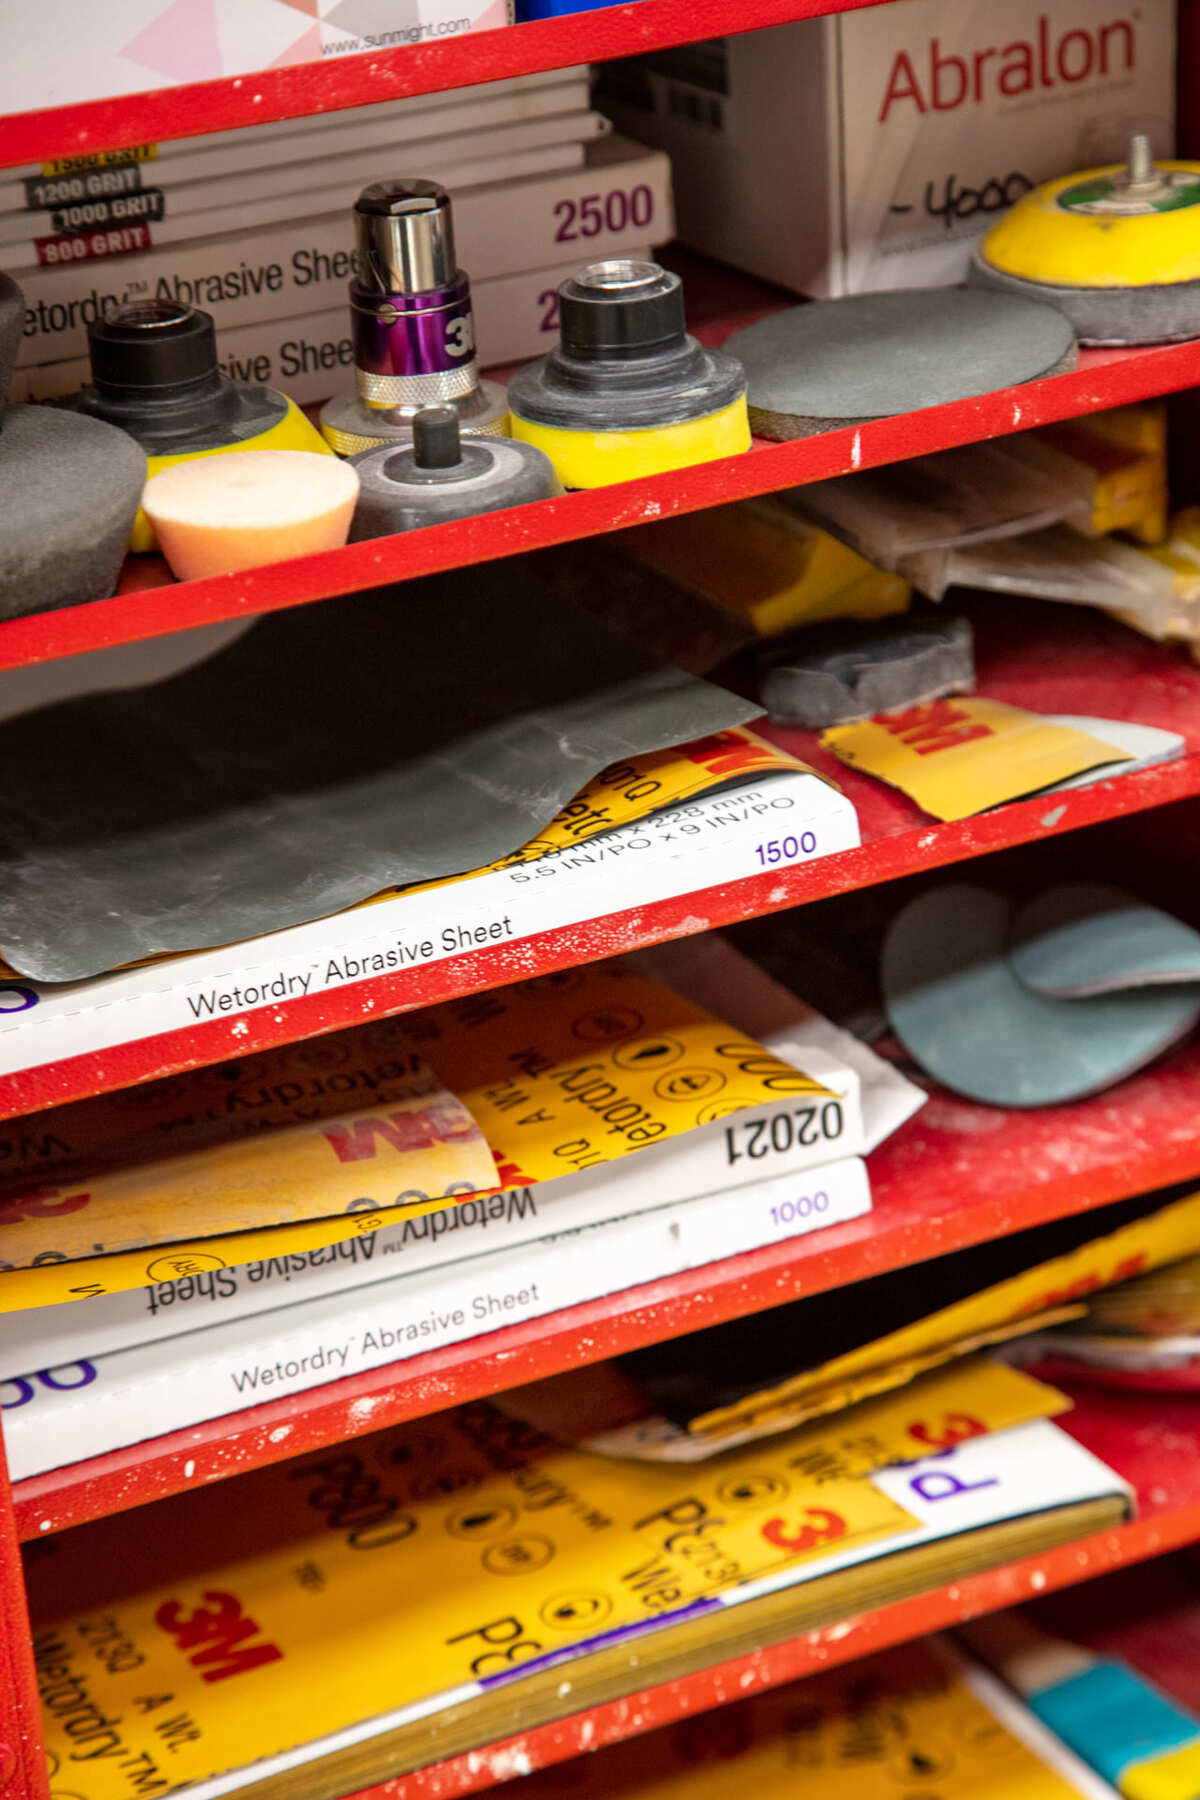
Hollenbeck then sat me down with sandpaper ranging from 600- to 5,000-grit all placed neatly on a table so that I could see up close and personal the subtle and not-so subtle differences with each jump in coarseness. His process starts the initial cut at 600-grit “wet” coupled with a hard, semi-flexible plastic sanding block. This ensures the surface will be cut “flat.” Using a water bottle, he then sprayed the sanding surface as he methodically worked across the panel, removing the slight “orange peel” that was on the surface. He utilized crisscross strokes, making the surface flat.
Using 600, Hollenbeck proceeded to tell us, “It enables you to ’grit jump’ more quickly and makes it easier on the person sanding from the beginning.” This method cuts quickly and smooths the surface. After wiping the panel and sanding a few more times we were ready to jump grits to 800.
This process proved to be much faster than if I were doing it in my backyard. At 800-grit Hollenbeck applied a guidecoat by Mirka to the panel. (Mirka Dry Guide Coat powder has excellent covering properties and in so doing makes all imperfections and scratches visible. The package comes with its own applicator that leaves an even coating. The applicator has flexible edges, which make it easy to use on contoured areas. Aside from the light-colored Mirka there’s also a black powder that’s used for light-colored surfaces.)
The dry guidecoat fills the scratches and gives you a point of reference on what you have and haven’t done. Once the 600-grit scratches are removed it’s time to grit jump again and guidecoat for 1,000-grit. Also, when you grit jump from 1,000- to 1,500-grit you also switch blocks from the rigid plastic block to a much softer block. Hollenbeck uses one from 3M as they are dense foam blocks and very flexible. He uses them with 1,000-grit and then moves onto 1,500-grit. This block enables just getting out the scratches left from the previous grit without trying to straighten anything on the car because it’s already been cut flat by 600- and 800-grit.


This process goes from 1,000- to 1,500-grit and then the big switch at 2,000-grit. When you get to 2,000-grit you will jump to the DA with a soft pad of 2,000-grit on an intermediate pad called an interface pad. This is also a wet process. This interface pad is a big help as you can go over some of the tight detail work on broad strokes and then go back with a smaller detail DA for the tight stuff. Starting at 2,000-grit we then backed away from using the guidecoat any further. From 2,000-grit we move to a finer 3,000-grit and then to 5,000-grit. Here we are following the grit jumps recommend by Hollenbeck. I asked if it was needed to hit every one and he told me that, “… it makes sanding this stuff easier on you and goes a lot quicker.” All you are doing after 800-grit is pulling out (removing) the scratches in the paint. Once you get to 5,000-grit on the DA you should have a healthy shine going on with no deep scratches. The 5,000-grit leaves a surface that’s easier to start buffing and pulling out those scratches.


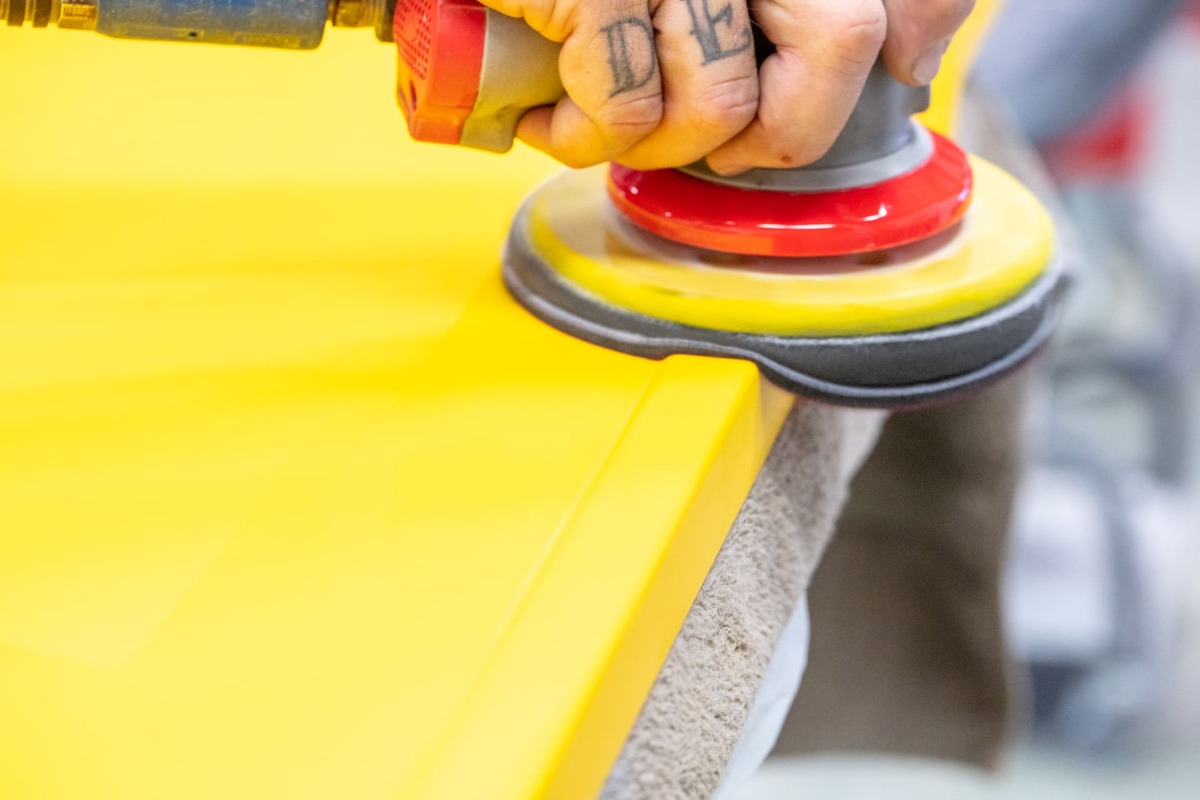
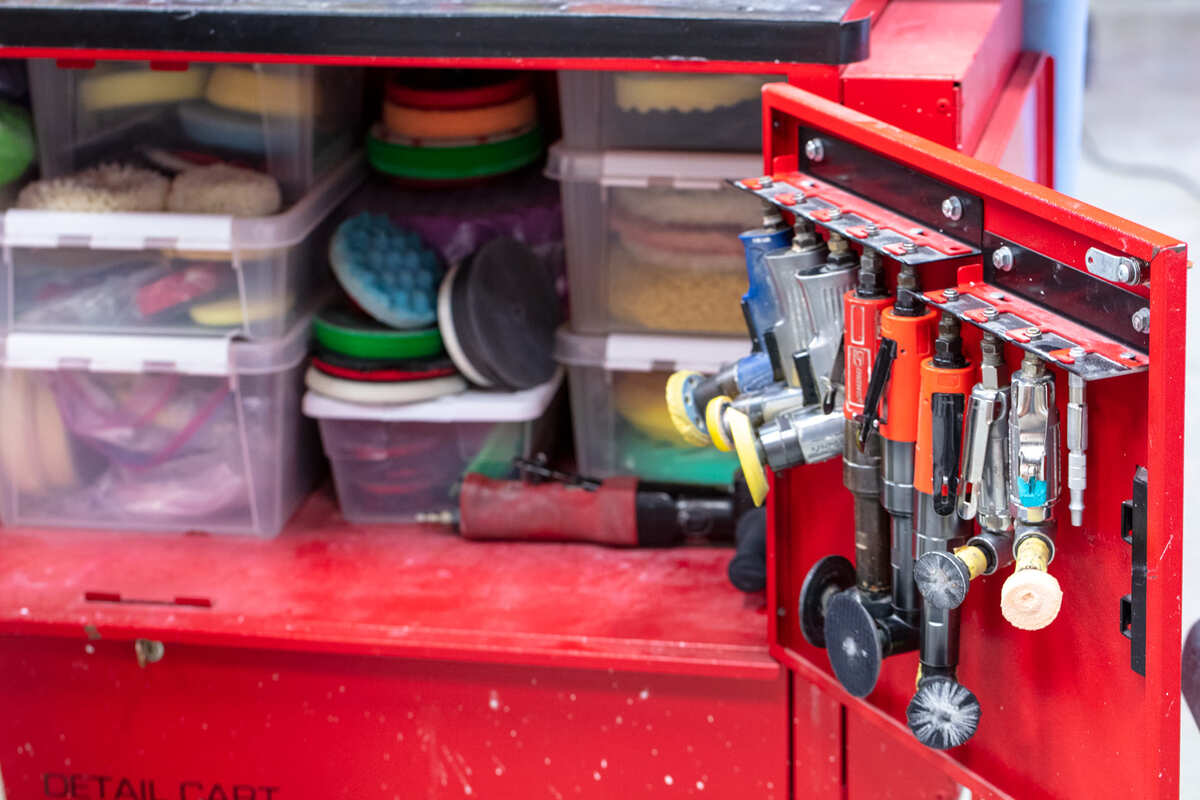
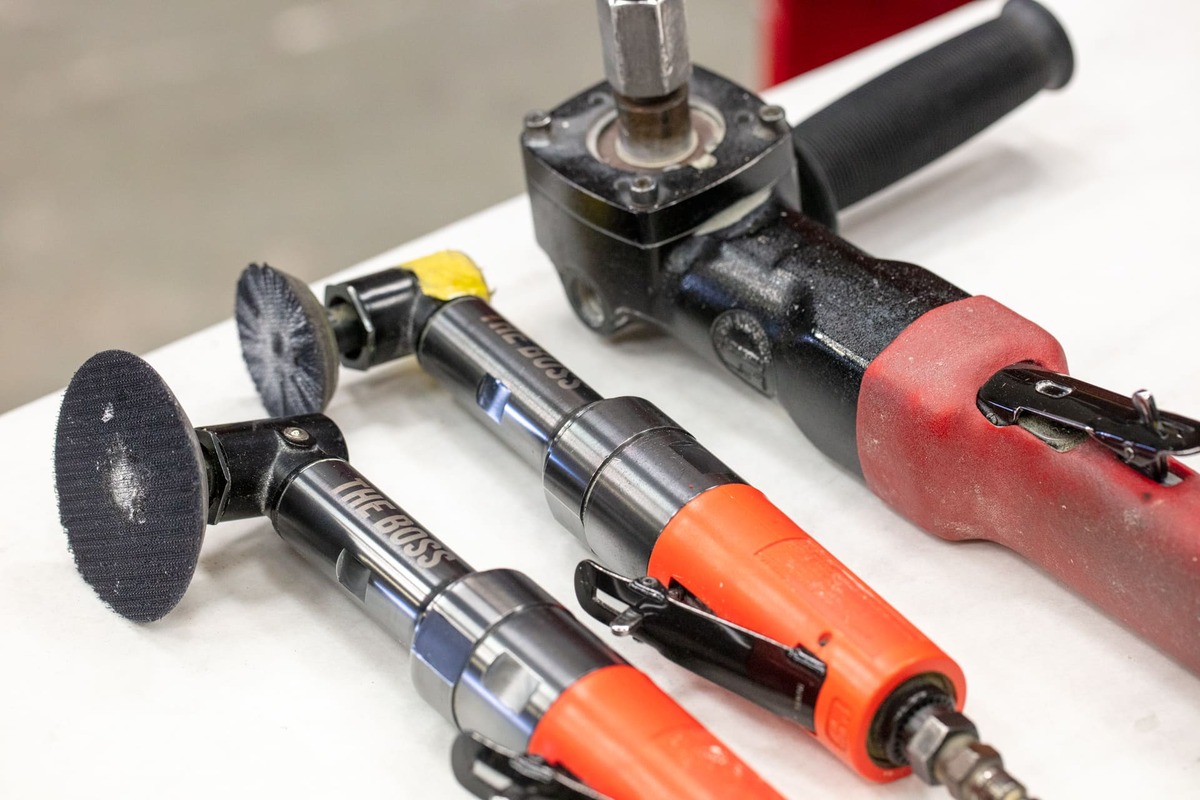
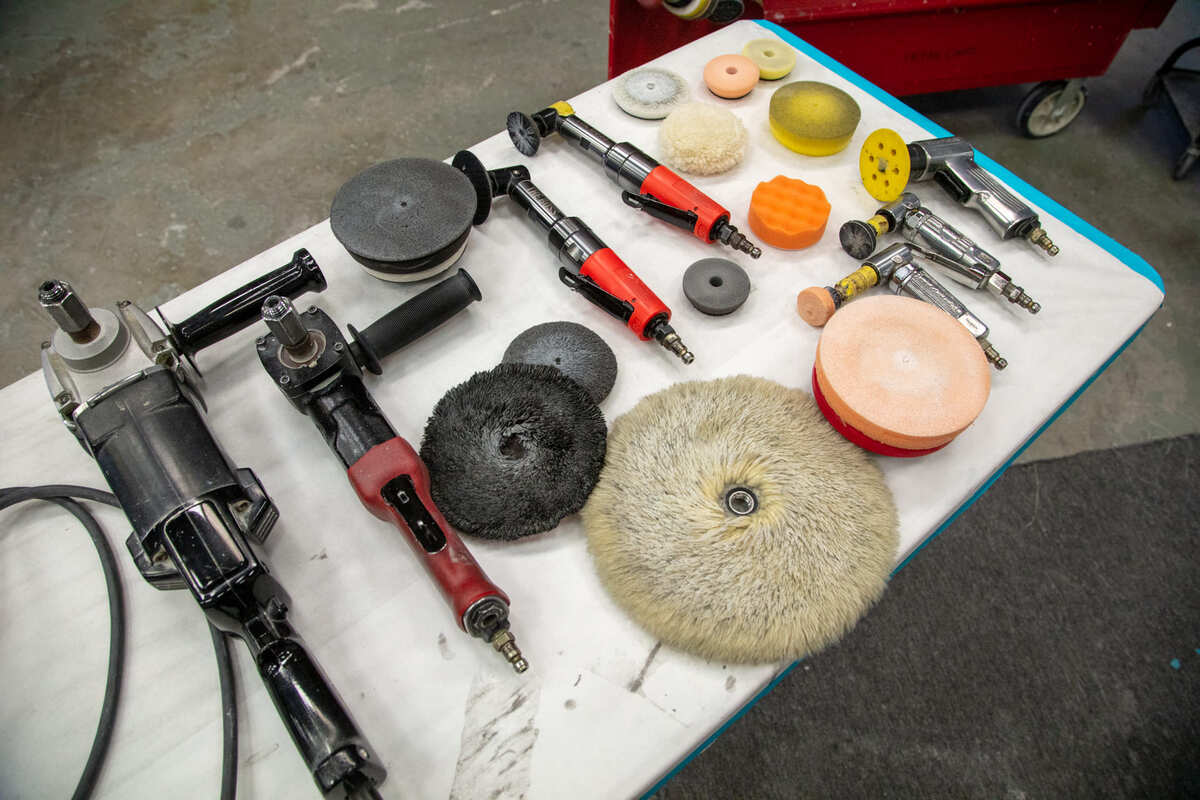
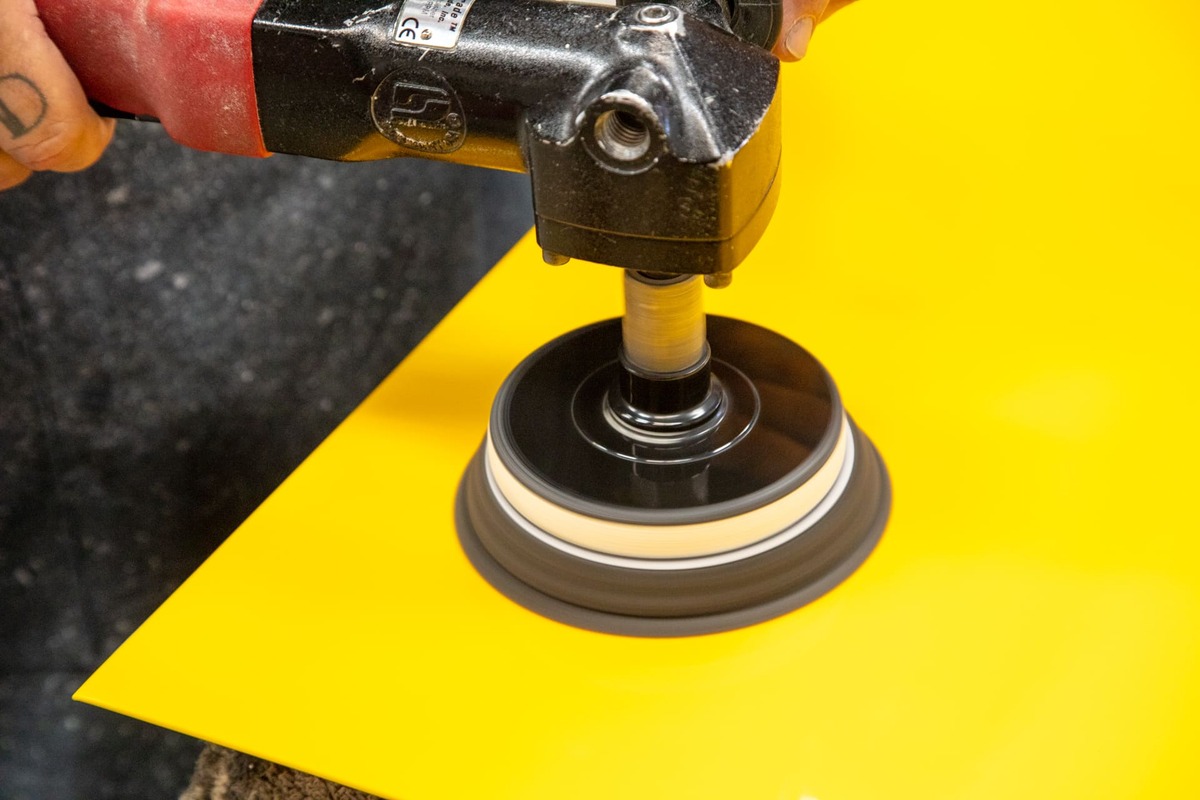
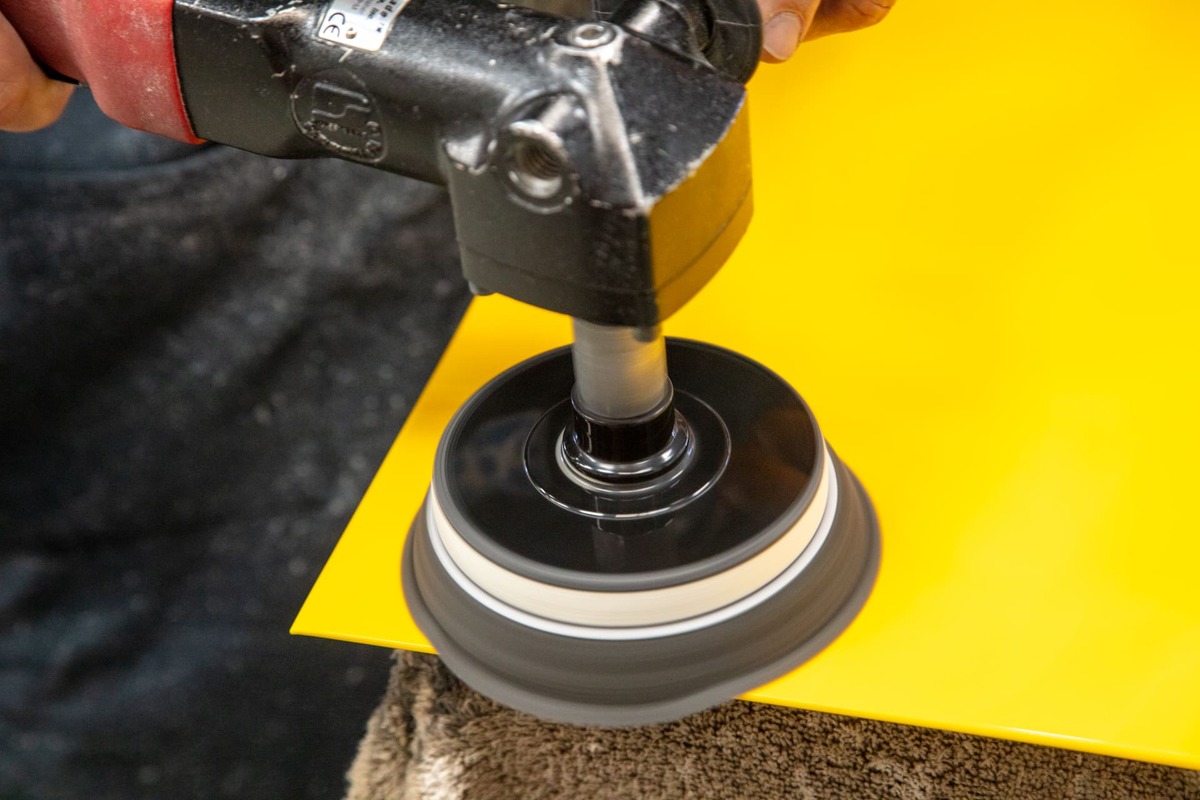
The Rubbing Process
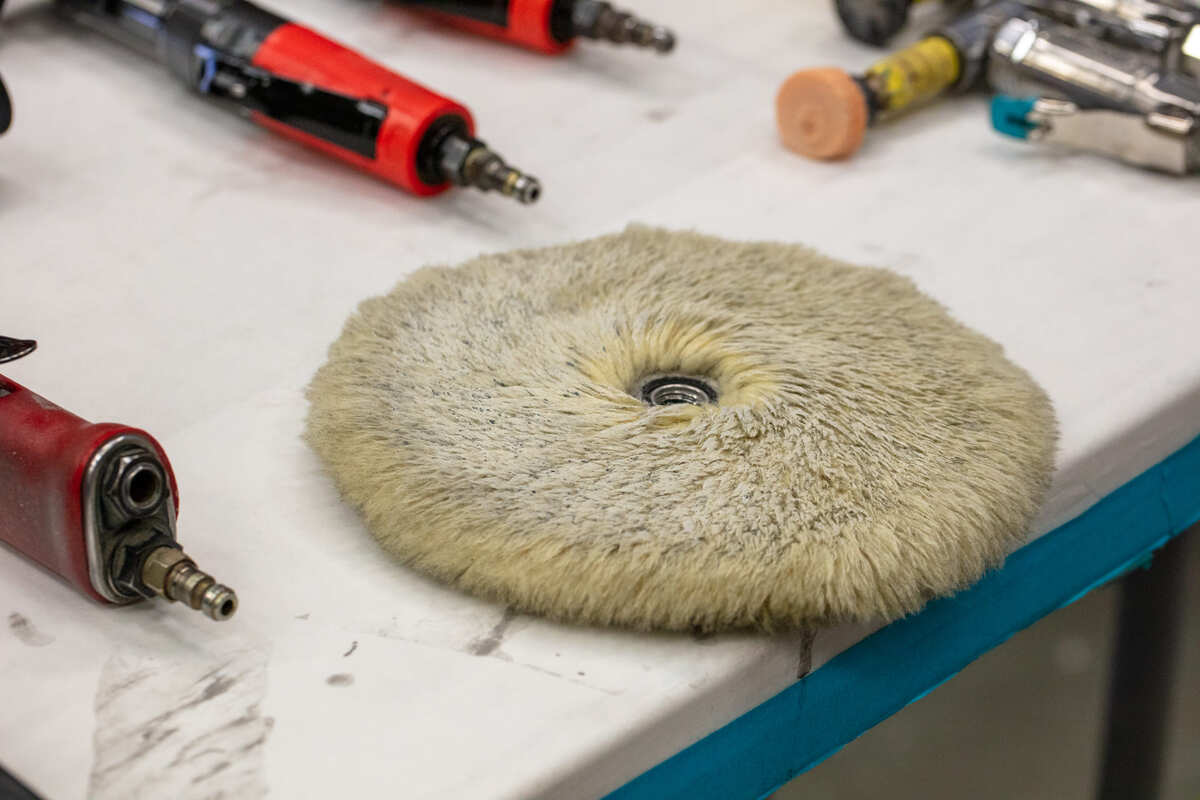
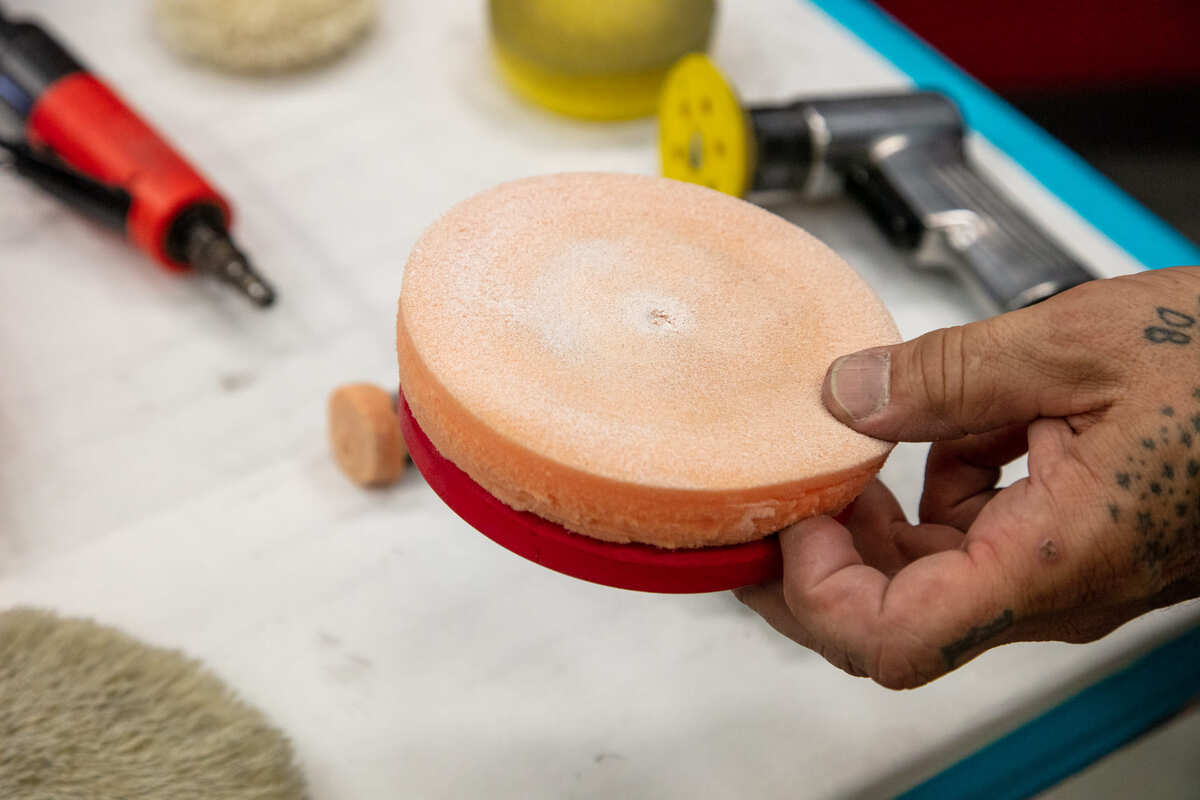
Hollenbeck has many buffers for all sorts of situations, from large 9-inch buffers to 1-inch buffing pads on dye grinders. The same technique shows through the entire process no matter what tool you pick up, big or small. He personally uses the 3M Perfect-It compounds and polishes when he rubs one out. It’s a very user-friendly system color-coded with the pads you use and numbered for those of us who don’t see color so well. He starts using the 3M compound White #1 with the wool or microfiber wheel. This is the initial buff and pulls out almost all of the scratches left from the DA. After completing it he runs the same compound on the corresponding foam pad on the same buffer. This again pulls the scratches from the wool wheel right out by using the softer foam. From this point on the job is close to being done and just needs the final polish. The Black pad is pulled out with the 3M Black #2 polish. This polishing will bring the paint to a fine luster.

Wrapup
At this point, Hollenbeck’s work is usually done until the car is assembled and ready for a final polish where an orbital buffer is pulled out and other waxes are applied for the show shine everyone wants.
I, for one, learned a few things on this one and will be putting them in the mental toolbox. Hell, it may get me out there to cut and buff one of the cars. (OK, I may have gotten a bit excited there!) MR


Sources:
Vintage Color Studio
(925) 671-7773
vintagecs@mac.com
instagram: vintagecolorstudios
PPG
www.ppg.com
www.ppgrefinish.com


