How To Install CPP’s Power Steering Conversion Kit For 1960-1966 Chevy C10
By Jason Chandler Photography by the Author
Project #backpay, a 1966 Chevy C10 that was once a humble circle track service vehicle, is the latest truck to go under construction from the guys at Auto Metal Direct. With a full rebuild in the works, this truck has a rich history and some questionable repairs that we will attempt to address, but more in future issues of CTP. The plan is to keep this a running/driving project as long as possible before any major transformation takes place. In the meantime, we need to address the steering on the truck. We want the truck to have a nice street truck feel to complement the new 20-inch Ambassadors from Detroit Steel Wheel. So, we turned to our friends at Classic Performance Products to keep us between the lines without breaking the bank.
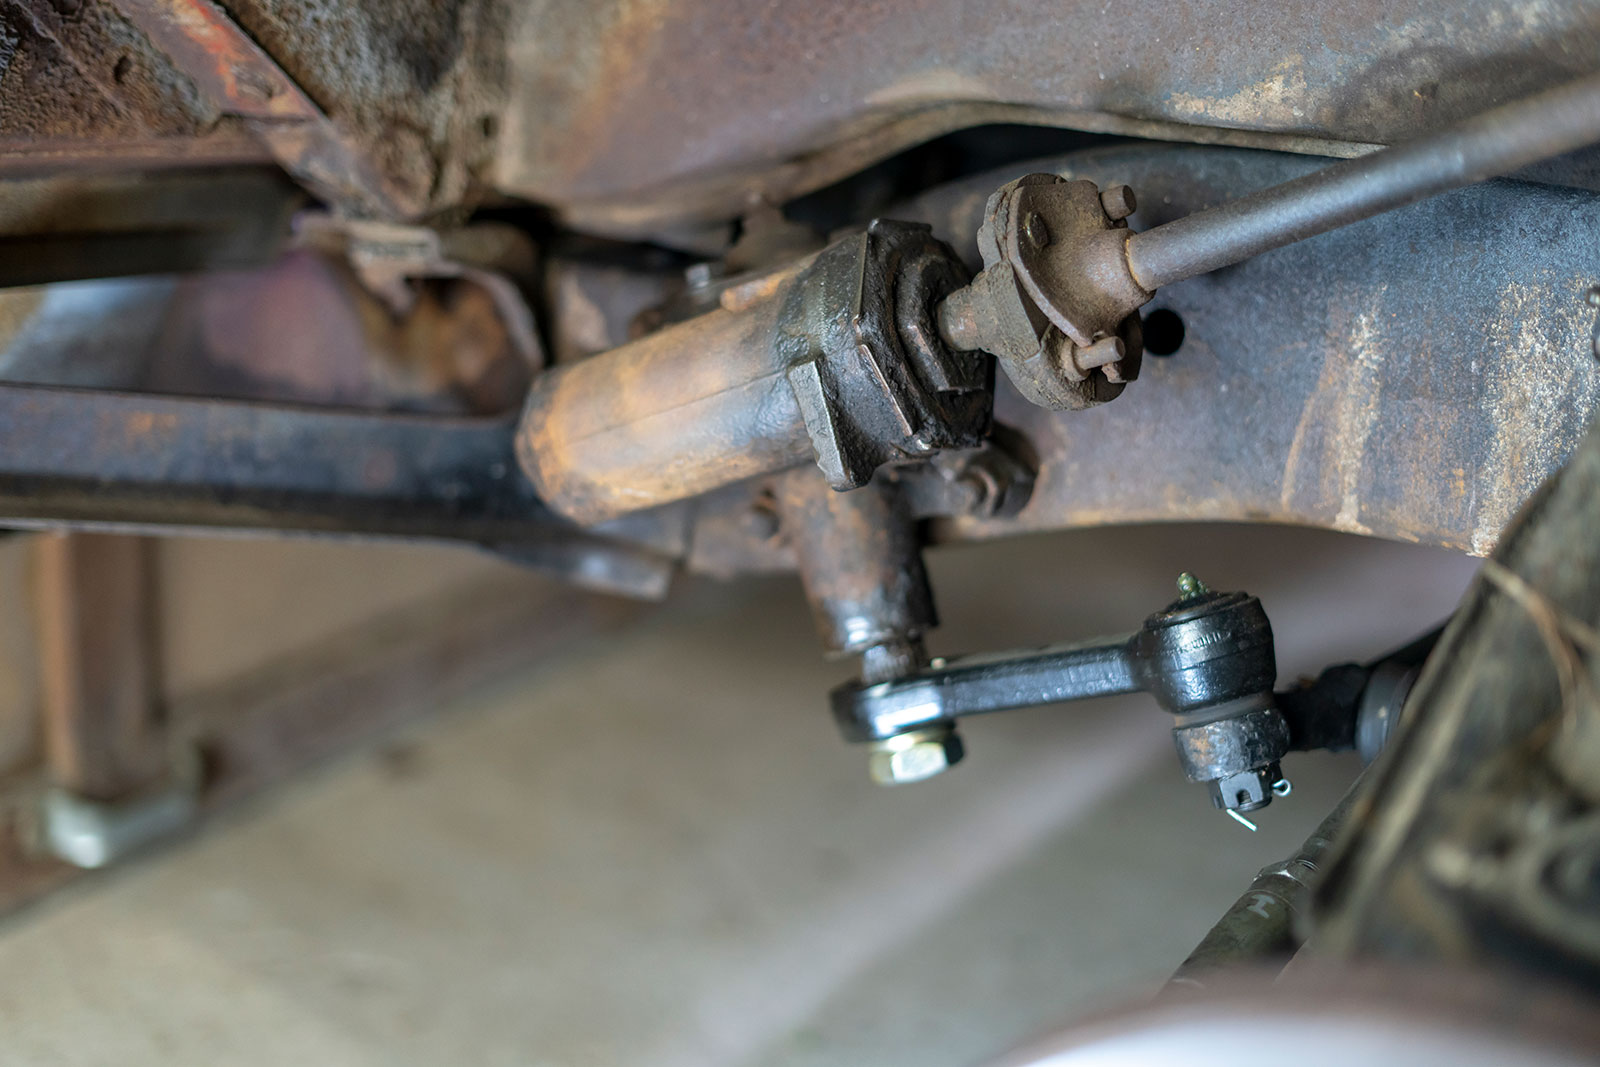
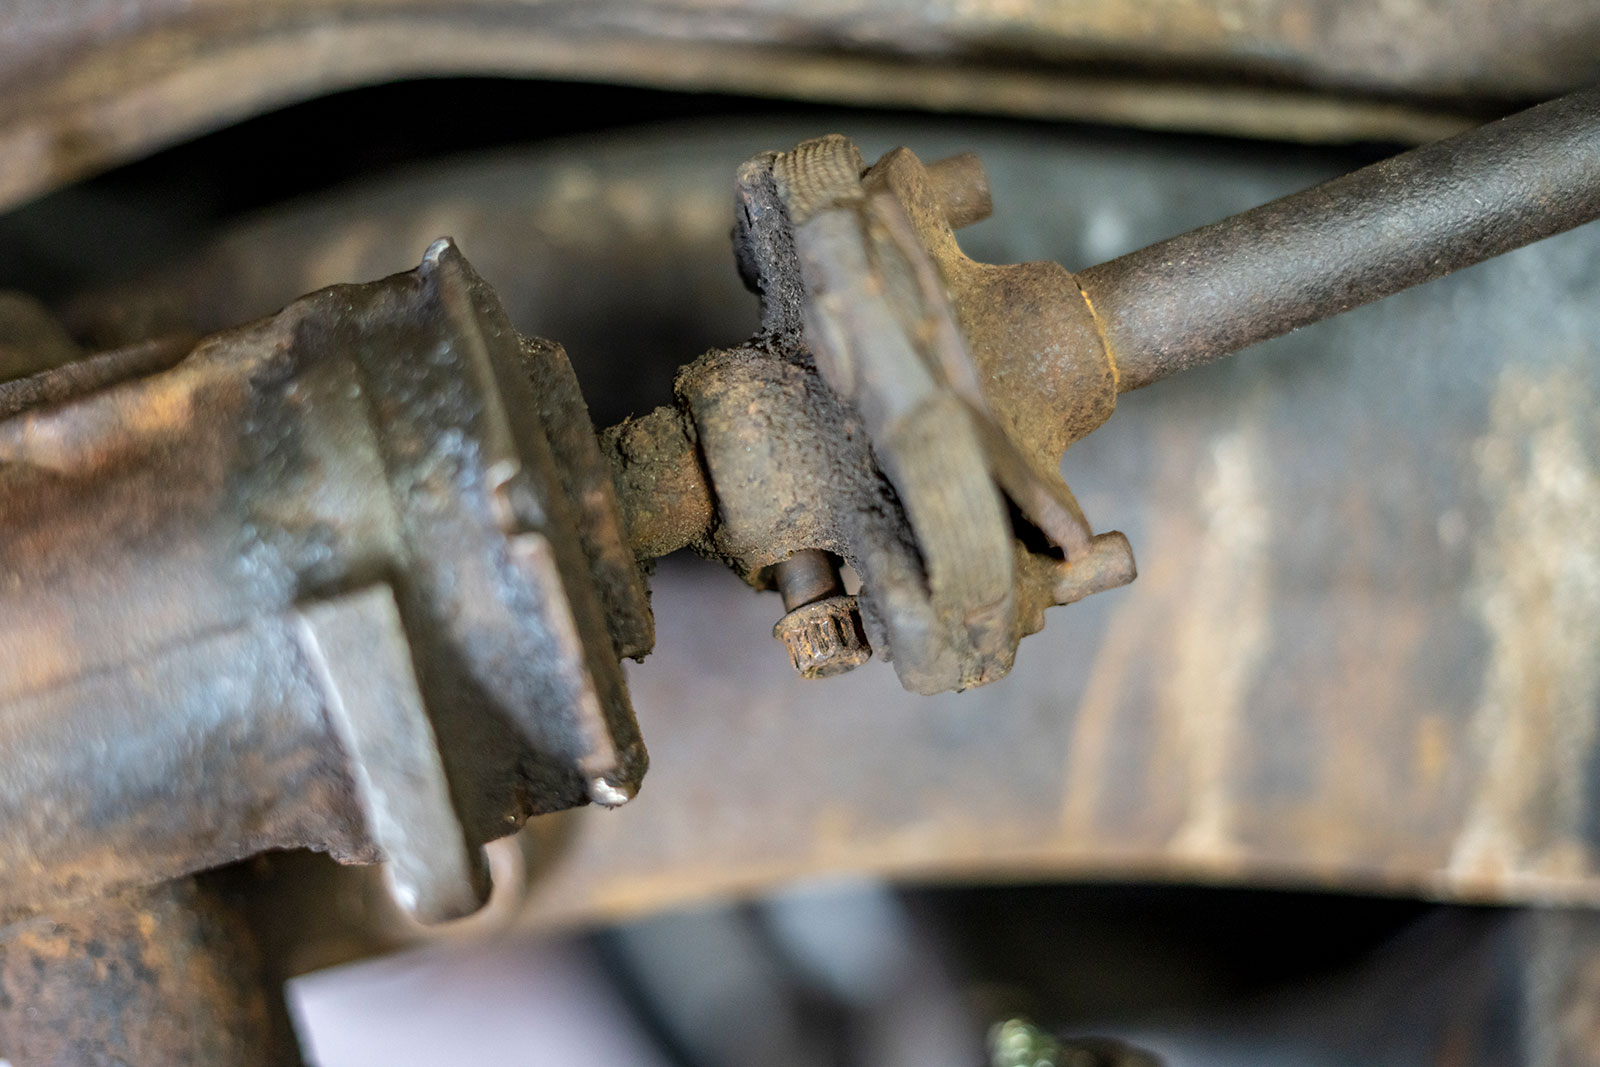
Many of you can attest, replacing the old steering linkage doesn’t always fix the issue. The factory steering box is worn out and leaking badly. Let’s get it out of there.
Now, as any of you who have a classic truck know, one thing is for certain, the original steering can leave a lot to be desired. Sloppy steering from a well-worn steering box can make driving your truck a chore just to keep it on the road. If you figure in the manual steering aspect of the original steering, you quickly start looking for solutions to bring your truck into the 21st century. We turned to Classic Performance Products in Placentia, California, for their 500 Series power steering solution. Classic Performance Products is no stranger to the steering game. They offer a huge selection of steering, brake, and suspension solutions for classic GM, Ford, and Mopar trucks.
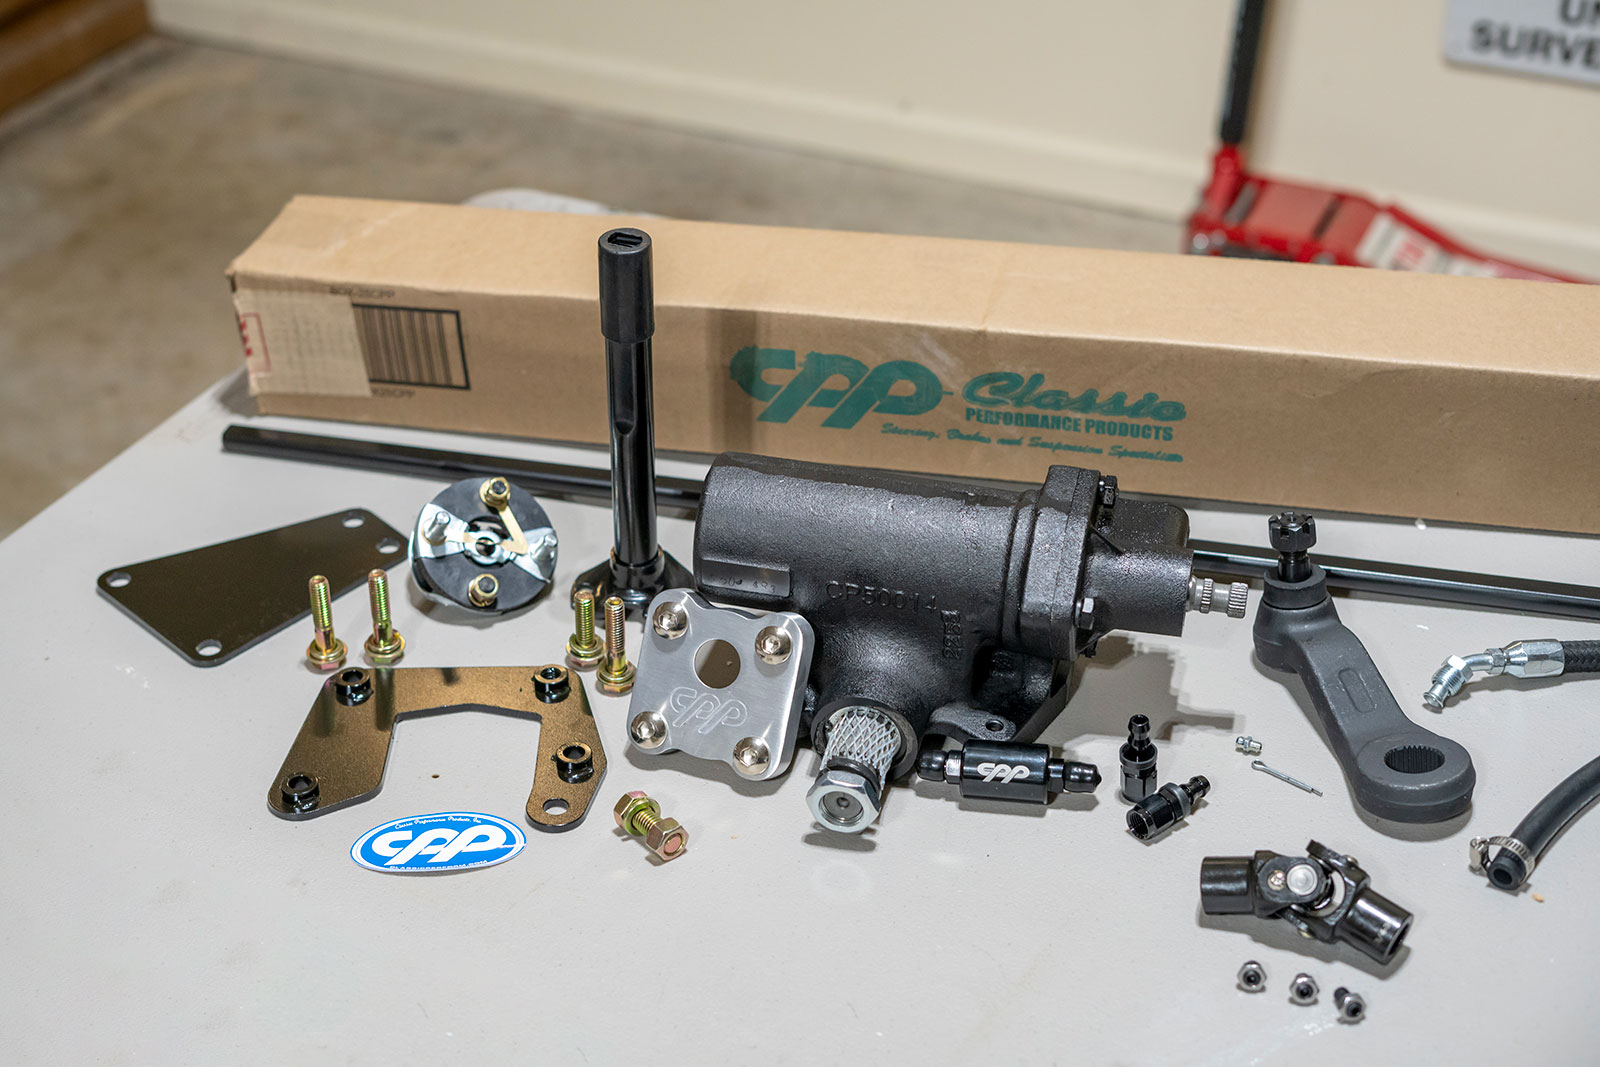
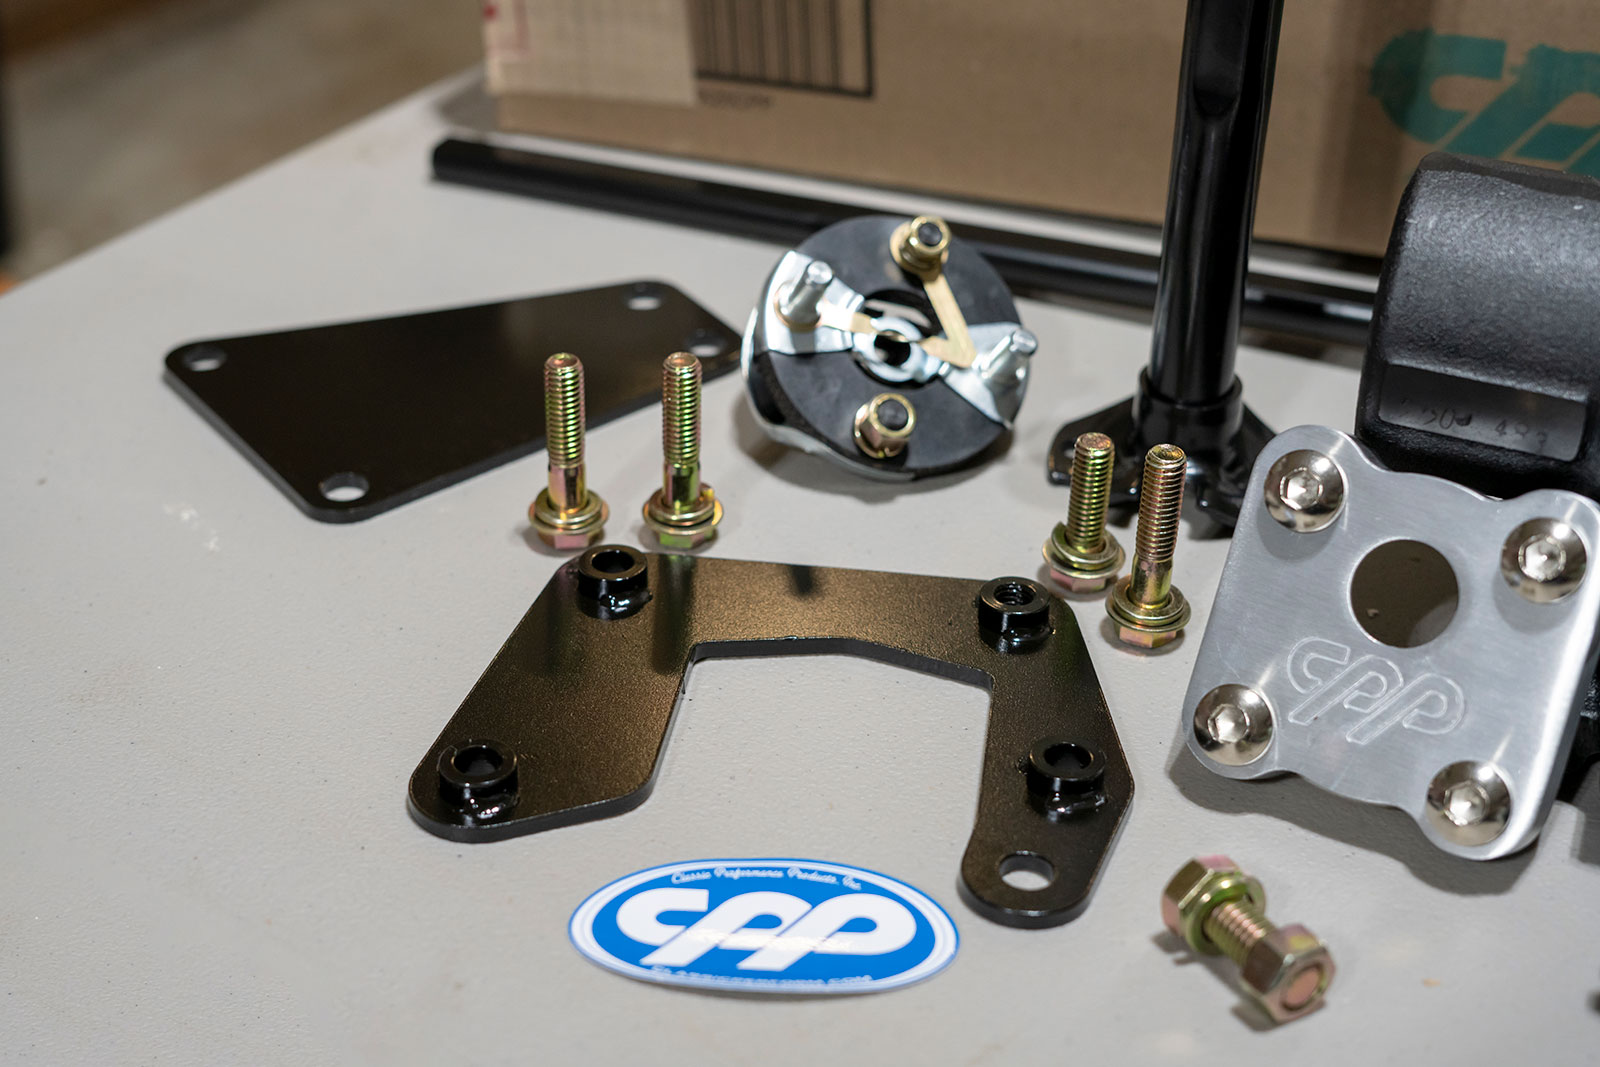
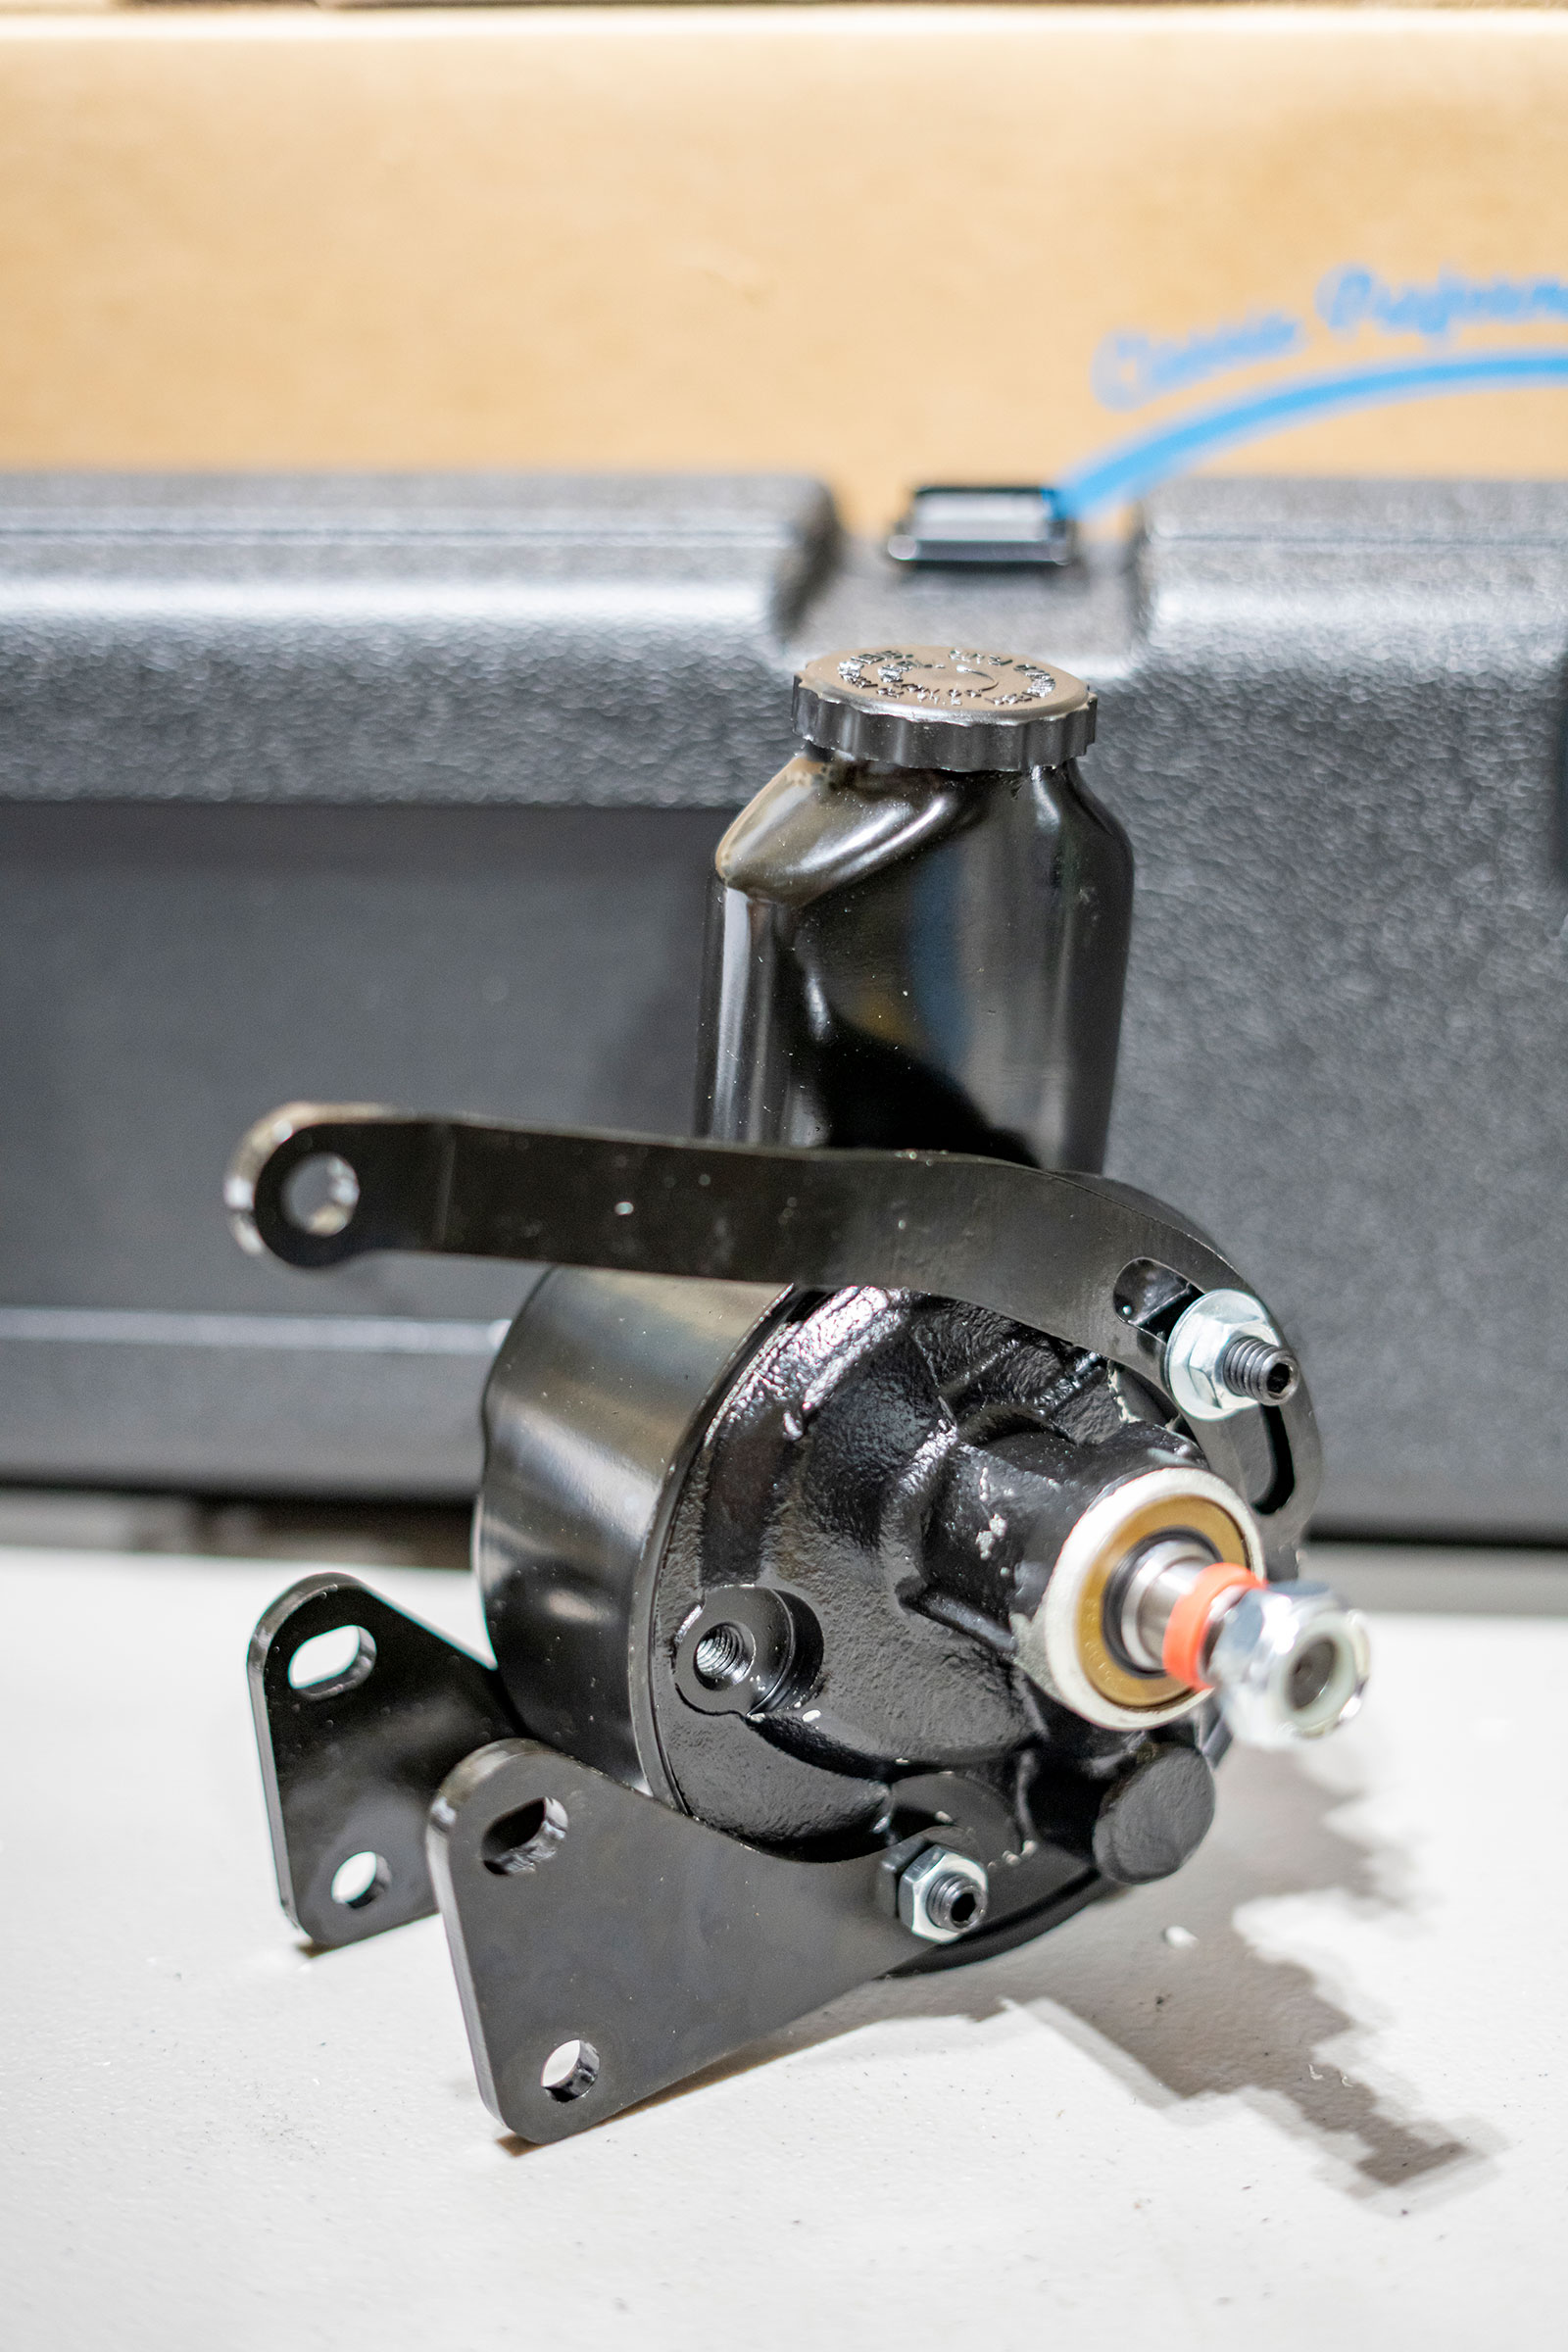
Classic Performance Products’s kit (PN CPP6366PSK-S) comes complete! All the brackets, hardware, hoses, and fittings are included—as well as their 500 Series power box.
We start this two-part install focusing on the steering box and pump. We will show you just how easy it is to install the CPP power steering conversion kit (PN CPP6366PSK-S). Follow along and see how you too can do this in your own driveway.
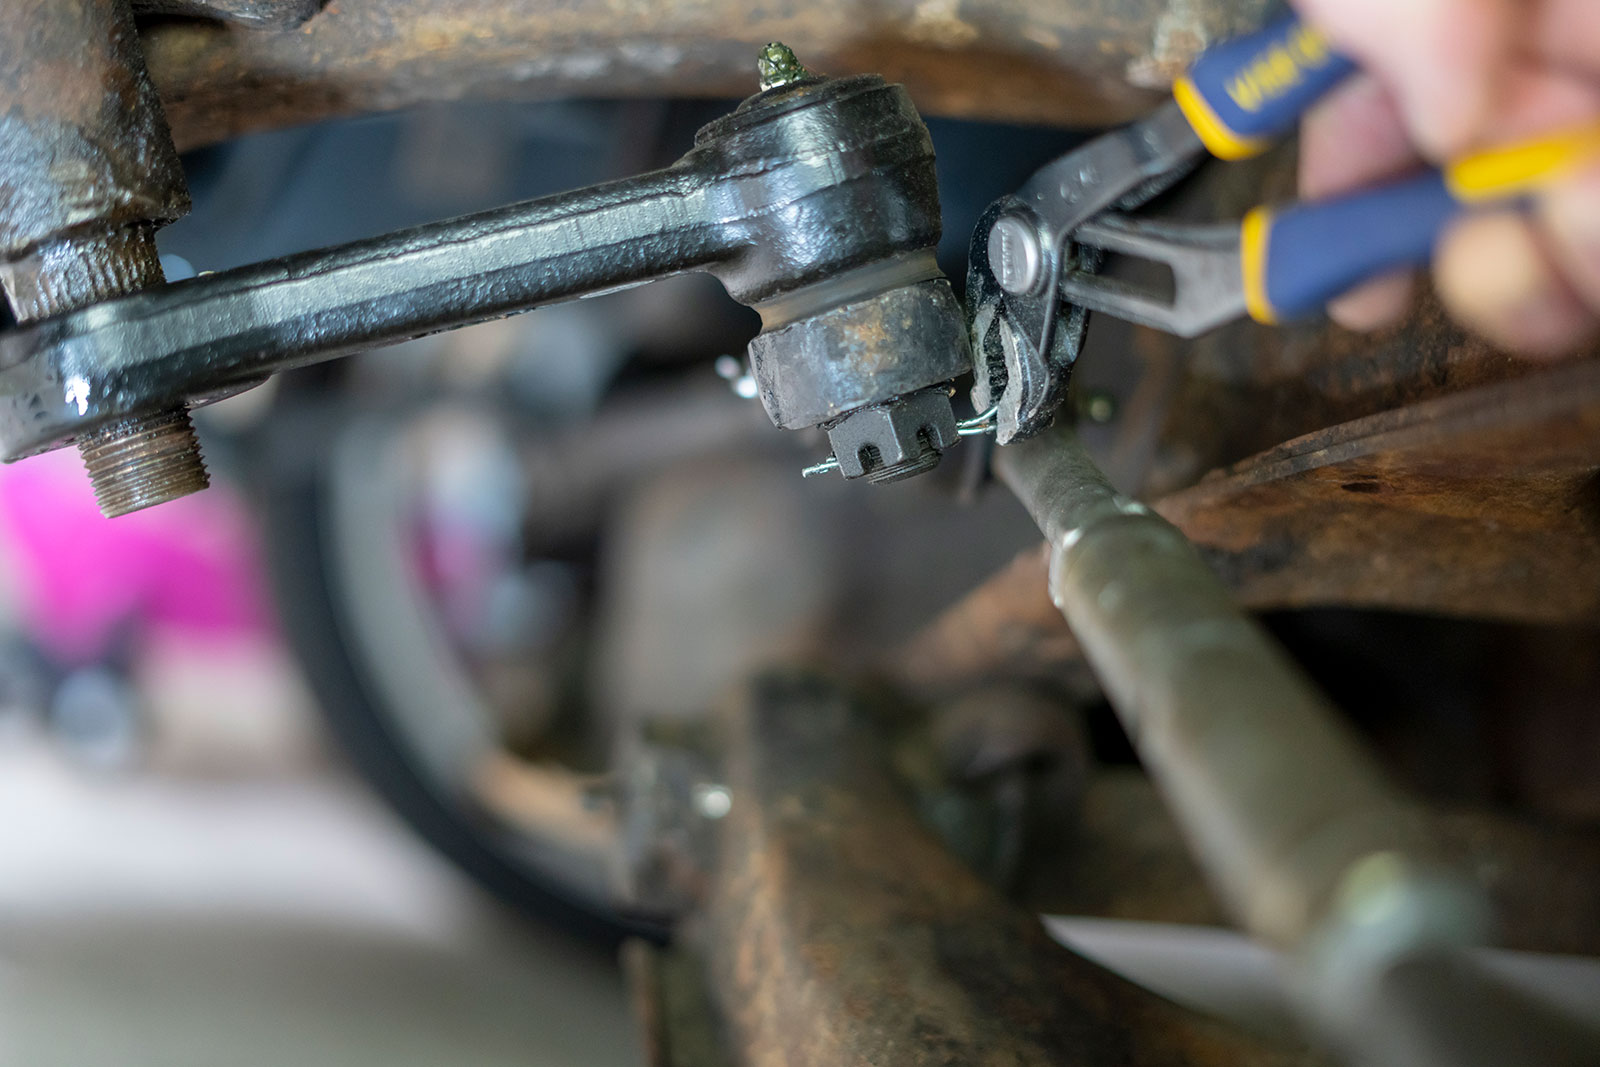
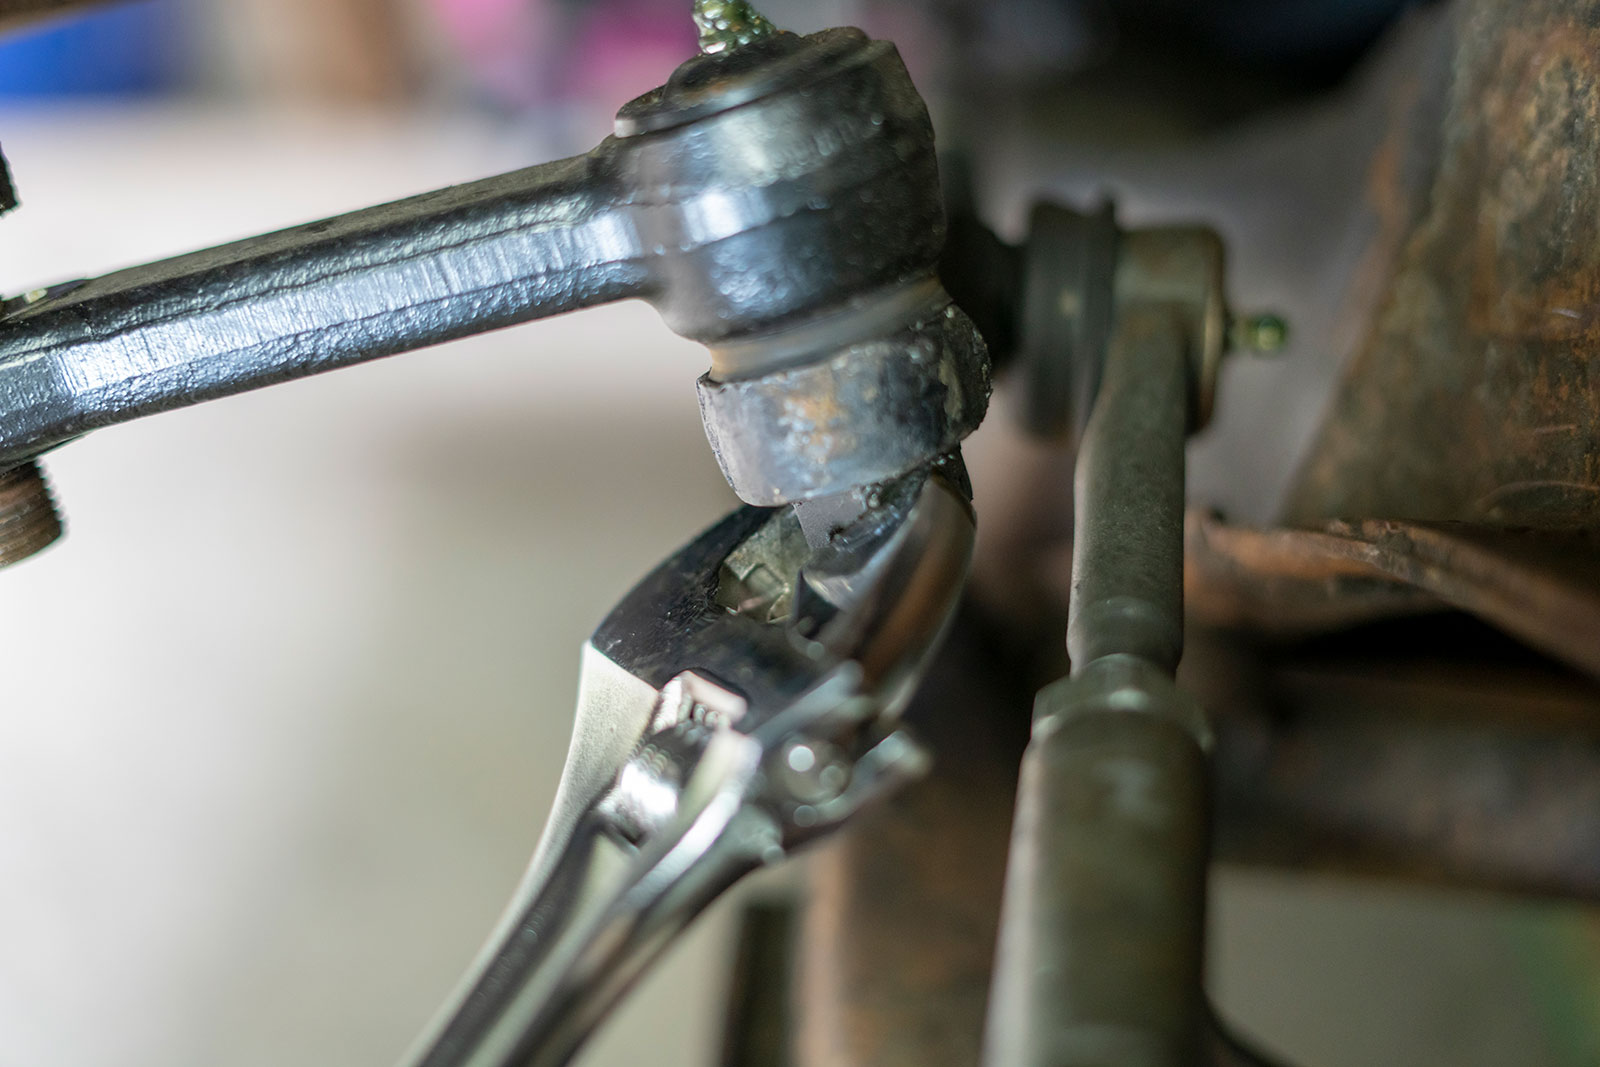
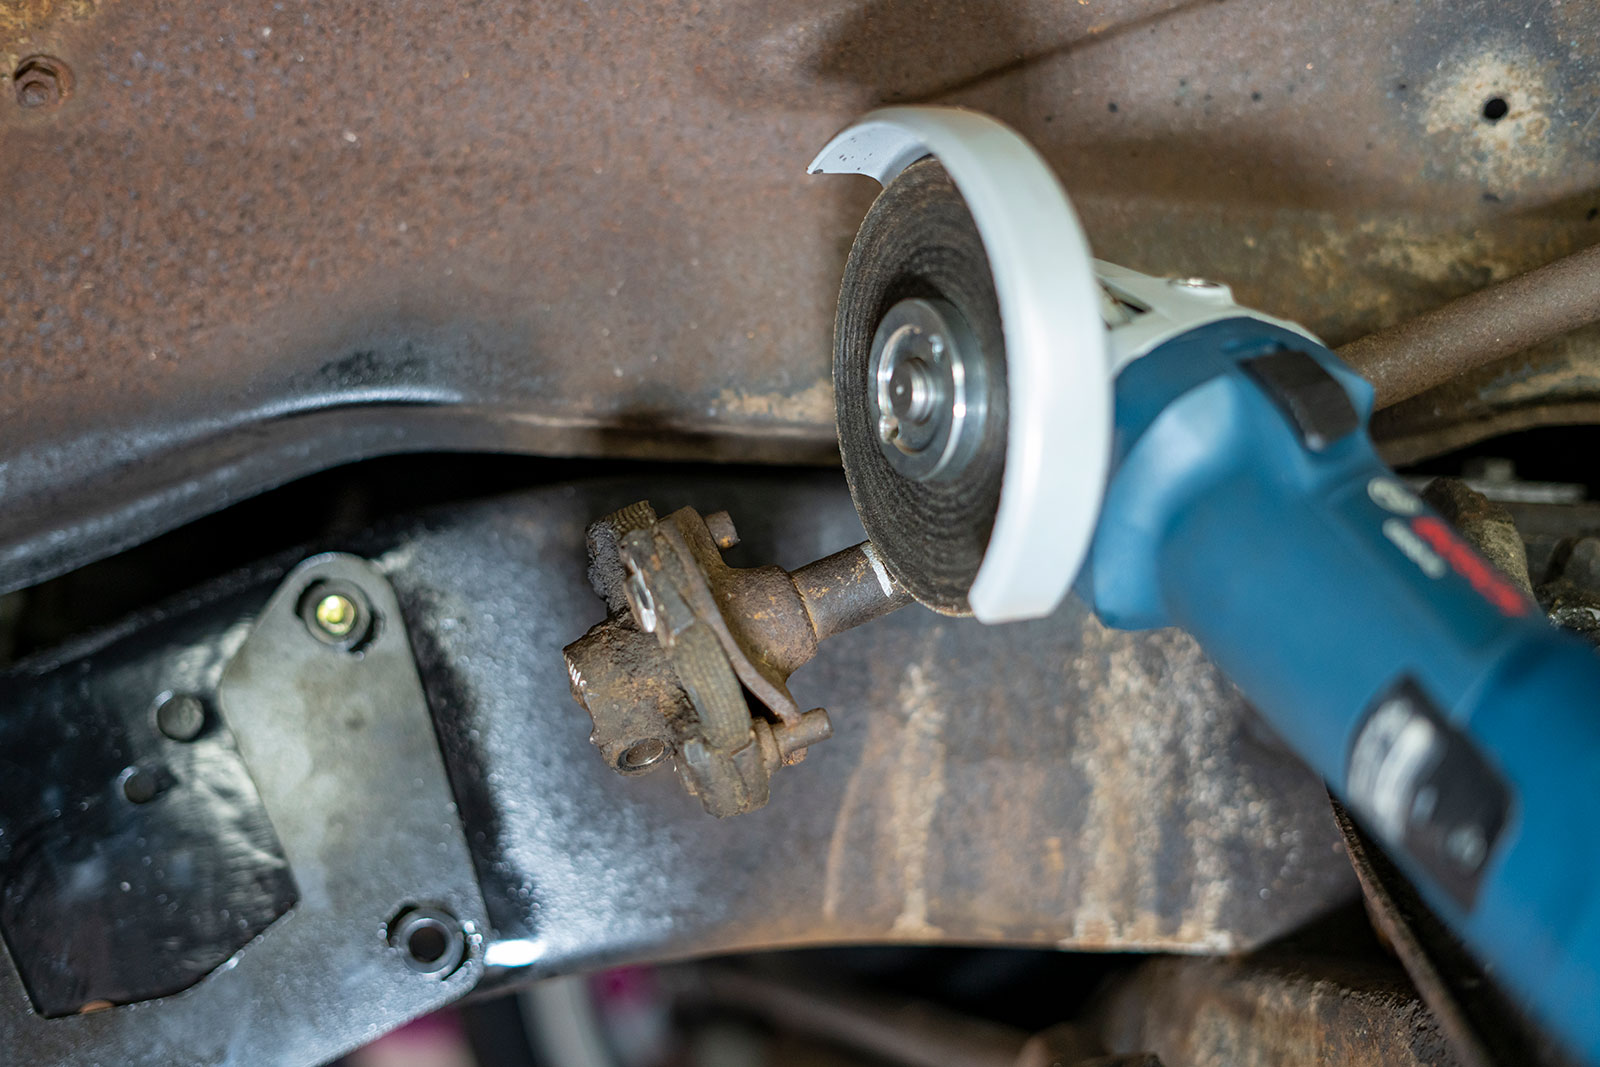
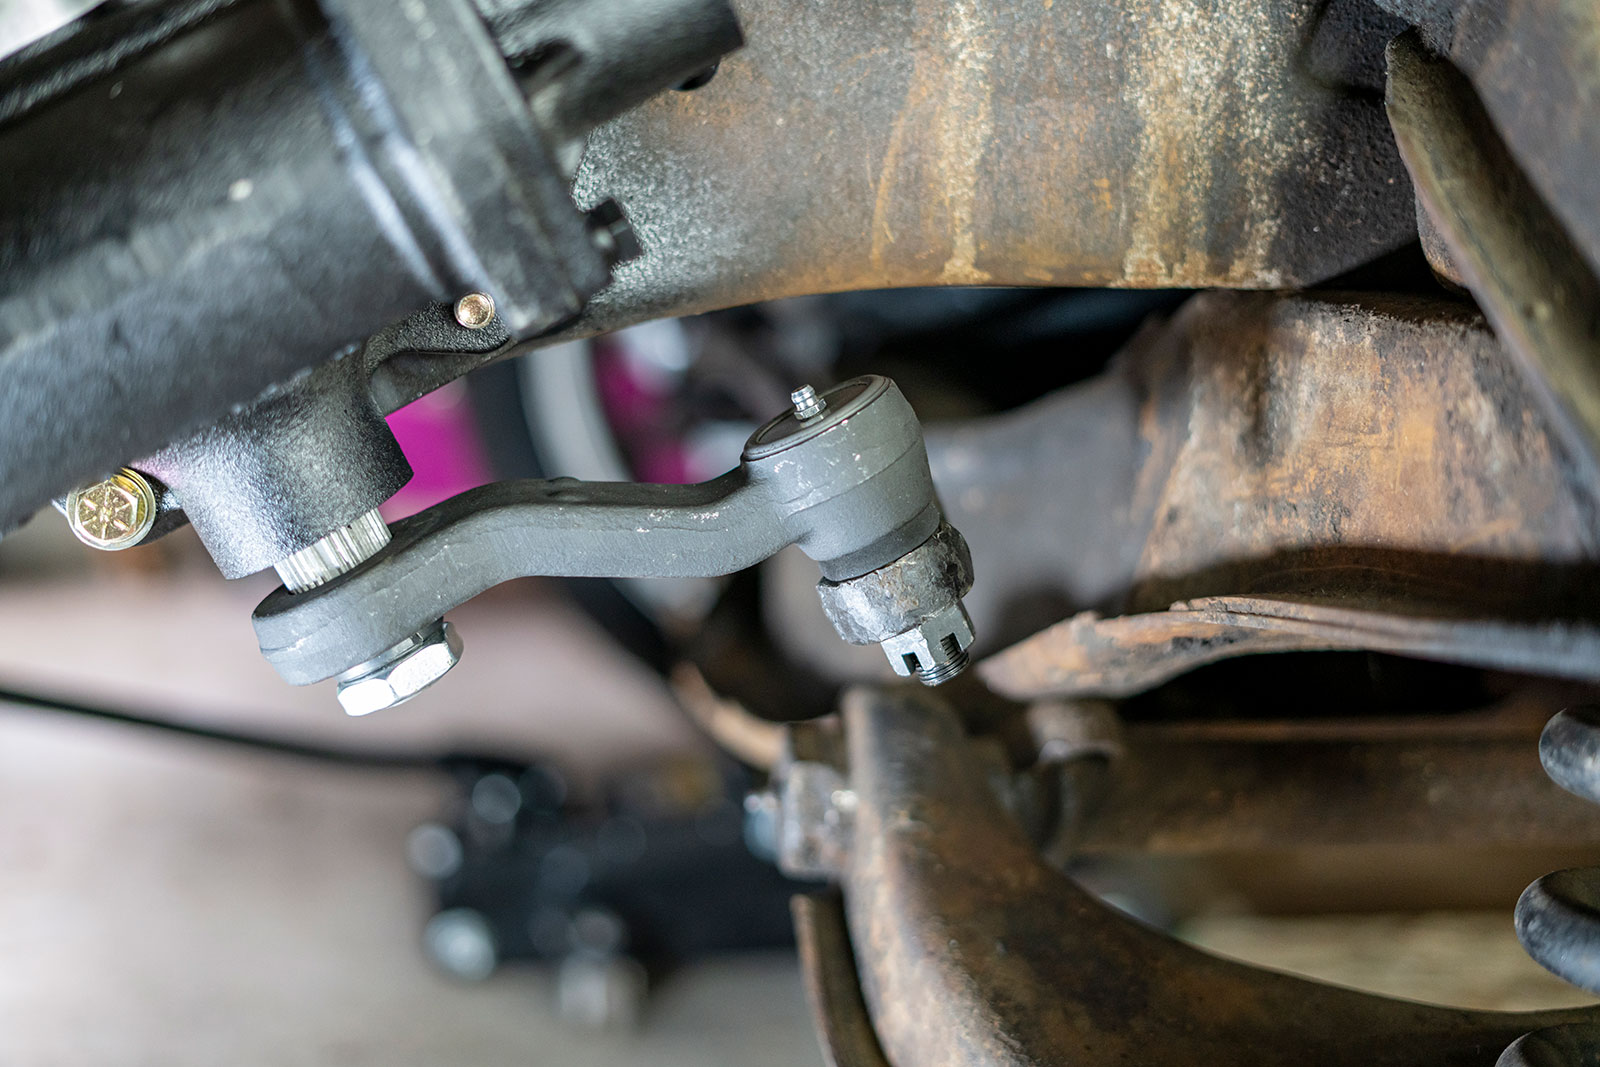
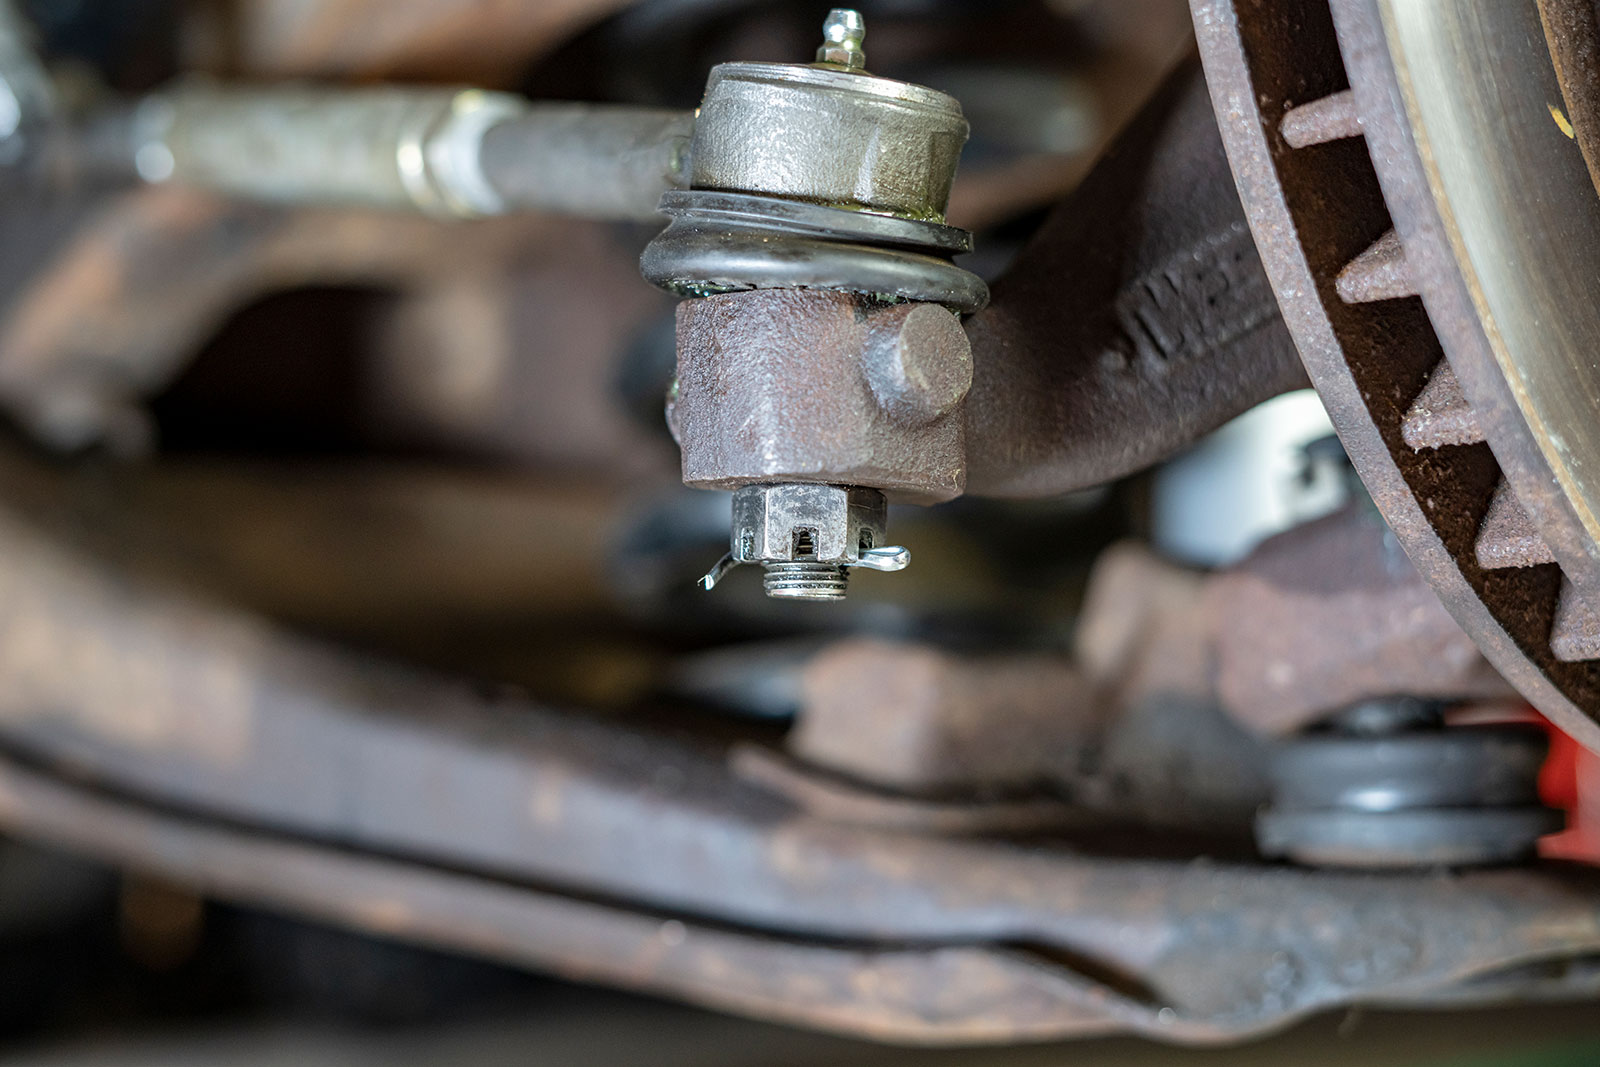
Removing the cotter pins is step one. The centerlink and pitman arm will need to be free.With the pins removed, remove the castle nuts.Next, loosen the 12-point bolt on the rag joint.
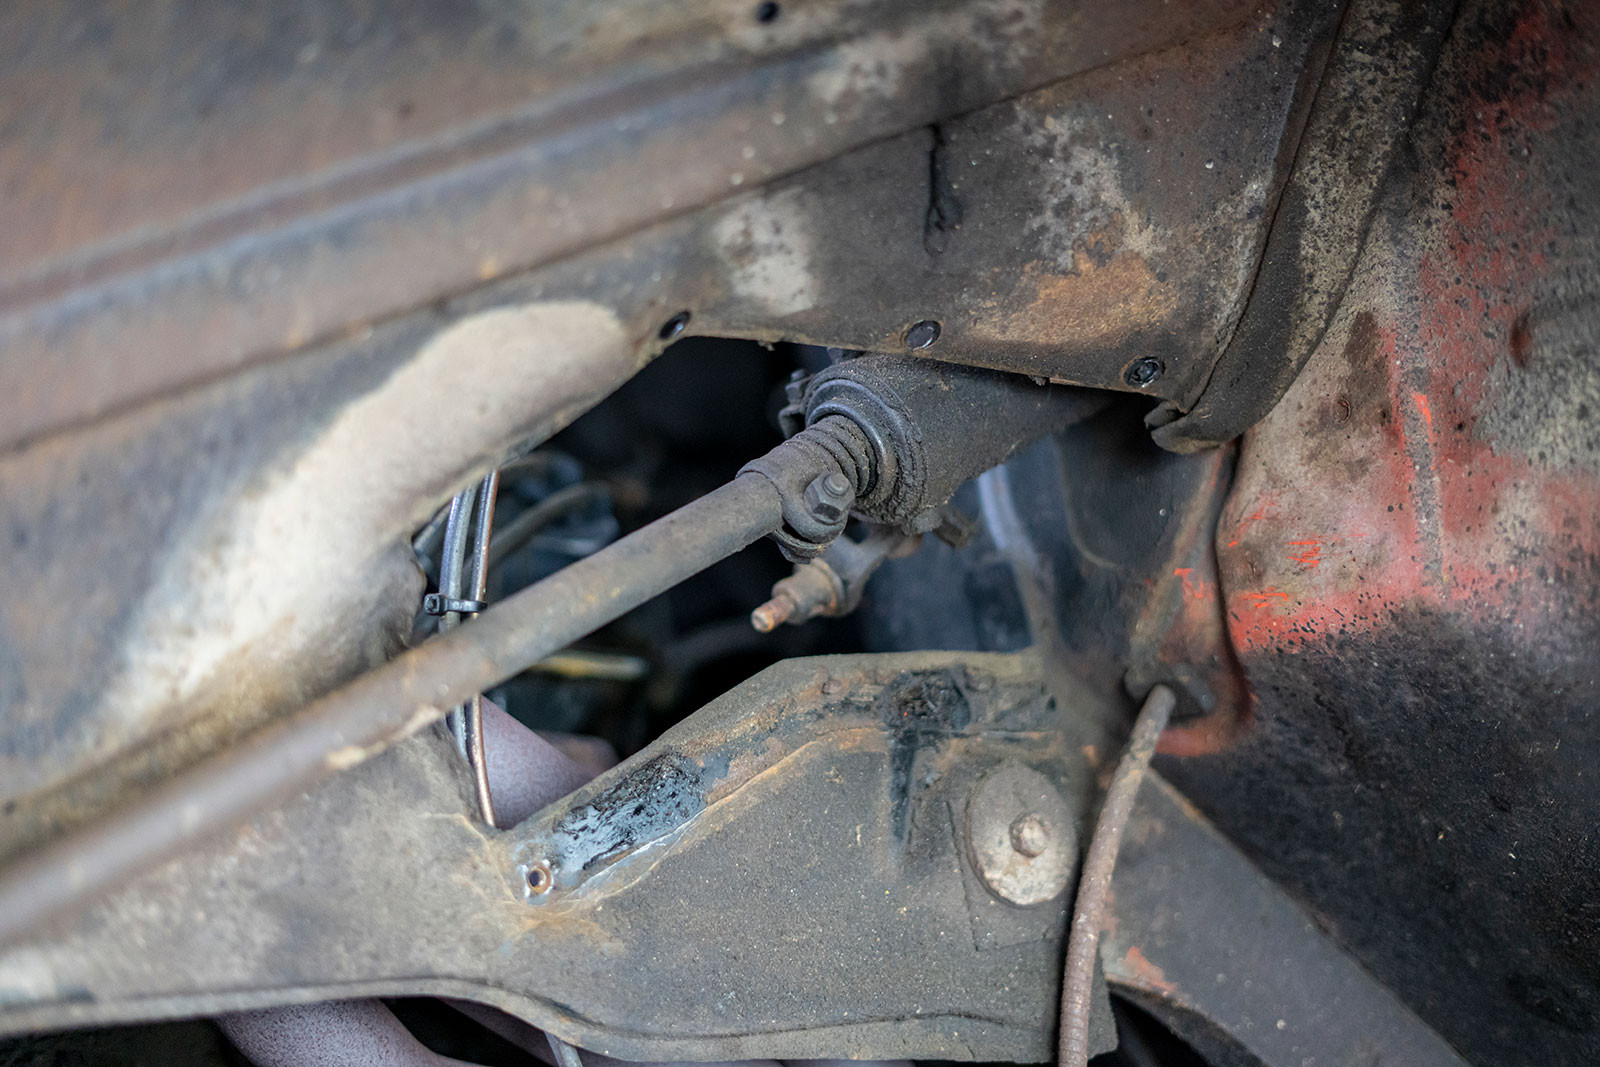
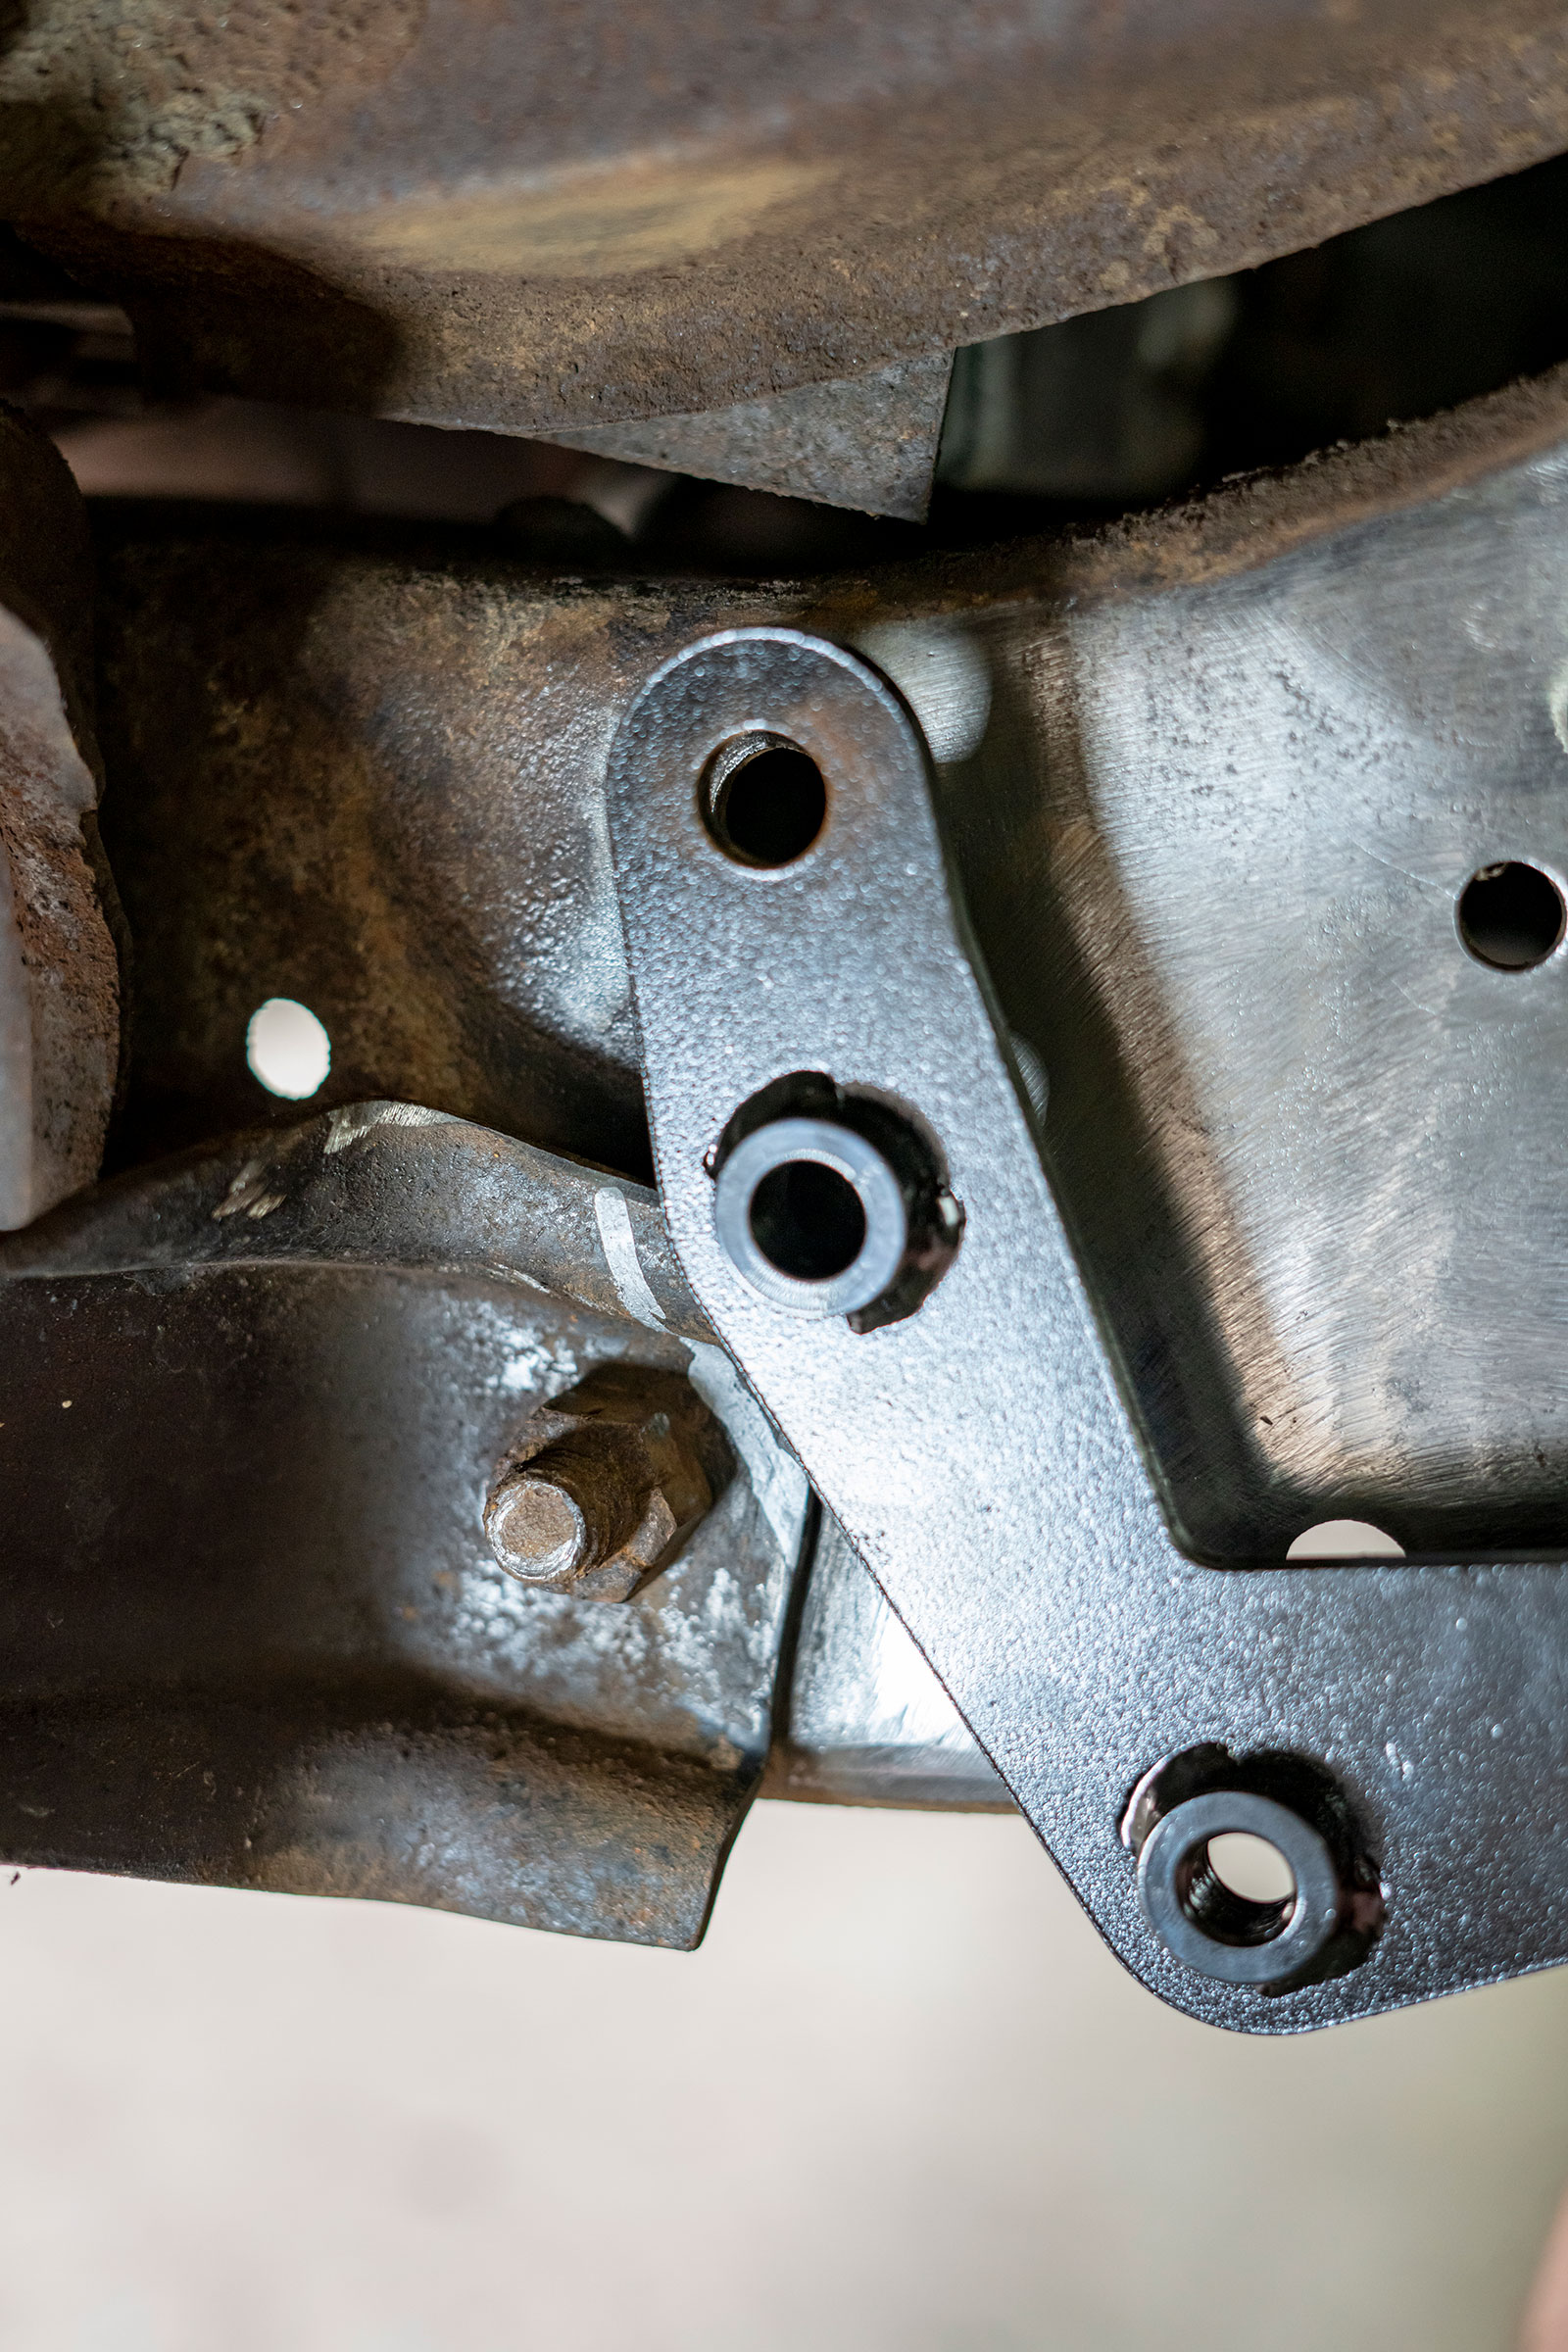
Remove the dust shield to gain full access to the steering shaft. The original steering column isn’t in bad shape, but we will be upgrading that as well.After removing the steering box, which is straightforward, inspect the frame for any damage. Sometimes this area can fracture from years of abuse. No issues here; a quick clean up helps ensure there is no damage and makes for a clean install.The steering box bracket will need some clearance from the bumper bracket. Place the bracket where it mounts and mark your cut line on the edge of the bumper bracket.
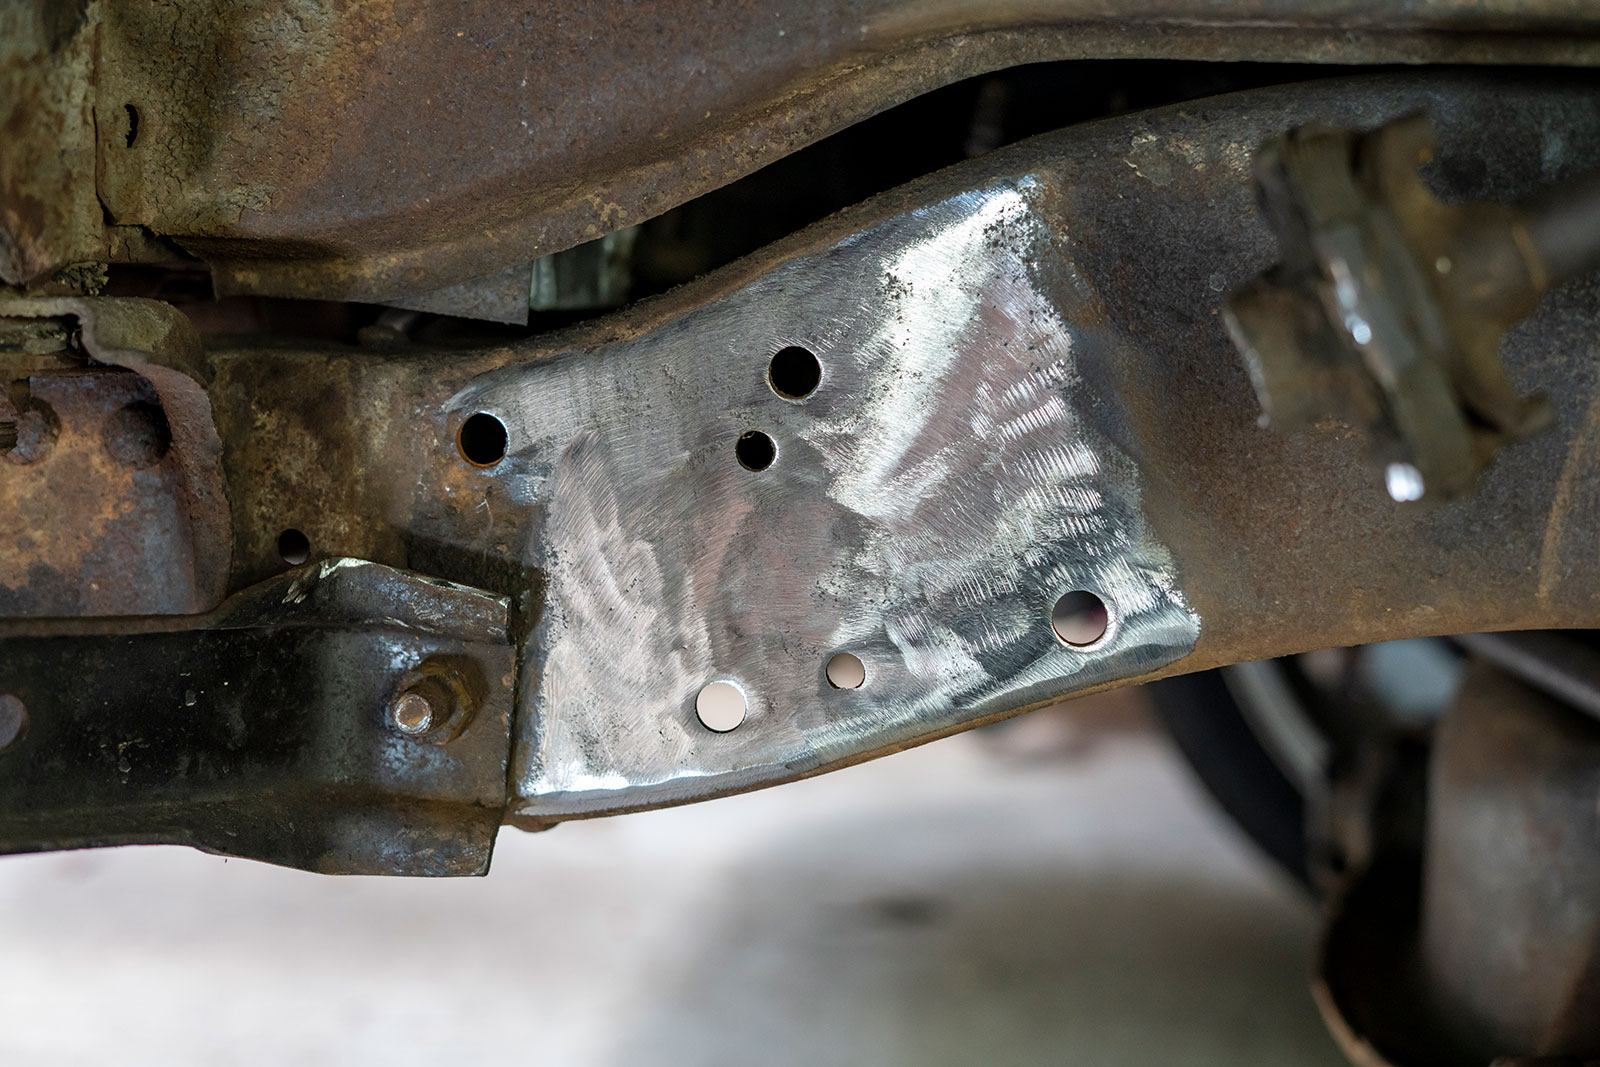
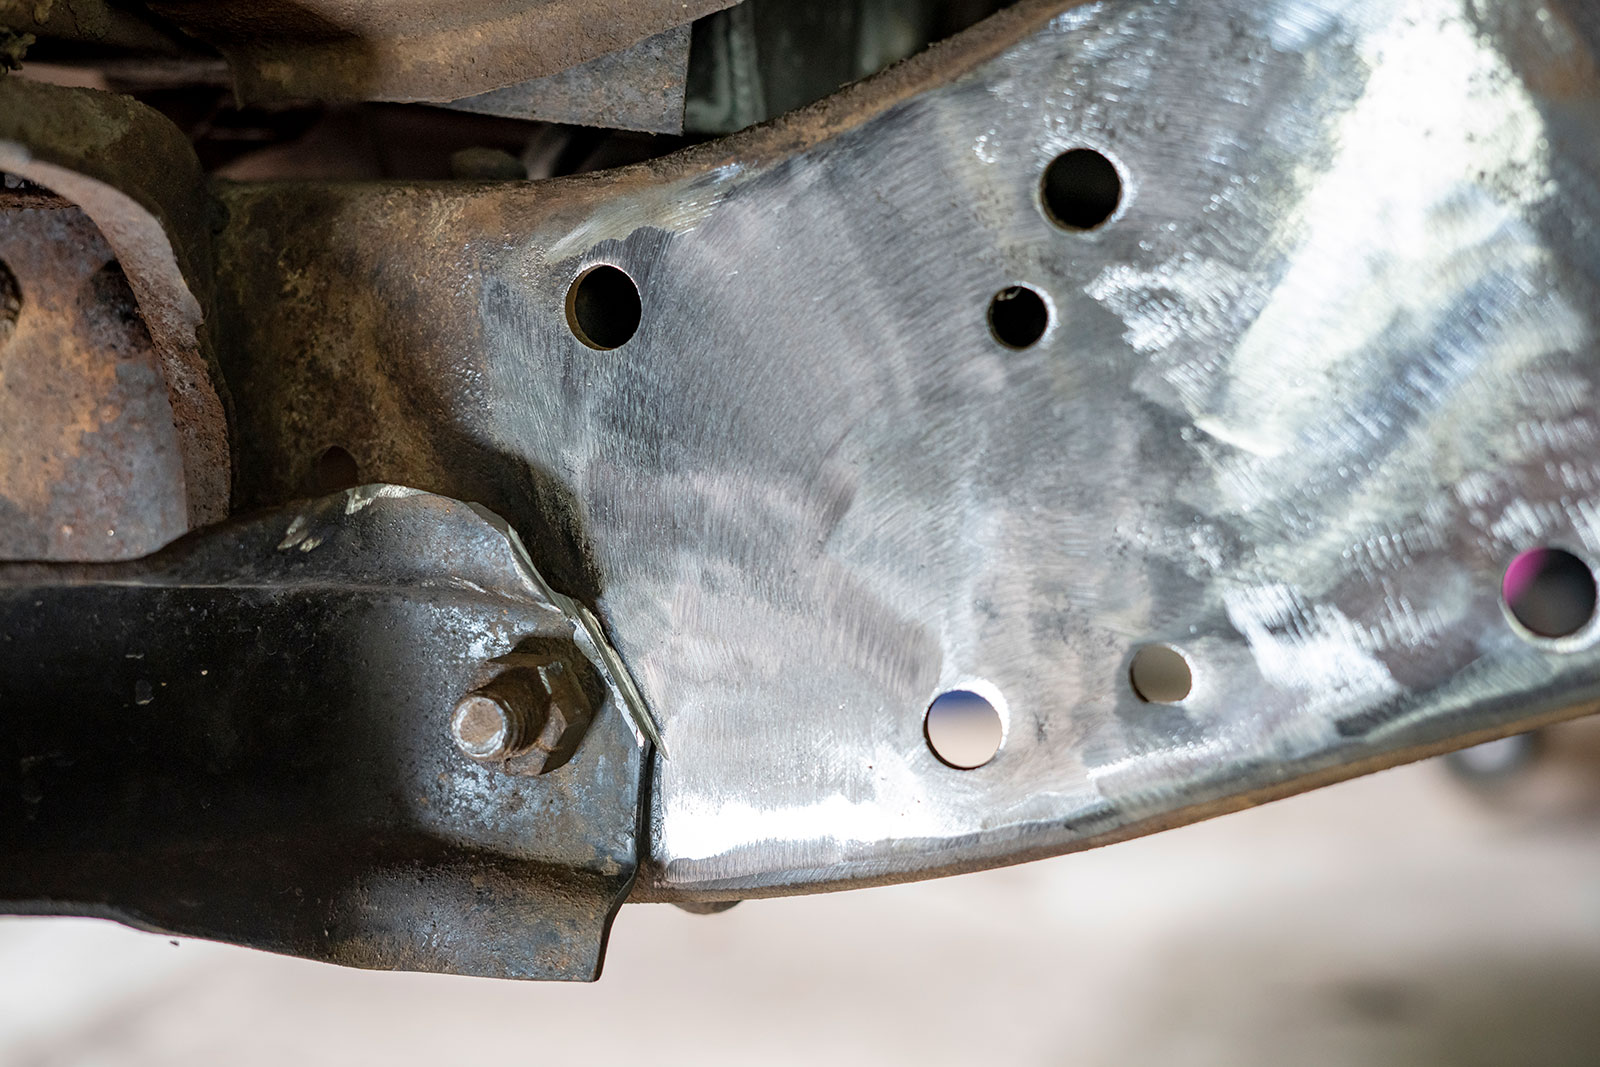
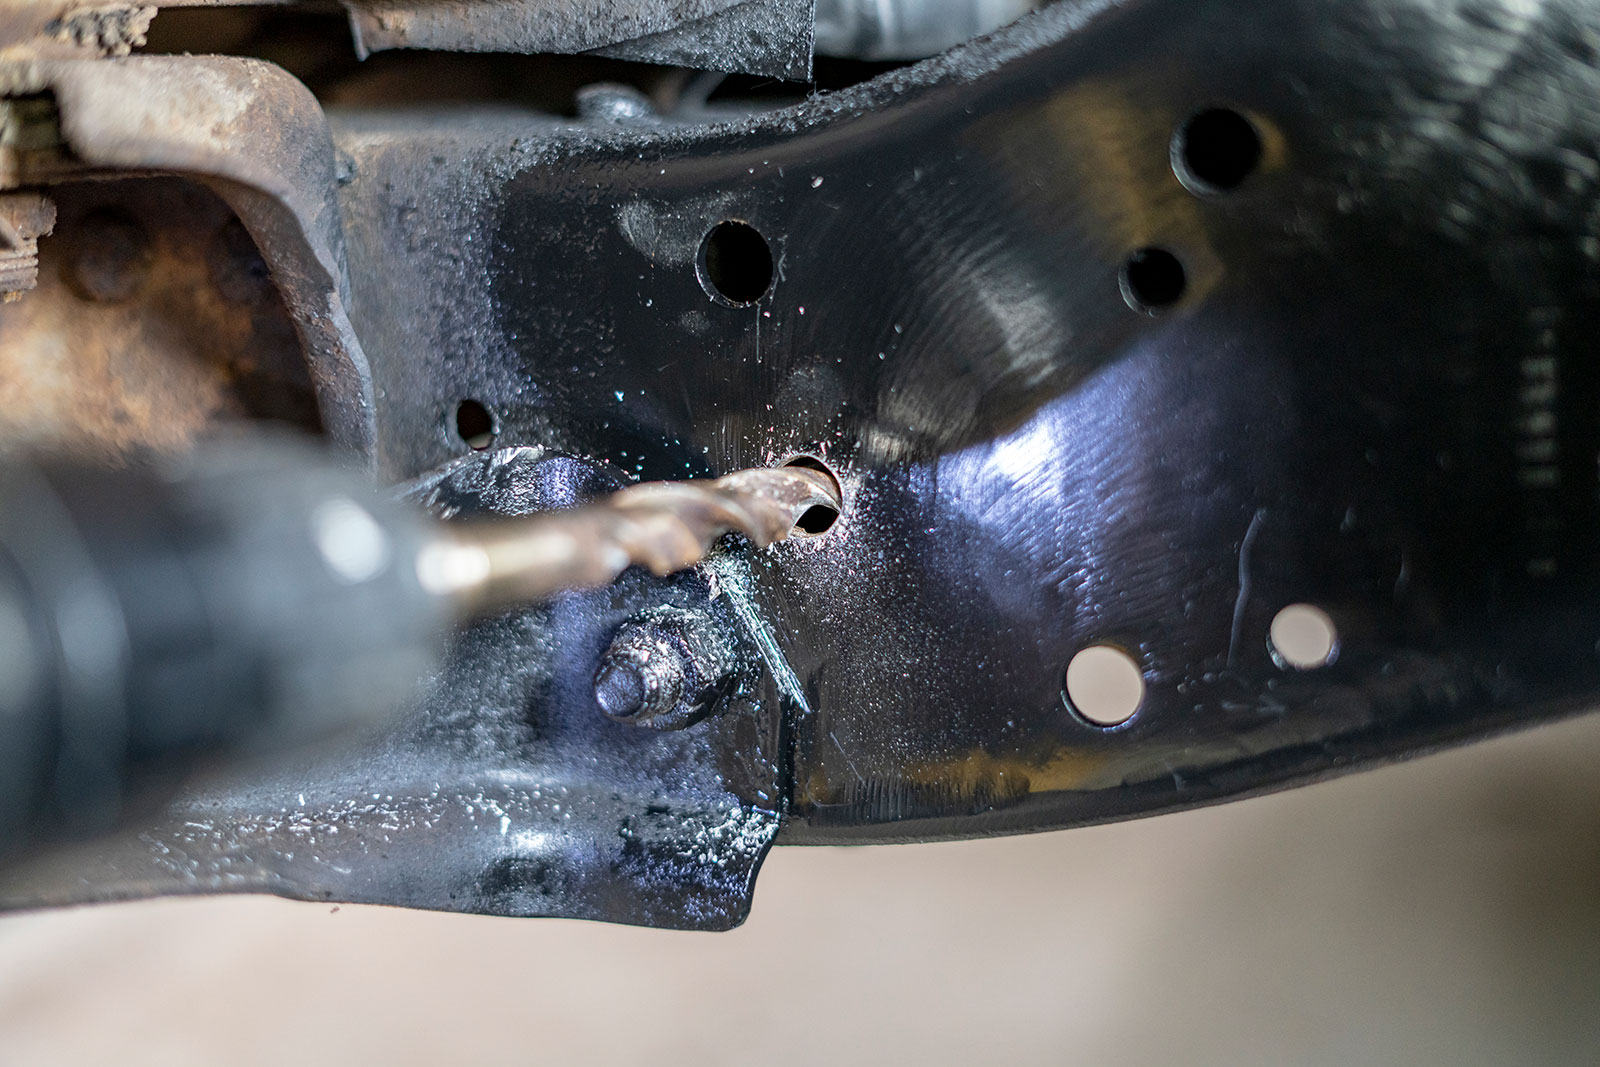
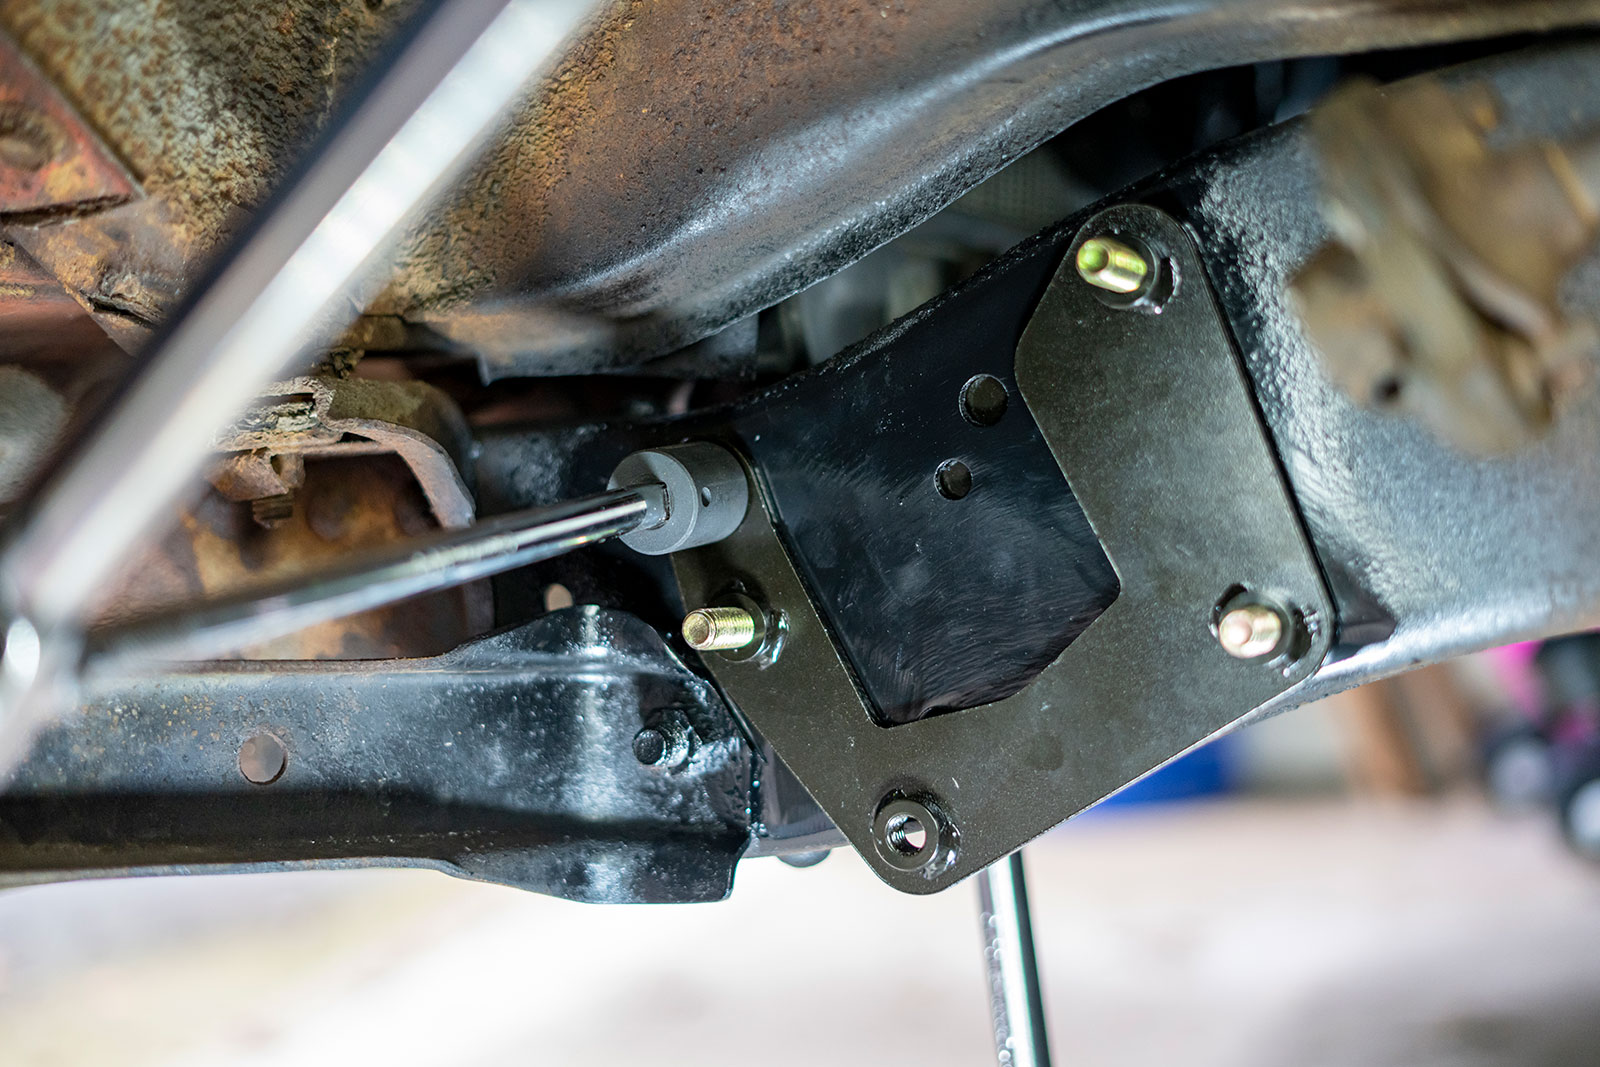
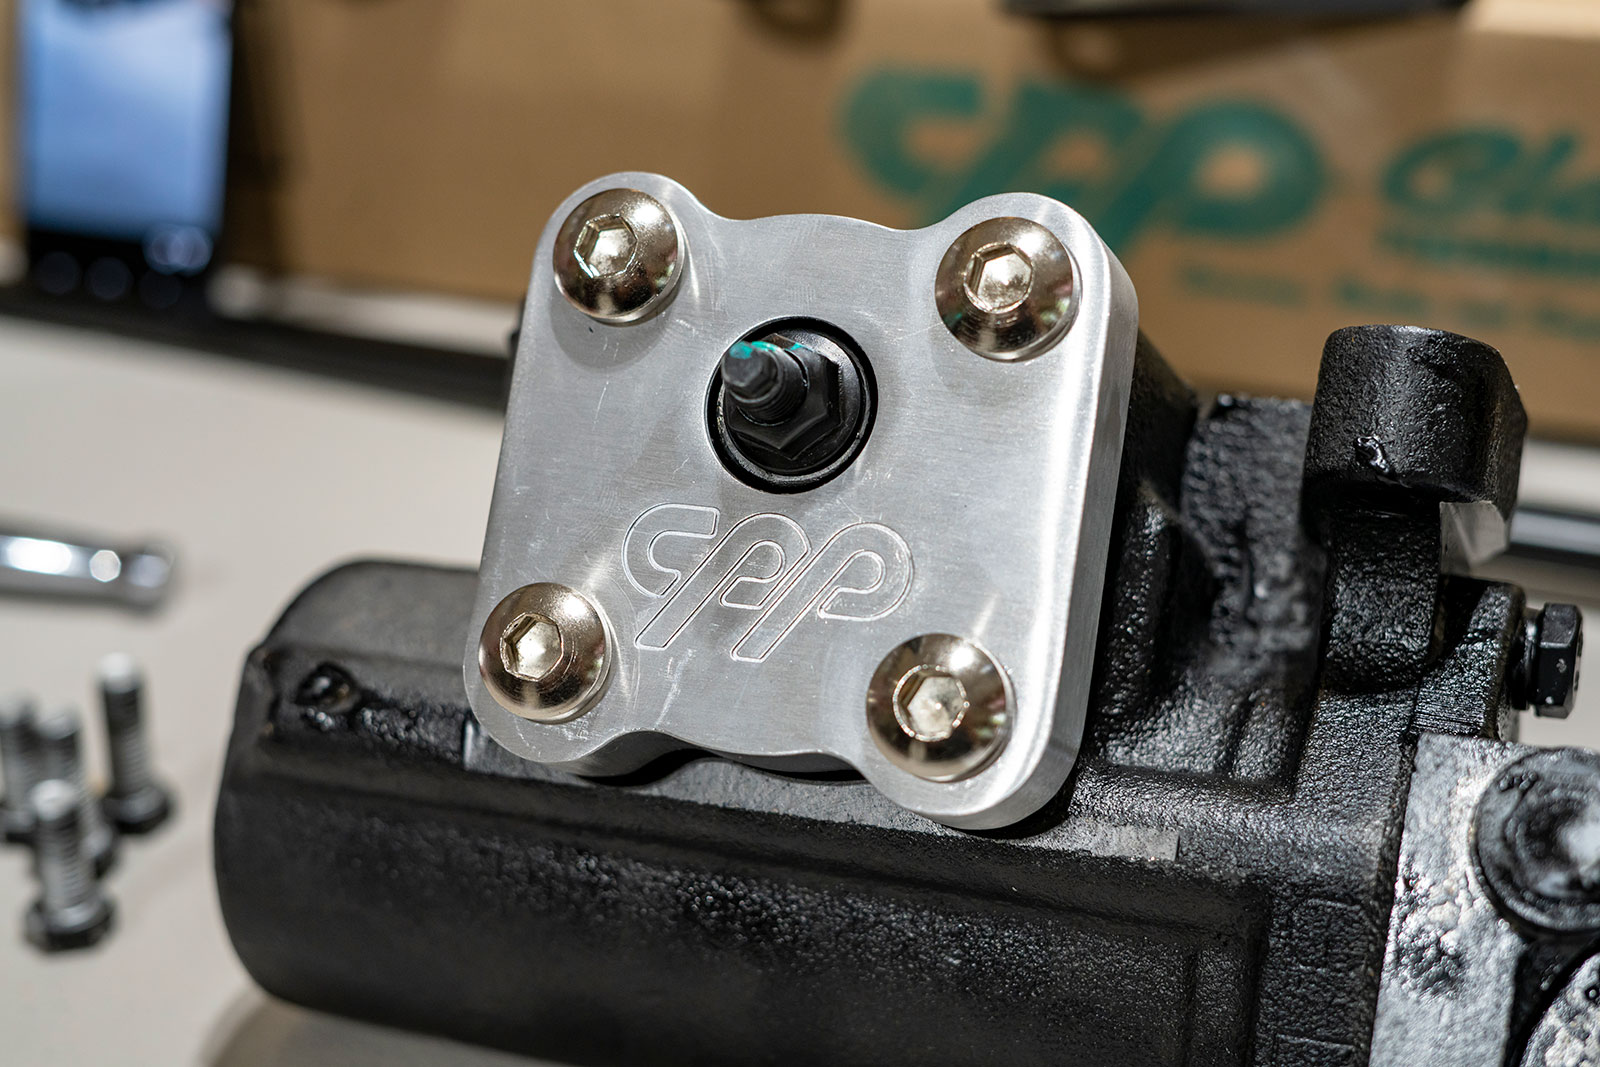
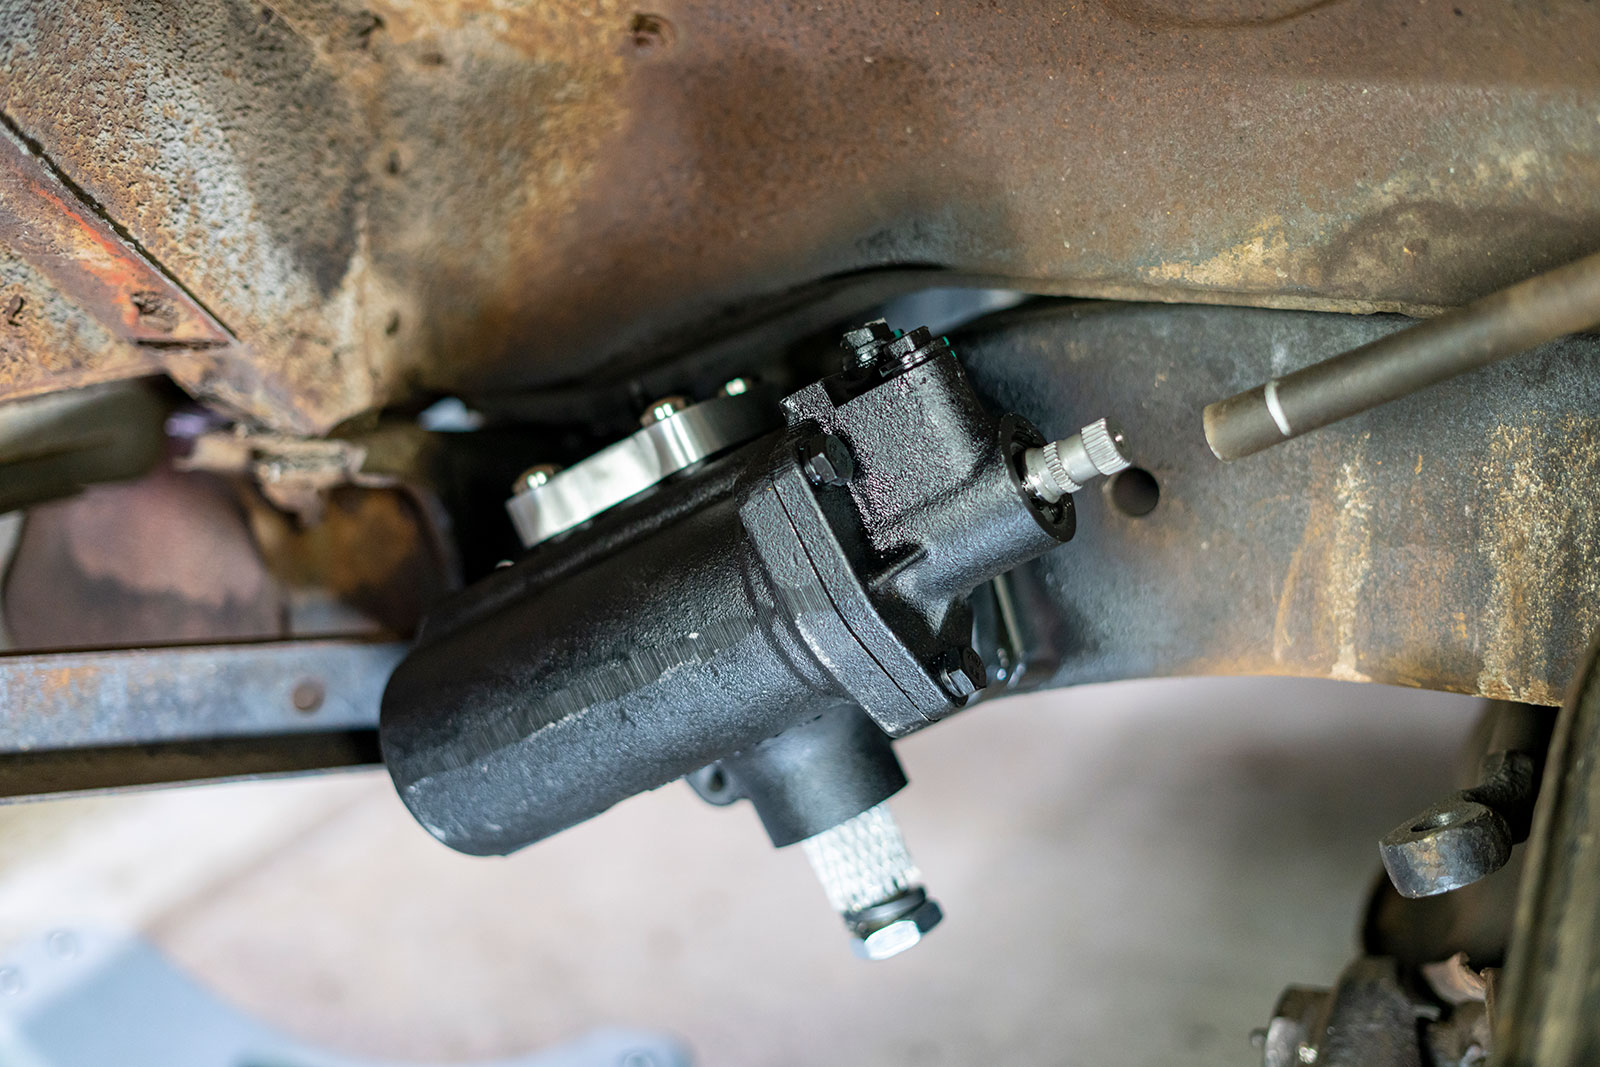
A quick, easy pass with the cutoff wheel takes care of the job. Cut just deep enough to stay out of the frame rail.With a quick coat of paint, install the new steering box mounting bracket and reinforcing bracket onto the frame to mark the upper right and center left holes that need to be drilled. Do not drill the frame for the lower left bolthole.With the holes drilled, reinstall the front bracket and rear reinforcement plate. Torque the brackets to the frame. We set the spec to 78 lb-ft per the Classic Performance Products recommendations in the instructions.We mocked up the intermediate shaft for installation and marked the original shaft to bed cut. It’s better to cut short and adjust as needed later.Prep the new steering box for install. We installed the new Classic Performance Products cover plate. With a 7/16-inch drill bit, drill out the threads on the lower forward mounting boss of the steering box. The bolt will be installed through this hole on the steering box and thread into the forward lower mounting hole on the new mounting bracket.The new steering box fits perfectly and the lower hole drilled out is installed with the provided bolt in the lower left corner.The Classic Performance Products kit is a “complete” solution and comes with a new pitman arm. Install the new pitman arm and orient it in the same direction as when you removed the old one.
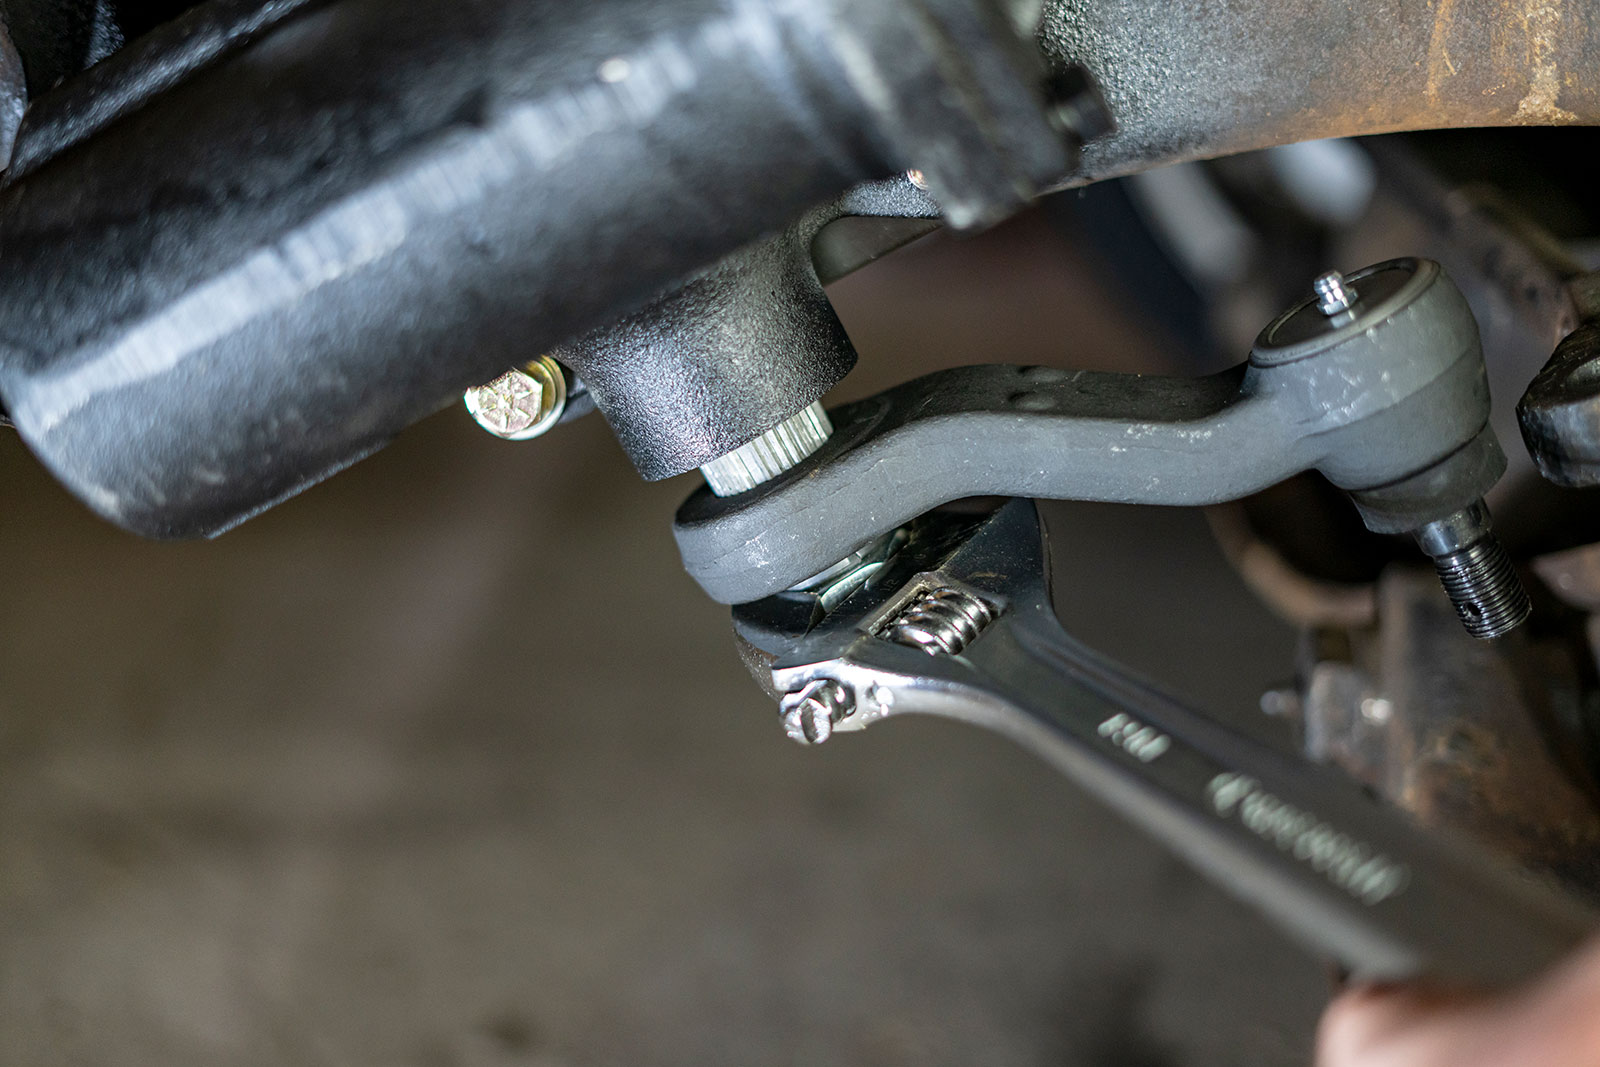
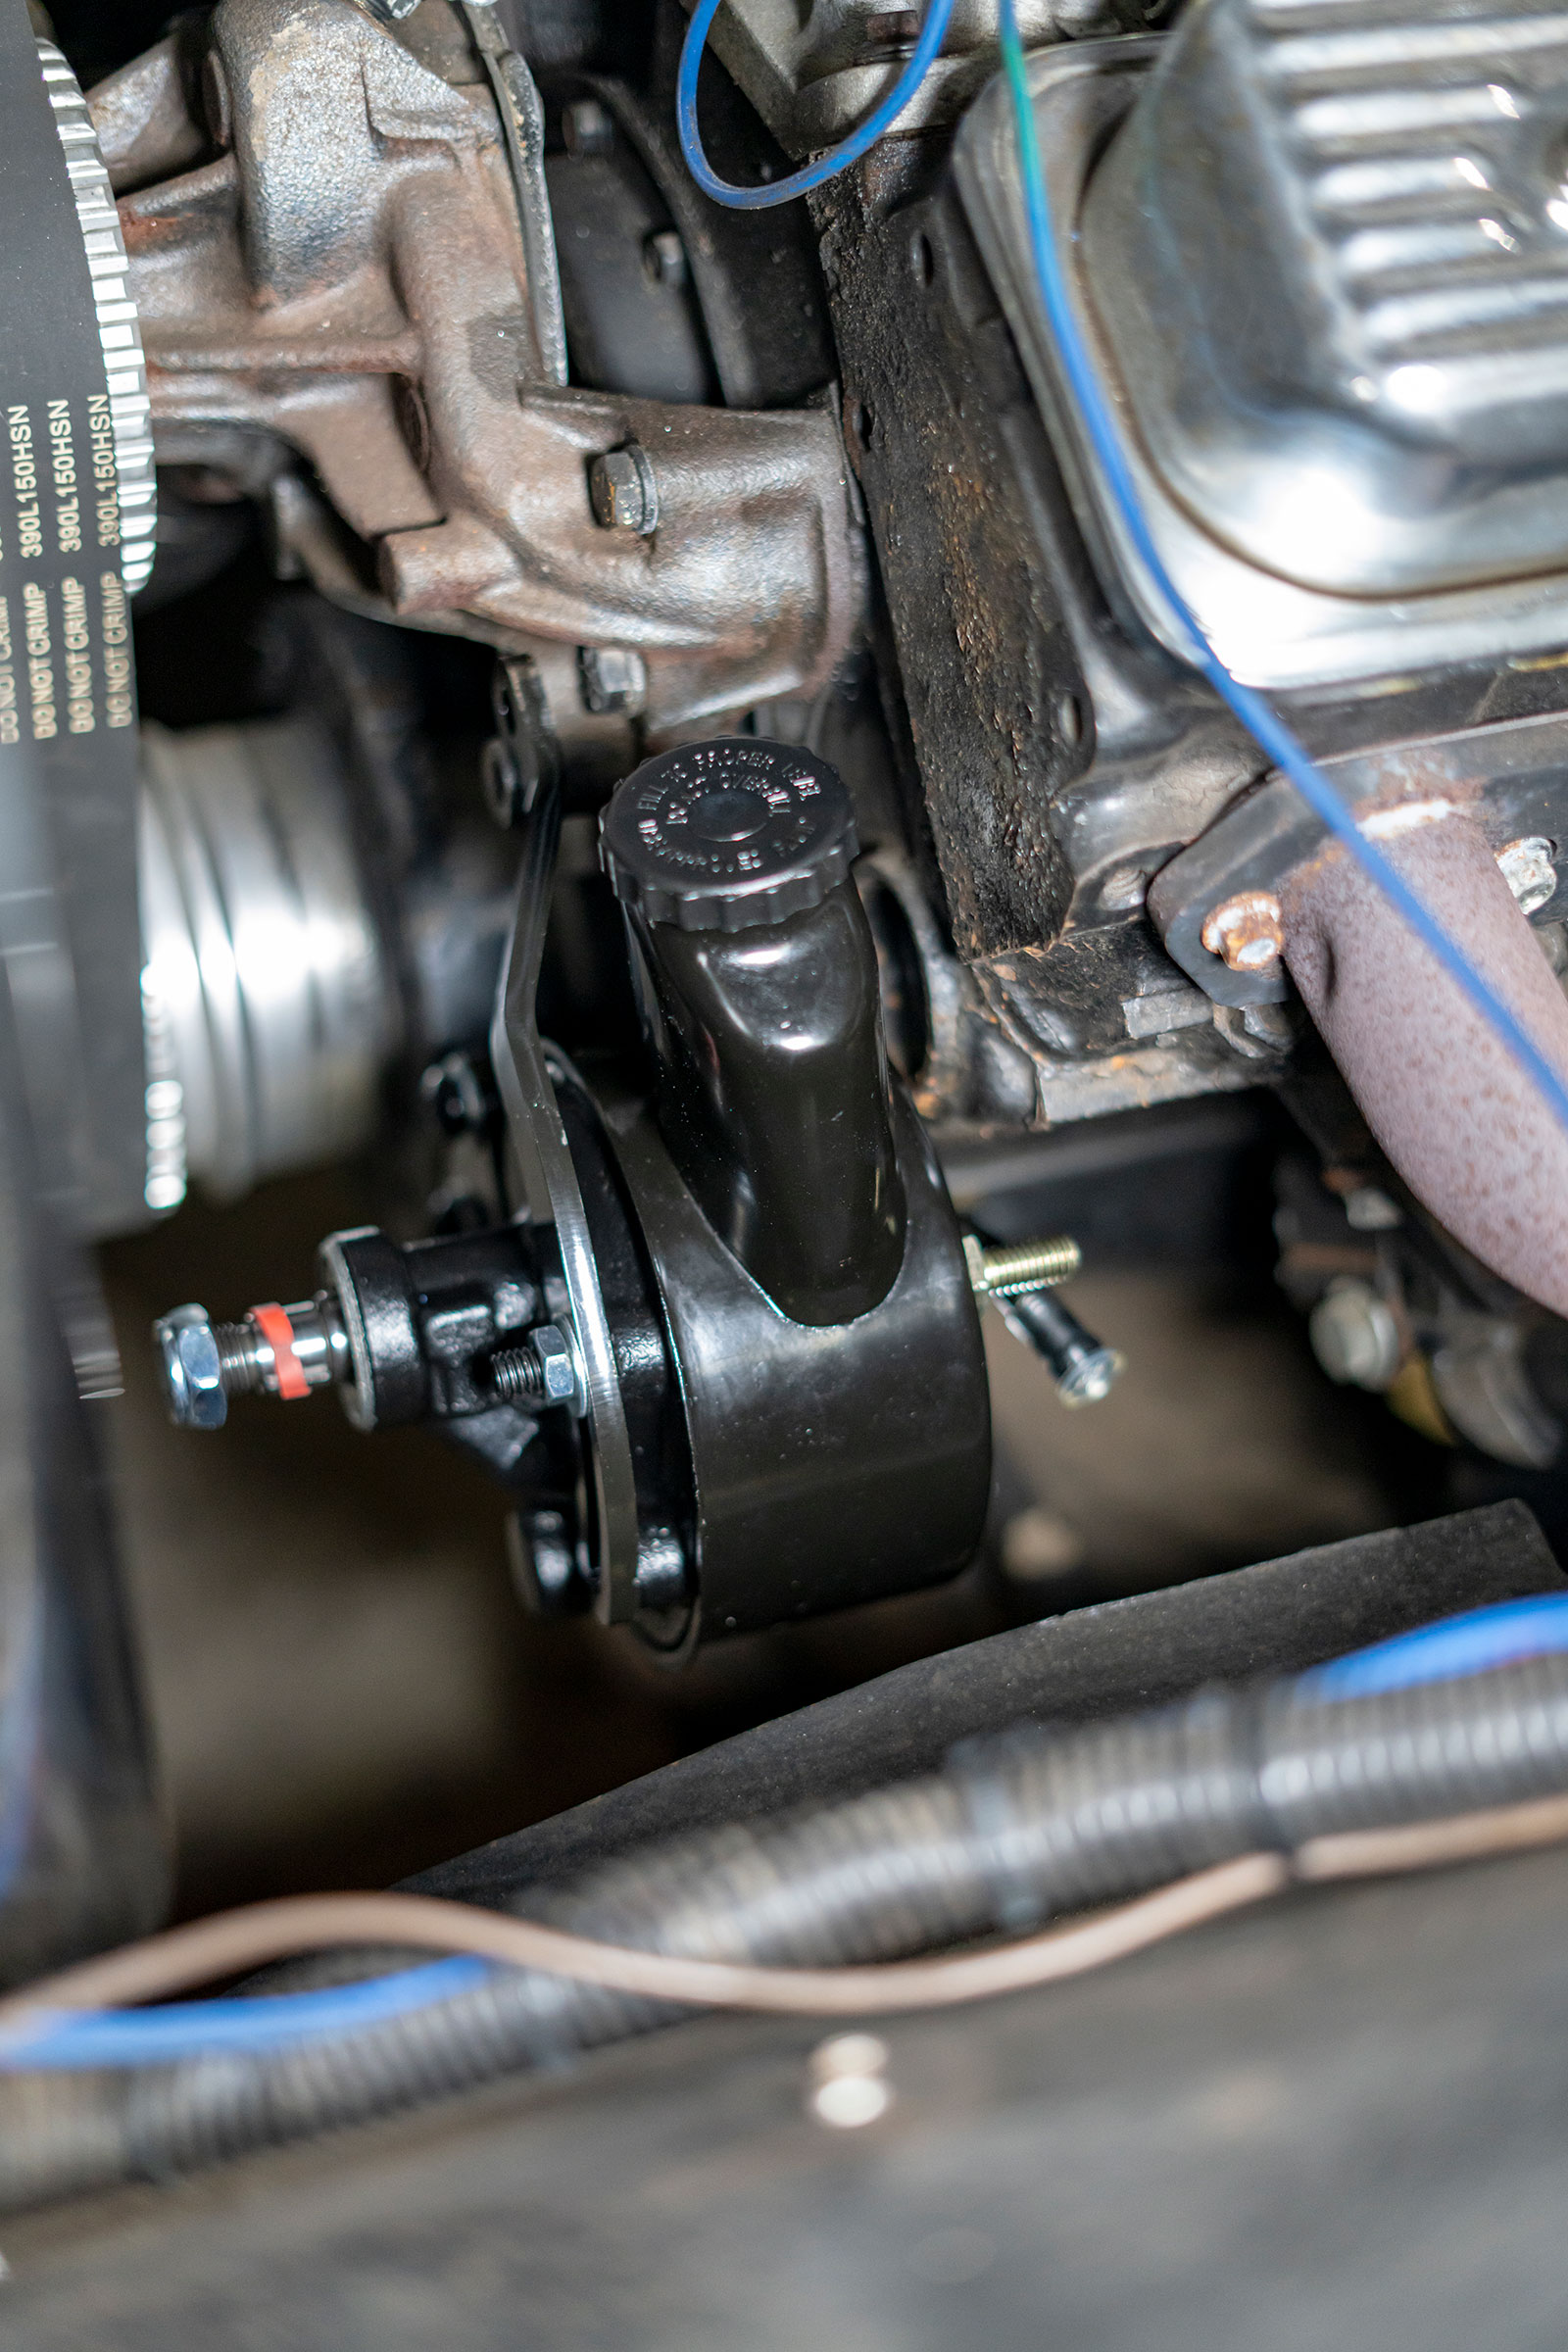
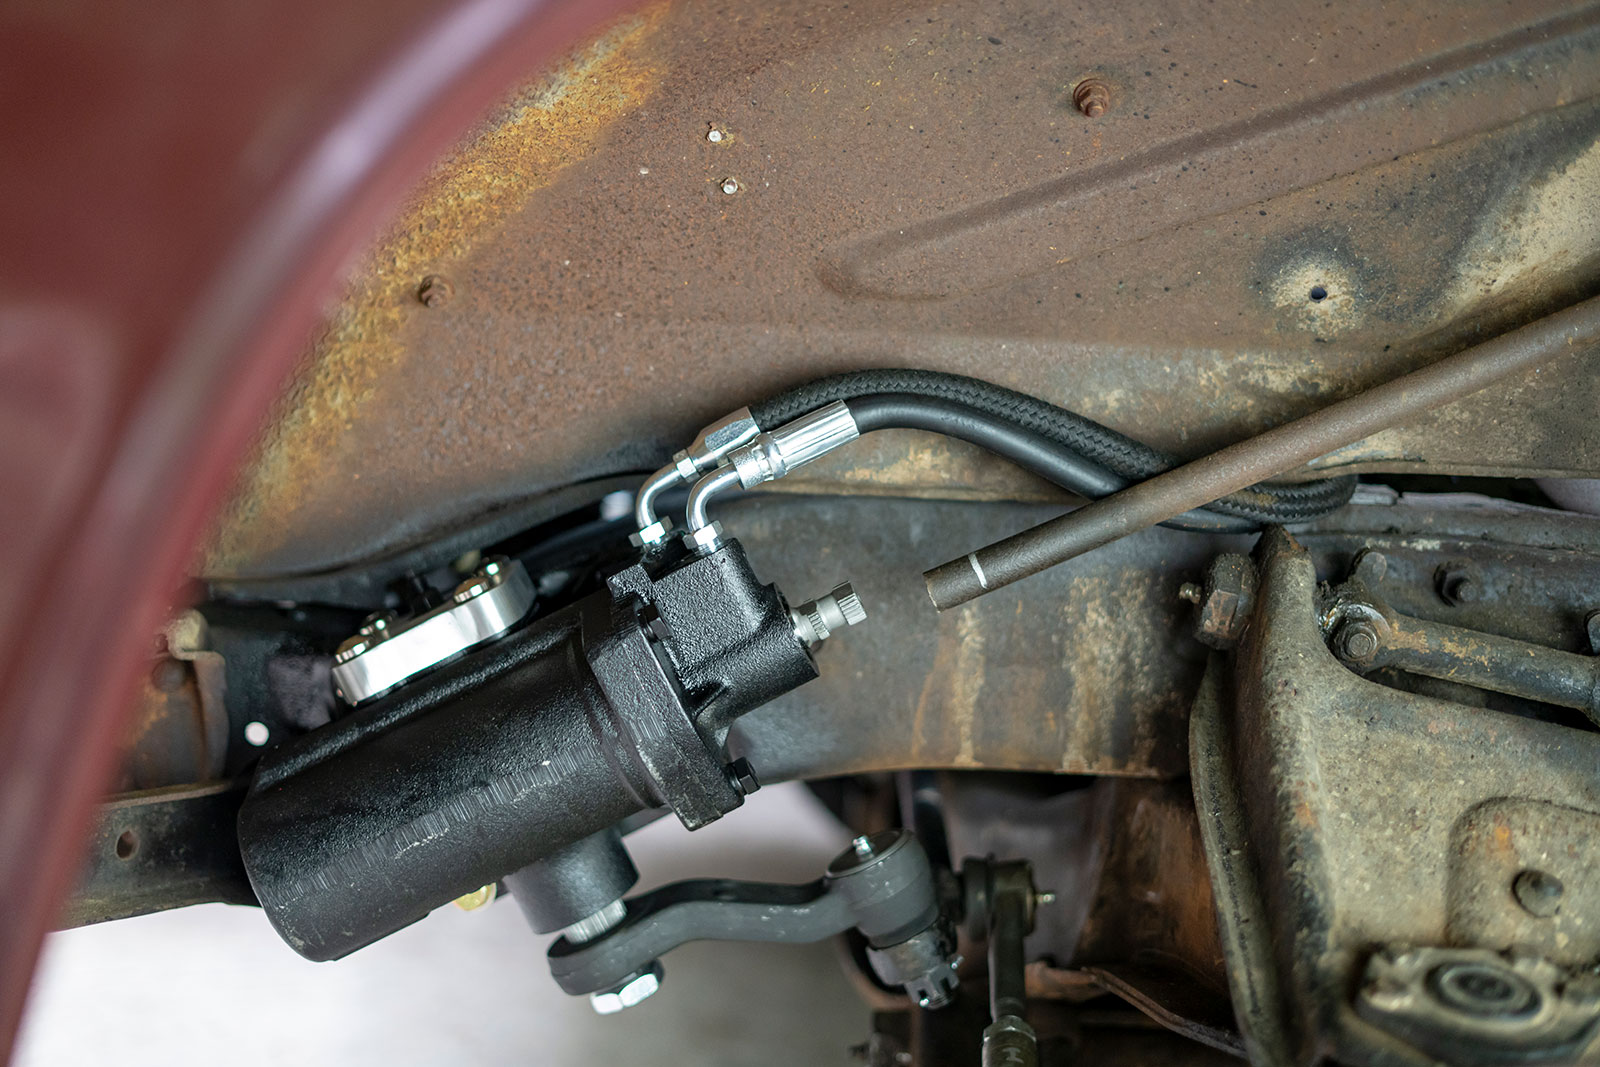
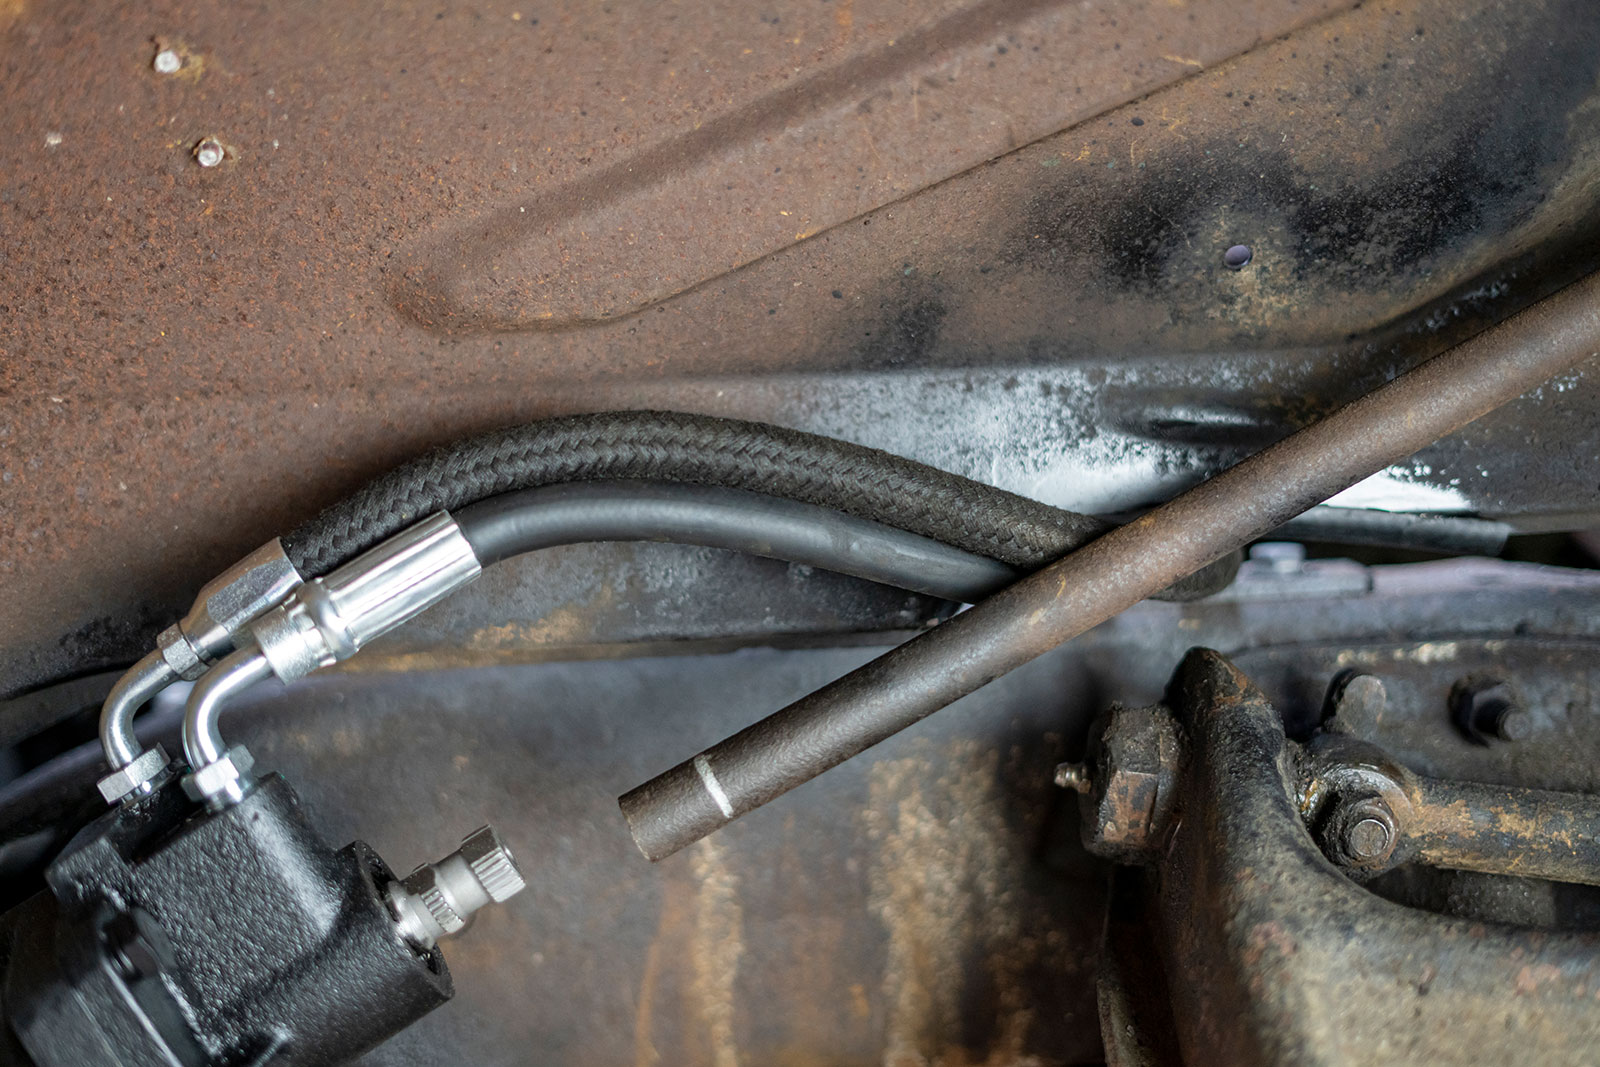
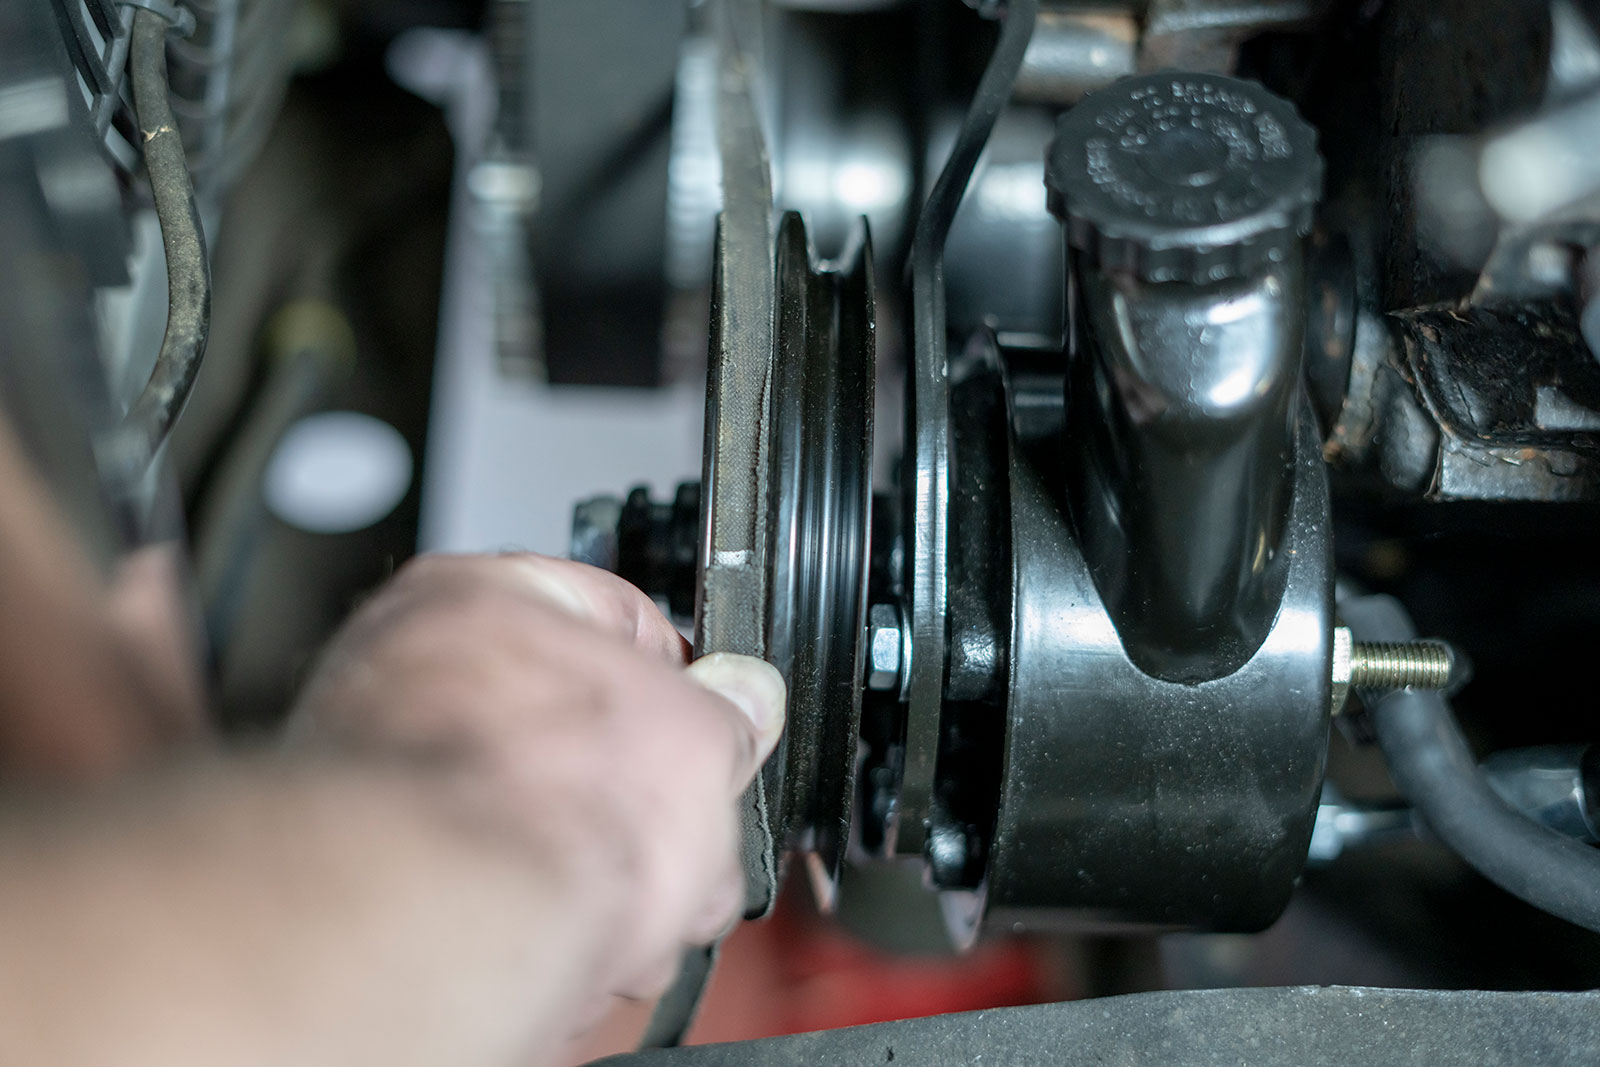
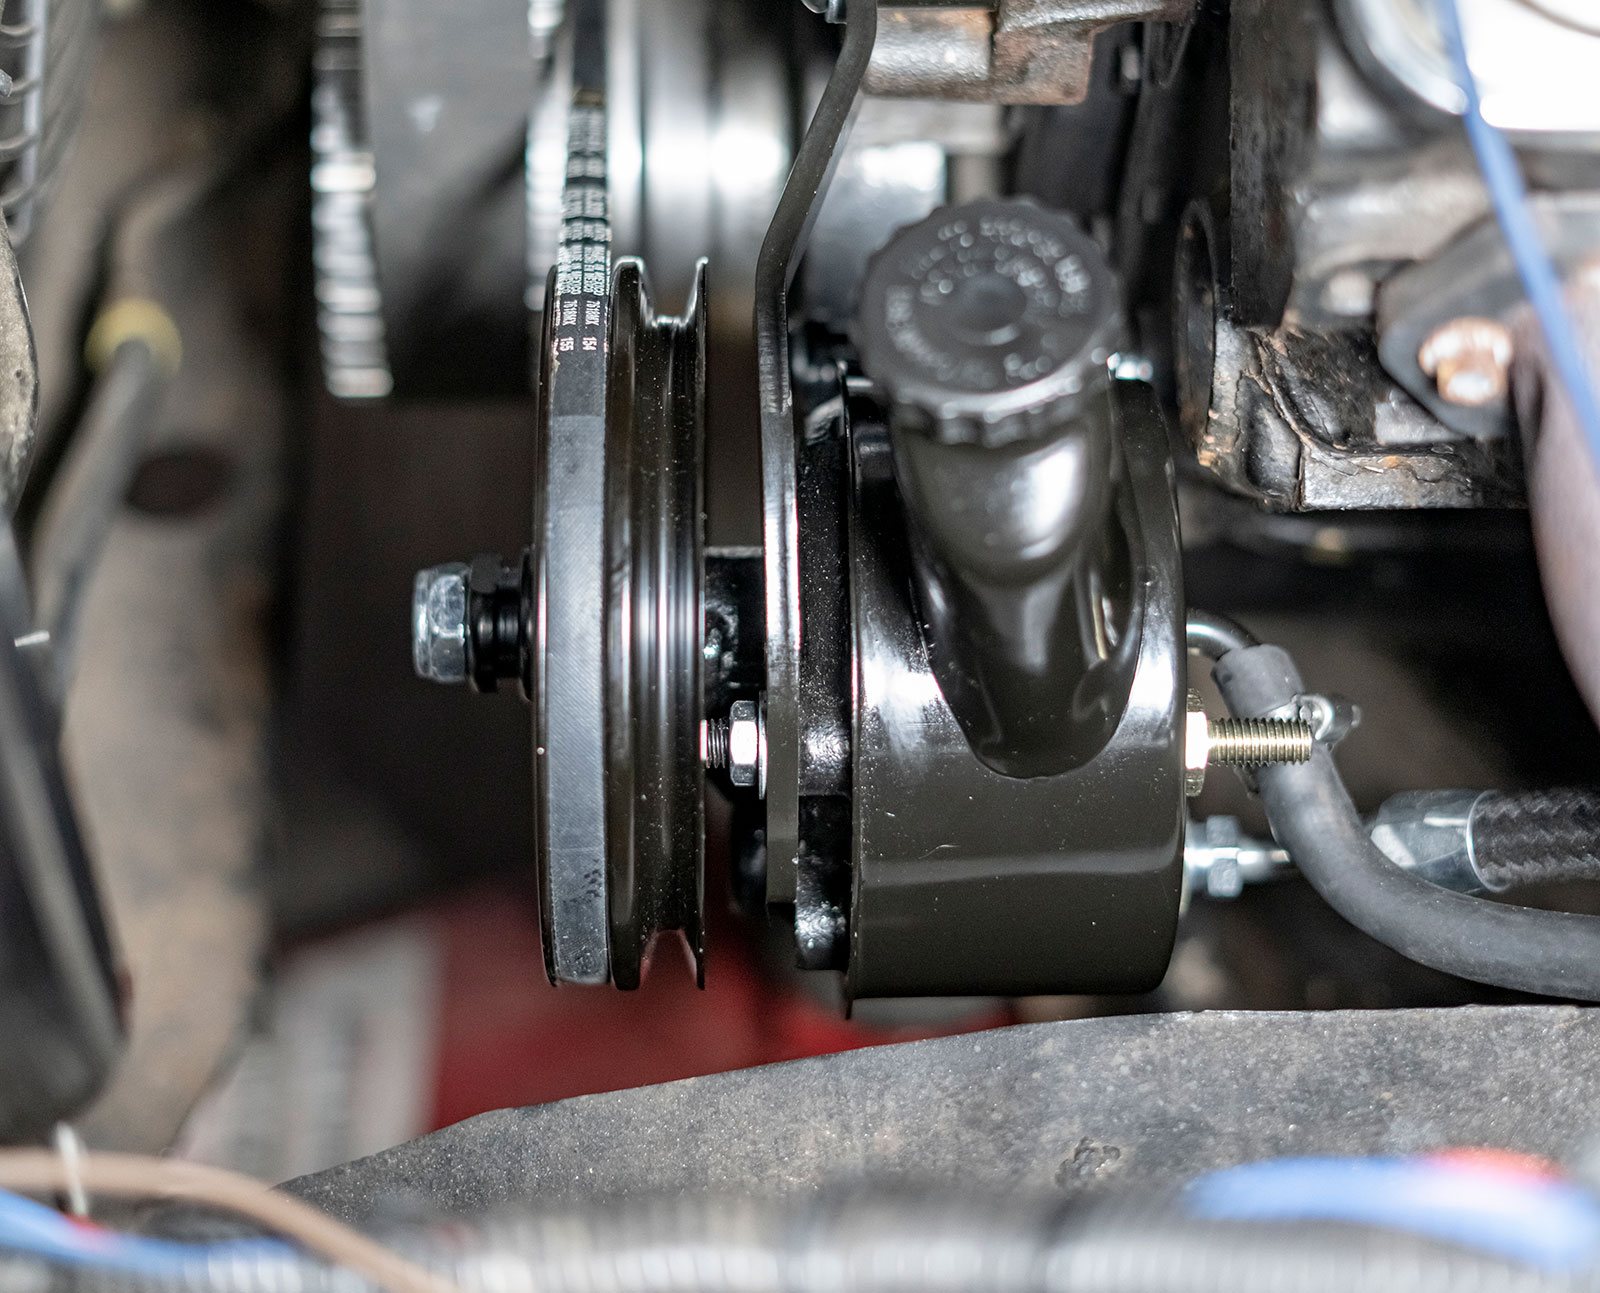
Reinstall the steering linkage and install the new cotter pins.With the steering box in place, we move to the new power steering pump setup from Classic Performance Products (pump PN 19-6969SB, pump bracket PN PS301-S).Mock up the steering unit and check for clearance. Our application lands the upper bracket at the water pump, which is the most common installation location. Replace the water pump bolt with the provided hardware. A couple of spacers gives us proper alignment with the crank pulley.Install the power steering lines included with the kit.With the lines installed from the new pump to the steering box, we run into a clearance issue on the inner fender. Mark the inner fender so we can cut out material, ensure the new lines aren’t rubbing and won’t become an issue down the road. Trim a little at a time; it’s easier to remove more material than replacing too much removed.We have elected to use a double groove power steering pulley from the Auto Metal Direct shelf. Classic Performance Products provides plenty of information on which pulley to use for your specific setup. Using an old V-belt, we cut it and used it to measure the new setup. A quick run to the local parts house, we picked up two belts and chose the best fitting of the two.
Lastly, we install the new intermediate shaft and get ready for part 2 of the install where we go with the Classic Performance Products tilt steering column. See you next month!
We use cookies to ensure that we give you the best experience on our website. If you continue to use this site we will assume that you are happy with it.