We humans are great at adapting; it might be one of our greatest gifts, but it also might be one of our biggest blind spots. How the heck does this seemingly random insight have anything to do with stopping your Chevy muscle car? As it turns out, quite a lot.
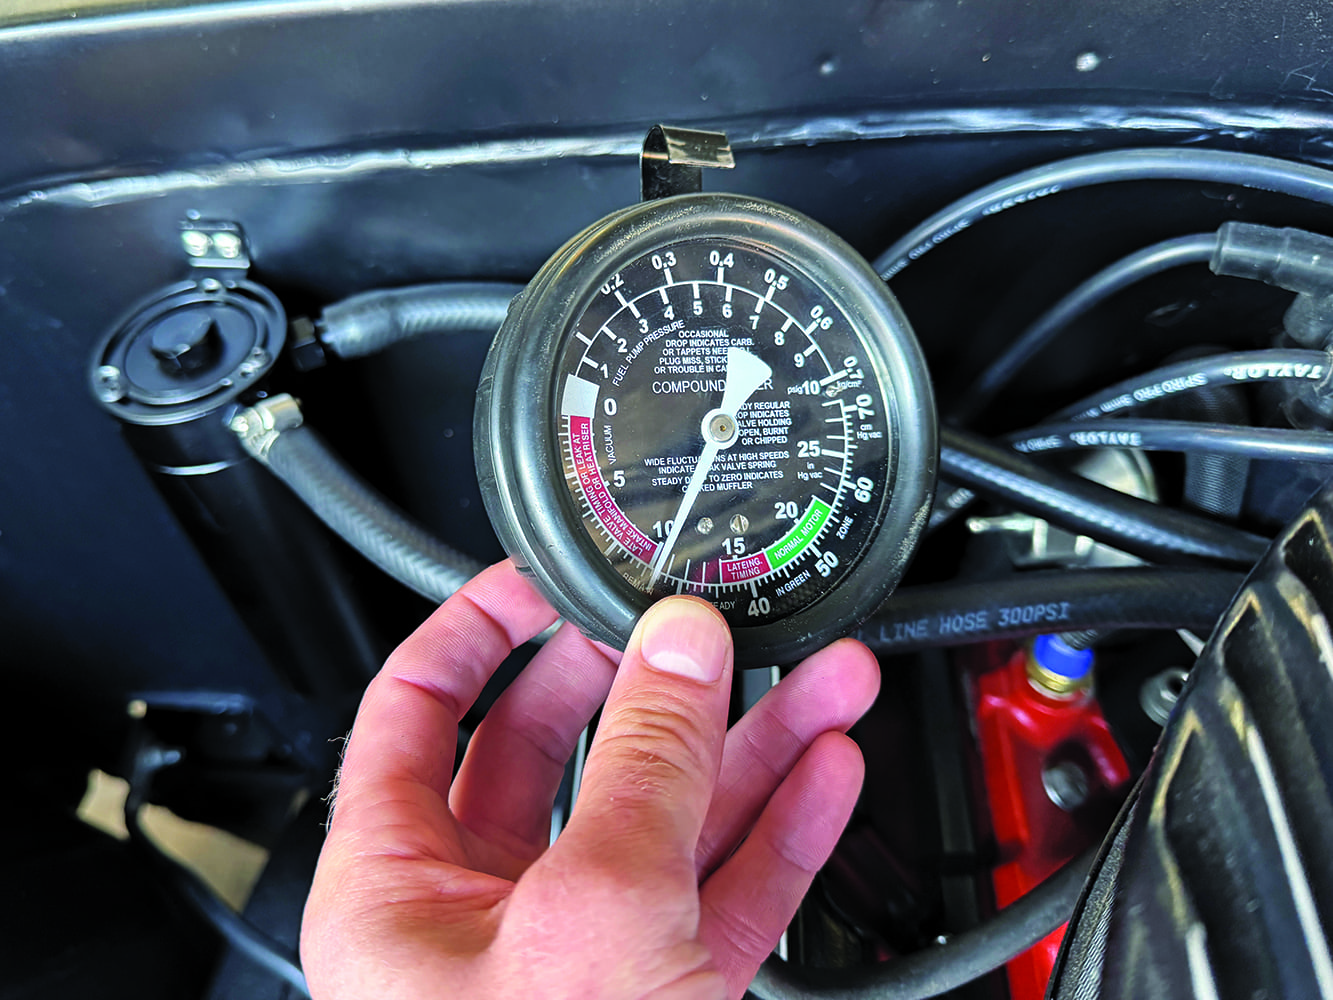
After the test drive with Paul Bosserman of Old Anvil Speed Shop, he suggested we check engine vacuum. As it turns out, even this “mild” 383ci small-block was only making 10 inches of vacuum at idle. We probably have that thumpy 110-degree lobe separation cam to thank for that. Eighteen inches of vacuum is the minimum requirement for a vacuum booster, so we elected to go with a non-assisted master cylinder.
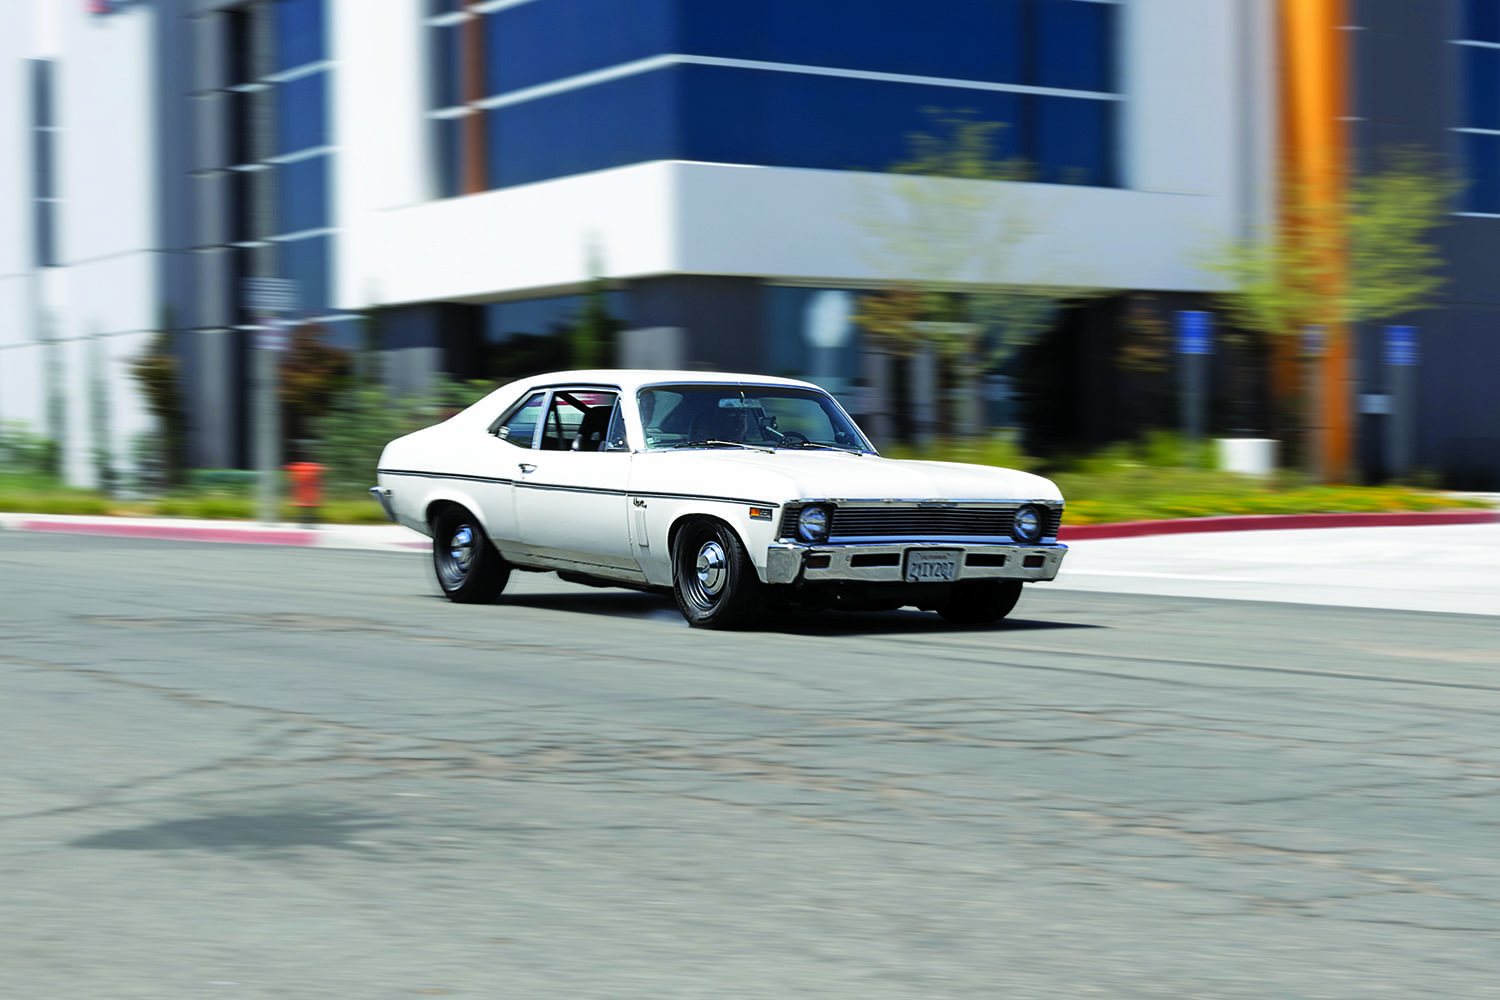
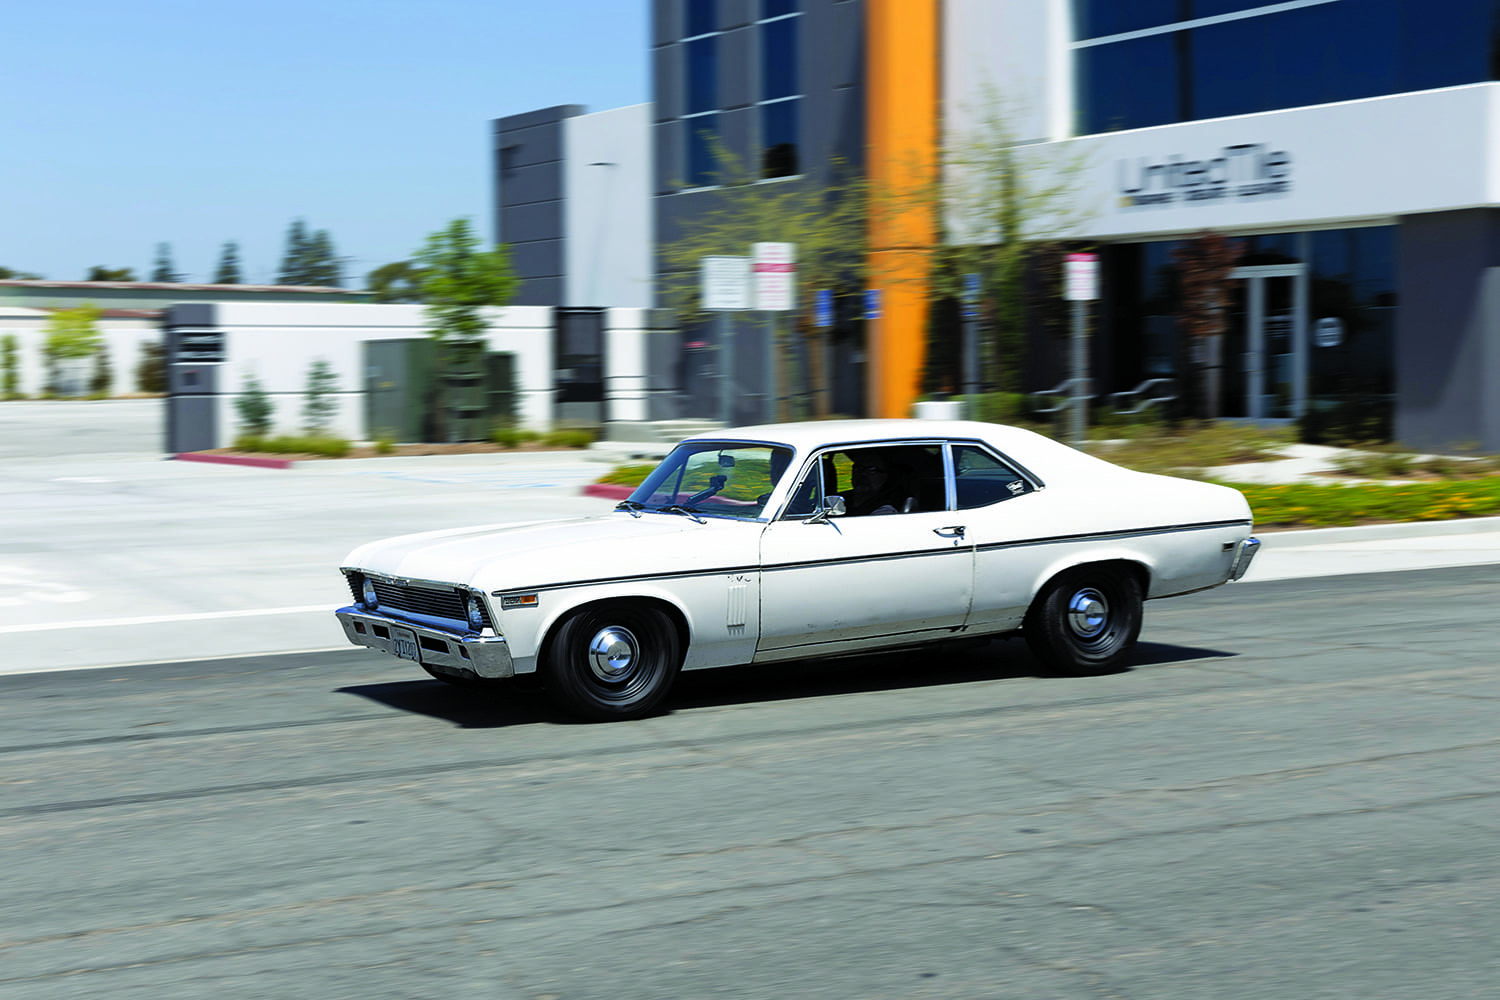
When hopping into a 50-plus-year-old Camaro you just snagged off Facebook Marketplace, your brain tells you to expect less than perfect–especially in the stopping department. Technology has improved in newer cars, old parts wear out, and the reasonable expectation is that driving a classic car will come with compromises. Or maybe you just bought an absolute gem of a Chevelle resto-mod at an auction. It’s fitted with all the latest and greatest parts from reputable aftermarket brands, so you expect it to be the best it can be. After the first test drive around the block, you might notice the brakes are a little more “touchy” than you’re used to. Or maybe you rolled past the first stop sign because they took more effort than you expected. But, after a couple of weekend cruises, you’ve all but forgotten that there might be something a little off about your Chevy’s brakes.
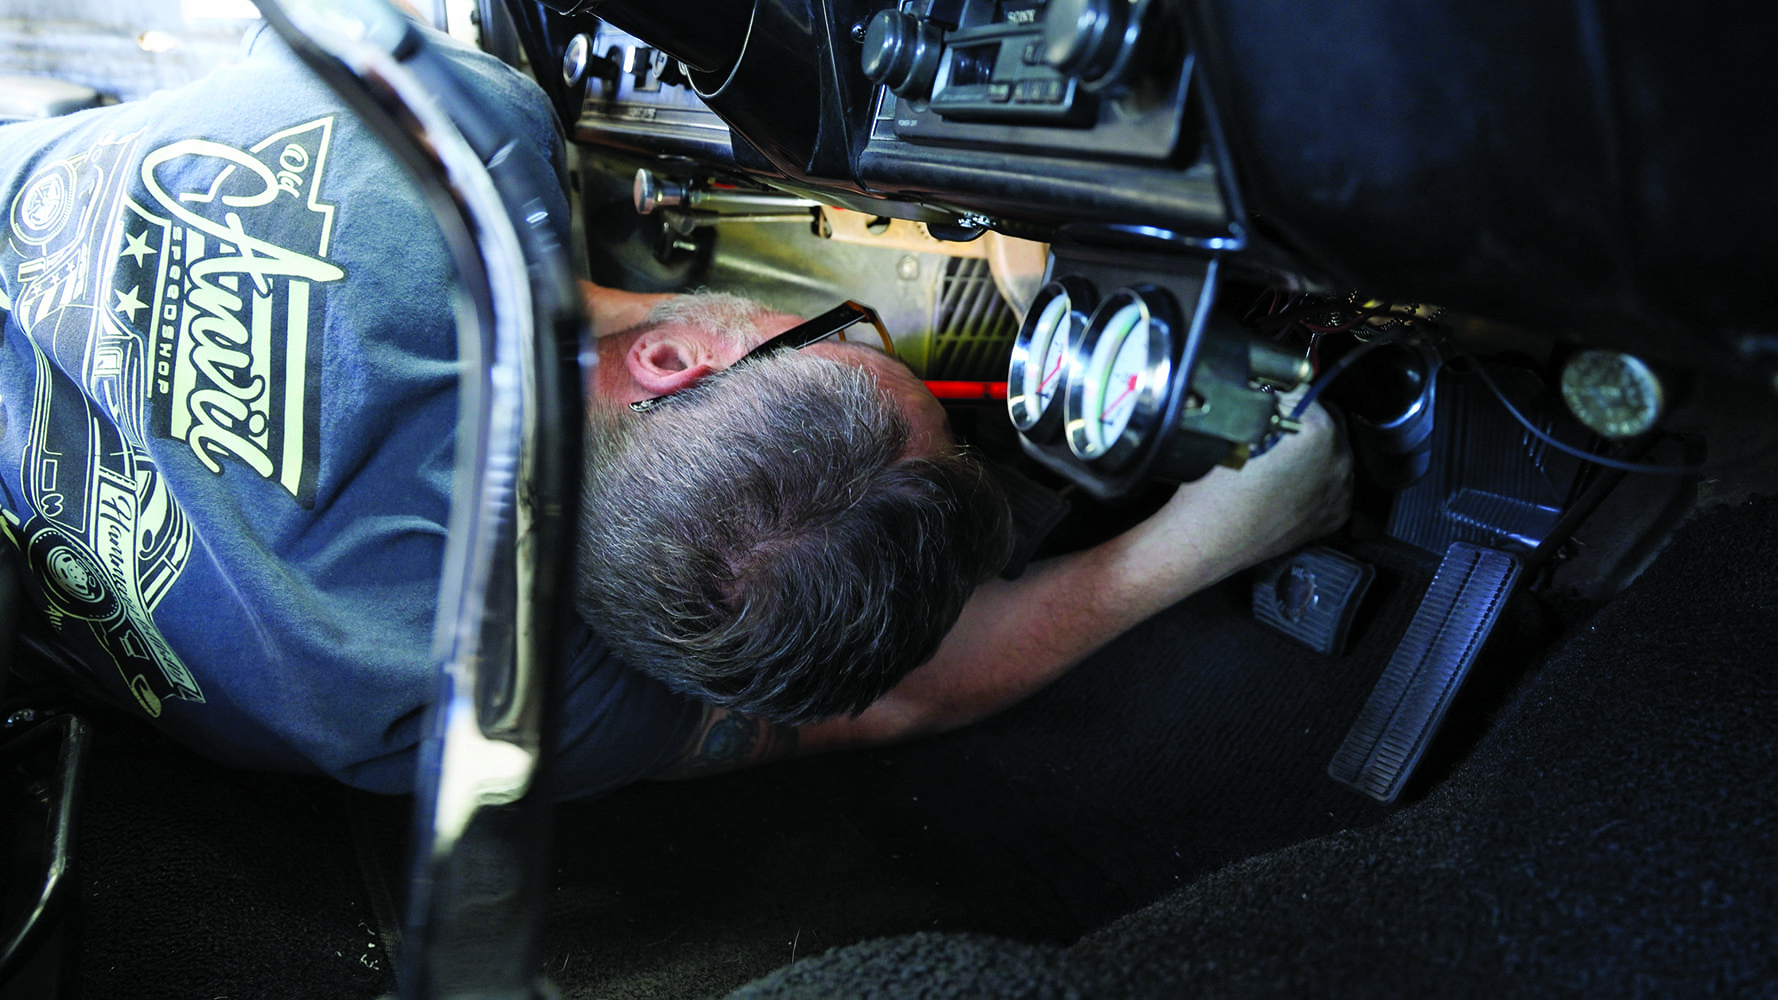
Next, Bosserman measured the Nova’s pedal ratio. Without knowing the pedal ratio you could do everything else right and end up with a braking system that requires way too much or way too little effort. The correct range for manual brakes, which we opted for, is some between 6:1 and 7:1.
All is fine and dandy for a while (remember, we are quite adaptable), but then, a couple months later, you’re driving through a school zone and you see a kid start to run into the road after a ball. You go for the brakes as quick and hard as you can. If your Chevy’s brakes were too touchy, you’re about to lock up two or more tires, which equal lack of control and longer stopping distances. If your brakes were too hard, you might be doing a two-foot stand trying to slow the car down, with little control over the outcome of the situation.
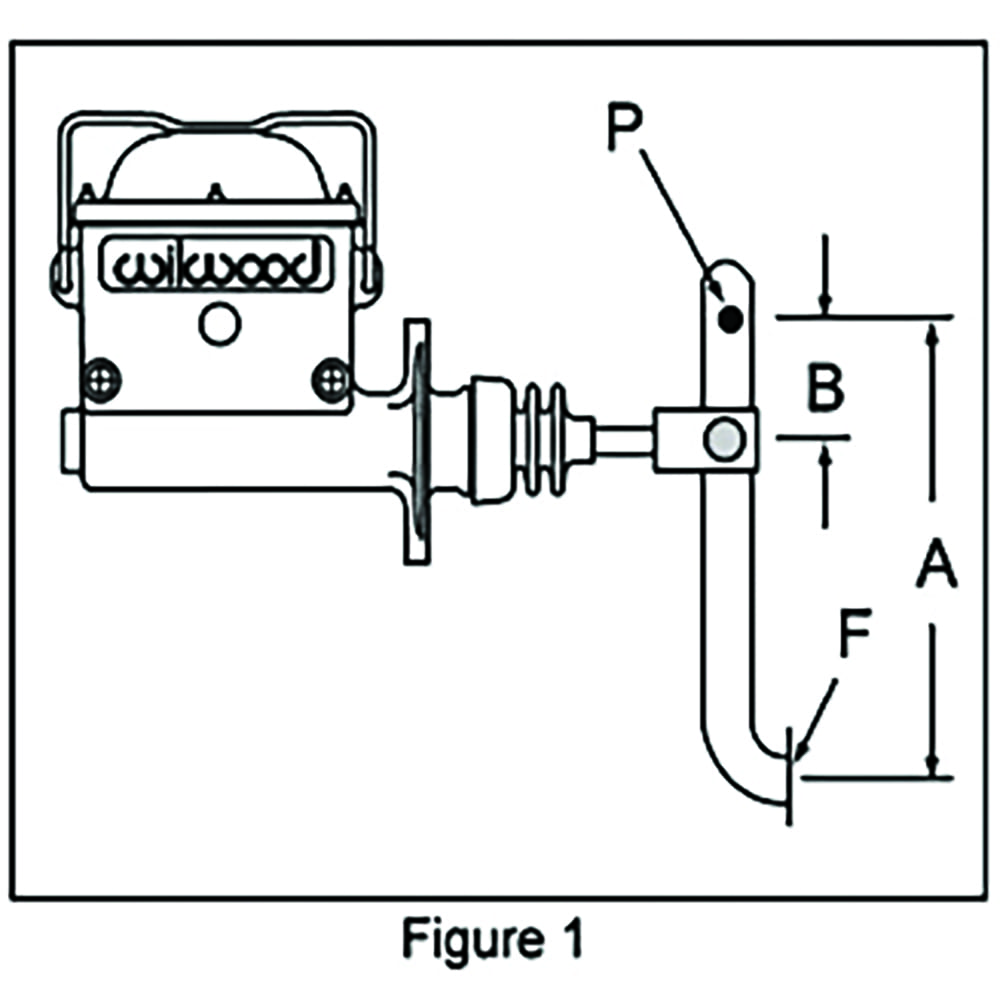
This figure from Wilwood Disc Brakes shows how to measure pedal ratio. Measure from the center of the top pivot of the brake lever (P) to the center of the pedal pad (F). Then measure from P to the center of the pin where the master cylinder pushrod attaches to the brake lever. Divide the first measurement by the second to get your pedal ratio. In our case it was 12 inches divided by 2 inches which equal 6—meaning our pedal ratio is 6:1. Note: Many GM A/F/X-body cars will have two different holes on the brake lever for attaching the pushrod. The upper (closest to the pivot) is for manual brake applications because it provides a more aggressive ratio and the lower is for power brake applications. While the upper hole on our Nova’s brake lever gives us a 6:1 ratio, the lower hole only provides a 3.2:1 ratio.
What you want are brakes that are predictable and manageable even in the most panicked situations. Assuming you have decent tires with enough grip to handle a quick stop and a braking system that is bled properly, the next most important factor to consider is the master cylinder. And that is what this article is all about.
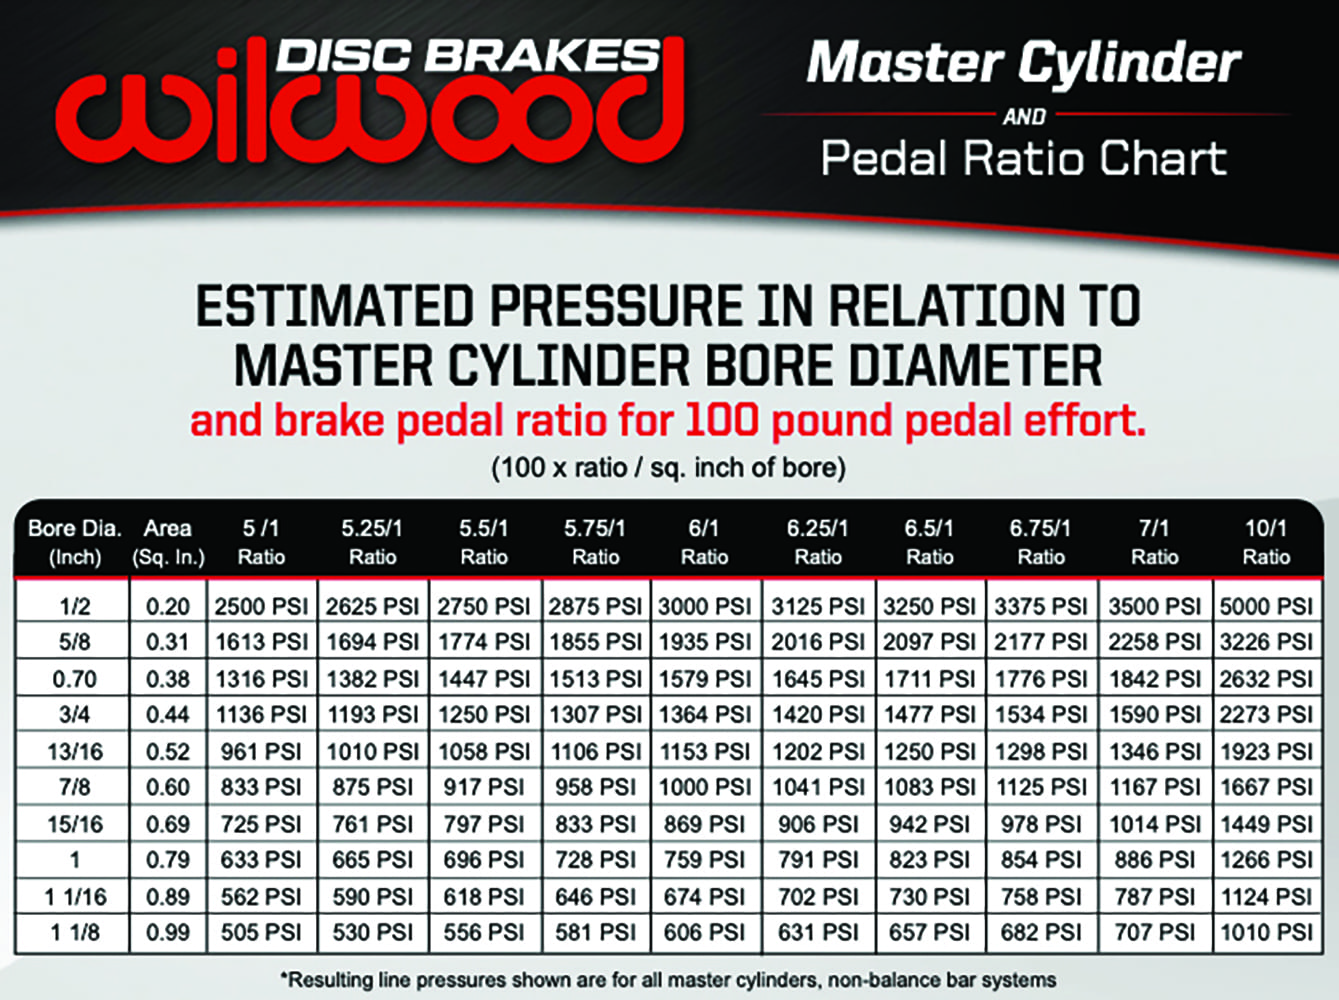
Now that we know the pedal ratio, what do we do with it? Check out this pedal effort to psi conversion chart from Wilwood. The difference in psi output between a 15/16 and 7/8 inch bore master cylinder is almost 15 percent with a 6:1 pedal ratio. You can use this chart to get an idea of the effect pedal ratio and master cylinder bore size has on braking forces.
Manual (non-assisted) brakes are simple and effective when set up properly. Manual brakes can offer a consistent brake pedal feel without requiring excessive pedal effort. The most common issue is a master cylinder with a bore diameter that is too large, or an incorrect pedal ratio which leads to a hard pedal.
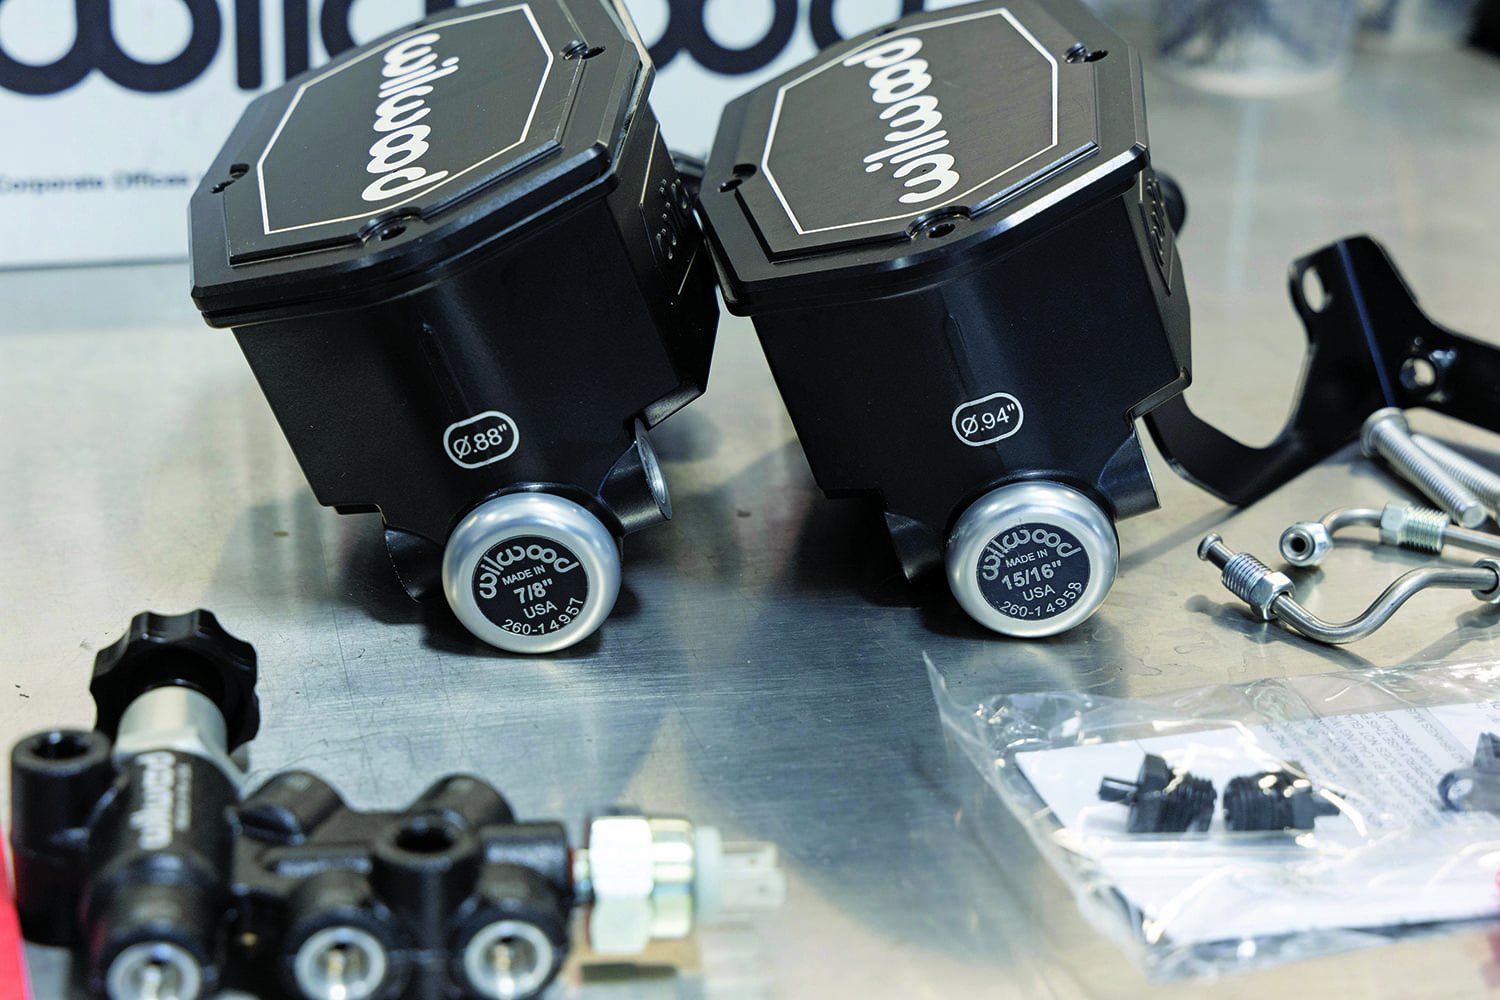
After talking with Mike Hamrick at Wilwood, he said that most classic muscle cars in the 3,500-pound range (aka most A/F/X-body cars like Chevelles, Camaros, and Novas) are going to work best with either a 7/8 or 15/16 inch manual master cylinder. If you want more pedal travel and less effort, go with the smaller 7/8 inch but if you want a firmer pedal that takes a bit more effort, go with the larger 15/16 inch. Instead of just letting us guess, he sent us one of each so we could try them both and report our results. Thanks Mike!
Another important consideration is the brake pedal’s ratio, basically this is simply a matter of leverage. In operation applying 100-pounds of pressure to a brake pedal with a 5:1 ratio would result in applying 500-pounds of pressure to the master cylinder. Increasing that ratio to 6:1 would result in 600-pounds of pressure applied to the master cylinder.
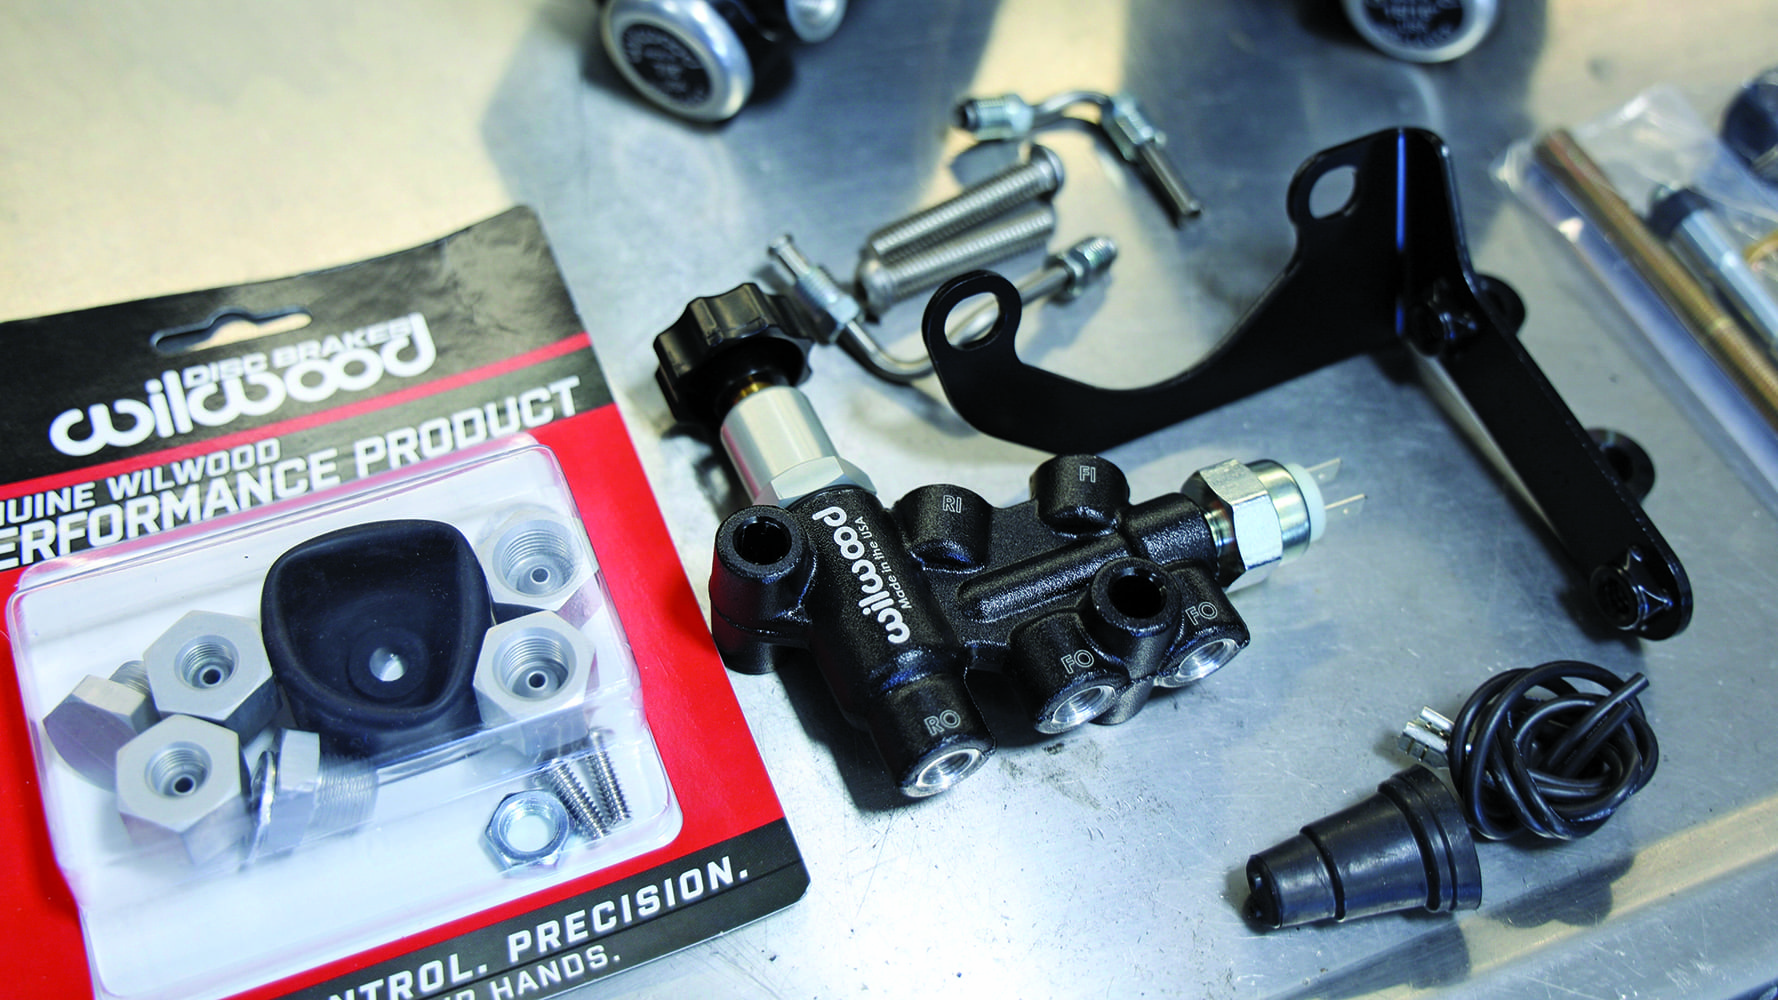
So, instead of just hoping the rear brake pressure is correct for our 1969 Nova, we will be using an adjustable proportioning valve from Wilwood. In a separate tech article, we will detail why it’s so important to properly adjust the front to rear brake bias in your car and we’ll show you how to do it.
While it seems to fly in the face of logic, a smaller bore master cylinder will produce more hydraulic system pressure than one with a larger bore; we certainly proved that by comparing the performance of two different master cylinders. Without getting into mind-numbing math the attached Wilwood chart shows the relationship between master cylinder bore size and system pressure and the difference the increased leverage a longer brake pedal can make. Choose your brake components wisely and you won’t have to guess if your car will come to a quick stop when you need it to.
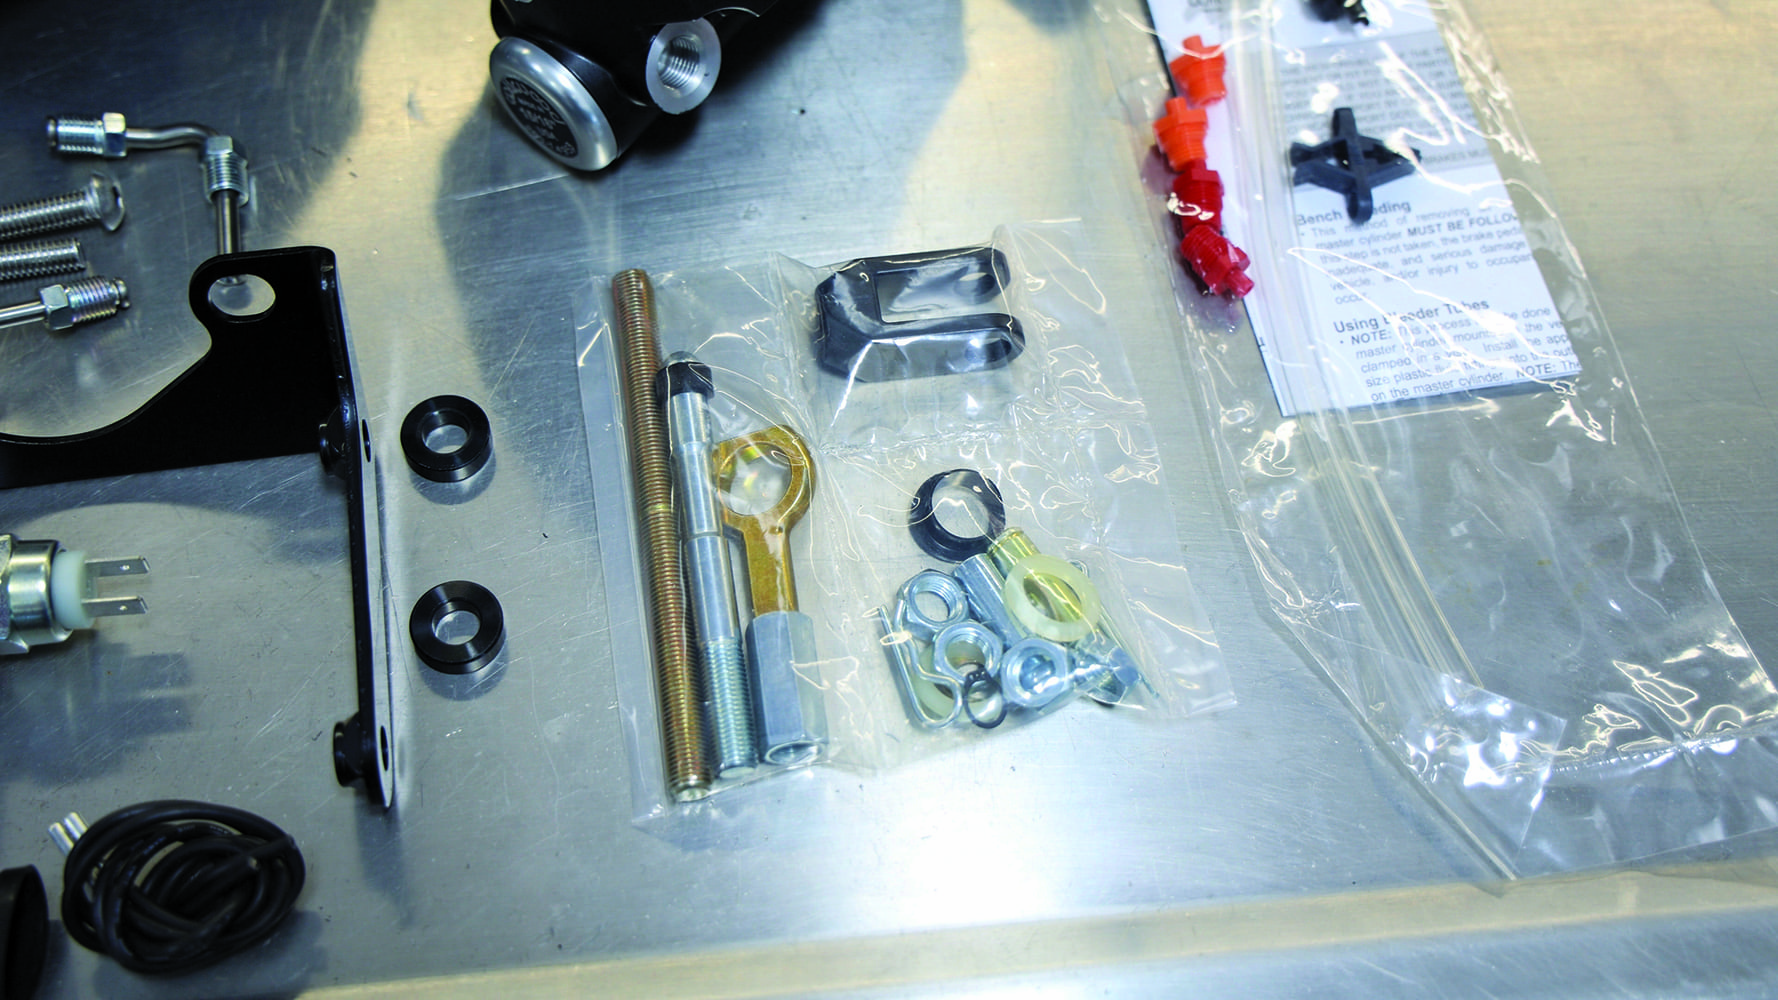
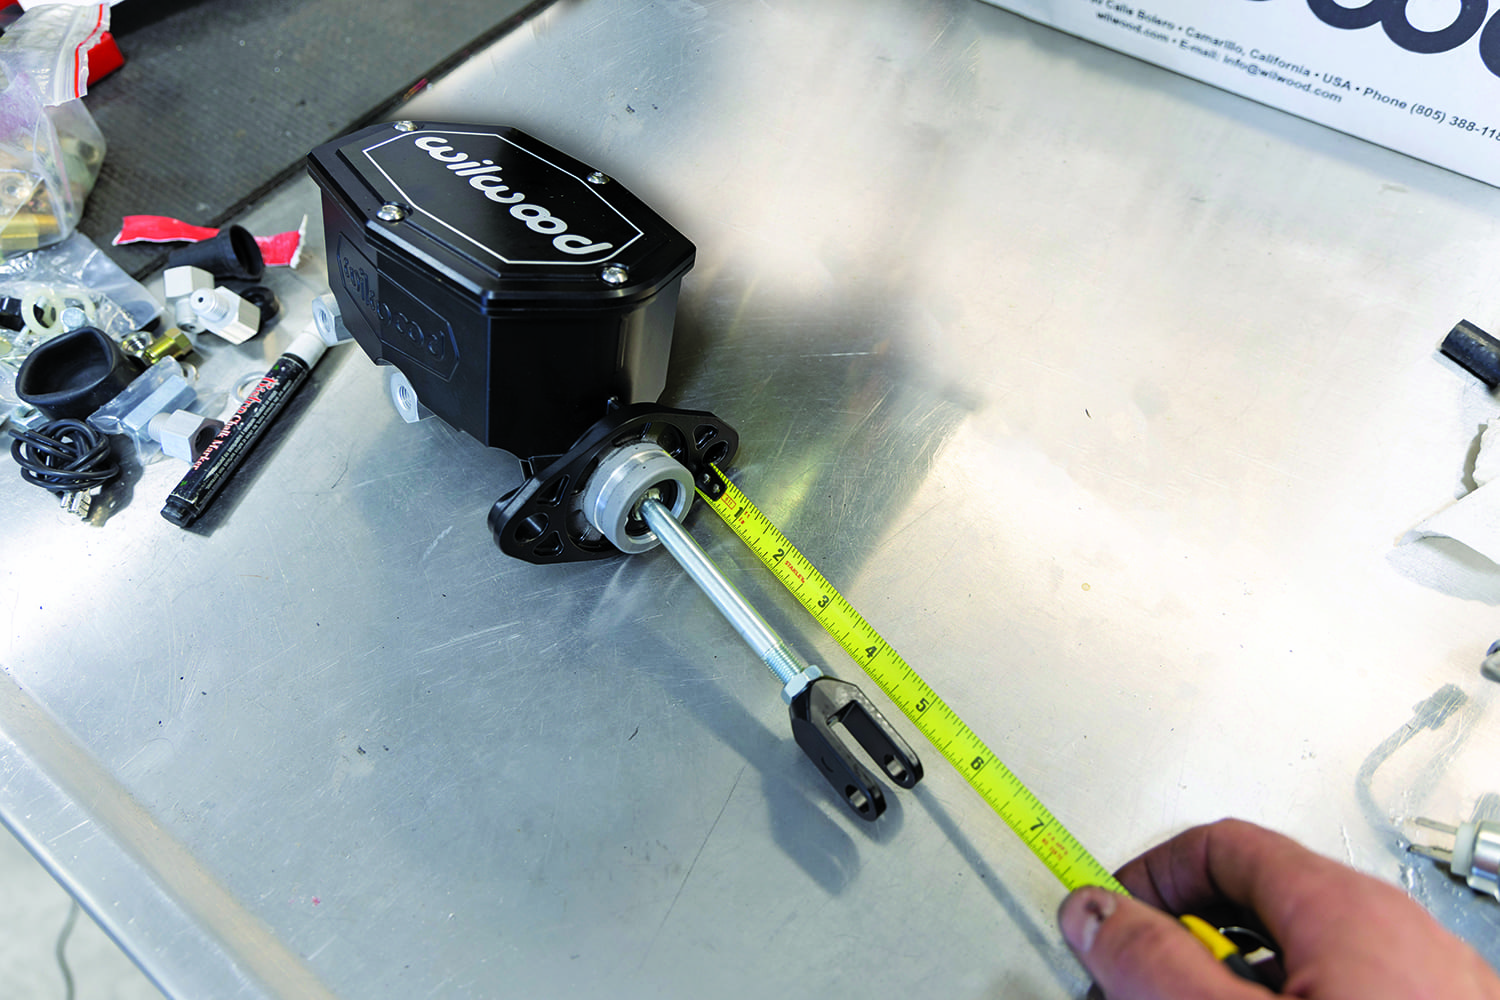
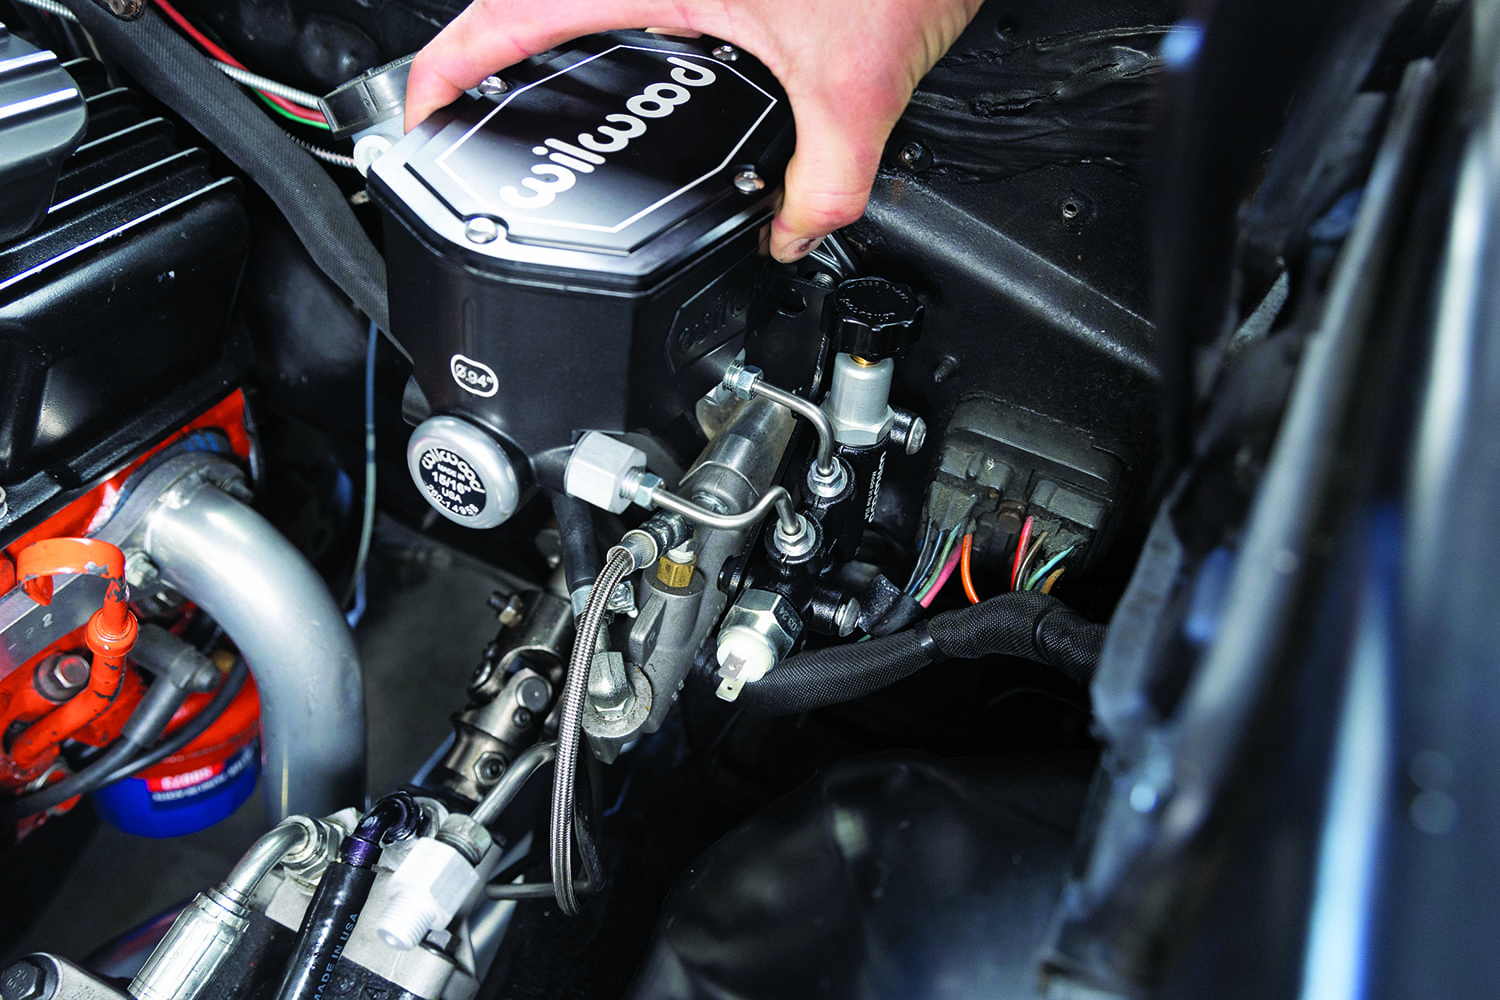
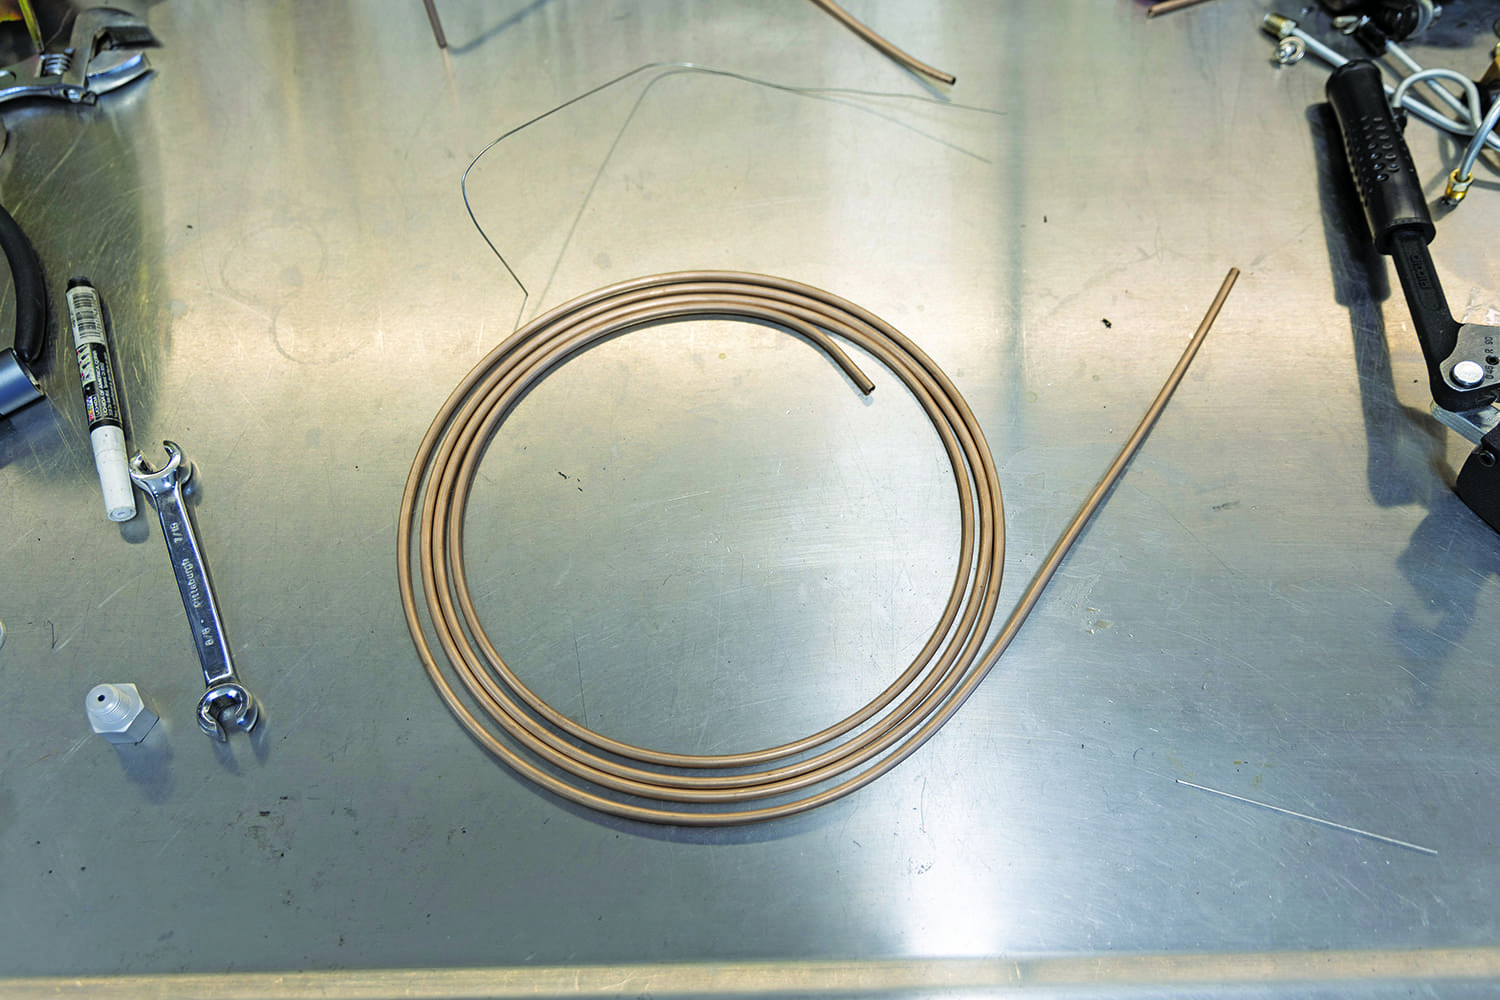
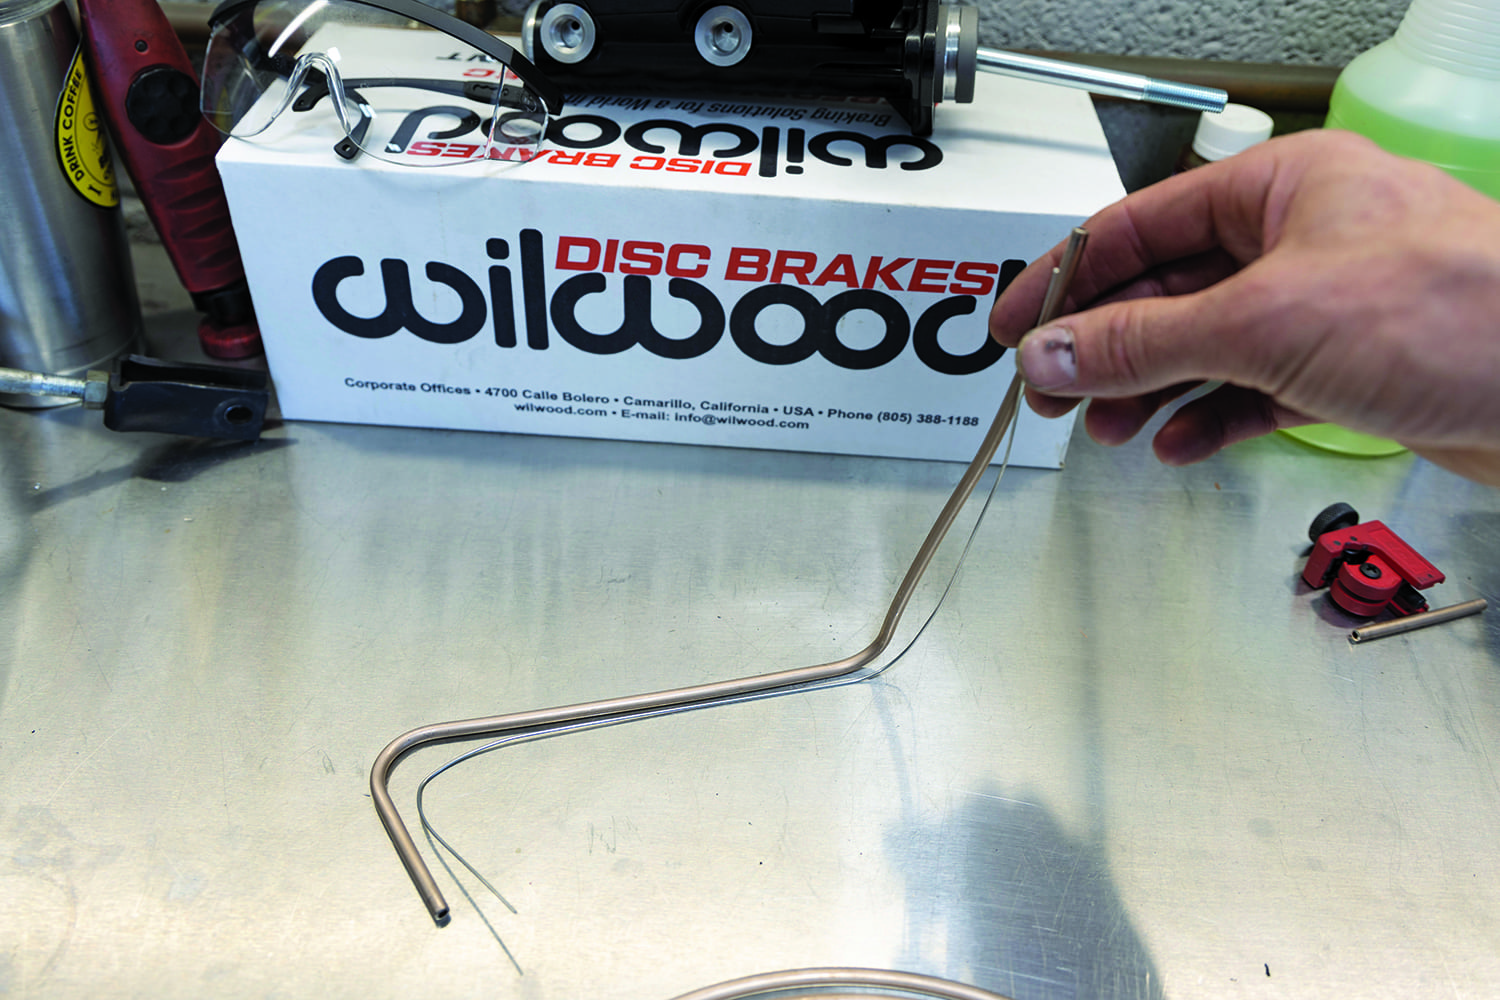
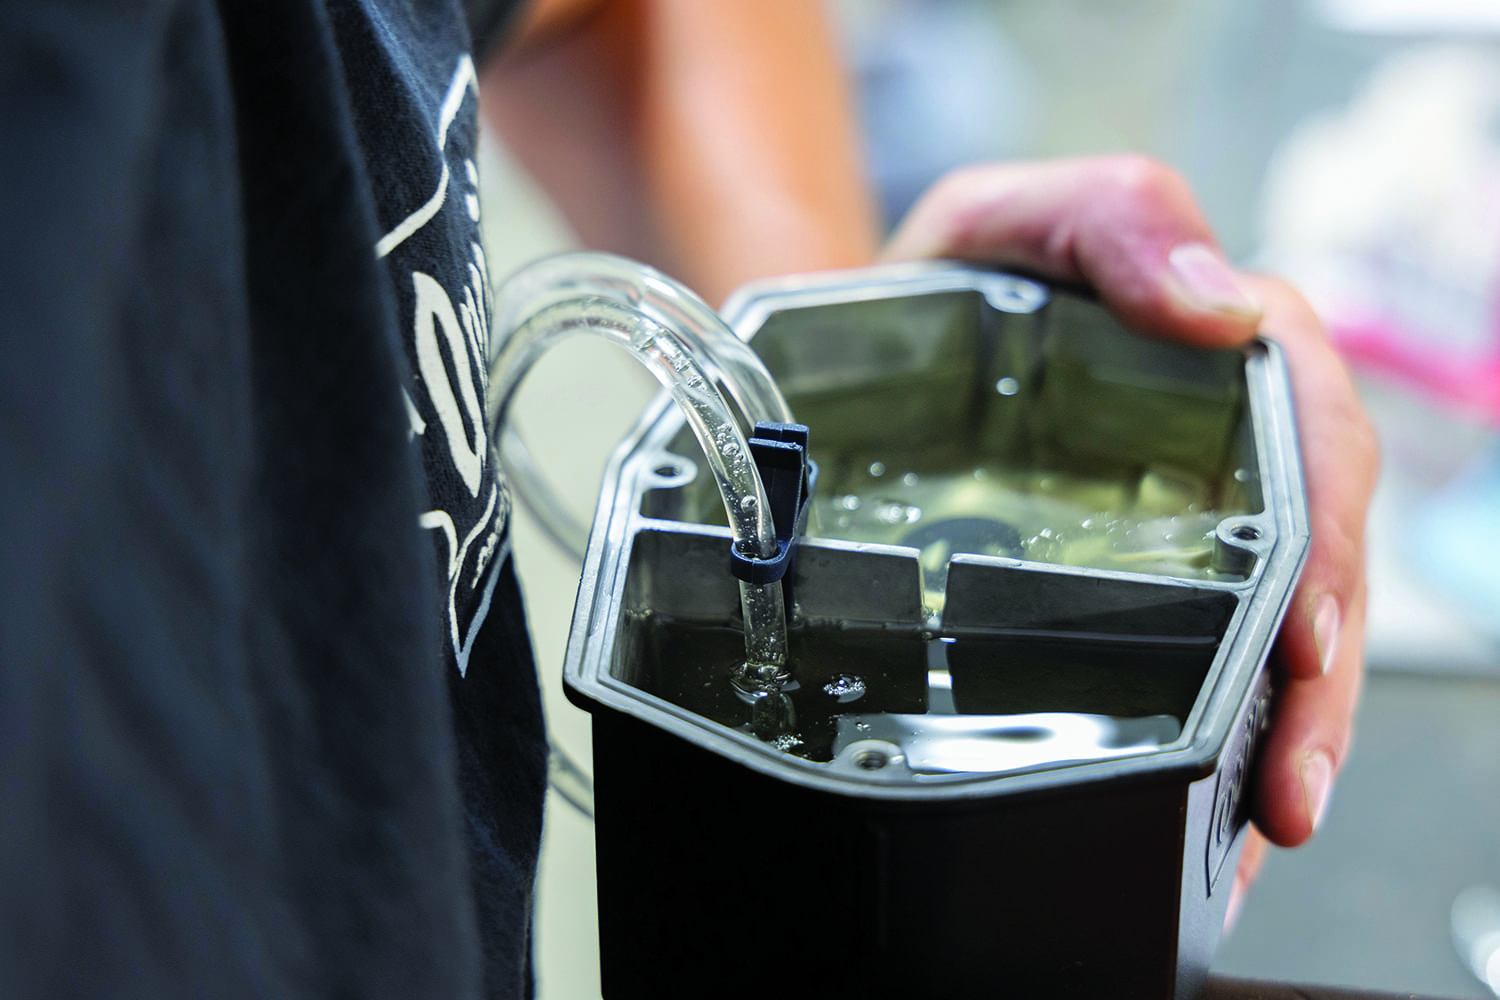
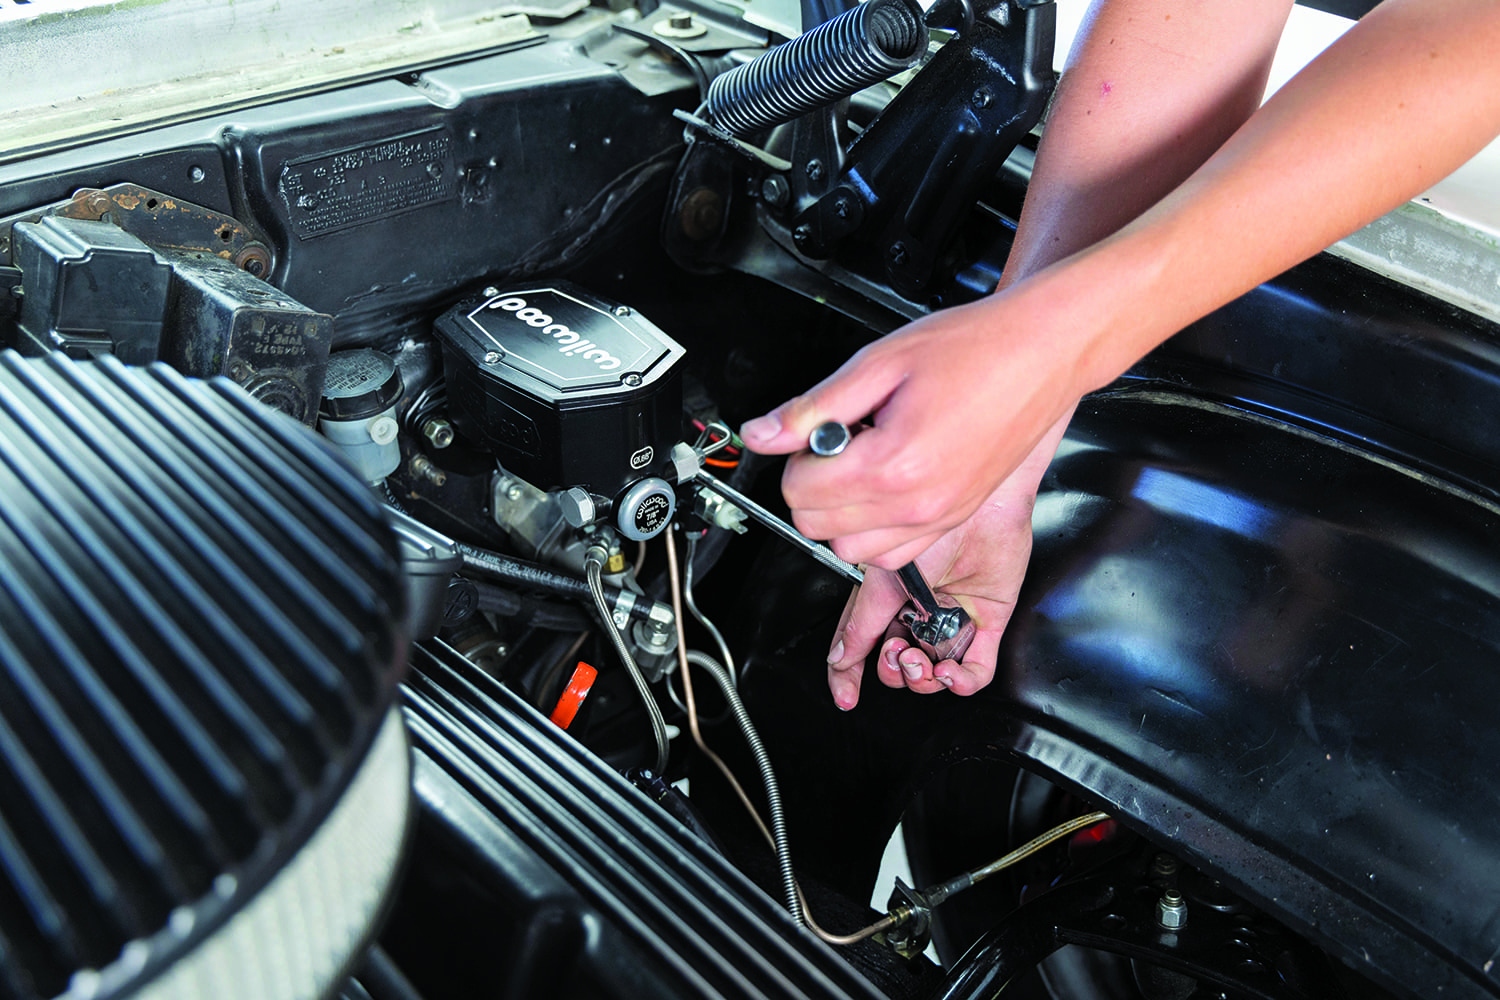
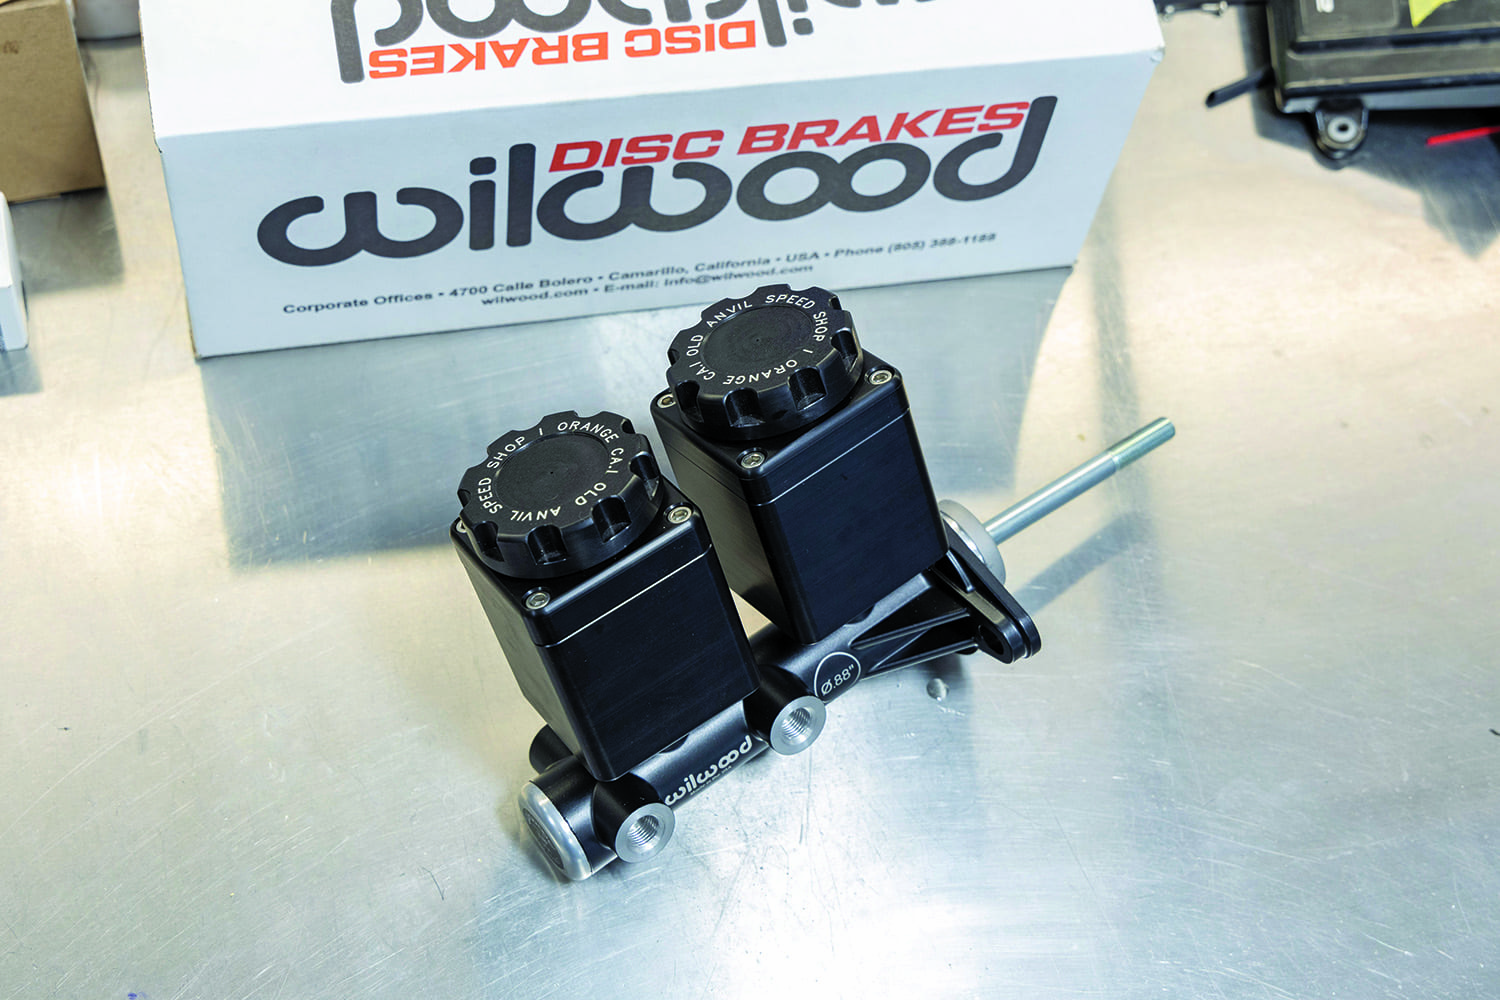
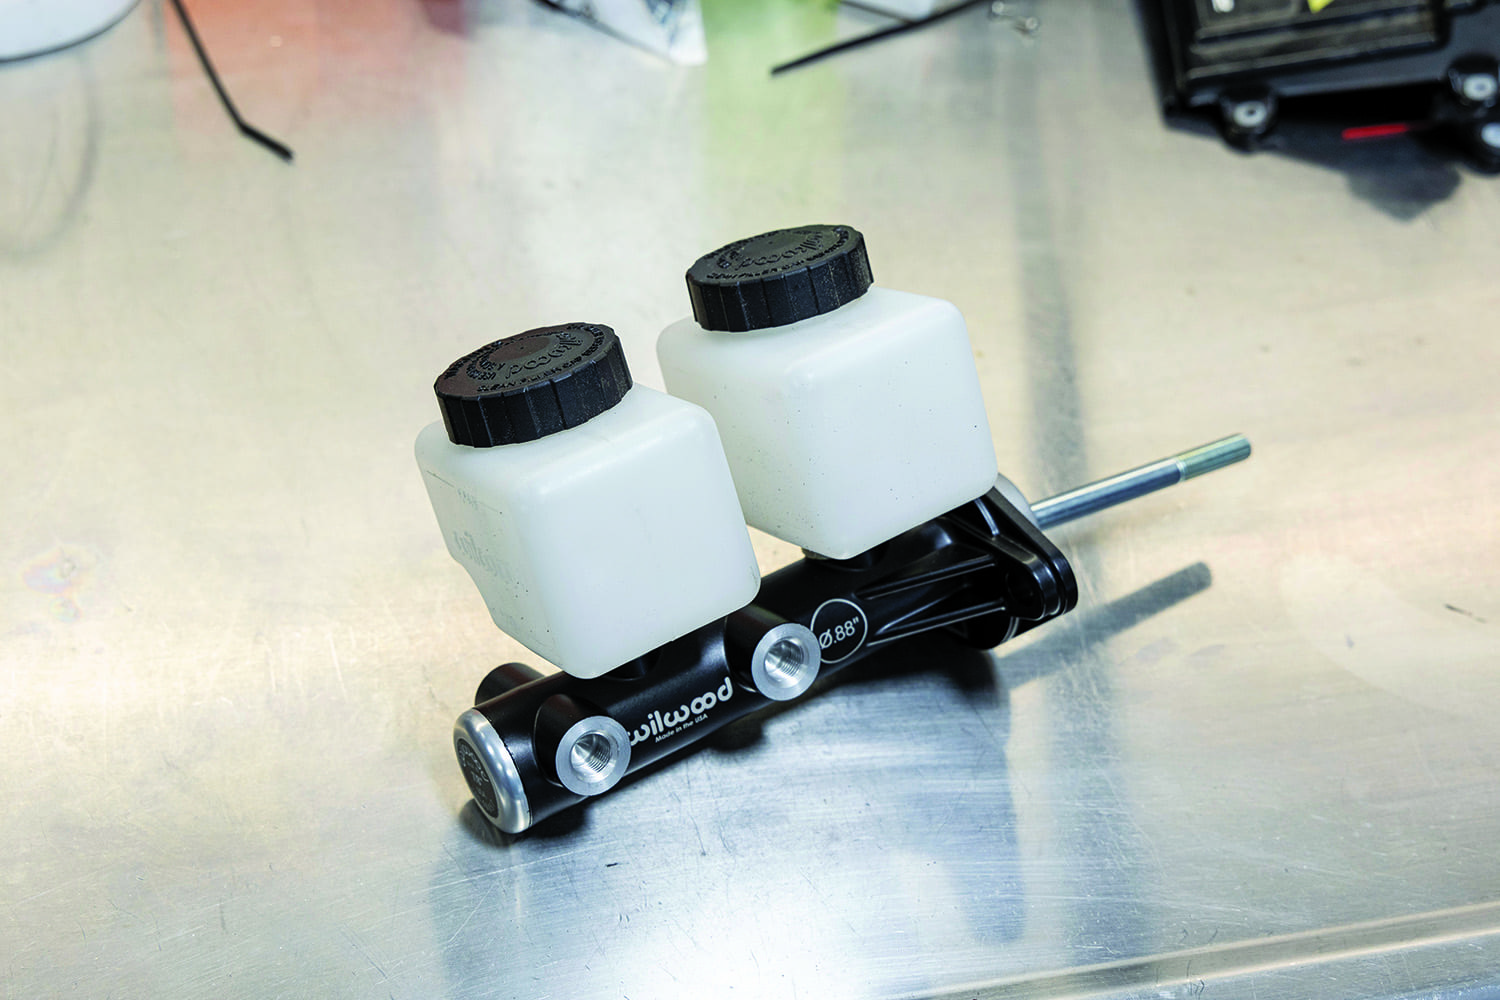
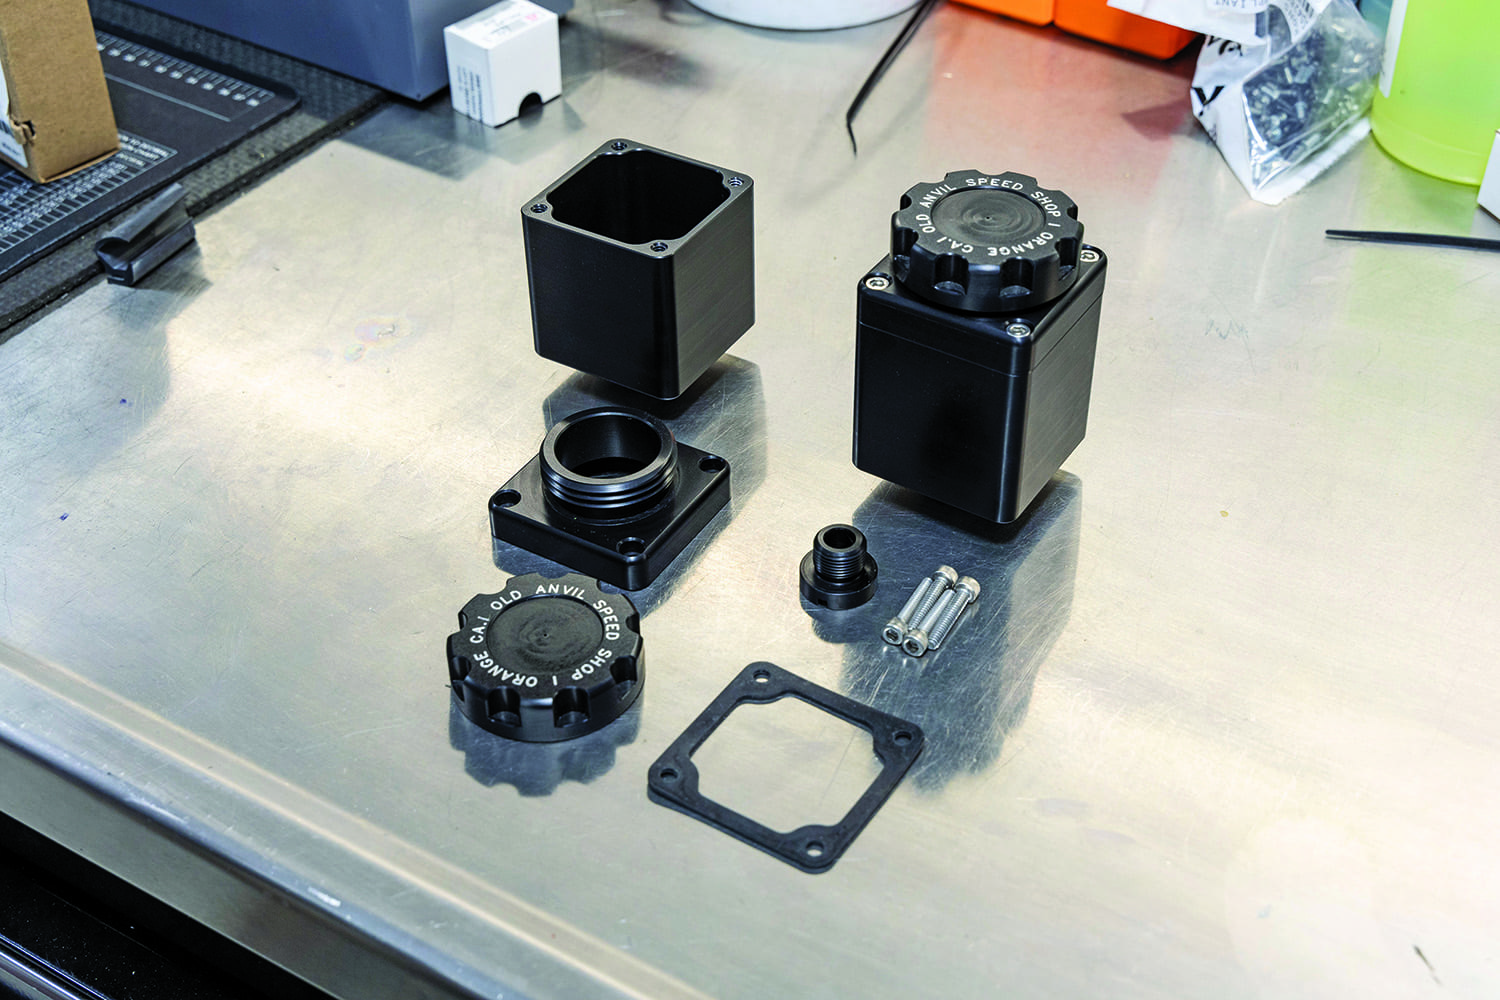
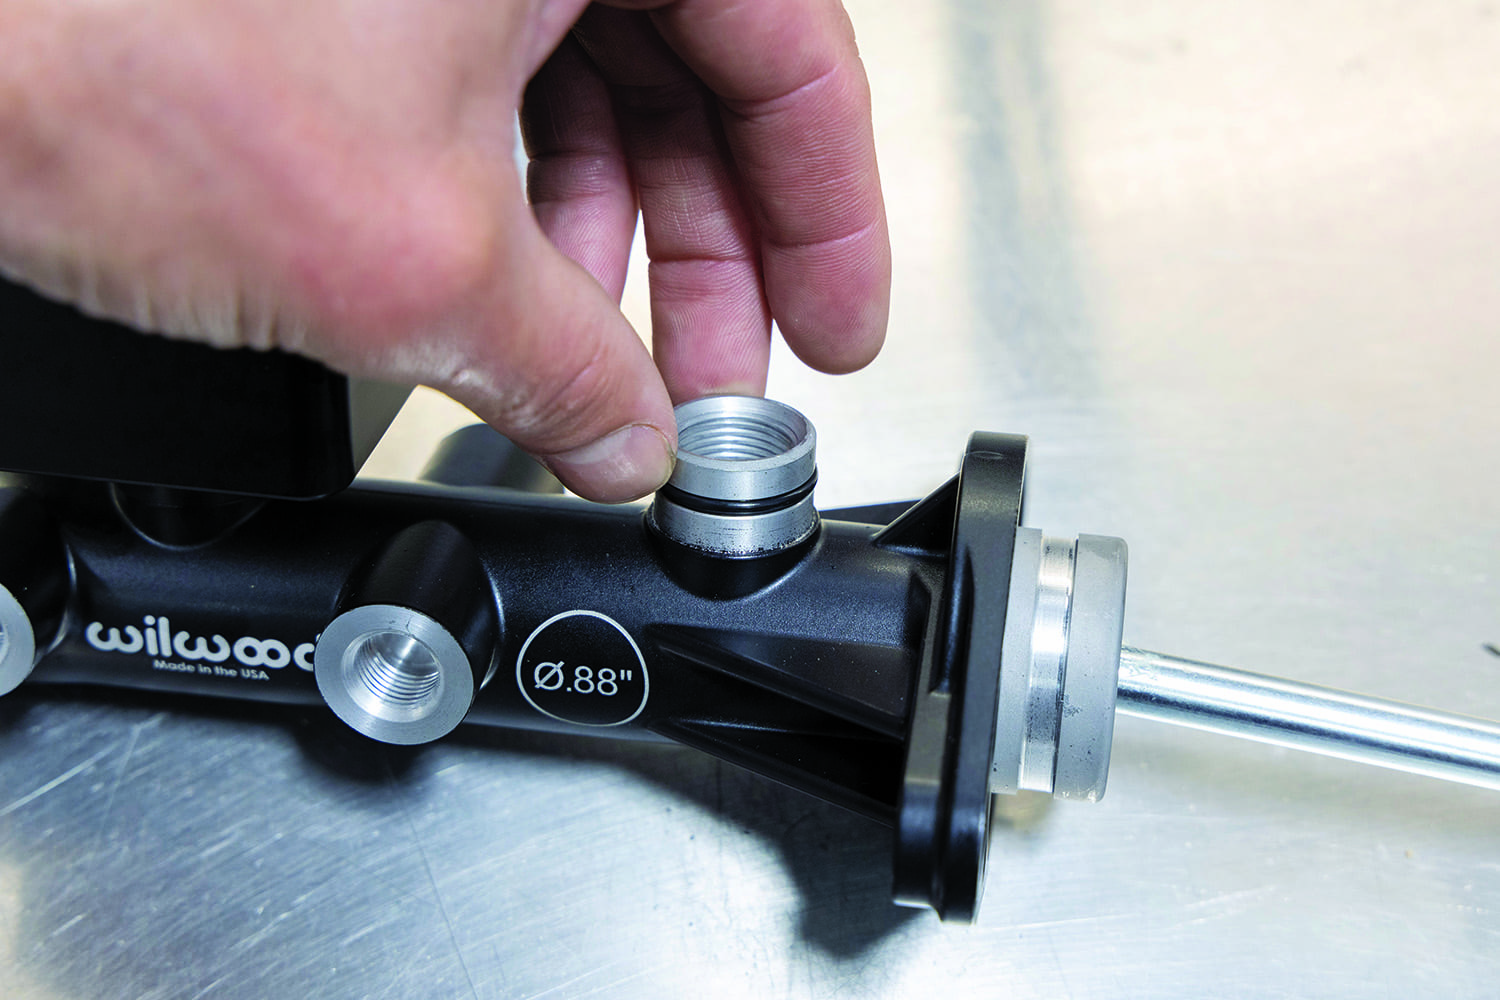
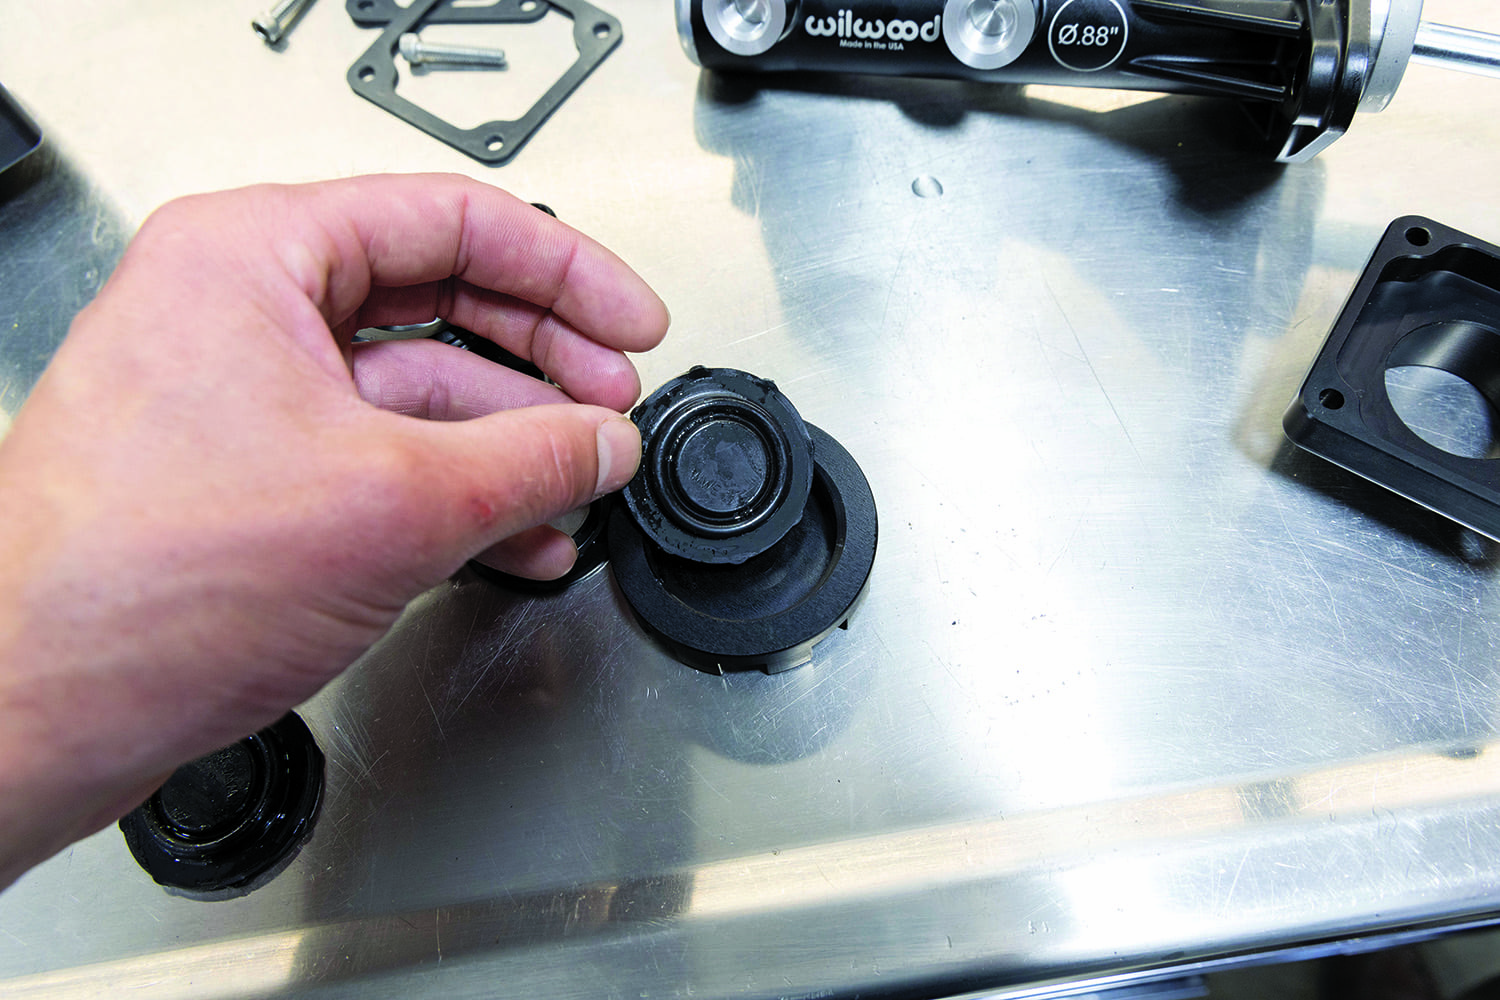
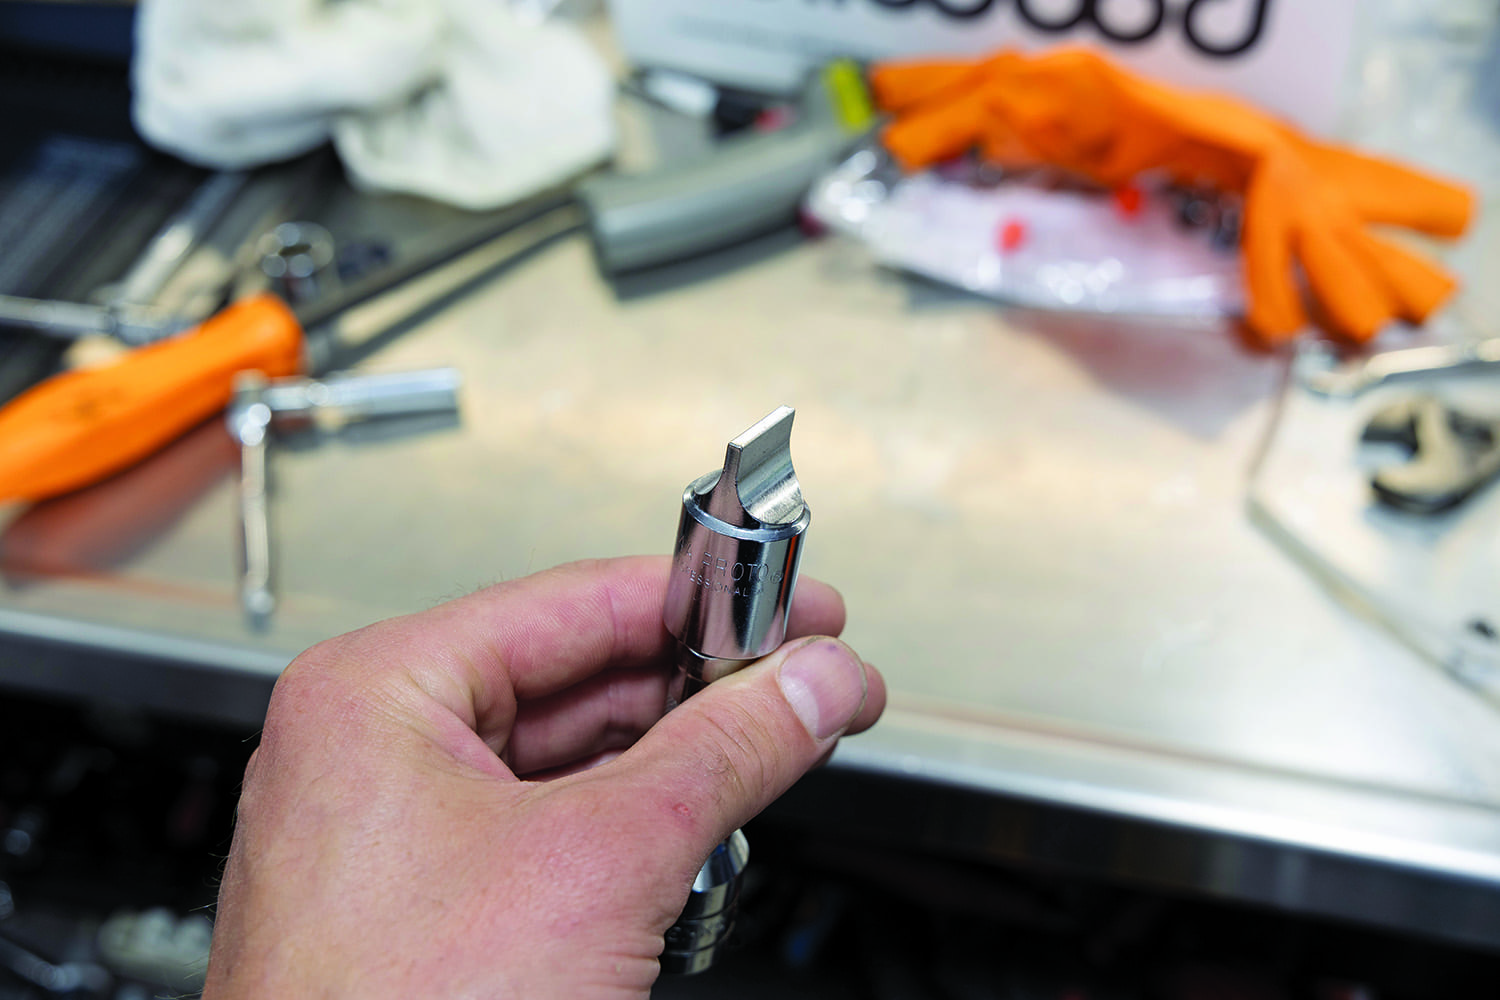
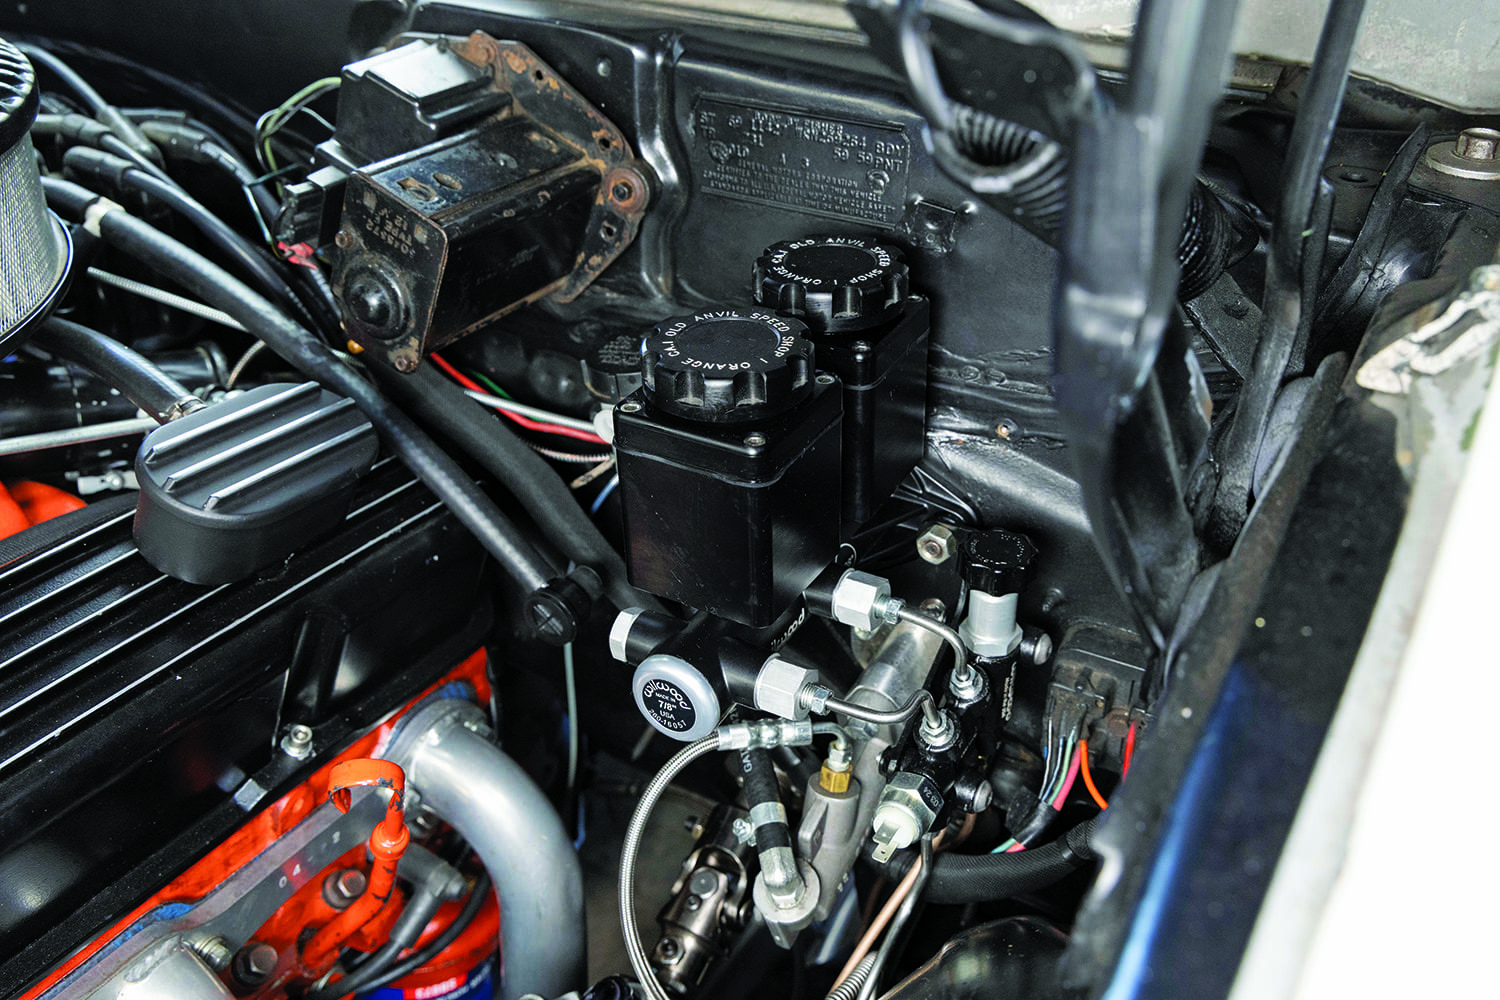
Wilwood’s Compact Tandem Master Cylinders with the threaded pushrod is a direct bolt-on using our stock clevis. But, Wilwood also offers a Universal Pushrod Kit that can be used to adapt the master cylinder to most brake pedal arms, whether factory or aftermarket.We won’t tell you bolt by bolt how to install a master cylinder and proportioning valve–that’s what Wilwood’s instruction sheets are for–but we’ll hit some important and helpful points. The first of which is measuring your old pushrod from the firewall mounting surface to the center of the brake clevis pin and transferring that length to the new pushrod.Then we attached the proportioning valve to the master cylinder using the supplied bracket and began mocking everything up. We ended up needing to relocate our clutch reservoir and make a new driver side brake line.You might not have heard of this before, so it’s worth mentioning: When time is money and show-quality stainless steel isn’t required, Old Anvil Speed Shop likes to use nickel copper hard line. It’s much more malleable than standard steel or stainless hardline, making those final tweaks by hand easier and speeding up the process of making new lines.Of course, we also used the old welding wire trick to make a mockup of our desired brake line bends, which we then replicated with the nickel copper hardline.Once we confirmed everything fit as it should, the final steps were to bench bleed the master, install it, then bleed the rest of the system. Wilwood’s master cylinders even come with a bench bleeding kit complete with six different fitting sizes plus the clips and clear tubes needed.Time for a road test! With the manual 15/16 inch master and moving the push rod to the upper hole for 6:1 pedal ratio, the brake pedal now felt linear and predictable. I could even lock up the tires with relative ease. Definitely no more two-foot pedal stands, that’s for sure.After the test drive it was time to pull off the 15/16 inch master cylinder and swap in the 7/8 inch master. Of course, we also bench bled the new 7/8 inch unit like you should with any master cylinder before installation.Back out on the road, the difference a 1/16-inch change in bore size made was actually remarkable. According to the math from Wilwood’s chart we referenced earlier, the difference in brake pressure required was about 15 percent less with the 7/8 inch master cylinder. In the car? The difference felt even greater. The pedal was still very linear with just a bit more travel but significantly less effort needed to bring the car to a stop. Perfect.Actually, there’s one more thing we’d change to make this setup even more perfect: a 7/8 inch bore Wilwood Combination Remote Tandem Master with the Old Anvil Speed Shop billet reservoir upgrade.Along with their Compact Tandem Master, Wilwood also offers a Remote Tandem Master that allows the use of remote reservoirs. The supplied plastic reservoirs can be attached directly to the sleek master cylinder or mounted in a separate location.Old Anvil Speed Shop offers black or dark gray anodized billet aluminum master cylinder reservoirs that are a direct replacement for the plastic reservoirs. They were designed by Bosserman and are CNC-machined by Old Anvil’s Matt Haynes right in their Orange, California, shop.To install the billet reservoirs, start by installing the two O-rings supplied in the original kit from Wilwood.Also remove the rubber gasket under the cap of each plastic reservoir and install them in the billet aluminum caps.Finally, install the reservoirs on the Wilwood master cylinder and use the supplied Allen bolts and gasket to attach the cap mounting plate. Old Anvil suggests using a drag link socket (which they can sell you for a few more bucks) to securely fasten the fitting that holds the reservoir onto the master cylinder.The result is a clean and simple firewall-mounted manual master cylinder with all the performance and quality you’d expect from Wilwood and Old Anvil Speed Shop, plus a little added style.
We use cookies to ensure that we give you the best experience on our website. If you continue to use this site we will assume that you are happy with it.