Our LS3 Connect & Cruise crate engine arrived from Chevrolet Performance with a water pump and crank damper installed but lacked a complete accessory drive. Thankfully, Concept One Pulley Systems offers a variety of solutions for such a situation.
Concept One’s LS Victory Series Pulley System is the Answer to an Accessory Drive Dilemma
When it comes to upgrading the drivetrain on a vintage Chevy, it doesn’t come much easier than using a crate engine from Chevrolet Performance, especially when it comes to their Connect & Cruise systems. Complete from pan to throttle body, these offerings come equipped with a factory-tuned ECU that makes for a literal plug-and-play situation, with a few caveats. Being car guys at heart, when it came time to dress their LS crate engines they knew that fitment would be an issue, depending on accessory location and installation configuration. Put simply, some vehicles have more room than others, especially when it comes to the lower-mounted accessories, namely the power steering and A/C compressor. Additionally, not every installation would require all three accessories, with some opting for a simple alternator mount or an alternator/power steering combo, and so on. That said, it was decided to ship their LS crate engine offerings sans accessory drive, leaving the decision up to the end user. That’s good news for a company like Concept One Pulley Systems, that specializes in providing turnkey accessory drive kits for crate engines, new builds, and junkyard resurrections alike.
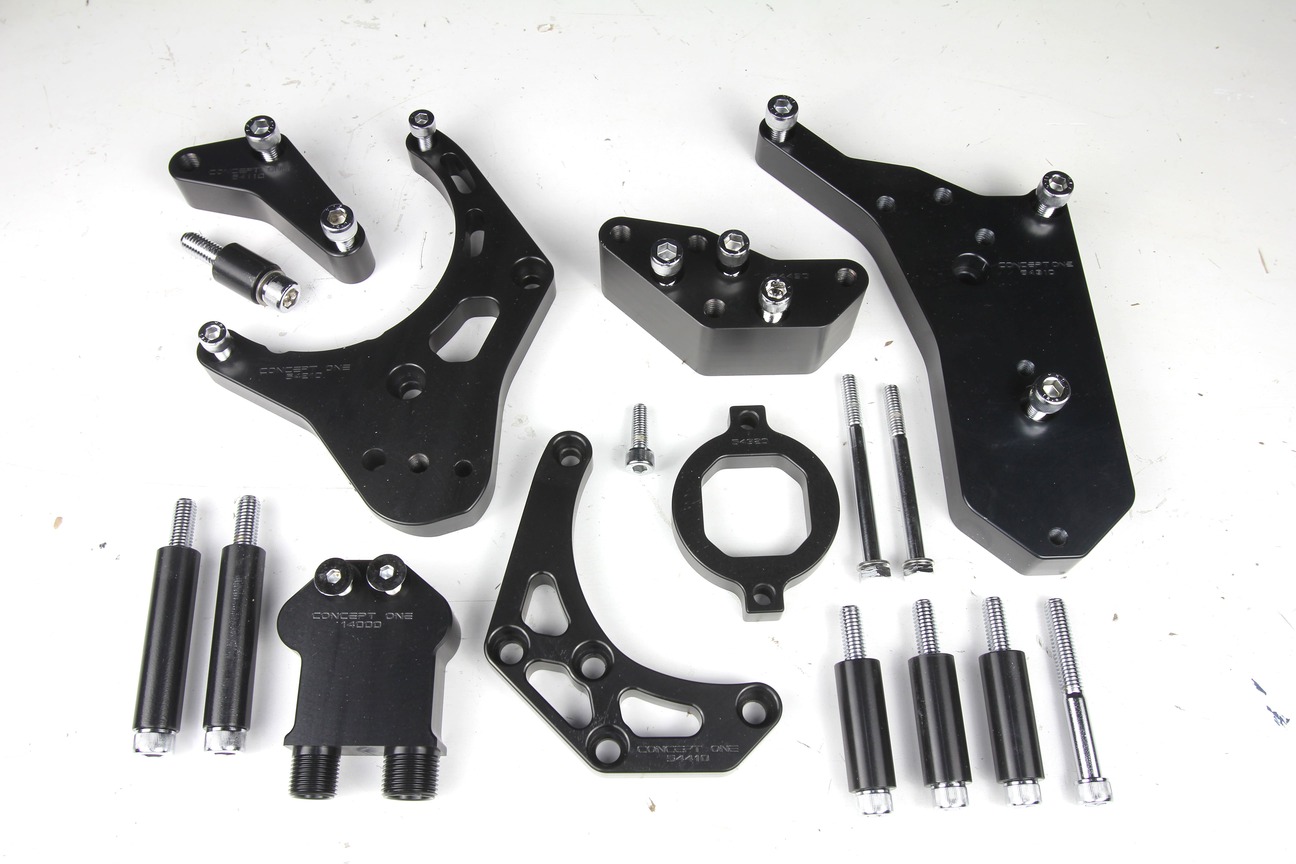
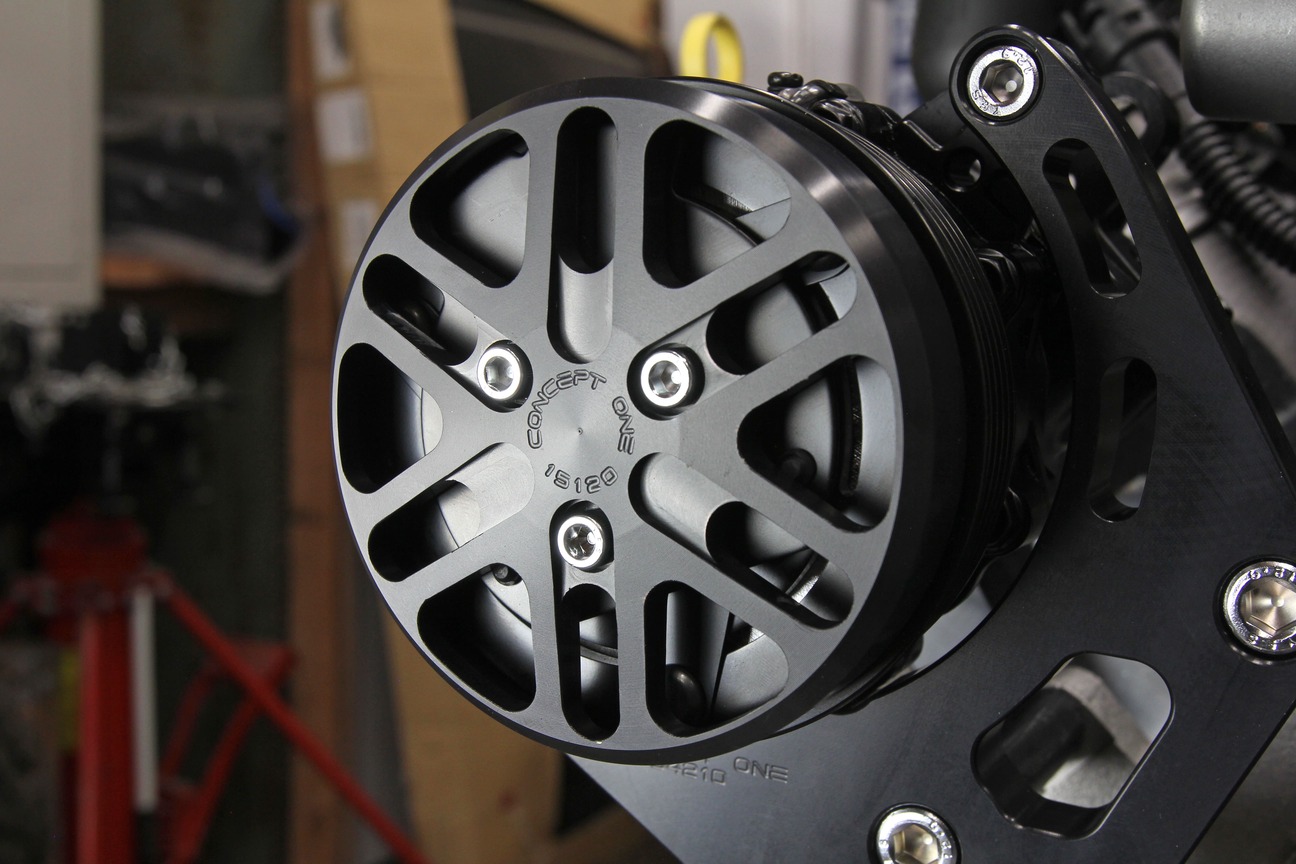
Our ’57 Chevy project is slated to receive all the modern bells and whistles, so it’s necessary to install the three usual accessories: A/C compressor, alternator, and power steering pump. We opted to use Concept One’s LS Victory Series Kit in anodized black for our accessory pulleys, brackets, and hardware.
Here at Clampdown Competition, we were contacted recently by an old friend who was looking to make a few upgrades to his longtime hot rod. Creature comforts were the name of the game as Bruce Valley ran down his wish list for his ’57 Chevy Handyman Wagon. As the conversation continued, it soon became evident that a Connect & Cruise LS package would be the perfect fit for Valley’s turnkey desires and would bring with it an overdrive transmission, fuel injection, and computer-controlled ignition. A healthy 430 hp wasn’t going to hurt either, provided by an LS3 setup.
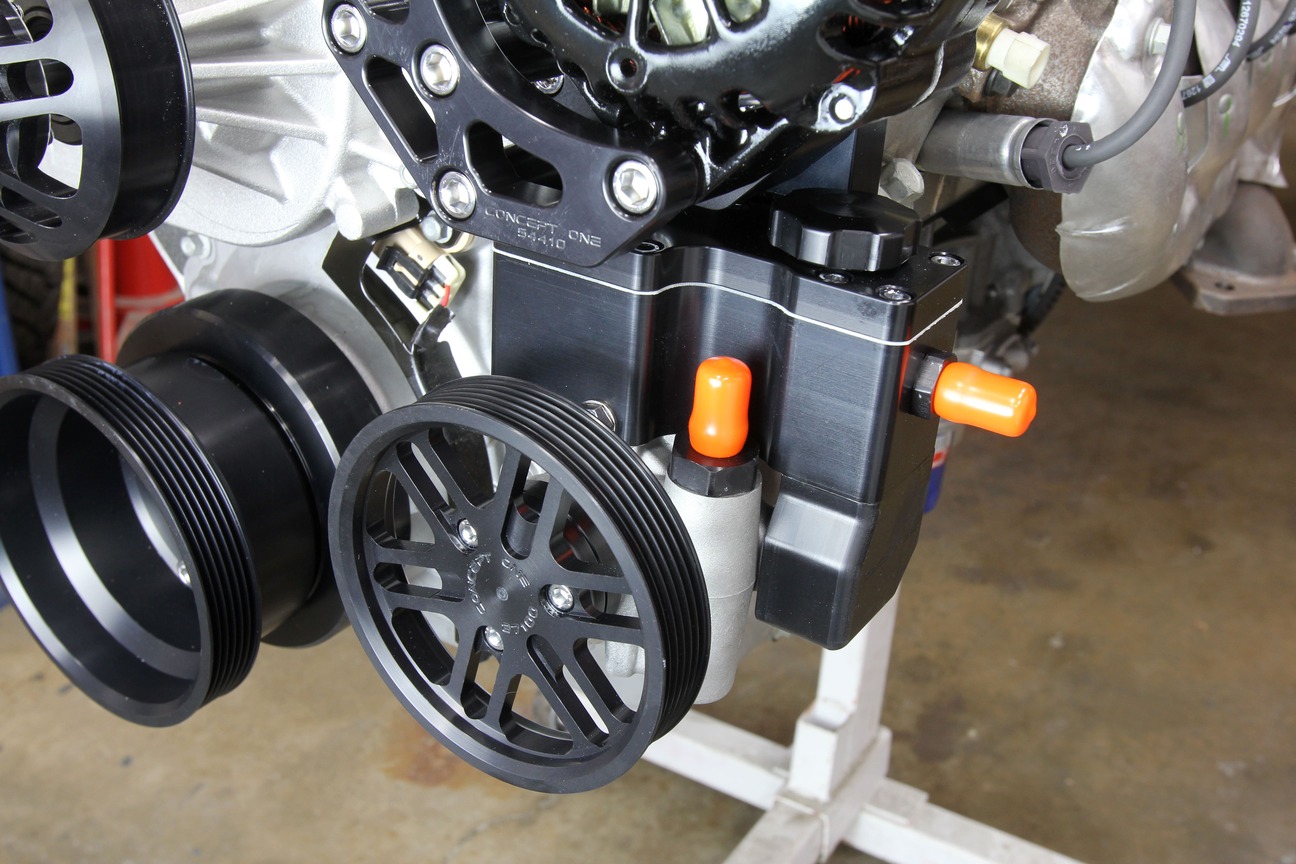
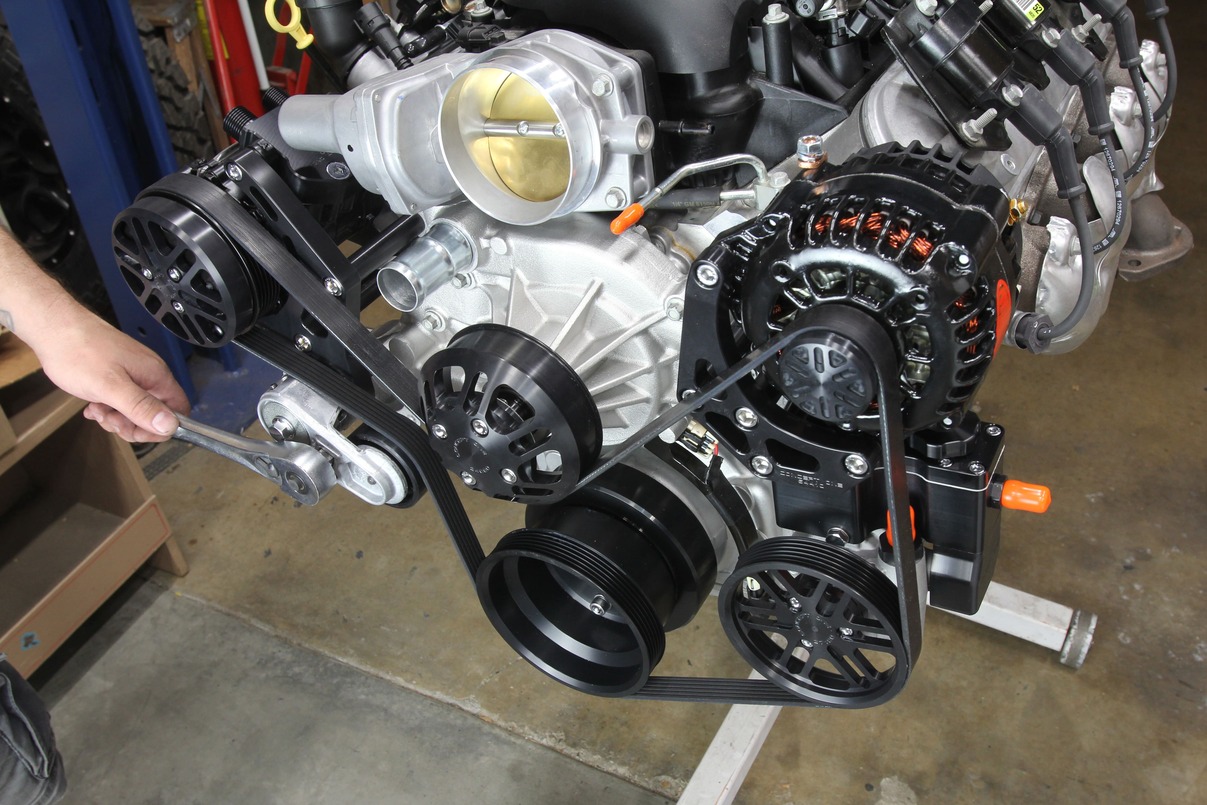
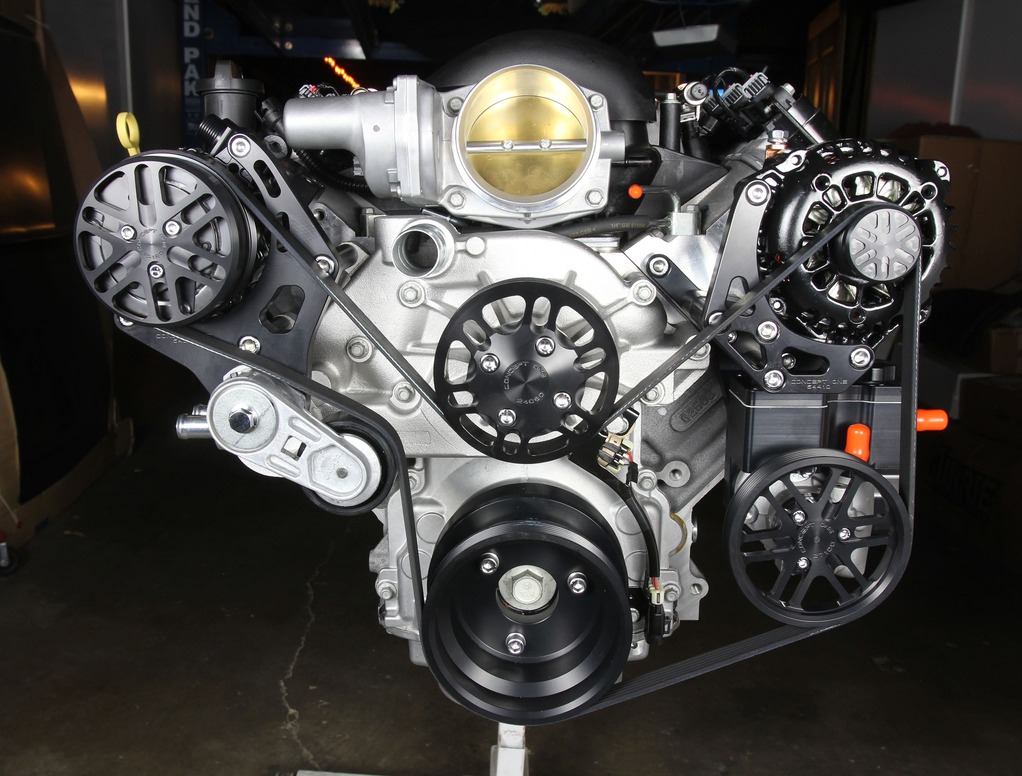
Its design pulls the accessories in nice and tight against the block, preventing fitment issues often found when using factory accessory packages.
As soon as our LS3 engine was removed from its shipping crate, we set about perusing Concept One’s website, choosing an accessory package customized to fit our requirements.
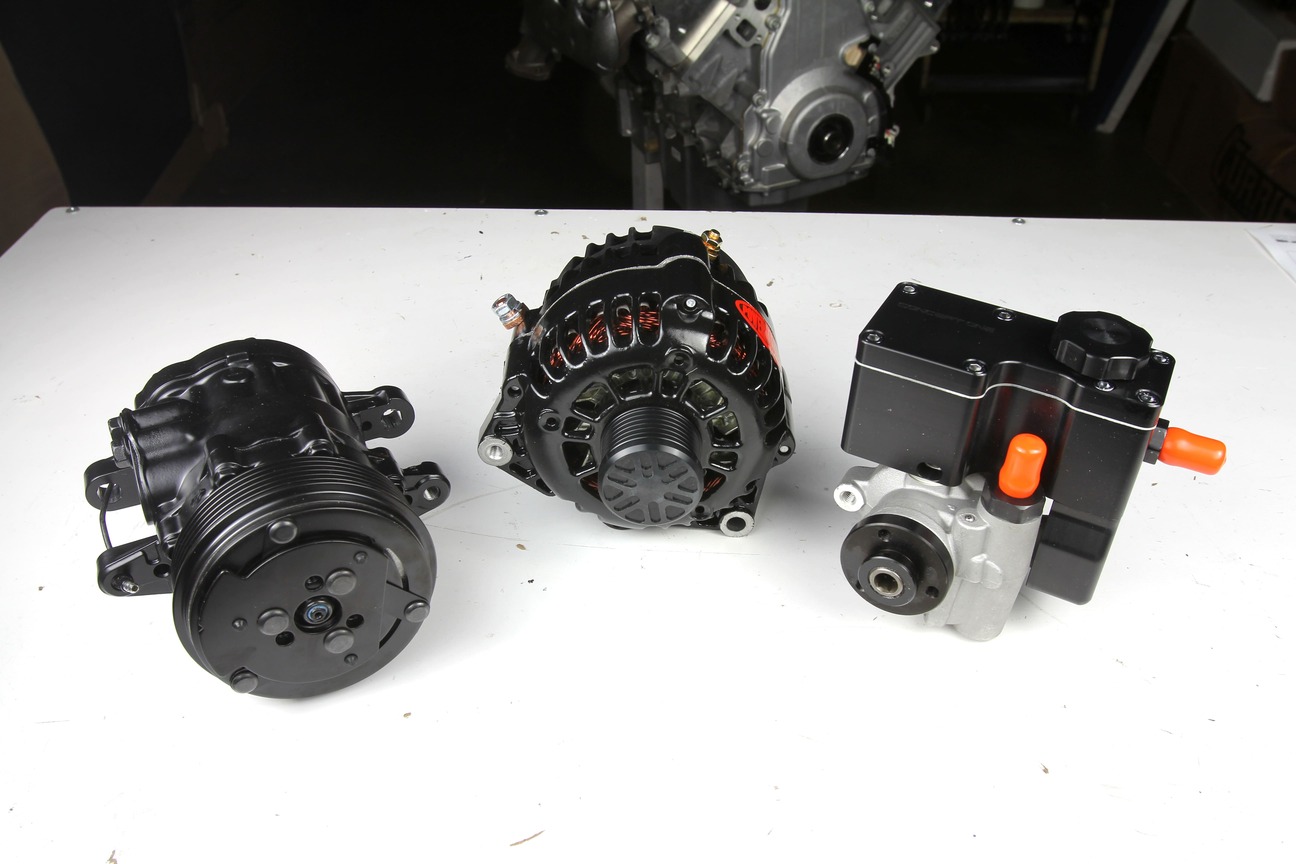
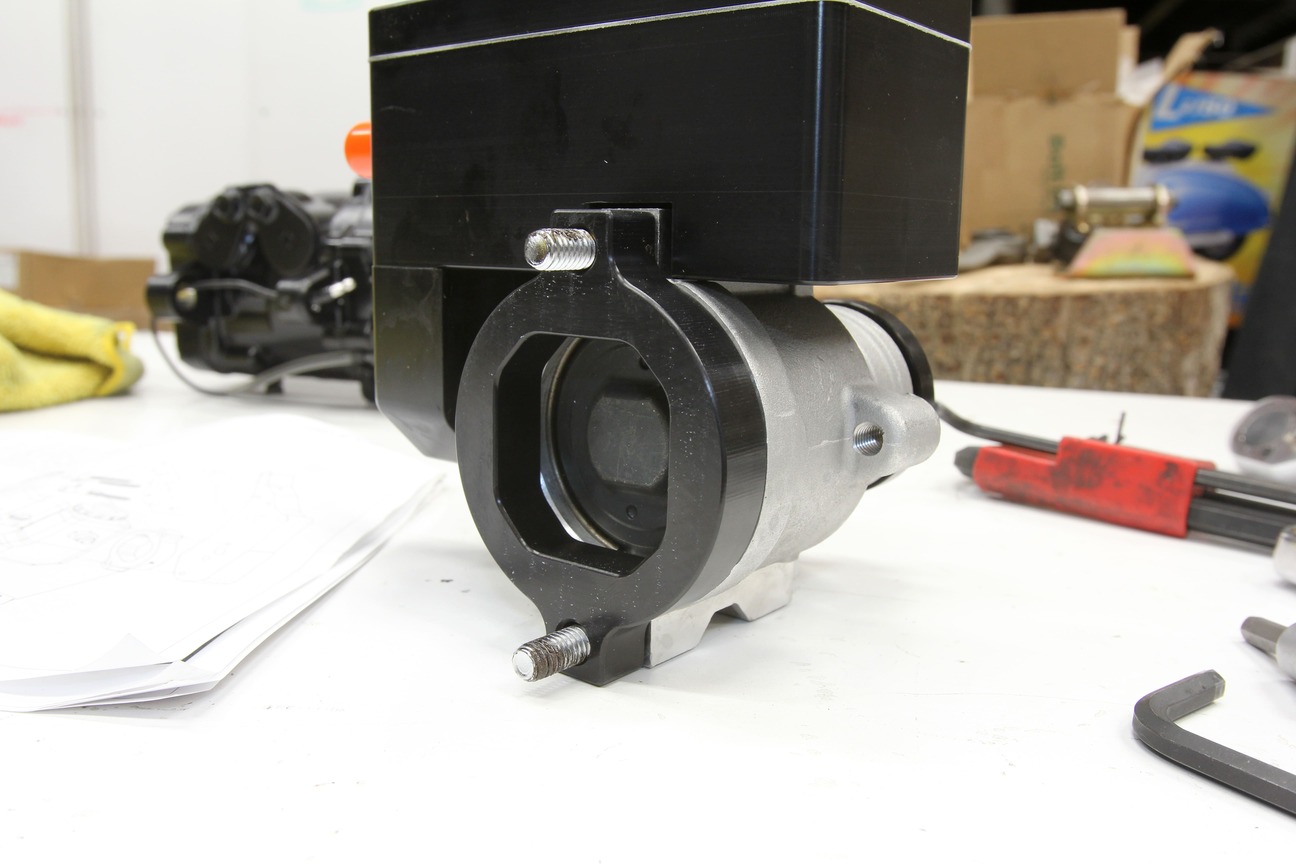
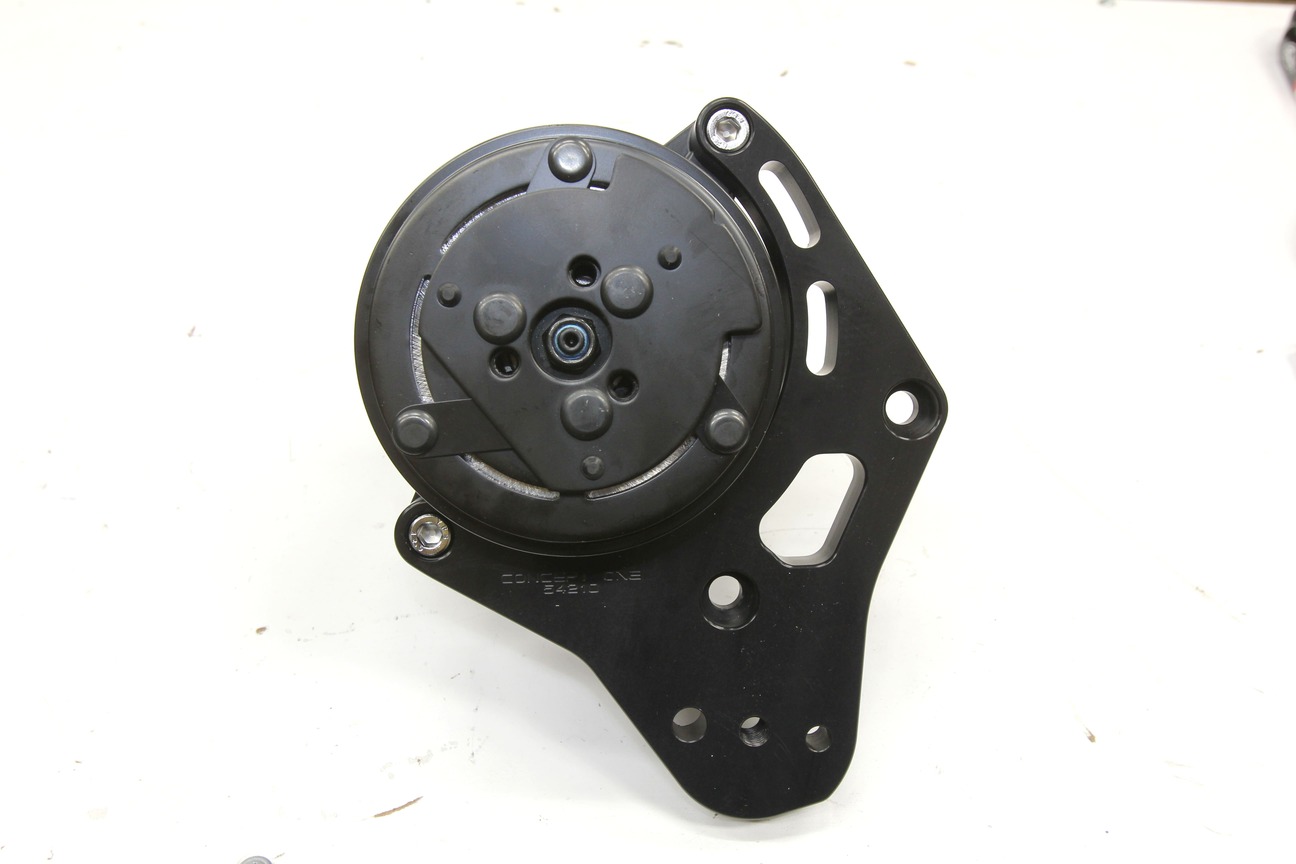
In addition to the CNC-machined aluminum components, Concept One also provides the three accessories, sourced from some of the best in the aftermarket business. From left is a compact Sanden SD7 A/C compressor, Powermaster 165-amp CS130D alternator, and a Lares Corporation aluminum power steering pump with integrated Concept One billet mini reservoir.
Concept One Pulley Systems are designed with packaging in mind, especially when it comes to LS engine swaps in classic Chevys. By mounting the components tight against the engine, the entire package remains compact and clear of many of the problem areas found on older cars, such as front crossmembers and suspension components. This careful attention to detail results in a flawless package that performs as well as it looks and solves the problem of reliably mounting those components without the guesswork that comes with mismatched junkyard parts.
ACP
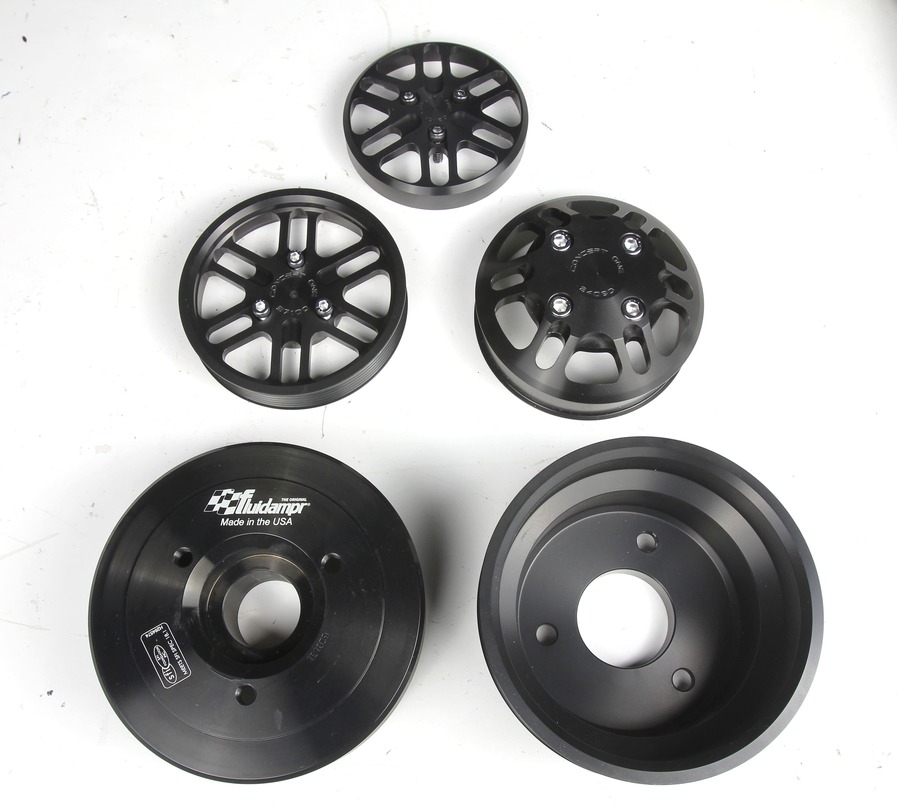
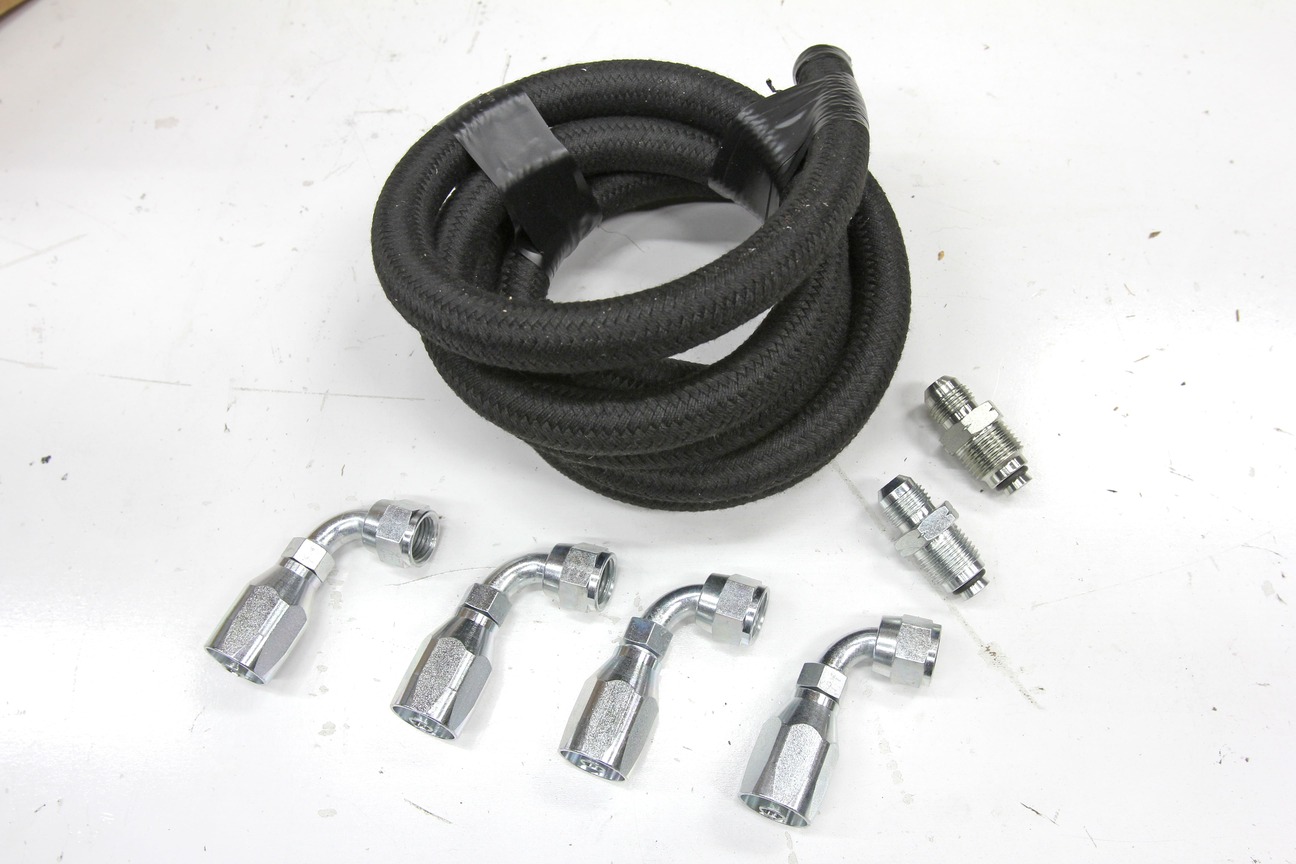
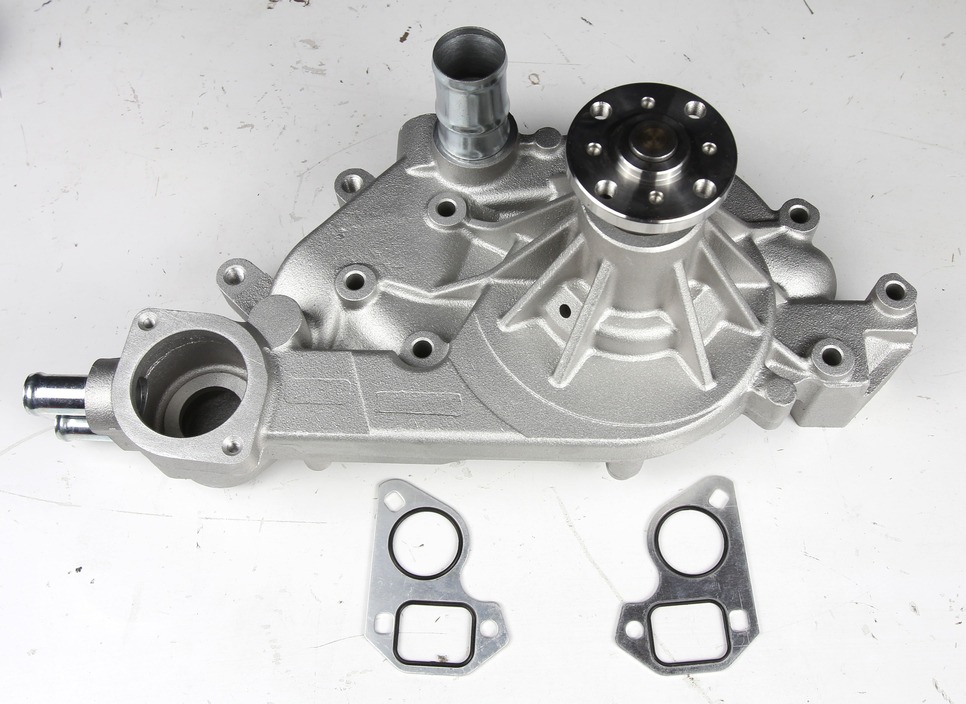
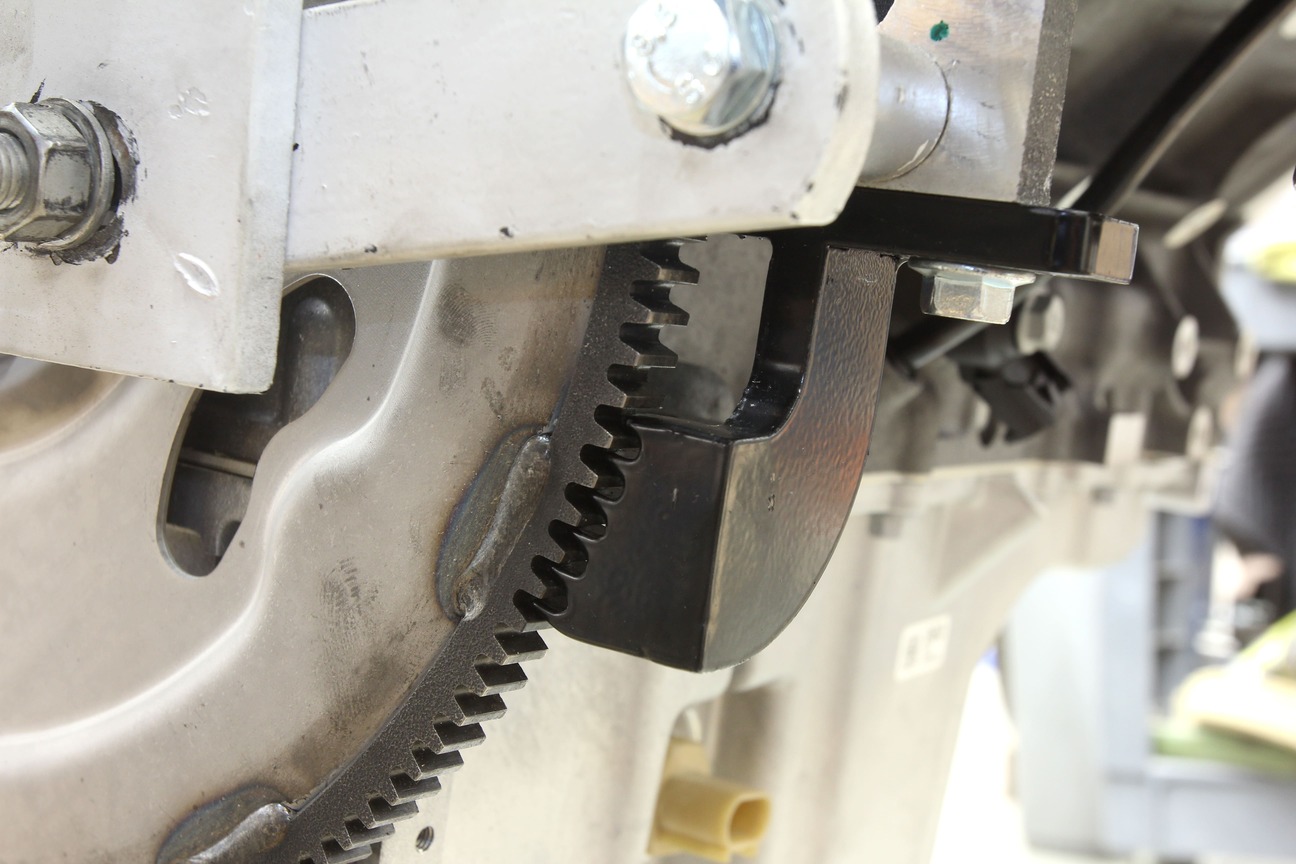
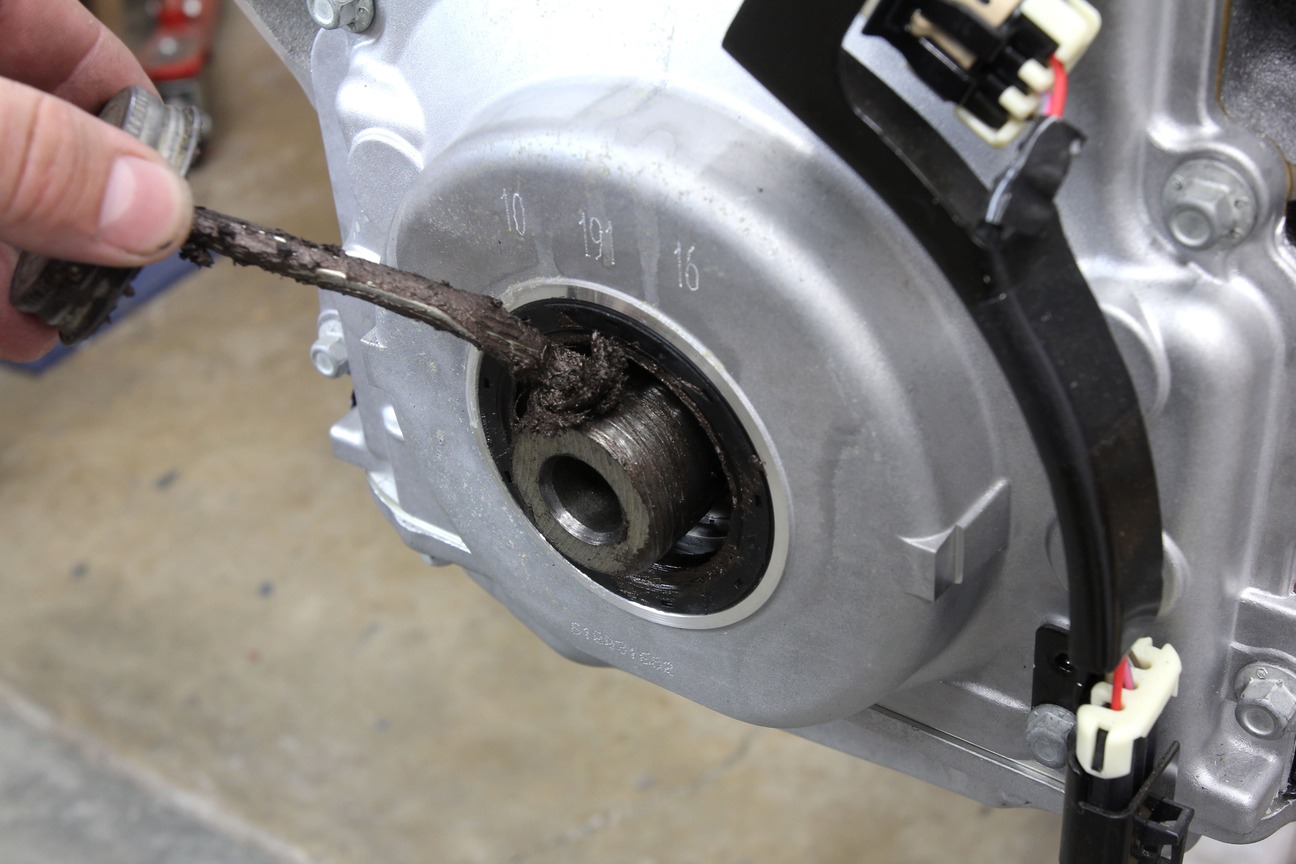
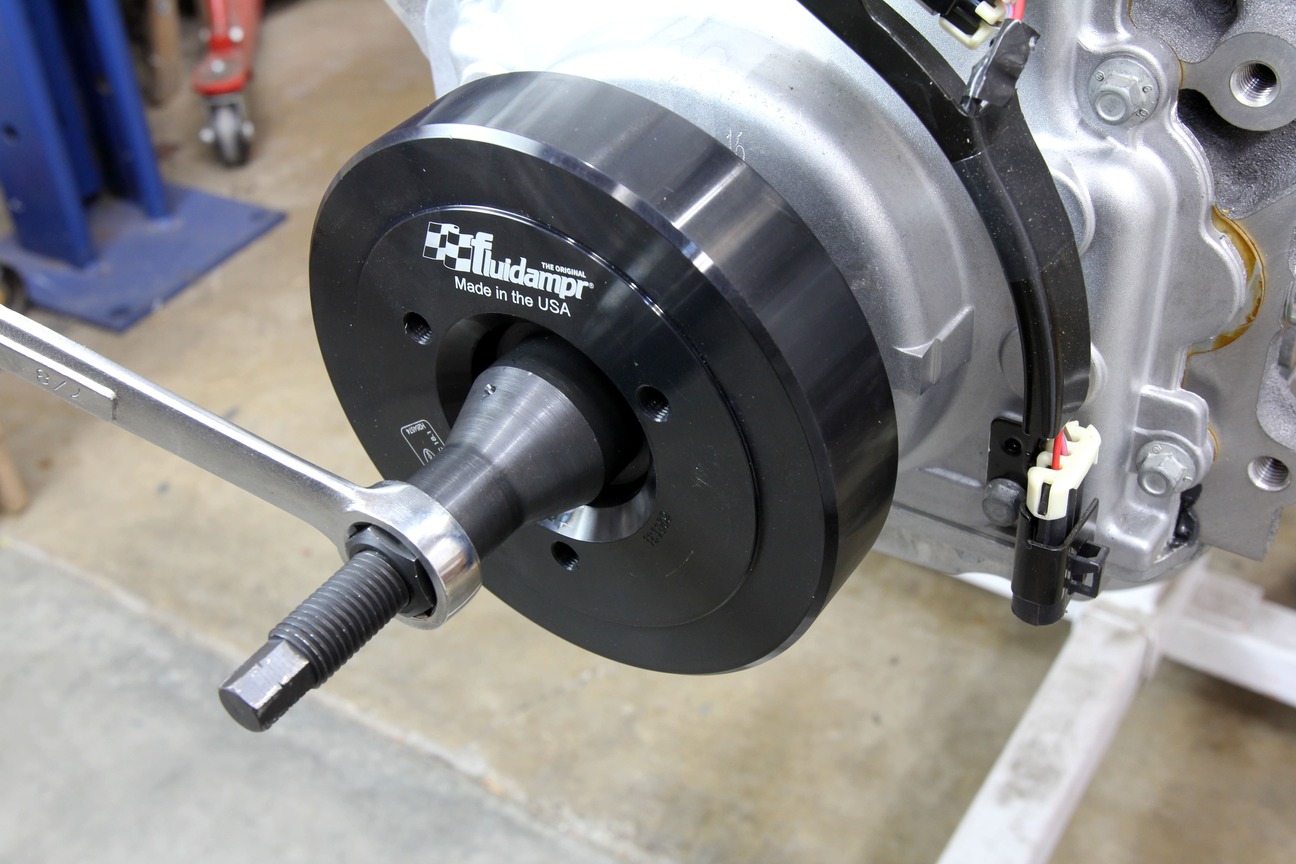
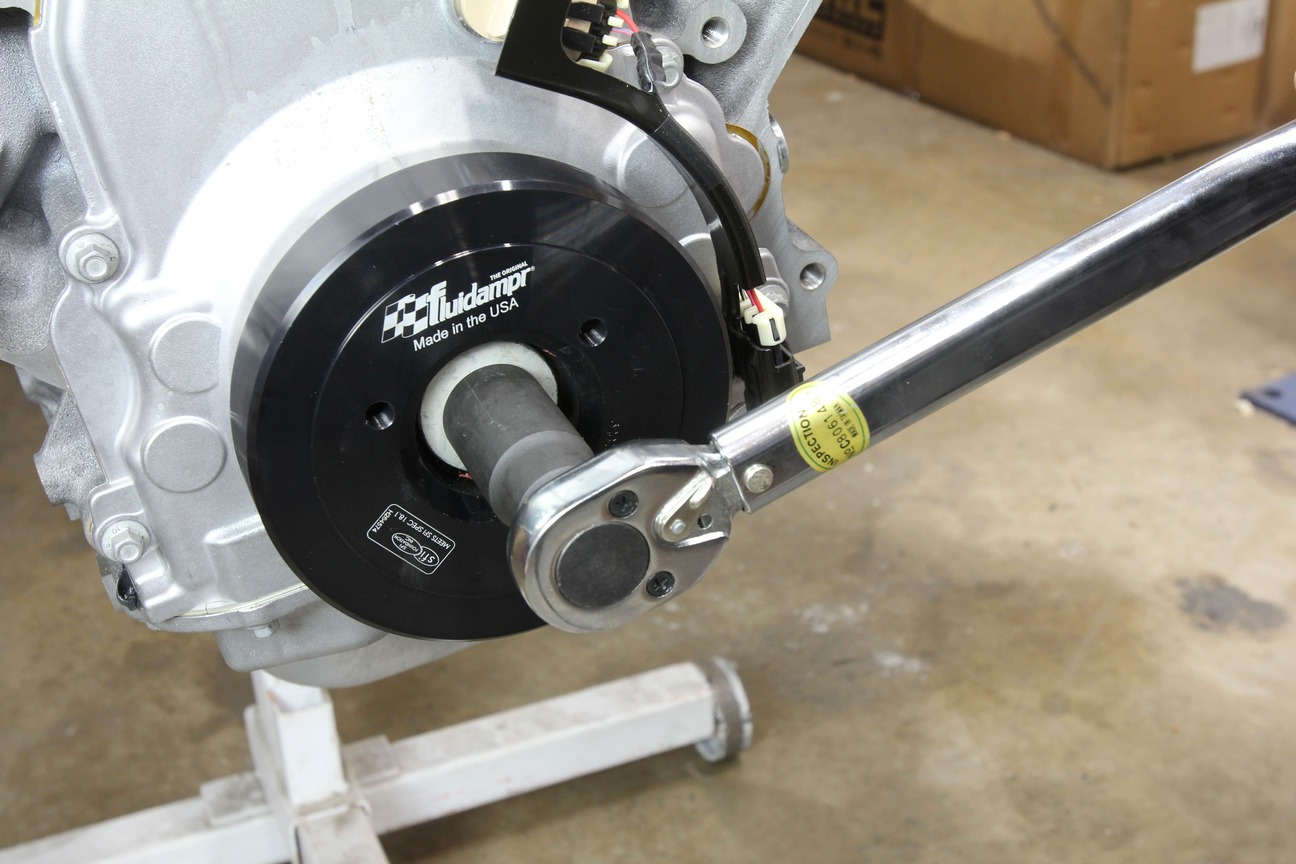
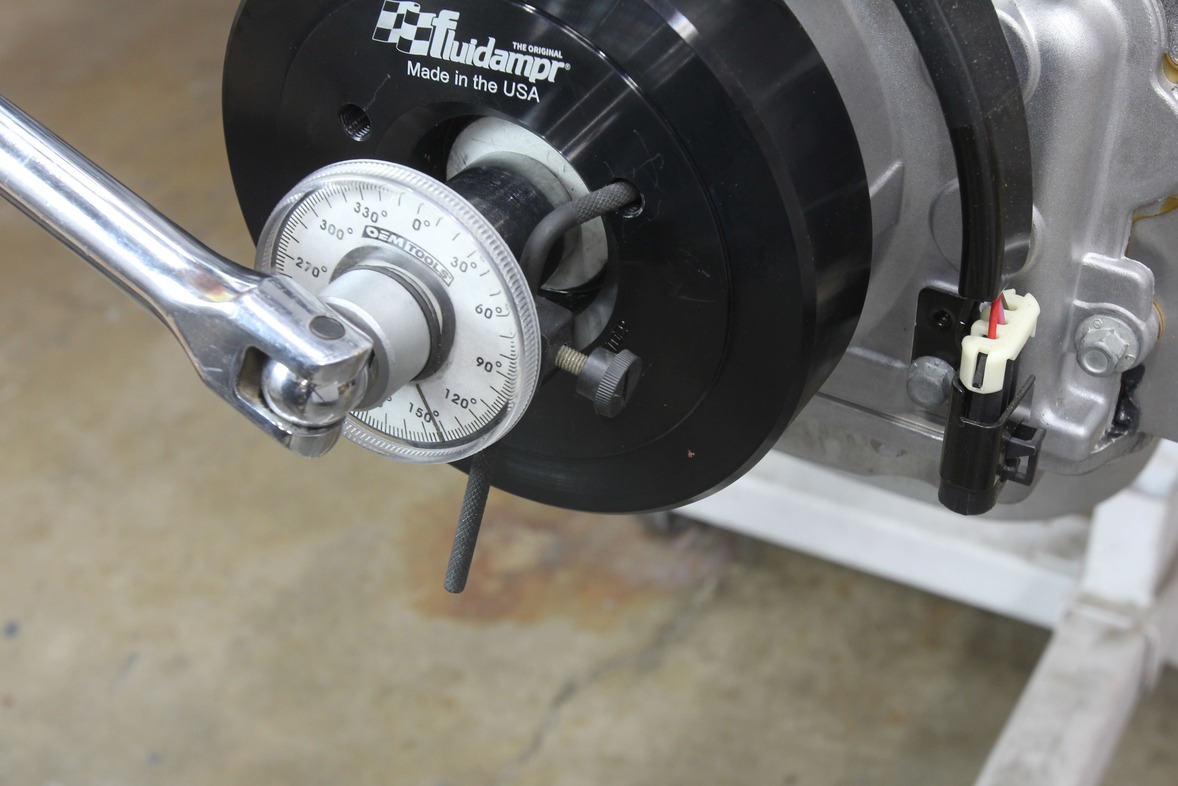
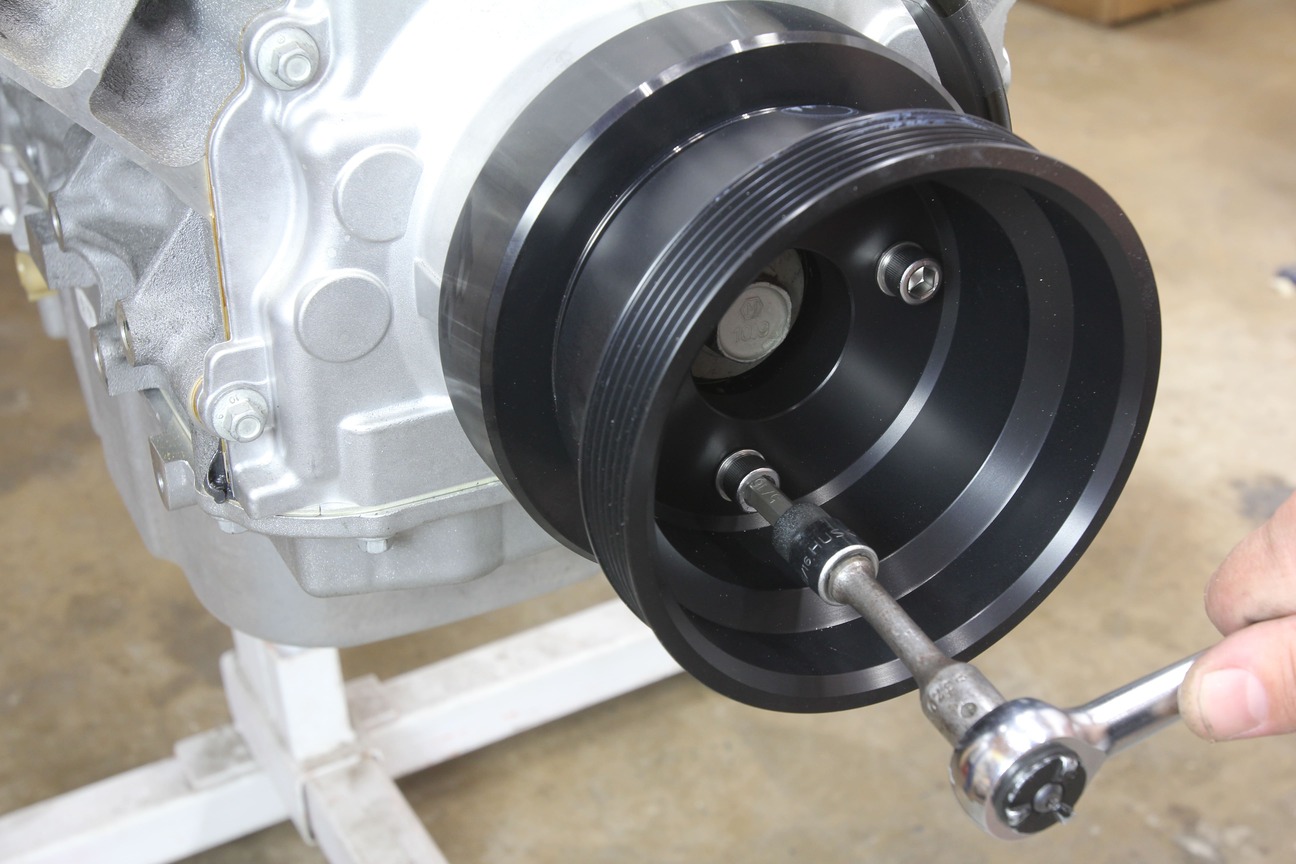
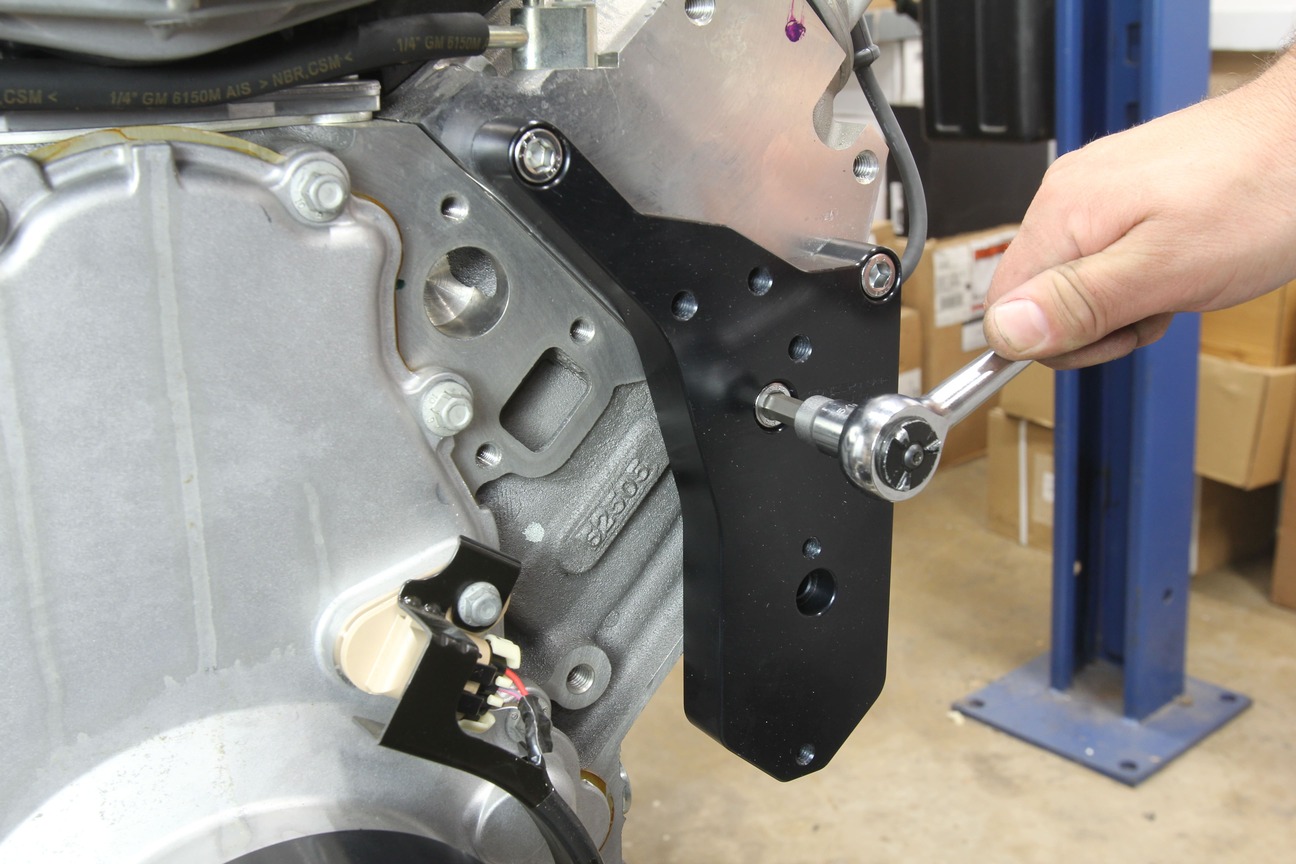
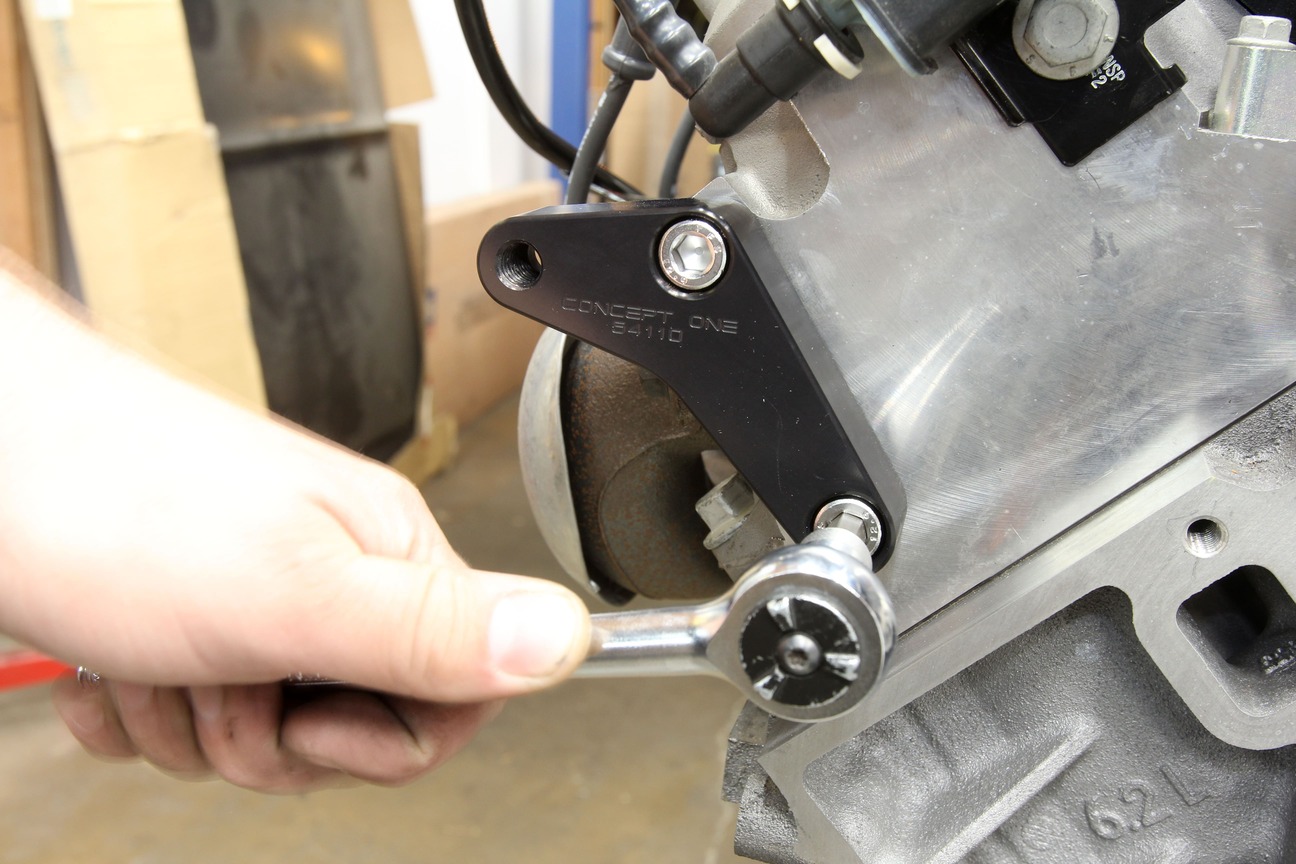
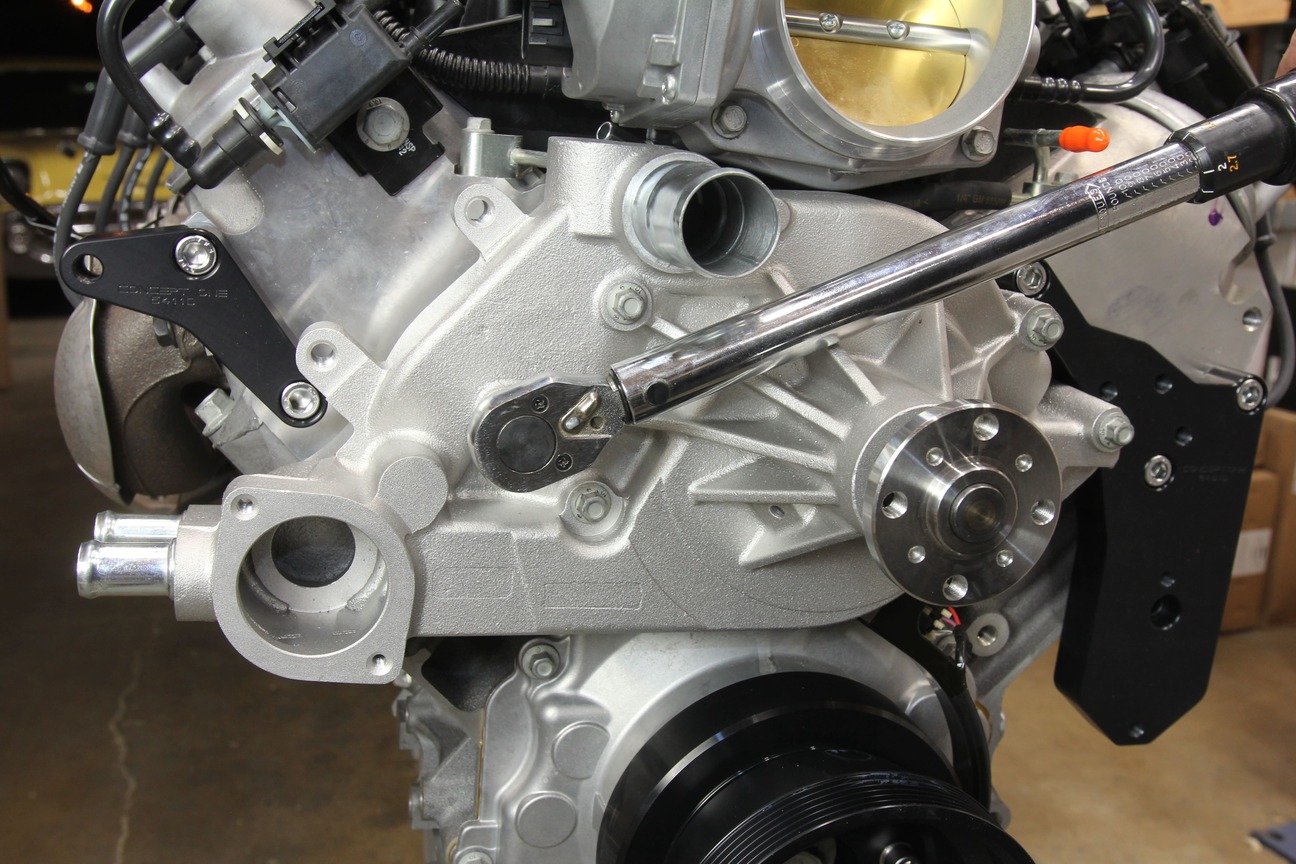
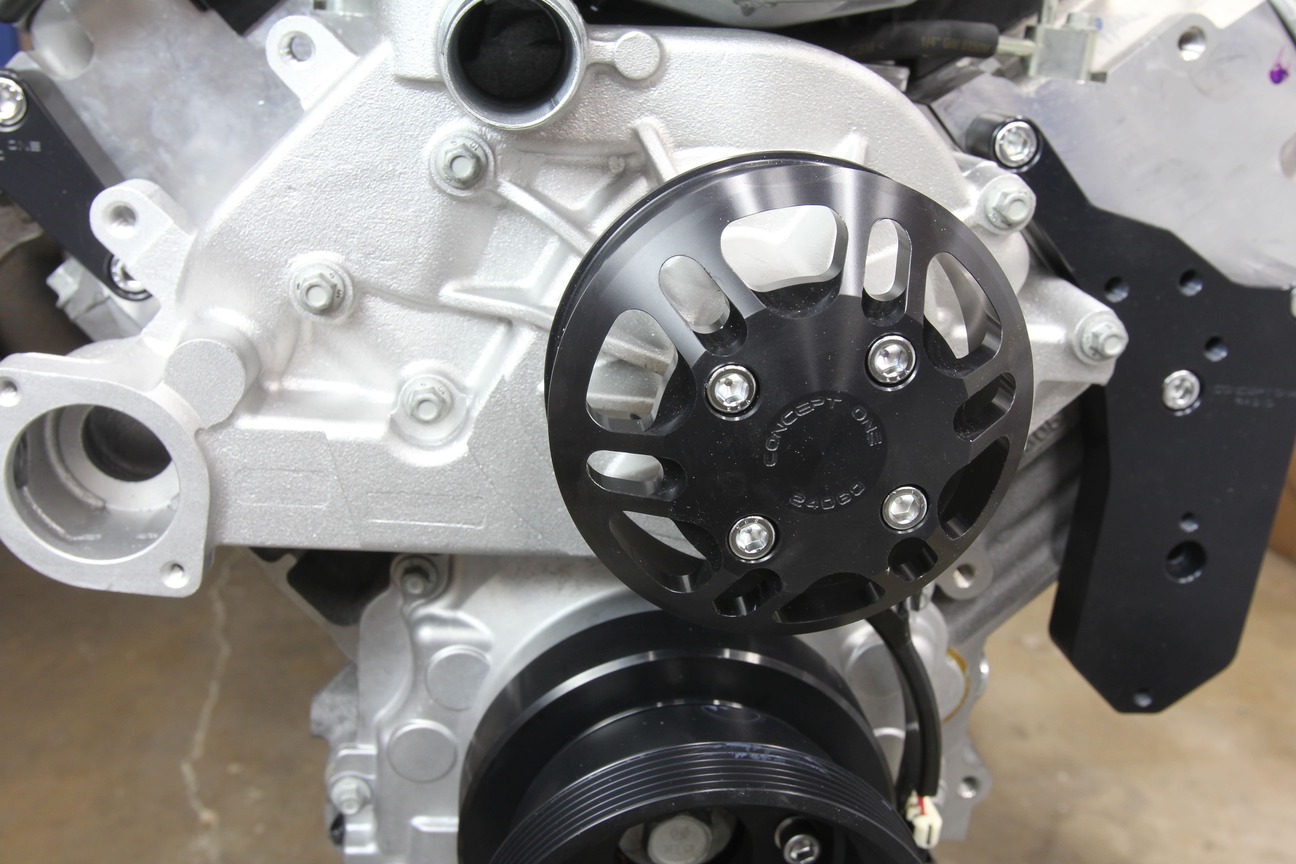
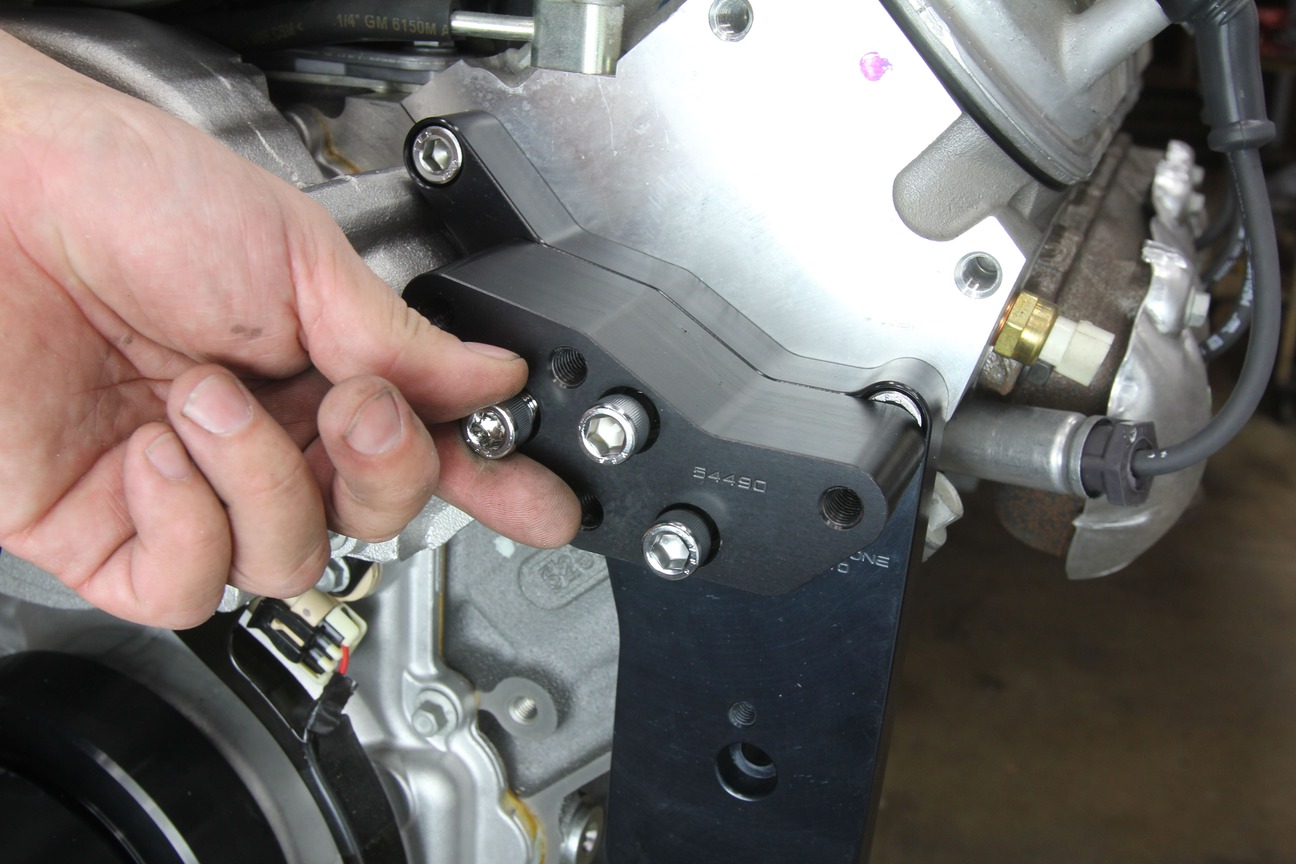
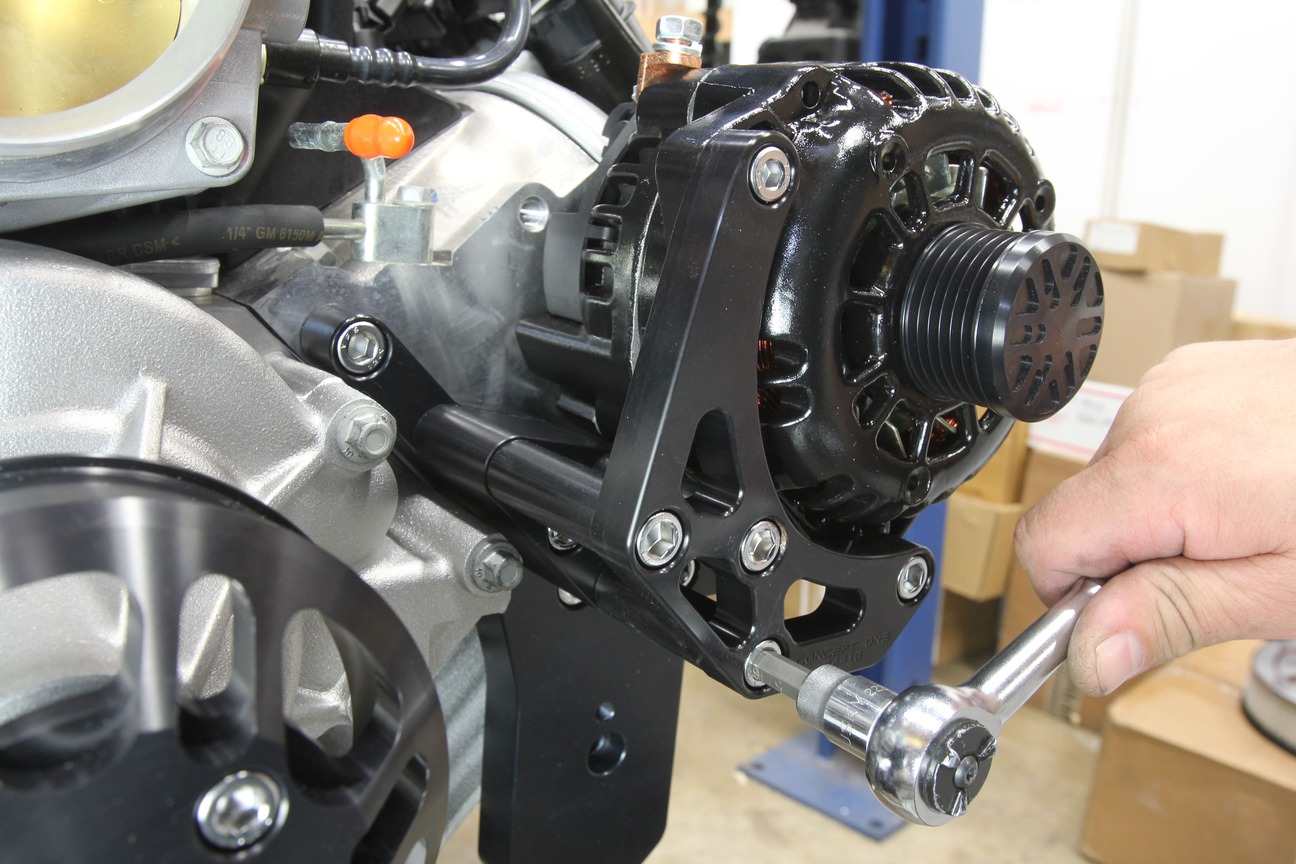
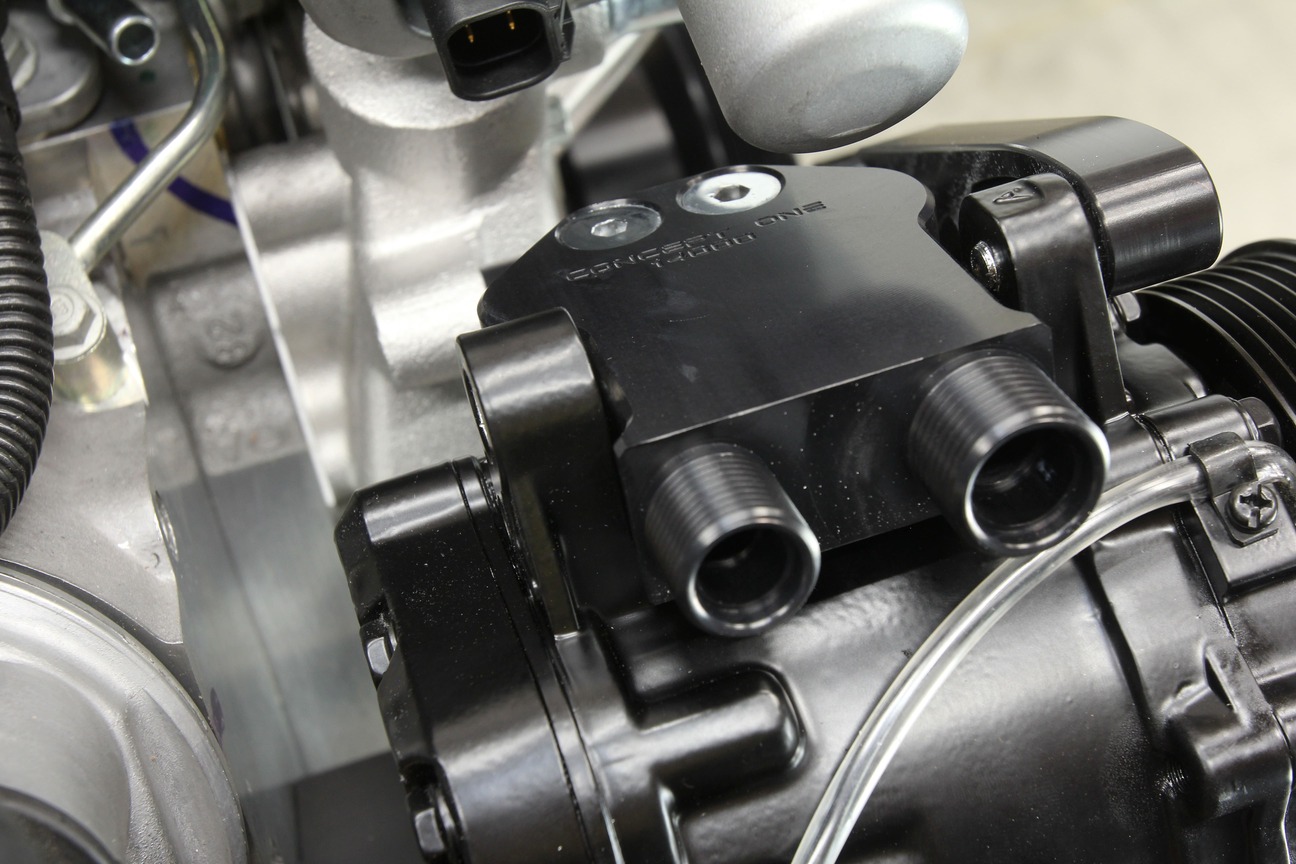
We’ll also be using a Concept One Black AQP power steering hose kit.Due to the differences in LS water pump configurations, Concept One includes the correct cast-aluminum unit in their kit to remove any possible confusion for the end user.Installation of the included Fluidampr SFI-approved harmonic damper is the first task to be tackled. This requires a method to prevent the crankshaft from turning while the proper installation tool is utilized. This is best accomplished using a Flywheel Holding Tool, such as this unit available at Summit Racing (SUM-900332-1).A light coat of antisieze is applied to the crank snout to aid in the damper’s installation. A light coat of engine oil is also applied to the outside diameter of the damper to prevent tearing of the crank seal during installation.Proper installation of the new damper is critical, so it’s important to use the proper tool, such as a Harmonic Balancer Installation Tool from Summit Racing (PN SUM-900135). This ensures the damper is installed straight and fully seated on the crankshaft.Next, a used crankshaft bolt is installed, torqued to 240 lb-ft, and then removed.Concept One provides a new OE crank bolt that is torque-to-yield, so it’s important to install the bolt once and done. This process includes torquing the new bolt to 35 lb-ft before a second pass, tightened to 140 degrees of rotation is made.With the damper in place, the new Concept One crank pulley can be installed using the provided stainless steel socket head cap fasteners. A dab of thread locker is used on all of the pulley fasteners, while the rest of the stainless bolts receive antisieze.The alternator/power steering main bracket attaches to the driver side cylinder head via three M10 fasteners.Over on the opposite side of the engine, the A/C compressor mount bracket is attached using two M10 socket head fasteners.The provided aluminum water pump is installed next and torqued to factory specs.Four 5/16-inch fasteners hold the Concept One billet water pump pulley in place.The alternator spacer bracket attaches to the main bracket using three 3/8×2-inch fasteners and serves to precisely align the alternator with the water pump and crank pulleys while keeping it high and tight against the engine.A quartet of 3/8-inch fasteners attach the alternator and alternator arm bracket to the main bracket, aided by a trio of spacers. An M8 fastener attaches the arm bracket to the alternator itself.Before the power steering pump is installed, a spacer plate is in place before the assembly is attached to the main bracket.The attached power steering pulley completes the power steering installation.Before the A/C compressor is installed, the A/C compressor arm bracket is attached via a pair of M8 fasteners.A pair of spacers are used to align the assembly, held fast by a duo of M10 bolts attaching the assembly to the water pump. A third fastener mates the lower ear of the compressor to the previously installed compressor mount bracket.Concept One includes a billet aluminum compressor cover to further dress up the A/C compressor and match it to the rest of the kit.Another billet aluminum piece included in the Concept One kit is this SD7 manifold assembly.An OE-style belt tensioner is the final component installed before the serpentine belt is routed and installed.With installation of the Concept One kit complete, the tight fitment of the components can easily be seen. This is a huge benefit for those of us installing any LS-family engine in an older Chevy where suspension components, crossmembers, and framerails can often foul stock accessories. The anodized black kit looks great in contrast to the as-cast aluminum components on our crate LS3 and will be easy to maintain and keep looking great when compared with the upkeep necessary that comes with polished/chrome components
We use cookies to ensure that we give you the best experience on our website. If you continue to use this site we will assume that you are happy with it.