Summit Racing’s Cool Adjustable Transmission Mount
By Jeff Smith – Photography by the Author
It’s no secret that the LS engine is probably the hottest idea in engine swapping since the introduction of the small-block Chevy in 1955. The LS has found its way into just about every GM car on the planet. Part of the engine’s popularity is based on the widespread use of custom motor mounts that move the engine into non-stock positions. Often this is necessary for oil pan or header clearance or perhaps to clear components like the factory accessory drive.

When the engine is relocated this also affects the position of the rear trans mount to the crossmember. Generally, this requires either modification to the crossmember or sometimes building or buying a custom crossmember to complete the connection to the transmission.
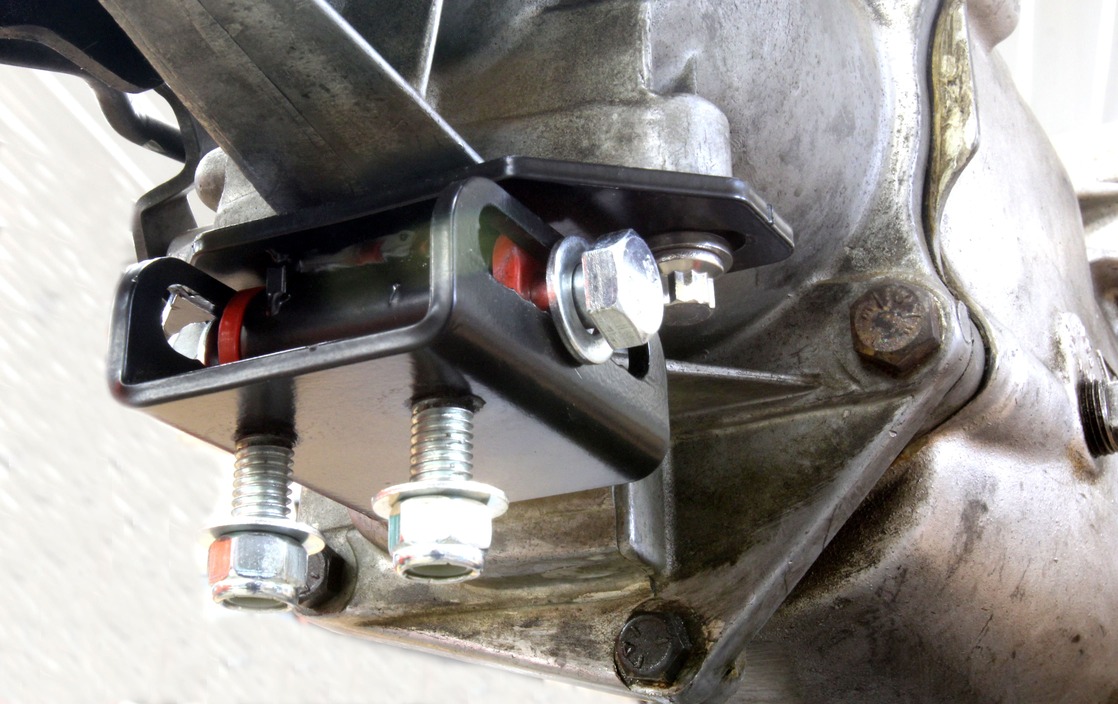
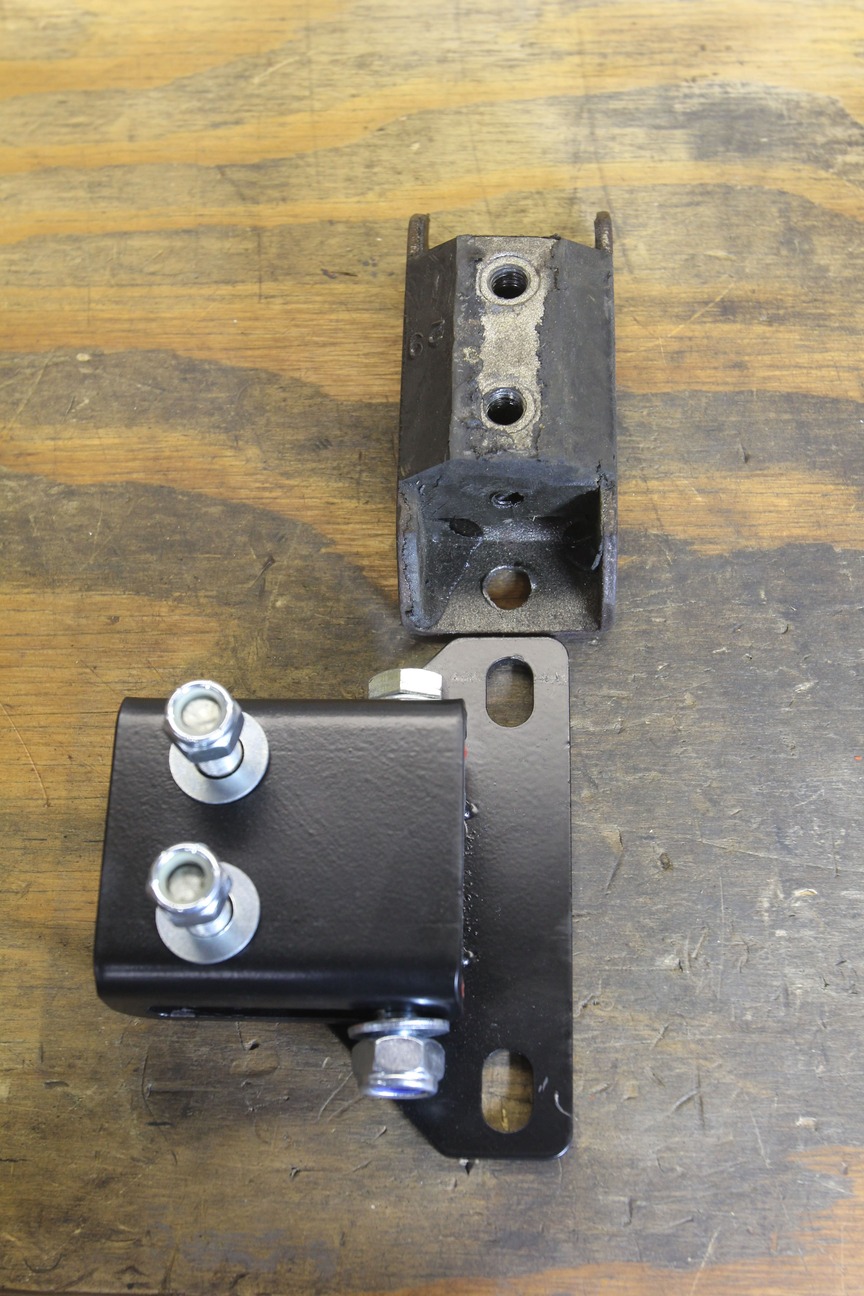
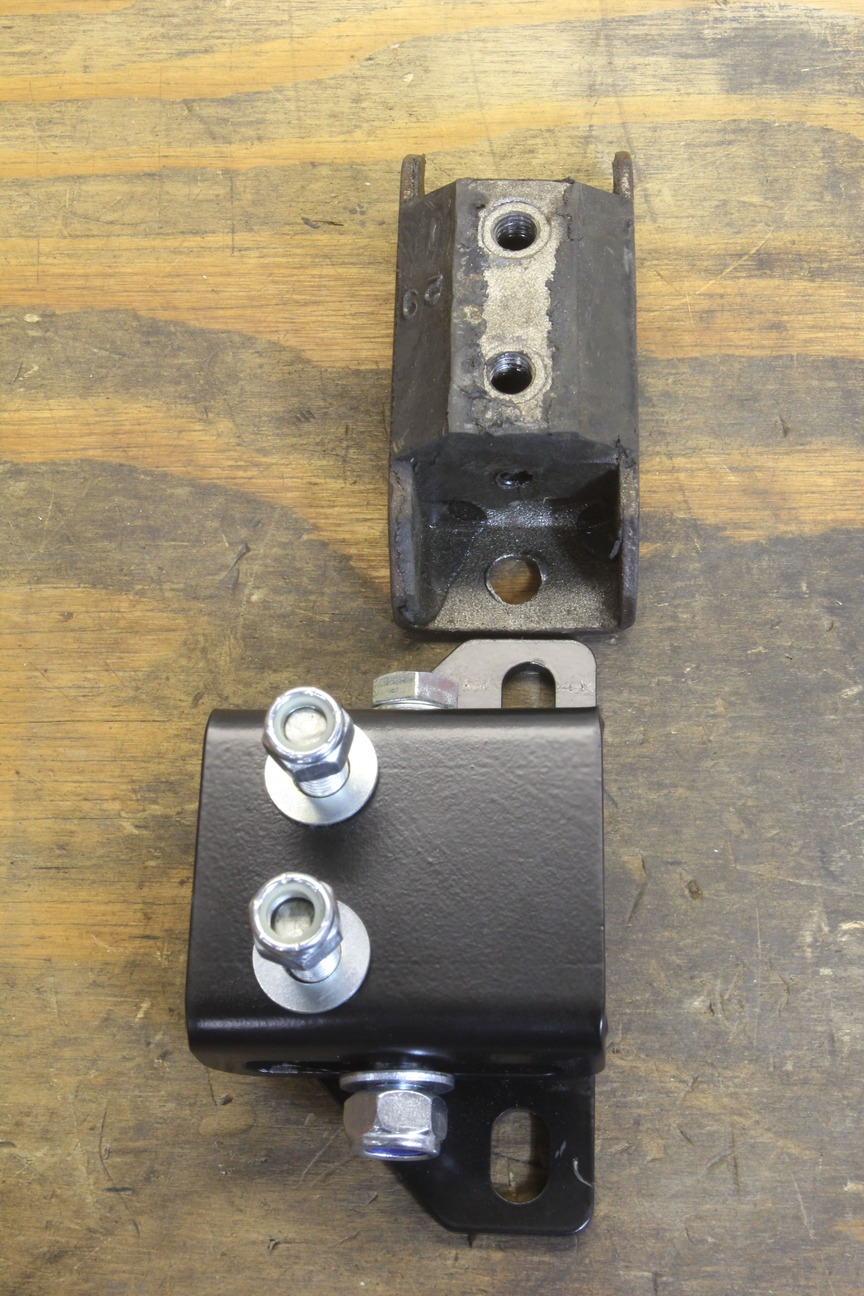
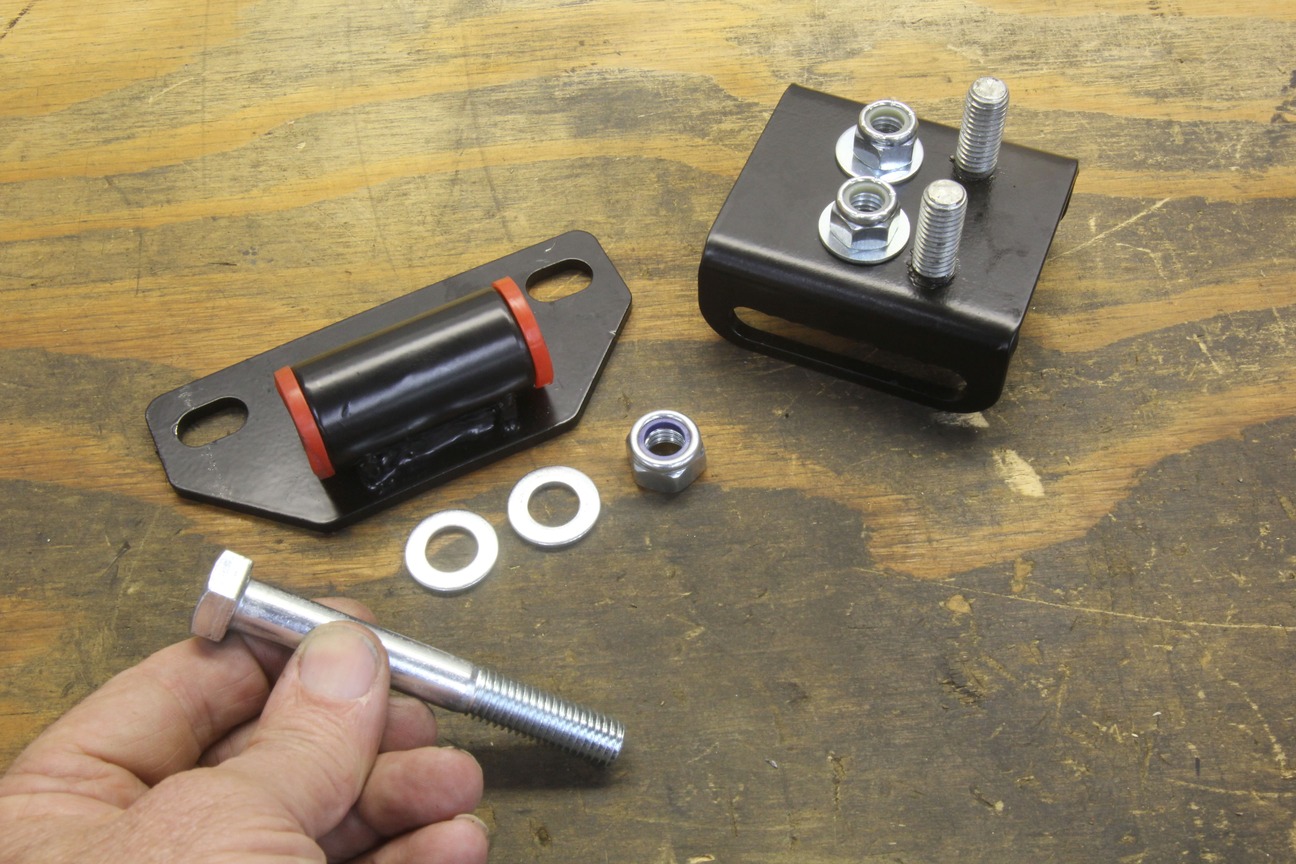
Recently Summit Racing created one of those simple yet highly effective products that may save engine swappers the hassle of building a custom crossmember. The solution is a simple GM trans mount with an integrated 2½-inch adjustable slot. The mount is built from ¼-inch-thick steel that is nicely powdercoated satin black and uses a large 12mm lateral bolt encased with a polyurethane mount. Adjustment is accomplished by positioning the mount in the proper place within slots cut in the mount.
Read More: Automotive Specialists Updates the Classic 409 for a New Millennium
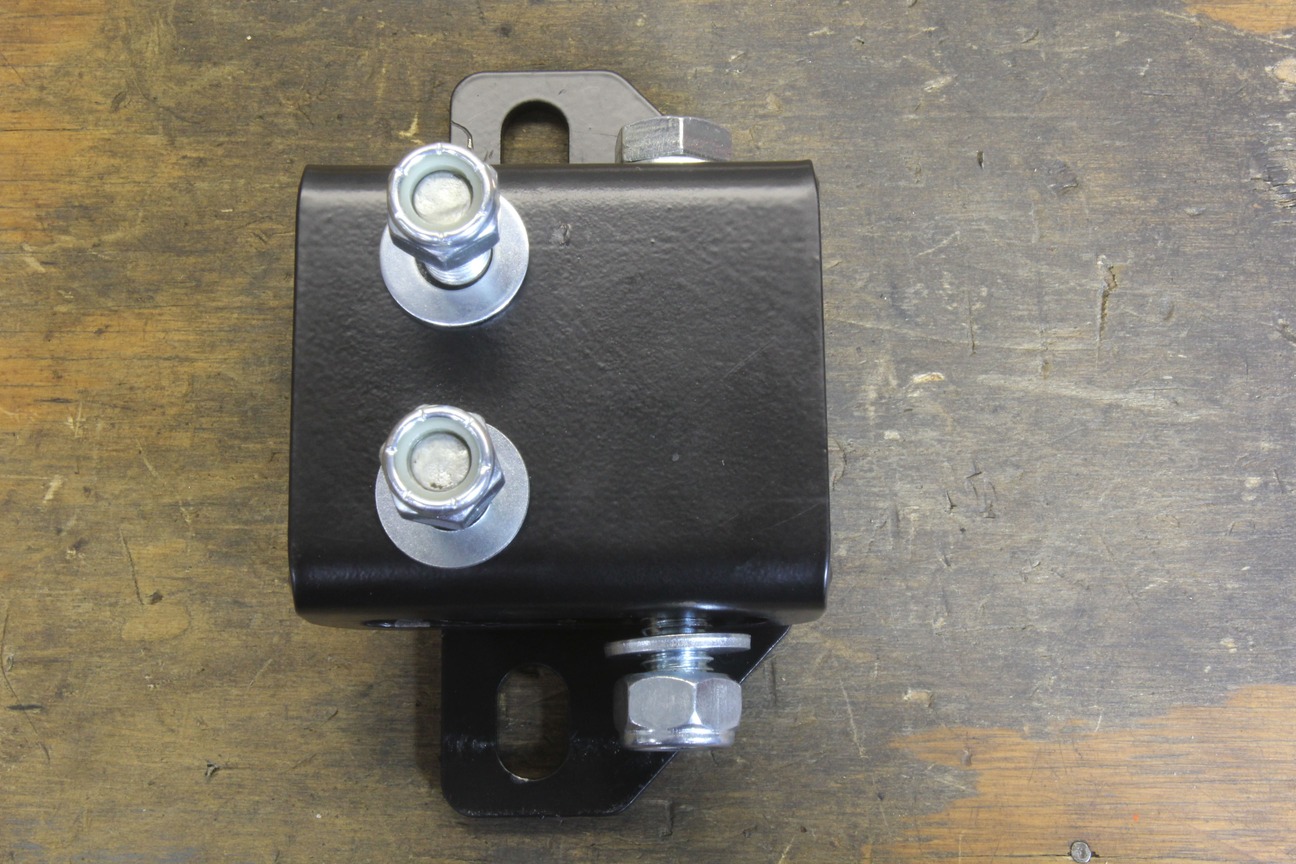
We measured our mount and it appears we might be able to get a touch more than 2½ inches of adjustment out of this device. We bolted this unit to a Muncie four-speed just to see how it would fit. We also played around with relocating the U-shaped mount 180 degrees to get a little more adjustability out of it while leaving the flat portion of the mount in its original location on the tailshaft. There may be applications where this might not be possible as we did not check this on all the different manual and automatic transmissions.

We’ve run into situations where even stock components create a tolerance stack up that won’t allow the rear trans mount to bolt up and we’ve had to perform minor elongation of holes to line everything up. This mount would solve all of those issues, but this adjustable mount is really aimed at engine swapping where the engine has been moved relative to the “stock” location. Because of the way the mount is designed, it also pivots fore and aft slightly to accommodate the inevitable slope created by the engine and transmission placement. This removes any binding from the mount and reduces stress on the transmission case.
 Another advantage is that this mount fits a broad range of GM manual and automatic transmissions because our favorite general has retained a consistent bolt spacing for the transmission mount that dates back to the first aluminum Powerglides in the early ’60s all the way through to the 4L60E and 4L80E transmissions. This is a 3 ¾-inch bolt pattern. There appear to be some TH400 transmissions with a slightly wider 4¼ inches but the Summit mount accommodates that slight change with elongated mounting holes.
This Summit Racing adjustable mount will, of course, also work with the older small- and big-block Chevys but it’s really aimed at those engine swappers who tend to move LS engines within the chassis for various reasons. Here’s one case where a “universal” part really does work solving a multitude of minor alignment headaches.

Check it out: A Layman’s Guide to EFI
Trans Length Chart: GM Trans Mount Length Chart
These specs are the distance from the bellhousing face on the transmission to the centerline of the rear transmission mount. These distances are not exact numbers as our research has revealed multiple lengths for each transmission that we’ve not listed here because we can’t verify their accuracy. It’s best to measure your specific transmission to determine its actual rear trans mount position. But with these numbers you can at least get an idea of the relative differences in trans mount position.
| Transmission | Distance (inches) |
| Muncie 4-speed | 20¼ |
| Super T-10 | 20½ |
| TH350 | 20 3/8 |
| TH400 | 24 5/16 |
| 200-4R | 27 |
| 700-R4 | 22½ |
| 4L60E (early) | 24 1/3 |
| 4L60E (LS) | 26 |
| 4L80E | 30 5/8 |
Source
Summit Racing
(800) 230-3030
summitracing.com


