


How to Get the Most From Your Air Conditioning Installation
By Ron Ceridono – Photography by Nick Licata and the Author
Of all the additions that can be made to any early car for passenger comfort, a modern climate-control system has to be at the top of the list. Riding around on a hot day without A/C can feel like you’re in an oven. When the weather turns cold, it’s even uncomfortable for brass monkeys. Fortunately, we don’t have to suffer due to Mother Nature’s whims no matter what we drive, thanks to Vintage Air.

The heater portion of a climate-control system is relatively simple; hot water passes through the small radiator like a heater core with a blower motor to warm the passenger compartment. On the other hand, air conditioning is more complicated; it cools by removing heat and humidity from inside the vehicle. Basically an A/C system takes in air from the passenger compartment into the evaporator where it is passes across a coil assembly that absorbs heat and converts humidity to water droplets (that’s why the evaporator case has a drain hose to the outside of the car). Cooled air comes out of the outlets while the heat is carried to the condenser in front of the radiator. What makes this all possible is the refrigerant, commonly known as 134a; it’s a high-pressure liquid on the high side of the system, and a low-pressure gas on the low, or suction side. As Rick Love of Vintage Air explains, “refrigerant absorbs heat as it changes states from a liquid to a gas in the evaporator and then dissipates heat as it changes from a gas to a liquid in the condenser. Heat is absorbed through evaporation and dissipated through condensation (change of states).”
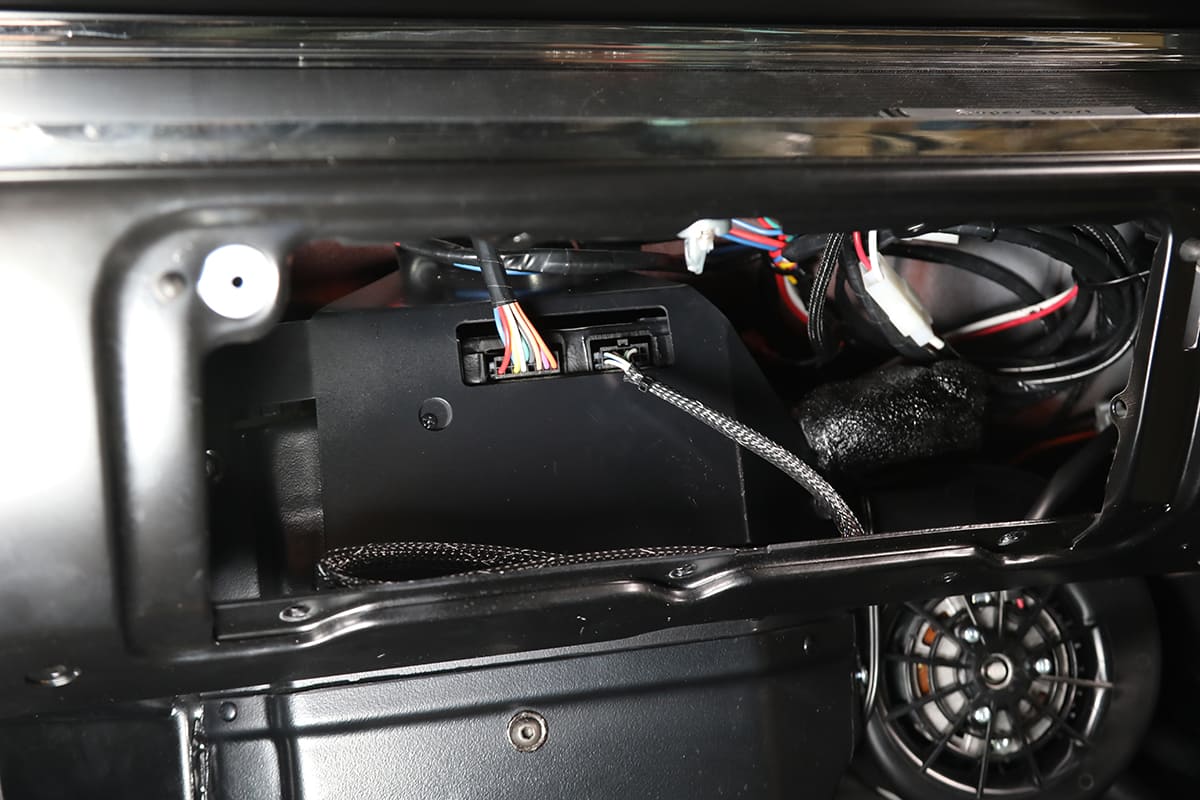
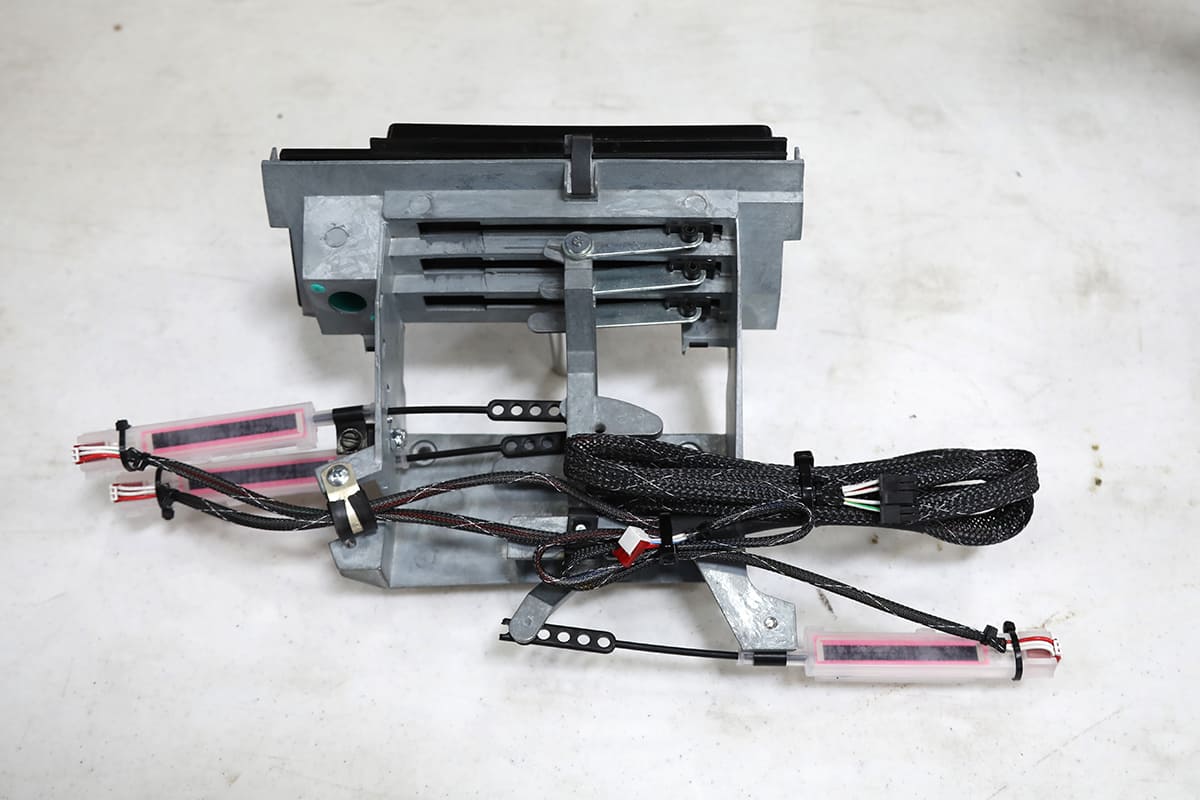
At one time, OEM and aftermarket climate-control systems used cables or vacuum motors to control the doors that directed airflow in the evaporator case—both systems had limitations due to the limited movement of those doors. Vintage Air’s Gen II and IV systems use fully electronic microprocessor-controlled servo motors to manage the operation of those doors, which allows them to travel further. The results are dramatic gains in airflow, superior defrost performance, and true bi-level operation in both heat and A/C modes.
Installing a Vintage Air system isn’t particularly complicated, but here are a few suggestions to get the best results for your efforts:
Insulation/Weatherstripping
An A/C system cools the passenger compartment by removing the heat, so minimizing additional heat sources makes it easier for the A/C system to do its job. Heat gain can be reduced by insulating the firewall, floor, doors, roof, and ensuring all the weatherstrips are in good condition—tinted windows will also help. Of course proper insulation also makes it easier to keep the interior warm when the heater is needed.

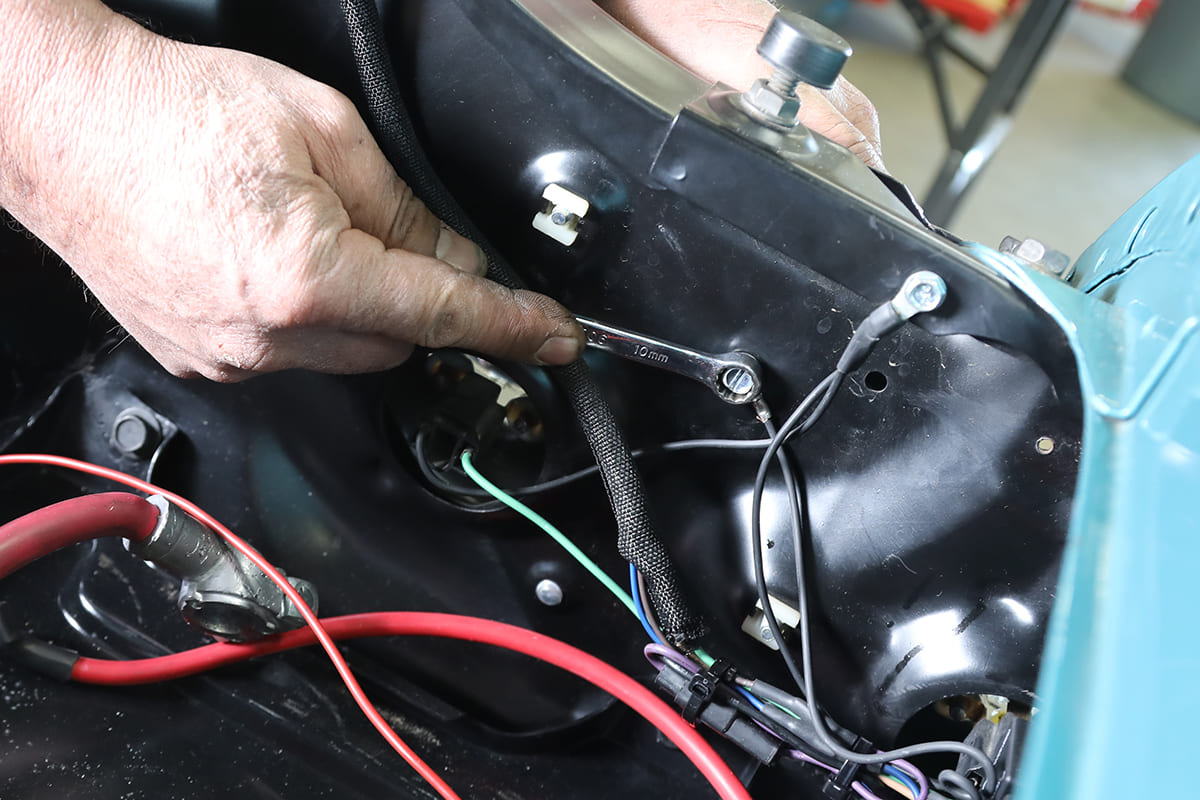
Inadequate Electrical System and Poor Grounds
Any device that uses sophisticated electronics, including A/C units, can malfunction without a stable power source, so a charging system up to the task is an absolute necessity. If an electric fan and other accessories are part of the system, an alternator with a minimum of 100-amp output is a necessity. In addition, good grounds are crucial to eliminate the possibility of electrical feedback that may cause erratic operation.
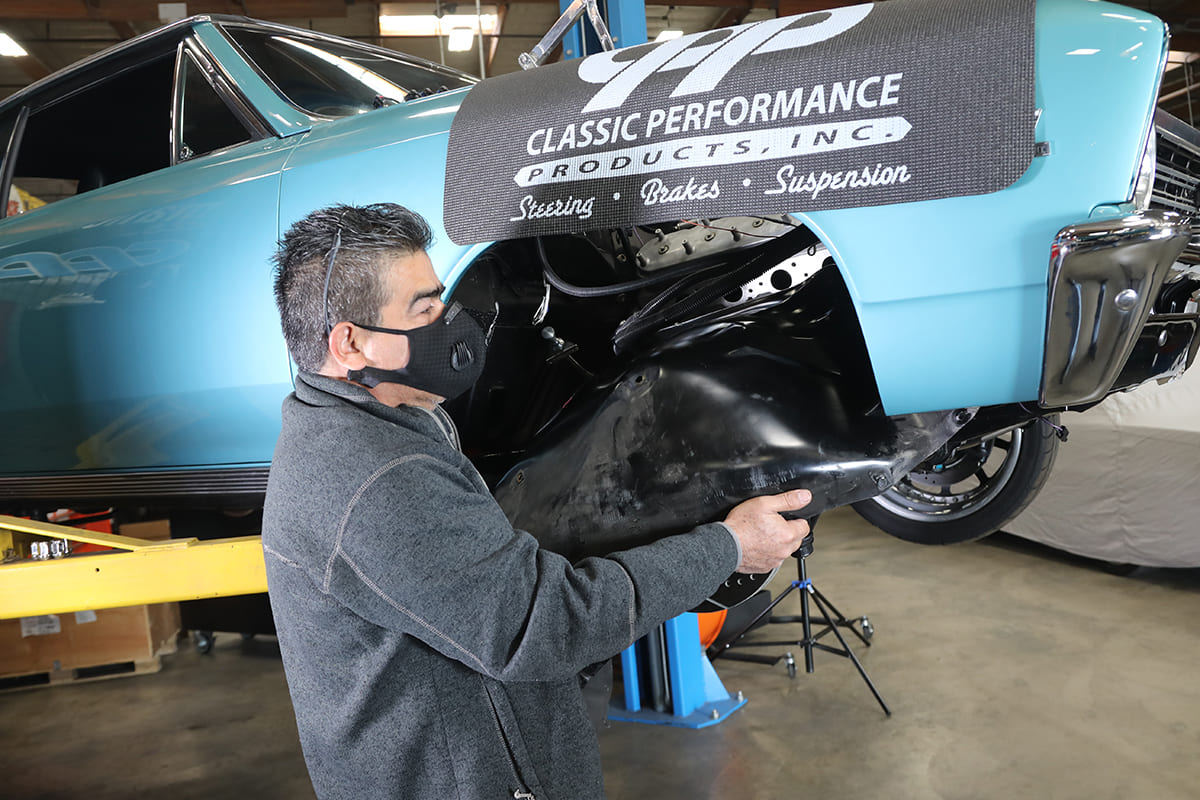
Install the Condenser Properly
Parallel-flow condensers should be mounted with the tanks vertical and the tubes horizontal.
To ensure proper airflow through the condenser, install the most effective fan possible with a shroud and position the condenser ½ to ¾ inch in front of the radiator.
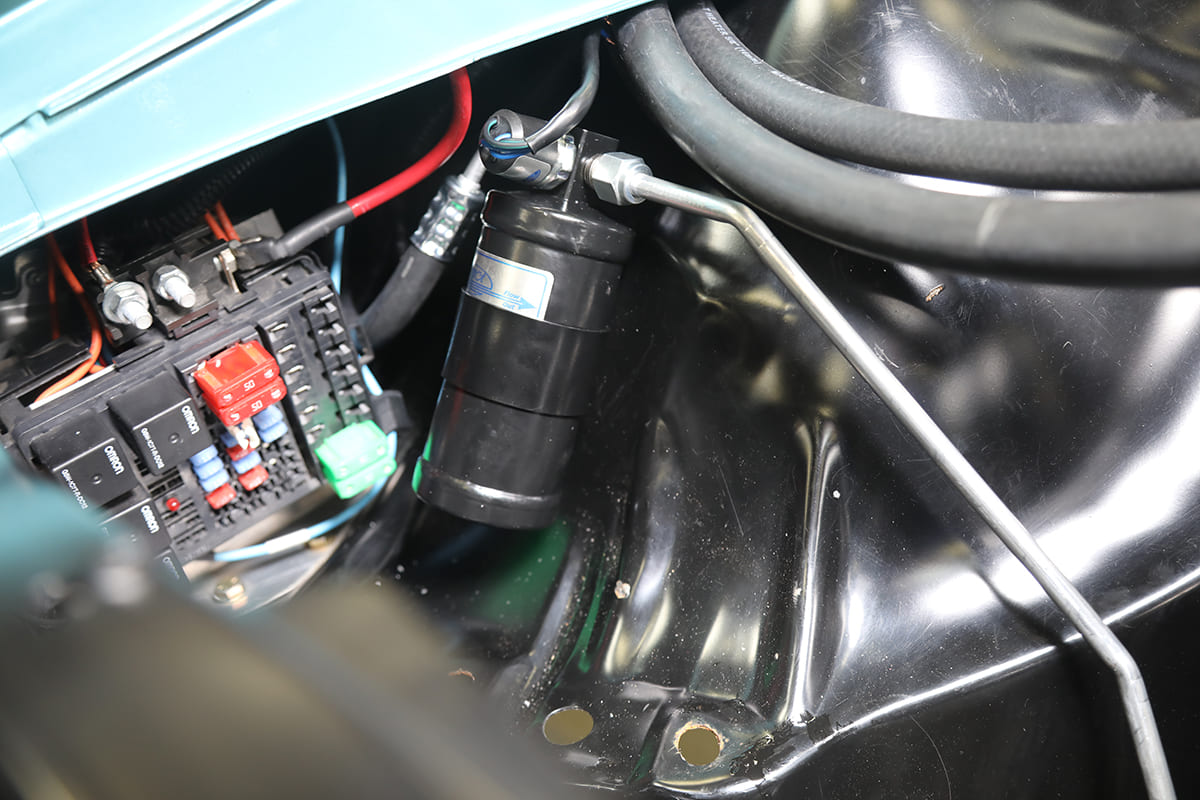
Installing the Receiver/Drier
The receiver/drier has an arrow indicating the direction of refrigerant flow. It must be oriented within 30 degrees of vertical and should be mounted where it will be exposed to cool air if possible. Remember, the goal is to keep the refrigerant as cool as possible when it reaches the evaporator. The drier can also be mounted inside the vehicle if packaging space near the condenser is limited (as it is in many street rods).
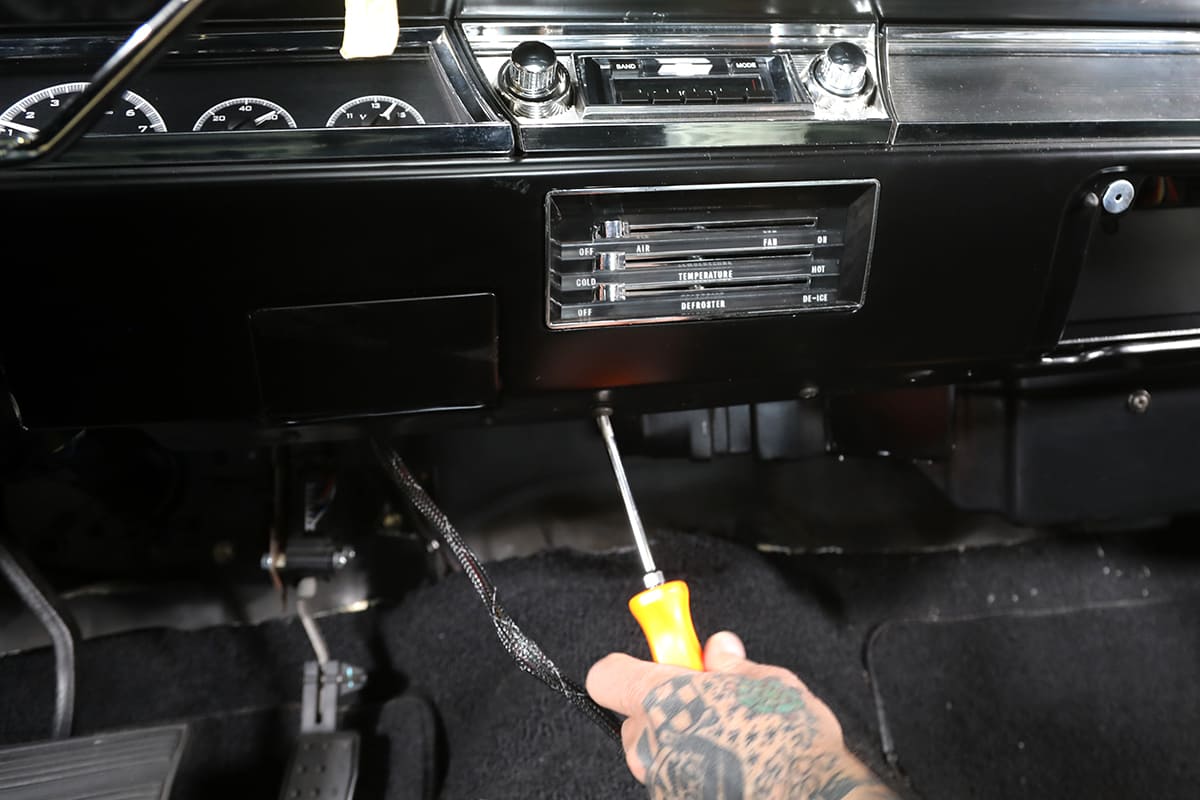
Positioning the Heater Control Valve
Installing the heater control valve incorrectly allows hot water to circulate through the heater core, warming the air that the A/C is trying to cool. As water pressure in the hose helps the valve seal, if they are installed backward or in the wrong hose they will not shut off completely and some hot water will continue to flow.
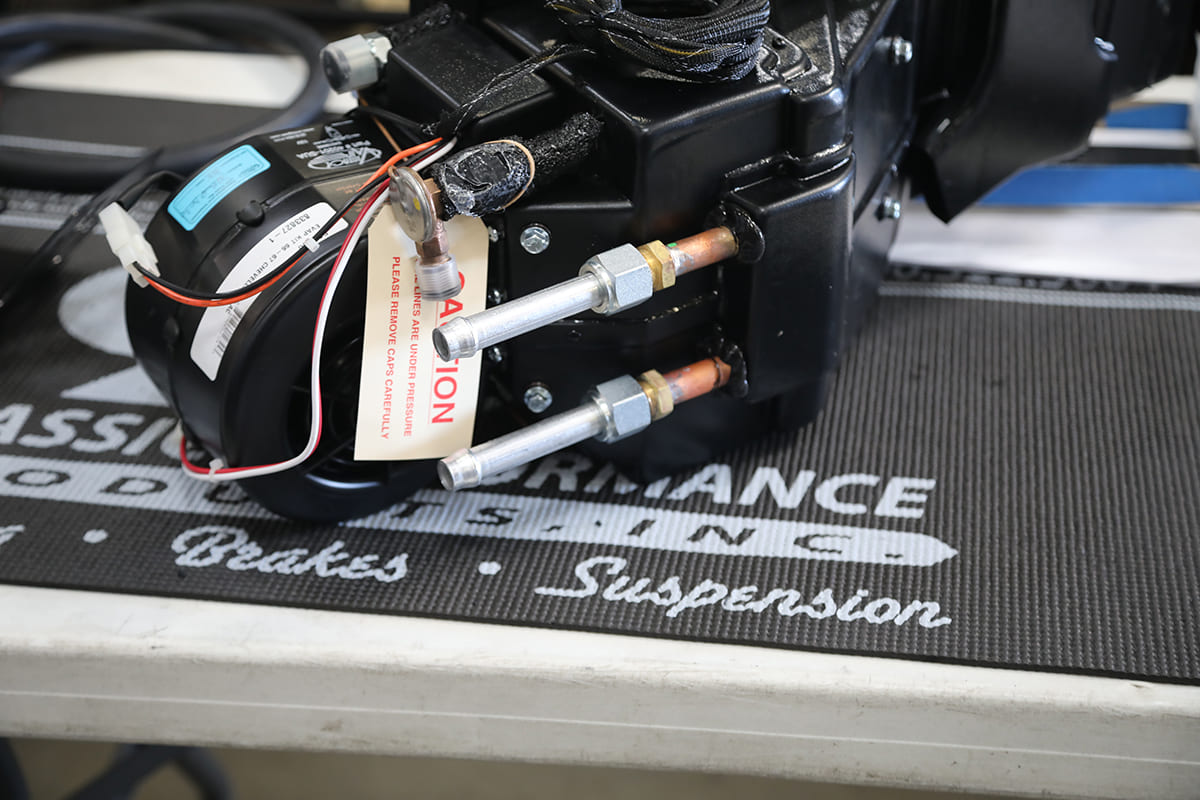
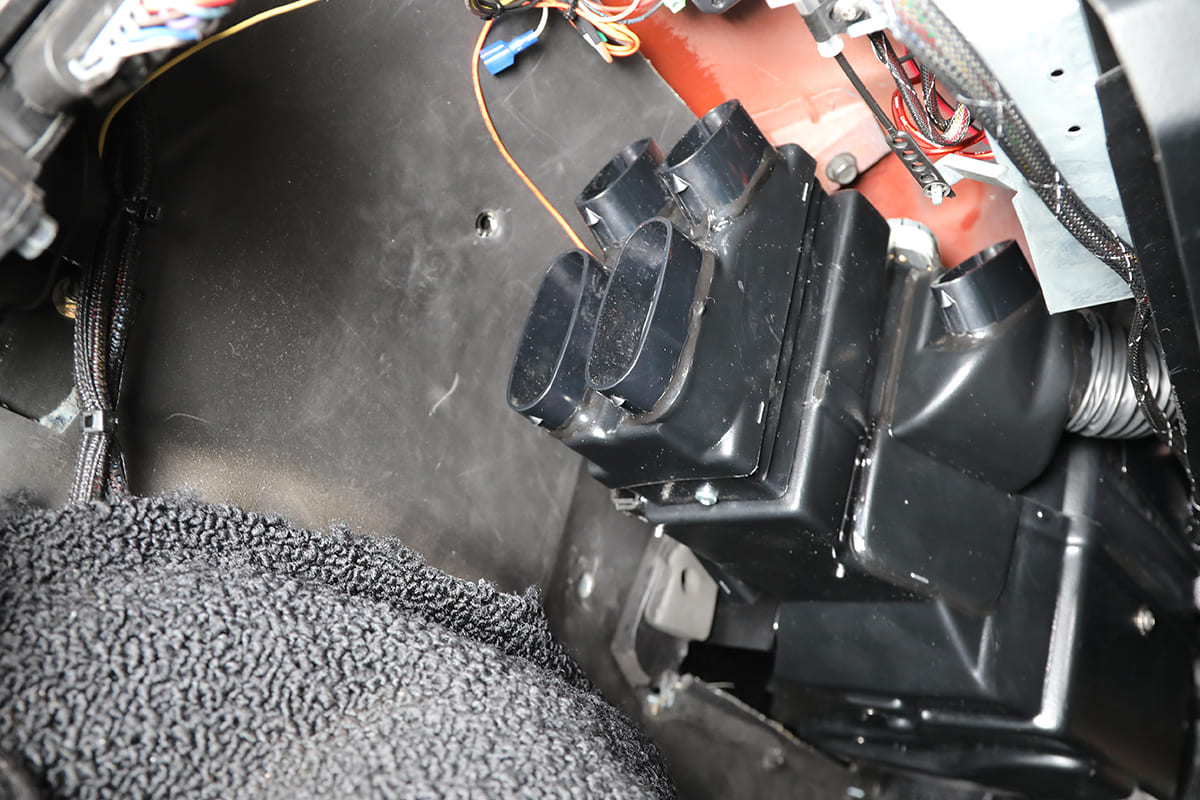
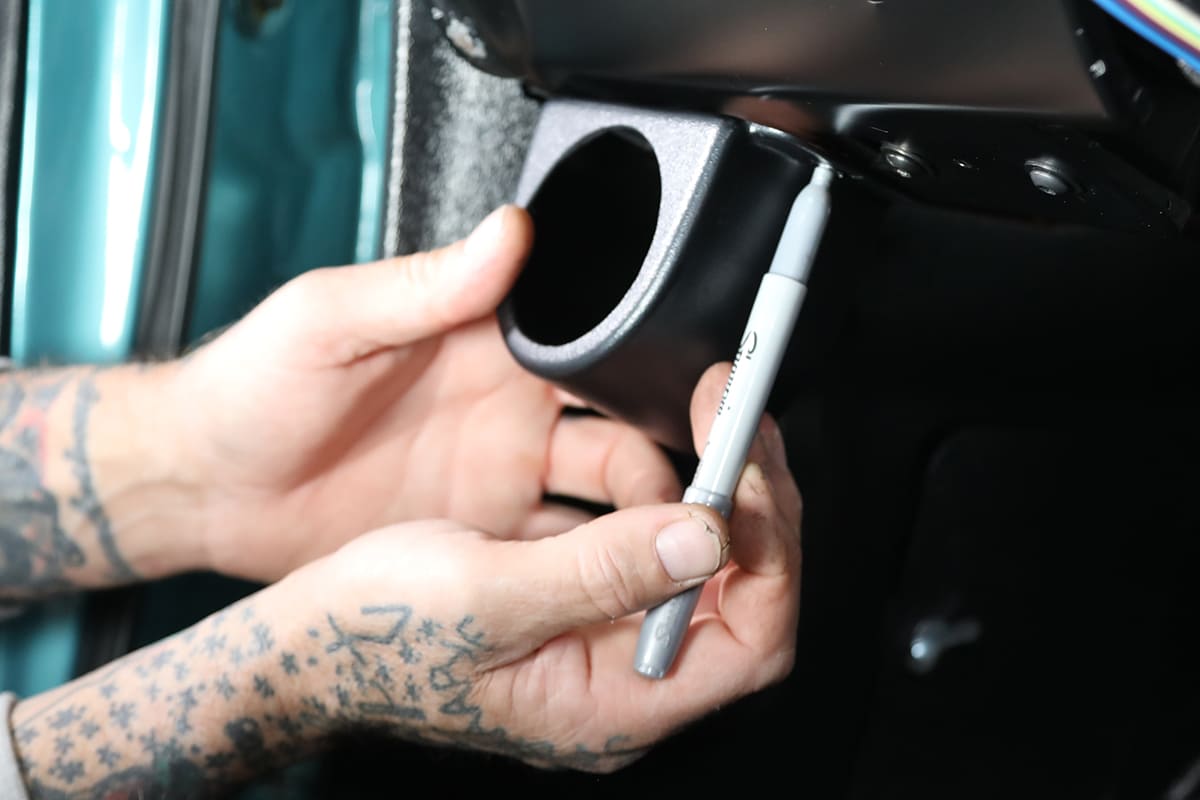
Plugging Outlets
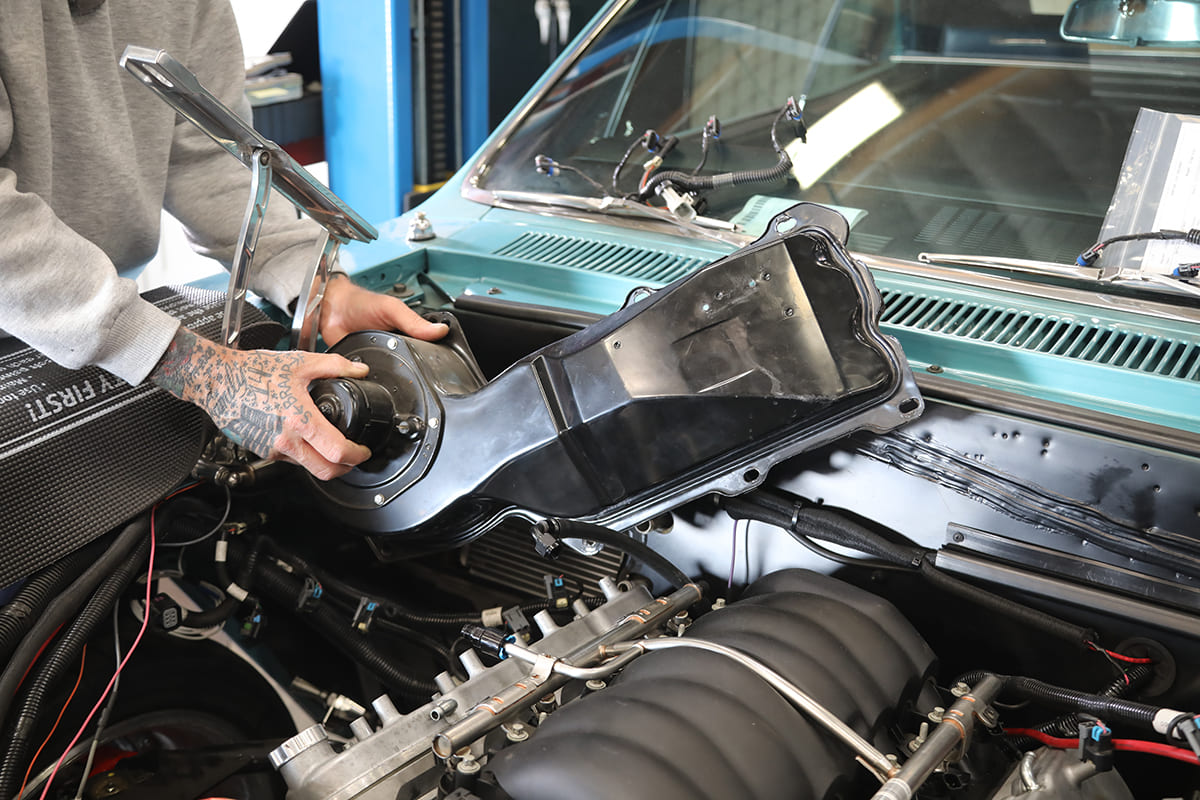
Capping any unused outlets in the evaporator case can cause the evaporator coil to freeze. Unused outlets should be left open, and they can have short hoses or special ducts attached that allow them to discharge behind or below the dash.
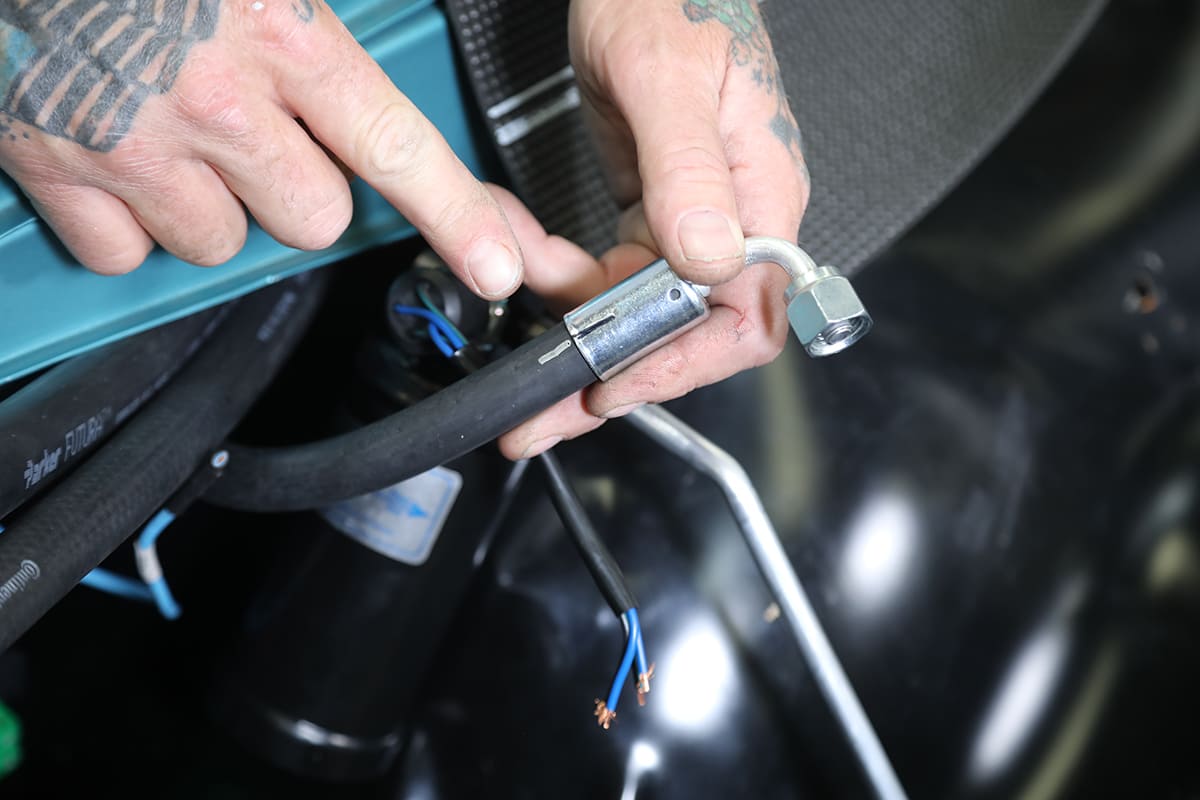
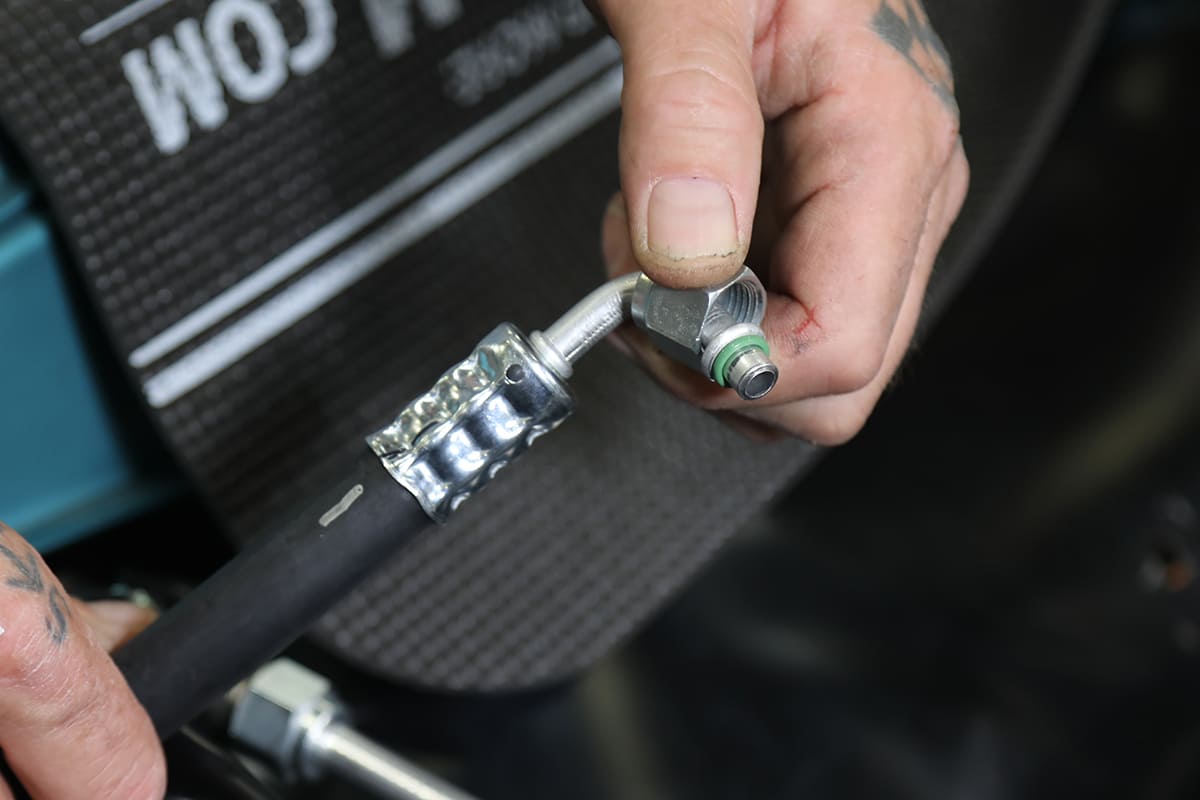
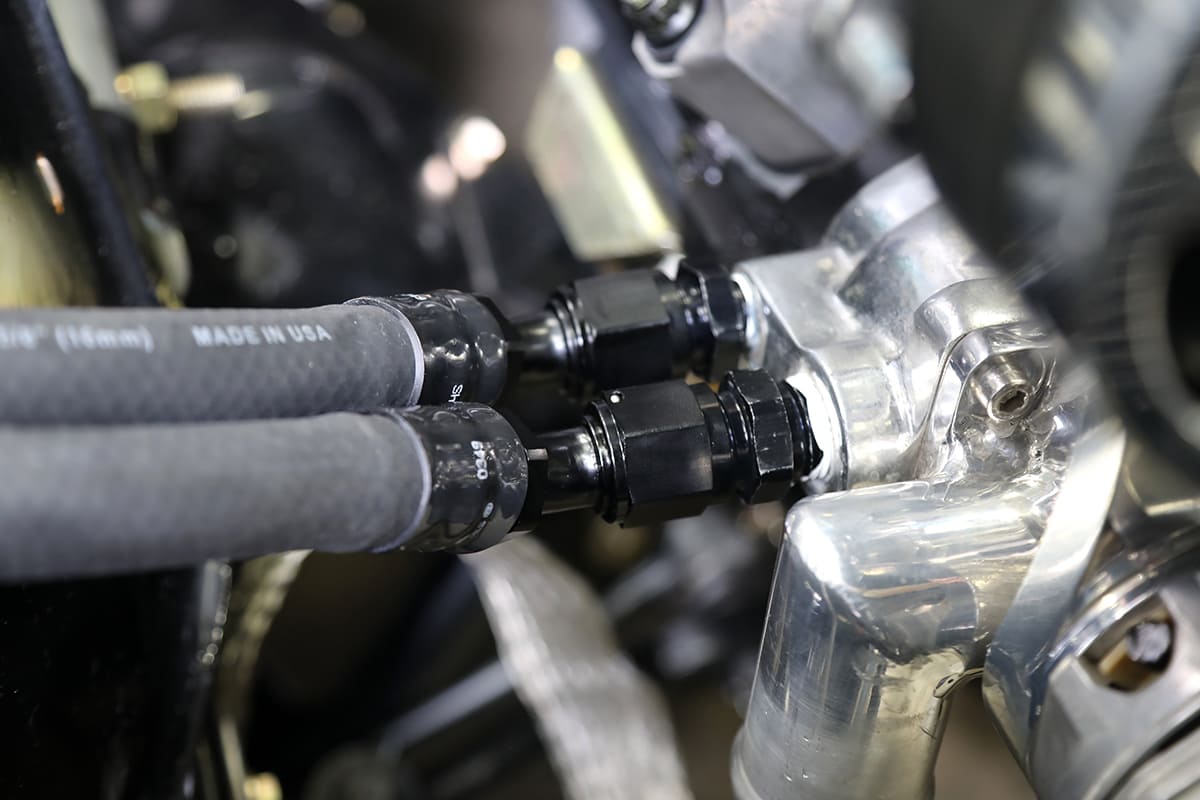
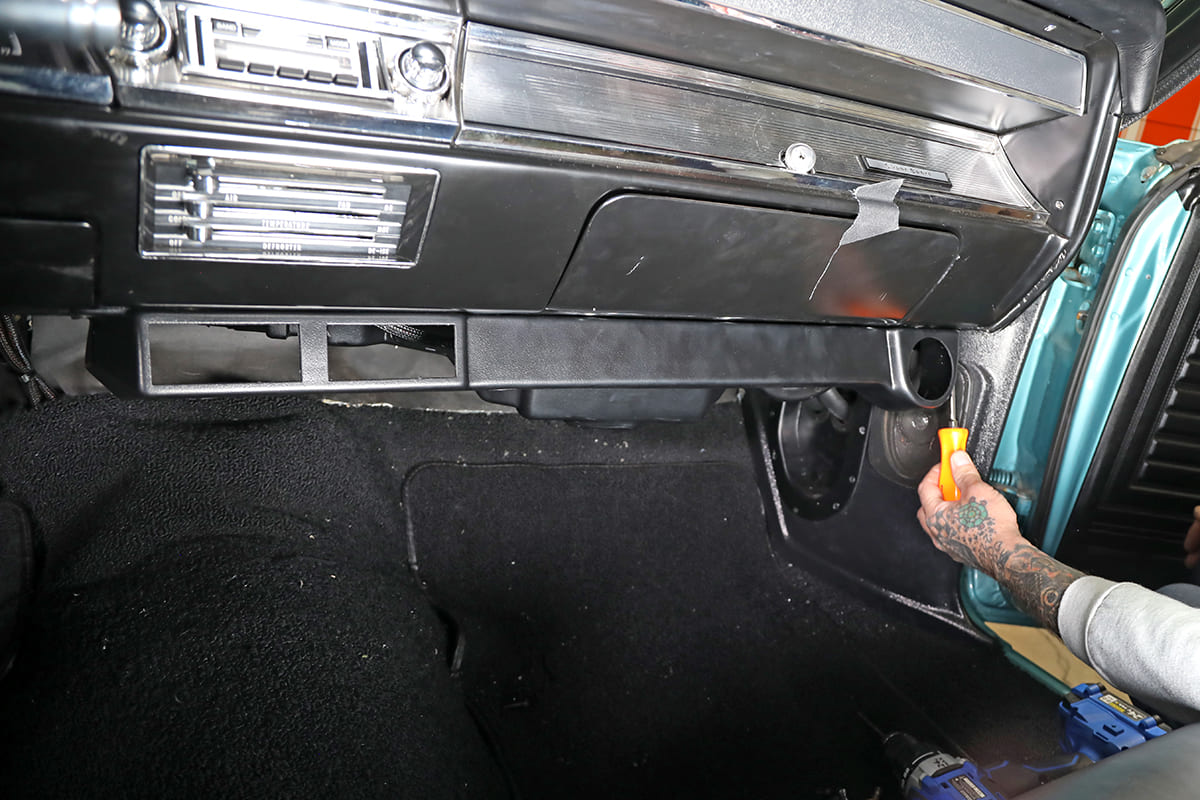
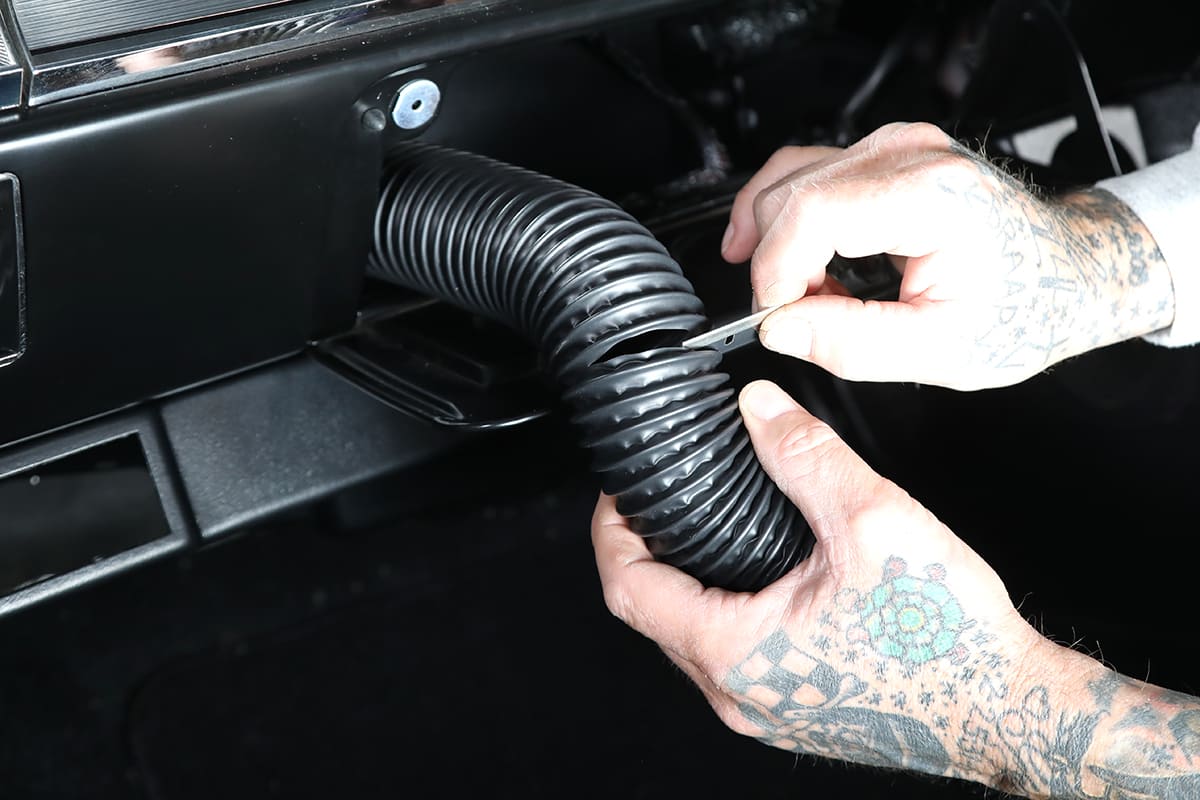
Installing Duct Hose
When installing duct hose, stretch it tight to make it as smooth as possible, then measure, mark, and cut it to the appropriate lengths. Keep in mind bends and kinks are obstructions to airflow; when bends are necessary, make them as smooth and gentle as possible.
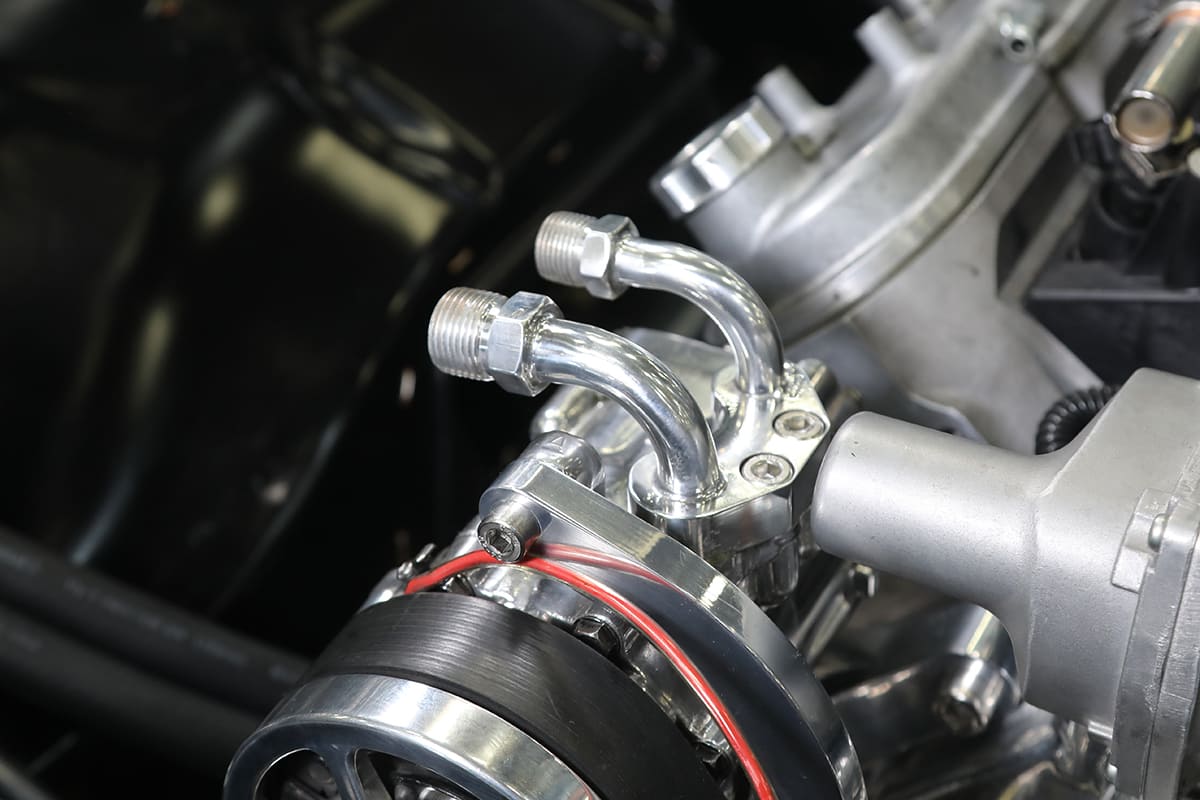
Compressor Safety Switch
There are two types of safety switches: A binary switch disengages the compressor due to excessive high or low pressure. High pressure can damage the compressor or rupture a hose. Low pressure resulting from lost refrigerant can reduce the compressor’s lubricant supply, which can cause it to be damaged or to seize. A trinary switch provides the same high and low pressure protection as a binary switch but also includes an electric engine cooling fan engagement signal at 254 psi.
Adding Oil to the Compressor
New Sanden compressors come with the proper amount of oil, so an additional amount isn’t necessary. Adding more oil can result in excessive system pressure, which will cause poor system performance.
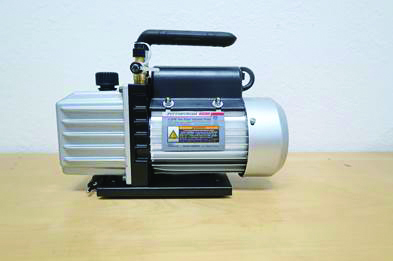
Evacuate the System
Air and water in the A/C system will reduce its efficiency dramatically. Evacuating the system not only removes air, the vacuum created lowers the boiling point of water so any moisture is eliminated.
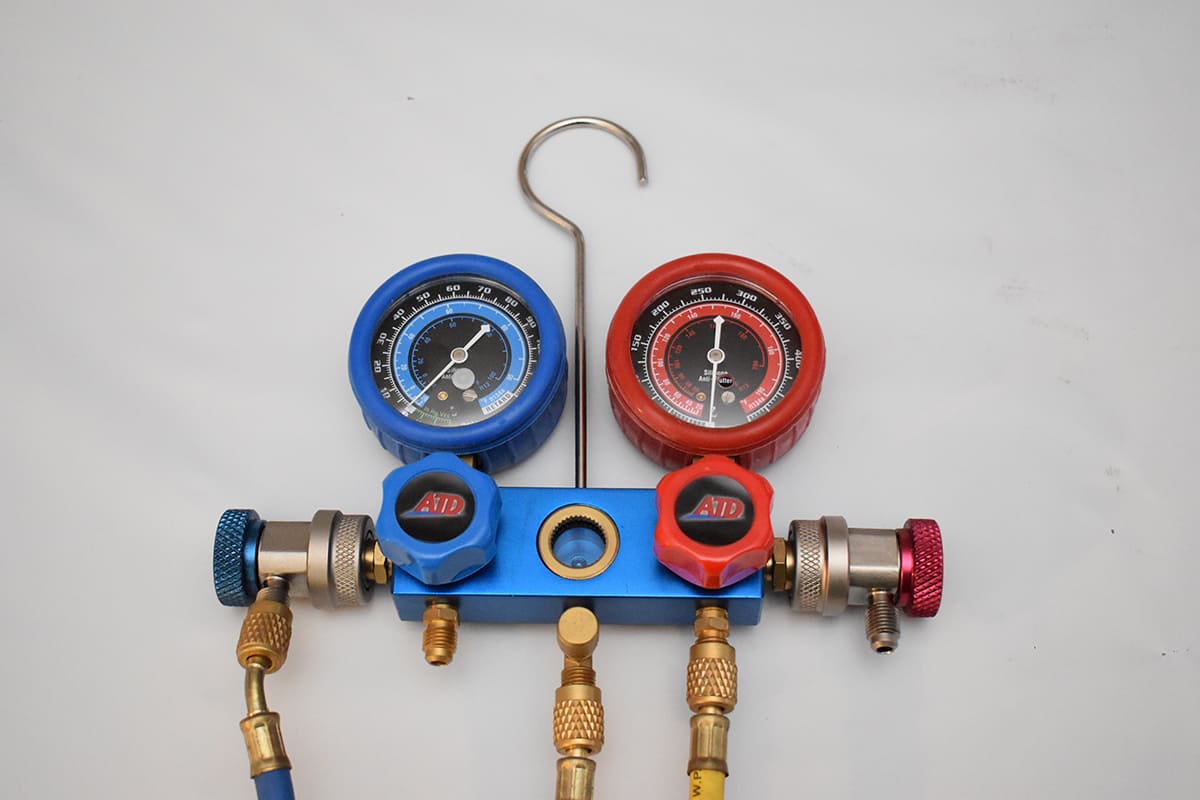
Using Gauges
Dedicated gauges will show if the low- and high-side pressures are in the proper range. An undercharged or overcharged system will perform poorly.
Mismatched Components
Buying components individually often creates problems as mismatched condensers and evaporators are often an issue. New radiators often come with a condenser, but they may not be right for the condenser being used. The best way to ensure the system works as it should is to buy a complete kit.
Follow the Instructions
Vintage Air has gone to great lengths to provide installation instructions for their products, so you can believe what they say. Before you begin installation, read all the instructions, warnings, labels, and any other printed material provided; they are all there for a reason. Then, familiarize yourself with all the components before your start. If you still have questions, the Vintage Air tech people are as close as your phone—they’d rather prevent a problem than cure one. They also have a great book available titled How to Air Condition your Hot Rod written by Vintage Air’s president, Jack Chisenhall.
Cruise in Comfort
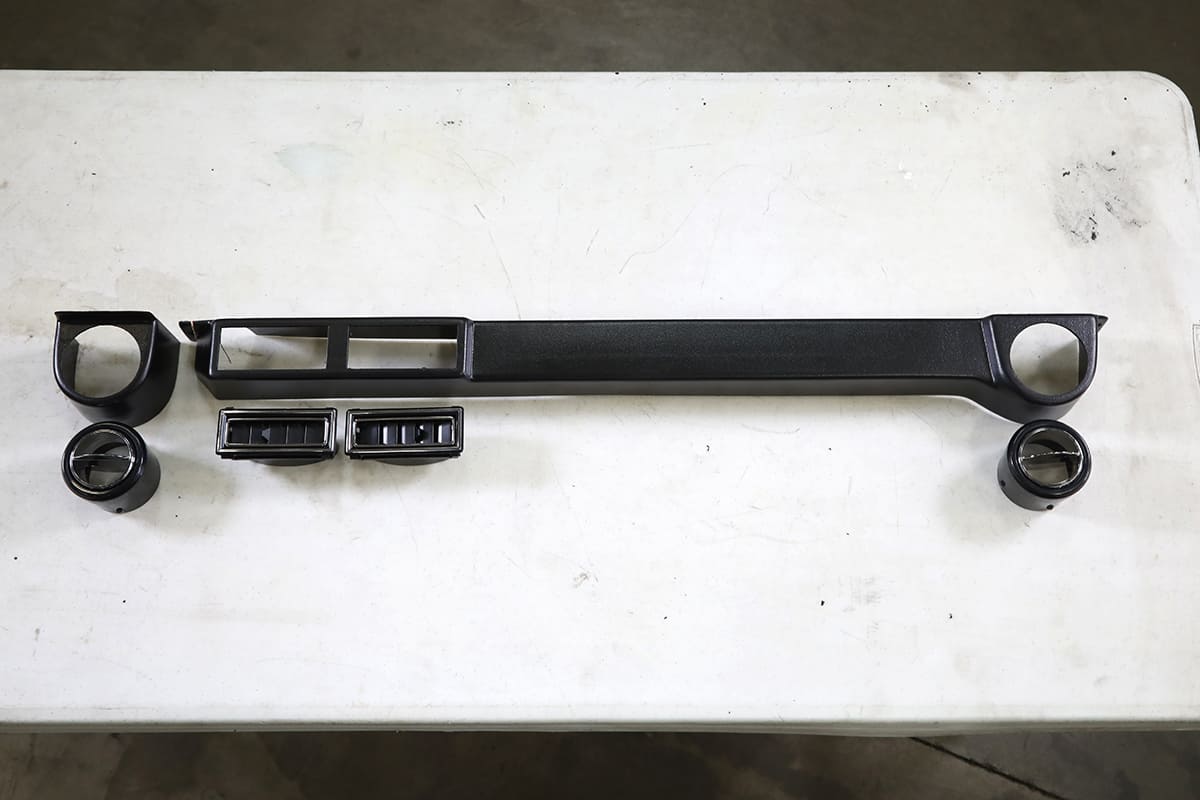
Vintage Air’s SureFit systems provide a state-of-the-art climate-control system that are perfectly integrated to specific makes and models of many popular cars. Rather than looking like an afterthought, these systems look like they belong—and that’s pretty cool.
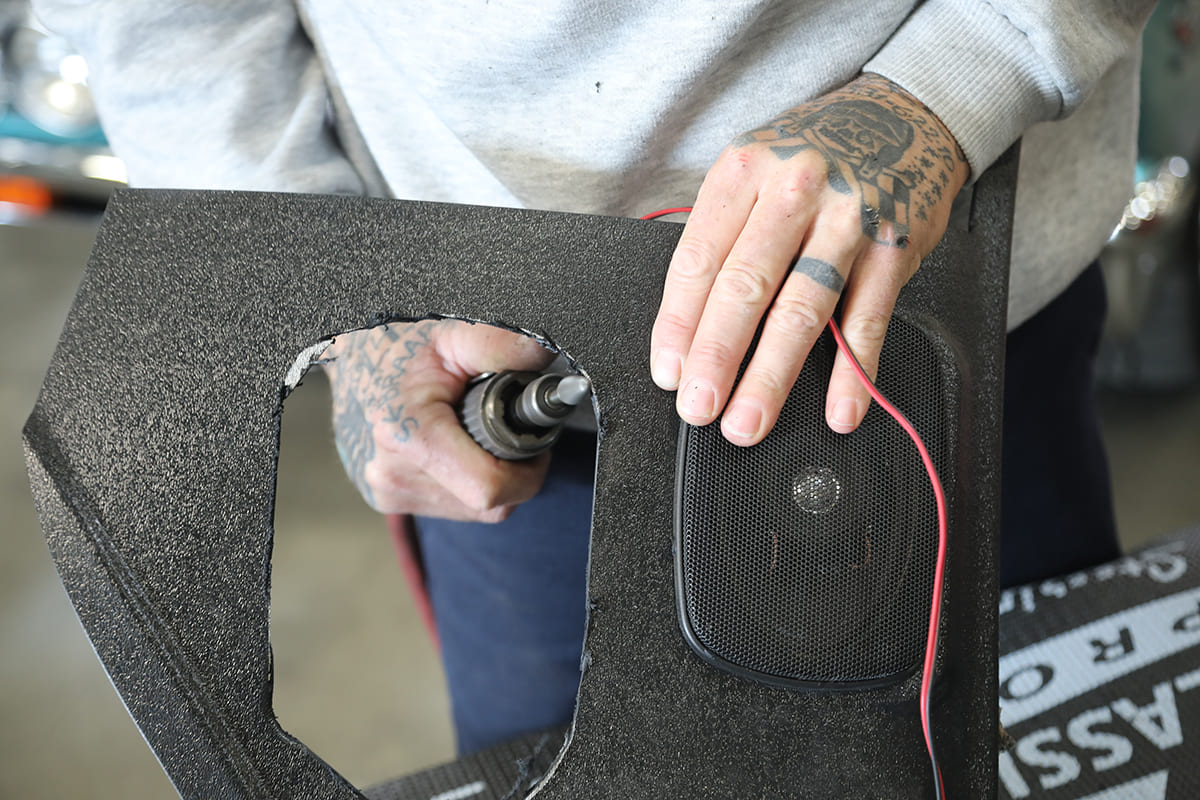
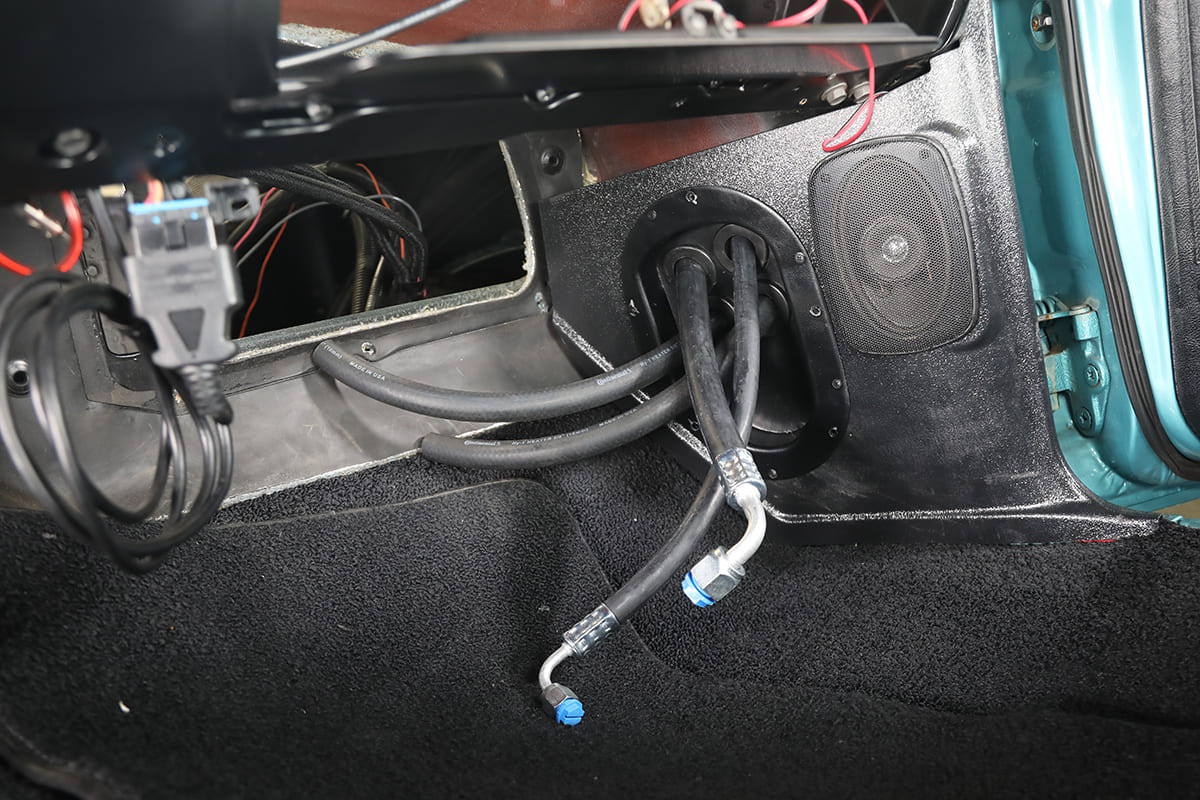
A plastic plug is included to fill the original vent’s pull cable (in this case, custom kick panels had been installed to accommodate stereo speakers).

Source
Vintage Air
(800) 862-6658
vintageair.com


