


Simple Electrical Recommendations for LS Engine Swaps
By Jeff Smith – Photography by the Author
It’s no secret that the quickest way to make more power with older cars is to use one of GM’s LS family of engines. Even the smallish 4.8L (293 ci) and 5.3L (325 ci) engines can make over 400 hp just with a simple cam and intake swap. None of this is news as magazines have been doing those stories for nearly two decades.
What is less known are some of the details that are a definite “need to know” commodity that the big overview stories always neglect to mention. That’s what we will concentrate on for this story. The electrical side of an LS engine swap into an early Chevy muscle car requires a few subtle tricks that we’ll show you to bring the engine quickly up to speed with minimal drama.
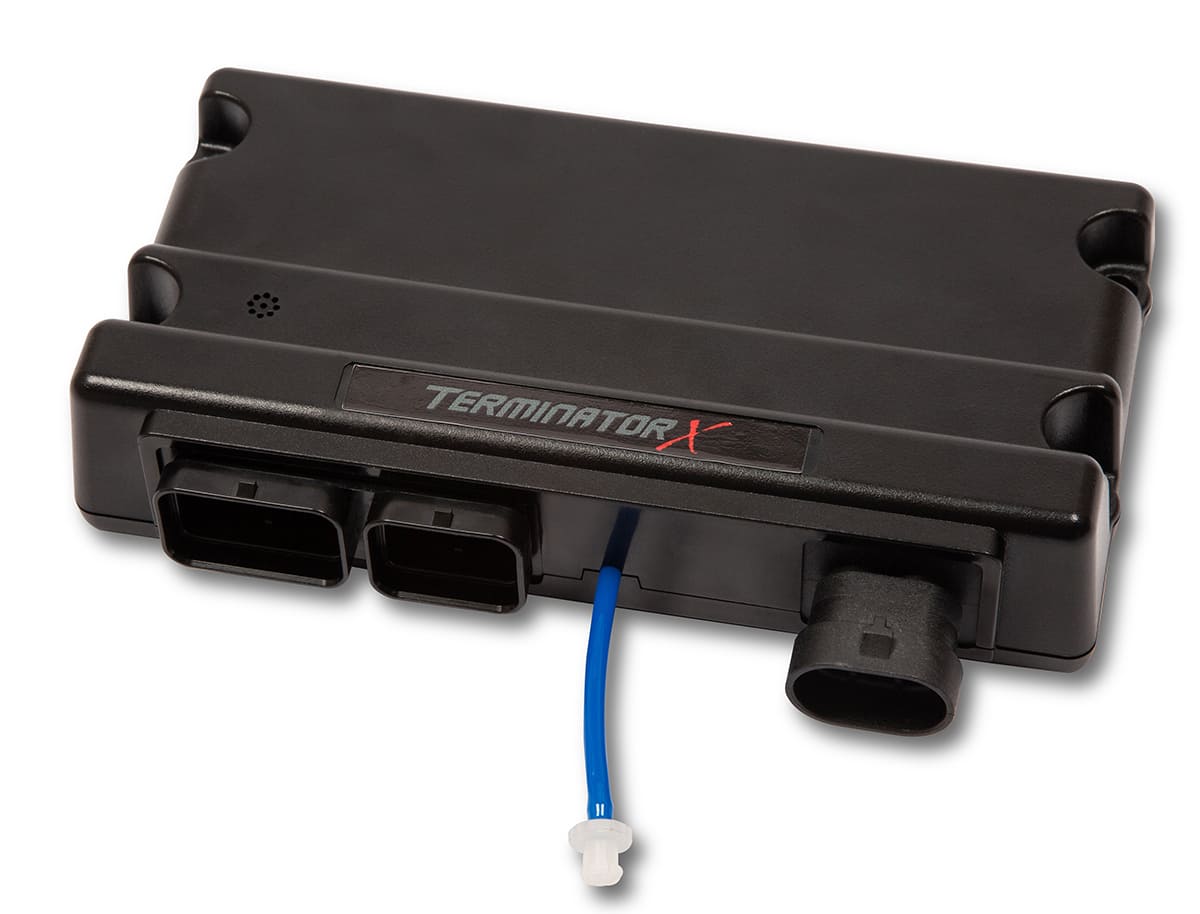
For the sake of this story, we’ll assume the engine is in the car and early ready to fire. We’ll also assume that the swap has taken on some aftermarket upgrades, like either a conversion to carburetion or using aftermarket EFI like Holley’s new Terminator-X or Edelbrock’s very capable Pro-Flo 4 system. Both of these stand-alone EFI systems are designed to plug directly into the existing GM LS engine sensors, such as the crank and cam sensors, TPS, IAC motor, O2, coolant, and air inlet sensors.


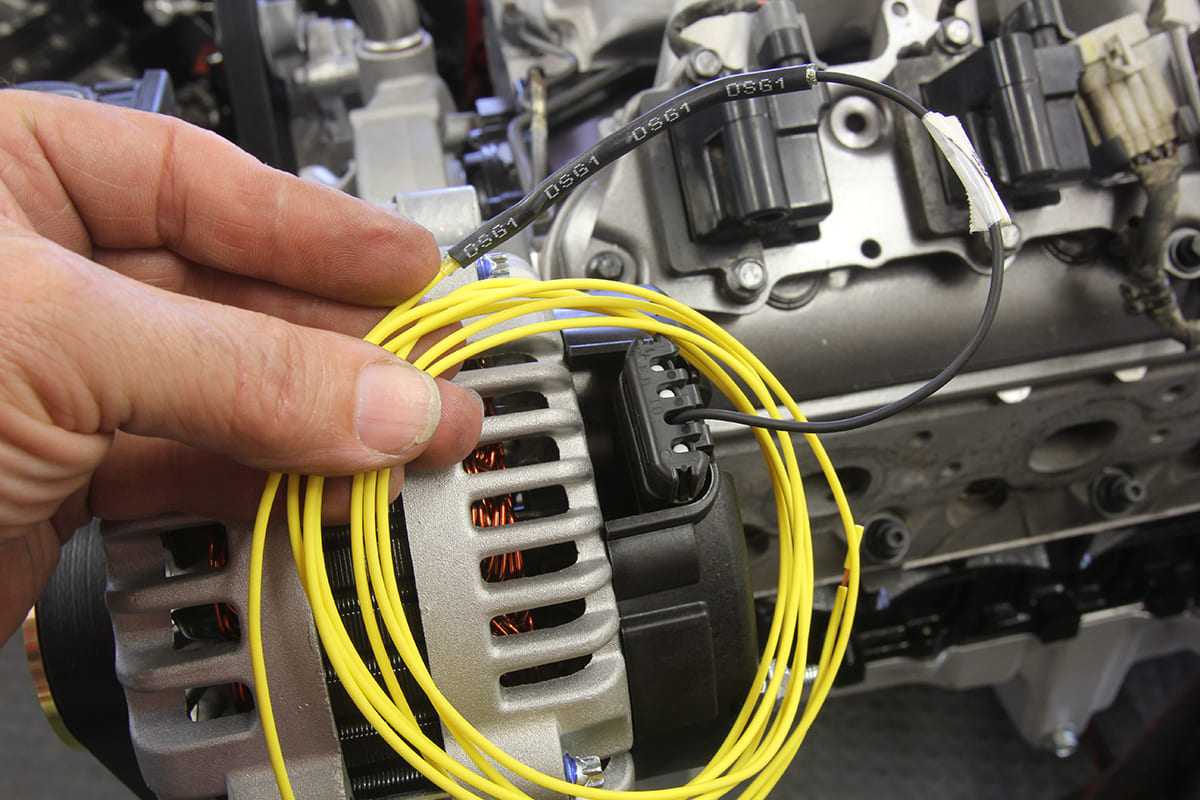
Painless sells this CS130D alternator pigtail connector prewired for the proper connections. All you do is hook these two wires to a charge indicator light under the dash and the alternator is ready to perform flawlessly. If you choose to not use a charge indicator light then the included resistor must be wired into the circuit to prevent alternator damage.
The only other hookup for an aftermarket EFI conversion besides main power and multiple ground circuits is a provision for switched power. This is where it can get tricky. A common mistake is to hook this switched power lead to any electrical source that indicates power when the ignition switch is turned to the “on” position.
Unfortunately, when older GM muscle car ignition switches are turned to the “start” position, this often disables power to those accessory circuits that are live when the key is in the “on” position. This will be revealed when the engine cranks over but will not start due to a “no spark” condition. The solution is to find the electrical circuit that is live during both start and run conditions.
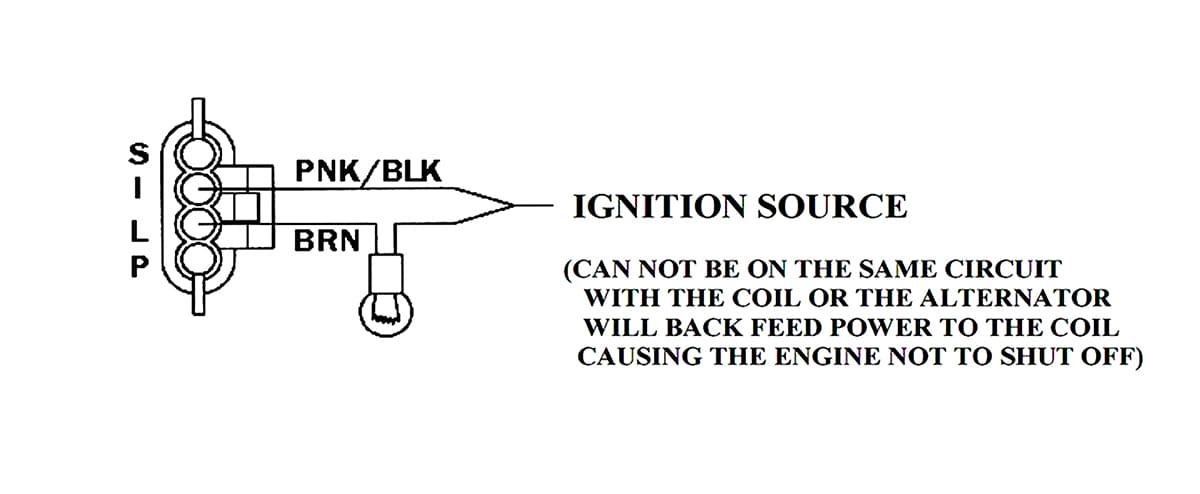
This schematic from Painless shows how to wire the connector into the car’s wiring harness. It’s pretty simple, and best of all it works.

For LS engine swaps, creating a separate power terminal located underhood is useful since other electrical accessories will also need power. We found a plastic, twin-terminal piece on JEG’s website that is affordable and allows the user the opportunity to create both batteries live and switched power attachment points. We use a wire connection from either the ignition switch or the fuse box that offers switched power during both “start” and “run” positions to trigger a heavy-duty 30-amp relay. This relay then offers switched power to the terminal. We have an example of this in the photos.
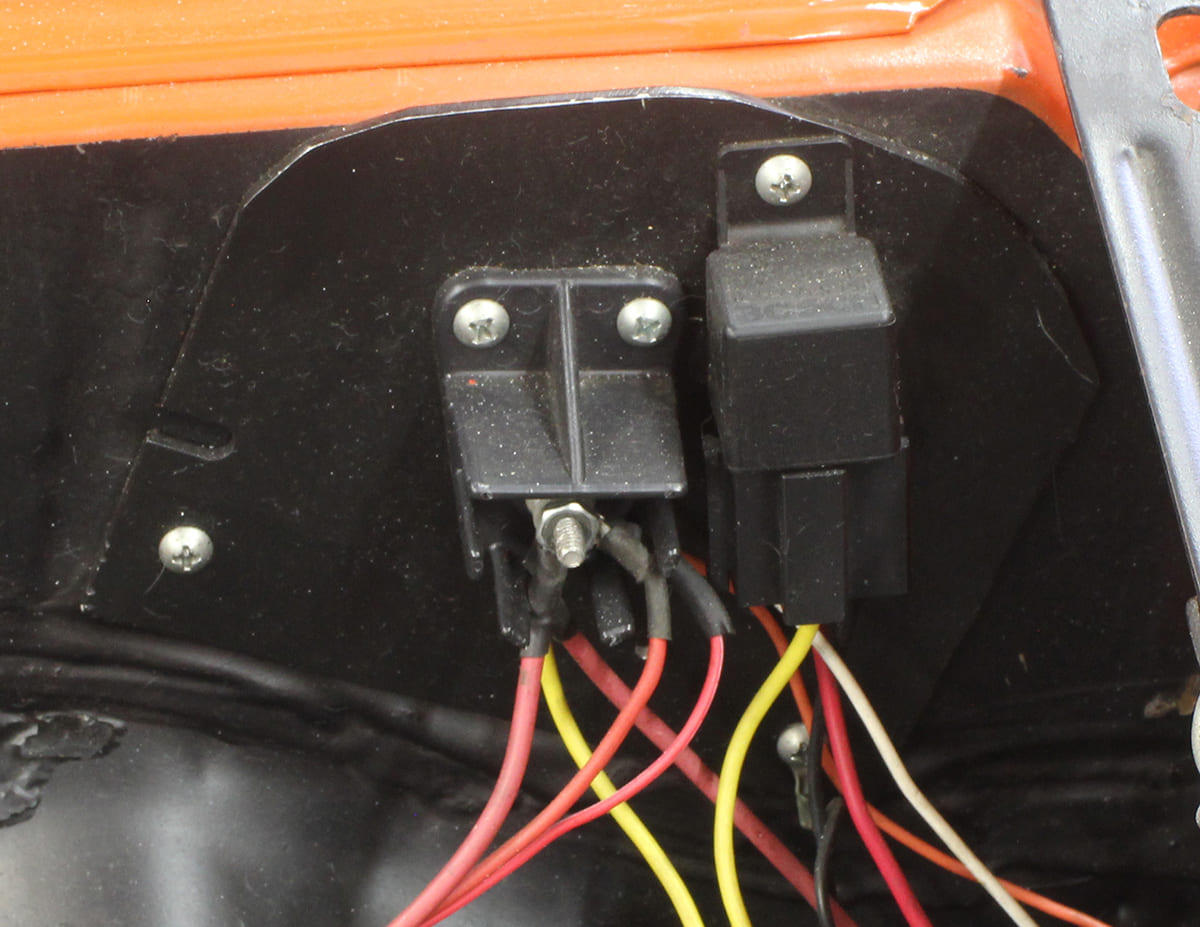
We constructed this simple battery and switched power terminal using an inexpensive terminal block and a 30-amp relay. The large stud on the terminal is used for live battery power (fused of course) while the smaller stud supplies switched power from the relay.
The other tricky part of converting to an LS engine is the alternator. All of the first- and second- generation LS engines (Gen III/IV) employ versions of the CS130D alternator. This alternator uses a unique four-pin plug into the alternator besides the main, high-amp power terminal.
Painless Performance Products offers an adapter harness that will plug into the existing CS130D connection with two wires. The key to any successful charging system is to pay close attention to the details. In factory late-model EFI applications, the CS130D is designed to be controlled through the ECU with a 12V, low-amperage circuit through the “L” or “I” terminals.
According to Painless’ electrical engineer Eric Cowden, the control circuit to the alternator must be limited to less than 1 amp. If you run these two circuits through a simple charge indicator light, the resistance in the light bulb limits the current flow. If you choose to not run a charge indicator light in the dash, Painless includes an 85-ohm, 5-watt resistor that minimizes the current through this circuit. Merely place the resistor in the circuit as shown in the illustration and the alternator will work as intended.
Holley also offers a pigtail connector with the resistor already wired into place. This kit costs a little bit more but all the work is done for you. Hook this wire to a switched 12V source and you’re ready to go.
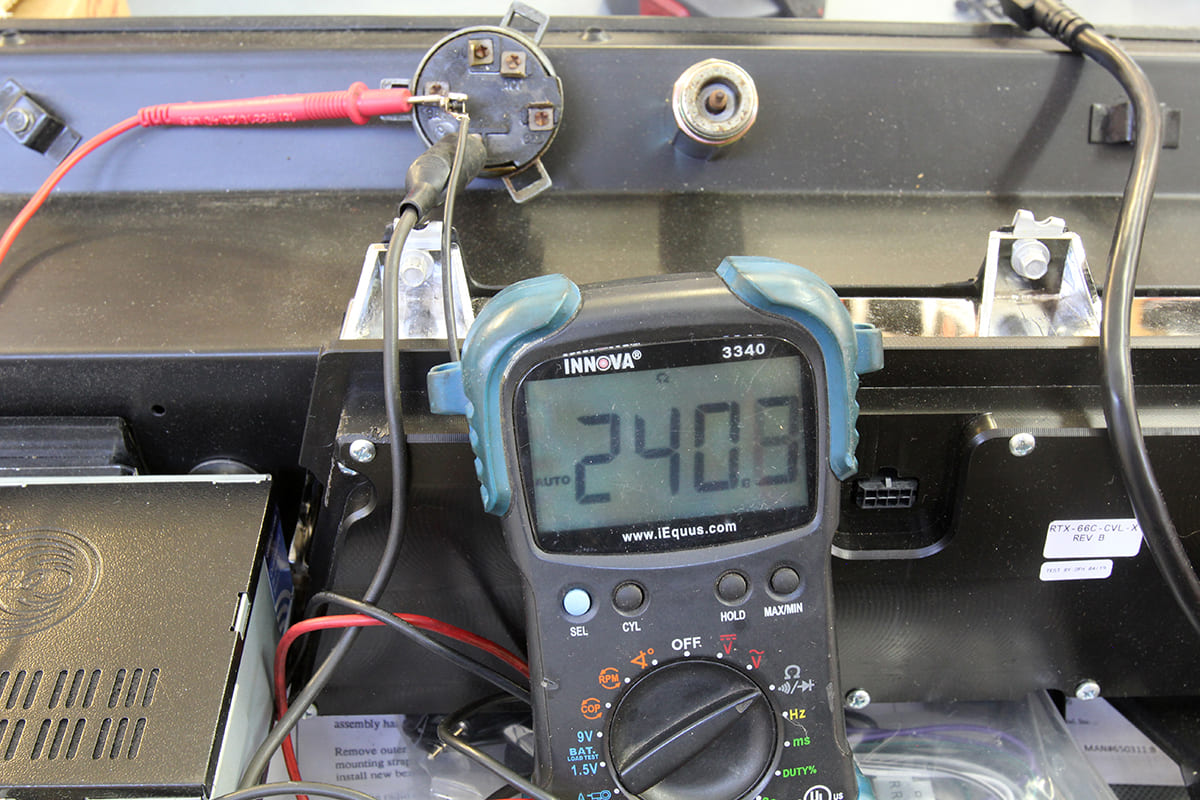
We checked our 1966 Chevelle dash ignition switch and discovered we need a new one as it is very sloppy and inconsistent. The Ign. 1 terminal has power when the key is turned to “start,” but the accessory terminal in the upper right (marked ACC) does not have power with the switch in “start,” The best plan is to wire power to the separate ignition box from the main ignition switch terminal where power is also present during cranking.
Where engine swappers often get into trouble is when the “L” or “I” wires are connected directly to switched power. As Cowden pointed out, this allows excess amperage into the circuit and will burn up the control circuit, which immediately fails the alternator. So, a simple resistor will save the day.
Of course, proper grounds between the engine and battery, alternator and engine, and between the body and the engine will also contribute to an LS swap that will be powerful and successful. Hopefully these couple of helpful tips will make that process far less stressful and much more rewarding.


Sources
Painless Performance Products
(817) 560-8324
www.painlessperformance.com
Speedway Motors
(402) 474-4411
www.speedwaymotors.com


