“It’s all been done before!” Yes, we’ve heard that said, but let’s be open-minded here. Granted, walking through a custom car show won’t likely trigger novel notions, but walking through a wrecking yard still can. For Colten Hart, of Kalispell, Montana’s Vintage Soul Garage, that’s exactly how his custom taillight treatment came to mind—by walking 40 acres of vintage cars and trucks. We’ll circle back around to that, in just a bit or two.
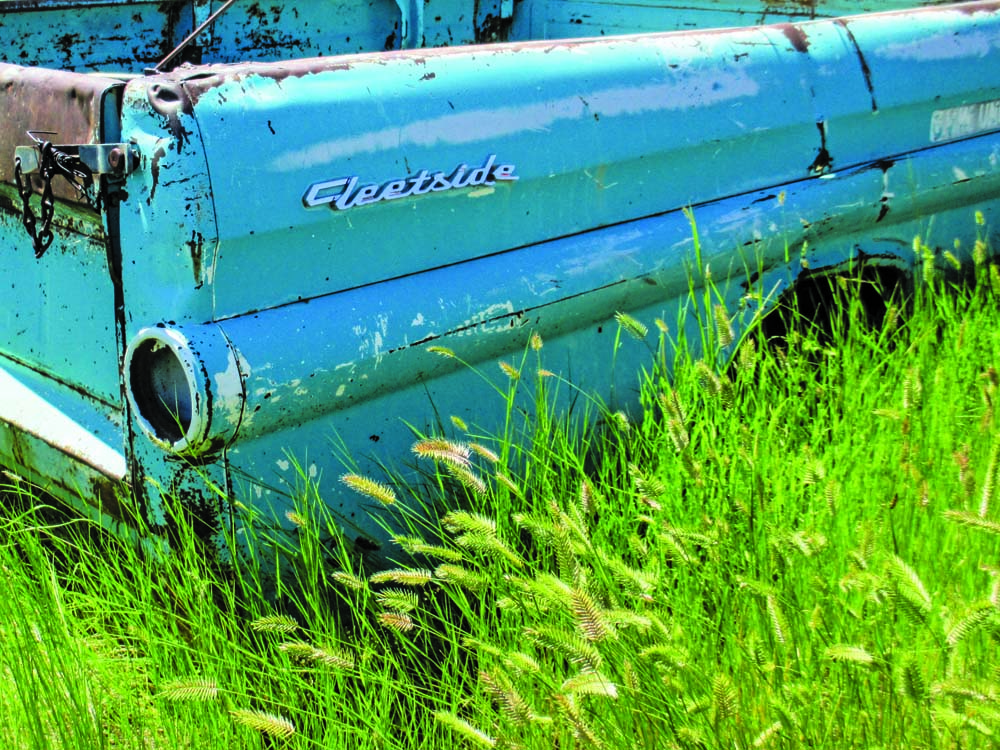
Here in the weeds at a favored Montana honey hole sits the initial inspiration for what’s to follow—Fleetside taillights for Stepside fenders.
For now, before we go much further, know this about Colten Hart: At age 28, he’s a builder, with a full bag of tricks. Custom body- and paintwork are his specialties, and he’s helped a good number of other builders over some humps. Lately, Hart has been assisting Kalispell collector, Bob King, with a restomod style 1959 Chevy ice cream truck build.
At the same time one of his own projects is on the lift in King’s shop. Long story short, Hart has purchased an unfinished 1959 Chevy Apache Stepside shorty that he’ll rethink as necessary, see through, play with, and perhaps peddle one day down the road. (At the time of this typewriting, Hart’s personal pickup truck project is receiving some needed attention, as he’s pulling off a good save. From here, however, let’s focus only on the aforementioned custom taillight treatment.)
Back at the shop, the OE fenders seem worth working with. Below the white paint, substrate primers are pretty thick. There’s also B-side undercoating, so we’ll see.
Through the existing white paint job, the old Chevrolet stepside fenders appear to be decent, for used OE parts, anyway. In its current stage of incompletion, the project’s taillights have not yet been thought out. The easy way would be to order up some new reproduction stepside tail lights from Brothers Trucks. For Hart, however, choosing the easy way doesn’t come so naturally.
So, back to the boneyard. During a routine visit to Cut Bank, Montana’s “Rustless in Montana,” Hart came upon the shell of a 1958 Chevy Fleetside pickup. Recognizing shapes, as well as their potential, he then birthed the notion to graft a pair of Fleetside-type custom taillights to his good-enough used Stepside fenders.
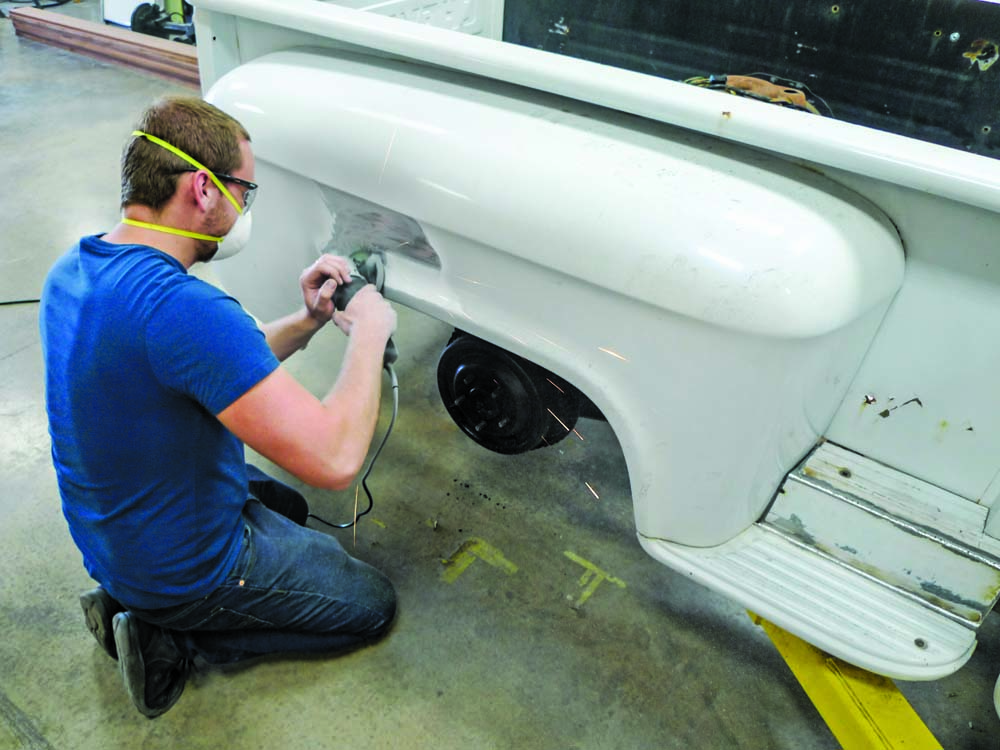
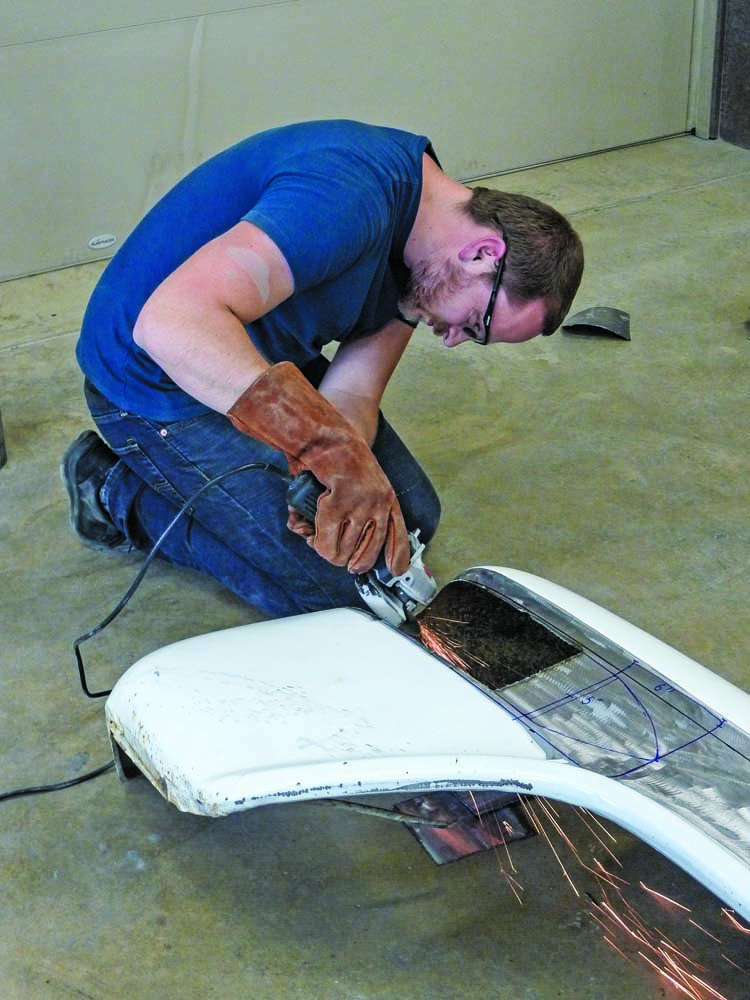
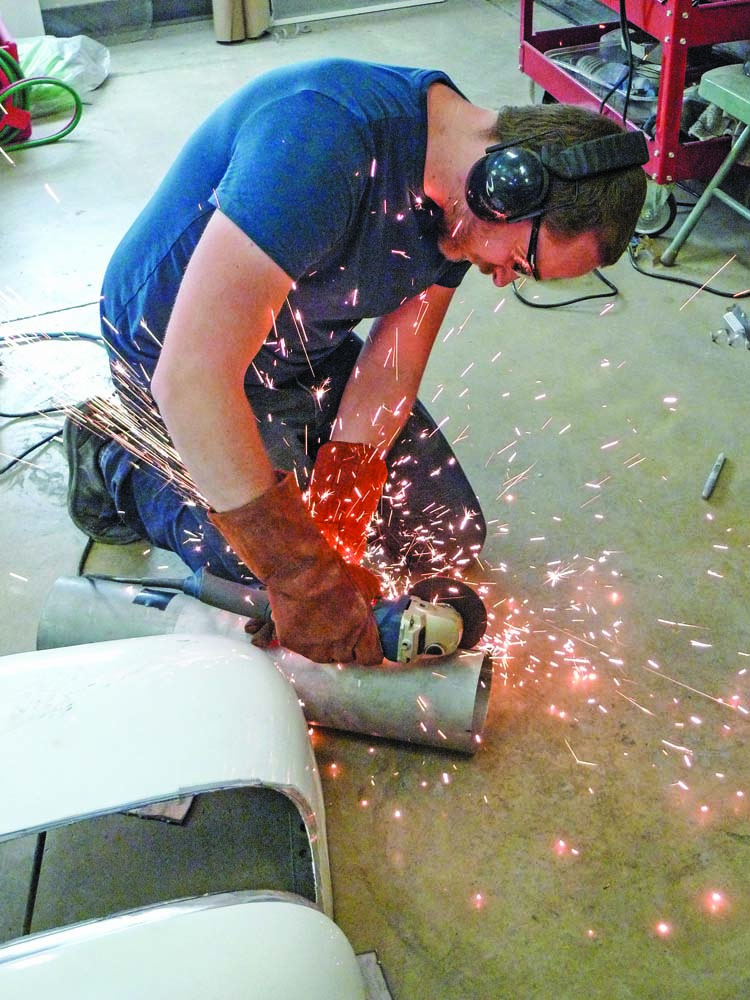
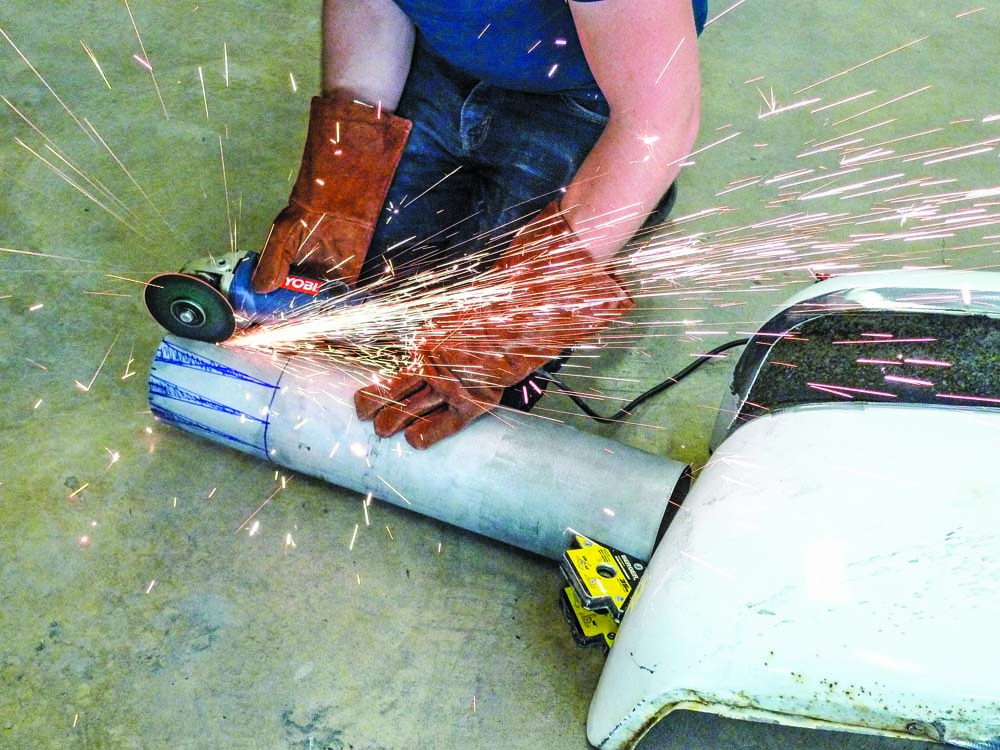
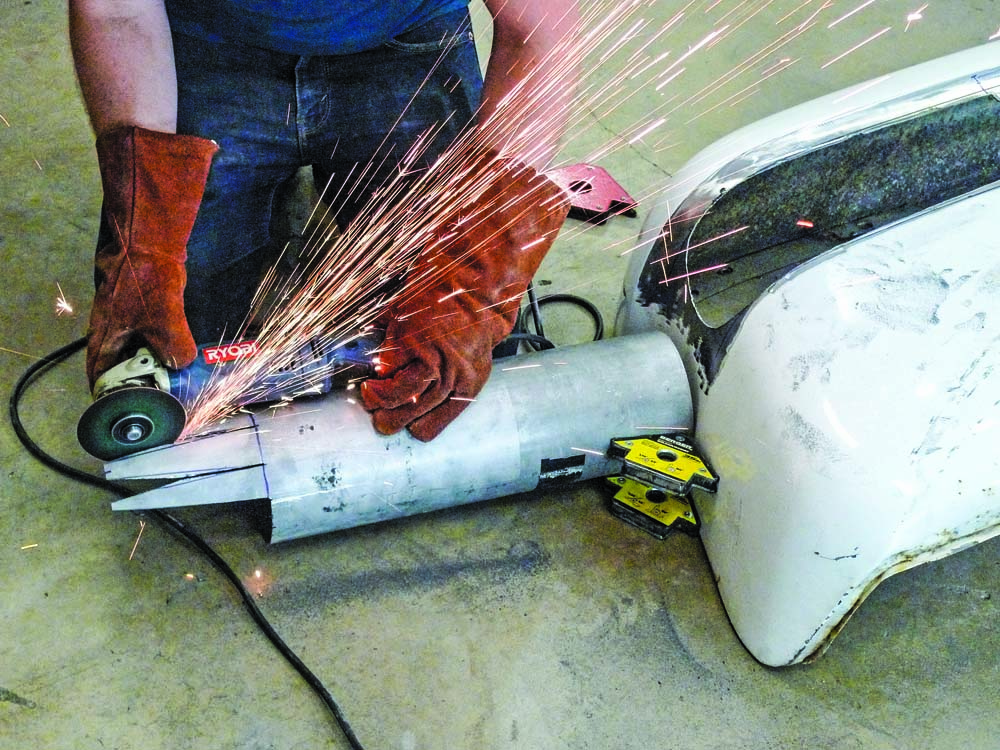
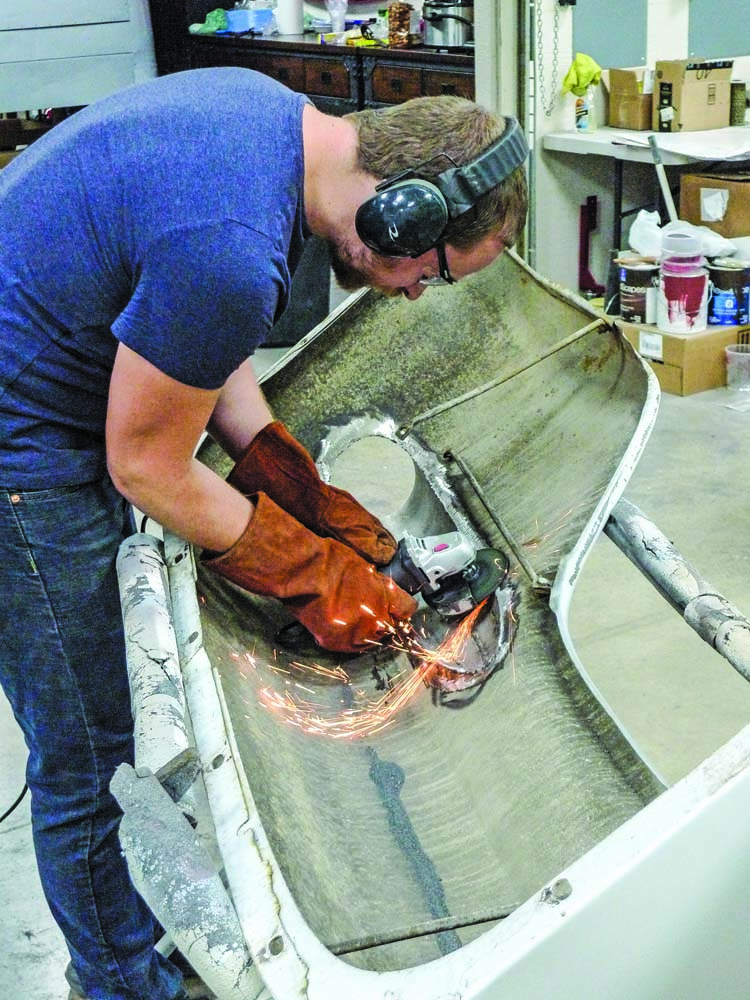
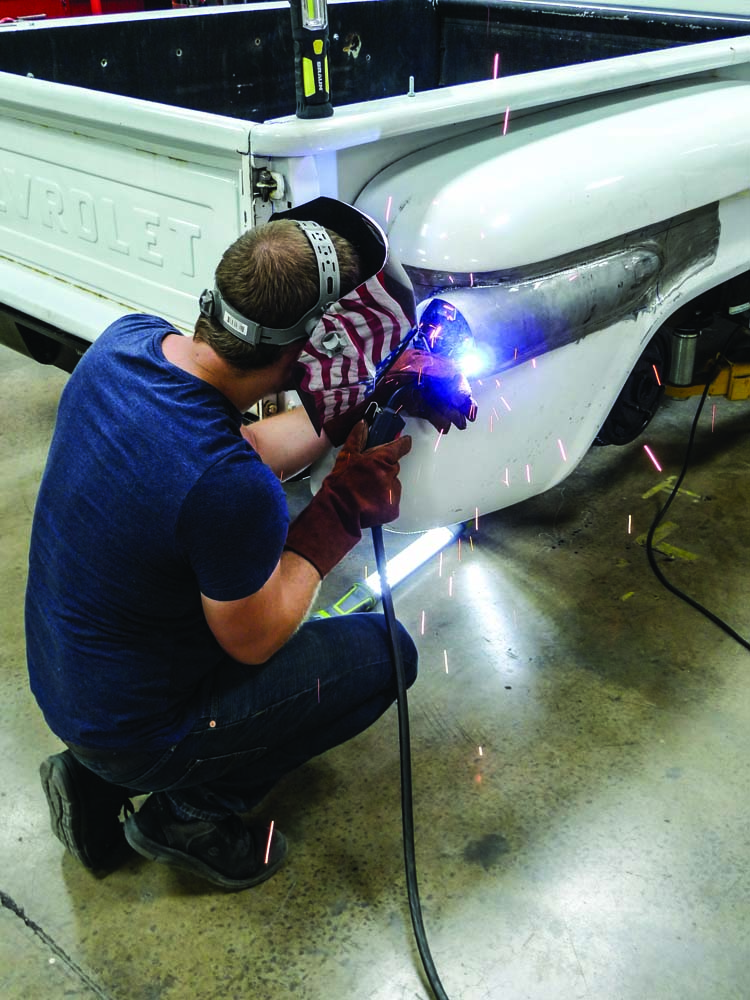
As exploratory grinding gets underway, Colten Hart is optimistically exposing the area to be modified—with a ridged disc affixed to an electric grinder.
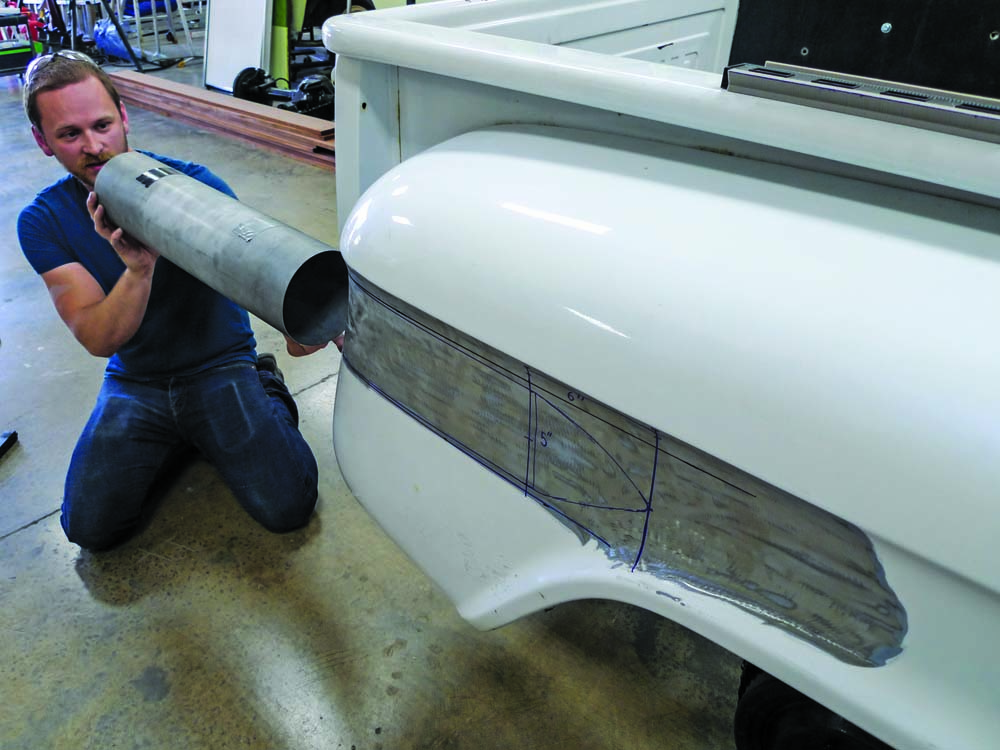
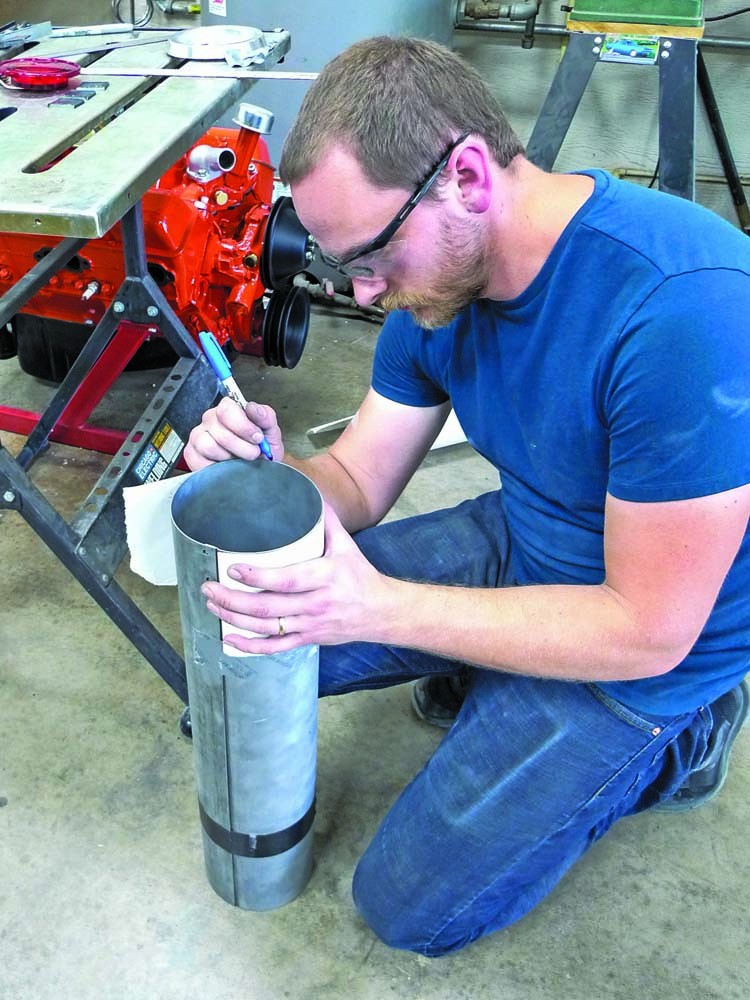
At the shop the next day, it was first things first, as a parts order was placed. From that point on, Hart’s custom truck modifications would be based on a shiny new pair of LED taillight assemblies, available through Brothers Truck, which outwardly appear to be exact reproductions of the 1958-1959 Chevy Apache Fleetside units. When those parts arrived, Hart commissioned the local sheet metal shop to roll out a pair of 18-gauge steel tubular tunnels to match the od of the shiny new led taillights.
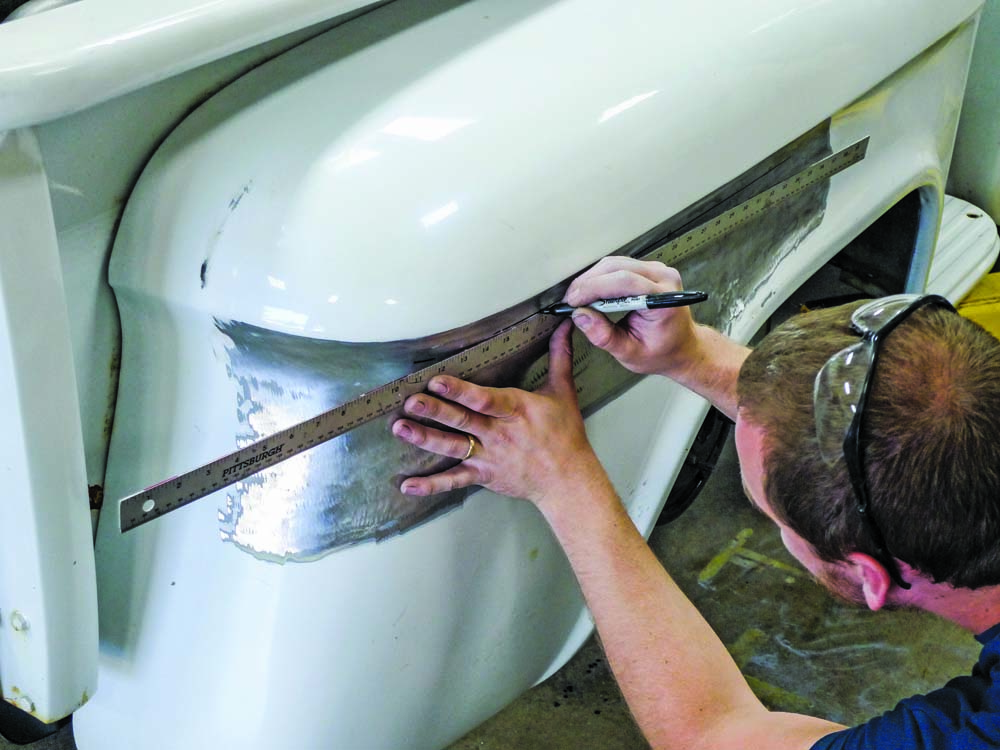
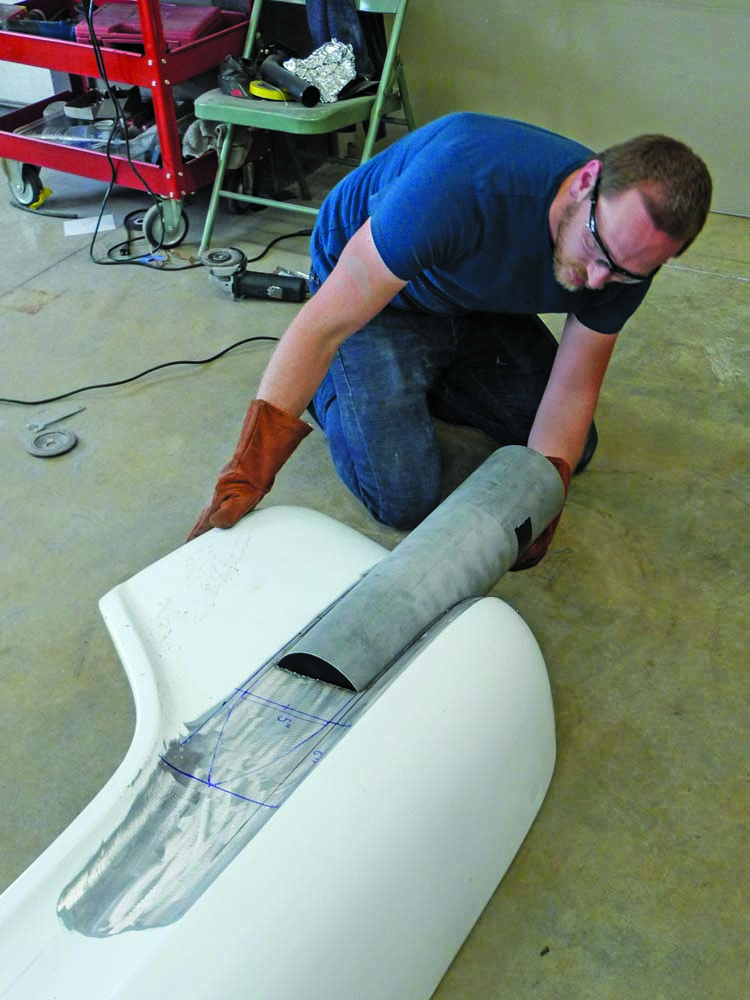
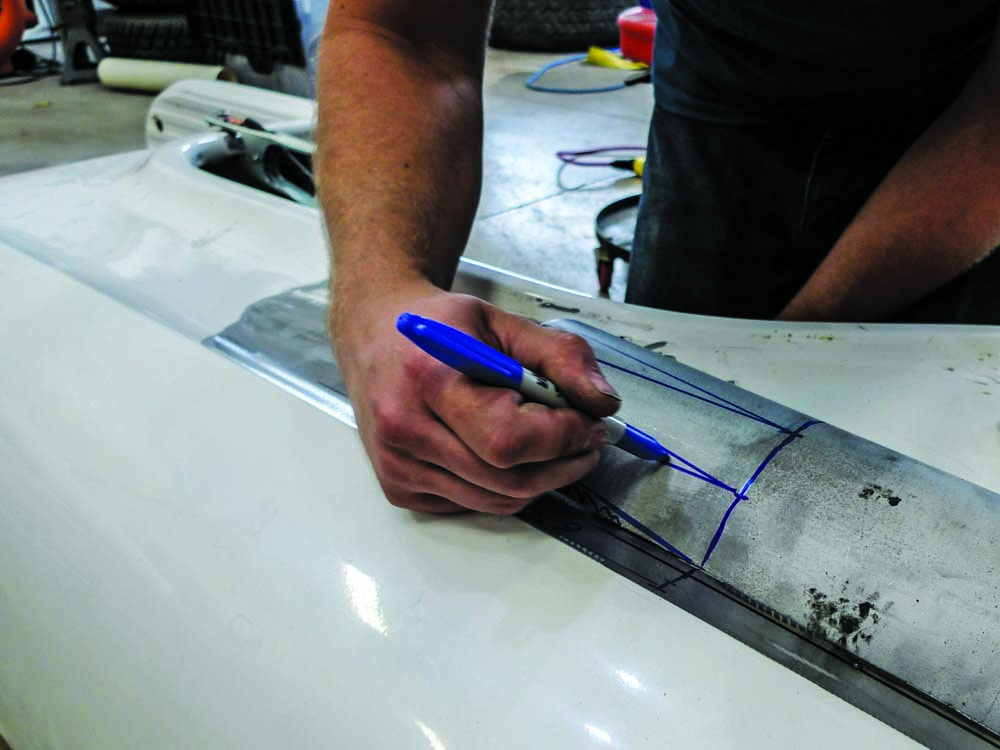
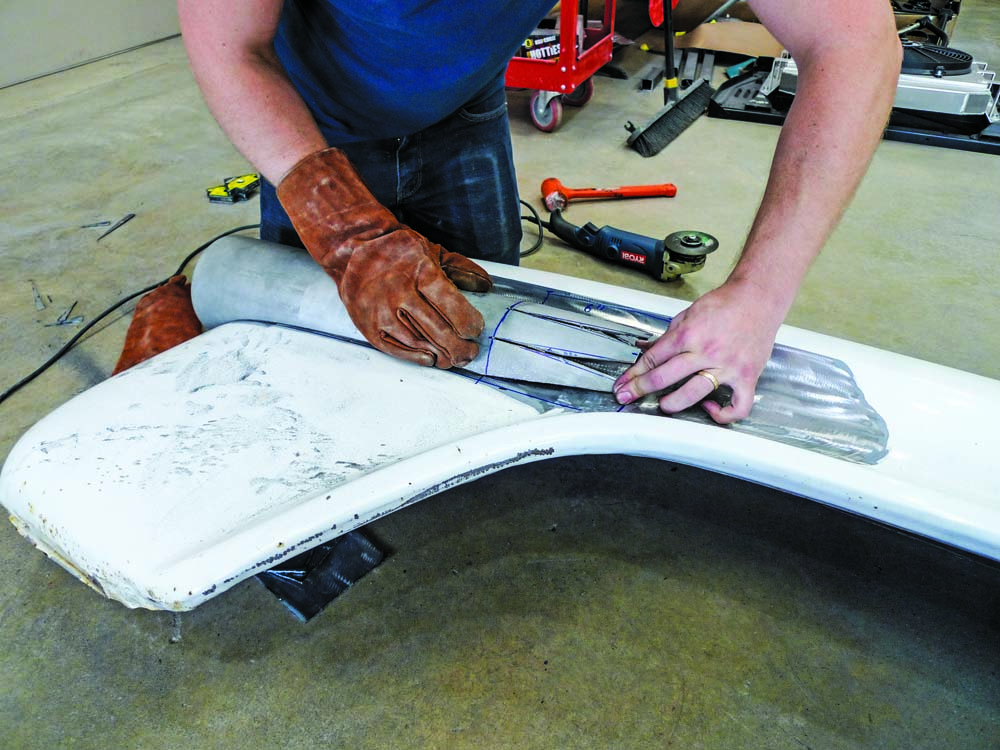
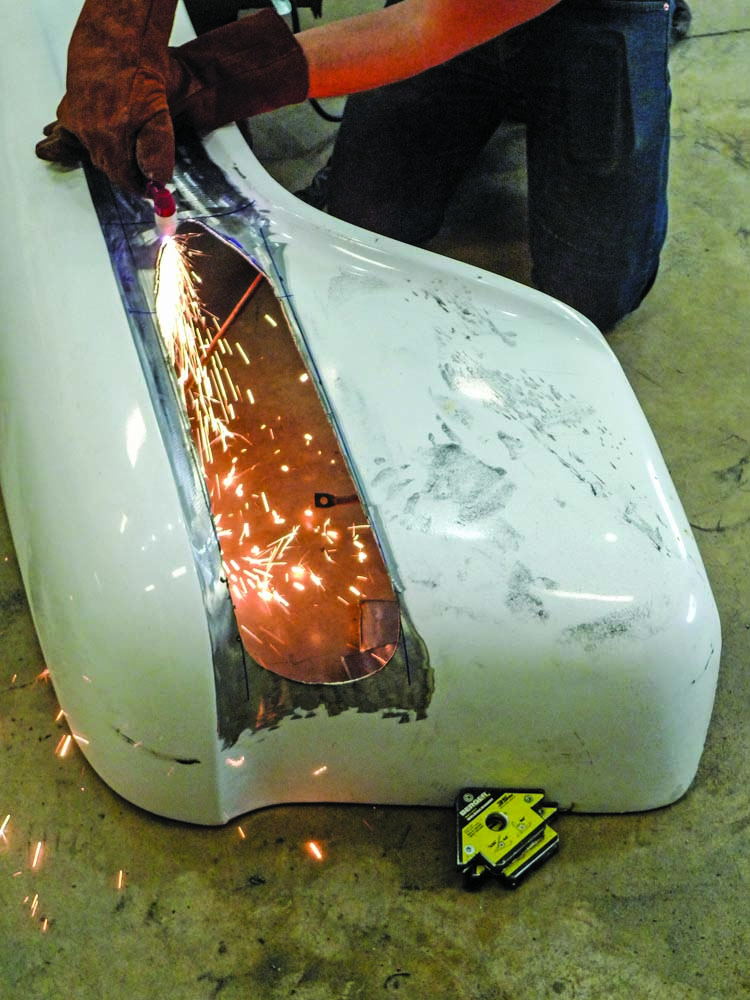
With a sharp straightedge and a dull Sharpie, Hart lays out preliminary guidelines. To accommodate tubular taillight tunnels, the cutaway area must taper toward the front.
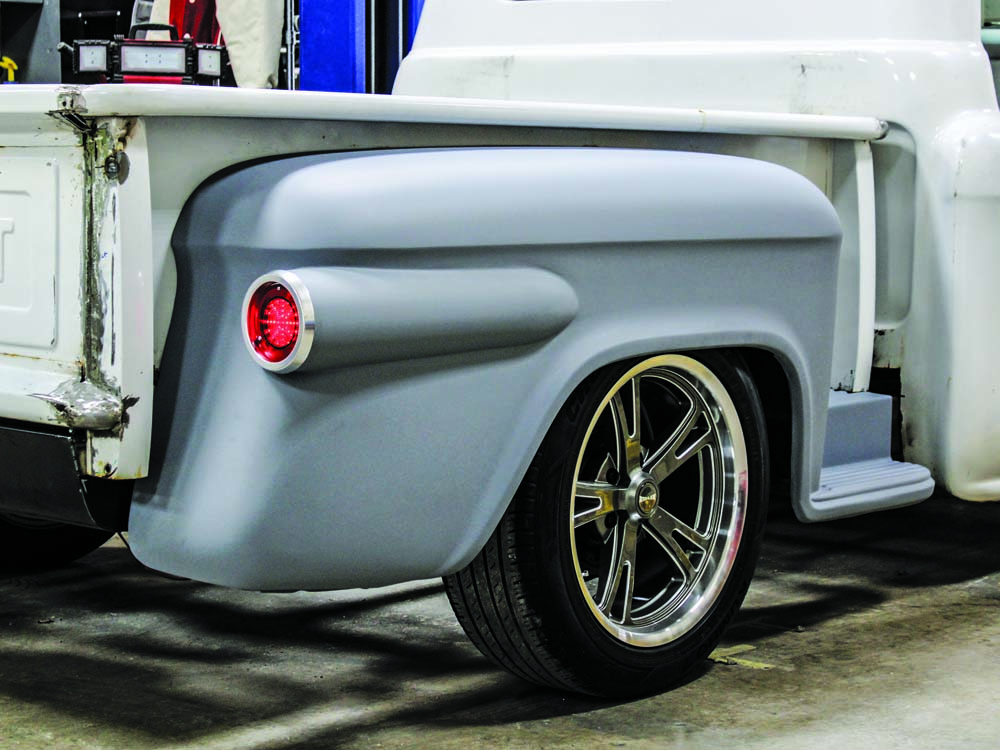
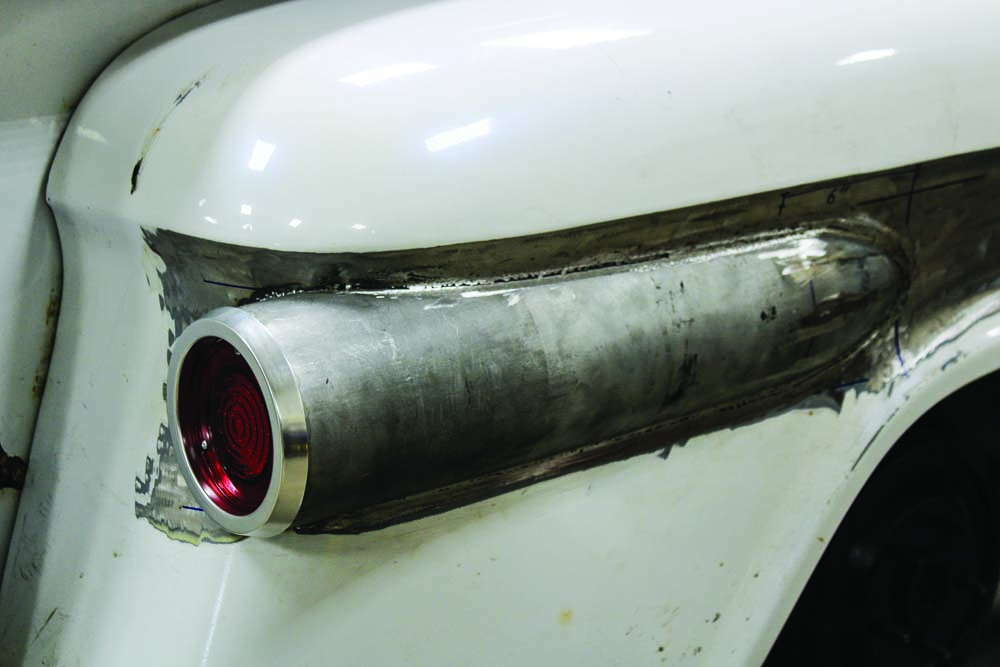
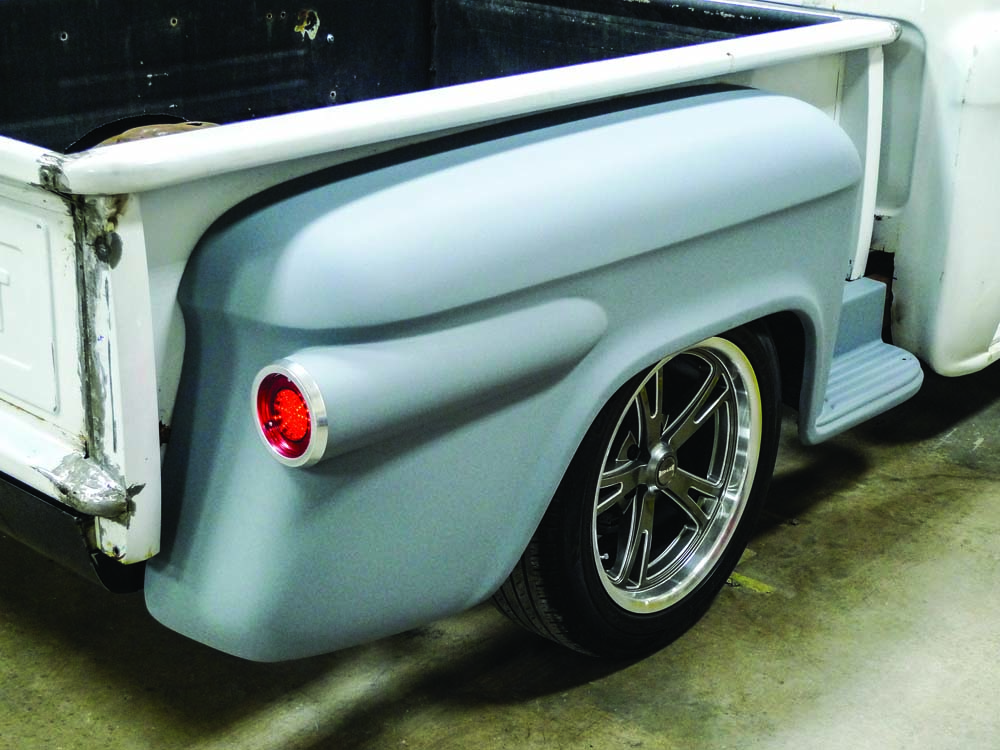
Skipping ahead, we’ll end up with a one-off custom taillight treatment, all in compatible, same-vintage, old Chevy pickup truck style. On that note, you’re invited to stick around as Hart openly divulges the step-by-step procedure for the replication of his own boneyard brainchild. Somewhere between Stepside’ing Fleetside?! The end result deserves a clever name of its own … we’ll leave that open for suggestions.
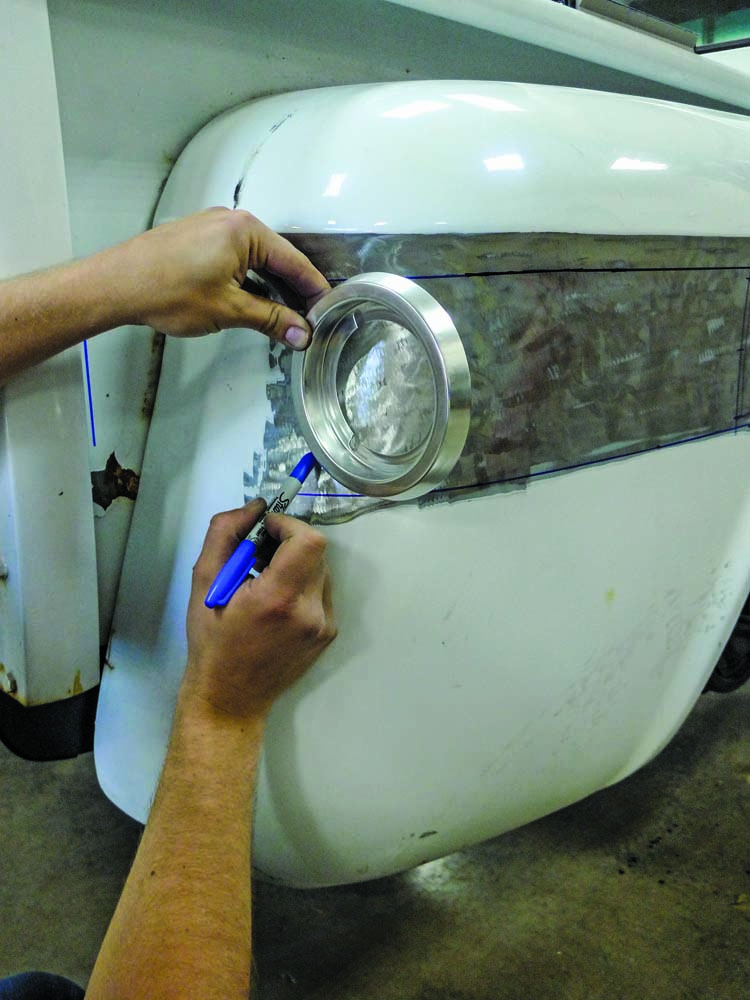
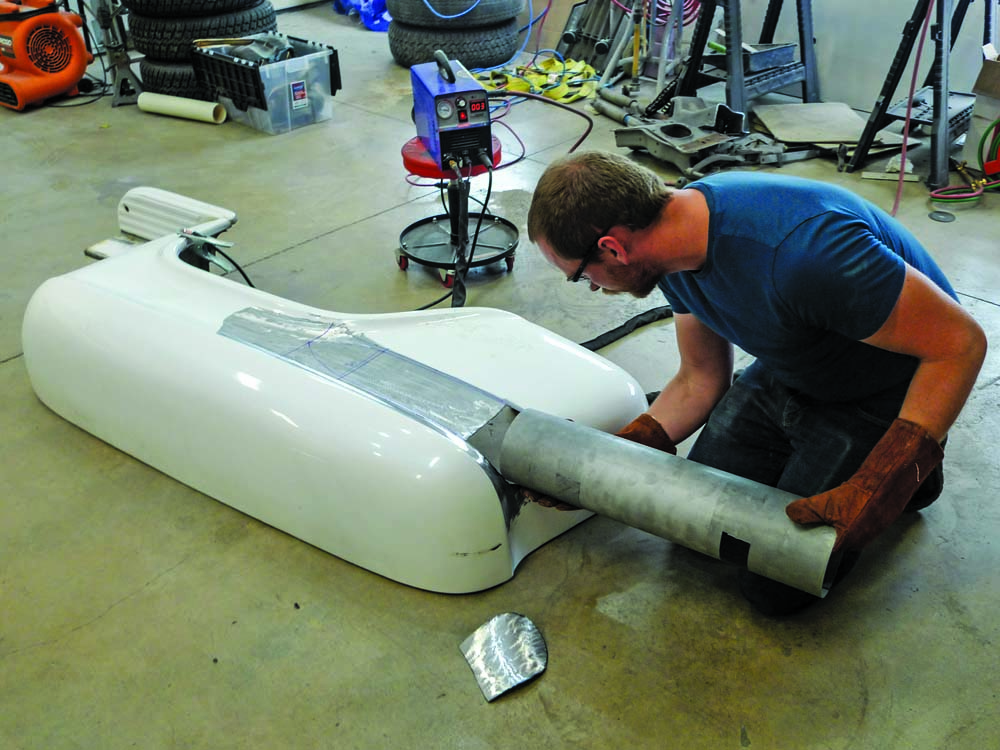
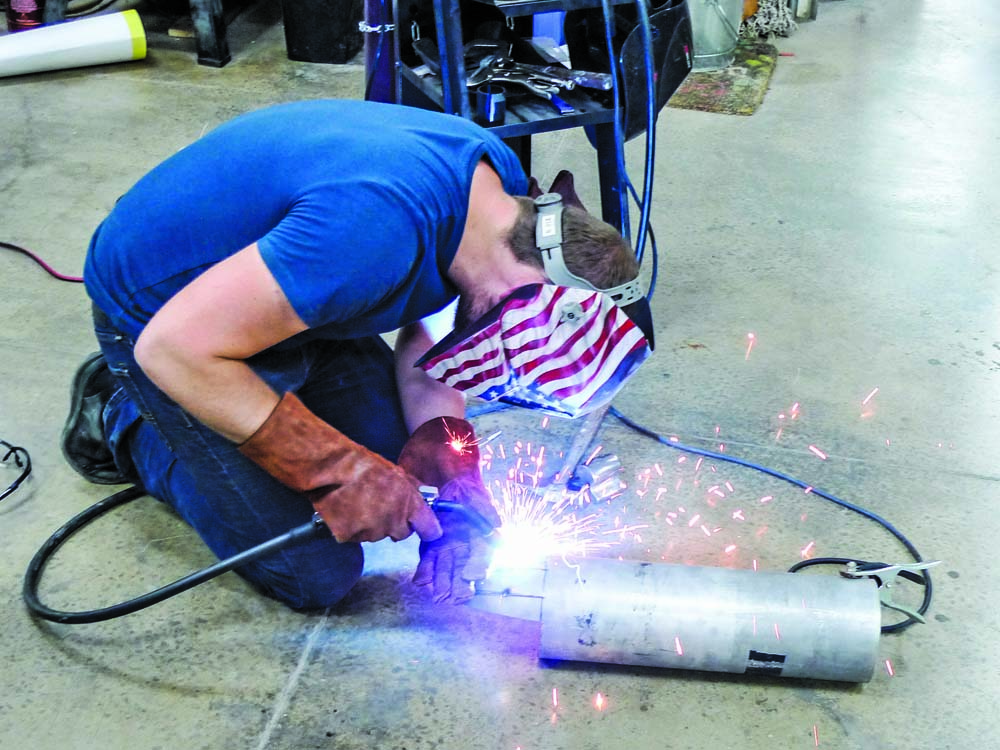
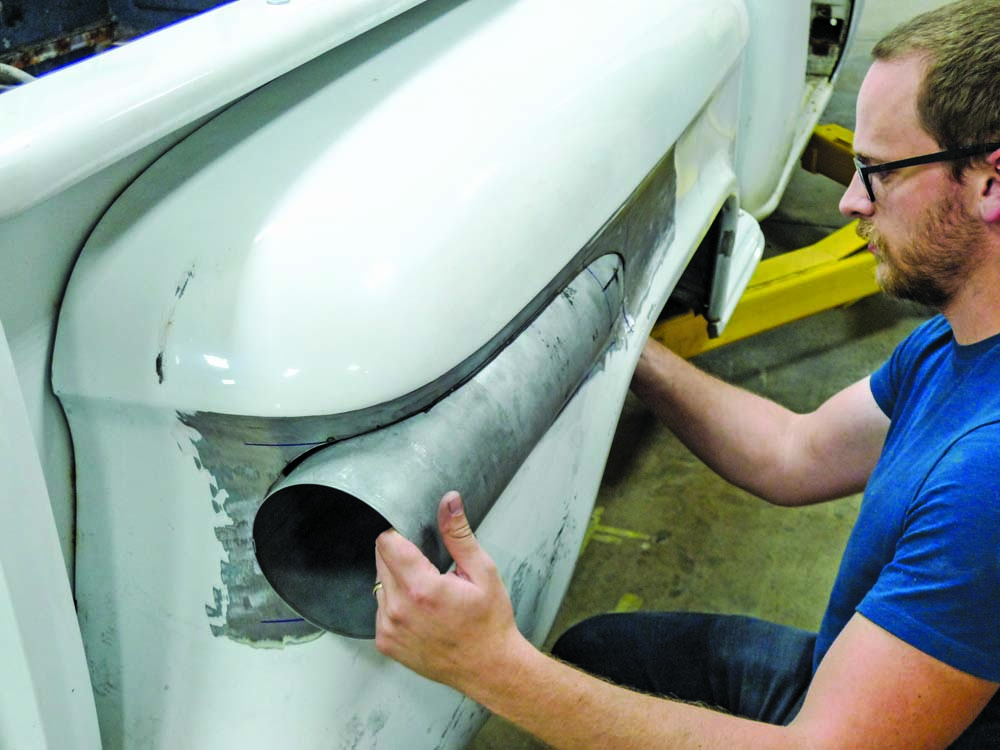
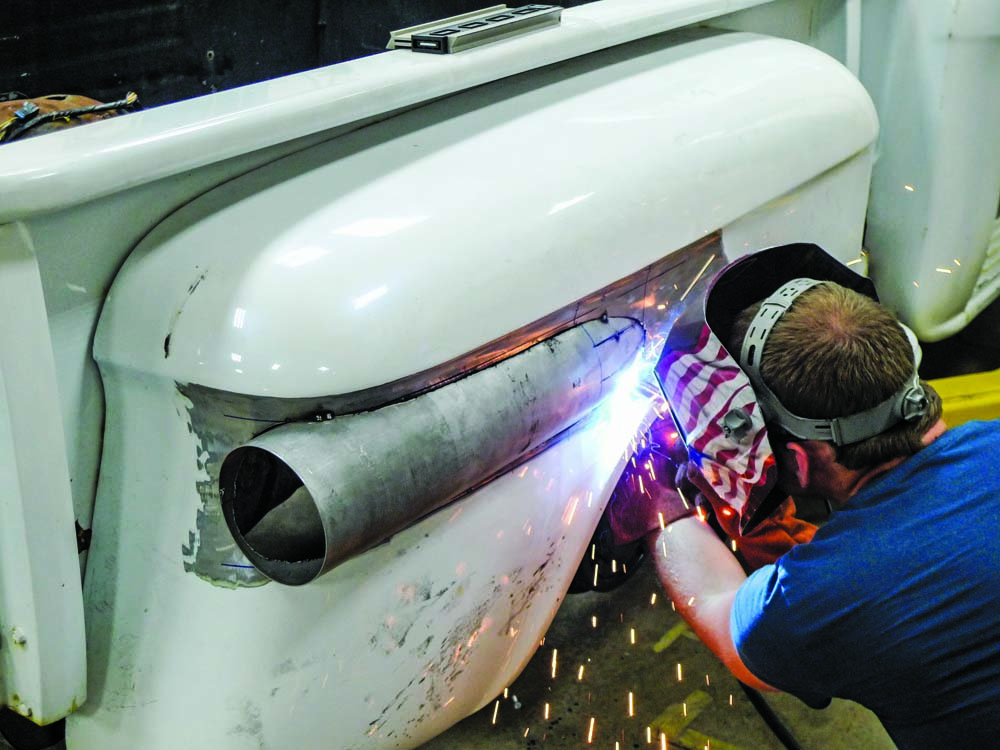
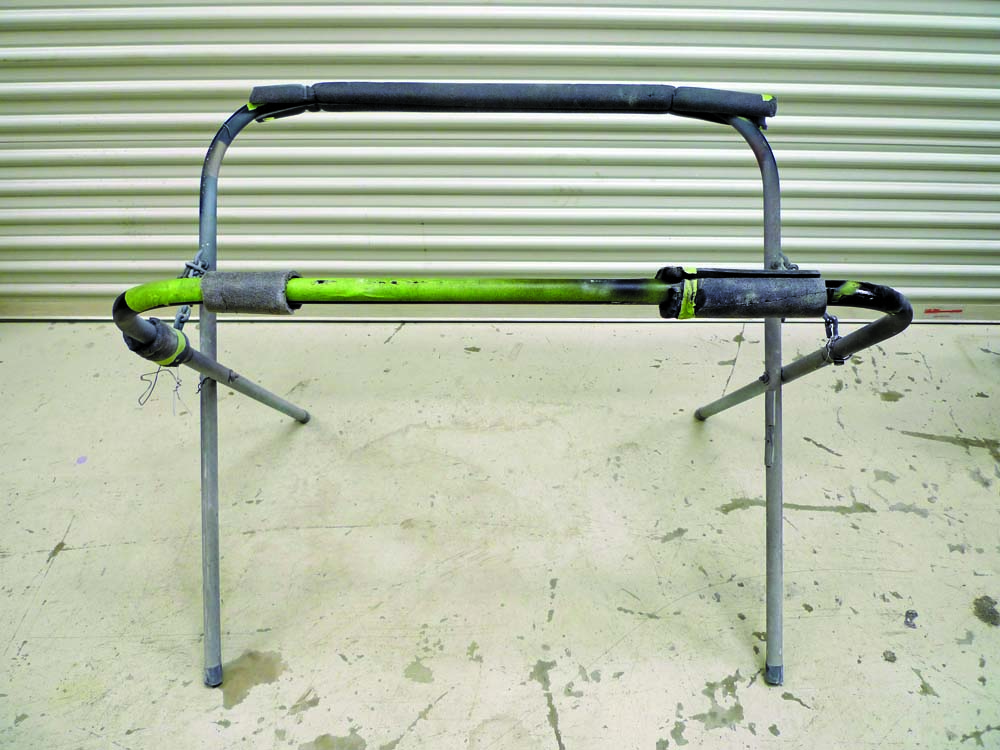
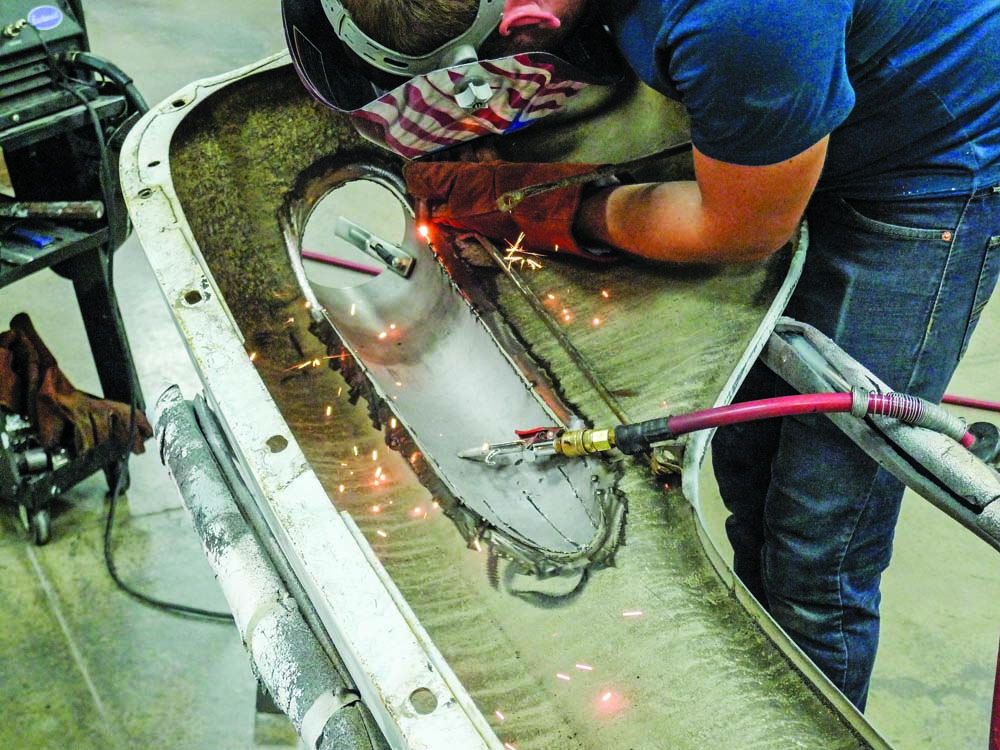
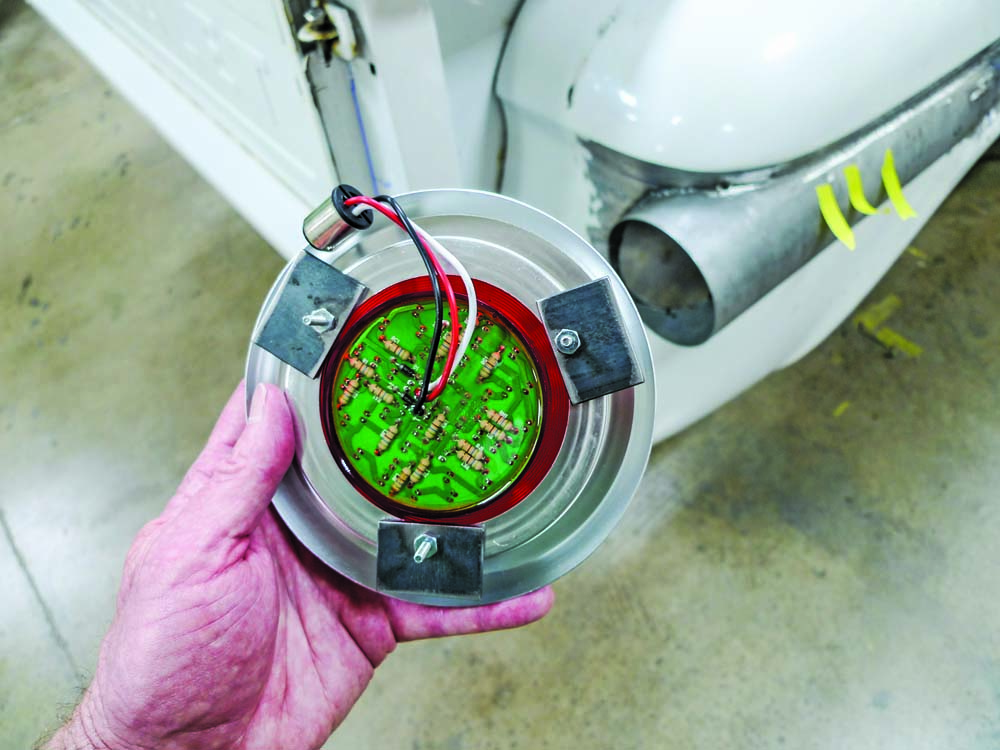
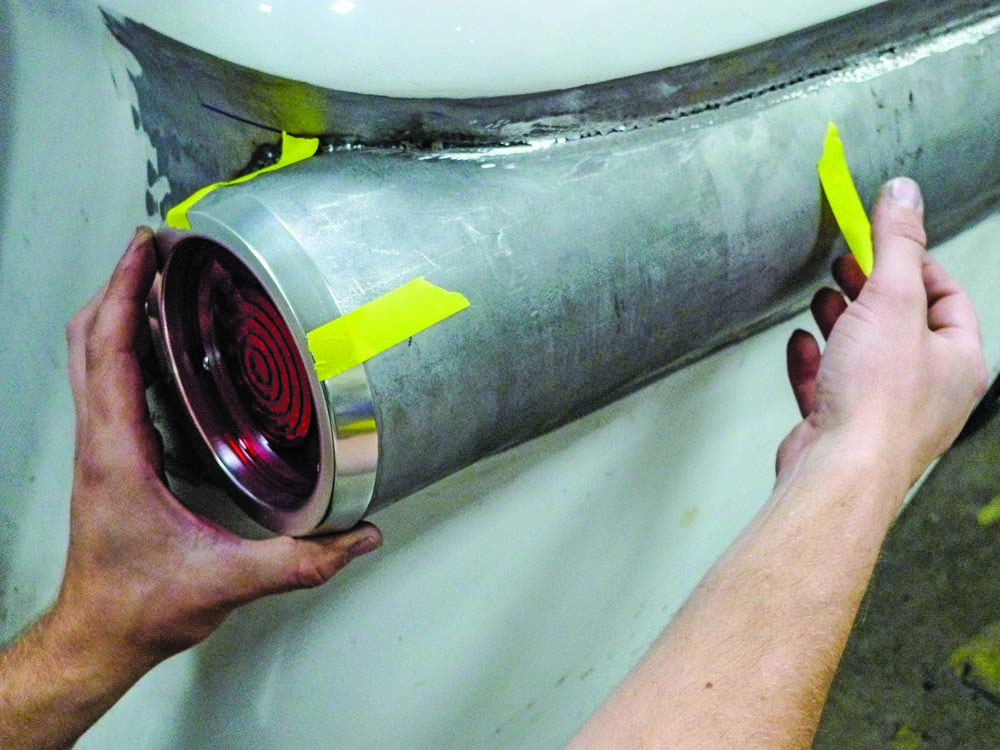
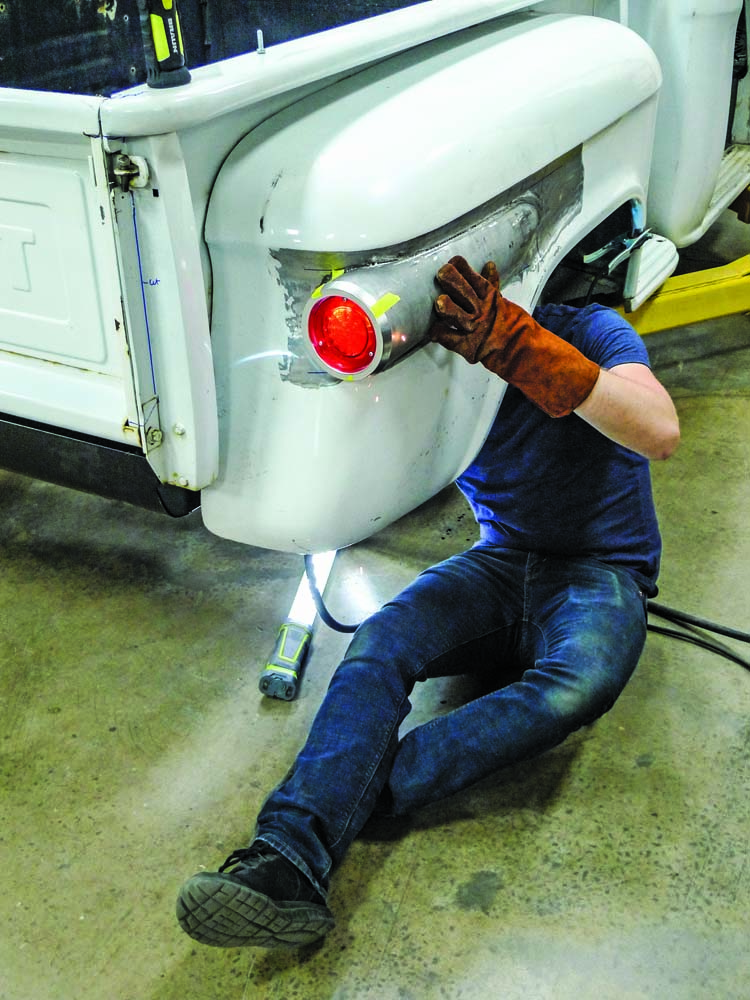
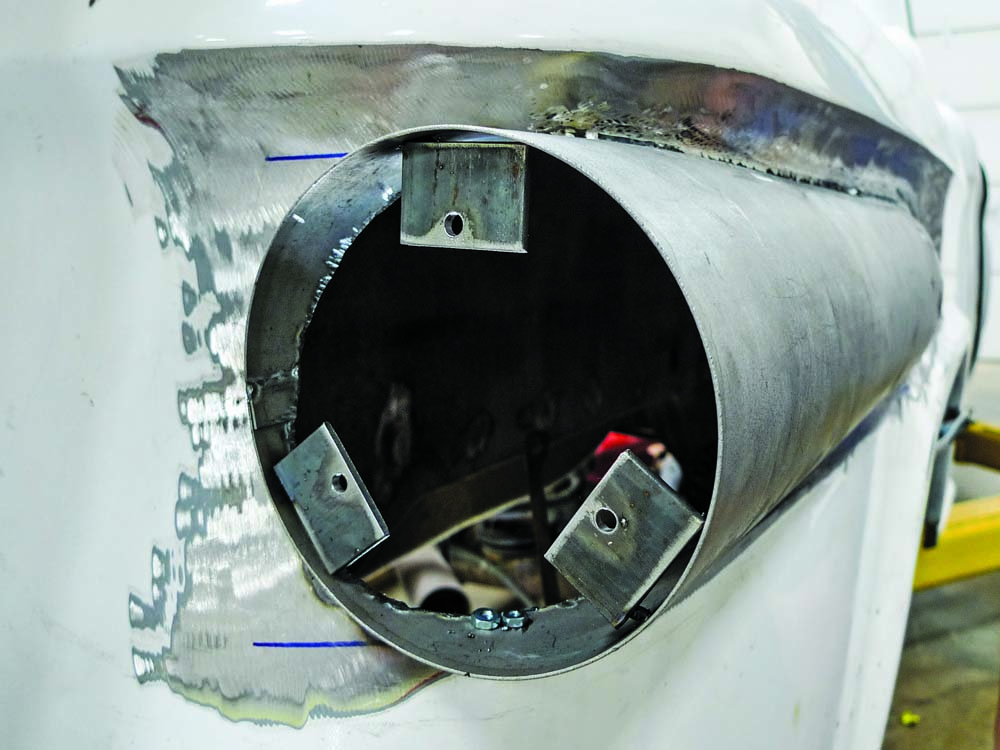
Using only the bezel of the new Brothers LED taillight assembly, Hart traces around the outside to roughly establish another guideline. This can still be adjusted as need-be.By now there have been many side-to-side measurements taken. For these compound-curvaceous areas, however, there’s still some eyeball engineering required.Moving to the grinding room floor, Hart makes his initial incisions. As it turns out, he’s deadly accurate with a plasma cutter.Rather than cutting away the entire unwanted expanse at one time, Hart proceeds in short increments, checking his work as he goes.Again, using a ridged disc, the rounded-end incision receives some fine-tune grinding. You’ll notice as we go that Hart uses electric grinders exclusively throughout this job.So far there’s only been that bit of grinding that we’ve just seen. The cuts we see here were done with the plasma cutter. For the stage we’re in, we have a tight fit.The 18-gauge steel tunnels won’t remain tubular much longer. At the forward end it’s now time for a trim. For this, a poster board template is useful as a guide.Again, with the same type of electric grinder, this time outfitted with a cutoff disc, Hart slices away the first unwanted section of this tubular tunnel.To create a tapered point for the forward end of the tunnel, pie slices are required. There’s no fancy math going on here, but Hart’s educated guesswork should be good.Cutting along the lines, Hart removes small pie slices. You might recognize the Berger-brand welding magnets. Yes, there’s a brand-new Harbor Freight store in Kalispell.This is just an initial test-fit. Here testing confirms that the remaining pointy fingers could still use a bit more relief for correctly tight gaps and easy shaping.So, here the tube’s forward-end pointy fingers receive a second shave. For this type of trimming, too little is better than too much. That’s why Hart takes this in steps.Hart’s got his MIG triggered. Providing you’ve brought your helmet, take a look just below the arc. See the nice tapered point now?This far along, it’s safe enough to go actual size with the opening. Once again, the plasma cutter comes into play.Held in place by hand, we can see a pretty decent fit. We can also better visualize what this’ll actually look like with abbreviated Fleetside body lines.Again, making use of the shop’s MIG machine, Hart tack welds the new section to the used fender. The bulk of this welding will be done on the fender’s inner side.By now you’ve likely noticed that Hart doesn’t baby his knees. He’s young and able to work that way now, but someday that hard concrete won’t feel so comfy.All the while, there’s been a fleet of portable work stands right within reach—and I’m fixing to ask him to use this one here.Now on his feet, with his work at a comfortable level, Hart begins stitch welding. To prevent any possible distortion, he’s cooling with compressed air as he goes.Next, he’ll grind his stitch welds smooth for a factory appearance, even though this work will be hidden on the fender’s inner side.Here’s the backside, or business end, of the new Brothers LED taillight assembly, complete with Hart’s own fabricated mounting tabs.Providing he works quickly, masking tape will locate the assembly so the mounting tabs can be tack welded into place.Three quick MIG zaps later, the taillight assembly must be removed and rushed to safety—pretty much anywhere away from the next bit of welding.With the taillight assembly back on the bench we get a clear view of tack welded mounting tabs.Now satisfied with fitment, Hart proceeds with the final welding of his taillight mounting tabs. At this stage the metalworking part of this job is just about complete.Of course there’ll be some filler work to follow, as well as the usual priming, blocking, and so on.By the way, we’re still open for suggestions, but for now, Stepside’ing Fleetside will have to do!
We use cookies to ensure that we give you the best experience on our website. If you continue to use this site we will assume that you are happy with it.