If you recall back in our Apr. ’25 issue, we erroneously made the initial decision to not use Flaming River’s updated Type II power steering pump kit: The OE pump (reservoir) not only created cramped quarters for the steering linkage and plumbing, but the worn-out pump itself didn’t put out sufficient pressure, thus creating an overly sensitive steering situation. We followed up shortly thereafter by installing the new pump and, wouldn’t you know it, new truck steering response!
Here’s the part of Flaming River’s 1973-87 C10 Cradle Rack-and-Pinion Kit we did not install: their Type II power steering pump! Lesson learned, but we’re about to correct that mistake now.
As promised, here’s part 2! In hindsight, it’s not all a bad thing, as we not only learned a valuable lesson, but we inadvertently provided the opportunity for a nice stand-alone power steering pump/reservoir install rather than glossing over it in the first article.
Our less-than-stellar steering responsiveness culprit: the original power steering pump in the ’79 did its best, but its best was not good enough for the new Flaming River rack-and-pinion …
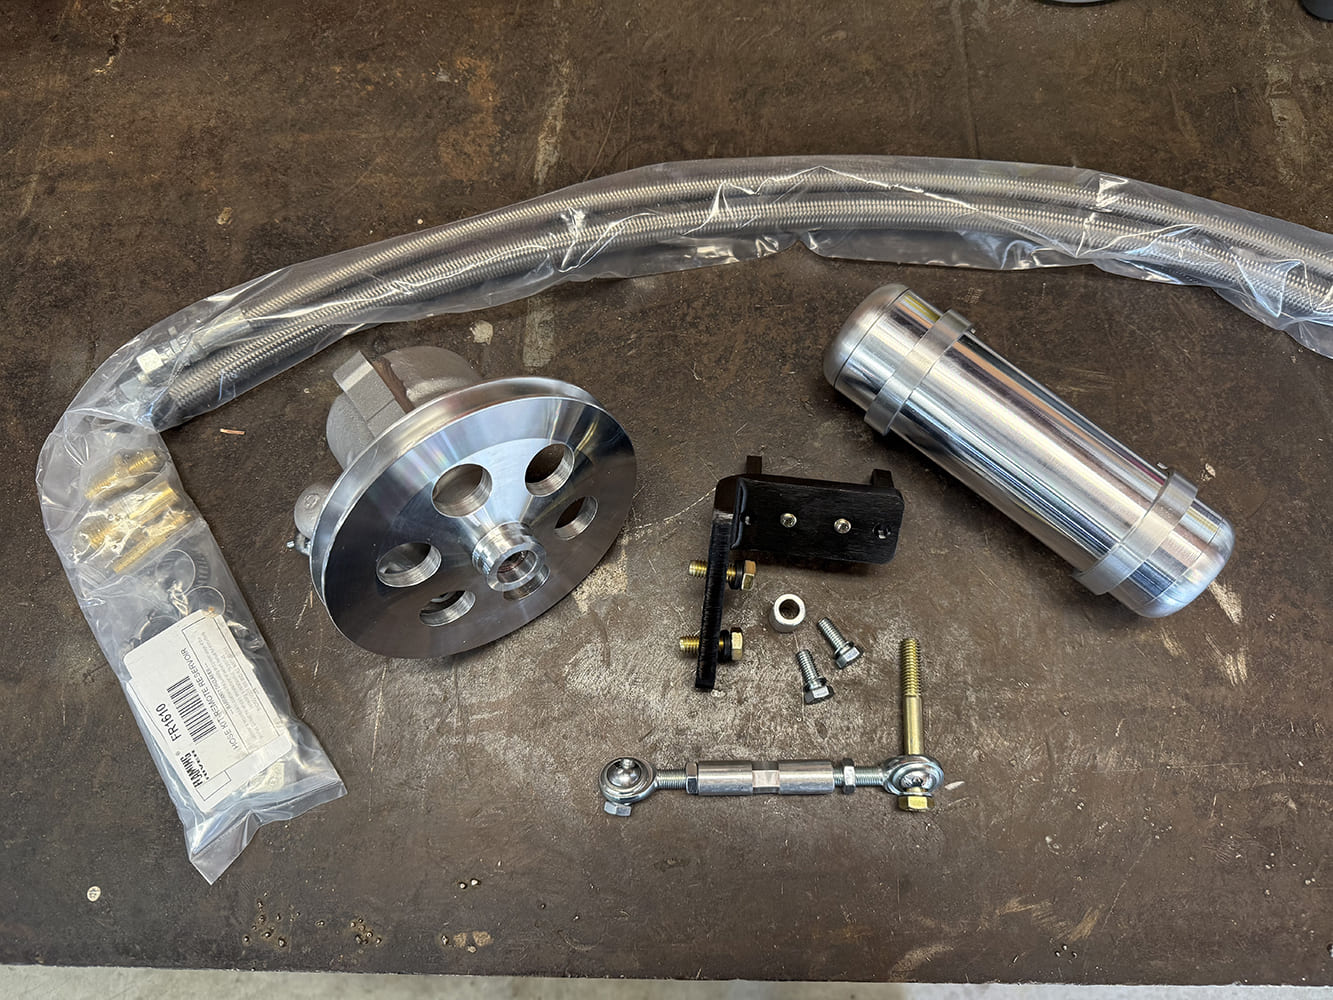
Flaming River’s accompanying* power steering kit (*it comes with the full 1973-87 C10 cradle rack package) features their all-new aluminum Type II pump, adjustable mounting bracket, braided stainless lines (precut with fittings installed) and all necessary fitting adapters, and a billet aluminum fluid reservoir. The only thing we needed to provide was an afternoon and some fresh power steering fluid!
… so, out it came and into the trash it went!
As stated in the opening paragraph, the difference was literally night and day—the proper pressure provided by the Type II pump resulted in much, much smoother and very responsive steering characteristics—not super sensitive either. Follow along as we correct our mistake one fine Sunday afternoon!
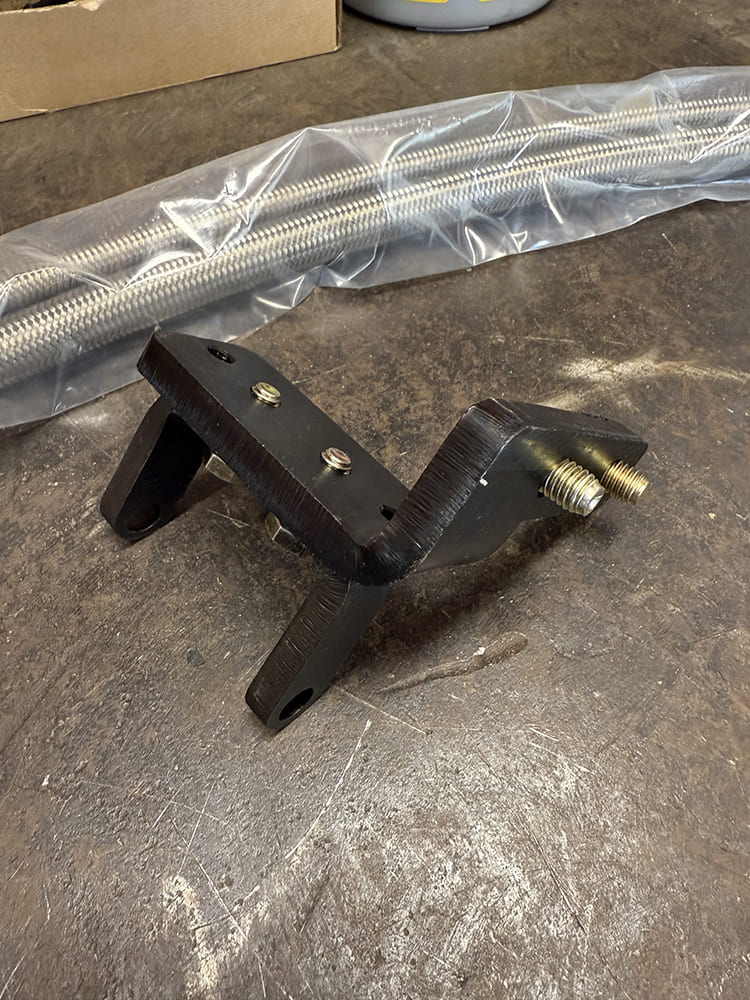
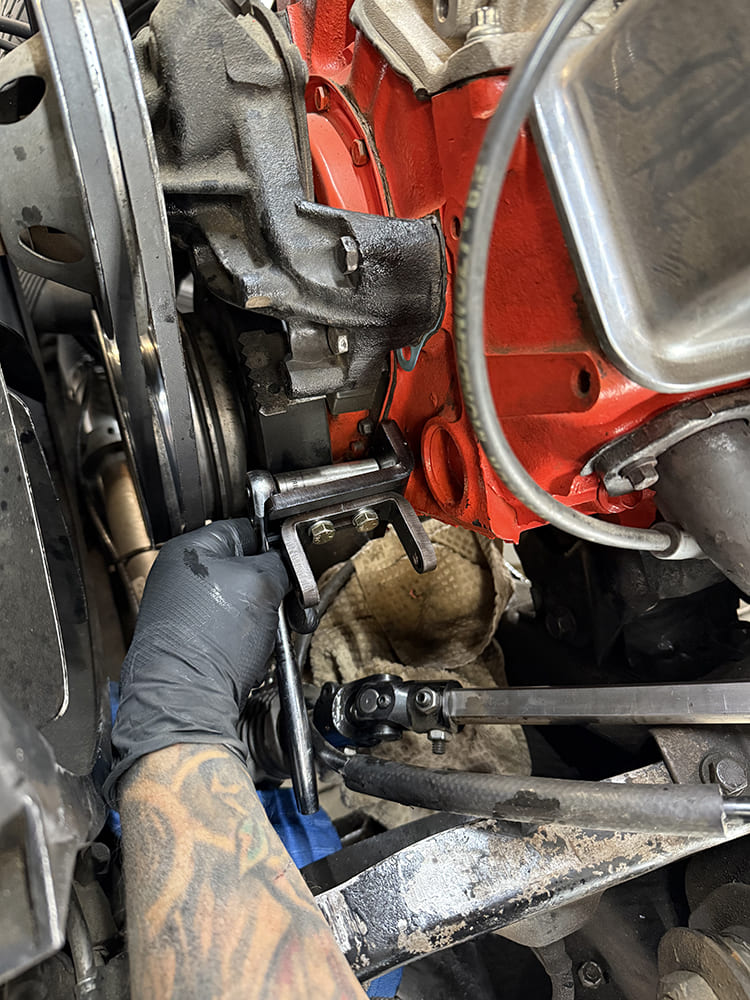
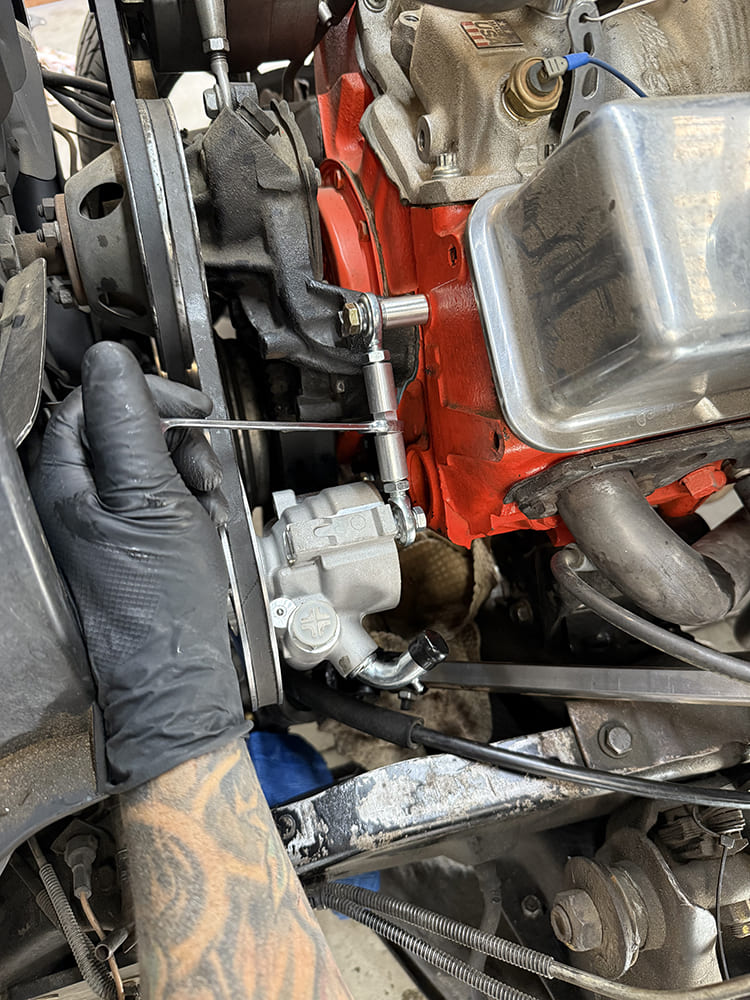
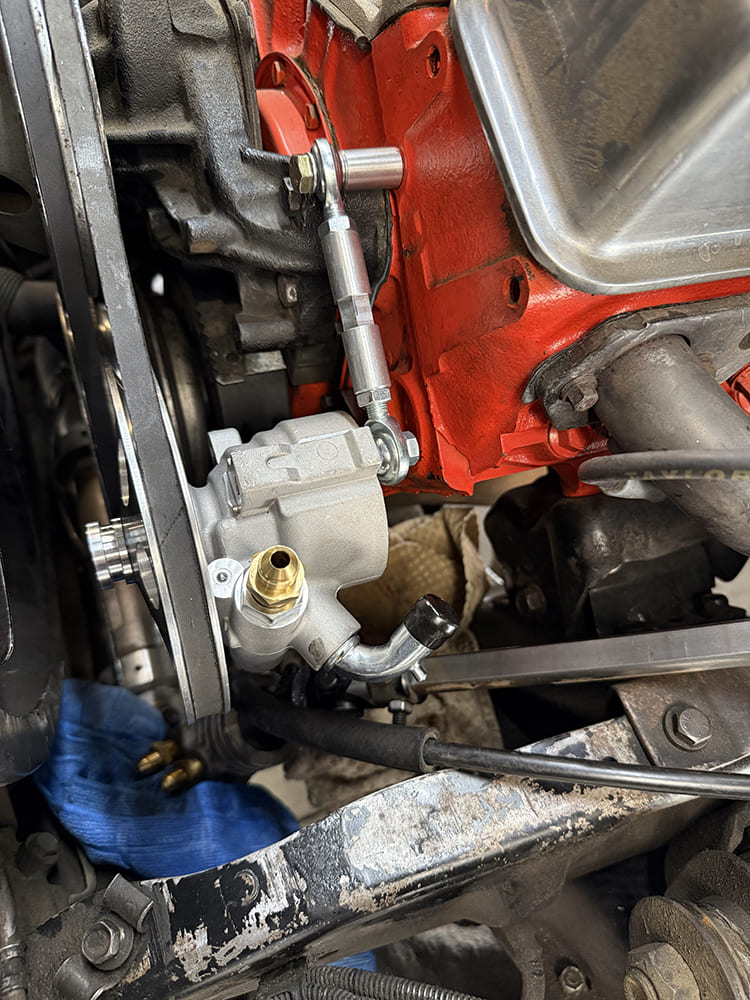
Flaming River’s Type II pump kit utilizes an adjustable mounting bracket, which must first be installed loosely onto the front of the SBC block, as shown.
The adjustability of the bracket allows you to position the pump forward/backward in order to align the pulley accordingly.
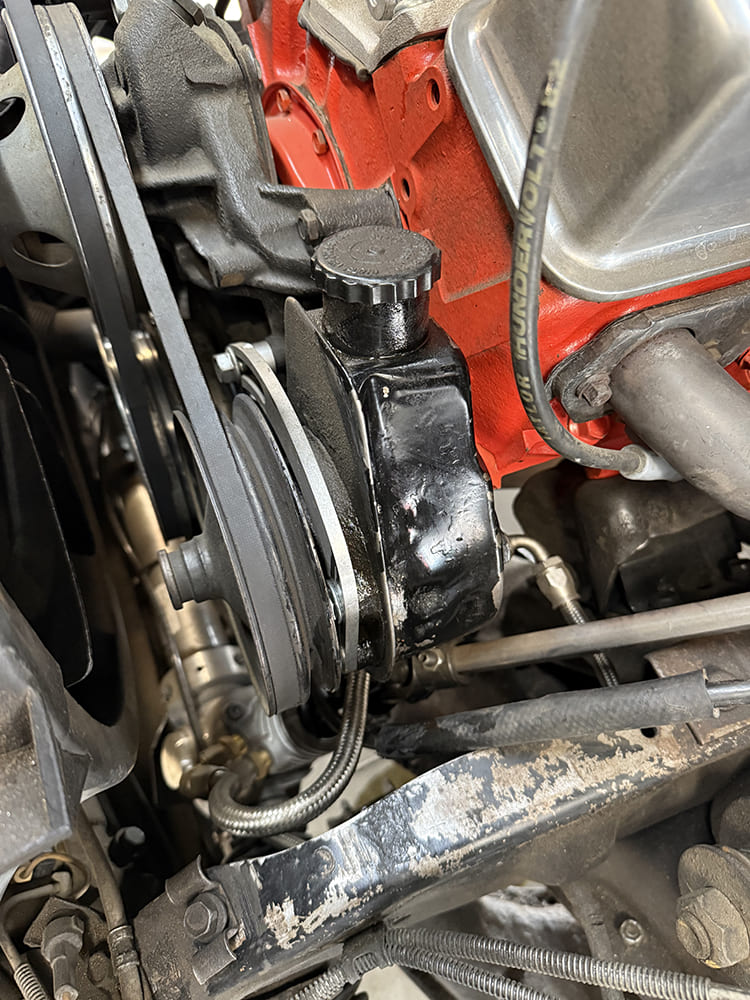
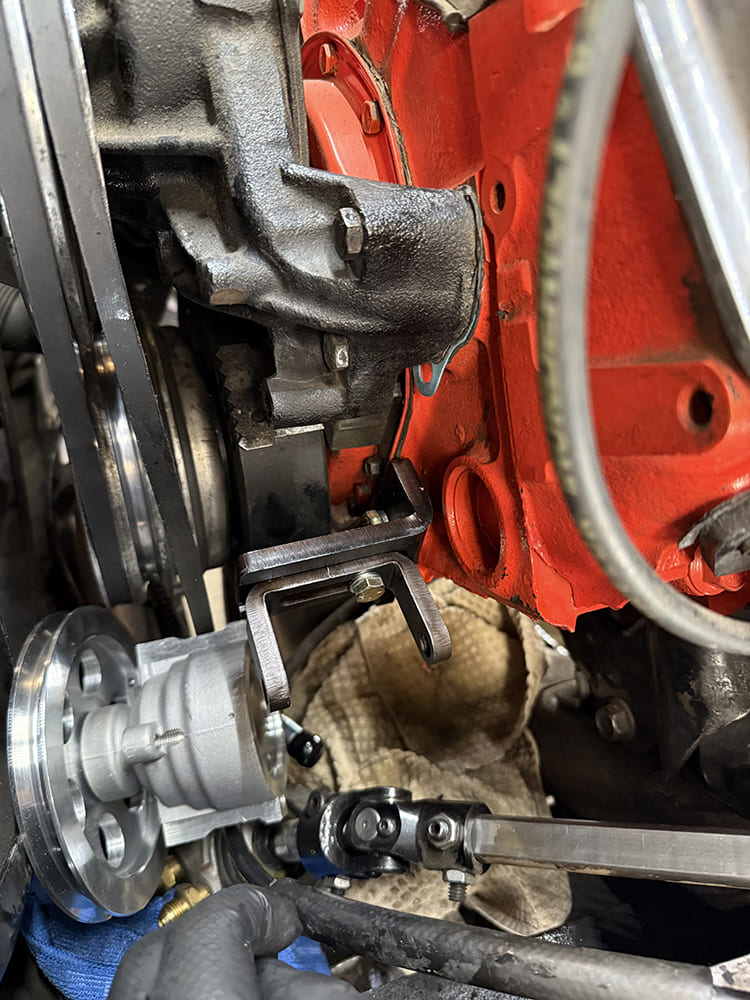
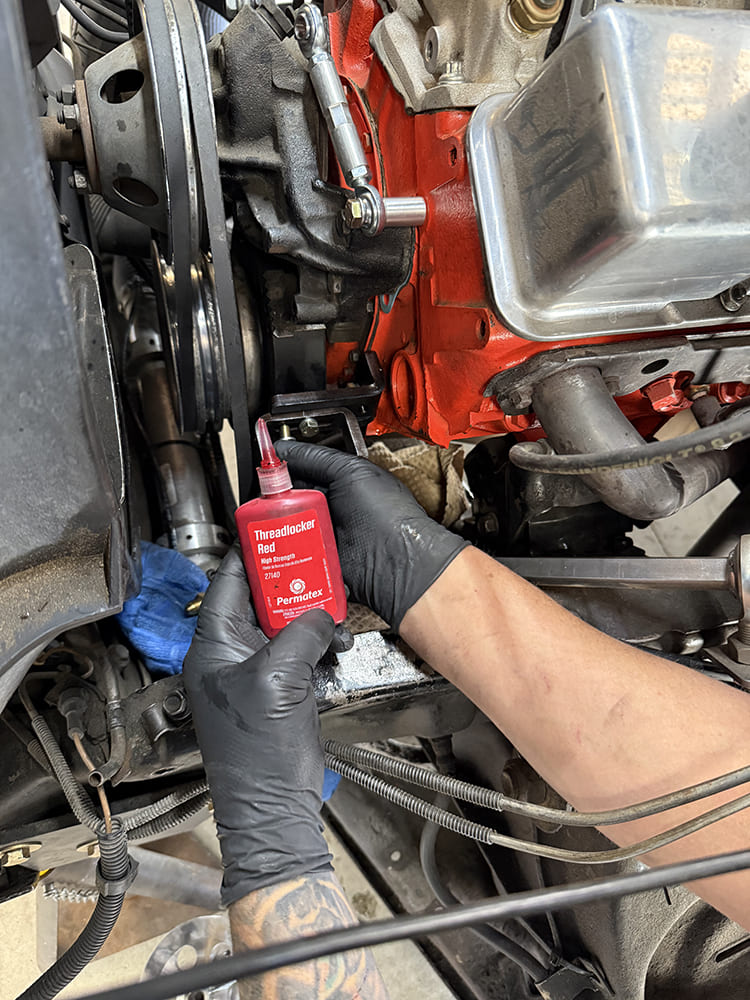
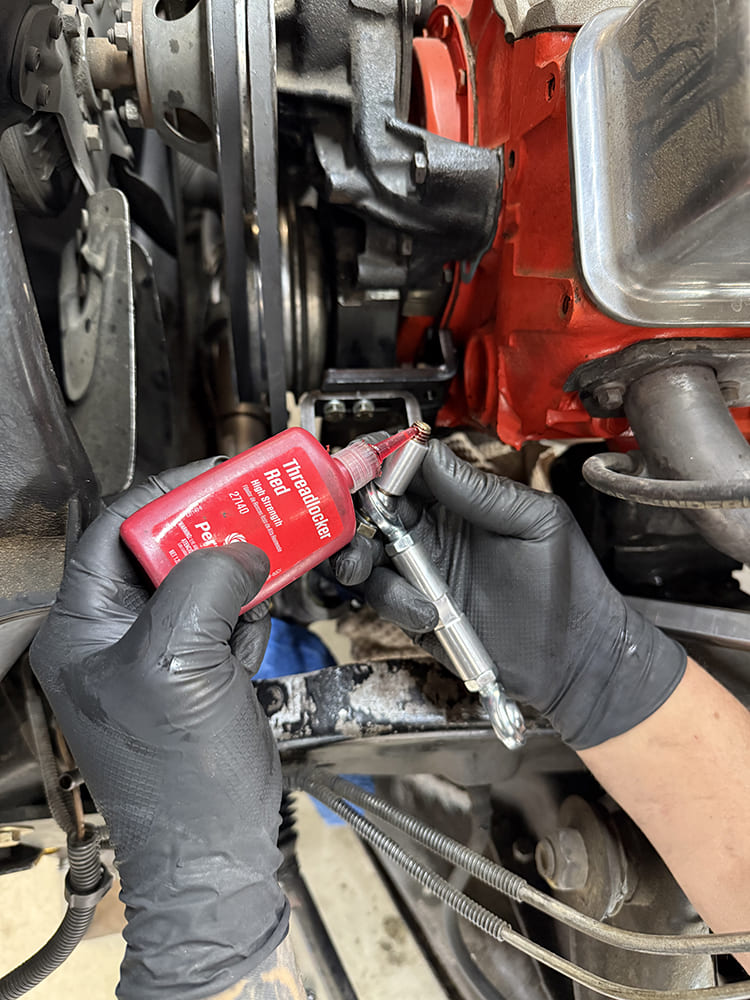
Once you’ve positioned the pump, remove it and secure the adjuster bracket using red Loctite.
For the belt tension/adjuster, we located that off the cylinder head, rather than the upper water pump bolt, with the supplied stainless spacer.
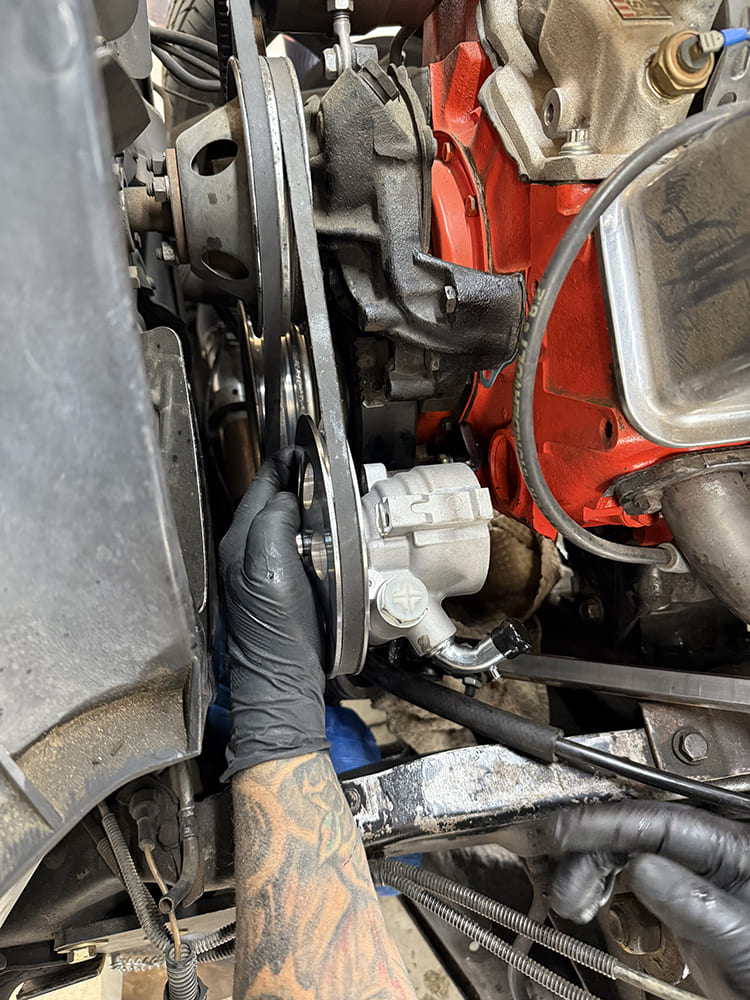
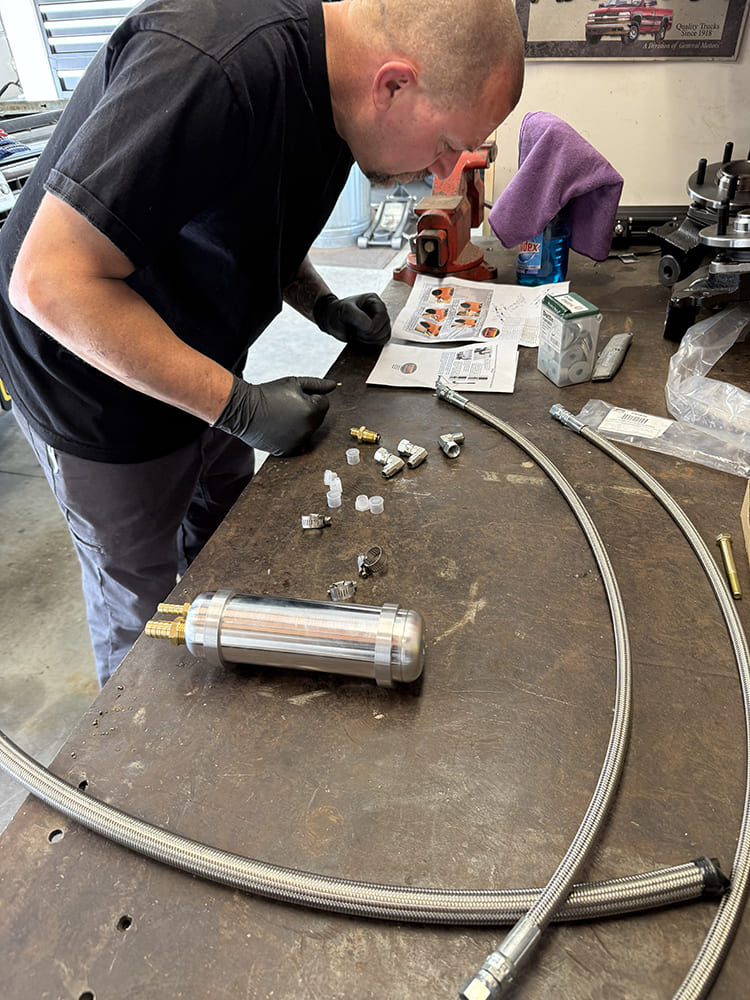
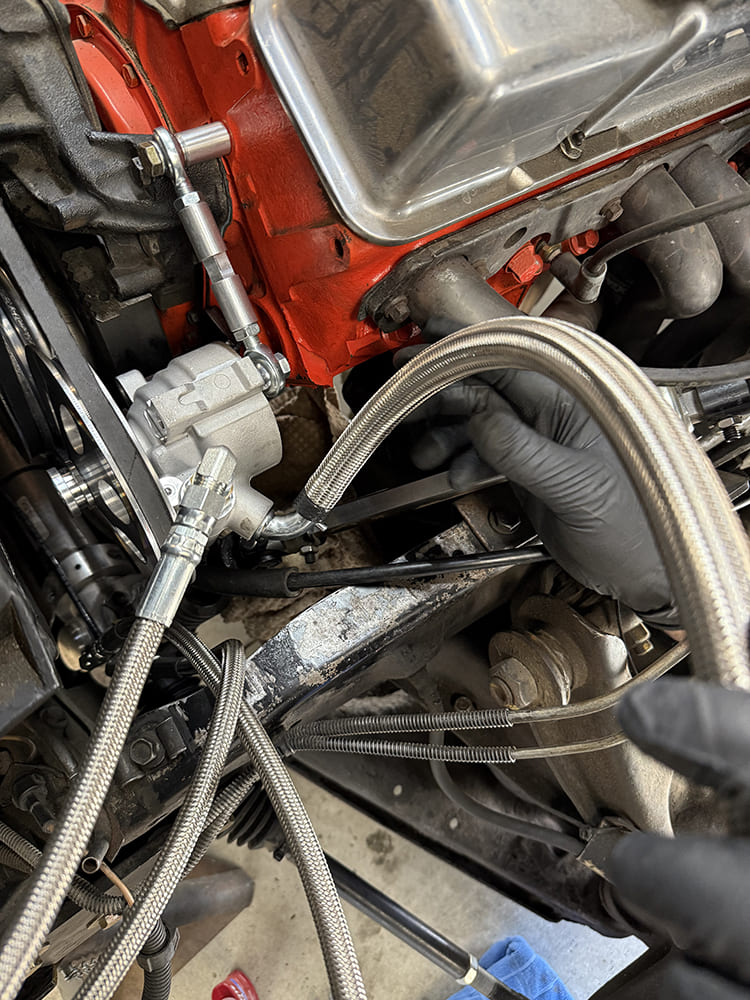
With the new pump positioned and mounted, Josh focused on the fluid supply, starting with the billet reservoir’s barbed fittings.Next, the high- and low-pressure fittings were installed in the Flaming River power rack—something that could’ve easily been done with the rack on the bench before it was previously installed (hindsight!)—as well as the high-pressure fitting in the pump.
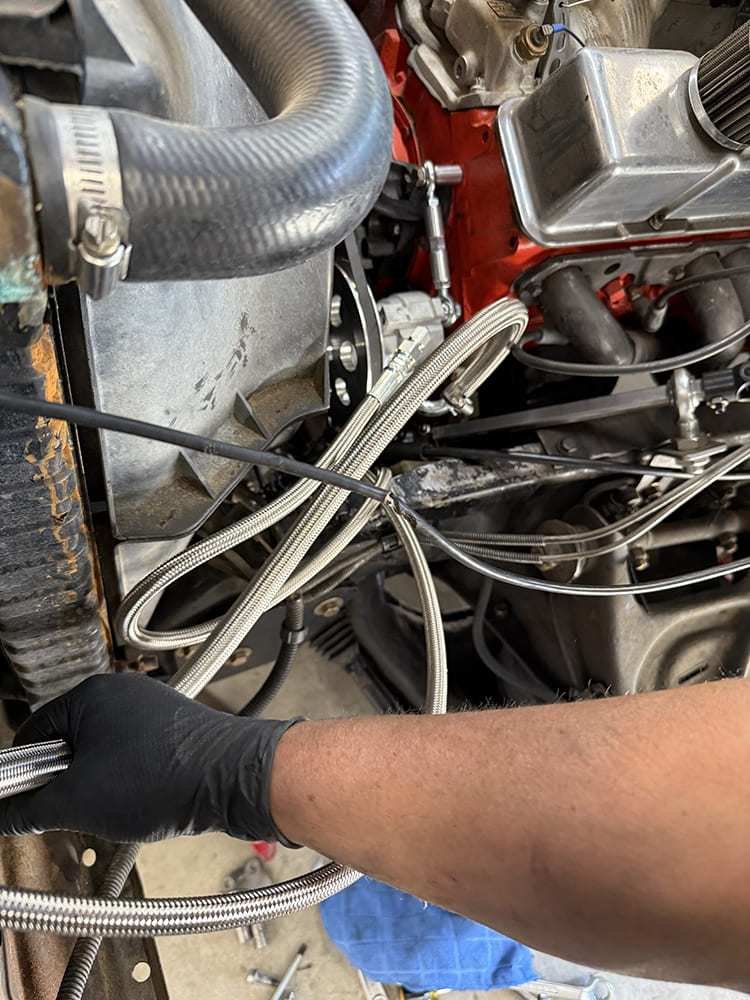
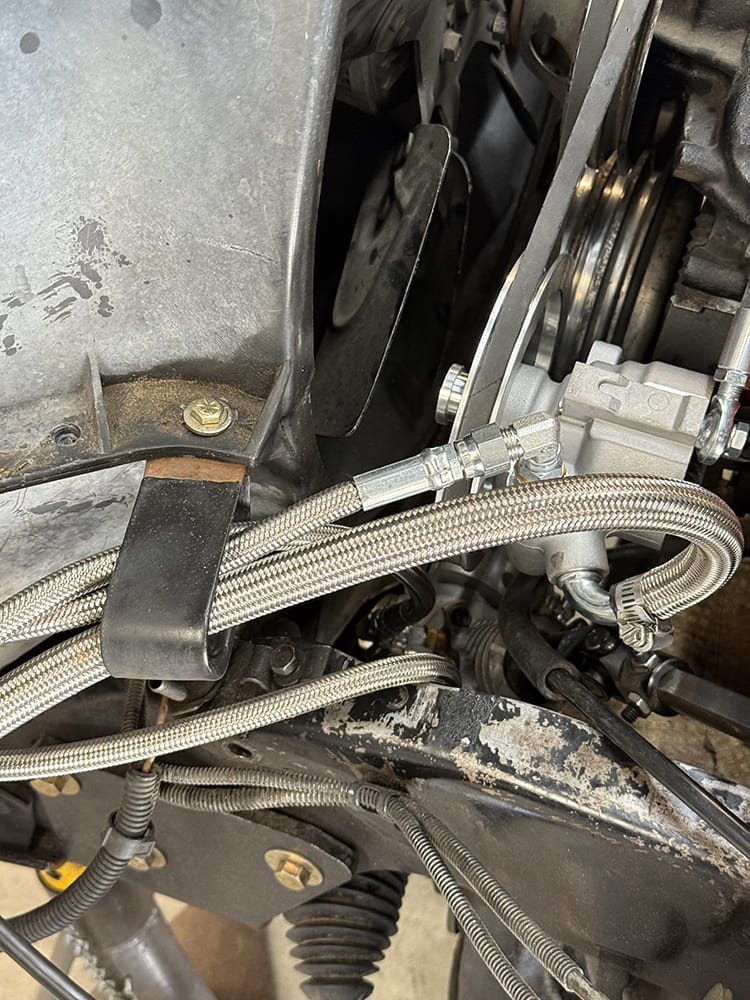
The precut/fitted braided stainless high-pressure lines were then installed; the low-pressure reservoir line can be trimmed, if necessary, but ensure there’s no kinking due to sharp bends.
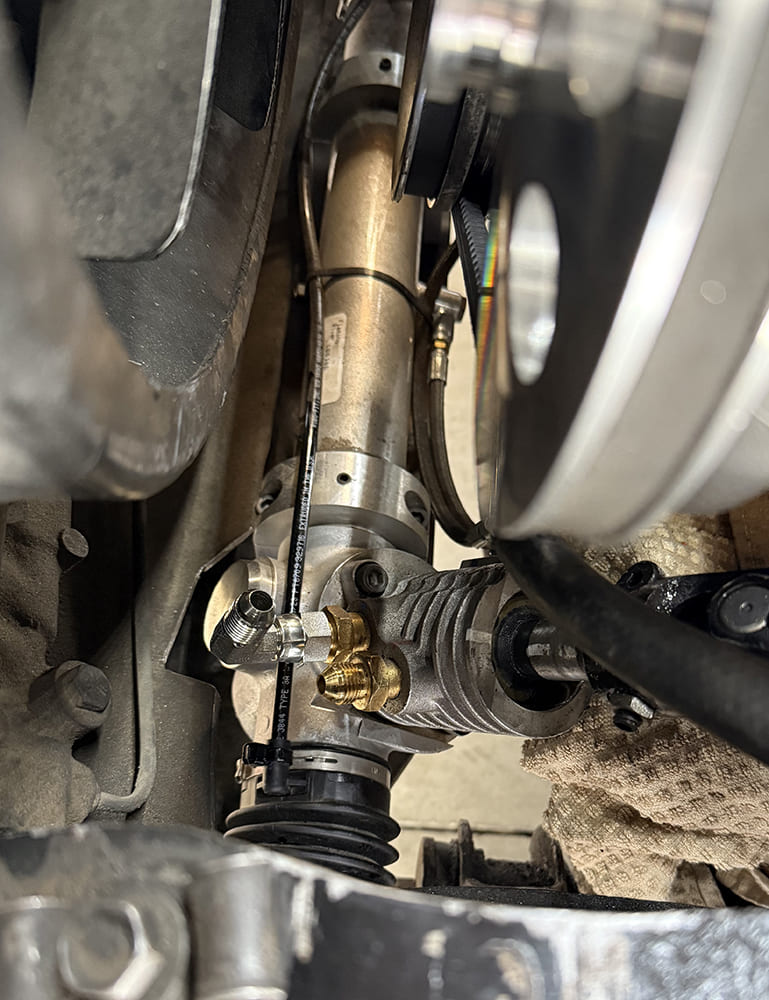
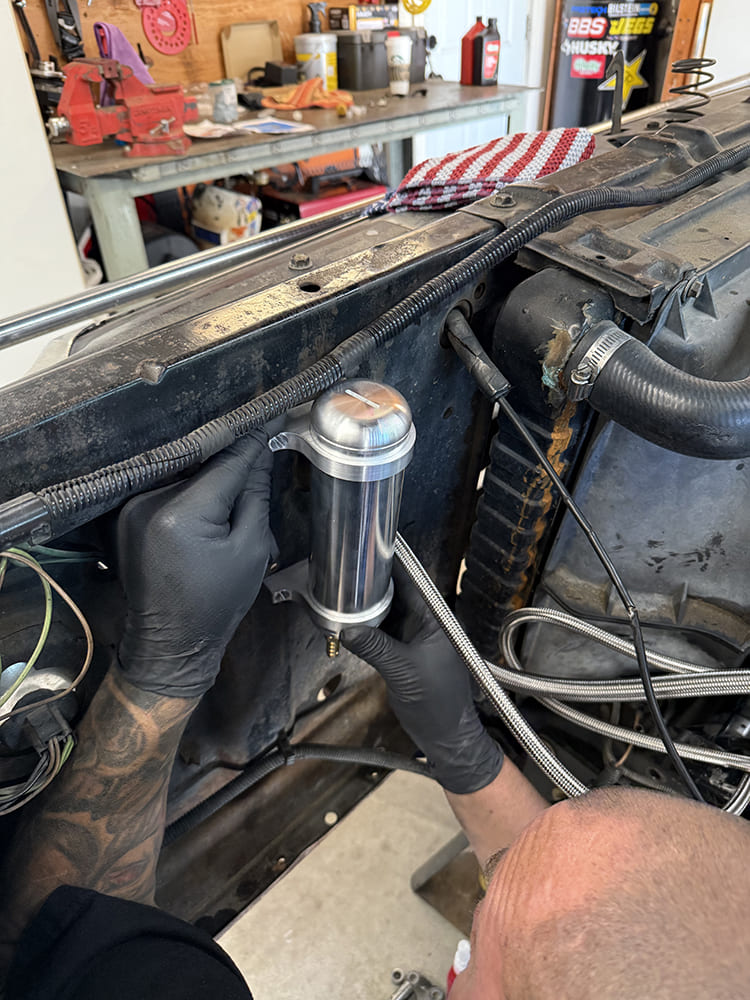
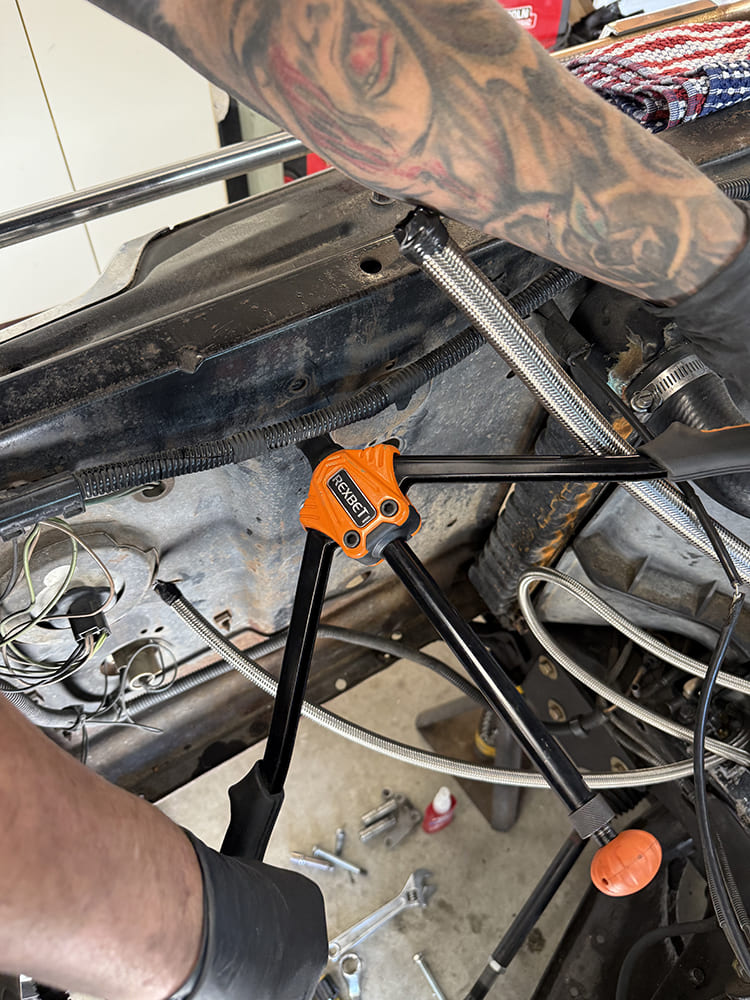
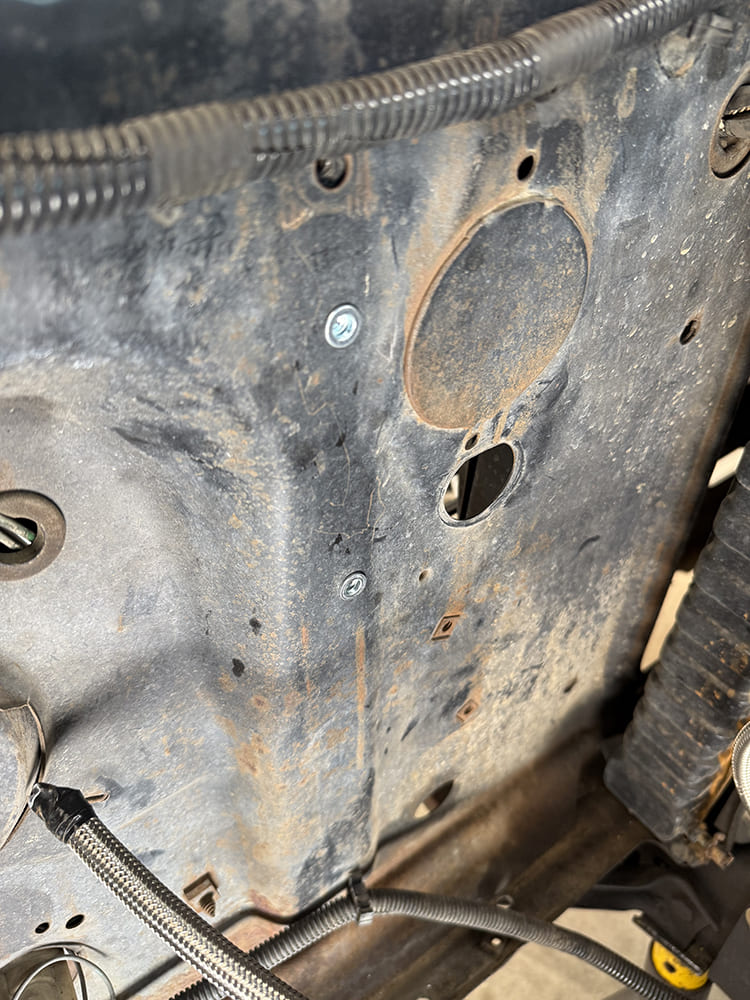
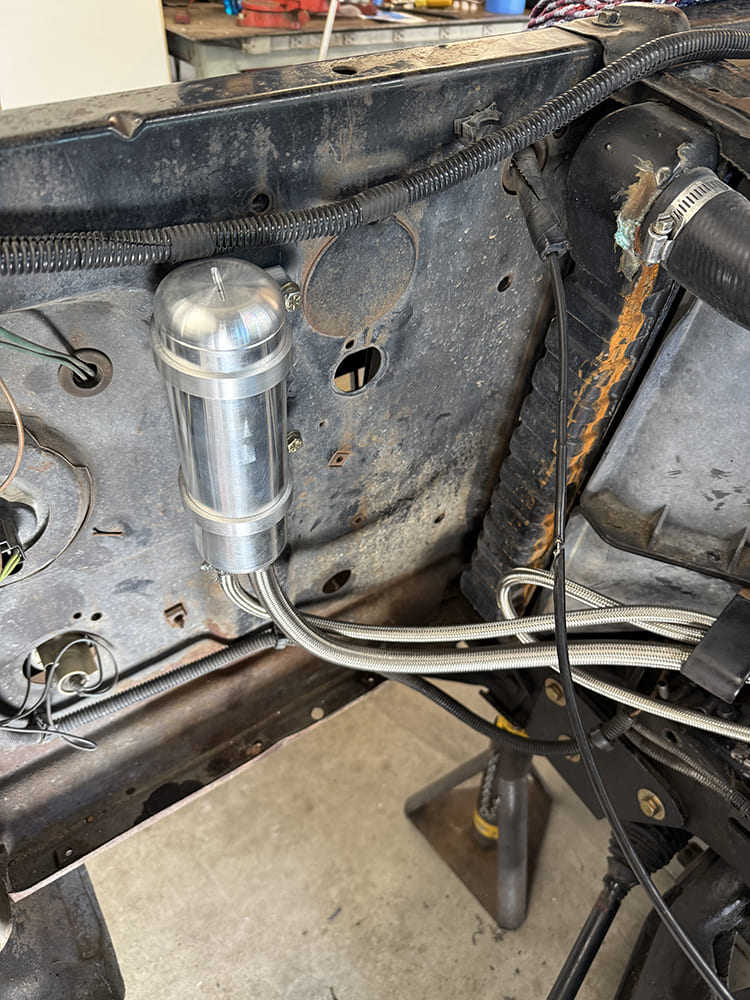
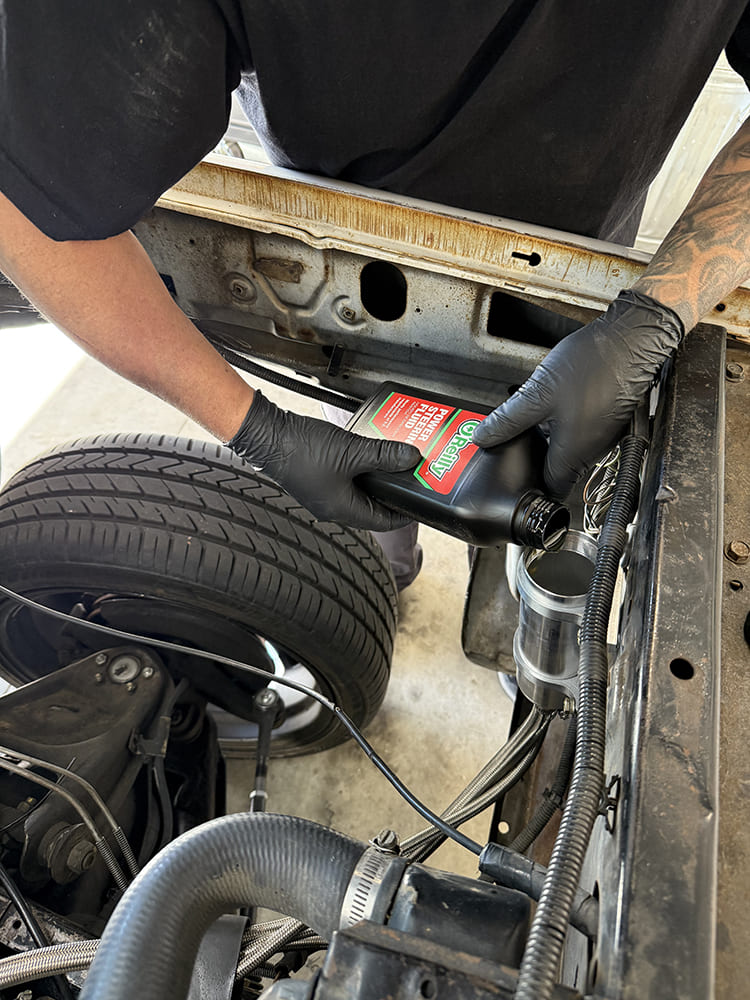
Once the lines are installed and routed accordingly, Josh located the power steering reservoir to be mounted on the core support where it would sit just higher than the pump.Rather than use hardware “through” the vertical support, after drilling the mounting holes, Josh then added threaded inserts instead.
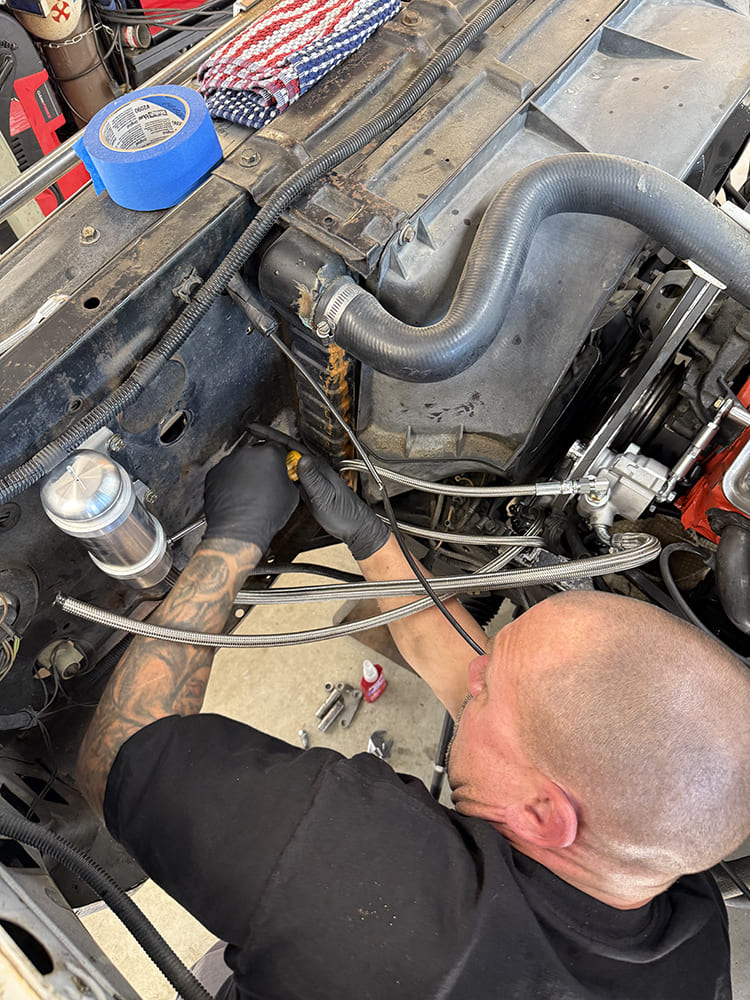
With the reservoir securely mounted, so too were the push-on braided stainless hoses using the supplied clamps.
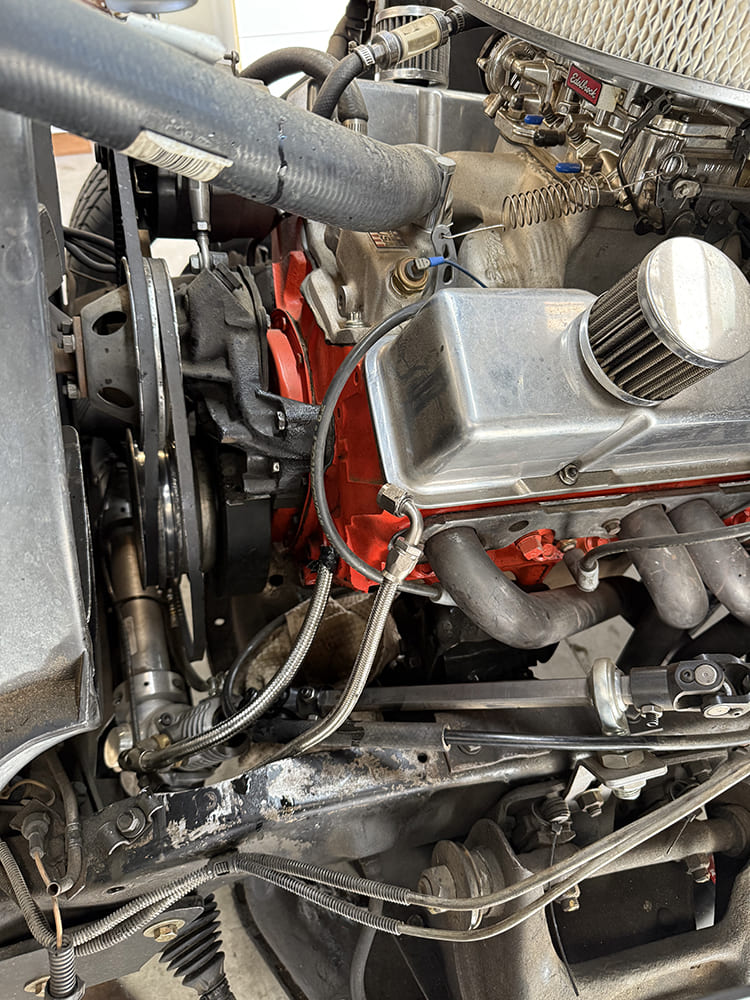
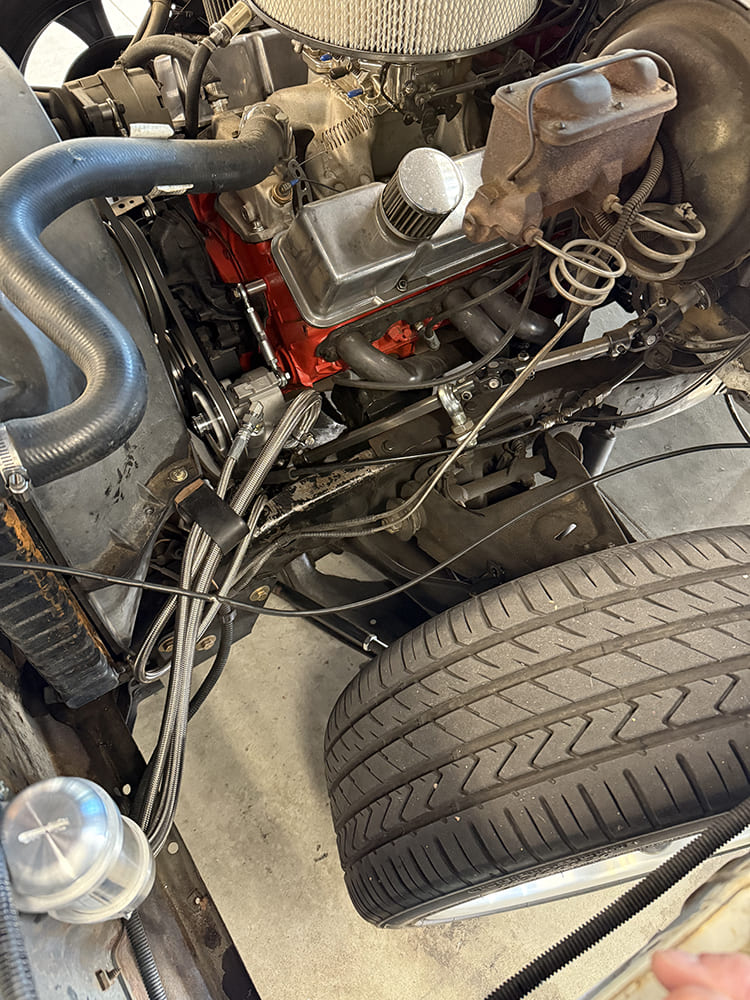
In the absence of the factory heat and A/C, the OE hose clamp was repurposed to keep the new power steering lines just that—in line!All snug and good to go, the system was topped off with fresh power steering fluid—nothing fancy, just O’Reilly’s finest house brand—before the system was fully bled (with the wheels off the ground, truck safely secured).The absence of inner fenders sure provides for good photo ops—but it also leaves components potentially vulnerable to wheel articulation, especially with airbags. We ensured there was no interference between tire and power steering hoses before sending Richard on his merry way.
We use cookies to ensure that we give you the best experience on our website. If you continue to use this site we will assume that you are happy with it.