It’s Time for Some Low-Buck Cover-Ups in a 1936 Tub
By Gerry Burger – Photography by the Author
Our 1936 Ford phaeton is powered by a 59AB flathead motor, hopped up with all the good stuff, like Sharp heads and intake and a couple of Stromberg carbs, headers complete the performance package. We recently coupled a five-speed from an S-10 pickup to the back of that motor using a Speedway Motors kit. The installation went super smooth. We used the stock clutch linkage to complete the mechanical side of the swap.
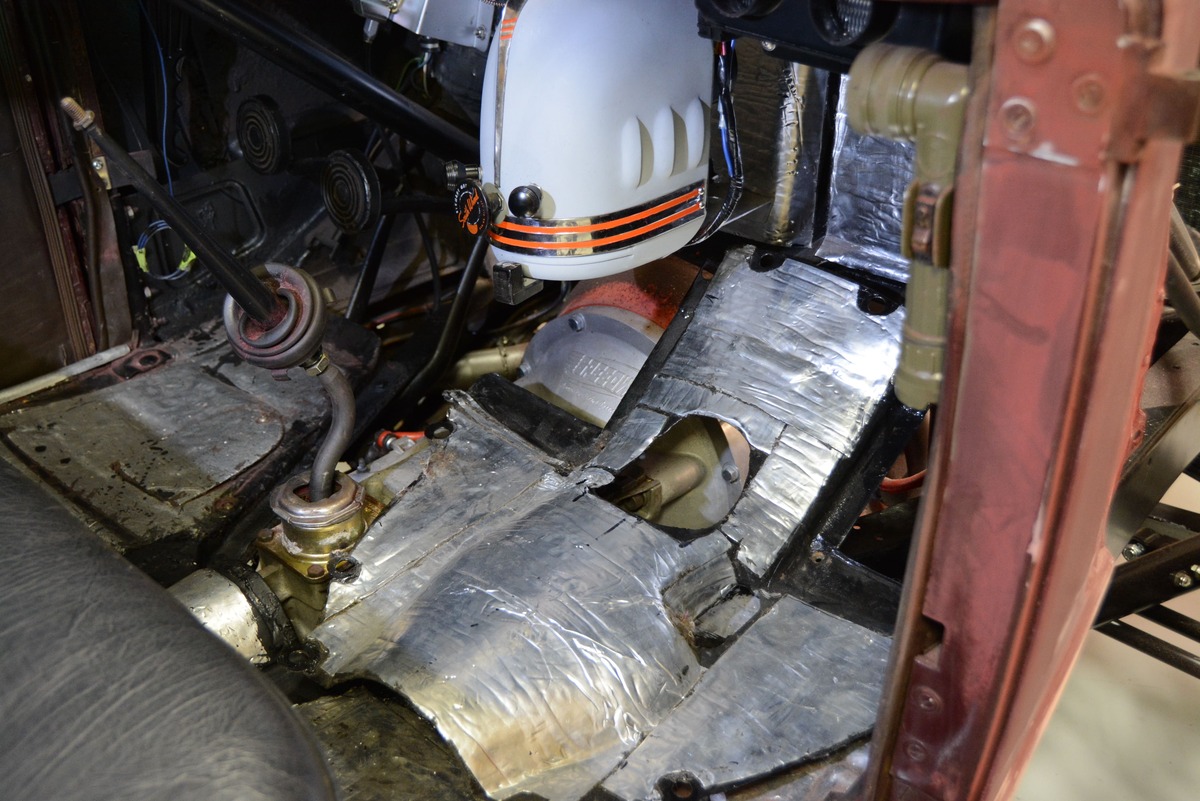
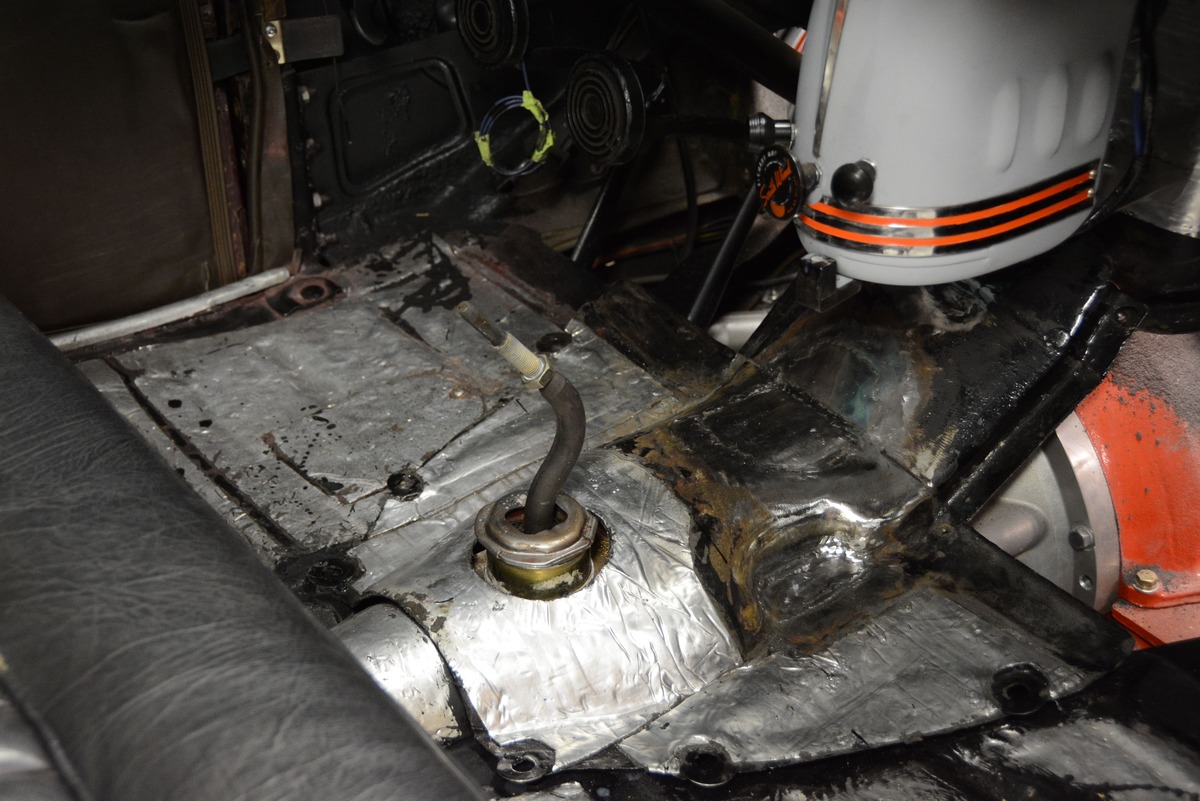
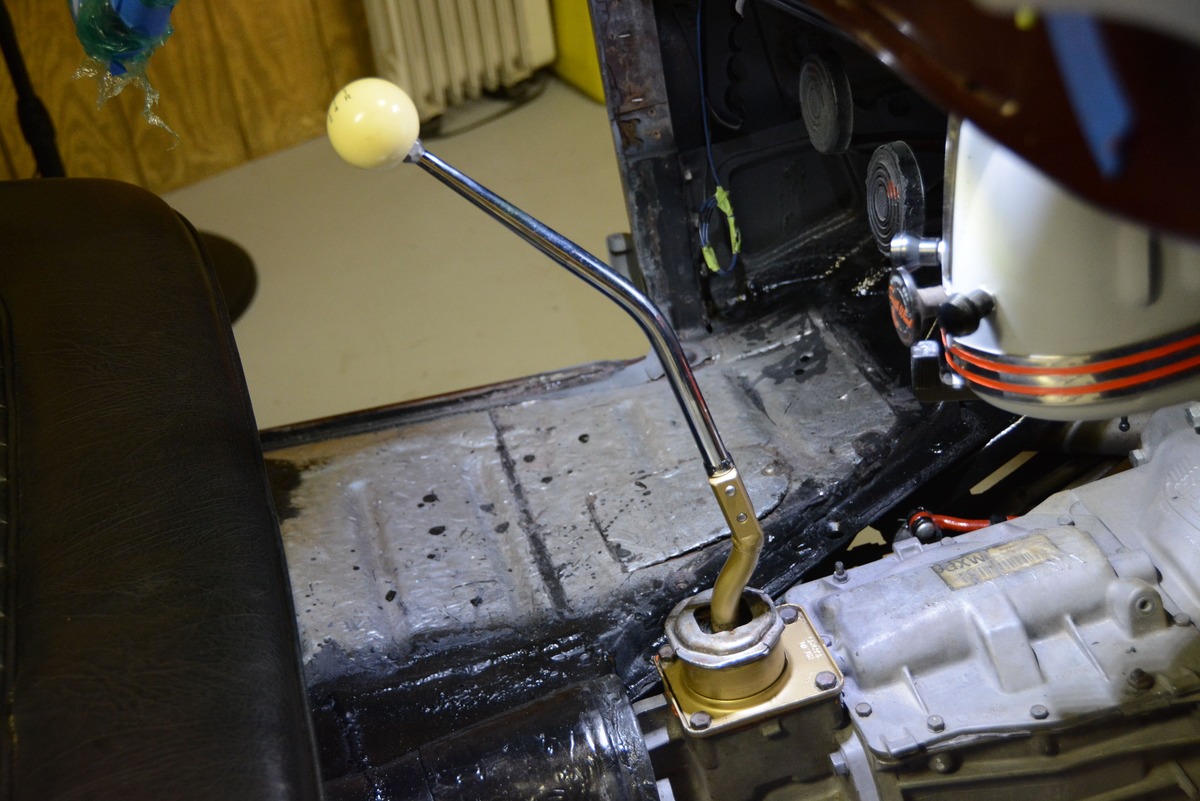
However, as you know, the fun part about using nice new parts to adapt a tranny is often followed by the grunt work of modifying the floor to accommodate the new shifter location. The original early Ford three-speed shifter came through the floor in a gaping hole located well forward of our T5 shifter. That meant we would need to fill one hole and create another. Actually, since we had removed the original 1936 Ford parking brake, we had two holes to fill. The original parking brake was eliminated in an effort to clean up the floor area of the car. The factory brake was replaced with an underdash unit from Lokar.
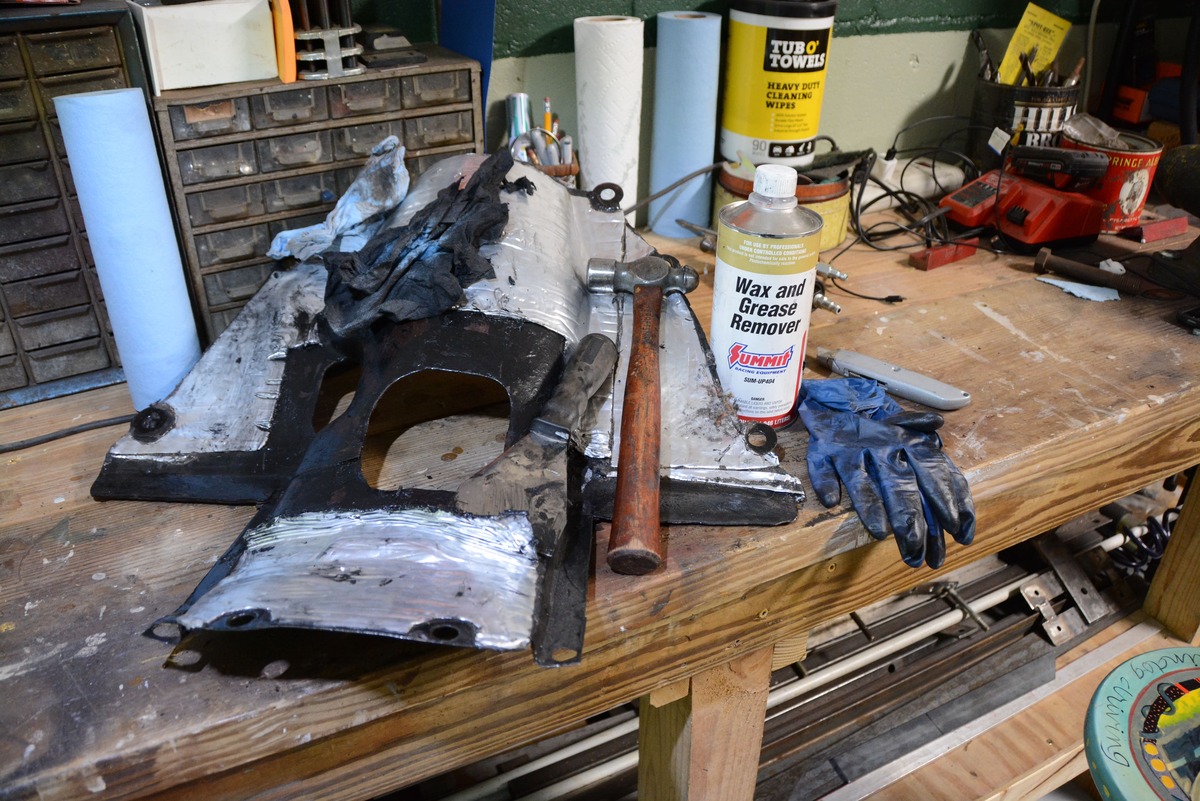
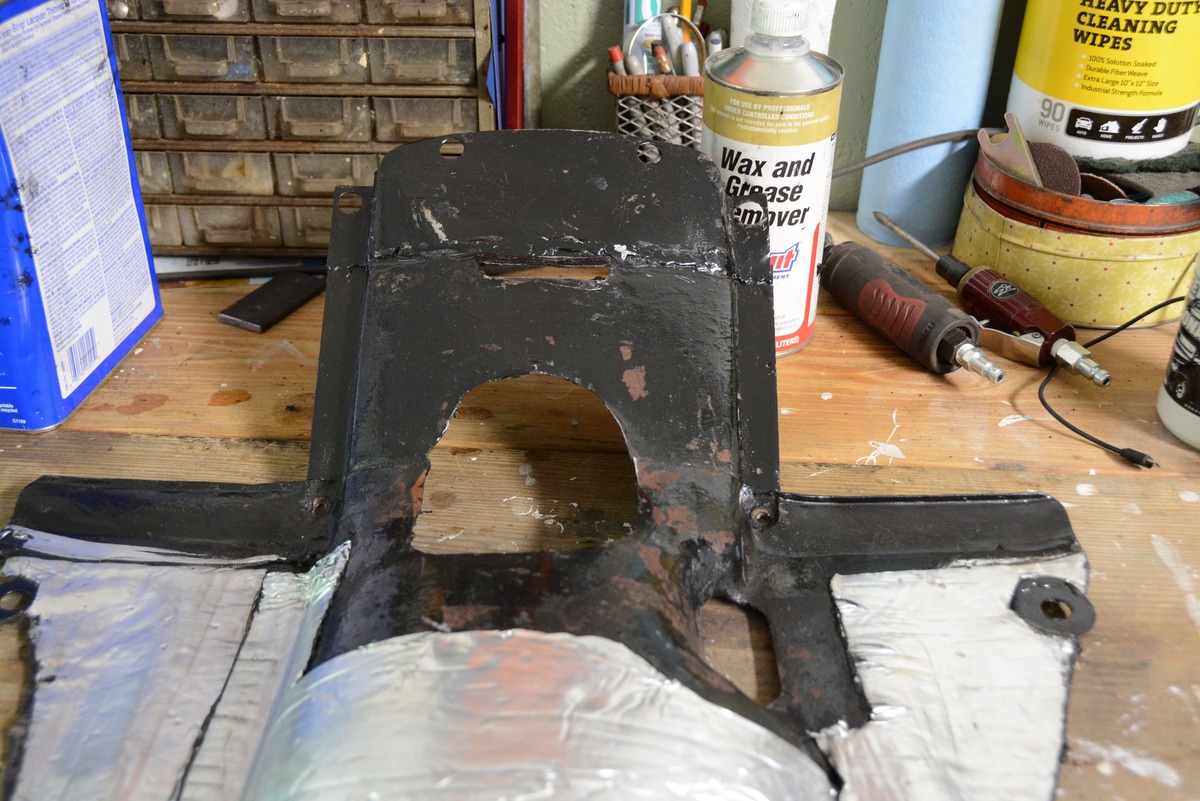
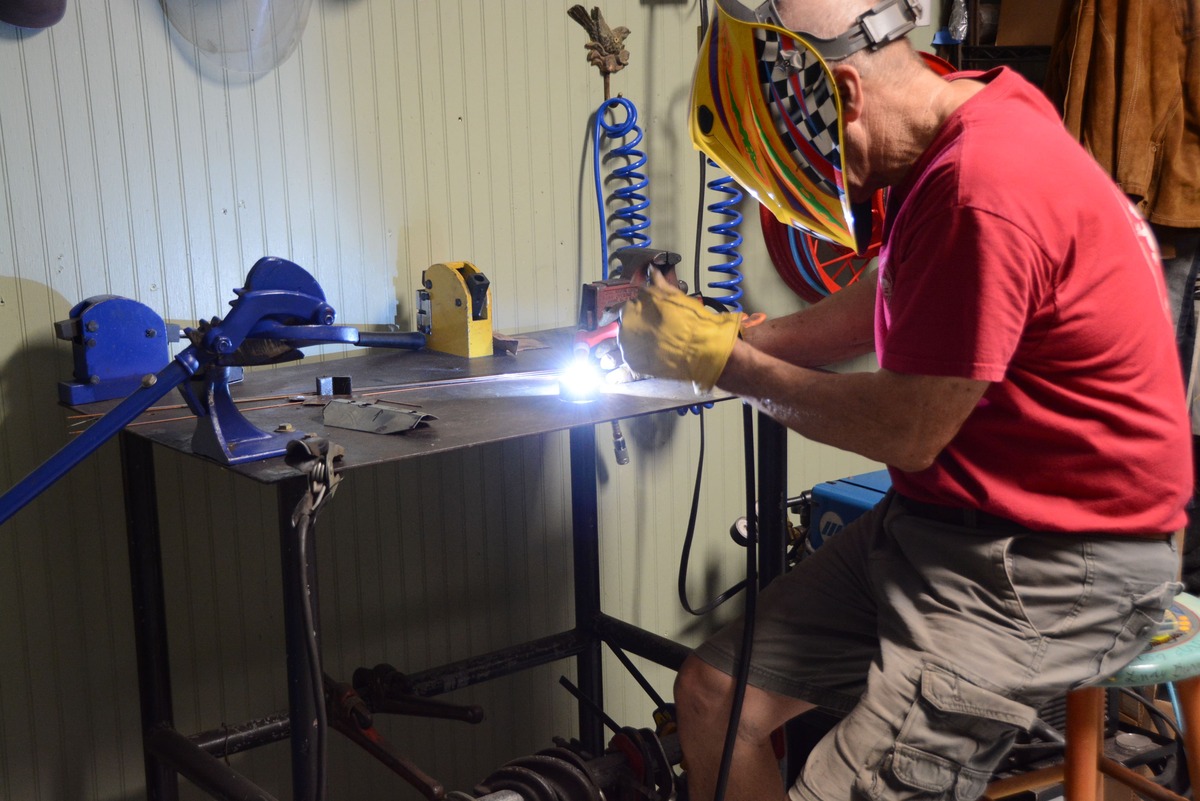
The job of filling the original holes in the floor was an exercise in simple sheetmetal fabrication and welding. Make a template, cut and shape the sheetmetal, and weld it in place. But wait, before we could do that, we had to remove the Dynamat-type insulation that had been installed by a prior owner. Great stuff that Dynamat. Keeps things cool and quiet and sure stays in place once it is installed. As a matter of fact, removing the dense material proved to be quite a task. First, we used a heavy scraper and hammer to remove the foil portion and most of the thick, sticky black stuff. To weld, all of that material must be gone. Wire brushes, grinding discs, lacquer thinner, and numerous other methods proved to be no match for the black goo. Then, simply by accident, we discovered the magic formula. While cleaning the aforementioned scraper we picked up a shop towel and poured a bit of Prep-Sol on it to wipe off the handle. It was like magic, the black material instantly wiped off. We then tried it on the residue left on our floor panel and sure enough we were down to bare metal in no time. Plan on a couple pairs of rubber gloves, lots of shop towels, and Prep-Sol, but it actually came off quite quickly. After that the welding was easy.
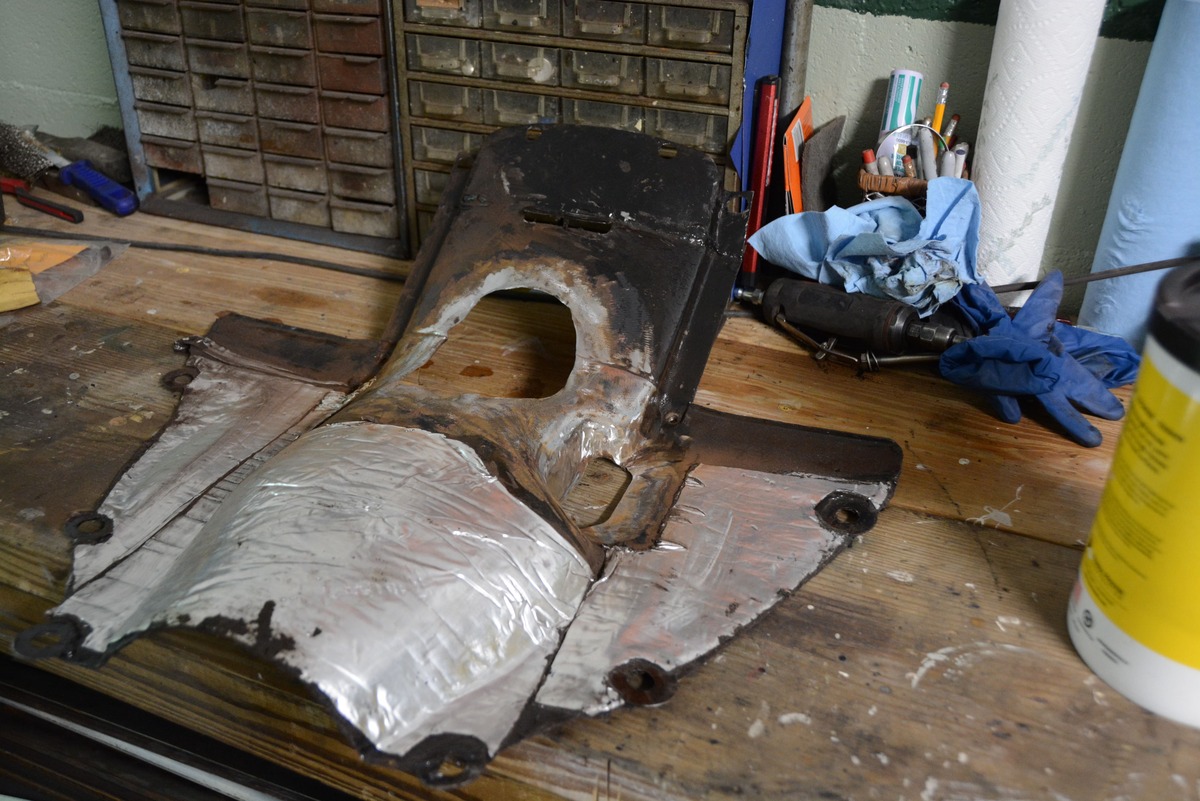
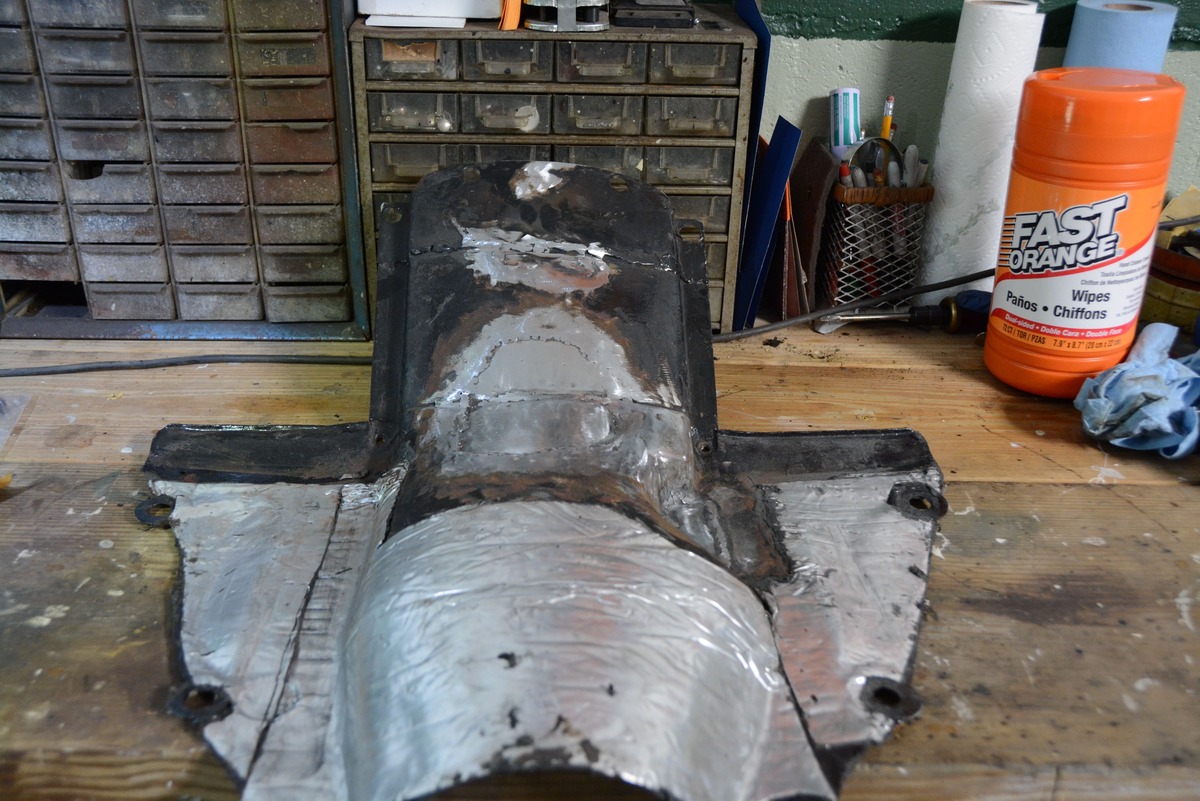
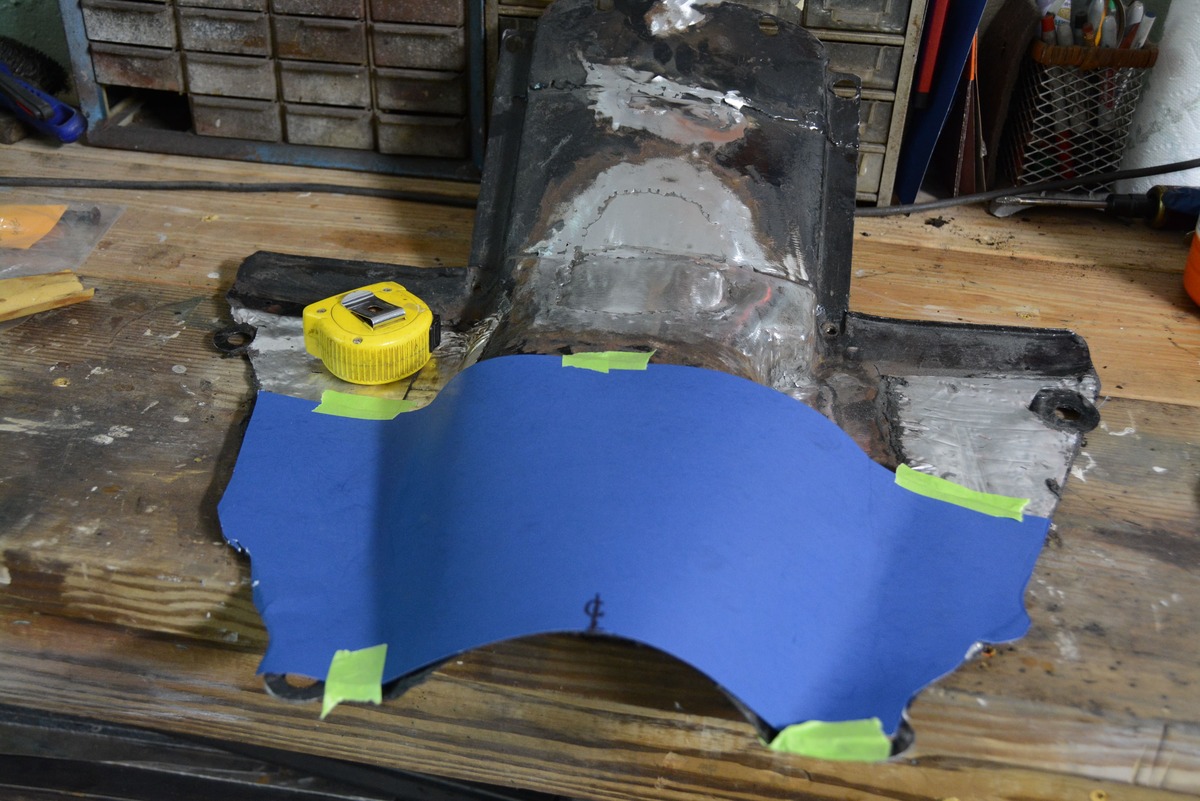
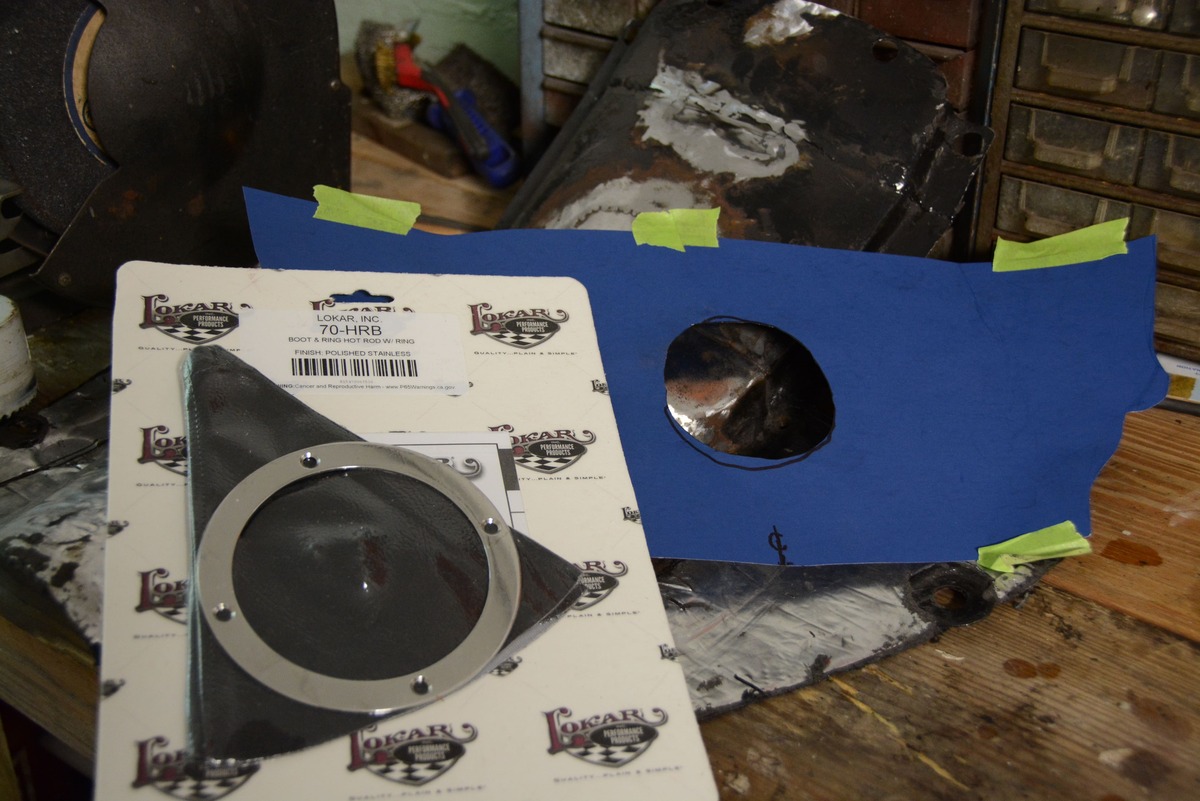
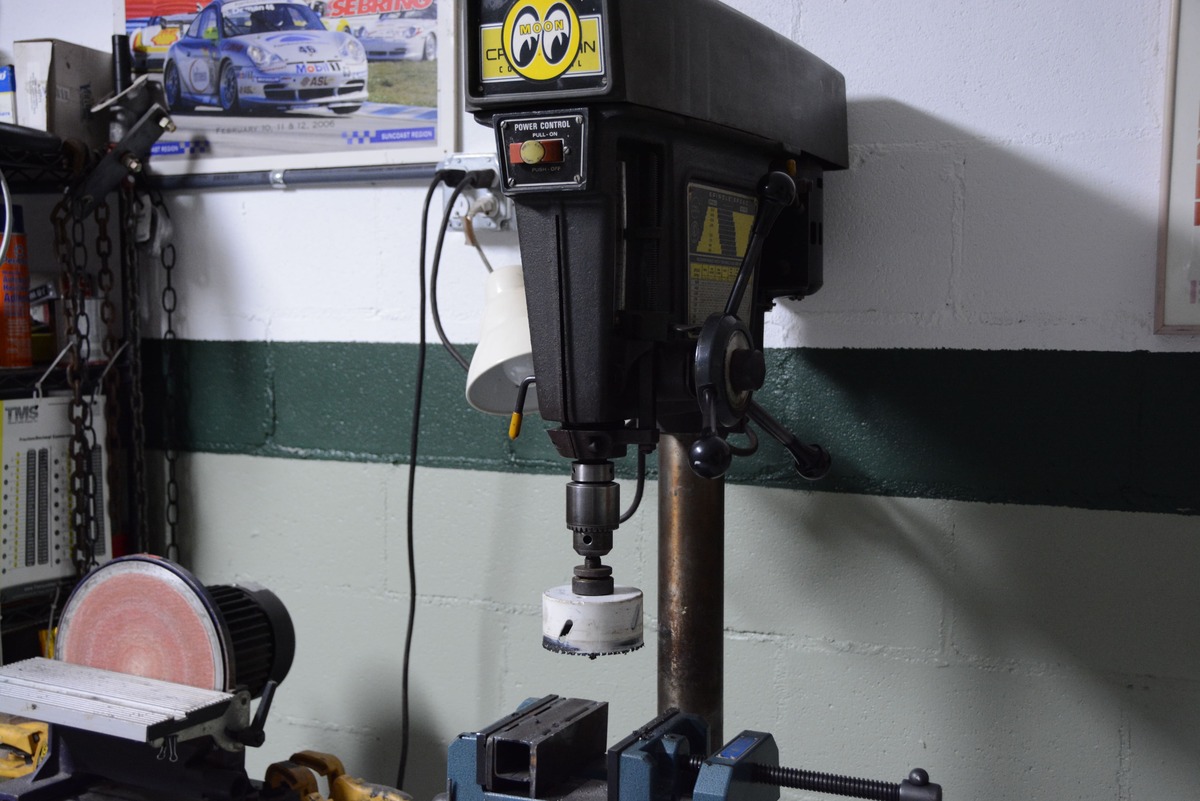
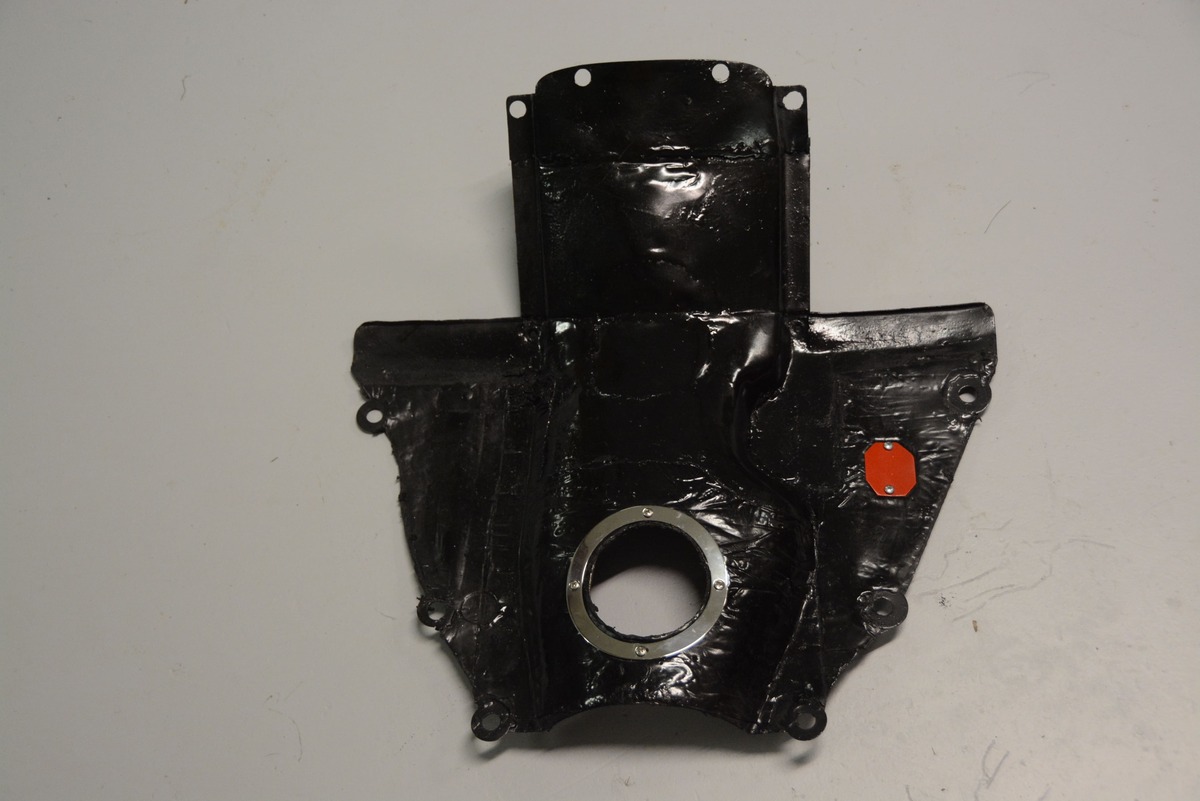
With the original holes welded shut we turned out attention to locating the hole for the new T5 shifter. A simple template was made to locate the hole. The location was then transferred to the floor panel using the chrome ring from a Lokar shifter boot as a guide. A 3-5/8-inch hole saw cut the hole in the floor. We placed the chrome ring back in place and drilled the four holes for the sheetmetal screws that hold the ring in place.
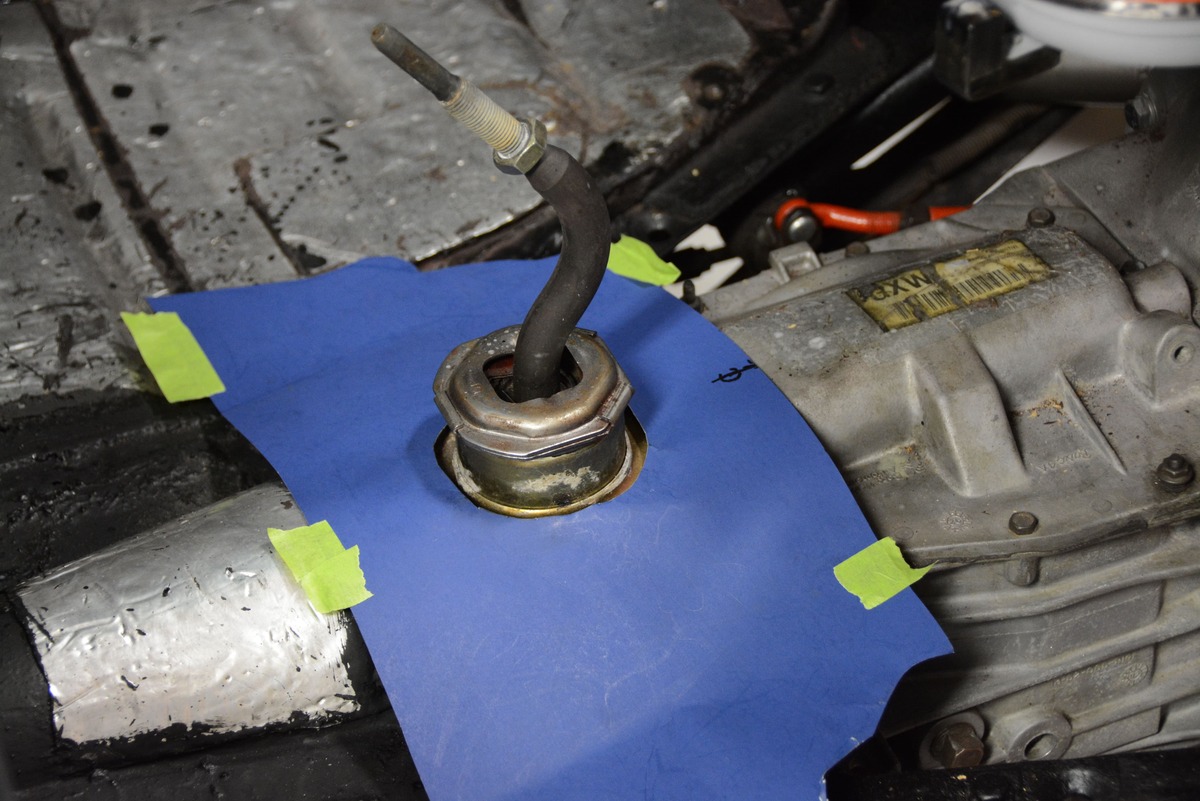
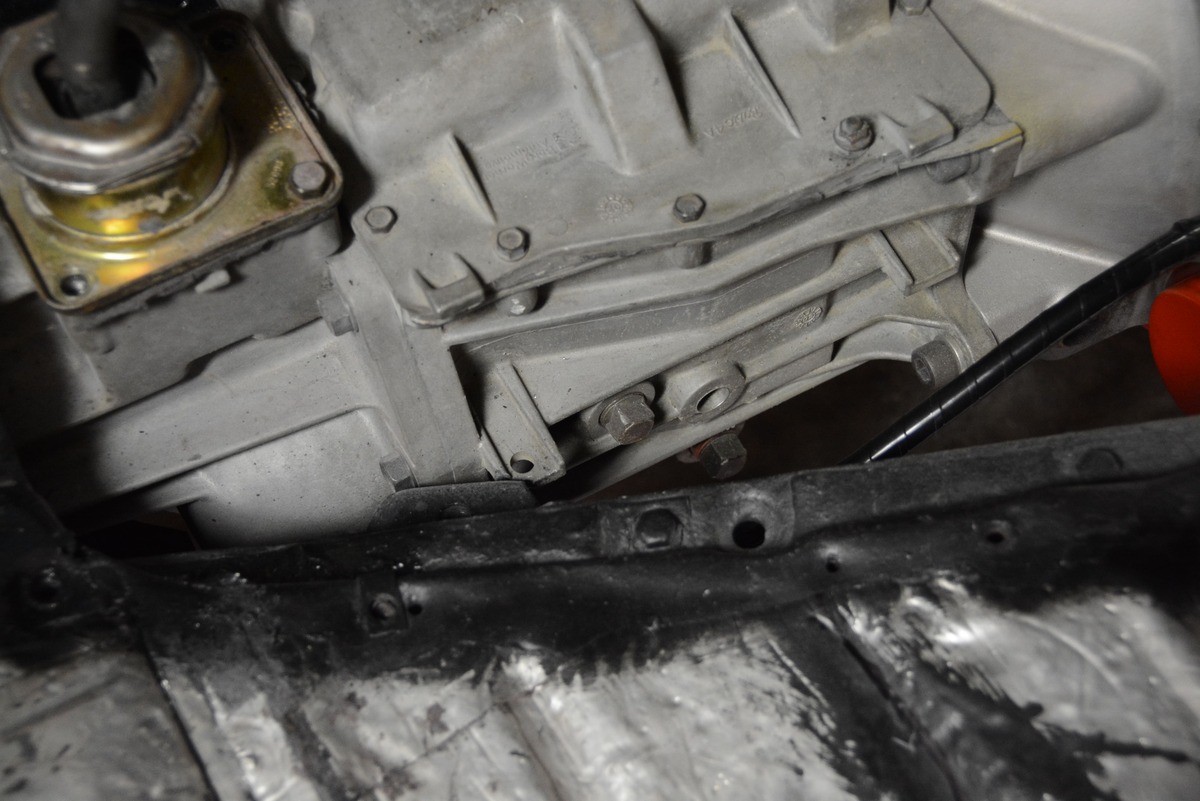
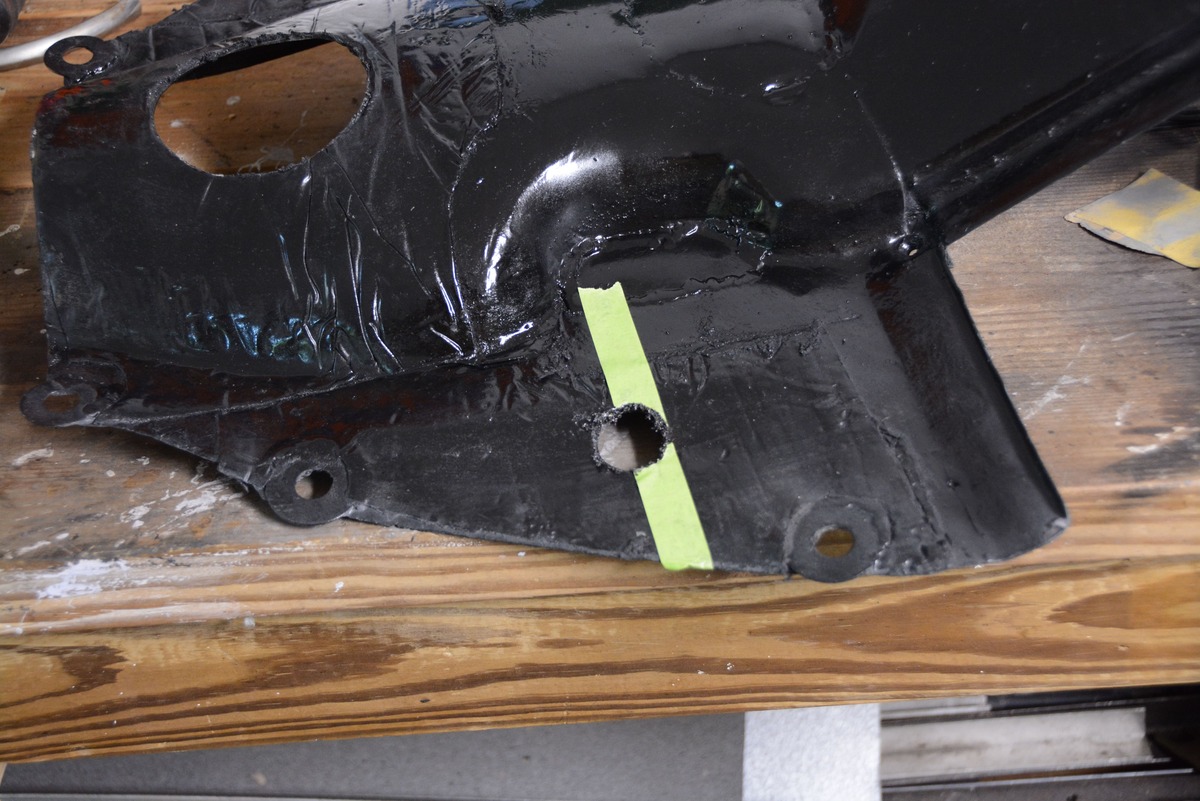
Next, we decided it would be prudent to have a fill hole in the floor for the transmission. Getting to the plug is easy enough from under the car, but trying to get transmission fluid into the gearbox would require a pump, and we learned a long time ago, when it comes to fluid transfer it’s hard to beat gravity. We located and drilled a hole directly over the fill plug on the transmission. A simple cover over the hole is held in place with two sheetmetal screws. Now filling the tranny is as simple as rolling back the mat, removing the cover, and putting a hose through the hole down to the transmission. A quick coat of black paint and the floor panel was reinstalled in the car.
This 1936 phaeton will be running with no top so the whole concept is to keep things as weatherproof and simple as possible. To that end we opted to reuse the reproduction rubber floor mat that was already in the car. After cutting the hole for the new shifter we installed the rubber mat and were pleased with the utilitarian look with one exception. There was a big round hole in the mat just in front of our nice new shifter. It was an eyesore. Since this hole is in the reproduction mats, we had to find a way to make this eyesore easy on the eyes.
Building a low-buck hot rod means repurposing and to that end we seldom throw things away.
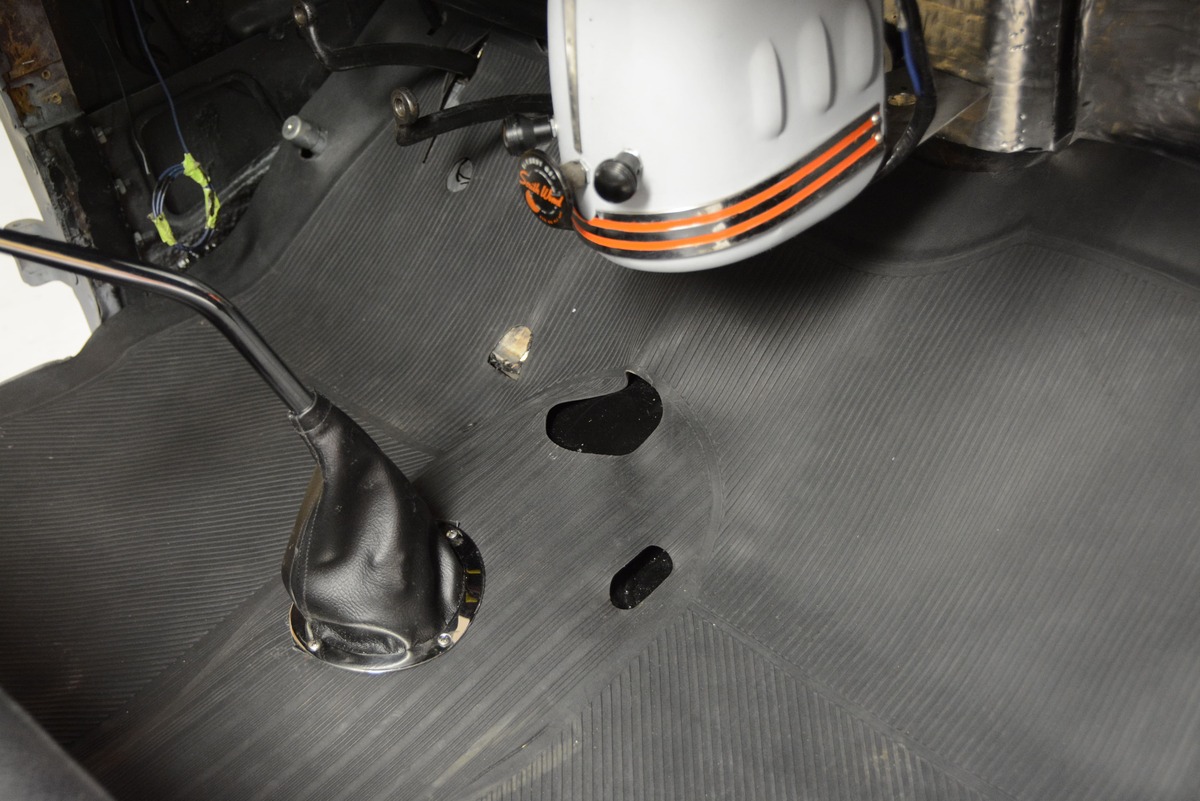
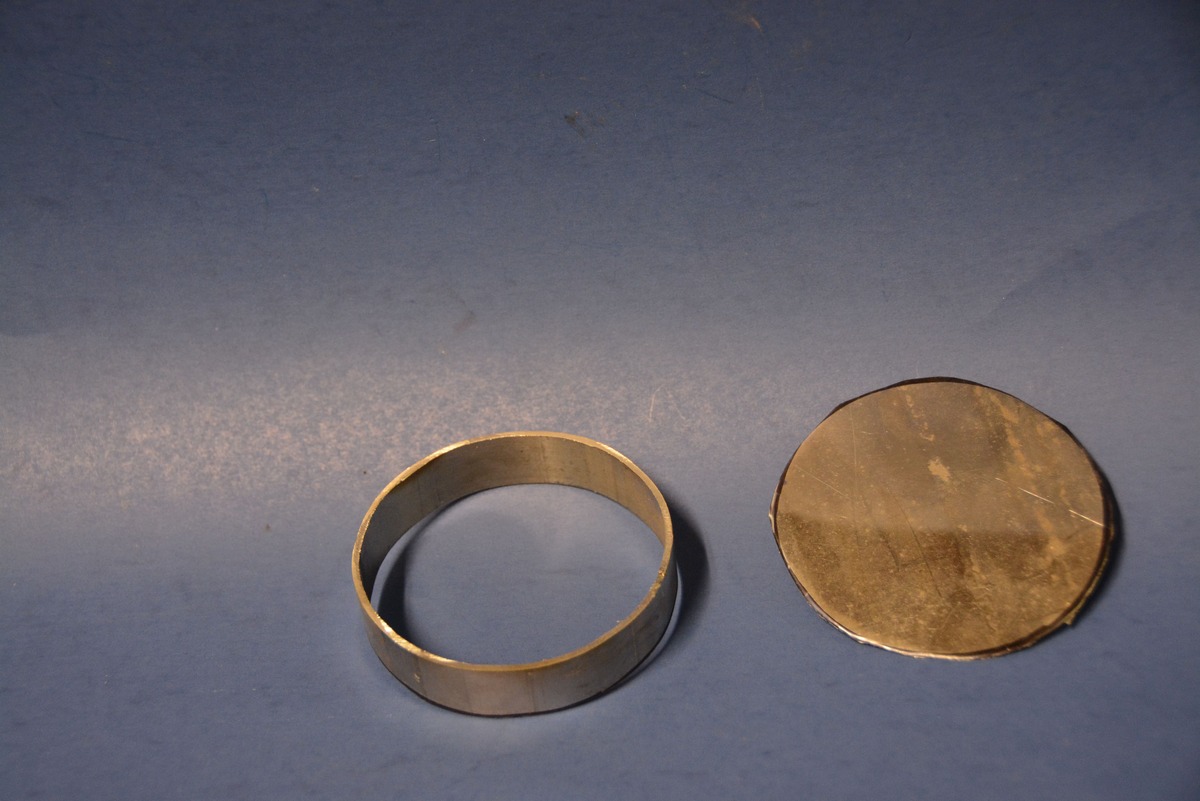
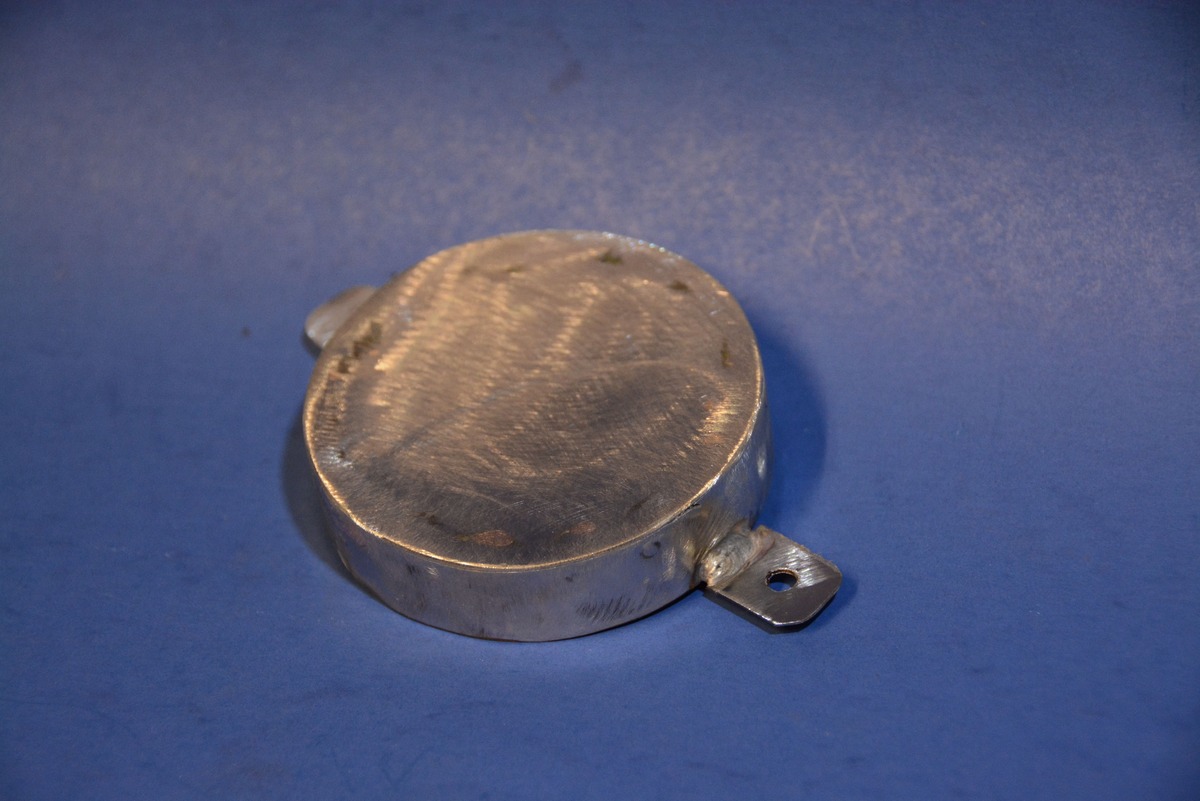
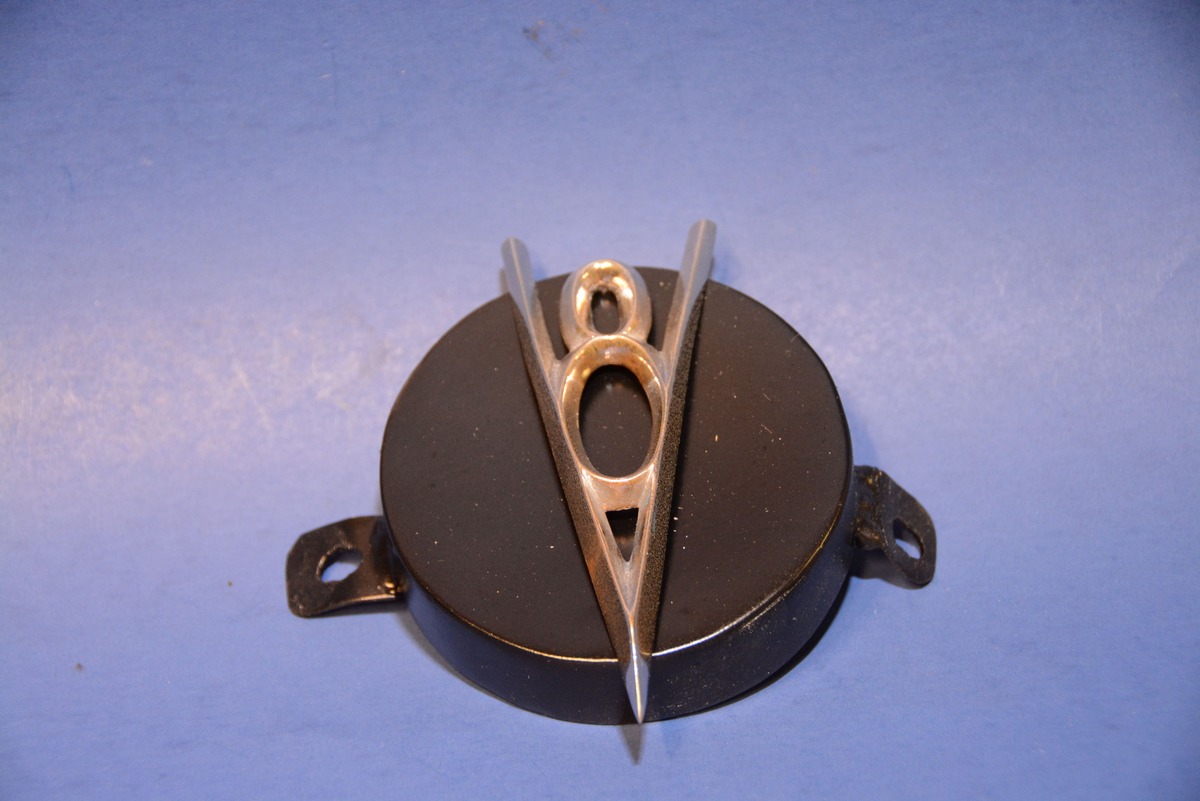
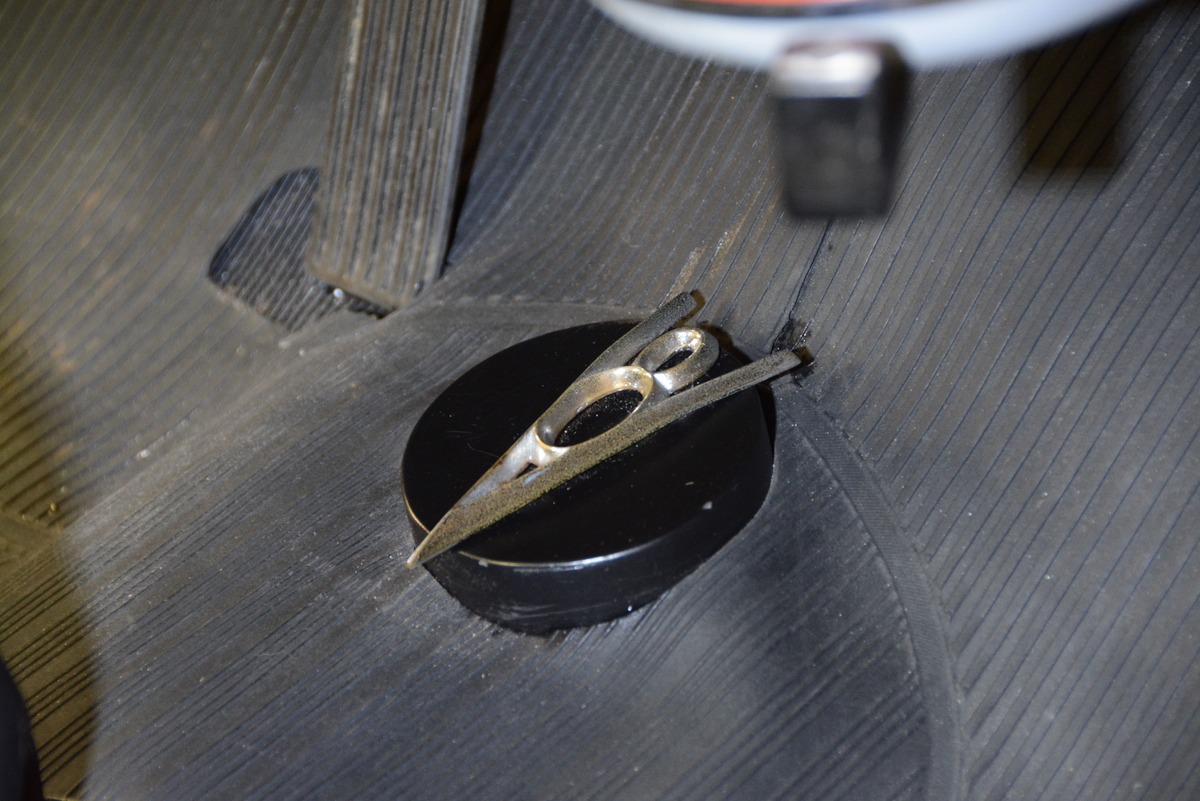
While recently working on the damaged hood ornament we had removed the slightly weathered (I believe patina if the preferred term) V8 ornament. Hmm, maybe that would fill the hole. Turns out it was about the right size but we needed a way to make it look like it belonged there. Some quick fabrication with a piece of exhaust tubing and some sheetmetal netted us a round podium for the hood ornament. We drilled two holes for the ornament pins and a dab of J-B Weld on the inside of the cup held it in place. It had a nice vintage hot rod flavor and filled the hole with style.
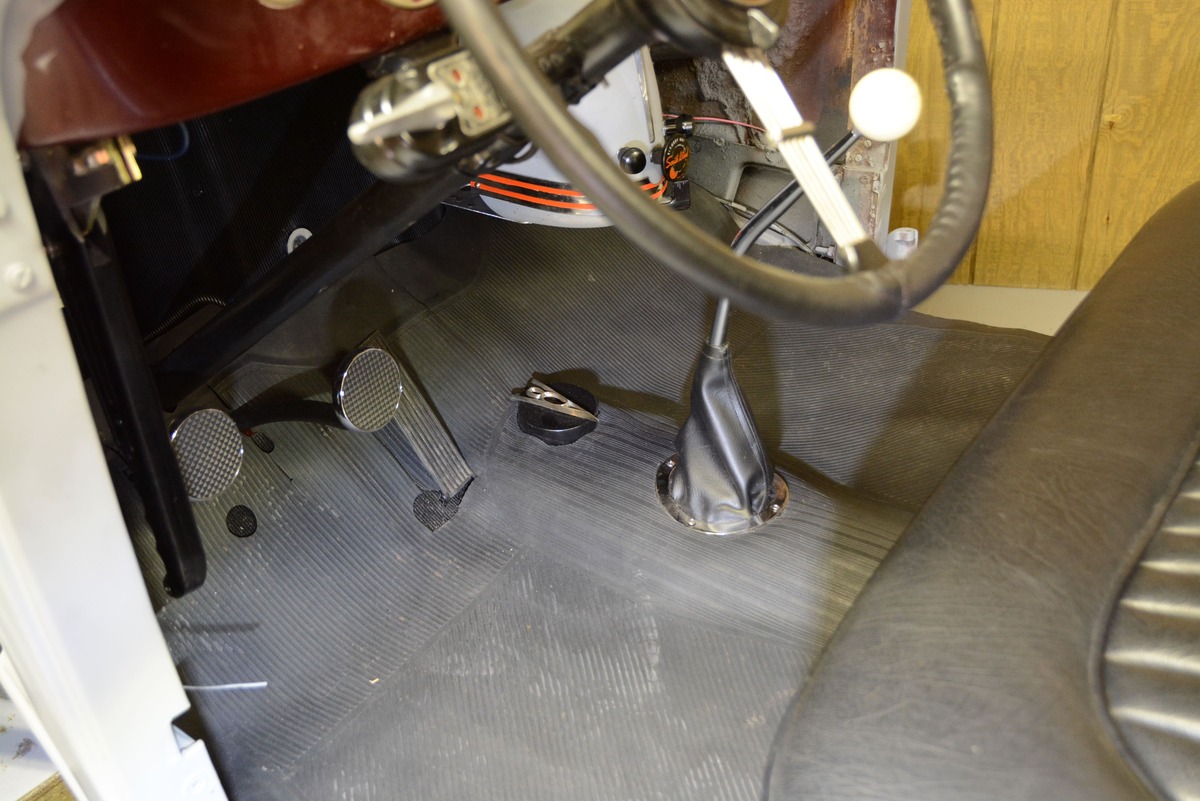
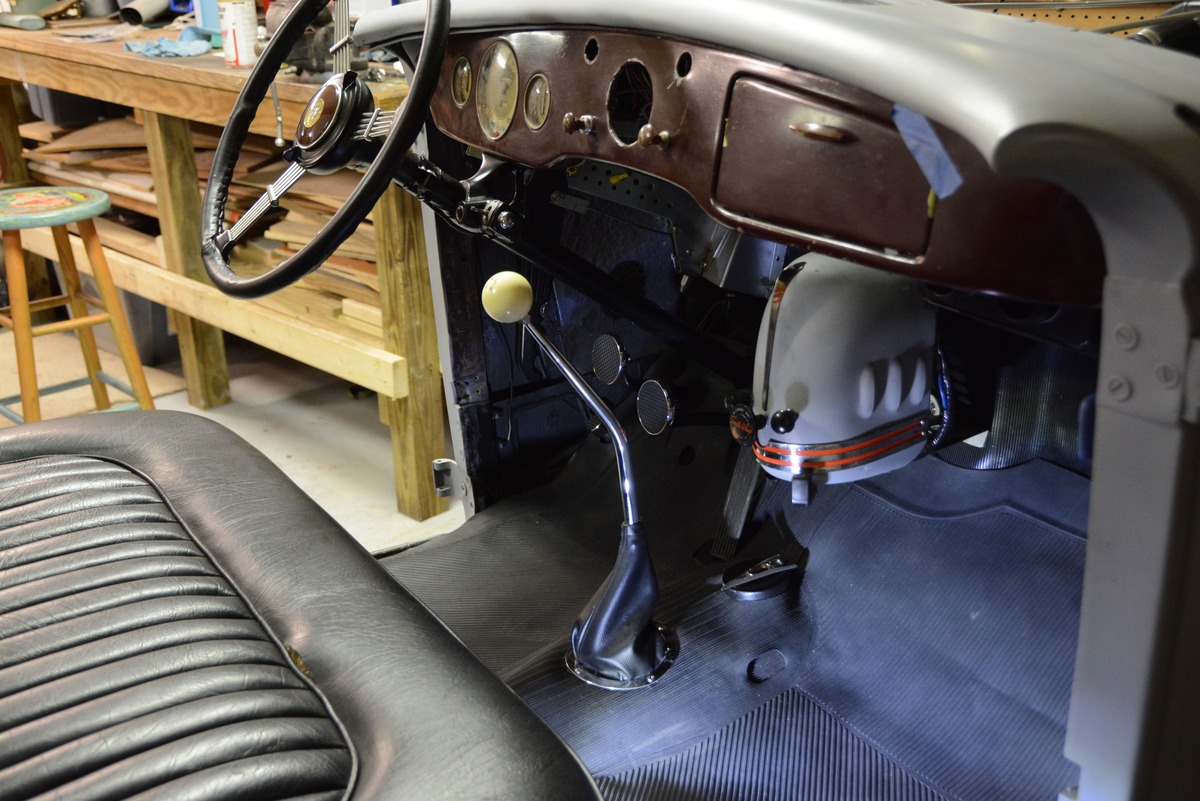
Speaking of style, we then threaded two new Lokar pedals in place, installed the Lokar shifter boot, and then connected the linkage to the reproduction original 1936 Ford gas pedal from Bob Drake to complete the floor conversion. In the end we have a floorpan that is relatively weatherproof with vintage style and early hot rod flavor … you can’t ask for much more from a floor. MR
Sources
Bob Drake Reproductions
(800) 221-3673
bobdrake.com
Lokar
(877) 469-7440
lokar.com
Speedway Motors
(800) 979-0122
speedwaymotors.com
Harbor Freight
(800) 444-3353
harborfreight.com
Summit Racing
(800) 230-3030
SummitRacing.com


