How To Upgrade A Base Model Interior With Aftermarket Parts
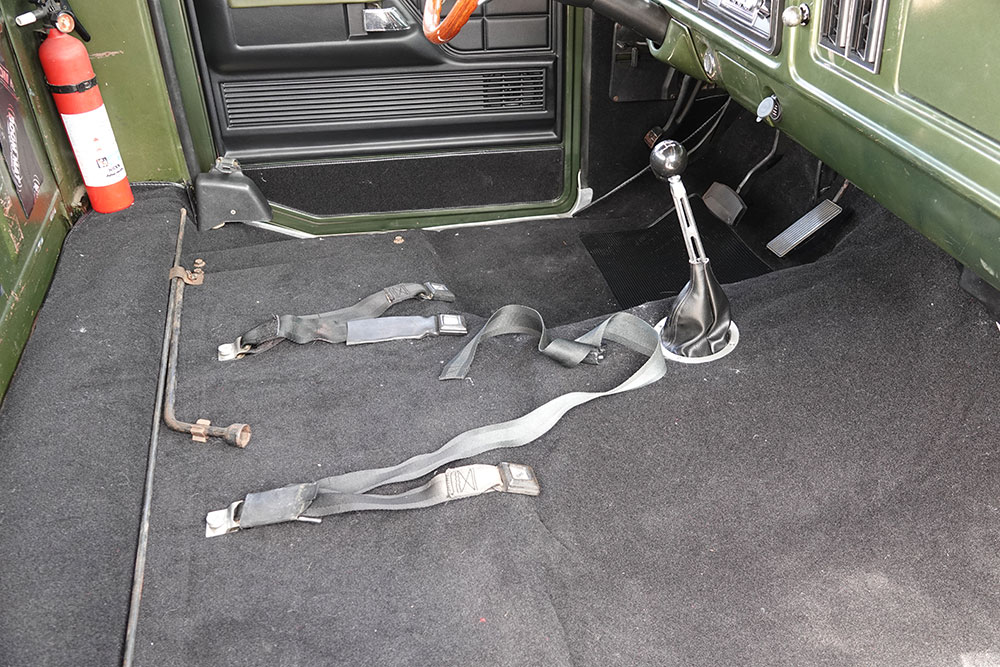
You can see that the rubber mat was cracking, the old granny low four-speed shifter is now gone, and the door panels are held on with four trim screws. There are also no kick panels or lower door panel trim in this base truck.
Ford F100 Flareside’s Interior Gets Creature Comforts
By Don Lindfors – Photography by the Author
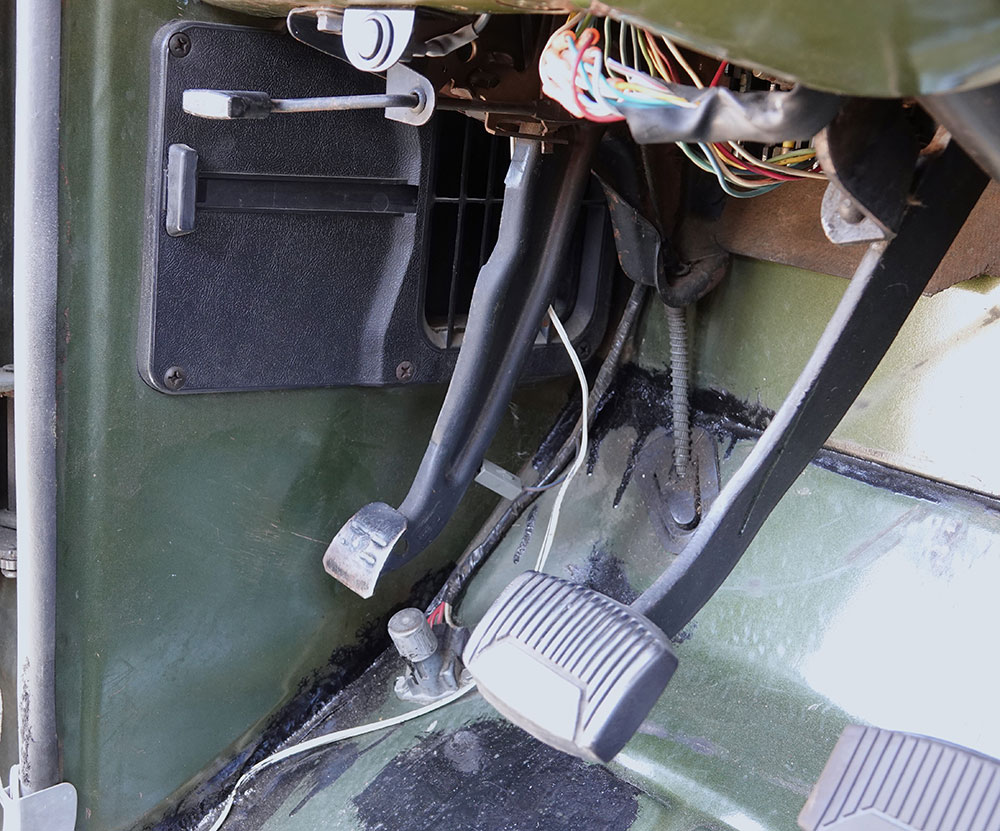
When we got this 1976 Ford F100 the interior was a bit of a mishmash, between old parts, some upgrades, and some backyard hacks. The truck is an F100 “Custom,” so it wasn’t loaded with frills, just a basic Flareside truck. The floor had an original rubber mat that got tossed when we did the TREMEC TR3550 transmission swap as it was cracking and falling apart.
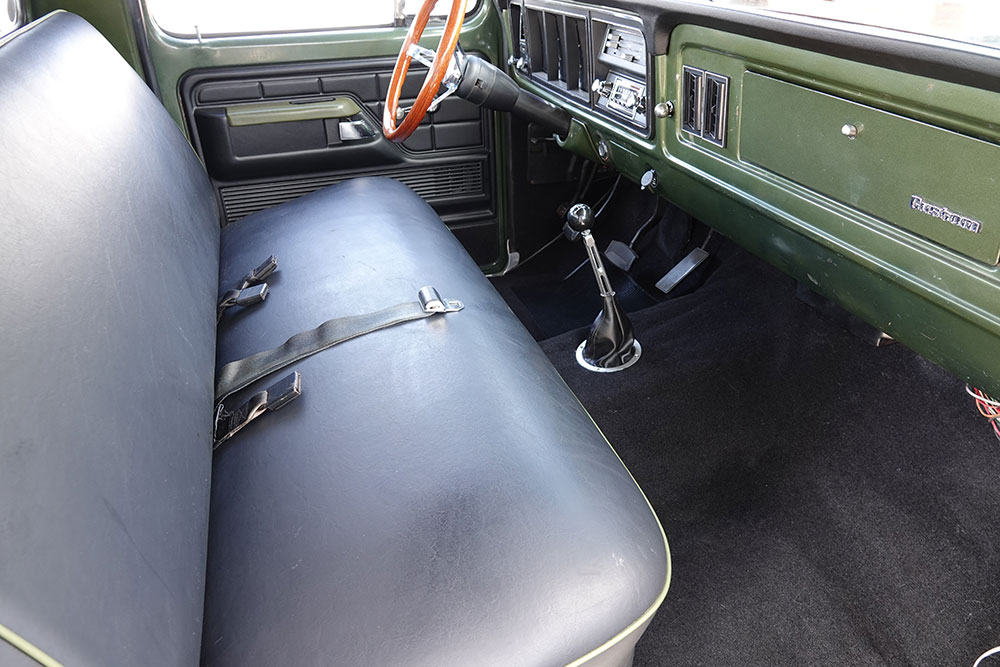
The headliner was the original cardboard-like material that was deteriorating and got thrown out early on. The original bench seat had been rebuilt and upholstered by the original owner and, while rather plain, it is in great shape and fairly comfy. The door panels had been replaced, but whoever did it apparently didn’t know that these are held in with snap-in clips and just drilled holes through the new panels and used trim screws. It looked terrible and they rattled. The dash pad and gauge bezel were replaced with LMC Truck Parts when we did the Dakota Digital gauges install (CTP Nov. ’21 issue) and Vintage Air AC conversion (CTP Oct. ’21 issue).
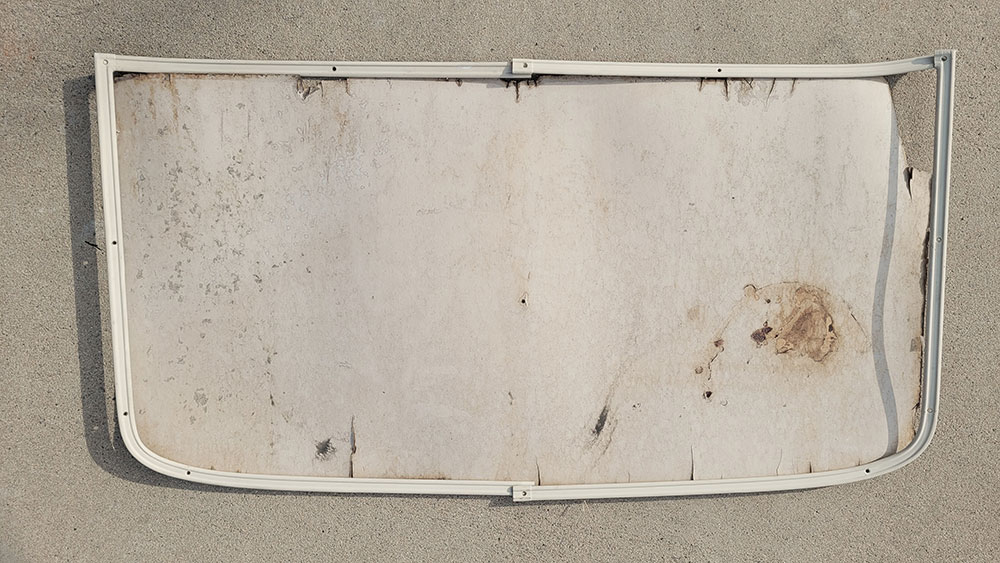
This is the old truck’s original headliner. You can see it is deteriorating; why Ford put an off-white headliner and trim in a dark green truck, I’ll never understand.
With the headliner and floormat gone, and the door panels rattling due to the questionable installation, it was kind of like riding in a tin can—hot and noisy. I wanted to upgrade it but stay fairly true to the original style, not some wild custom since this truck is a daily driver that doubles as a tow vehicle for my hot rod and will end up as an ’80s-style prerunner. With that in mind, a stock-style headliner, original door panels, and carpeting was on the agenda. A quick call to LMC Truck was all it took to get the necessary parts on the way for our desired upgrades. Follow along with the installation photos to see how you can do this to your own classic truck.
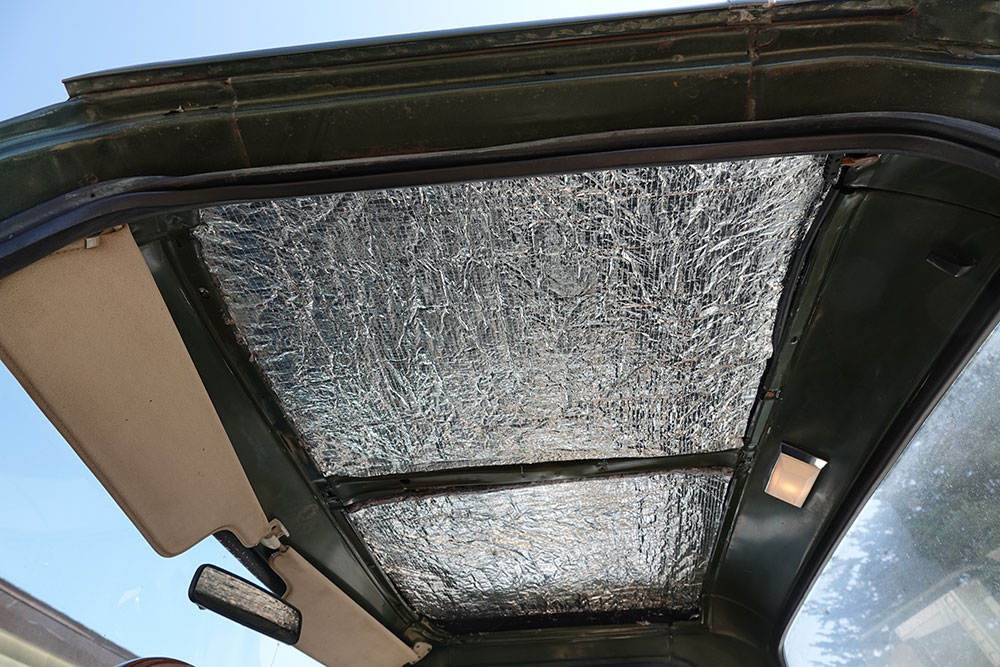
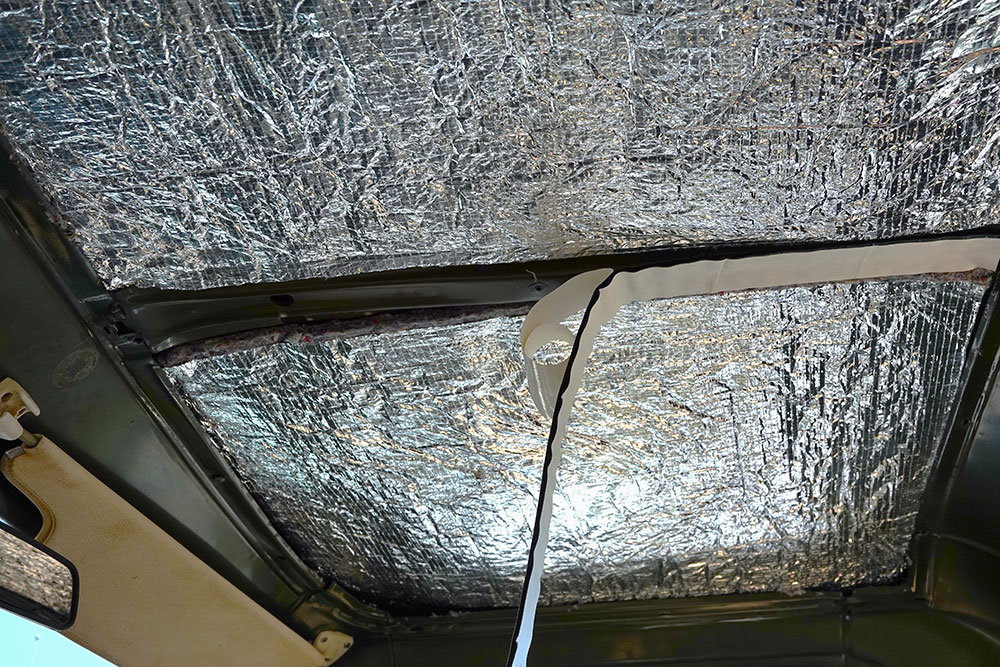
To insulate the roof a bit we used some universal insulation from LMC Parts and glued it to the roof.
With the installation finished during Southern California’s extreme heat wave, the truck is much more comfortable to drive, quieter, and the Vintage AC system doesn’t have to work as hard to keep the occupants cool. This is an upgrade that is well worth the time and effort toward making your classic Ford more enjoyable.
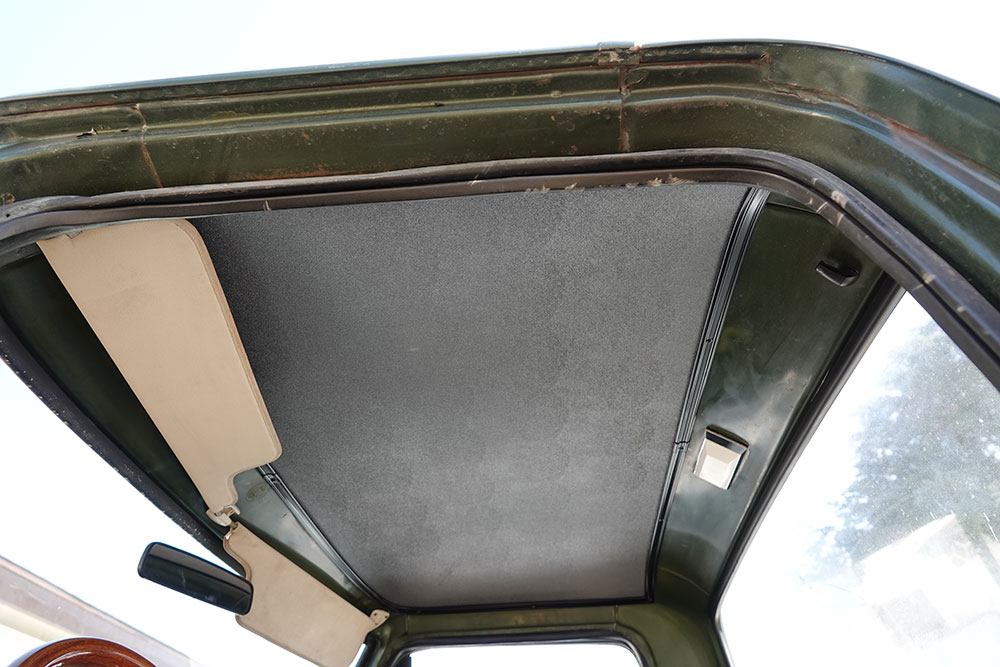
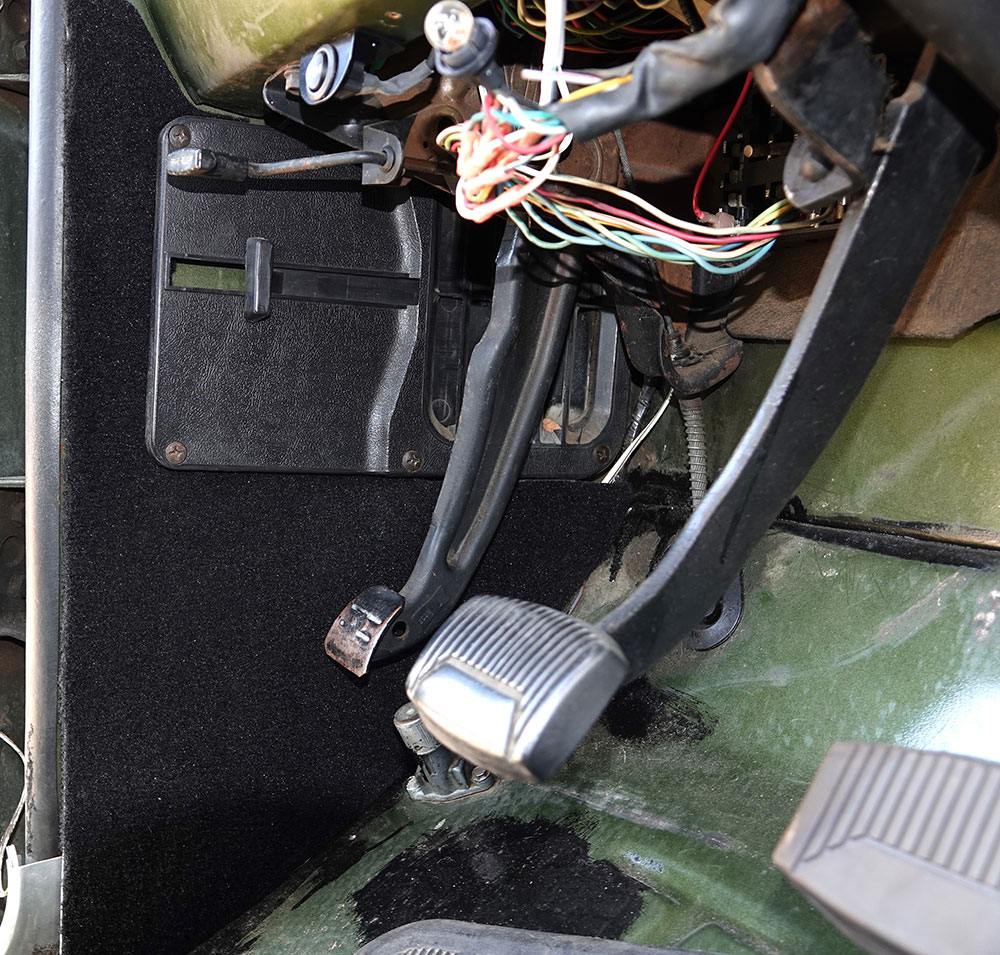
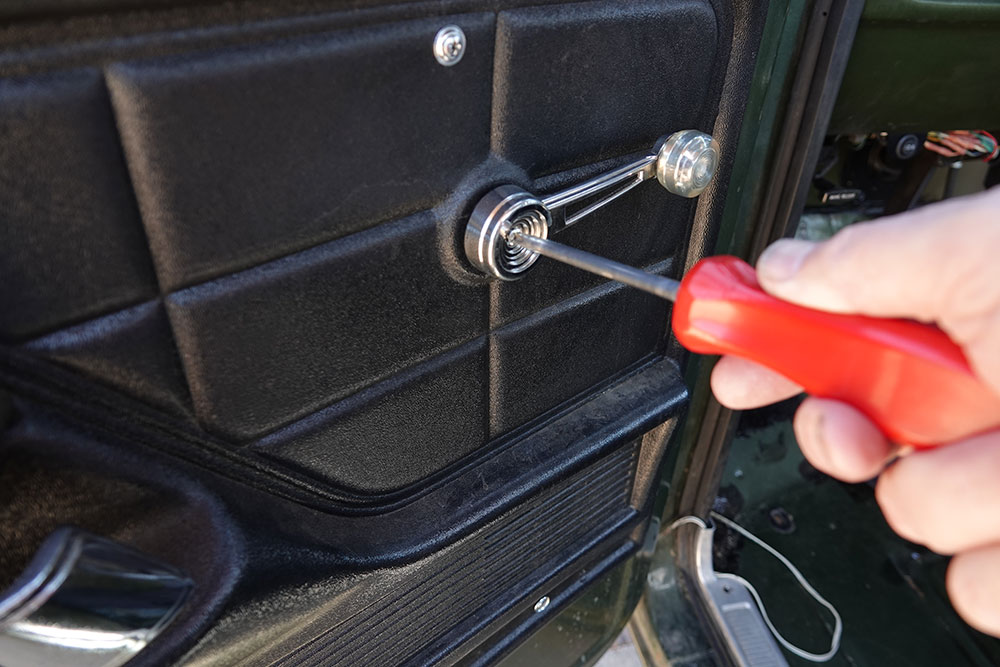
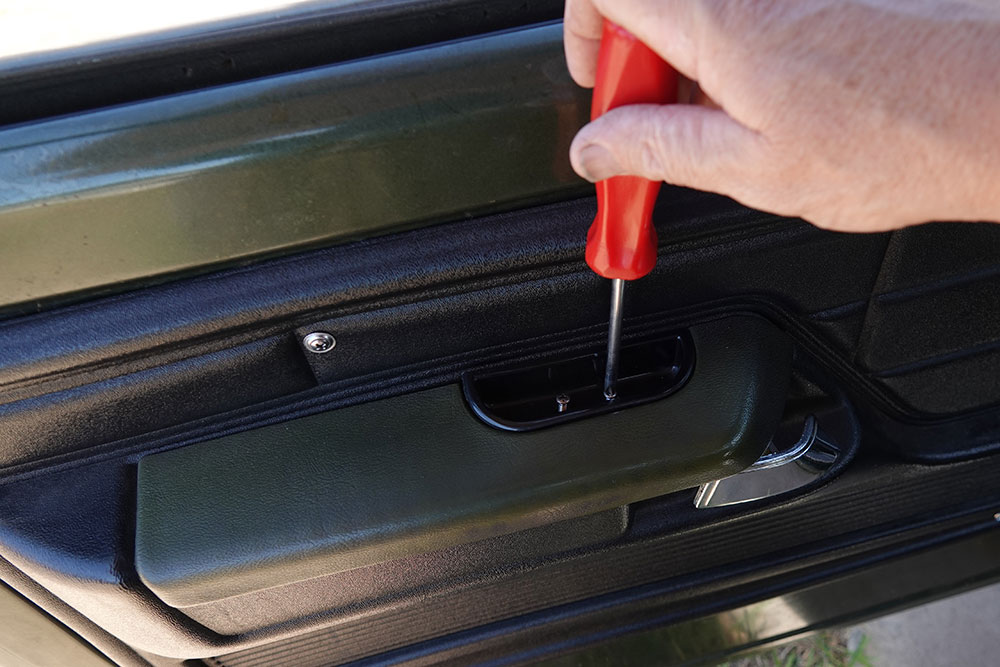
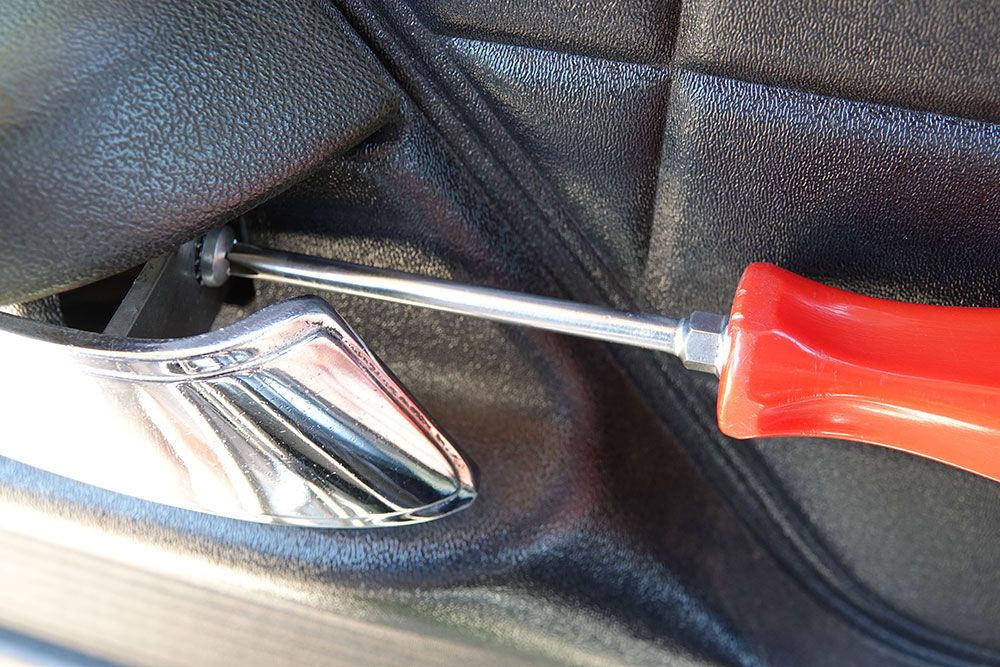
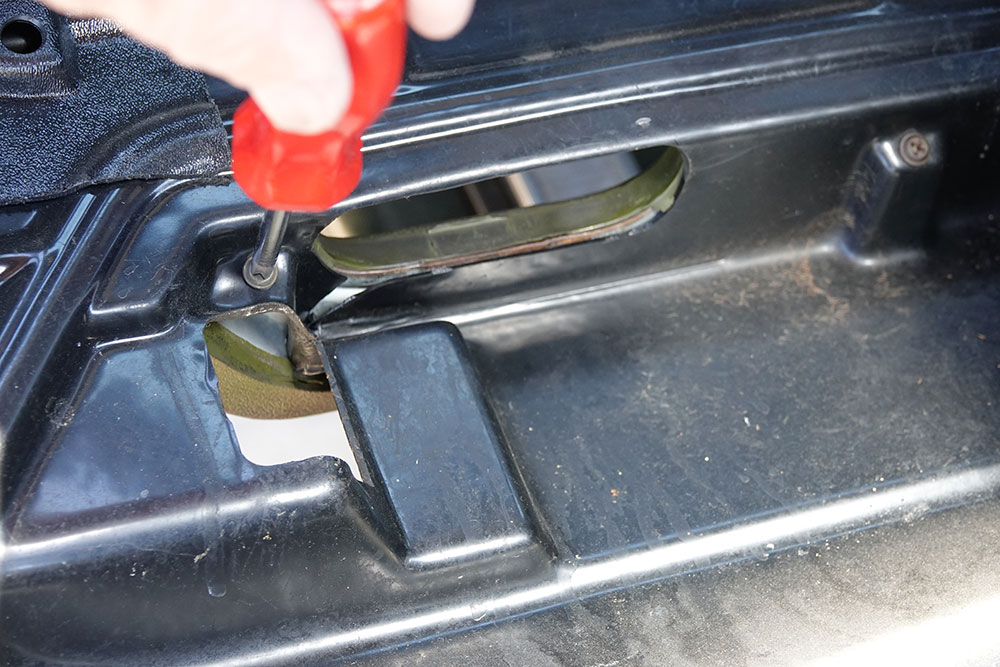
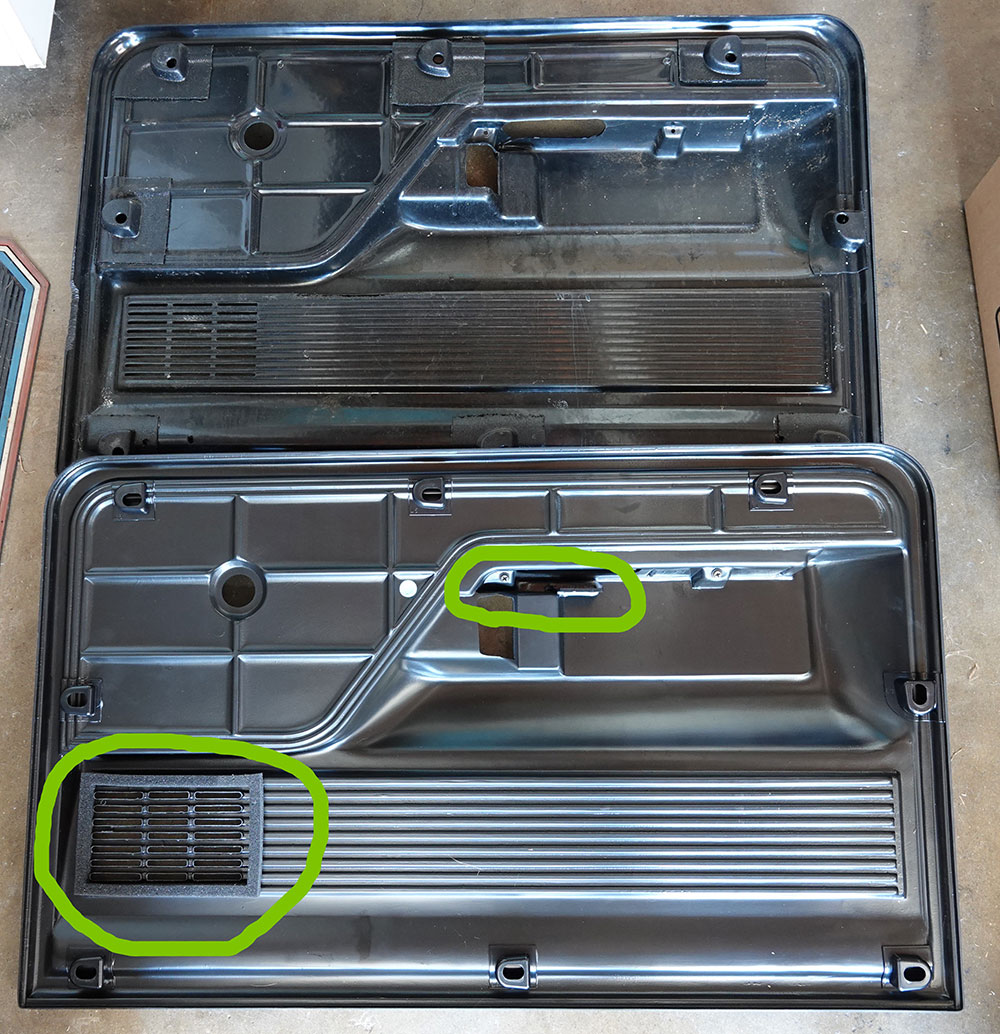
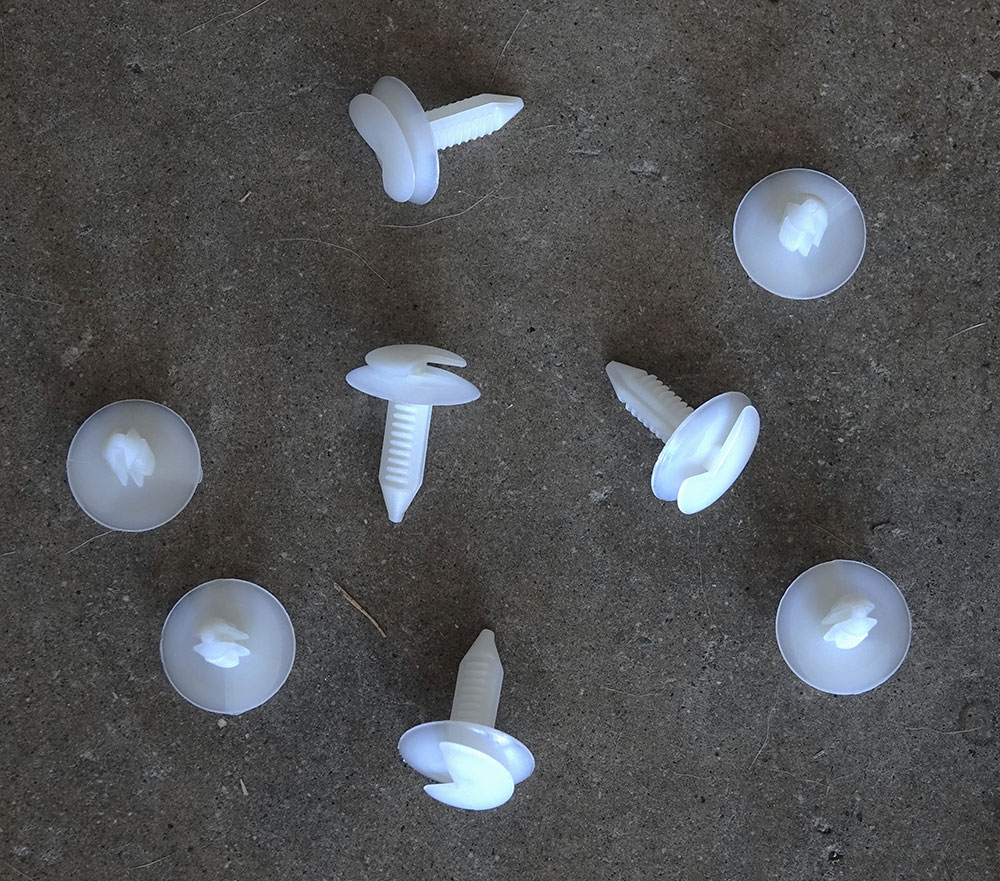
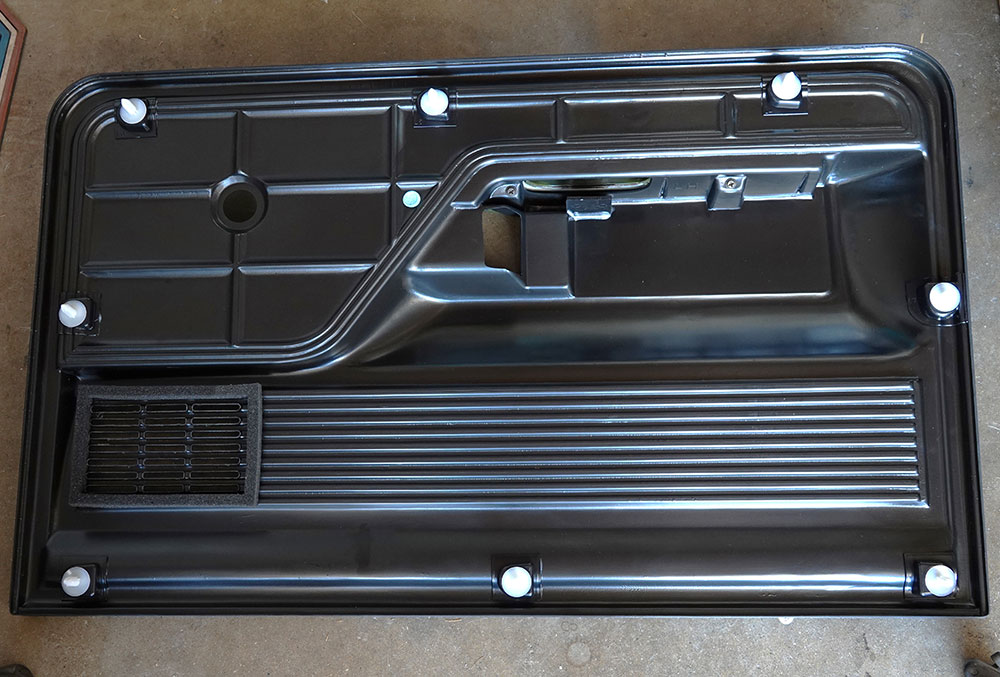
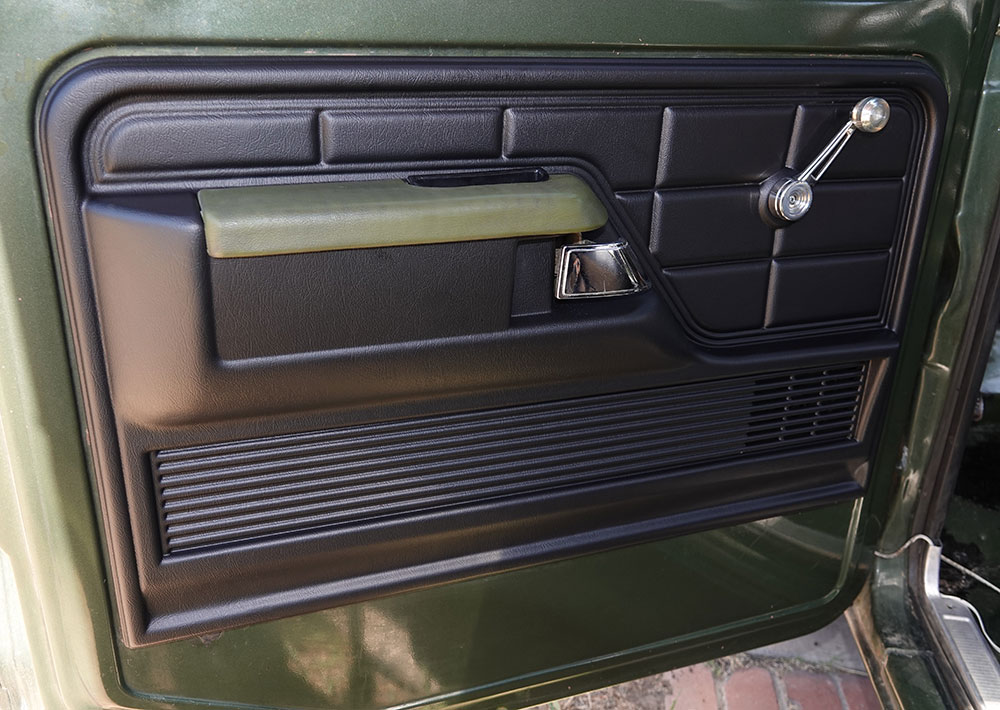
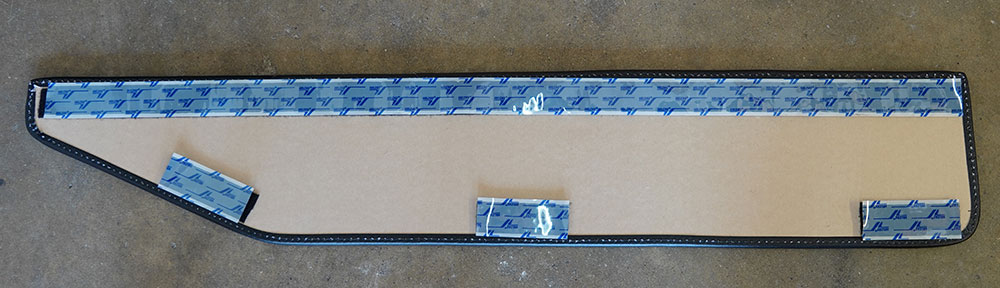
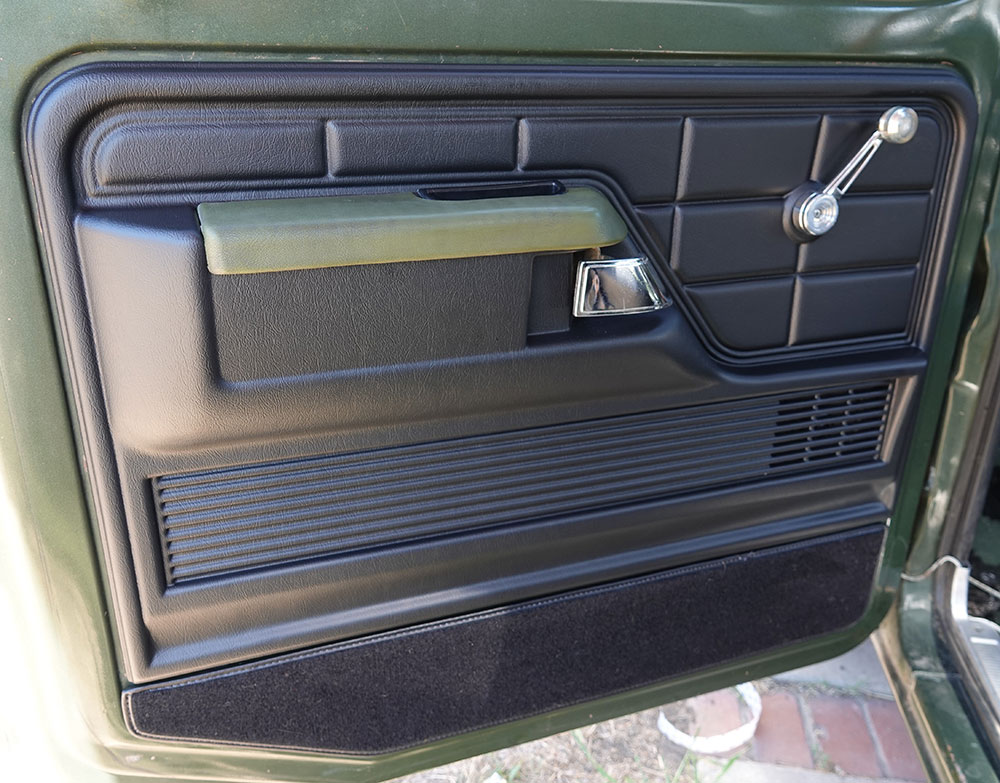
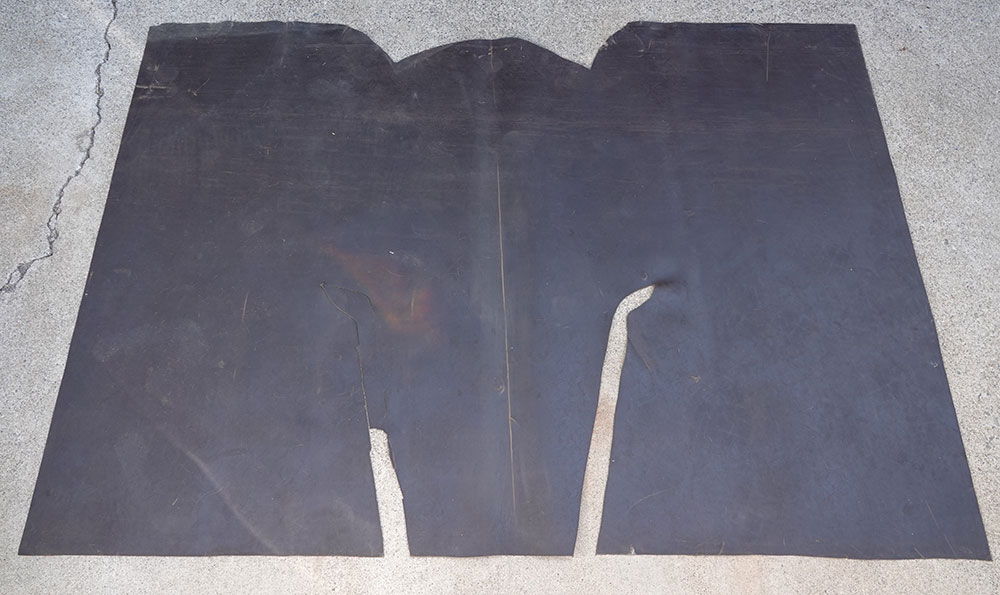
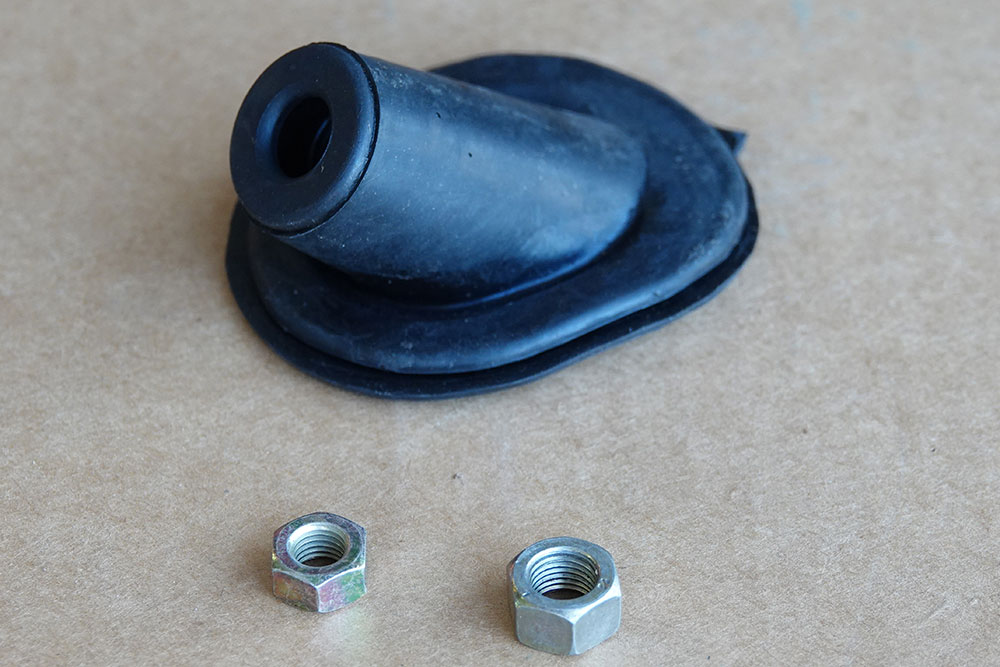
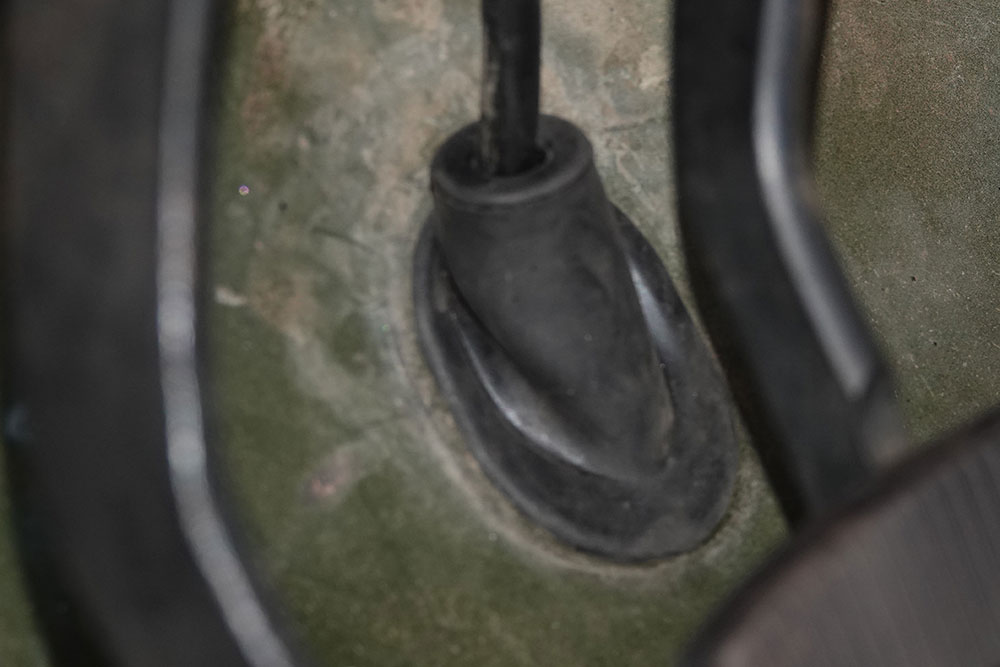
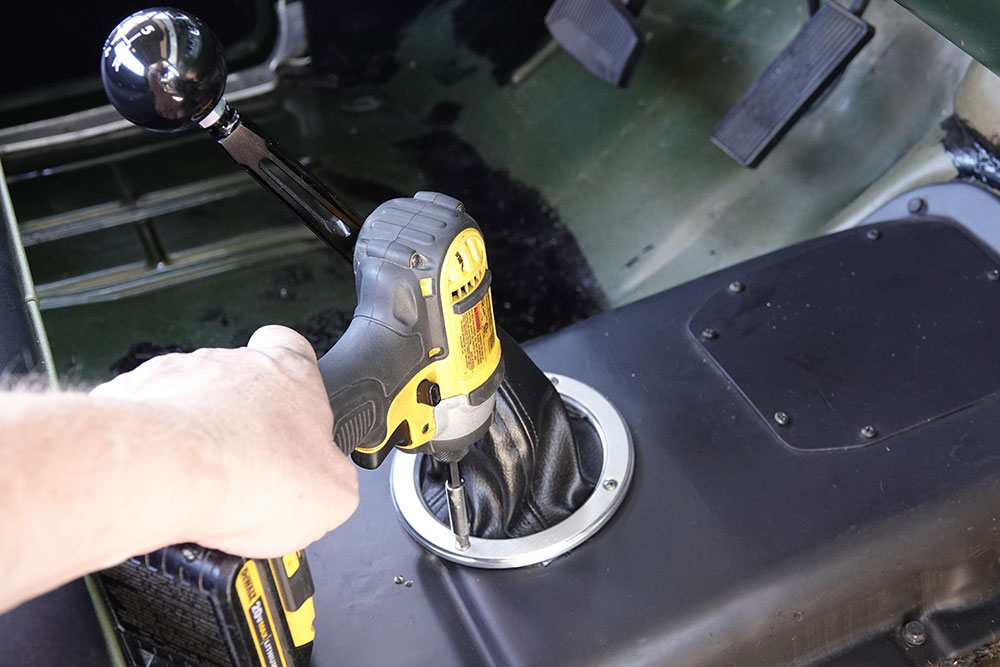
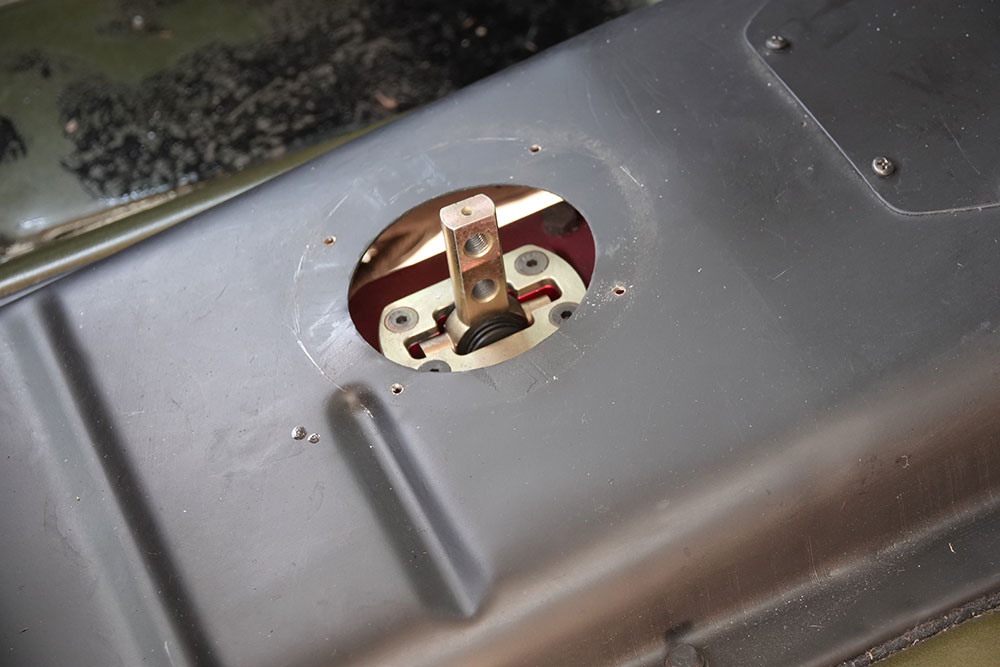
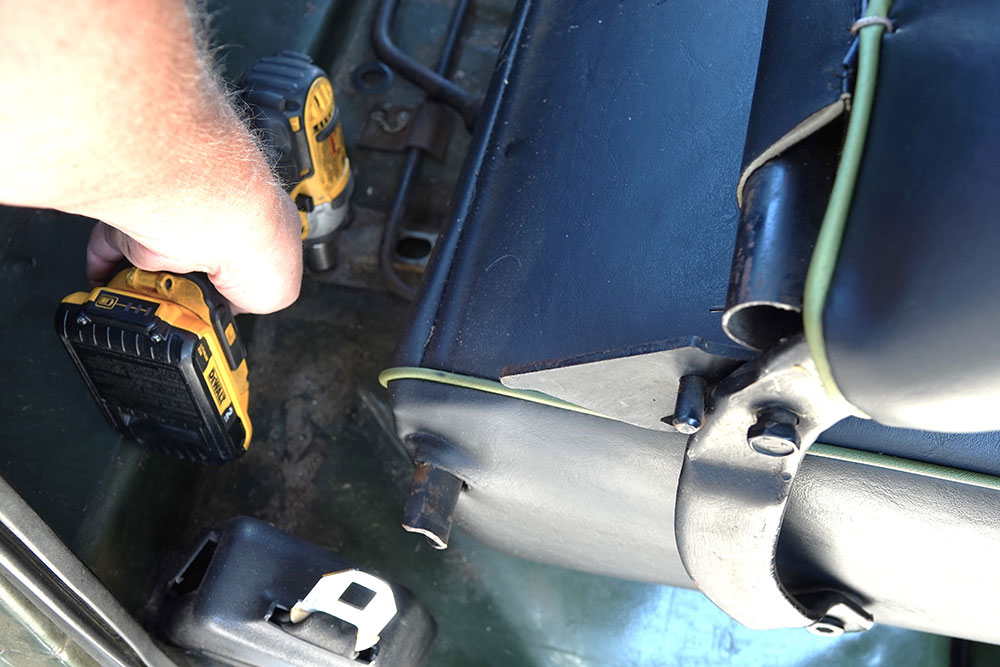
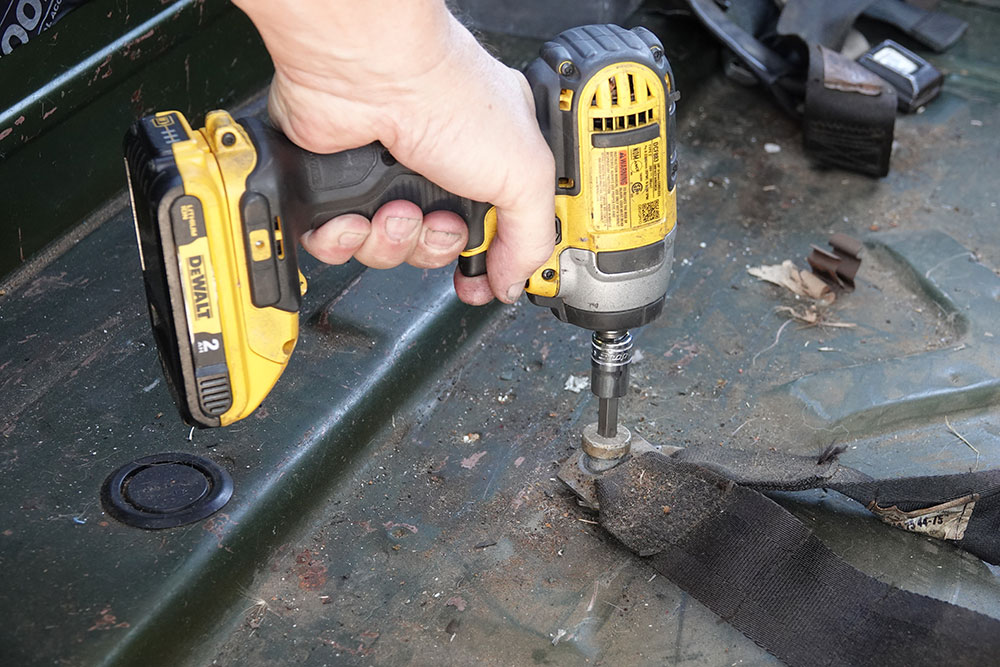
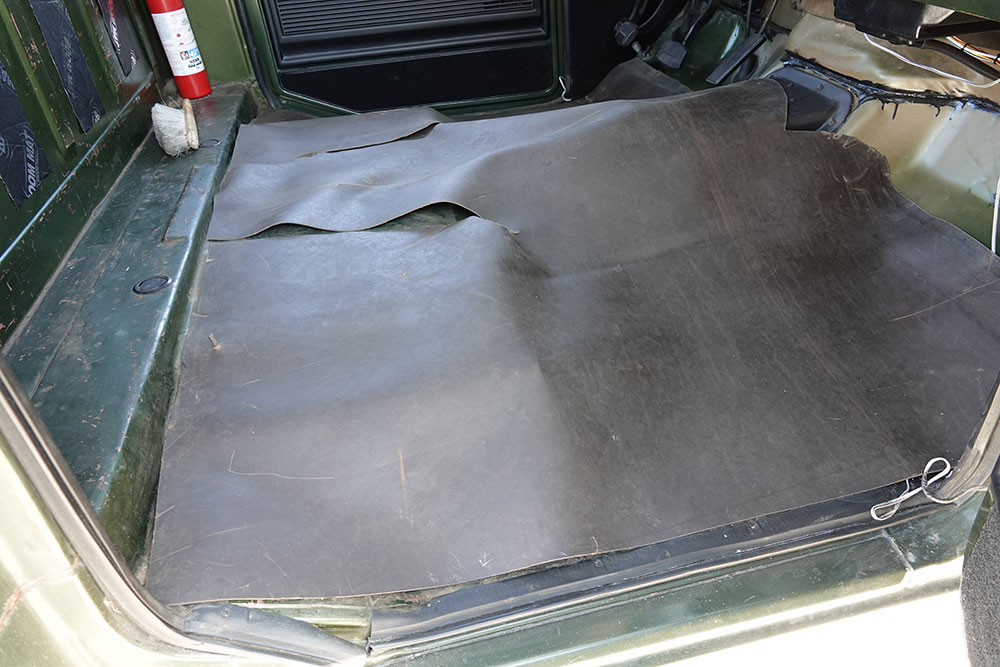
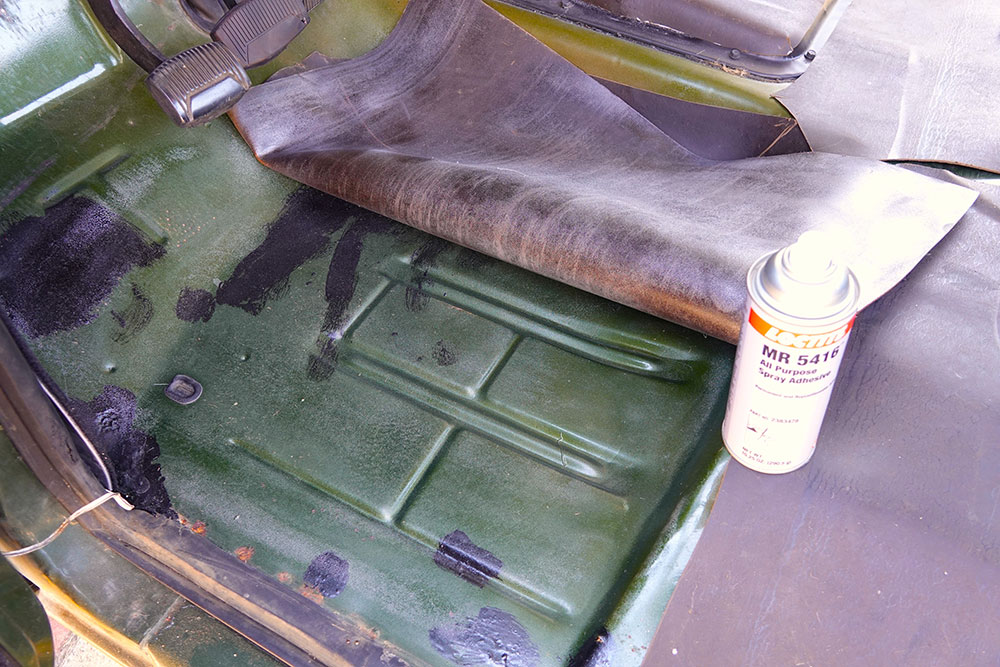
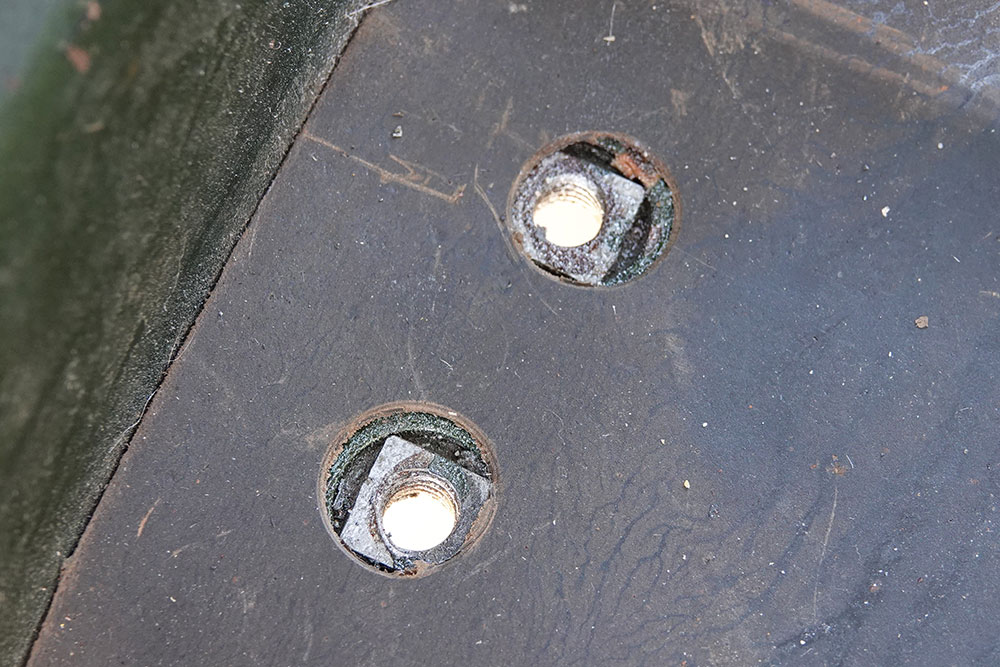
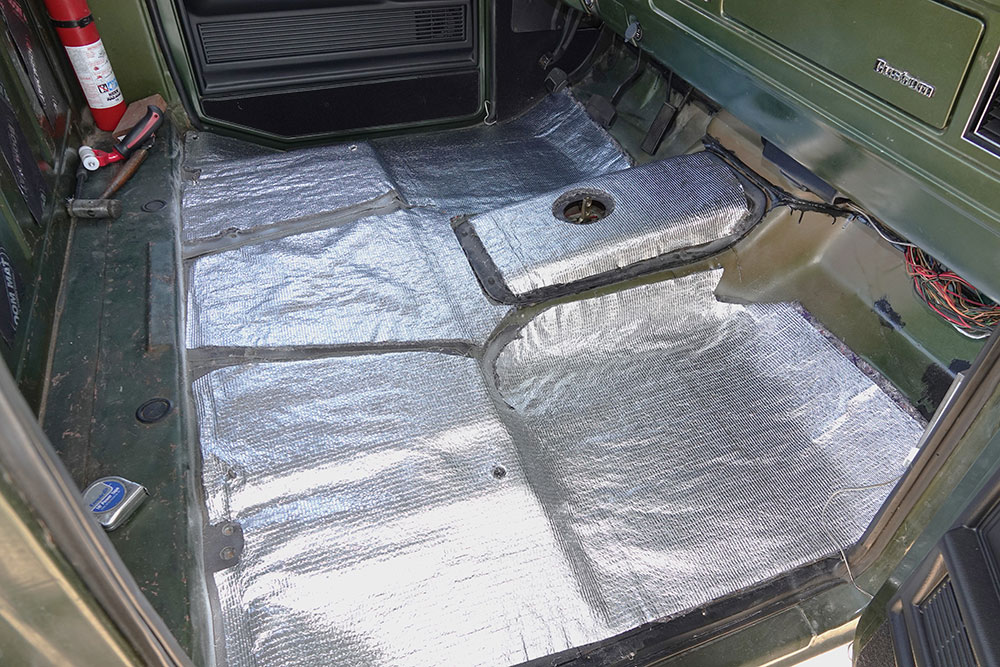
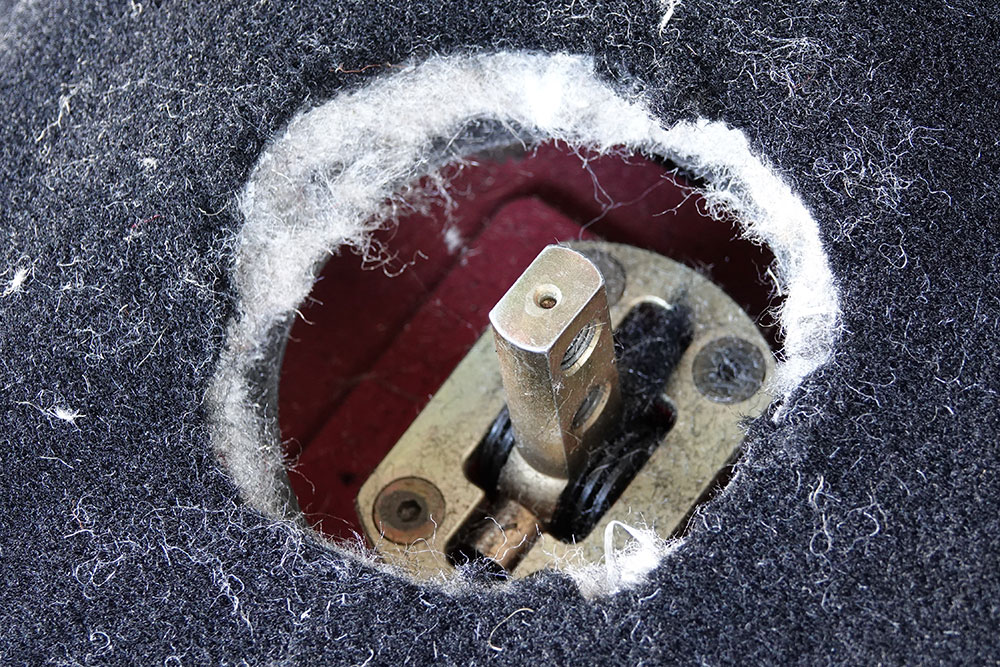
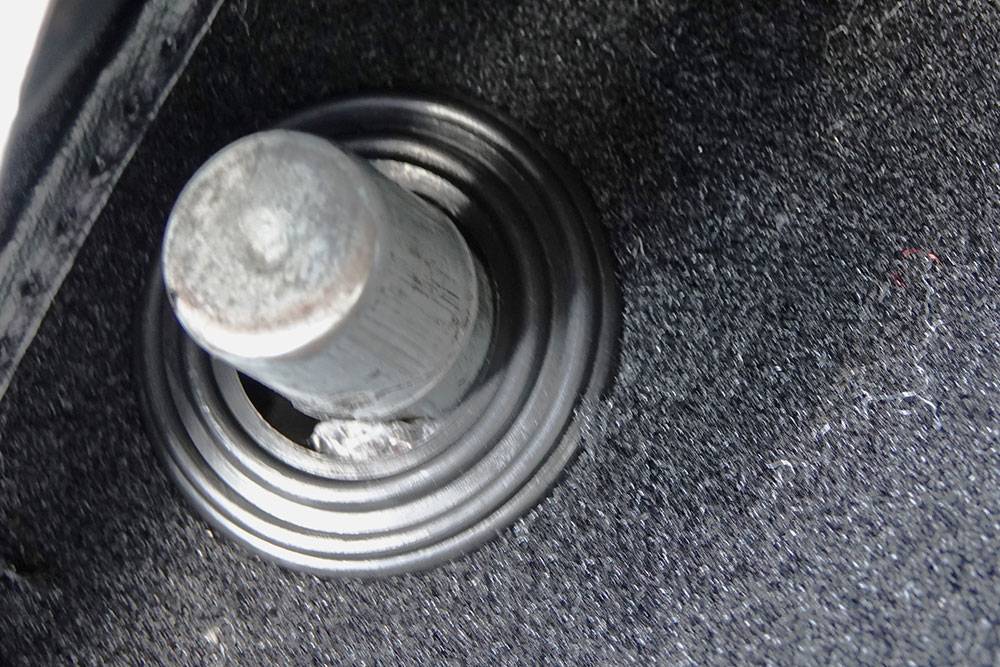
The LMC Truck headliner comes with the double-sided sticky center strip that will hold the headliner in place.The LMC Truck headliner is a pebble-grained plastic that looks much better than the Ford cardboard. I had the trim pieces powder coated satin black to match. We have since dyed the sun visors dark green.The kick panels in this truck were just the painted metal, so we opted for the LMC truck carpet versions as an upgrade.The carpeted kick panels come fitted for trucks without the fresh air vent. Since our truck had the vent, we trimmed the kick panel and glued it in place.The door panels had been replaced, but you can see the trim screws that someone used to install them.The window crank is held on with a single Phillips screw. We got new ones from LMC Truck when we first picked up the truck.The armrest finger cup has two small screws that hold them in place. These were also replaced at the same time as the window cranks.The inside door handle has one large screw retaining it. The door panel will now pop off.The armrest pad is held to the door panel with two screws. We will reuse these on the new door panels. They are available new, but not in our rare green color.The door panels had been replaced, but they were inferior quality to the LMC parts. You can see that the LMC parts have foam around the speaker slots and supports for the finger pulls that are missing from the inferior replacements.These little plastic clips attach to the door panel and then snap into holes in the door to hold the panel in place; they come with the door panels.This is the back of the door panel with the supplied clips in place.The Flareside Ford Truck door panel snaps in place and the finger cups, window cranks, and door handles all install the opposite of the removal.Our “Custom” model didn’t come with lower carpeted door panels, so we decided to add them. We installed them using Velcro (seen here).You can see how the carpeted lower really finished off the inside door trim of the old truck.It was now time for the floor. The first step was to lay out the LMC EVA Sound Deadener material to get any shipping wrinkles out it. This is an OE-type, 1/16-inch-thick Ethyl Vinyl Acetate (EVA), which is an asphalt-based material that will both dampen sound and insulate against both heat and cold.The floor was in pretty good shape with only a little surface rust that we coated with some rust preventative. We did find that the rubber boot for the clutch cable (or rod on a stock manual transmission truck) was shot and allowing noise, heat, and oil smells into the cab.LMC Truck had the replacement boot in stock, complete with new adjusting nuts.After unbolting the cable, the LMC Truck boot slipped right in place.In order to make installation of the carpet and sound deadener products easier, the shifter for the Tremec five speed transmission was removed. You can see the cover plate where the old four-speed shifter was located.With the shifter out of the way it will be much easier to work on the floor.Next the seat needed to come out as the carpet goes all the way under the seat. Removing six bolts and help from a friend were all that was needed to get the seat out.With the seat out, the seatbelts were next to remove using a #50 Torx bit.After cleaning out the cab floor, the EVA was laid in the approximate place.Due to the high hump floor of this truck we decided it would be better to cut the material into pieces to install as it didn’t conform perfectly to our floor. We glued it in place using the LMC-supplied Loctite MR 5416 All Purpose Spray Adhesive.You must cut holes in the material for the seat and seatbelt holes. I used a gasket punch for this.Here is what it looks like with all the pieces of the EVA material glued in place. I trimmed it around the transmission cover so that I could remove it in the future if transmission service is needed.Next came the LMC Heat Shield Kit. It is 1/4-inch thick and has 24-ounce needle punched jute padding on one side that insulates against heat and cold. The other side has two layers of fiber-reinforced aluminum foil reflecting up to 97 percent of radiant heat, which helps to keep you warm in the winter and cool in the summer. Installation was the same as the EVA and made for a great companion to really cut the noise and heat.The carpet was laid next; the same way as the other materials and the first thing was to cut out the hole for the shifter. You can see that the carpet has its own heavy 36-ounce jute padding for more insulation.After transferring the holes through the carpet, we bolted the shifter, seatbelts, and original jack parts all in place.The carpet comes with this plastic ring for the dimmer switch. Cut a hole and the ring has a lip on both sides to hold it neatly in place.
We use cookies to ensure that we give you the best experience on our website. If you continue to use this site we will assume that you are happy with it.