Wiring a classic truck can be a daunting undertaking at first blush, but it doesn’t have to be. Anyone with a bit of common sense when it comes to automotive electrical systems can successfully run a bit of cable and get that hauler fired up properly. With a wiring harness kit like American Autowire’s Power Plus 20 on hand, a bit of careful study of the various included diagrams, and further inspection of the actual wiring harness can provide a lot of insight to even the biggest luddite when it comes to the routing and wiring of a basic automotive system.
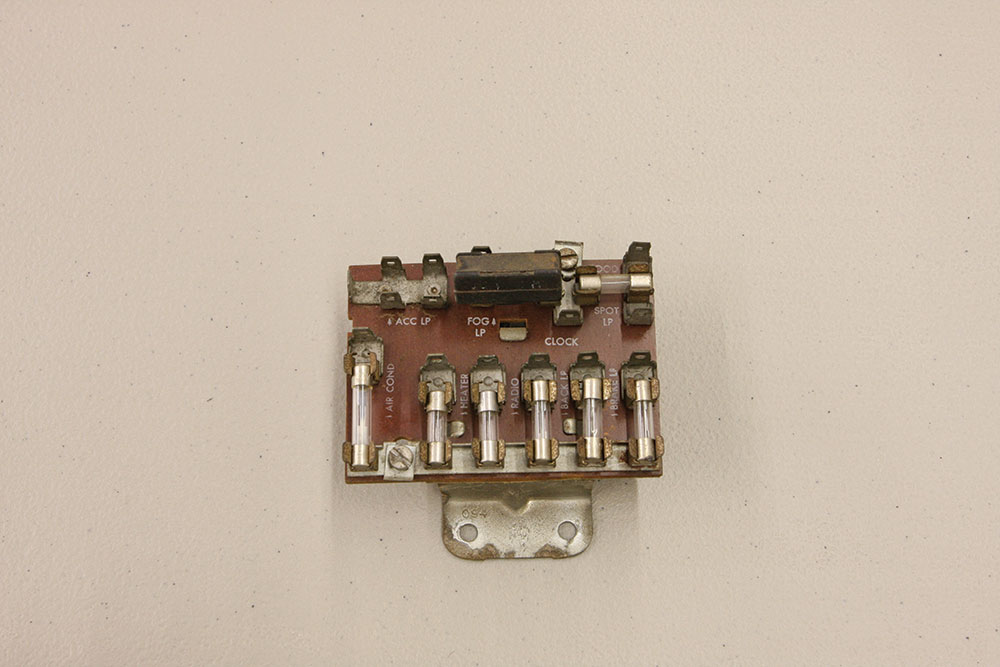
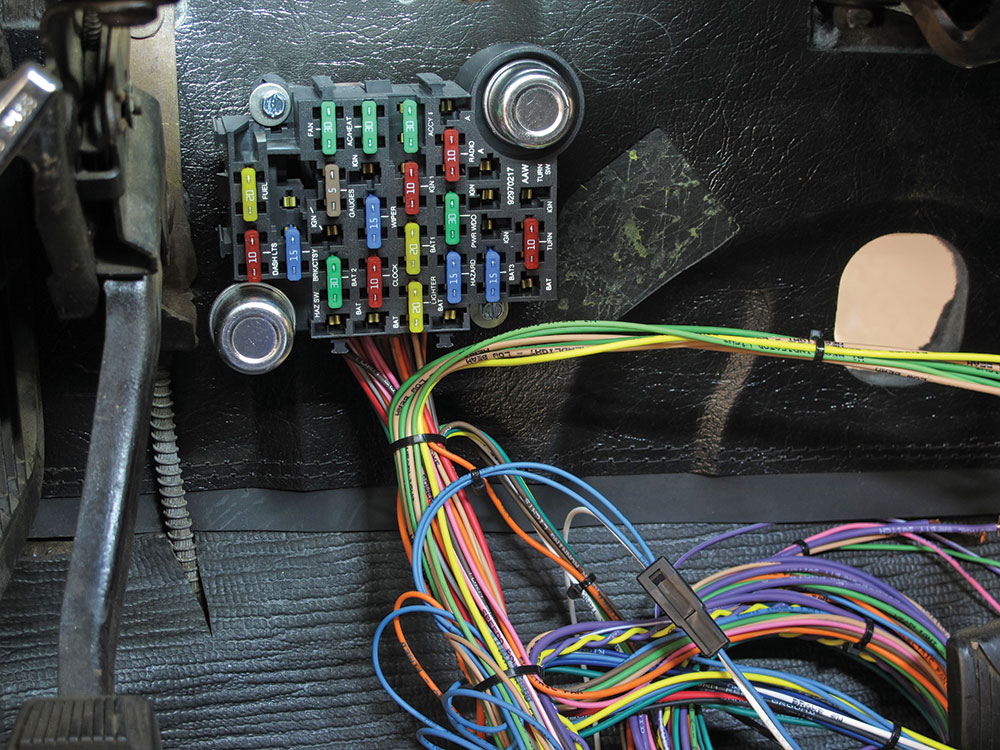
Most modern classic truck builds are going to overwhelm the stock fuse panel rather quickly. Type AGC glass fuses have given way to the industry standard 1/4-inch blade-type ATO/ATC fuses.
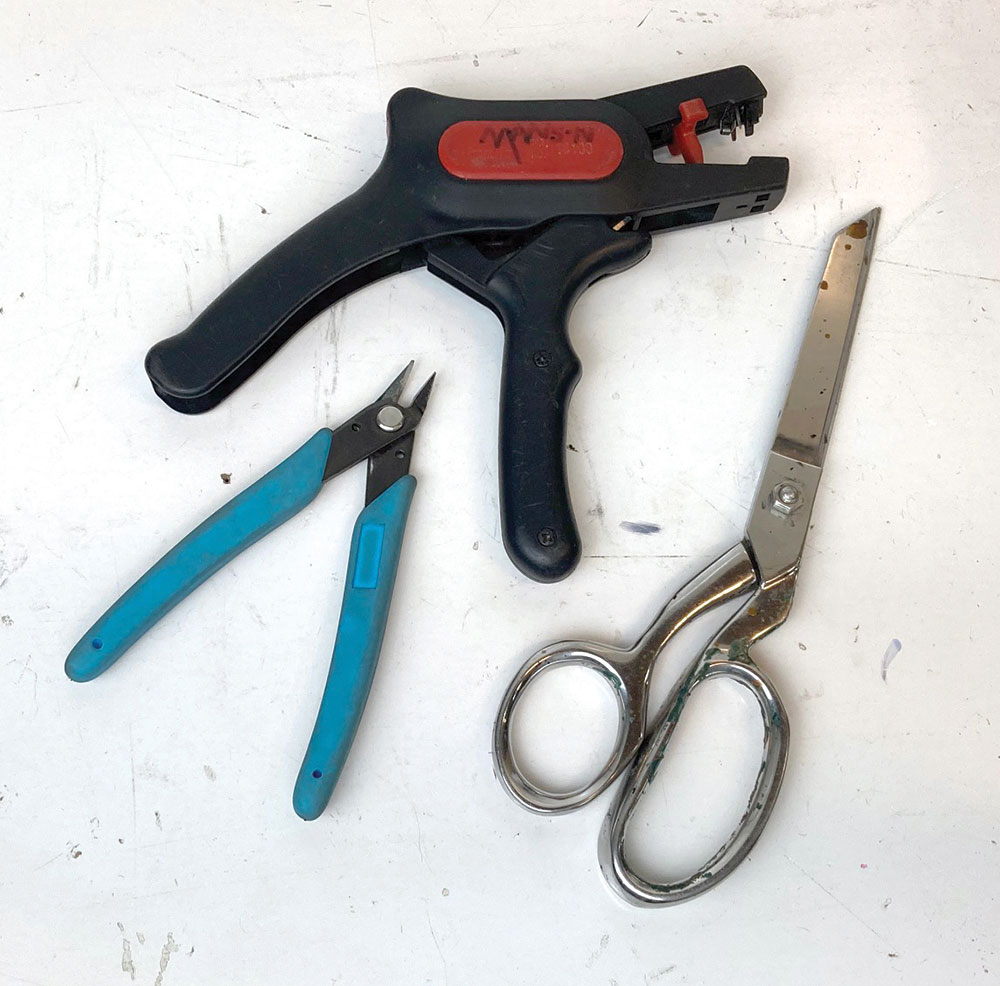
Equipped with a cheap crimper and a set of wire cutters, a guy can be pretty well on his way to providing power to the various accessories, but there are a few tips and tricks that can make the job a little more professional. Making sense of the different circuit harnesses and where to route them in as clean a manner as possible can vary from difficult to daunting, but doing so ensures the installation comes out clean and allows for much easier diagnosis if needed in the future. Electrical tape and zip ties can make quick work of this organization.
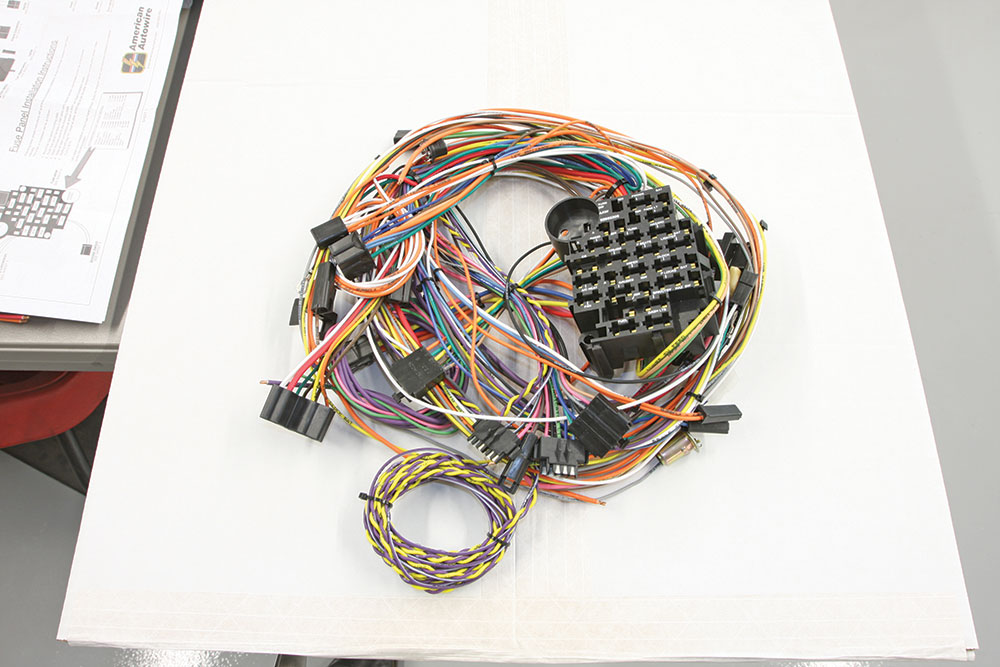
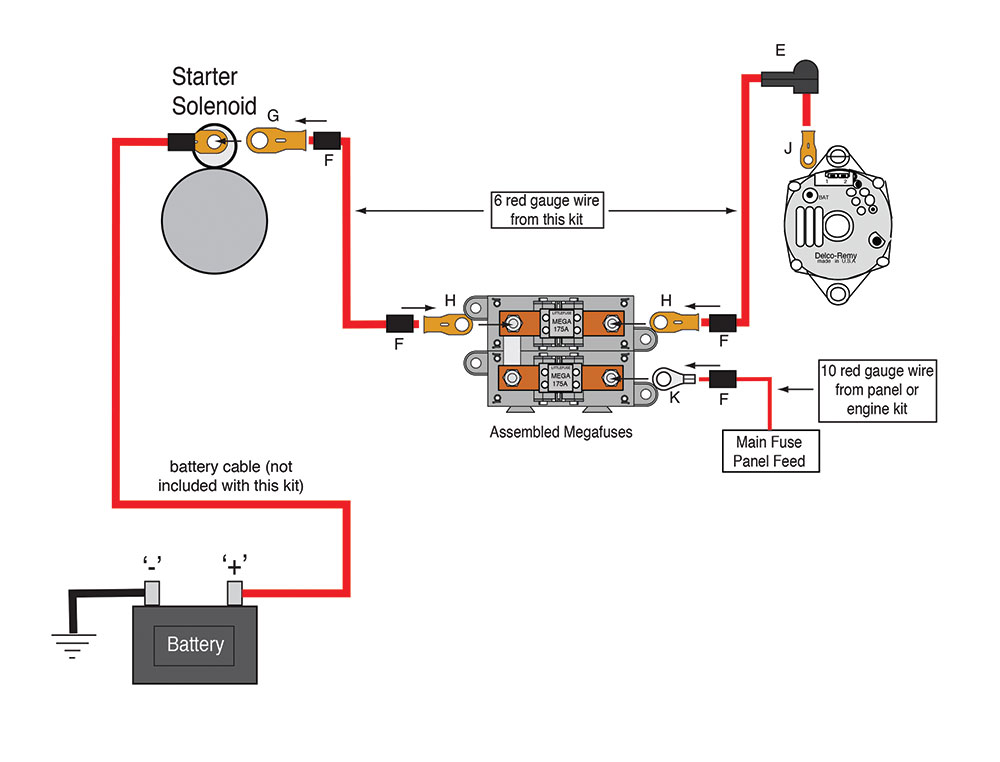
If your classic truck build is going to utilize more than a few creature comforts, chances are the American Autowire Power Plus 20 Universal Wiring harness will suit you well. The factory-style pre-wired fuse panel features GM-style column and ignition connections, headlight and floor dimmer switches, and direct run feeds of high-quality, labeled GXL wire. An additional six-circuit plug supplies fused power for accessories like power windows, door locks, fuel pump, or power seats. Heavy-gauge alternator wire and main power feed connections route through two 175-amp MEGA fuses to ensure the entire system is safe and functions efficiently.
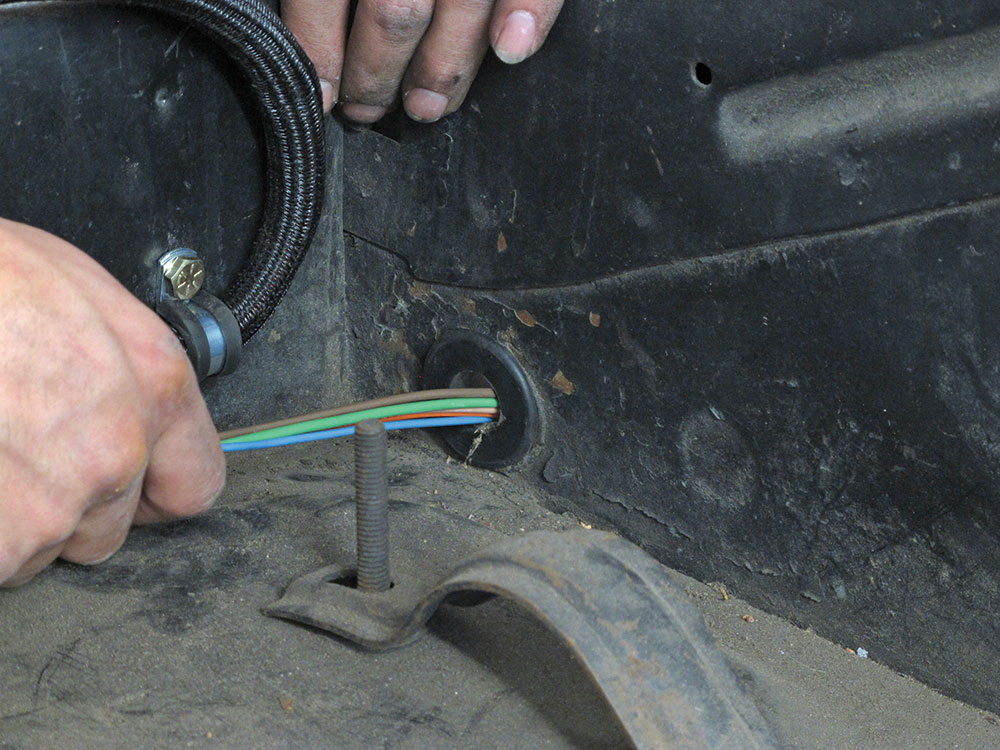
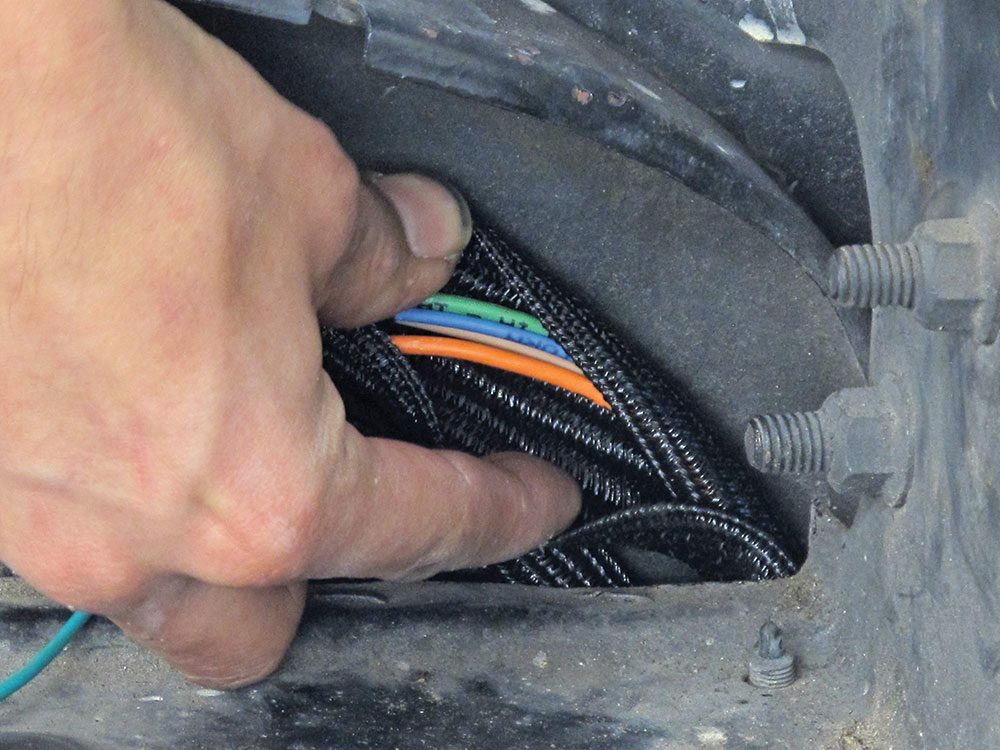
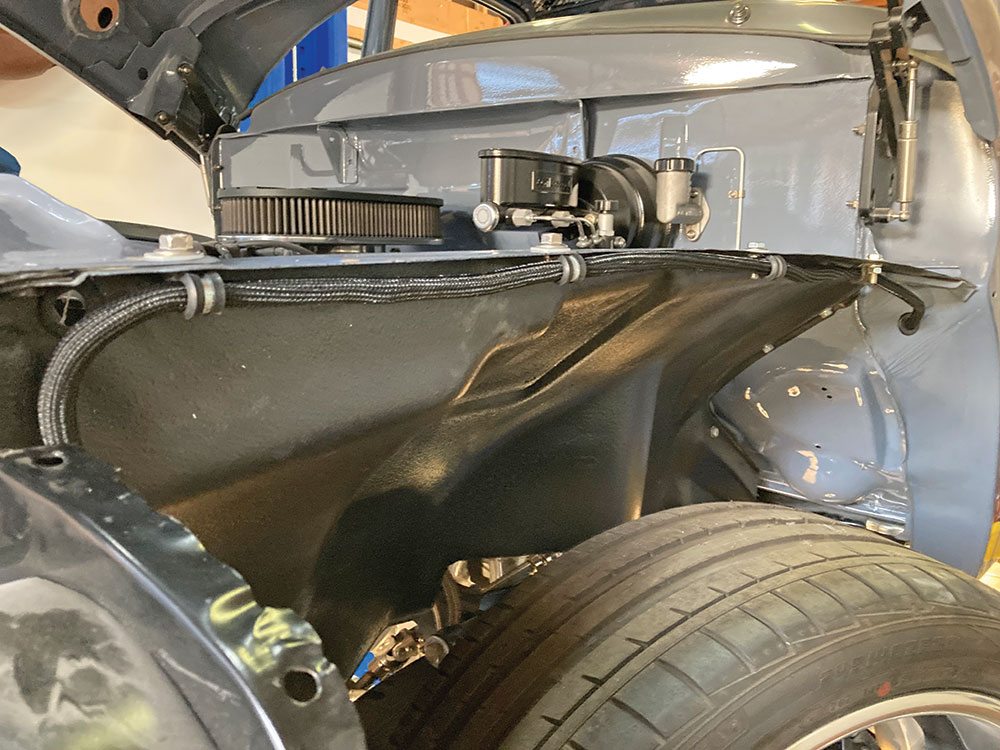
The addition of braided split loom not only looks good but also helps protect the wiring harness in areas where exposed to the elements. Proper support of the harness is also of utmost importance, provided by a sufficient amount of clamps. Any time wires are routed through a sheet metal bulkhead, a properly sized grommet, or other method to prevent chafing or rubbing should be used. With a harness like American Autowire’s Power Plus 20, we don’t need to worry about proper protection of the myriad of circuits in the harness as that safety feature is built in, provided one follows the noted fuse size for each circuit. But other aspects of the auto electrical system might require further protection, such as relays or circuit breakers, depending on that component’s function.
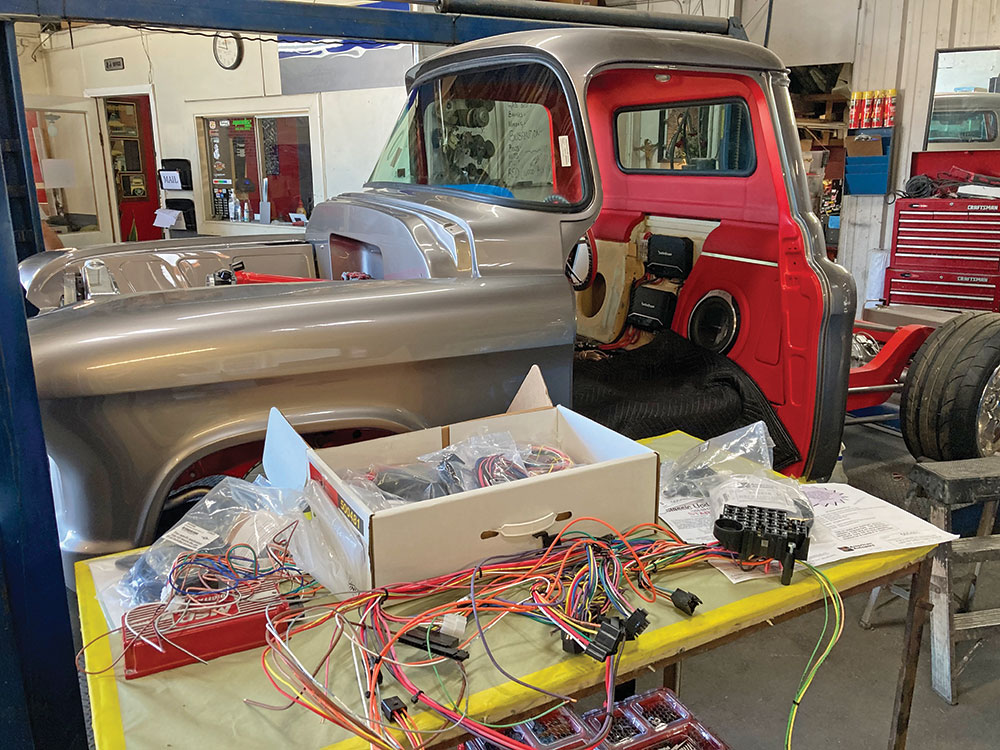
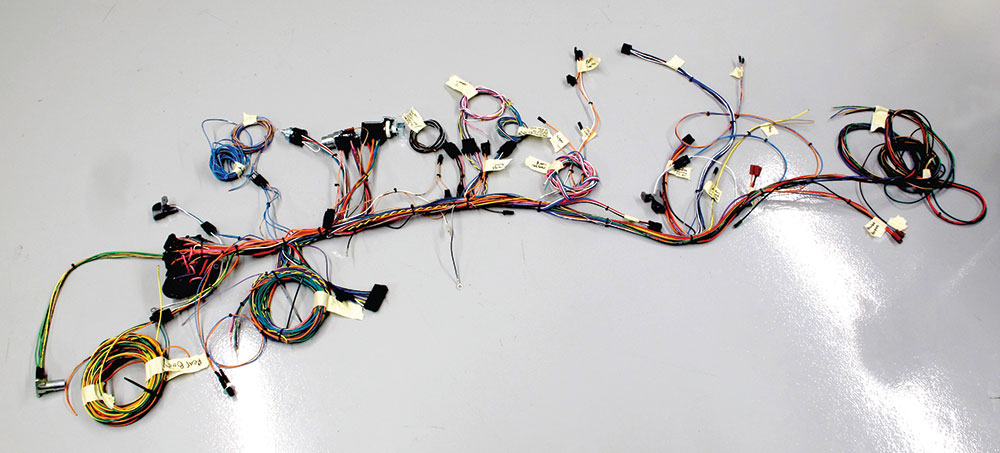
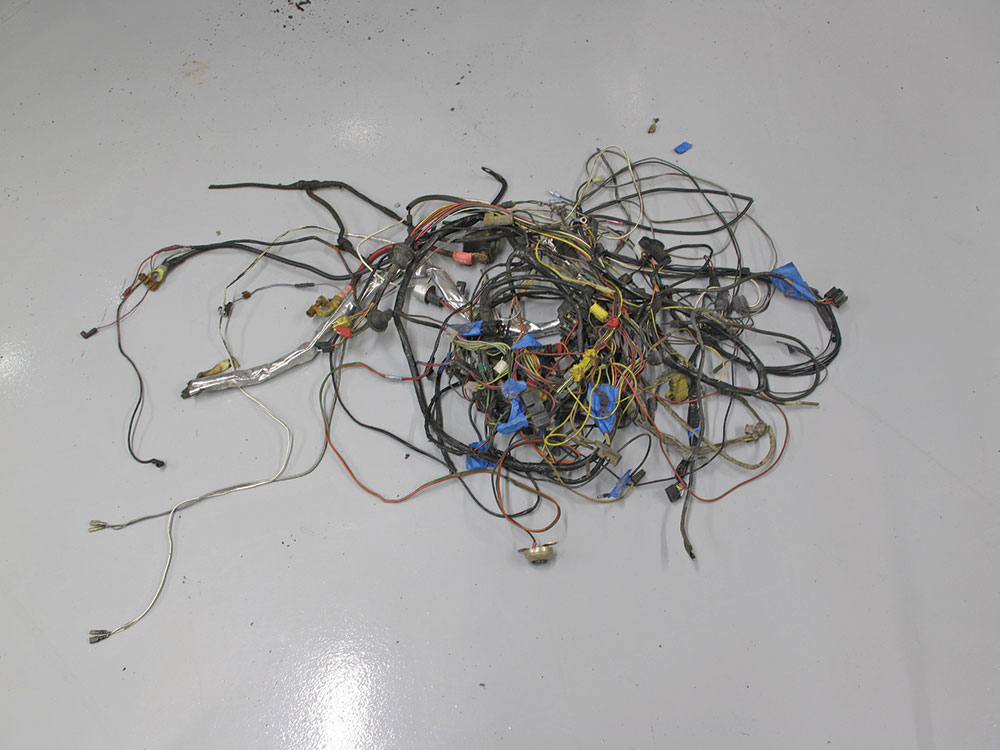
Laying the assembled wiring harness kit out on a workbench or on the floor is a good way to formulate a game plan when it comes to routing the various circuit branches and to familiarize yourself with the harness.
While wiring a classic truck can be overwhelming, it isn’t otherworldly. Basic electrical understanding and a bit of patience can lead to a very rewarding result that further lends itself to being able to diagnose and repair any trouble that may rear its ugly head in the future. As the saying goes, “The more you know …” CTP
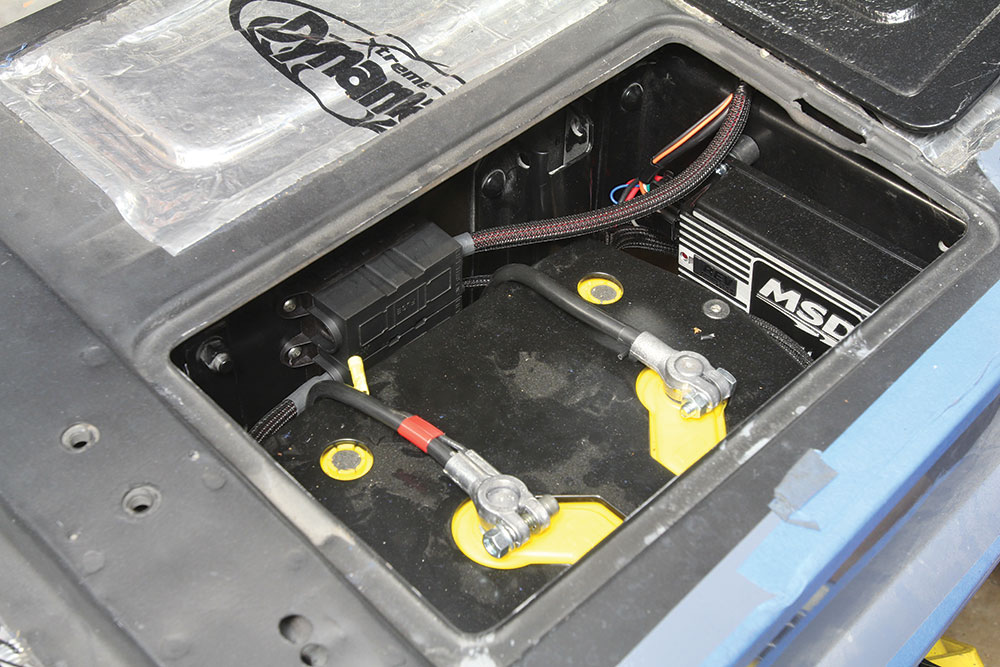
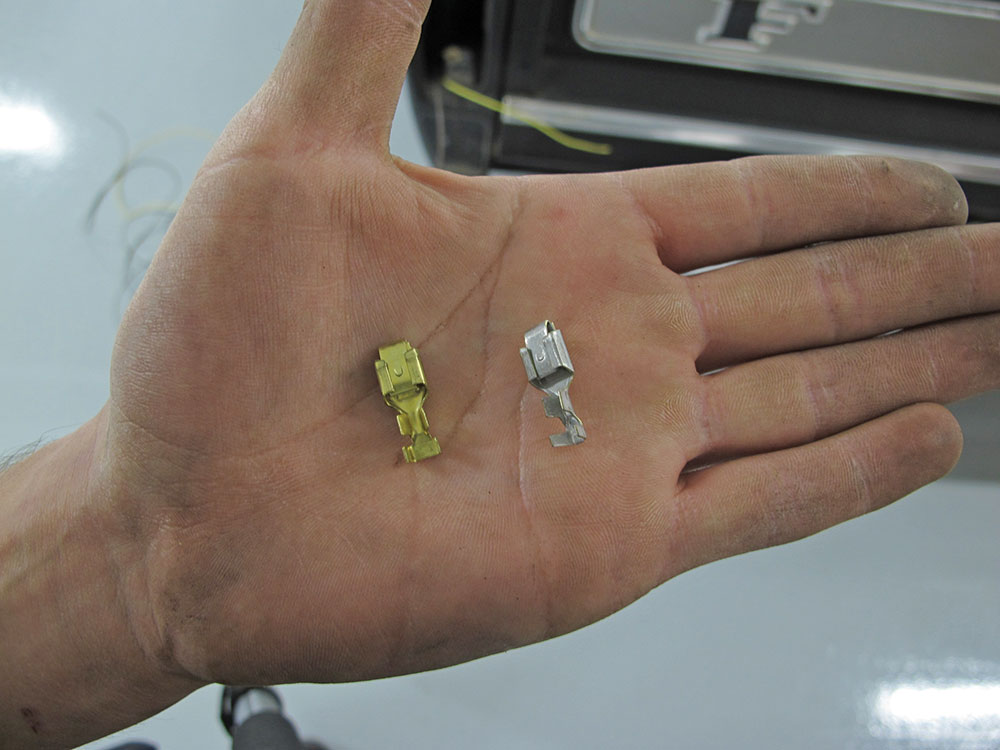
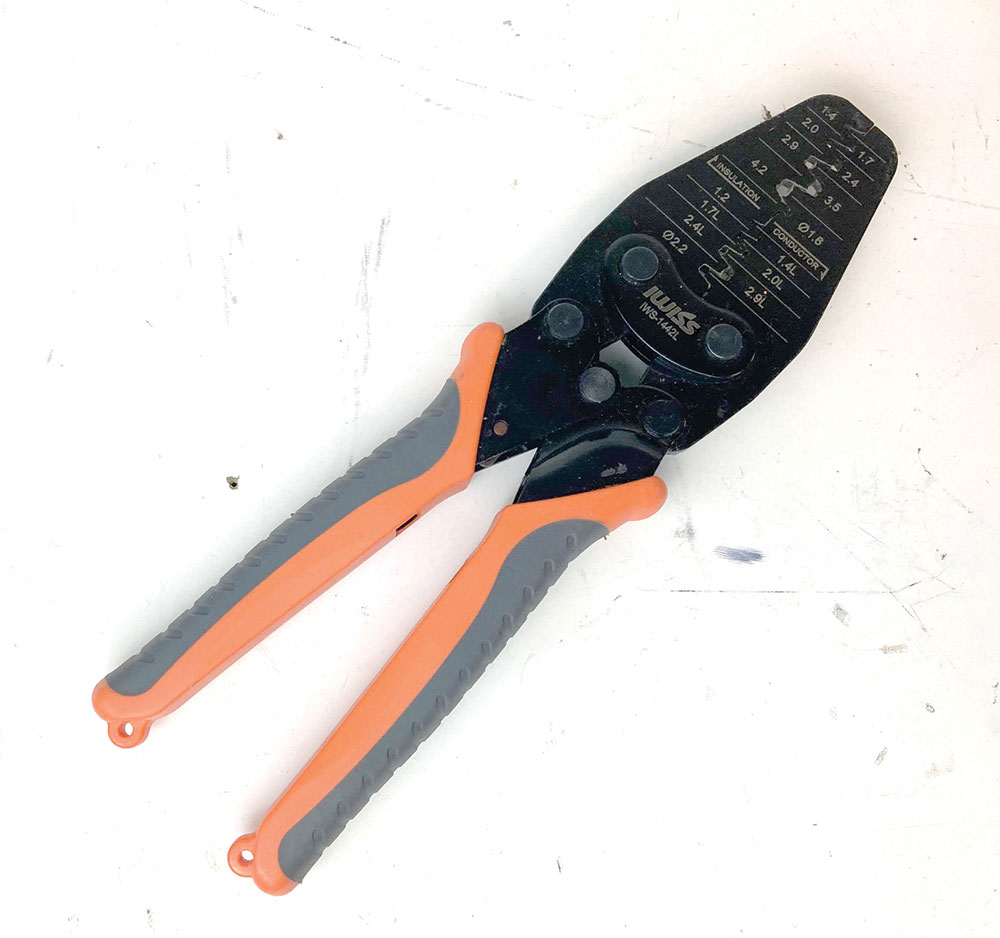
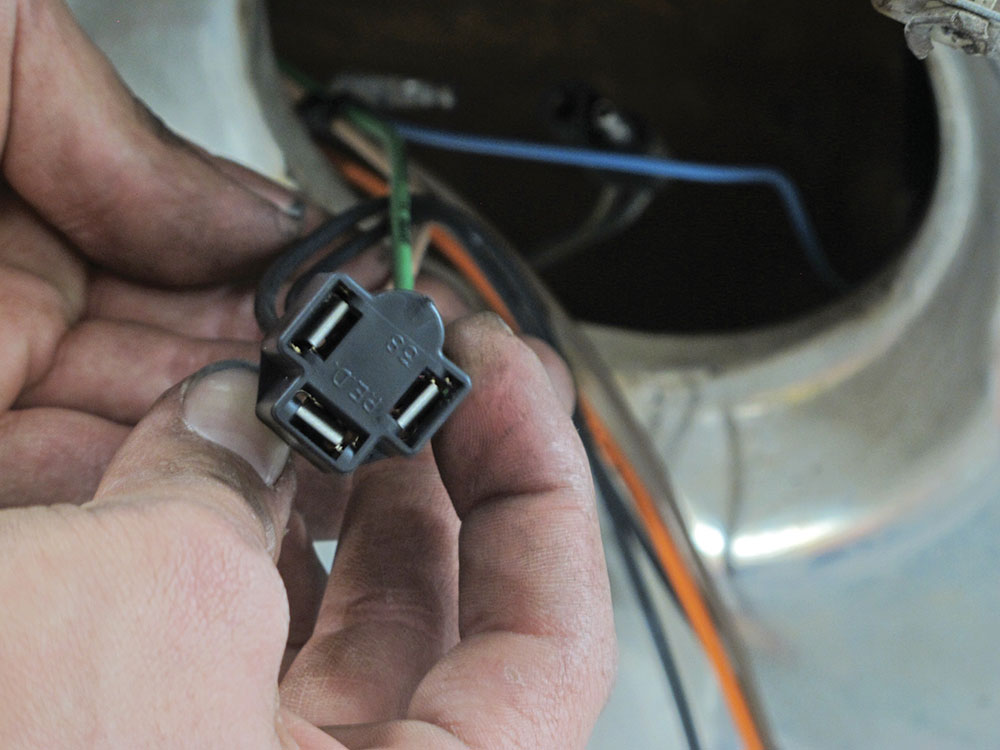
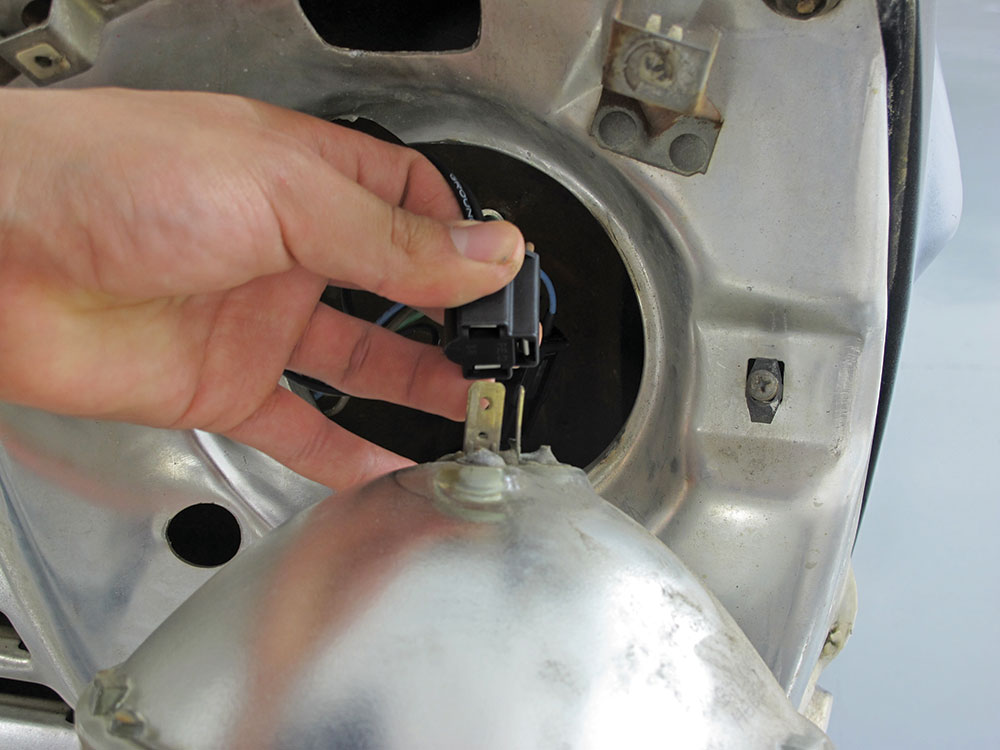
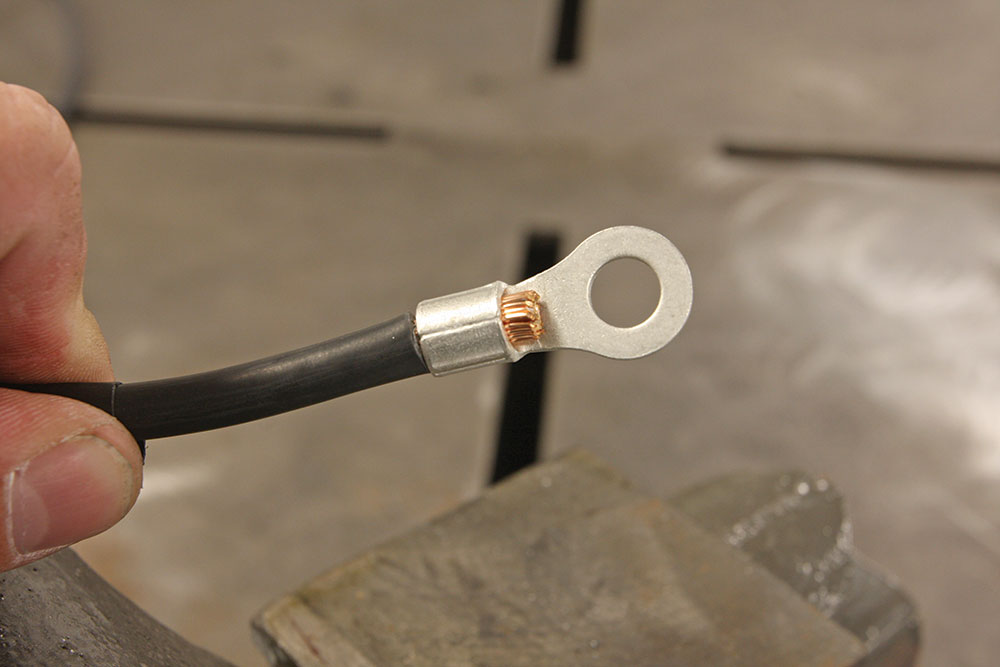
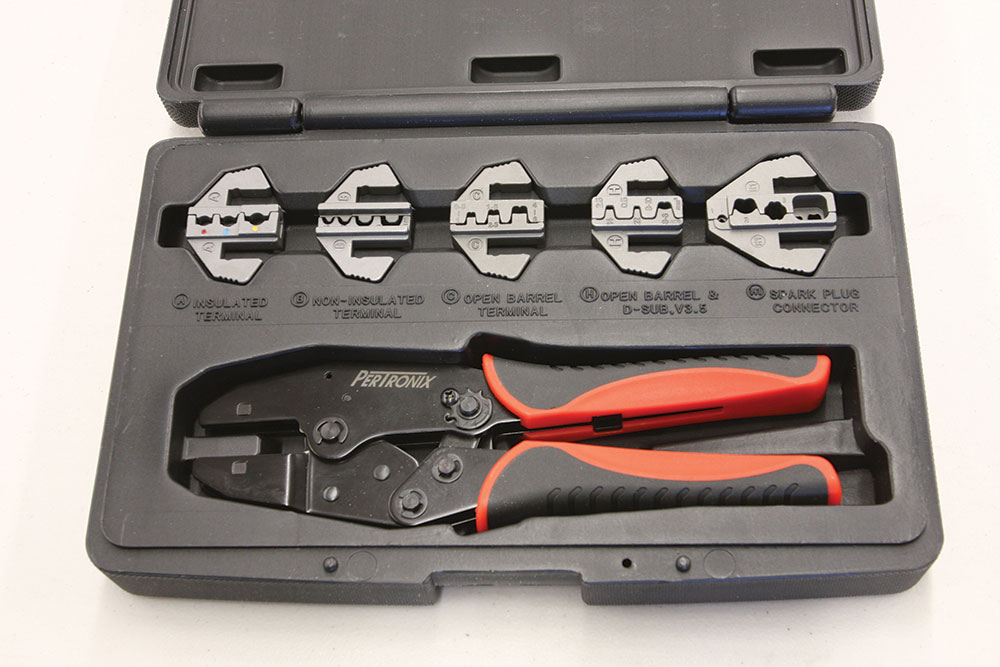
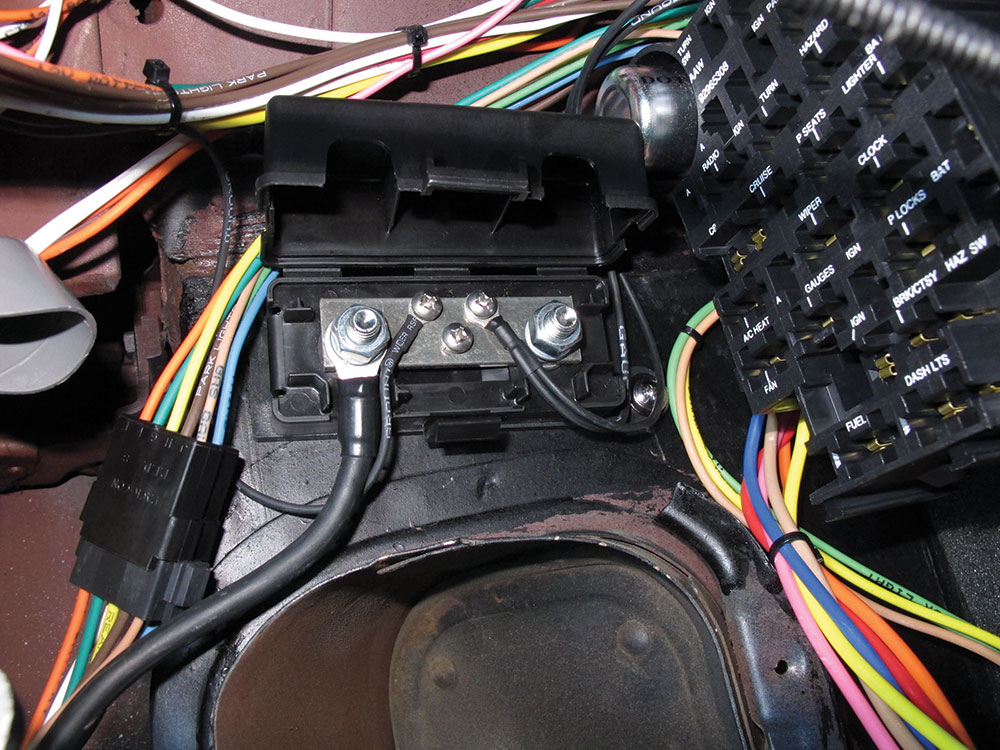
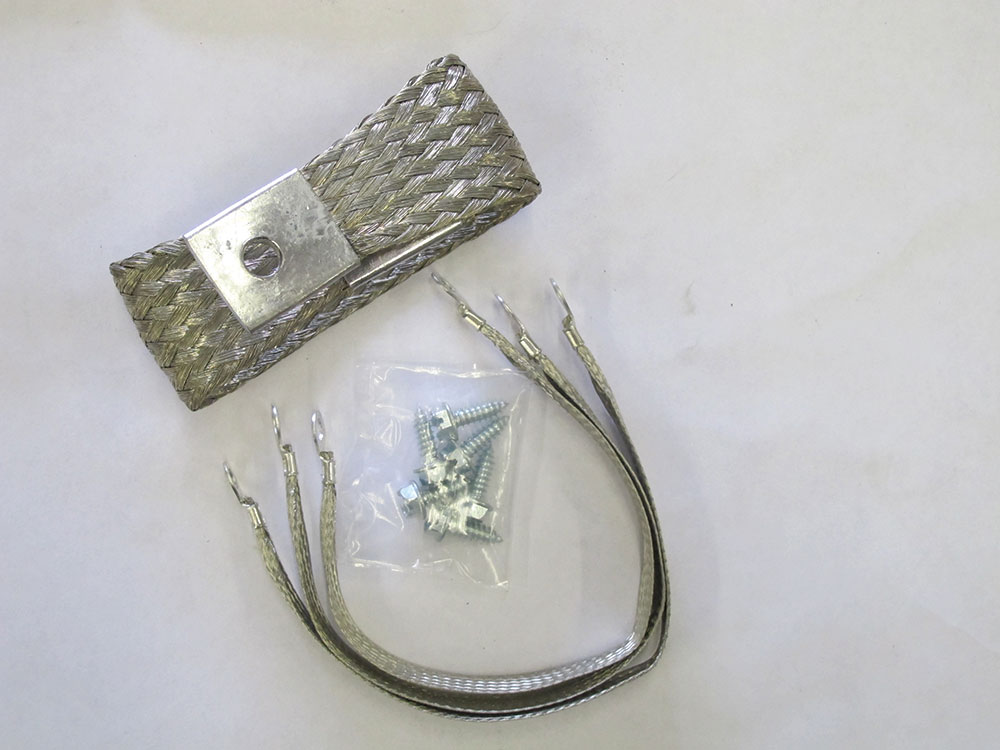
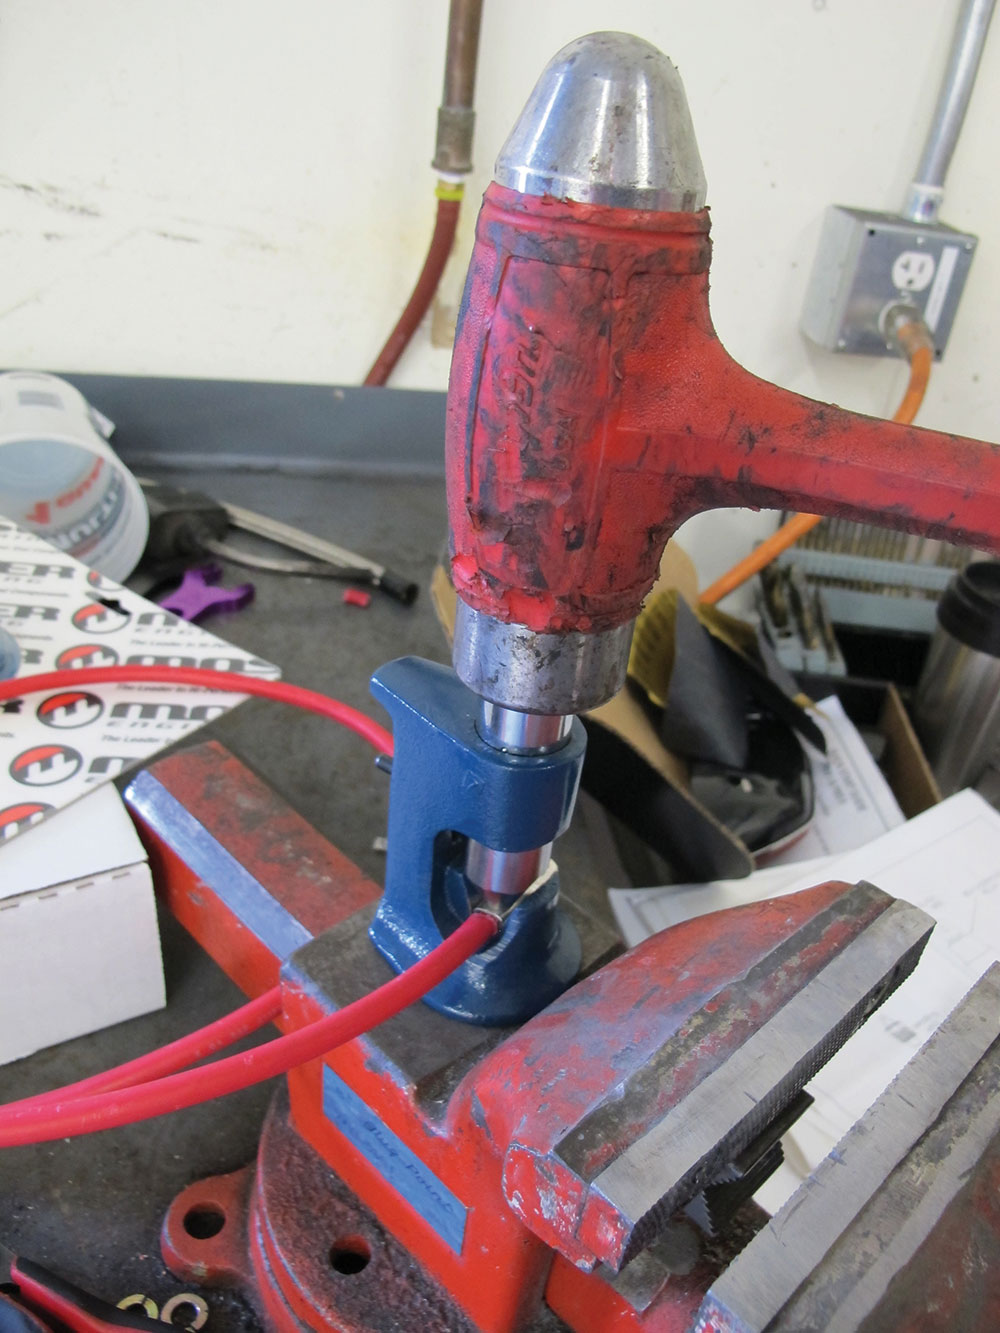
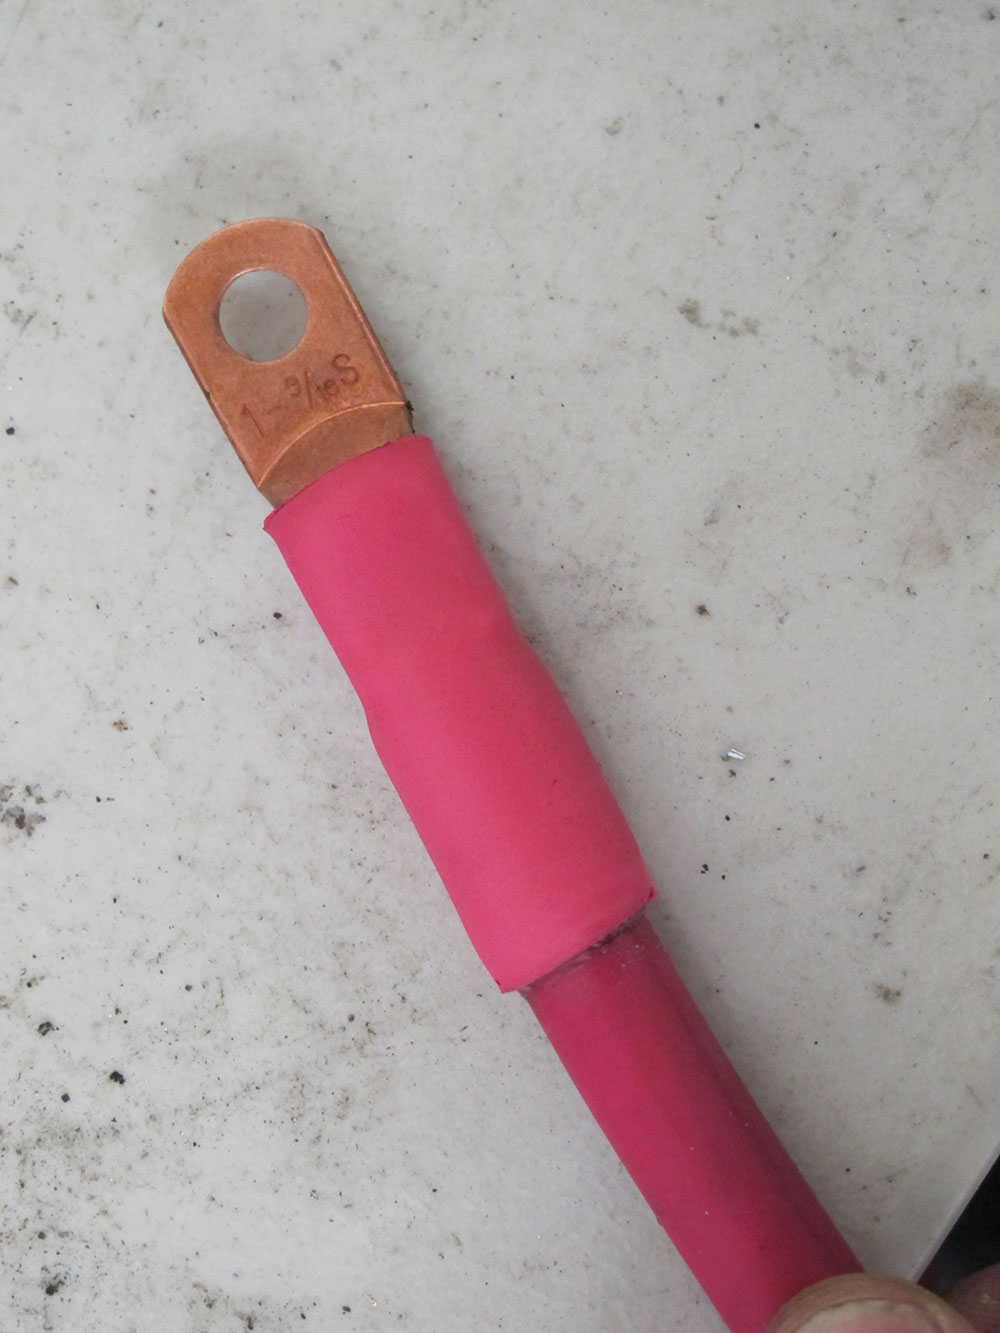
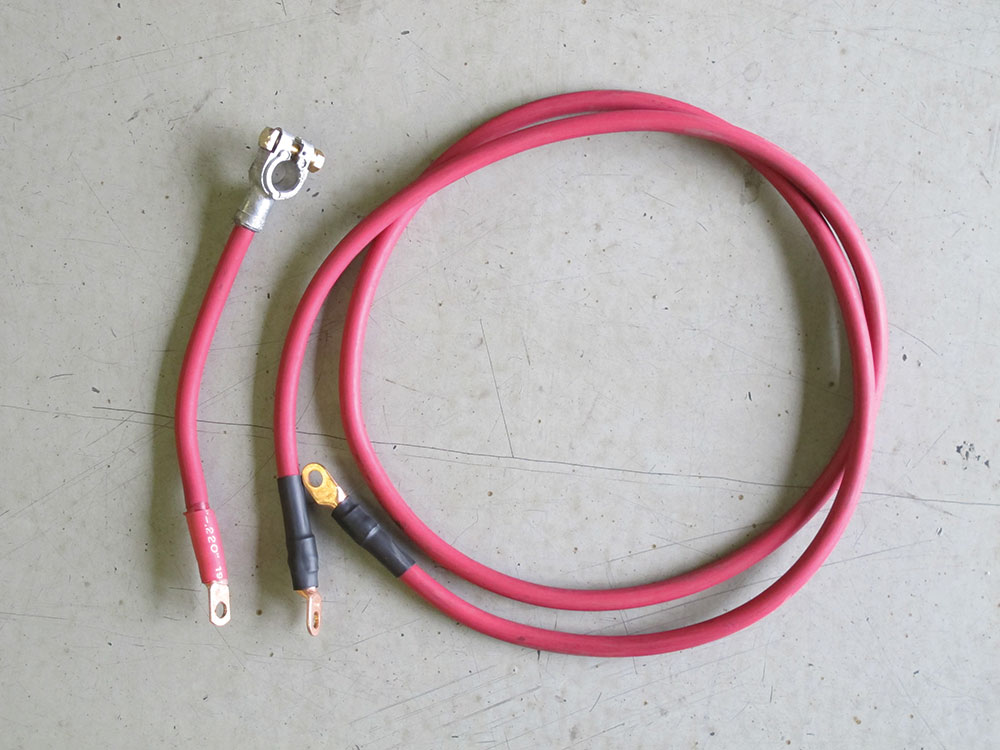
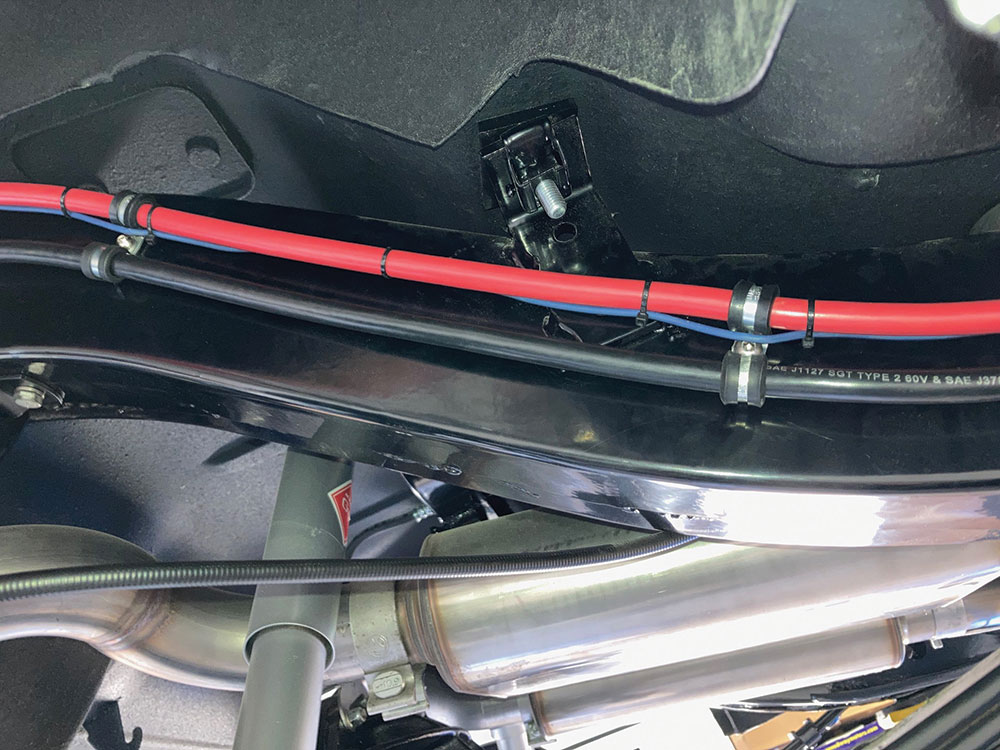
The first step in any wiring harness job is to securely mount the fuse panel in the preferred location. Typically this is on the driver side firewall inside the cab.When it comes to rewiring your classic truck, this is what we want to improve upon. This rat’s nest is a mix of original wiring harness and various owner updates scabbed in over the years.Mounting all the accessories next, before pulling any wire, helps formulate a good plan as to what wires need to be run where. This includes any ignition boxes, MEGA fuses, battery, relays, and so on. Here, all connections have been made, but the battery and main fuse feeds should be the last thing to be completed in a typical wiring installation. Note the positive battery cable has been marked with red tape. The owner of this installation did not want a bright red cable visible underneath the car, so black cables were used throughout the system, marked with red tape.At this point, the various circuit branches can be routed through the vehicle, starting with the frontend connections. This branch will typically consist of the headlights (high and low), turn signals, park lights, horn, and electric fan wires. Depending on the builder’s preference, the coil to tach, ignition feed, water temp and oil pressure sender, and wiper feed wires may also be included. When routing wires through any sheet metal panel, be sure to use grommets to prevent chaffing of the wire and a possible shorting scenario.Anywhere the wire is exposed to any elements or other unsavory situation, it’s a good idea to install the wiring harness in a protective covering, such as this braided split wiring loom. It’s cheap insurance, looks great, and makes for easy installation of additional wires if need be.Here, the wires have been bundled, installed in a split wiring loom, and routed through the firewall and up the inner front fender to the radiator core support. Note the use of Adel clamps to keep the wiring harness secure.Both male and female Packard Type 56 connectors are used throughout the American Autowire harness, in particular on the headlight connectors.A good open barrel crimp tool is required to crimp these types of terminals. Most universal wire crimpers just won’t do the job sufficiently.Once crimped to the wires, the terminals are snapped in place in their respective connector, a three-wire female connector in this case.This makes a factory-style connection at each headlight.Standard, non-insulated terminals use a more conventional crimping method to secure the terminal to the wire. Most installations of this type will receive a short section of heat shrink tubing installed over the crimped section of the terminal end.For larger gauge wires, American Autowire offers this six-gauge crimping tool.Smaller gauge wires can be crimped using a good ratcheting-type crimping tool, such as this kit sold by PerTronix Ignition Products. In addition to crimping non-insulated terminals, the die sets can be quickly and easily changed out to crimp insulated, D-Sub, Open Barrel, and spark plug terminals.In addition to the proper crimping tools, a pair of good wire cutters, automatic wire strippers, and a sharp pair of metal scissors are indispensable to electrical work.Proper grounds are part and parcel to a quality wiring job and to that end American Autowire offers an All Copper Grounding Kit designed to eliminate the use of the frame rail as a conductor by using three grounding bus boxes connected by six-gauge copper cables. This effectively produces a “ground loop” that attaches all the grounds in the wiring harness to the negative battery terminal, making a solid, continuous connection. Here, one of the grounding boxes is shown, located next to the fuse panel to mate all the dash electrical components to the ground circuit.Additionally, a ground strap kit is a great way to mate the chassis, engine, and body grounds directly to the negative battery terminal.American Autowire’s charging and main fuse power feeds are fully fused and protected by a pair of separate 175-amp MEGA fuses. Note the position of the MEGA fuses after the larger battery cable that supplies the starter with the necessary amperage during engine cranking.A Hammer Crimper is a great tool to install cable lugs when fabricating larger battery and charging cables.Heavy-duty heat shrink tubing finishes off the install.Battery cables come in all shapes and sizes, so having the capability to cut the cables to length and crimp the ends to suit is very valuable. Here, a pair of battery cables has been fabricated that will connect to a feed-through junction block used to conduct power through a bulkhead, floor, firewall, and so on.
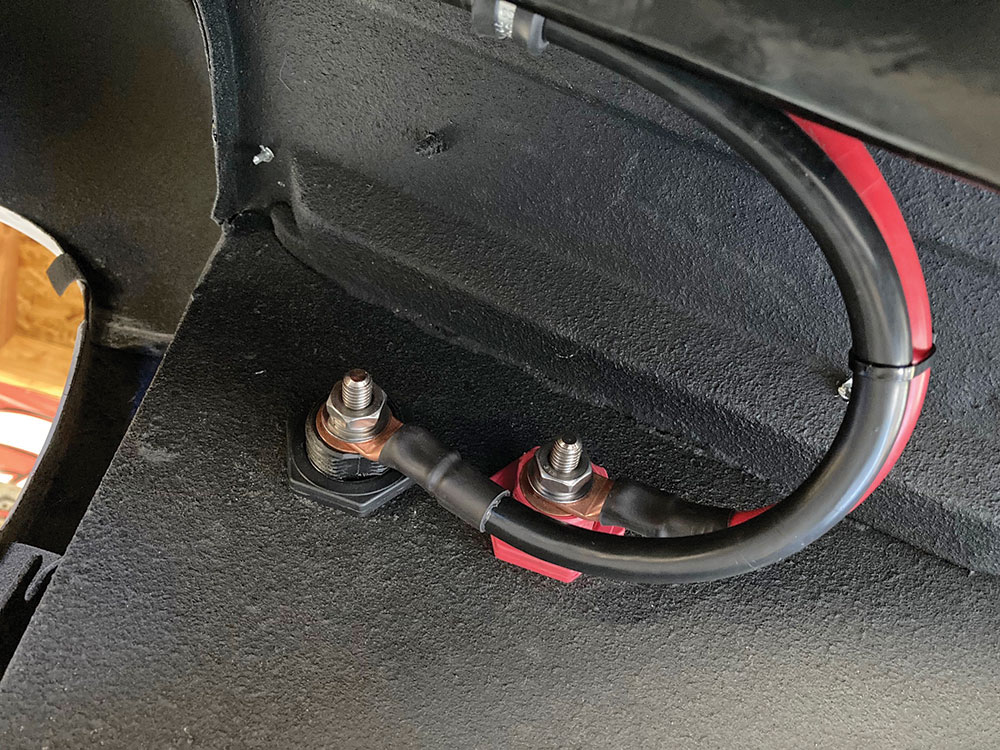
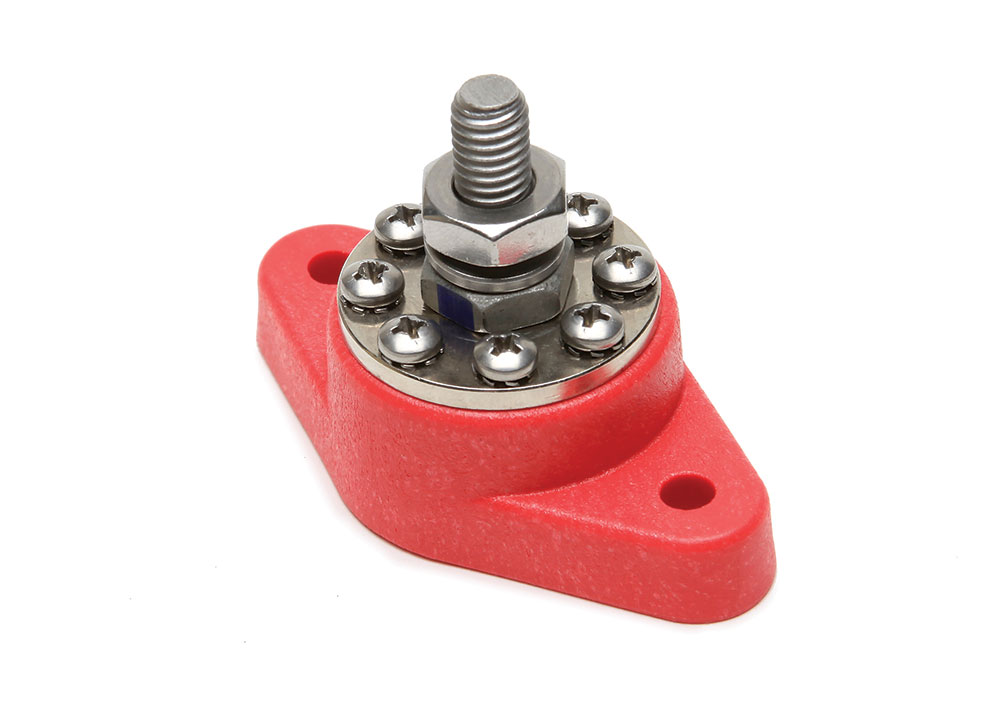
A power distribution block is a great way to connect several wires to a central location.Since the main battery cable feed between the battery and the starter is not fused, it’s pertinent to ensure that the cables are mounted in a fixed manner with plenty of protection.
We use cookies to ensure that we give you the best experience on our website. If you continue to use this site we will assume that you are happy with it.