How to Set Idle Mixture Correctly
By Jeff Smith – Photography by the Author
The Bible says that idle hands are the devil’s workshop. Our take is a little different. When it comes to setting the idle mixture on your street-driven engine, your hands will be plenty busy adjusting, tweaking, and setting several different parameters. This may not sound like something to account for an hour or so of your time, but trust us, it’s worth the effort.
If you think about it, a street-driven engine spends much of its time running with a closed or near-closed throttle. Waiting for the engine to warm up, sitting at a stoplight, cruising down the highway, or on city streets are all conditions where the throttle is just barely open. With most carburetors, these situations require a throttle opening of roughly 10 to 15 percent. This places throttle action well within the realm of the idle circuit.
That statement may come as a bit of a surprise to many automotive enthusiasts. But if your street engine idles at roughly 12 inches of manifold vacuum or higher, then your engine probably runs down the freeway at not much more than 15 percent throttle opening, which falls within the control area of the idle circuit in your carburetor.
Conversely, if your engine has a big cam and idles at less than 10 inches of manifold vacuum, then the engine probably runs down the freeway (based on several variables we won’t bother to list here) on the primary main jet circuit. This story will concentrate on the milder of these two options.
So, from this basic fact it should be obvious that properly setting the idle circuit to run as lean and efficiently as possible has multiple benefits. Right away, we can hear the detractors already warming up their keyboards stating that lean engines run hot. That, unfortunately, is a common engine-related urban myth. The exact opposite is true. Engines that run rich at idle tend to run warmer and those with retarded initial timing and rich mixture are the absolute worst at running hot. Those are facts.
Selecting Starters: Which One is Right for You, Gear Reduction or Direct Drive?
Based on this, the first thing we need to address before setting the idle is to look at the ignition timing. Our experience is that many street engines do not take advantage of sufficient initial timing. So that’s where we will start.
Before we get into the details, it’s also important to state that this procedure is based on the assumption that the engine is in good condition with relatively even cylinder pressure on all cylinders with new or near-new spark plugs and plug wires. It’s also important that the engine is not suffering from even a minor vacuum leak.
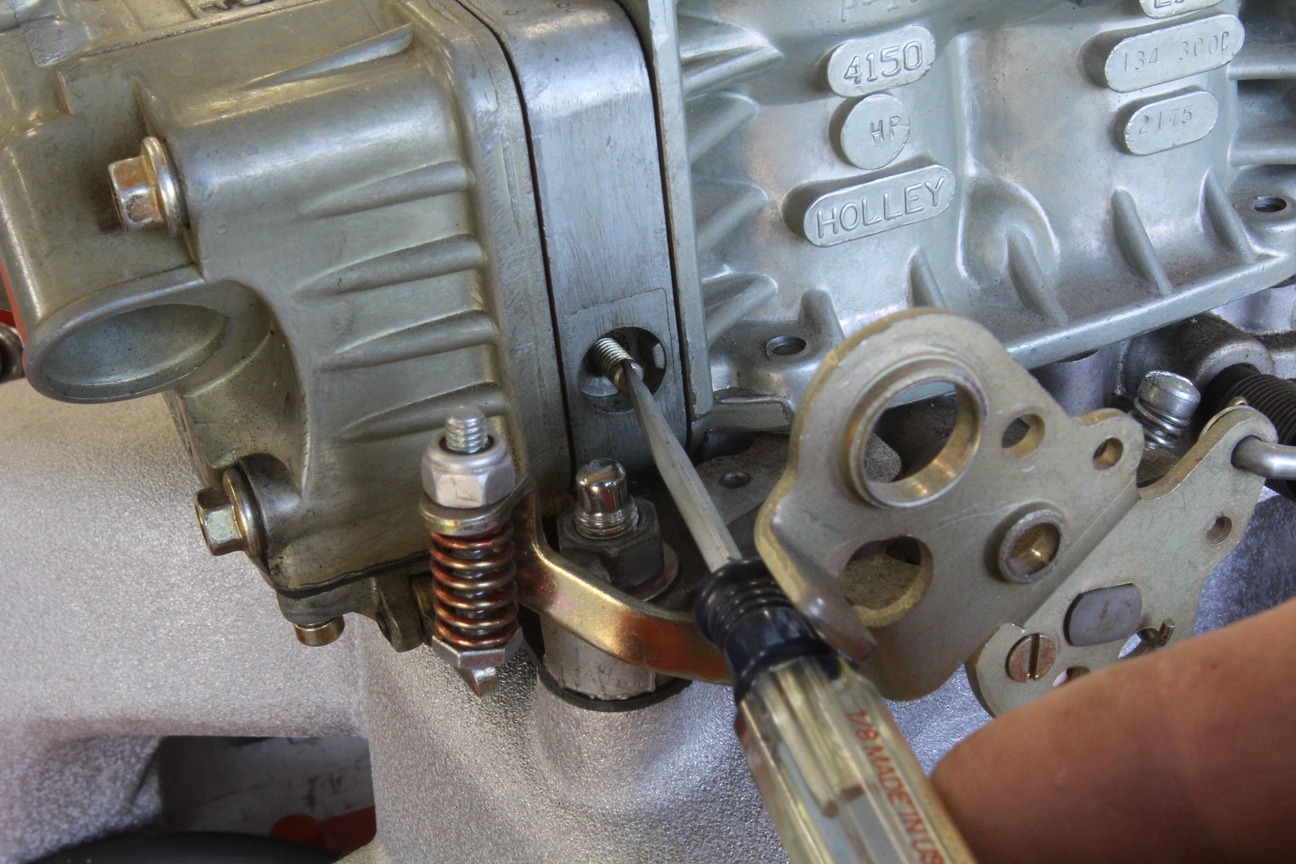
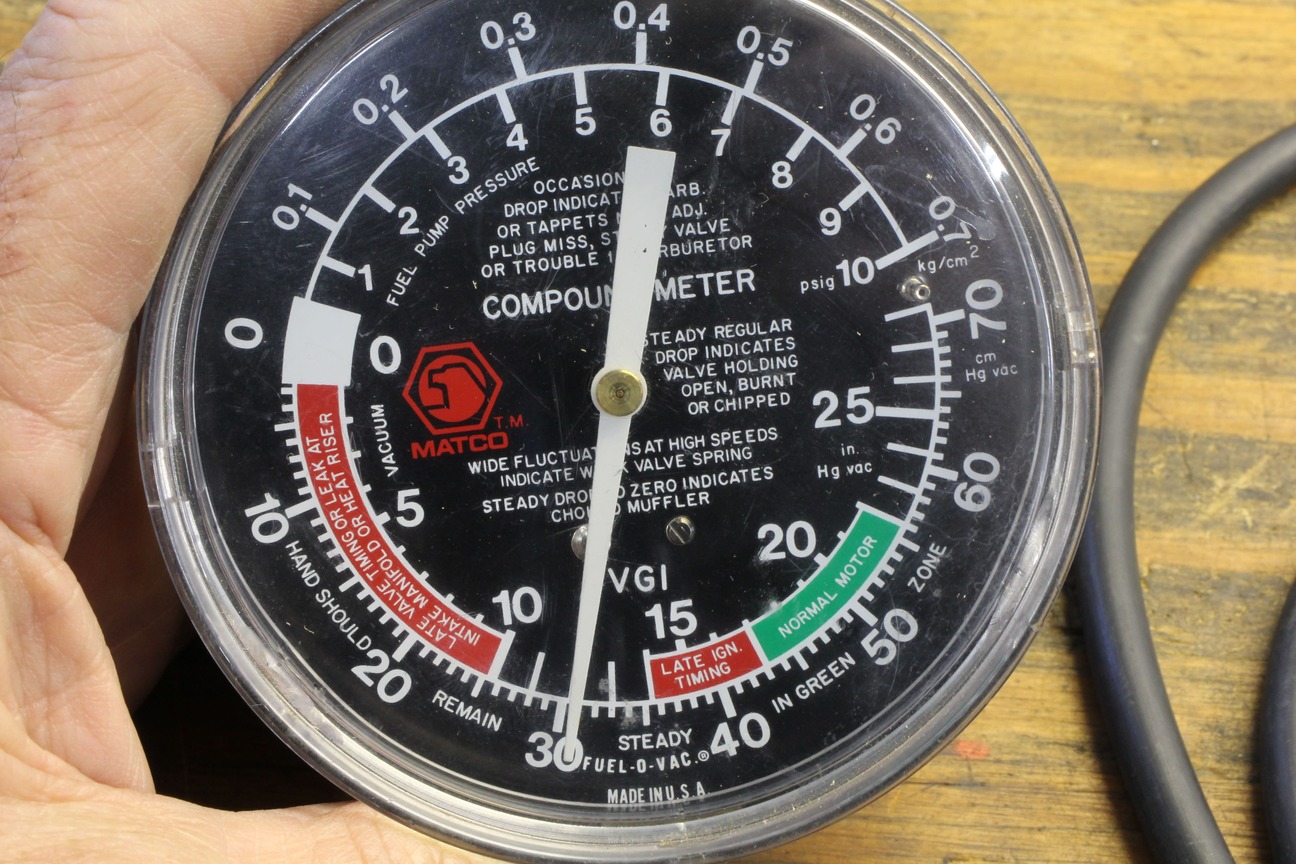
We should also state again that this story is aimed at the wide range of street engines with anywhere from stock to mild performance camshafts that idle with a manifold vacuum of 12 to 18 inches of mercury (Hg) as measured on a vacuum gauge. If your engine is running a big cam with less than 10 Hg, this will require different settings and carburetor adjustments (predominantly concerning the transfer slot), which requires a separate story to address the process.
Initial timing is the amount of ignition timing set at idle with the vacuum advance disconnected. Generally, older stock engines from the factory were often set at barely 4 to 6 degrees of initial timing. From a performance standpoint for even mild performance engines, they really prefer to run with 10 to perhaps as much as 15 degrees initial timing. This, however, sets up a situation where this much-added initial timing may produce too much total timing.
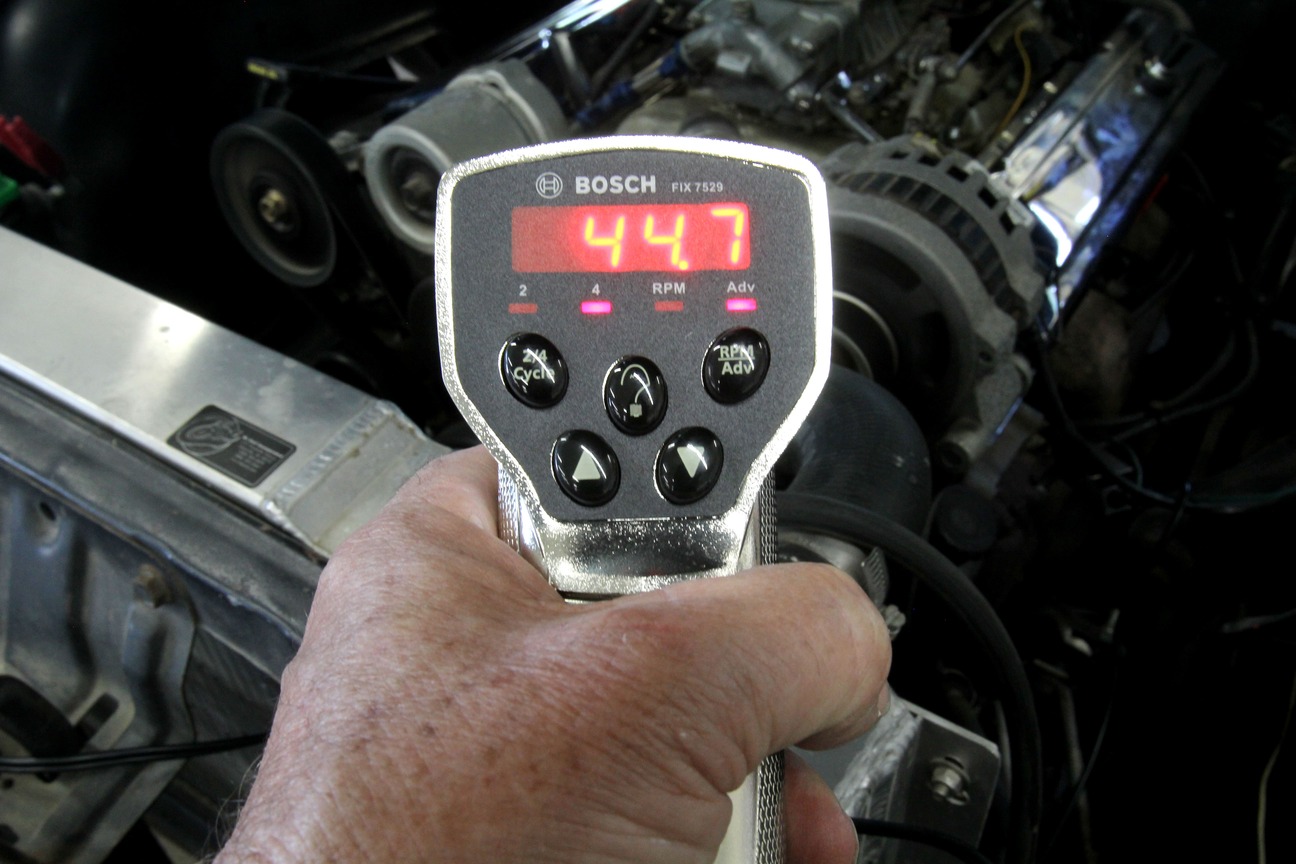
This total is the initial timing value added to the mechanical advance. If we have 12 degrees of initial and 24 degrees of mechanical, this will produce 36 degrees of total timing. For most street engines, 36 to 38 degrees should be sufficient. Anything more than 38 to 40 degrees may create detonation problems. We prefer to set the initial based on attaining the highest idle vacuum then pull the timing back about two degrees. This seems to work well.
Get a Grip: Learning The Difference Between Single And Double Adjustable Clutches
For this story we will apply these techniques to a 355ci small-block Chevy with a mild cam, iron exhaust manifolds, and a dual-plane intake with a 750-cfm Holley four-barrel carburetor. We set the timing at 14 degrees initial. This produced 37 degrees of total advance. The procedure for setting idle mixture will be the same regardless of the carburetor in use.
The first step is with the engine not running. Check the position of the idle mixture screws by counting the number of turns out from the seated position for each idle mixture screw. If the mixture screws are not the same count, average them and make sure they are an equal distance out from fully seated. They should be roughly 1 to 1½ turns out from fully seated but that’s just an initial setting. This is true whether the carburetor has two or four idle mixture screws.
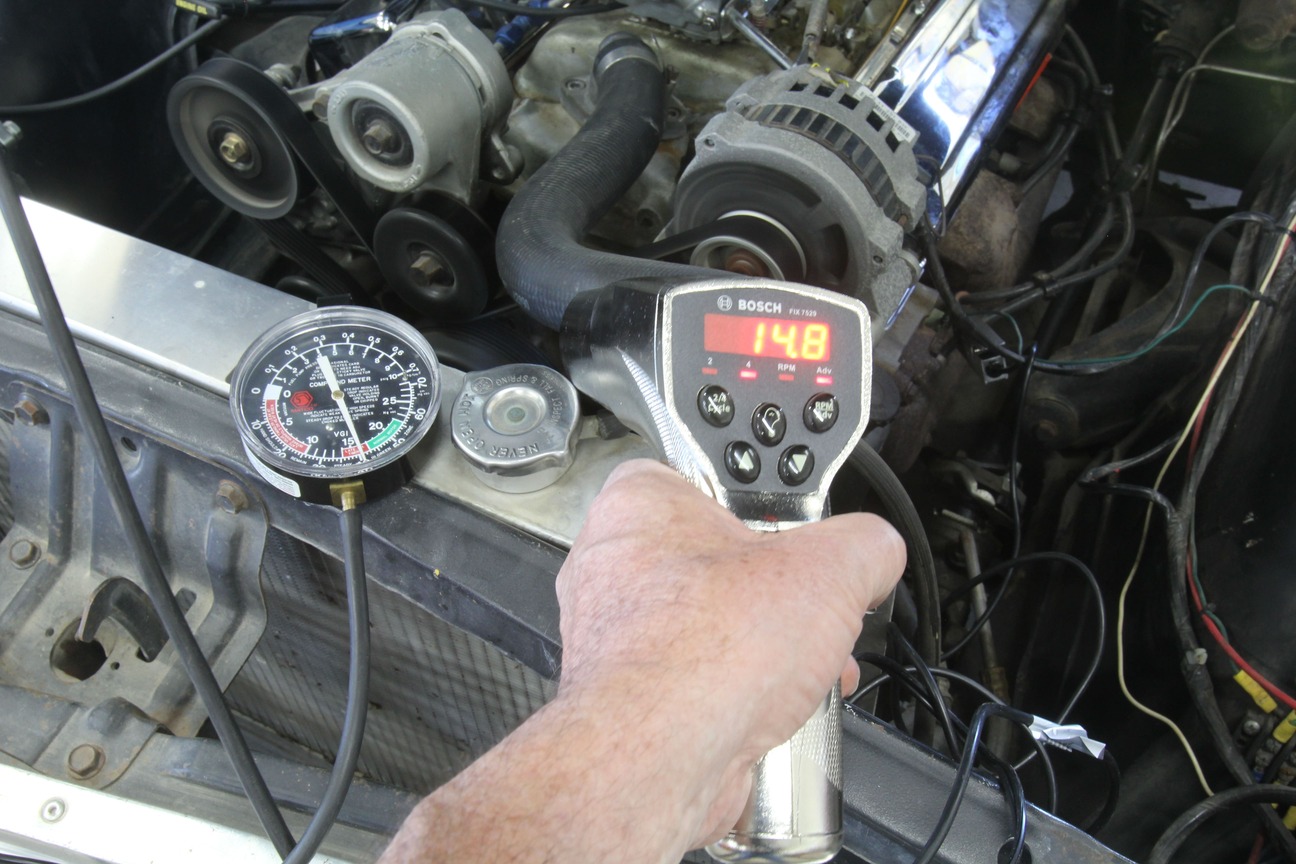
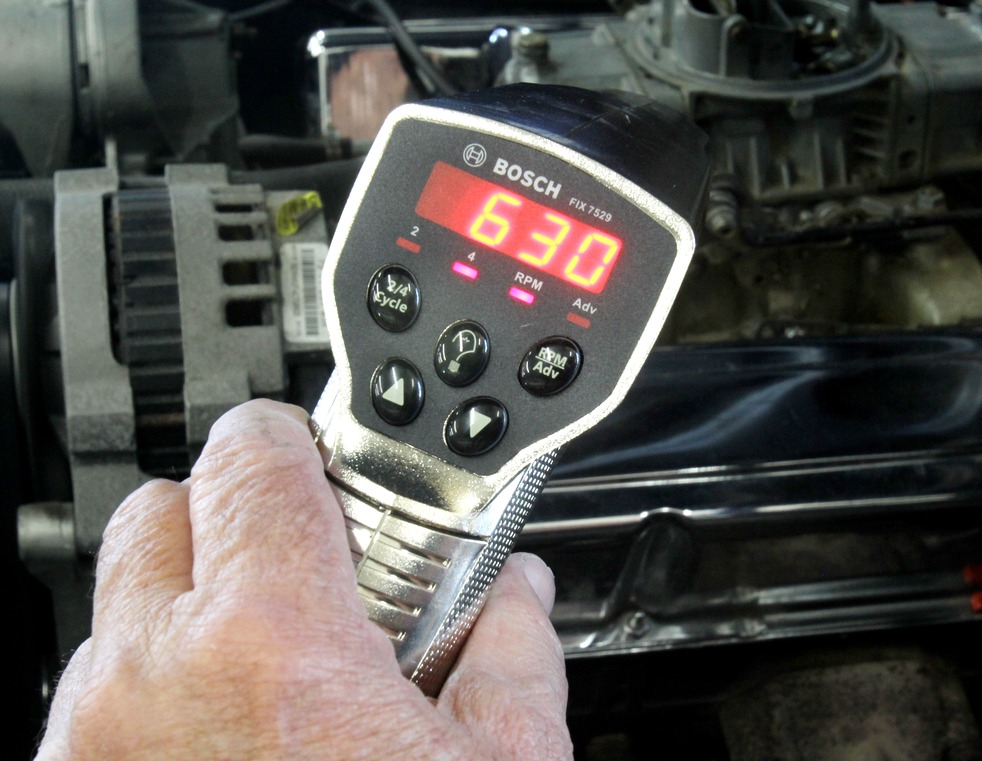
Next, we need to connect a vacuum gauge and if your timing light has a digital tach readout that would be helpful as well. Start the engine and bring it up to its normal temperature and the choke is in the full “off” position. Idle speed should be somewhere between 750 to 900 rpm with the transmission in Neutral or Park.
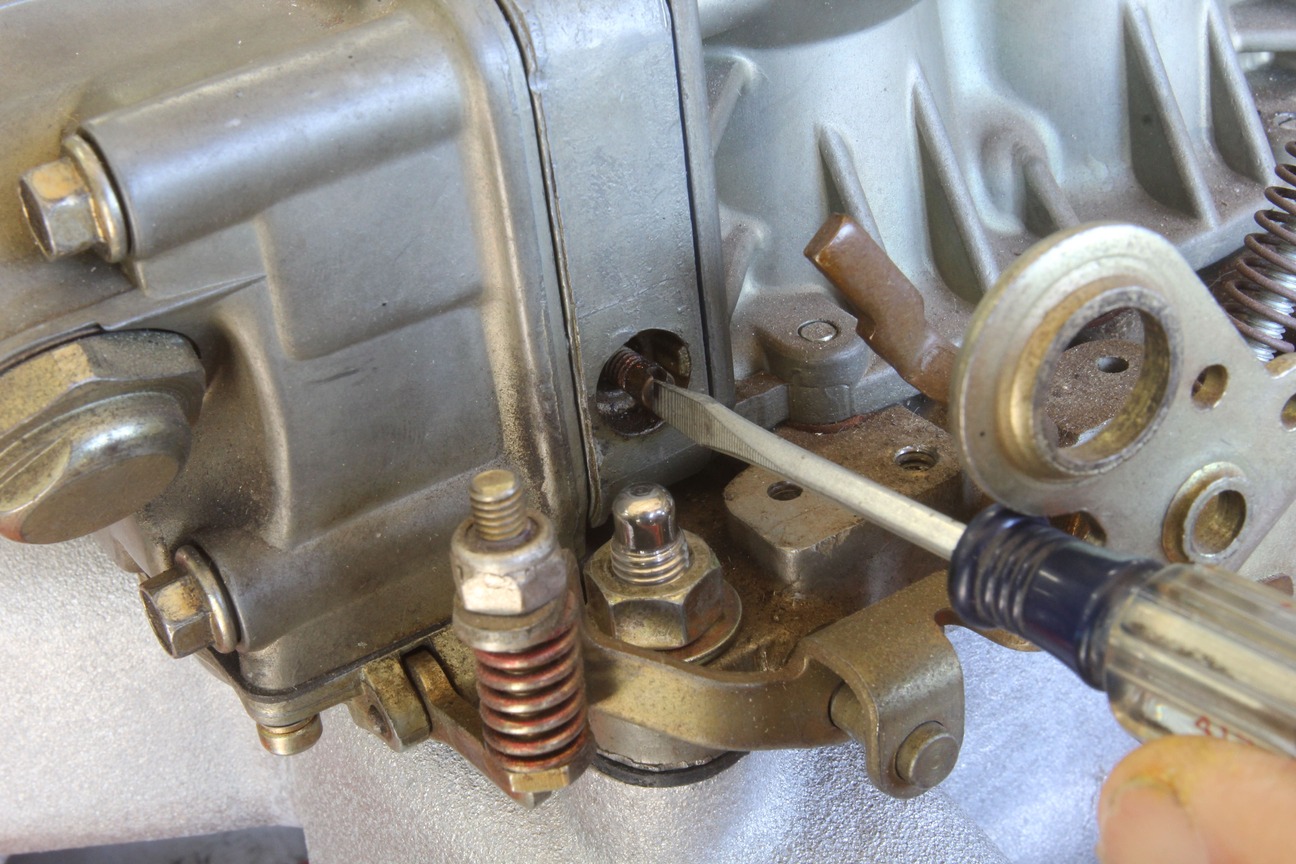
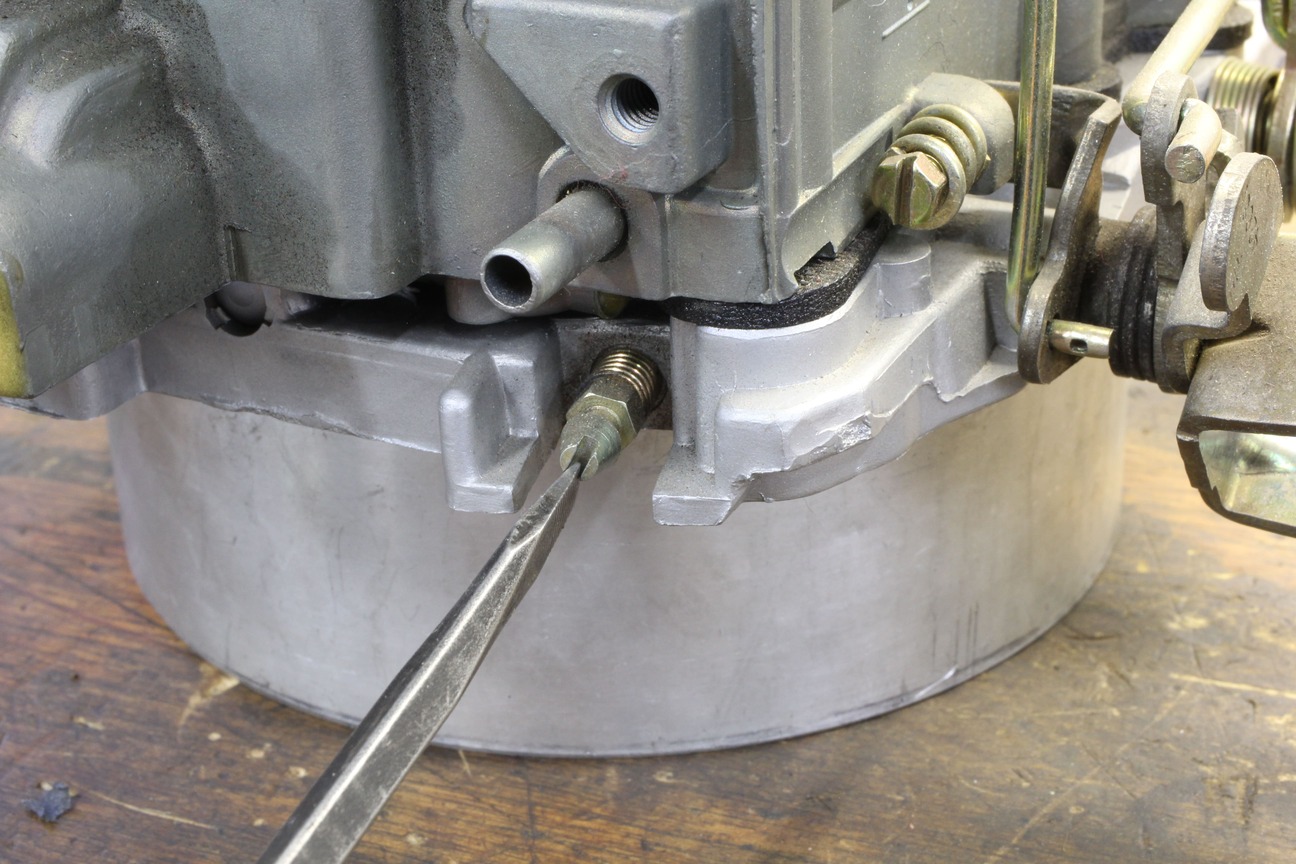
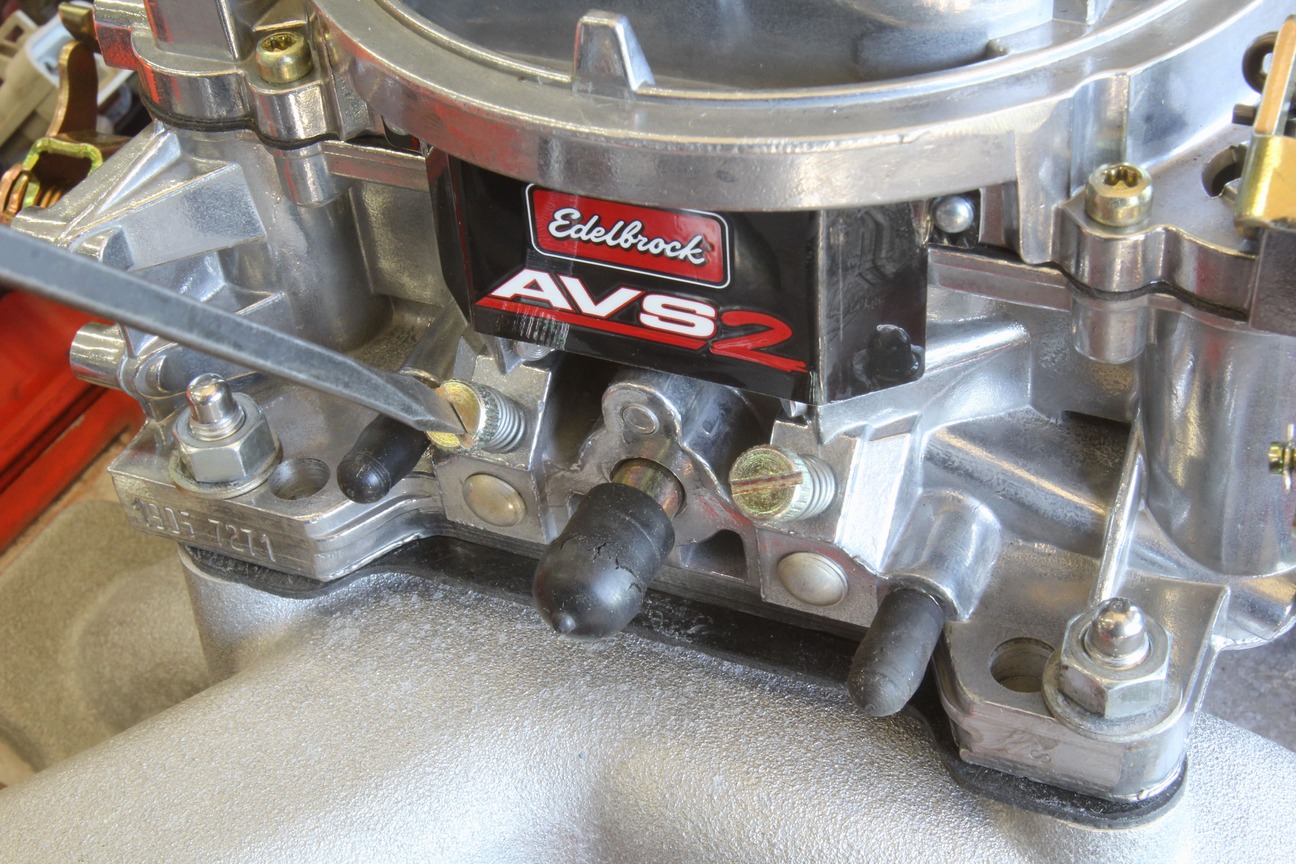
Begin the adjustment process by noting the idle vacuum level and engine idle speed. Then move the first idle mixture screw in–clockwise–a very small amount. We like to work with adjustments that are about the width of the screwdriver slot. This is a very small change. Note any change on the vacuum gauge and/or tach. If after adjusting the first screw there is no change, make the same inward adjustment on the opposite idle mixture screw. This reduces the amount of fuel delivered by the idle circuit.
If there is still no change, make the same adjustment for both screws and note the change. If the idle speed drops and vacuum decreases, reverse the direction back to the original point and then turn both mixture screws outward this same small amount.
Clutch Basics: The Fusible Friction Link Between Your Engine and the Road
Each time you make a change, note the effect on both the idle vacuum and engine rpm. If a change to the idle mixture increases the engine speed, go to the idle speed adjustment screw and bring the rpm back to its original point. This will slightly lower the vacuum level, too. The goal with this procedure is the highest engine idle vacuum at the desired idle speed. An example would be 14 Hg at 800 rpm.
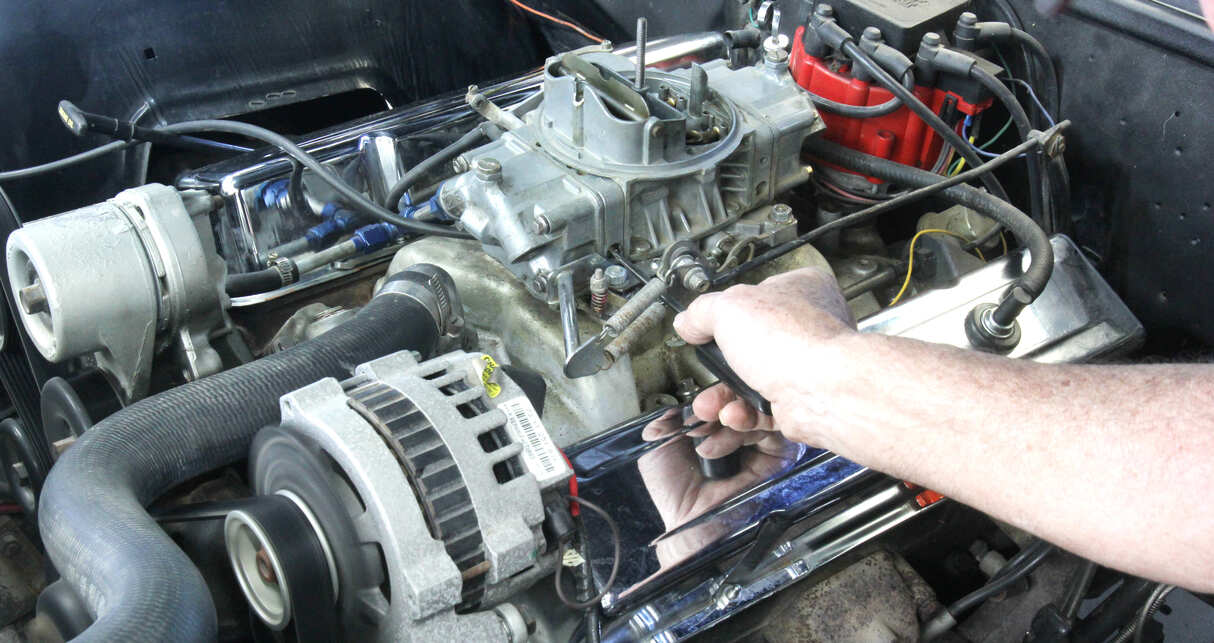
Work with very slight changes to the idle mixture screws. This may take a few minutes to zero in on the ideal idle mixture setting, but it is well worth the effort. Once this is achieved, many tuners recommend making a very slight adjustment leaner from this ideal setting. This helps reduce the amount of fuel at idle, and in our tuning efforts we’ve seen how much this reduces the level of unburned hydrocarbons in the exhaust. This will also allow your spark plugs to run a little bit cleaner and produce less carbon in the combustion chambers.
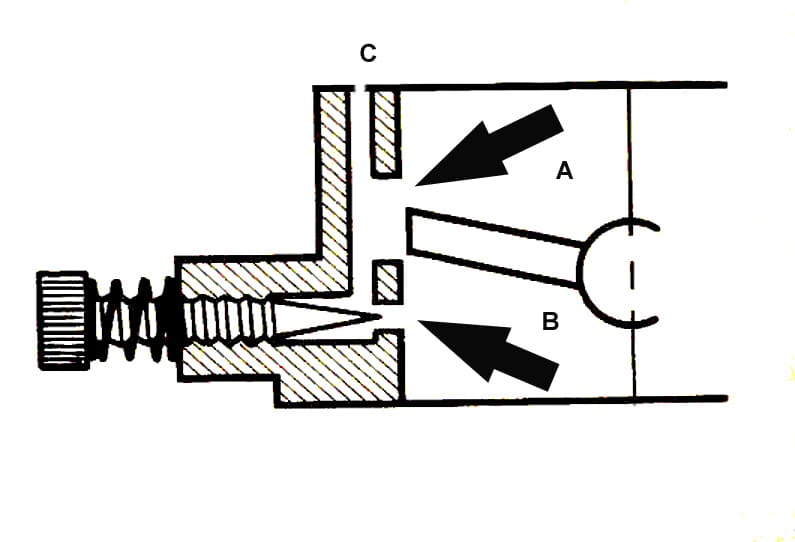
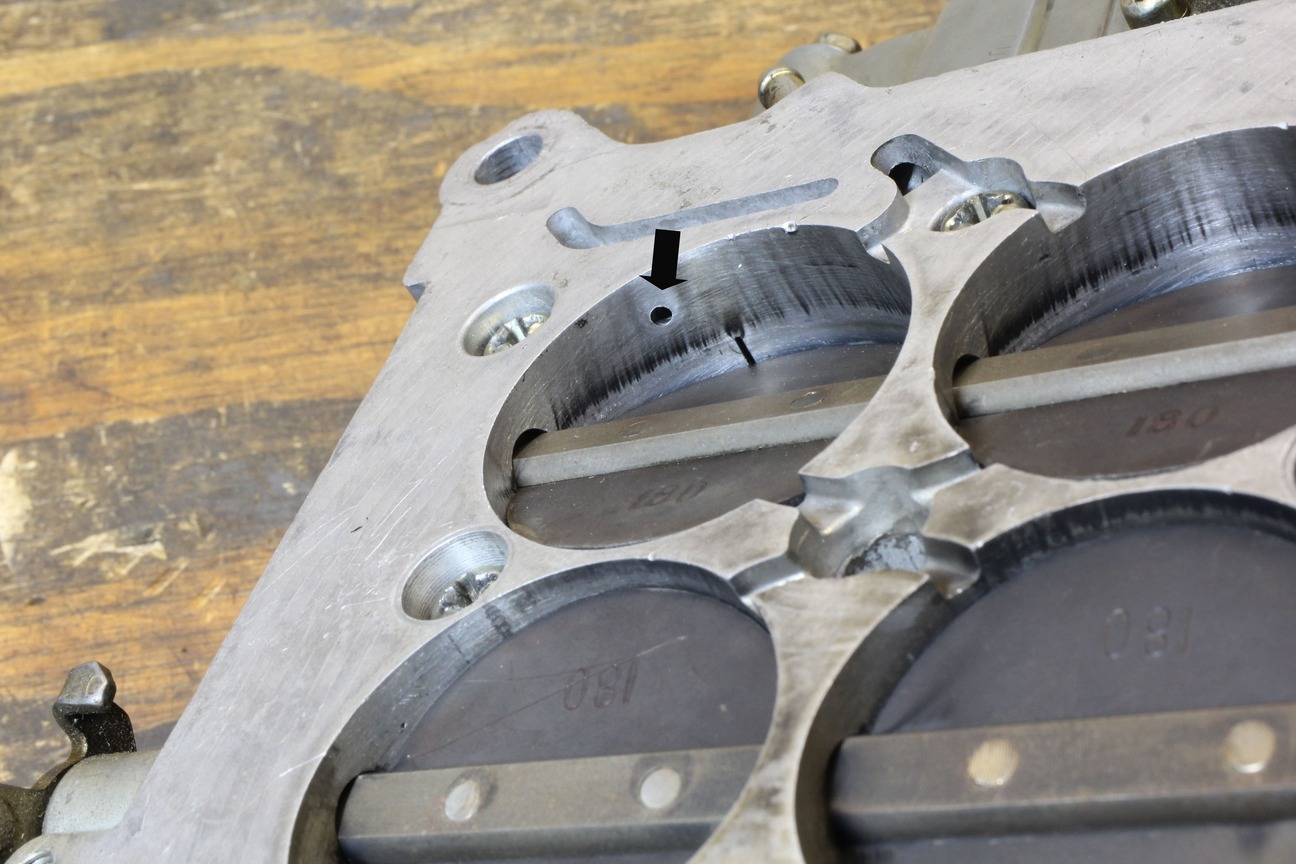
It’s also important that each change is made the same way so that all the idle mixture screws are adjusted the same. In some cases, an engine might want more or less fuel on one side of the engine but this is rare. If you find that changes to one side of the carburetor have no effect at all, that circuit is likely blocked with dirt or debris and the carburetor should be completely disassembled and repaired. Sometimes you can try shooting carburetor cleaner down the idle air bleed holes in the top of the carburetor to clean the system.
If, after running through this procedure, the idle mixture screws are turned out less than one full turn from fully seated, this indicates that the idle feed restrictor is slightly larger than ideal. This idle feed restrictor is the idle jet that determines how much fuel is fed to the idle mixture screws. By reducing this idle feed restrictor, this will also reduce the amount of fuel used at light throttle. With most carburetors, this is a difficult restrictor to modify. However, the results when you do lean this restrictor can be significant, especially to improving daily driving throttle response.
One indicator that the idle circuit is still too rich is if your engine will start easily and idle smoothly when it is dead cold without the use of a choke system. If so, the idle mixture is set too rich. When properly leaned out, a cold engine (with no choke) will require a couple of minutes (or more) of warm-up before it will idle without manually holding the throttle open.
Of course, if any changes to the engine are made, like a different camshaft, the idle mixture will need to be readjusted and optimized. Another example would be changing from a pair of breathers to a PCV system will also require readjusting the idle mixture setting. As an aside, a good PCV valve should be considered an essential part of any street-driven engine.

This procedure is not difficult and other than a vacuum gauge and a timing light, does not require any more specialized tools. And these are tuning tools you should already have. The main ingredient for setting proper idle is a willingness and patience to do the job correctly. The payoff is a smoother-running engine that will be happier and more fun to drive.
| Tools |
| Small Straight Blade Screwdriver |
| Vacuum Gauge |
| Timing Light |
| Digital Tachometer |
| Tool Description | PN | Source |
| Bosch Dial-Back Timing Light | 7521 | Amazon |
| Vacuum Gauge | INO-3620 | Summit Racing |
Source
Summit Racing
(800) 230-3030
summitracing.com


