It’s not unheard of in the classic truck hobby to become close friends with your local sandblaster. Rusty bodies, sheet metal, and chassis and suspension components are common when you’re working on a 70-plus-year-old vehicle. What happens after the blasting process can be the difference between a sad truck owner and a happy builder. Our 1964 Chevy C10 cab recently visited the local blasting establishment, as it had a combination of patina’d paint, rust, and cancer that needed cleaning. Back in the shop and with fresh sheetmetal, we started tackling the big items first (A-pillars and rockers). With a solid cab once again, we could concentrate on the numerous smaller areas of interest. Unfortunately, as we proceeded to make said progress, so did Mother Nature, in the form of surface rust.
This was to be expected as we didn’t put anything on the body to mitigate this from happening. A light coat of primer might have helped but would have still been no guarantee. With not a single panel on the cab that needed to be repaired, it didn’t make any sense to apply primer, just to have to remove it later; not to mention the gamble it would be to put our final bodywork and paint over a quick dusting of rattle can primer. Instead, we put our head down and moved forward with the sheet metal repairs, knowing that there are options available to tackle the very situation we found ourselves in.
But treating the surface rust is only the beginning of the finishing phase of our cab. After that’s managed and before we send the cab out for final body- and paintwork, we’re going to address the underside, firewall, dash, and interior surfaces. This will allow us to bolt the cab to the chassis permanently and continue with the build as we save some cash for paint- and bodywork.
While many concoctions claim to remove surface rust with very little elbow grease, most have more cons than pros. Everything from Muriatic Acid to molasses to Coca-Cola are claimed capable of doing the job, but just the idea of cleaning up the latter and the fact that the former requires being neutralized lest it continue to do the job of eating the iron for eternity, we opted to go with a process with a little more pedigree.
KBS Coatings have made it their ethos, literally, to stop rust, so it should come as no surprise that they have a vast product line of rust prevention and treatment options. From surface preparation to rust mitigation to final topcoat finishing, KBS Coatings offers a product to provide the DIY end user a solution throughout the entire process. Worrying about how that Muriatic Acid bath treatment might react with that gallon of primer that’s been in the cabinet for 10 years and how it will behave with that other ancient can of body filler and whether the final paint finish won’t fish-eye, lift, or otherwise behave badly is a situation we don’t want to find ourselves in. Do it once, do it right, and move onto the next job, all thanks to KBS Coatings. CTP
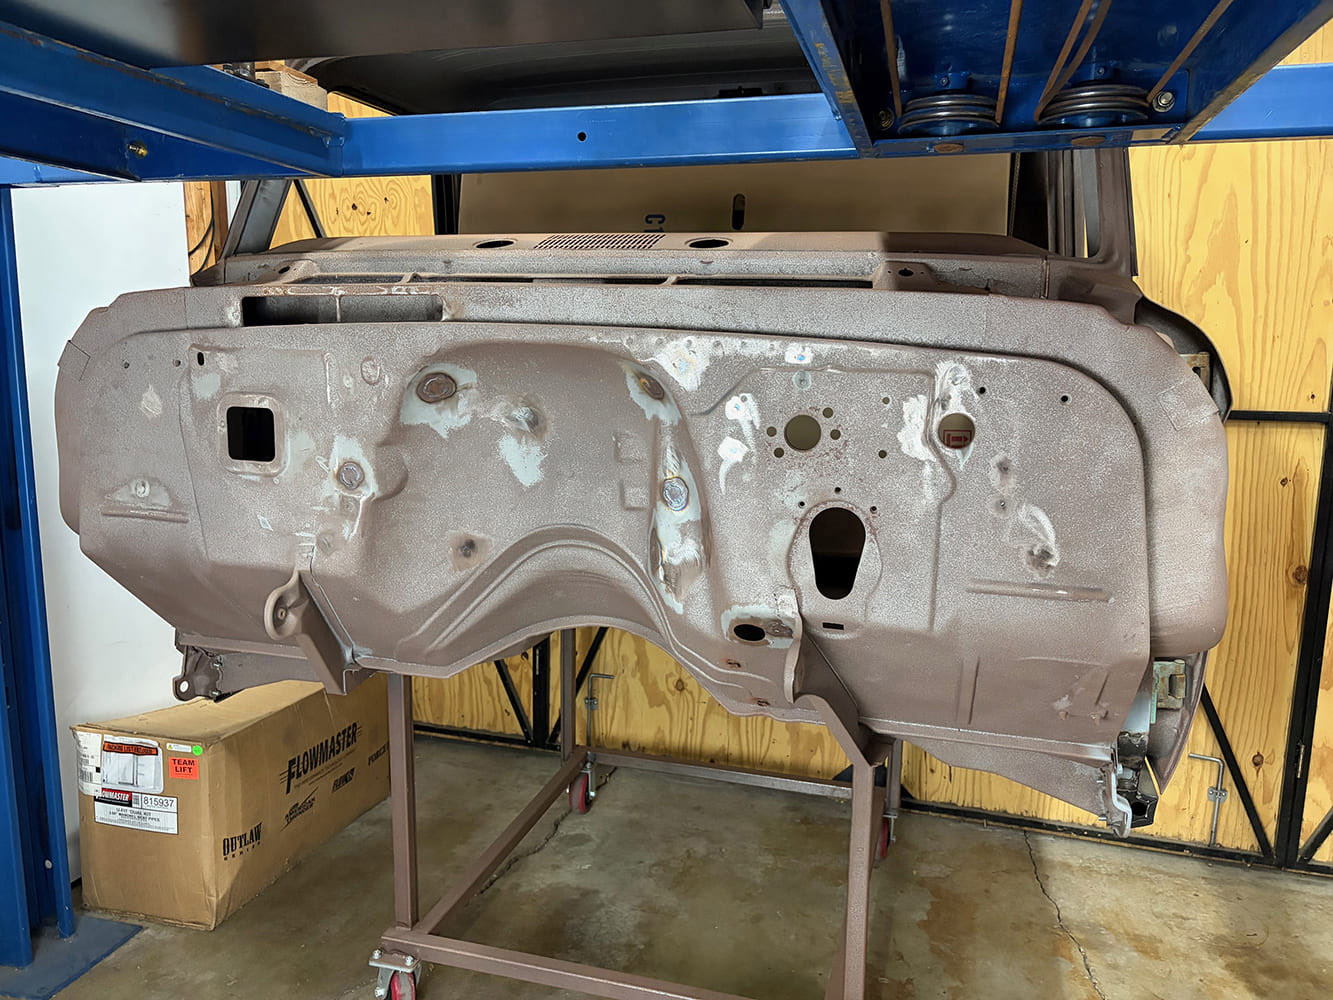
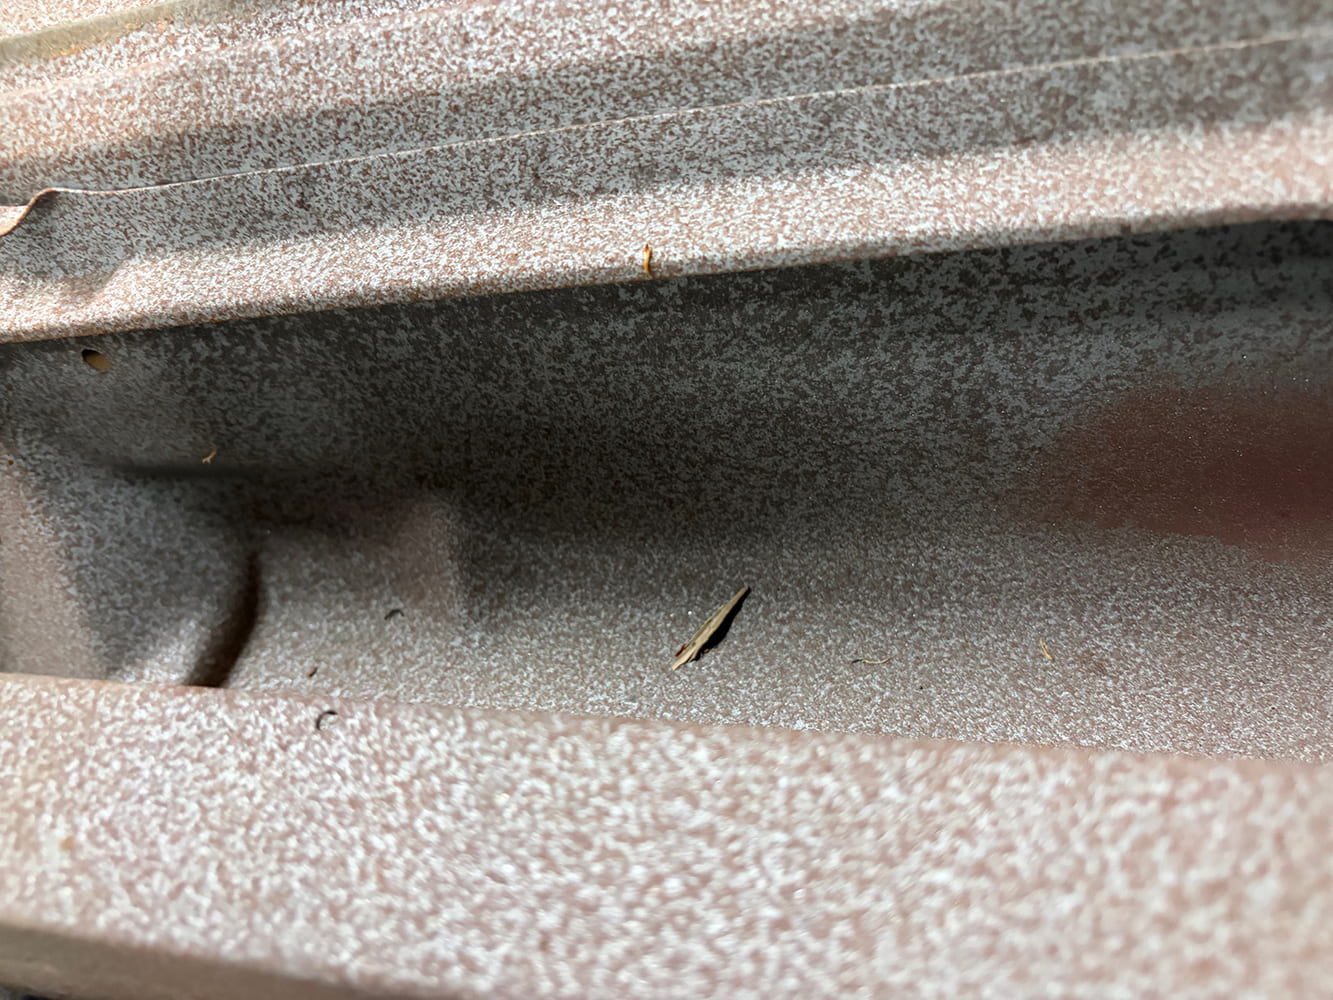
A quick look at the firewall reveals the result of the cab having been sitting in our shop for the last few months. It’s a tough pill to swallow when compared to how it looked fresh from the blaster, but Mother Nature always wins!
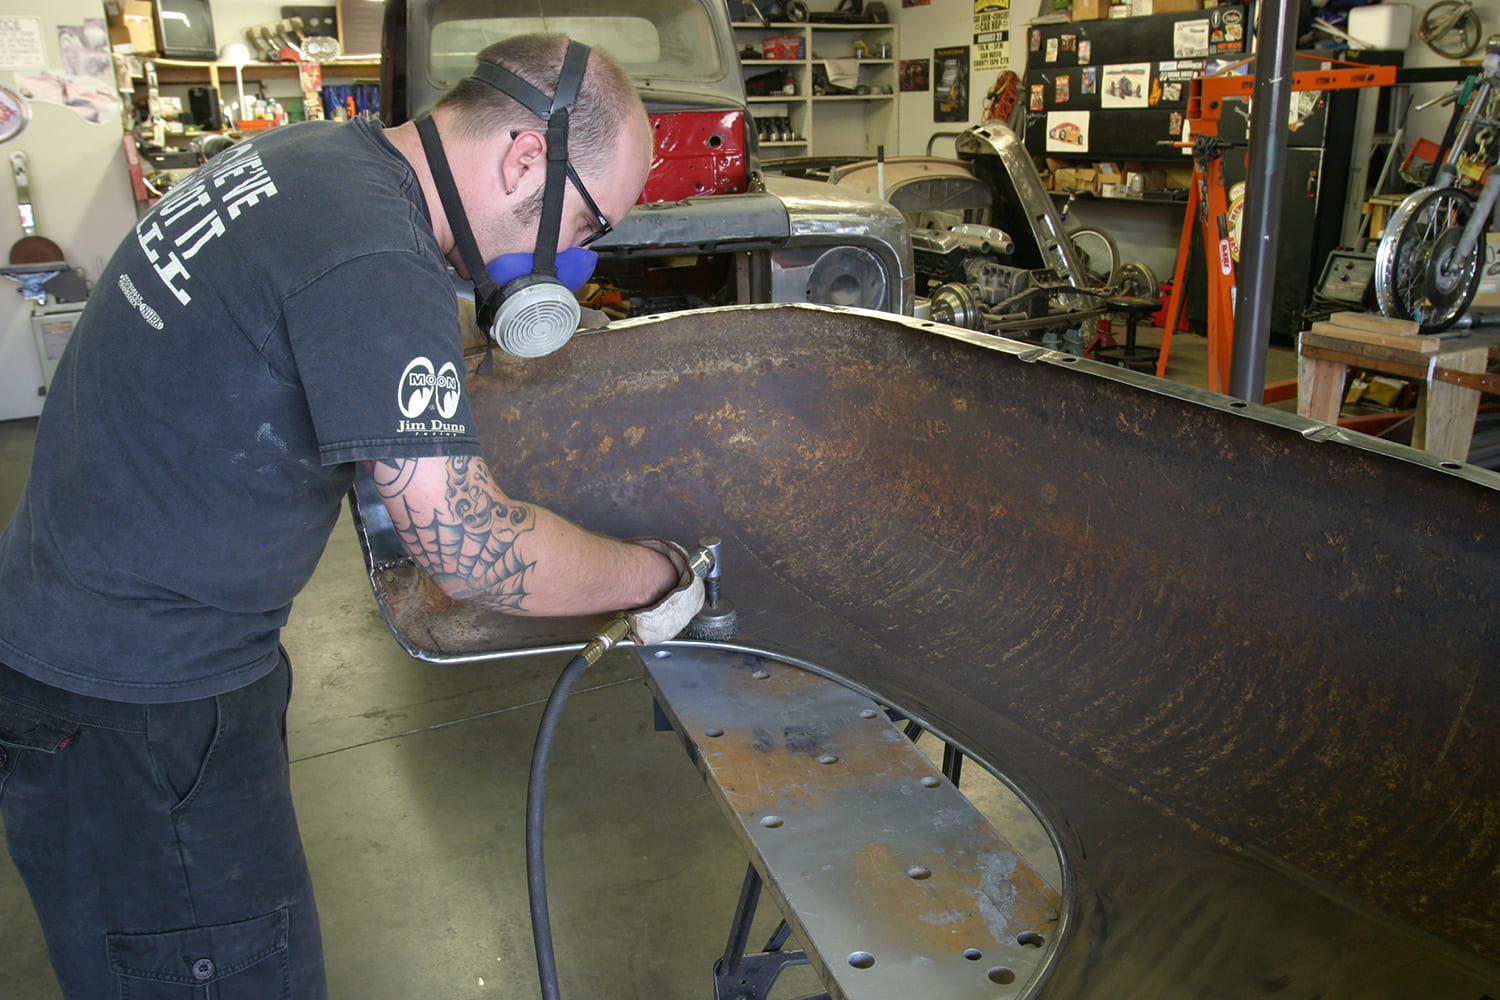
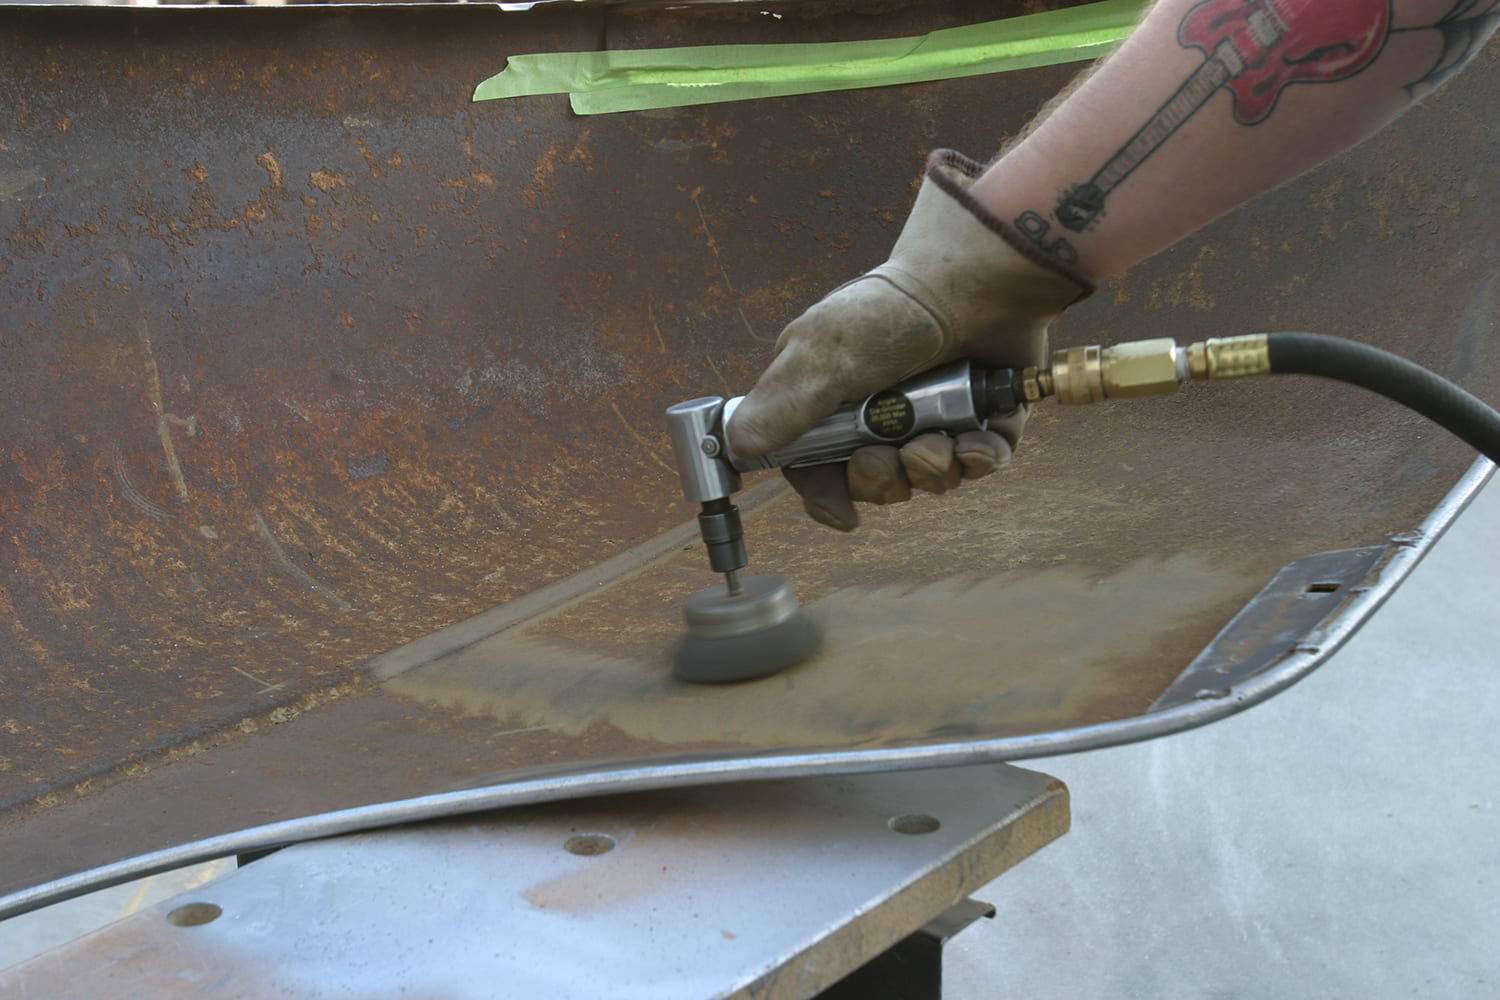
Before we get started, any and all loose, flaky rust is removed from the surface.
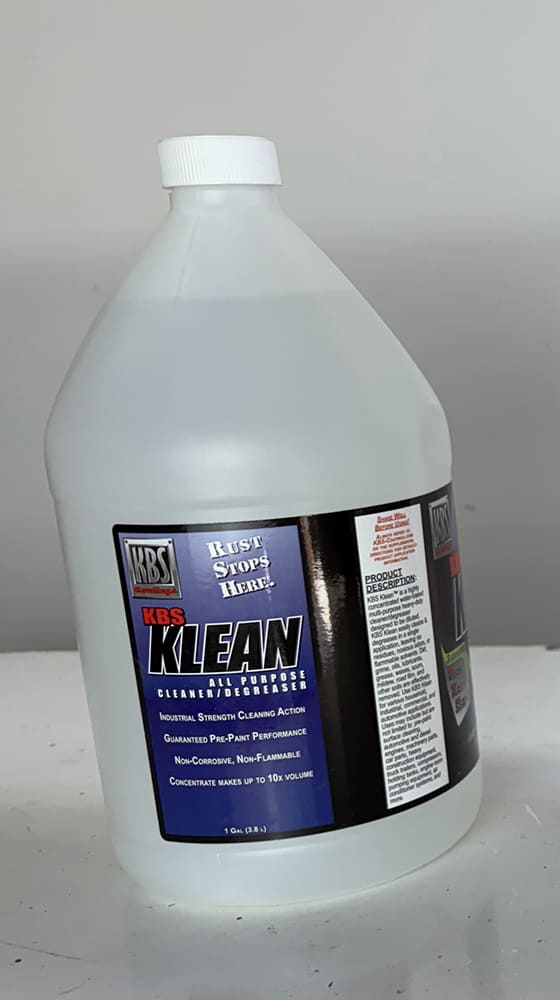
The guys at KBS Coatings got us sorted with their three-step process for cleaning, prepping, and coating rusty surfaces. First up, KBS Klean. This waterbased, concentrated cleaner is an excellent alternative to flammable solvents and hazardous chemicals and, when mixed with warm water, will clean and prep the surface of our sheet metal.
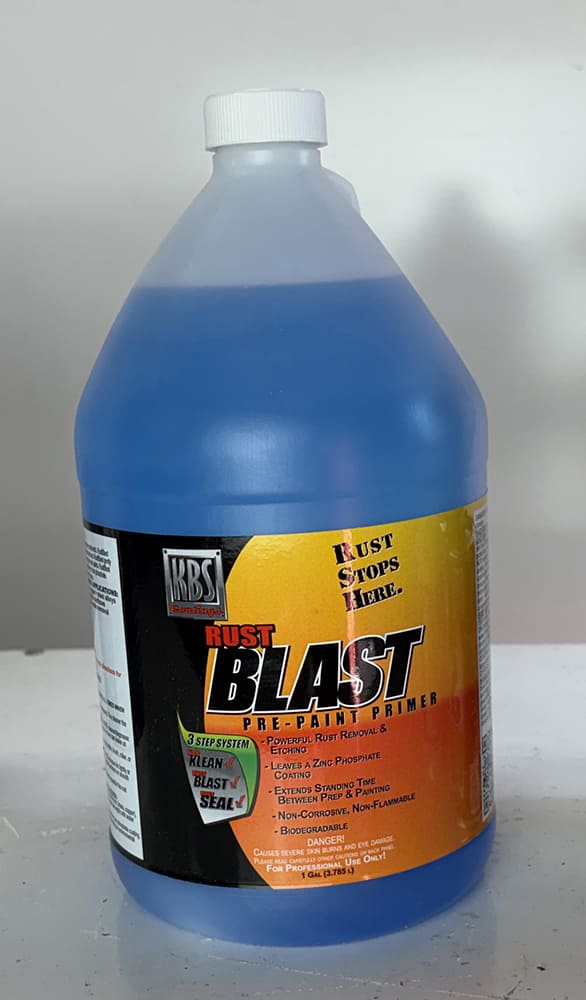
With all impurities flushed from the surface, it’s time to tackle the rust once and for all. KBS Blast is a zinc-phosphate pre-primer and metal etch that will be used to neutralize the surface rust on our cab, preparing it for the final process.
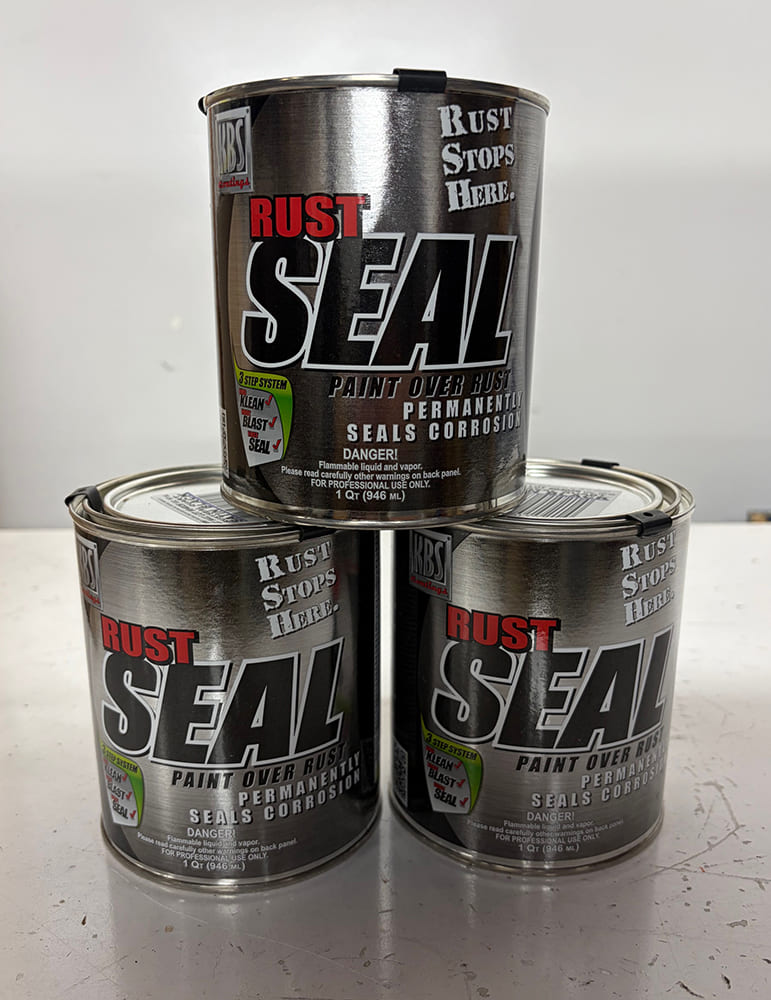
Rust Seal is a high-performance, single part, ready-to-use rust preventive coating that will be used to finish the surface of our firewall. The result will be a final topcoat with a rock-hard, ceramic-like coating that will be virtually impervious to chipping, scratching, cracking, or peeling. A variety of colors are available; we opted for Satin Black for the firewall.
Aside from the main firewall section, hard-to-reach areas that suffer from similar surface rust scenarios will be treated using the same process. Areas such as these would be very difficult to otherwise treat.
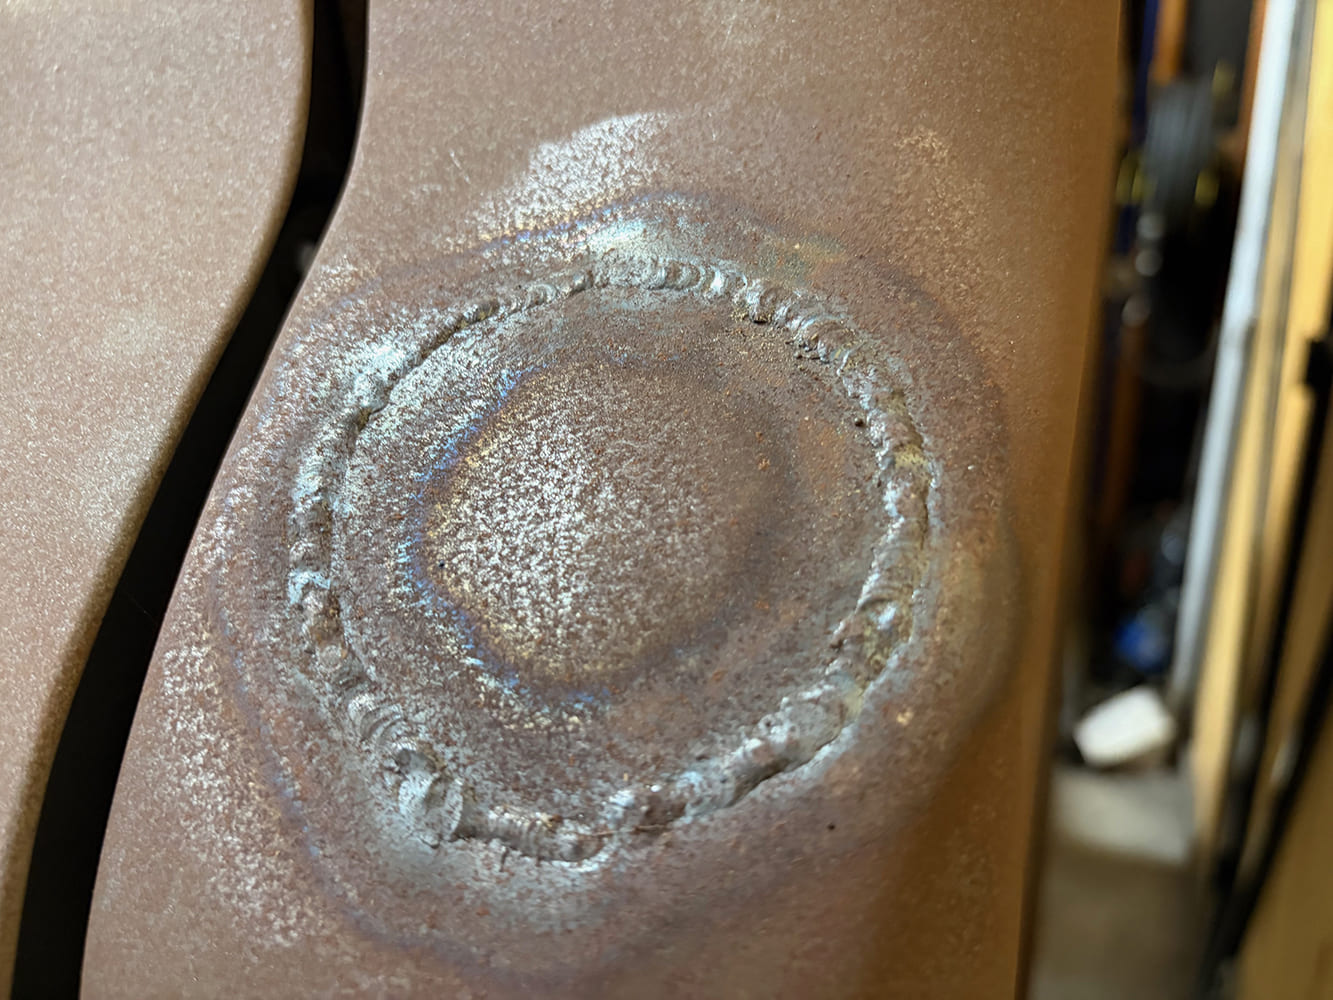
Likewise, some of the repairs that we have already made have been attacked. Ensuring that every spec of rust is removed from a weld bead would be very difficult with other methods. Here, we can confidently knock the bead down; treat the surface and bodywork it as normal.
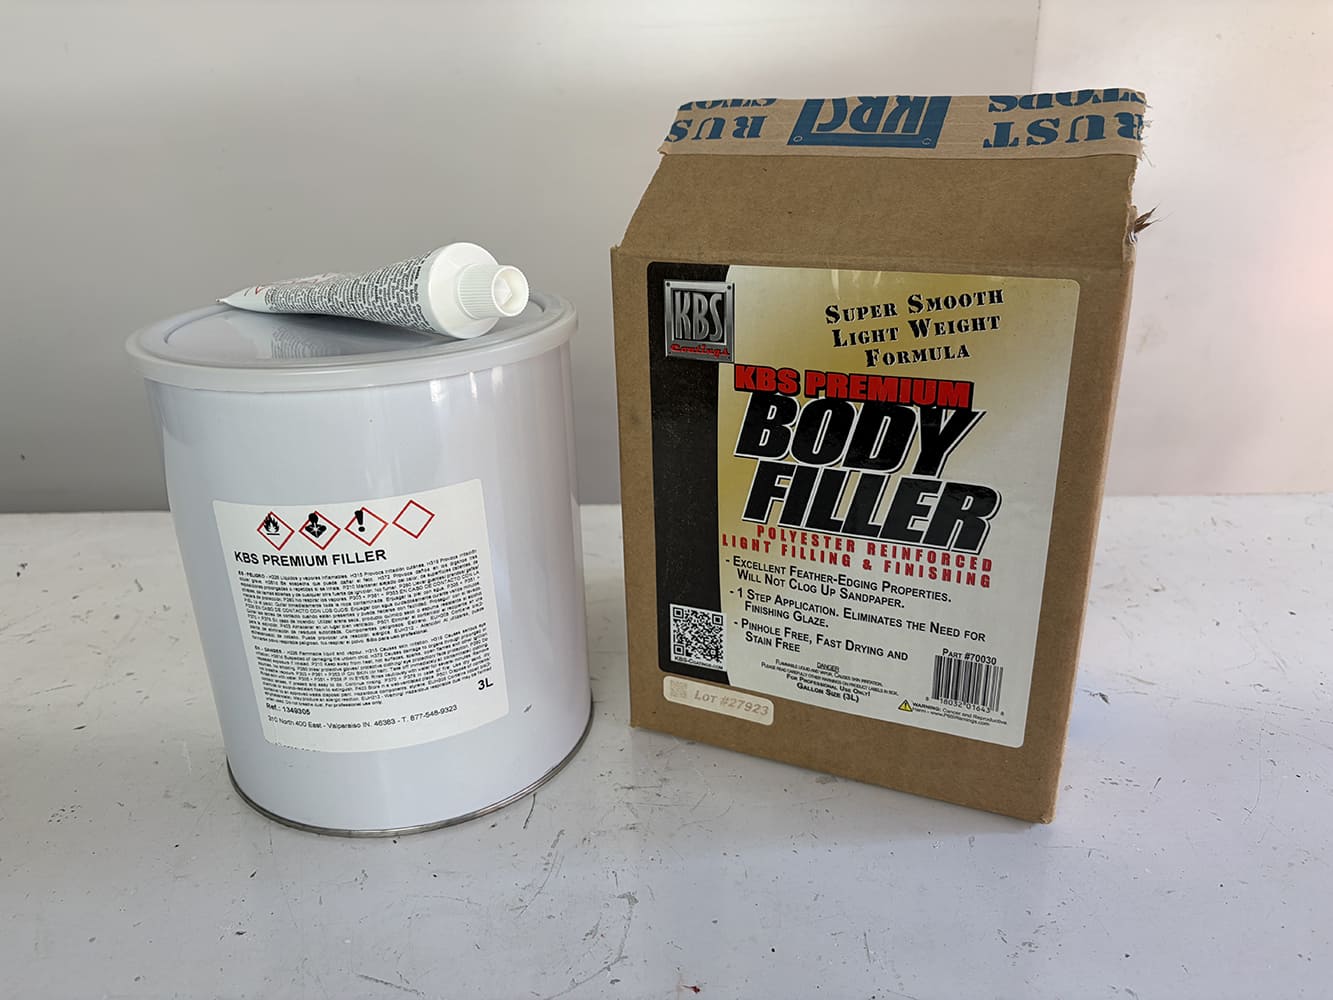
Speaking of bodywork, we’ll need to apply some filler to the areas that have been repaired on our firewall and beyond, and KBS Coatings has a solution for that as well. Their KBS Premium Body Filler is a polyester-reinforced filler that features a smooth formula that facilitates excellent spreading, reduced sanding time, and eliminates the need for finishing glaze. Lightweight and fast drying, it’s a great filler for the homebuilder and pro alike.
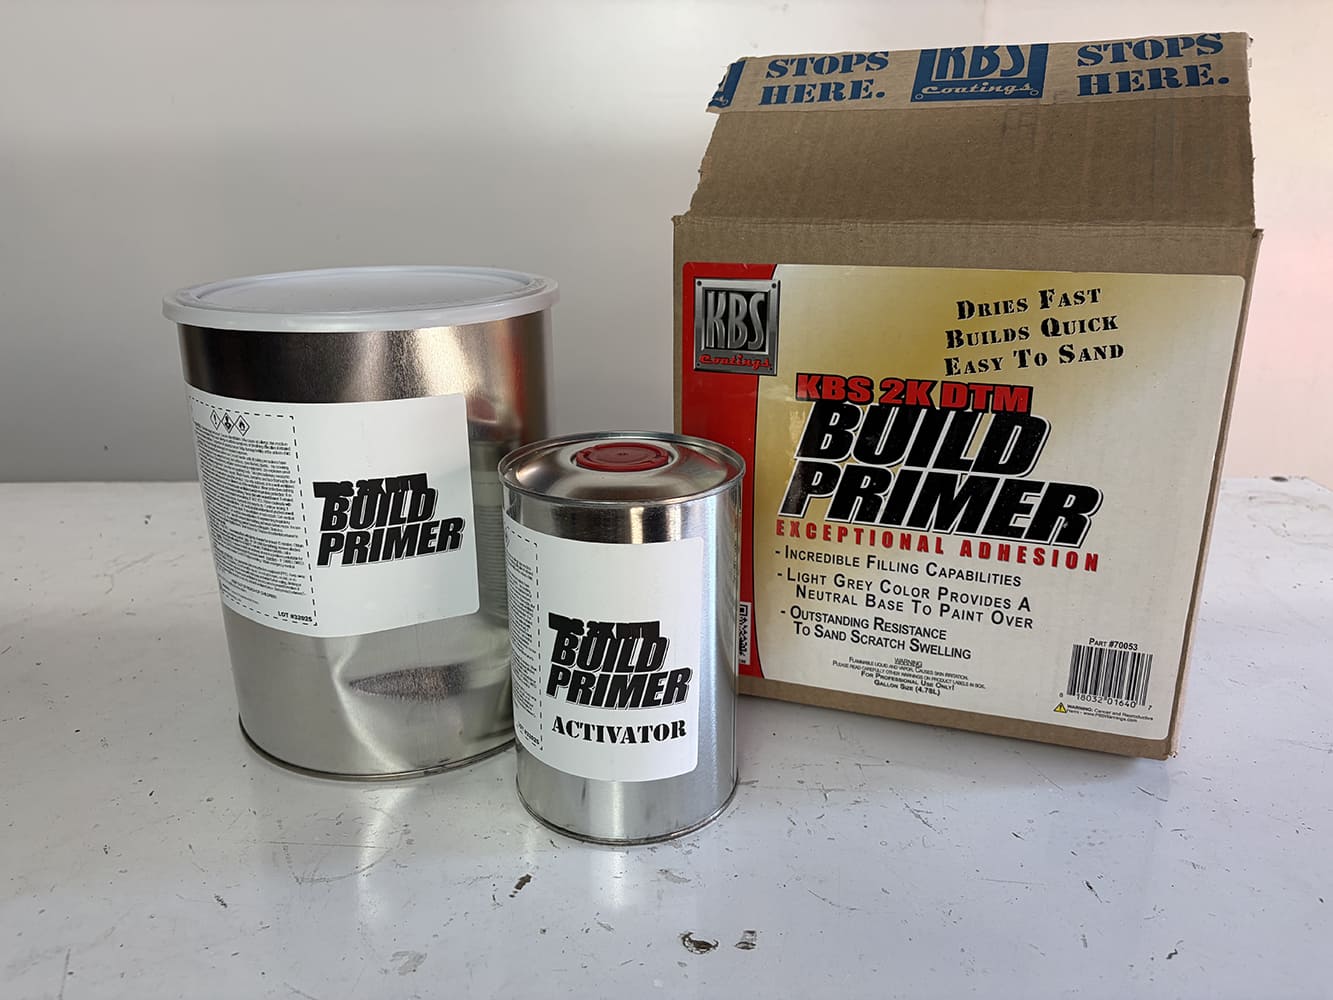
I won’t lie, I’m no body guy and my sheet metal abilities leave something to be desired. I have, however, been successful by block sanding using good filler and high-build primer. Thankfully, KBS offers a two-component (2K) Direct-to-Metal Build Primer that offers soft sanding in both wet or dry situations with short flash times. With maximum gloss holdout, sand scratch swelling is eliminated and adhesion promotion is excellent.
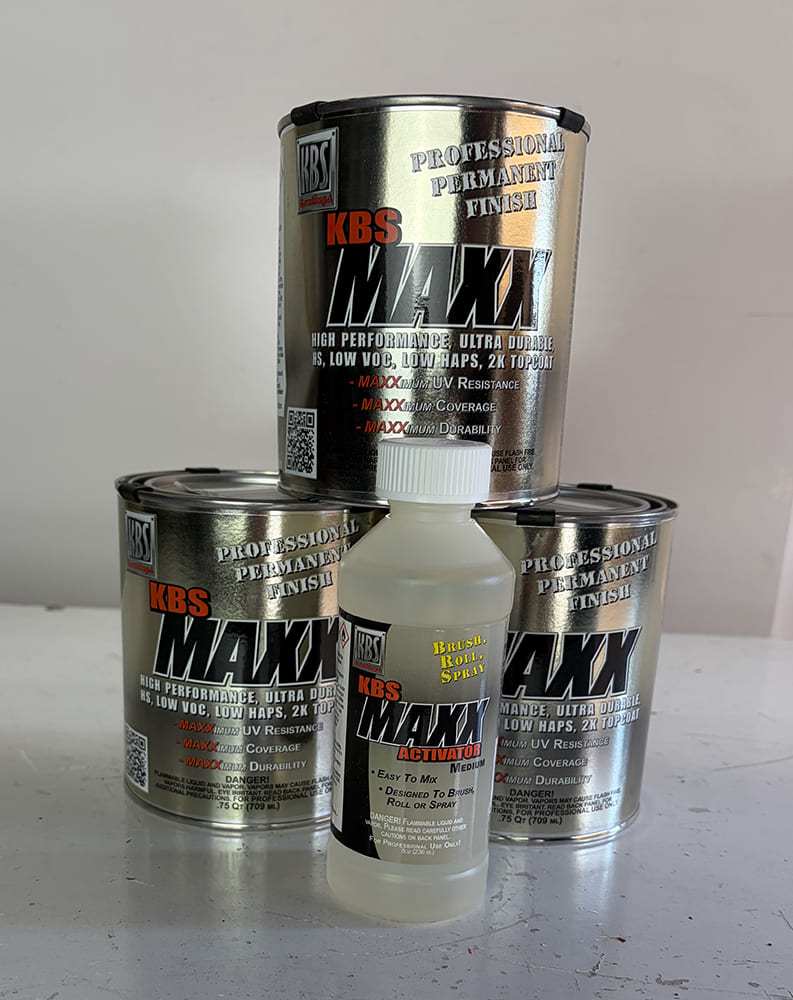
Inside the cab, we need to topcoat the dash with a product that will provide UV protection; enter KBS MAXX. A single-stage, high-performance, 2K, low-VOC, UV-stable, moisture-cured polyurethane topcoat, KBS MAXX can be applied by brush, roller, or sprayer.
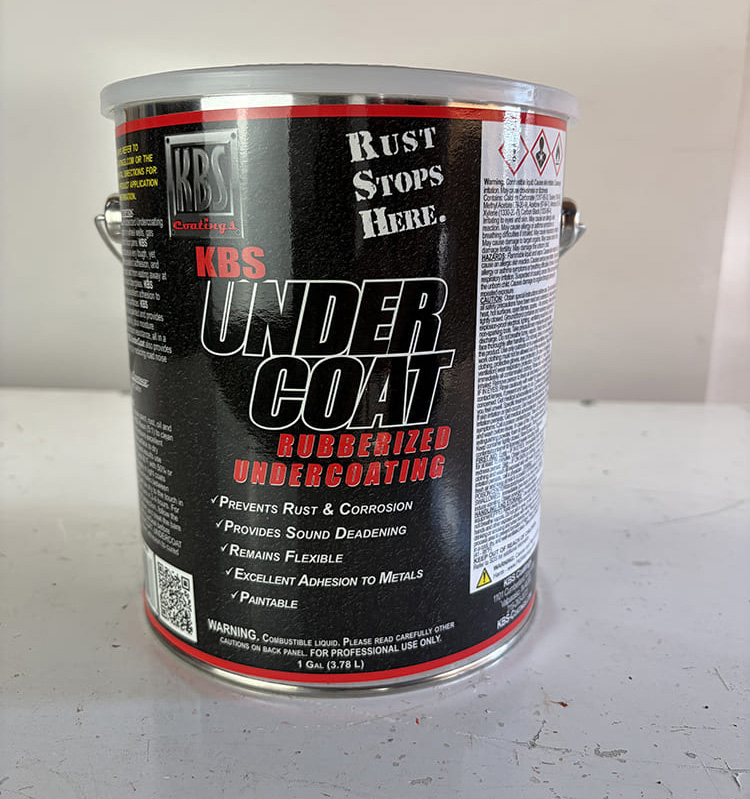
We want to protect the underside of the cab as well and will be using KBS UnderCoat for that end. The durable, sound-deadening, rubberized undercoating will protect the bottom of the cab with a tough yet flexible film with excellent adhesion.
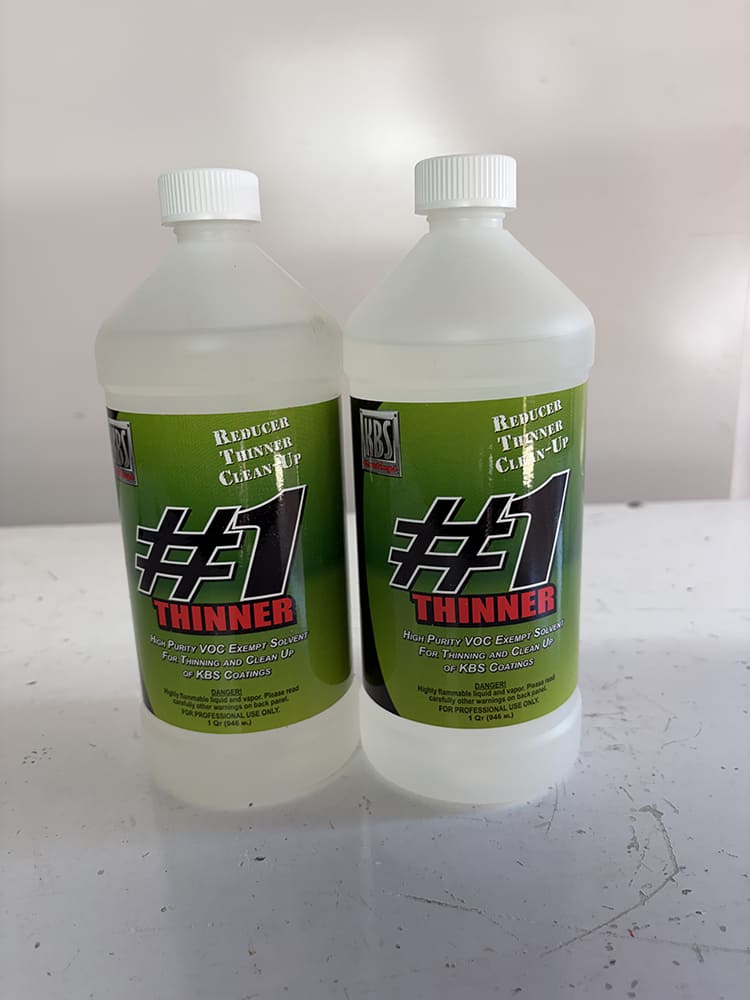
While many of KBS Coatings can be applied via roller or brush, we’ll be using an HVLP gun to apply the majority of them. KBS #1 Thinner will allow us to not only thin the finish so that it sprays out nicely but will also aid in quick and easy cleanup of all our equipment.
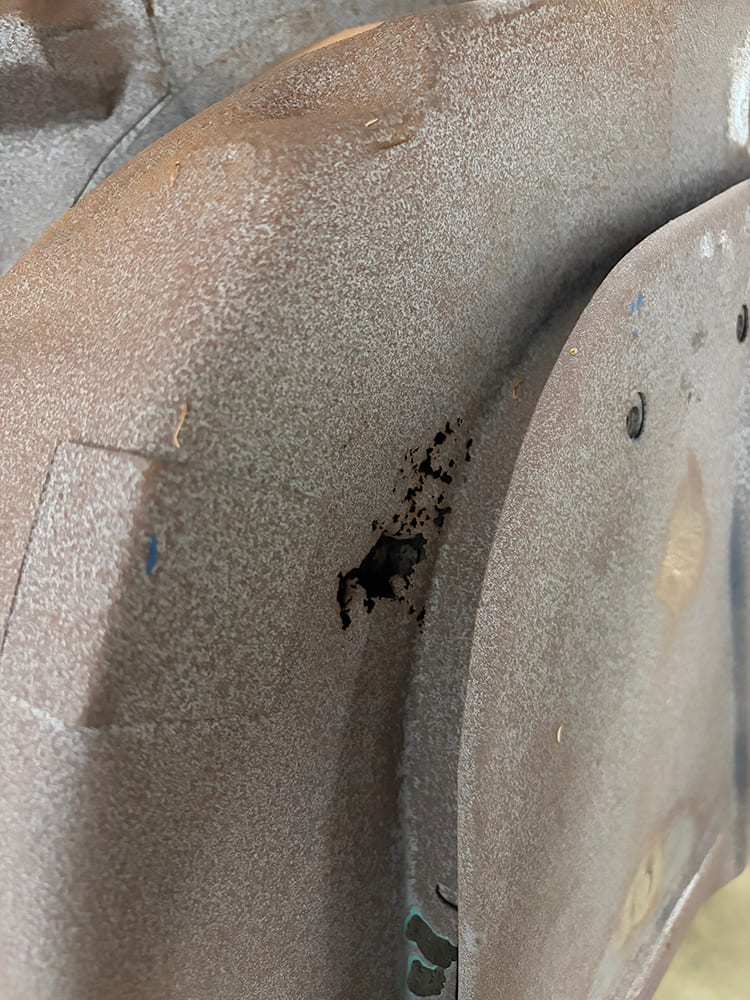
Repairing this damaged area of our cab has provided a real challenge due to lack of access. Thankfully, it’s not in a highly visible area, so the repair needs to be more functional, keeping hot air and fumes out of the interior of the cab.
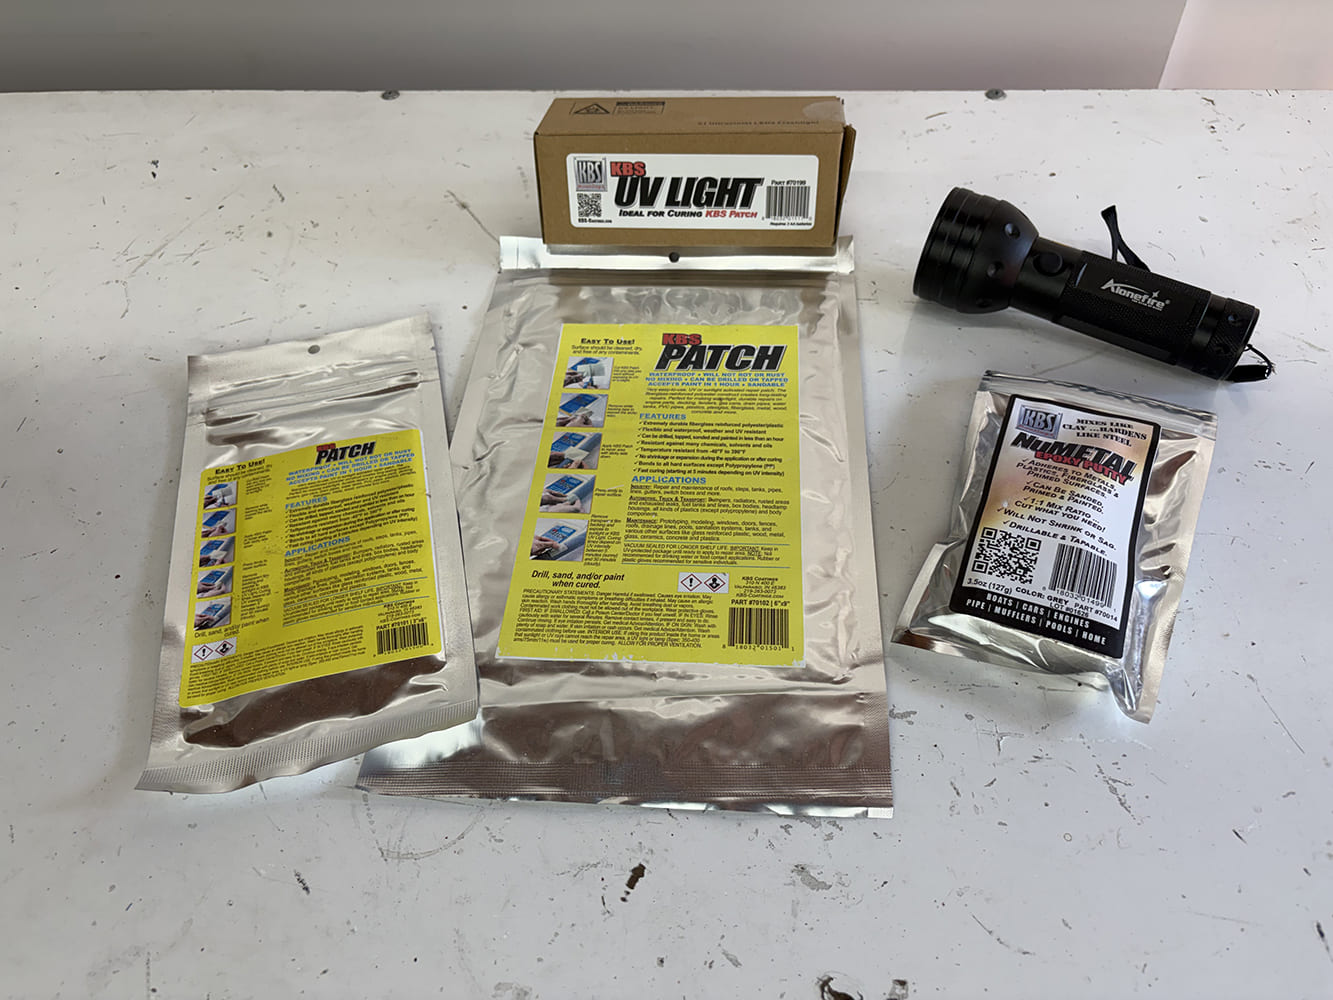
Since we can’t get the welder into that tight spot to make a patch panel, we have to get creative, and KBS Coatings didn’t disappoint. Their KBS Patch is a reinforced fiberglass polyester patch that is easy to use and is a UV/sunlight activated repair patch. If that doesn’t look like it will work, a strip of NuMetal two-part epoxy putty and body filler could be molded, sanded, and painted to match the surrounding area, making the repair virtually disappear.
We use cookies to ensure that we give you the best experience on our website. If you continue to use this site we will assume that you are happy with it.