


How to Cut Proper Breather Holes to Manage Crankcase Pressure
By Jeff Smith – Photography by the Author
One of the most iconic Beatles songs is “Let it Be.” Our car guy version of that is “Let it Breathe.” No engine creates a perfect seal between the pistons, rings, and cylinder wall. Some amount of cylinder pressure always leaks past the rings and ends up pressurizing the crankcase. If the crankcase is not properly vented, this pressure will do odd things like push the dipstick out of the tube, force valve cover gaskets out, and generally cause all kinds of oil leak–inducing grief.
This is why engine manufacturers always include a vent system. In the days preceding the positive crankcase ventilation (PCV), OE engine builders merely vented the engine with a road draft tube that dumped oil on the road and underneath the car. The PCV system began in the very early ’60s, which pulled a measured volume of crankcase vapors through the valve to the carburetor to be combusted. This is still in use today.
Modern car builders prefer to create a desired image in the engine compartment, and that often requires a custom valve cover. To give the builder the freedom, these covers are regularly offered without PCV or breather holes. It becomes the job for the car builder to place these breather/PCV valve holes in the desired location.

Here’s where the job takes an unexpected turn. Somebody in the past with a desire to make life challenging decided that the standard breather hole drilled into valve covers would be a 1.220-inch diameter. Why this wasn’t spec’d to a more common 1.250-inch diameter has been lost to obscurity. But this leaves the home builder in a quandary. Drill a 1.250-inch hole into a cast valve cover and you will discover that nearly all common breather and PCV valve grommets are spec’d to fit the smaller 1.220-inch hole. With the larger 1.250-inch hole, the grommet floats and will immediately leak oil all over your nice, new valve covers.
Sure, you could probably perform some Mickey Mouse “repair,” but the simple fact is that a 1.250-inch hole is too big. We decided to figure out a way to drill the proper PCV valve holes so the grommets and breathers fit securely.
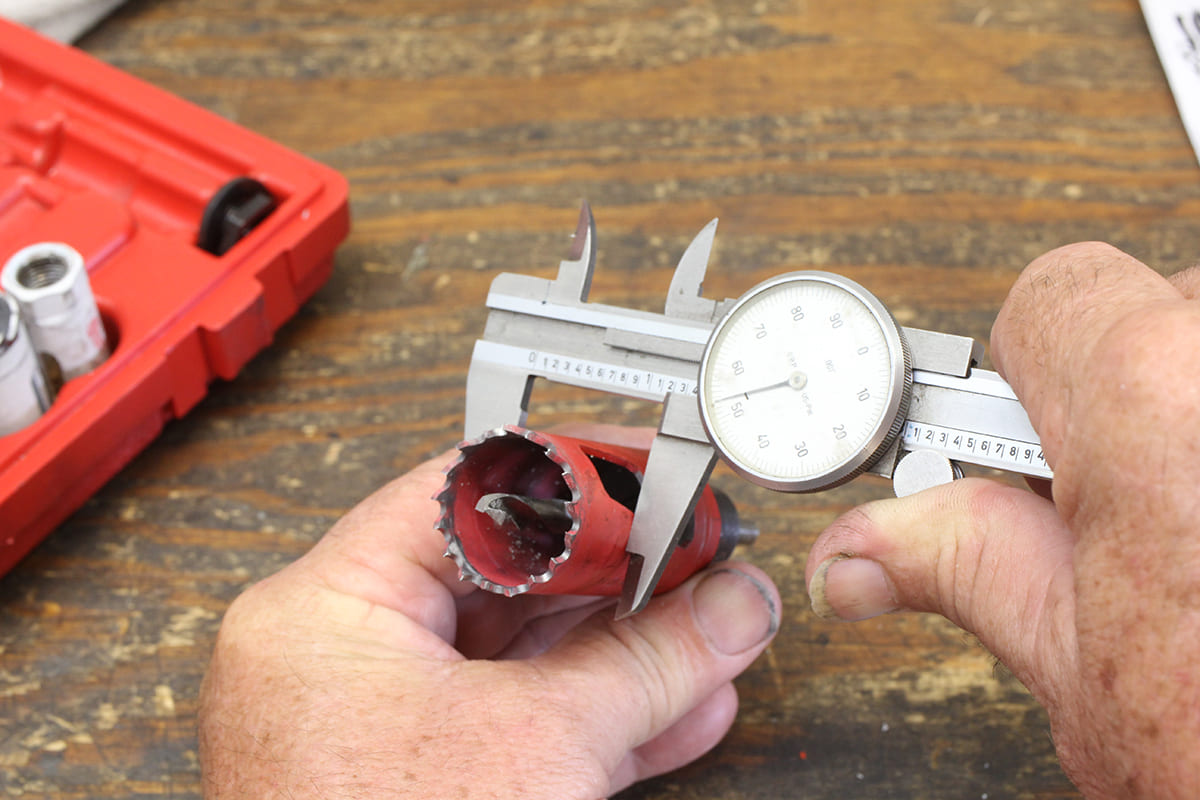
We’ll save you the litany of different cutters we investigated and cut to the winning formula. In the Grainger catalog we found an extremely affordable 1 3/16-inch hole saw for less than $10. We did the math and 1 3/16 inch should be 1.1875 inch. When we measured it, the body of the saw actually measures even smaller at 1.550 inches.
So we put it to the test and drilled a hole in a fabricated aluminum valve cover leftover from a previous project. If you’ve ever used a hole saw, then you know that they generally open a hole slightly larger than the saw’s rated dimension, which was the case with this one. But since we ultimately wanted to achieve somewhere near 1.220 inches, we took a shot.
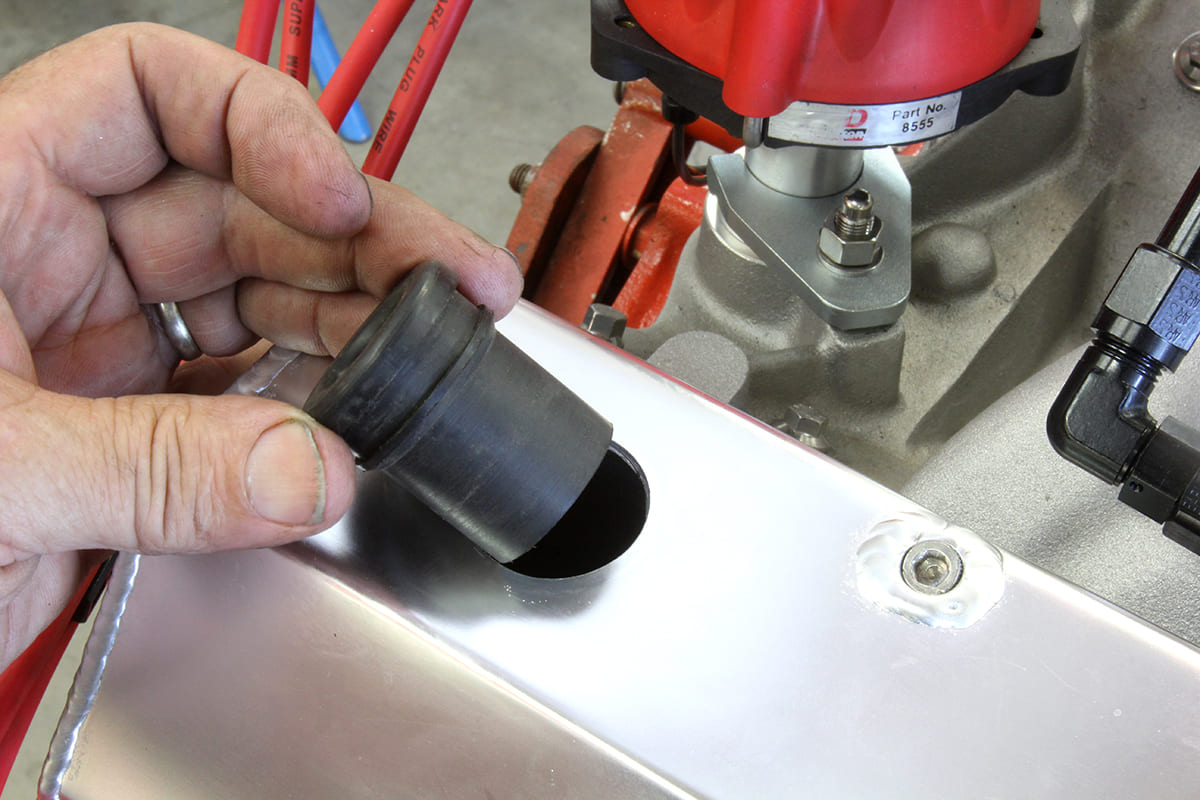
The hole in the thin aluminum cover was near perfect, creating a slightly smaller inside diameter of 1.195 inches. We de-burred the hole and tried one of our good grommet bushings and the breather fit really snug, which is exactly the result we were after.

This led us to try this hole saw on a thicker, cast-aluminum Dart valve cover. After carefully measuring to place the hole in the desired location, we drilled the hole and cleaned the rough edges. Again, the grommet fit well.
But now we faced another challenge. Ideally, we should run some kind of baffle underneath these new holes to prevent the PCV valve from pulling liquid oil into the engine. Trans-Dapt sells a simple baffle that will work very well, especially with taller valve covers. But we wanted to finish this project quickly, as the engine was scheduled to be bolted in the car within a few days, so we decided to build our own baffle.
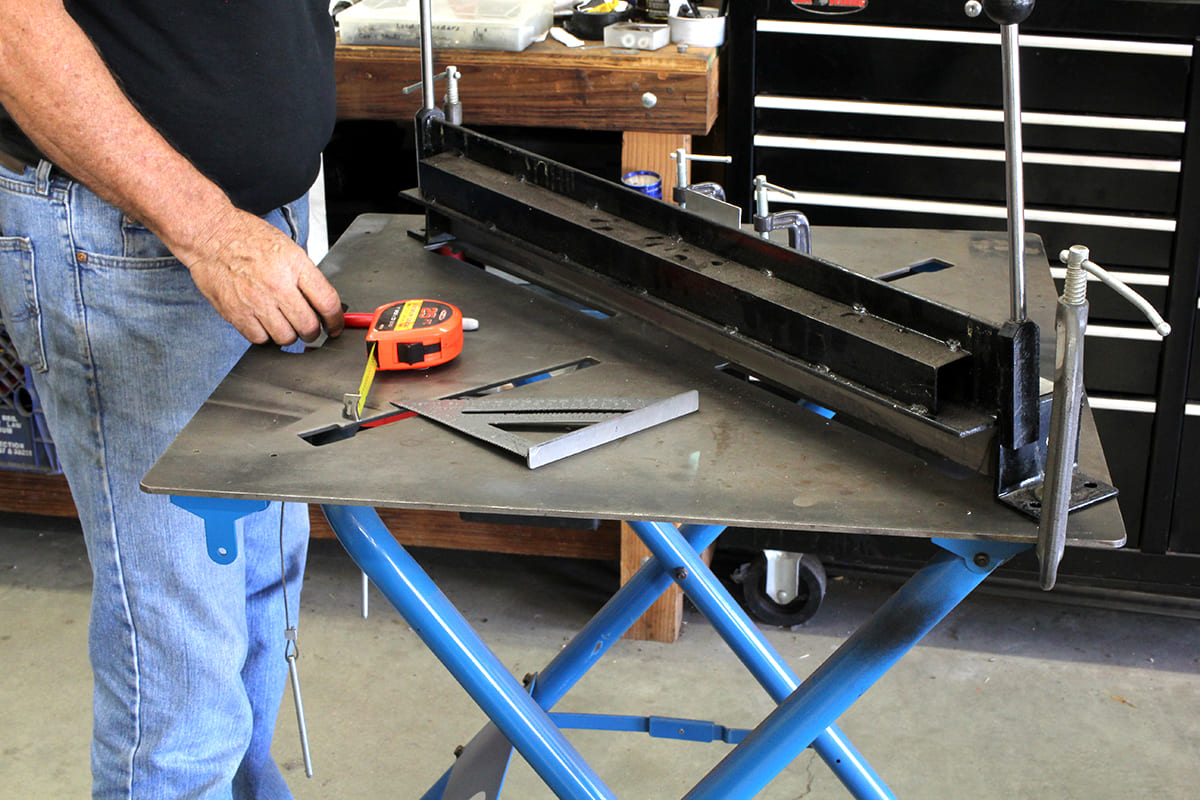
We picked up a small scrap of sheet aluminum. Using a Harbor Freight sheetmetal brake, we bent a few pieces to create our own baffle. We fastened it with aluminum rivets. Since we wanted to avoid drilling mounting holes into our cover, we elected to attach the homemade baffles with J-B Weld. In about an hour, we had two baffles secured to the inside of our valve covers and the engine was ready to be bolted in the car.

The process worked very well and about the only difficulty is that not all PCV grommets are created equal. Some are slightly smaller than the 1.220-inch spec so it’s best to search carefully for the right grommets. As you may have noticed, on the Dart orange small-block valve covers, we placed the breathers at the back of the valve cover. In our opinion, this looks better and shortens the hose length. However, either the PCV or air inlet hose connection must be removed to add oil to the engine. The baffle will also slow the oil fill process slightly, so keep that in mind.

Of course, you can place the openings for breathers or a PCV valve wherever you wish, just as long as the baffles can perform their task. We didn’t go into the whole procedure for laying out the inlet side or choosing a PCV valve. One item worth mentioning is a small company called M/E Wagner has created a billet aluminum, dual-adjustable PCV valve. This valve allows the user to determine the amount of suction applied by the valve to control crankcase pressure both at idle and at cruise rpm. It might be worthwhile to visit their website to investigate the significant testing they have performed to validate both the billet valve but also items like internal valve cover baffle design that minimizes pulling liquid oil out of the engine. While this may seem like a small thing, reducing oil consumption will make your engine cleaner, live longer, and run better. All of those aspects are positive items any car guy can appreciate.
Parts List
| Description | PN | Source |
| 3/16-inch bimetal hole saw | 53WN97 | Grainger |
| Valve cover grommet set, 1.22-inch | 5506375 | Speedway |
| Spectre deep valve cover grommet set, ¾ inch and 1-inch i.d. | 465333 | Speedway |
| Spectre grommet pr. ¾-inch and 0.960-inch i.d. | 465339 | Speedway |
| Speedway-fabricated valve covers | 91017130 | Speedway |
| Speedway cast aluminum, polished, no holes | 91017109 | Speedway |
| Trans-Dapt valve cover baffle | 6962 | online |
| J-B Weld epoxy | 91080175 | Speedway |
| M/E Wagner billet, dual-flow PCV valve | DF-17 | M/E Wagner |

Sources
Grainger
(800) 472-4643
www.grainger.com
M/E Wagner Performance
(570) 899-4544
www.mewagner.com
Speedway Motors
(402) 474-4411
www.speedwaymotors.com


