Part 2: AMD’S PROJECT #Backpay Gets Classic Performance Products’ Premium Classic Fit Tilt Steering Column
By Jason Chandler – Photography by the Author
Project #backpay is the latest truck to go under construction from the guys at Auto Metal Direct. In the last article, we covered the install of the Classic Performance Products power steering conversion. It went in with ease and is something you should definitely check out. Here we will be addressing the top end of the steering equation: the steering column.
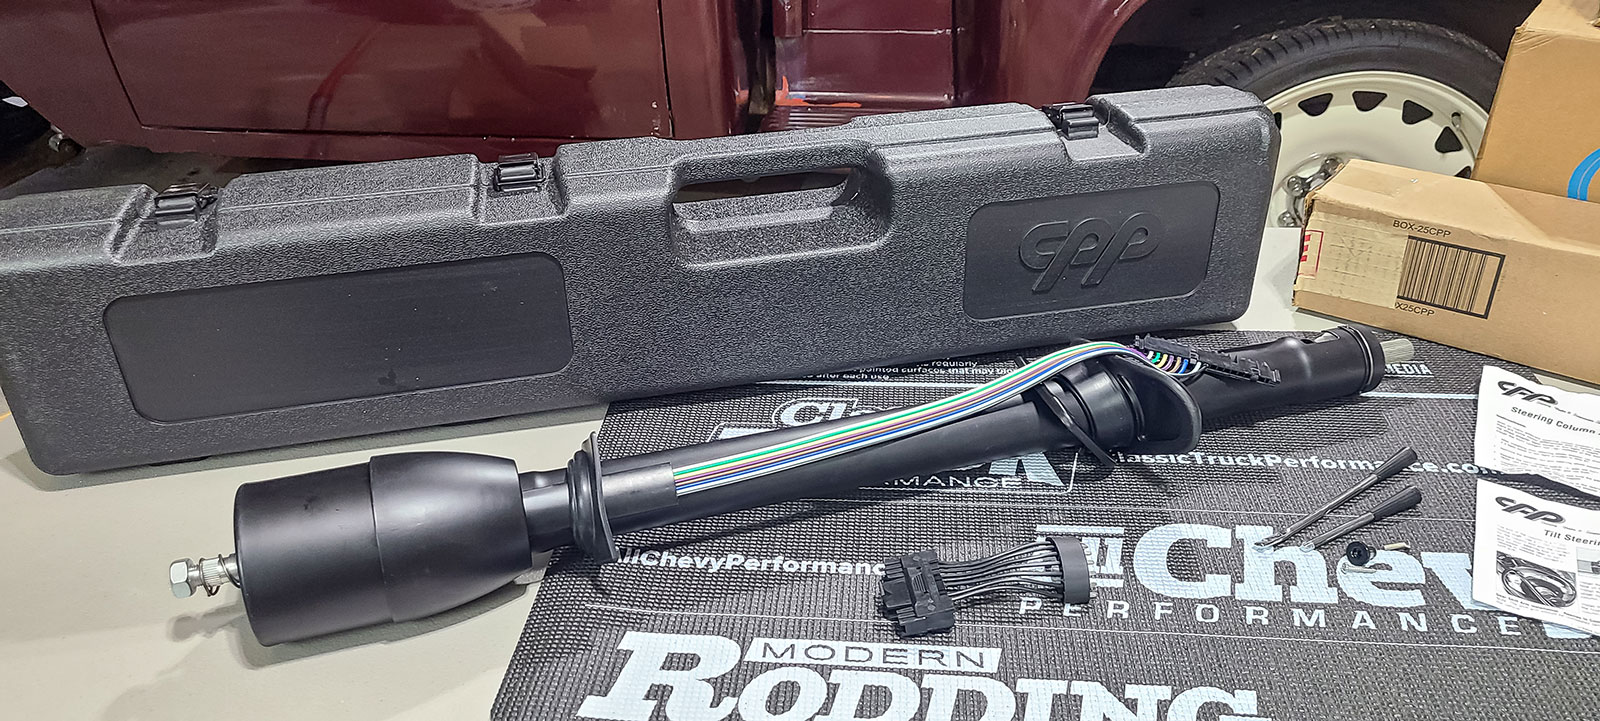
Following up with the complete power steering box and pump install last issue, this month we finish things off with Classic Performance Products’ Premium Classic Fit Tilt Steering Column for first-gen C10 trucks.
Now, the original steering column wasn’t in bad shape when we started. However, it did need some work. With the cost to rebuild the stock column compared to the cost of the Classic Performance Products column, plus the added benefits to the new unit, we chose to swap it out.
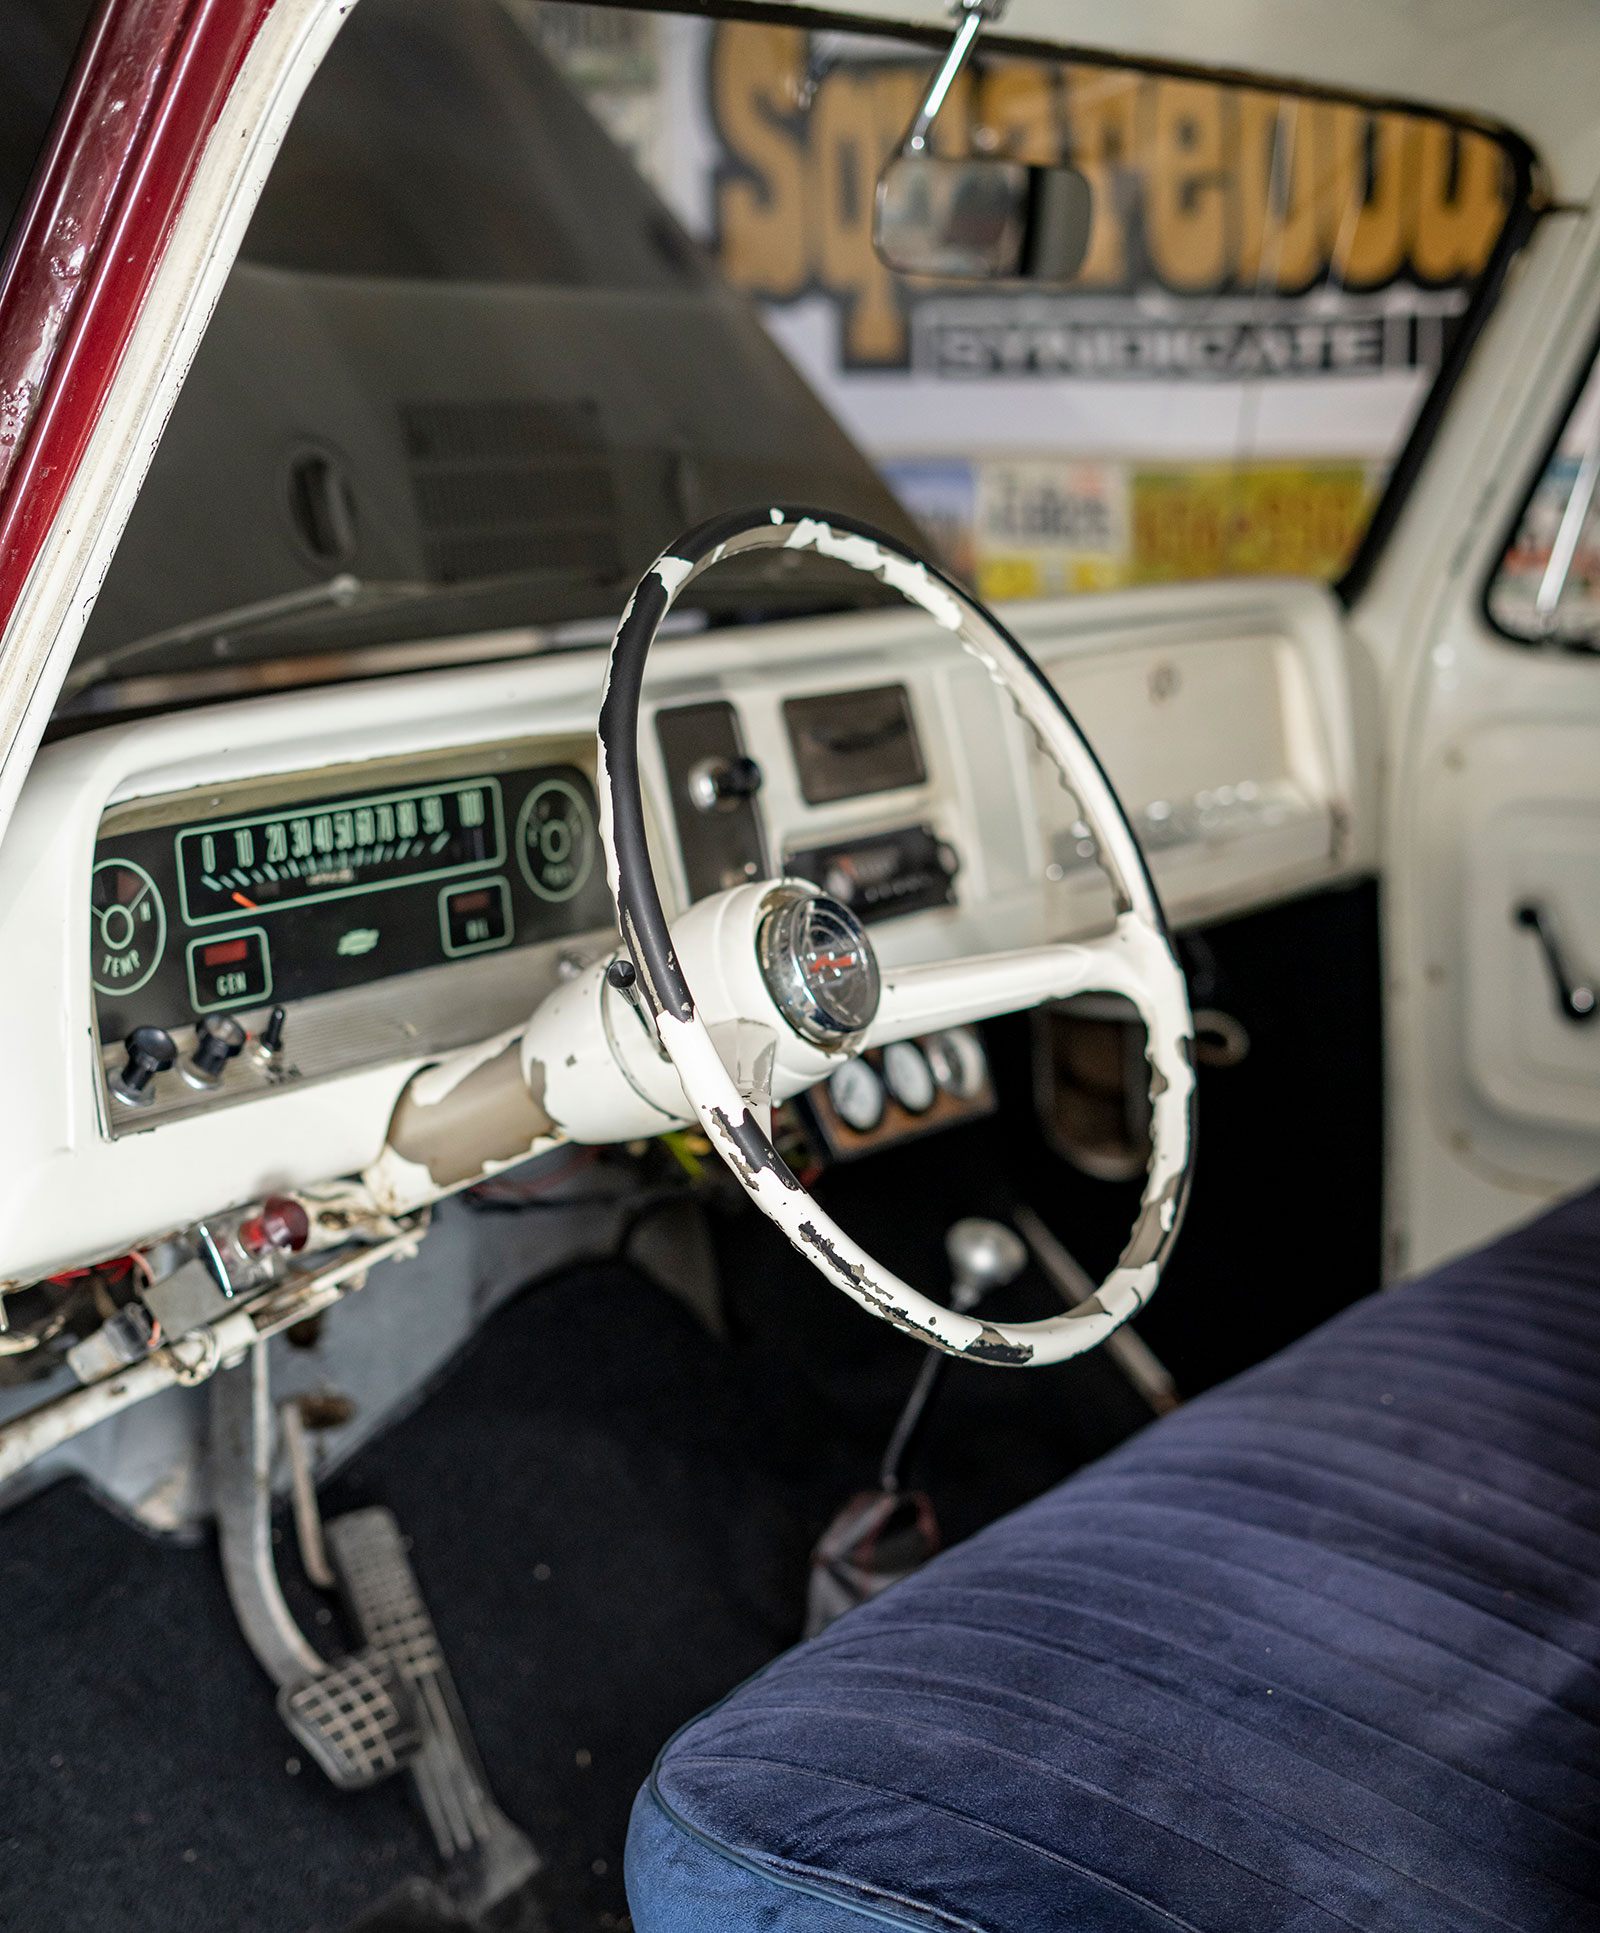
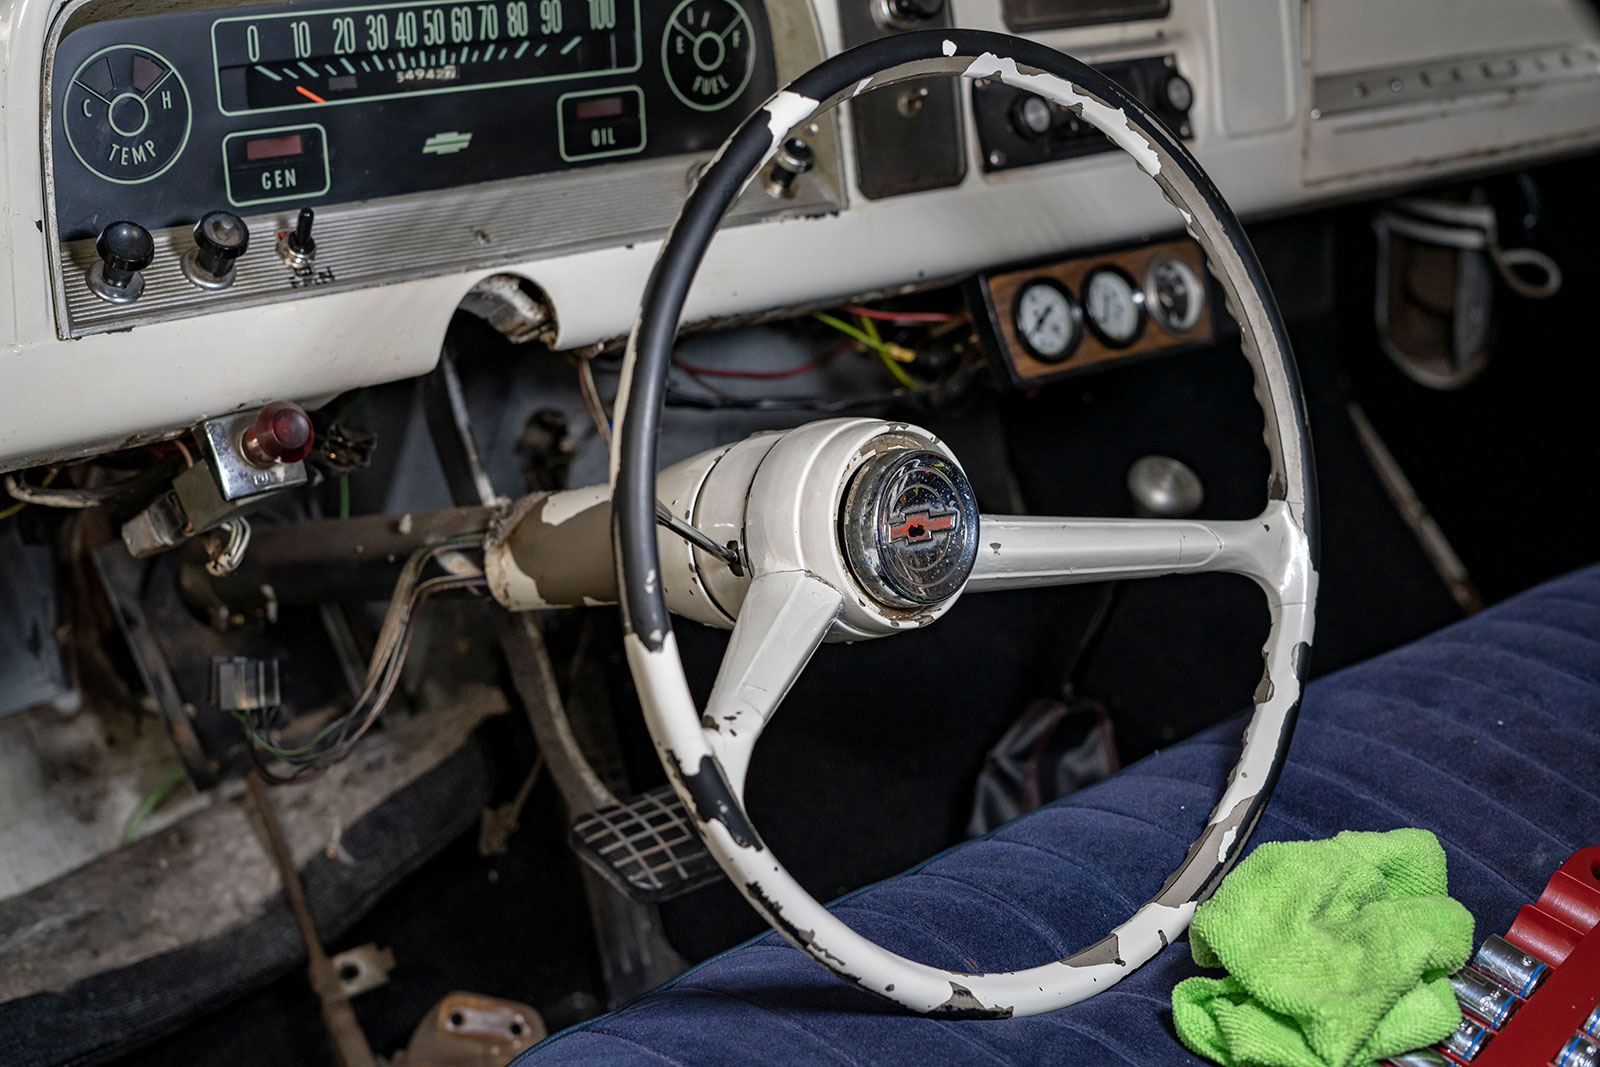
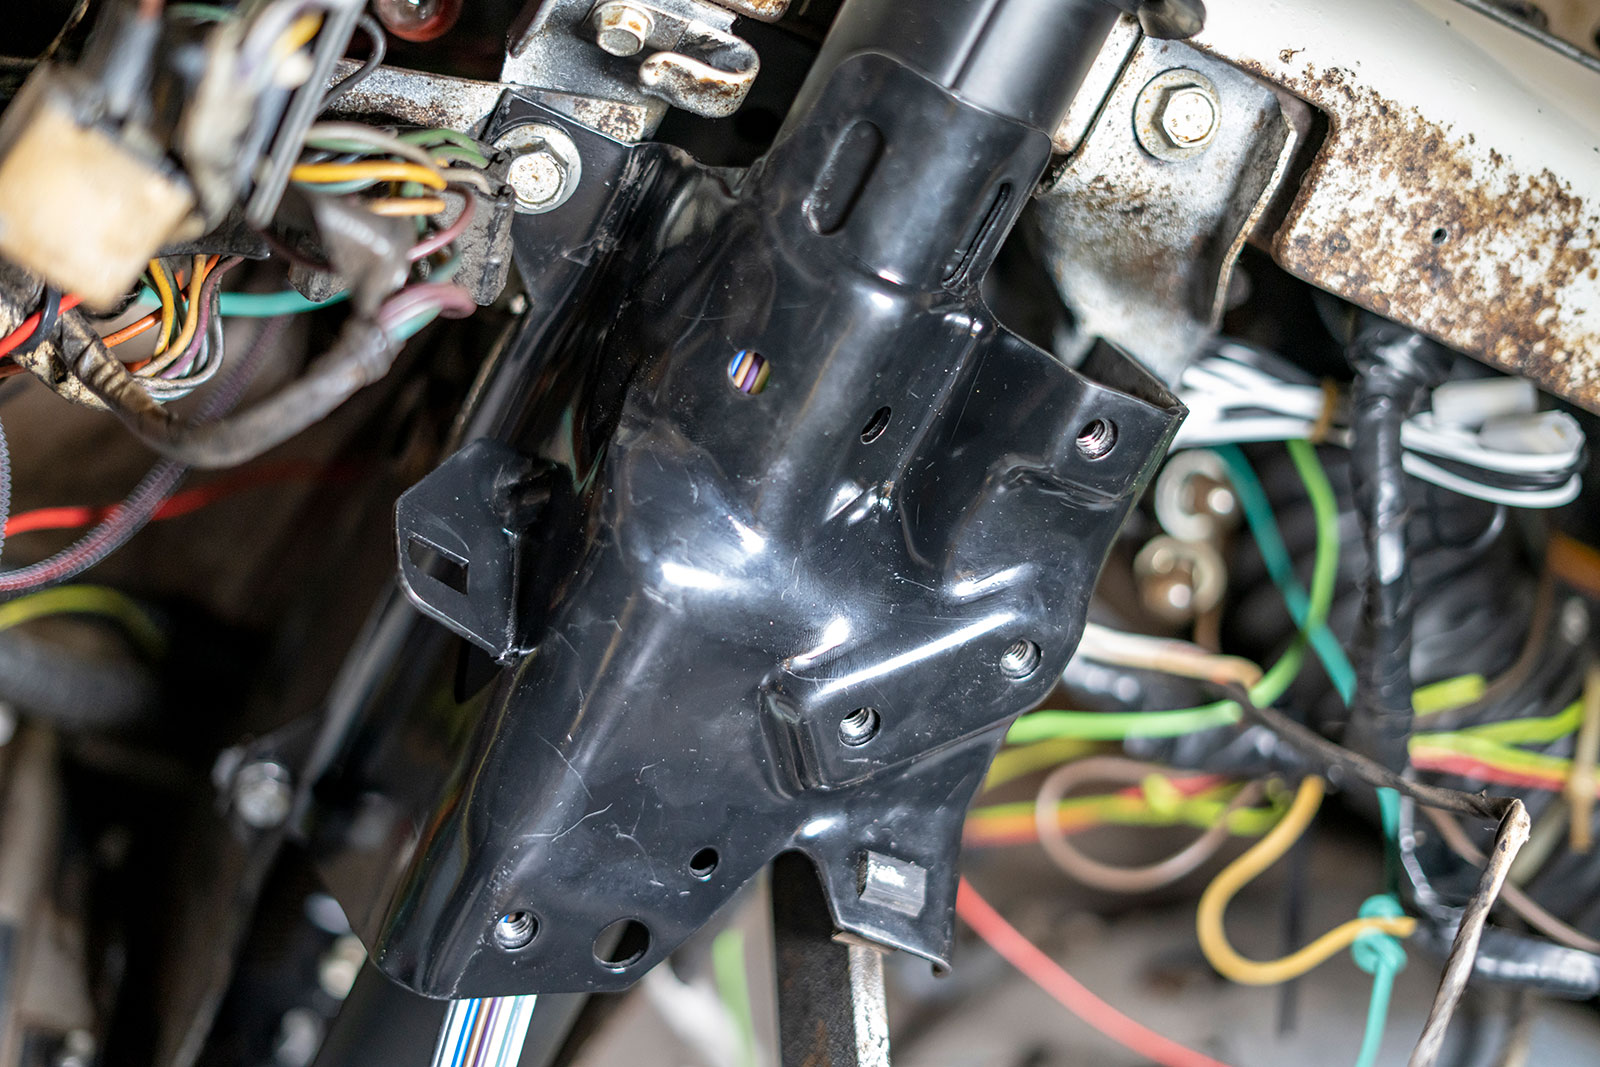
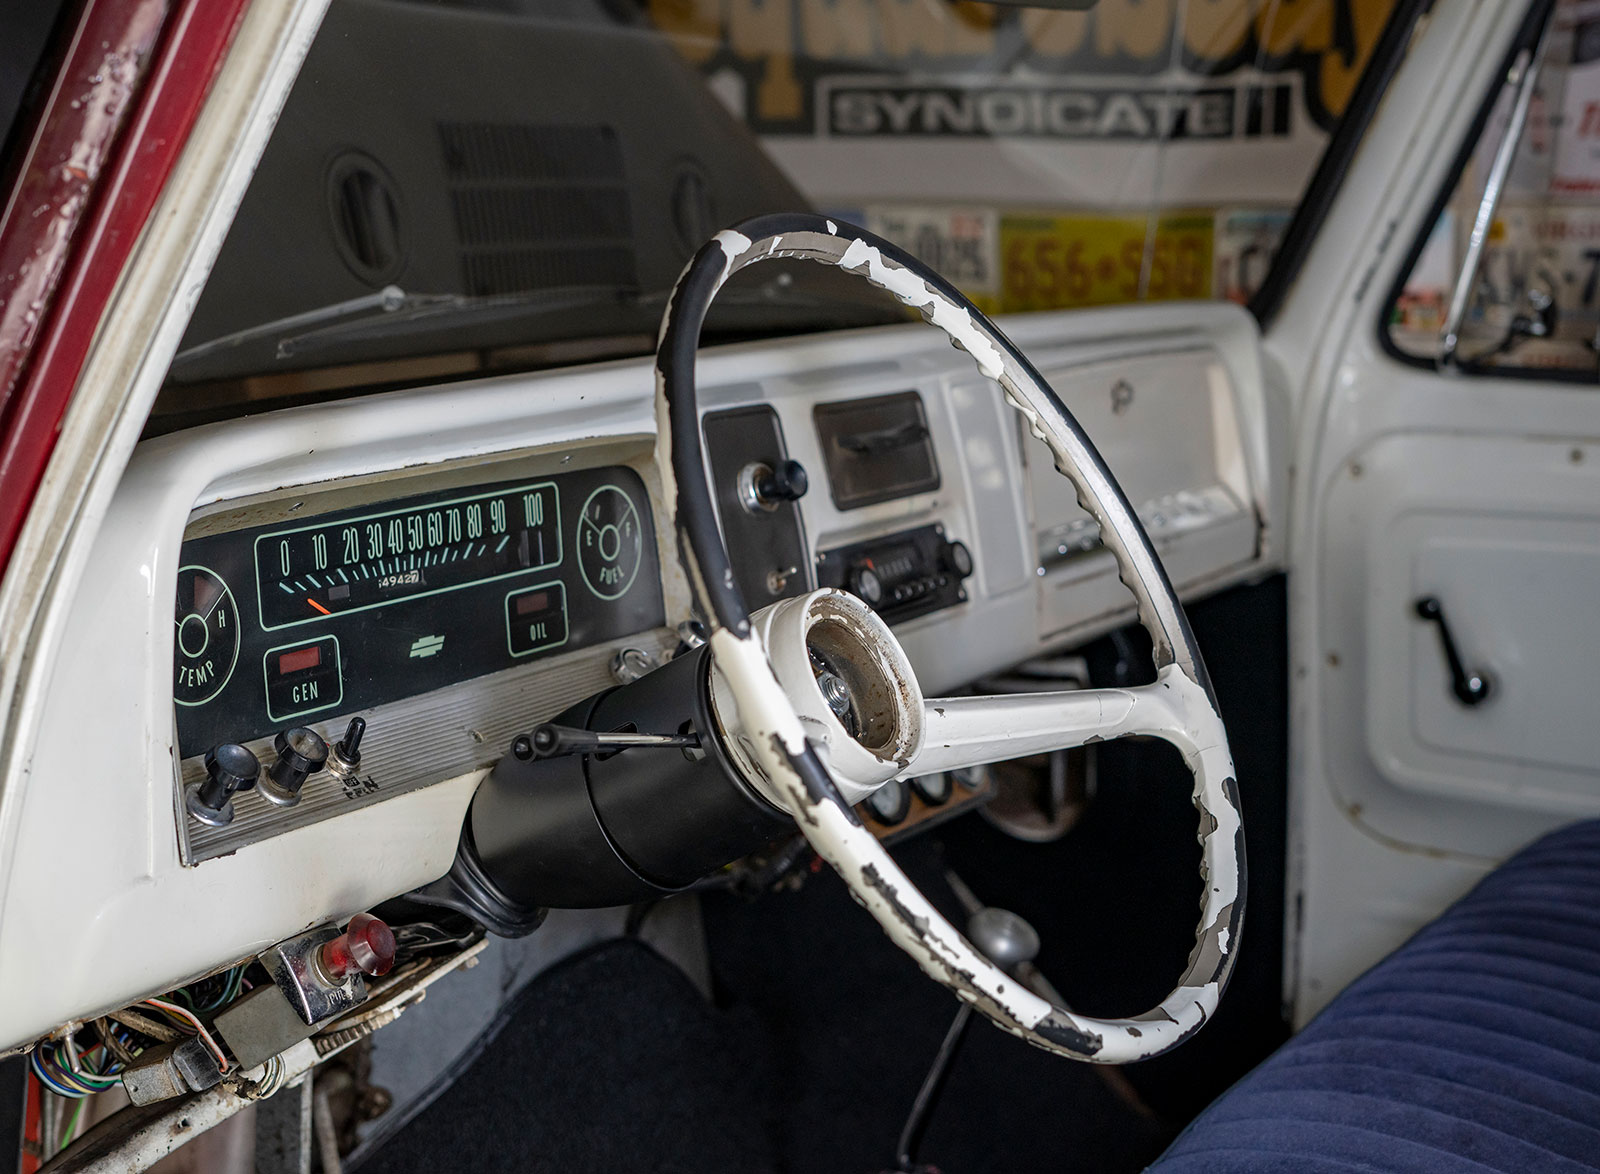
We’ll get started on the inside for the initial R&R. The once-restored steering column is showing signs of poor prepwork when it was repainted. Let’s get it out of there.
The classic trucks we love are more than transportation. The feeling you get rolling down the street is hard to explain to the uninitiated. They differ from their modern counterparts and the nostalgia they bring it second to none. They do have their limitations but with the help of companies like Classic Performance Products, you can make up those limitations with each product CPP offers. The original steering column, for example, doesn’t allow for tilt and can be a bit crowding to the driver. Doing a swap to Classic Performance Products’ Premium Classic Fit Tilt Steering Column for GM trucks was a no-brainer. Classic Performance Products offers a huge selection of steering, brake, and suspension solutions for classic GM, Ford, and Mopar trucks.
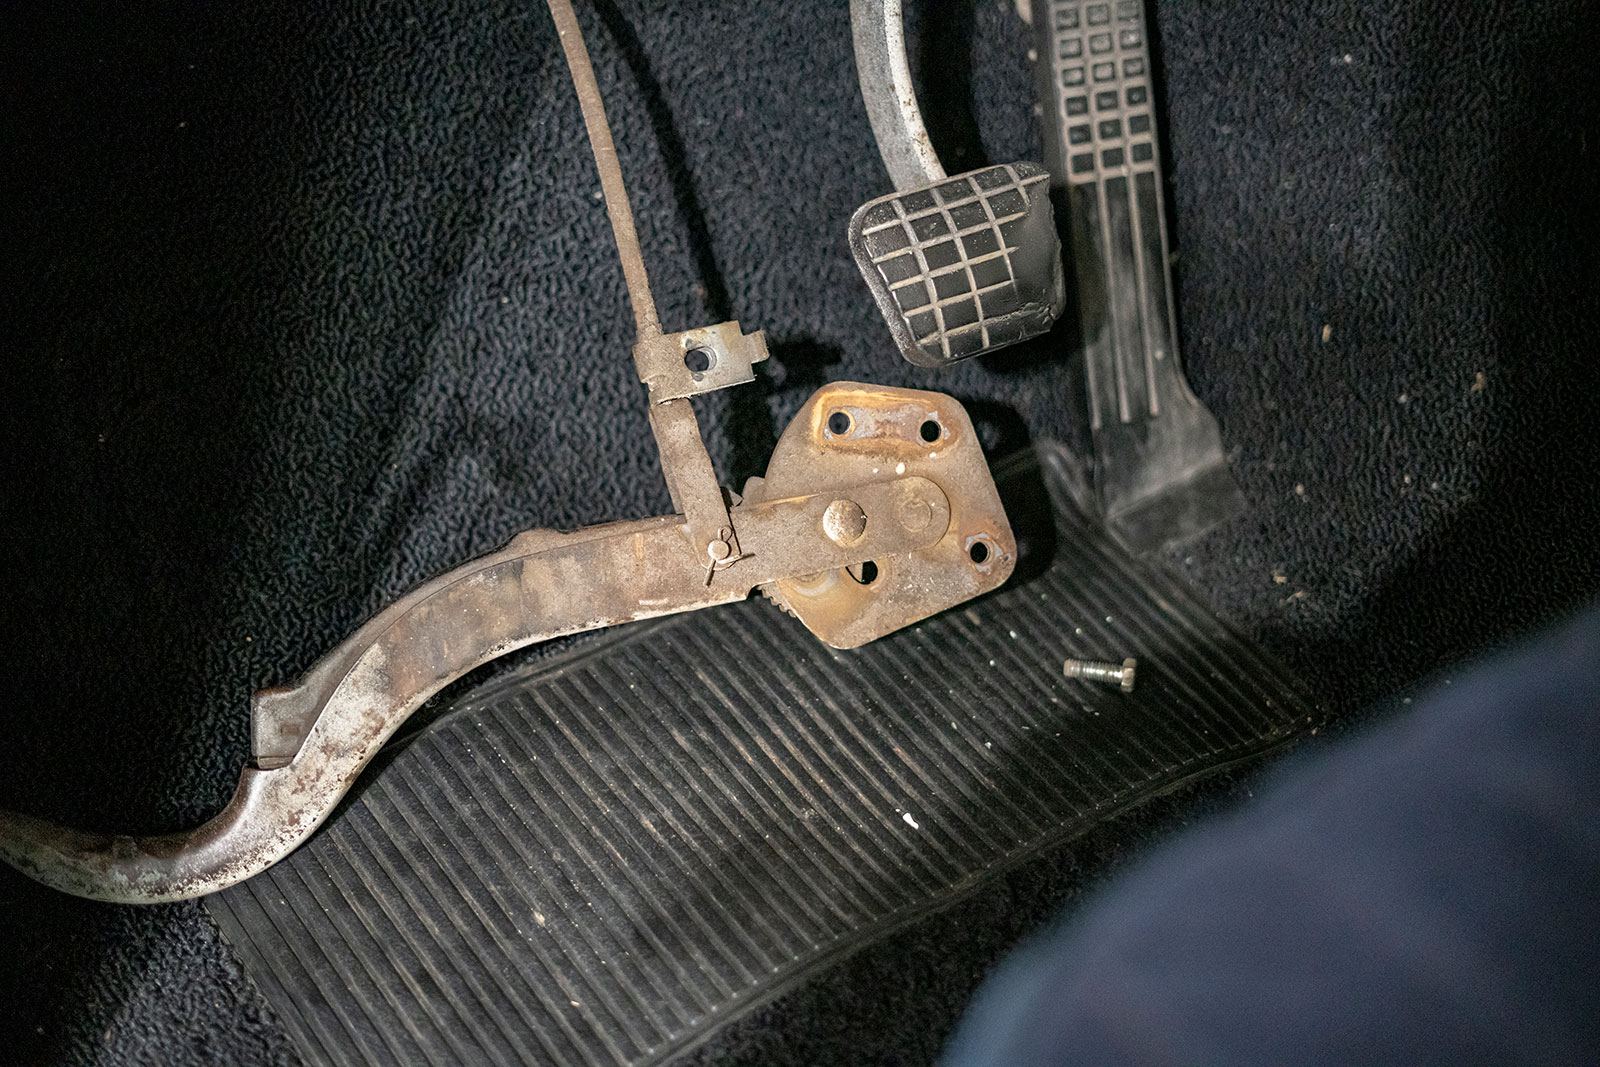
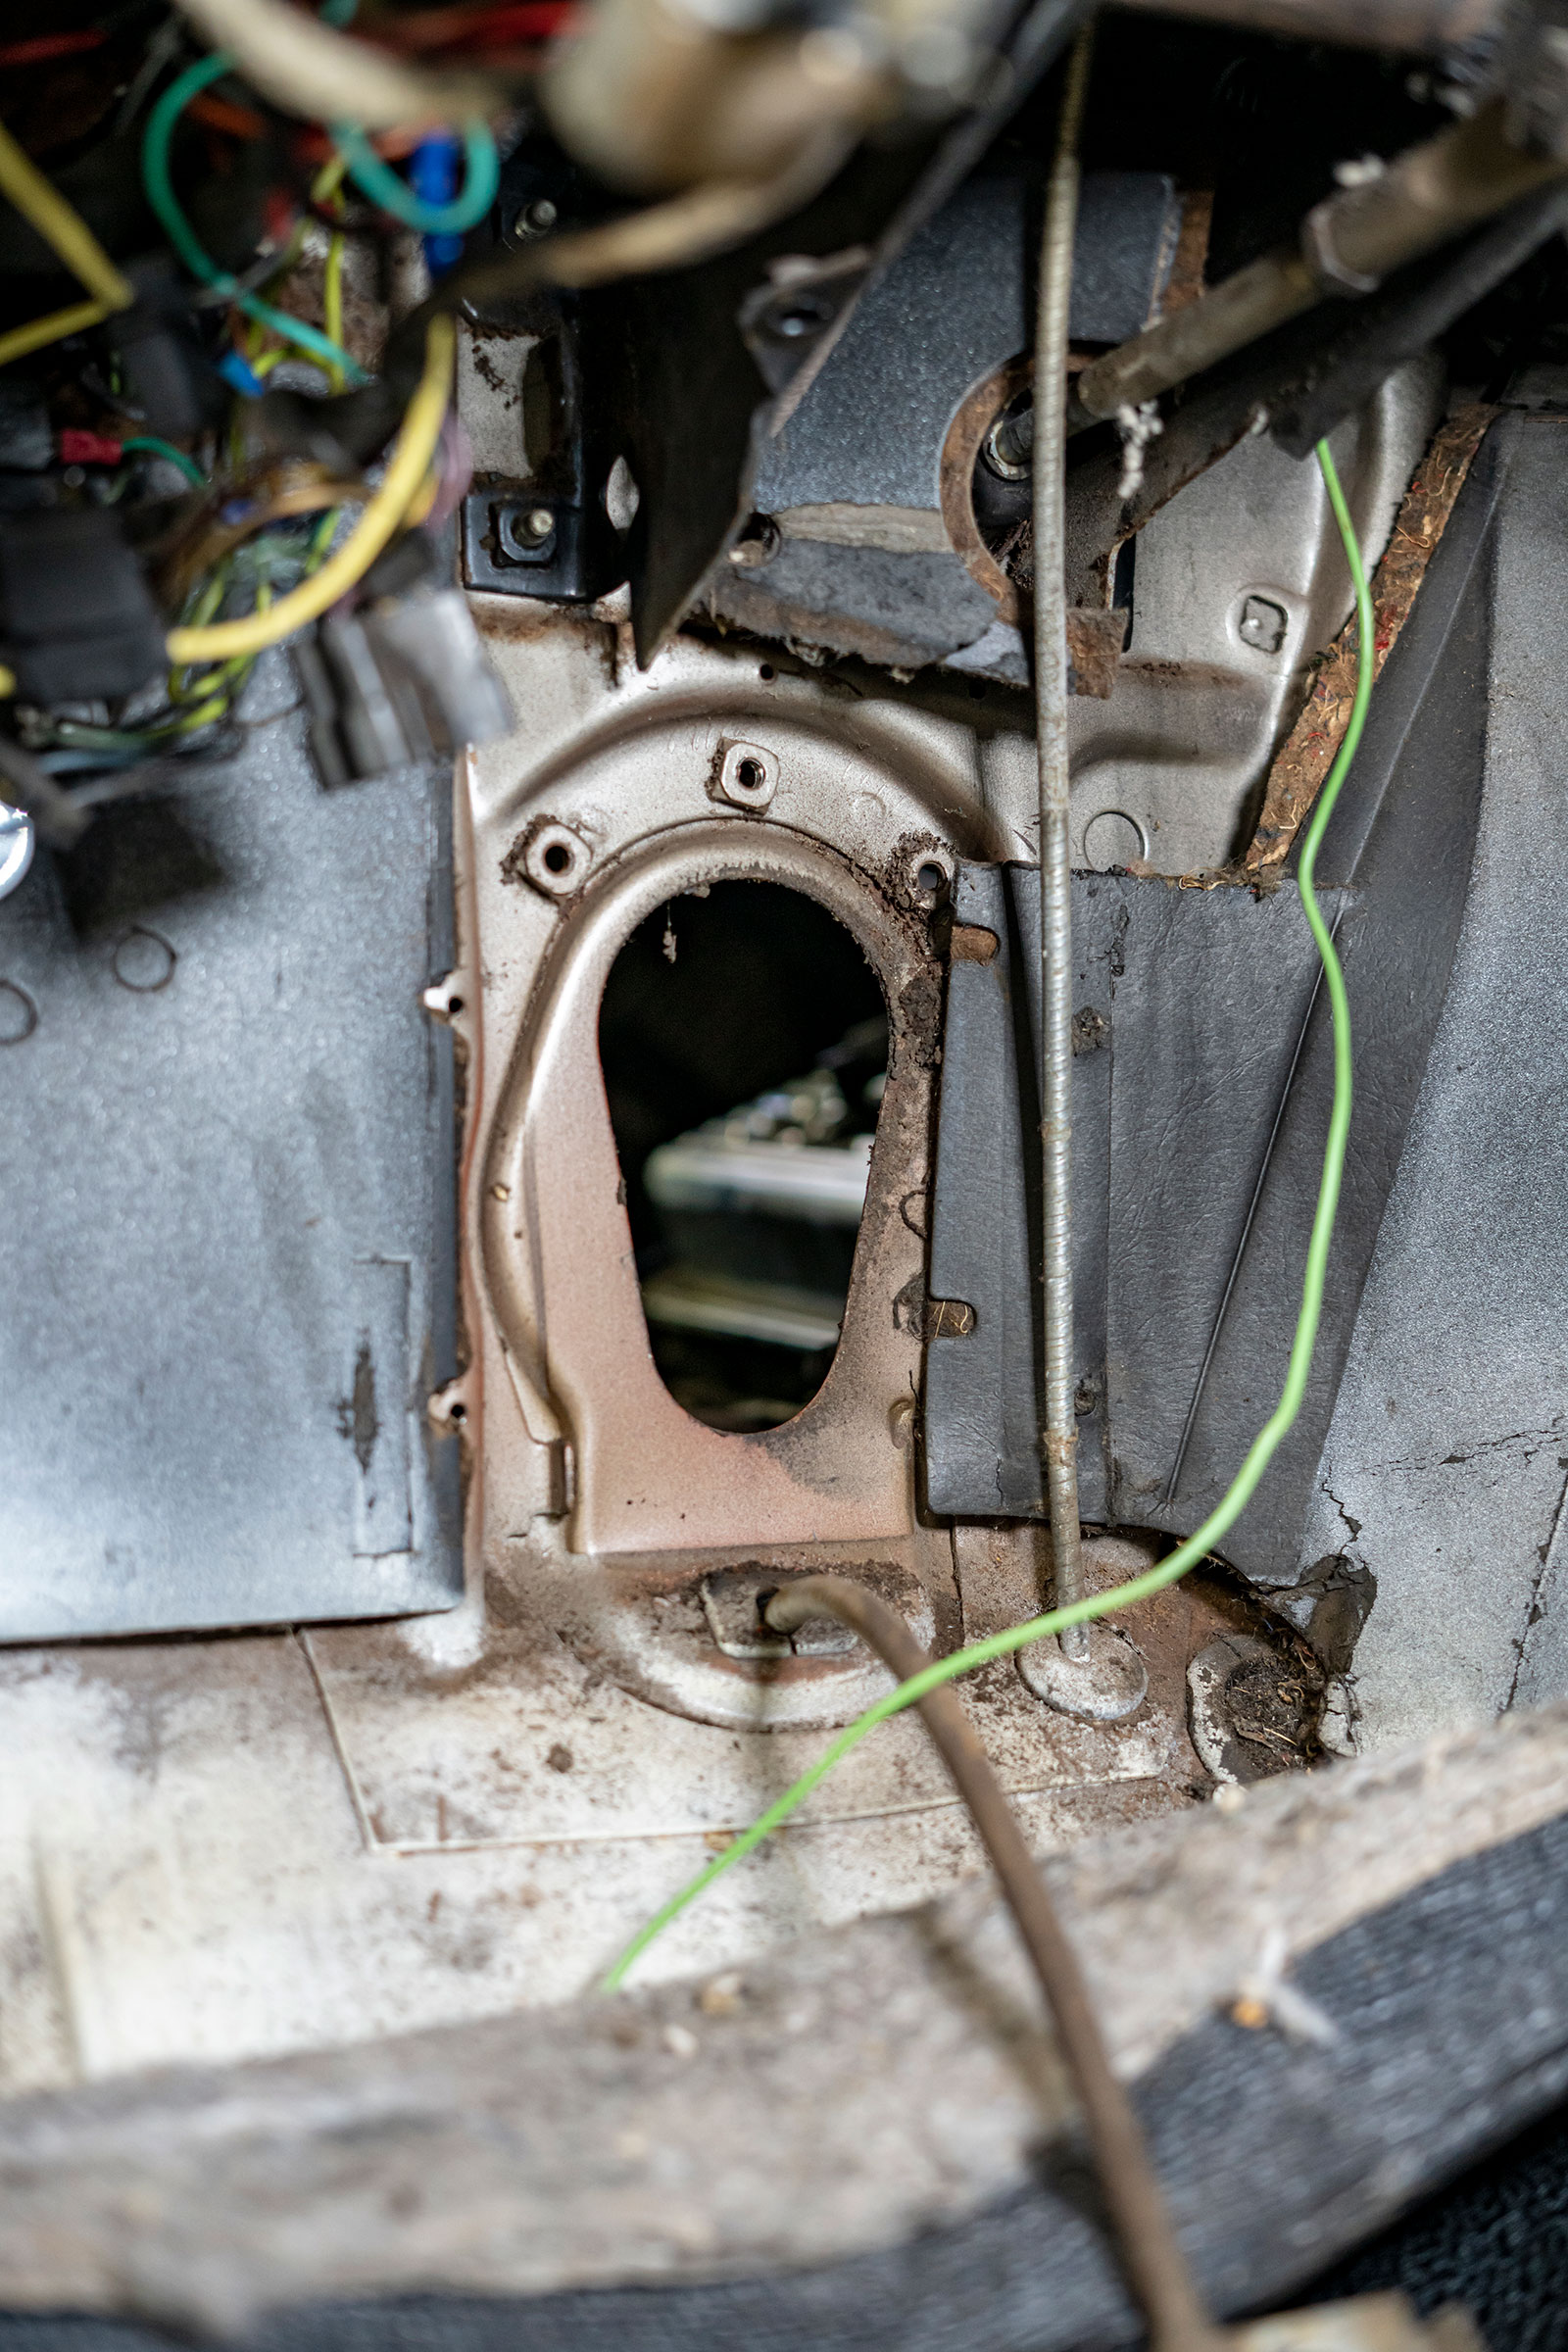
Removing the parking brake handle will make room to get to the steering column bracket; lay the parking brake handle to the side for the time being.
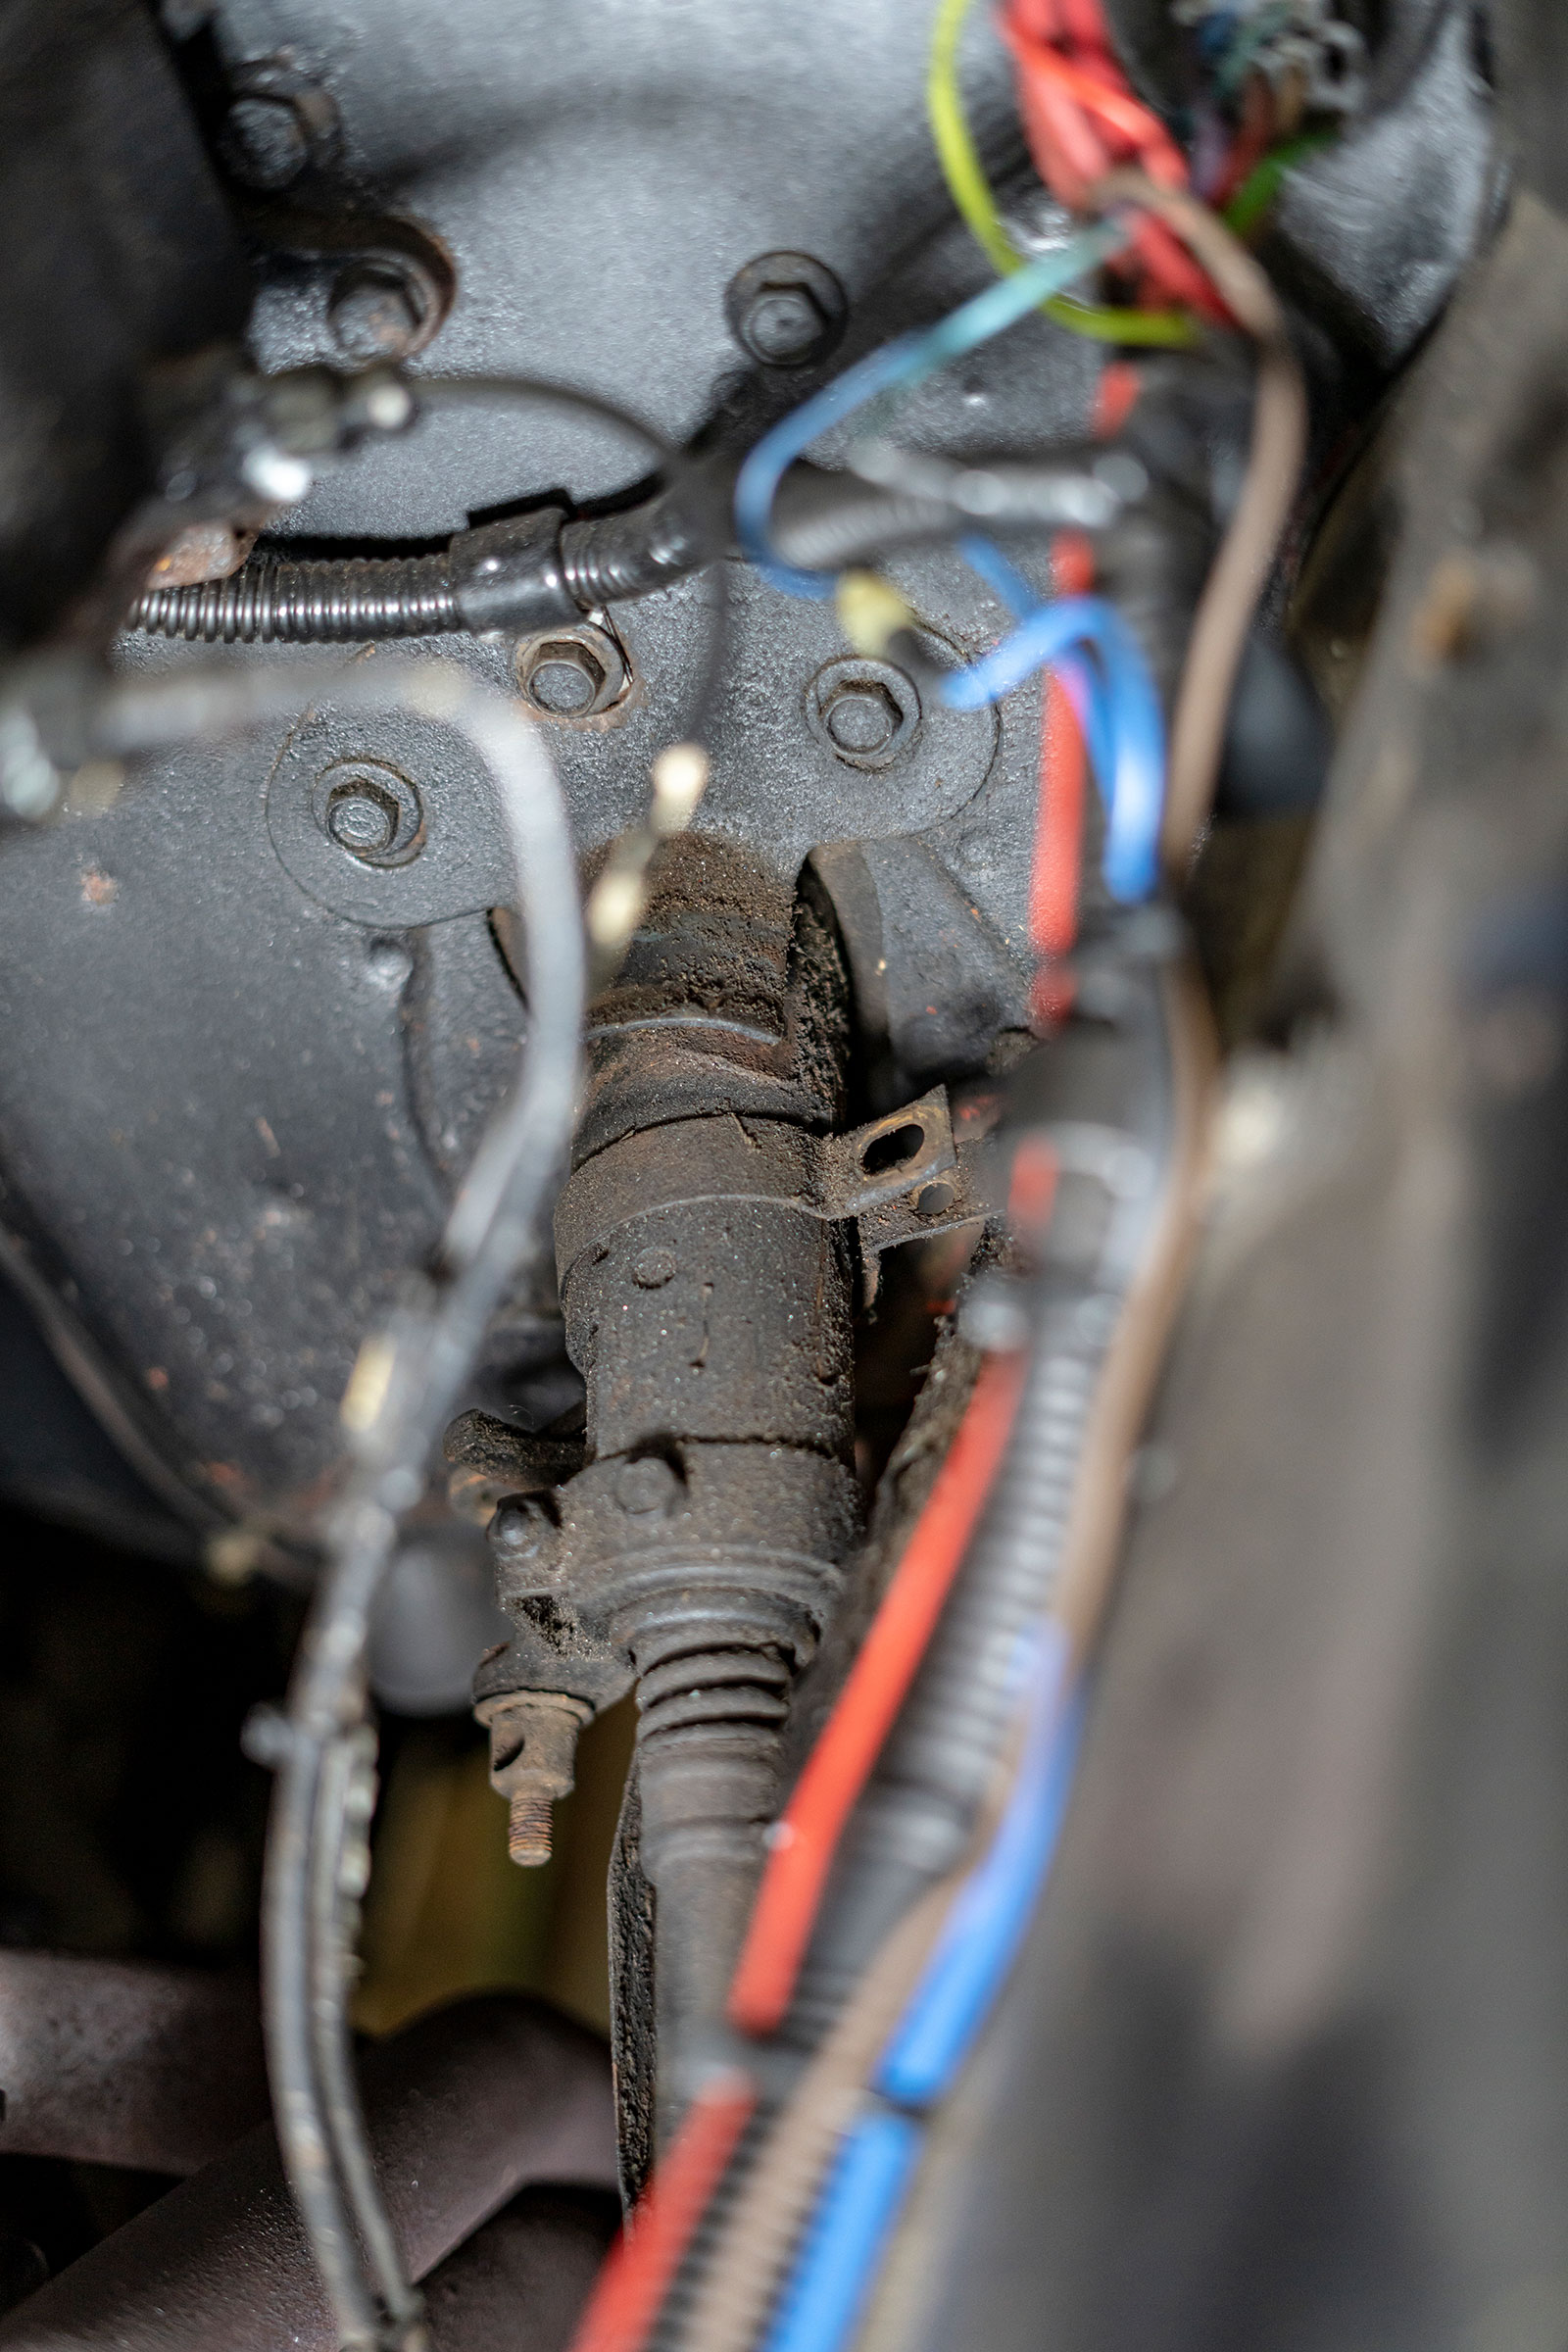
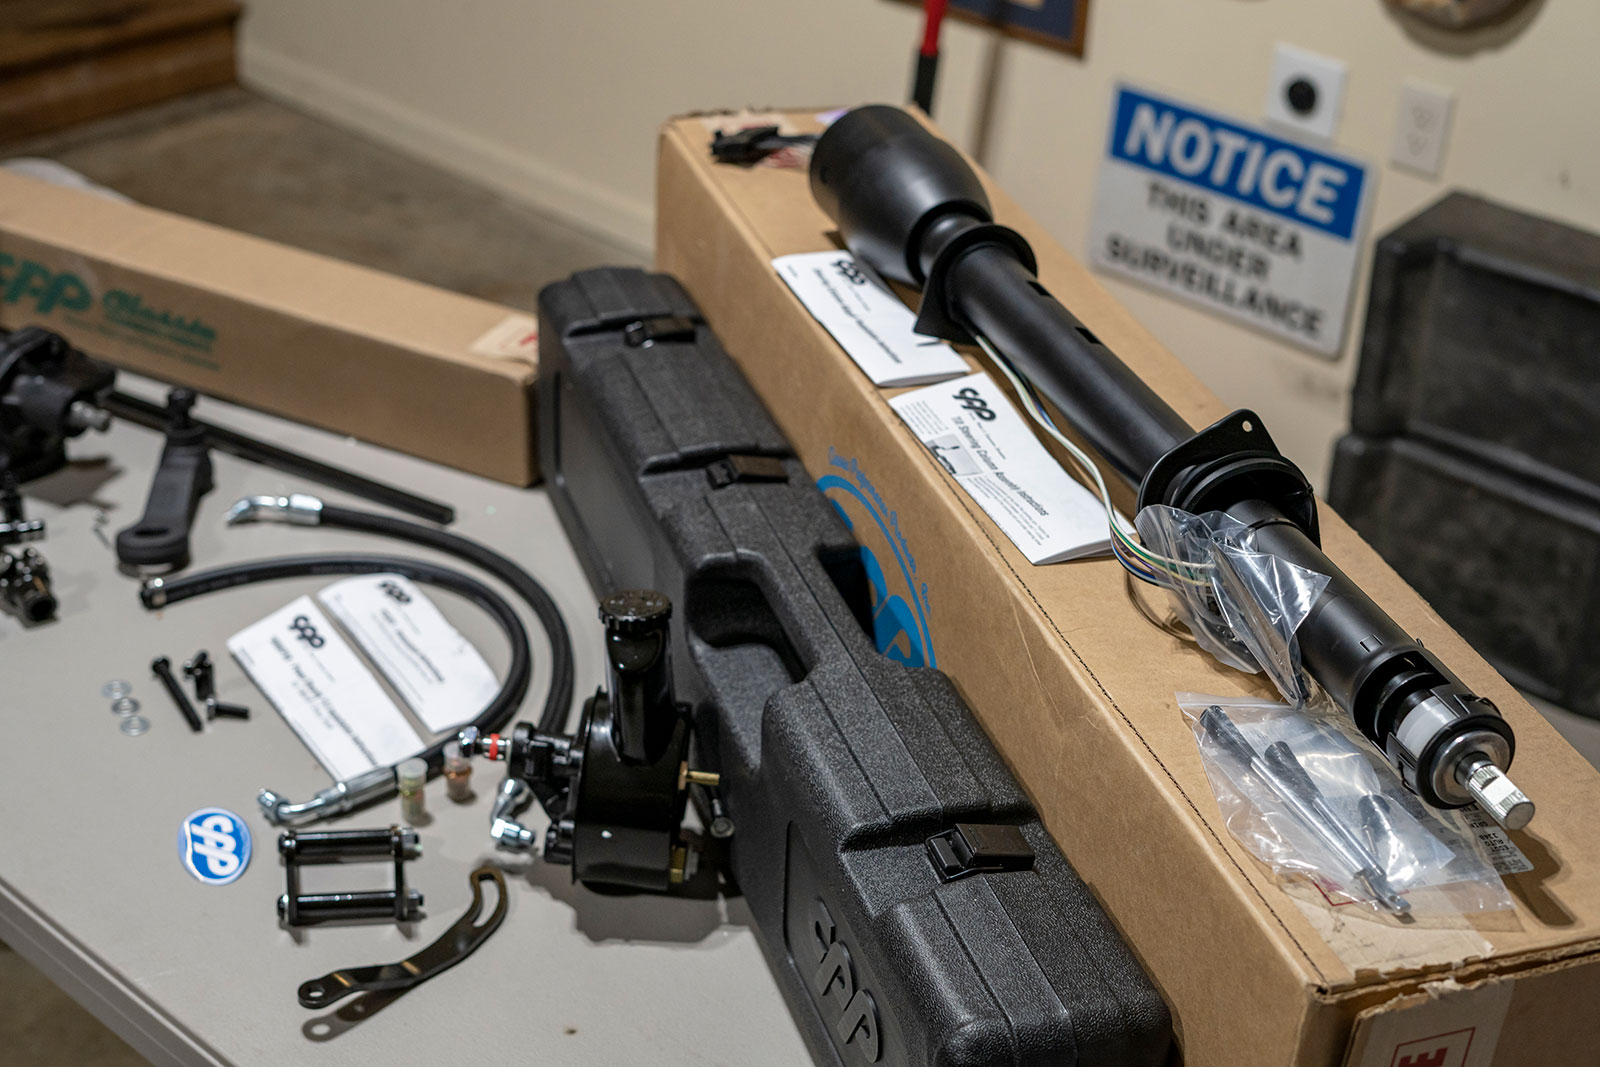
We start the second part of this install with the fresh steering box ready to go. Follow along and see how easy it is to do this all on your own.
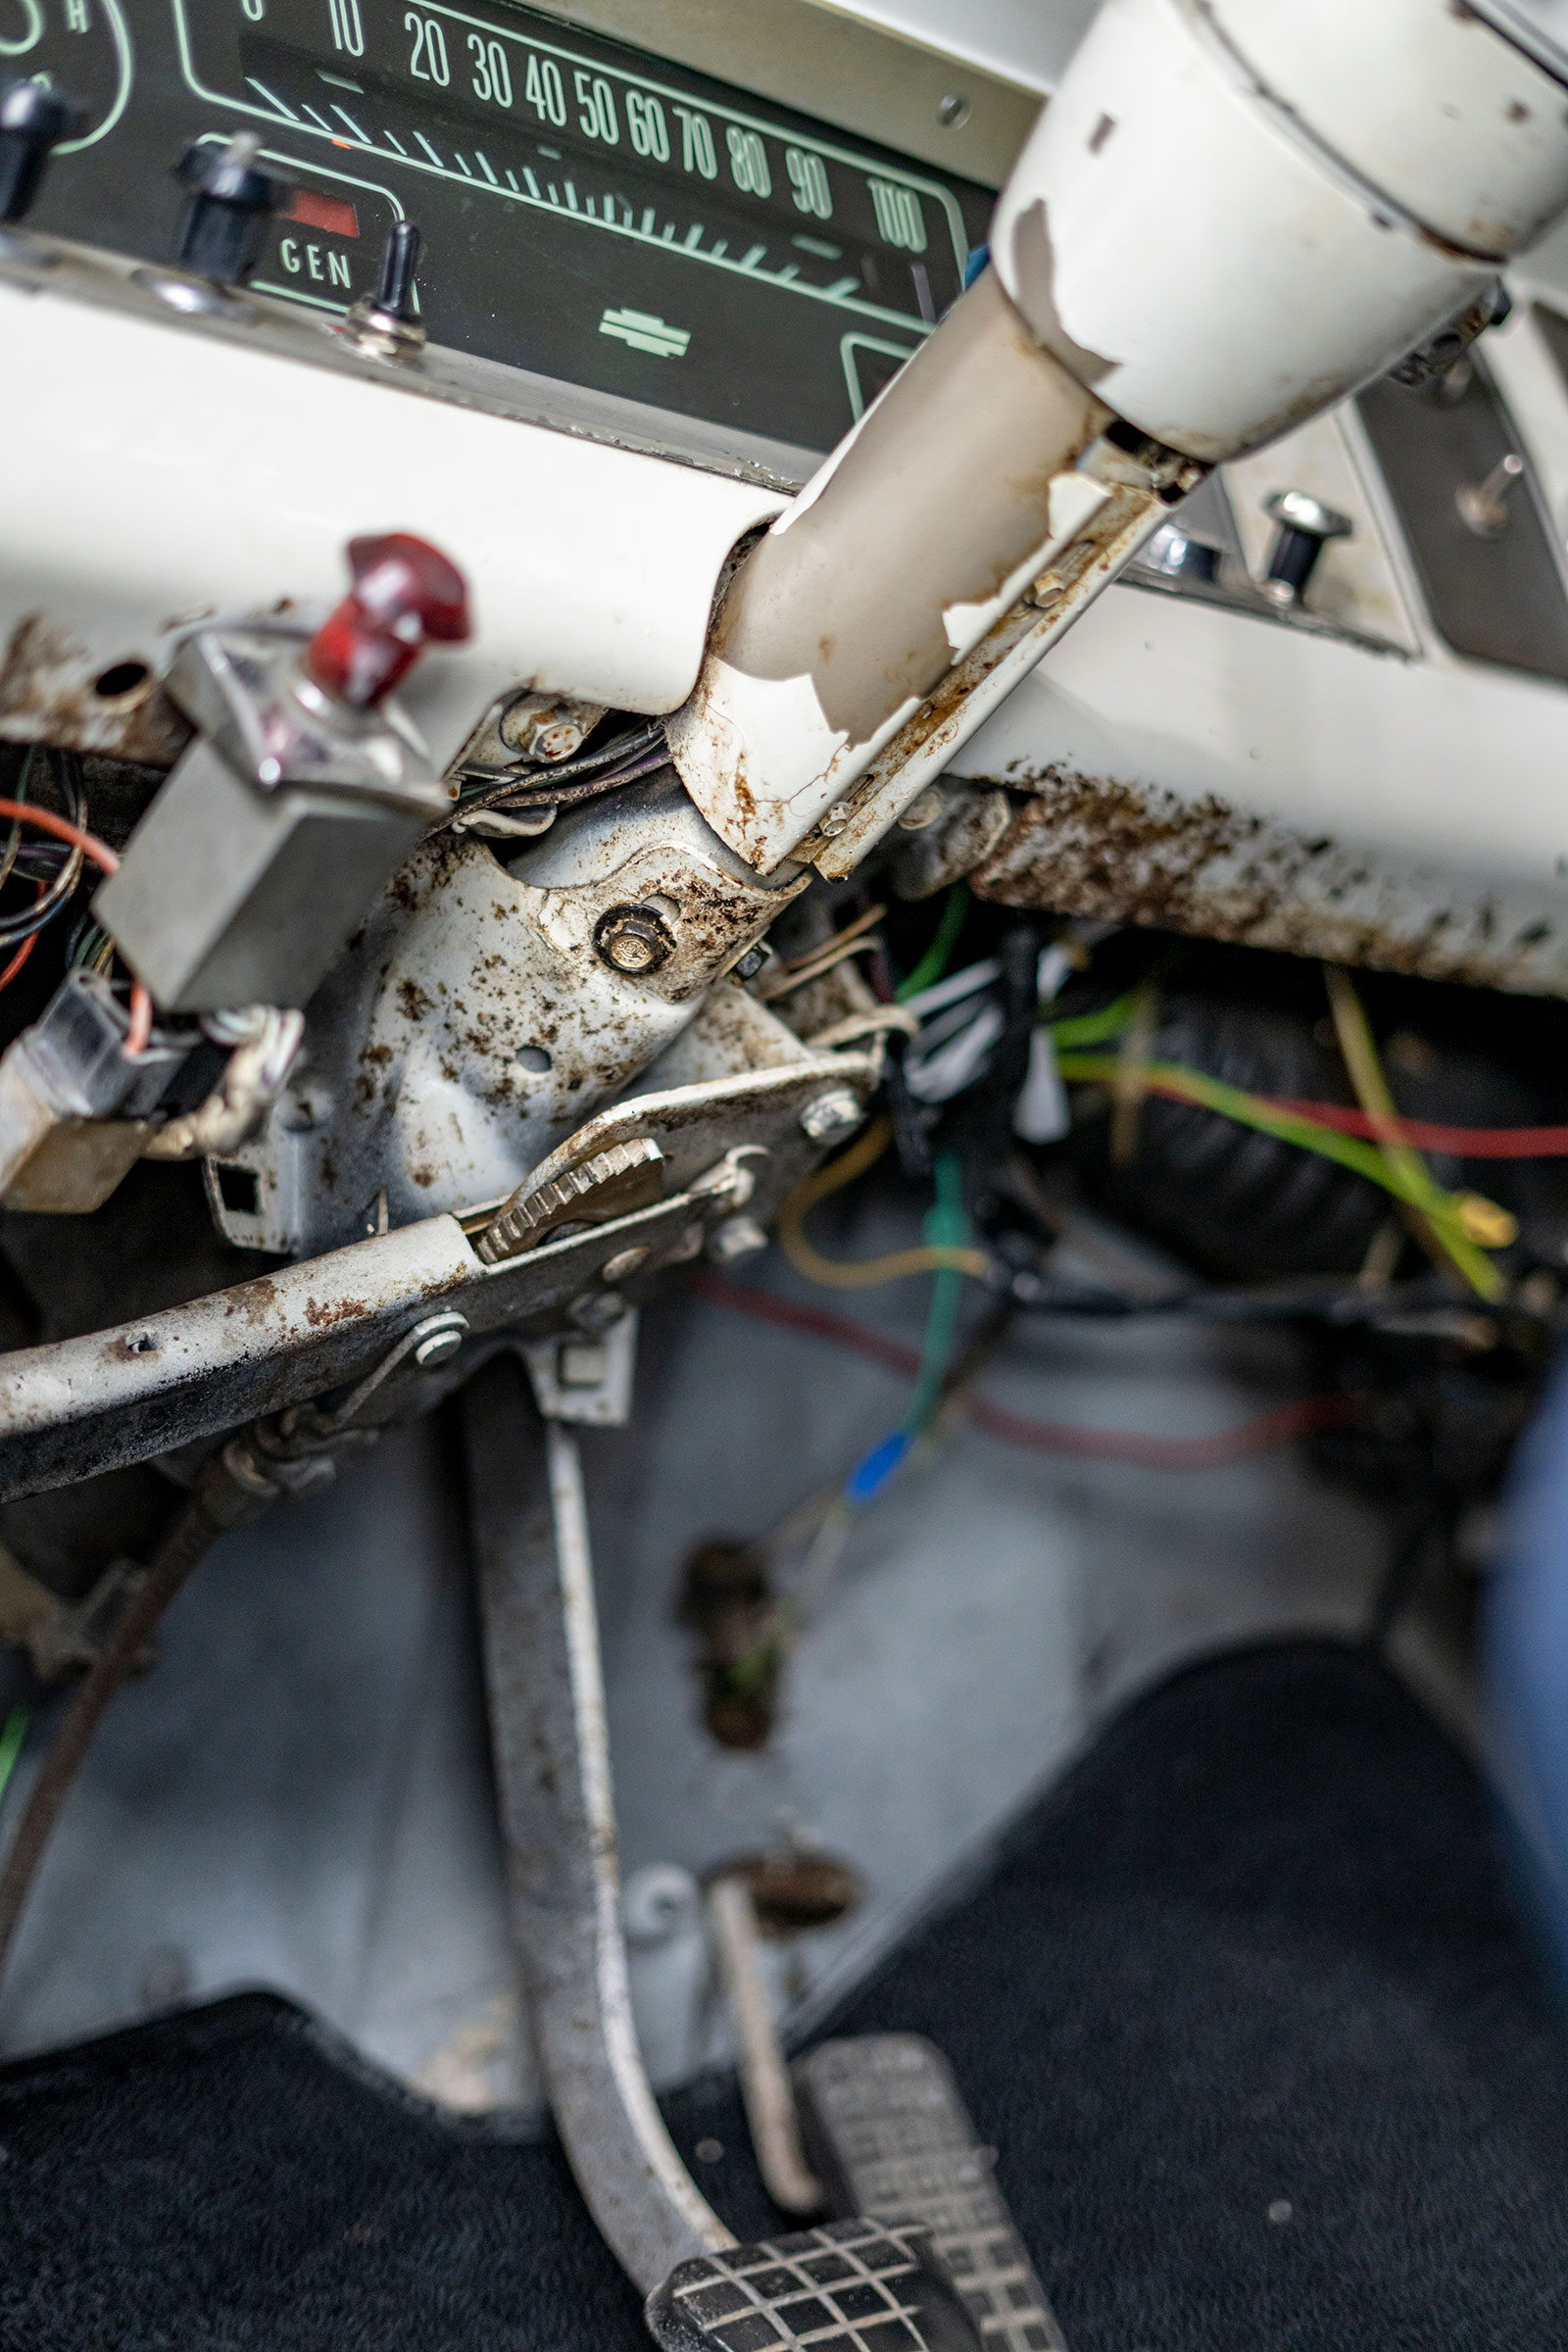
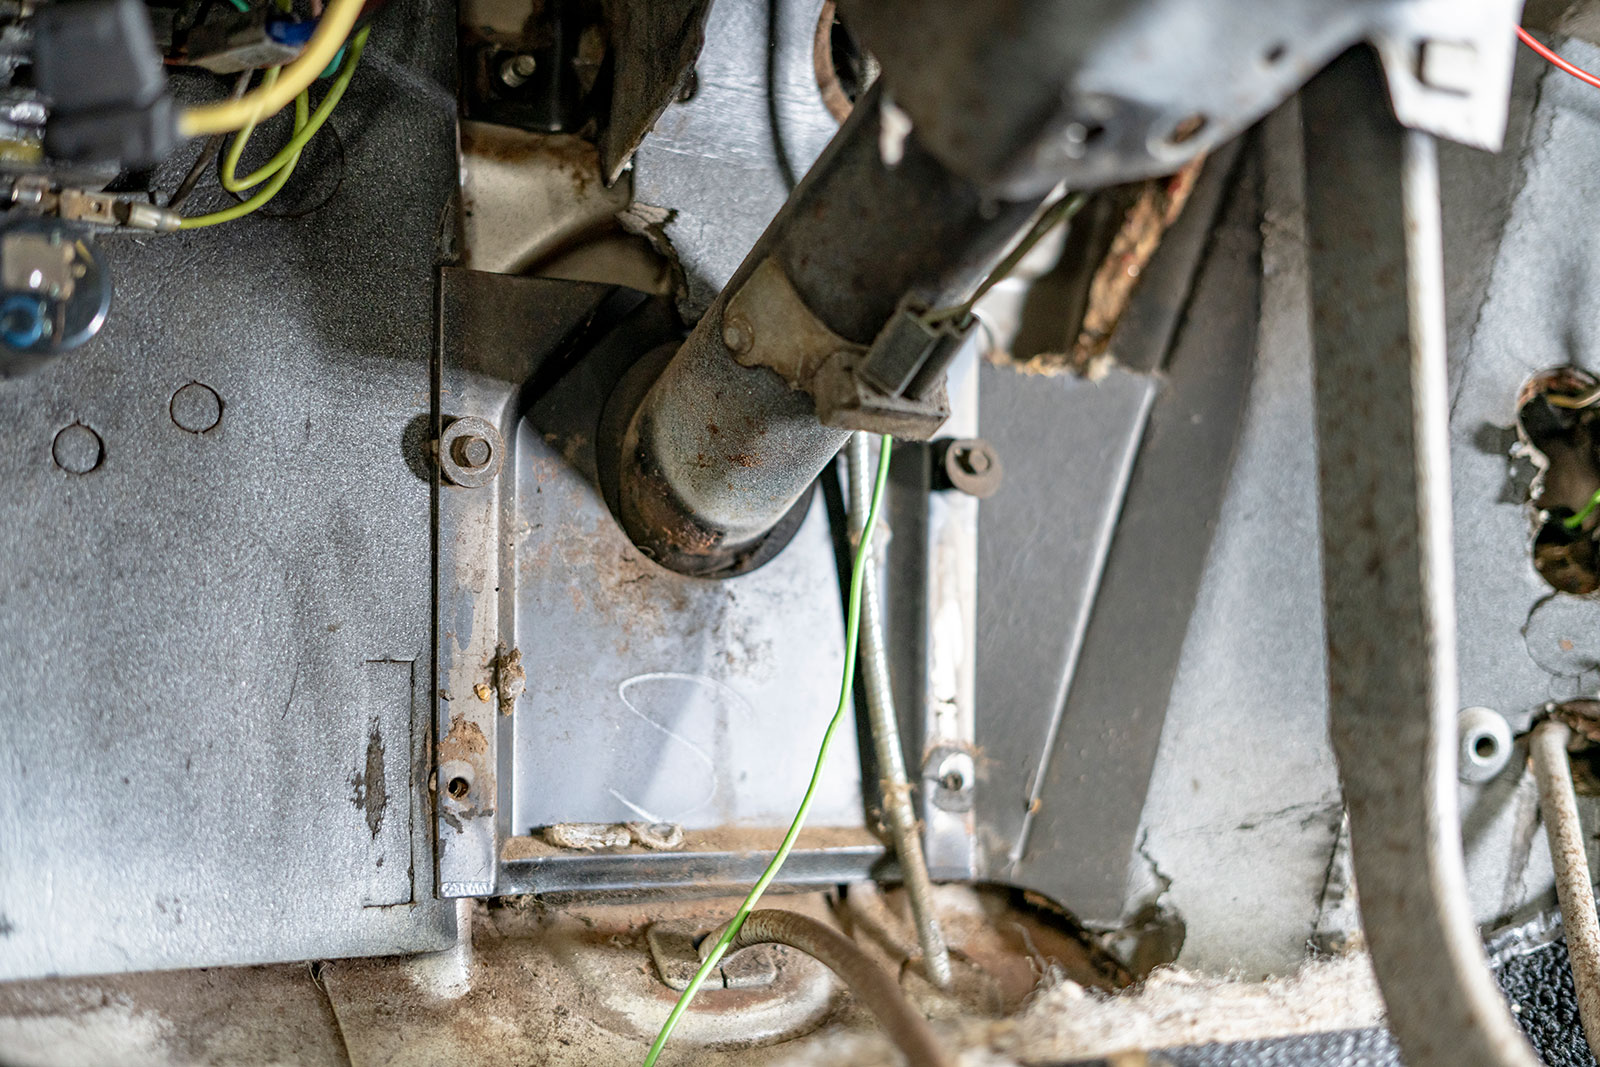
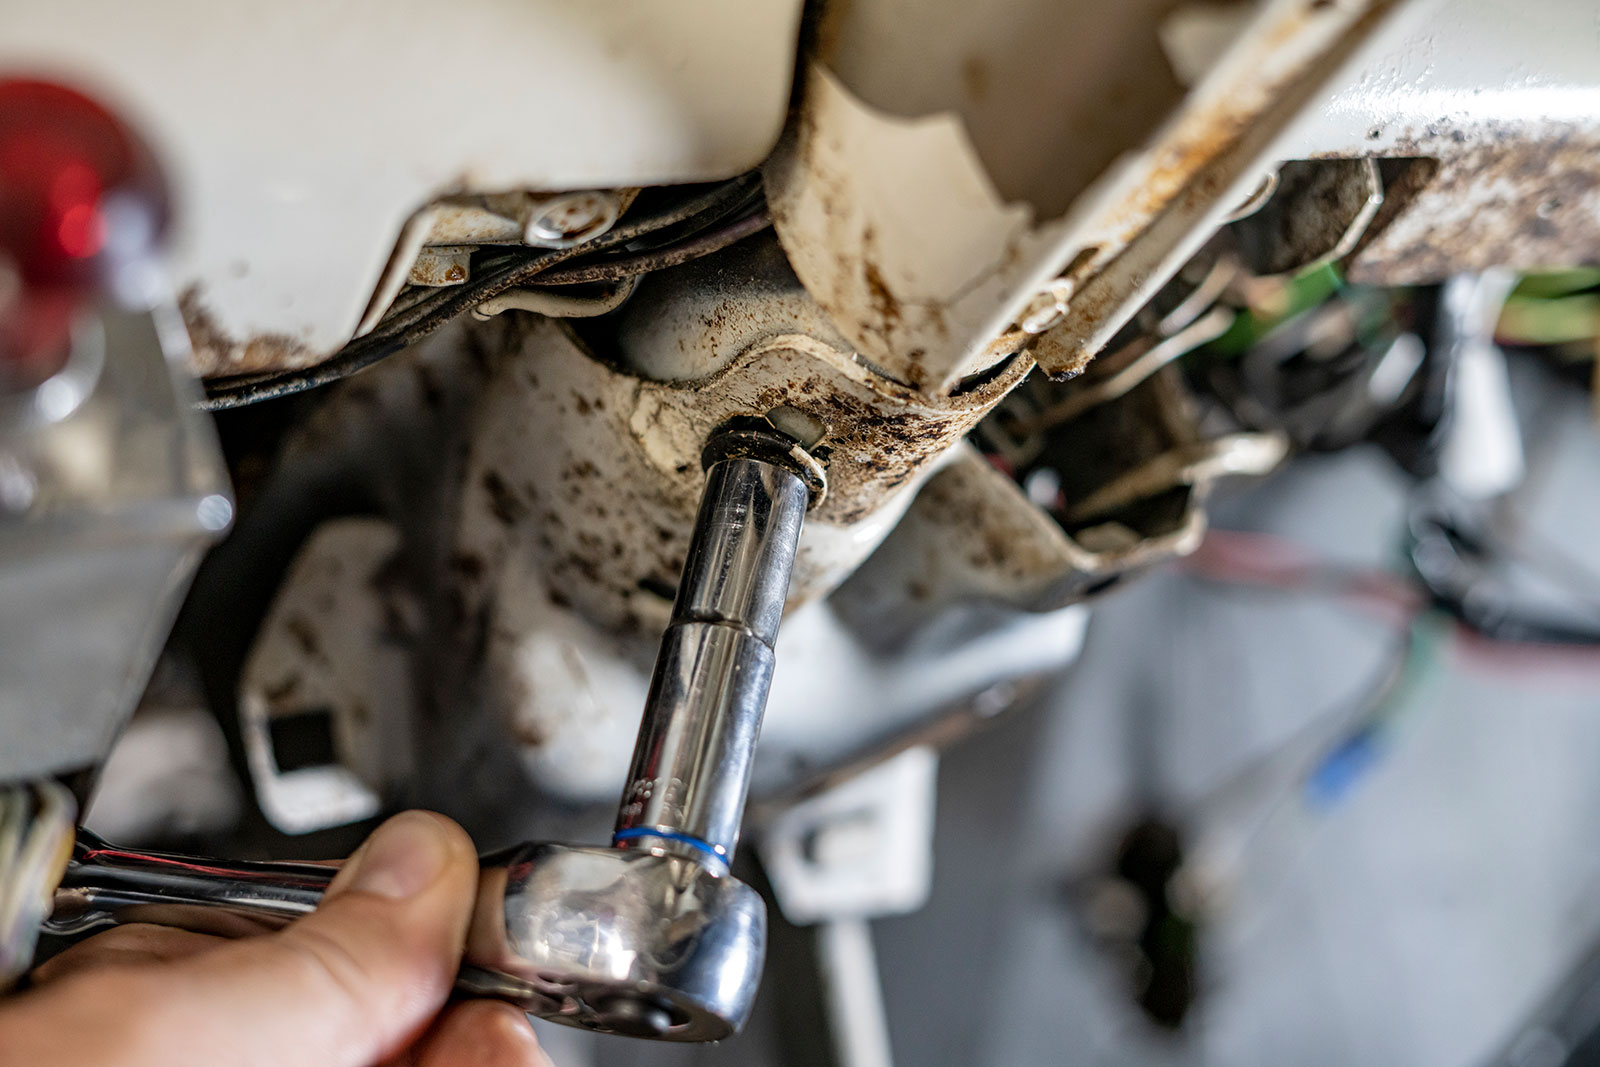
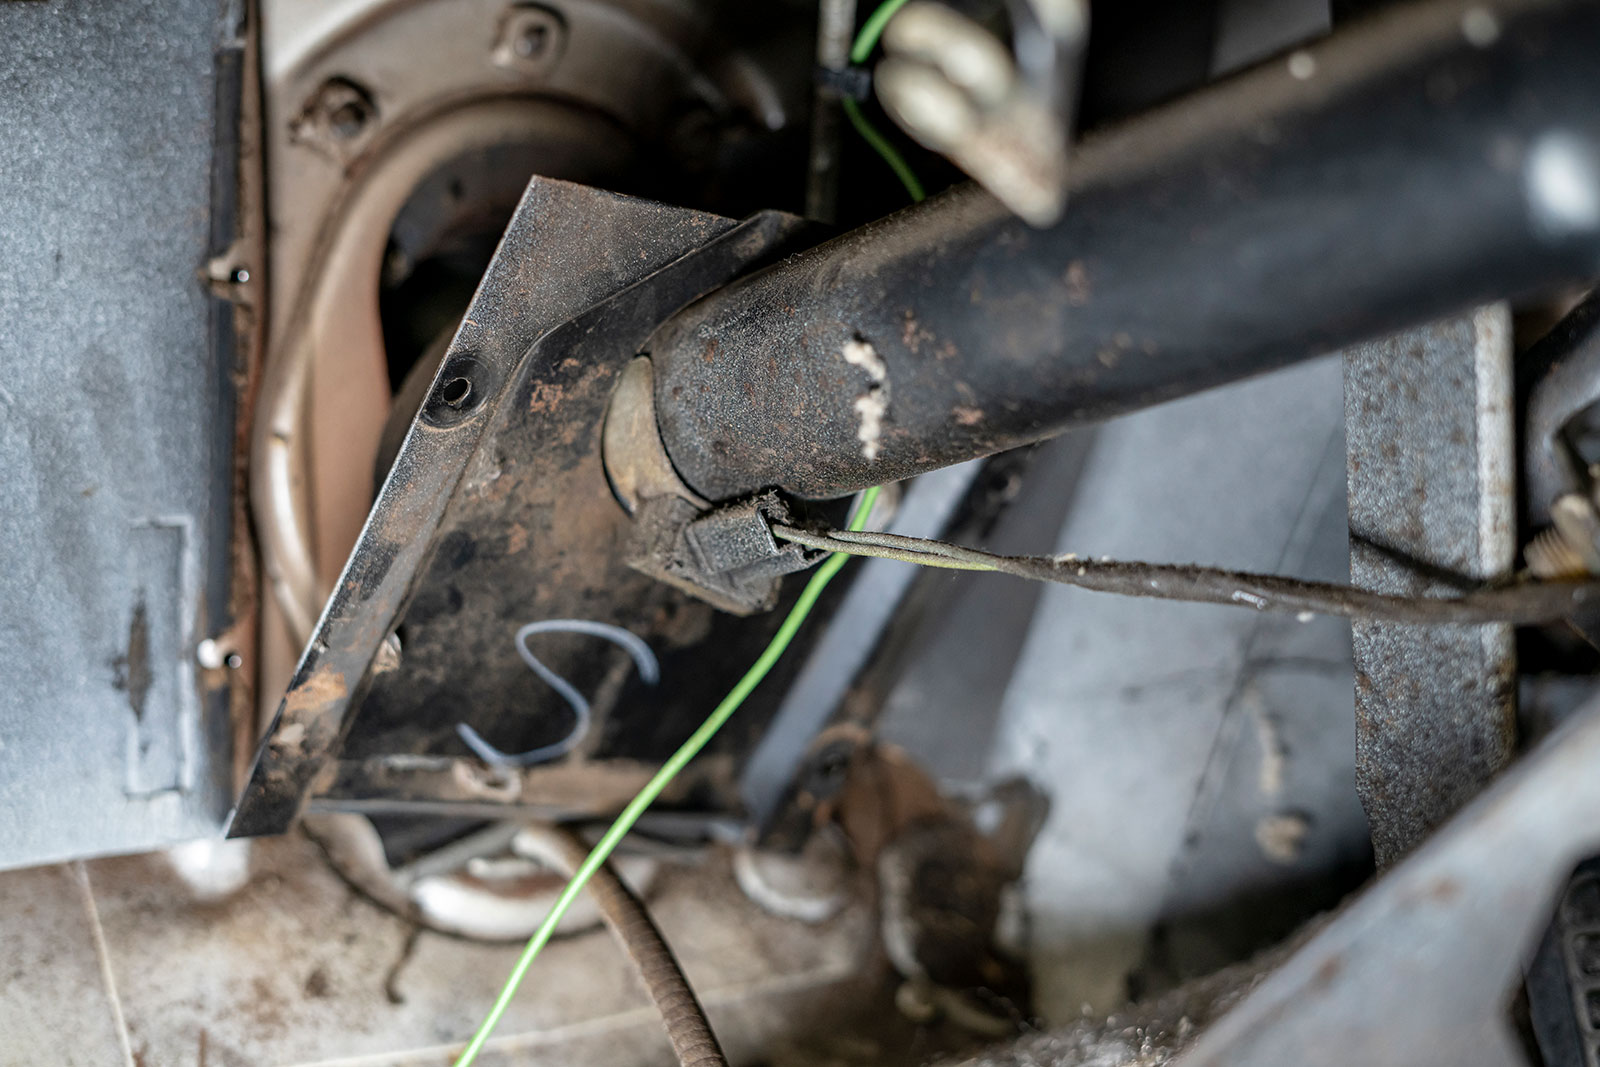
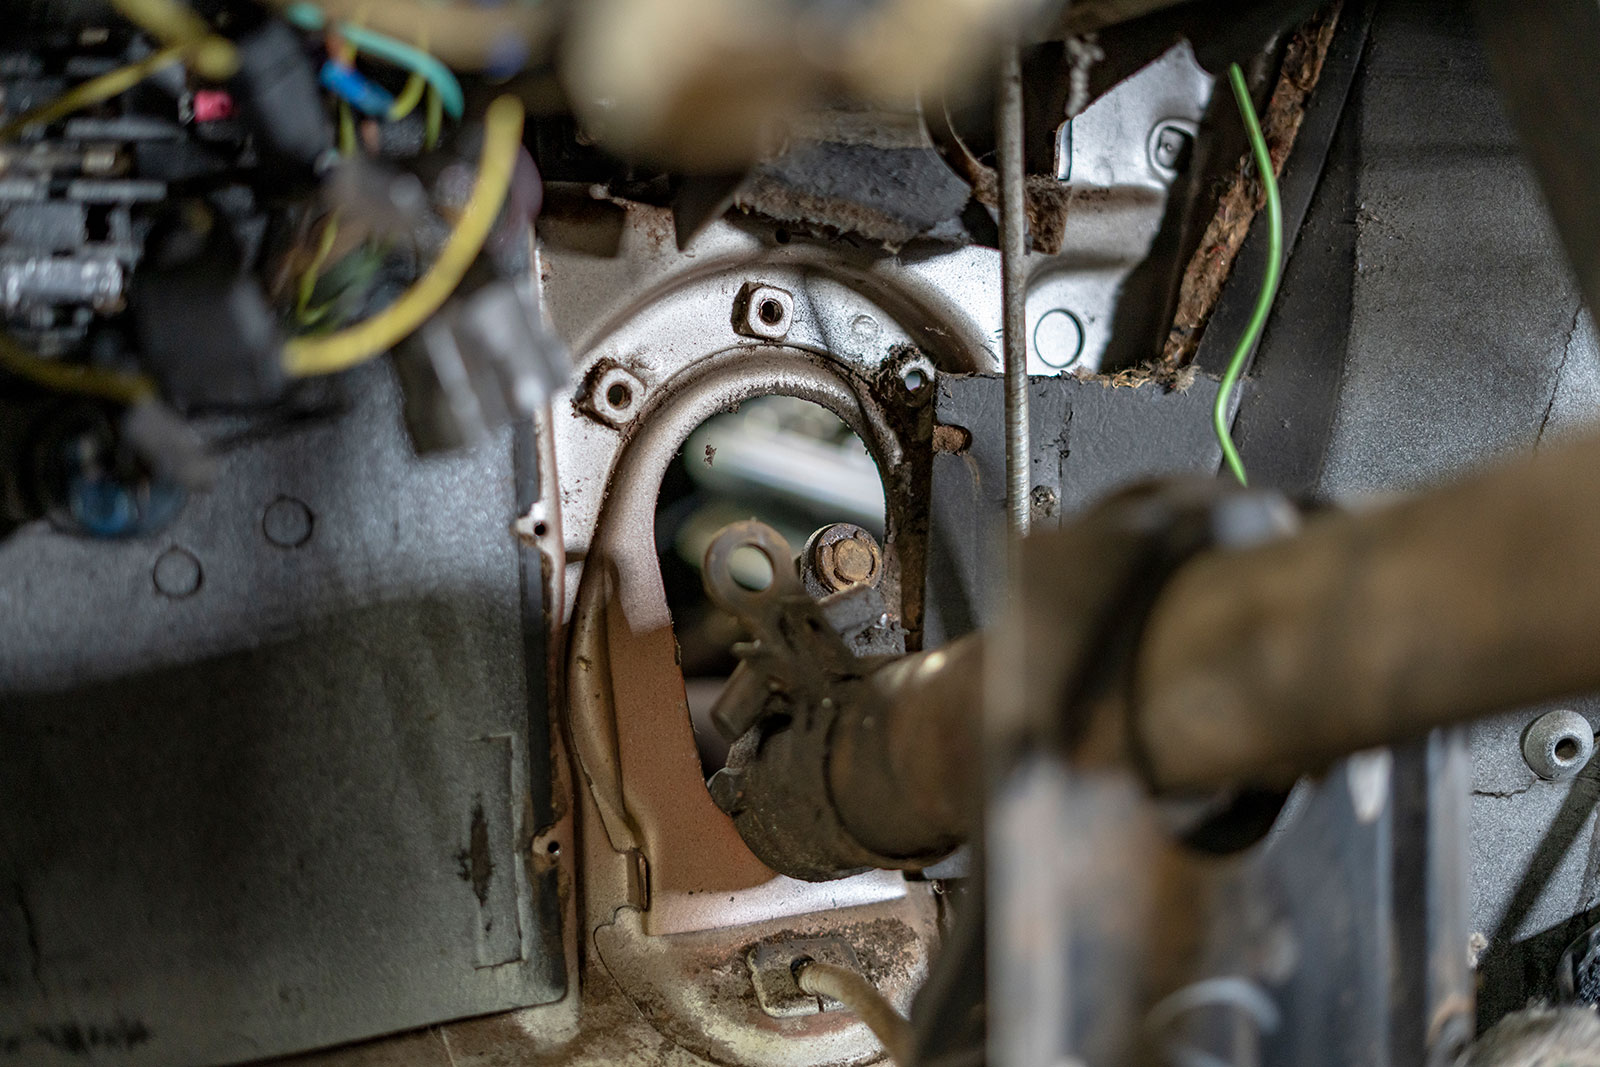
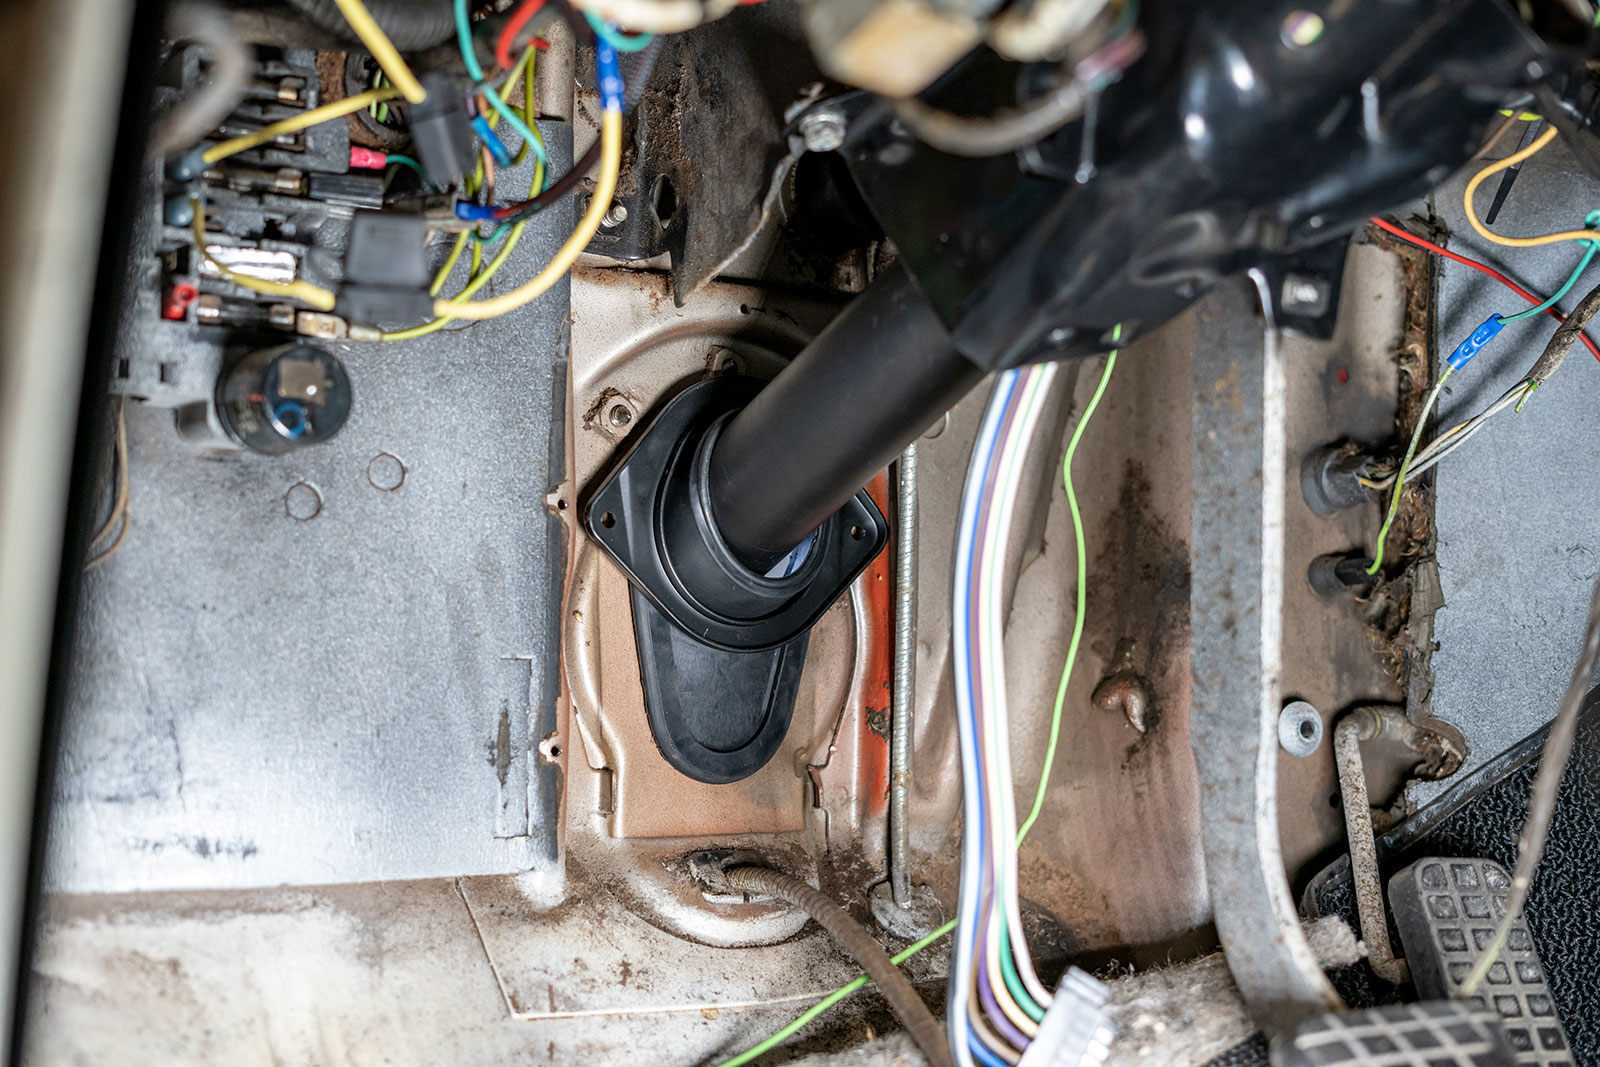
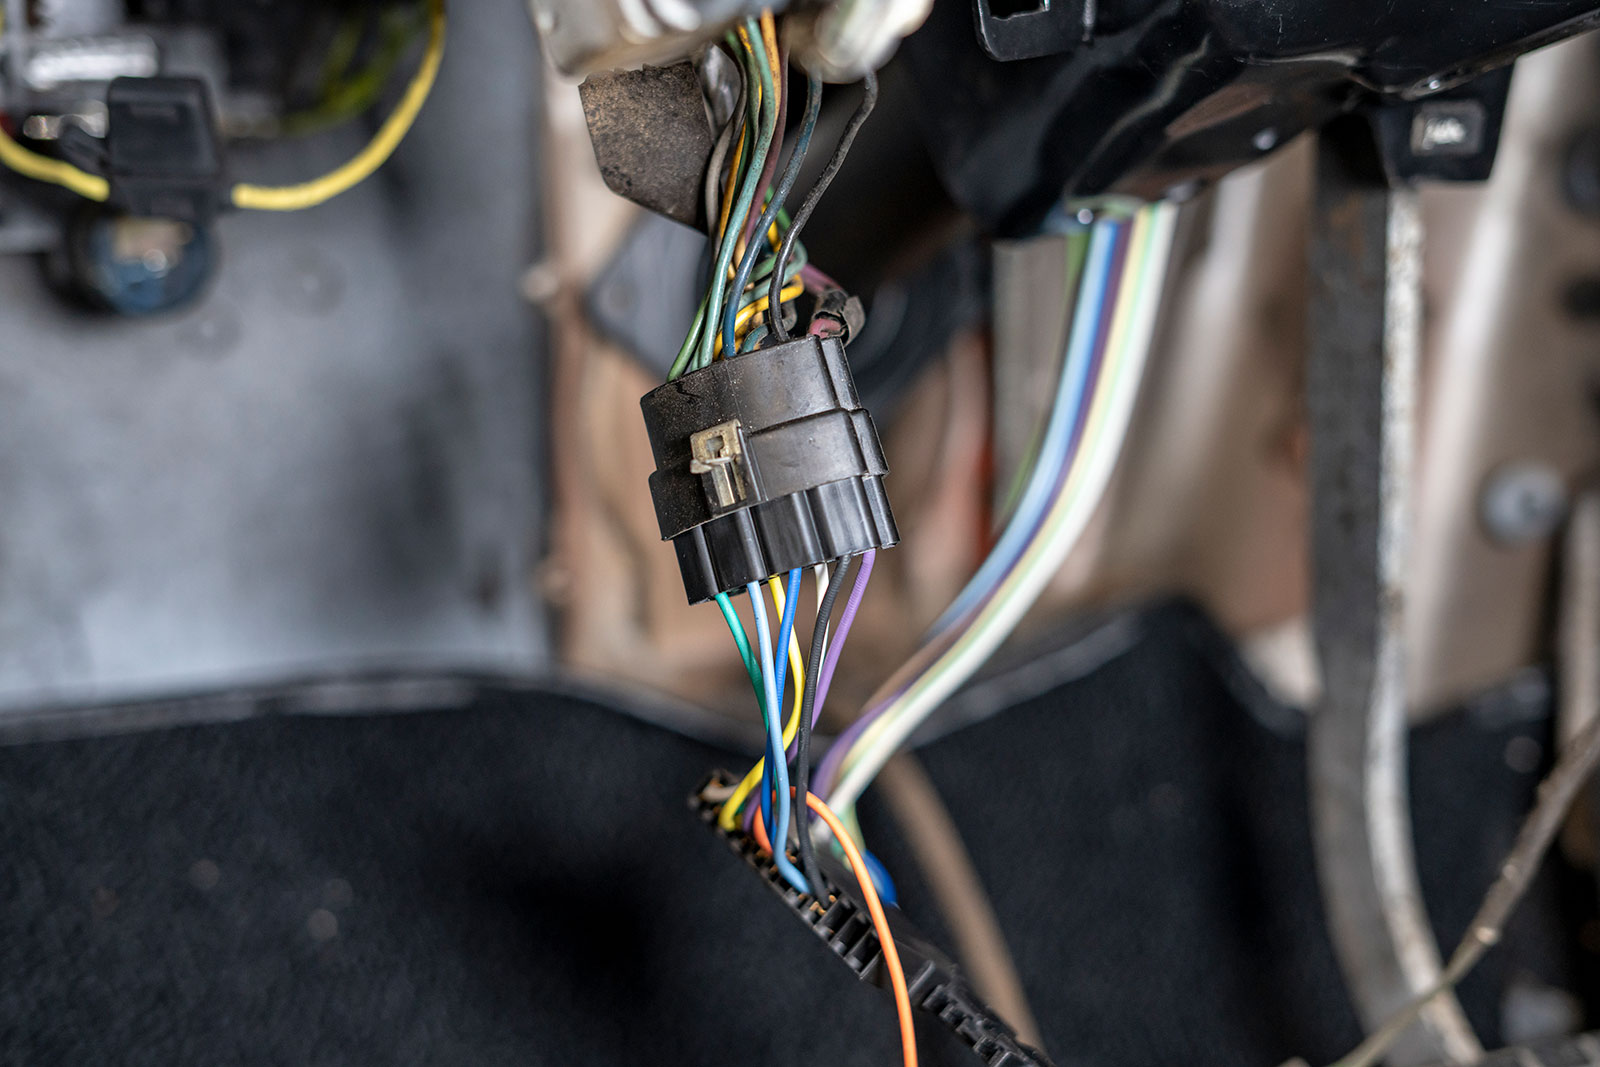
Although often already discarded, the original inner firewall heat shield will need to be removed if still present. With the heat shield removed, this gives you full access to the firewall cover plate.Remove the large cover plate and the clamp that secures the column to the dash. It’s best to leave the bolts in the column clamp loosely in place until you are ready to remove the steering column.Now, let’s move or focus out underhood to remove the bolt on the steering column clamp.Next, remove the inner firewall plate and unplug the harnesses from the stock steering column.With the column free, we remove the cover plate and lower the steering column with the steering wheel resting on the seat.Remove the bolts for the column support bracket on the firewall, then push the steering column firewall gasket through and rotate the steering linkage arms. Remove the column and set aside.
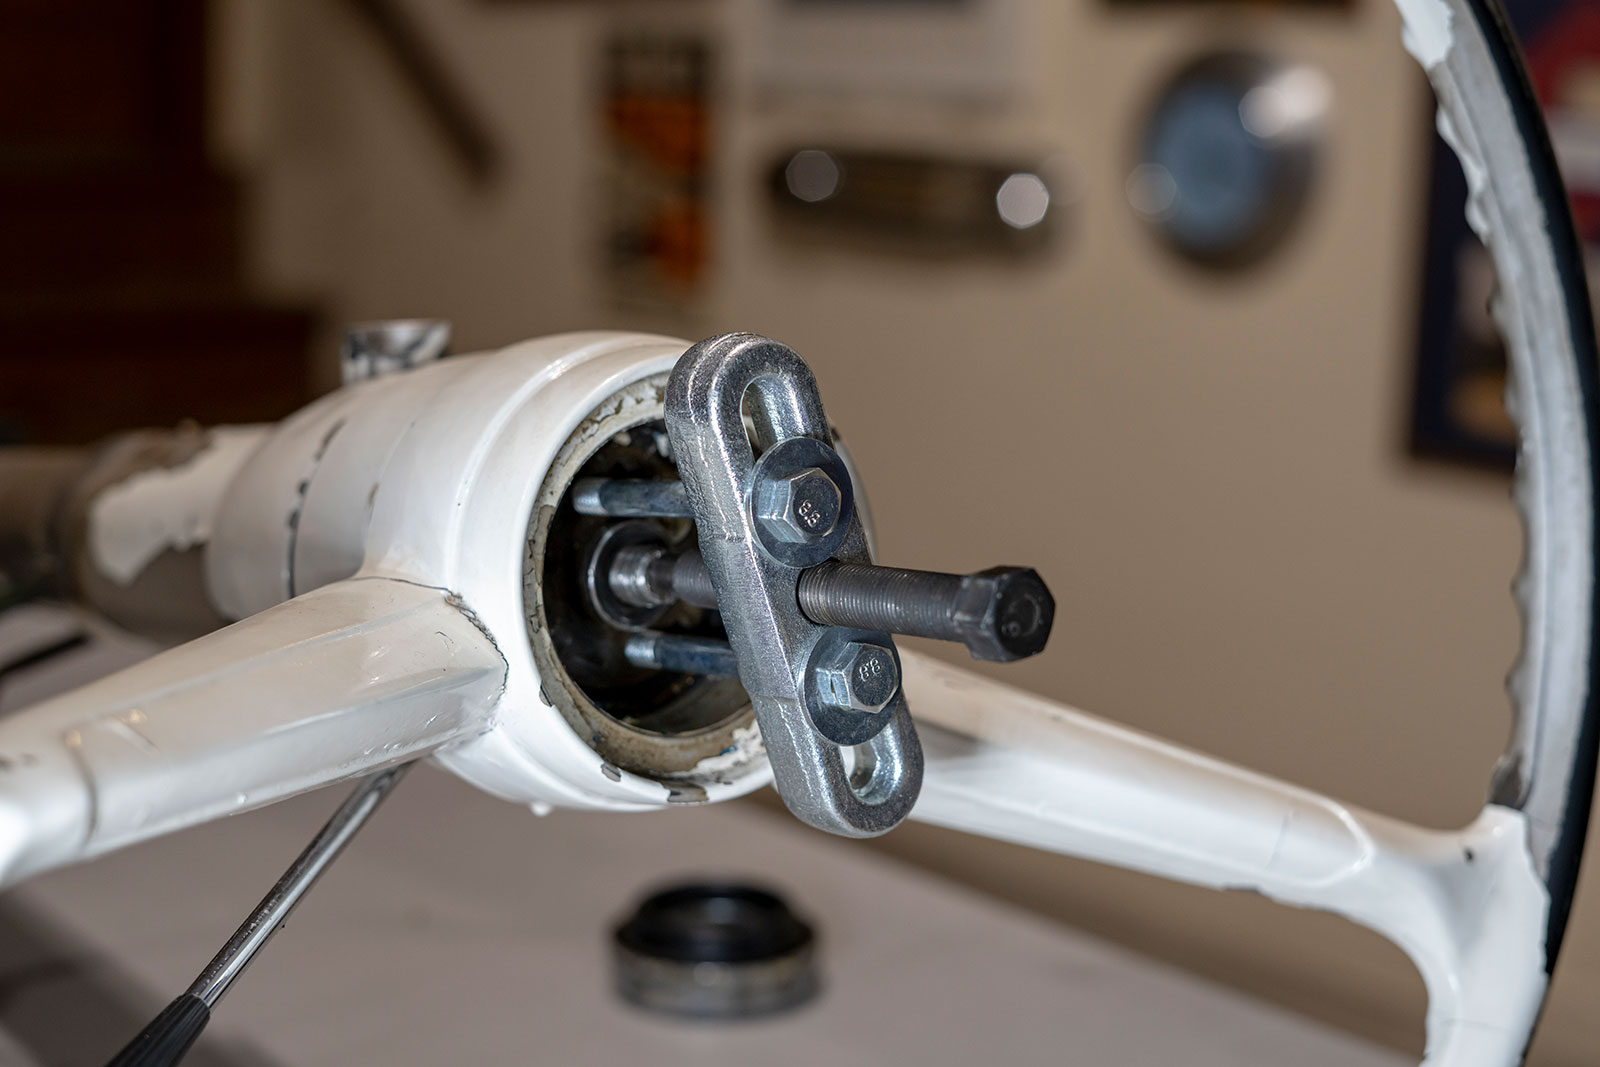
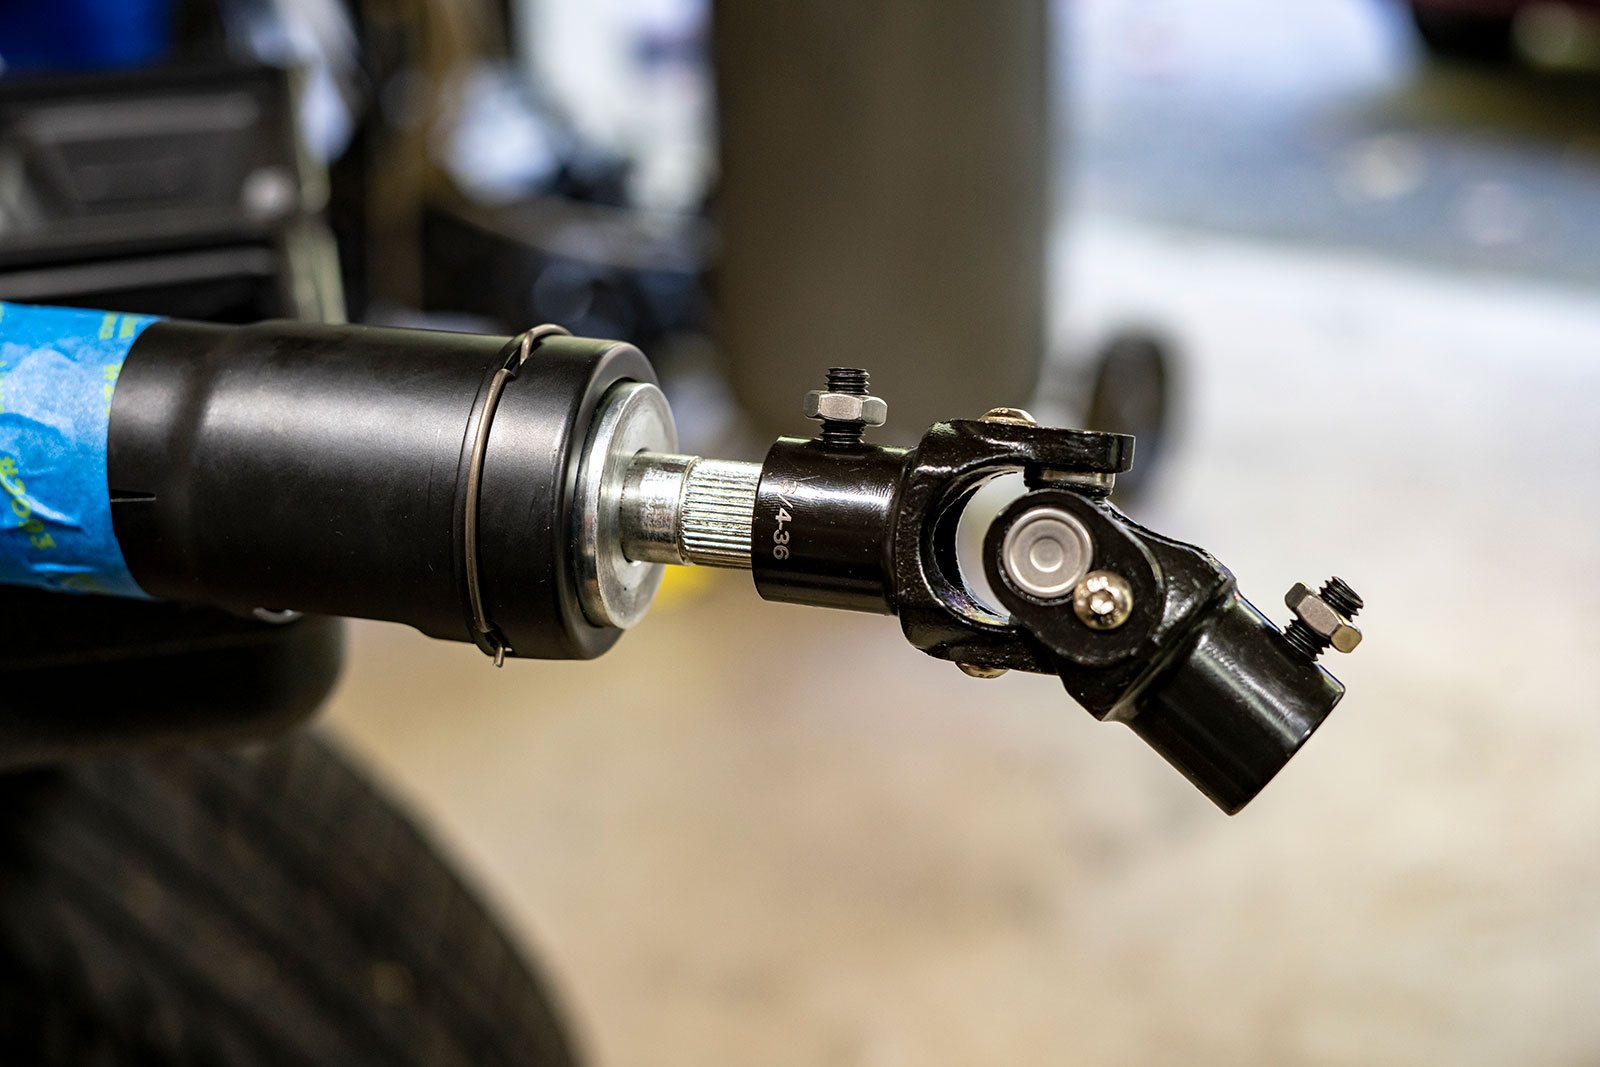
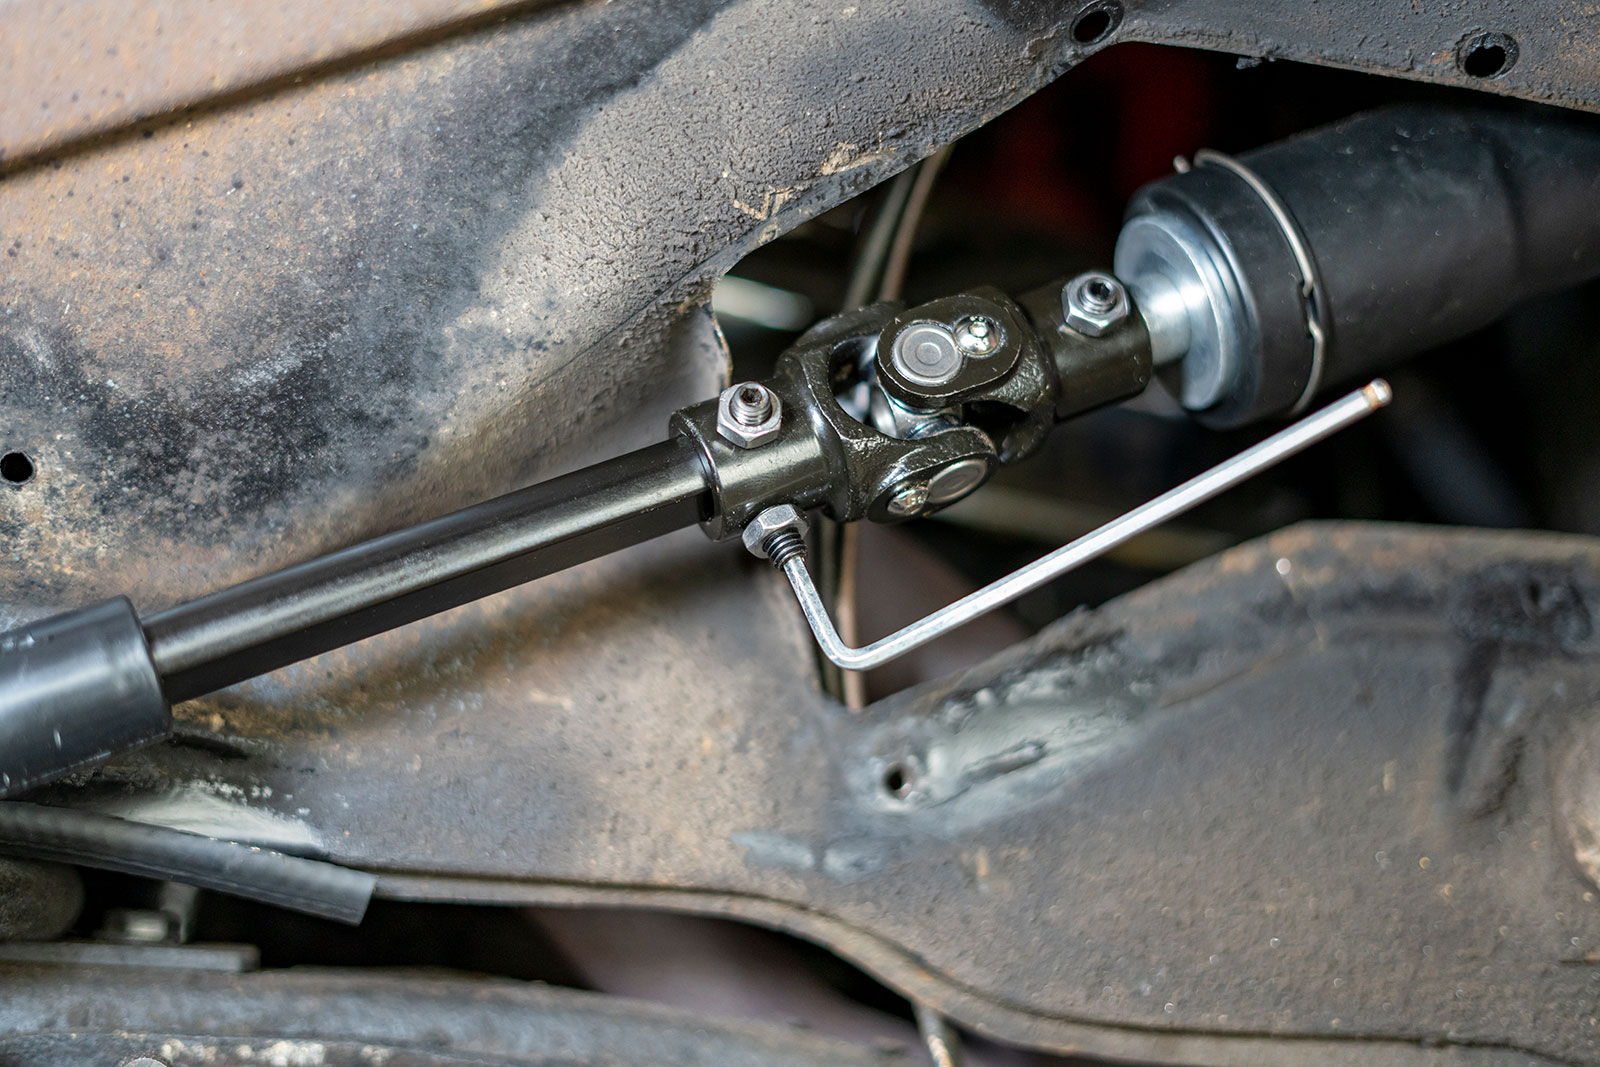
While it is handy, we remove the steering wheel from the original column as we will be reinstalling it on the new column after we’ve installed that in the old truck.The Classic Performance Products kit comes complete with everything you need to install it; it even arrives in a custom hard case to prevent damage during shipping.First, install the Classic Performance Products supplied U-joint on the new column. Tighten the set screw on the U-joint now as it will be more difficult to get to once installed.
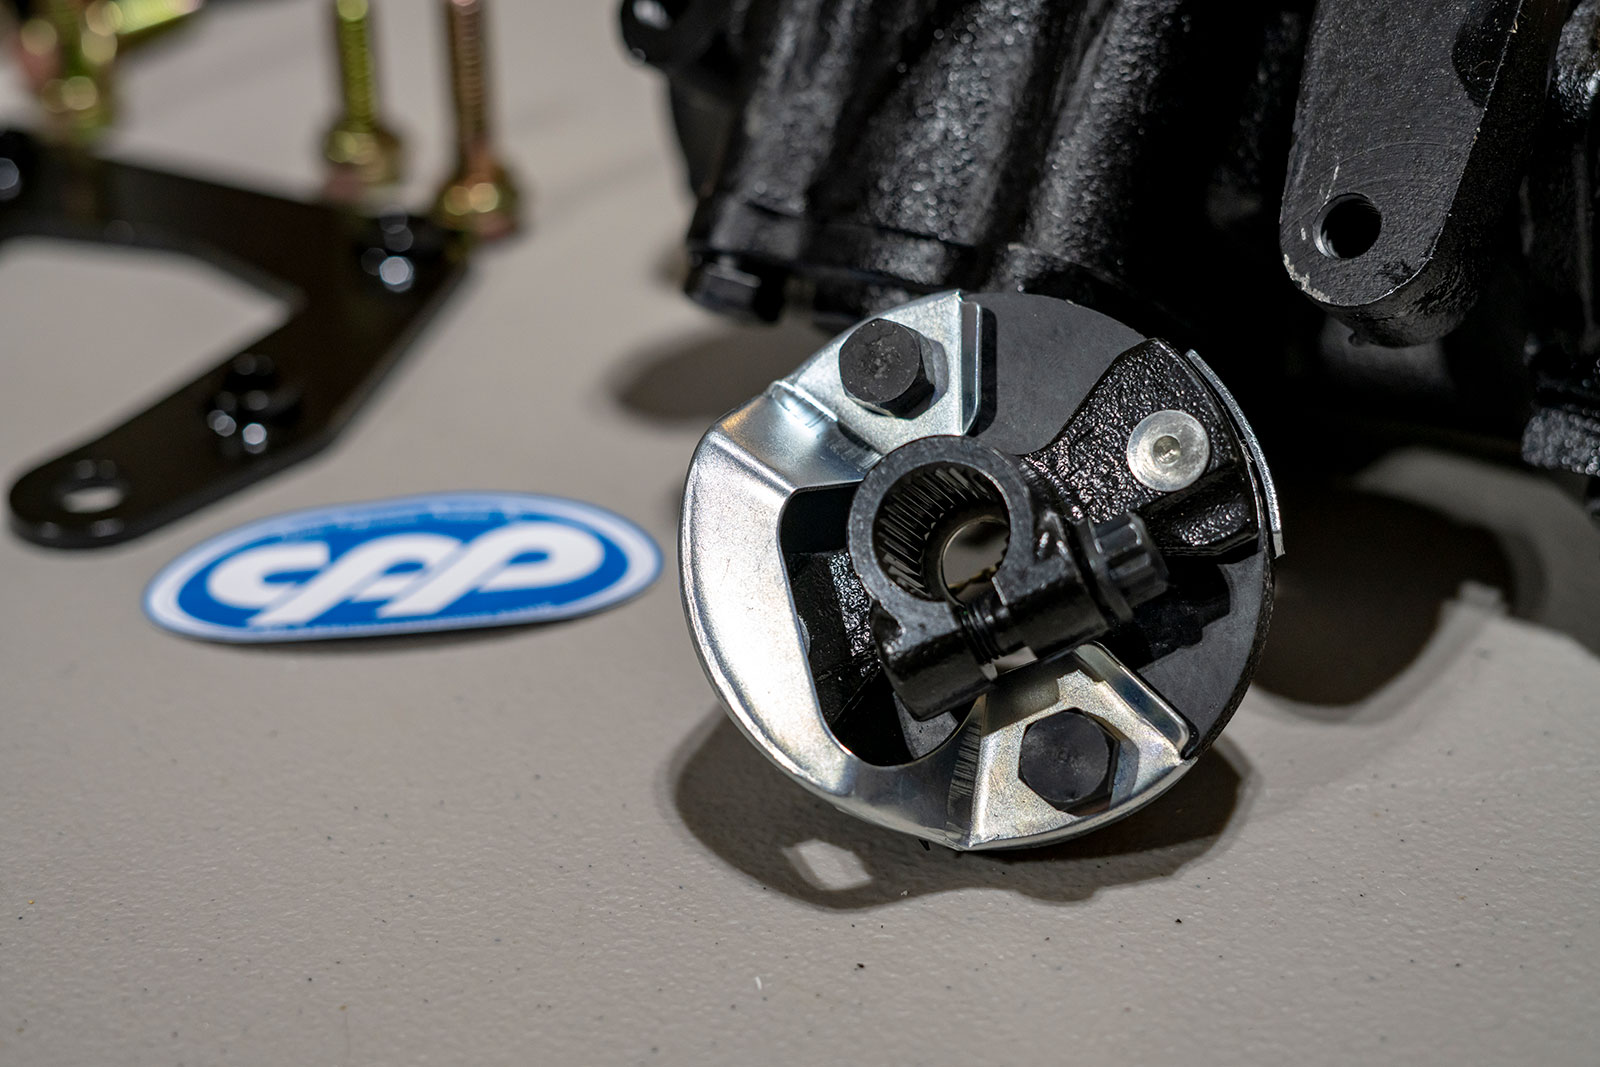
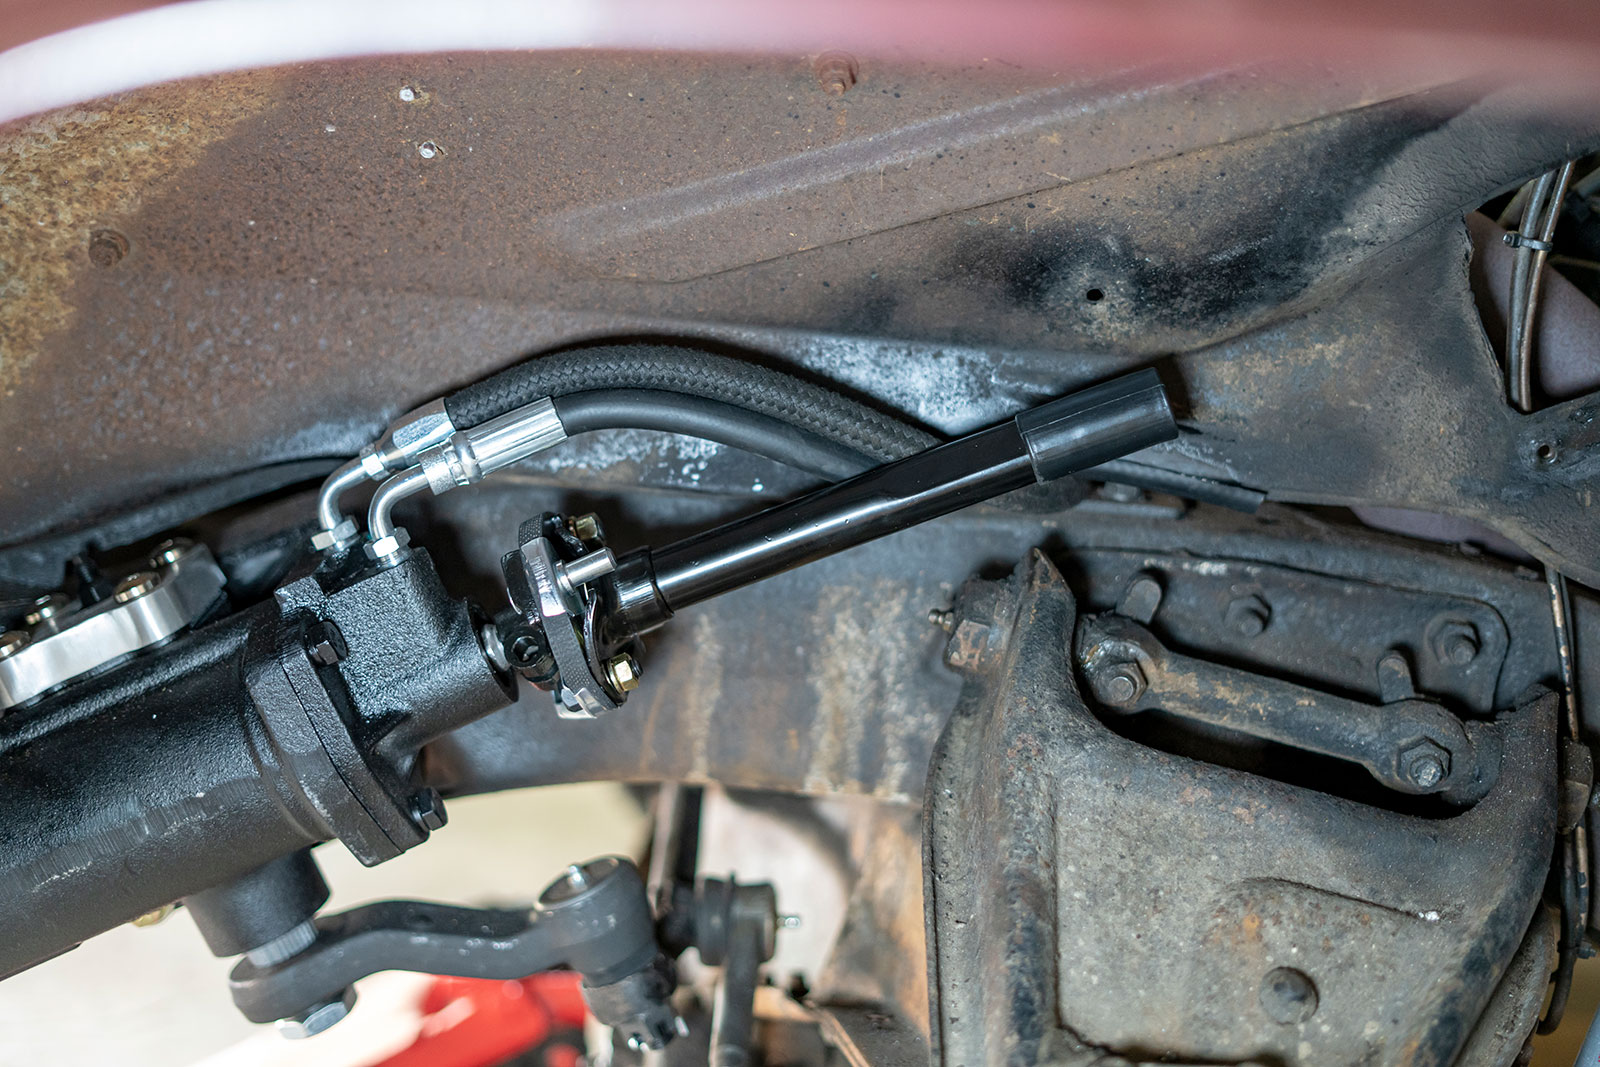
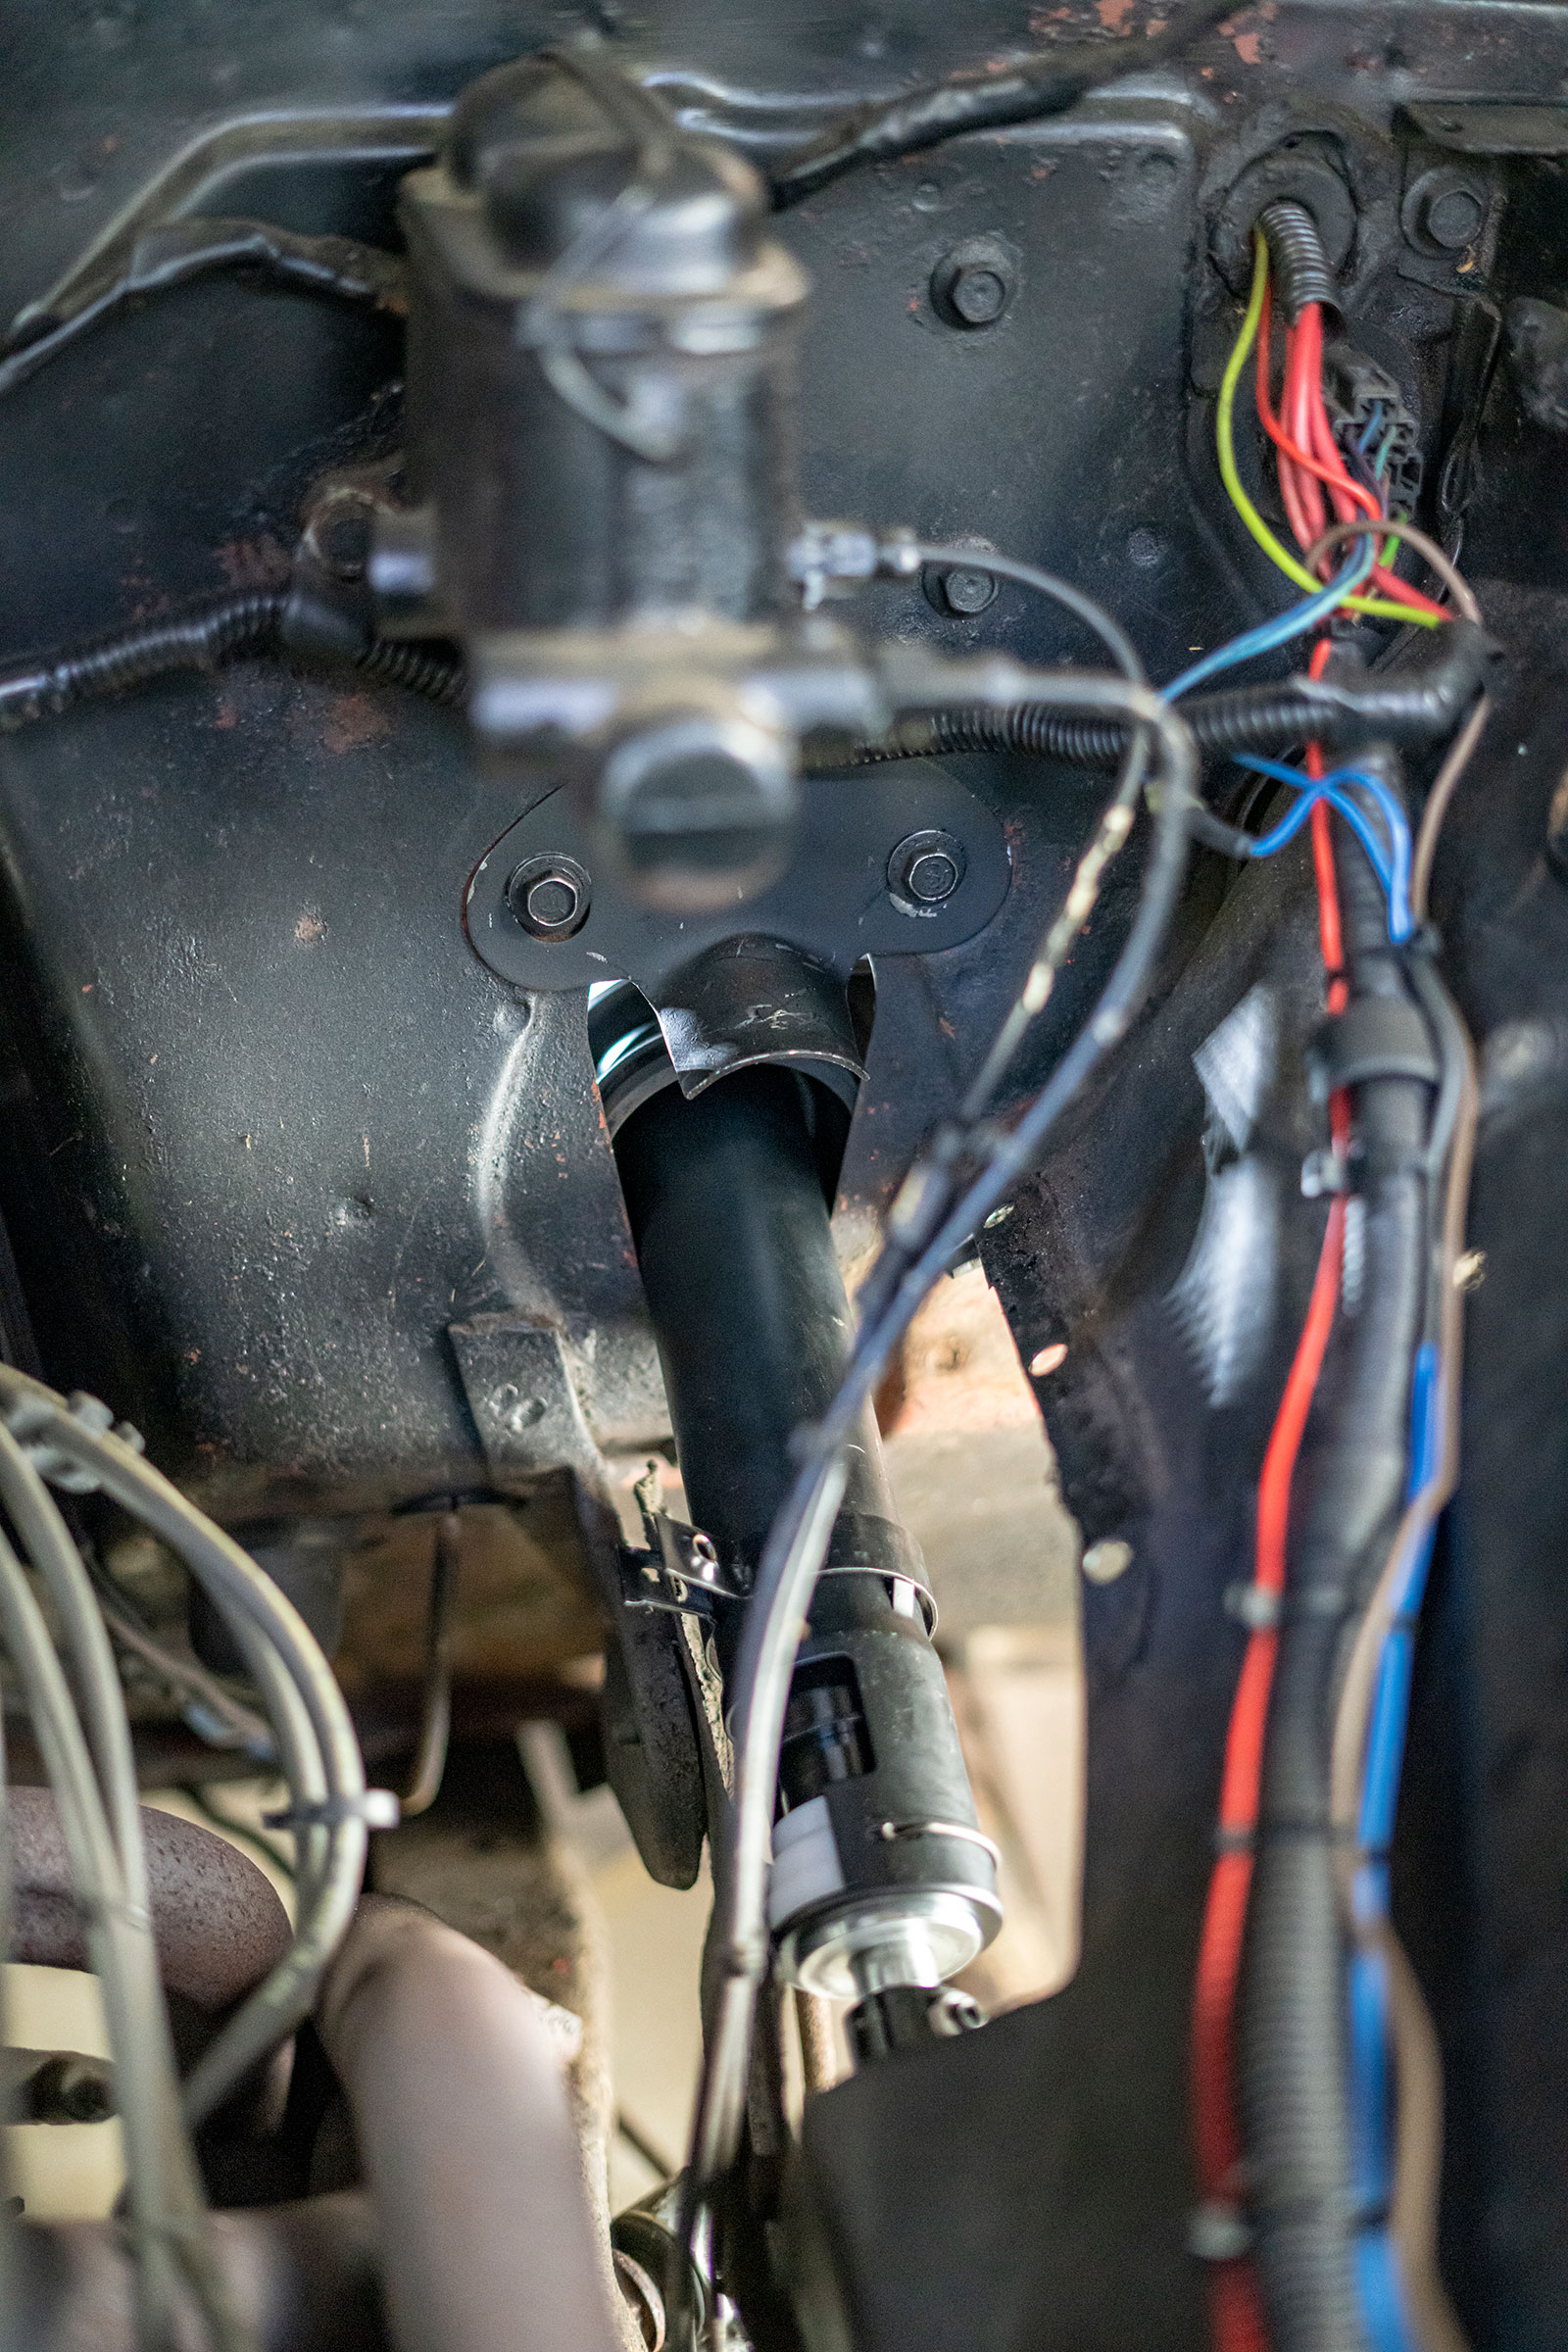
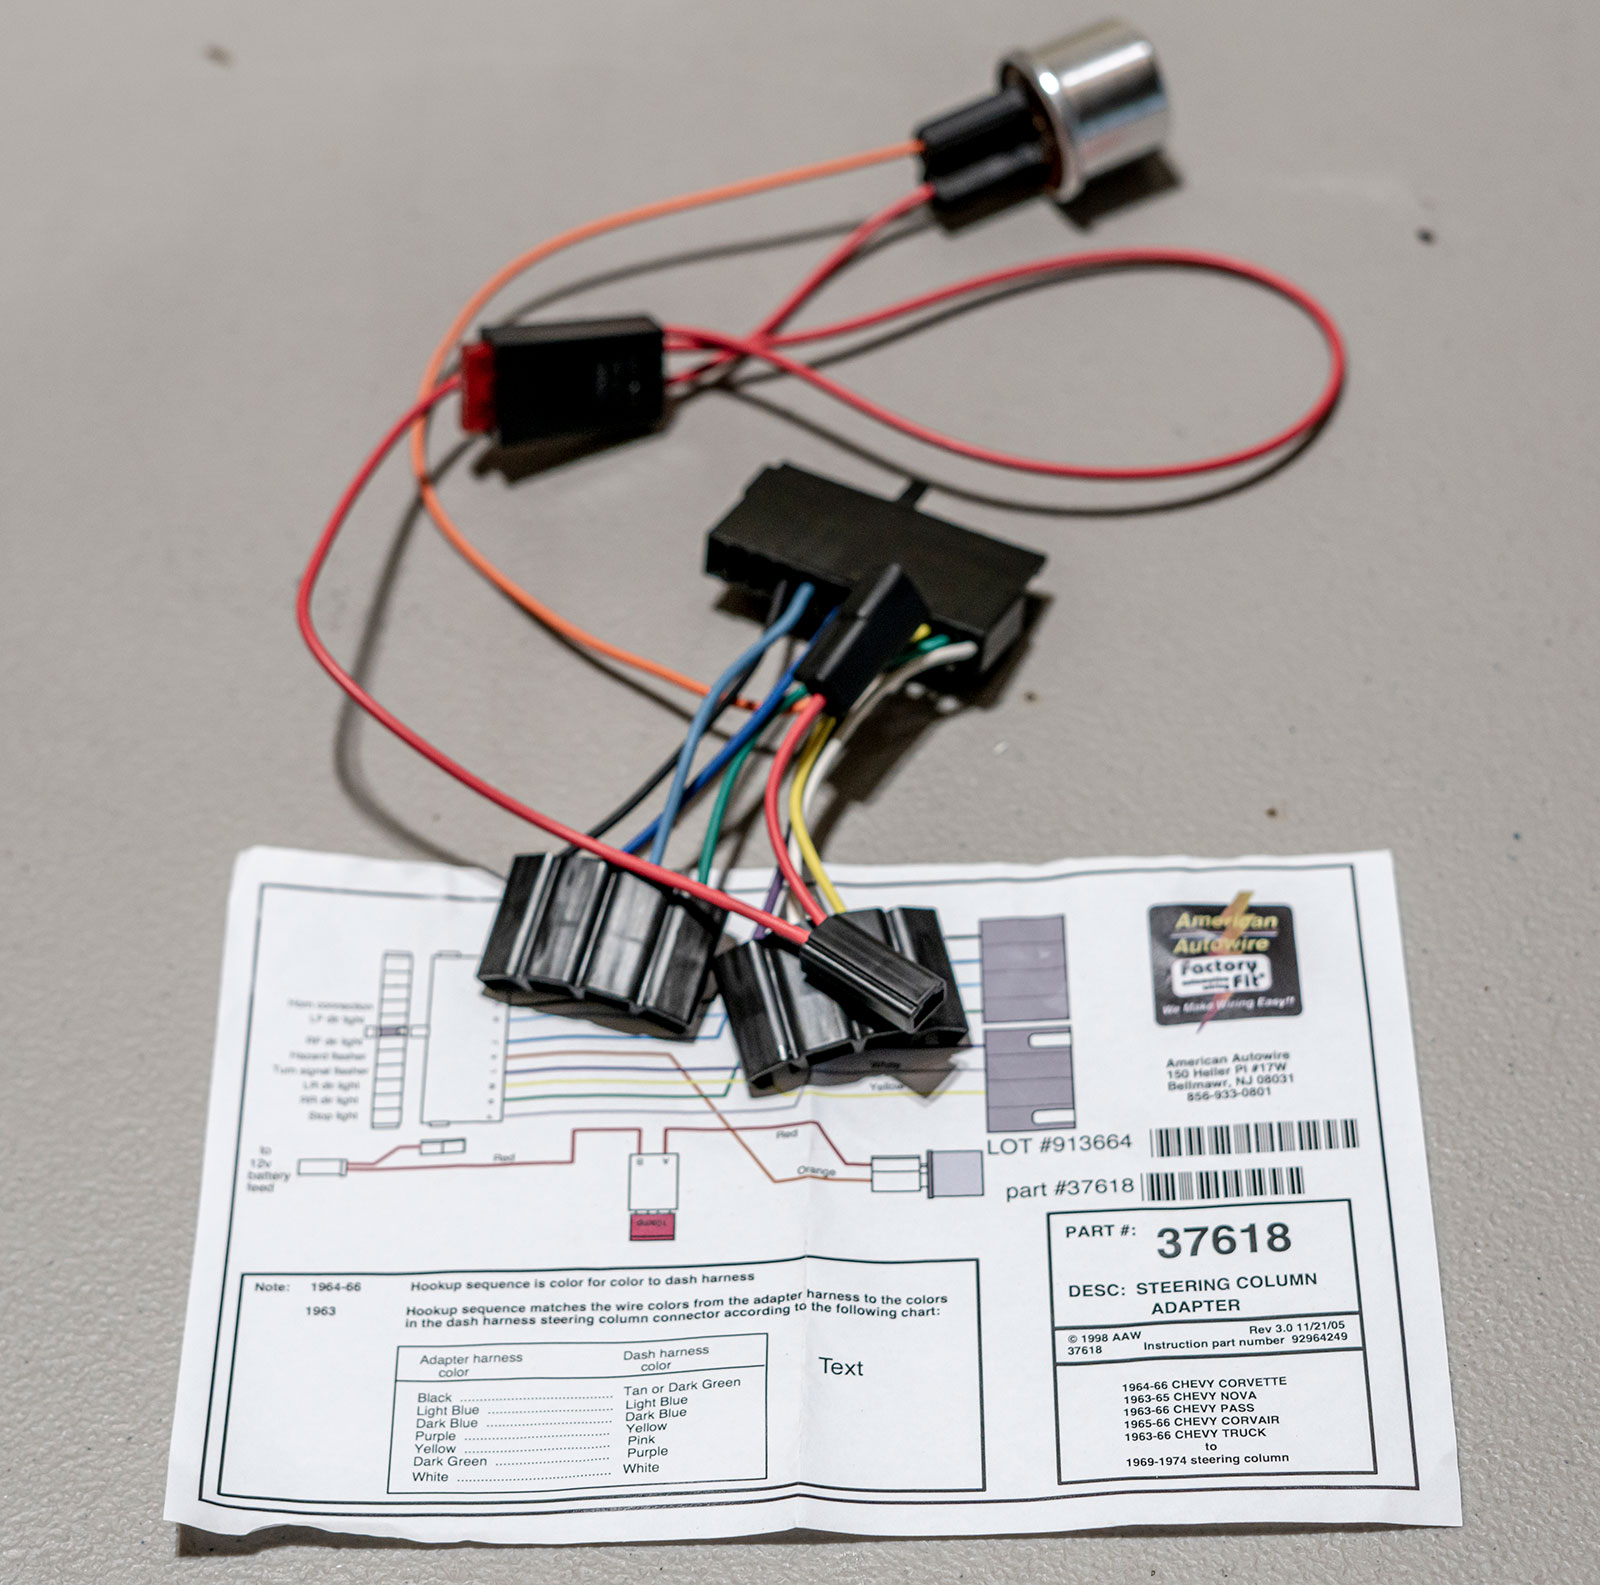
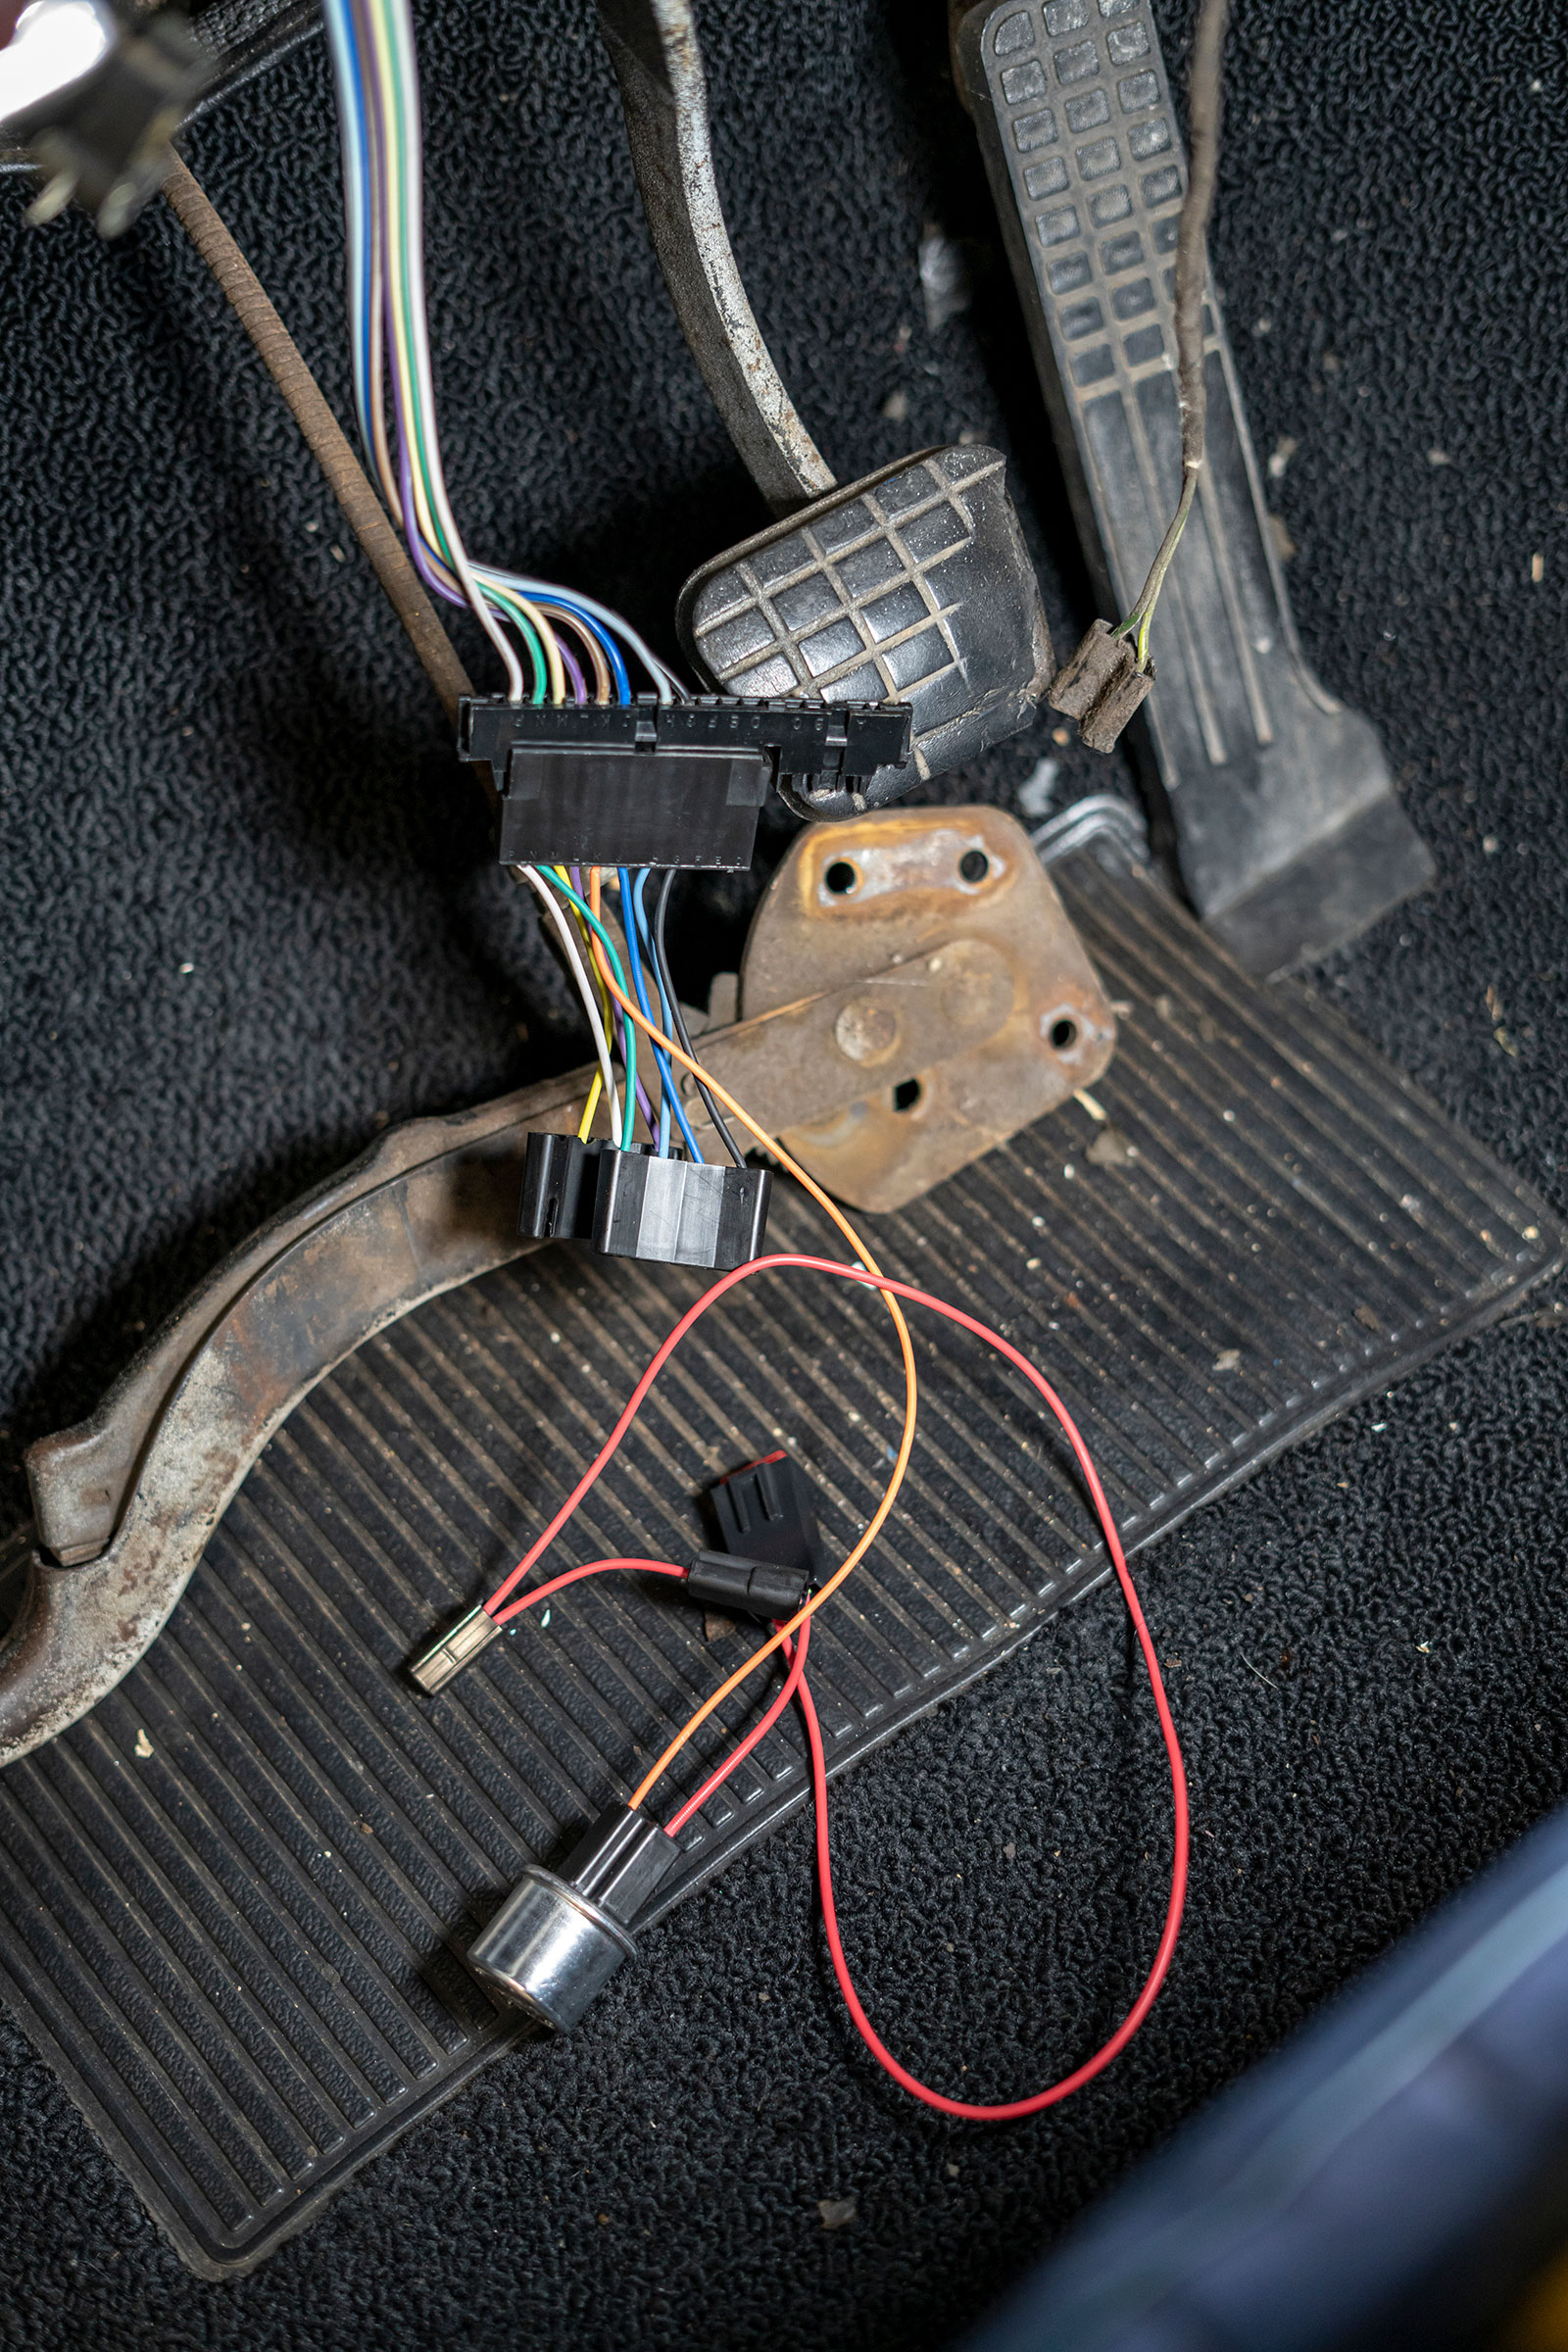
As mentioned, the Classic Performance Products kit comes complete: a new rag joint made just for this application is also included.Install the rag joint onto the supplied intermediate shaft. Tightening now is much easier than under the truck.Then install the shaft assembly onto the steering box input shaft and tighten the 12-point bolt.With the new steering column slid in place, we reinstall the upper firewall column bracket; be careful not to scratch the new column up on the firewall hole (using painter’s tape on the end of the column tube is a good preventative measure!).With the firewall clamp in place, you can install the new firewall gasket. We secured the retainer using sheet metal screws.After a quick cleanup and coat of paint, reinstall the column cover plate.The factory harness doesn’t match the new column harness as it is for a ’67-72 C10. We reached out to American Autowire for a plug-and-play solution.The new adaptor plugs directly into the column harness and the truck harness perfectly.
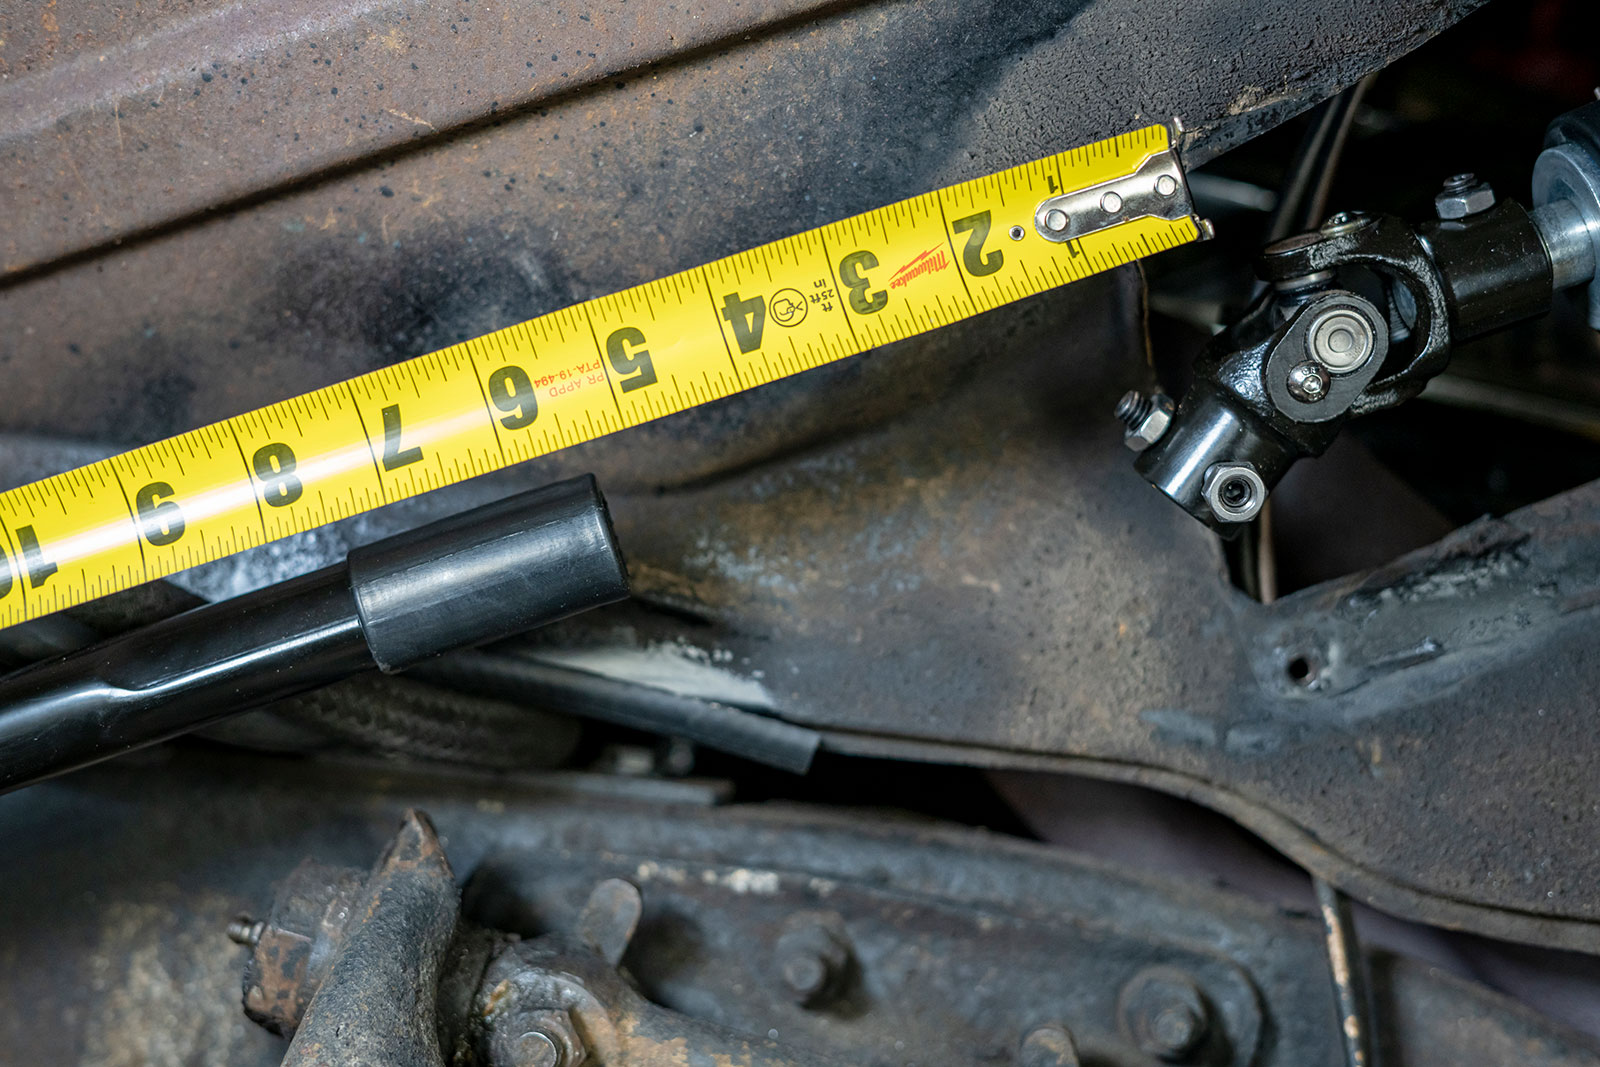
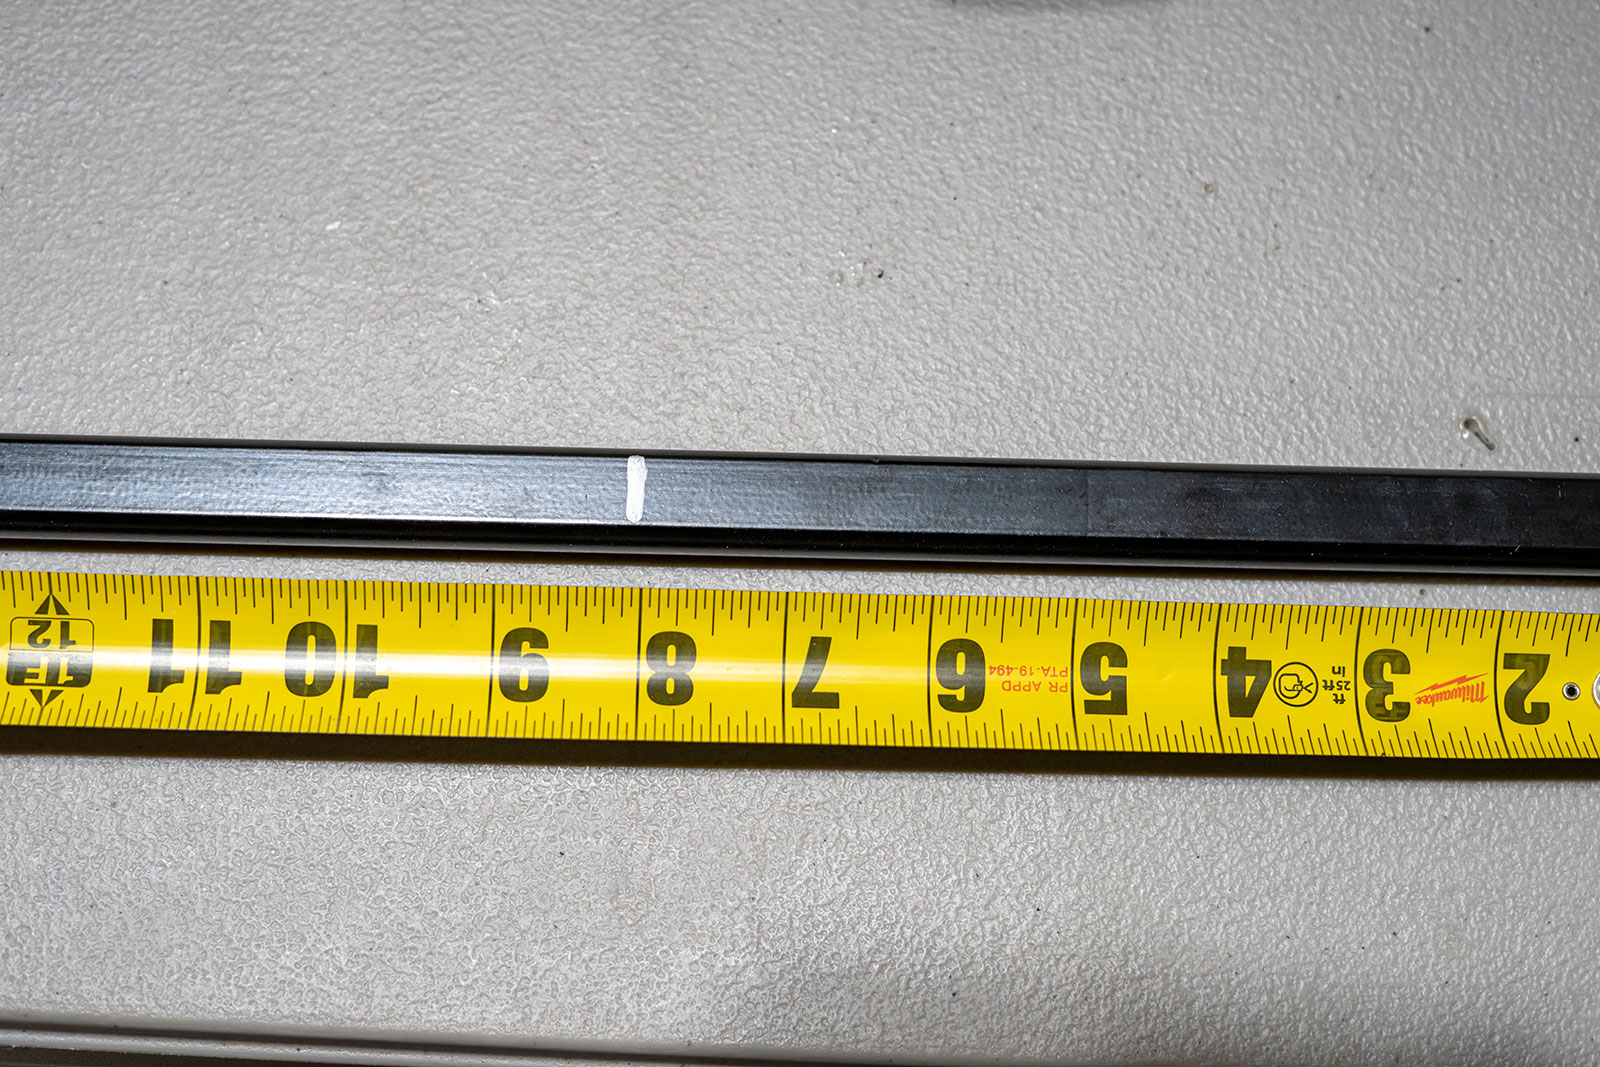
With the column in place, we need to measure the length for the new double-D connector shaft. It will need enough distance to collapse in case of a collision. Our shaft should be right about 8 inches for proper clearance.
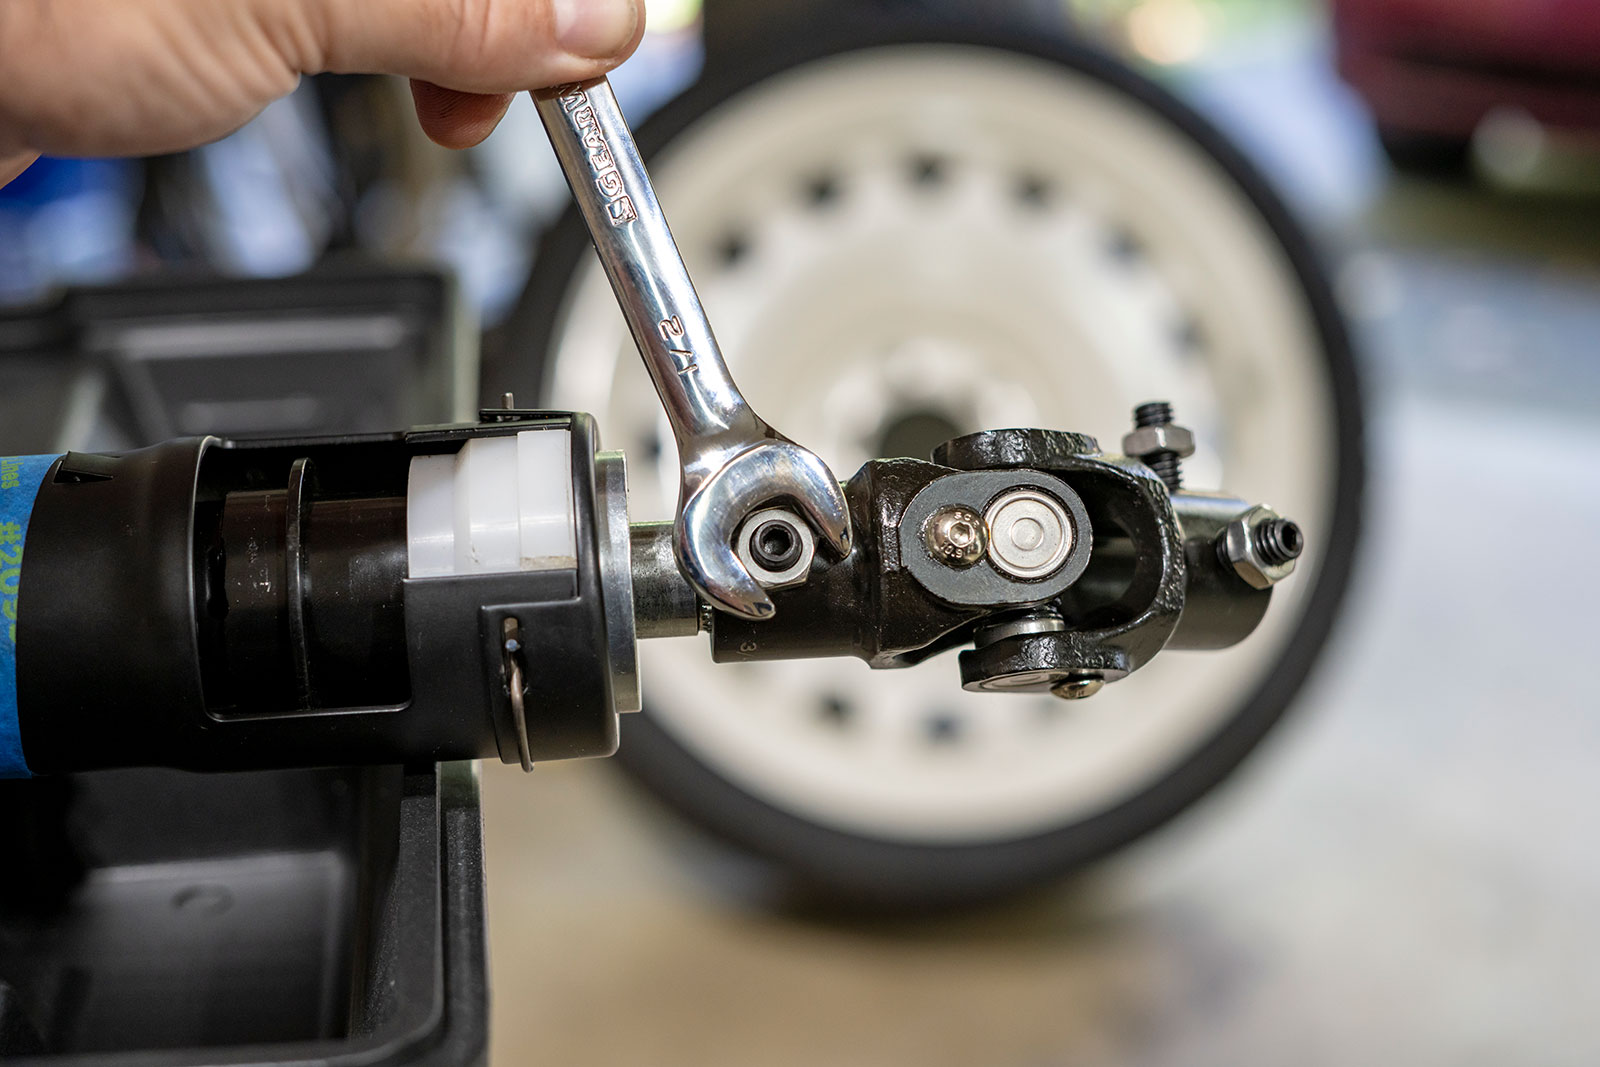
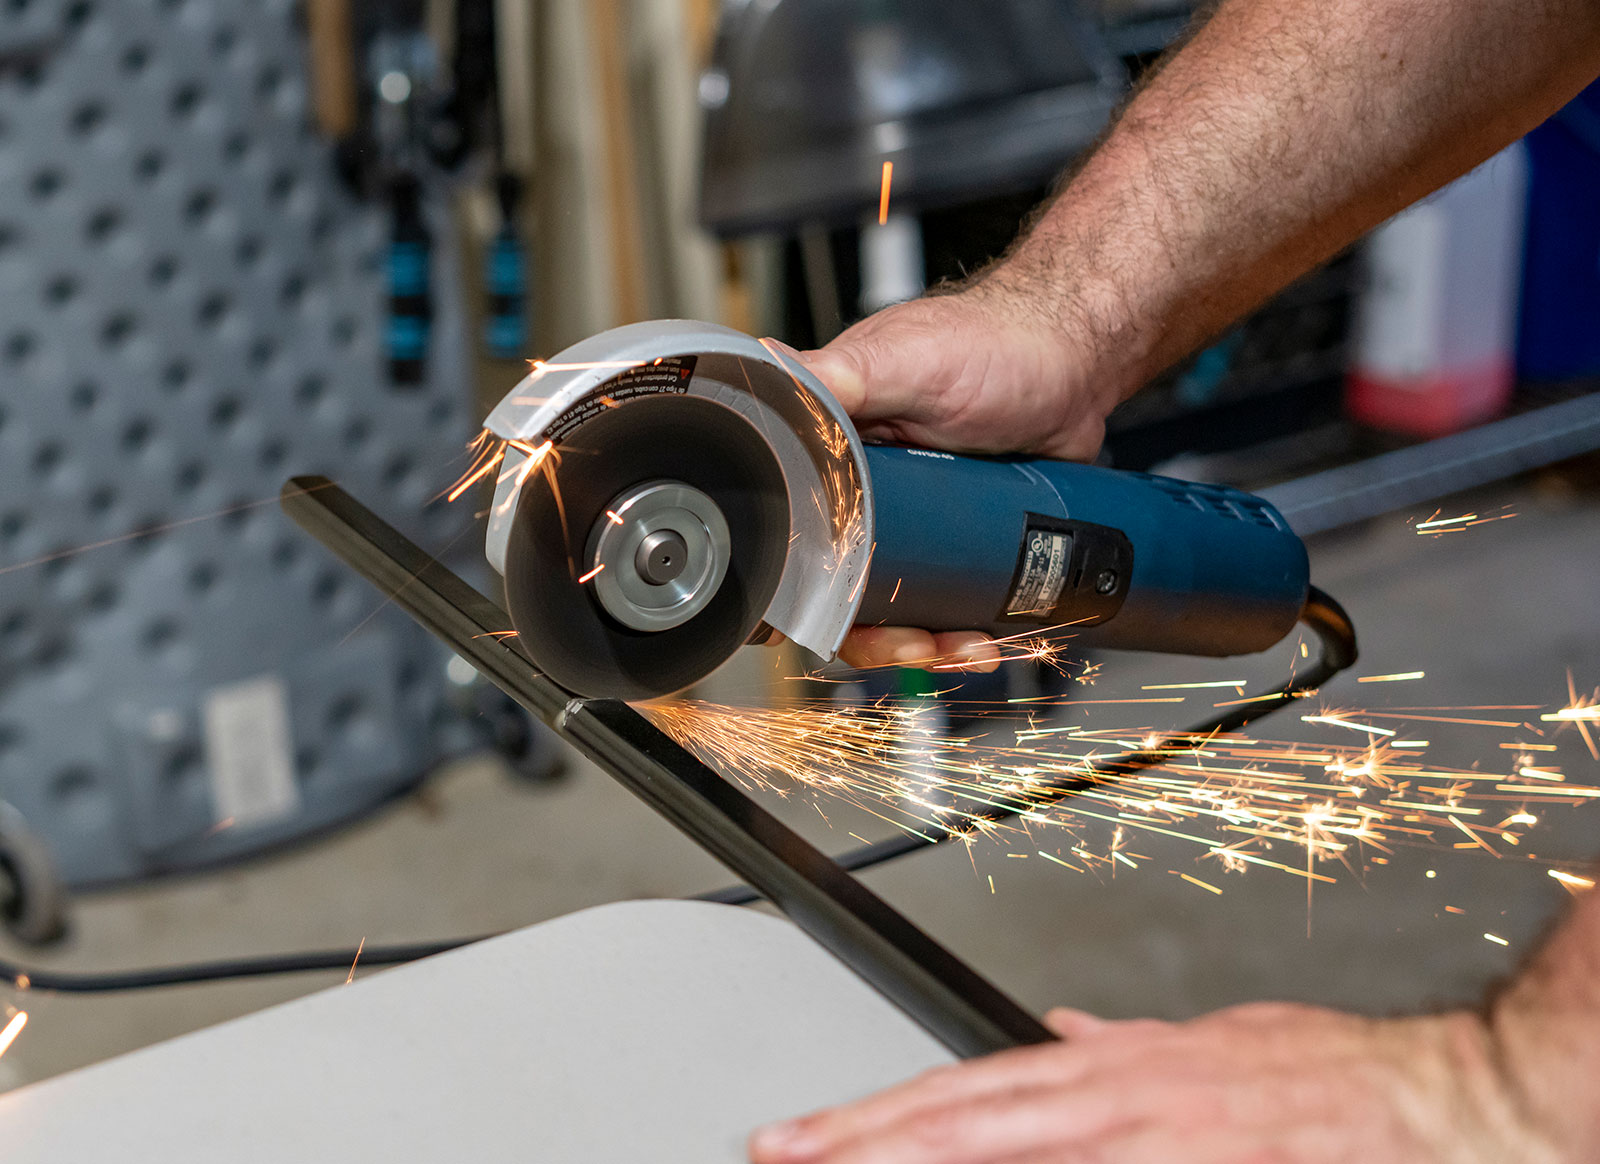
After transferring your measurement to the new shaft, a cut-off wheel makes quick work of the task; clean up any burrs before final installation.Slide the DD shaft into the new intermediate shaft and lead the new shaft into the U-joint and set the set screws using an Allen wrench. For added safety, remove the joints and using a drill dimple the areas where the Allen set screws contact the shaft; reassemble and tighten accordingly.The new Classic Performance Products column comes complete with turn signal cam, horn button, and all the hardware. Torque the steering wheel back to spec.With the steering wheel installed, check the alignment and adjust as needed. The tilt feature is going to be a great addition. Double-check your clearance by cycling the steering wheel several times before reinstalling the dust shield. After that, this job is done!
We use cookies to ensure that we give you the best experience on our website. If you continue to use this site we will assume that you are happy with it.