


By Ron Ceridono – Photography By Brian Brennan, Ron Ceridono & Courtesy of Vintage Air
When it comes to passenger comfort, one of the most significant additions that can be made to a modern hot rod is the installation of air conditioning—or, more precisely, a contemporary heat and cool climate-control system. Like most things, the more you know about these systems, the easier it will be to select one that is right for your application, install it, and maintain it properly.
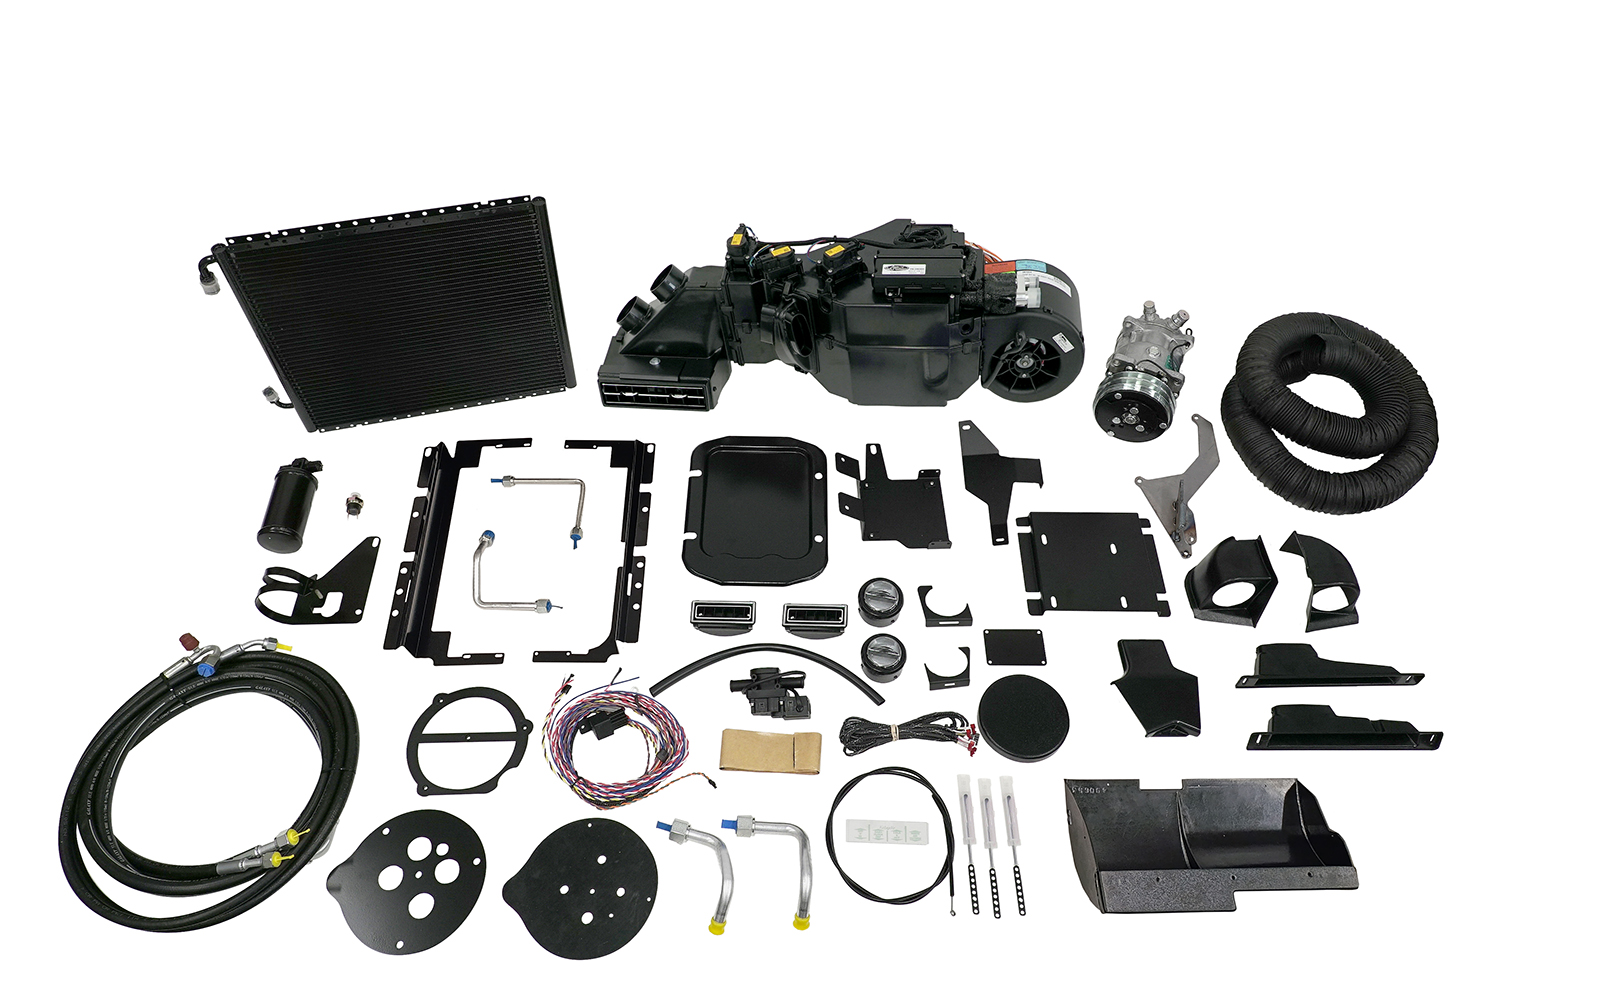
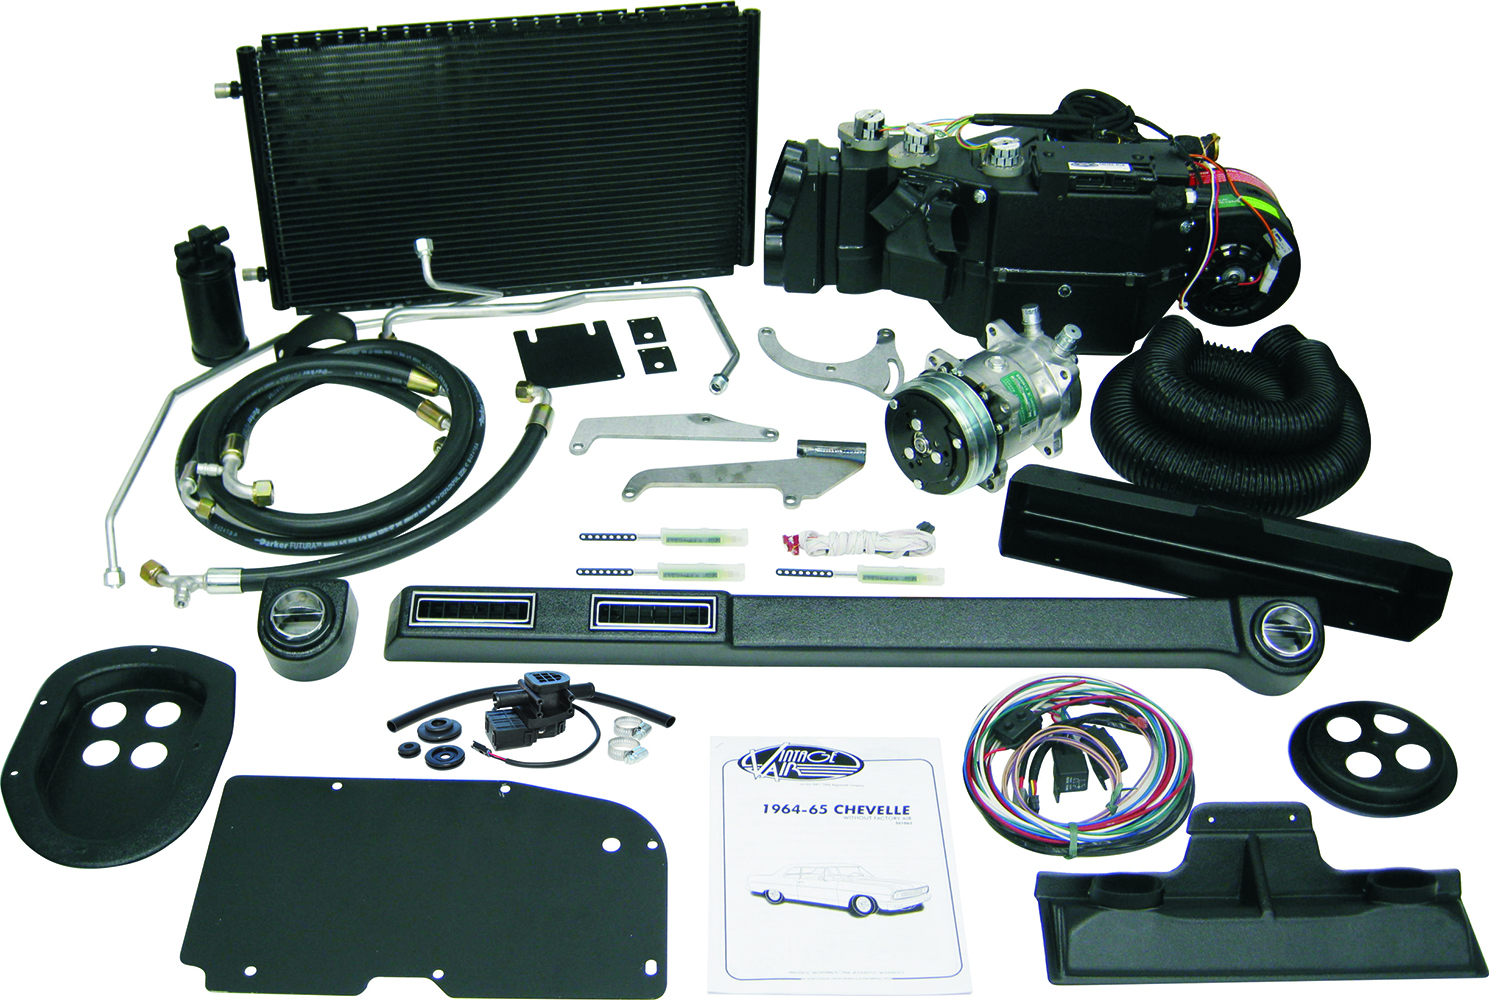
While there are aftermarket units that are air conditioning (A/C) only, true climate-control systems that include A/C, heat, and defrost are the most often installed. These systems can be divided into two types: those for universal applications and those designed for specific vehicles, such as Vintage Air’s SureFit series. But regardless of the type being installed, the same individual components are involved and they work the same way.

Basic Operation
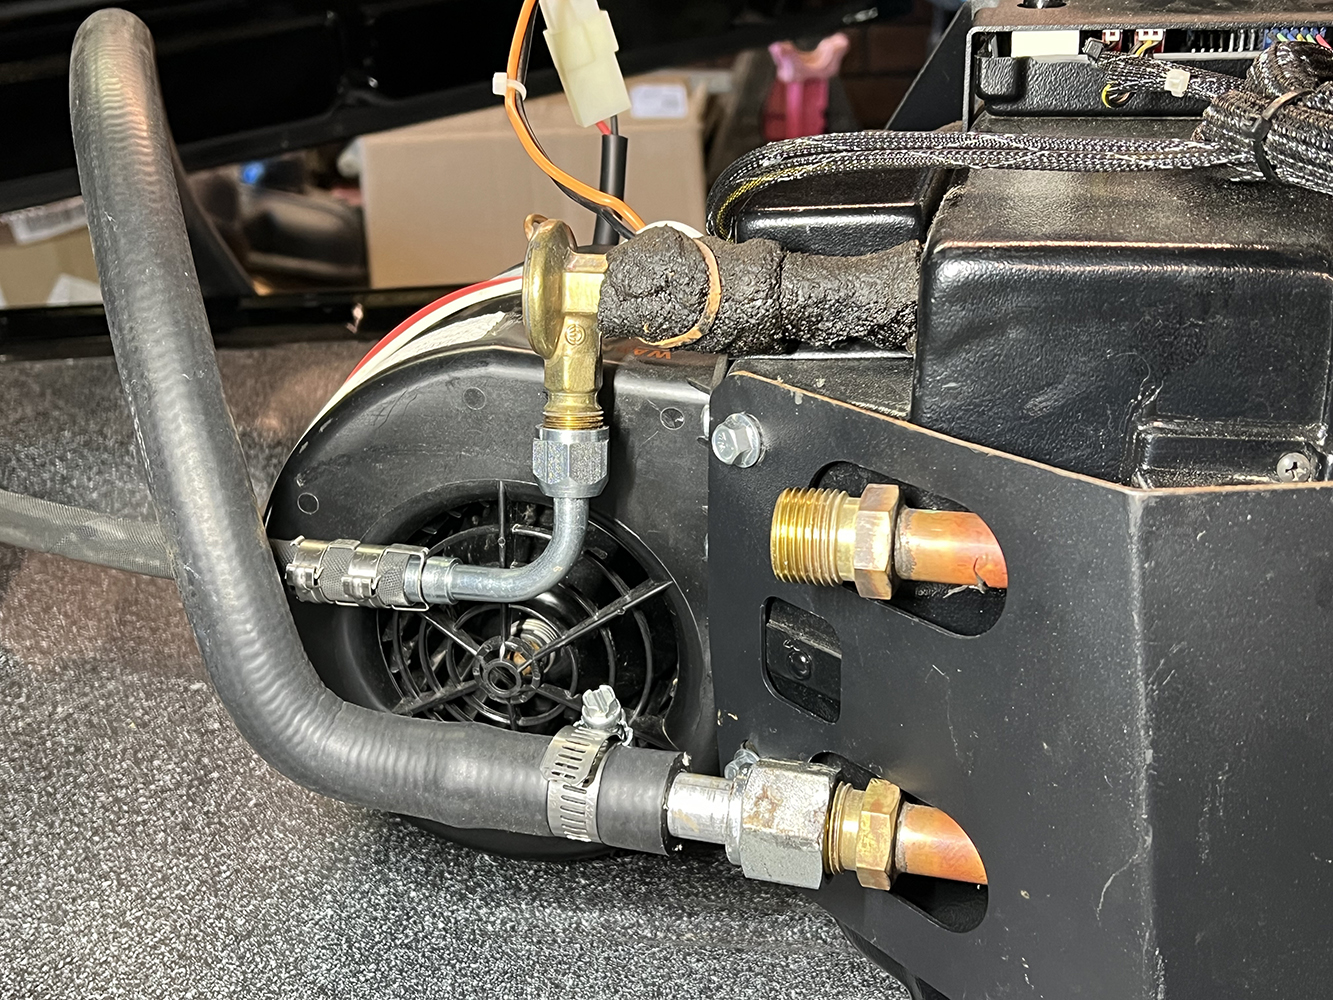
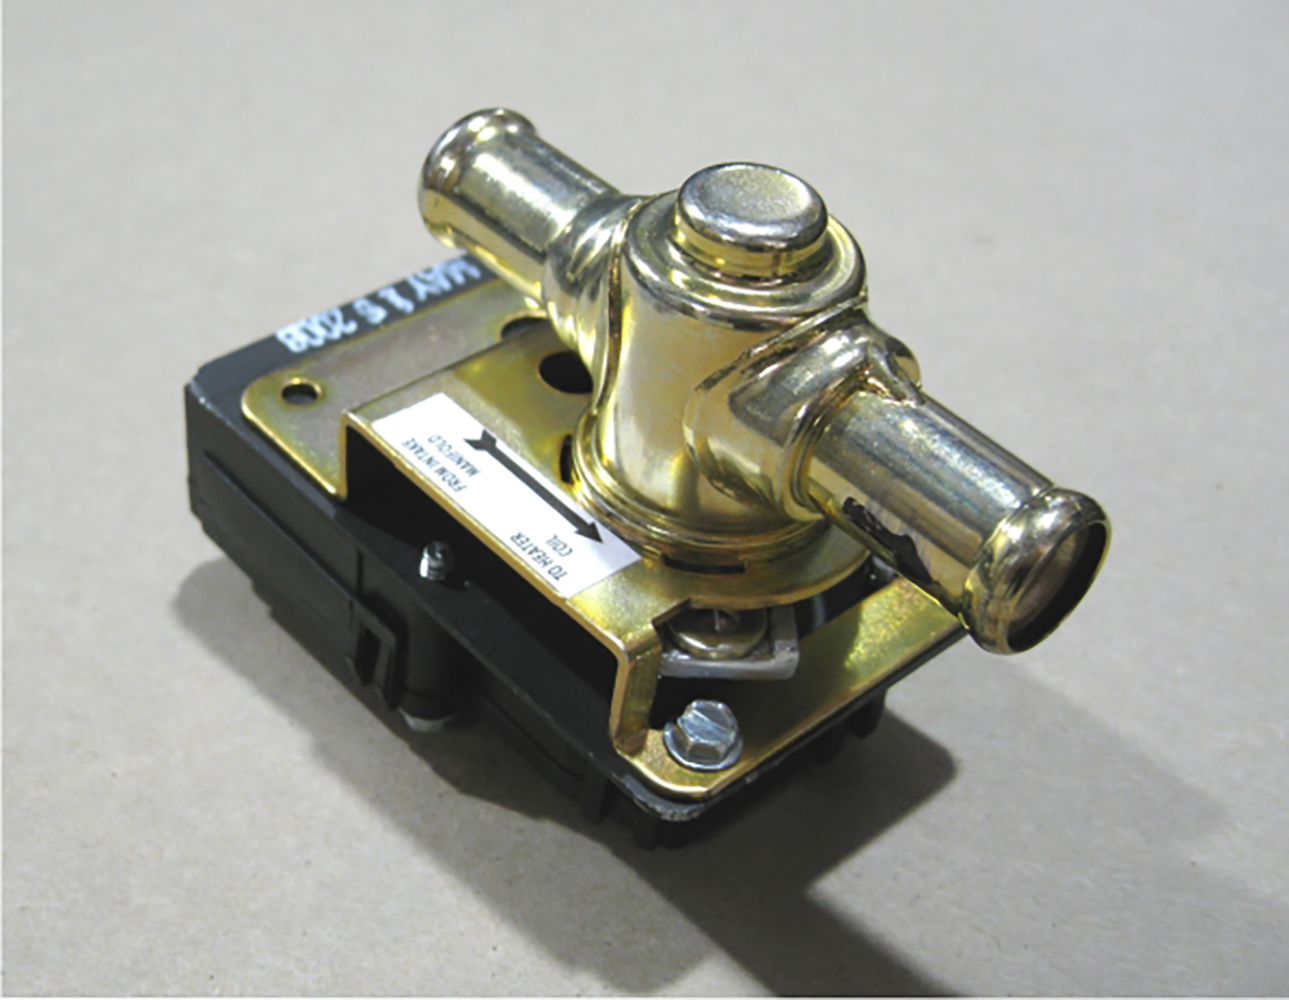
The heater portion of any heat and cool system is simple enough: hot water from the engine’s cooling system passes through a mini-radiator in the evaporator housing; a fan blows air through it to provide warmth for the passengers. While the heater portion of the system isn’t complicated, correct installation of the heater control valve that controls water flow is critical. Most heater control valves are directional and must be correctly oriented in the high-pressure heater hose. If it is installed backward or in the wrong hose, it may not shut off completely, and some hot water will continue to flow, warming the air that the A/C is trying to cool. This obviously diminishes the effectiveness of the A/C.
While the heater’s functions are easy enough to understand, the A/C system is a little more complicated. The simple explanation is the primary purpose of A/C is to remove heat and humidity from the passenger compartment; it does that by taking air from that confined area, forcing it across a coil in the underdash evaporator where the heat is absorbed and the humidity converted to water droplets that drain to the outside. Cooled air is pushed out by a fan through the vents onto the occupants while the heat is carried to the condenser in front of the radiator to be dissipated to the outside.
For a complete understanding of A/C’s intricacies, we turned to Rick Love, of Vintage Air. As he explains it, “There are seven basic components needed to air-condition any car with a conventional system: the compressor, compressor brackets, evaporator with expansion valve (inside car unit), condenser (outside heat exchanger), hoses and fittings, drier, and a safety switch or switches.


“In operation, the compressor pumps refrigerant, in gas form, into the high-pressure gas discharge line. This gas is loaded with heat and absorbed from the air flowing over the evaporator coil inside the vehicle. As the heated high-pressure gas reaches the condenser, the air flowing through the condenser carries off the heat; the refrigerant condenses into a liquid, which then pours into the receiver/drier and falls to the bottom of the canister. A pick-up tube that extends almost to the bottom of the cannister has an open end that is always below the liquid if the system is fully charged. This provides pure liquid through the liquid line to the expansion valve—the orifice that varies in size according to the temperature of the evaporator coil. By changing the size, the refrigerant is metered according to the demands of the evaporator. When warm, the orifice is largest and gets smaller as the evaporator gets colder. This orifice provides a pressure drop, resulting in a drop in refrigerant temperature. The high-pressure liquid sprays into the larger opening of the evaporator, and the low-pressure liquid droplets begin to pick up heat as they evaporate, which expands the refrigerant to a low-pressure (super-heated) gas, which then returns to the compressor to start the cycle all over again.”
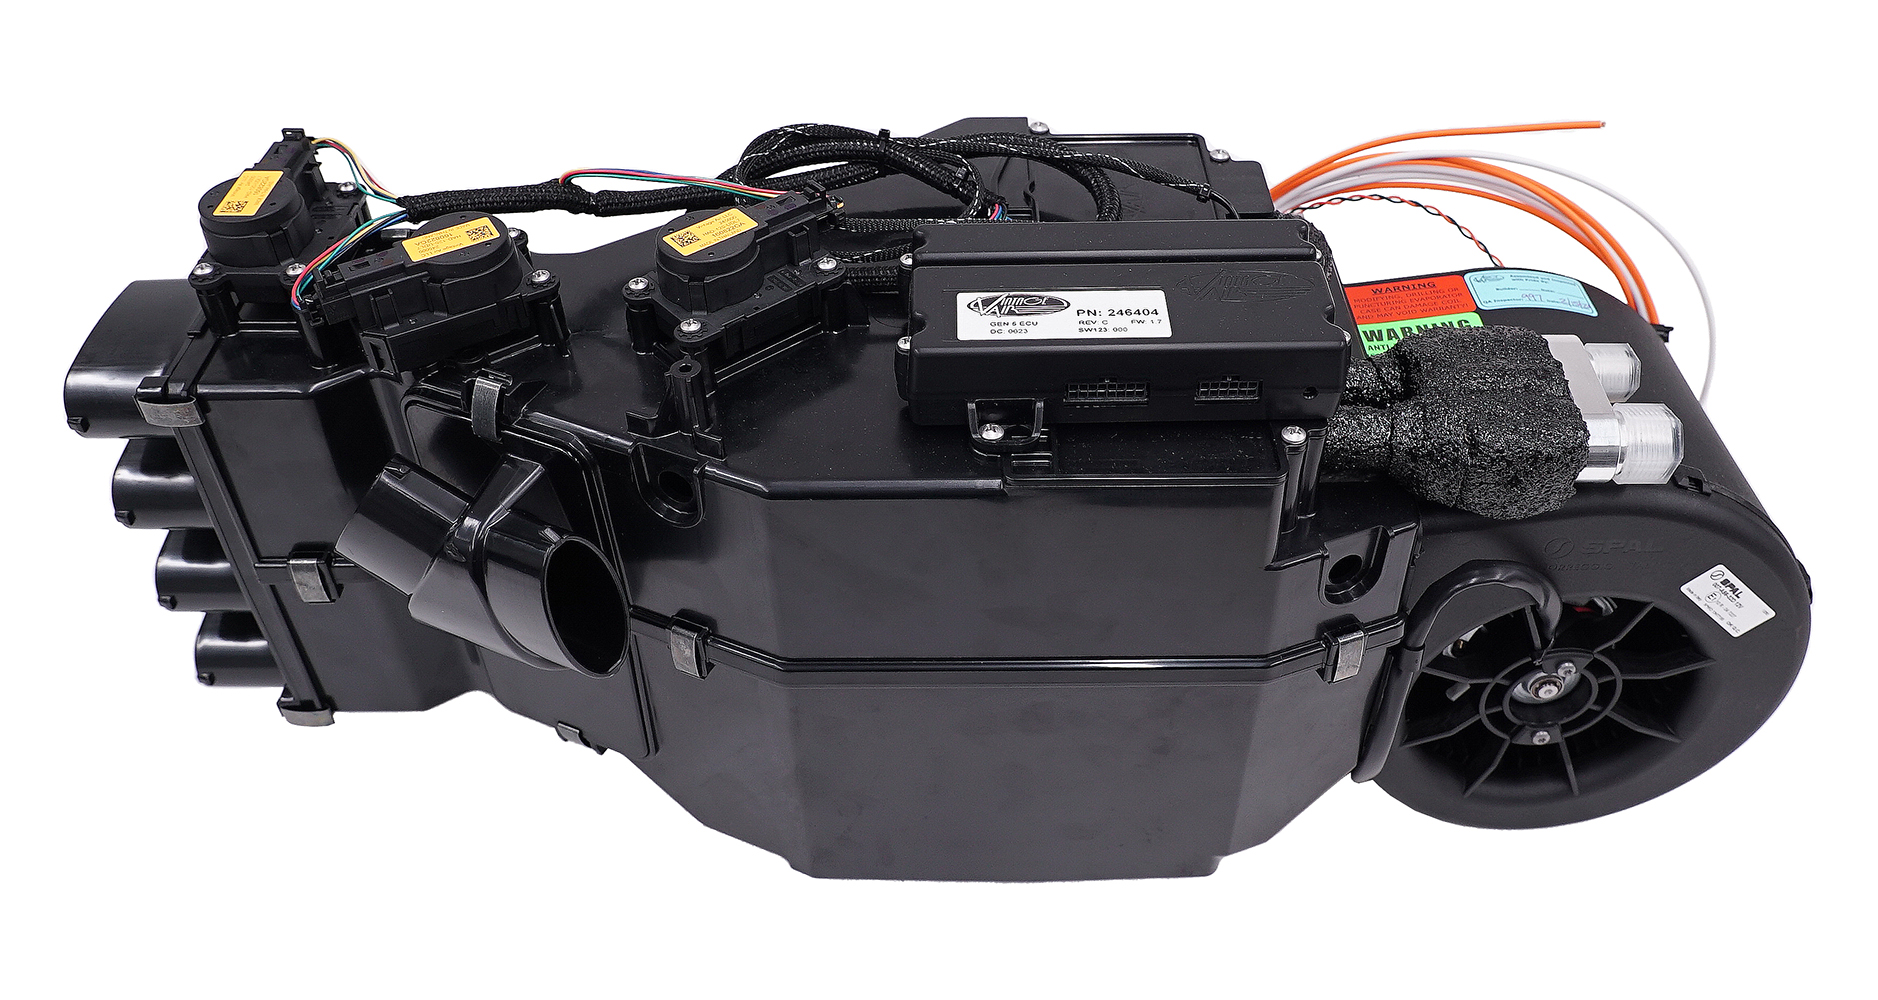
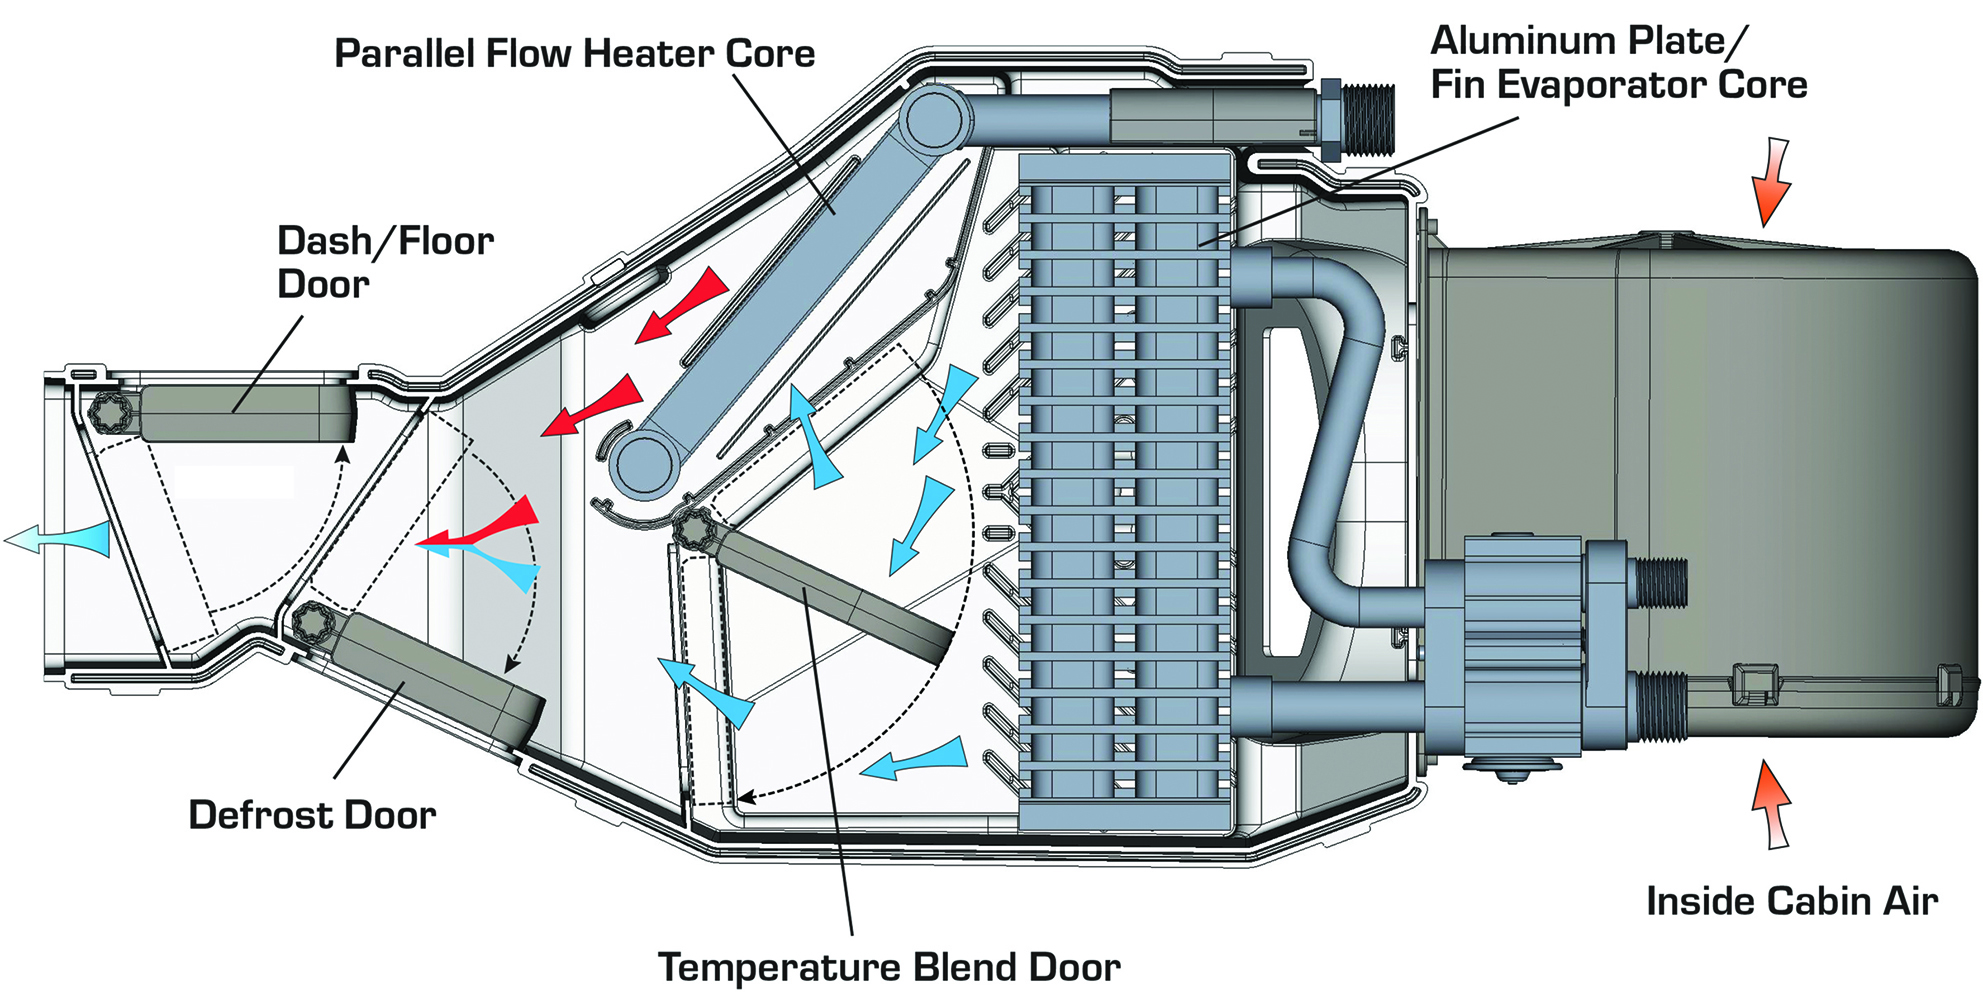
Evaporator Types
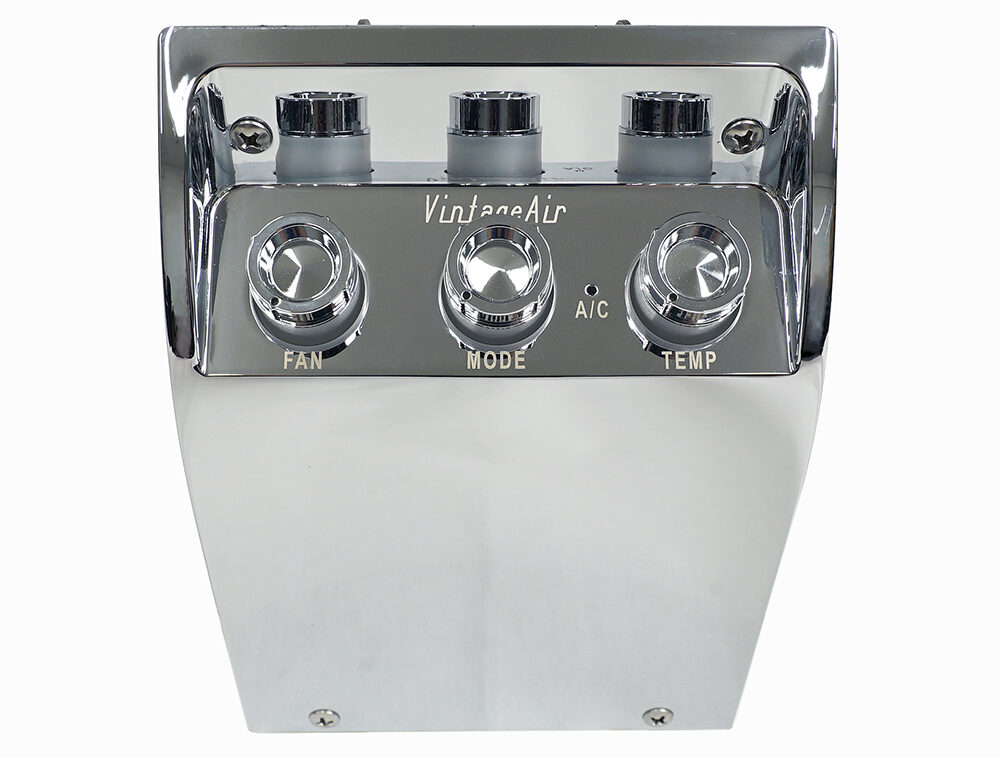
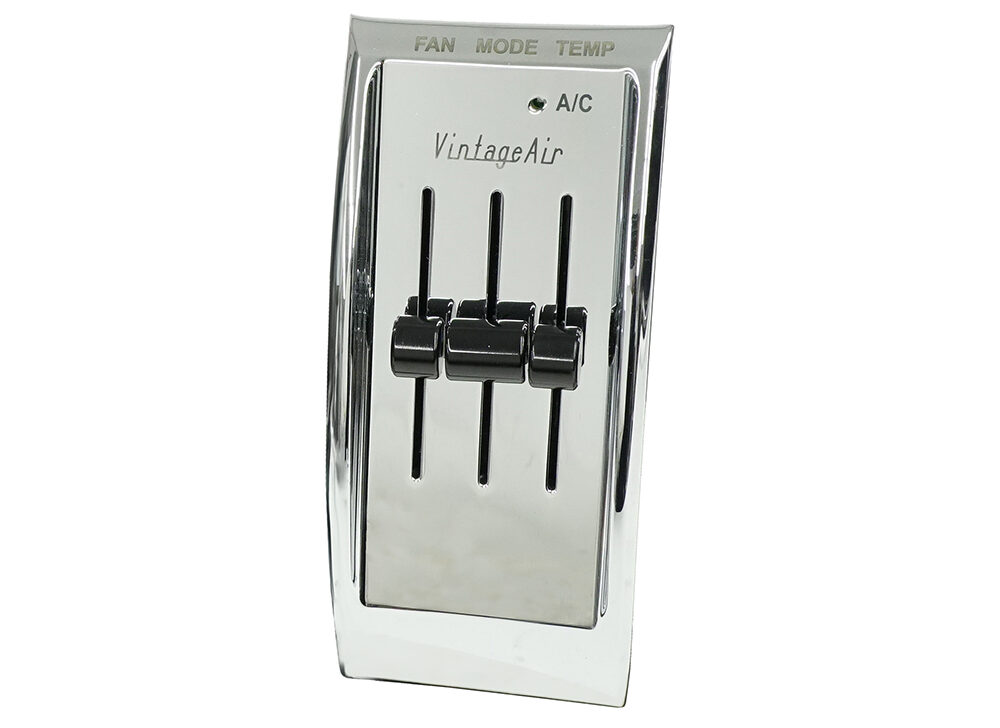
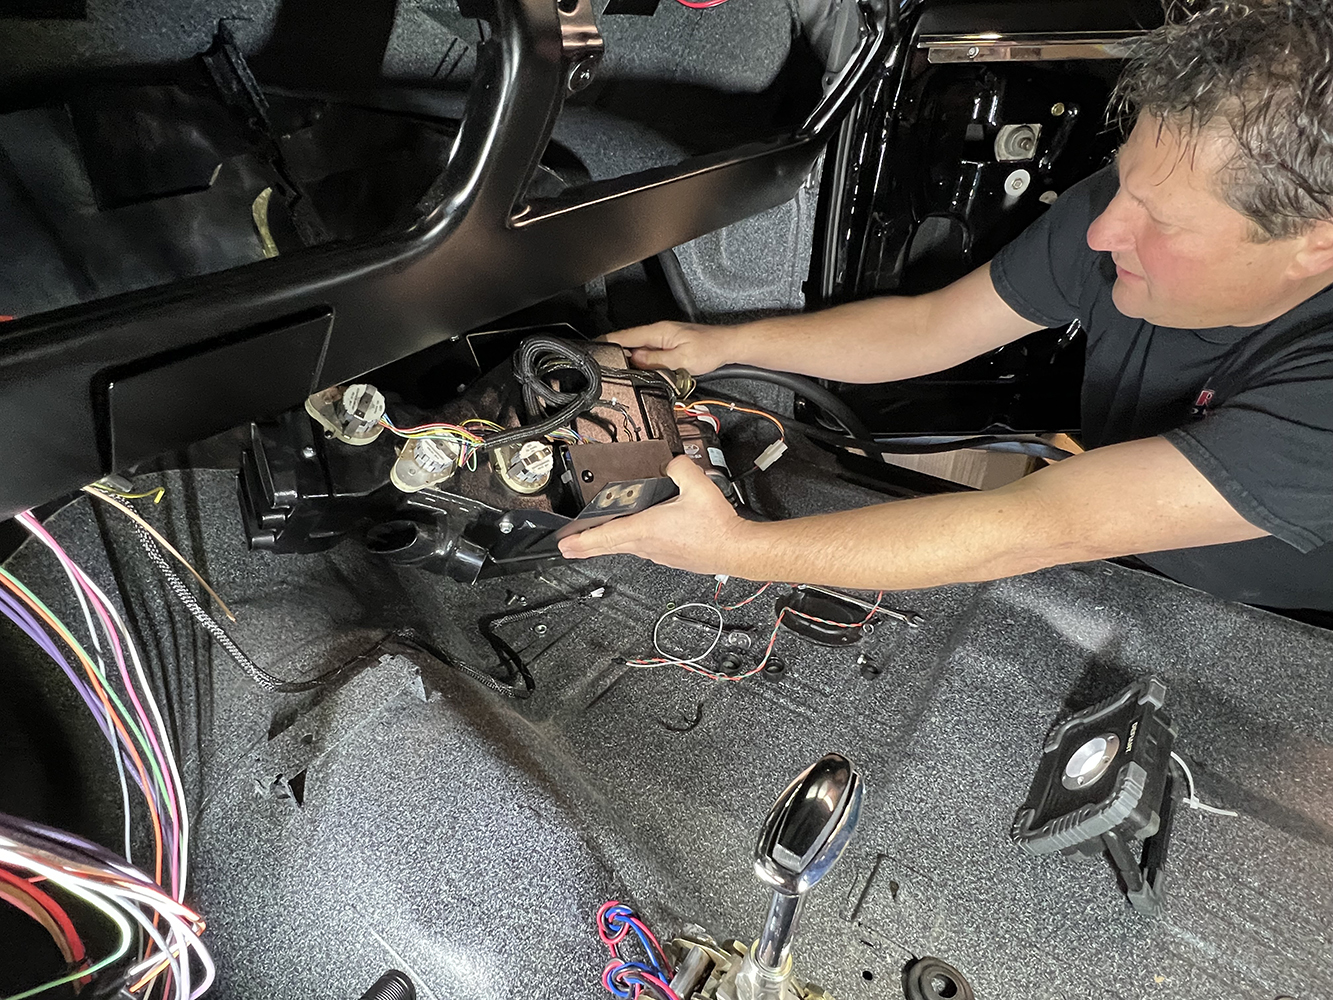
Aftermarket evaporators vary in design. The most basic units use cables and engine manifold vacuum to actuate the various functions, but when electronic controls are used, all that is eliminated, and efficiency is increased dramatically. For example, the electronic operation found in Vintage Air’s Gen IV and 5 units provides increased blend door travel and more positive sealing than cable/vacuum units. That results in dramatic gains in airflow and defrost performance and provides true bi-level operation (airflow from multiple outlets) in both heat and A/C modes. Thanks to these solid-state controls, warm and cool air can be blended to control temperature and achieve the optimum dehumidified defrost mode. For those with engine-lumpy cams that have low-manifold vacuum at idle, electronic servos will eliminate the tendency of vacuum-controlled units to behave erratically, changing modes as if they had a mind of their own.
All evaporators have multiple discharge outlets built into the case regardless of the type. If there are outlets that are not used, they should never be closed off as that can disrupt airflow, reducing the system’s performance and cause the evaporator core to freeze. For that reason, unused outlets should be left open. They can have short hoses or special ducts attached that allow them to discharge behind or below the dashboard toward the floor.

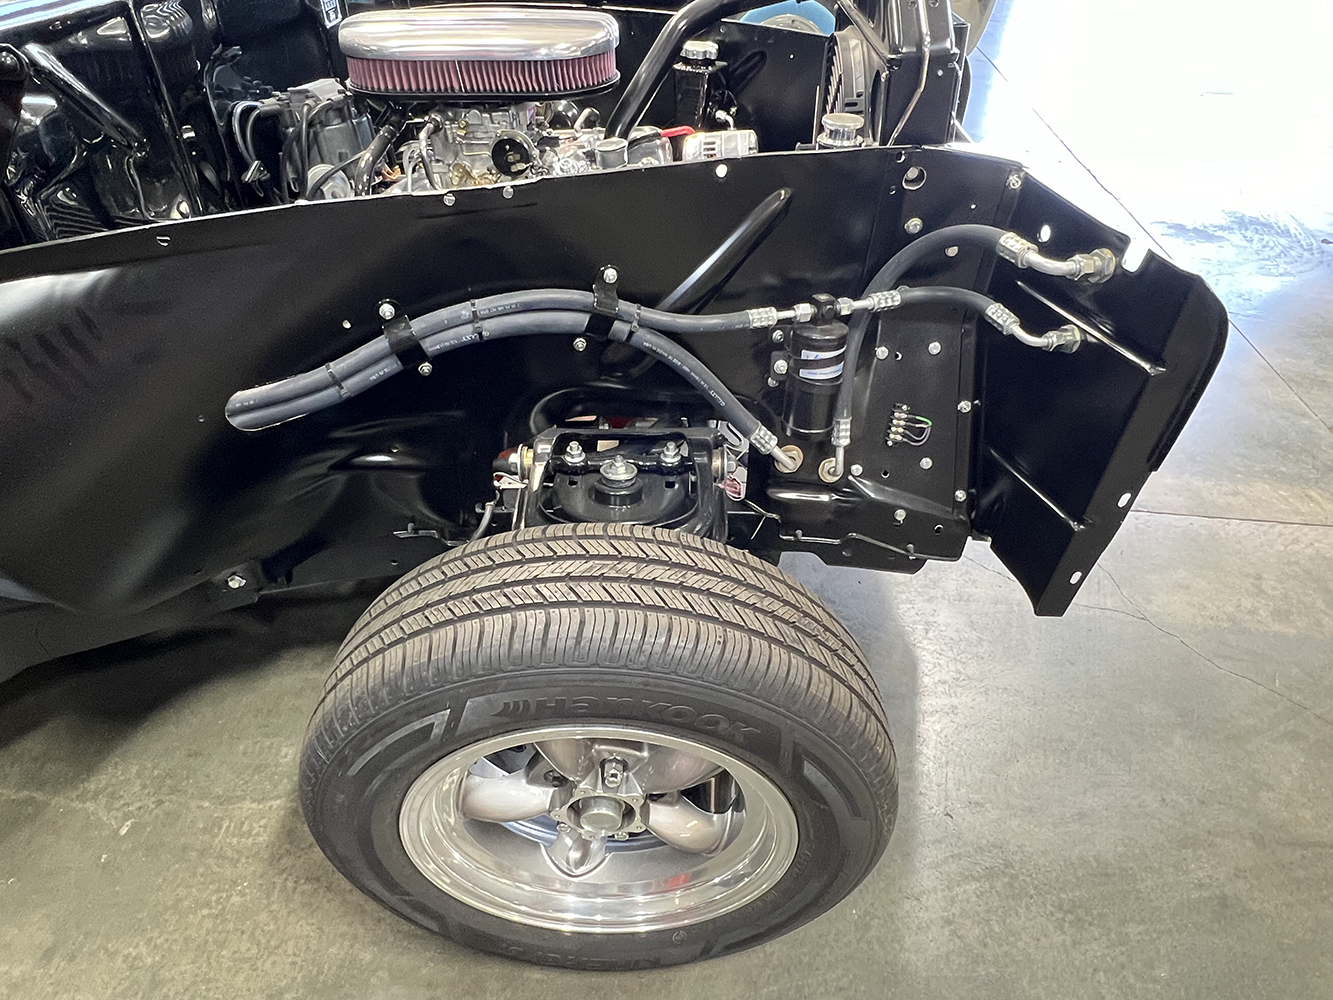
Refrigerant, Hoses & Fittings
Vintage Air systems use R134a refrigerant. Introduced in the early 1990s, R134a was found to have far less impact on ozone depletion when compared to the previously used R-12, yet it could still perform effectively.
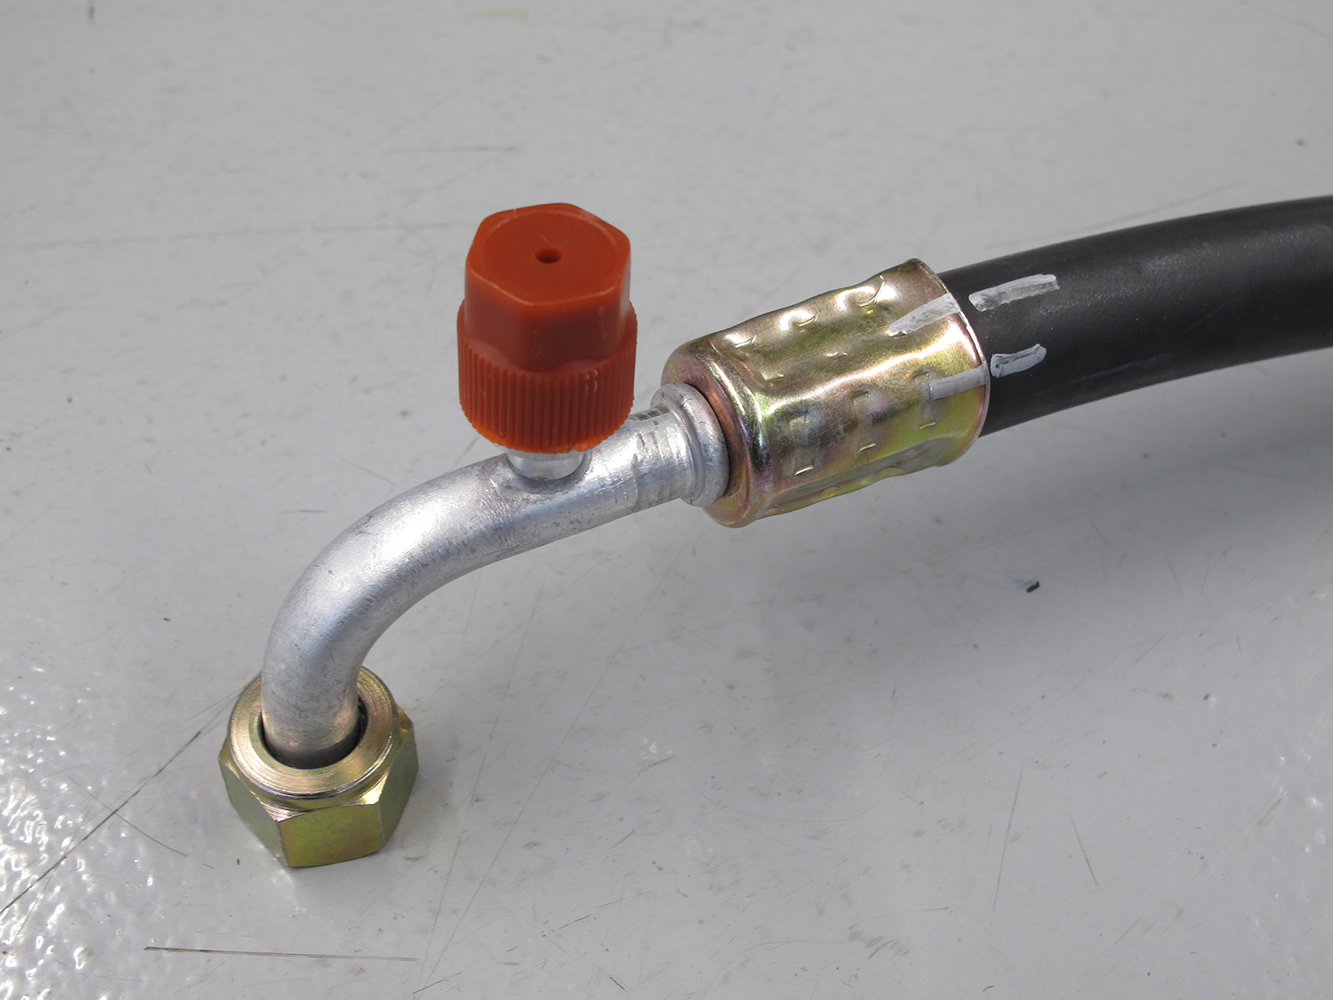
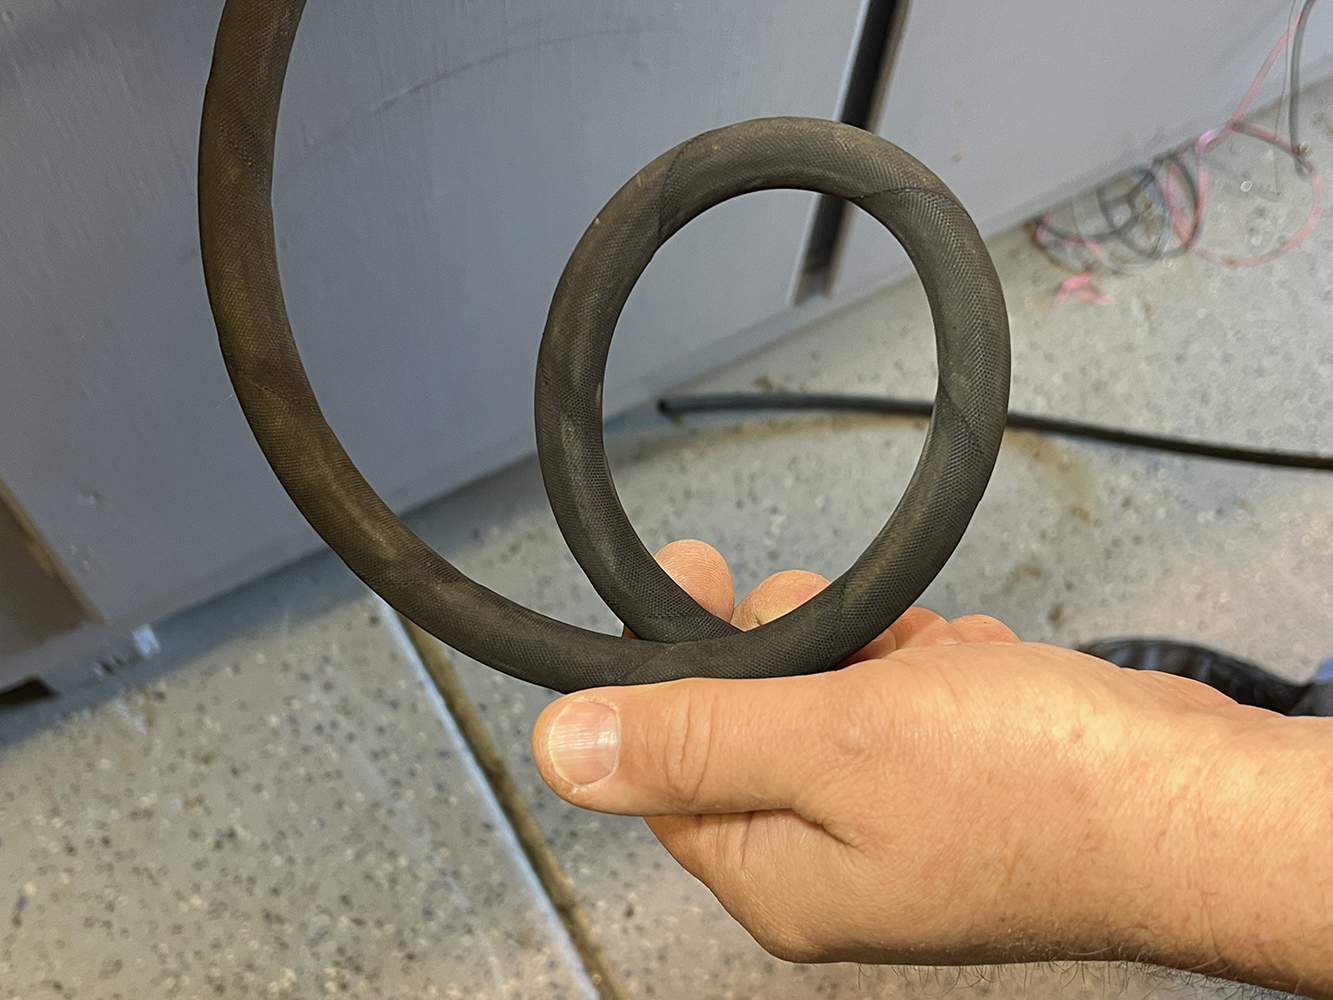
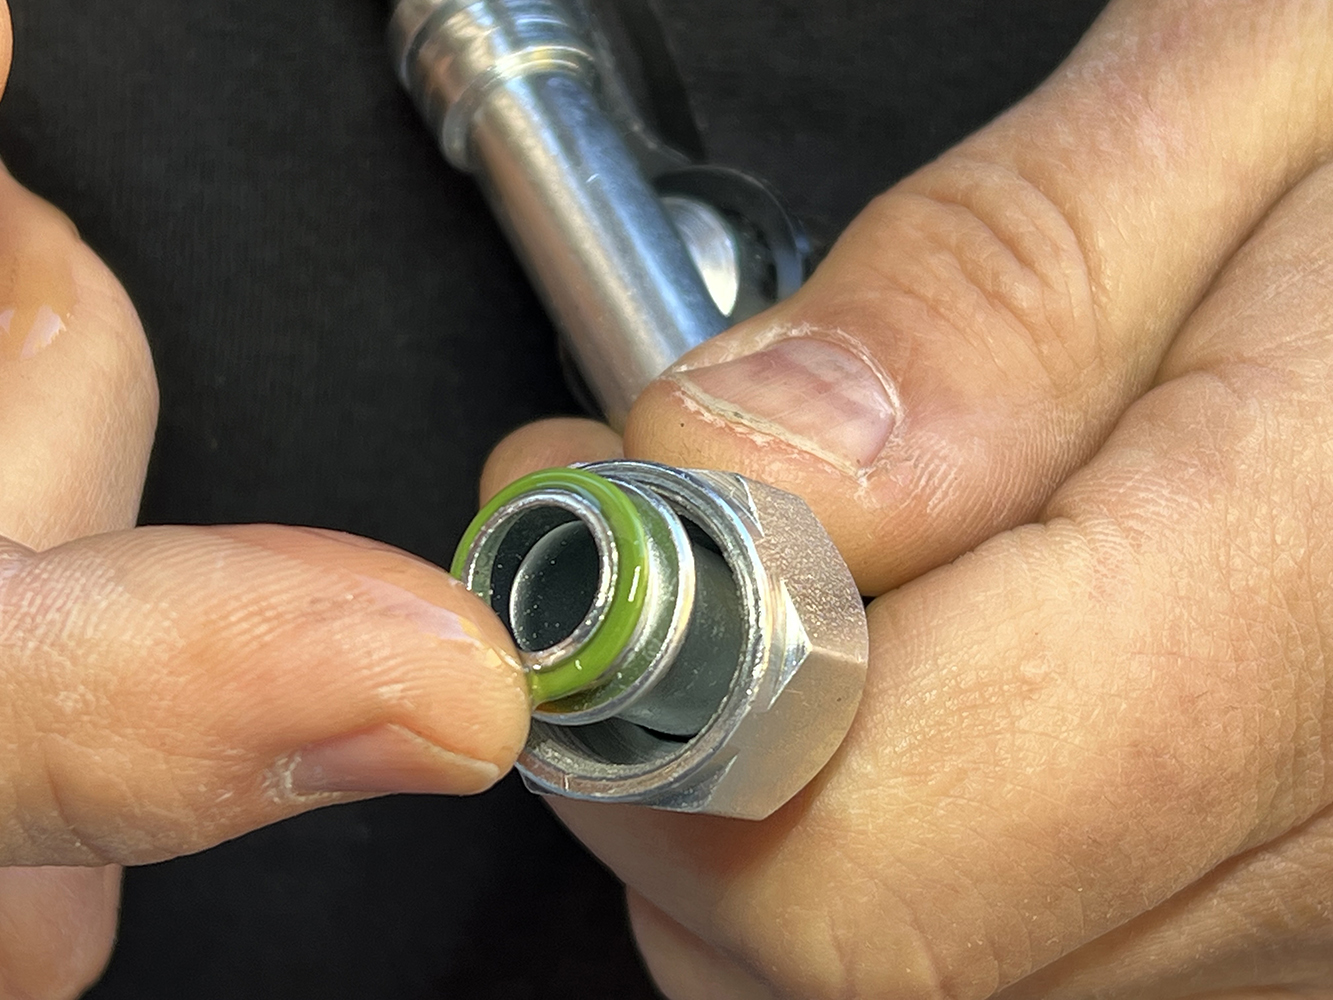
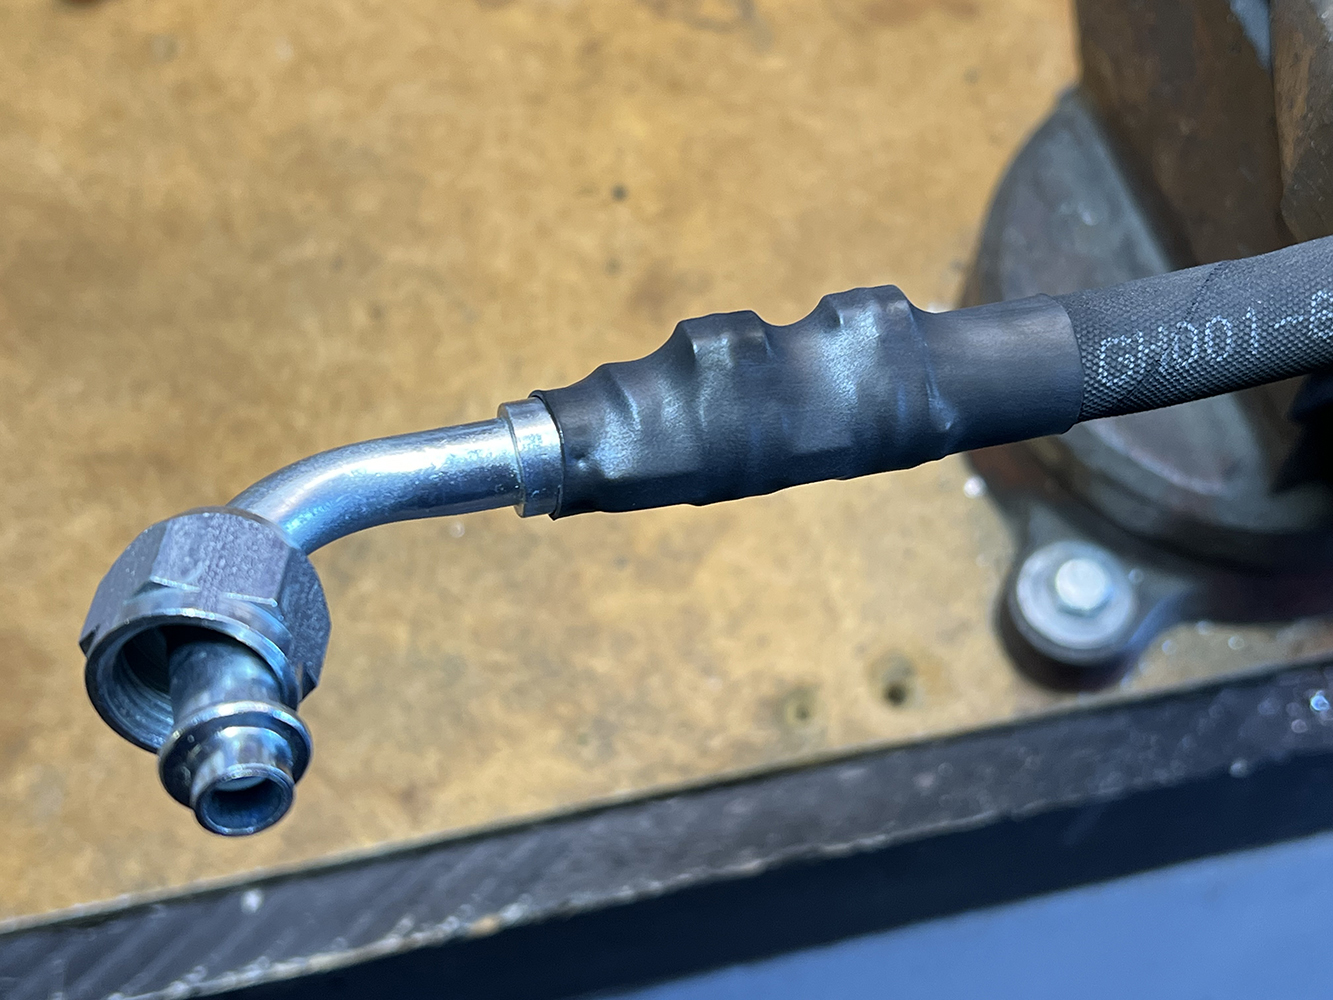
As the molecules found in R134a are smaller than those in the previously used R-12, a dedicated barrier hose with an inner liner is required to prevent leakage. Vintage Air systems use three sizes of A/C hoses: #6 liquid from the condenser to the evaporator, #8 liquid from the compressor to the condenser, and #10 suction hose from the evaporator to the compressor. Heater hoses are 5/8 inch.
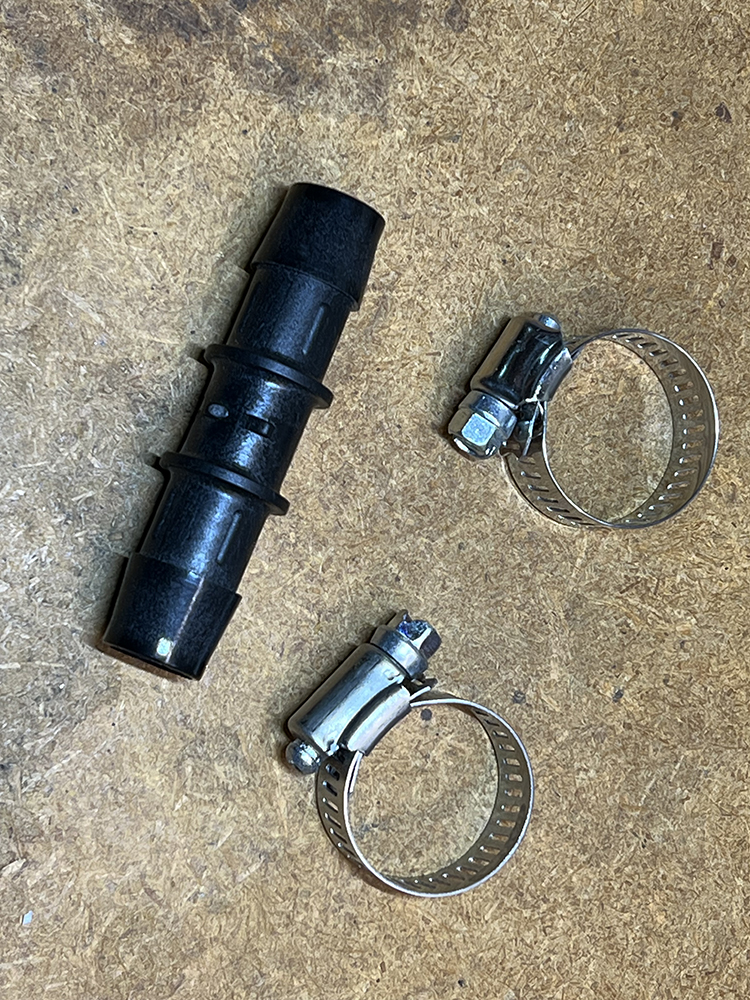
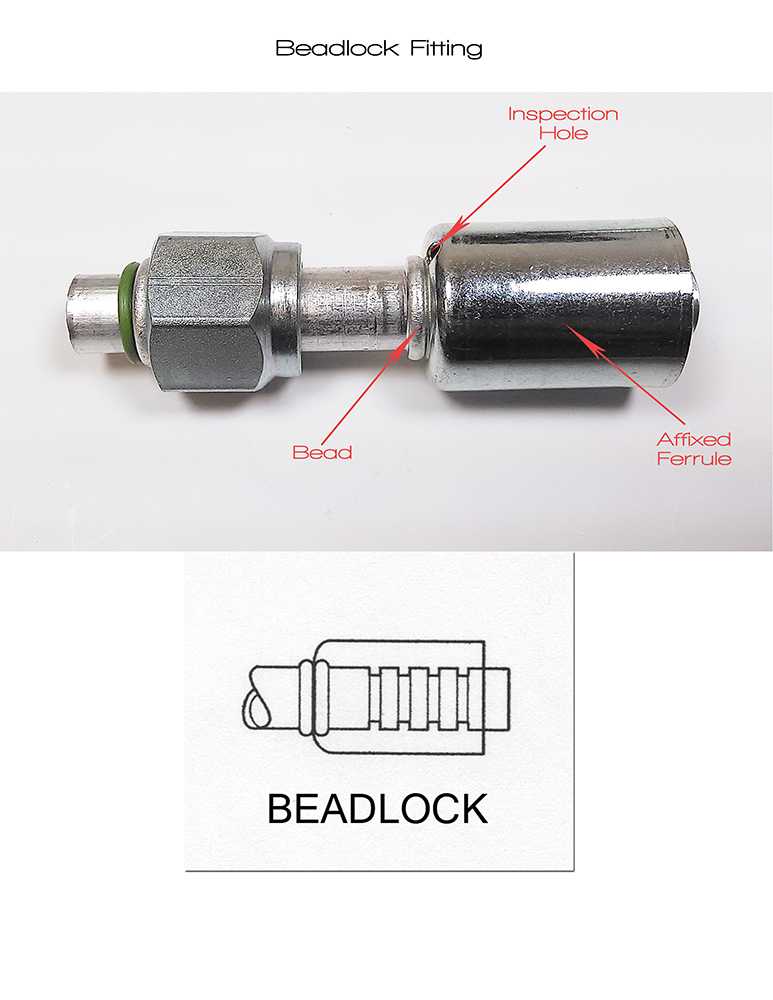
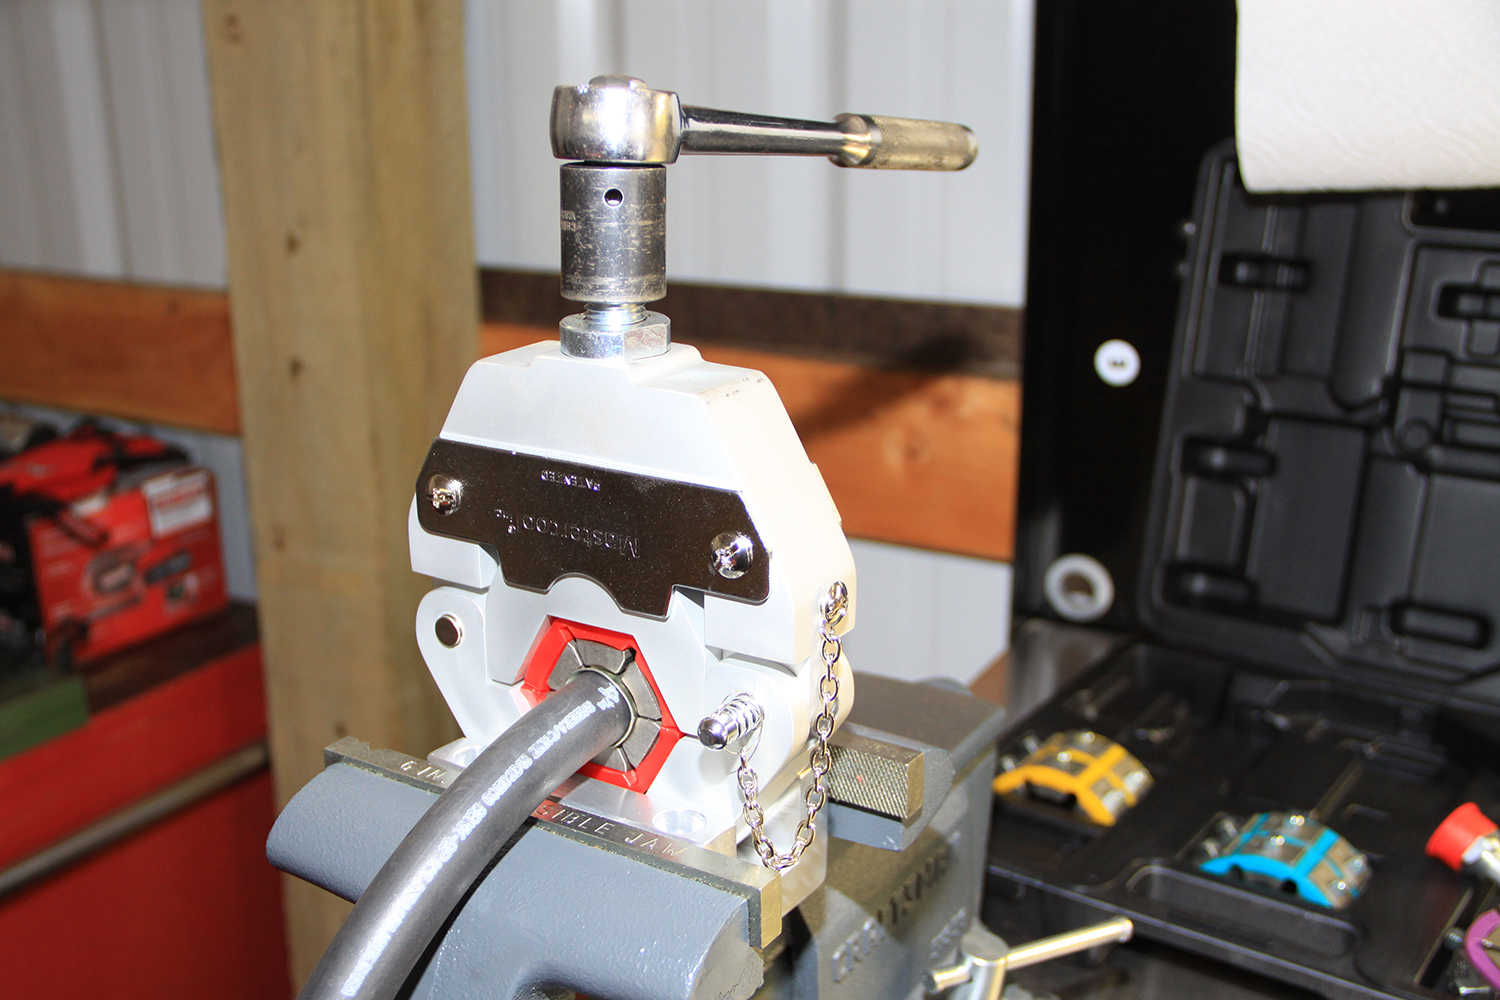
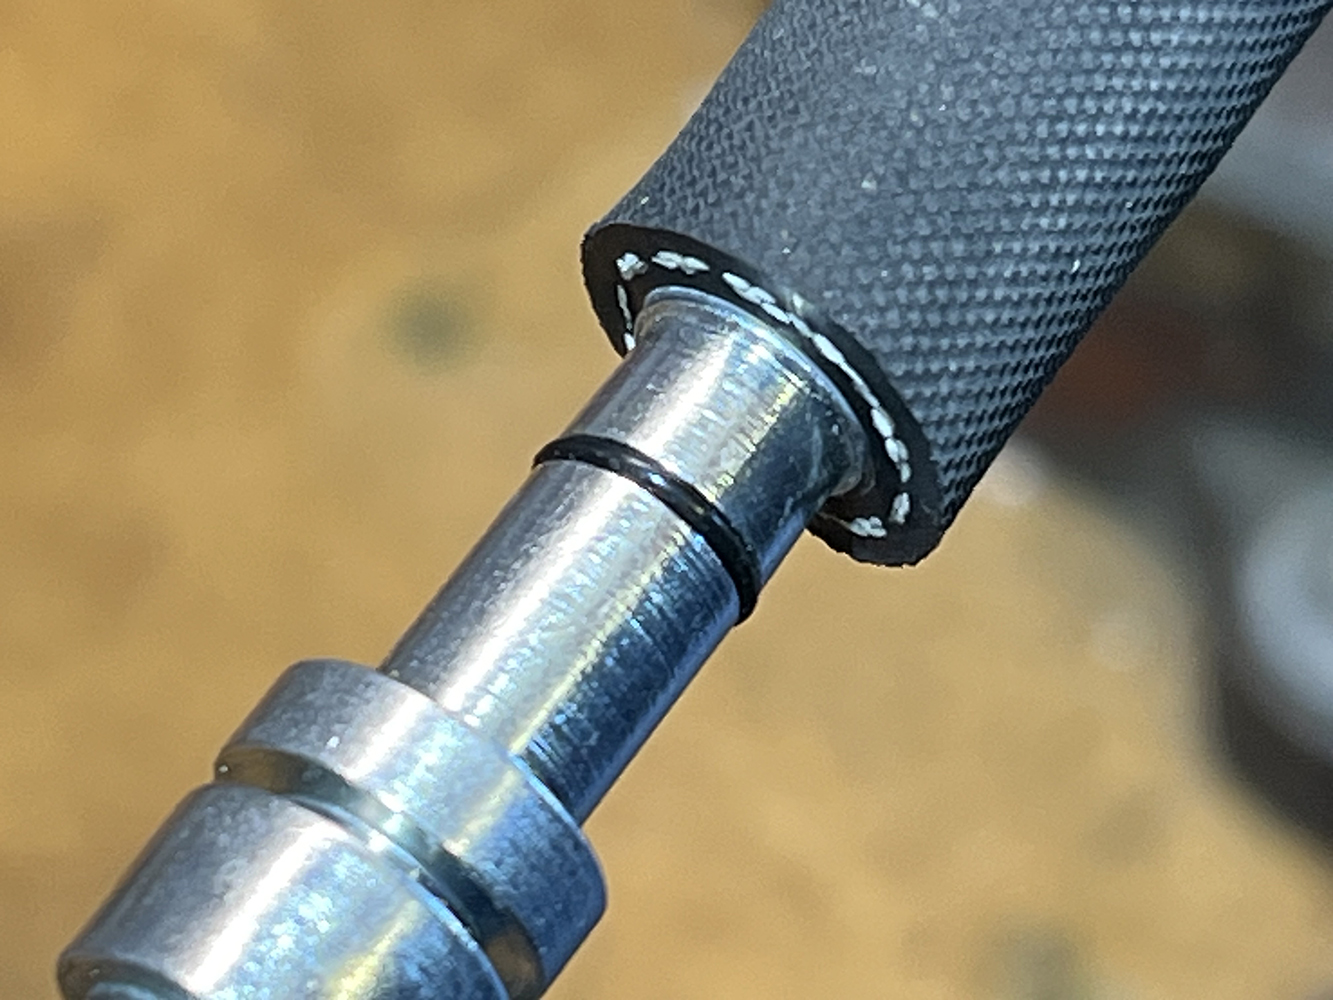
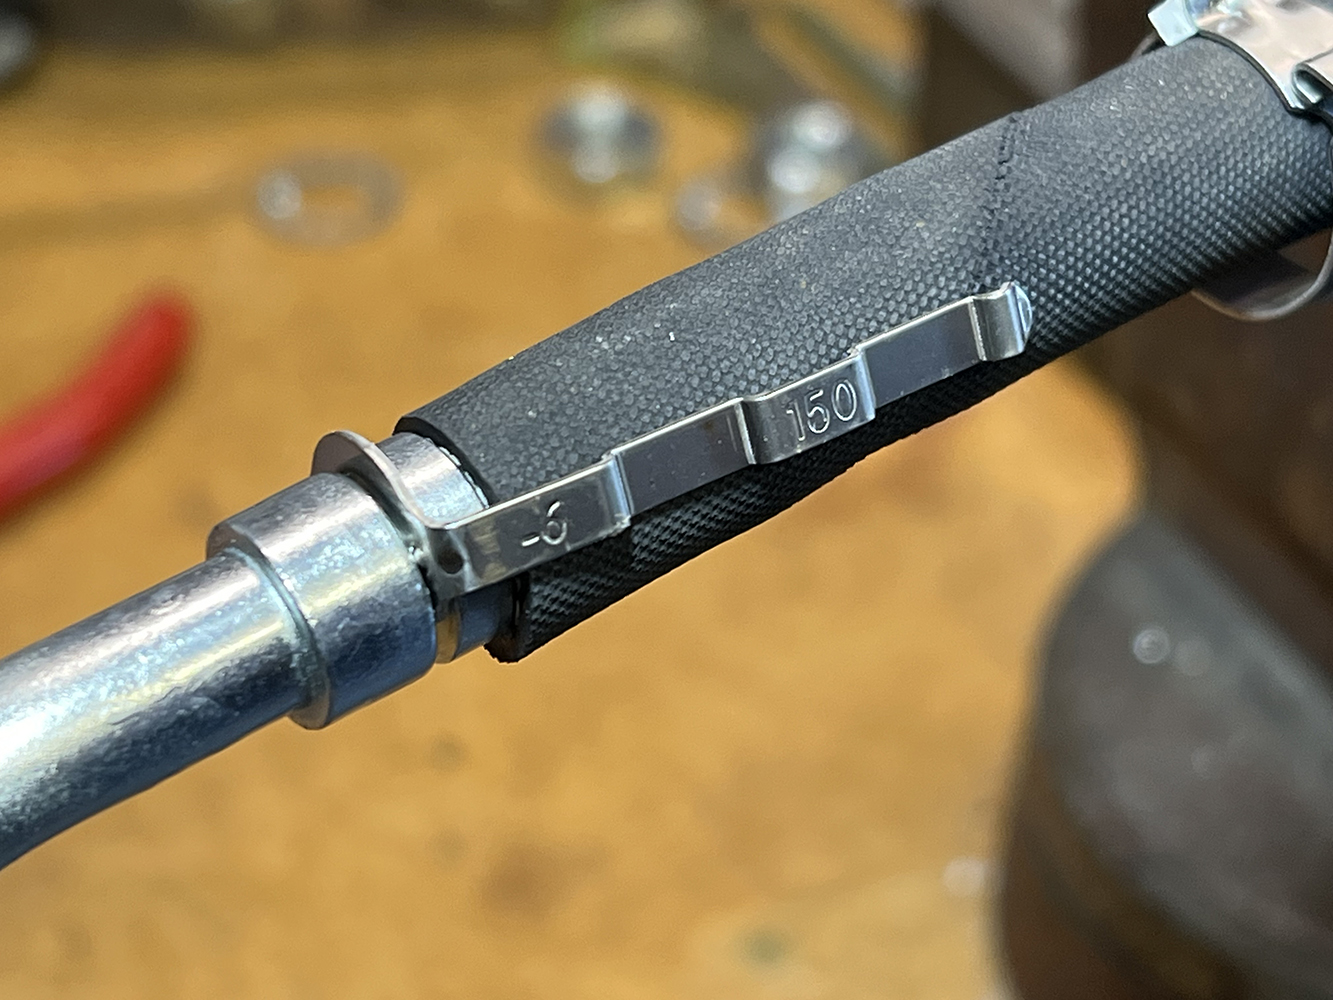
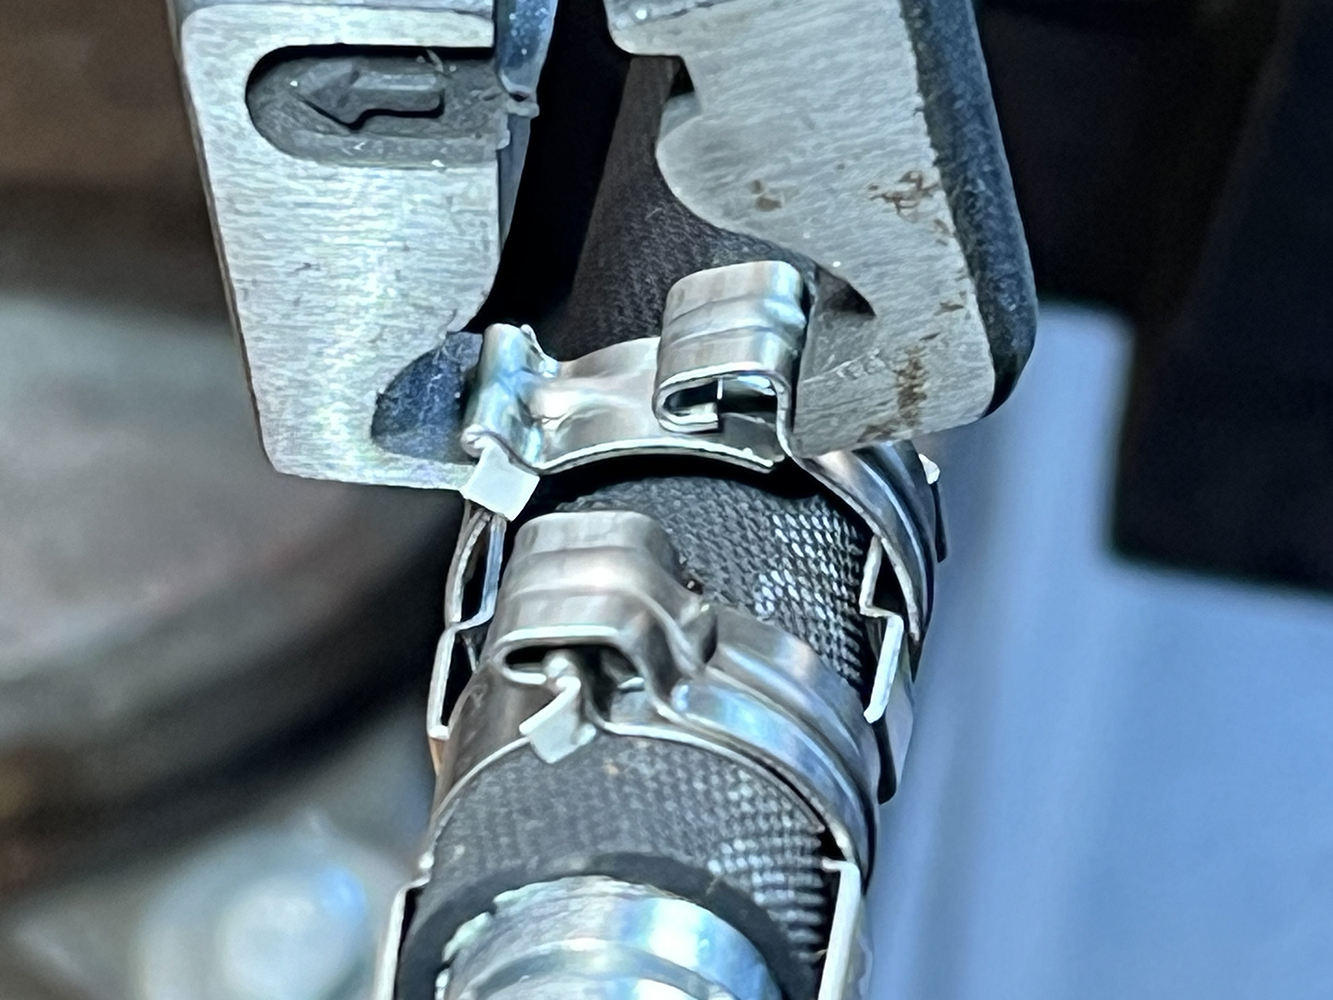
Typically, A/C hoses use ends that are crimped on. As an alternative, Vintage Air now offers a reduced od barrier hose (the inside diameter is the same as standard hose) that uses E-Z clips that are easy to assemble at home and are retained with clamps.
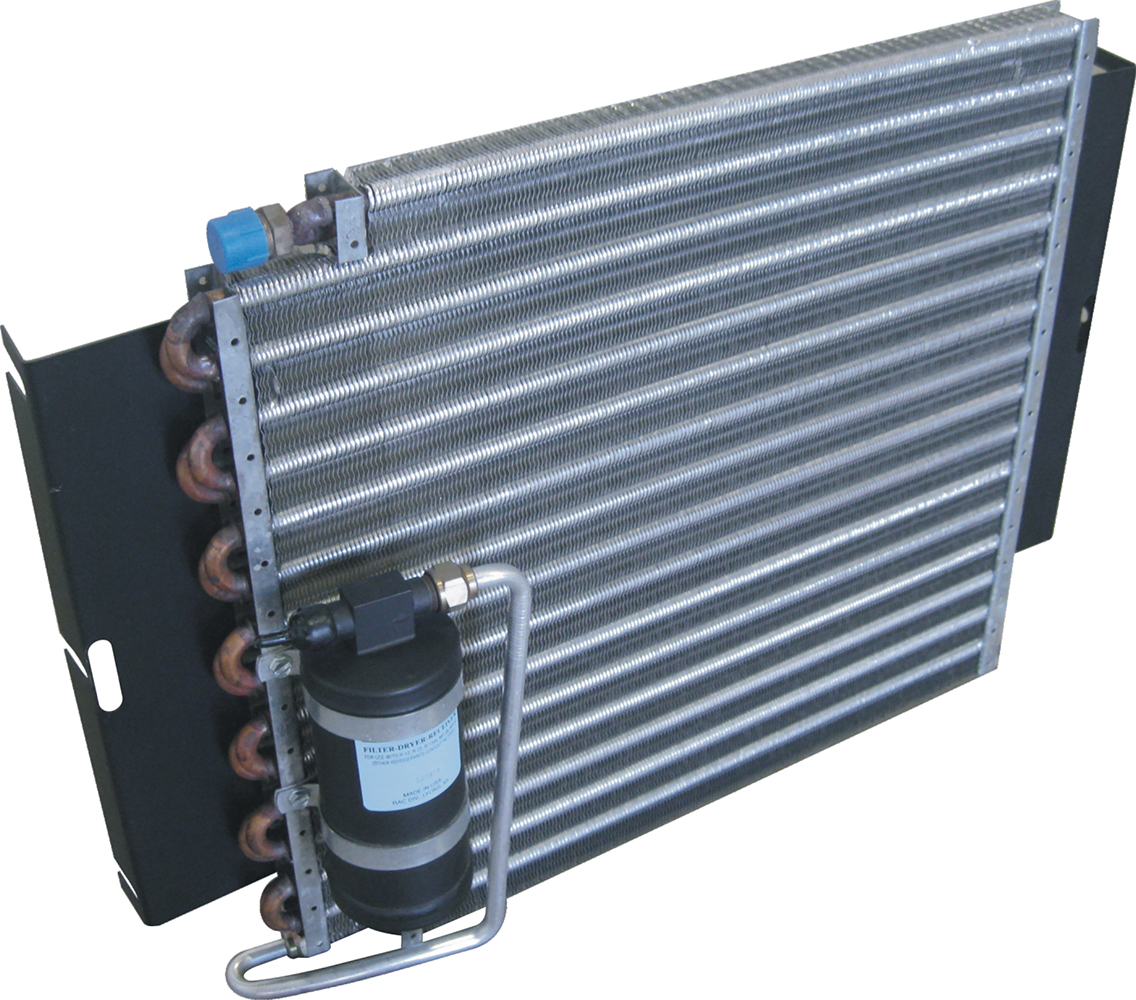
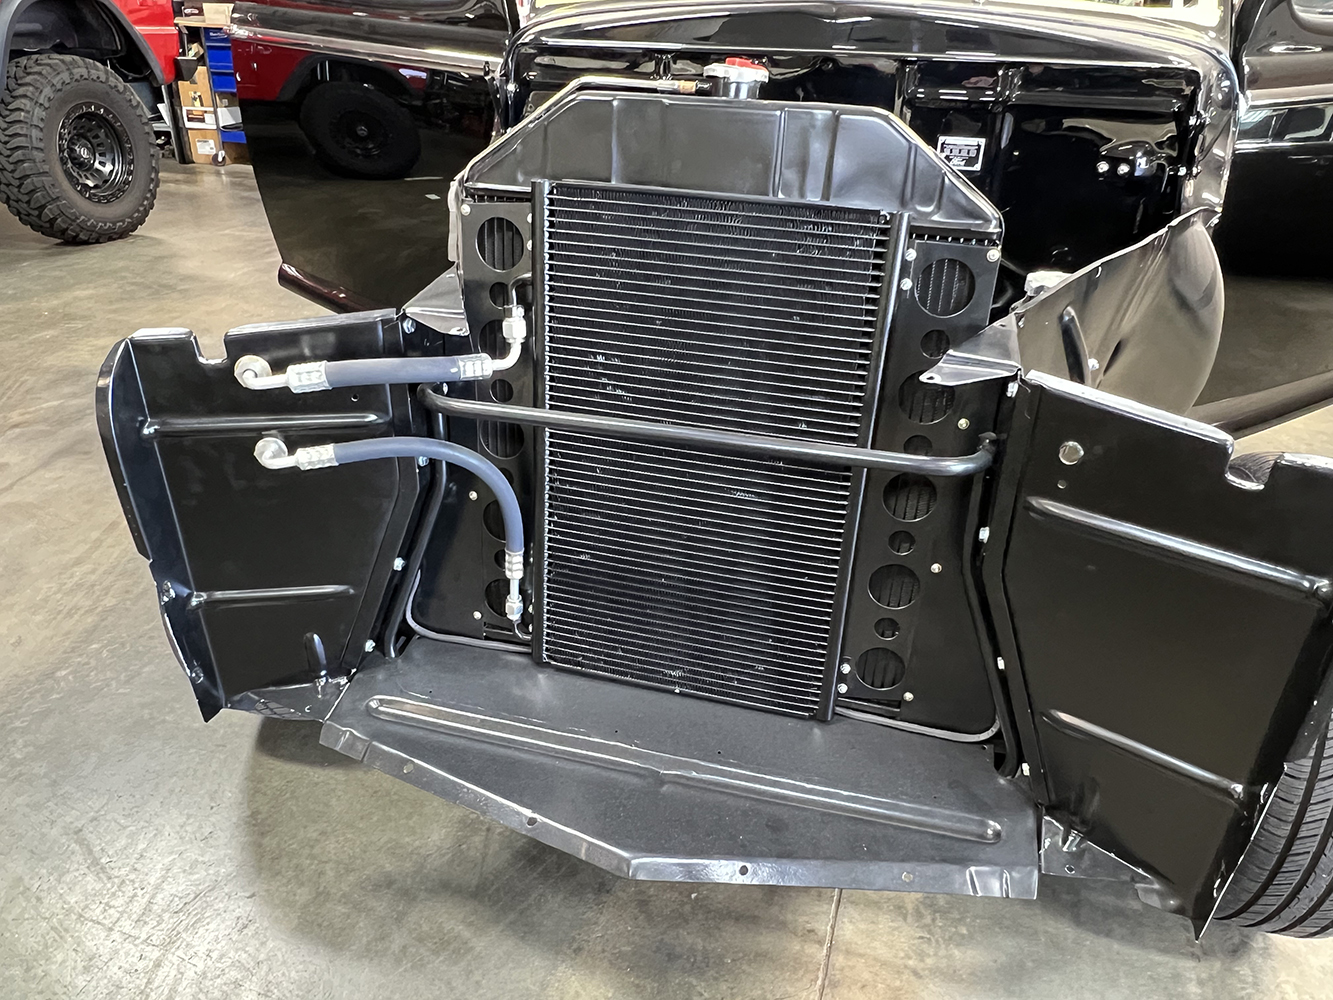
Condenser Types
Condensers are a critical component of the A/C system. They must be large enough and in a place with adequate airflow to condense the refrigerant adequately. The condenser also must provide a low-resistance path for the condensed liquid to flow so pressure buildup can be avoided on the existing refrigerant.
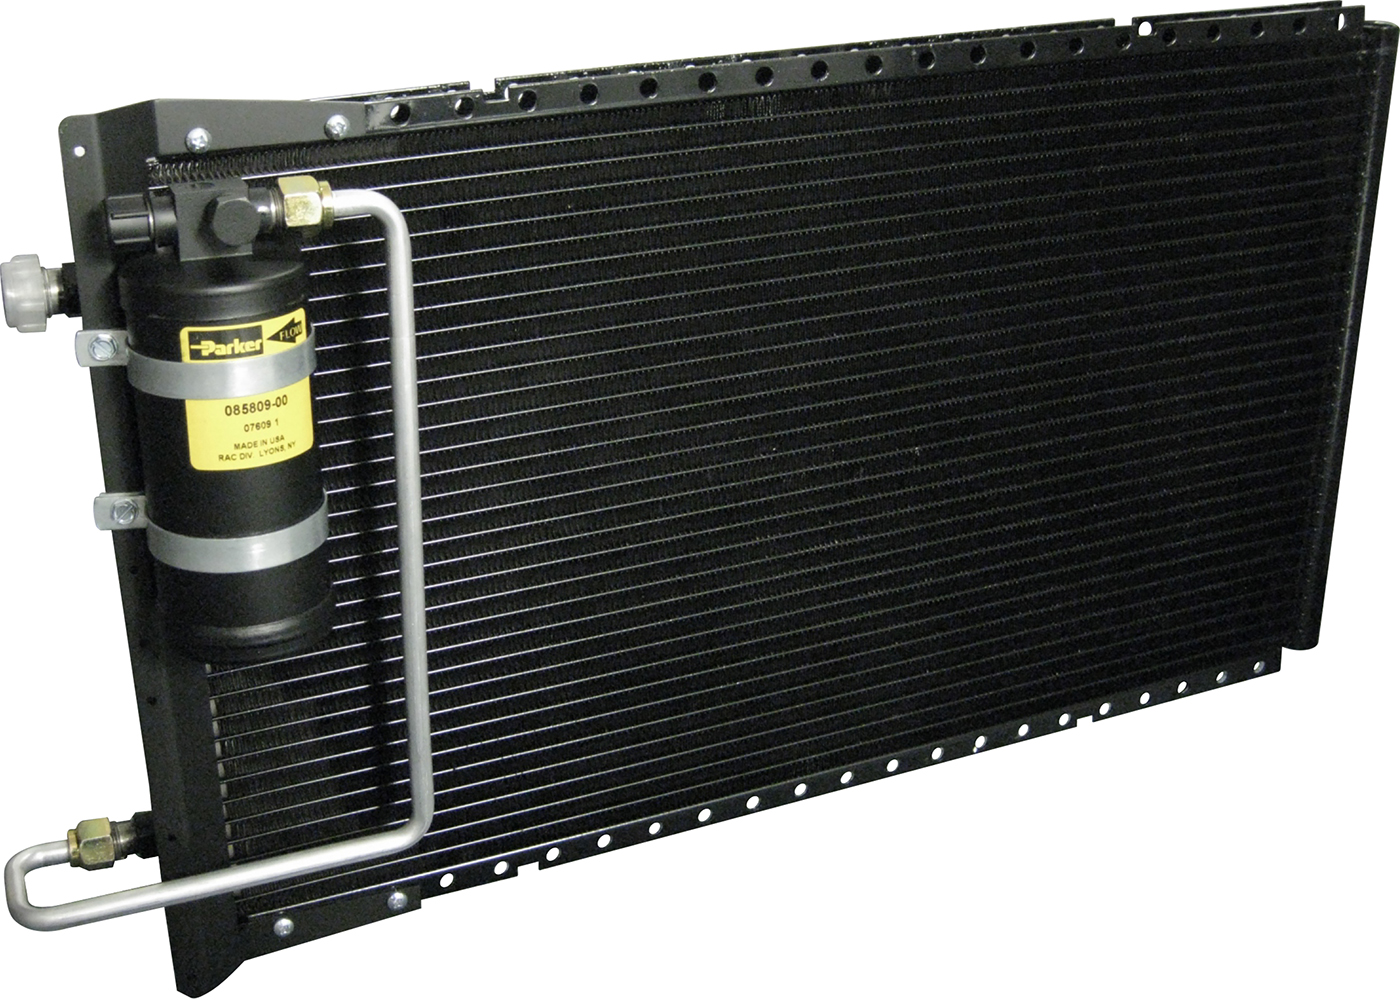
At one time, tube and fin condensers were commonly used with R-12 refrigerant. Still, it was found that parallel flow condensers offered 25 percent more capacity in the same size package, making them better suited for use with R134a. In addition, as oil flows with the refrigerant in the system, it can settle in the lower loops of a tube and fin condenser, obstructing the flow of liquid and increasing internal pressure of the high side of the system, reducing its ability to function effectively.
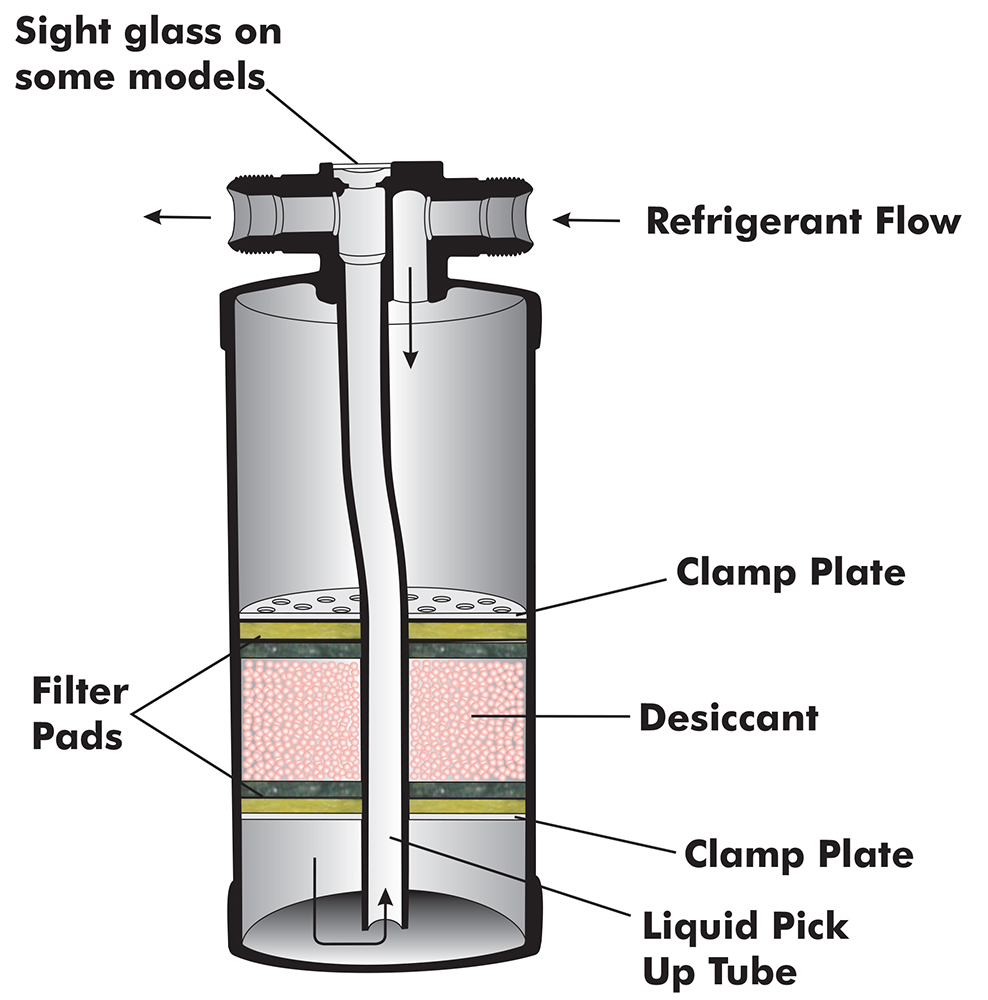
Receiver/Drier
The receiver/drier filters the refrigerant and separates vapor from the liquid refrigerant while absorbing moisture. An arrow on the receiver/drier indicates the direction of refrigerant flow. The canister must be oriented vertically within 30 degrees and mounted where it will be exposed to cool airflow.
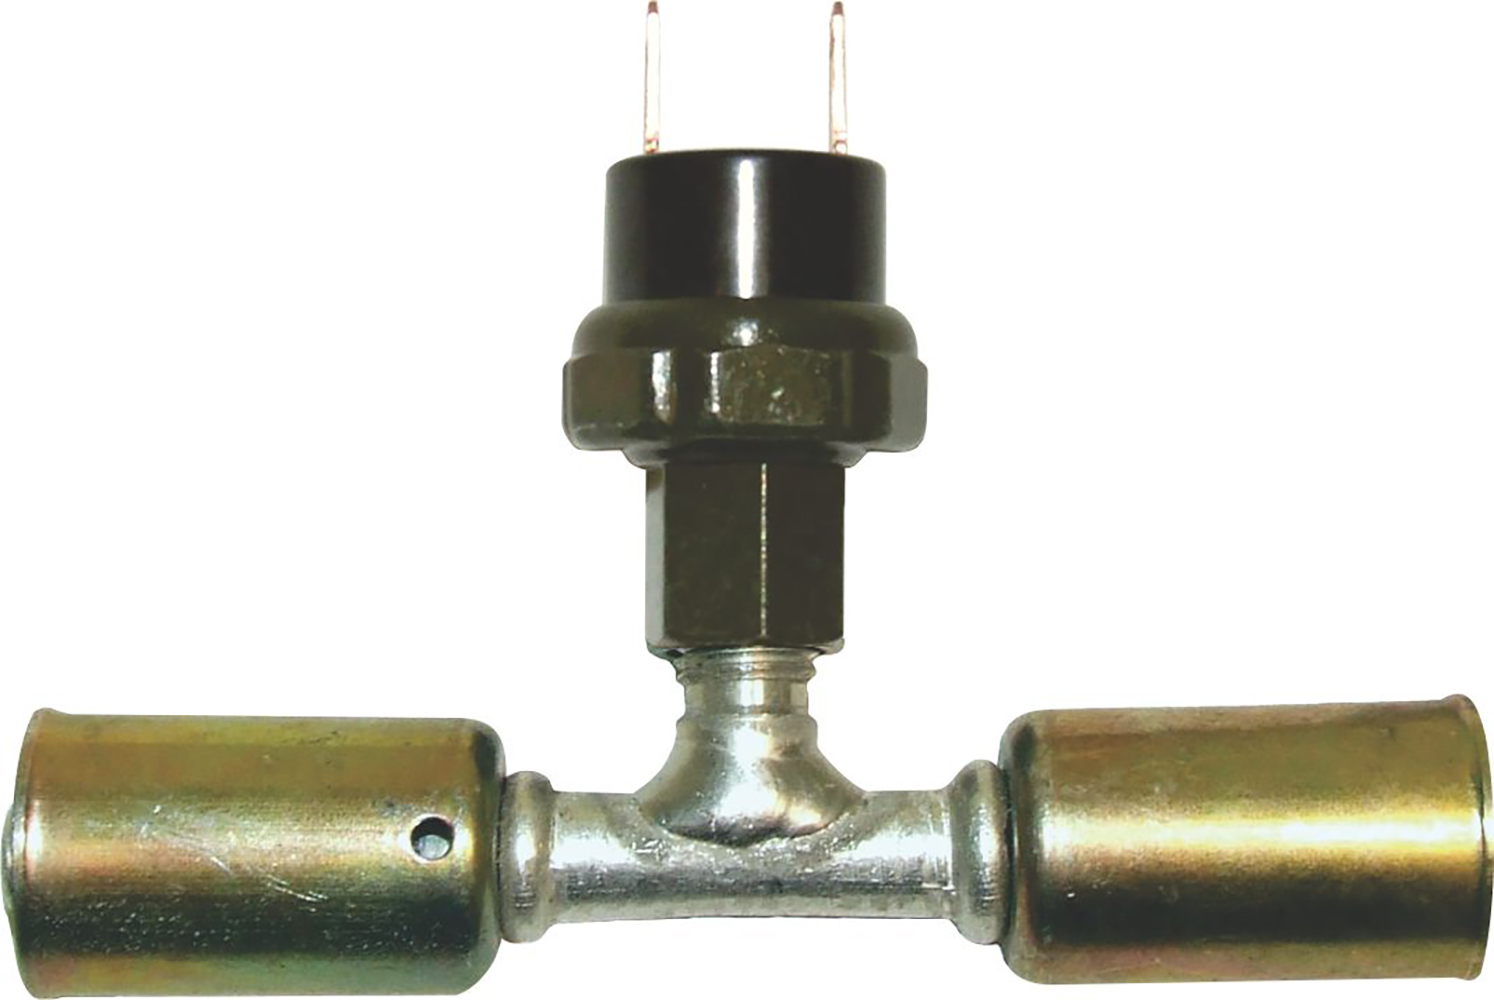
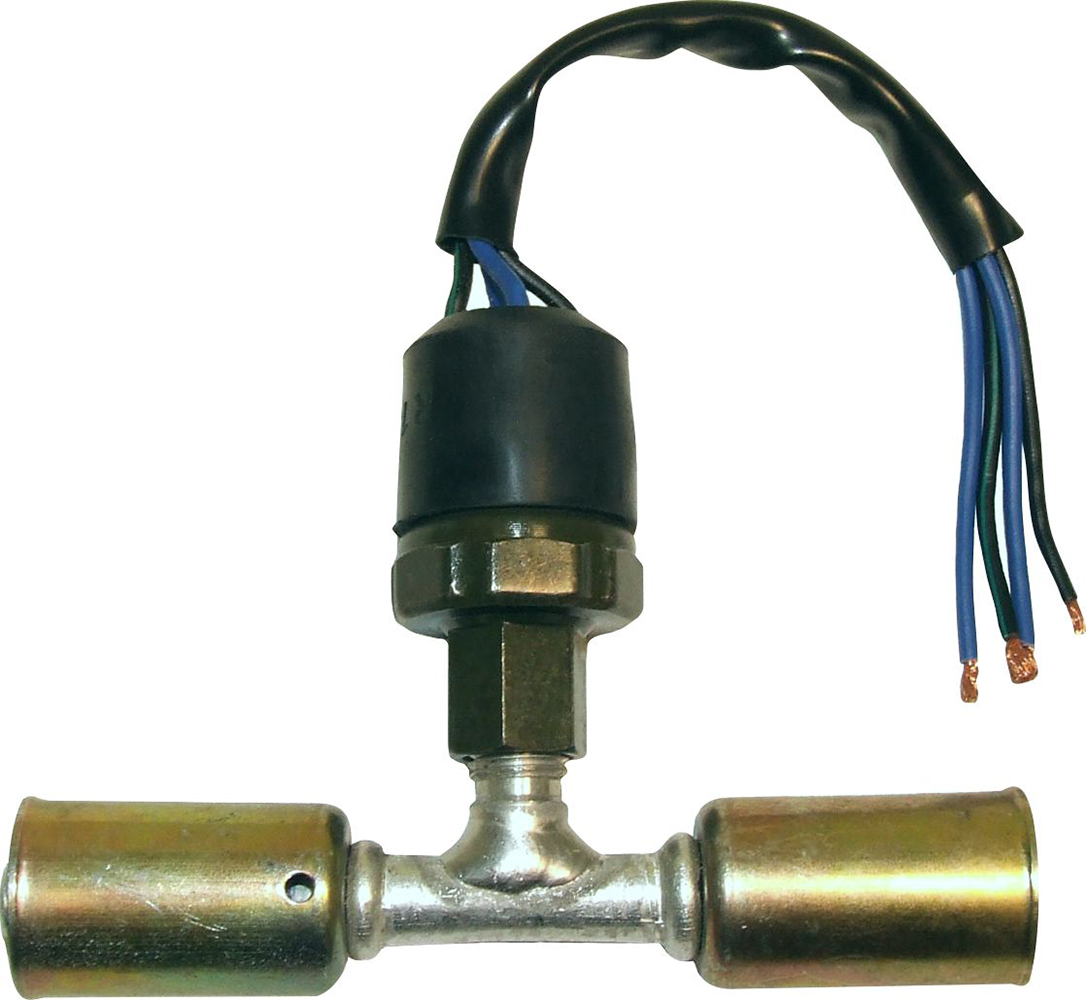
Safety Switches
There are two types of safety switches commonly used: Binary switches protect the system from excessively high (406 psi) or low (30 psi) pressure by disengaging the compressor clutch. Trinary switches provide the same high and low protection, plus an electric fan engagement signal at 254 psi (on the high-pressure side). Trinary switches are recommended when electric engine cooling fans are used. However, Love adds, “We never recommend engaging the fan every time the A/C system is on. There is no reason to run the fan when driving at highway speeds where the ram air should provide sufficient airflow through the condenser and radiator.” That being said, Love also advises not to rely solely on an engine management computer on cars so equipped to trigger the engine cooling fan. That computer recognizes engine temperature but not pressure in the A/C system. Therefore, a trinary switch should be included to engage the fan and keep A/C pressures under control.
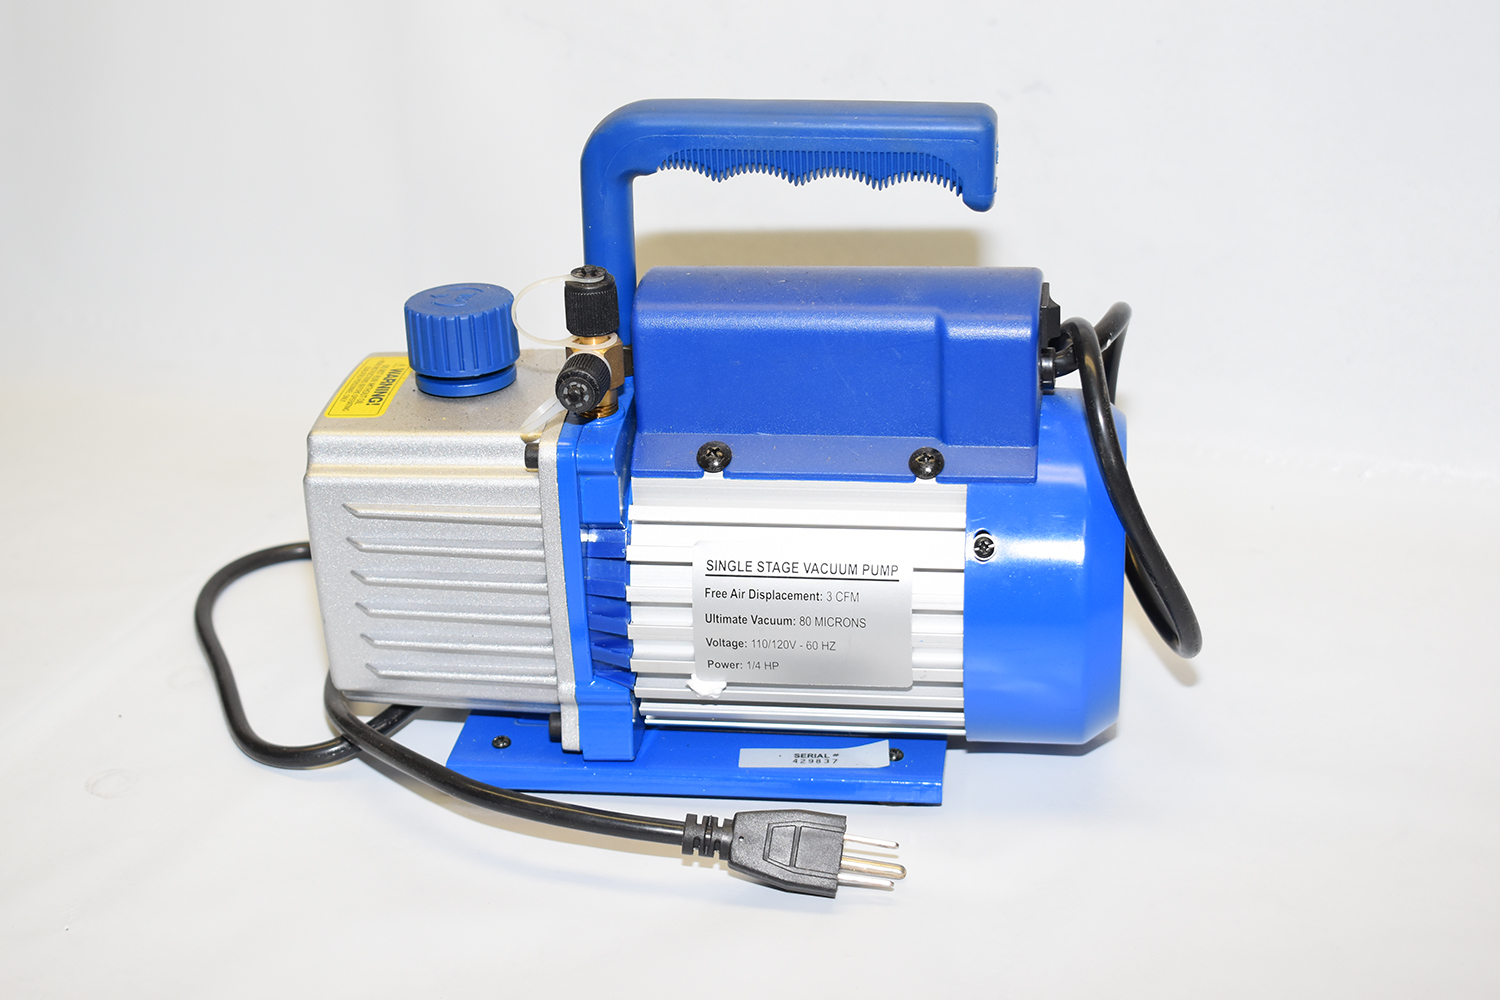
Proper Evacuating & Charging
Leaving air and water in an A/C system will dramatically reduce its efficiency. Using a vacuum pump to evacuate the system removes air and lowers the boiling point of water, so any moisture in the system boils away. Systems should be evacuated when the temperature is a minimum of 60 degrees (you may need a warm shop in the winter).

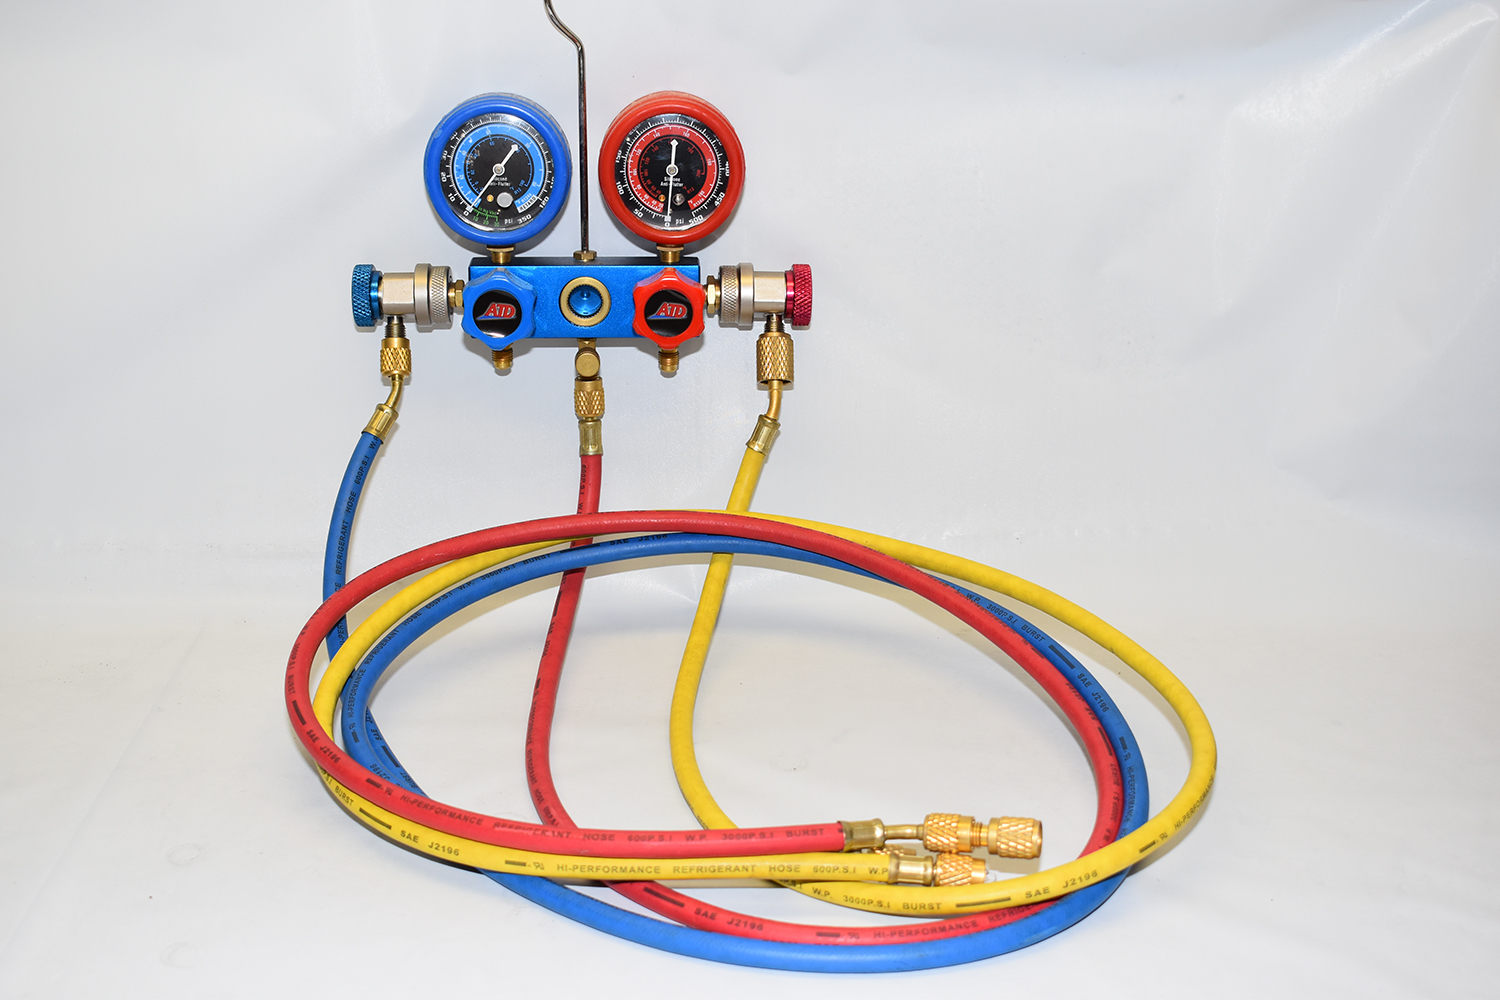
To accurately determine if an A/C system is charged properly dedicated gauges that show low- and high-side pressures are required. A general rule of thumb is that high-side pressure is two times ambient temperature plus 15 to 20 percent, while low-side pressure should be 18 to 22 psi. An overcharged system (too much refrigerant or oil) produces higher system operating pressures and poor performance. An undercharged system will show lower operating pressures and poor performance as well.
When adding refrigerant to a Vintage Air system, it should always be done by weight (1.8 ounces) using a scale. Only R134a refrigerant should be used, and Vintage Air does not recommend using blends. Additionally, we did not use the parts house kits with simple gauges on the refrigerant canister. These kits are designed for OEM systems that typically operate with higher pressures, so relying on them will likely cause the system to be overcharged.
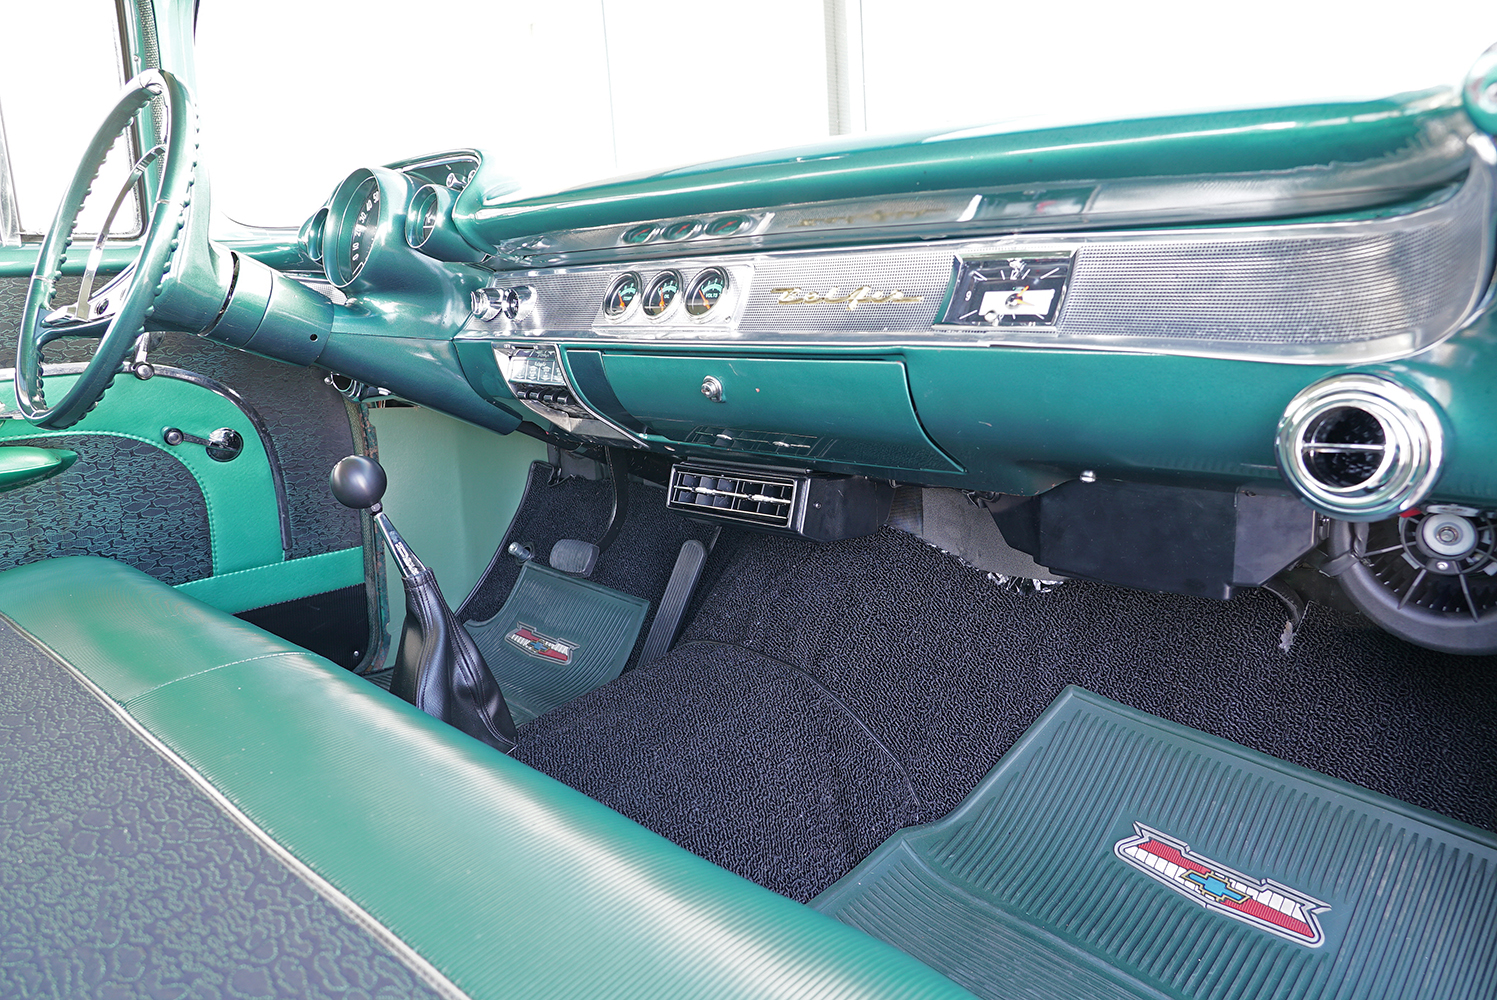
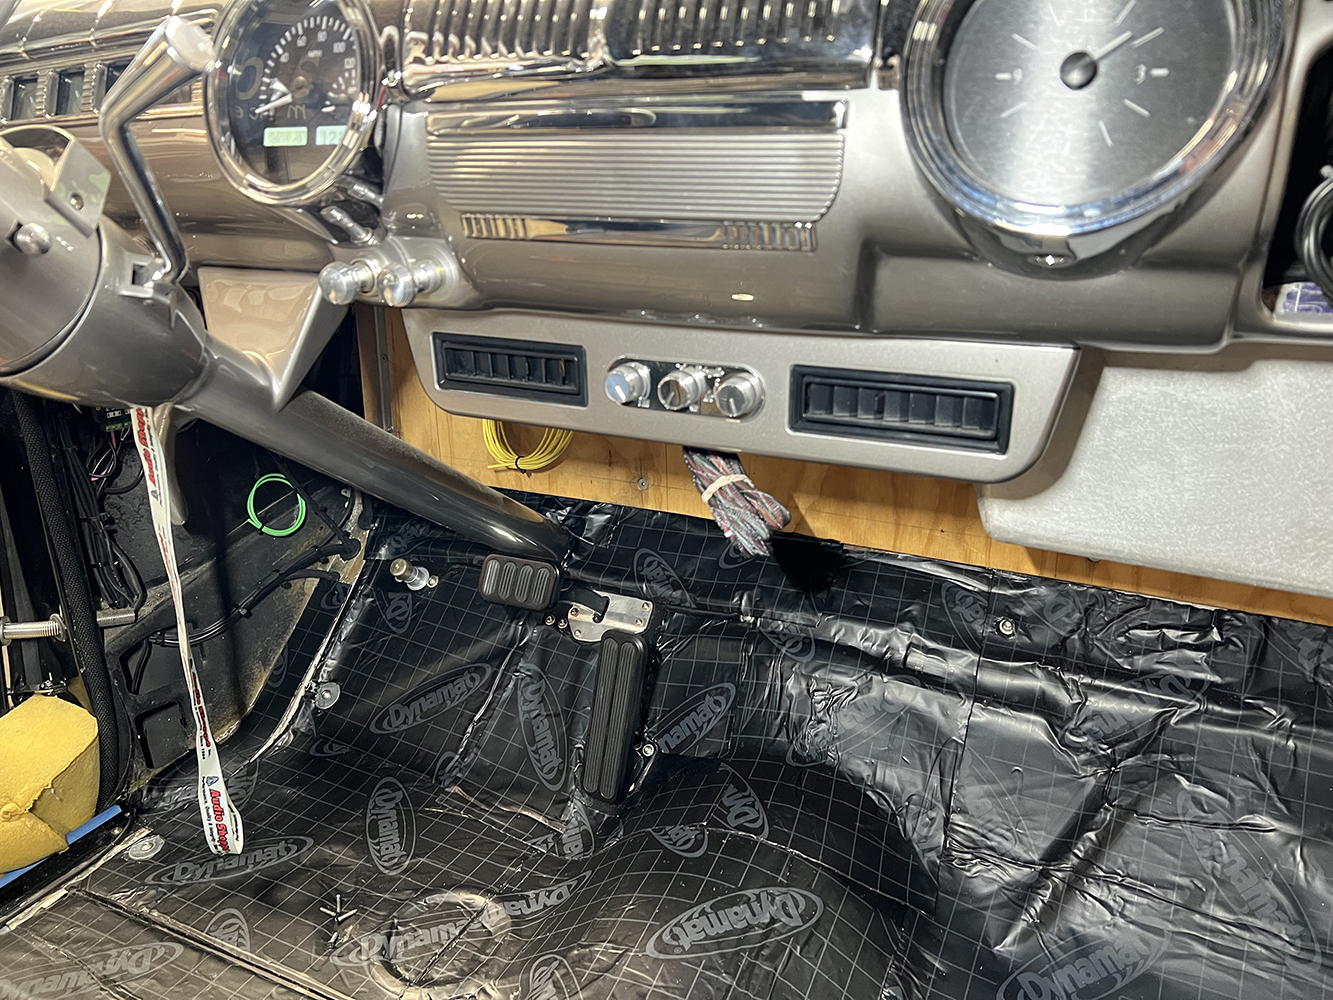
Keeping Heat Out & Cool In
As an A/C unit removes heat from the passenger compartment, it stands to reason that minimizing any additional heat source will make the system more effective. Simply put, if you don’t keep the hot air out of the vehicle, no A/C system will ever be able to cool it off. It’s like running the A/C system in your home with the windows open. Insulation and weatherstripping are essential.
Insulate the firewall, floor, and roof to keep heat from the engine, exhaust, and sun from entering the passenger compartment. Make sure that all the weatherstripping is in good condition and consider tinted windows to help reflect the sun’s heat. Of course, all these precautions also make it easier to keep the interior warm when the heater is needed.
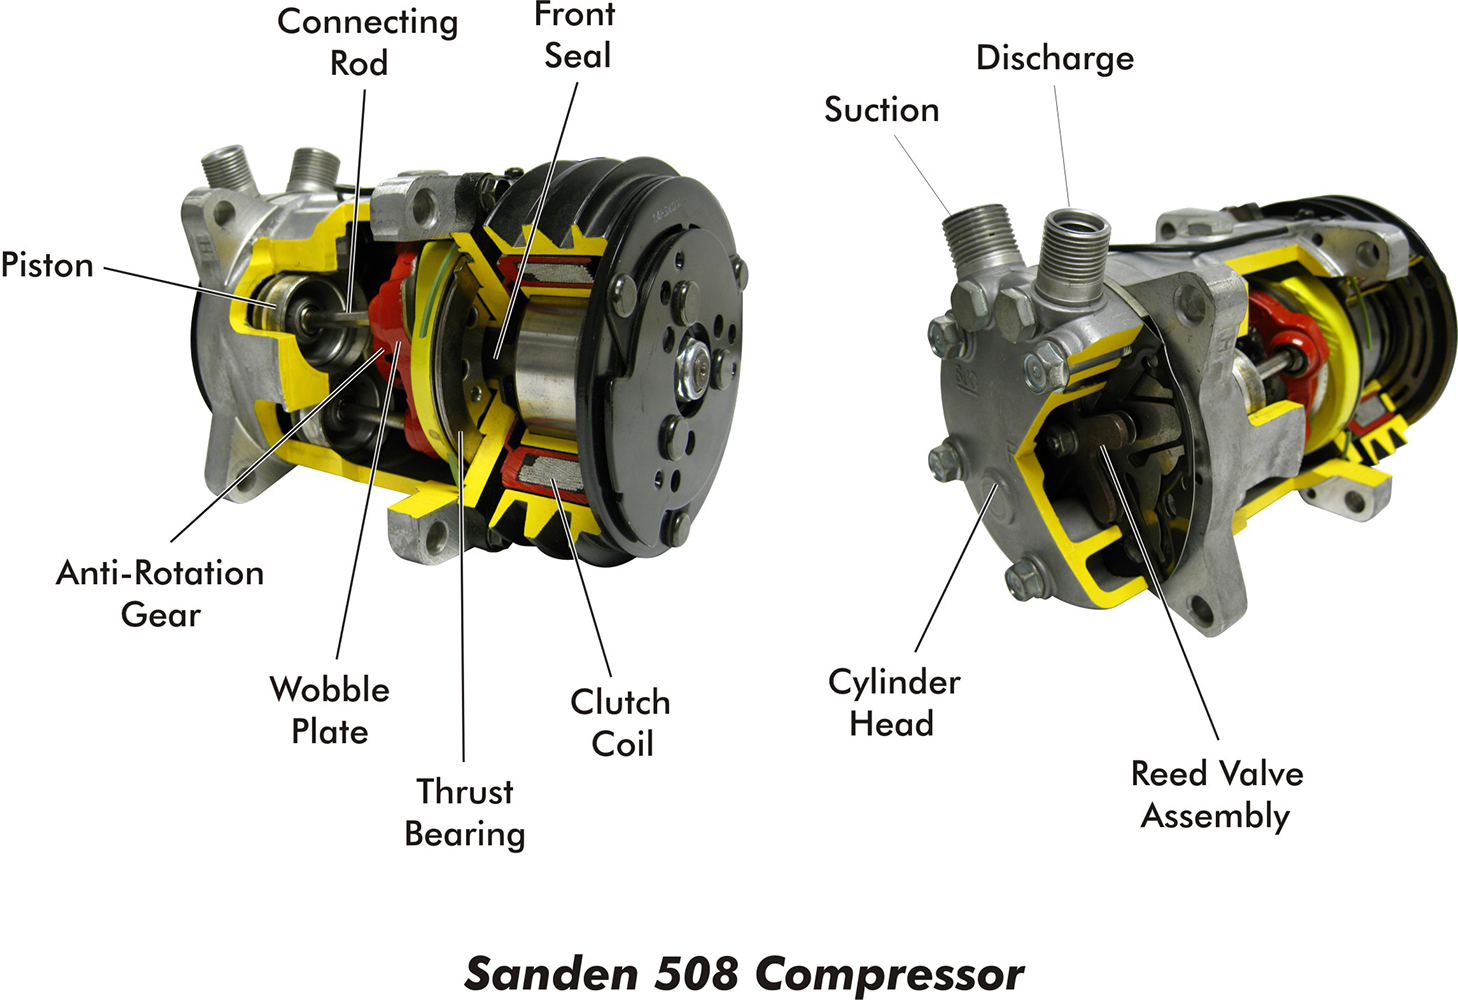
Compressor Oil
New Sanden or TCCI compressors from Vintage Air come with the proper amount of oil for a standard, so an additional amount isn’t normally necessary. Adding more oil can result in excessive system pressure, which can lead to poor system performance. If you use an OEM compressor in your system, follow the manufacturer’s recommendations on oil capacity.
Electrical Demands & Appropriate Wiring
Like any sophisticated electronic device, Vintage Air computerized systems require a stable power source and good grounds to eliminate the possibility of any electrical feedback that may cause erratic operation. In the vast majority of cases electrical issues can be traced to bad grounds; connection points for ground wires must be made to clean, bare metal.
Another critical consideration is the alternator and the charge wire. In most cases, high-output alternators are installed when increased electrical loads such as A/C, electric fans, EFI, and other devices are added to an electrical system. However, a common mistake is not adding an appropriate charge wire from the alternator to the battery. The charge wire found in OEM harnesses designed to handle 60 amps or less is a fire looking for an opportunity when a high-output alternator is installed. The safest plan is to follow the alternator supplier’s recommendations for an appropriately sized charge wire.
Installing a sophisticated climate-control system, like those available from Vintage Air, can provide all the heat, defrost, and cool functionality of an OEM system. It’s a great way to make cruising in a modern hot rod comfortable on the inside, regardless of what Mother Nature is doing on the outside.

Check out this story in our digital edition here.
Sources
Dakota Digital
(888) 852-3228
dakotadigital.com
Fat Jack & Sons
(562) 243-8541
Hot Rods By Dean
(800) 362-9709
hotrodsbydean.com
Vintage Air
(800) 862-6658
vintageair.com


