With the old SBC/Muncie combo removed from our buddy Bruce Valley’s 1957 Chevy and the LS3/4L60E resting in its place, it’s time to sort out shifter requirements as well as our pedal options. Valley liked the floor shift setup of the Muncie and wanted to retain said location of shifter. Easy enough. But when it came to pedal options, that got a little more muddled since the stock throttle pedal would not be compatible with the LS3’s drive-by-wire requirement. As luck would have it, Lokar Performance Products had options for that as well as the floor shifter, even going so far as to offer an upgrade to the original brake pedal that would result in not only a better-looking pedal arm, but the ability to match a pair of throttle/brake pedal pads.
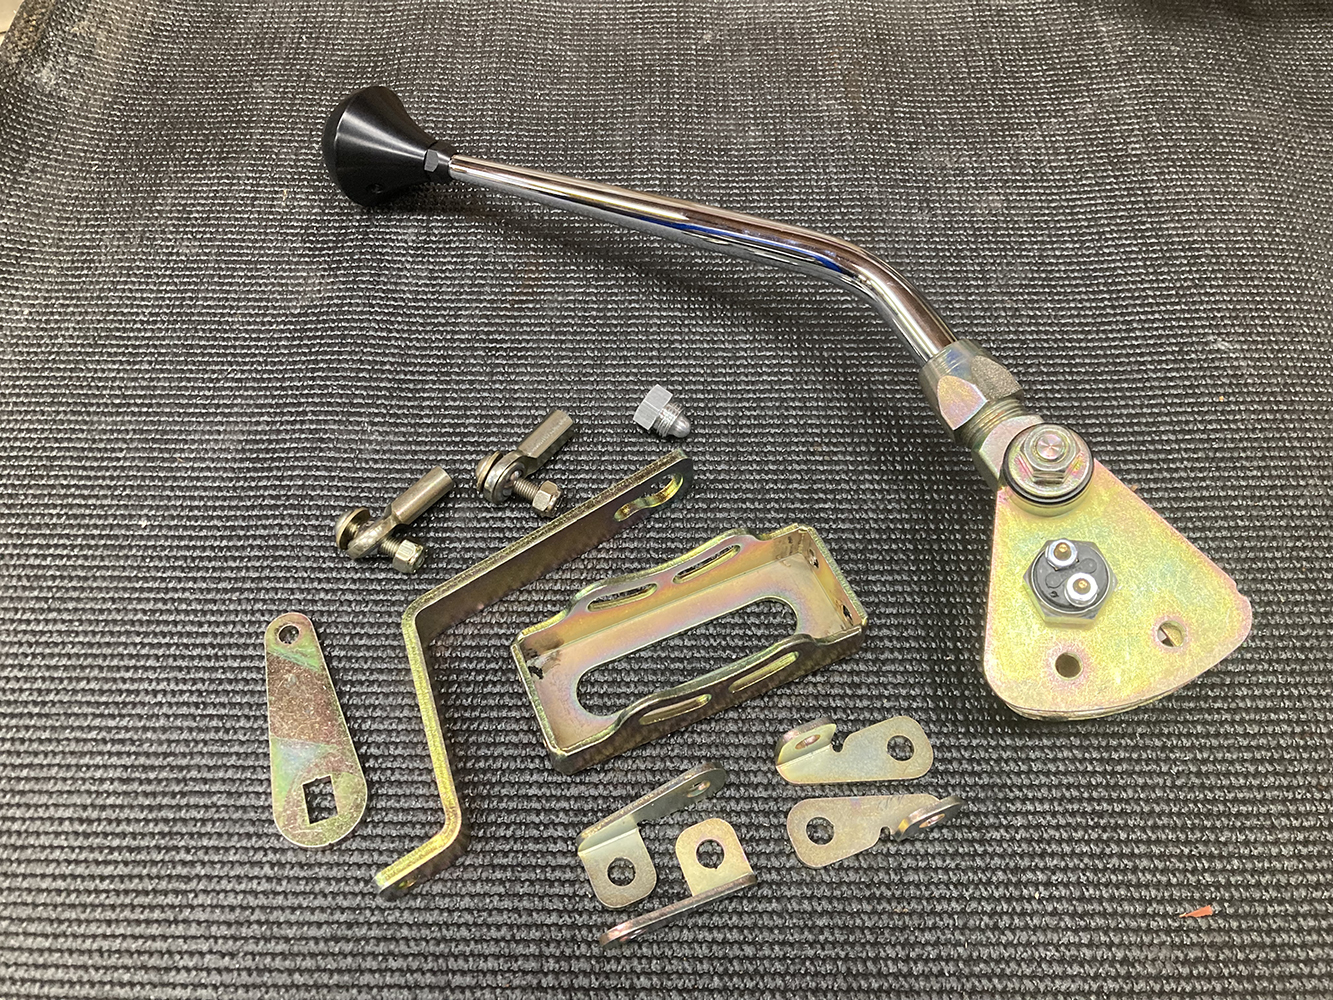
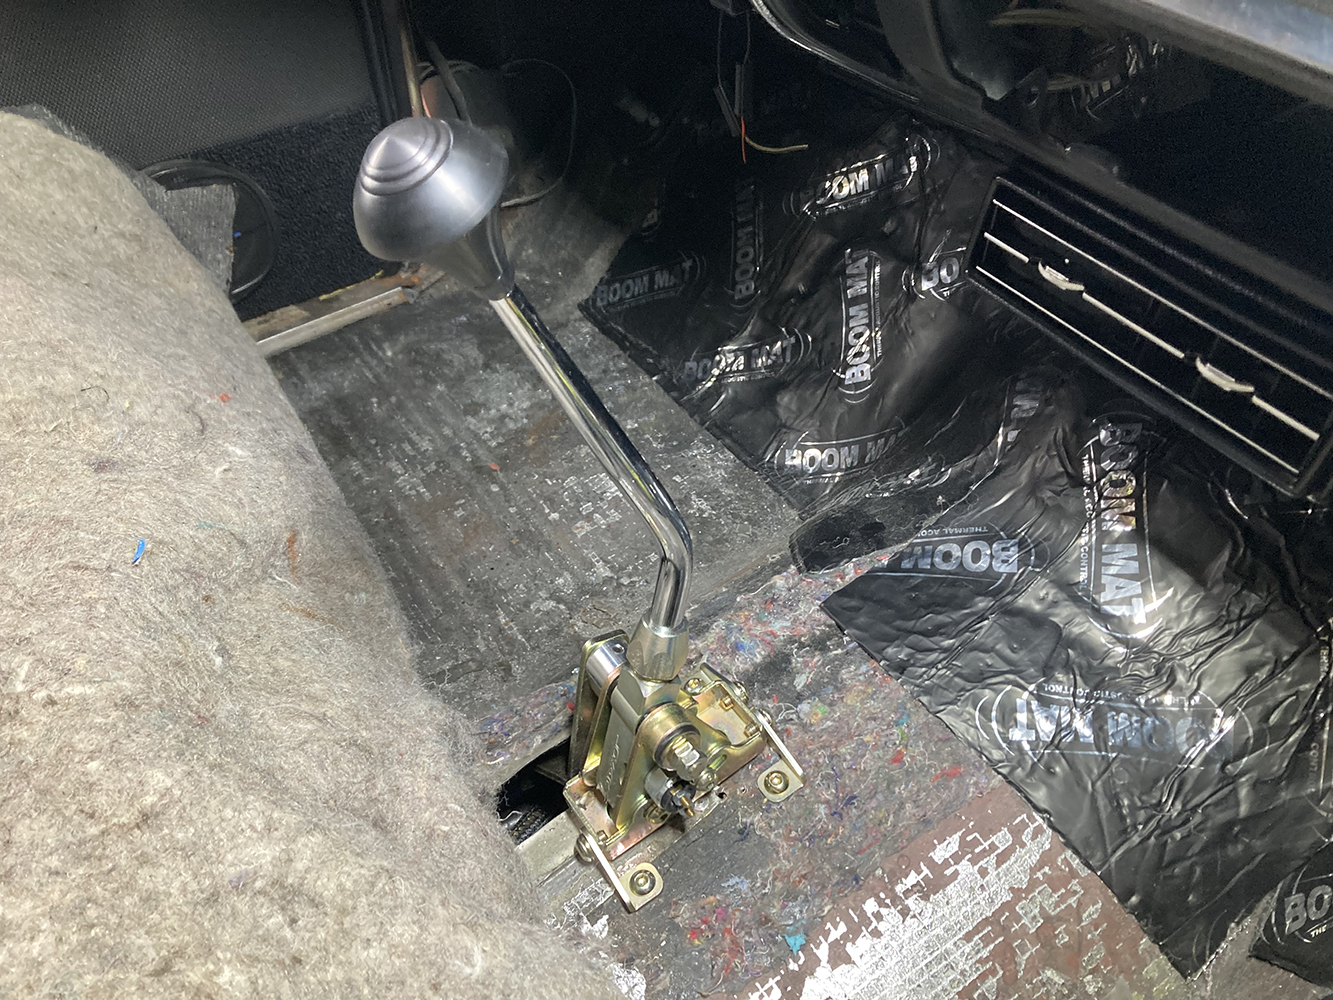
Bruce Valley’s 1957 already had a hole in the floor from the previous Muncie shifter, so we opted for a Lokar floor-mount unit, which will give us the most flexibility when it comes to mounting location. Lokar PN FM-4L60E-C-KB identifies it as a floor mount model for a 4L60E transmission with a 12-inch, single-bend lever and deco black shift knob.
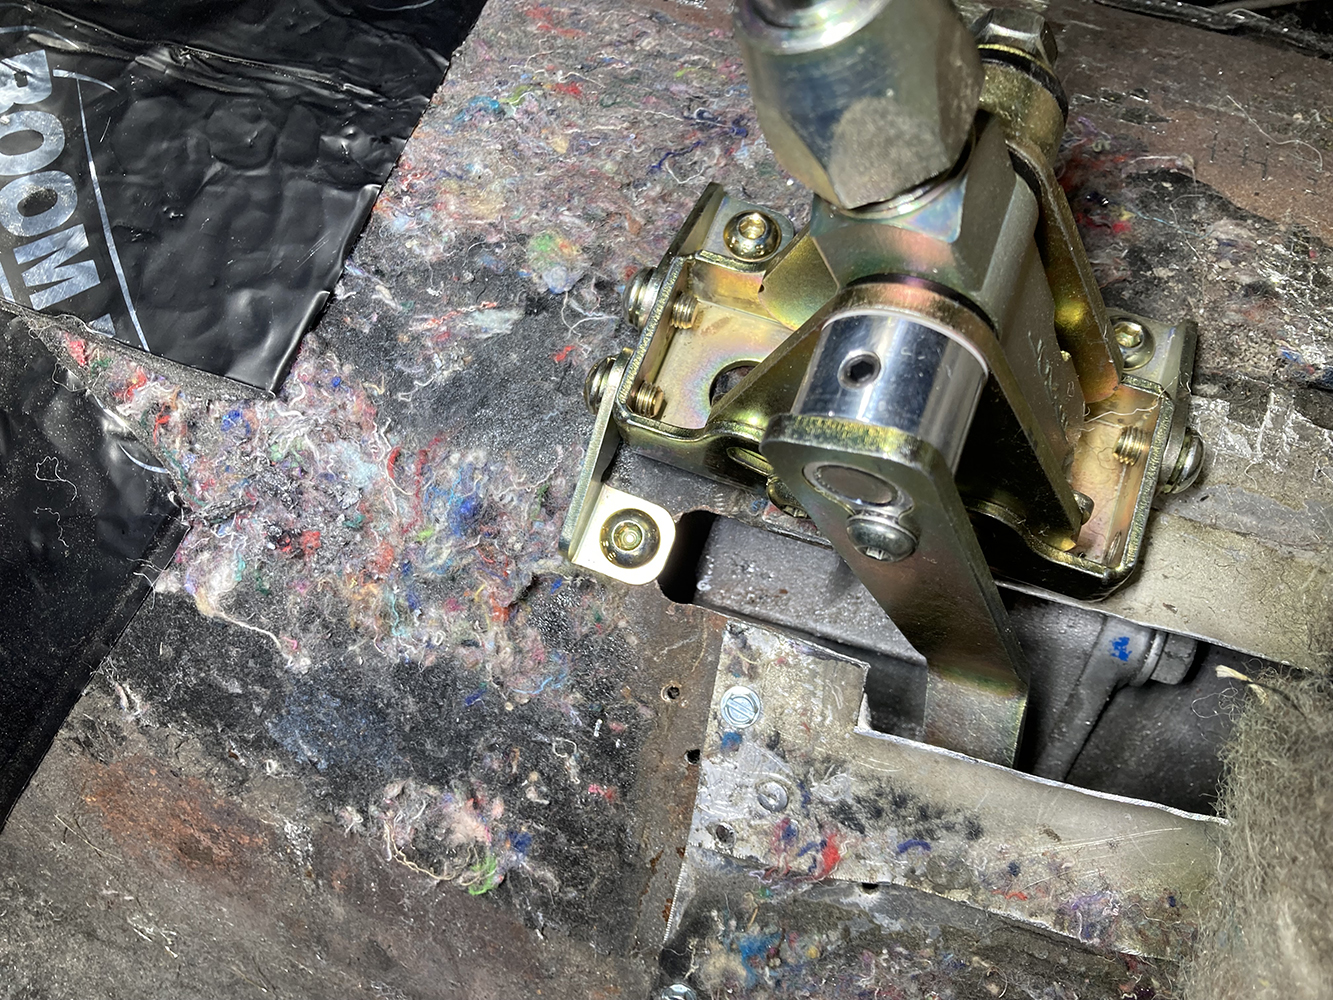
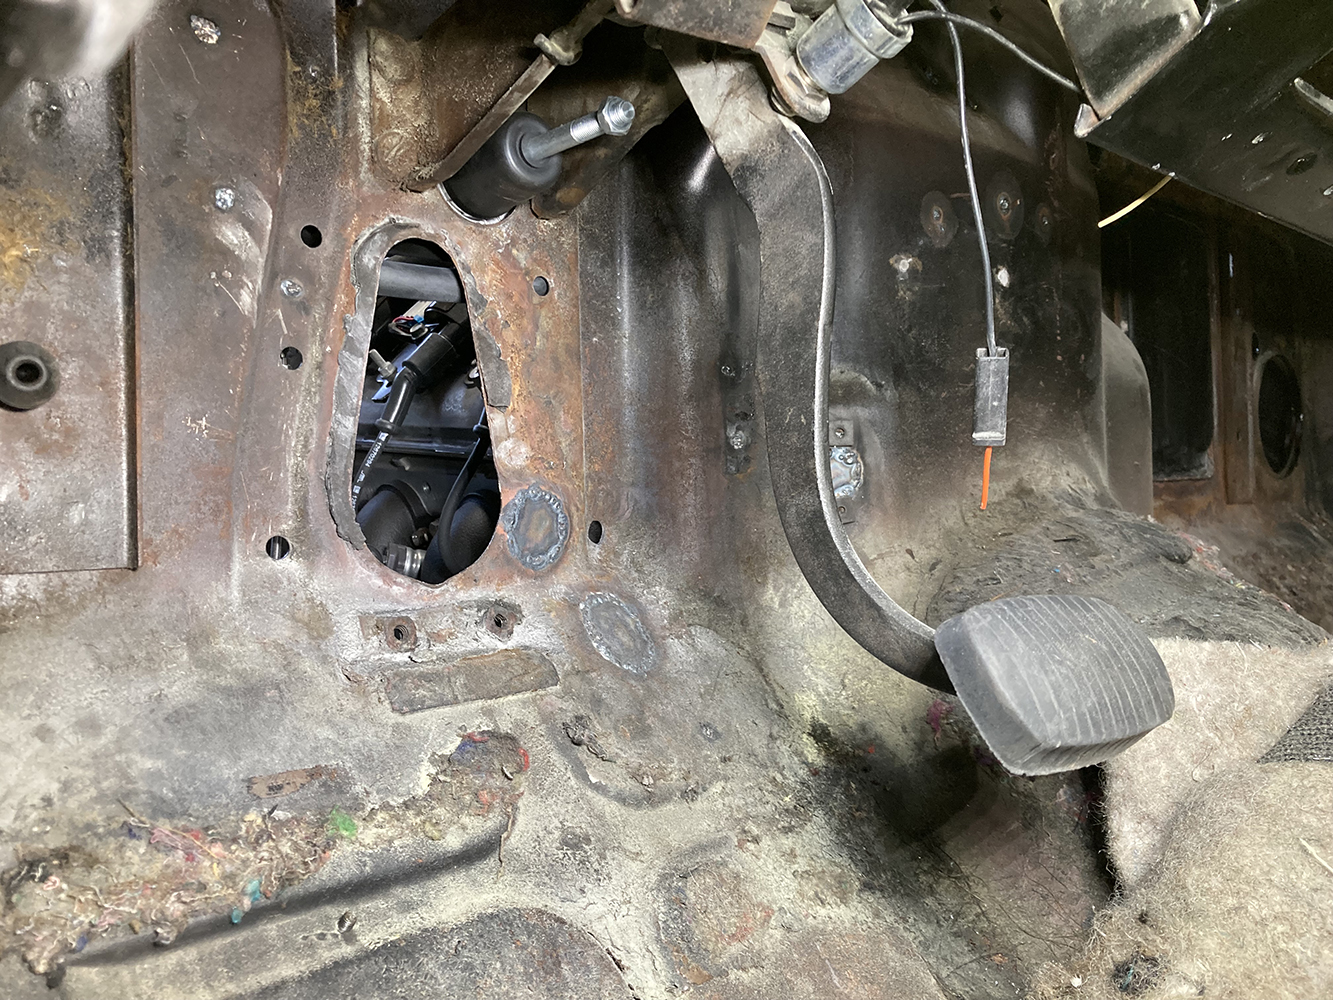
Pulling the existing carpet up, and with the Muncie shifter removed, exposed a fairly large hole in the floor, with a few previous repairs being evident. That would make installing a Lokar floor-mounted shifter a little easier, but the previous “repairs” meant we had a little bit of sheetmetal work that would be required once the shifter was in place. Thankfully, mounting the shifter is as simple as picking a location, drilling the four mounting holes, and bolting the shifter in place. Next, a slot in the floor needs to be cut for the shift lever. From there, it’s a matter of trimming the threaded rod and connecting the shifter to the trans. A few more adjustments and the installation is complete.
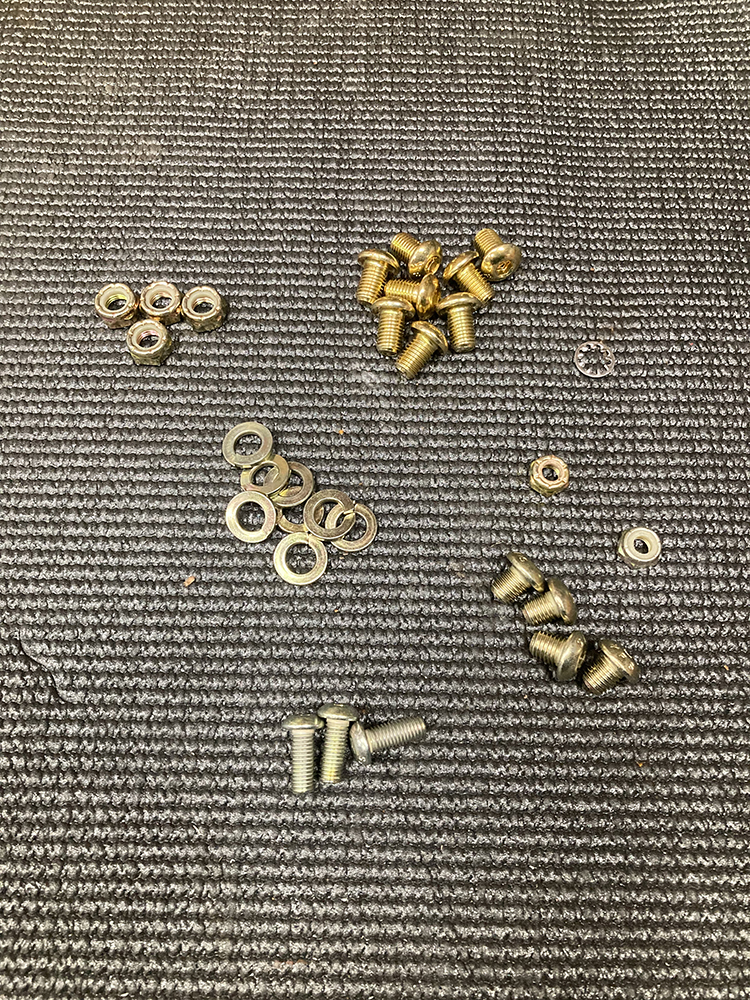
Lokar provides all hardware necessary for installation.
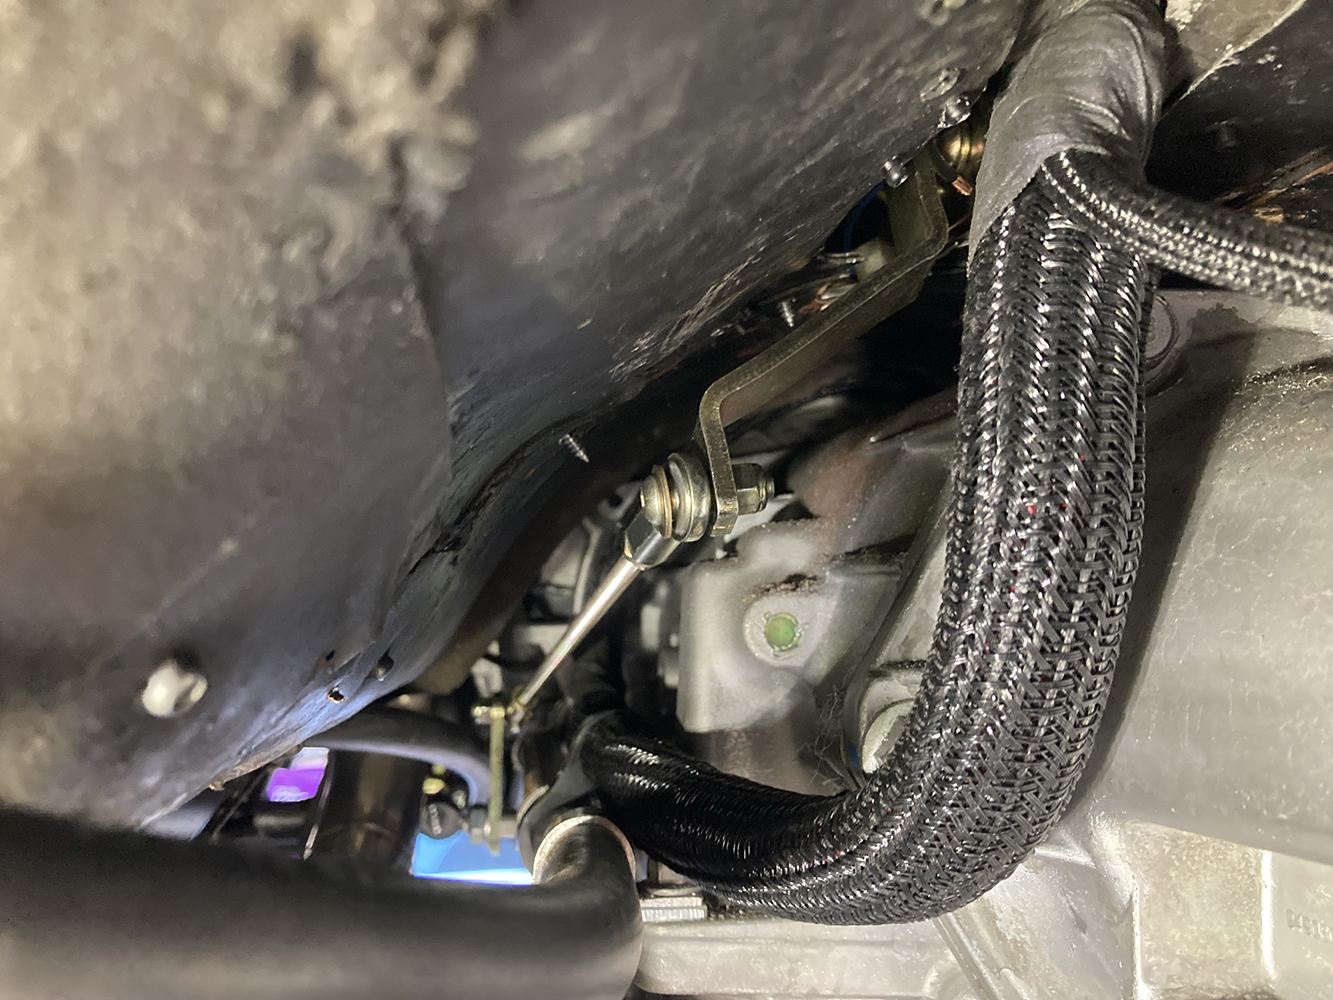
Mounting the Lokar drive-by-wire pedal required slightly more work, as a bracket needed to be fabricated to get the pedal position just right in the Tri-Five. The brake pedal arm installation was pretty simple, as it’s basically a direct swap for the original unit, using a few OG parts as well.
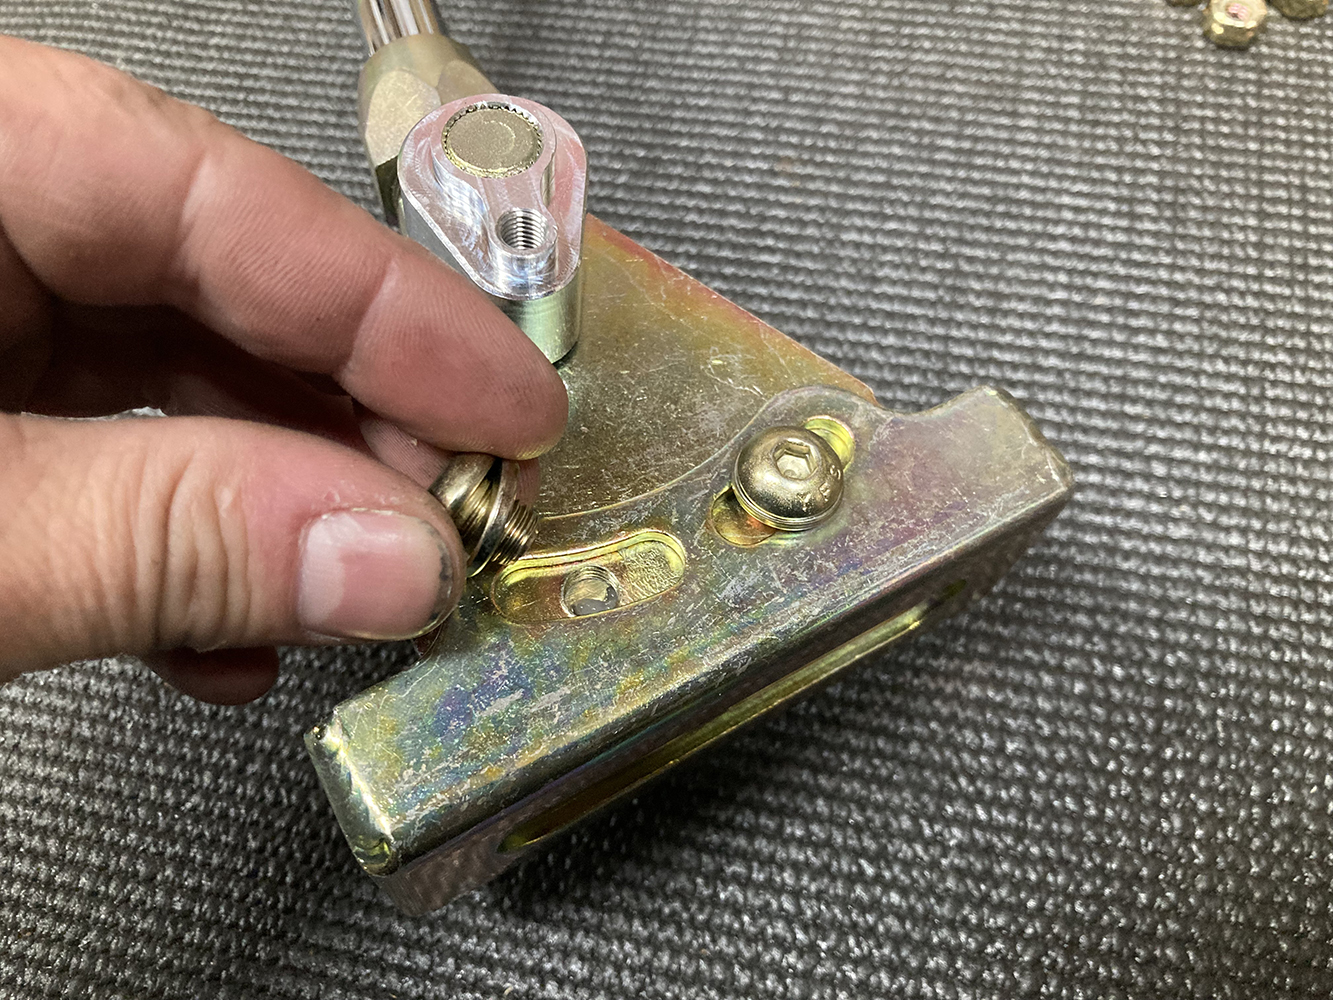
The floor-mount mounting bracket is mated to the shifter assembly with the shortest (3/8-inch) 5/16-inch -24 fasteners. The curved, slotted holes allow the angle of the shifter to be fine-tuned once in place.
The inclusion of Lokar’s line of products resulted in a cohesive look when it came to the pedal assembly, especially given the alternative of the OE plastic GM DBW pedal and the 1957’s rubber brake pedal pad. The Restomod series of pedal pads look like they could have come stock in the 1957. The alternative to Lokar’s floor shifter, at least when it comes to an OE option, is basically non-existent, so the option for a bolt-in shifter with the features that come as standard on all Lokar shifters truly is a solution where an alternative doesn’t exist. They function as good as they look, and that’s the most important part.
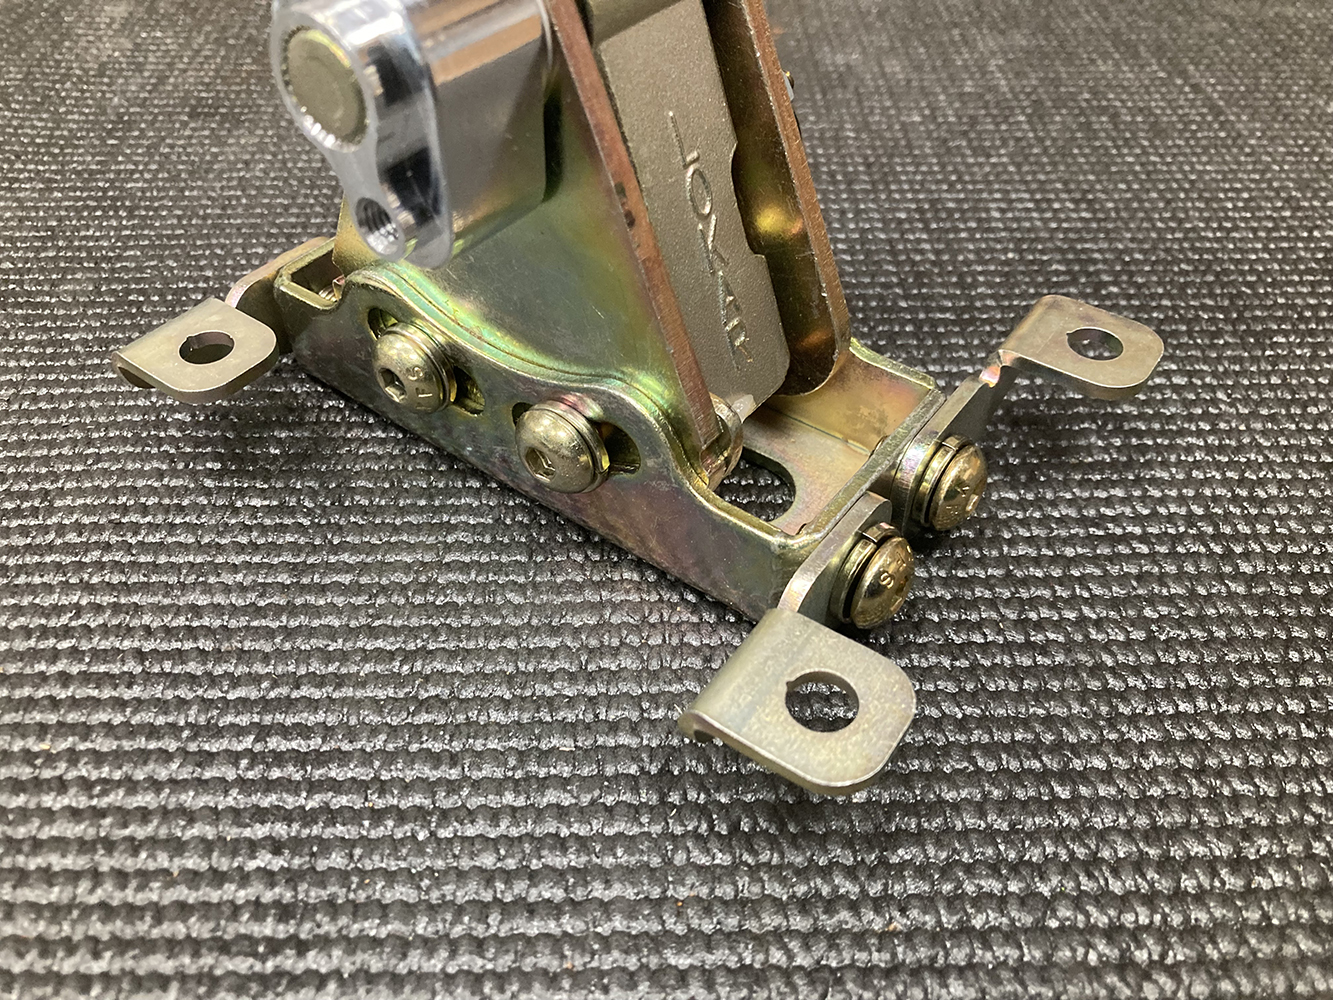
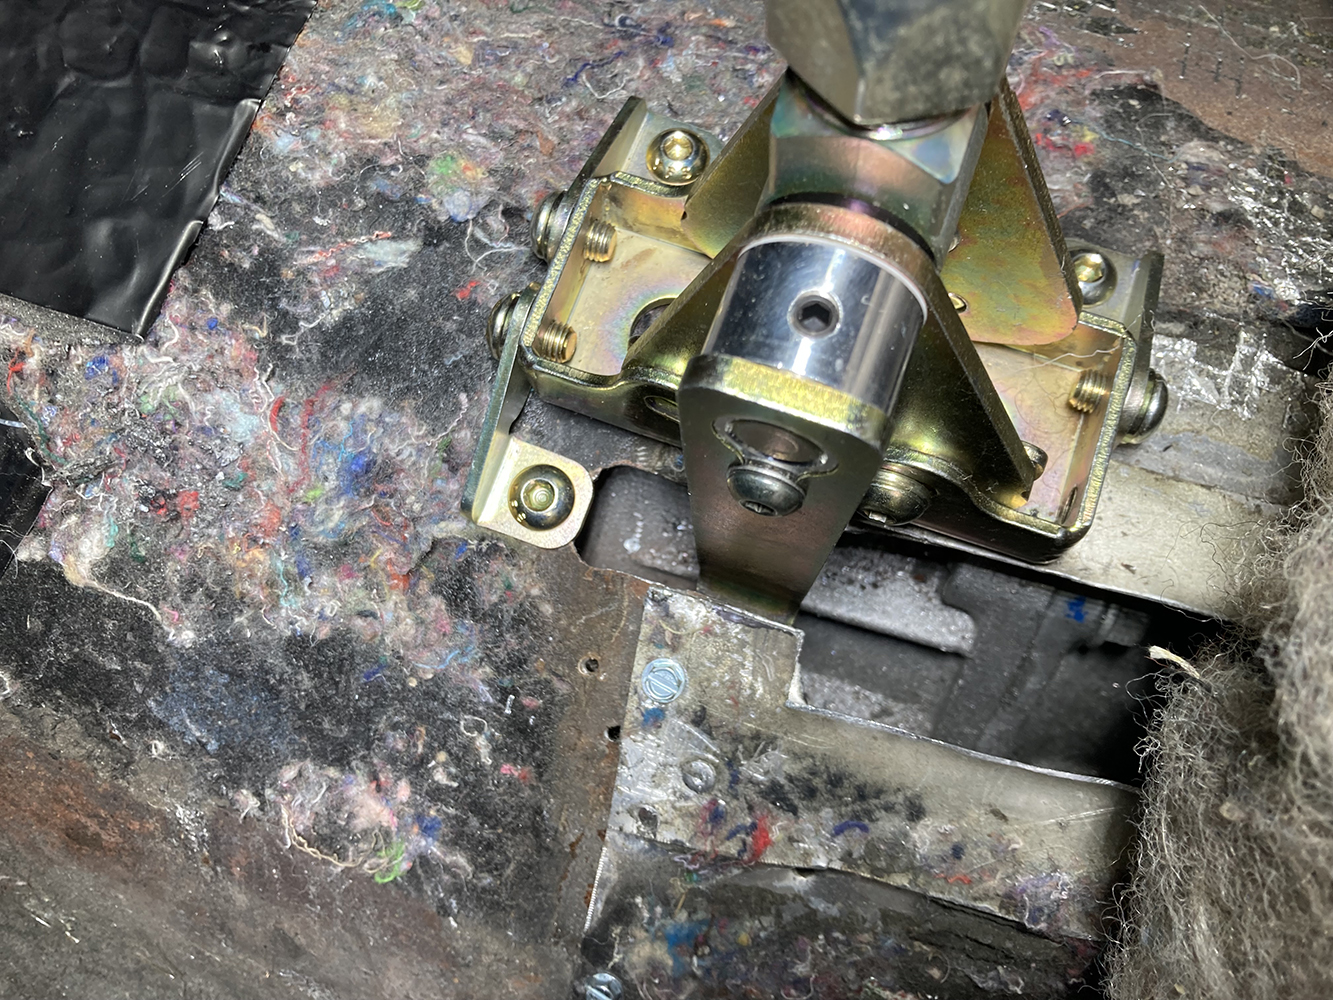
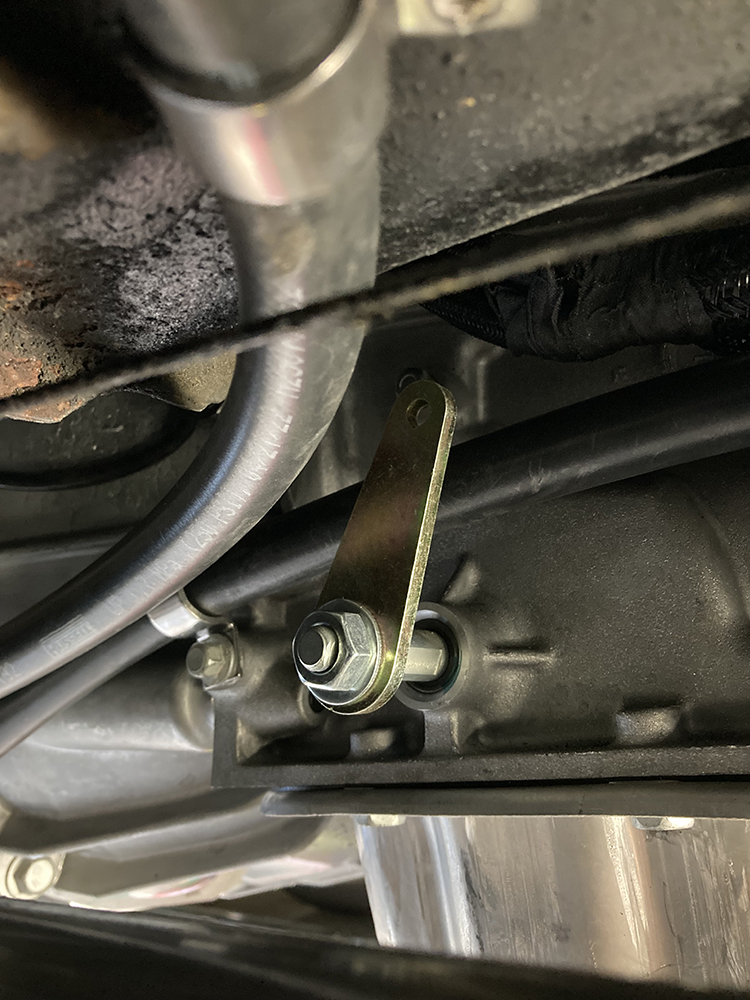
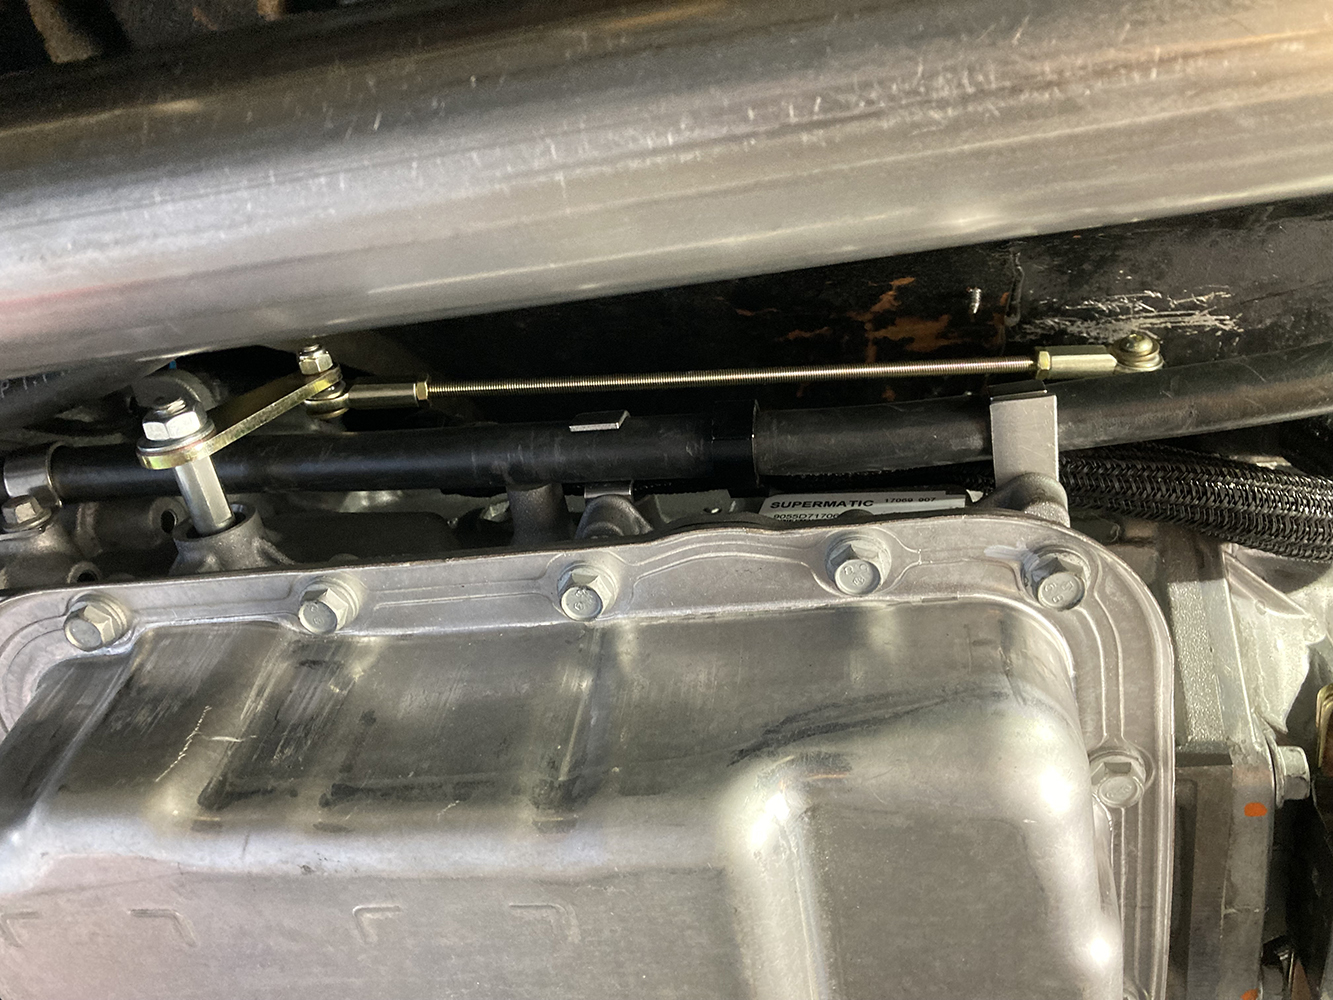
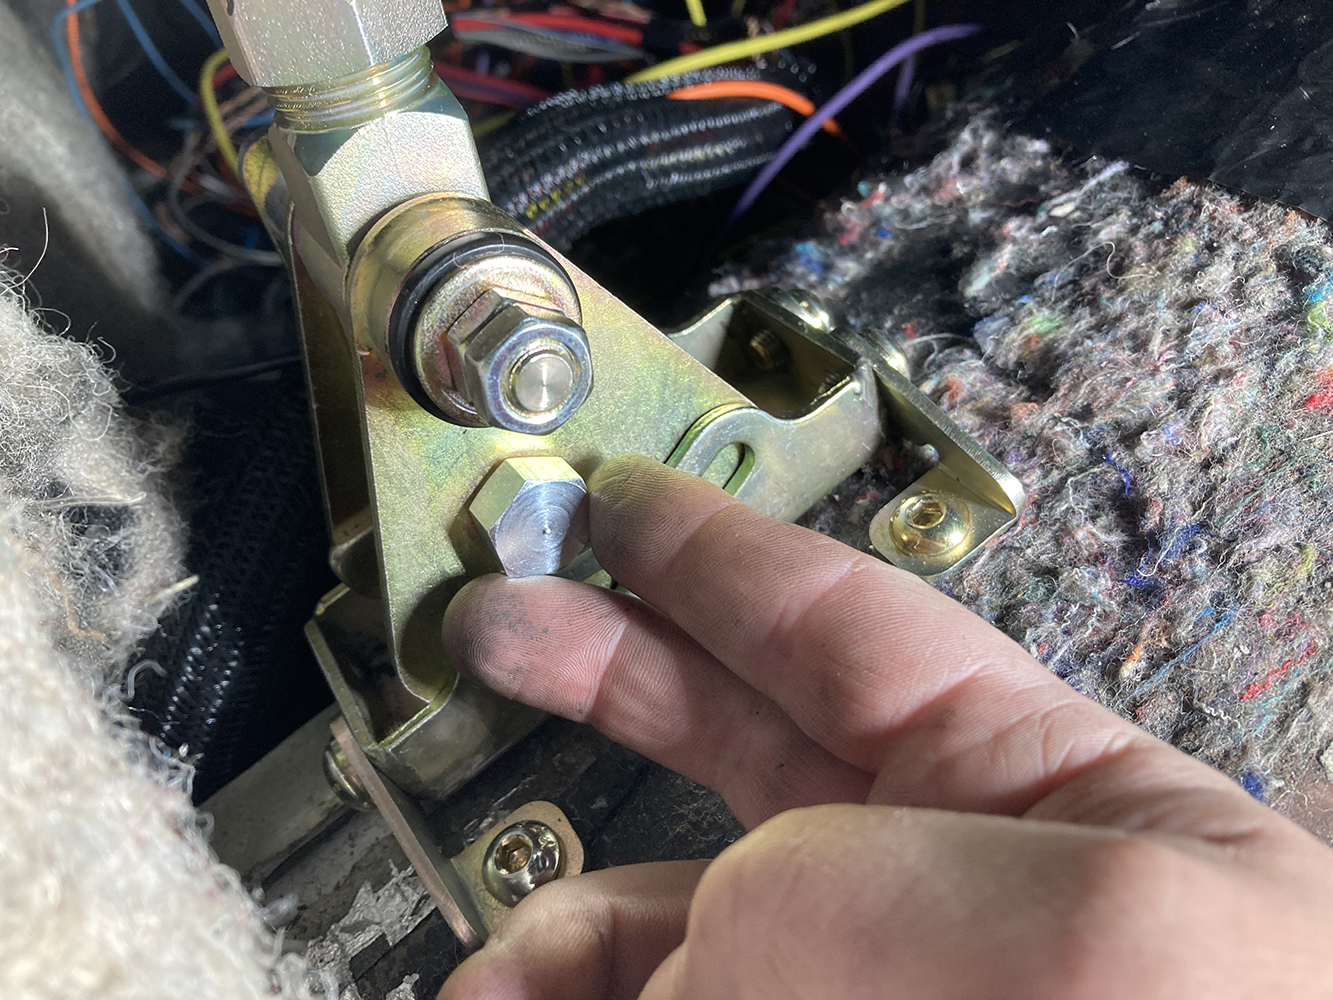
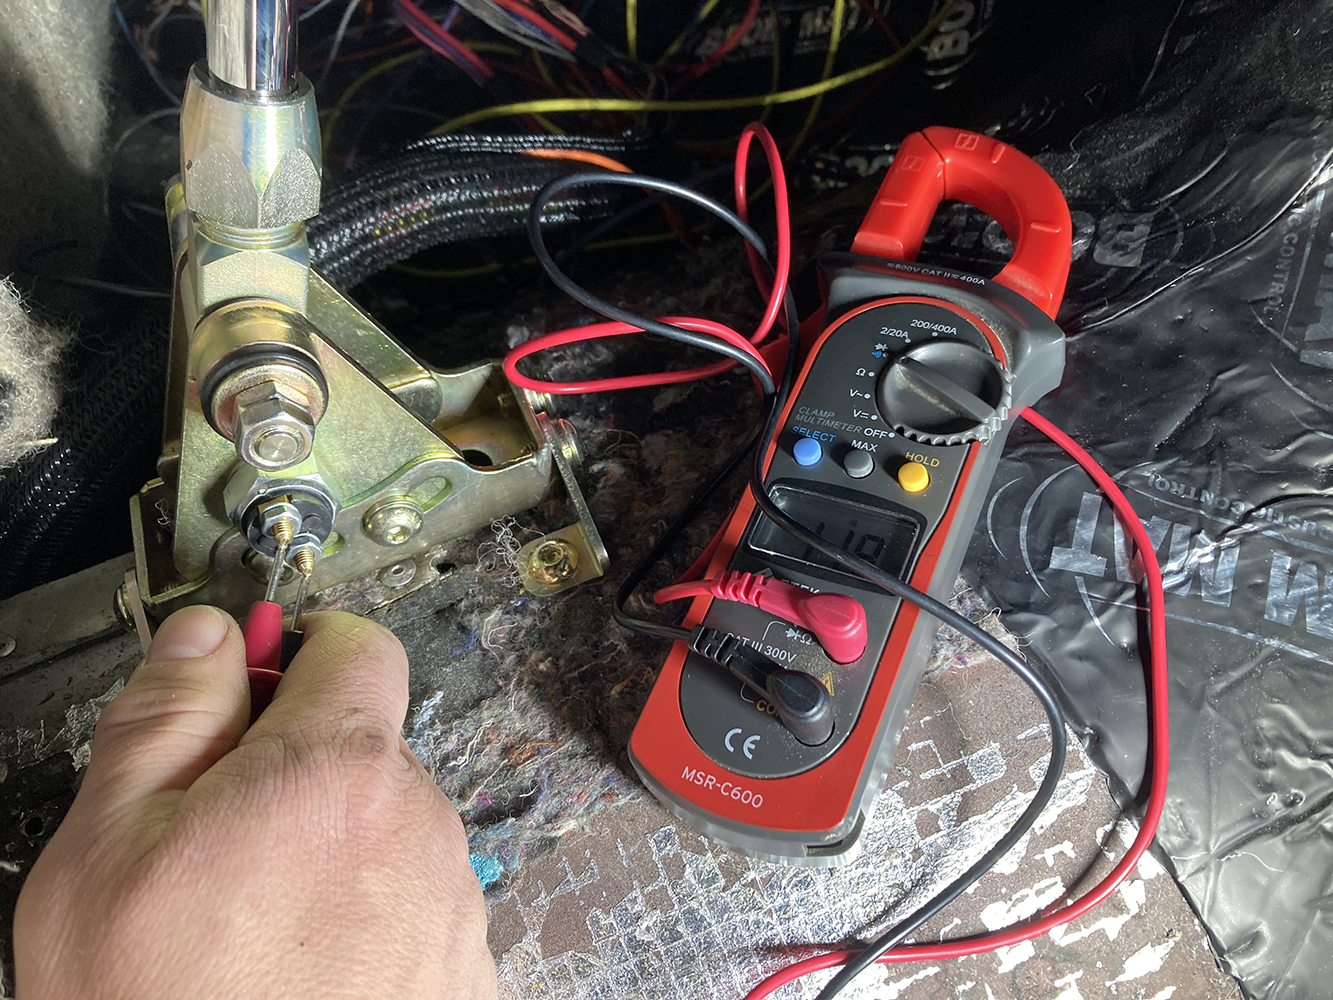
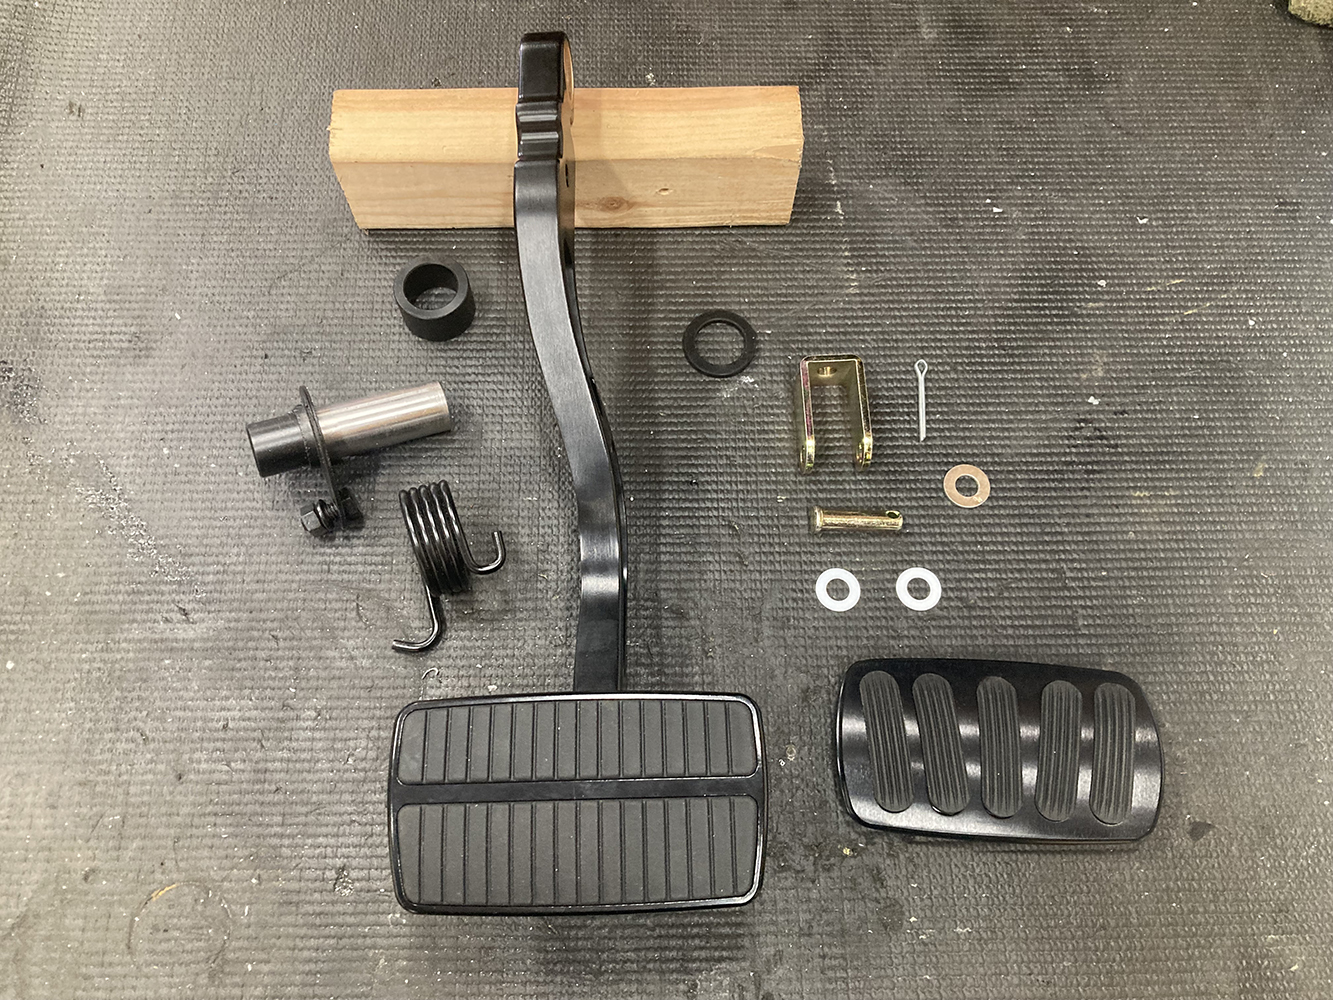
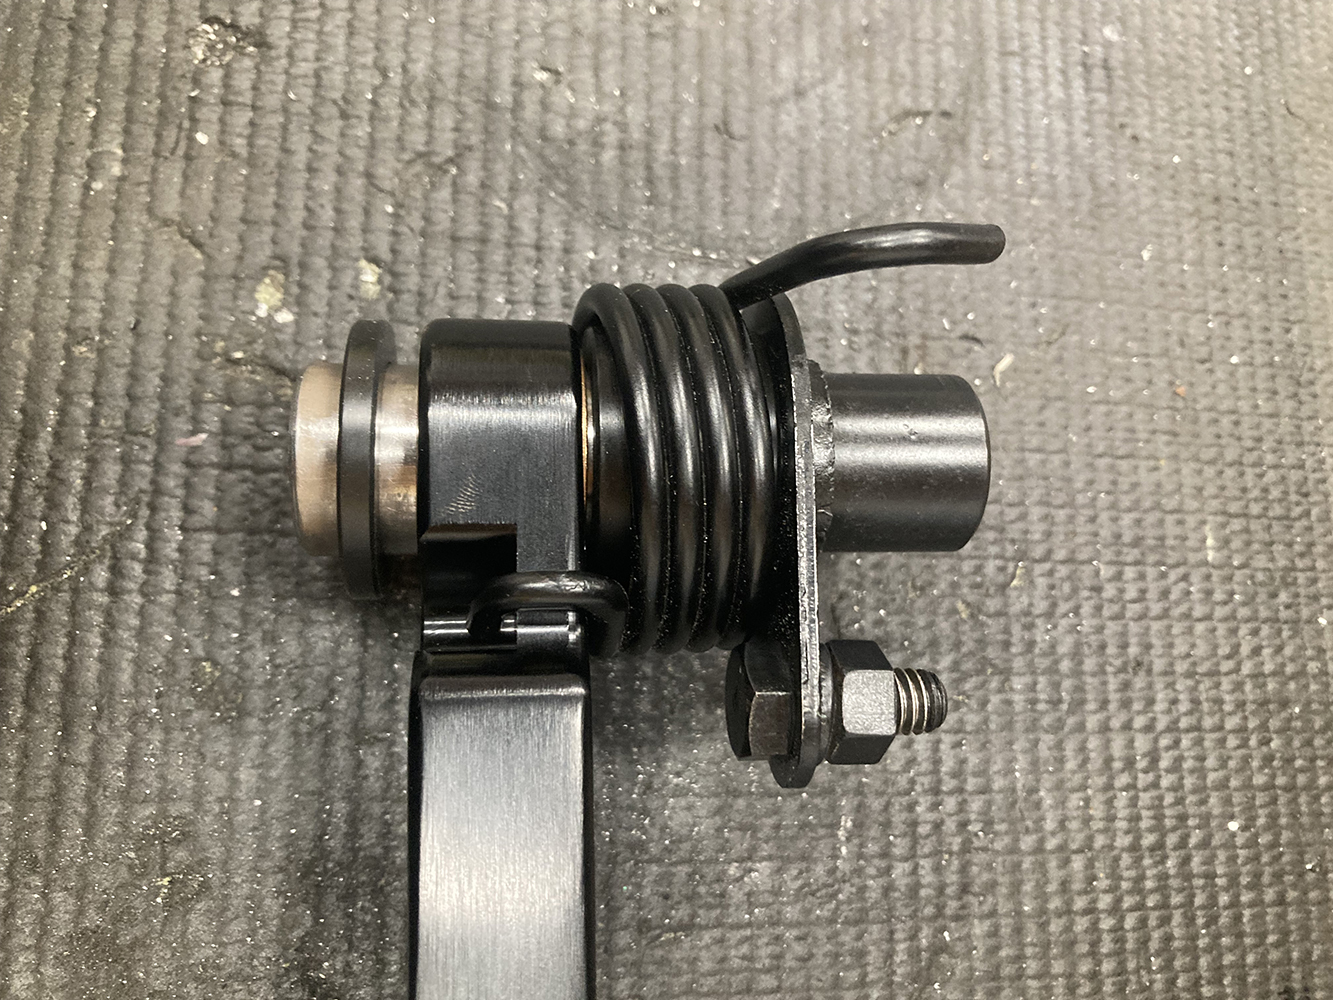
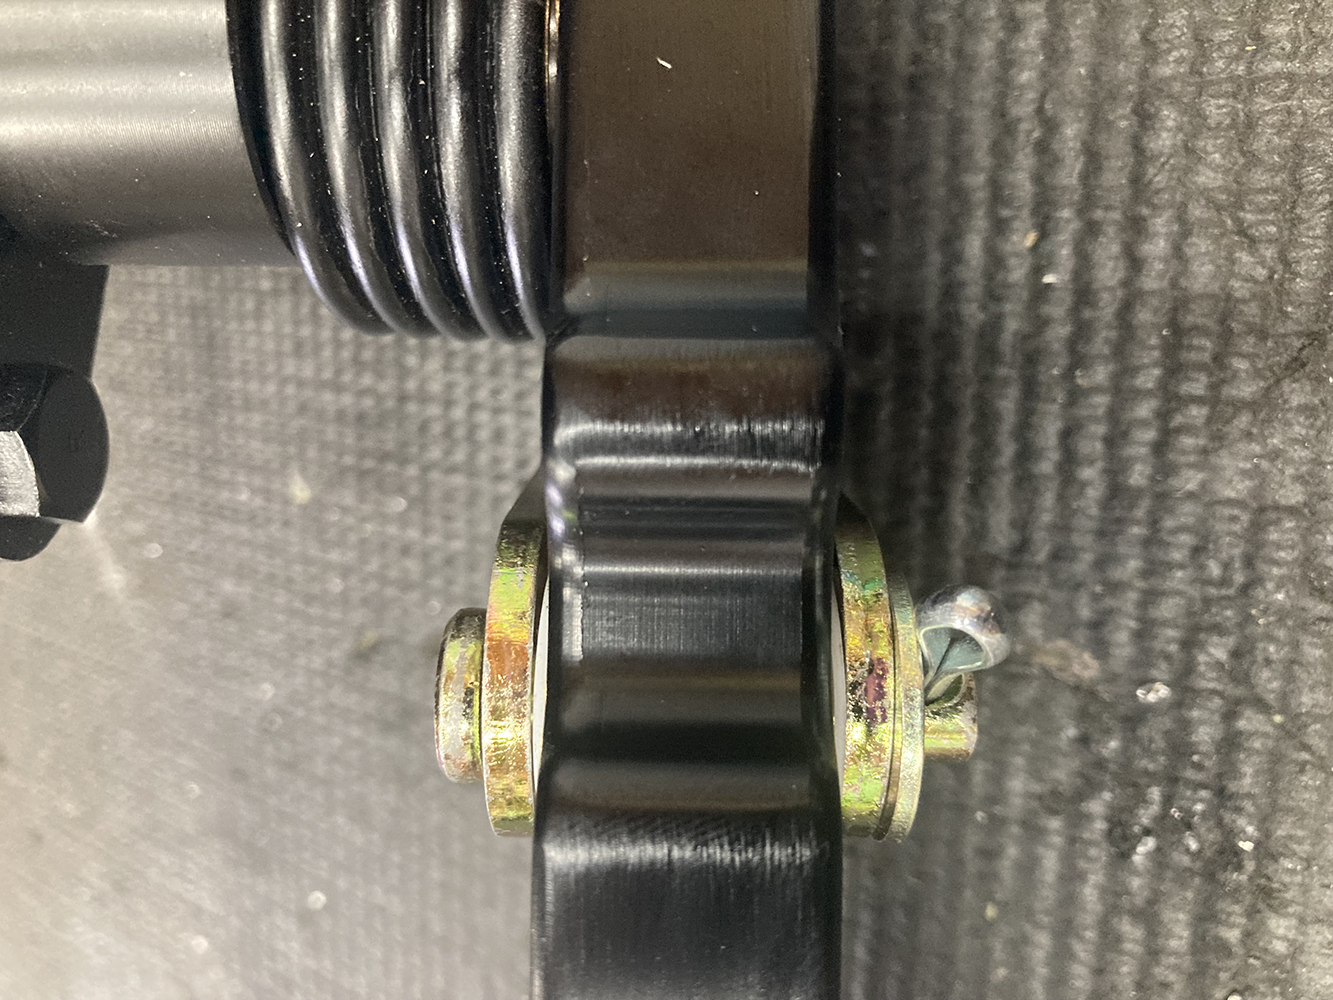
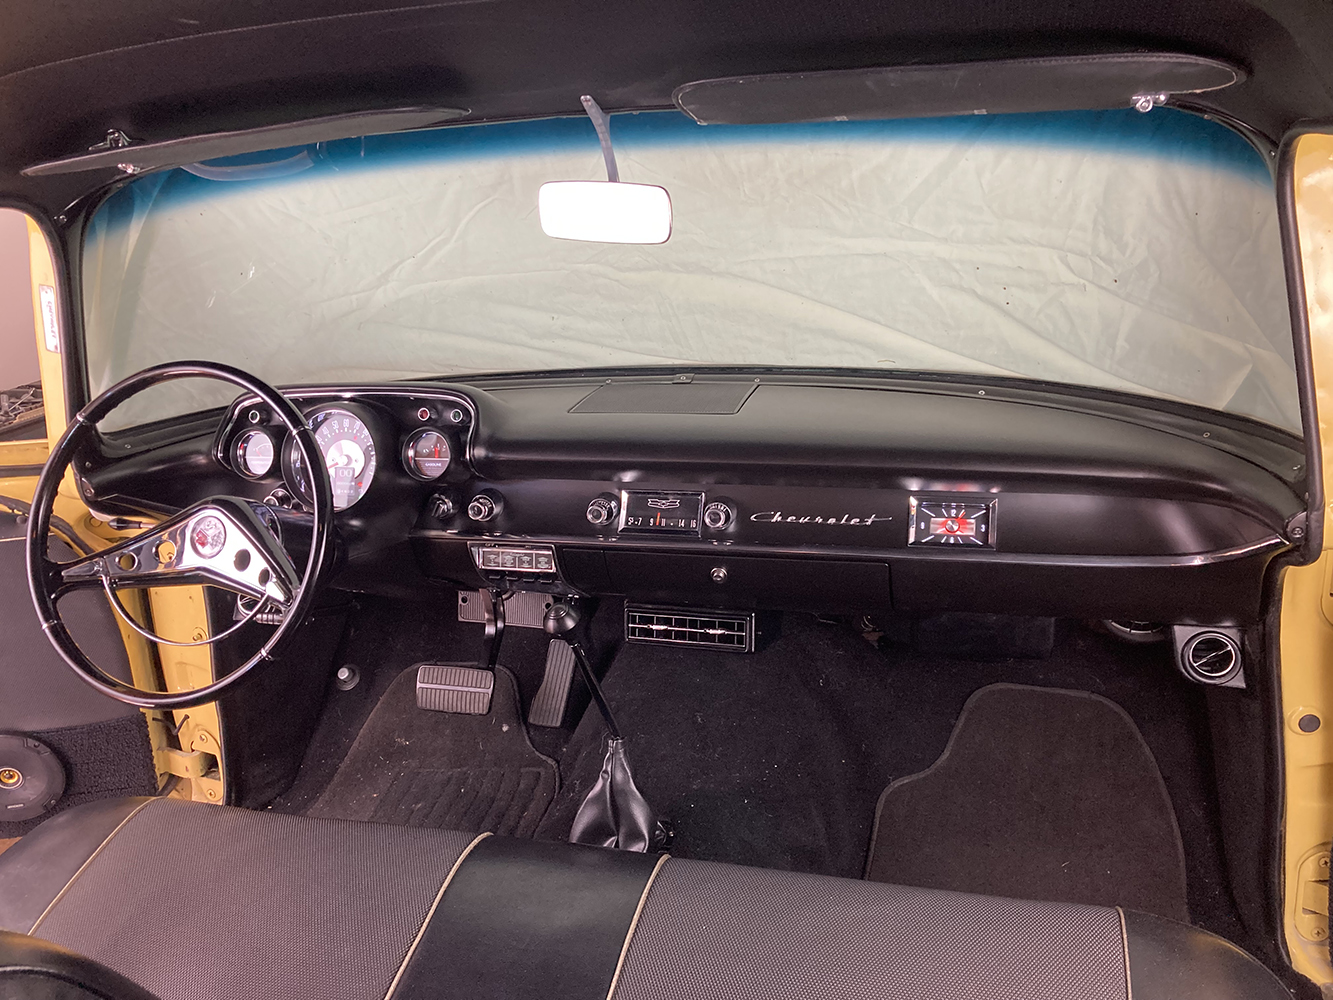
Next, the floor mount tabs are loosely attached to the floor-mount mounting bracket. This example shows the shifter setup for an underfloor mount installation.Given our situation, we opted to flip the floor mount tabs around, mounting the shifter on top of the floor.With the shifter bolted in place, it’s time to cut the slot for the quad-shift lever and check for clearance. In Park, the quad-shift lever should be pointing rearward in a 4:30 to 5 o’clock position. If the lever isn’t pointed toward the aforementioned position, the quad-lever bushing can be removed and repositioned on the splined shaft.Clearance in the floor should be such that the shifter can be moved through its entire length of travel without any contact.With the transmission in Park, a provided trans gear lever is installed on the transmission selector shaft, resulting in a slightly up and rearward (1 o’clock) position.The provided threaded rod will connect the quad shift lever to the trans gear lever. With both the transmission and the shifter in Park, the center-to-center distance between the 1/4-inch holes in the two levers is measured and noted. Subtracting 1 ¾ inches gives us the final length for which the threaded rod is trimmed. A ¼-inch-28 jam nut is installed at each end, followed by a pair of rod ends. The threaded rod assembly is attached to the levers, adjusted evenly at each end so that the rod assembly installs without any bind and without any movement of either lever.Some slight tweaking may be necessary to ensure the assembly is free to travel its entire range of motion without any contact.Up top, the range of the shifter is checked as well to ensure there is plenty of space between the dash in Park and the seat in low.Our Lokar shifter is equipped with a built-in neutral safety switch, but it needs to be adjusted slightly so that it operates as designed. Lokar provides an aluminum adjuster plug that can be utilized, once the neutral safety switch has been removed, to line up the switch plate with the center groove in the shifter body. This is done by loosening the two fasteners that attach the passenger’s side of the floor-mount mounting bracket to the switch plate and moving the switch plate slightly while the adjuster plug is slowly screwed into the switch plate, centering the two. The two side fasteners are then tightened, locking down the assembly.Proper operation of the neutral safety switch can be accomplished using a Multimeter by testing for continuity across the two studs in all gears. Continuity should only be detected when the shifter is in Park and Neutral.Valley’s 1957 was equipped with a Muncie four-speed when it rolled into the Clampdown Competition headquarters. The conversion to an automatic overdrive transmission meant that the clutch pedal would no longer be needed. Instead, a single Lokar brake pedal arm assembly (PN XBCA-9511) could be used along with a Lokar DBW pedal (PN XBDBW-GM06) and Restomod pedal pad (PN XDBW-011RM). With a few minor modifications, a matching Restomod brake pedal pad (PN XBAG-014RM) could be used, resulting in a much-improved pedal setup. Here, the components for the Lokar 1955-1957 Chevy Brake Pedal assembly is shown.Before the new Lokar brake pedal can be installed, the original pedal assembly needs to be removed and a few components set aside for reuse.The original brake pedal axle and return spring is used in conjunction with a Delrin spacer assembled onto the Lokar pedal.Once installed, the brake pedal arm clevis will mate the pedal to the master cylinder pushrod.With the assembly completed and a Lokar shift boot (PN 70FMB) installed, our Lokar interior dress-up components not only complement each other but give Valley’s 1957 a timeless vibe.
We use cookies to ensure that we give you the best experience on our website. If you continue to use this site we will assume that you are happy with it.