


Part 2: Fitting a 1959-1964 Chevy onto an AME Fully Independent GT Sport Chassis
By Brian Brennan – Photography by Tim Sutton
We are going to wrap up where we left off last month on how the Art Morrison Enterprises (AME) GT Sport chassis fits beneath a 1959-1964 Chevy. Our project continues while at Scott Bonowski’s Hot Rods & Hobbies (HR&H) shop located in Signal Hill, California. We will hit some of the high points but the reality is nothing replaces reading the full instruction booklet from AME … so don’t cheat!
Doesn’t really matter what postwar-era hot rod you have, the chassis houses old-time performance, whether it be ride, handling, or engine performance. The old cars are neat to look at but not much for staying up with modern driving demands. Let’s face it, once hot rodders began installing air conditioning systems it wouldn’t be long before all of the other creature comforts would follow suite. And nothing says modern performance better than the way a new car rides and grips the road.
That brings us to why we drop old bodies onto new chassis. We have installed so many of the other amenities it just makes sense to tackle the one significant thing that will change the entire demeanor of an early car. It takes something old and makes it both compatible and on par in today’s modern world of performance.

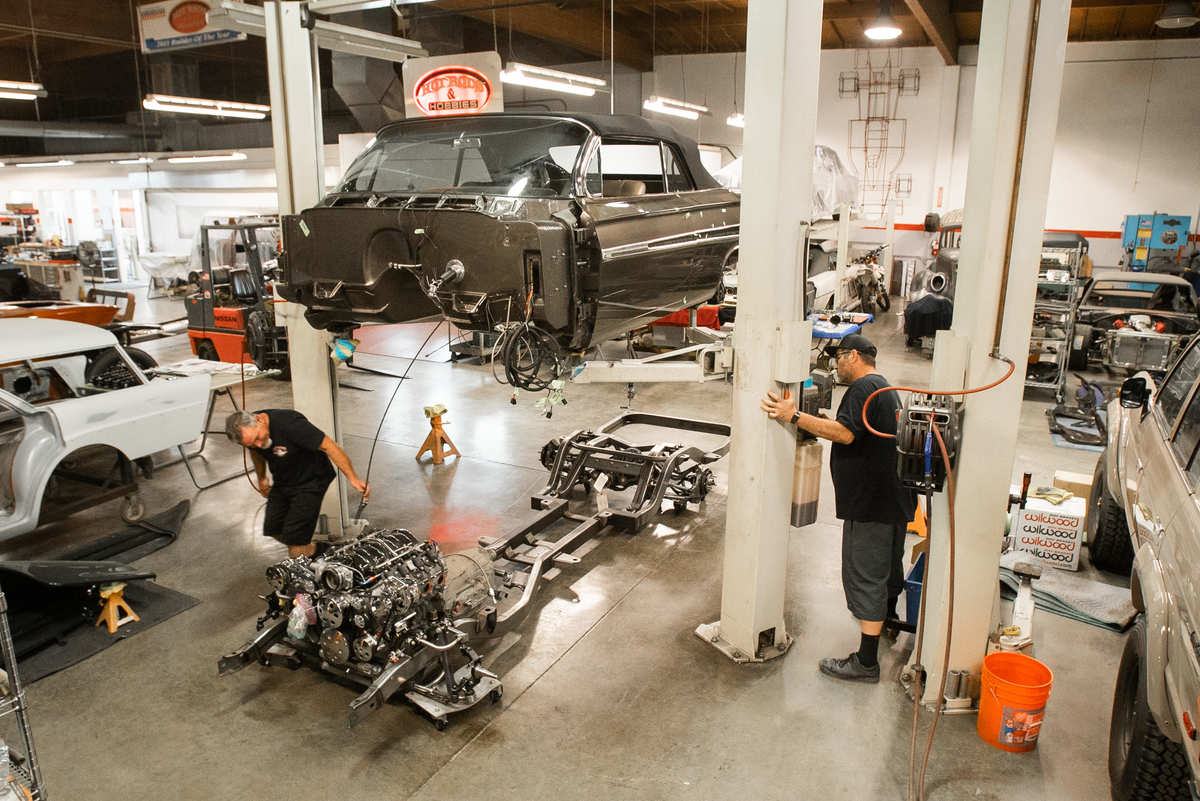
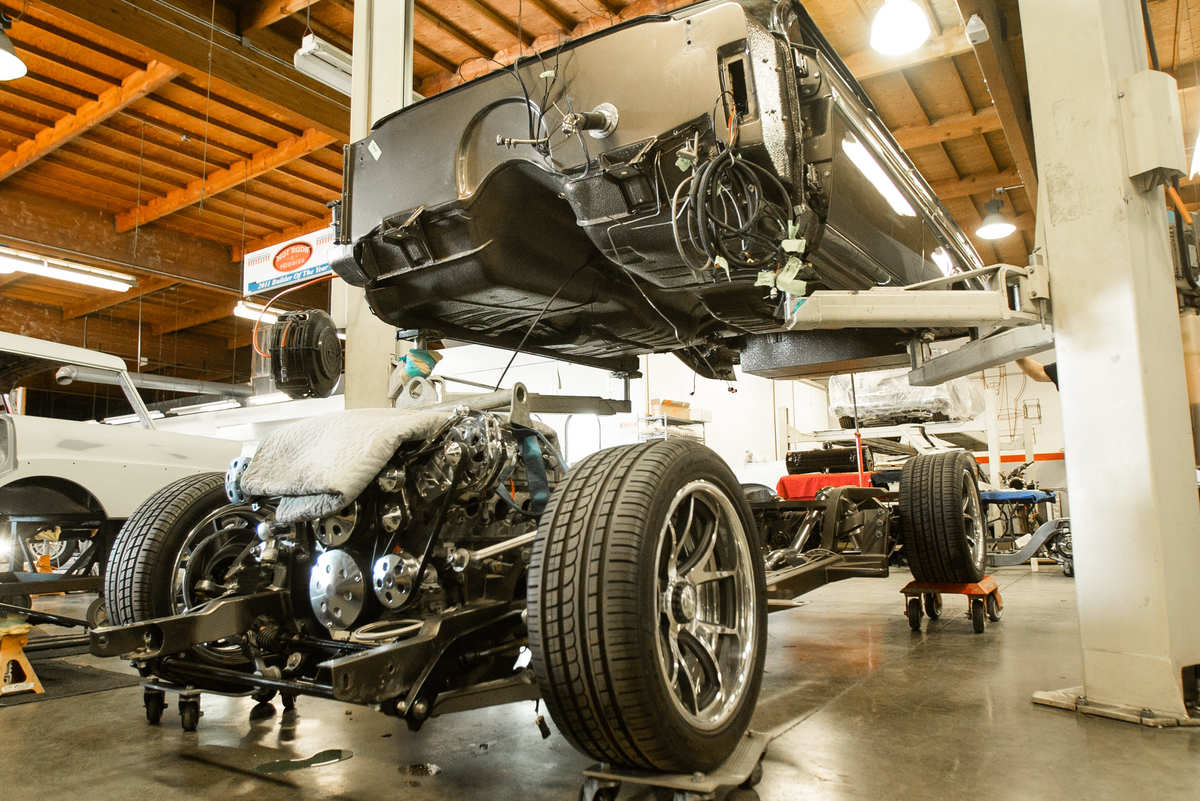
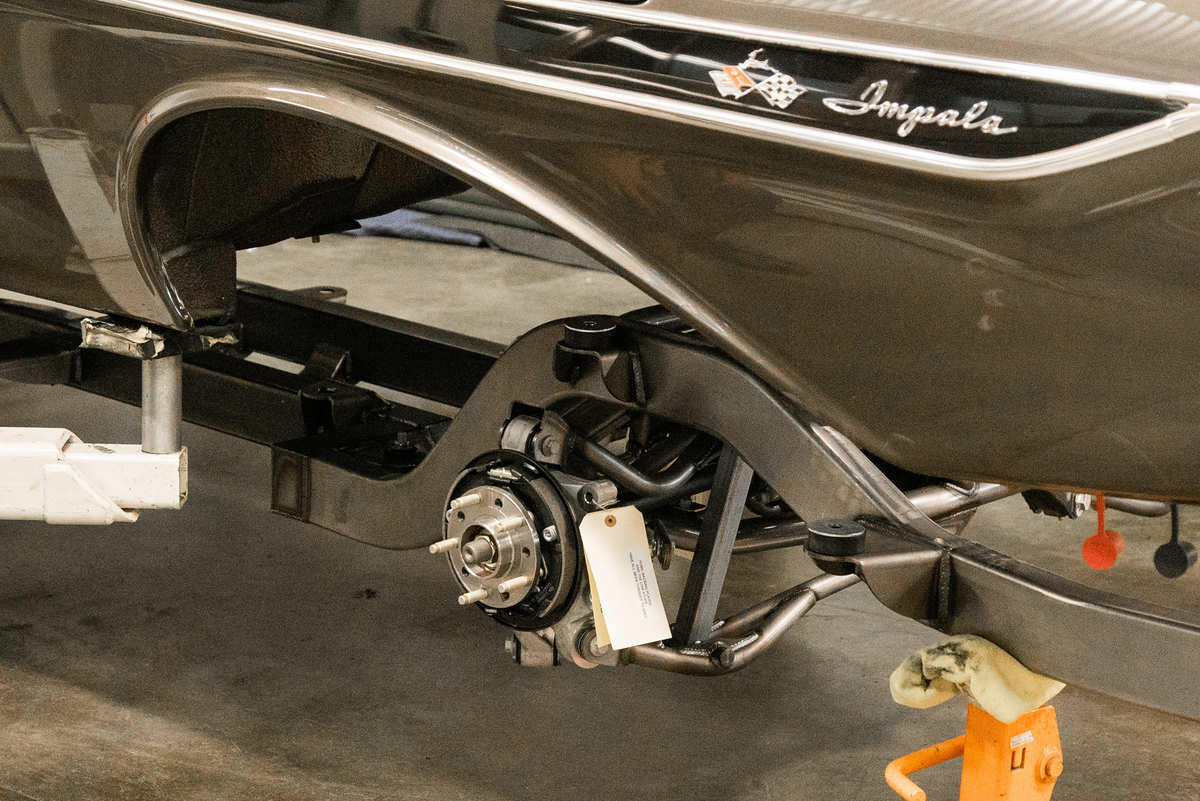
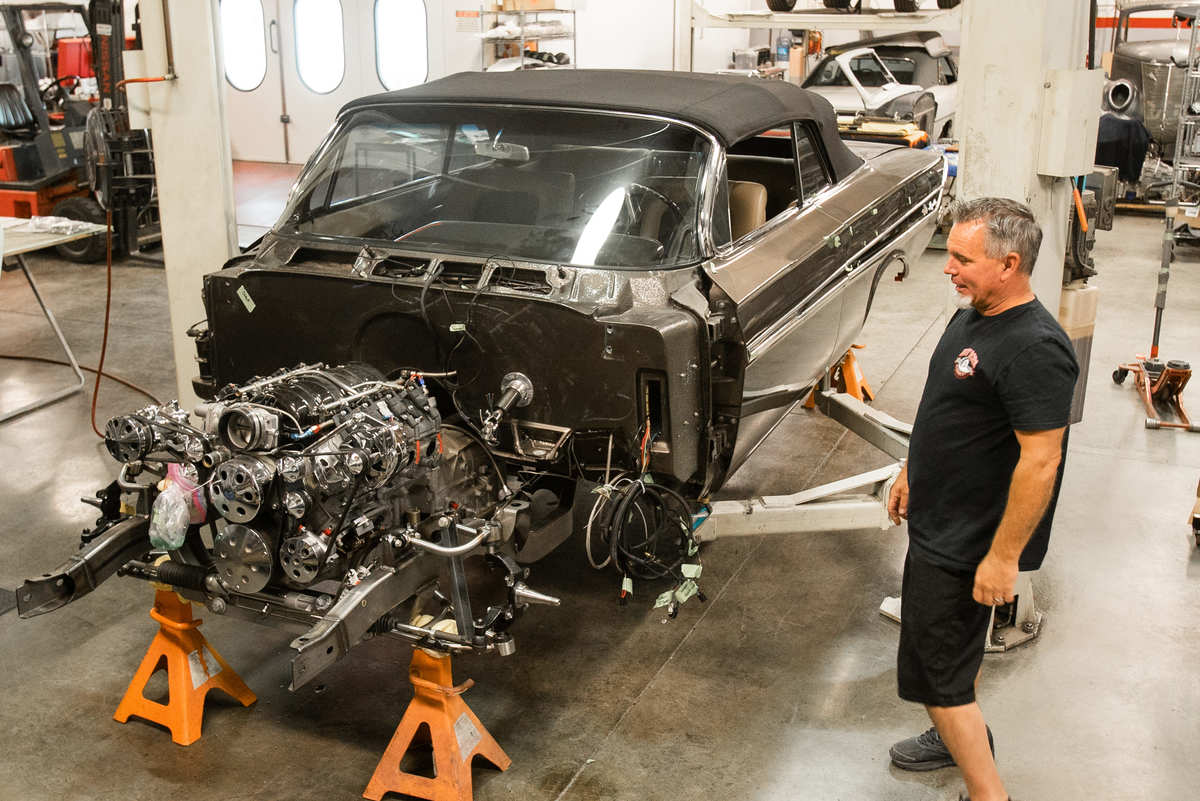
We’ve progressed to lowering our 1961 Chevy Impala convertible onto the chassis to secure all of the body mount points and make what sheetmetal mods are required. In our world of hot rodding we have come to understand there’s both a need and a desire to have a modern chassis under our many decades-old rides.
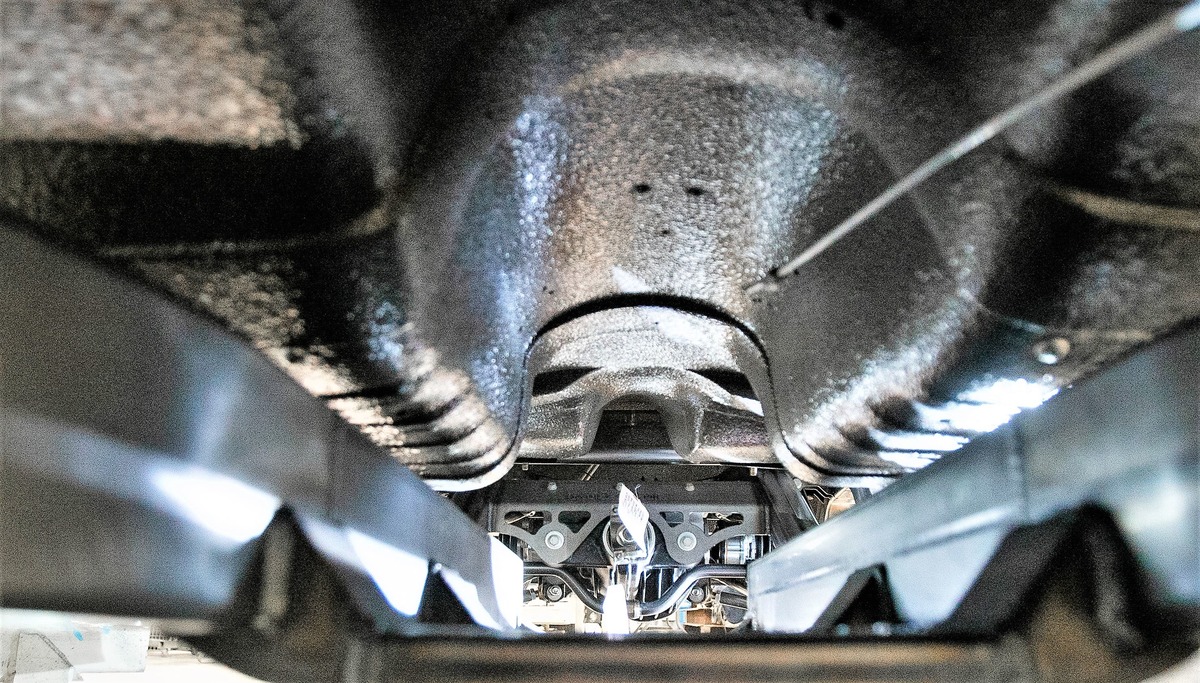
AME shipped the GT Sport chassis directly to HR&H and once uncrated it was virtually ready to go. Both the IFS and the Multilink IRS were bolted into position. Such items as the coilover shocks, brakes, and dropping in our powertrain were about all that was needed to finish out the chassis. The trick to the swap is to make sure that the necessary modifications are made to our 1959-1964 Chevy underbody sheetmetal before buttoning up the chassis swap.

Body Mounting
Read the instructions, it will pay dividends, before performing the necessary sheetmetal mods per the AME guidelines. The recommended starting point for lowering the body onto the chassis is to locate the front chassis mounting holes at the firewall. Once this is done the rest quickly falls into position.

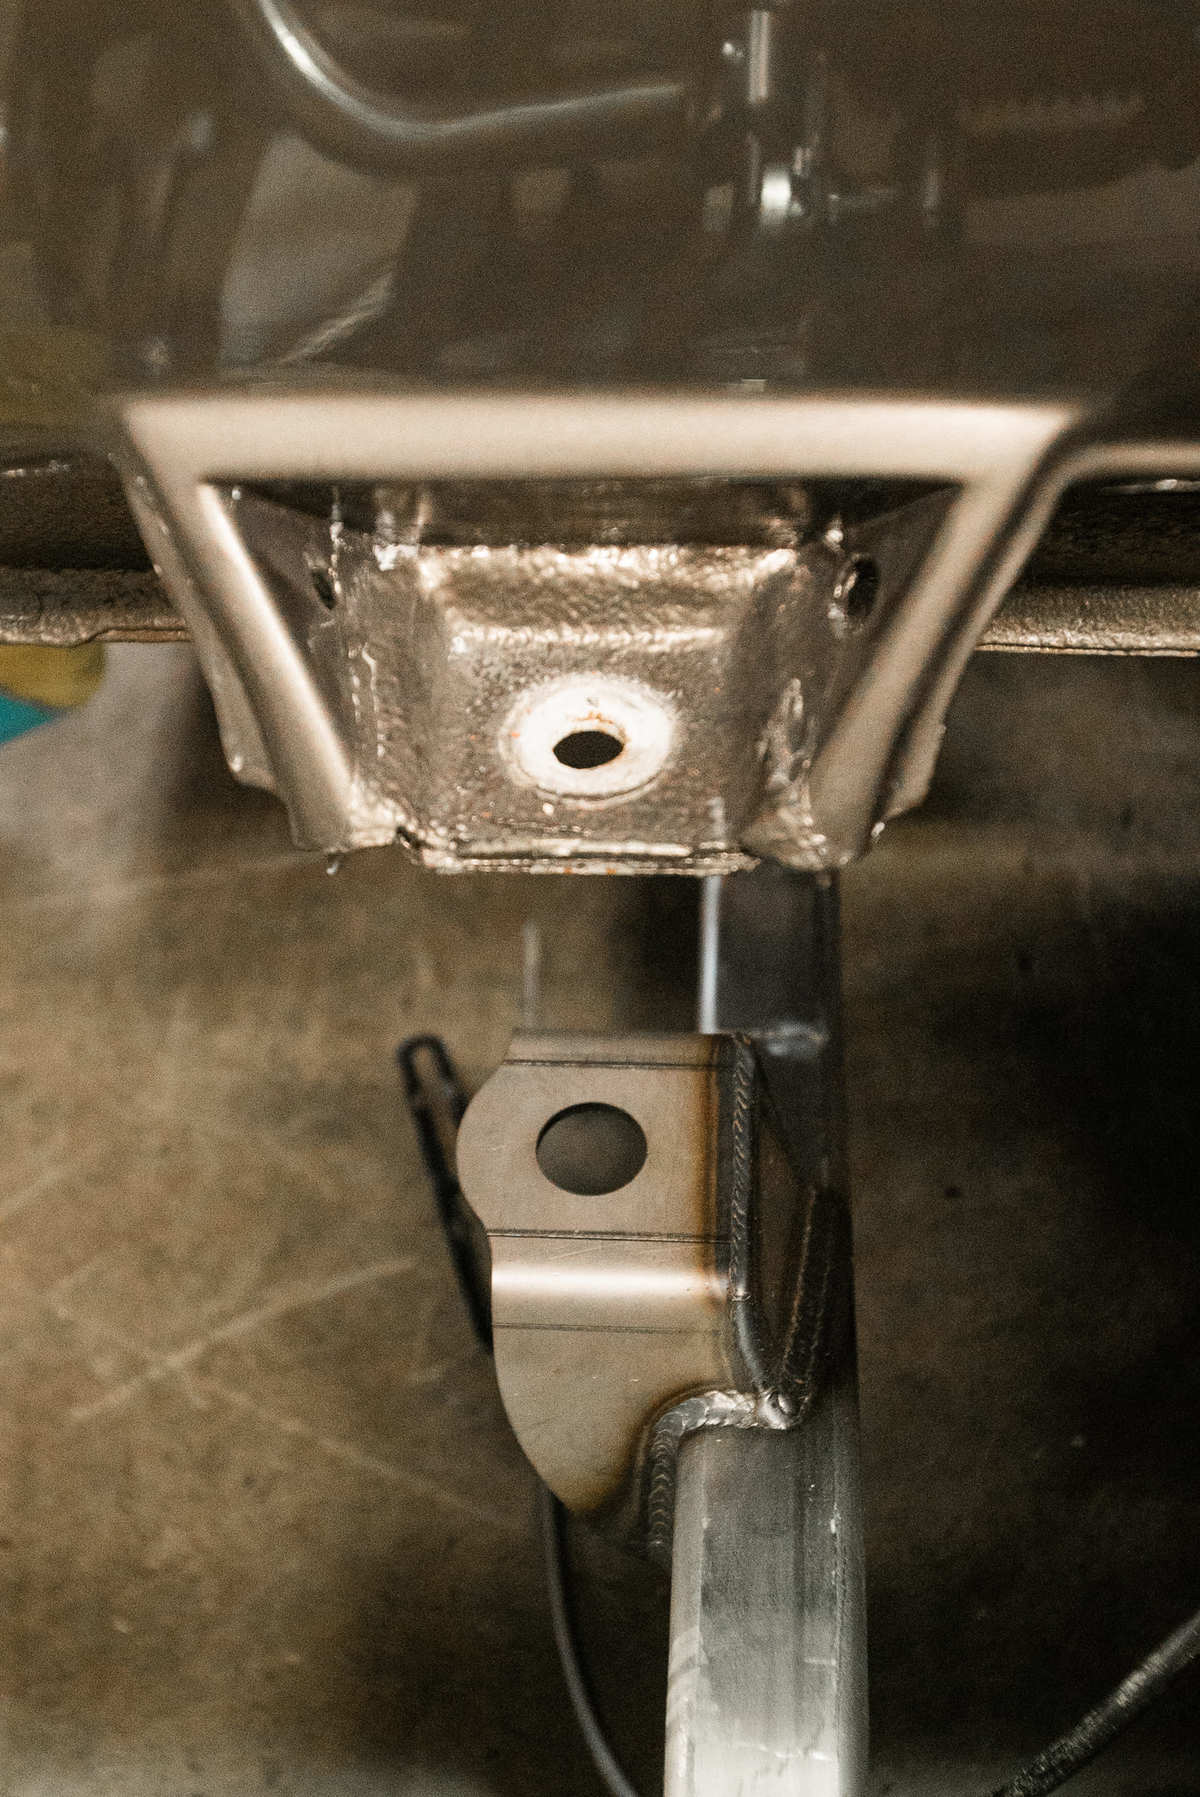

According to AME, “The 1959-1960 models use the 1959 Impala hardtop mounts and the 1961-1964 models use the 1961-1964 convertible mounts. However, the Impala GT Sport chassis includes two additional body mounts (per side) that were designed for added body stiffness.”
Body Modifications
It should also be noted according to AME, “Most transmissions should fit in the tunnel; however, some transmissions may require modification for fitment, especially the T56 and 4L80E series transmissions.” And in our case, we are using the 4L80E, hence some sheetmetal mods are ahead.
Since our car had a fuel cell at one time added by a previous owner, it was back to square one. If your body is stock then the 1961-1964 gas tank is located directly behind the rear axle housing. However, remember our 1961 convertible is using the IRS (Multilink). The stock gas tank will not fit with the Air Spring Triangulated 4-Bar Suspension or the Multilink IRS, and that’s what we needed to address. All 1959-1964 GT Sport chassis will require minor body modifications for fitment. The goal is to make the sheetmetal mods but end up with what would seemingly appear to have a factory appearance.
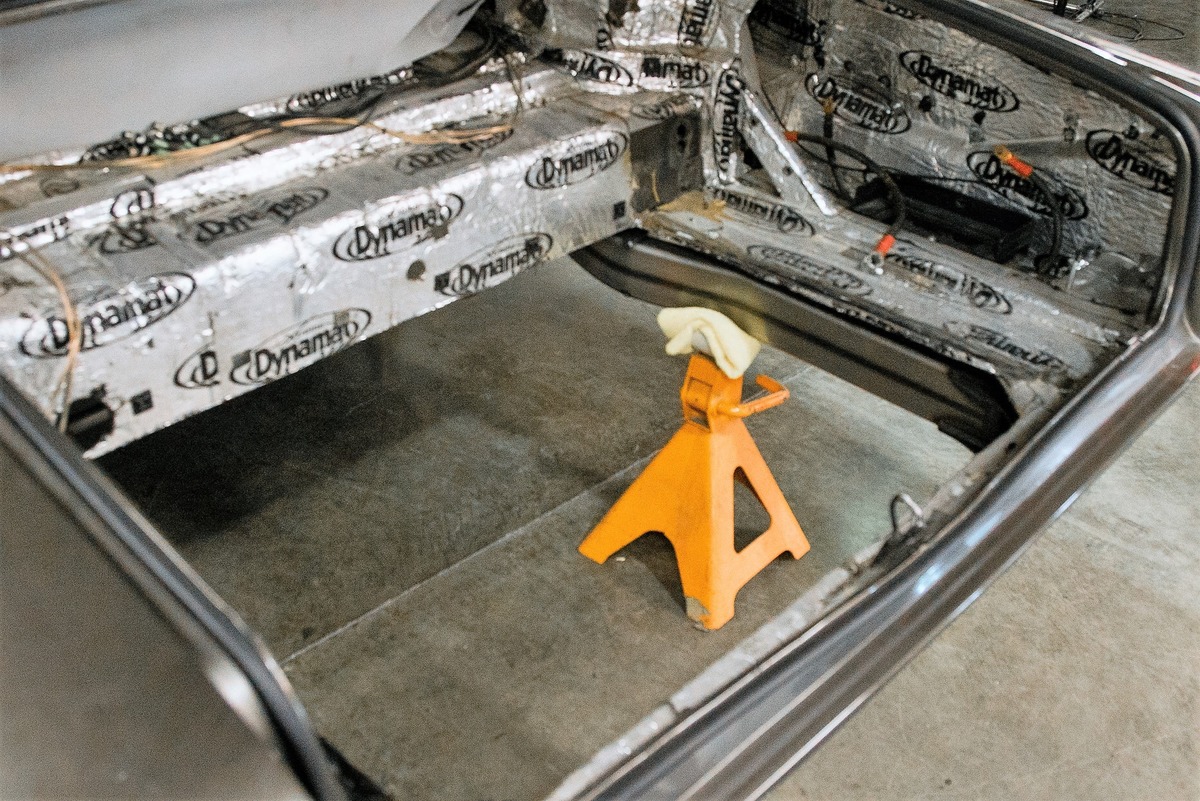
Rear Footwell Trim
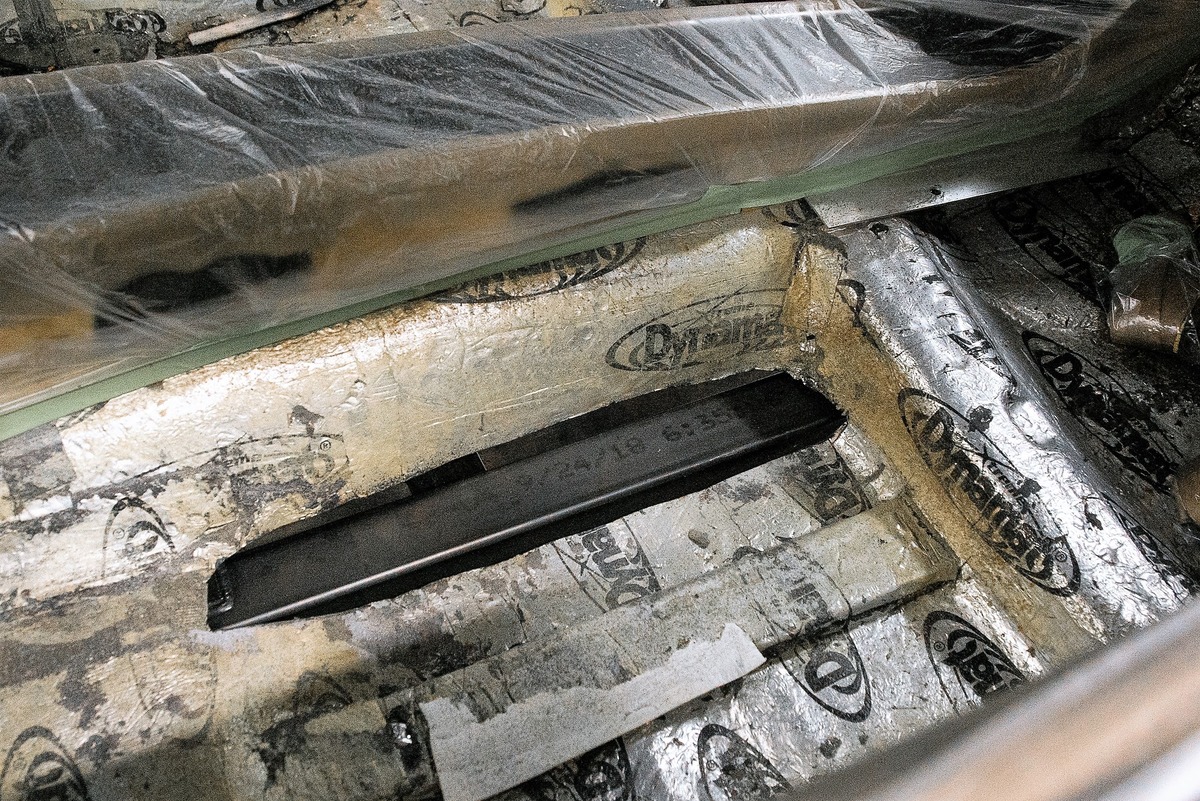
The inside of the rear seat footwell will have to be trimmed to fit the main framerails in the body. Align the chassis under the body as accurately as possible through the body mount locations. Lower the body just enough to touch the frame at the footwell location. For the fore-aft trim line, use a vertical laser line or a straightedge to mark a trim line on the outside of each main framerails. Place the inside edge of tape on the line to trim. The width of the trim should be approximately 18-1/4 inches apart with an added ¼-inch clearance on each side. The trim will have to go through two structural body ribs. To keep adequate body structure this is usually something to avoid, however, the chassis includes an added body mount on each side to support the trimmed ribs.
From the bottom of the footwell, the approximate height of the trim is 4 inches. The base of the framerails will sit nearly flush with the base of the footwell. Mark the height of the approximate trim from the footwell base. Then use a level or a laser to scribe a line across the footwell level to the rocker of the car. Since the car is level with the ground, measurements can be taken from the ground to ensure the trim line is level to the rocker of the car. Again, apply tape along the trim line until your upper and lower tape lines intersect. This is your initial trim section. When trimming, make sure to leave approximately ¼ inch per side of the trim line to leave a slight clearance for the framerails sit in. Use a cut-off wheel or plasma cutter to cut out the trim section.
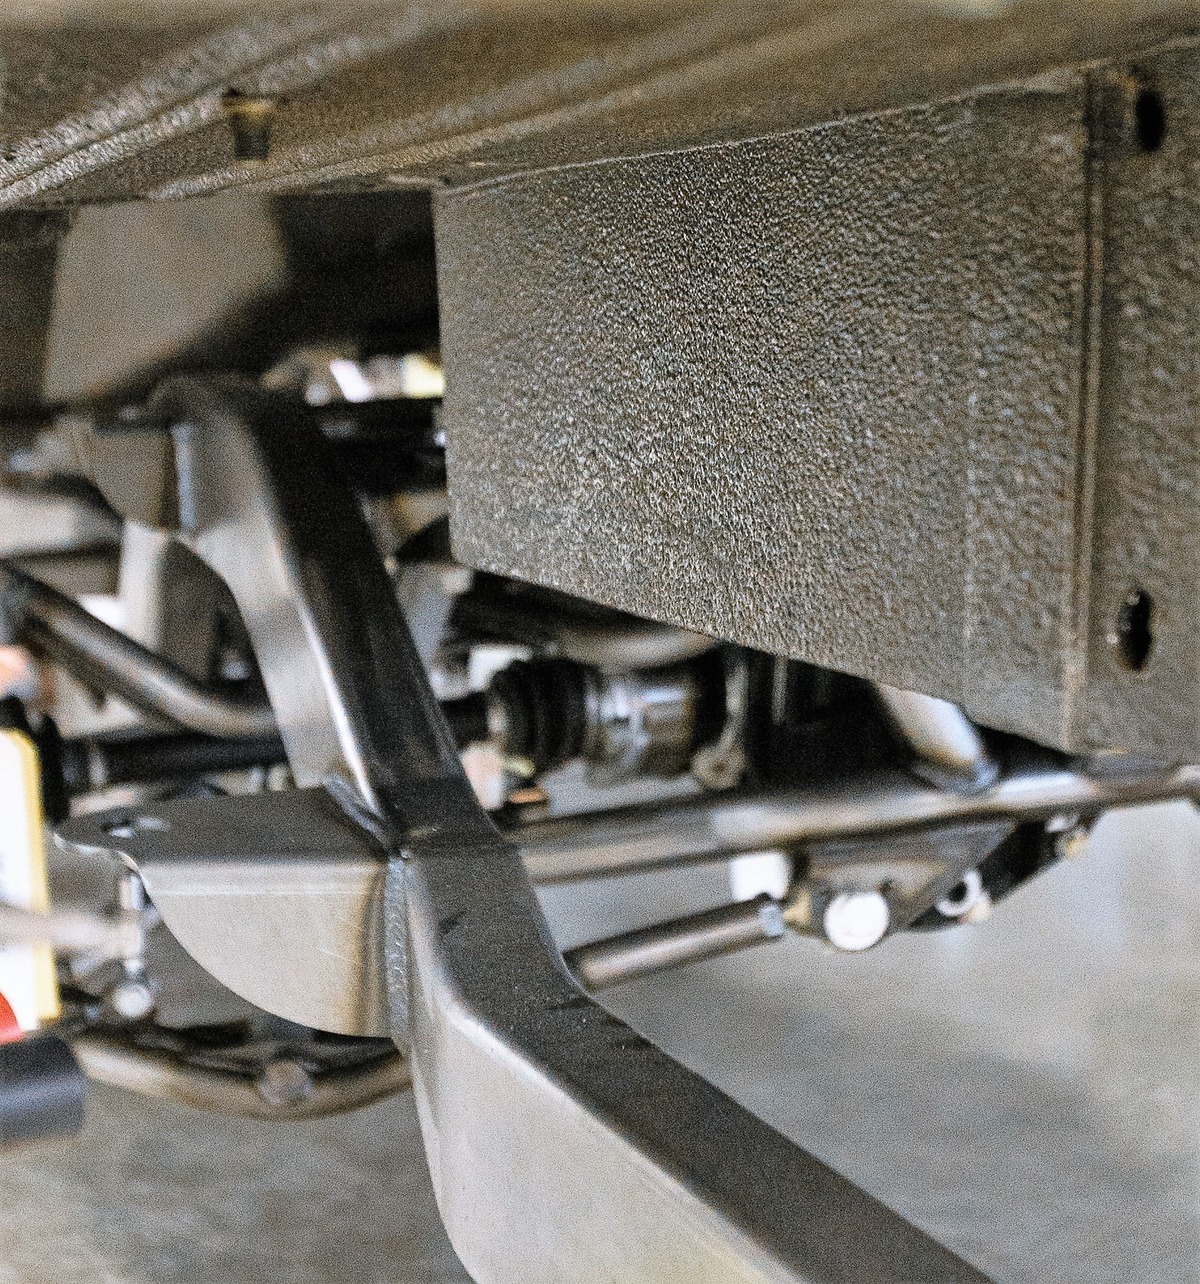
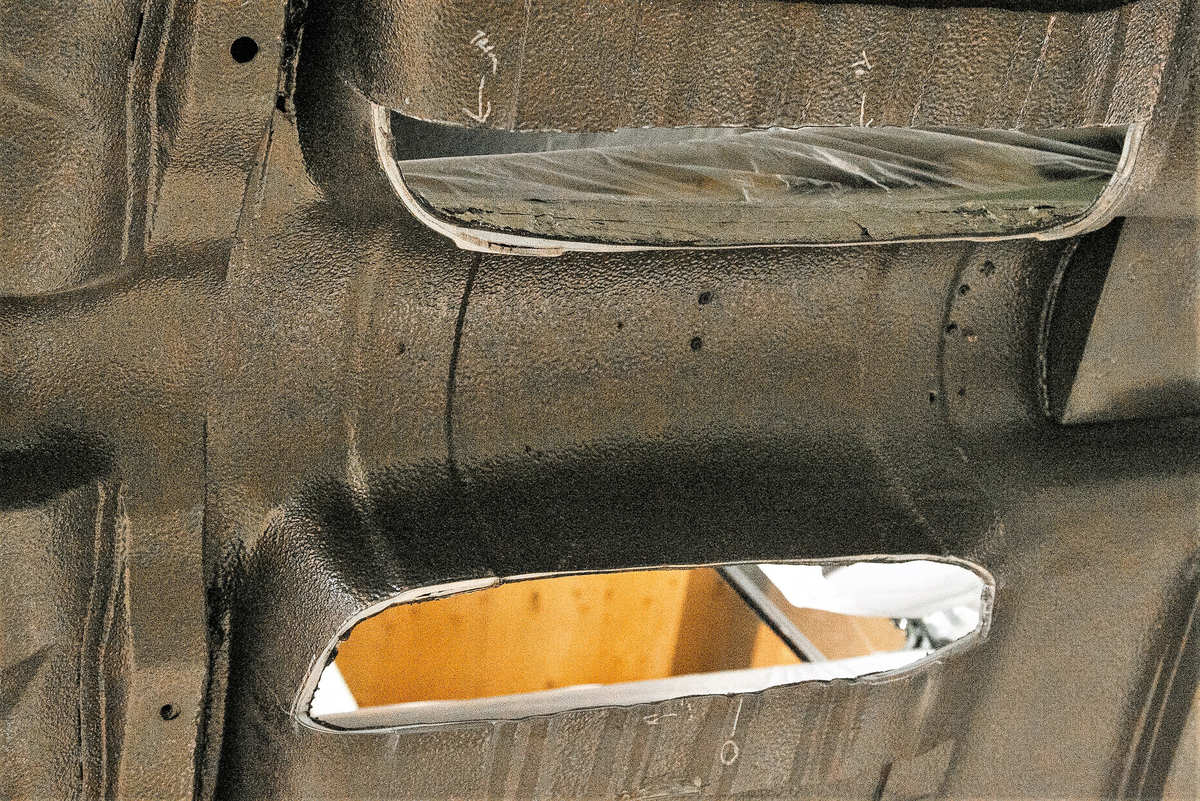
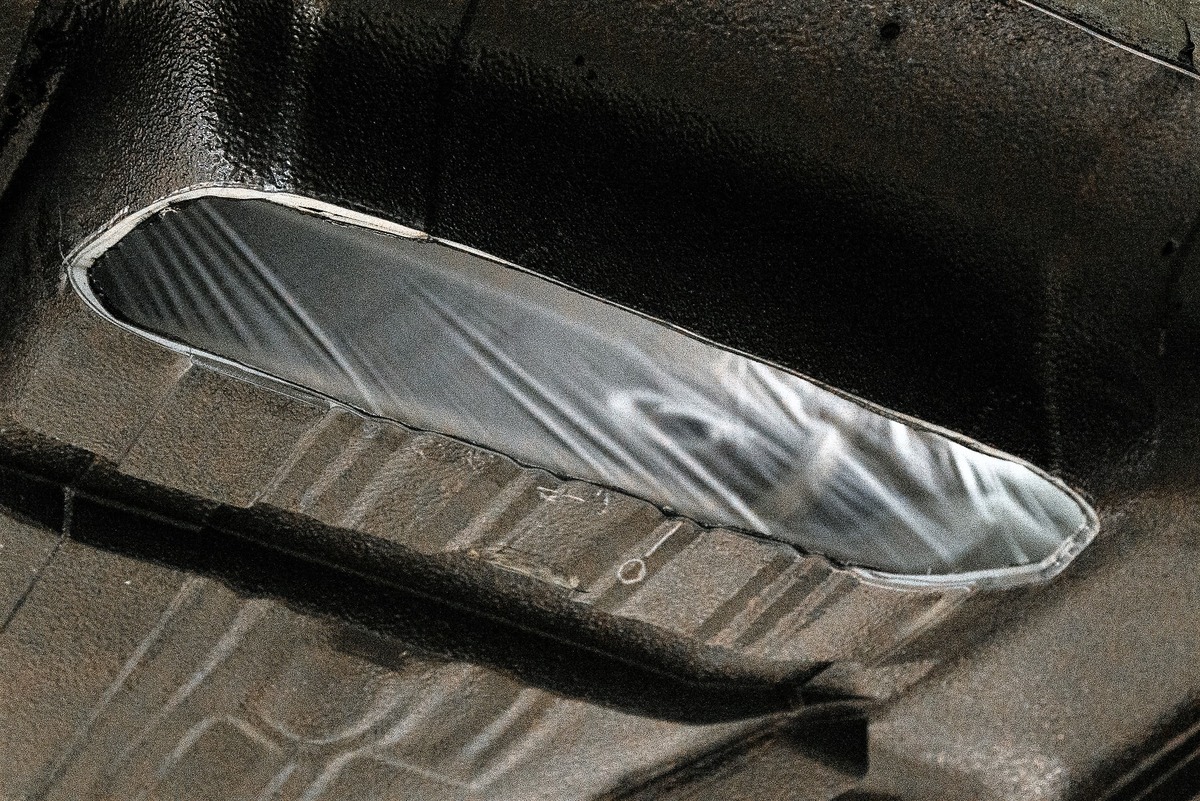
Rear Seat Pocket
When dealing with the rear seat pocket and the subtle sheetmetal changes we looked to AME for their input. “With the front sheetmetal out, the body can be lowered so that it barely touches the frame at rear seat pocket that needs to be trimmed. Mark the area to be trimmed using the same procedures as the earlier trim either, using a straightedge or laser. From fore to aft, the trim goes from in front of the rear crossmember to right in front of the rear brace in the body. From side to side the trim goes from outside the rear rail to where the sheetmetal rises up as you go toward the center of the car. Make sure there is a minimum ¼ inch of clearance on either side of the frame and the sheetmetal. After this piece of sheetmetal is cleared away, the body will sit on the frame’s body mounts.”
Driveline
There’s also the subject of a one- or two-piece driveshaft. Make sure to understand the differences before ordering your chassis. There are some concessions, especially when dealing with ride height.

Powertrain, Wheels & Tires
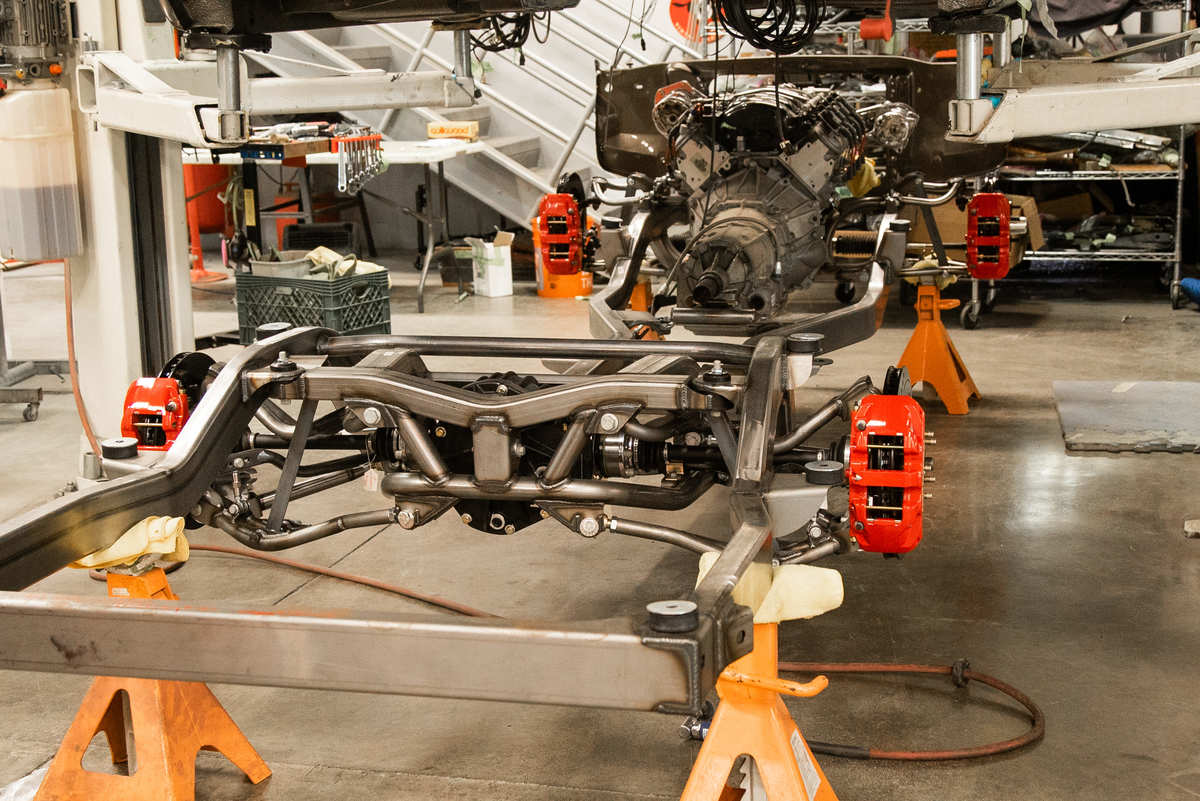
Since AME was alerted what engine and transmission were to be used, a supercharged LS and a 4L80E, the appropriate weld-on body mounts, engine, and trans mounts were handled at AME. It was a simple matter for HR&H to drop in the powertrain. We mentioned earlier that the rearend is an AME fully independent that’s set up to accept a Strange Engineering S60 (Dana 60) and it too is already bolted into position.
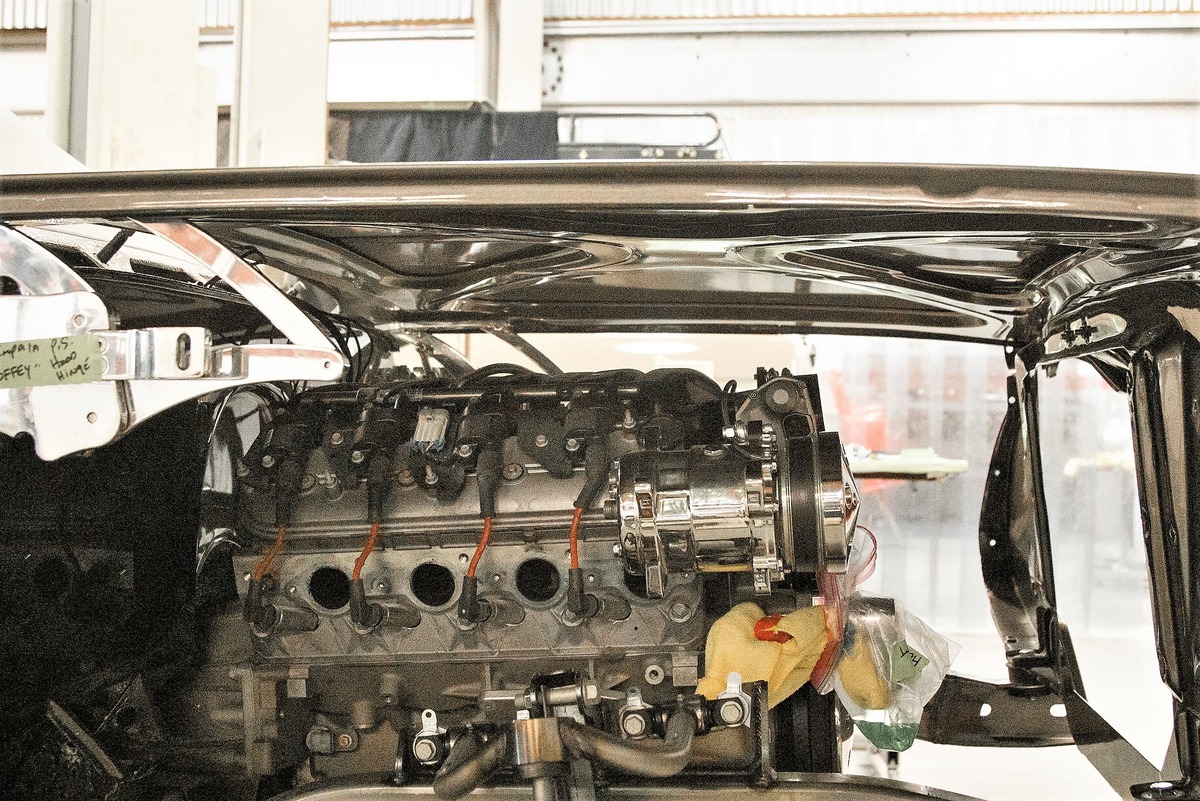
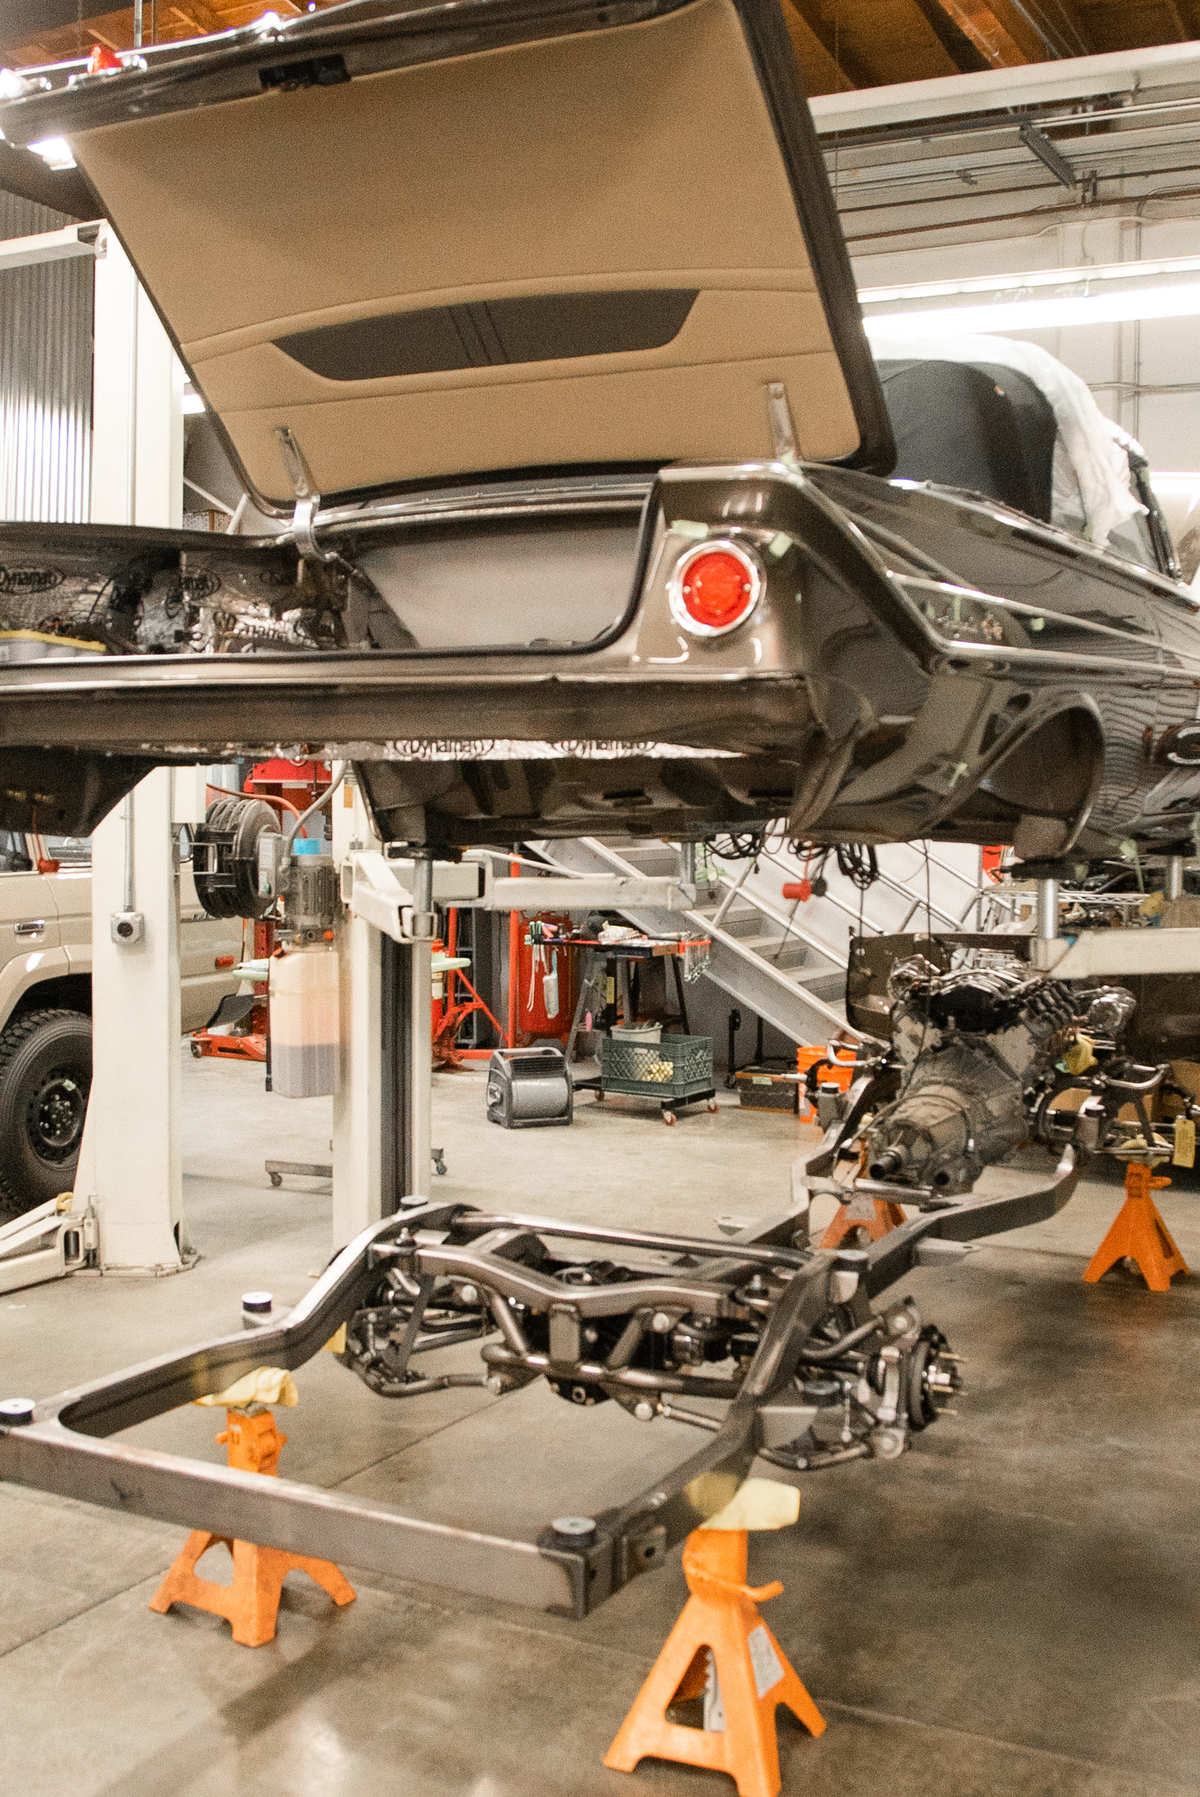
Something else that bears checking is the top of the engine to hood clearance. In Bonowski’s case (you will see this in a photo) the body is mounted to the frame, the core support/radiator is in position, and the hood is on. You can look and measure from the side to see how much space you have from the top of the engine to the bottom of the hood. This is critical in HR&H’s case as a Whipple supercharger will top off this LS motor.
Another area to pay particular attention to is wheel and tire clearance. Especially in the front for turning clearance and in back for wheel/tire removal. In any situation make sure to work with AME with the wheel/tire combination and sizing you wish to use. You can save yourself a great deal of grief by first making sure AME can accommodate your wishes.
As was mentioned last month the body styles on the 1959-1960 cars have more room because of the fender bulge while the 1961-1964s have a narrower bulge, thereby giving you less room. According to AME, the maximum tire width to fit in the factory rear tubs is 305 mm for 1959-1960 cars. For the 1961-1964 cars you’ll need a 295mm tire to fit within the factory front wheeltubs.

Now, HR&H was able to get away with 295/35ZR/20s in back and they say they have just enough room to drop the wheel/tire by disconnecting the lower shock mount and the wheel/tire will come out. The fronts are 235/40ZR19. We have seen a car on a lift with the wheel/tire hanging freely, then the lower shock mount point is undone and the sway bar mount is removed.
There’s more to be considered but the AME instructions are well detailed and have illustrations to help you each step of the way. Bottom line … read the instructions and be patient. Also, make sure you have worked with AME on wheel and tire combinations, one- or two-piece driveshaft, and, remember, that the triangulated four-bar or the Multilink IRS cannot be used with a stock gas tank without some modifications to the tank flange area.
For modern ride comfort and handling, dropping a GT Sport chassis underneath your 1959-1964 Chevy is just the right touch. MR
Sources:
Art Morrison Enterprises
(800) 929-7188
www.artmorrison.com
Hot Rods & Hobbies
(562) 424-9425
www.hotrodsandhobbies.com


