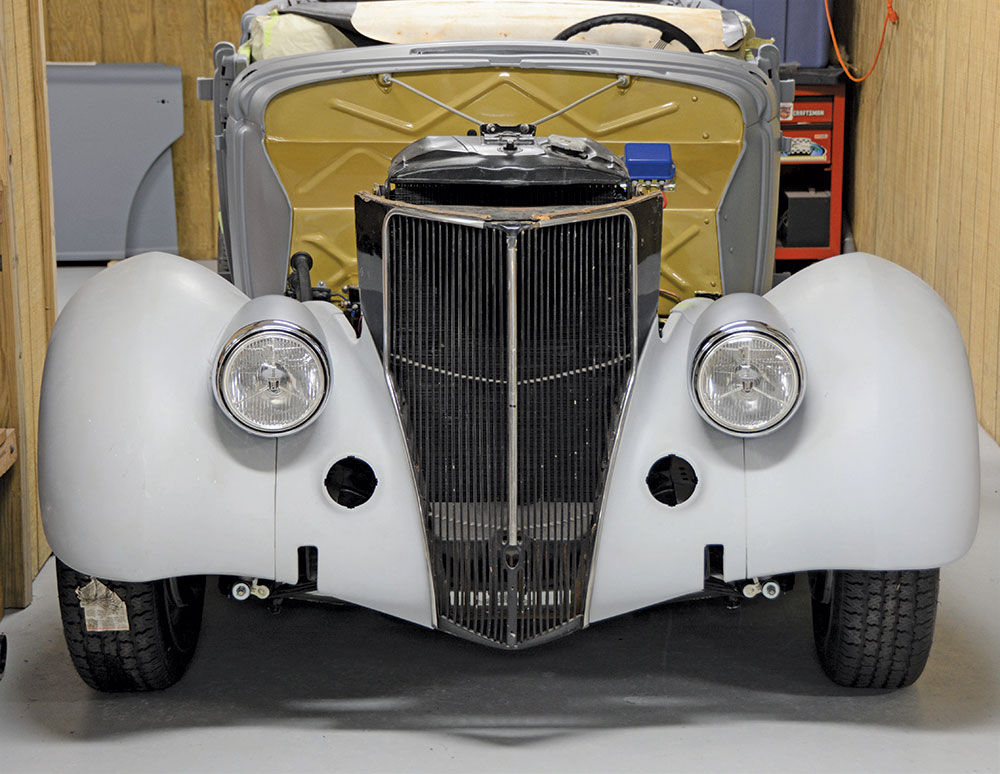
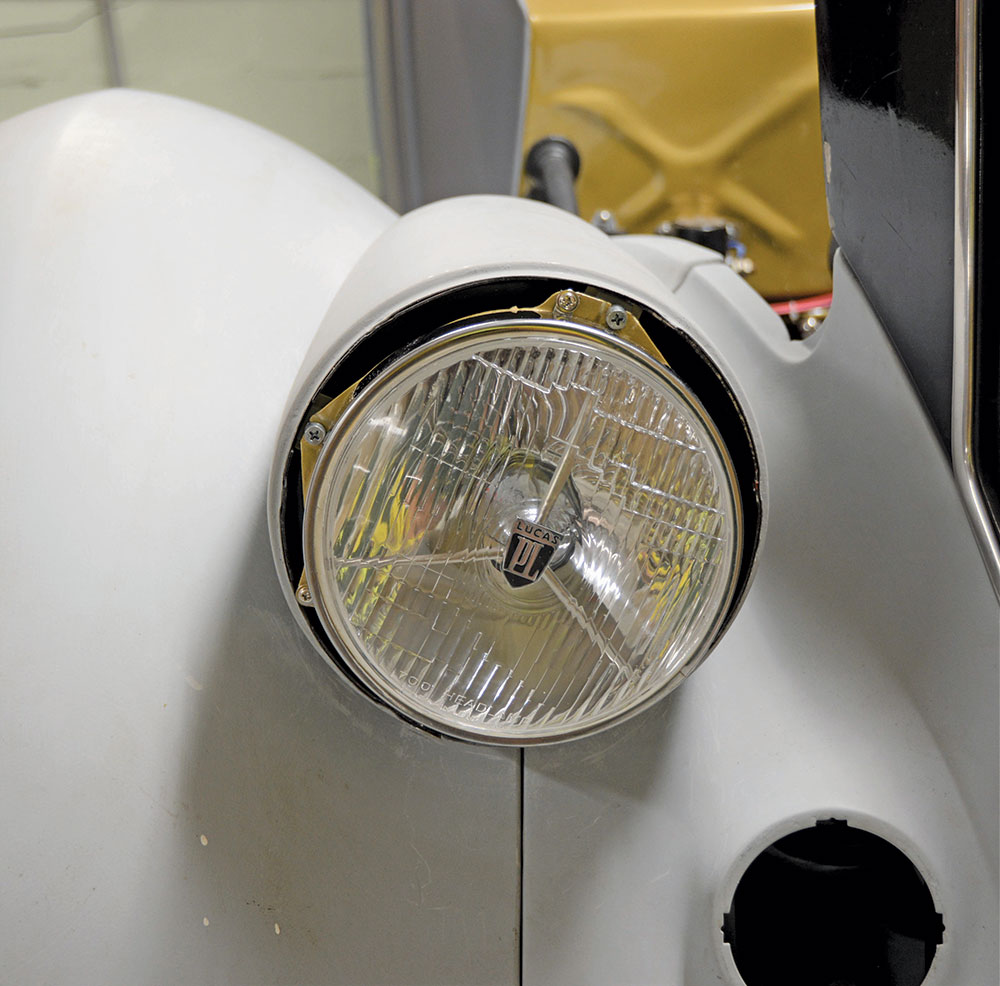
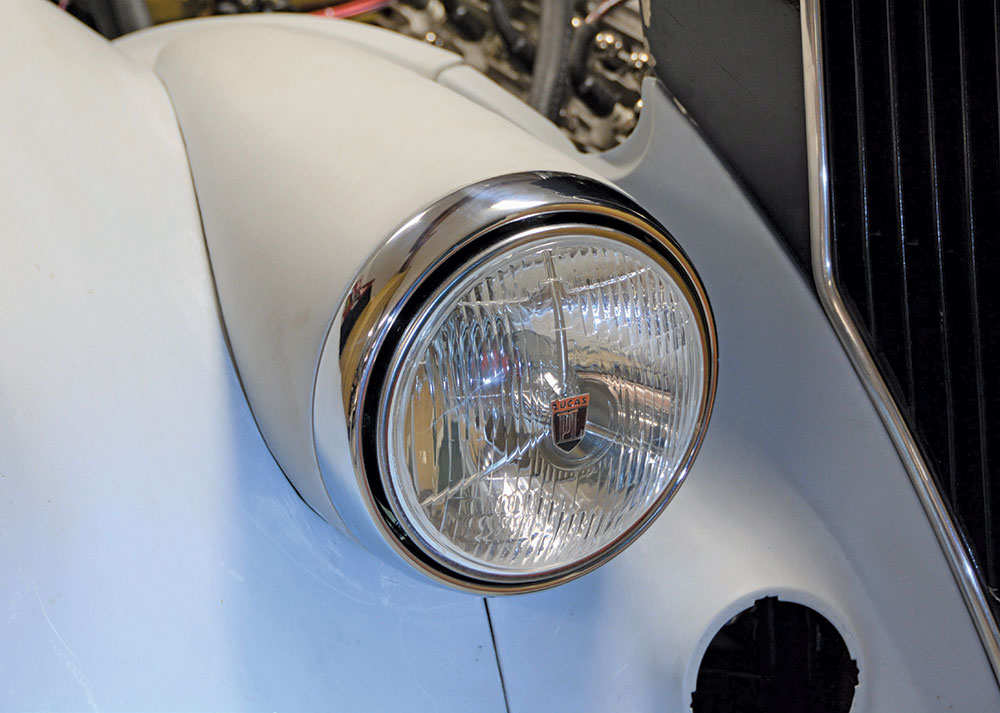
We were very pleased with the ’41 Chevrolet truck headlights modified to fit our ’36 Ford fenders. The Lucas Tri-bar halogen lights were the finishing touch. However, getting them properly orientated in the headlight buckets took a bit of work.
Part II: Proper Sealed Beam Headlight Orientation on our ’36 Ford
In our previous issue (Modern Rodding Jan. ’22) we adapted a set of 1941 Chevrolet truck headlights to the fenders of our ’36 Ford phaeton. This involved considerable slicing and dicing to contour the headlight housing to the proper fender profile. Once the finished headlights were bolted in place we were extremely pleased with the early custom look. There is little doubt early customizers were inspired by high-end cars, such as the Jaguar 120. What better way to improve the looks of your old Ford than to give it some high-end European flair? The customizer’s motto could have been “All the flash for less cash.”
The ’41 Chevy lights had seen better days. Both of the sealed beam adjusters were broken and the adjustment tensioner was also broken. Step One: Rebuild the adjustment system.
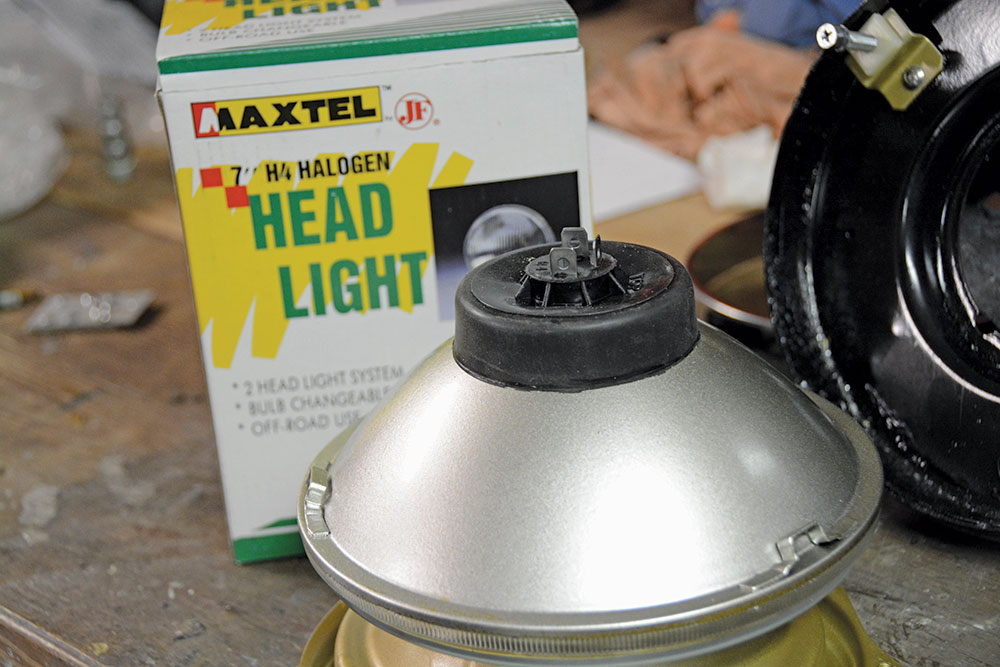
We had originally planned on using flat lens, halogen headlights sourced from Summit Racing, as we had used these lights before and they provide great lighting and good looks. However, while perusing some Jaguar photos we noticed the Lucas Tri Bar headlights, with curved lens. A quick Internet search netted us a pair of these lights (and a little more flash) direct from a Jaguar restoration supplier.
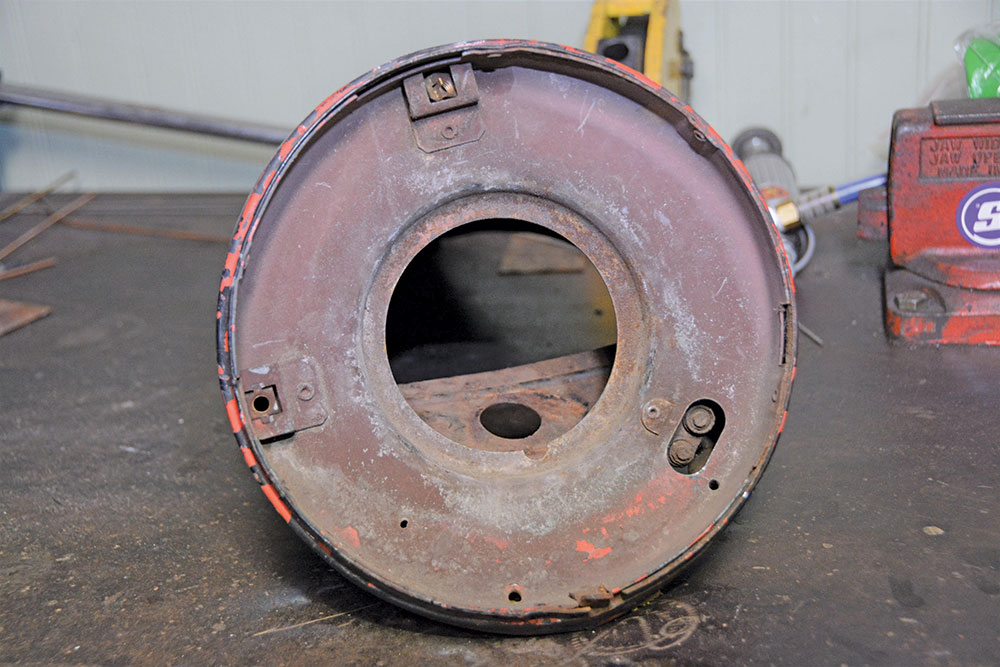
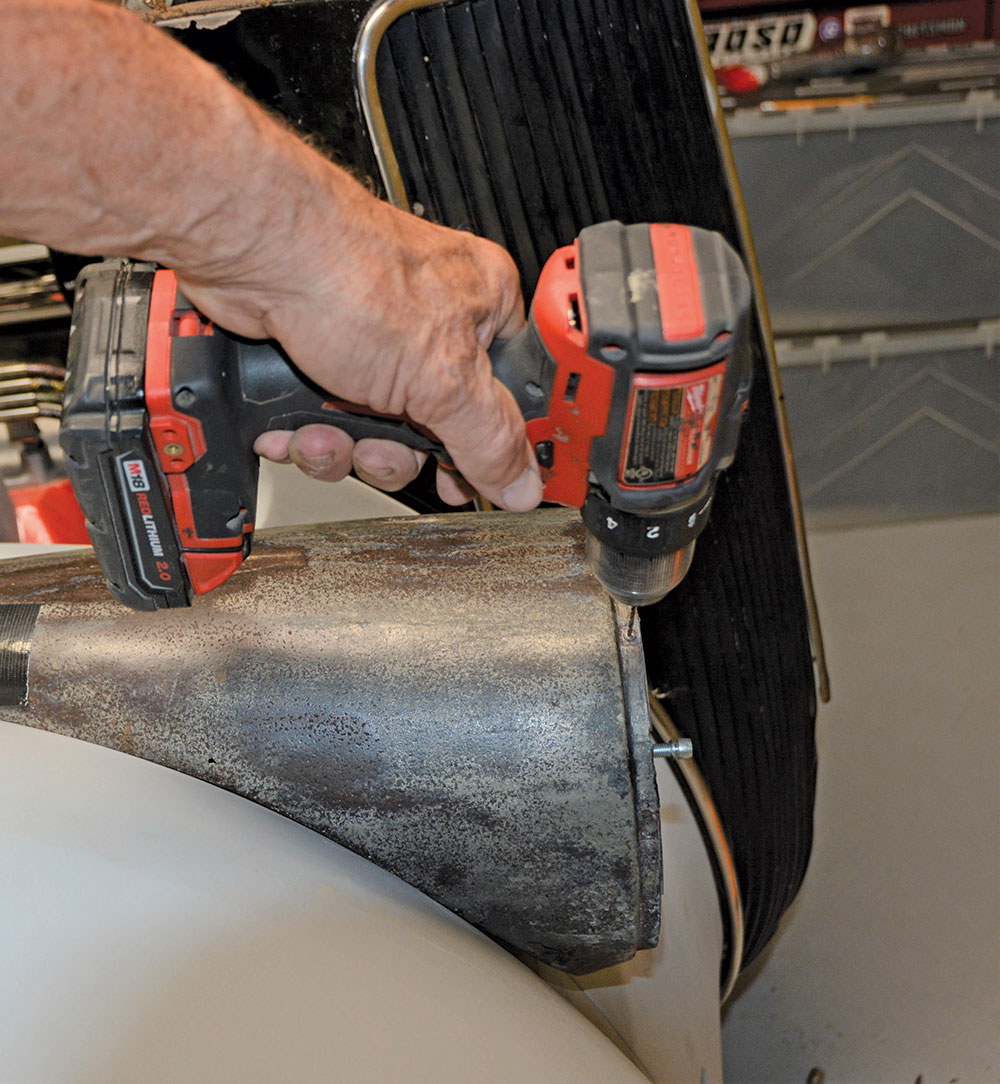
The process begins by drilling out the rivets holding the original adjusters and single tensioner in place. Drill the head off the rivet, then drive it out of the hole.
Armed with these new lights we set about installing them in our custom headlights. We had already rebuilt the seal beam mount with new nylon adjusters and a new adjuster tensioning spring (also sourced from Summit Racing). We had everything nicely painted only to discover newer halogen lights have a larger-diameter rear rubber bulb seal so we had to enlarge the hole to allow for the new lights. The good news is the curved lens looks great and adds a nice vintage look to the lights. The bad news is, after adapting the headlight housing to our ’36 Ford fenders, the headlights were rotated inboard by about 1 inch.
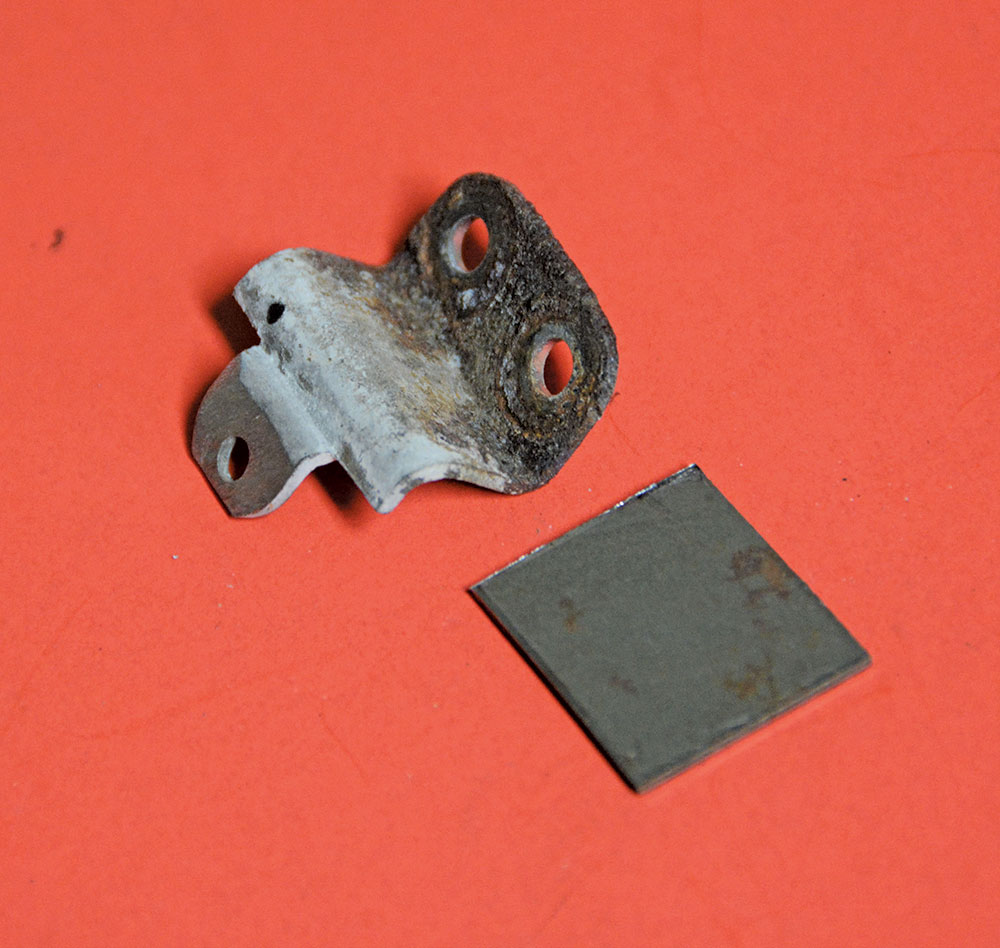
A set of sealed beam adjusters sourced through Summit Racing provided the new nylon block-style adjusters that fit perfectly in the original bracket. After cleaning and painting we opted to bolt the brackets in place.
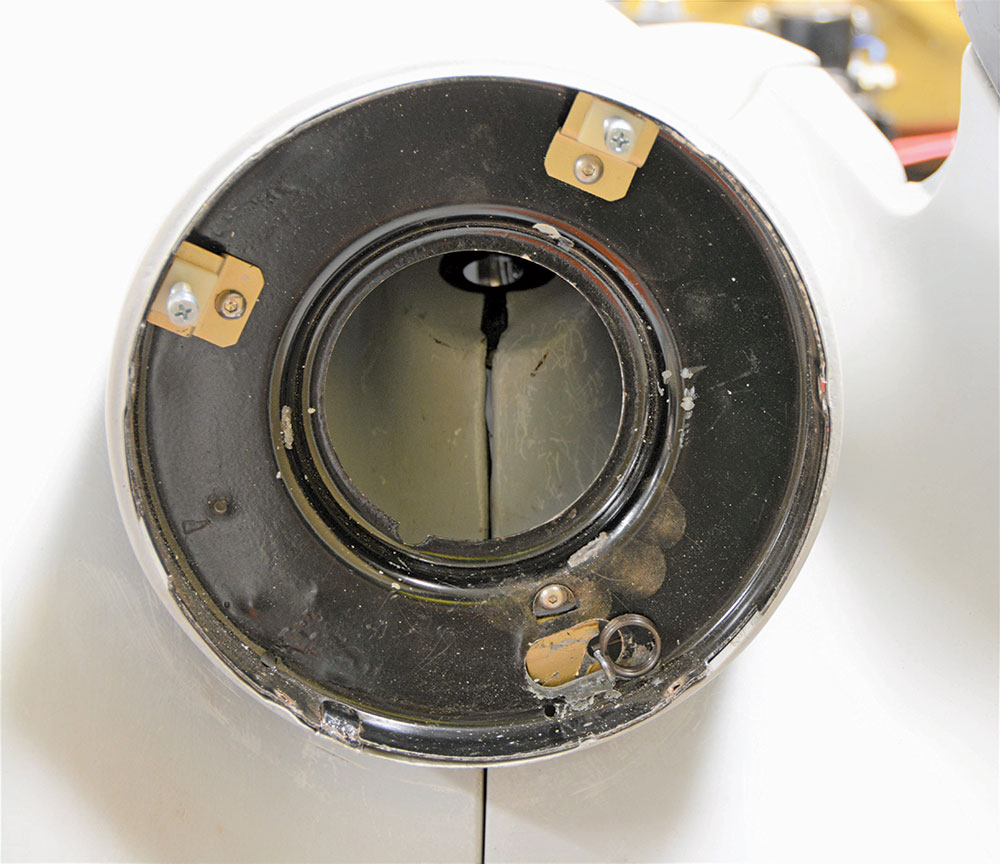
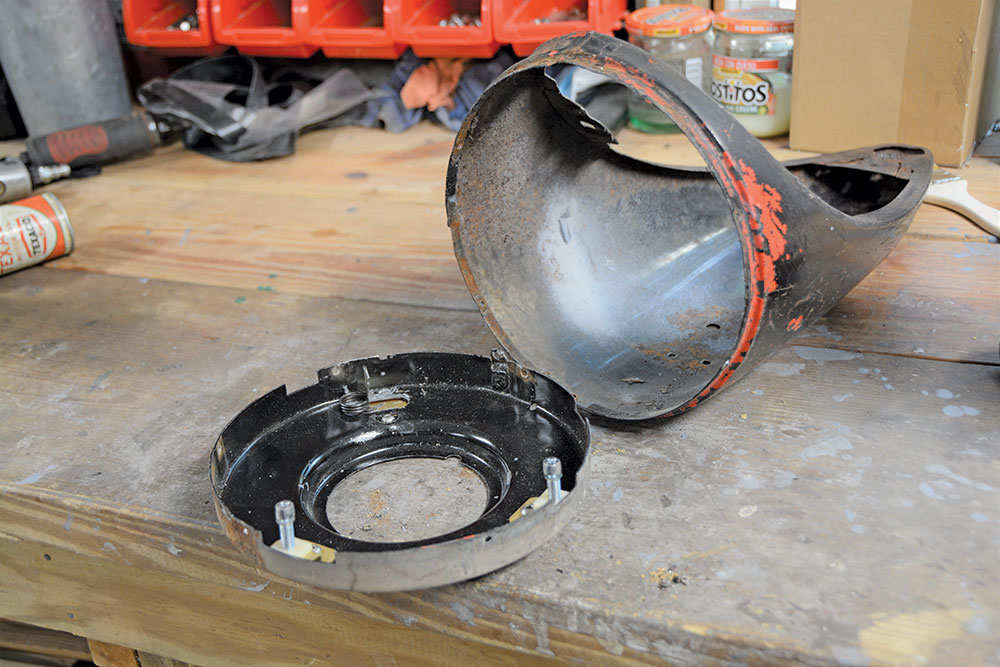
We had several options. We considered moving the two seal beam mounts and the tensioner spring mount but decided relocating those three things was overcomplicating matters. A closer look showed the seal beam mount was riveted to the headlight housing. We could simply drill out the rivets and rotate the entire mount inside the headlight housing. Once the mount had the Lucas Tri Bar headlights properly orientated, we simply drilled four new holes and riveted the mount back into the headlight. While pop-rivets might suffice, we opted to use 1/8×7/32×9/32 truss-head, semi-tubular rivets. We installed the aluminum rivets with a Super Duty Rivet Squeezer. This tool does a great job of compressing the rivet and nicely flattening the head.
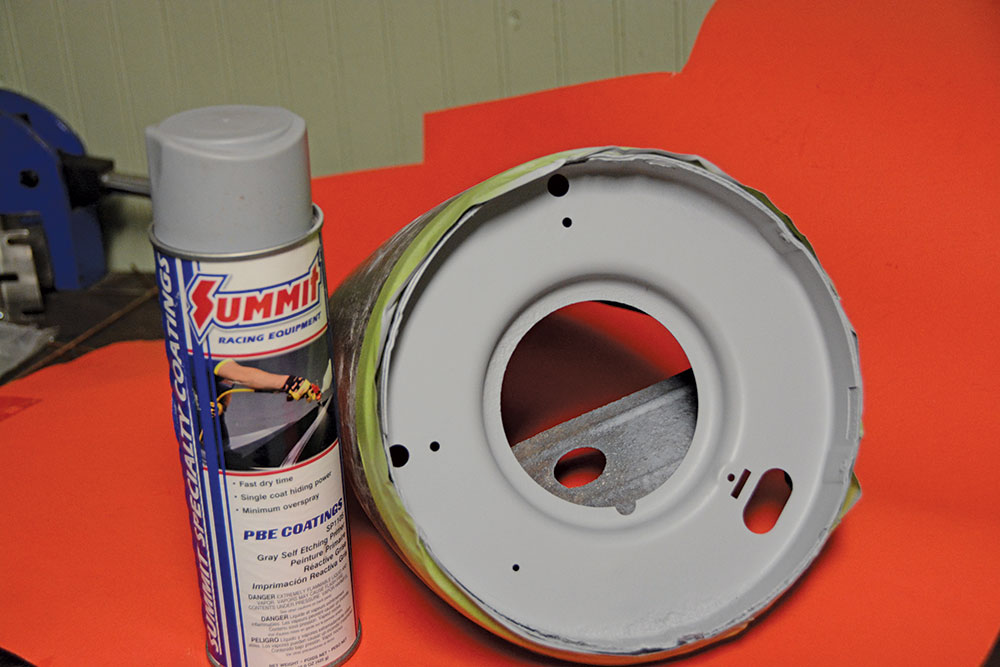
After bringing it down to bare metal a couple coats of Summit Self Etching Primer provided a proper seal and base for the finished paint.
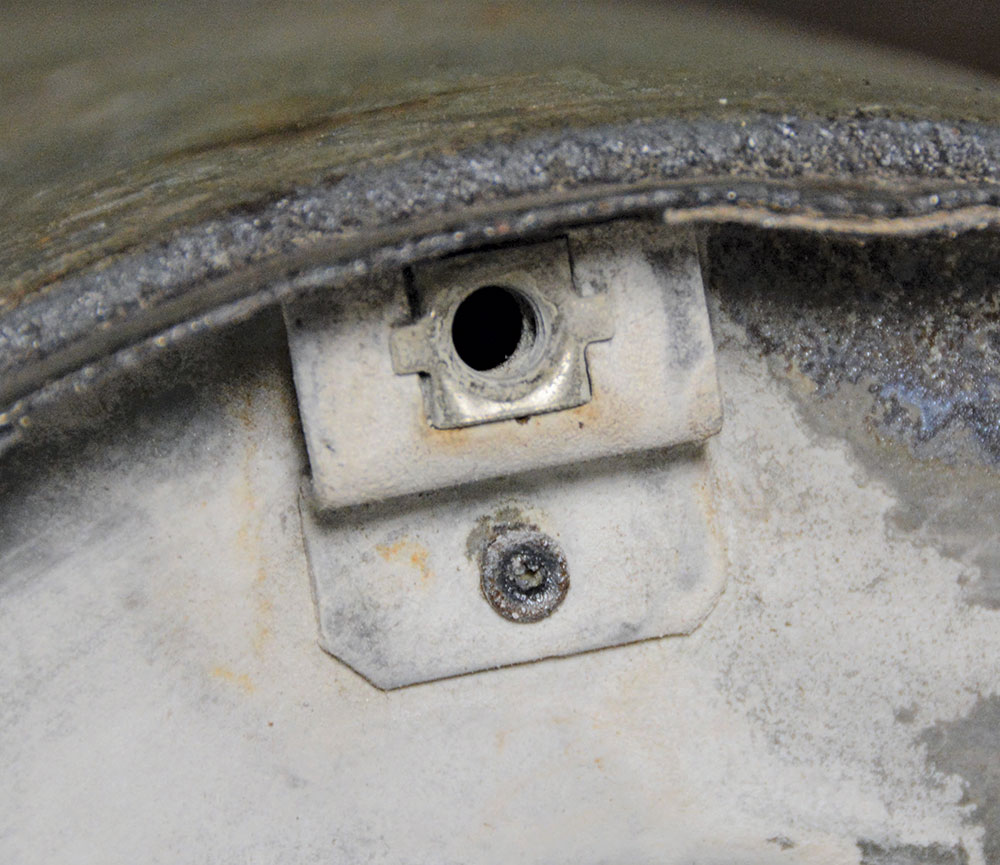
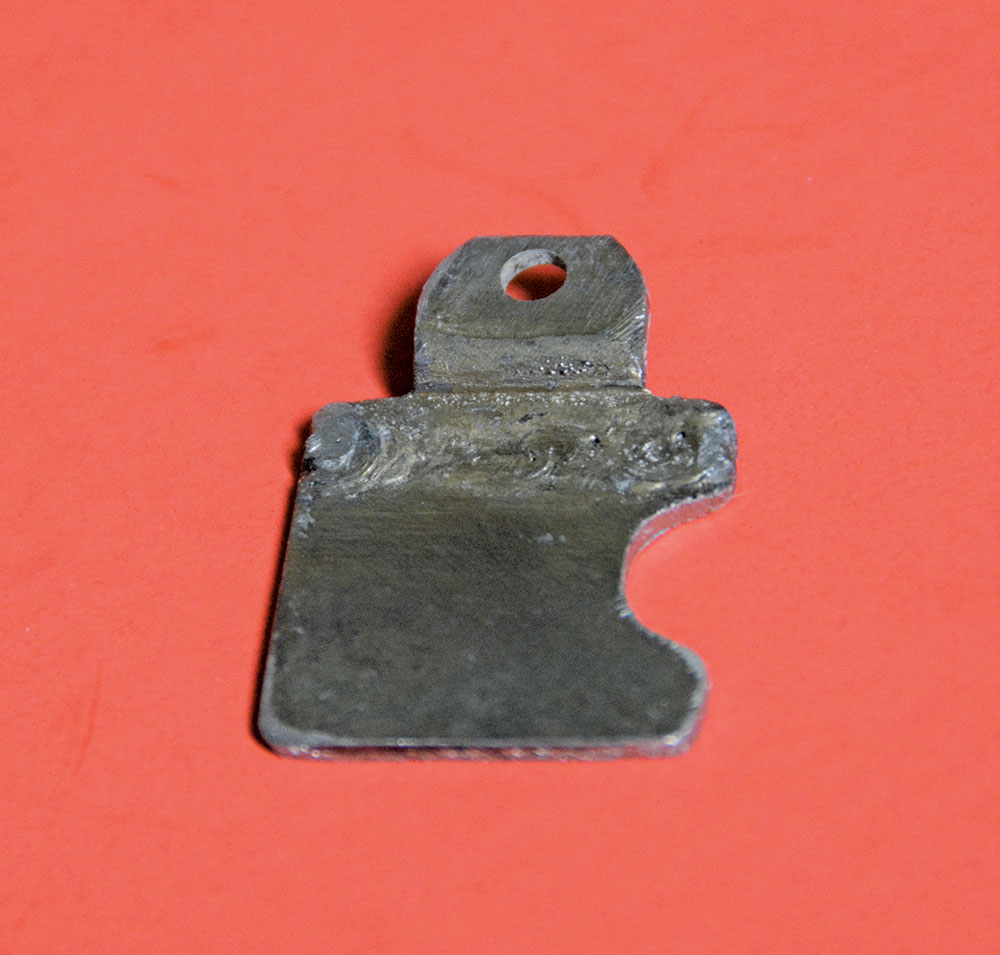
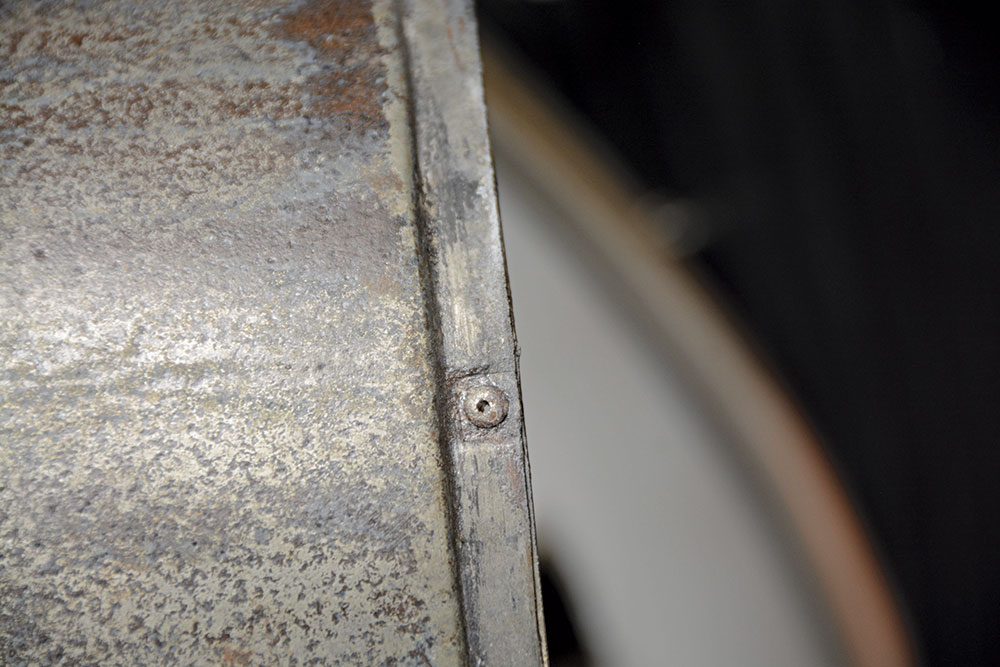
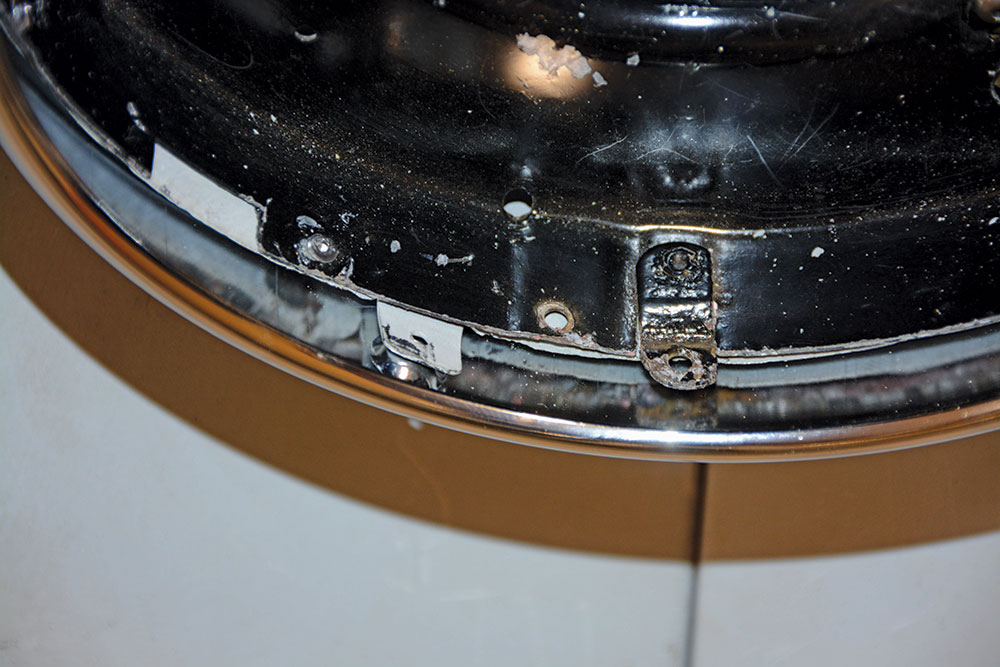
Since the headlight rim is a tight fit to the headlight housing it is imperative that the rivet is squeezed flush with the mounting surface. You will note there is a recess in the headlight housing where each rivet is installed. This provides the required clearance for the headlight rim. We also had to notch the headlight mount so the chrome headlight rim could be attached and finally a new tab was welded on the bottom of the mount for the headlight rim retaining screw.
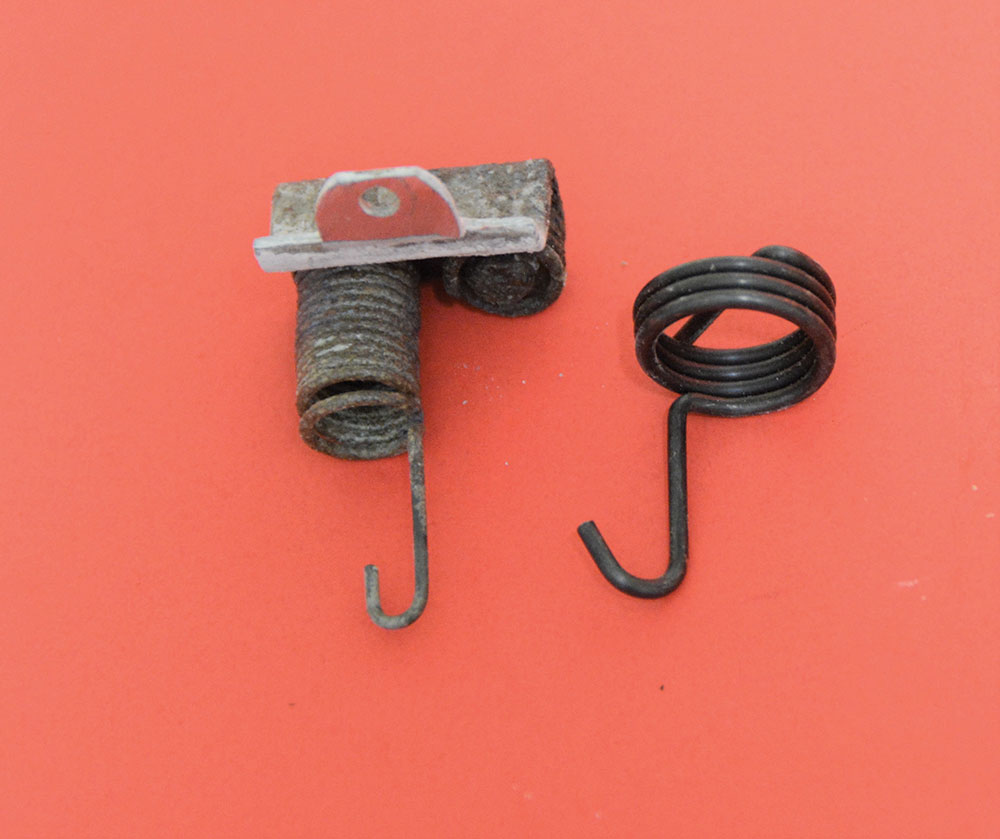
The old seal beam tensioner is on the left, while the new spring is on the right. There are several-style tensioning spring kits available from Summit Racing, so choose the one best suited to your particular application.
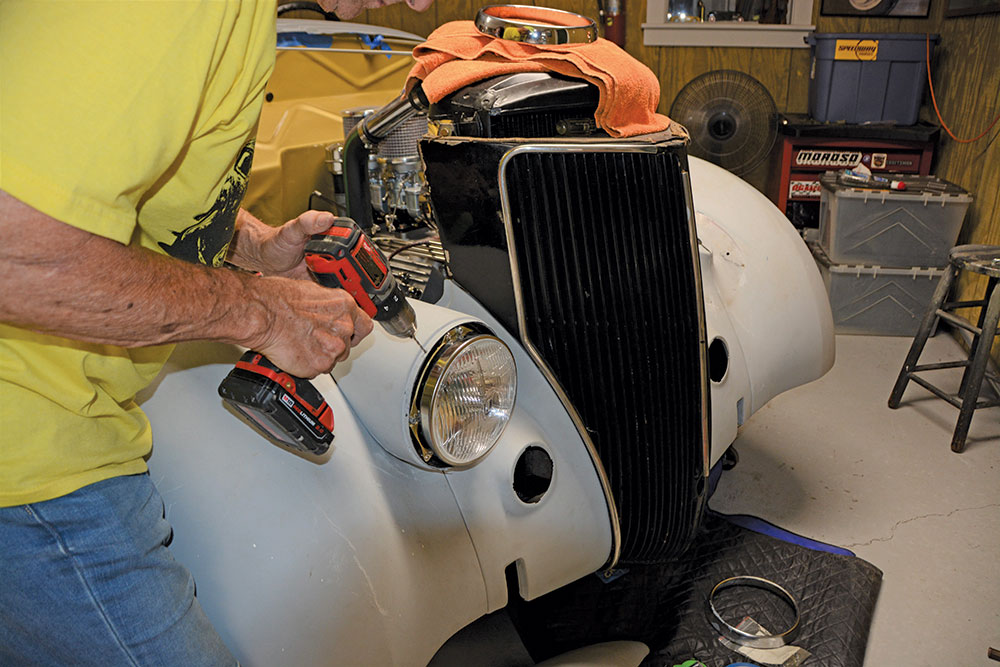
The new Lucas Tri-bar headlights were installed with new seam beam retainer rings followed by the headlight rim. The ’41 Chevrolet truck headlights provide exactly the look we were going for and now the ’40s GM headlights are the perfect complement to our ’40 Packard taillights. Now it’s time to stop gazing at the beautiful lights and start final sanding and paint. MR
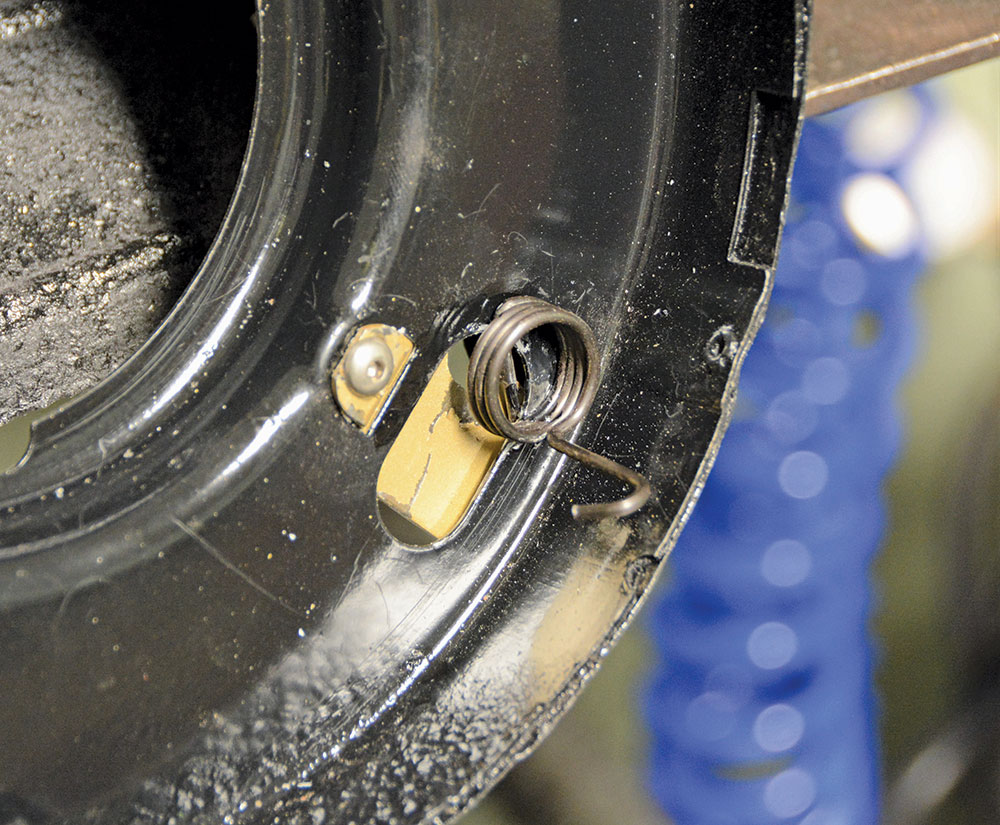
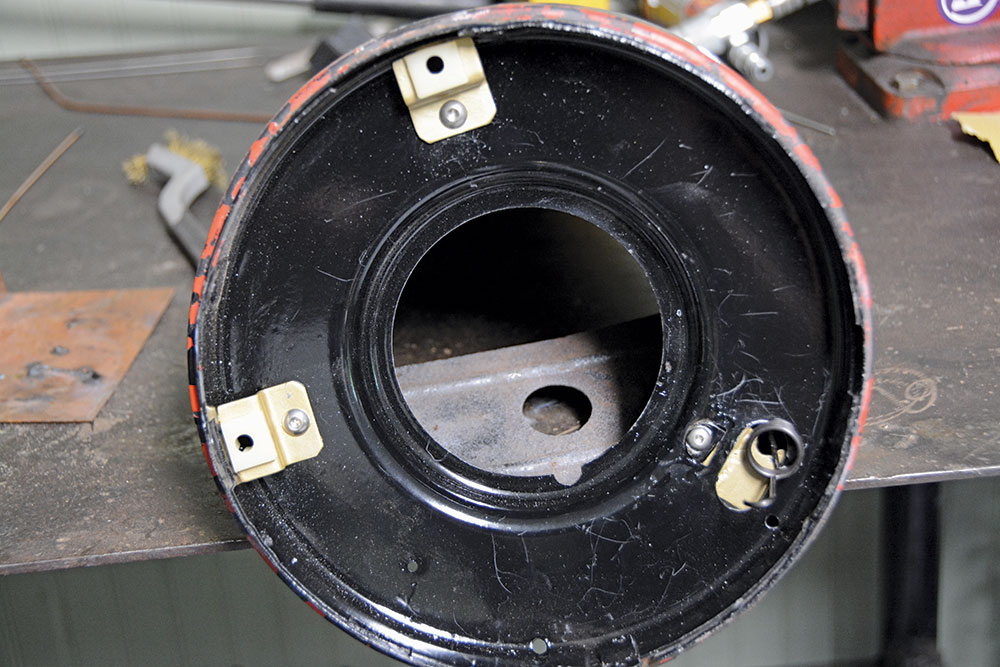
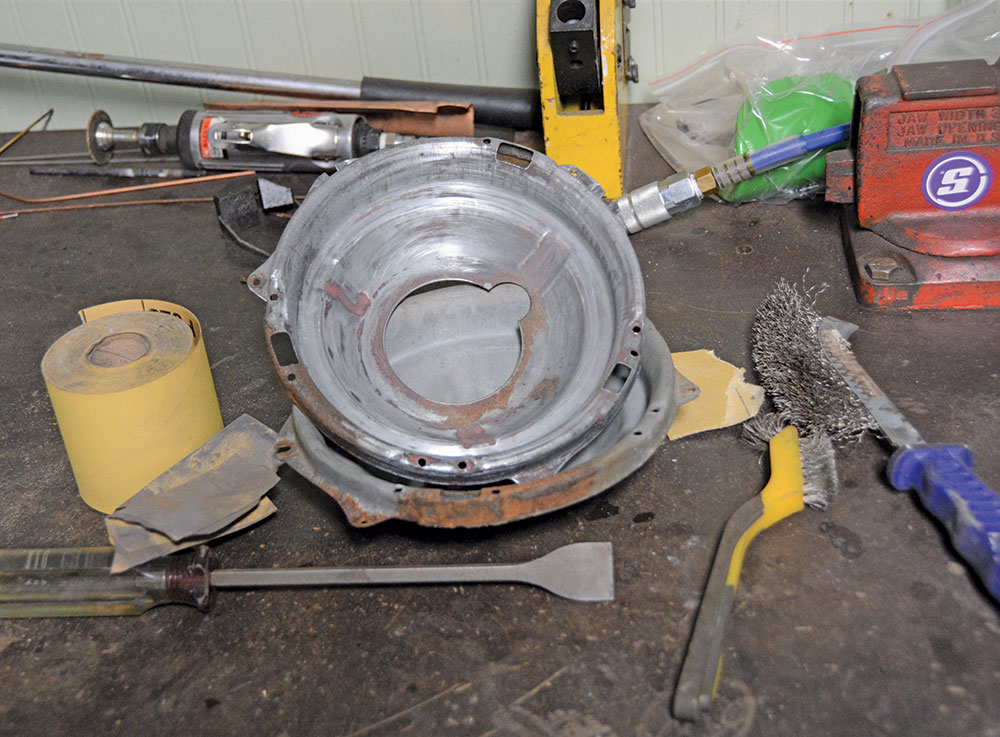
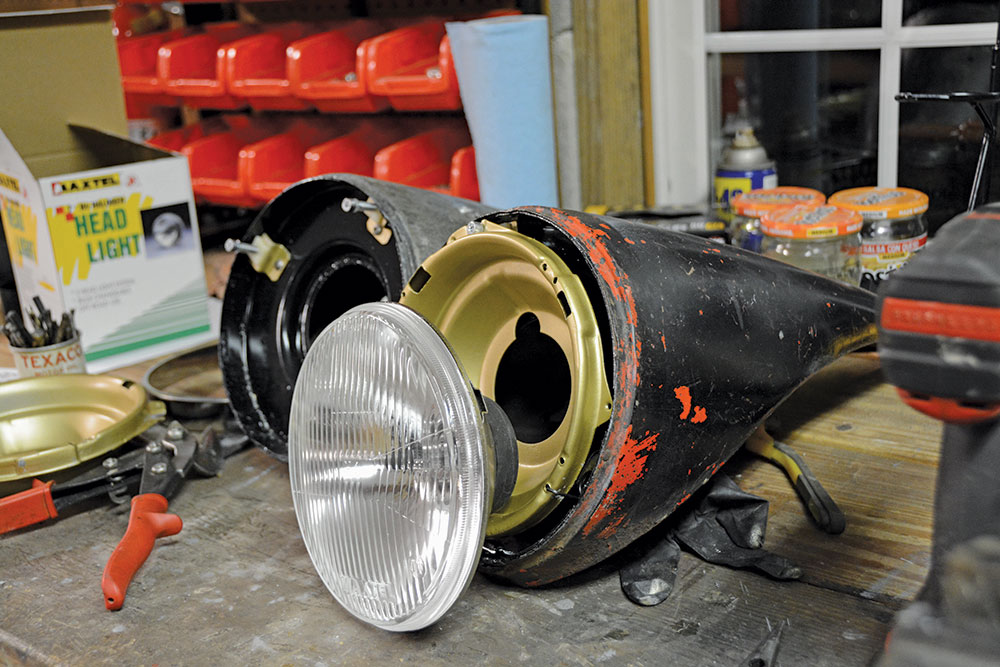
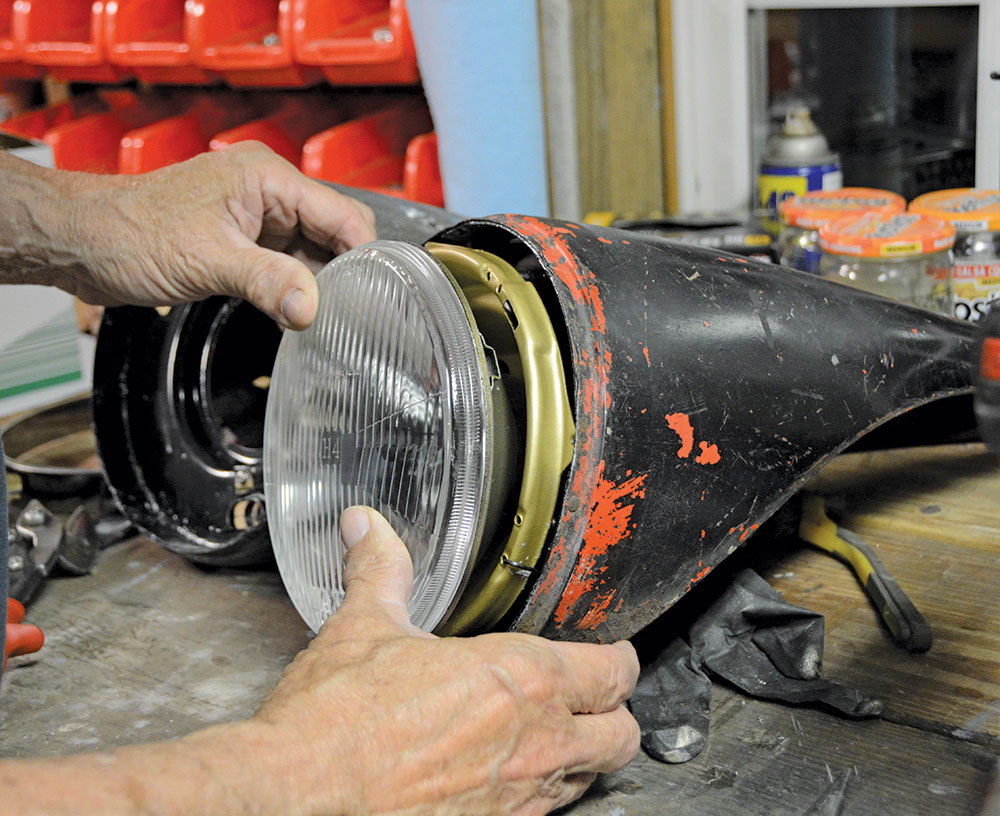
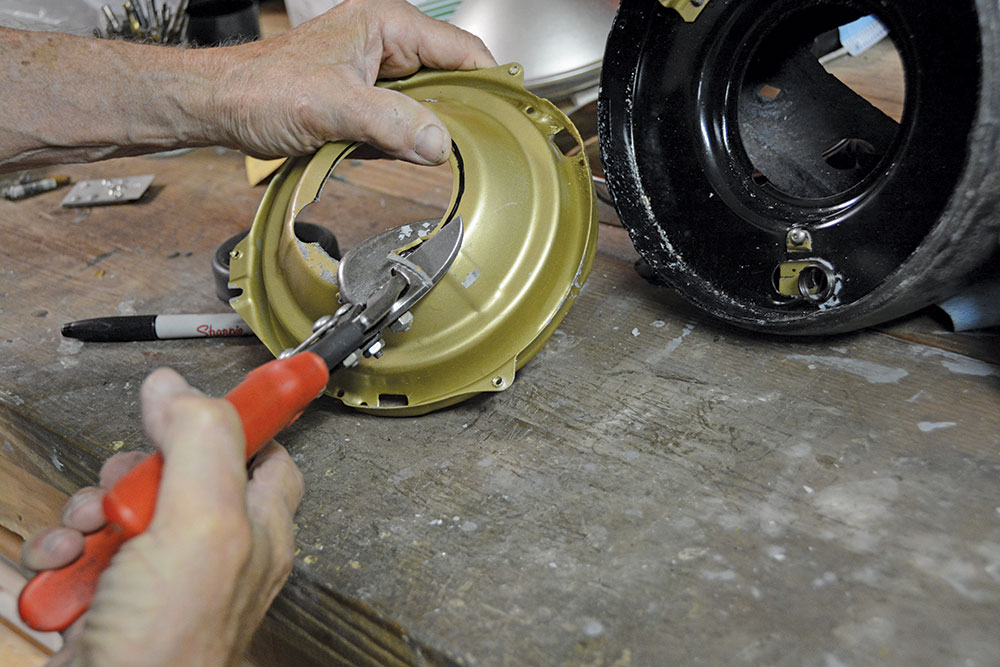
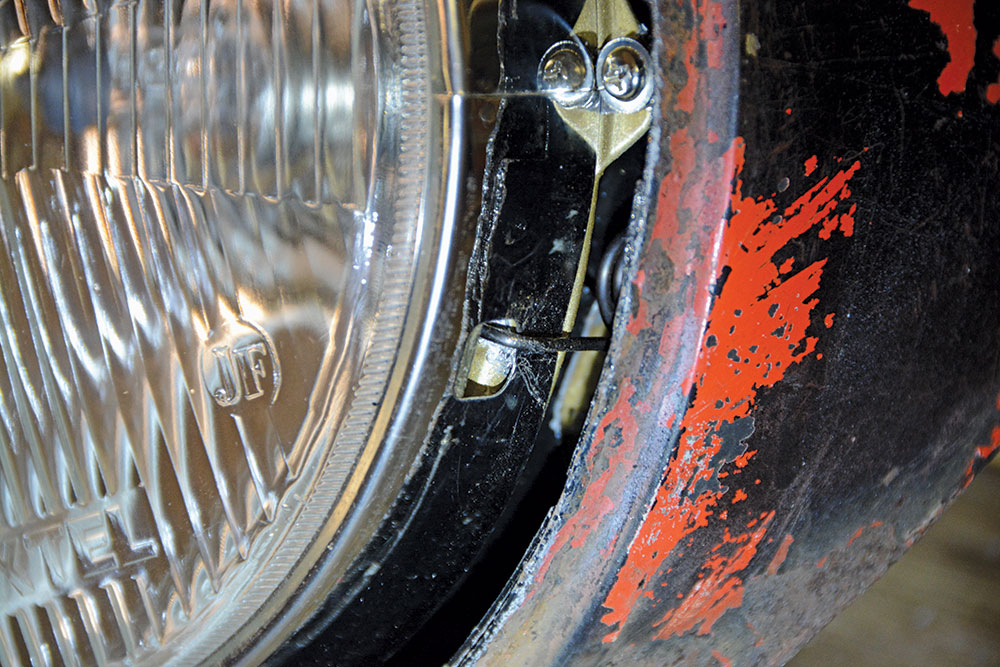
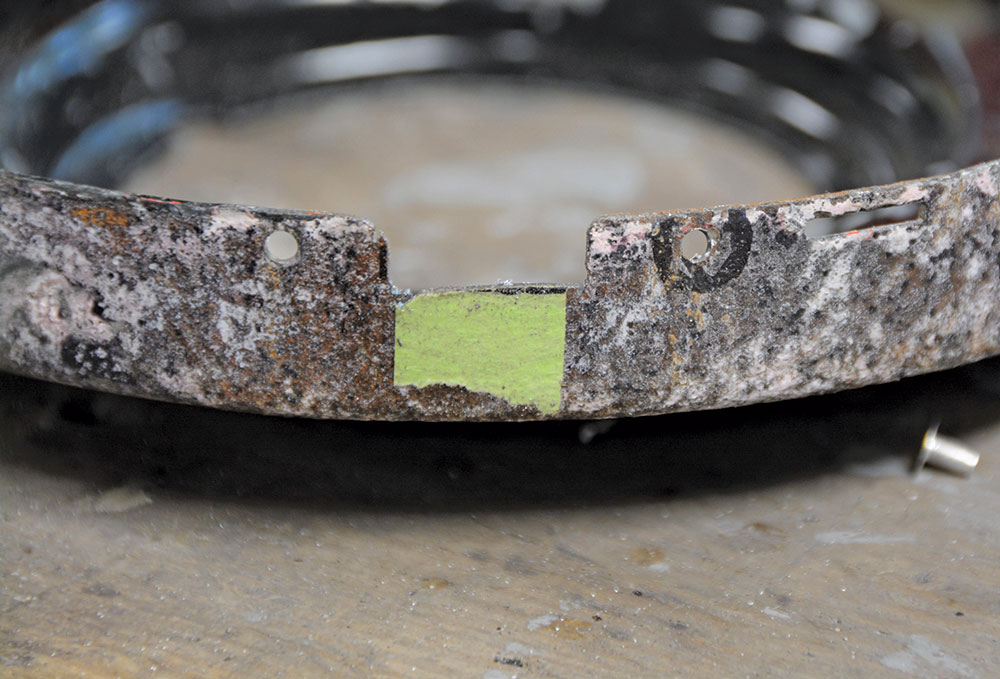
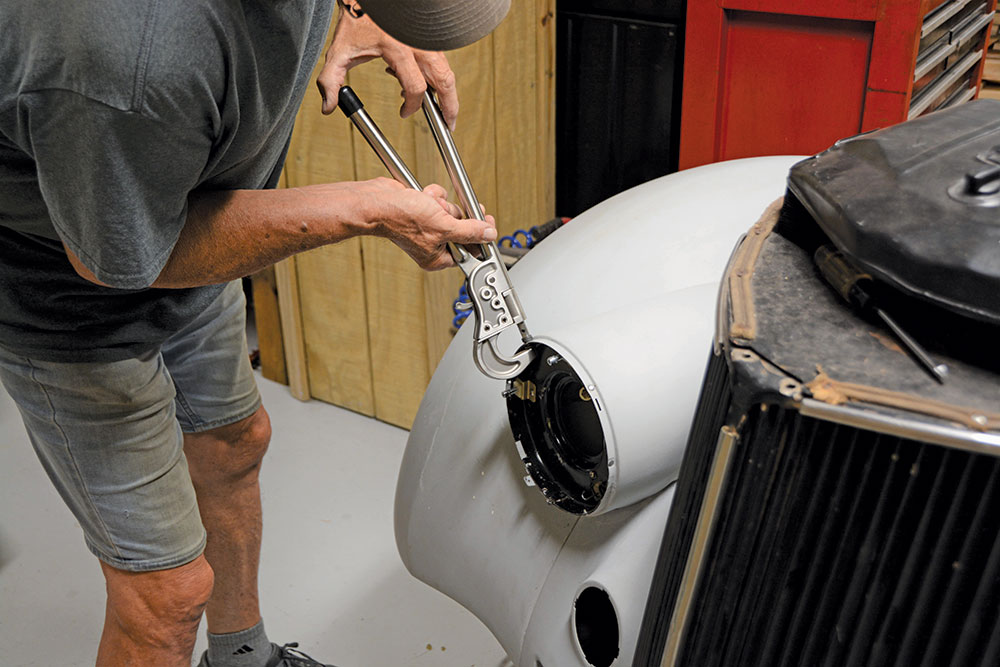
After removing the springs from the original tensioner bracket, we decided to modify the bracket for our new spring.We cut off the spring attachment points and formed this piece of 1/8-inch flat stock and welded it to the remaining original offset part of the mount. The C-shape relief in the piece is where our spring clamps in place.We painted our modified bracket gold (mostly to illustrate how it is installed) and bolted it in place with a stainless steel, 10-24 Allen cap bolt. The spring is held in place by rotating it into place between the face and the new bracket.Here is the completed rebuild of the adjuster mounts and the spring tensioners. Once again, all the rivets were replaced with stainless steel 10-24 Allen cap bolts.Next up we cleaned, primed, and painted the seal beam cups. These cups slip into our new adjuster bolts and the tensioner spring will hook into the lower inboard corner of the cup.Once again gold paint illustrates how it all goes together. The new adjusters and tensioner worked perfectly.Of course things were going all too easy, it turns out a new Halogen-style headlight requires a larger opening in the sealed beam adjuster cup … time for a trim.Since the Halogen lights are not true seal beams, but rather a light that employs replaceable bulbs, there is a large rubber gasket on the back side of the light. The rubber gasket will not fit through the original seal beam cup opening.We used the rubber gasket from the light to mark the required radius on the back side of the cup. Trimming with sheet metal snips opened things up. Don’t forget to dress off the opening burrs with a file after cutting with the snips.Here we can see the flat lens halogen light residing in the new adjuster cup. Screws holding the stainless steel retainer ring in place thread into the two vacant holes seen on the cup.Here is the completed light, the retaining ring in place, and the spring tensioner connected. It was just about this time we decided to switch to Lucas Tri Bar headlights with curved lenses.The seal beam cup slips into the adjusters and then a new retainer ring holds the light in place. Then the new spring tensioner provides pressure for the adjusters to work properly while reducing vibrations.After the bodywork on the headlight buckets was complete, we mounted the new Lucas Tri Bar headlights and bolted them to the fender. Obviously, we had a problem, the headlights were not properly orientated. This is important for focusing headlights regardless of which particular lights you choose, not to mention it looks terrible.It is apparent from this view that the headlight housing had to be rotated outboard so the top adjuster was perfectly centered on the vertical of the headlight opening.We began the rotation by drilling out the existing rivets. Drill just the head off the rivet and gently drive it out of the light. It is important not to enlarge the hole as you will be installing new rivets in this same small recess.Since the head of the rivet had a small hole, we used a drill bit to cut the pilot hole, then a slightly larger drill to cut into the rivet head. It pays to have a full drill index from Harbor Freight on hand to provide the exact size drill required.After drilling out all the rivets it was a simple matter of gently tapping the seal beam mounting cup out of the headlight body.The final headlight chrome rim has a top locating tab that slips through the headlight body. You must cut a new relief in the mounting cup to provide room for the tab to protrude through the headlight body. A simple notch was made with a pneumatic die grinder and cut-off wheel from Harbor Freight.After pushing the light into the headlight body, we gently rotated the assembly until the Lucas Tri Bar headlights were perfectly orientated with the center bar perfectly vertical. Flat face lights should have the horizontal flutes in the lens perfectly level. Note we will use the original rivet recesses to locate the mounting cup.Drilling through the original rivet mount holes we properly located the new rivet holes. Work carefully for the proper size holes for your rivet size, each hole should be a snug fit to the rivet.We opted to use semi-tubular aluminum rivets to hold the cup in place. A Super Duty Rivet Squeezer was employed to properly compress the rivets. The tool has interchangeable heads for specific rivet styles and is often used in the aircraft industry.The gear reduction head on the rivet squeezer provides the needed power to compress the rivet. A “semi-tubular” rivet has a recessed hole on the bottom of the shaft that compresses nicely. These must be completely flattened on top so the headlight retaining ring will clear.A small tab that holds the headlight rim in place was fabricated and tack-welded to the cup. A simple stainless steel sheetmetal screw will hold the headlight rim in place.And here it is, our Lucas PL halogen lights rotated properly in the ’41 Chevy headlights we adapted to the ’36 Ford fender (Modern Rodding Jan. ’22). Like most hot rod projects, this was a bit more involved than we first anticipated, but the final results made it all worthwhile.
We use cookies to ensure that we give you the best experience on our website. If you continue to use this site we will assume that you are happy with it.