Relocating and updating a classic truck fuel tank is a common modification. From safety concerns to performance requirements to EFI upgrades, its one of the most important upgrades you can make. There are several reasons why a pickup owner might want to modify, replace, or relocate the fuel tank in a classic truck. Moving the tank from inside the cab to under the bed is a common upgrade on those trucks equipped with such a scenario, and the resulting modification can not only remove the smell of fuel from the interior of the truck, it can create a sense of safety, not riding around with gallons of fuel directly behind the seat, while also providing the owner with upgrades such as built-in baffling and in-tank electric fuel pump options. It’s truly one of those few upgrades that can come with many improvements in one fell swoop.
Before we purchased the truck, someone had retrofitted an aluminum tank of unknown origin under the bed. While it served its purpose, the lack of any internal baffling and a few leaking bungs meant we needed to replace it with something nicer.
As progress accelerates forward on our ’48 Chevy project truck here at CTP headquarters, one of the main items we needed to address was the previously relocated (and leaking!) aluminum fuel tank. While functional, it wasn’t without its flaws. For starters, the tank was sans any baffling internally, which meant fuel slosh was an issue leading to irregular readings on the fuel gauge at the least and moments of fuel starvation at the fuel pump at worst. While technically sorted with the addition or an Aeromotive electric fuel pump equipped with a foam basket baffle, it was still something we preferred to fix permanently. Enter Rick’s Tanks in El Paso, Texas.
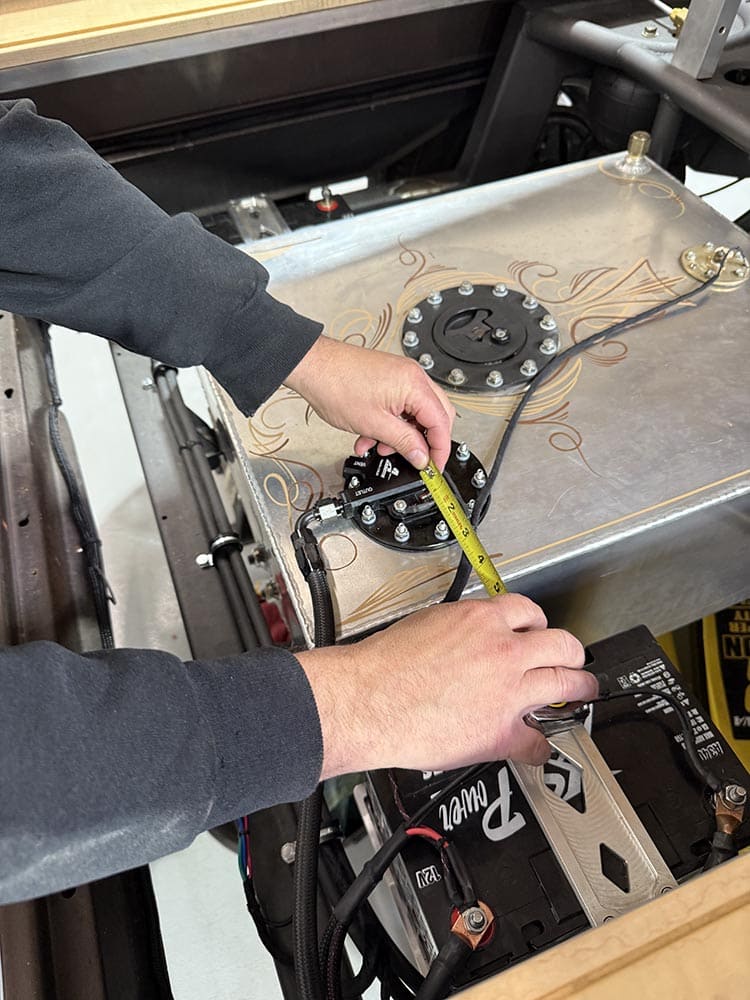
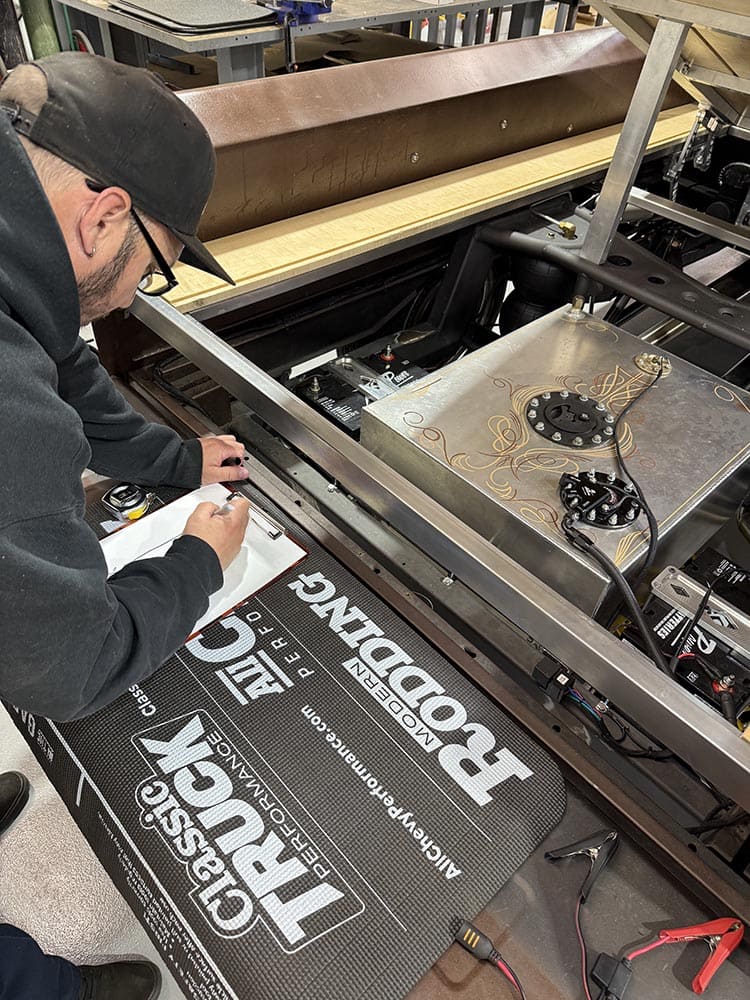
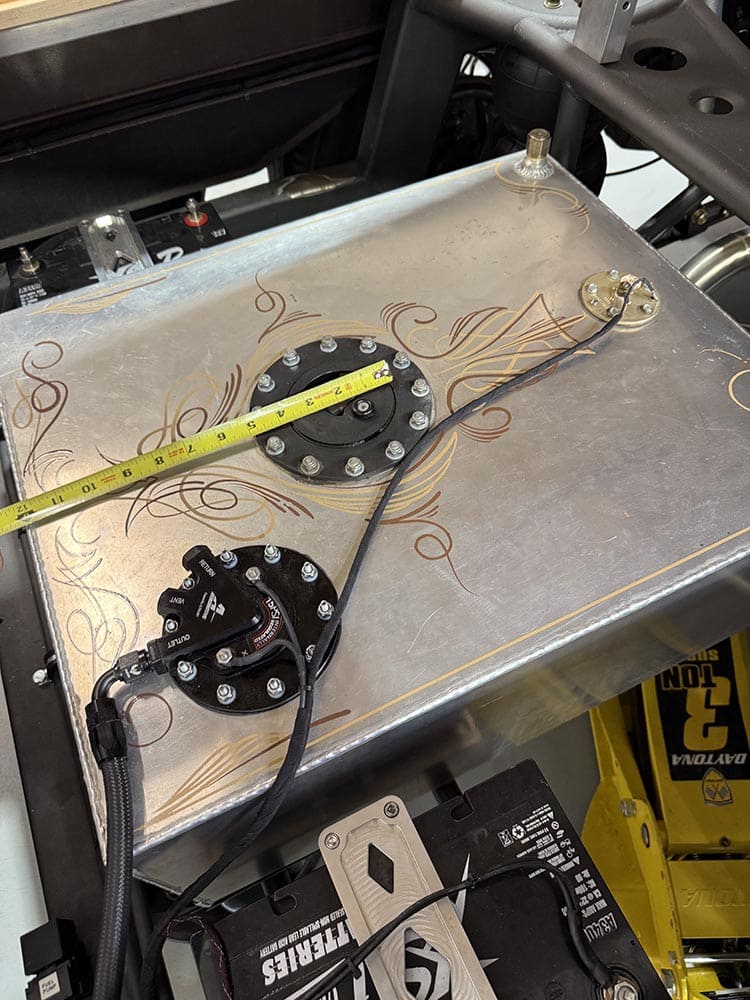
We liked the size of the old tank, and maintaining similar dimensions would mean retaining the existing mounting arrangements. We did, however, decide that the location of the filler and the sending unit could be improved. The location of the fuel pump is acceptable, and the existing Aeromotive pump will be reused in the new tank, so a couple quick measurements of its location are taken and jotted down.
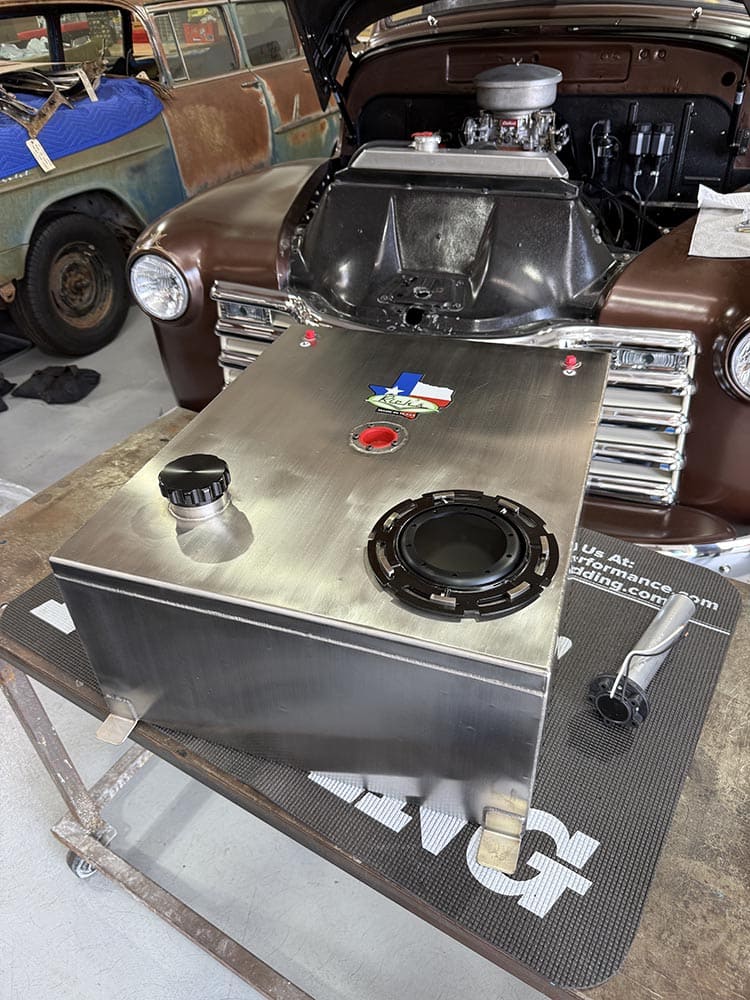
Purveyors of some of the finest stainless steel fuel tanks available, be it one-off custom like ours, or a direct-fit, drop-in replacement, Rick’s Tanks are truly a work of stainless steel art. Built to last and built to perform, Rick’s Tanks have built-in baffling to prevent fuel slosh and pump starvation and are available with a number of possible upgrades.
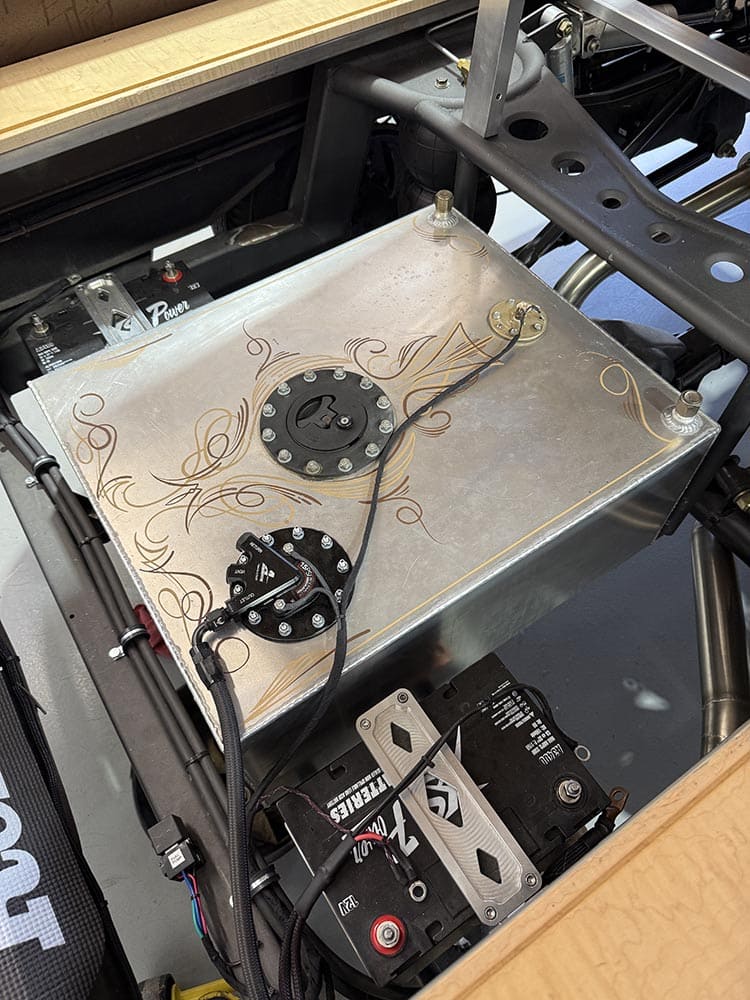
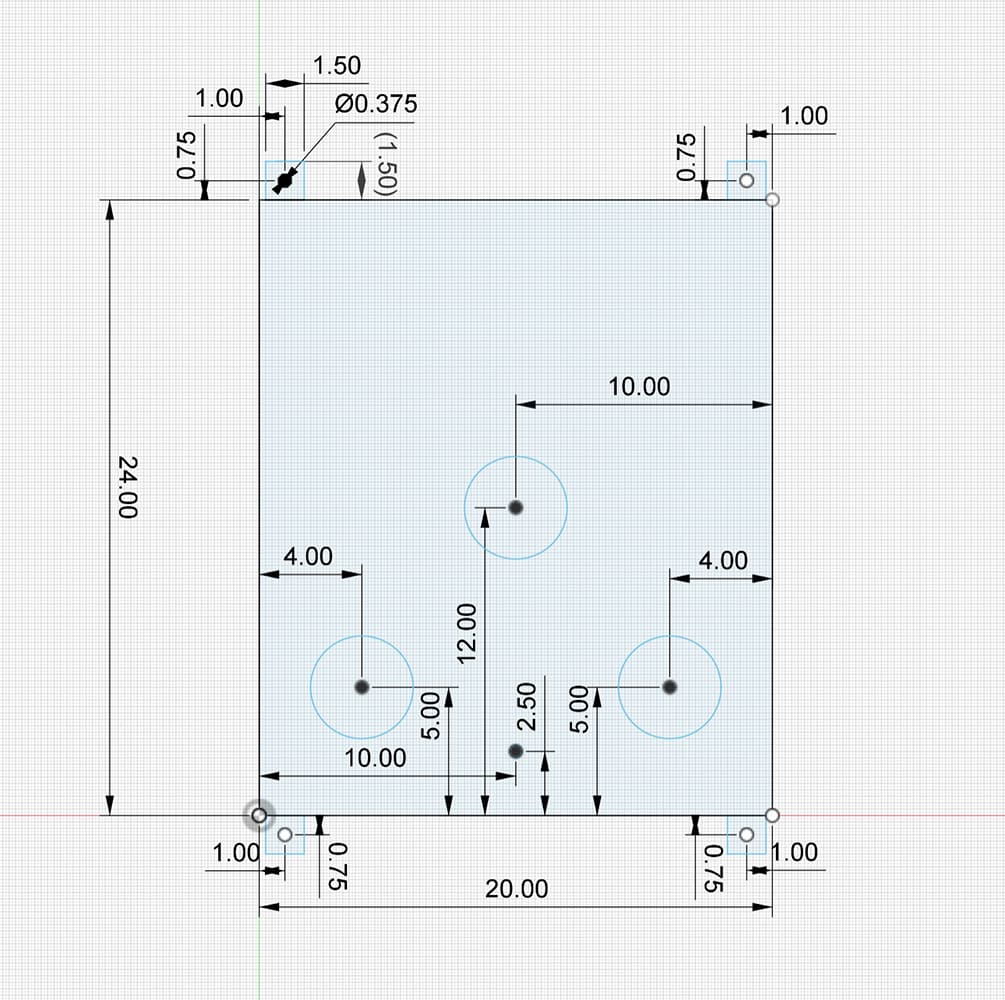
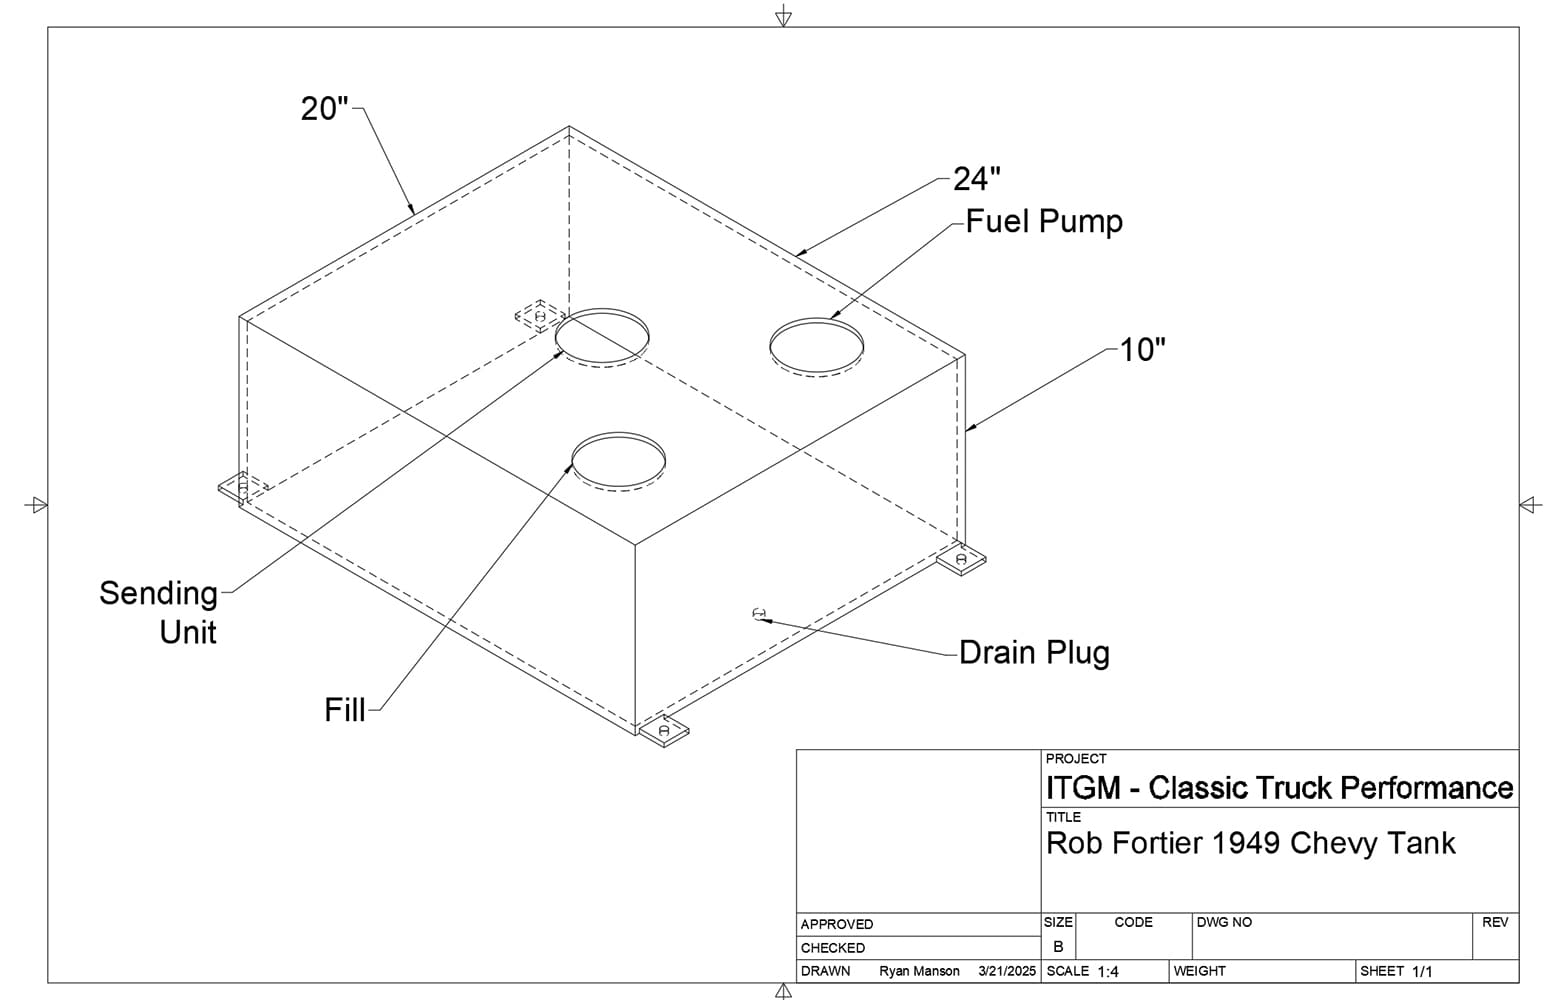
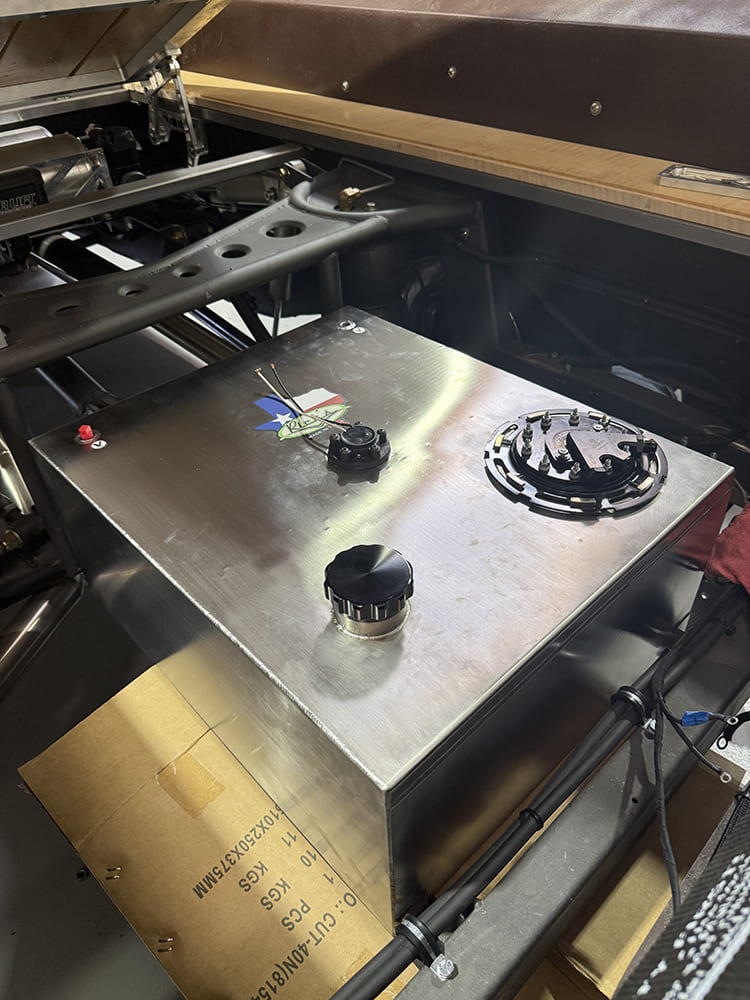
Since our Chevy was equipped with a custom tank and mounted in a custom manner, we opted to keep things in spec with the existing setup, providing Rick’s a detailed drawing of what we had going on. We noted the location of the various components (pump, filler, sending unit) and let the guys at Rick’s go to town. The resulting tank dropped right into place and has all the upgrades we sought out in the first place.
As mentioned, we’re going to relocate the filler to the side opposite the pump, with the sending unit taking up the filler’s current locale, so its location is also measured and noted.
So, whether you’re looking to relocate that stock tank in your C10 or you have a full-on custom application that’s in need of a hand-built stainless tank, be sure to check out Rick’s Tanks and tell ’em CTP sent ya!
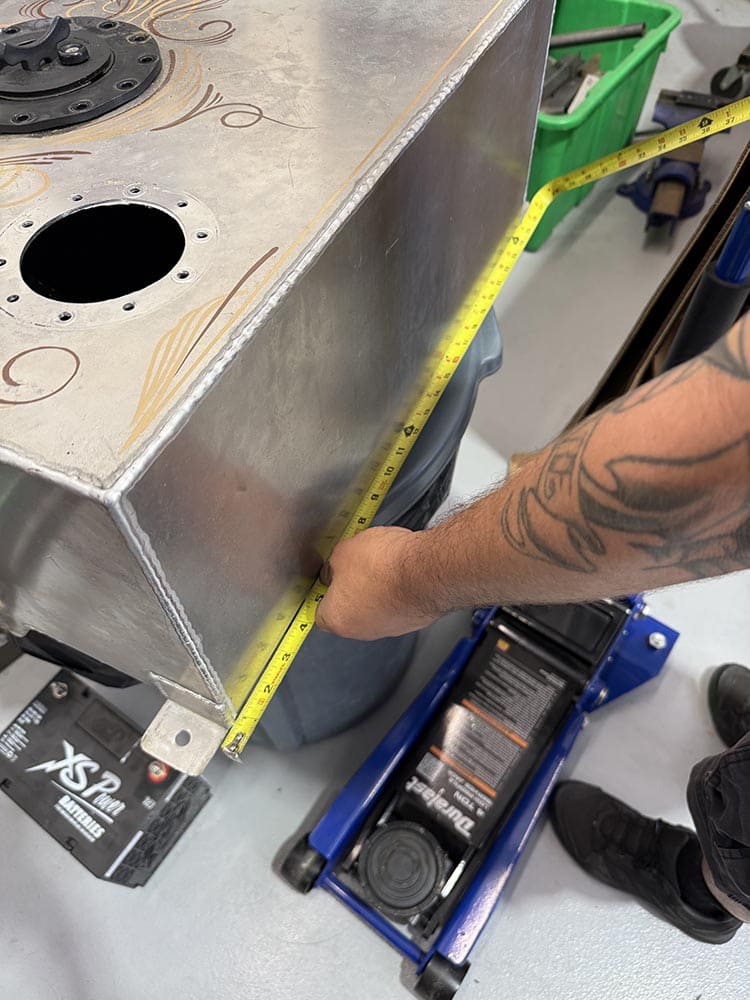
After removing the tank from the truck, detailed exterior dimensions of the tank are taken, including the mounting tabs.Plug our specs into a CAD program and we’ve got a fairly detailed set of drawings to send to the crew at Rick’s Tanks.
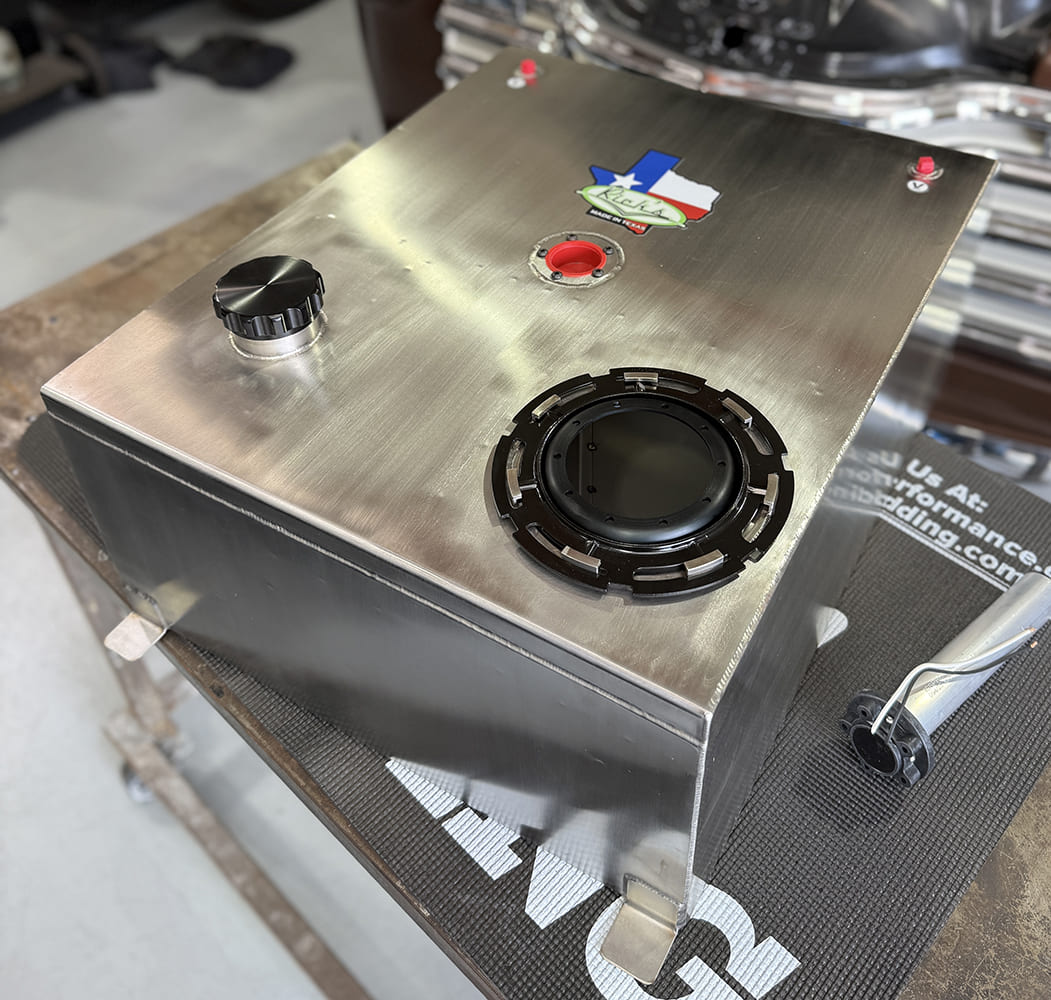
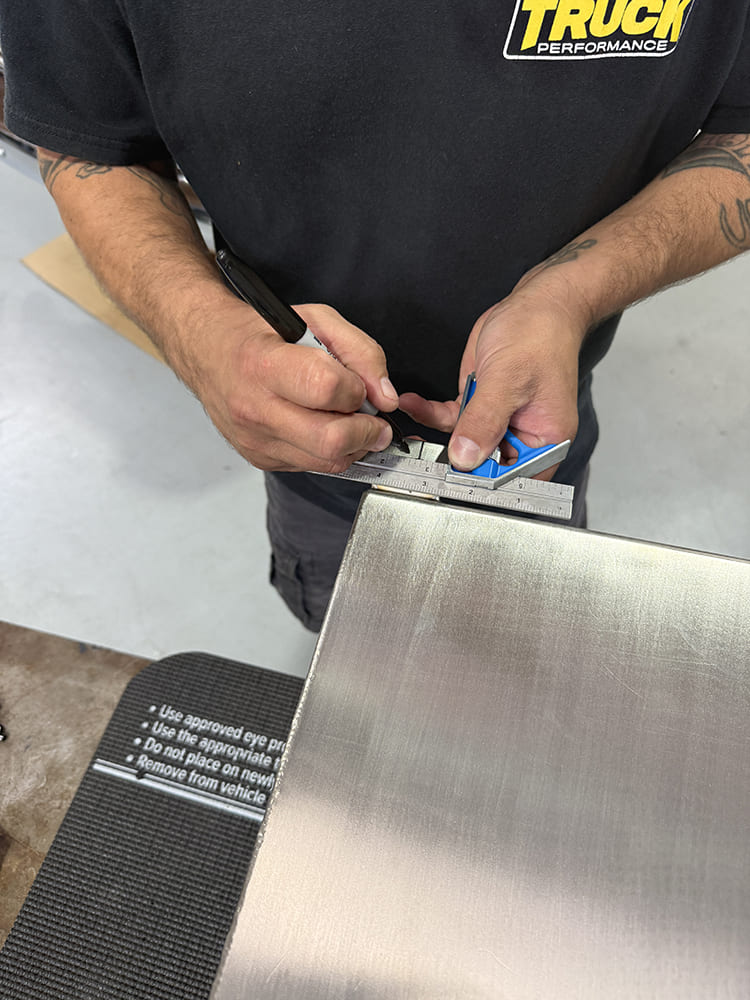
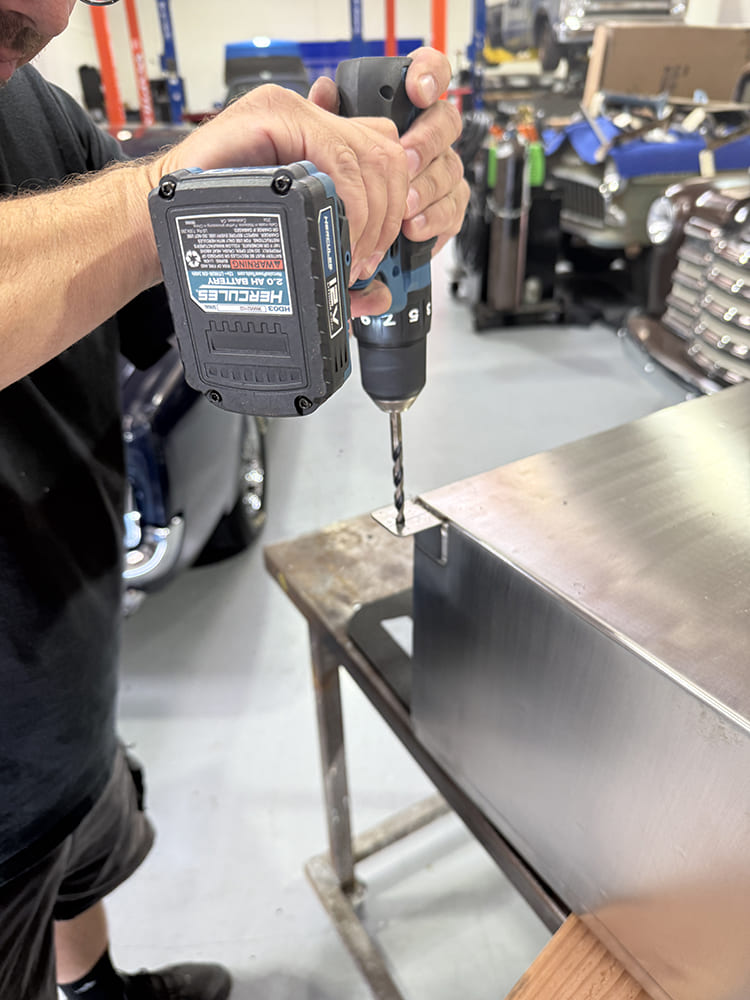
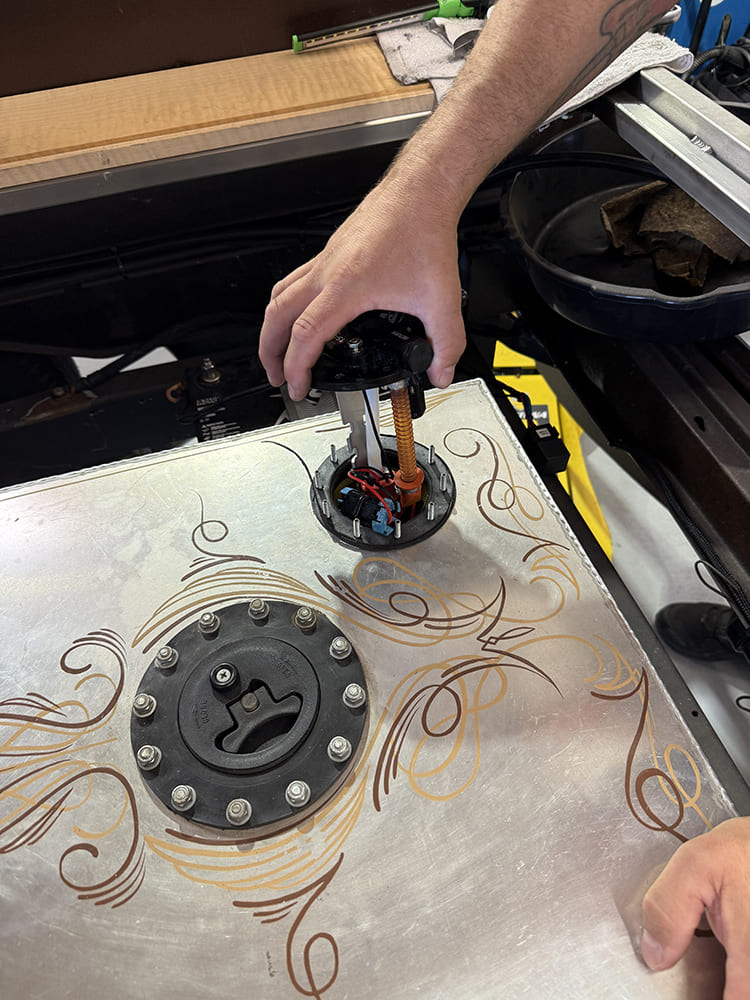
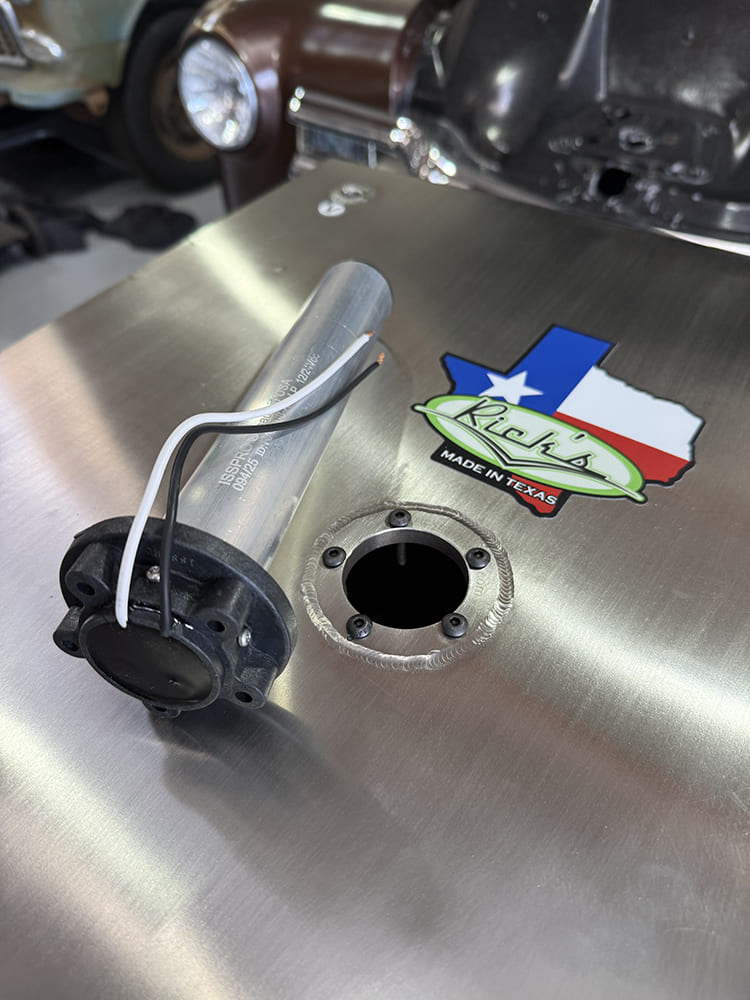
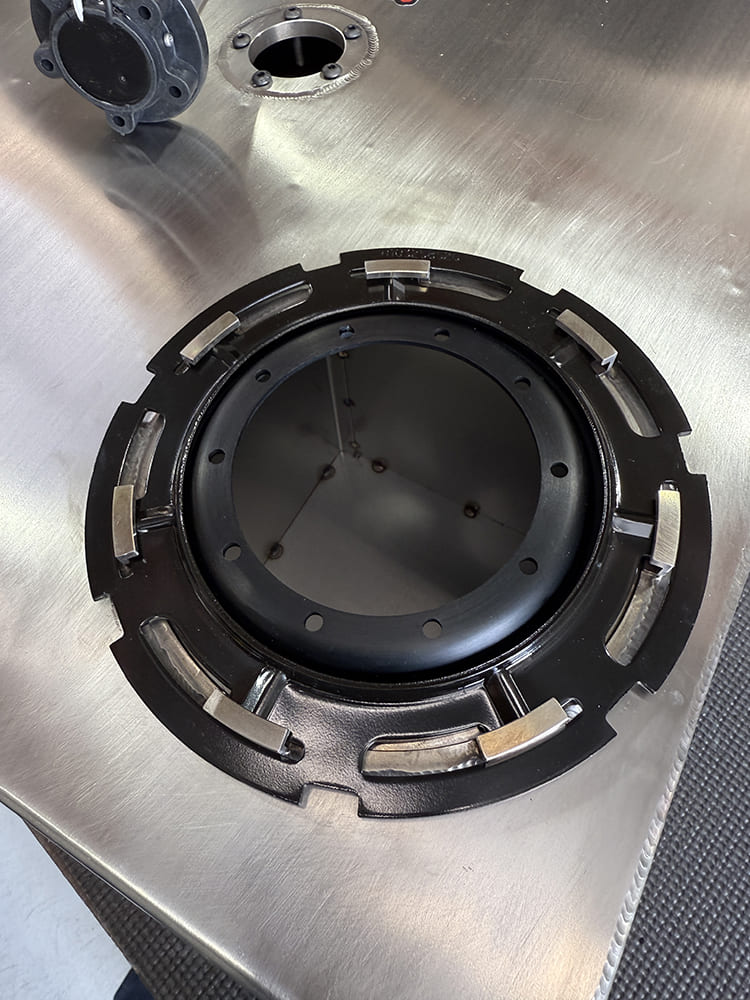
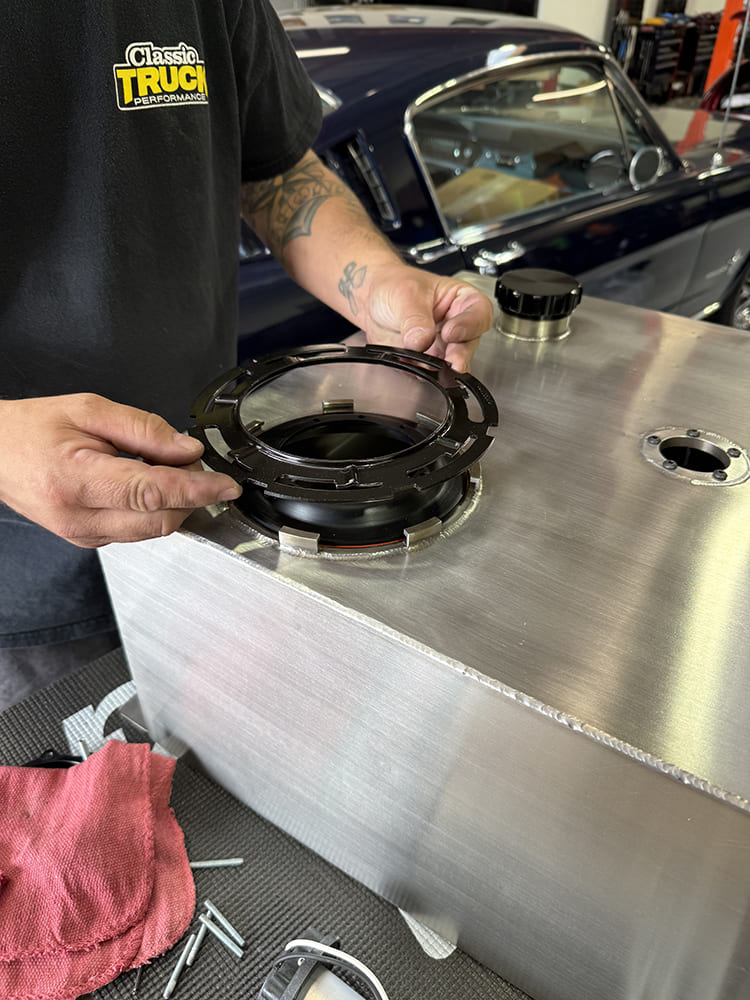
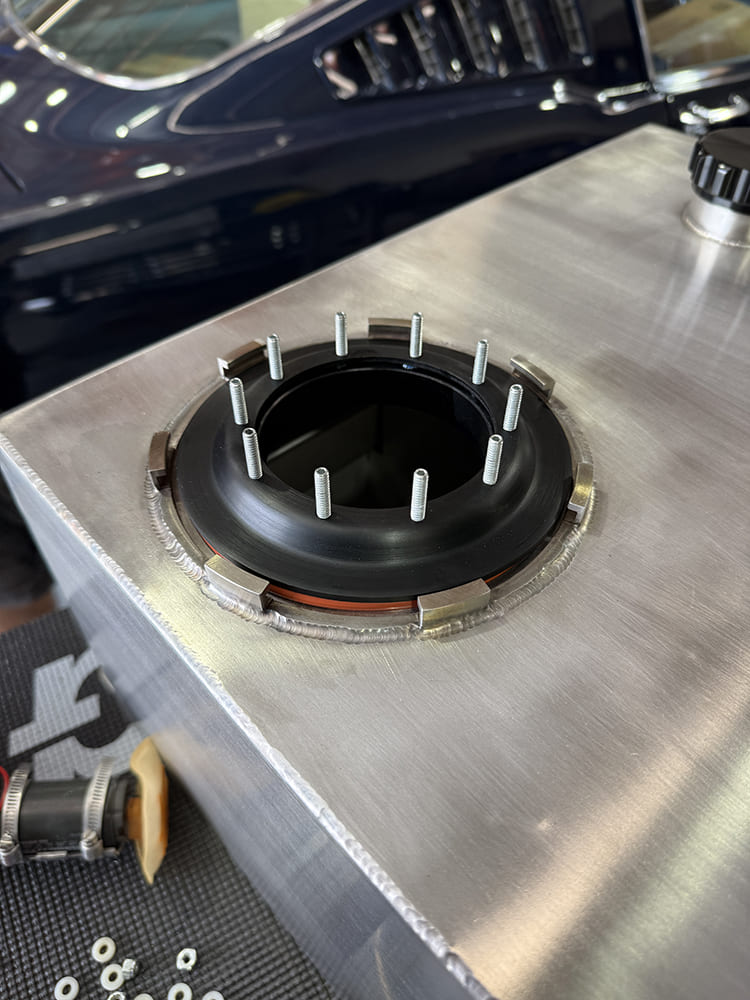
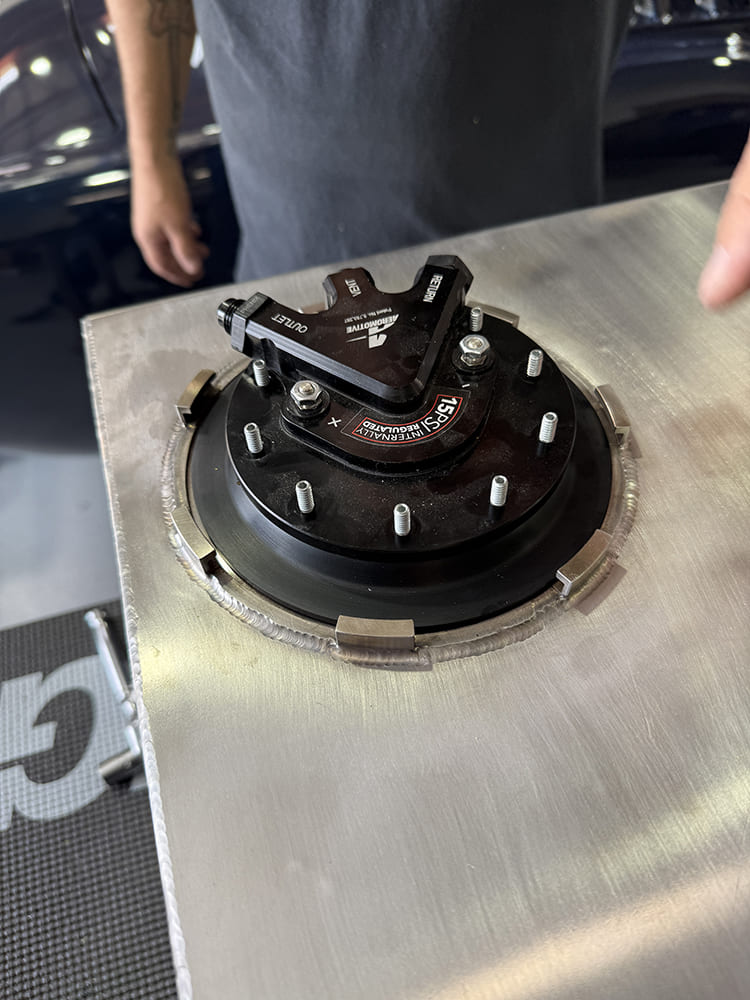
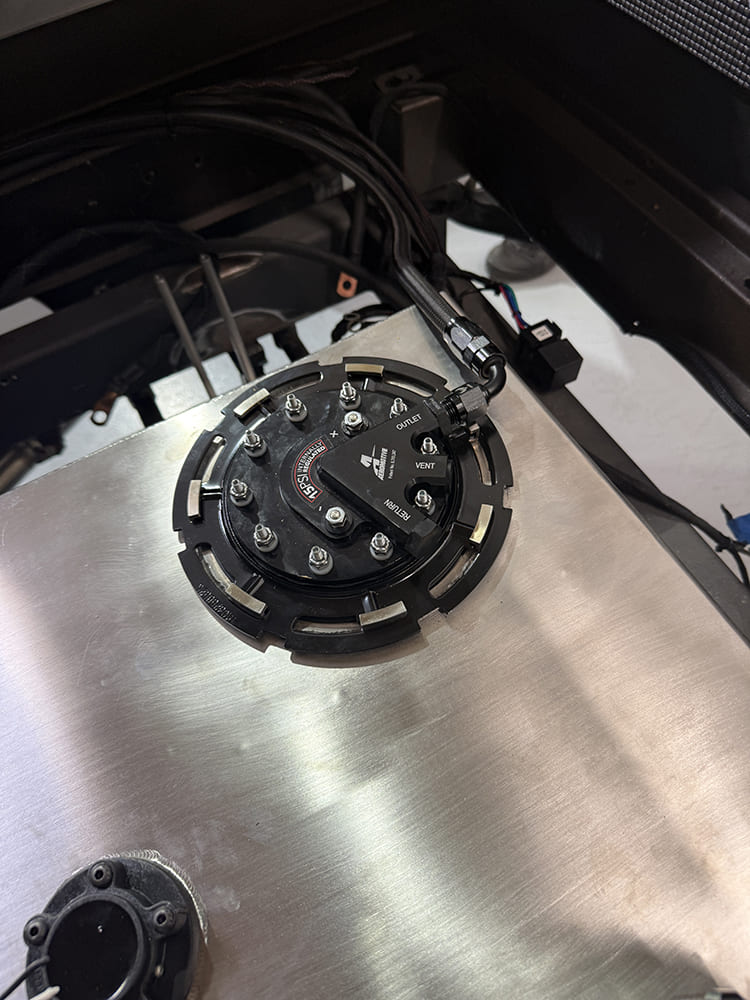
A few weeks later, and we’ve got a fully assembled stainless steel tank, built exactly to our specs. Note the location of the fuel pump, filler, sending unit, and two vent options (something we forgot to mention, though our pump does have provisions for a vent as well).First things first, we need to locate and drill the mounting holes on the tabs.Though we spec’d them out in our drawing, Rick’s left the tabs undrilled, which turned out to be a blessing in disguise, as the existing mounting fixtures were slightly off when test-fit.After a bit of fussing, we had our mounting hole locations plotted and proceeded to drill them as required.Before we dropped the tank out of the truck, we removed the existing fuel pump as it’s going to be reused to fuel our new Edelbrock VRS-4150 carb. Internally regulated to 15 psi, it’s a great option for a carburetor setup and its location in the tank will keep the pump cool and prolong its life.Rick’s provided an ISSPRO tube-style fuel sending, which simply drops into the tank and attaches to the mounting flange. Compared to setting up a typical float-style sending unit; measuring, cutting to length, these tube-style units are a welcome upgrade.While Rick’s can provide a turnkey tank option, complete with a provided fuel pump, since we opted to use the existing pump, they sent along an adapter ring that will allow our Aeromotive pump to drop right into our new tank, affixed with an OE-style locking ring setup, sealed with an O-ring.
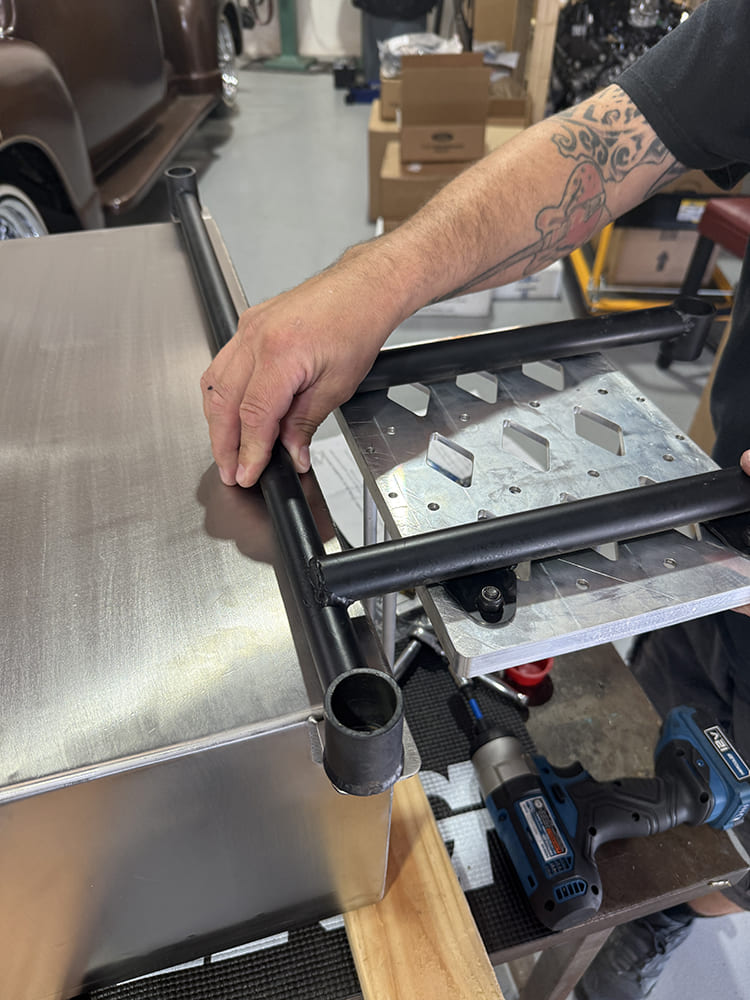
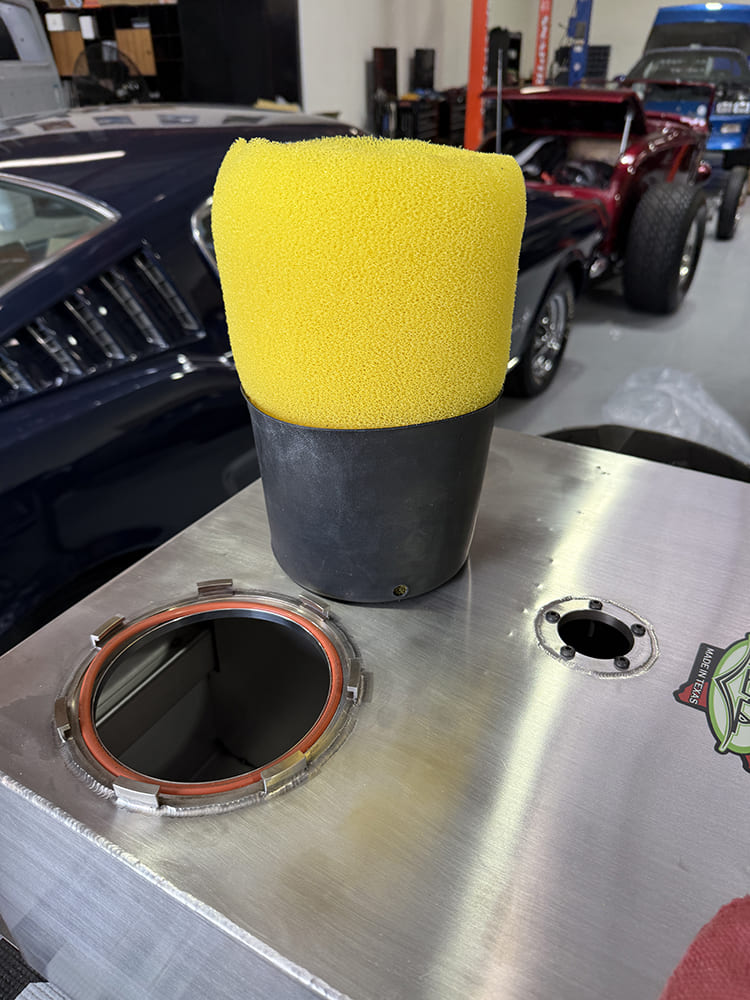
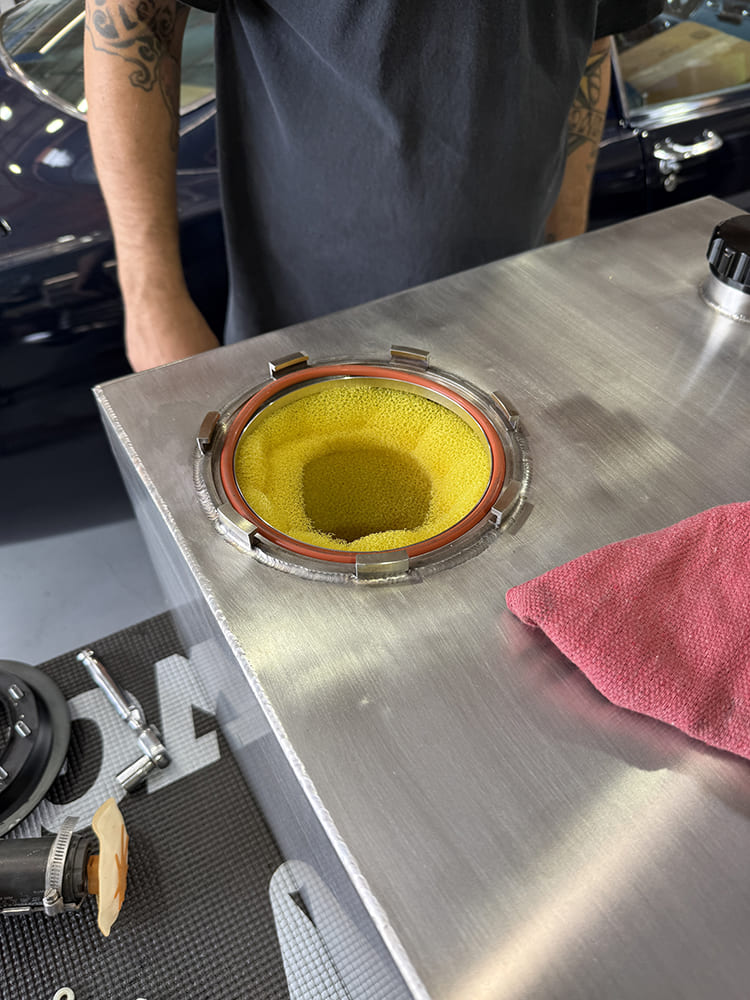
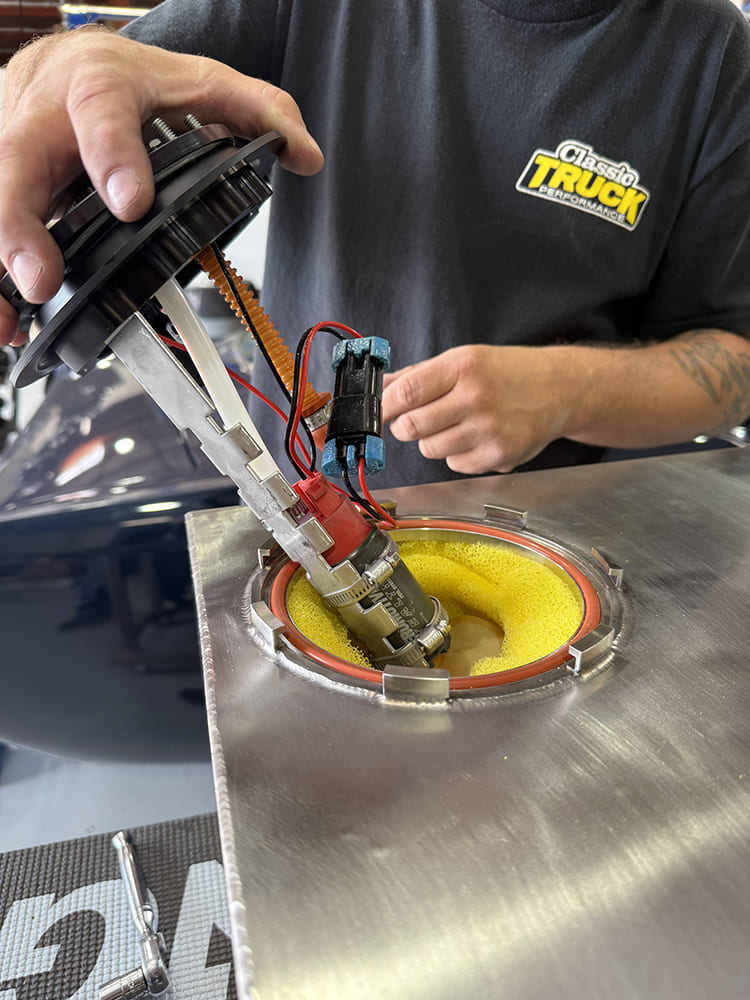
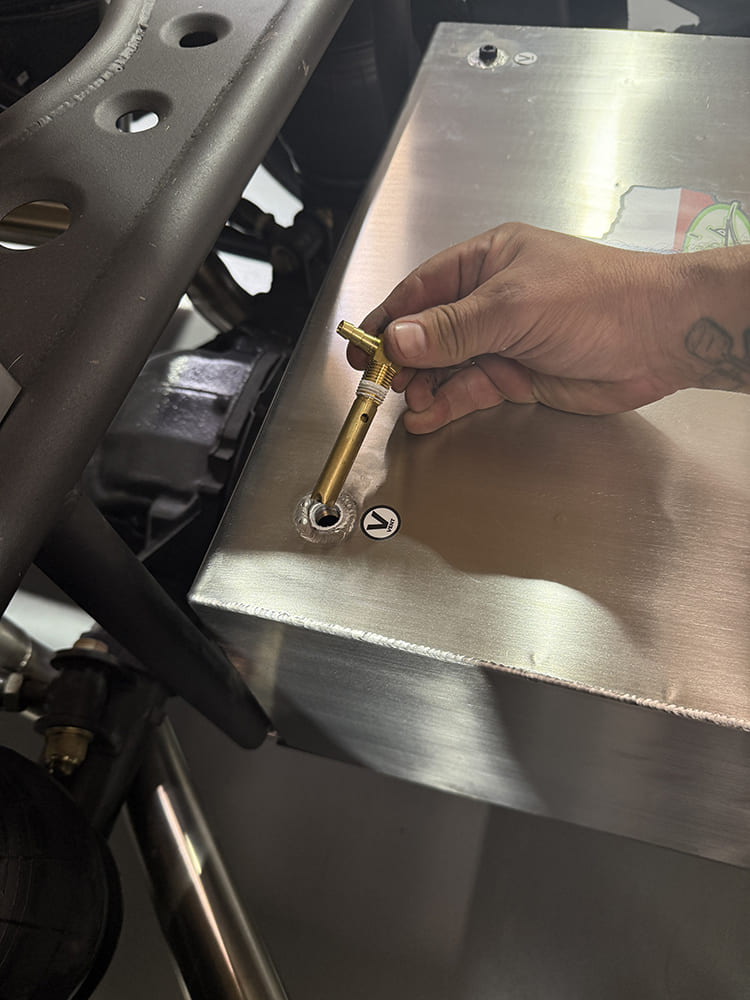
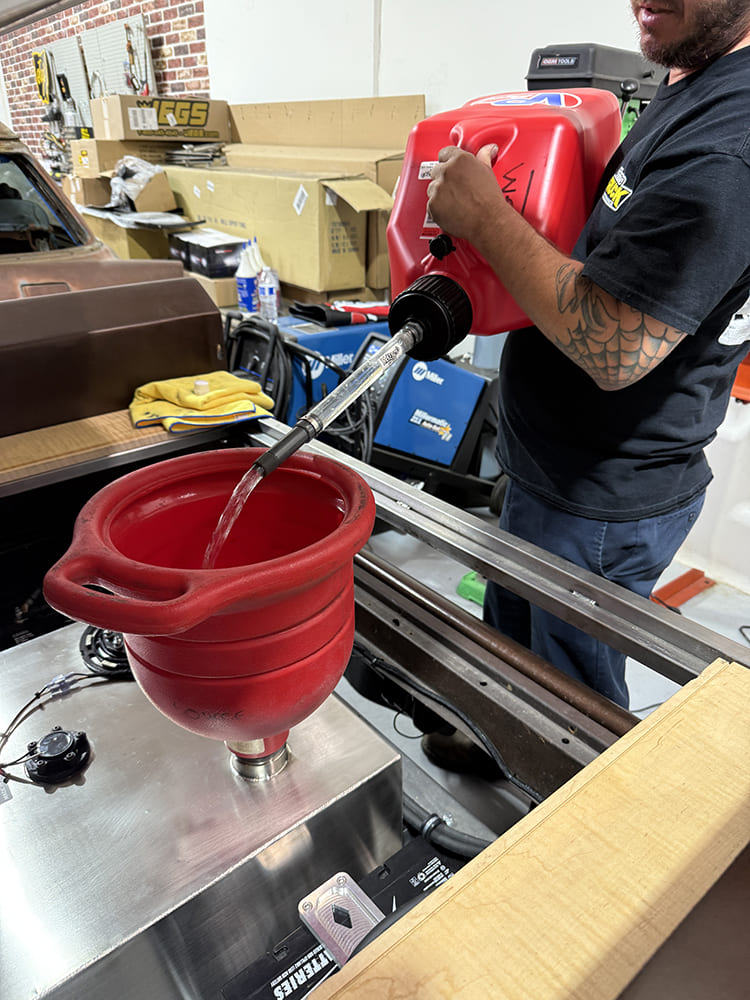
Though our new tank is internally baffled, our pump utilizes a baffle/basket foam arrangement to further improve fuel pickup and delivery.With the baffle/basket foam installed in the tank ……the fuel pump follows. Note the adapter ring has been bolted to the fuel pump prior to installation.Here’s the pump and adapter ring set in place …… and the locking ring installed, securing the entire business.With the tank lifted in place, it’s a simple manner of securing the mounting brackets and hooking up the fuel line and electrical connections.Another option that Rick’s provided was a rollover valve vent. This allows the tank to vent during normal operation and prevents fuel spill in case of a rollover.A couple gallons’ worth of fuel and we can check our lines for any leaks, ensure the carb is receiving proper pressure, our fuel level gauge is reading as expected, and it’s time to fire off the Chevy yet again.
We use cookies to ensure that we give you the best experience on our website. If you continue to use this site we will assume that you are happy with it.