


By Ron Ceridono – Images by Ryan Foss – Videography by Ryan Foss Productions
With all the options available today there are some critical questions to ask when selecting an aftermarket brake system. When the team at Eddie Motorsports needed help deciding what components to use on their LS-powered 1972 Chevy Nova they turned to Wilwood Disc Brakes’ Mike Hamrick for advice.
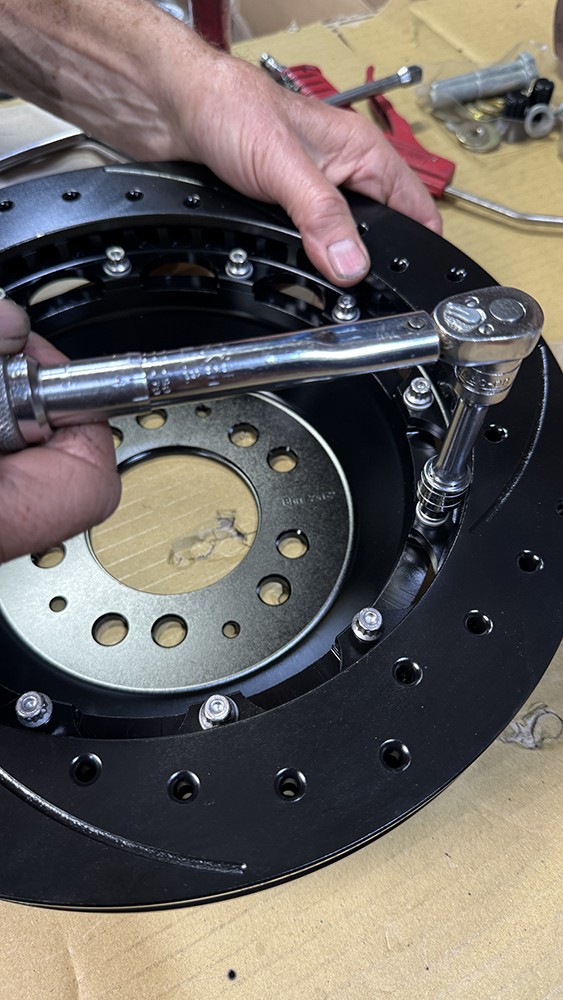
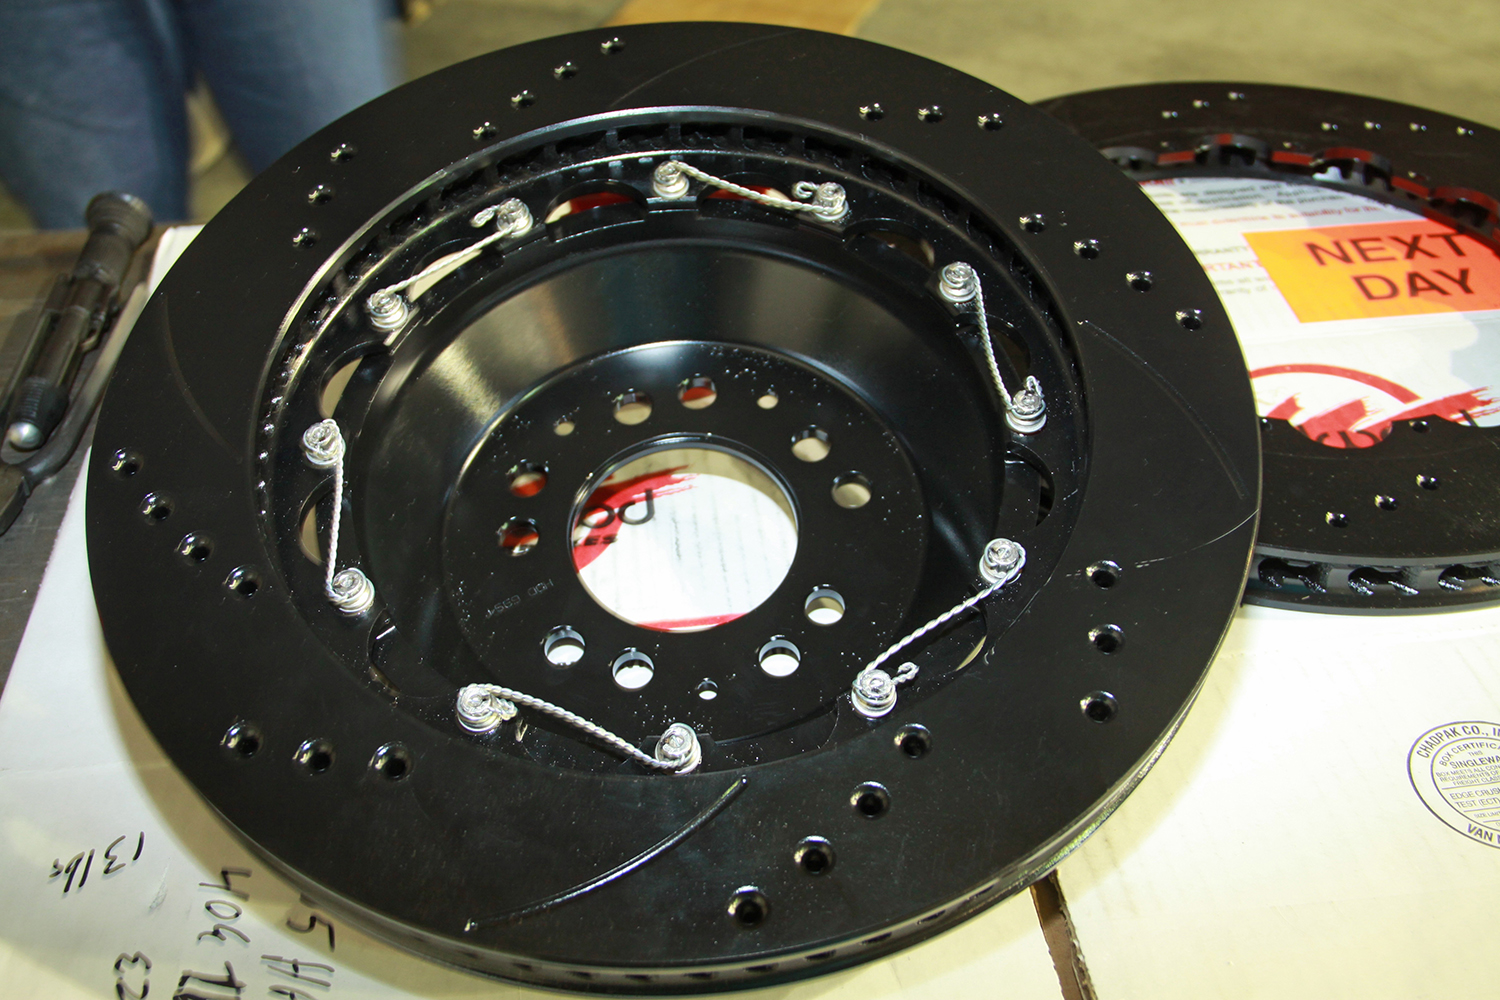
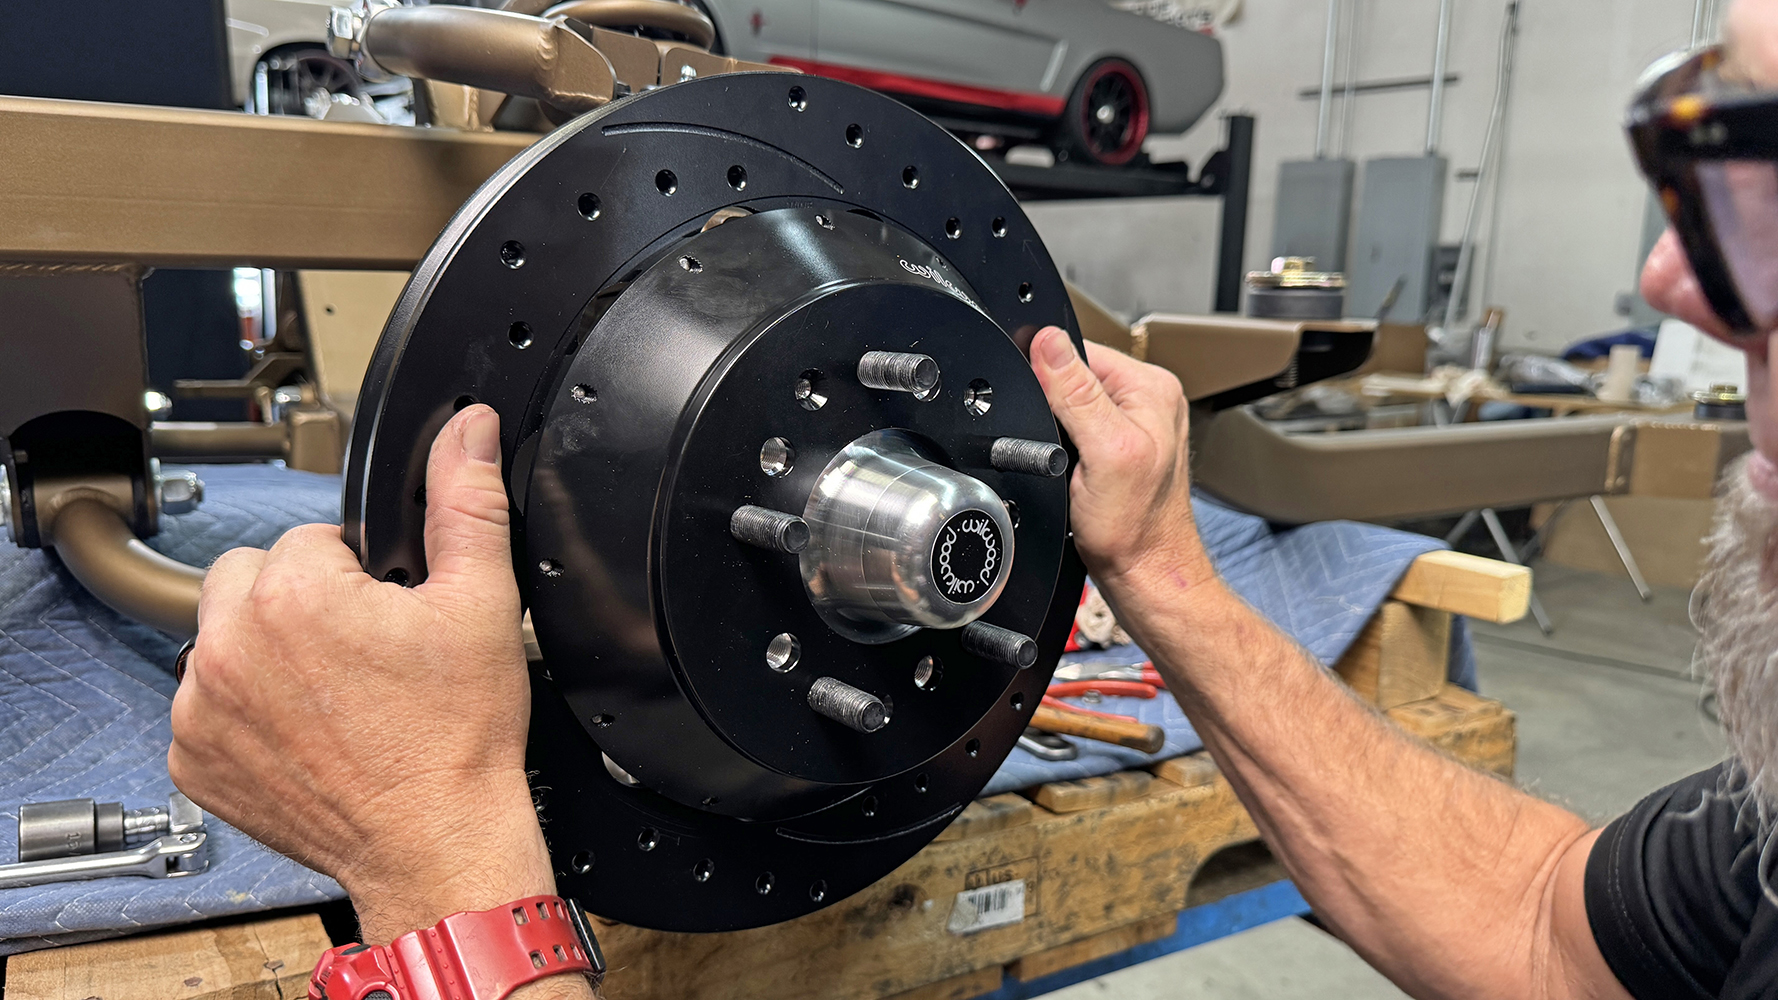
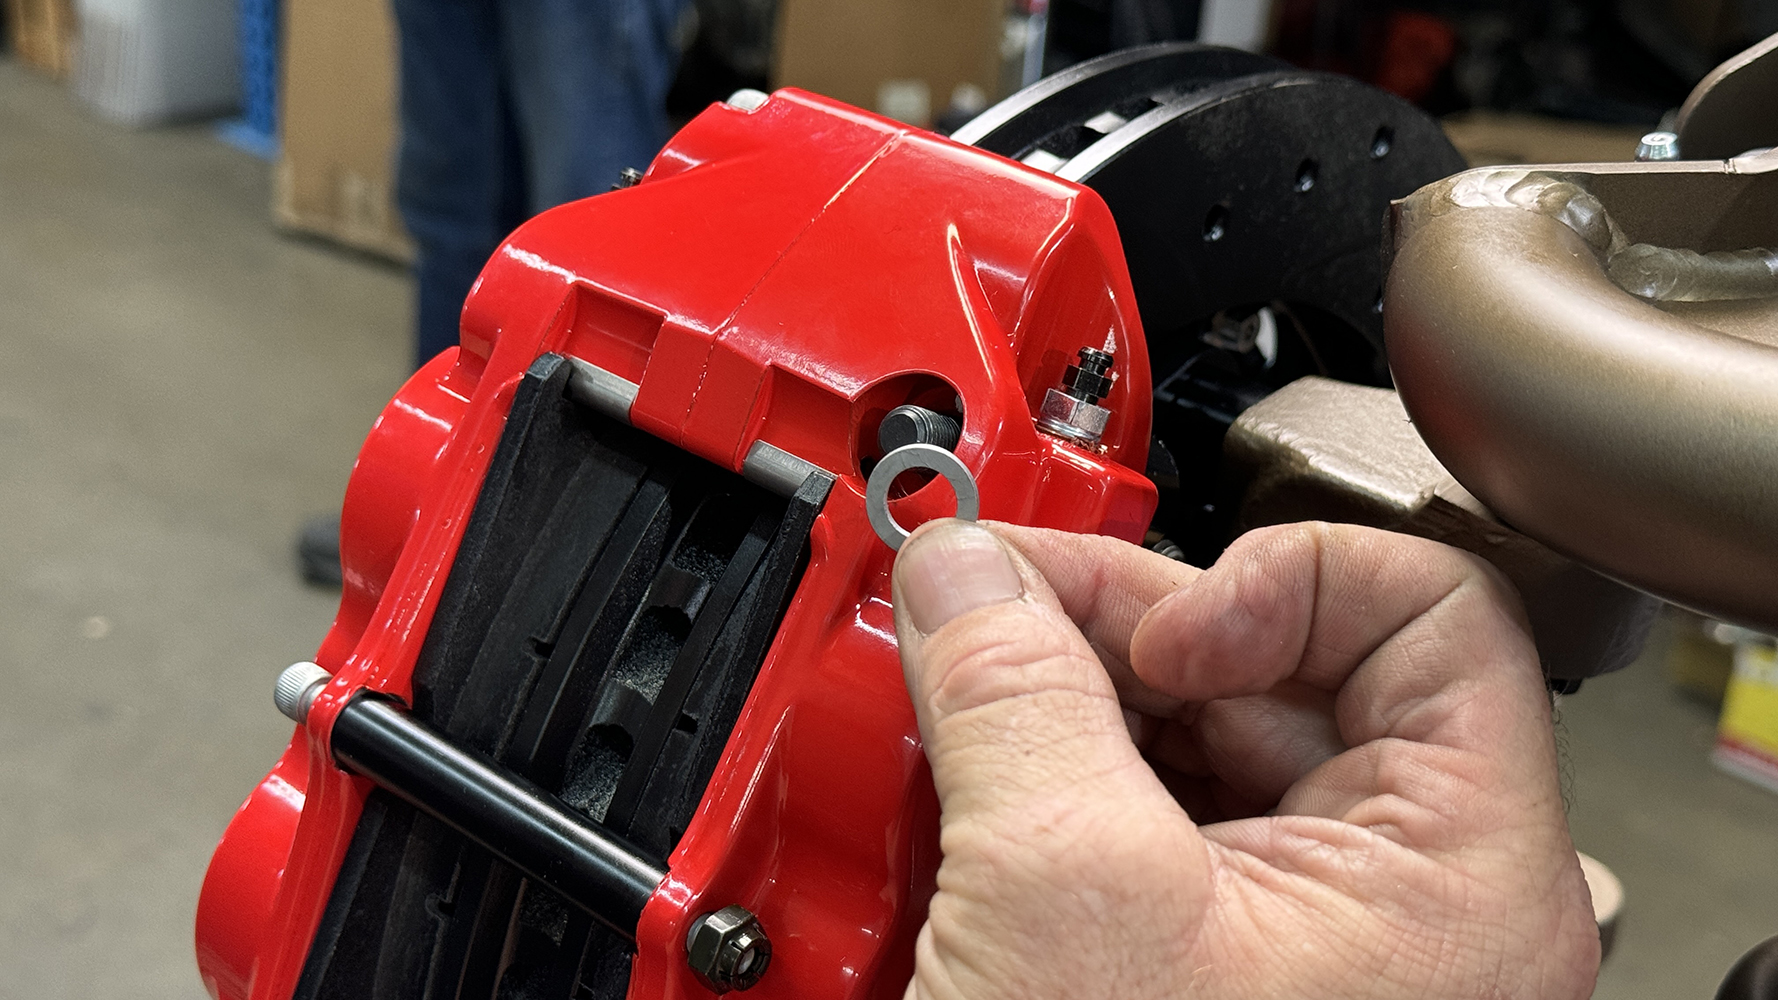
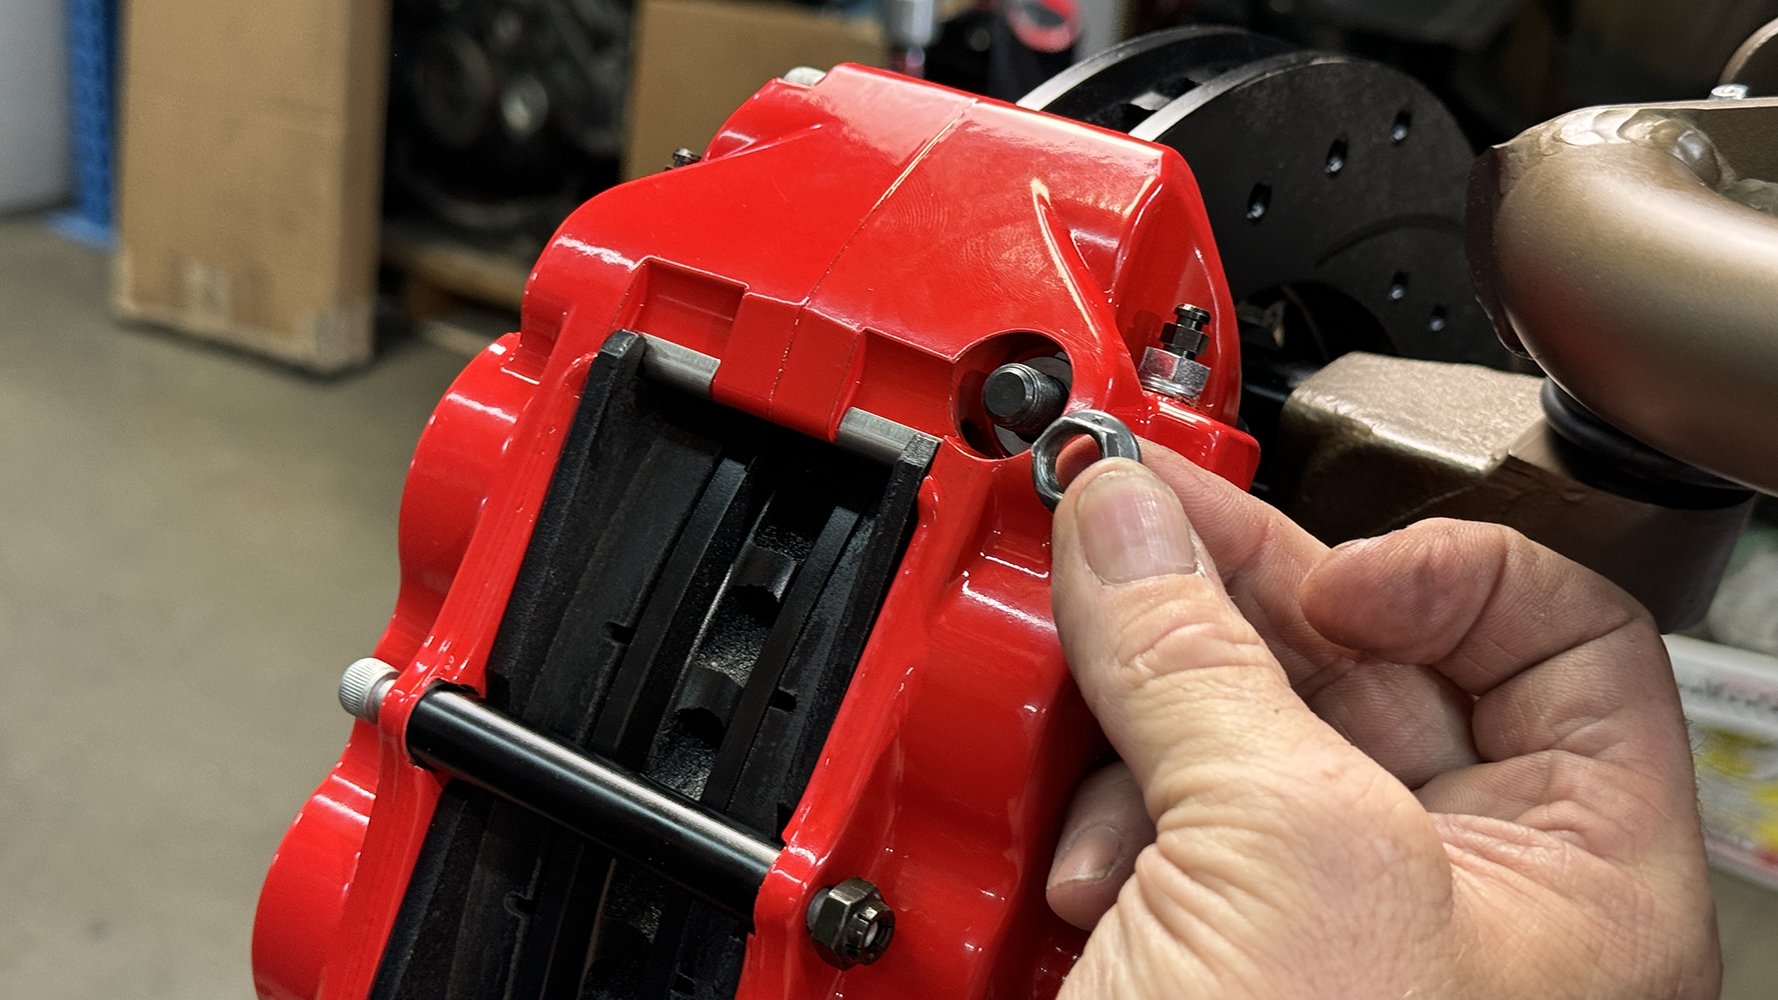
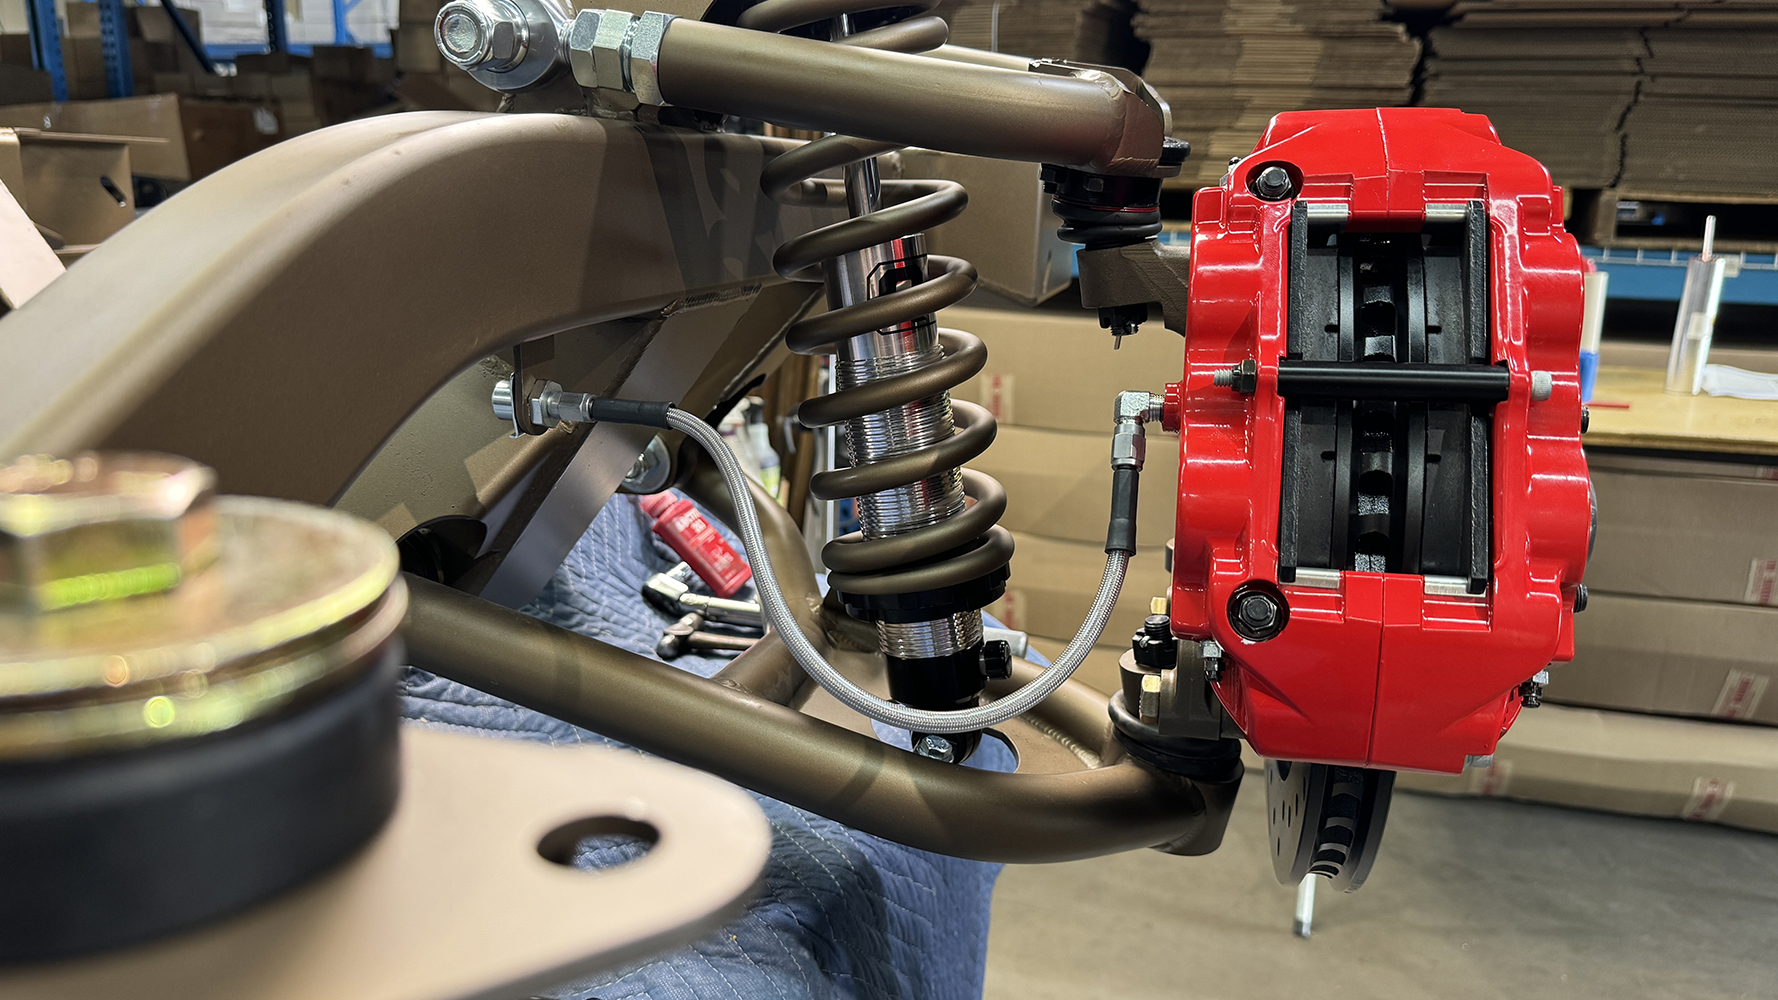
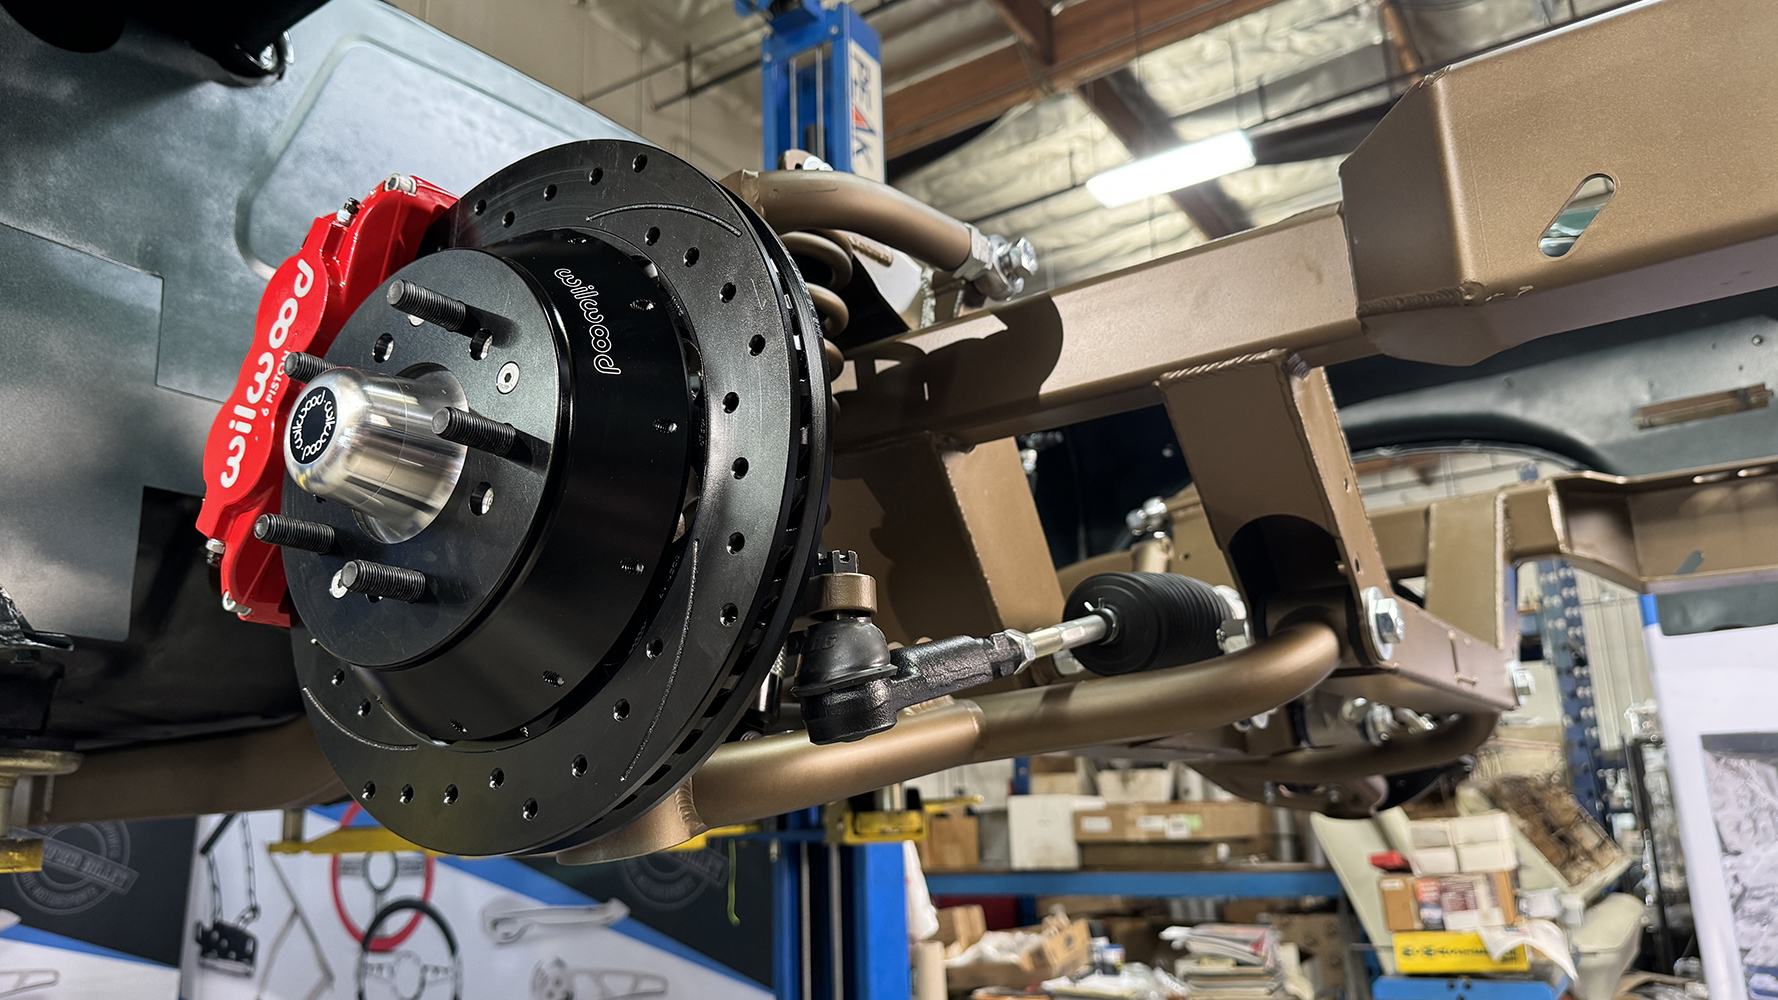
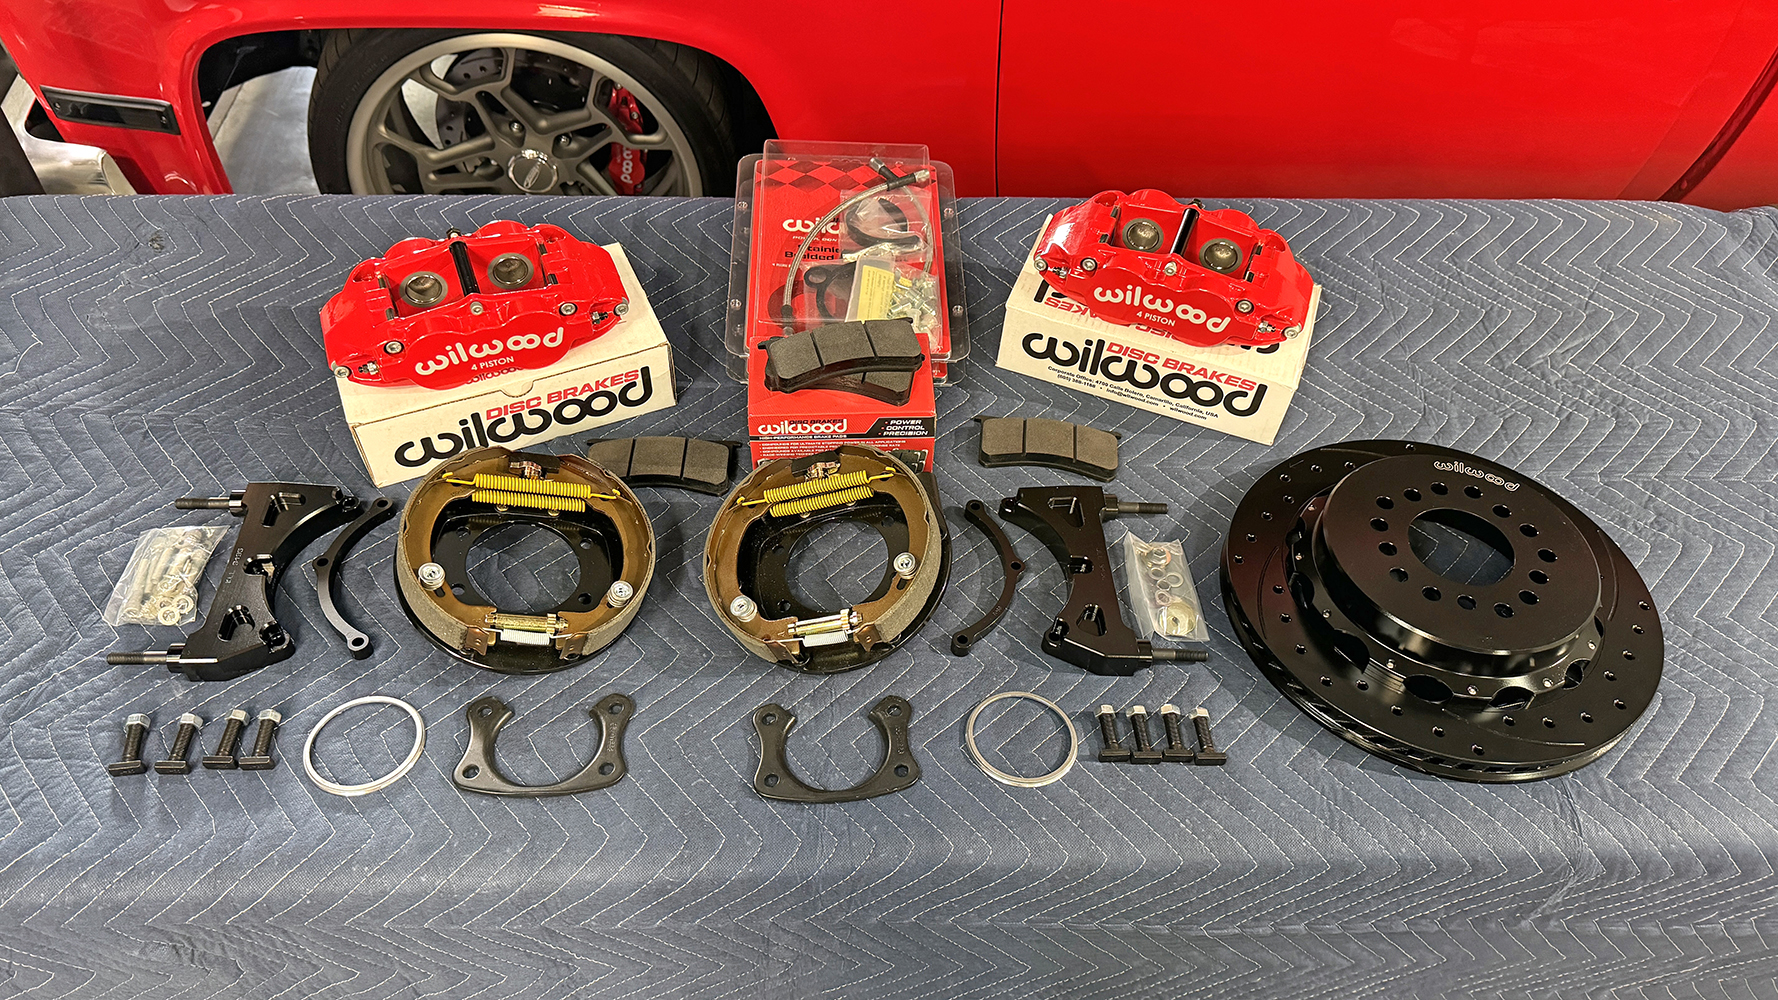
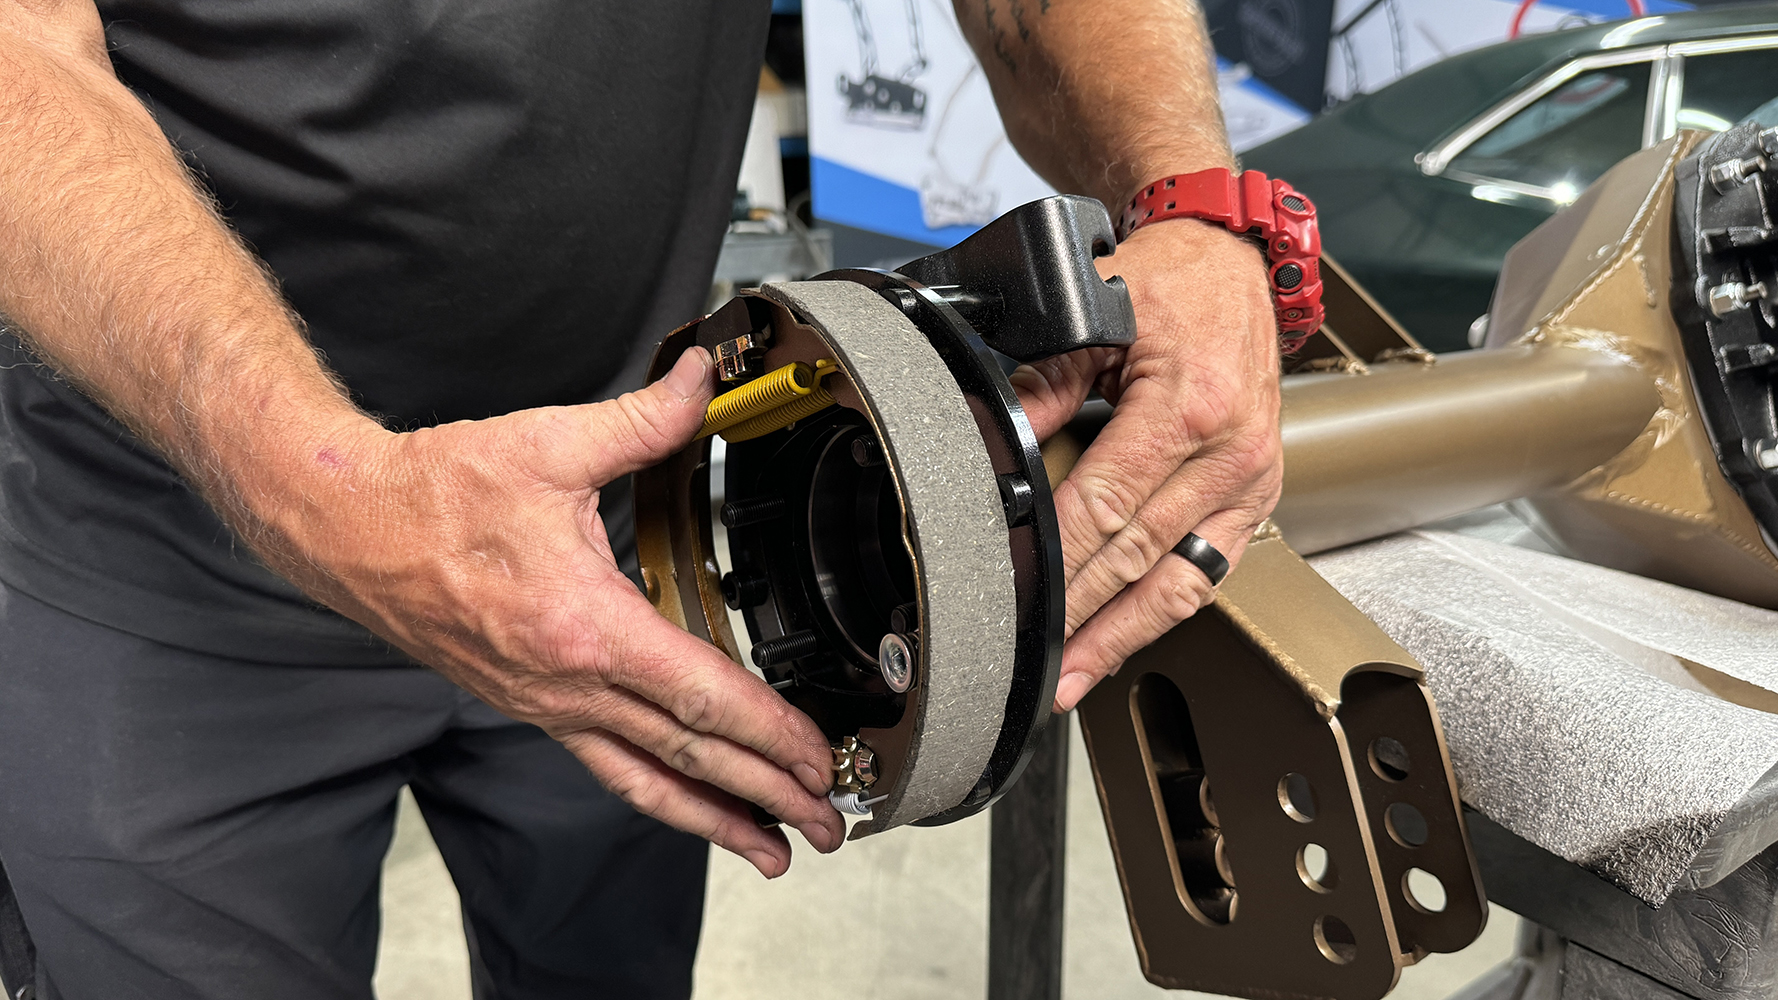
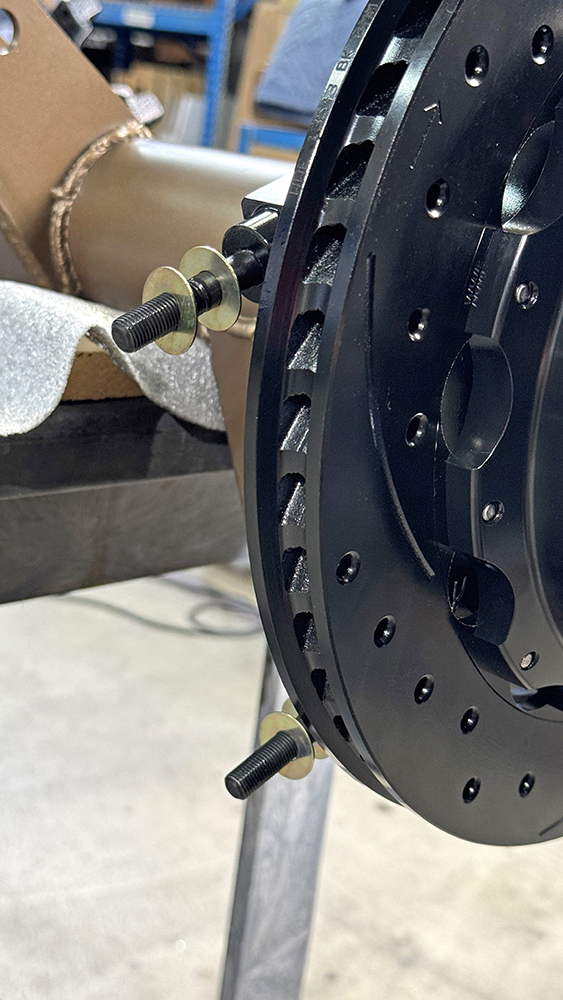
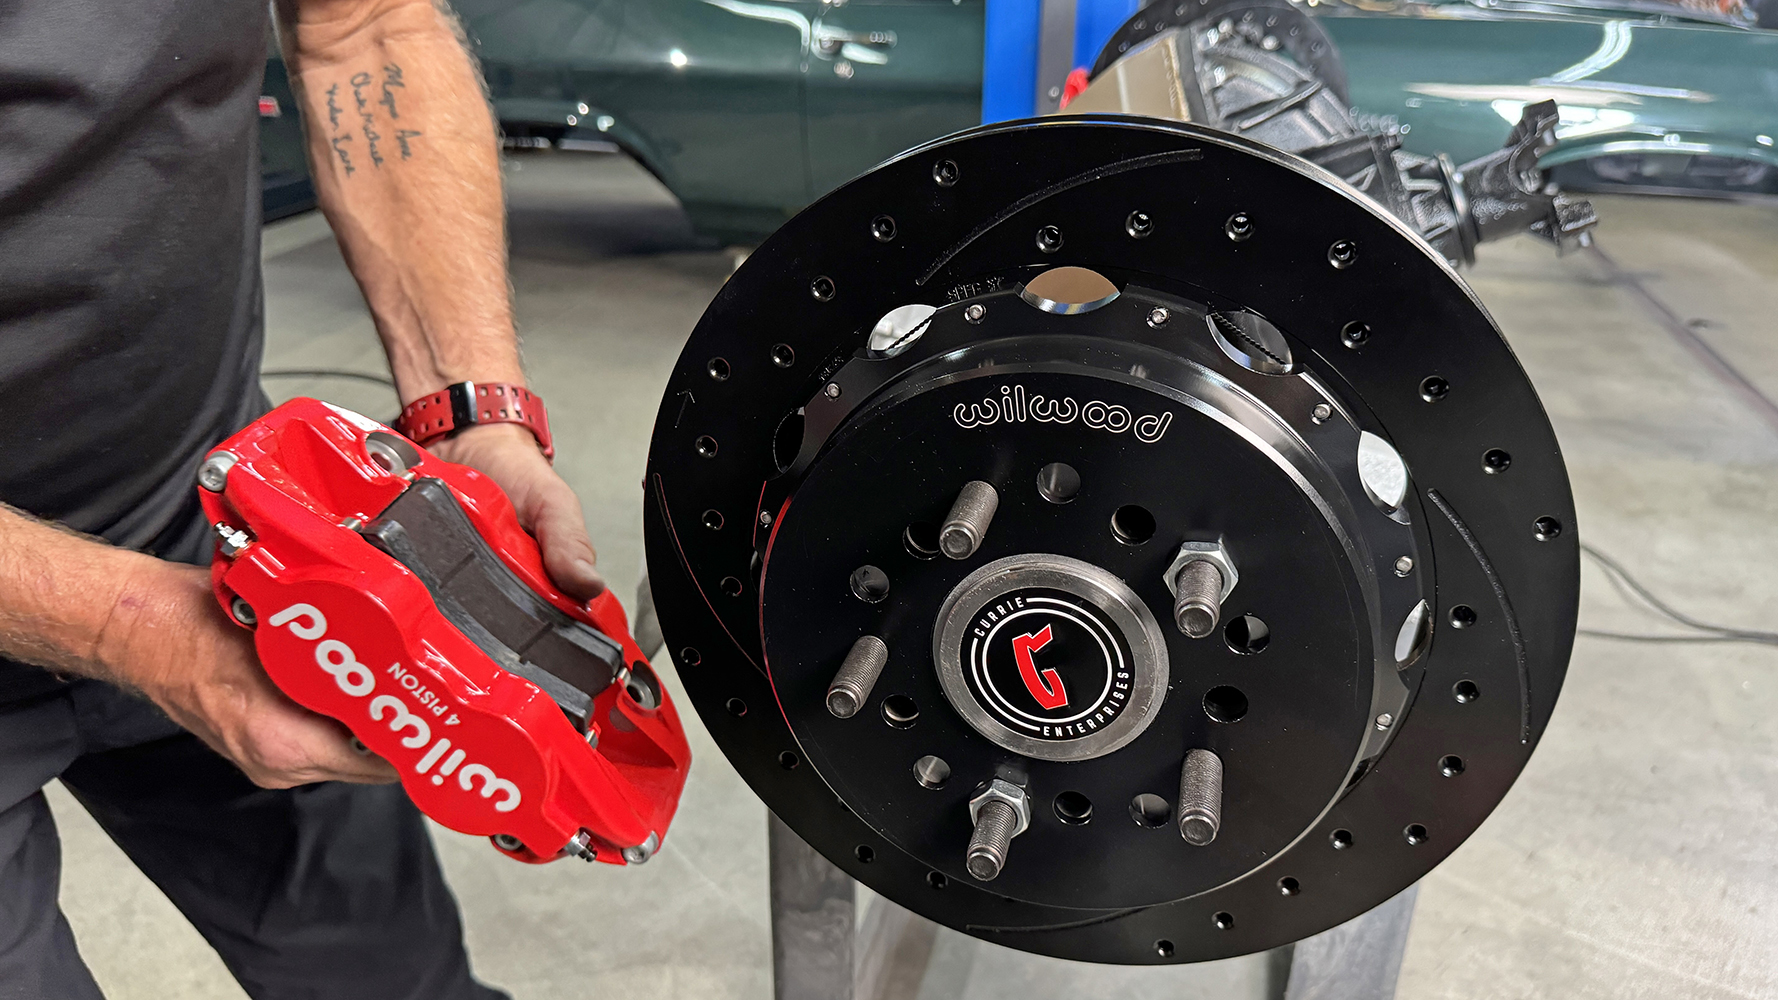
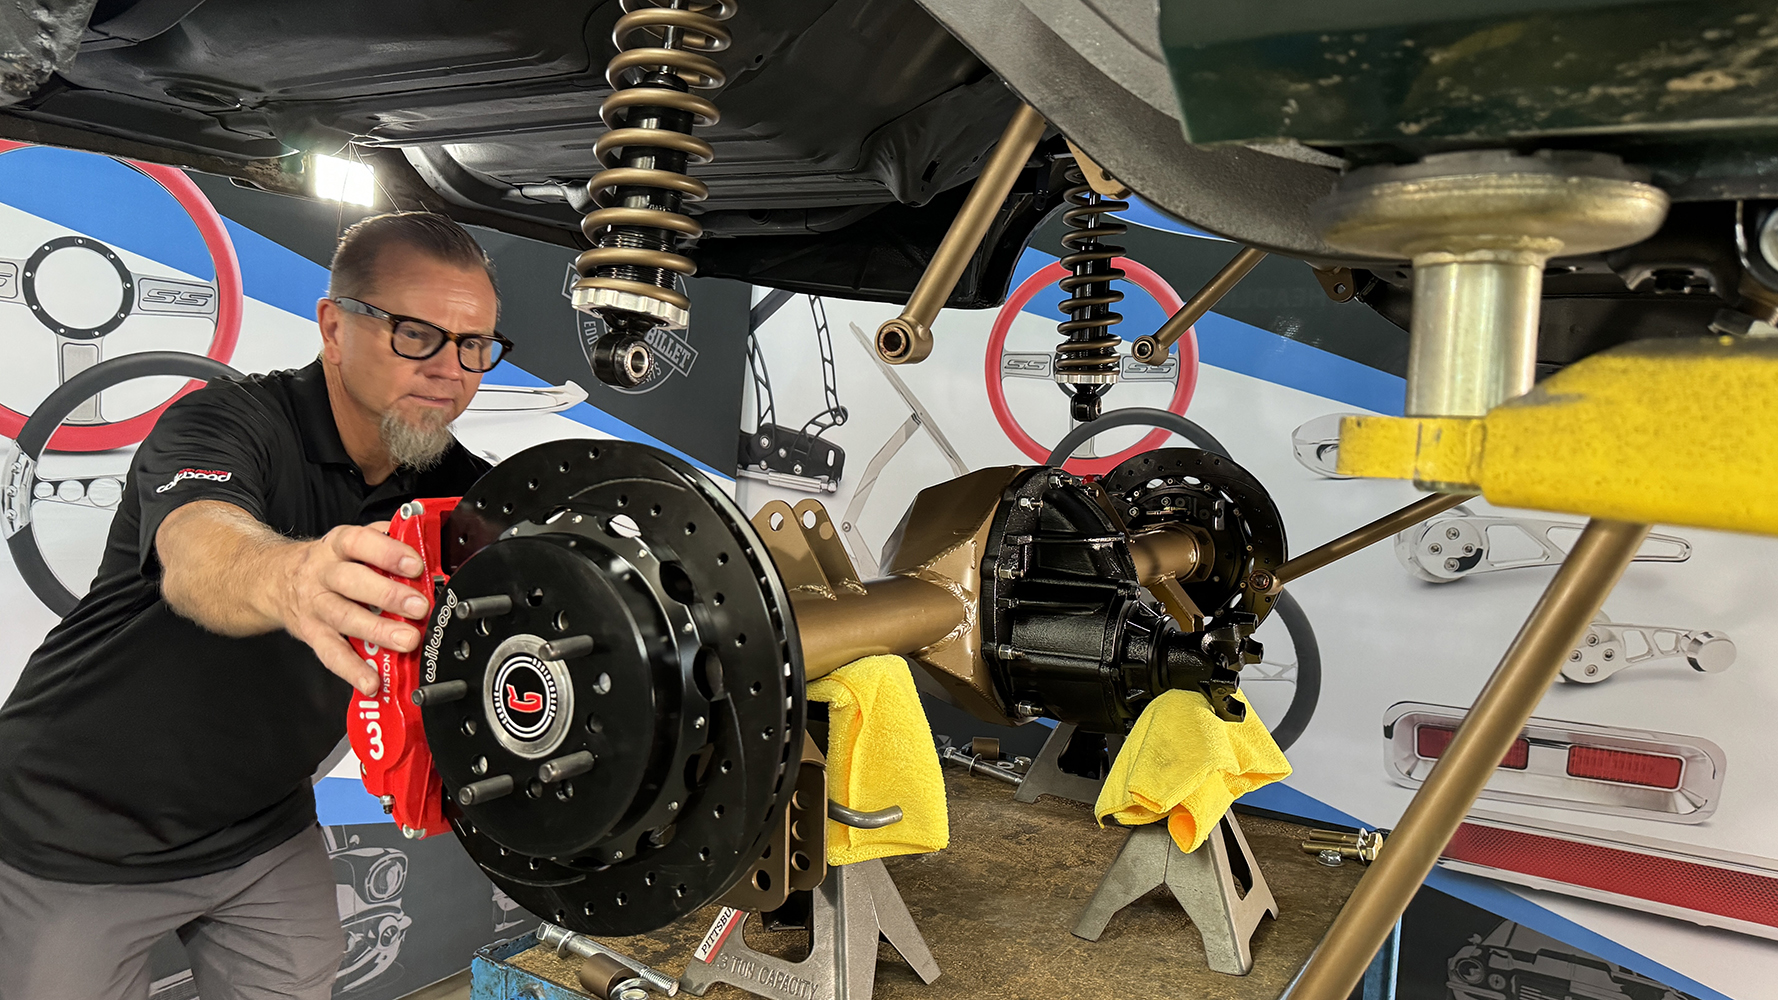
The first question Hamrick always asks is, “What are you going to do with the car?” In this case the Chevy would primarily be used on the street for “spirited driving” and occasionally compete in an autocross, but not see open track use. Of course there was an aesthetic consideration, as they were after the retro muscle car/Pro Touring look. To accomplish the goals set forth, Hamrick recommended their six-piston Narrow Forged Superlite 6R caliper kit up front with 12.88-inch SRP, drilled-and-slotted rotors. Because less rear braking is needed in a street car application, he suggested a four-piston rear caliper in the rear. In this case Narrow Forged Superlite 4R calipers were used as they are made from the same forgings as six-piston calipers, so they perfectly match those up front. Rotors were also 12.88-inch in the rear.

Wilwood parts list for the Eddie Motorsports Nova:
Front Disc Brake Kit: 140-9803-DR
Front Brake Line Kit: 220-7056
Rear Disc Brake Kit: 140-9219-DR
Rear Brake Line Kit: 220-17289
Parking Brake Cable Kit: 330-9371
To verify the effectiveness of the brake components suggested, Hamrick made the following calculations:
| FRONT | REAR | |||
| PARAMETER | VALUE | UNITS | VALUE | UNITS |
| Piston Ø #1 | 1.620 | in. | 1.120 | in. |
| Piston #1 area | 2.061 | in.² | 0.985 | in.² |
| Piston Ø #2 | 1.120 | in. | 1.120 | in. |
| Piston #2 area | 0.985 | in.² | 0.985 | in.² |
| Piston Ø #3 | 1.120 | in. | 0.000 | in. |
| Piston #3 area | 0.985 | in.² | 0.000 | in.² |
| Total piston area | 4.03 | in.² | 1.97 | in.² |
| Effective radius | 5.44 | in. | 5.44 | in. |
| Pad width | in. | in. | ||
| Rotor dia. | 12.88 | in. | 12.88 | in. |
| Line pressure | 600 | psi | 600 | psi |
| Pad µ | 0.50 | 0.50 | ||
| lbs. force | 2419 | lbs. | 1182 | lbs. |
| Braking torque | 6580 | in.-lbs. | 3216 | in.-lbs. |
| Front-to-Rear Brake Bias | 67% | F | 33% | R |
While the proof is in the system’s performance, this combination of front and rear components will provide all the braking power needed with the look the Eddie Motorsports team wanted.

When it comes to all things Wilwood, Mike Hamrick is our go-to guy, so we decided to ask some basic questions that may help you when selecting brake components.
ACP: Is there a point where rotor diameter dictates the caliper required, such as four- or six-piston?
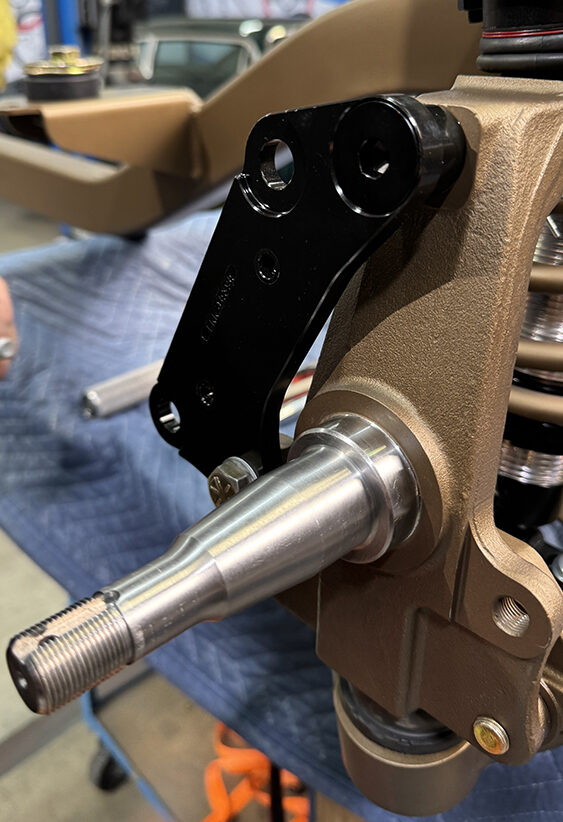
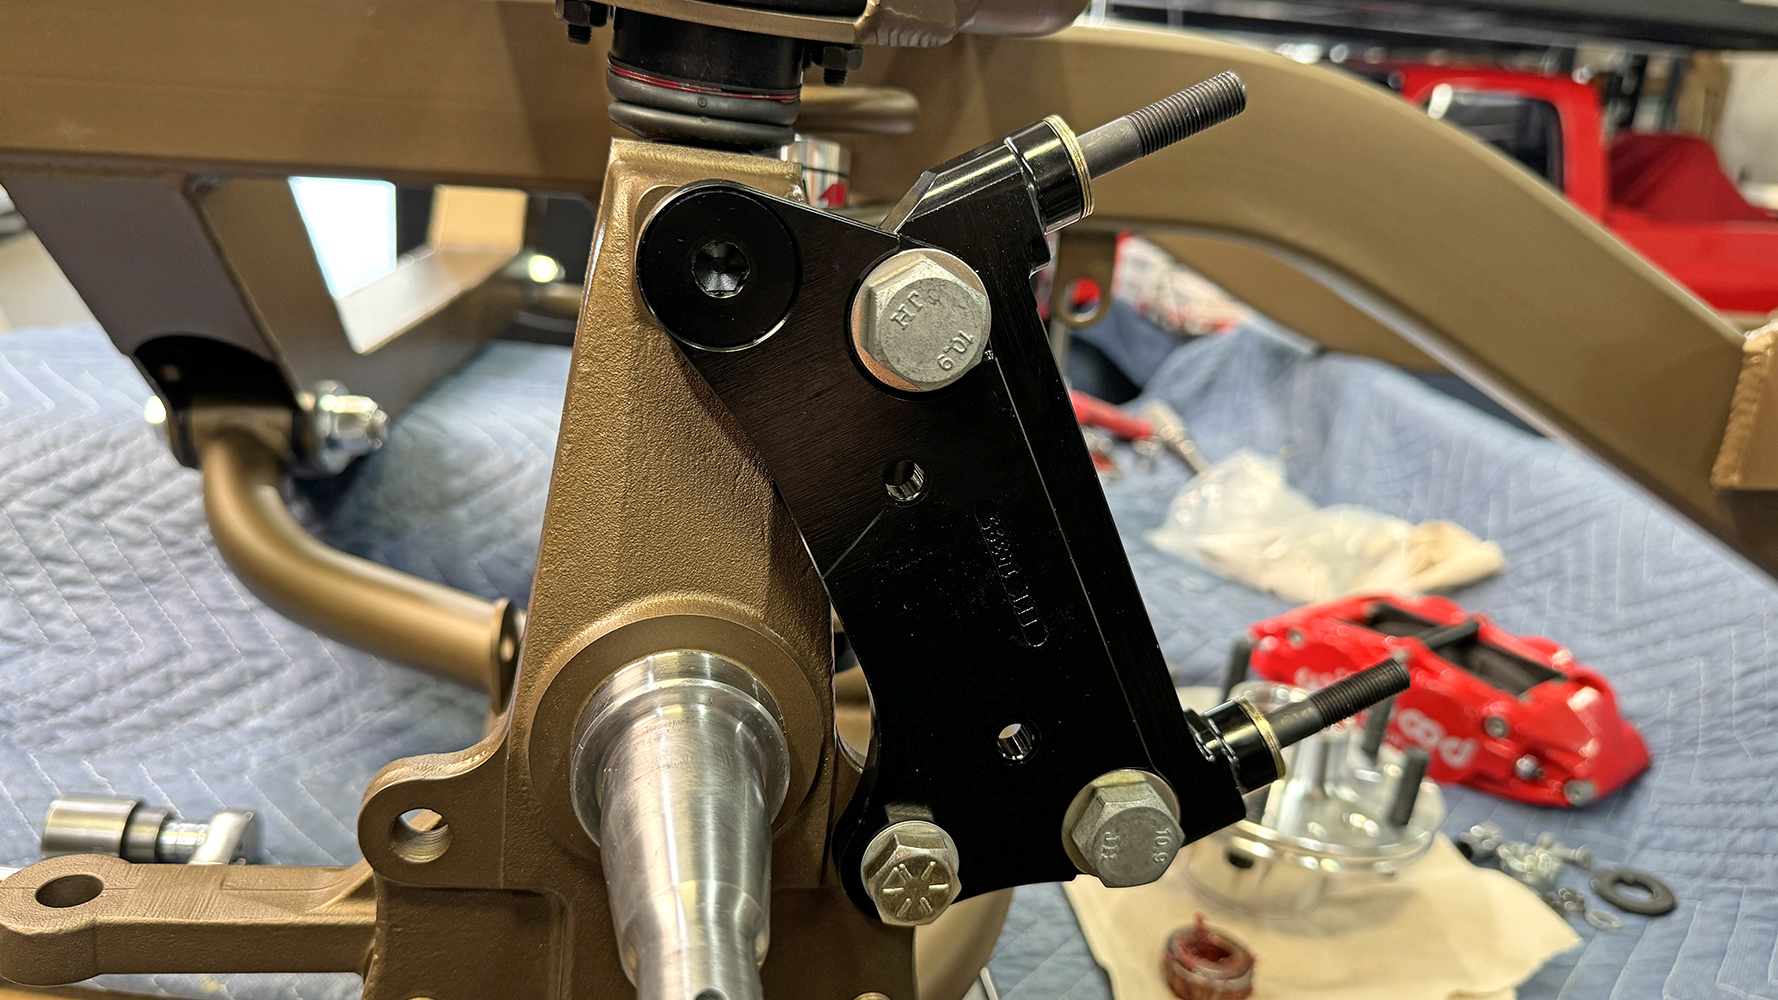
Mike Hamrick: Wilwood’s smaller 11.00- and 12.19-inch front brake kits come with four-piston Dynalite calipers. Because the pads are smaller, and we need more clamping force because of the smaller wheels typically being used, we use these smaller four-piston calipers. When we start getting into 17-inch or larger wheels (18 inch in the case on Eddie Motorsports Nova) we start looking at 12.88-inch and larger rotor diameters. These front larger-diameter brake kits come with six-piston calipers that hold a larger brake pad. As we are more concerned about pad tapper in these applications, we use a six-piston staggered piston design to help combat that possible issue.
ACP: The Nova doesn’t have a booster. Would a different master cylinder size be required if a booster was used?

MH: Yes, leverage from a power brake versus a manual brake comes into play when deciding what bore size master is best suited.
The first thing we have to address is how much vacuum the engine will make. The engine in this car will be marginal on vacuum because of the camshaft being used. Wilwood suggests that an engine at idle that makes right around 18 inches of vacuum is adequate for power brakes to work properly. Another way to get power brakes without a booster using vacuum is hydroboost, but that also means that the brakes will be working from the same pump as the steering system, and there are pros and cons with that, too.
We came to a final decision to use manual brakes. Using the stock pedal that has adequate leverage (6:1 from the factory), it narrows our results to either a 15/16- or 7/8-inch bore tandem master cylinder. It was also because of aesthetics. They wanted a clean firewall with just the master cylinder and proportioning valve unit and not all the other additions of a booster or the ugly hydroboost. For this manual system, here is the next thing we look at. Even with a 7/8-inch bore master we will have enough volume for the disc/disc brake system we are using on the Nova. Look at these numbers, then we’ll confirm why we chose 7/8-inch bore master cylinder:
Calculations with 100 pounds of force on the 6:1 leverage pedal:
7/8-inch bore master = 1,000 psi
15/16-inch bore master = 869 psi
ACP: What do you recommend for brake pedal ratios for manual versus power brakes?
MH: Wilwood’s rule of thumb: Manual brakes with 7/8-, 15/16- and sometimes 1.00-inch bore masters and a pedal with 6:1 or more leverage is recommended. Power brakes with 1.00- and 1.12-inch bore master cylinders can use pedal ratios around 3:1 (if there is plenty of manifold vacuum or a hydroboost system).
ACP: Is it correct to say that braided brake lines should only be used at flex points front and rear? (Some builders like plumbing brake systems with all braided lines for looks.)
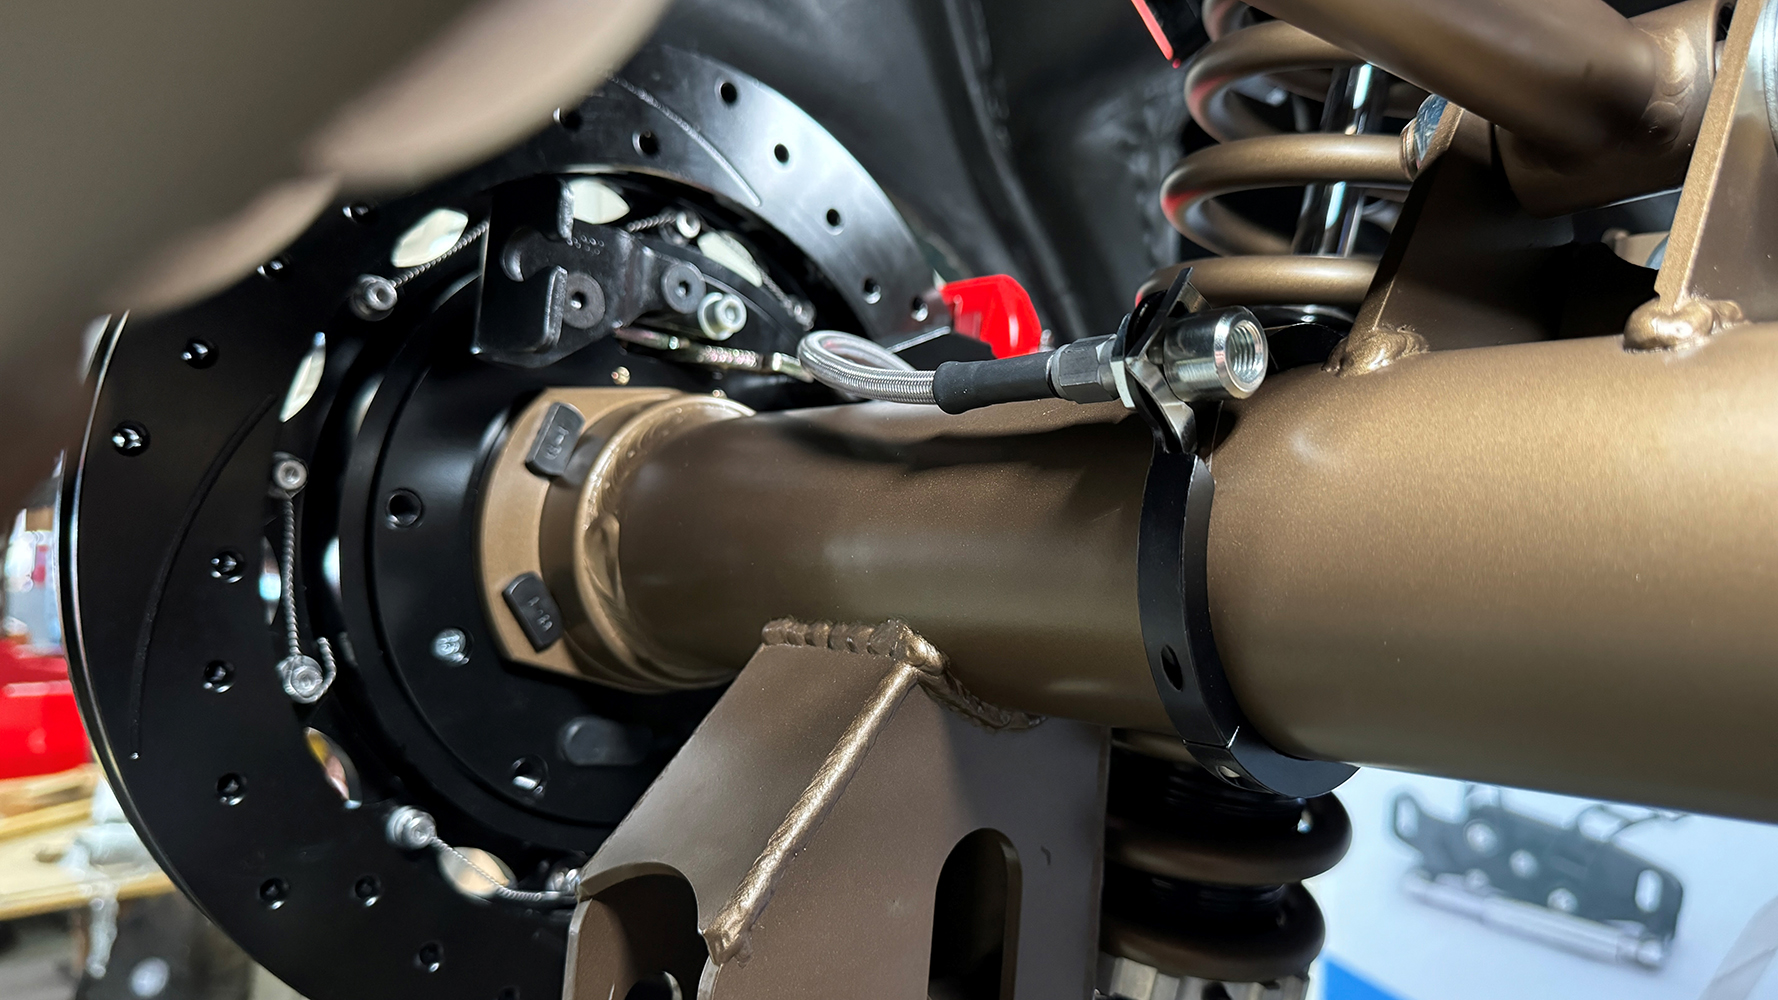
MH: For any disc brakes system, we recommend as much 3/16-inch hard line as possible, and the least amount of -3 flex line as possible. Because flex line expands under psi, that induces compliance within the system and will cause a “soft” or “mushy” pedal feel. The hardline will not expand and help keep the psi generated by the master cylinder all the way to the disc brakes being used.
ACP: In most cases 3/16-inch brake lines are used. Is there ever a reason to use ¼-inch brake lines?
MH: For disc brakes, 3/16-inch hard line is recommended. For drum brakes ¼-inch lines can be used. However, by today’s standards and for ease of plumbing a vehicle, we’ll suggest that a customer using disc/drums on their car can use 3/16- line front and rear.
ACP: Do you always recommend installing a proportioning valve?
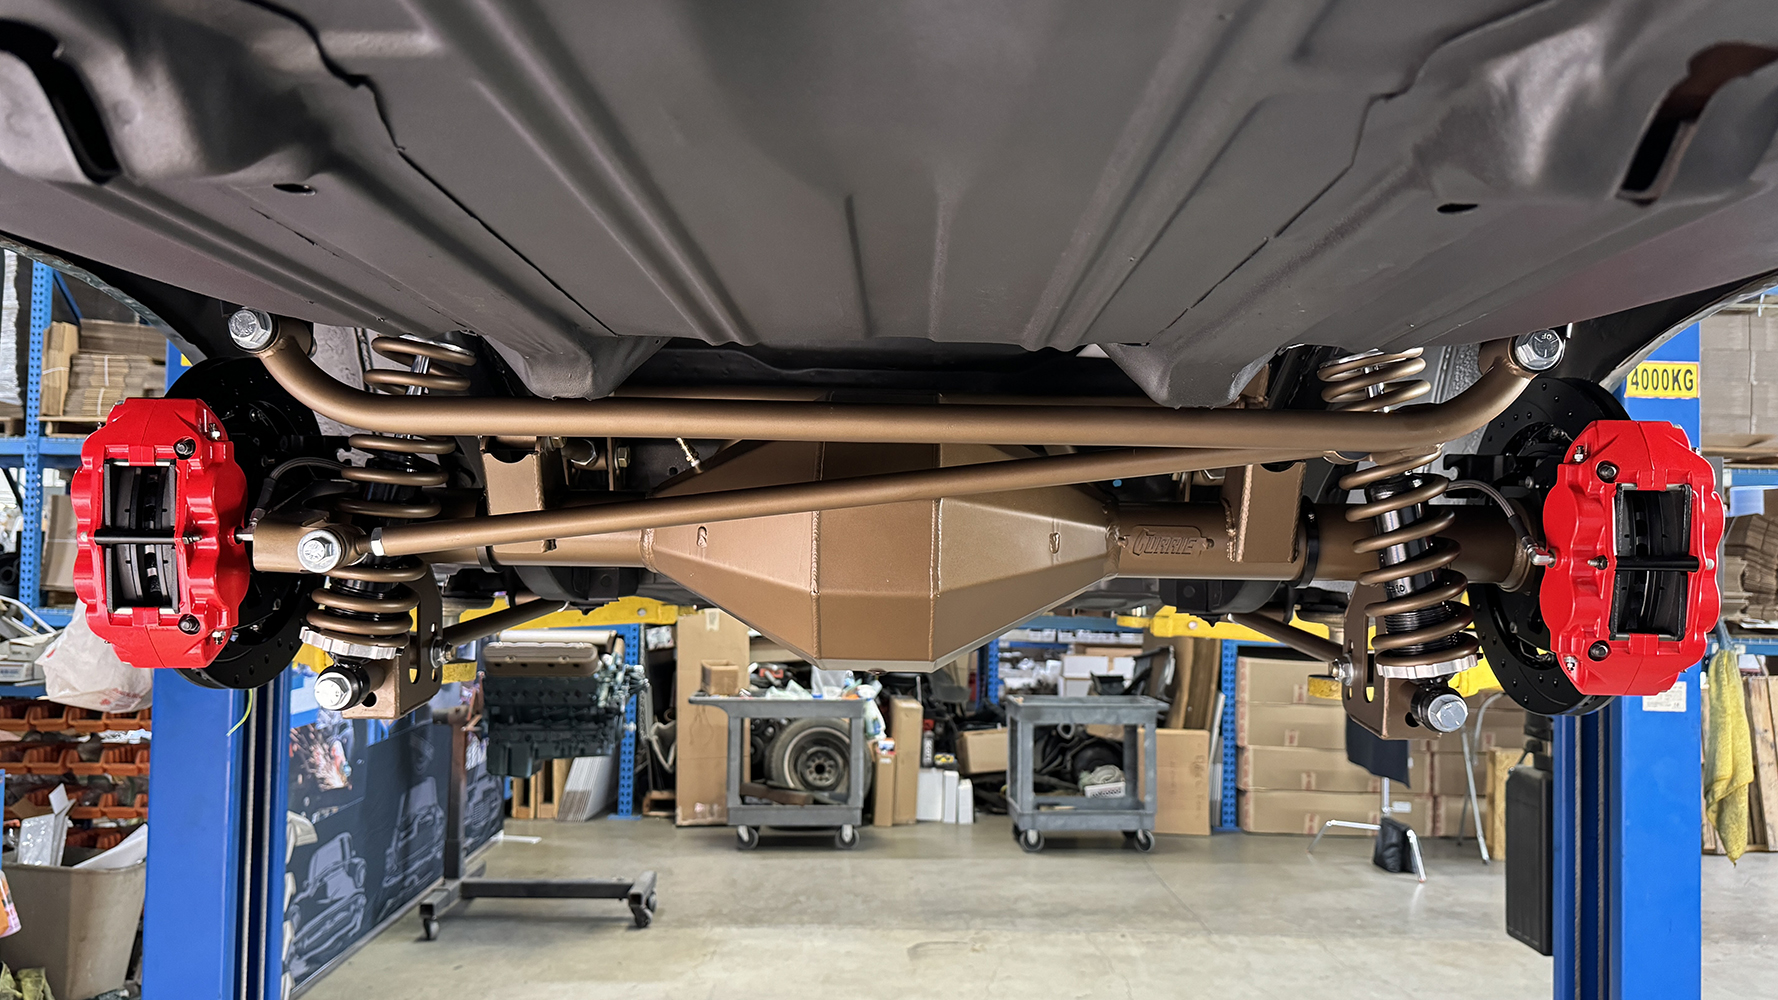
MH: On a tandem master cylinder, yes. When many variables of the car’s chassis have been changed, as in this case. Coilover front end and rack-and-pinion steering, rear from a leaf spring to a coilover four-link, tire/wheel size, engine weight, brake bias, and so on. Too many things have been changed from what the Nova came off the assembly line with. With the use of a proportioning valve you can help dial in the needed bias under hard braking, but if you install the valve, drive the car, and it stops as well as expected and no wheels lock up, you have only spent $50 and saved a lot of time not having to plumb one into the system after the car is built.
ACP: How do you suggest adjusting a proportioning valve?
MH: Start with the valve screwed all the way in with no threads showing. This will give us the maximum amount of rear brake (assuming the valve is on the rear brakes) possible.
Go for a drive. Do a panic stop on a clear/clean road about 45 mph. Did the rear brake lock up? If yes, turn the prop valve knob out. This will take some of the rear brake out of the system.
Do the same stop as above. If the brakes lock up, say, on the last 10 feet of the stop, turn the knob out another one to three turns and try again.
Try it again, and if the car stops great and the rear brakes are not locking up, you should be set for any type of street driving.
ACP: Will these brakes require any specific bedding procedure?
MH: Yes, we recommend doing a very simple bedding procedure to ensure that the brakes will perform well.
On this Nova with these brakes using our off-the-shelf BP-10 brake pads, do five to six hard stops from 45 to 20 mph with the windows down. As you get to the later stops you will notice the smell of brakes. That is good! That means we are saturating the brake system to get the calipers, pads, and rotors all the same temperature.
At that point, do two more stops from 45 to 0 mph. Get out and inspect the brakes. No leaks? No rubbing? No noises? Then we are good to get the car back up to a normal driving speed trying not to use as much brake as possible. This driving will help get air into the brake system and cool it down gently. Take it for a 15-minute drive and park it. After it’s cooled down to ambient temperature, the system will be ready for you to drive and operate with the least amount of noise and dust possible. The brake pad material is now mated to the rotor making for a well-performing system.
[Sidebar]
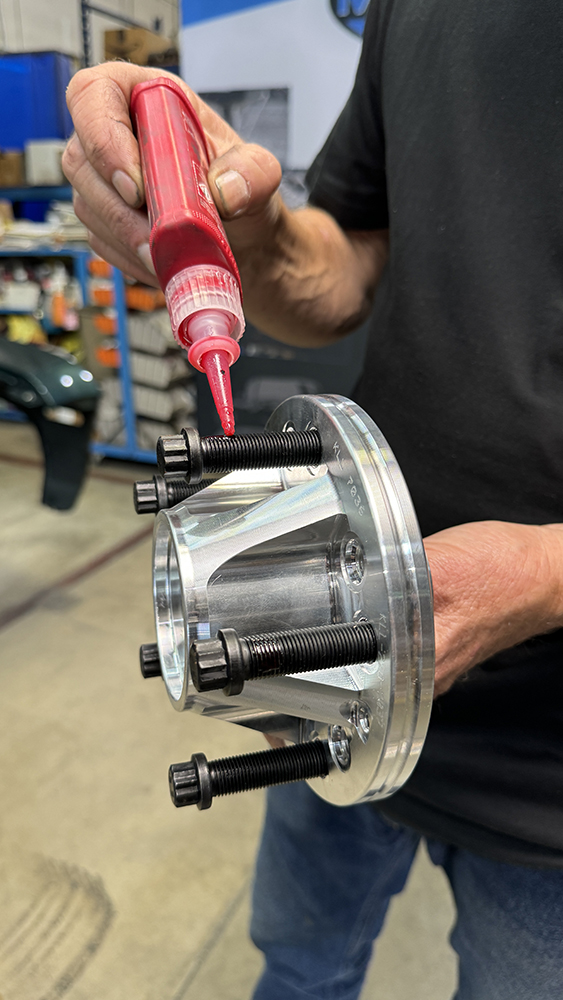
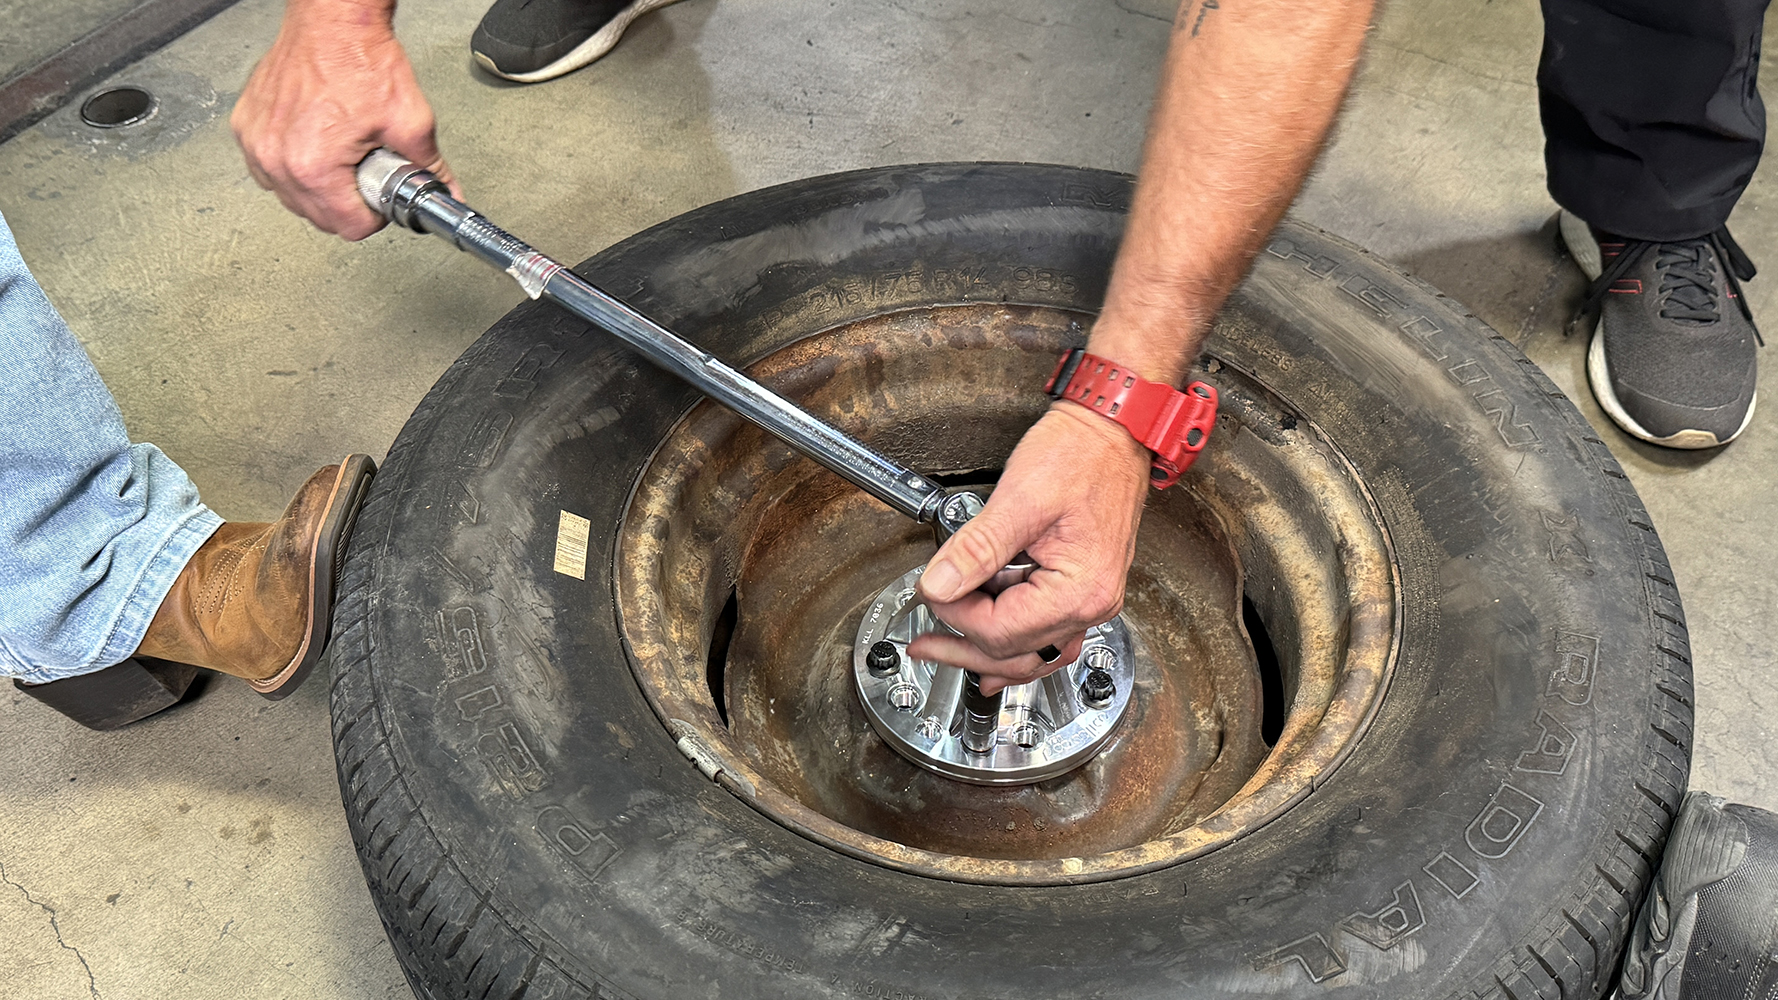
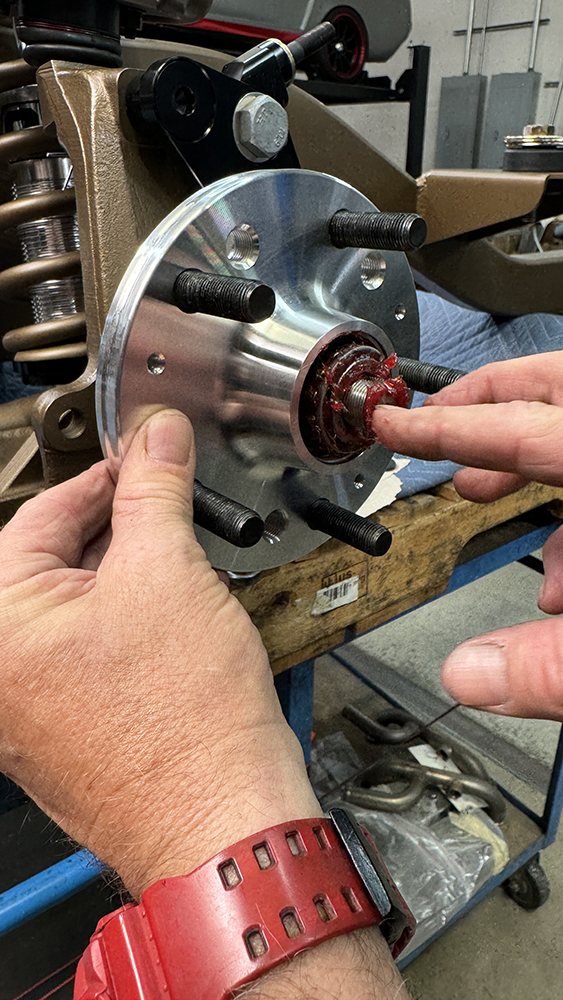
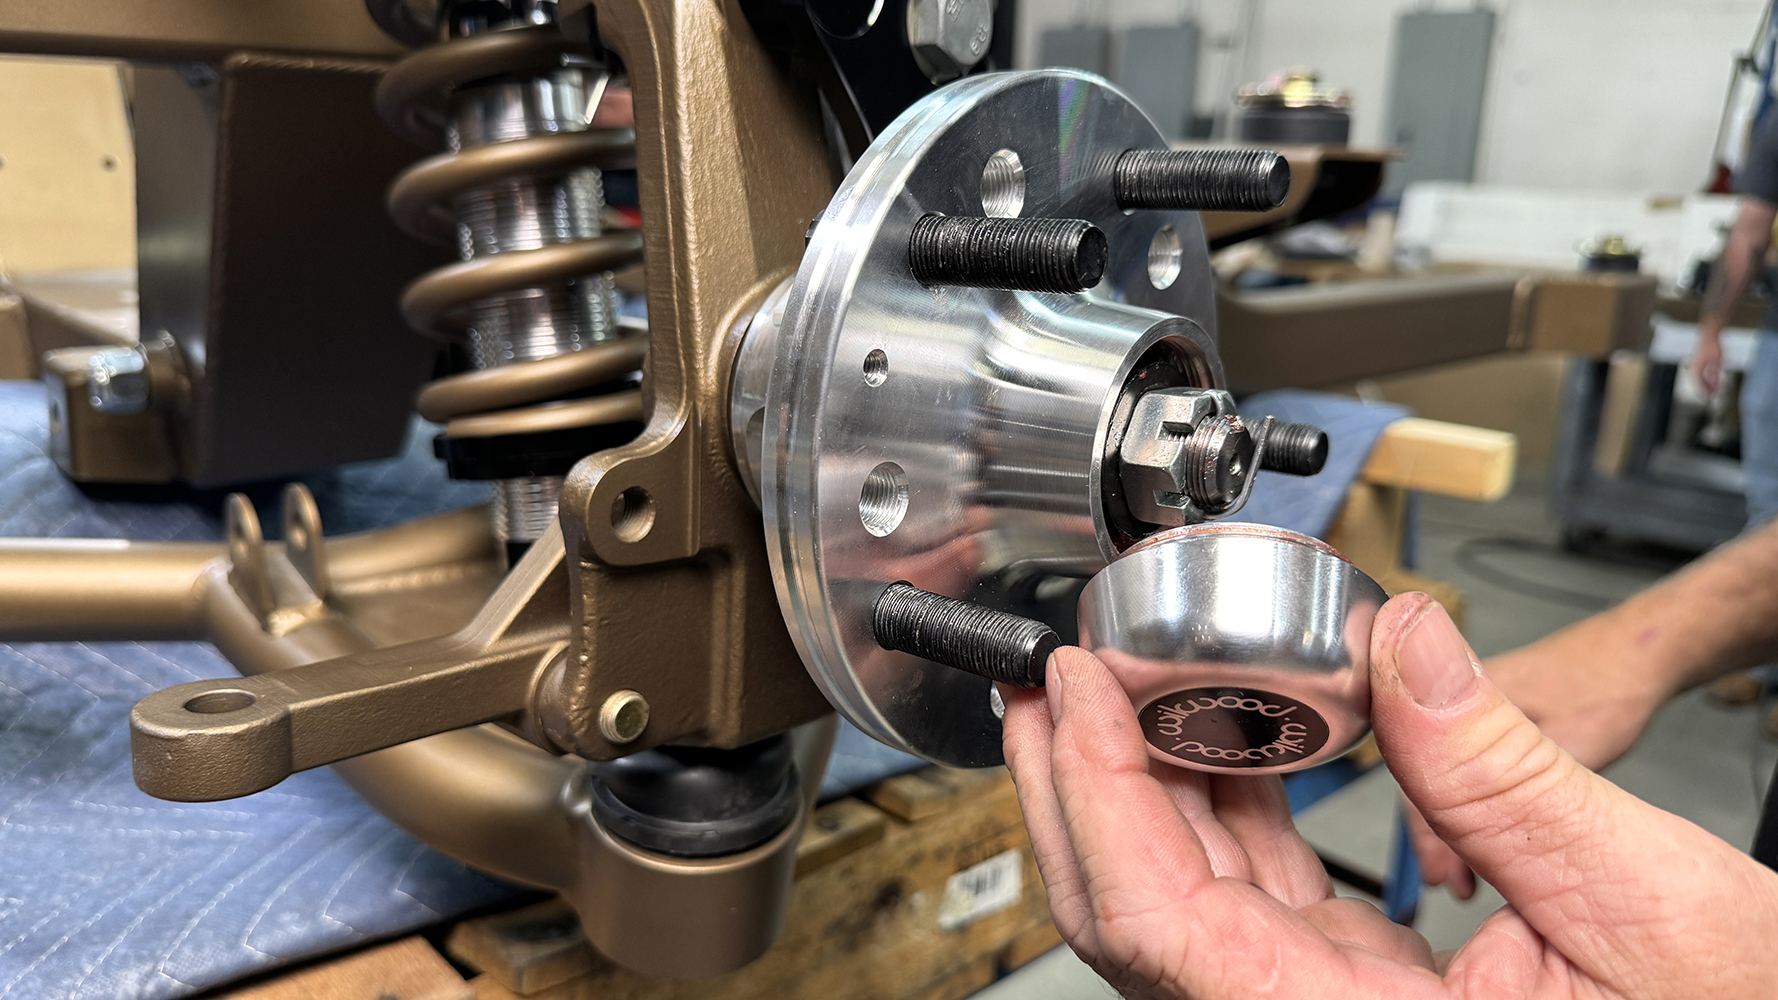
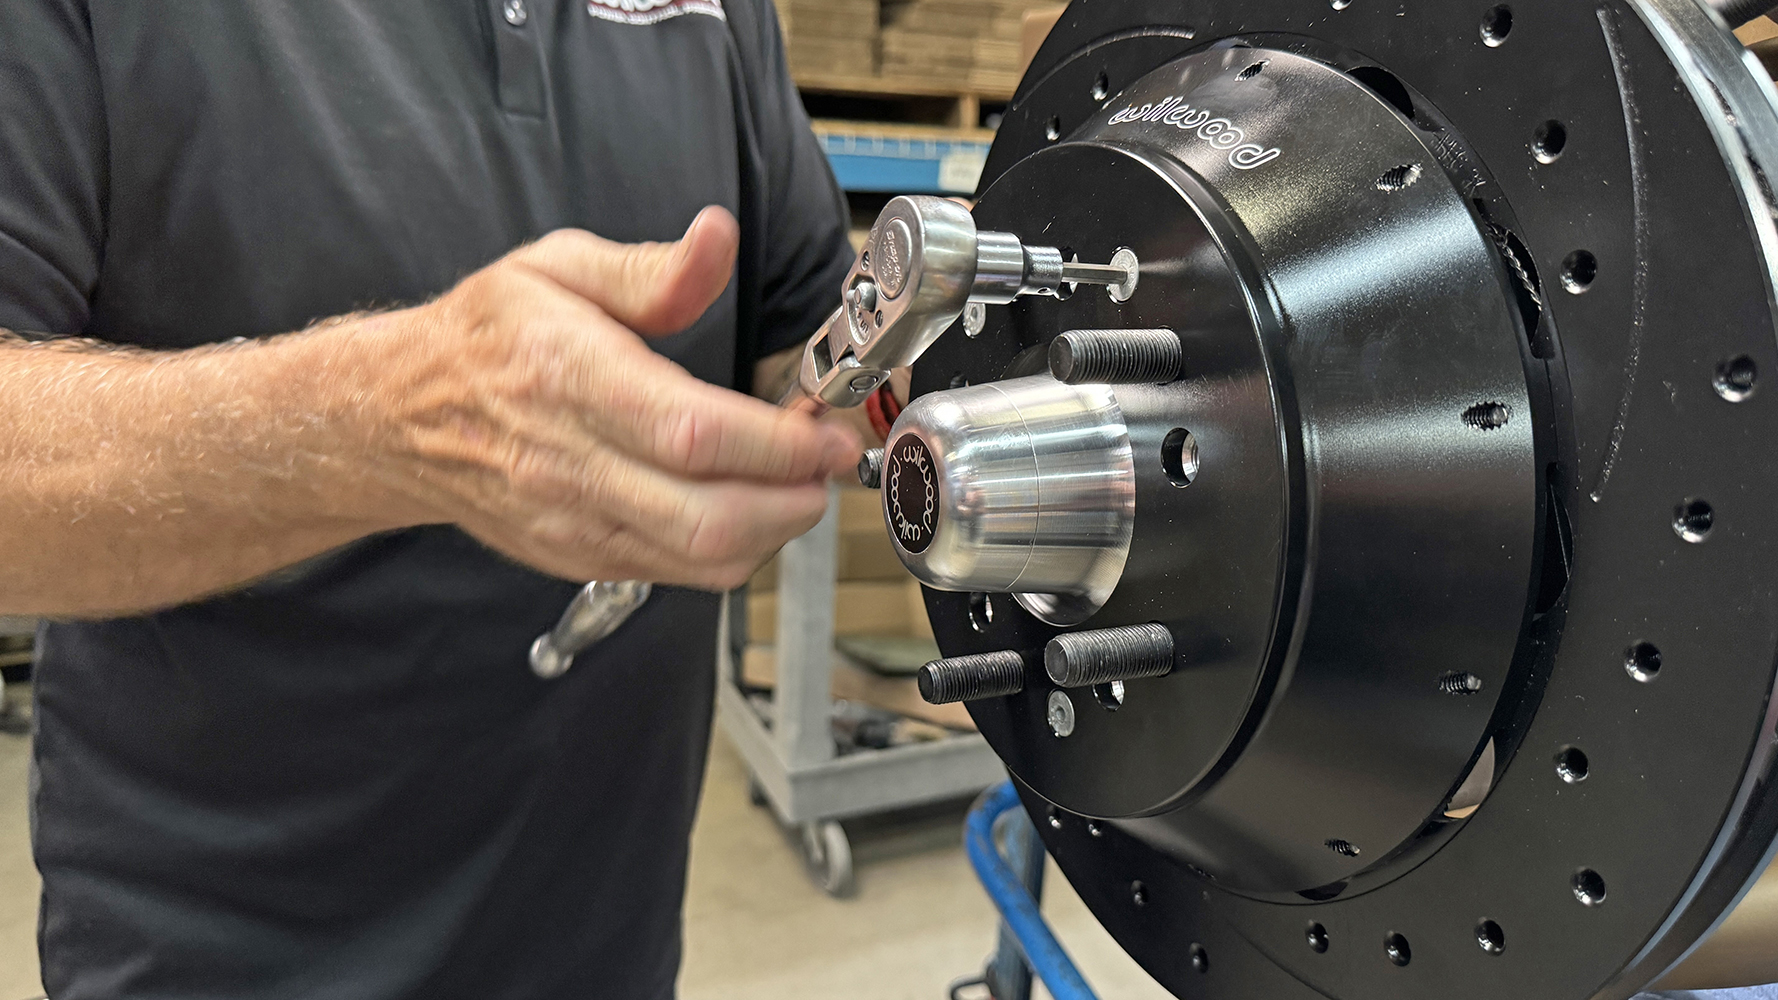
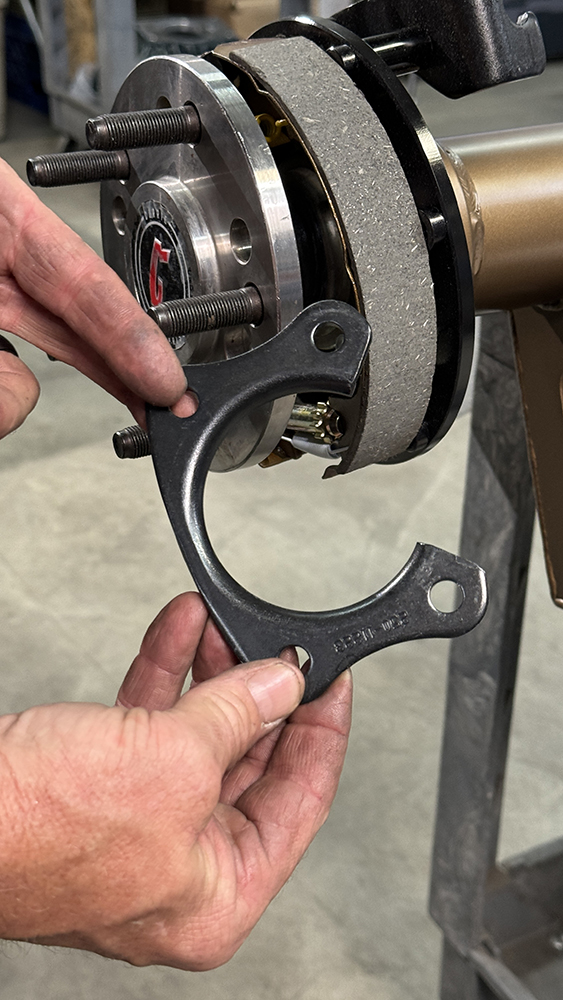
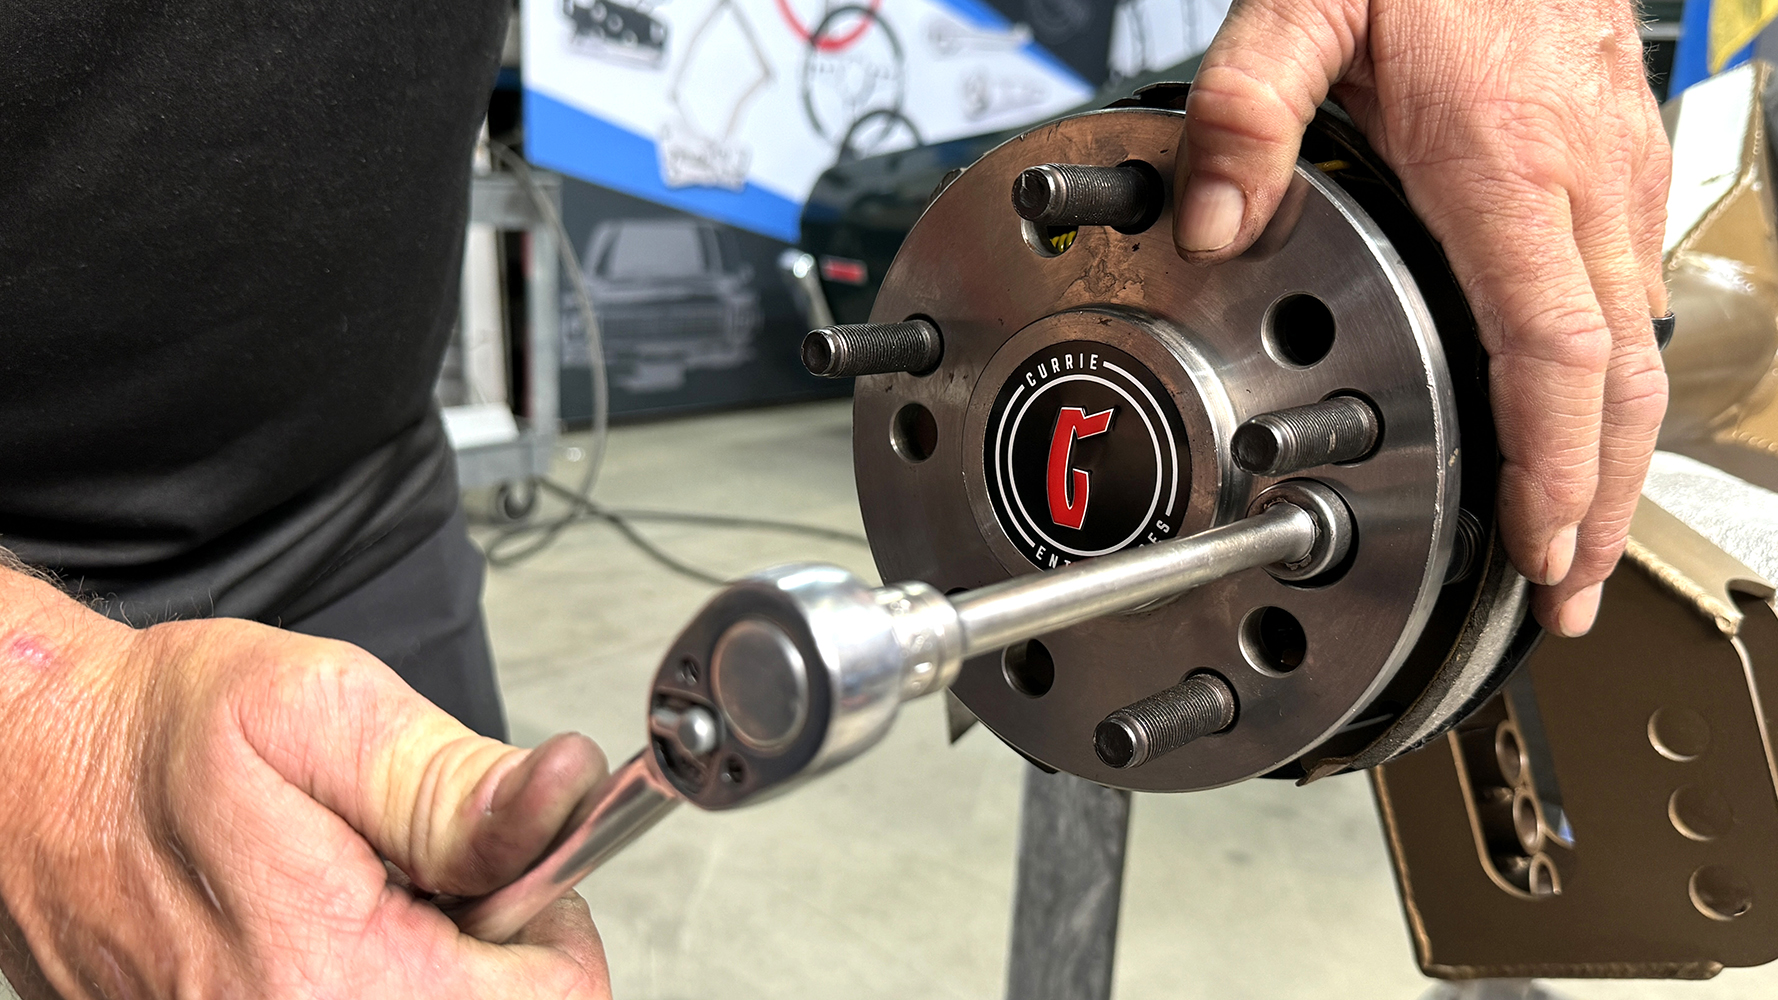
Adjusting Wheel Bearings
There are a variety of techniques used to adjust wheel bearings, but here is a commonly accepted procedure:
While spinning the hub, tighten the nut firmly, back the nut off ¼ to ½ turn and finger-tighten the nut (which is roughly the equivalent of 5 in-lb). If the cotter pin hole doesn’t line up, loosen the nut no more than half a flat. A properly adjusted bearing will have from 0.001 to 0.005 inch of play.

Check out this story in our digital edition here.
Sources
Eddie Motorsports
(909) 581-7398
eddiemotorsports.com
Heidts Hot Rod & Muscle Car Parts
(800) 841-8188
Heidts.com
Wilwood Disc Brakes
(805) 388-1188
wilwood.com


