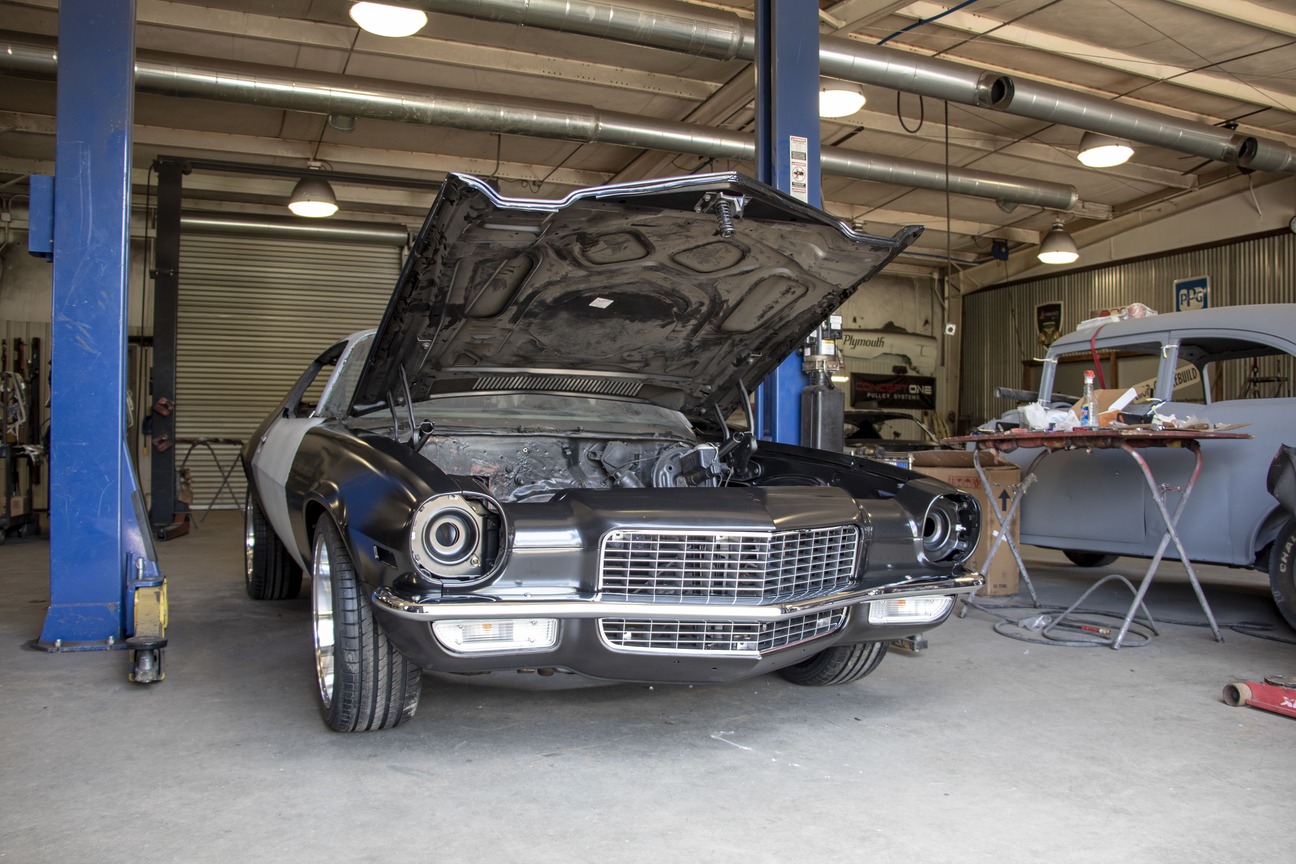
With the back end body panels in place and the replacement doors hung, this second-gen is ready for a face-lift.
Part 4: Front Buildup
By All Chevy Performance Staff – Missed Previous Articles? Catch Up Here: Part1, Part 2 and Part 3
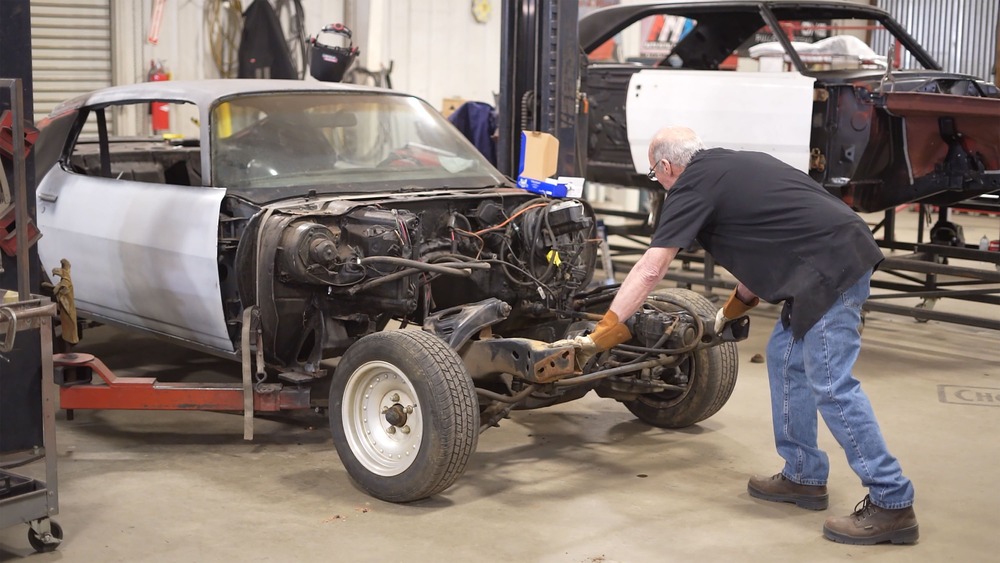
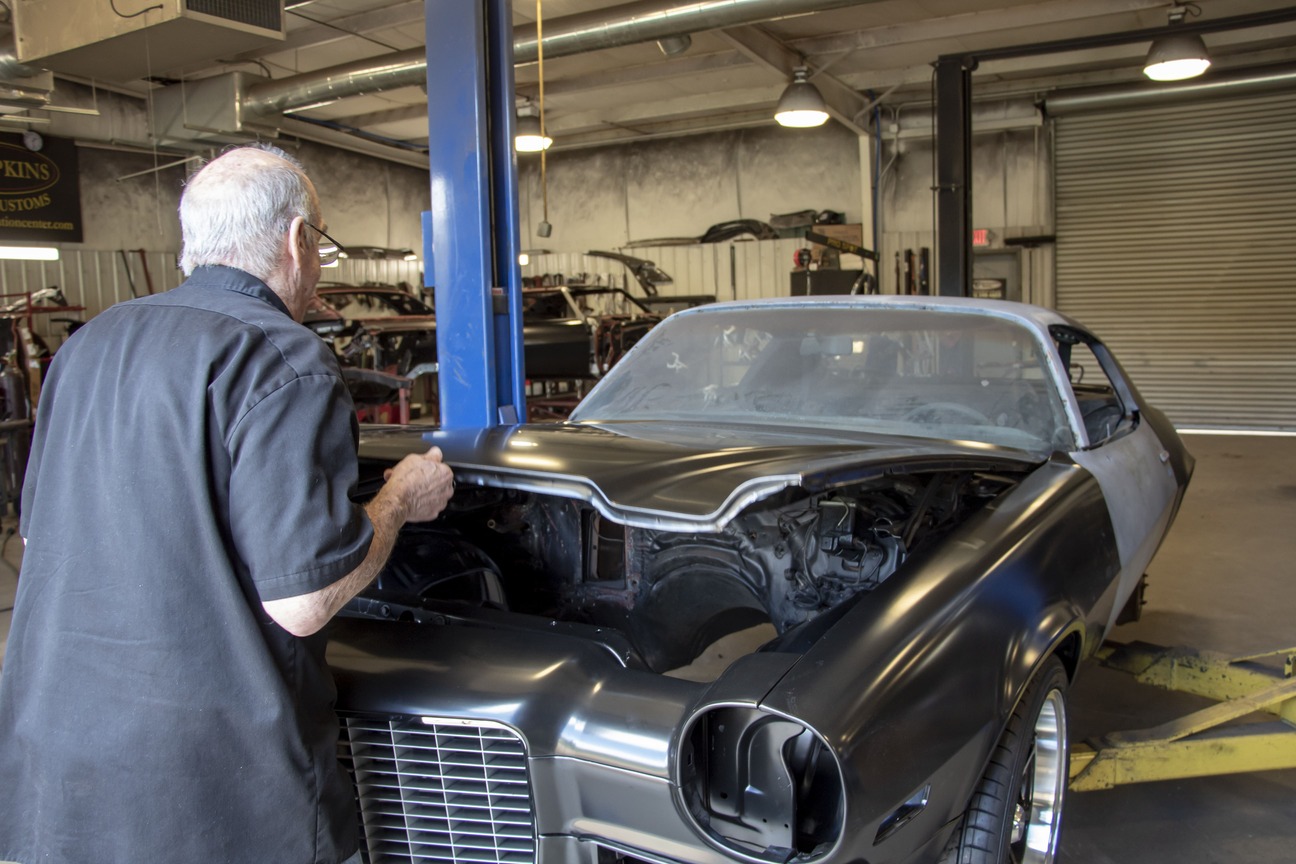
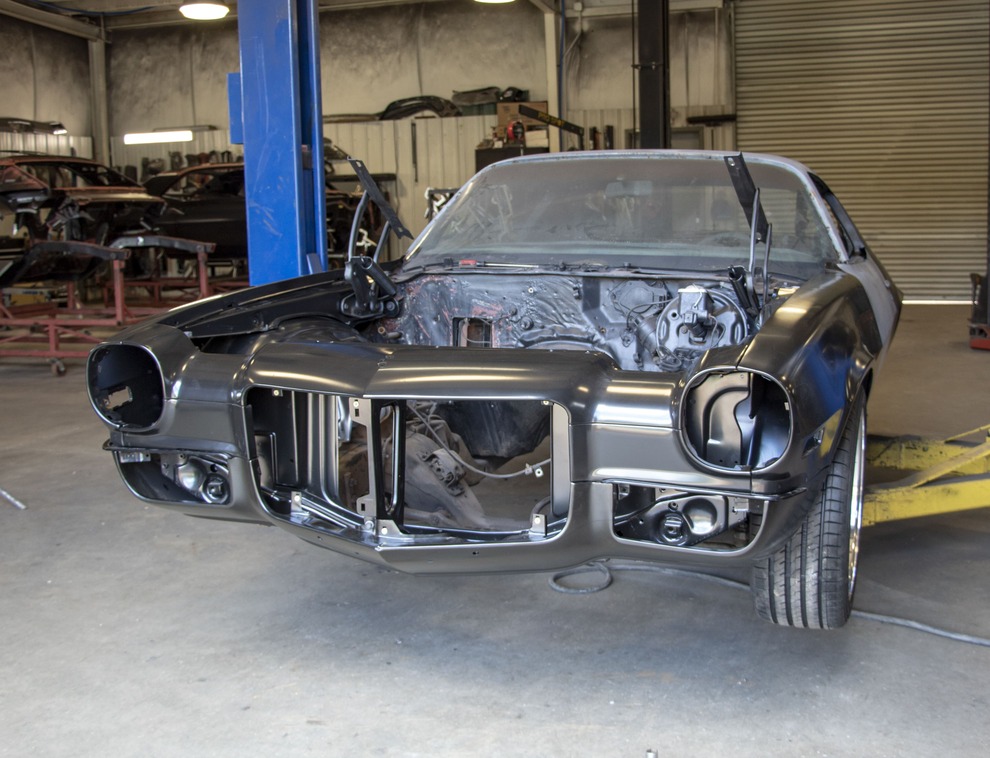
We are back with Craig Hopkins of The Installation Center and this Auto Metal Direct (AMD) second-gen Camaro conversion. In part four of our multi-part series, we are converting this ’78 Camaro into the ’71-73 steel bumper version. We removed the entire back end of the car, turning it into that iconic round-taillight version, and now we are working on the front end to get that highly sought-after early second-gen look. The great thing about the front-end swap is that everything bolts right up without any real modifications—from the hood and fenders, to the core support and bumper, we show you just how easy this can be.
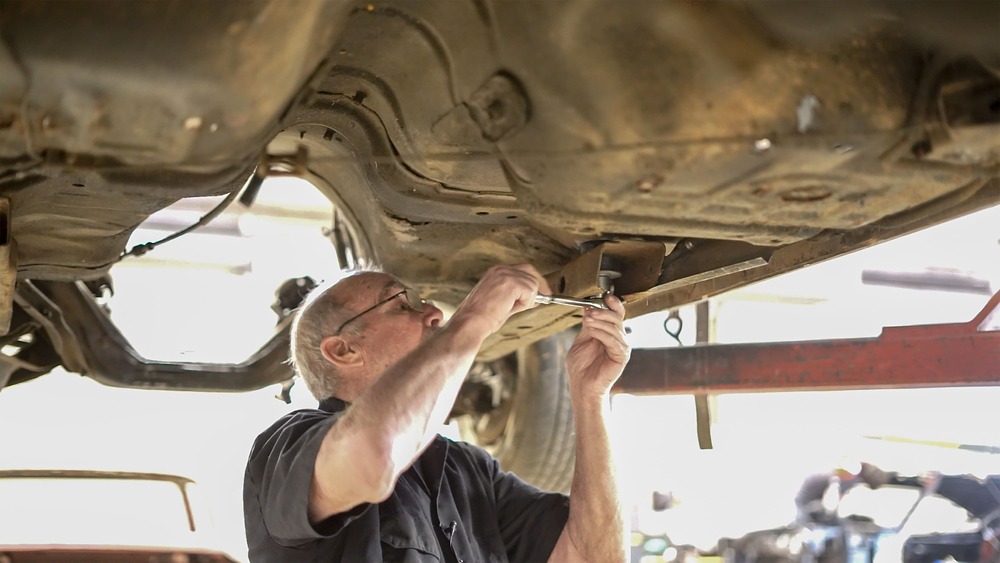
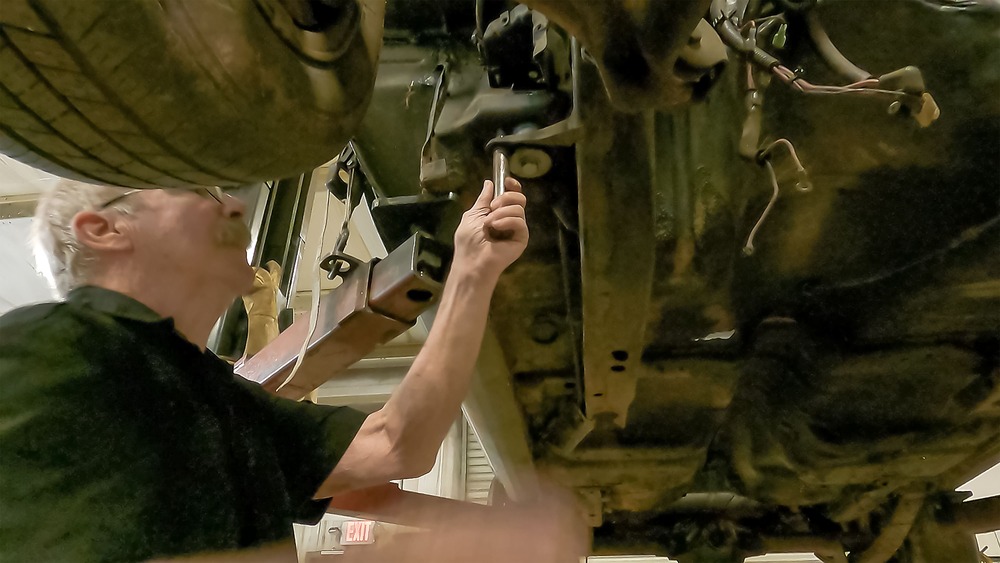
Craig Hopkins uses datum tables on all the builds at The Installation Center requiring suspension removal; reinstalling the front subframe needs to happen here to properly set the front end.
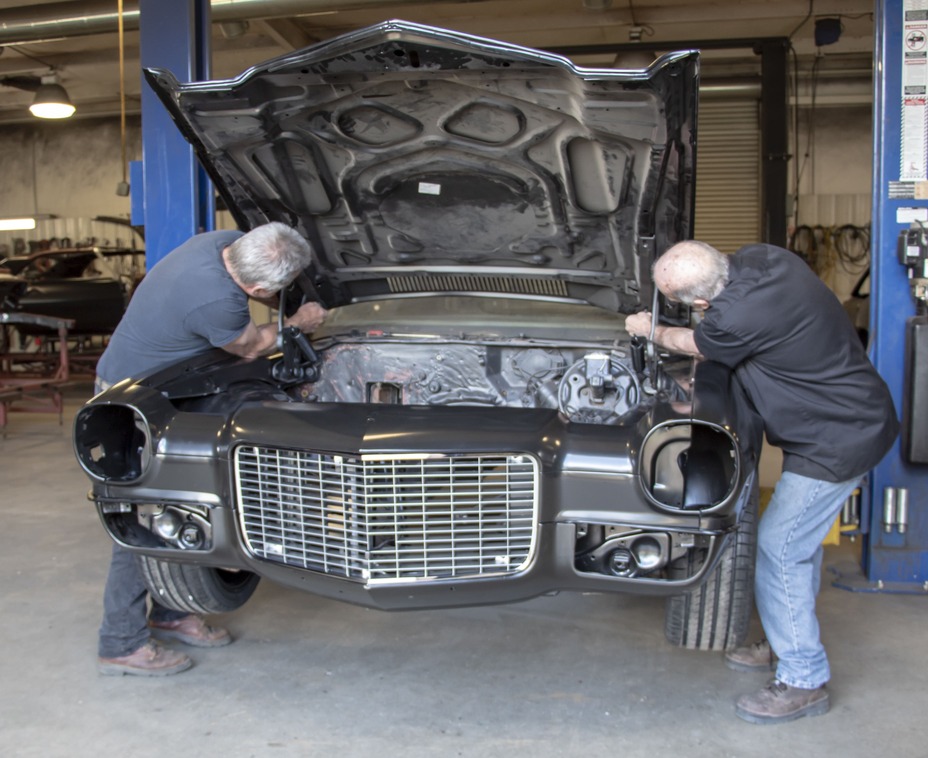
Hopkins partnered with AMD to supply all the needed parts. From the body panels and brackets to the hardware and trim, AMD has everything you’ll need to do this conversion. With top-quality parts, this project can easily be done in your home garage, especially if you have a friend to spot you. Hopkins recruits Wesley Kennedy to help get this job done in no time.
Fresh bushings from AMD are right on time. Having the new bushings in place at this point will ensure that when you gap everything out the gaps will not drastically change at the body shop.
Follow along and see their approach to this conversion. Next we’ll cover the rest of the lighting and trim install to complete this conversion with AMD.
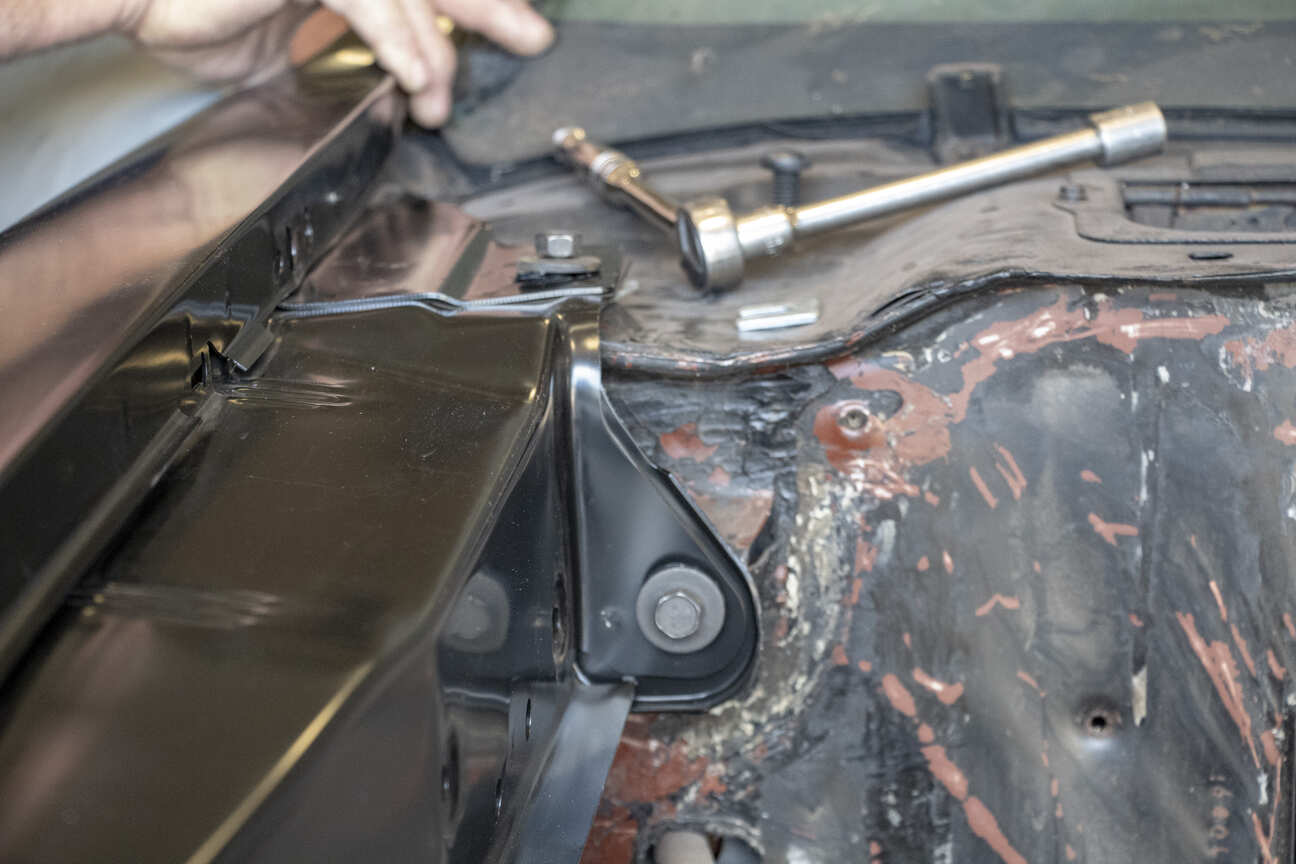
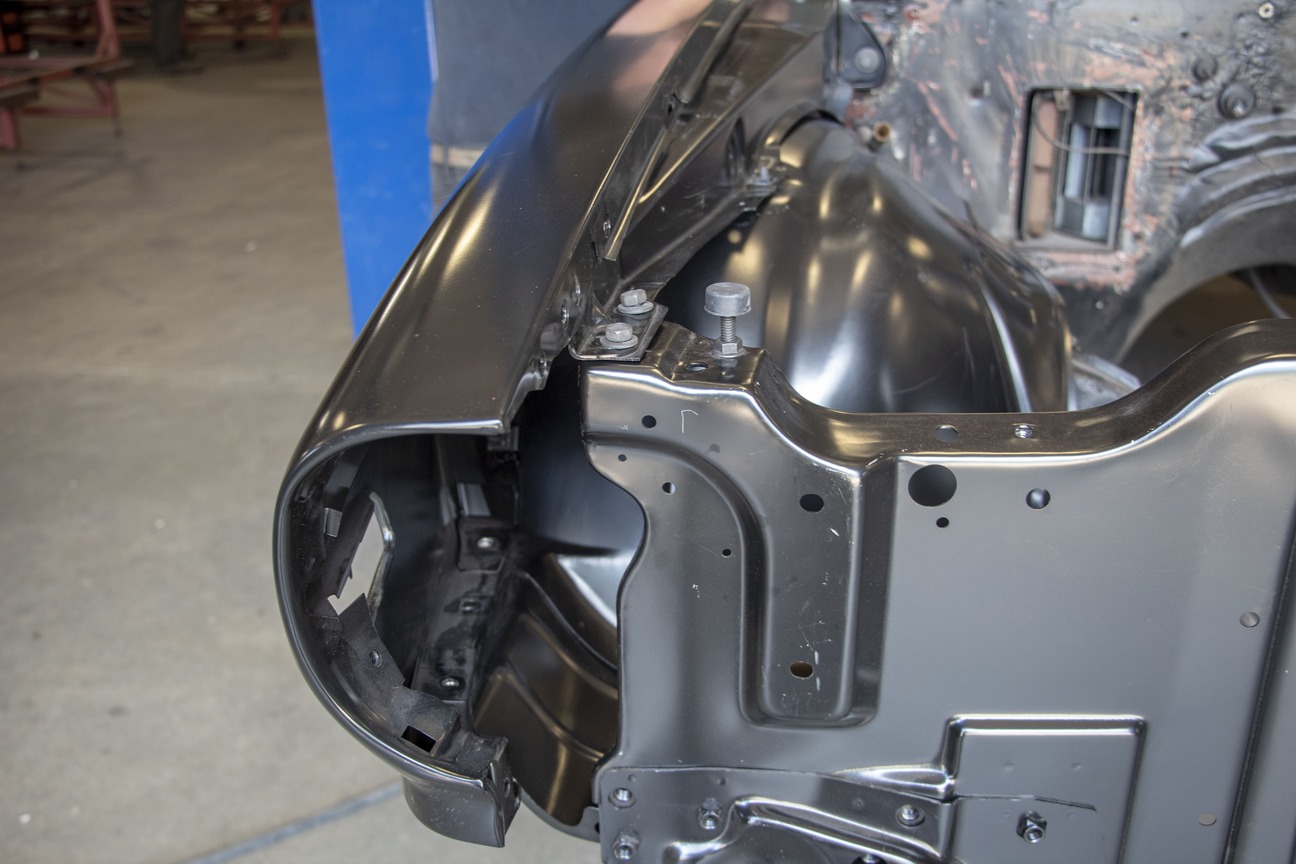
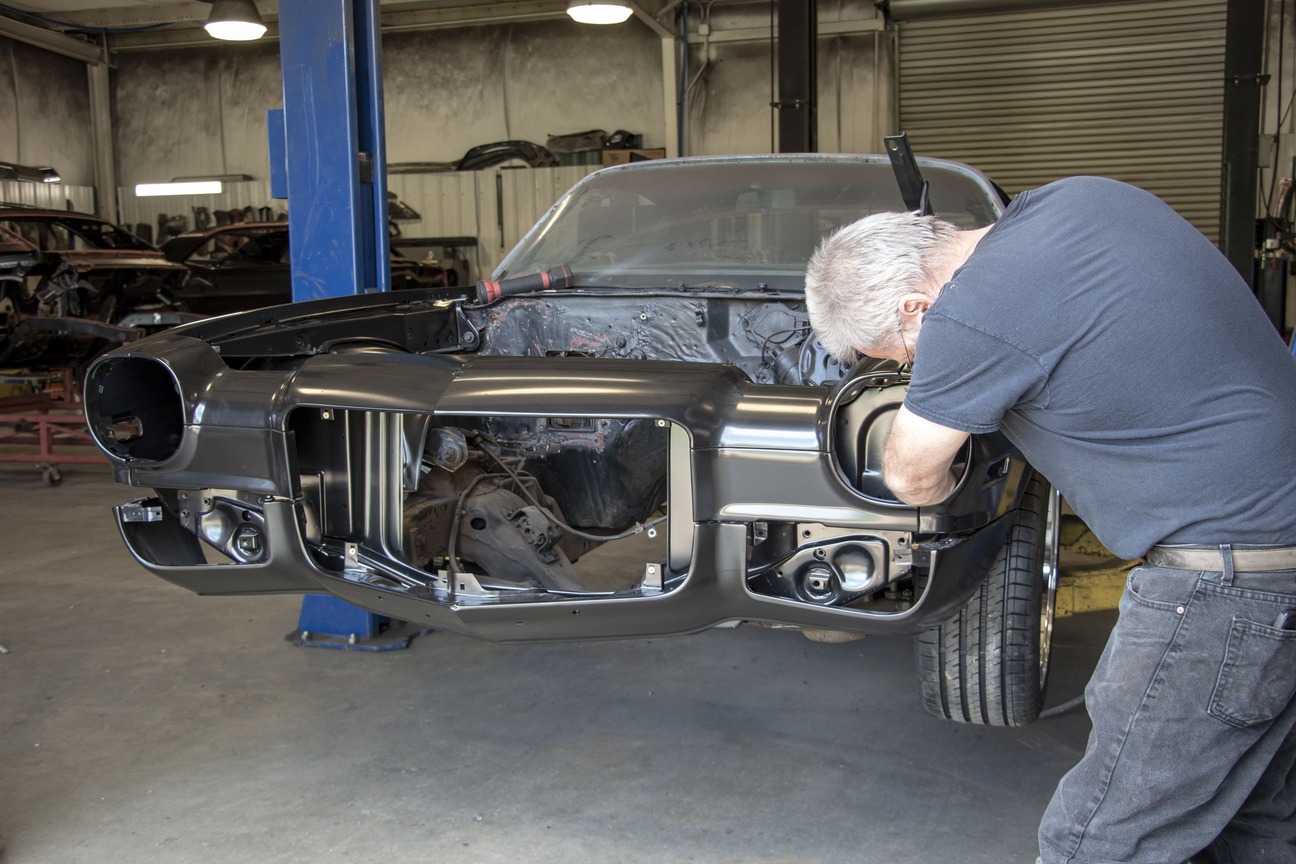
The factory-used locator pins work to align the subframe to the body, and that is exactly how Hopkins will do it.Two bolts at the core support and two bolts in the factory location set the fender onto the second-gen.
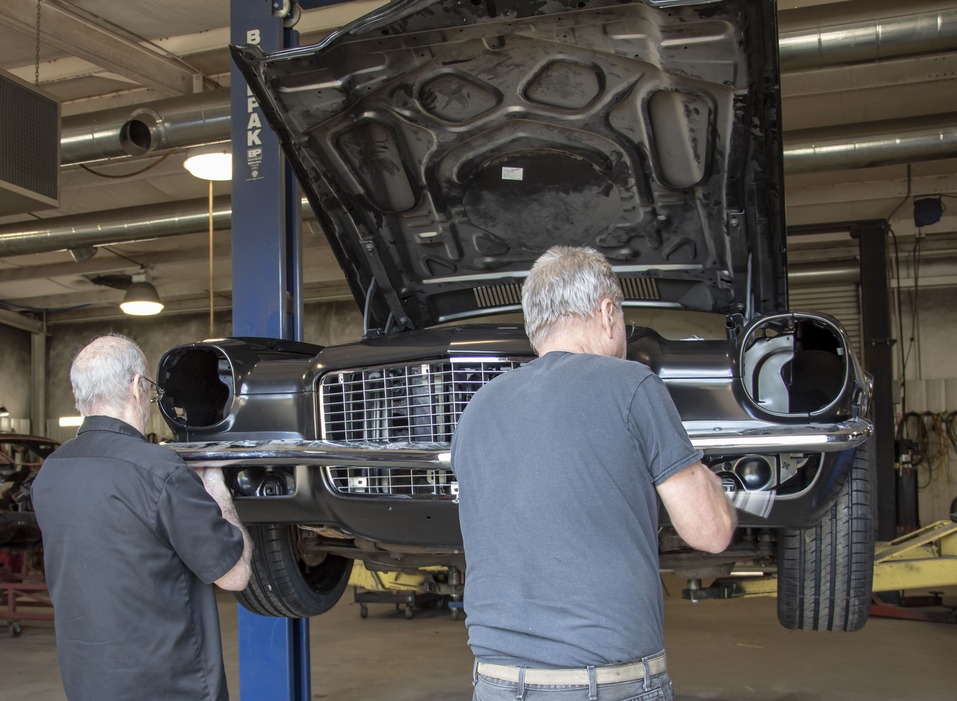
With the front end mocked up, Hopkins can get to work fine-tuning the gaps and tightening everything down. This Camaro has come a long way from that original rubber bumper at a fraction of the cost of finding a ’70-73 car in the same condition.Finally, the fender to core support bars are installed.
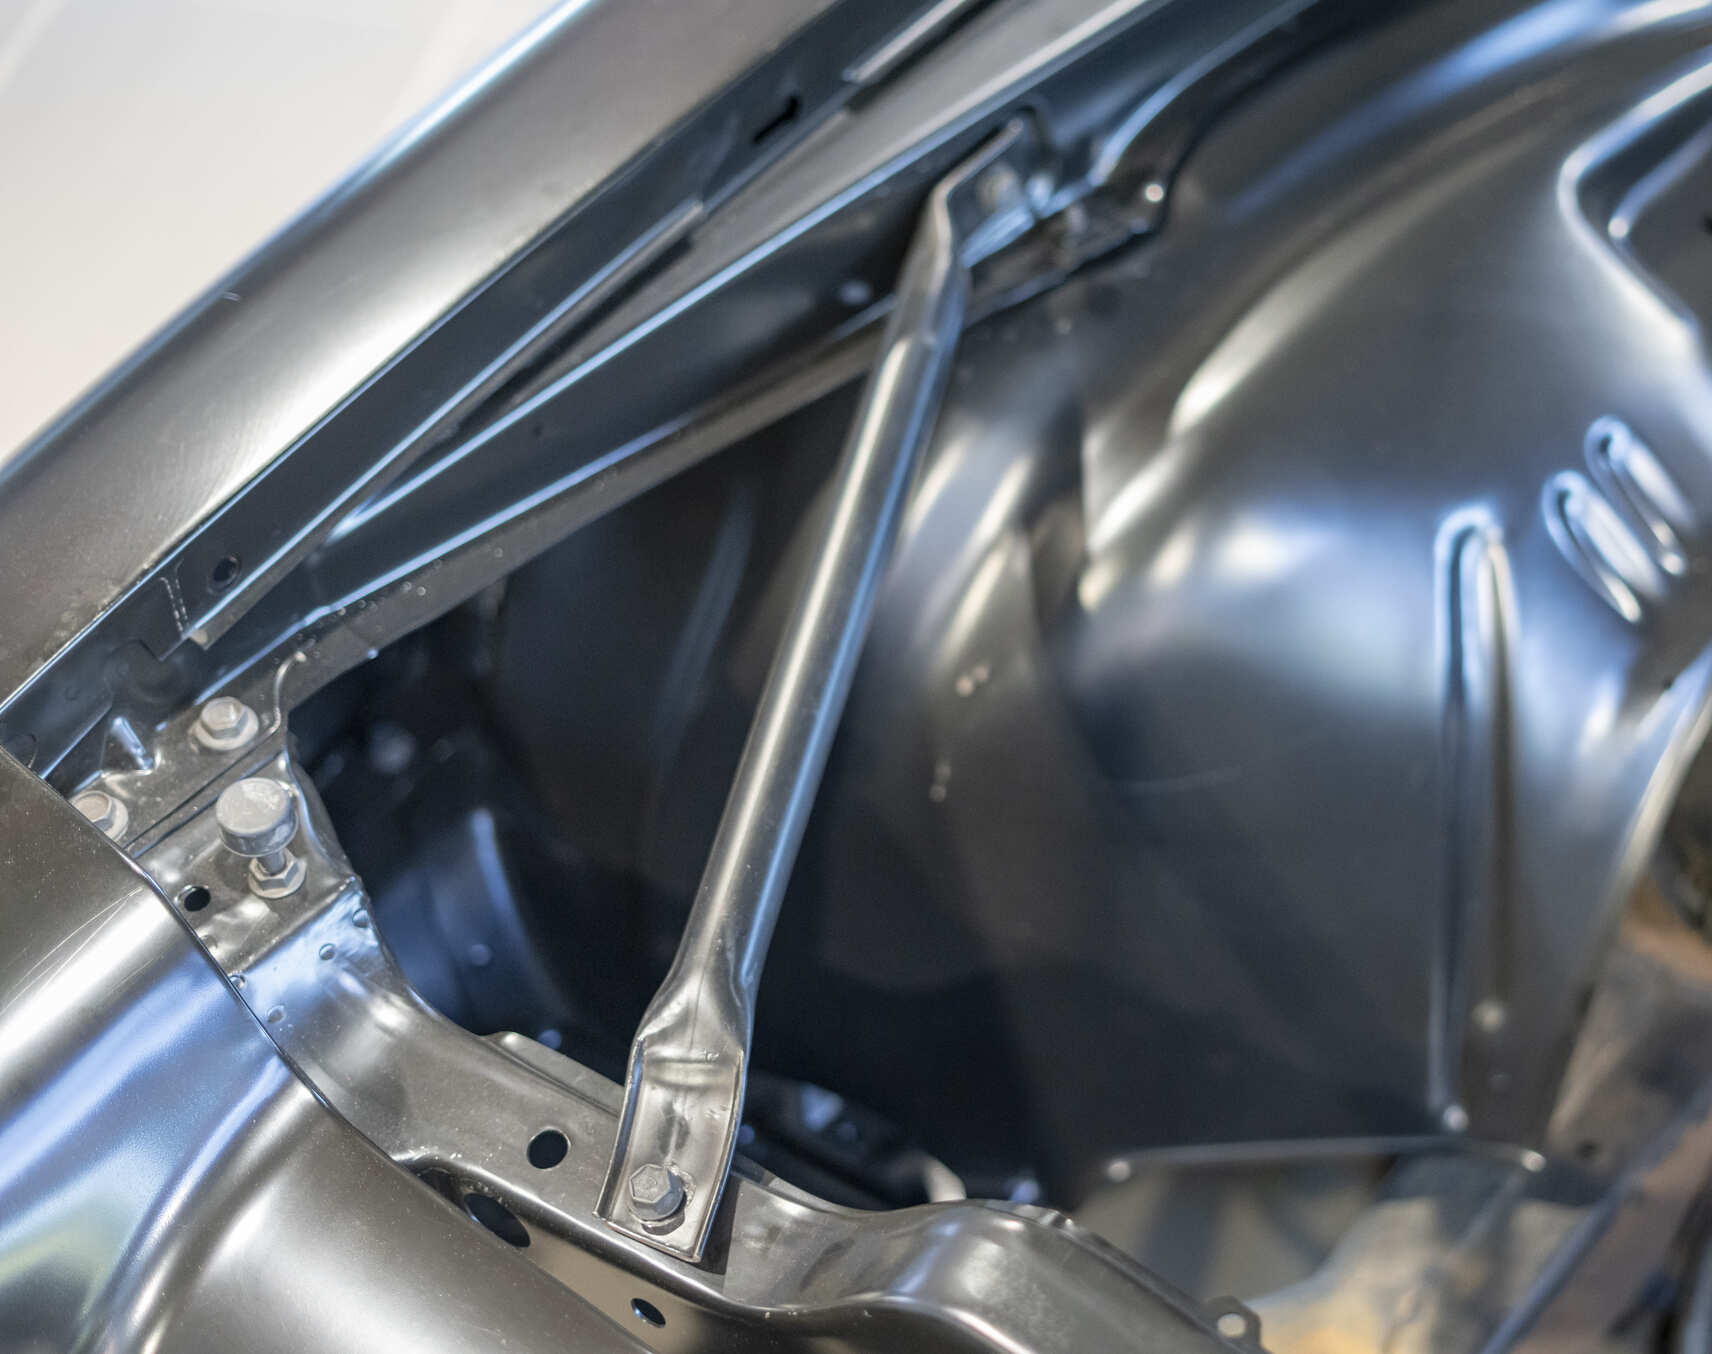
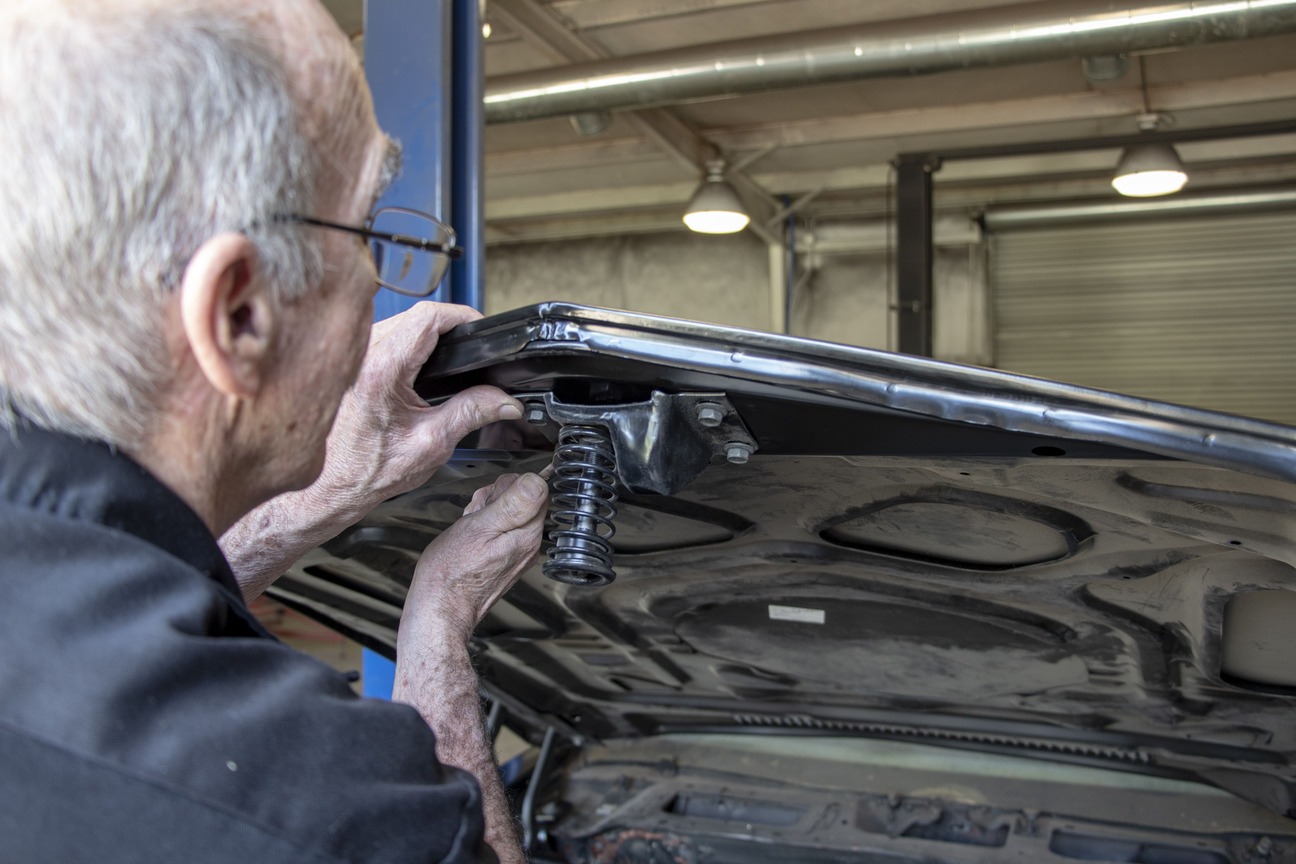
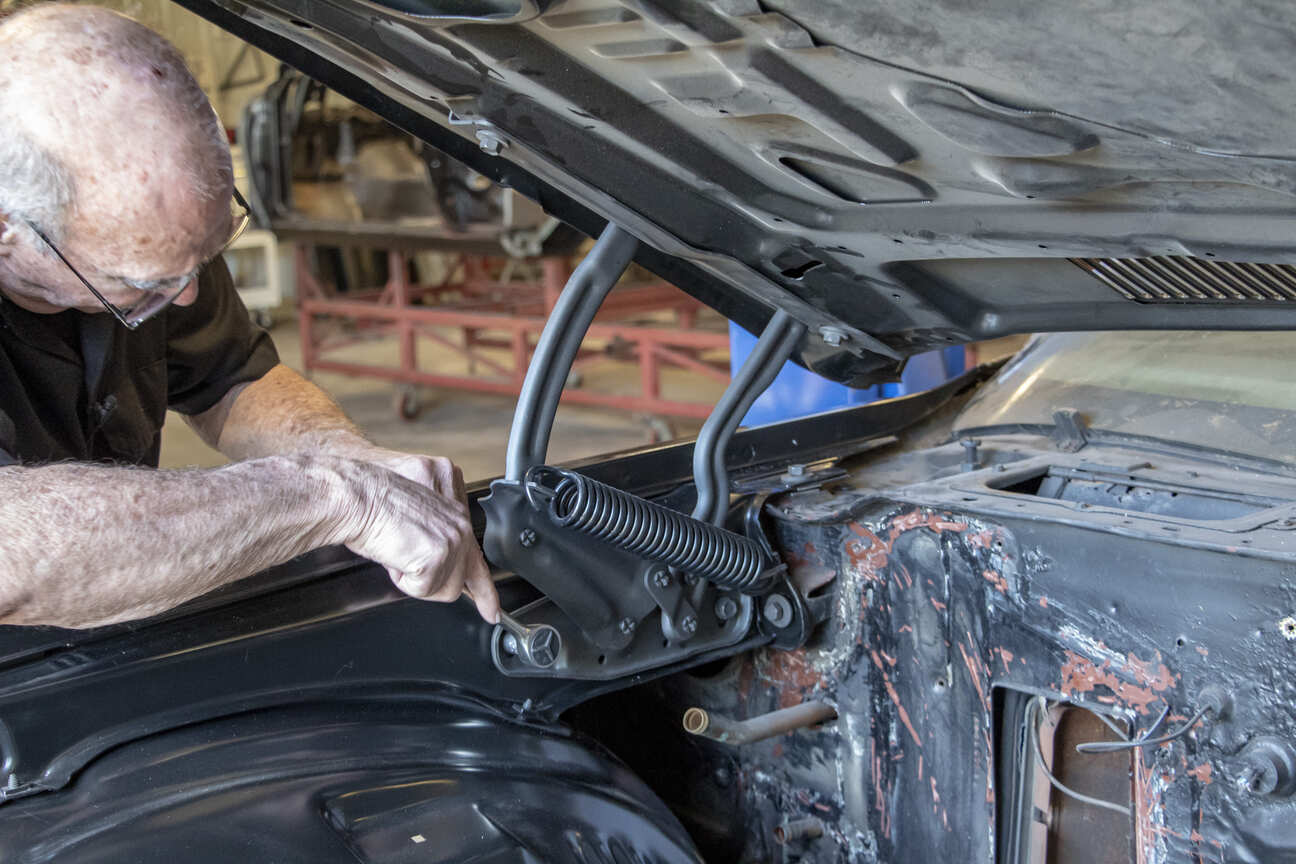
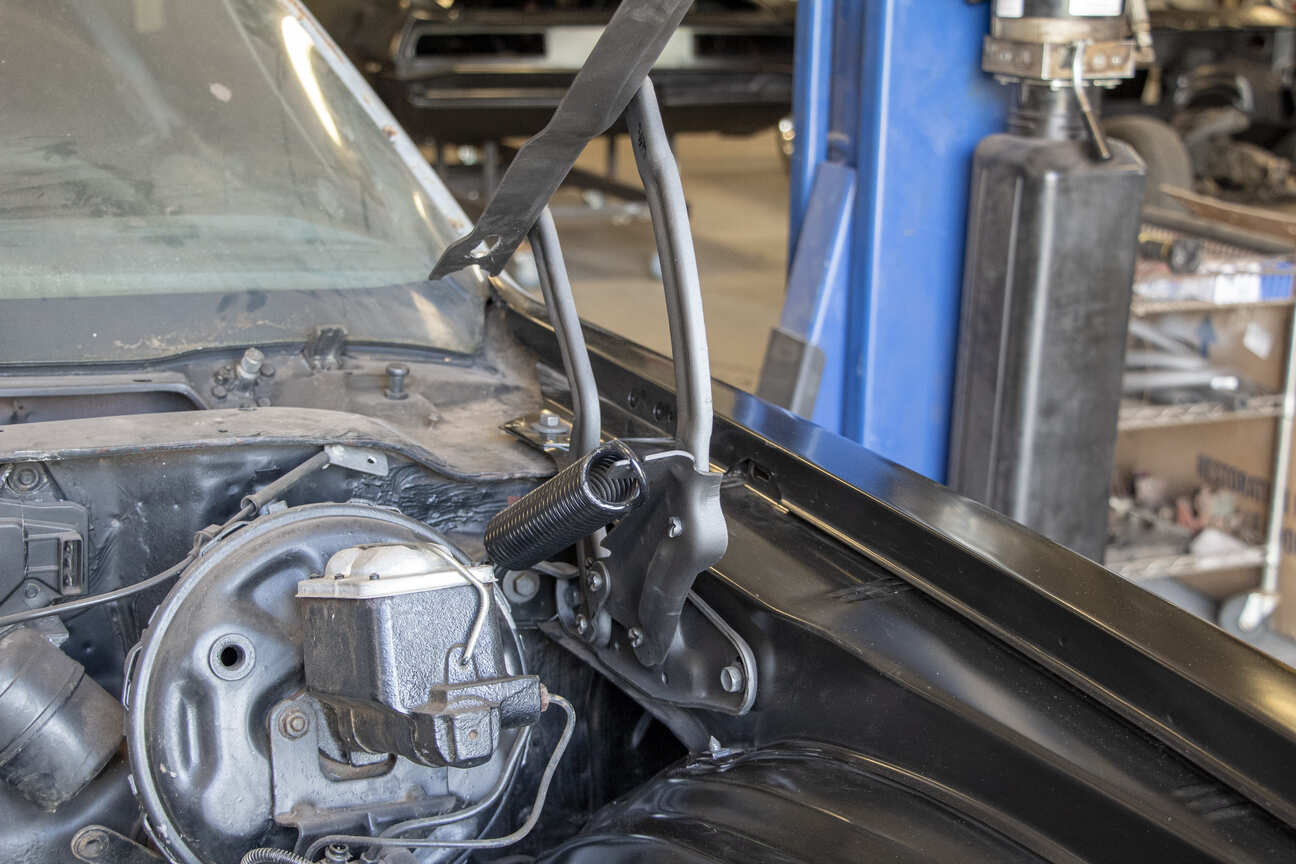
The new hood safety latch is installed along with the hood latch and release to fine-tune the hood placement.
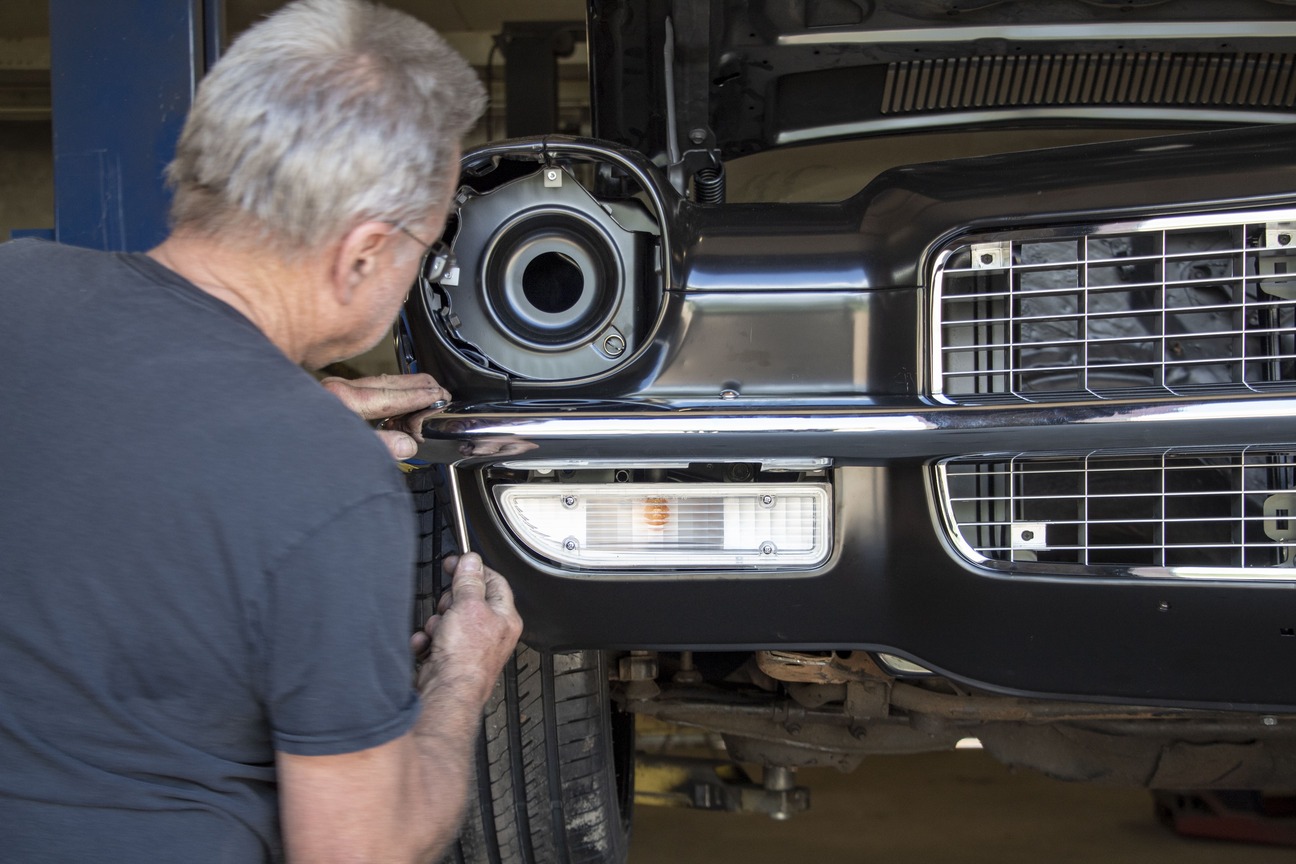
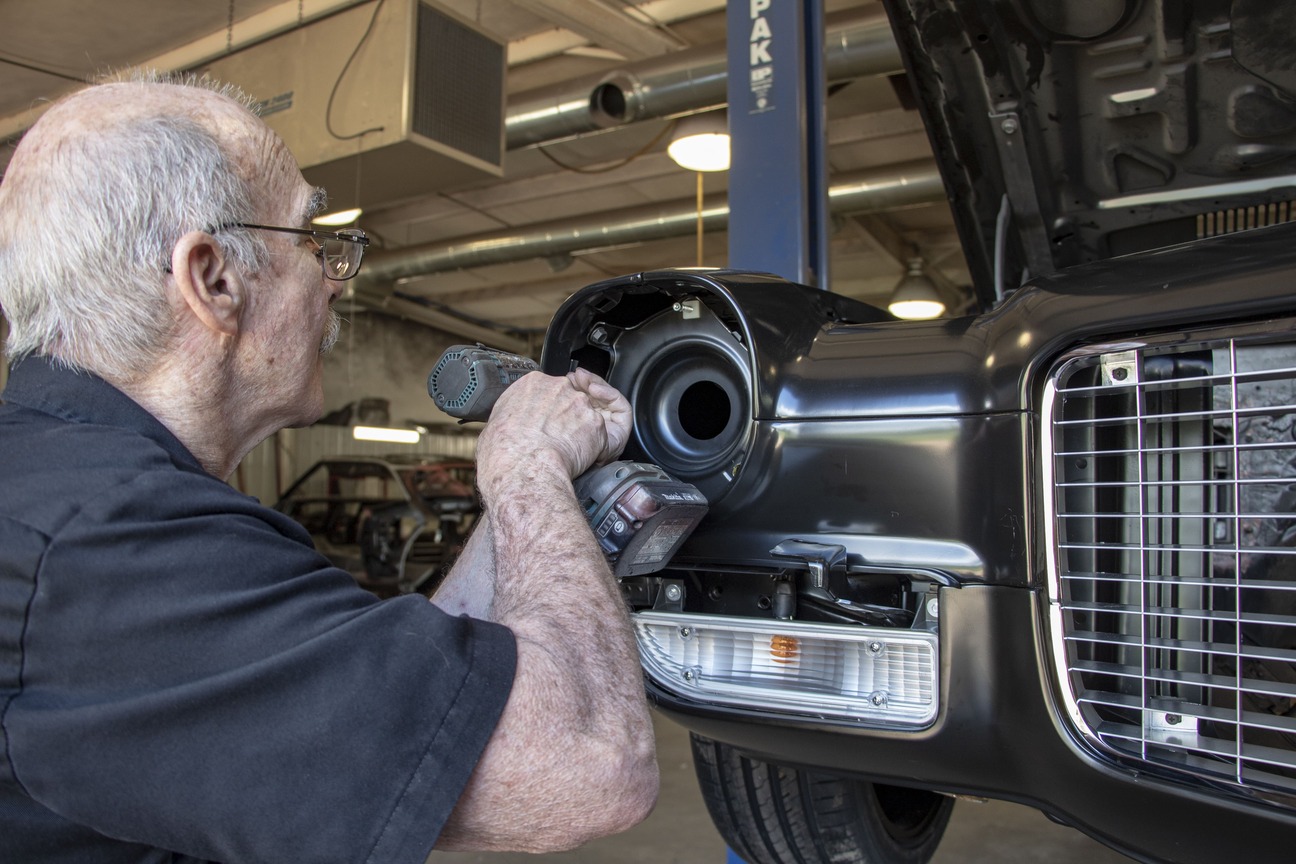
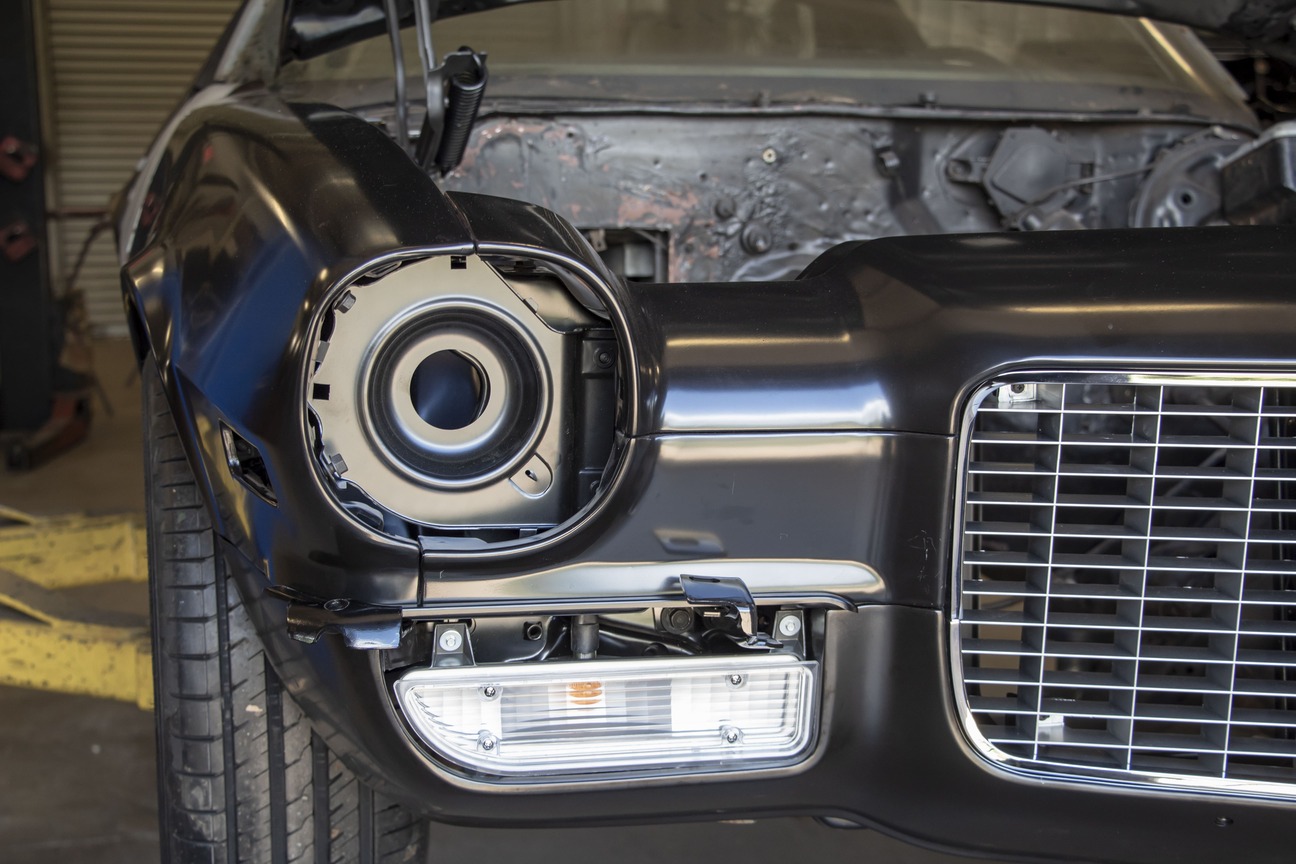
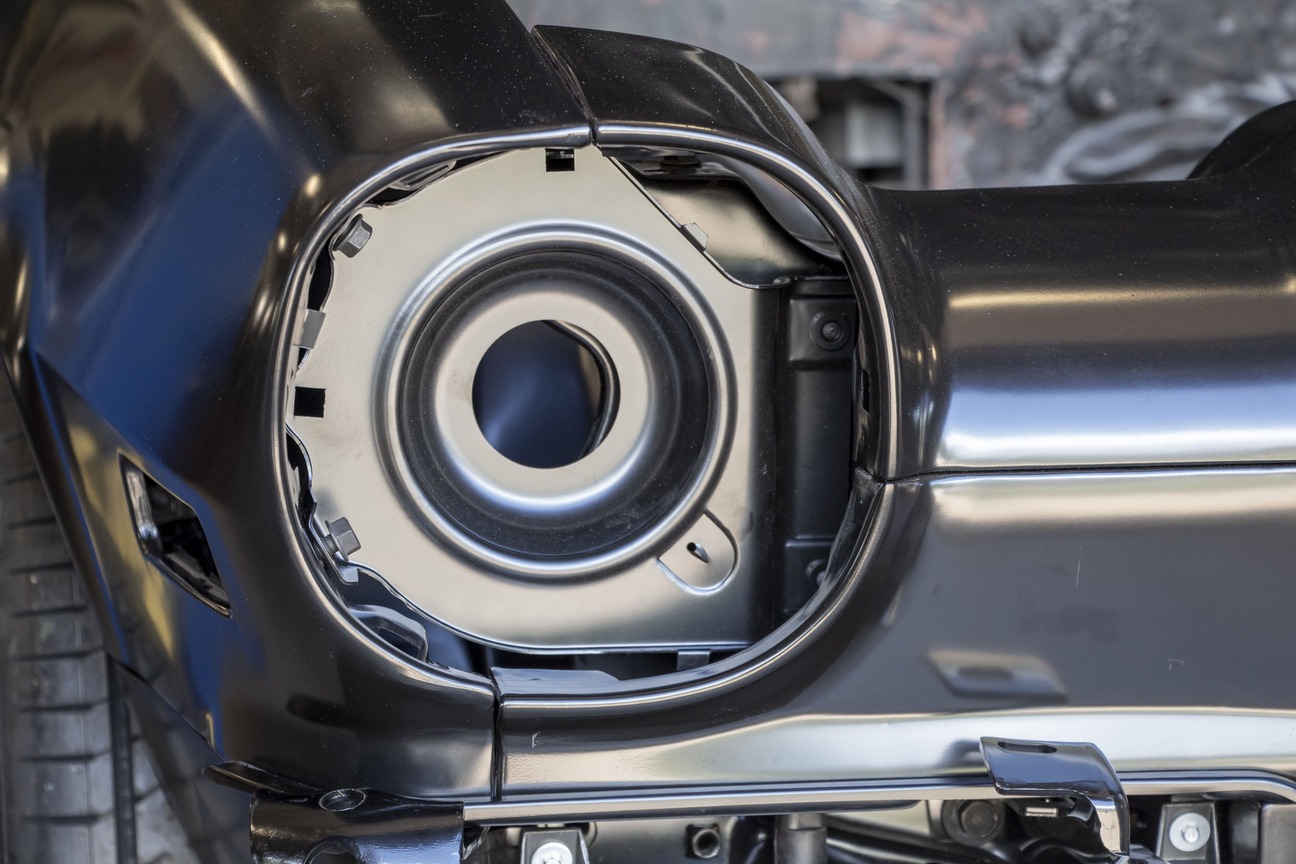
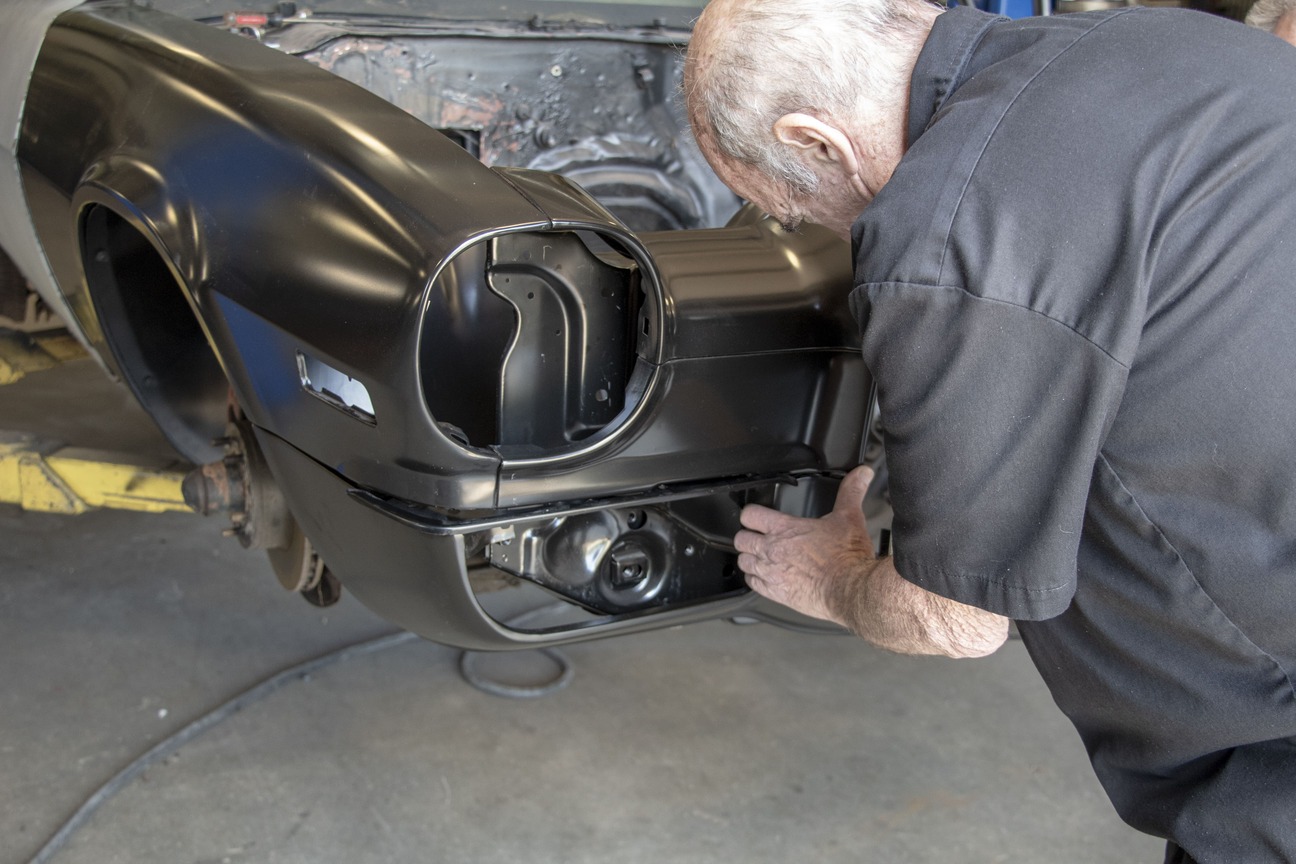
Kennedy reinstalls the bumper with less chance of it getting scratched now that most of the front end is on.Hopkins installs the headlight adjusters and buckets.The turn signal lamps are installed and come complete with bulbs and harness to make installation a breeze.
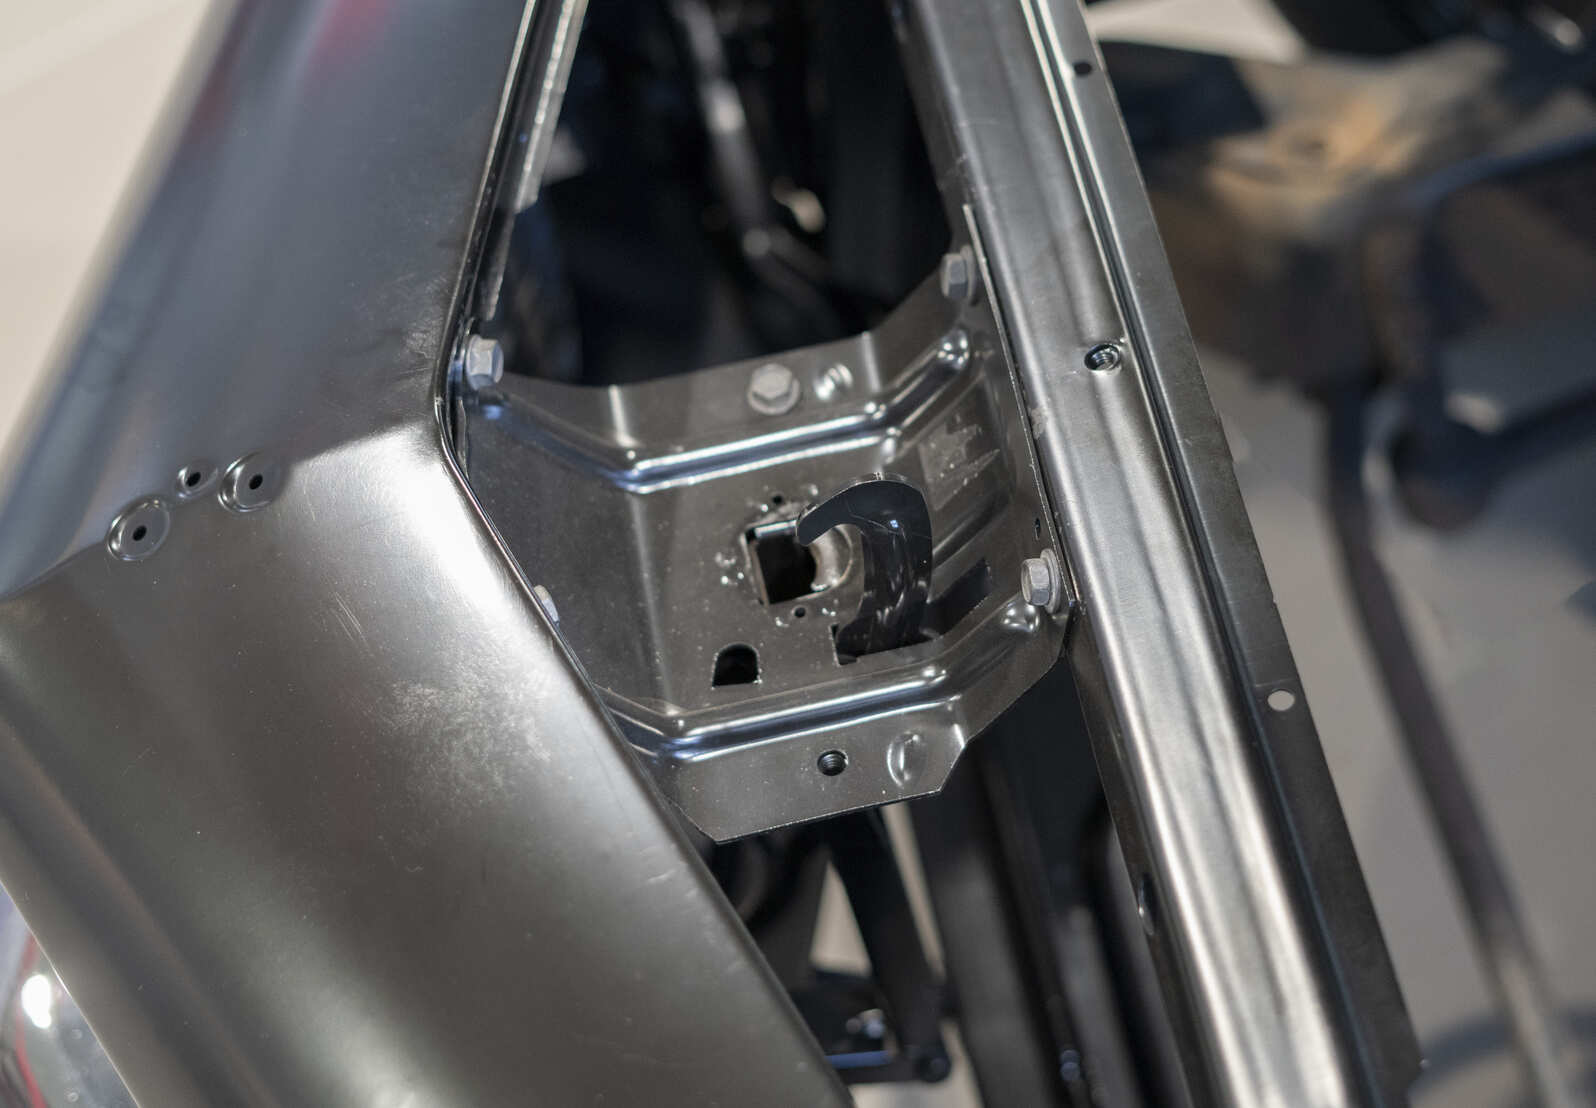
AMD offers all the details you need to complete this project. The headlight brackets bolt right up.With the bumper removed out of the way, Hopkins installs the hardware clips for the turn signal lights.Tech tip. Installing the brackets on the bumper make hanging the bumper bracket on the car much easier. You get a reference where they should be before final bumper installation.
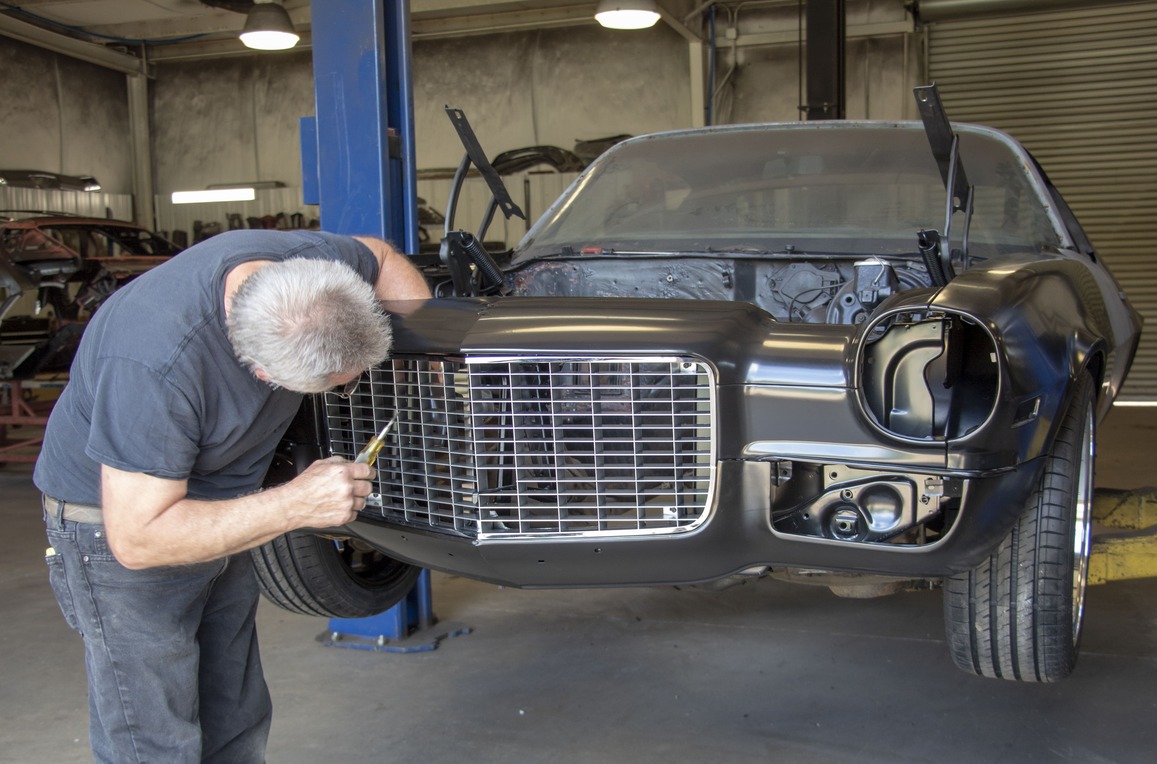
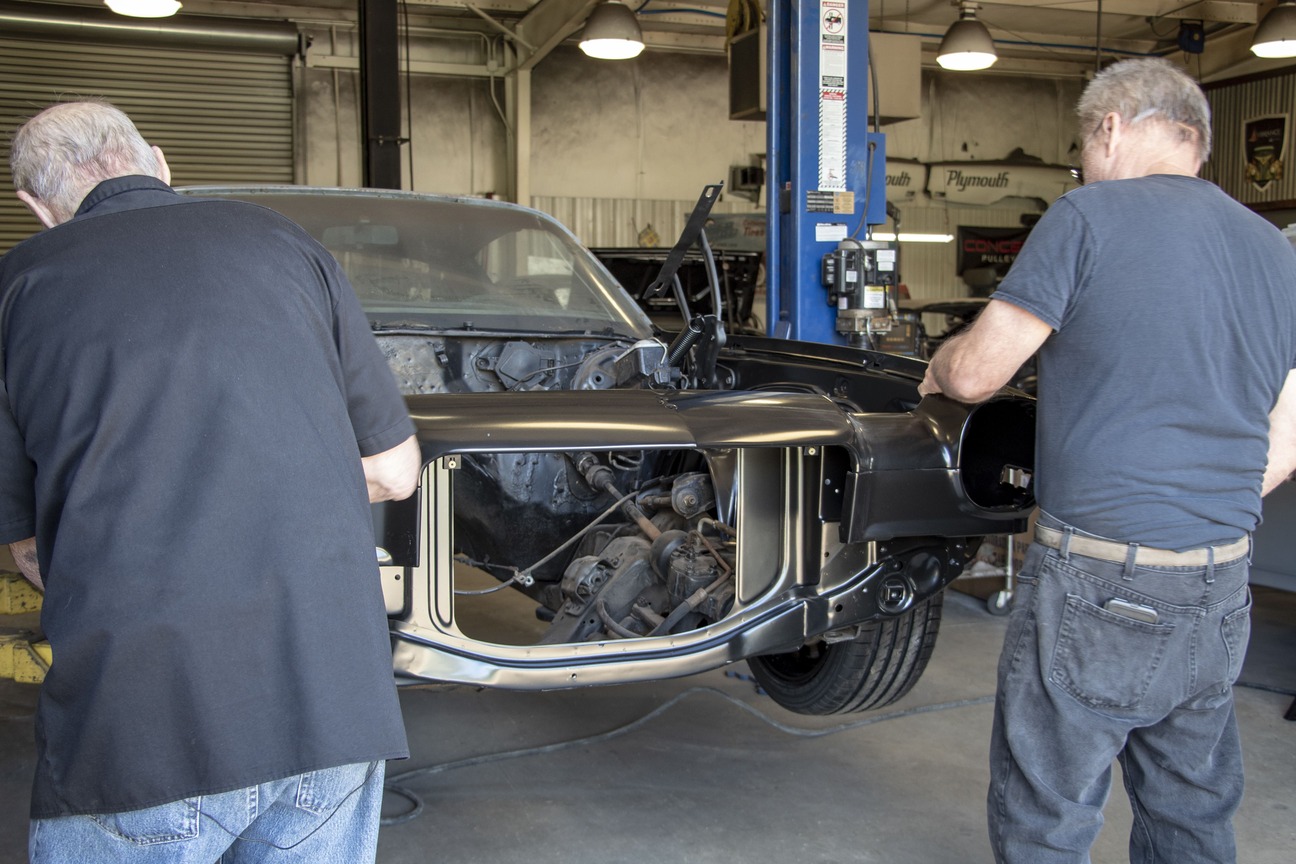
A quick check on clearance, Hopkins makes some adjustments to the hood hinges to get the gap on the right track.The new hood goes on; this is where having that buddy to help really comes in handy.Kennedy moves onto the grille installation utilizing the full AMD catalog with new hardware and bushings.As you can see, a little work goes a long way in converting this ’78 Camaro to an early second-gen (’70-73).New AMD hood hinges are installed and bolted on hand-tight ready for the hood to go on.Before getting everything snug, Hopkins installs the bumper fillers between the upper and lower panels just like the original.Moving right along, the lower valance is installed. All panels are initially hand-tightened to make for easy final adjustment. This is the standard version; the RS conversion can be accomplished using the same overall process.With the core support and fenders framing out the front end, Hopkins and Kennedy hang the AMD header panel.
We use cookies to ensure that we give you the best experience on our website. If you continue to use this site we will assume that you are happy with it.