


1963 Chevy C10 Upgrades
By Ryan Manson – Photography by Mike Chase
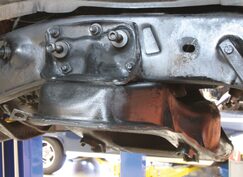
When the 1963 Chevy C10 was introduced, it was one of the first full size trucks to be offered with a modern, independent front suspension design. While Ford retained its love for the straight axle, albeit upgrading eventually to the twin I-beam design, Chevy opted with a frontend more reminiscent of their passenger car line of the era. The design was a success and one that GM eventually carried on into the ’80s and beyond. Yet while the basic design was a success, especially when it came to easily lowering these trucks, it wasn’t without its faults. The stamped control arms tended to flex under heavy cornering or aggressive driving and a rudimentary lowering job meant the original suspension geometry often changed, and not for the better. But factory improvements throughout the years meant the early trucks could be easily upgraded with such bolt-ons as disc brakes and power steering, making for a more modern classic truck.

Read More: Frontal Rehab: 1969 C10 Steering Component Upgrades
While modern amenities no doubt helped keep these classics on the road, we eventually hit a tipping point where these trucks were being pushed to their breaking point, performance-wise. While the aftermarket industry concentrated on every upgrade imaginable for the muscle car market, our lowly trucks were left with 30-year-old components and technology.

Recently, it seems the aftermarket has seen the light and we’re entering a renaissance of sorts when it comes to upgrading our old trucks par with their contemporary passenger car brethren. Oversized tubular control arms, sway bars, coilover shocks, big brake kits, and even LS swap kits have made it easier than ever to bring that old truck into the 21st century.

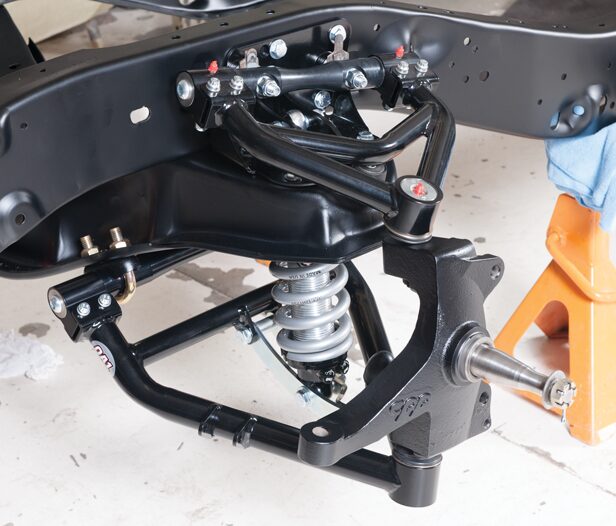
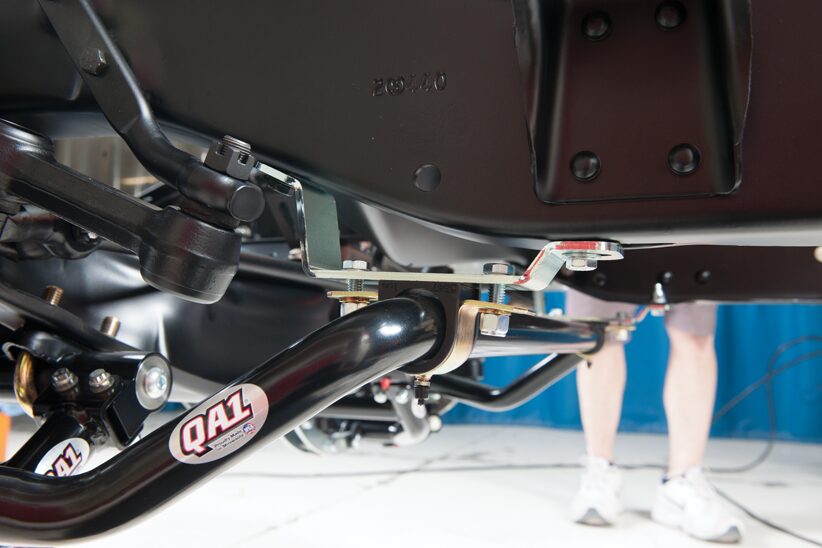
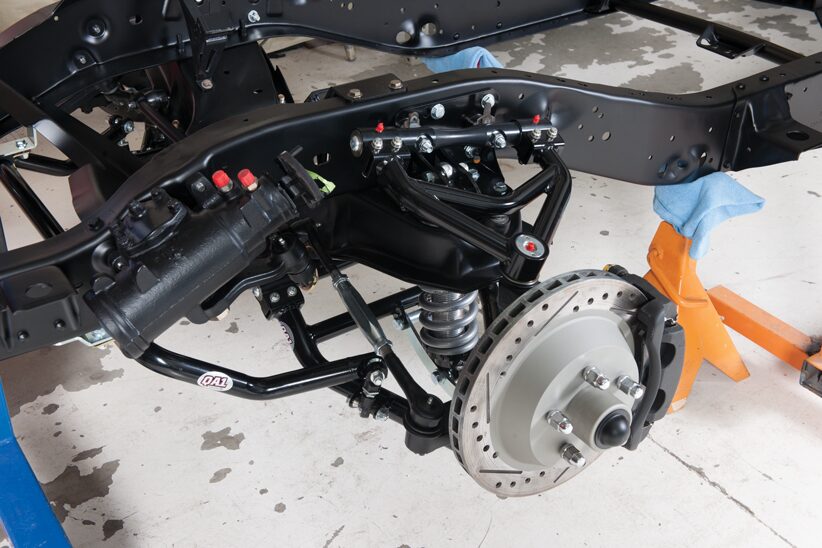
Speedway Motors has been offering parts for racers and hot rodders alike for decades, with the classic truck market recently becoming one of their ever-growing outshoots. From fuel tanks to radiators, Speedway Motors offers just about everything needed to upgrade or restore that vintage pickup truck. It was with this knowledge that led the crew at Cotati Speed Shop to Speedway Motors while searching for solutions to alter Pete and Leslie Richmond’s 1968 Chevy C10’s stance. Pete and the Cotati crew discussed their goal of having a truck that sat right (5-6 inches lower) and handled similar to the vehicles he and his wife are used to driving on a daily basis. They decided on a kit from QA1 and sold through Speedway Motors that fit the bill perfectly and would even allow the crew at Cotati Speed Shop to fine-tune the camber and caster settings, resulting in a further-improved driving experience for the Richmonds.
Read More: Danny’s LS3 Powered Sonic Gray Pearl Tri-Five Chevy
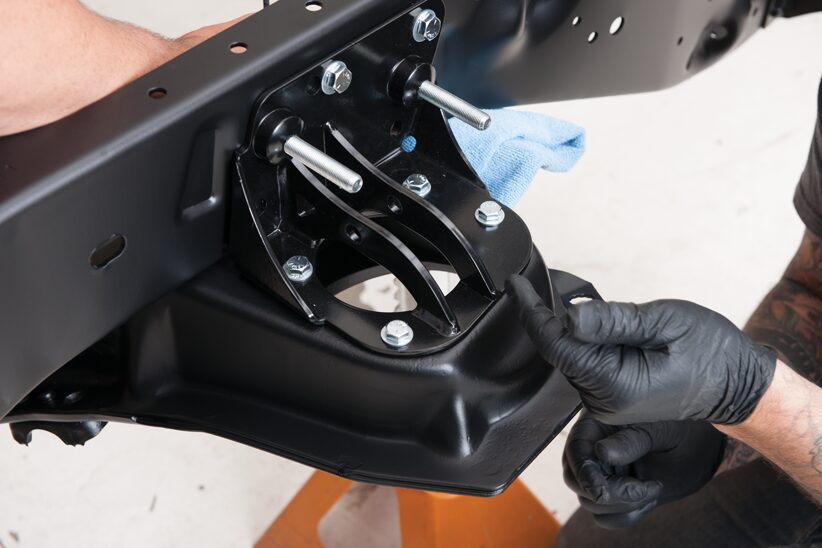
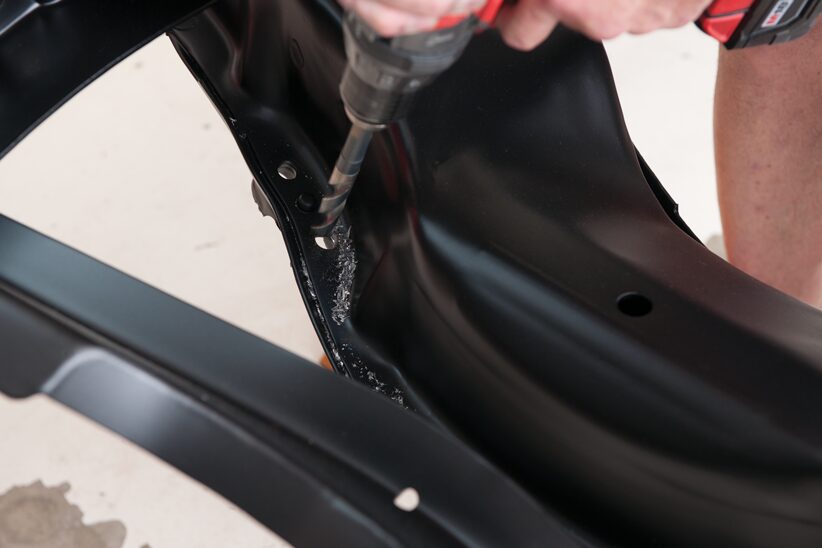
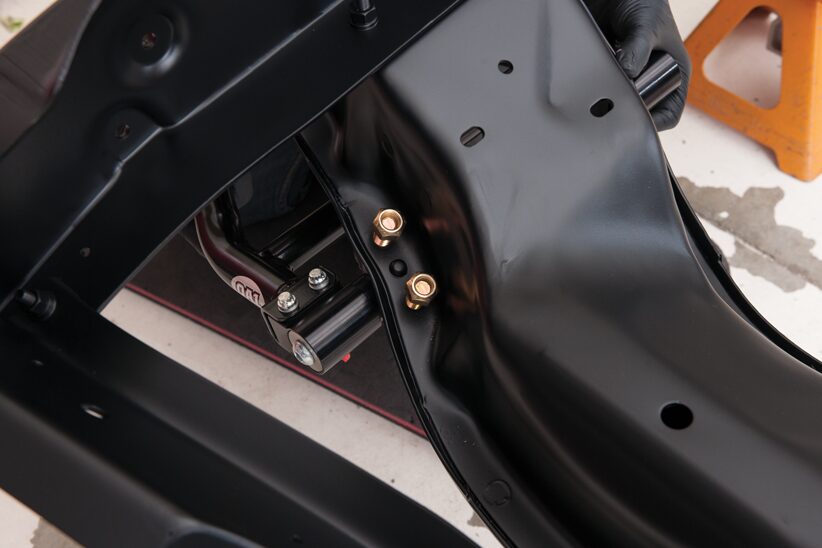
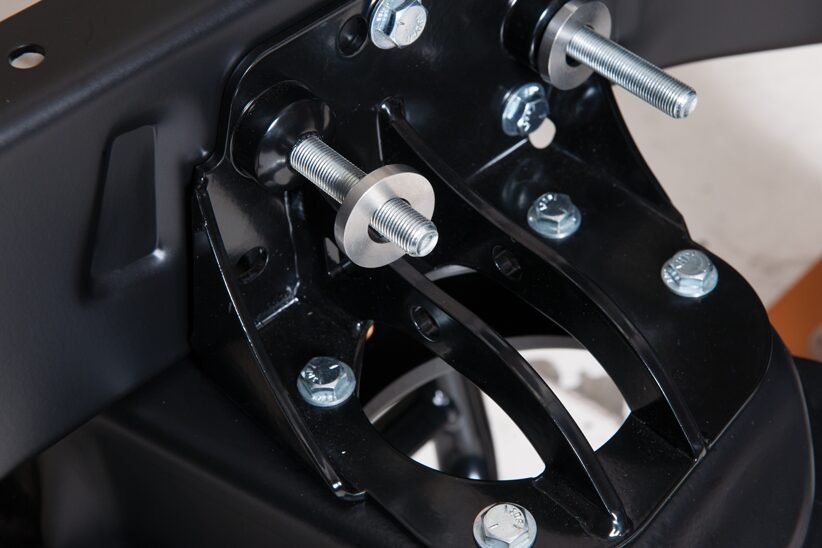
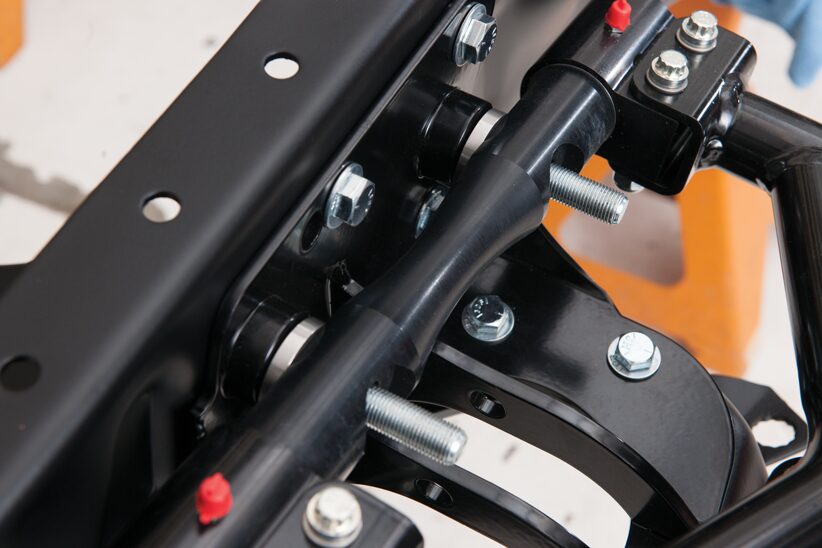
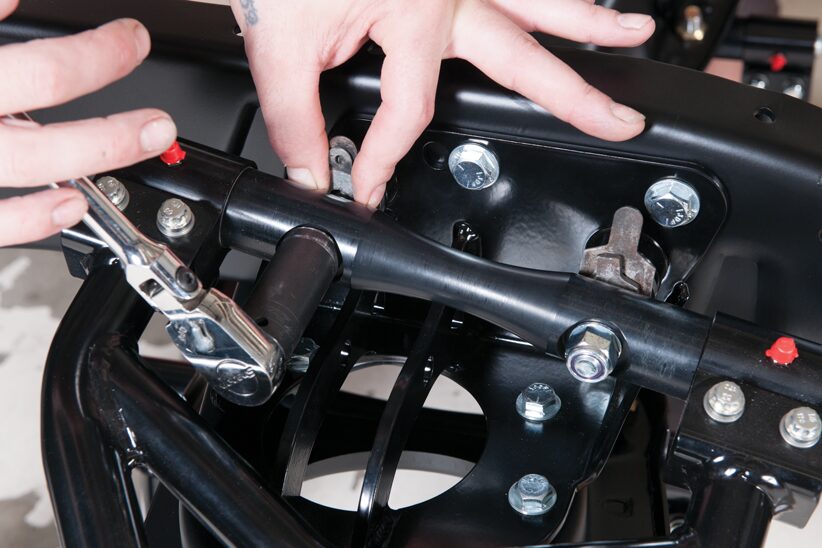
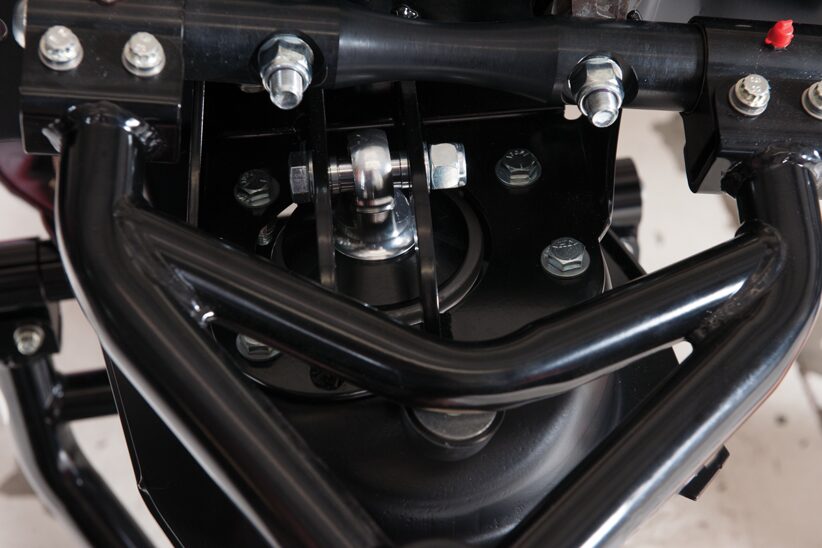
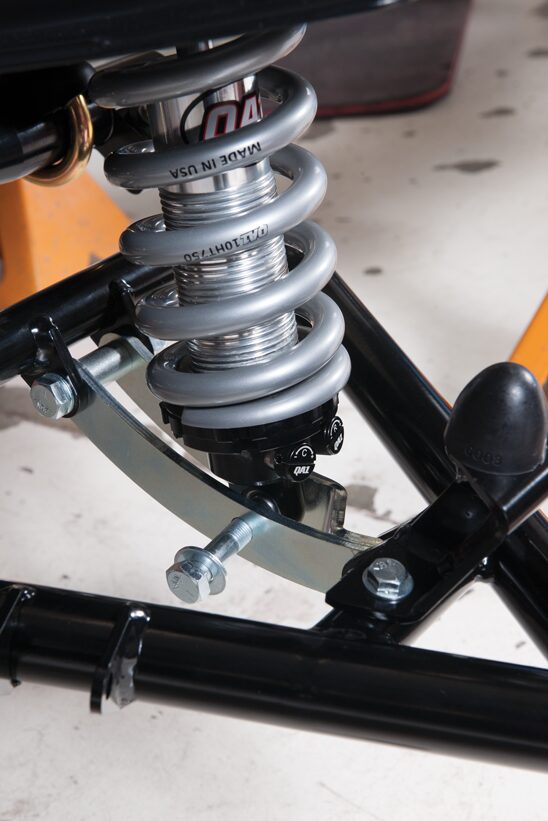
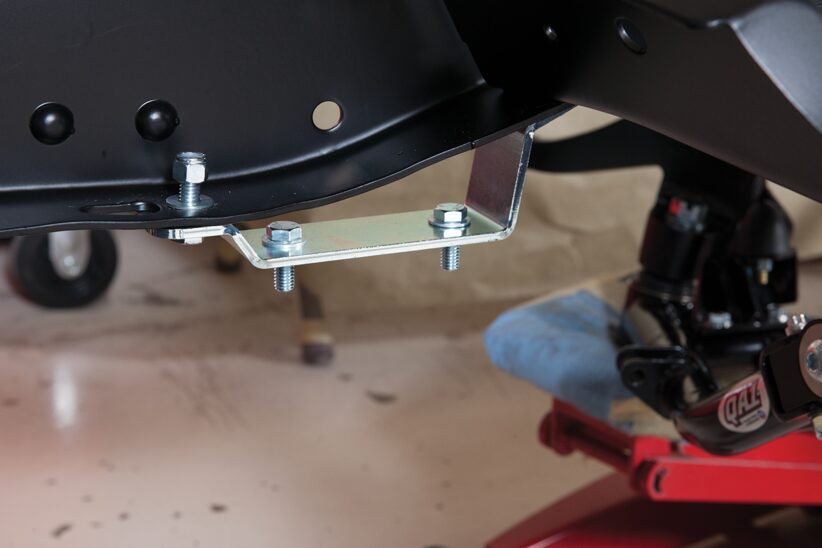
Coupled with a set of their double adjustable shocks and stout sway bar, the guys were convinced the QA1 coilovers would be perfect to give the C10 the handling characteristics they were looking for with the ride height adjustability and superior performance QA1’s products are known for. What’s better? The entire QA1 Coilover kit is a 100 percent bolt-in affair. No welding necessary; just a variety of simple hand tools is all that’s required.


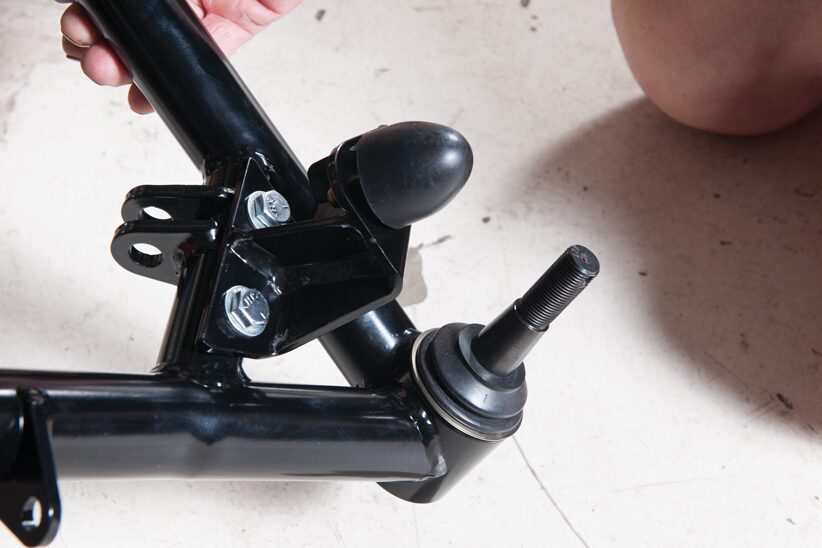
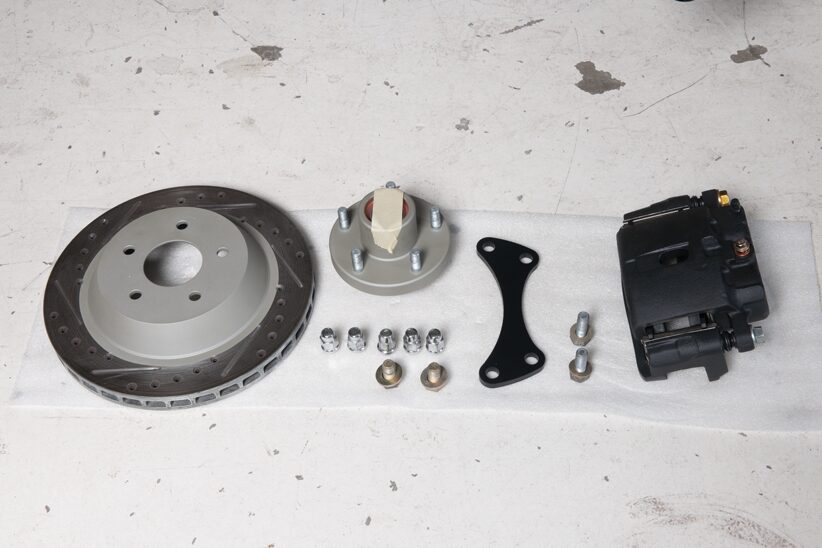
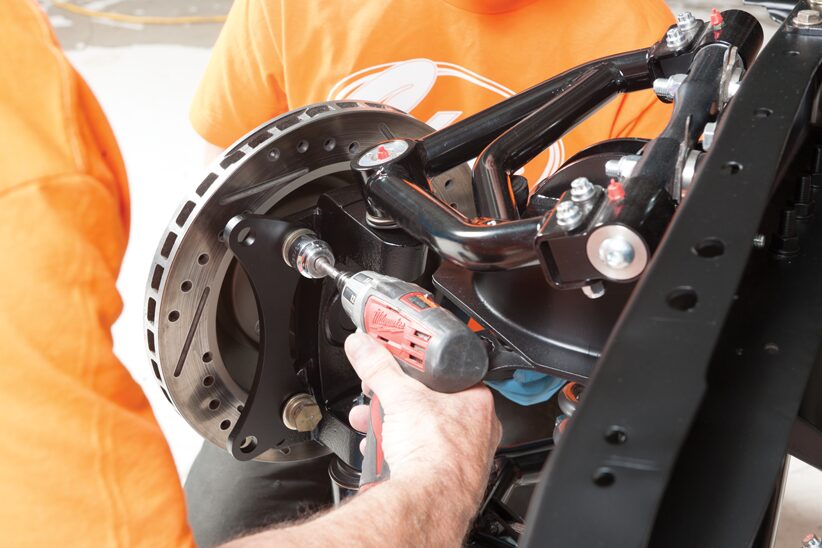
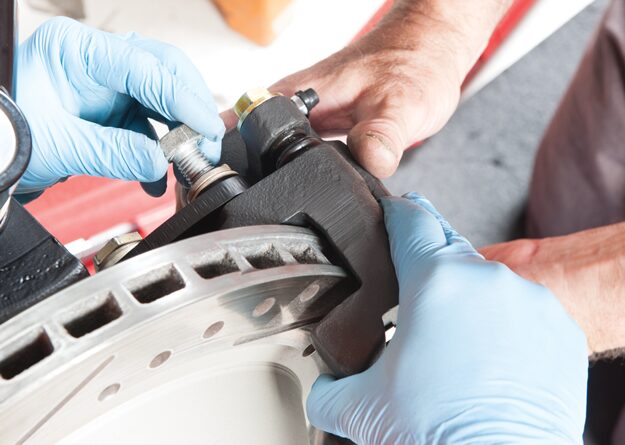
To complement the QA1 front suspension kit, the Cotati crew added a pair of Classic Performance Products (CPP) Dropped Modular Spindles to the build sheet, which will lower the truck an additional 2 inches (bringing the total drop to 5 inches) and will accept CPP’s Zero-Offset SOS Big Brake Kit with its large caliper and 13-inch rotors. A brand-new CPP 500-Series Power Steering Box will bolt in place of the stock manual unit, the final piece of the upgrade puzzle. CTP


Sources:
Classic Performance Products (CPP)
(800) 522-5004
classicperform.com
Cotati Speed Shop
(707) 586-8696
cotatispeedshop.com
Speedway Motors
(800) 979-0122
speedwaymotors.com


