


Installing a New Aluminum Trim On A 1936 Ford Phaeton
By Gerry Burger – Photography by The Author
Building a hot rod is simply, or not-so simply, a series of challenges. While it definitely pays to plan ahead, sometimes you do things with the thought of “we’ll worry about that when ….” This is the tale of just such a postponement. Early on in our 1936 Ford Phaeton build we decided the original top just had to go; we would be running topless in our tub (Author’s note: That didn’t come out just right. —BB … “It never seems to!” —GB) with plans of either a tonneau cover for the back seats or possibly a Carson style top.
Read More: A New Look for Old School Center Line Wheels
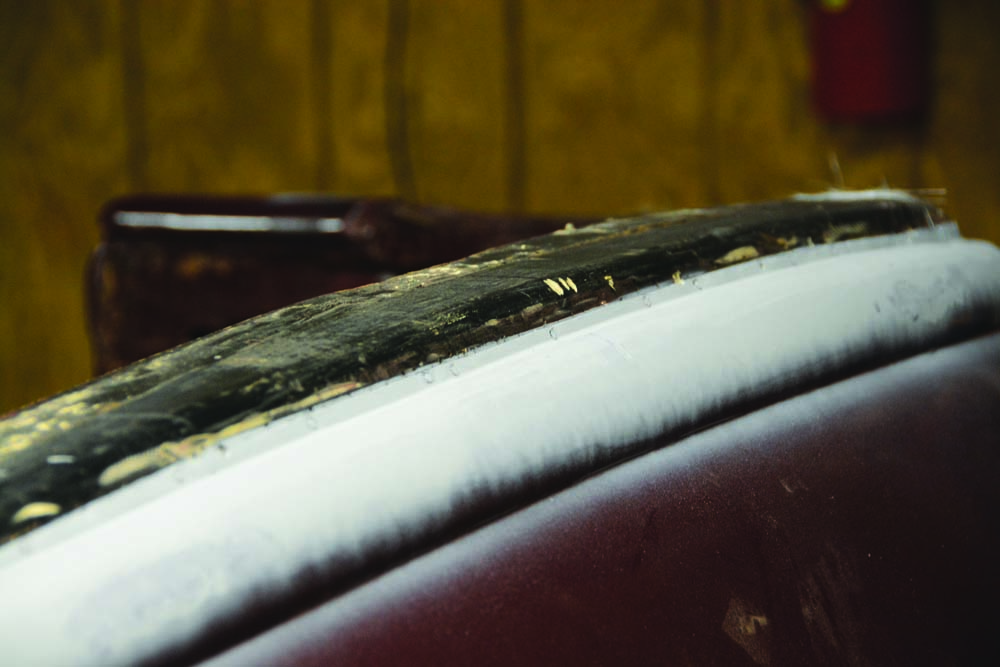
So, the top was removed and sold, leaving an unsightly seam where the original steel body panel was unceremoniously nailed to a wood header. Ah yes, they just don’t build ’em like they used to. At one time the top was also nailed to this header. While creating a reasonable transition from steel to wood was obviously a problem, we put the project off and now the time had come to address a solution.
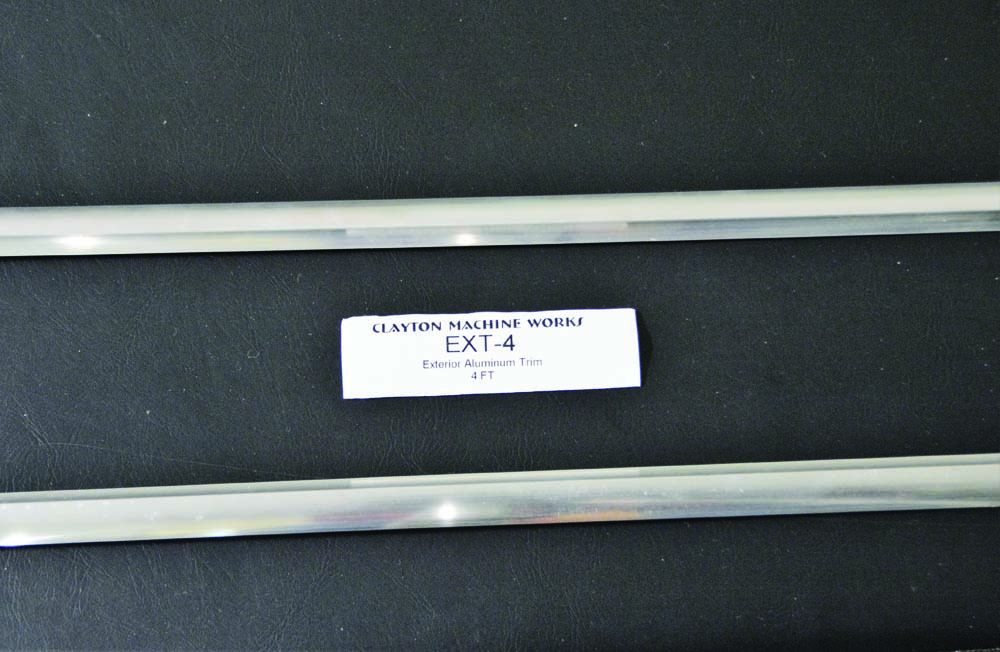
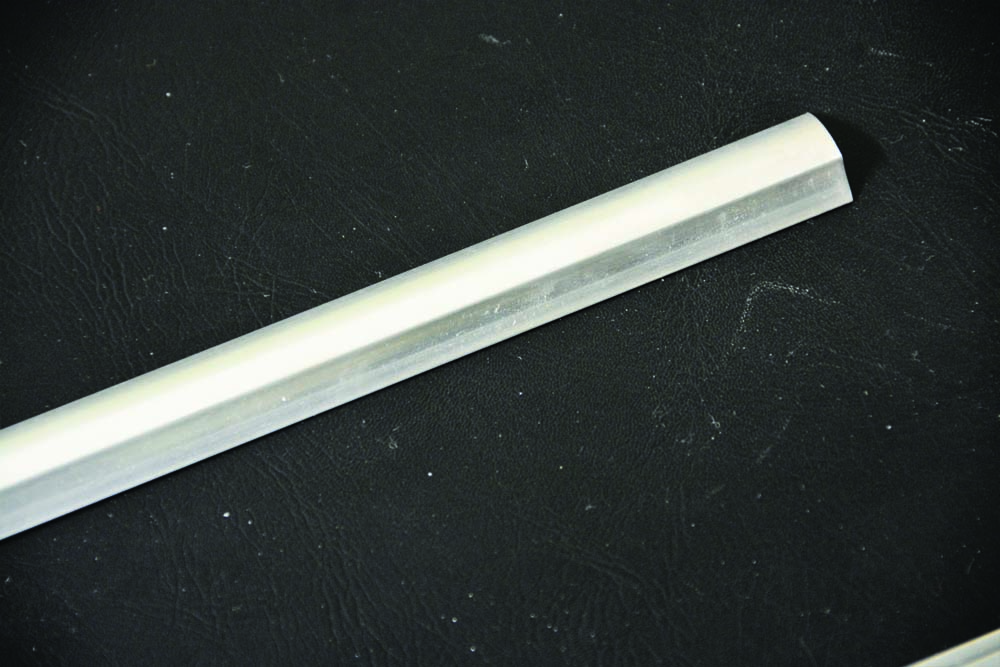
We considered a type of upholstery trim or even aftermarket vinyl door protector but decided while that would be easy it would also look like an inexpensive aftermarket door trim. And so we continued our search, which led us to the Lokar website to check out their Clayton Machine Works offerings. The offerings are varied and all very cool, from door handles to shifter handles or pedals, they all have a great sense of style. But we were looking for trim; sure enough, there it was, Aluminum Exterior Trim. A mill-finished 6063-T0 aluminum trim that could be mounted with 3M double-sided high-strength adhesive, it can be drilled and tapped for “blind fastener” installation or it can be drilled and screwed in place. The simple look of the trim was perfect for our hot rod, just two pleasant curves give the trim shape and even more important it would provide the perfect transition from body panel to the wood header. We contemplated using 3M adhesive to mount the trim but due to the uneven mounting surface we decided to screw the trim in place. We also felt some countersunk stainless steel screws would look more period correct on our vintage hot rod. If we were using this same material for side trim on a car we would definitely use the adhesive. A quick call to Lokar and we placed the order for two pieces 4 feet long (also available in 6- and 8-foot lengths). Several days later a heavy cardboard tube was delivered to our door.
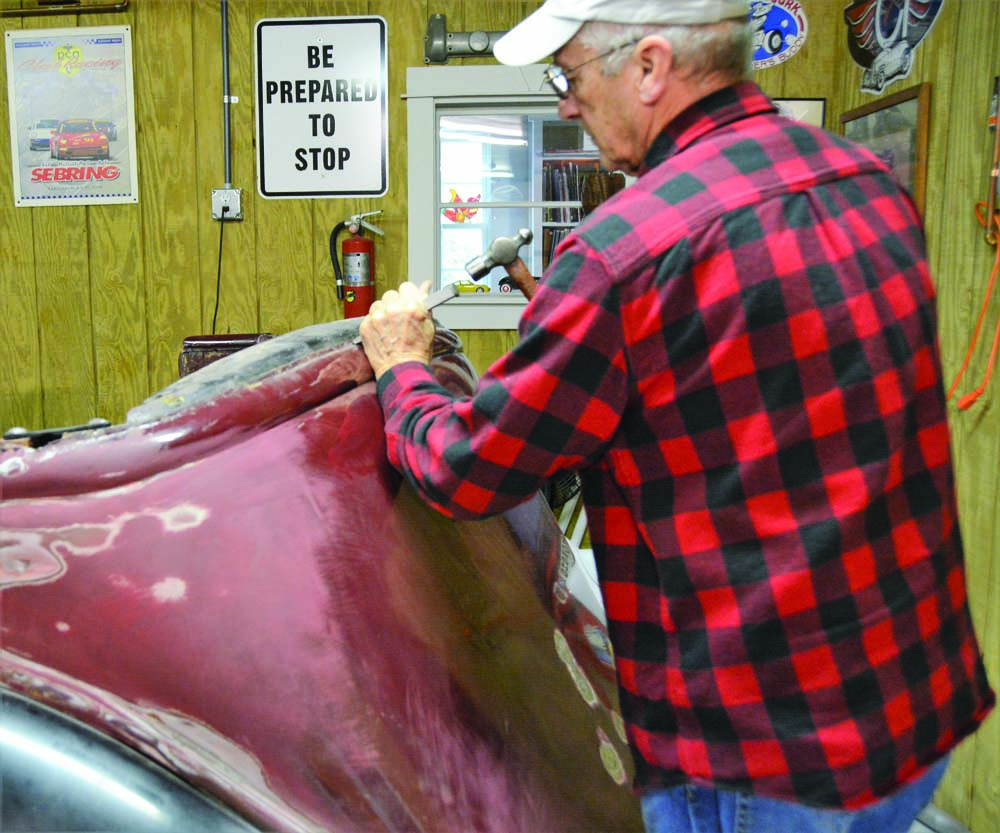
Fitting the trim to the back of our 1936 Ford Phaeton proved to be quite simple, but due to the curves involved it was important to work slowly and carefully. The 6063-T0 aluminum is butter-soft and will form contours easily, but like any metal you must be careful not to bend it too far as metal will stretch and shrink as you ask it to conform to curves, particularly compound curves. Returning bent metal to straight often results in an irregular shape, so work carefully, adding to the curvature slowly.
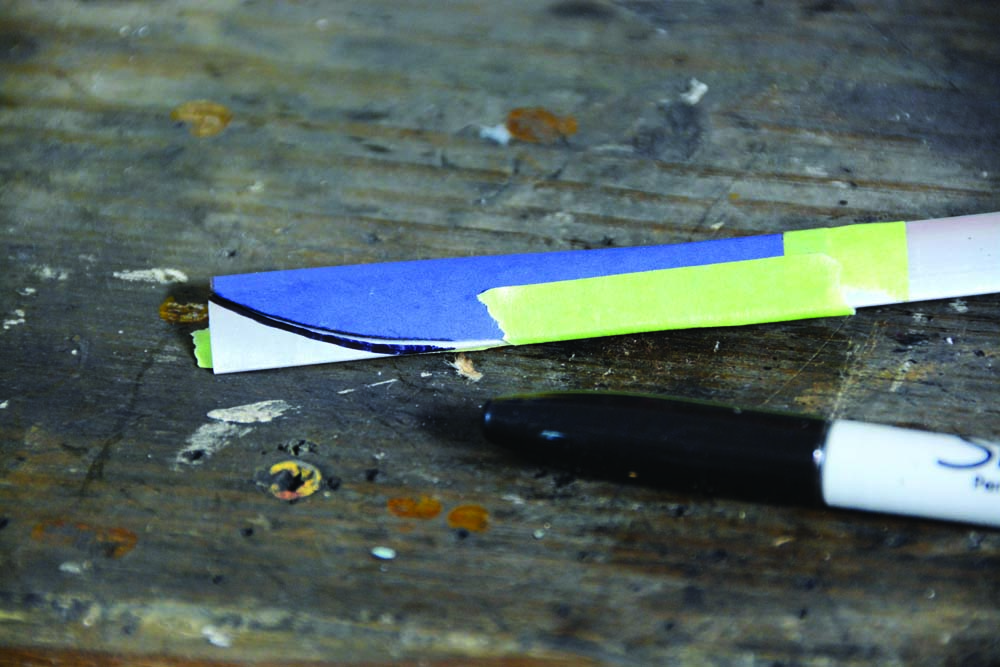
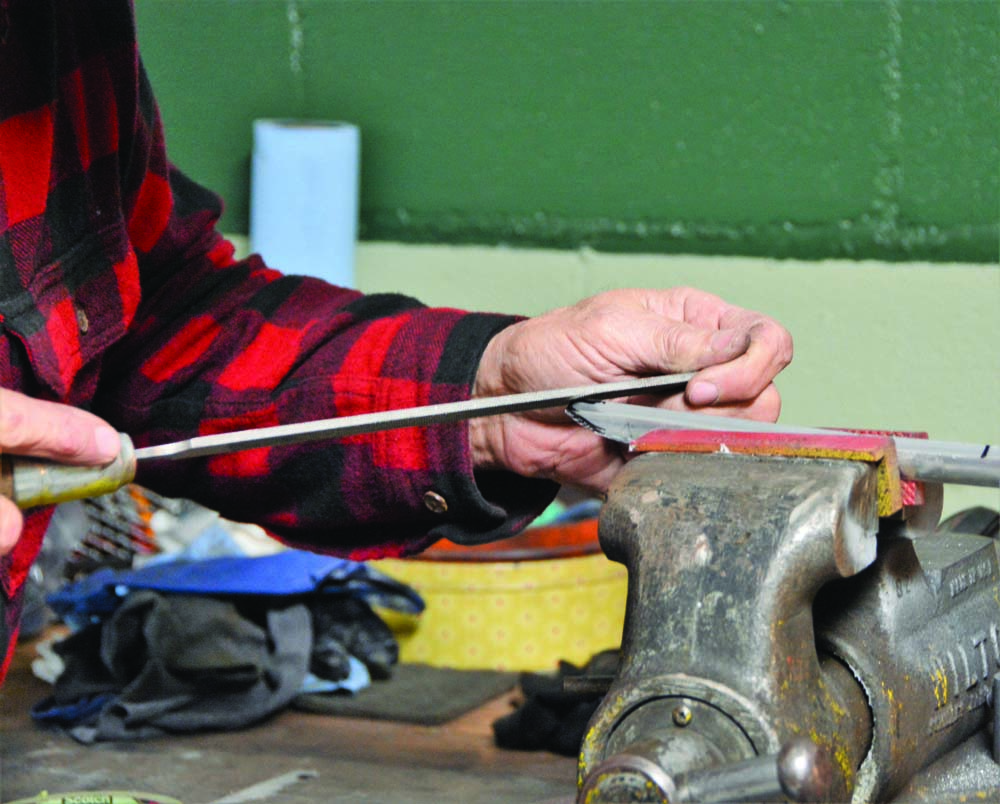
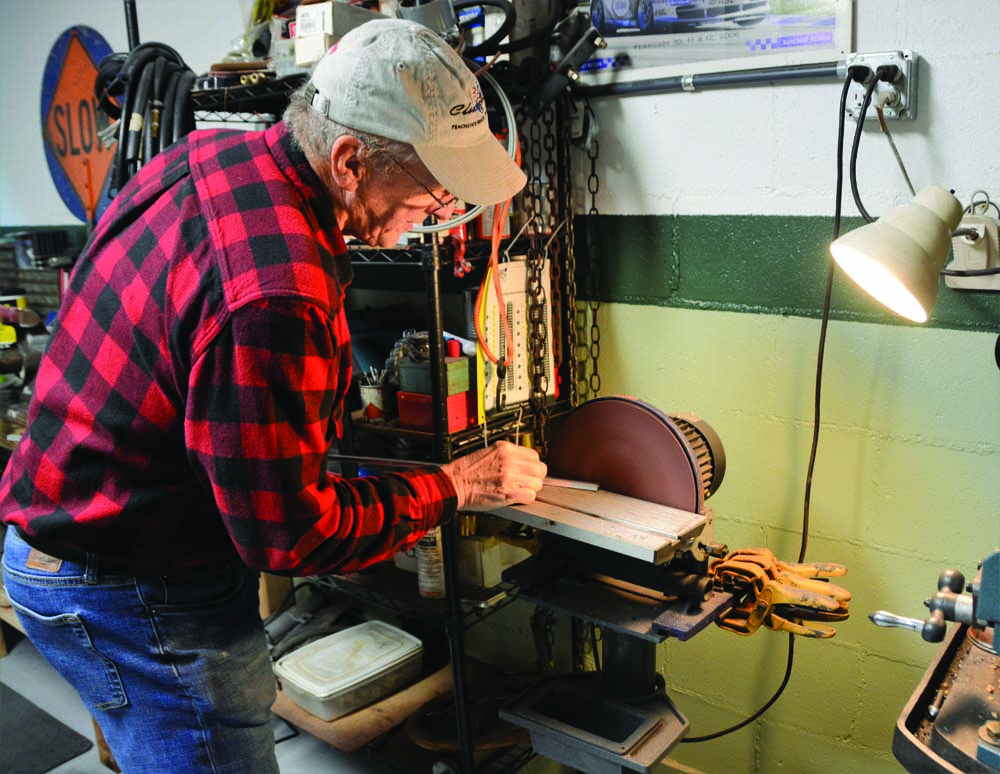
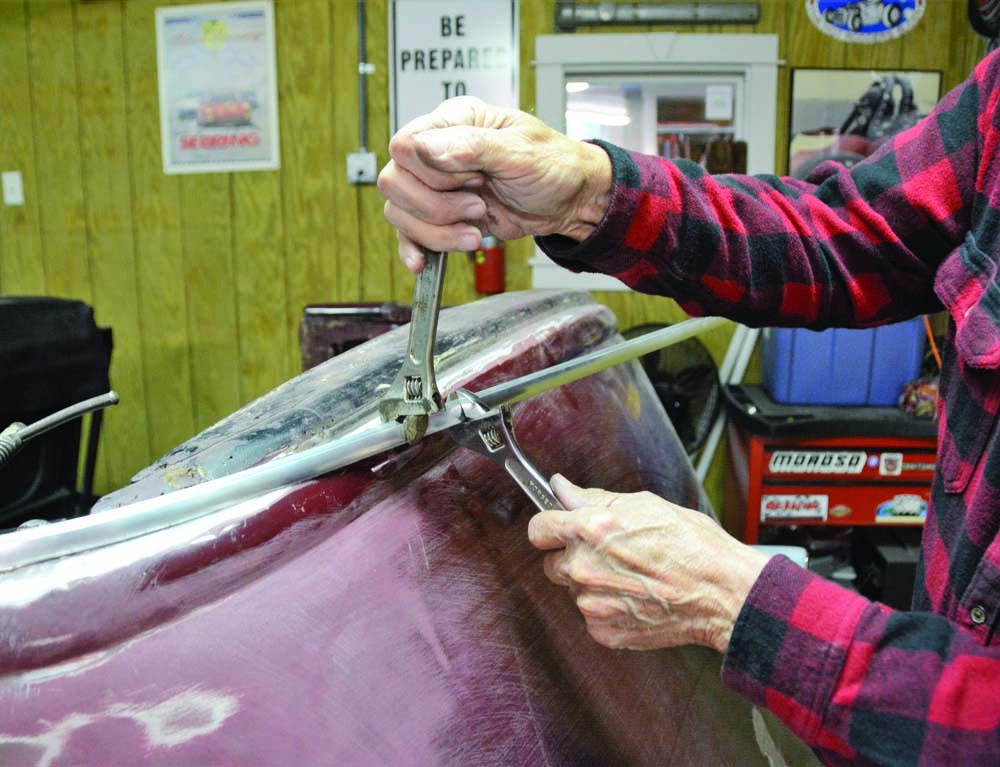
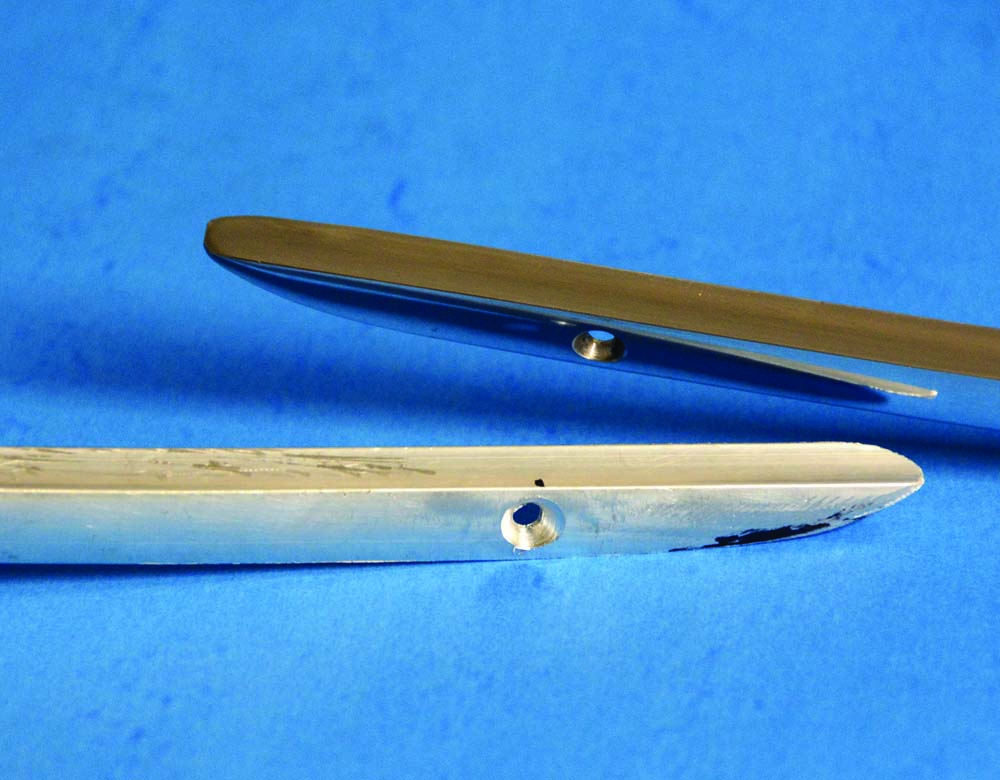
The first order of business was deciding whether to put the concave side of the trim up or down. It quickly became obvious for our application the concave side would go up. Next came shaping the leading edge, as the trim would have to be tapered to a point on the leading edge of the trim. A simple template helped us shape the trim, then careful filing and sanding netted the final shape.
Read More: How To Install Coilover Conversion Kit On A Tri-Five Chevy

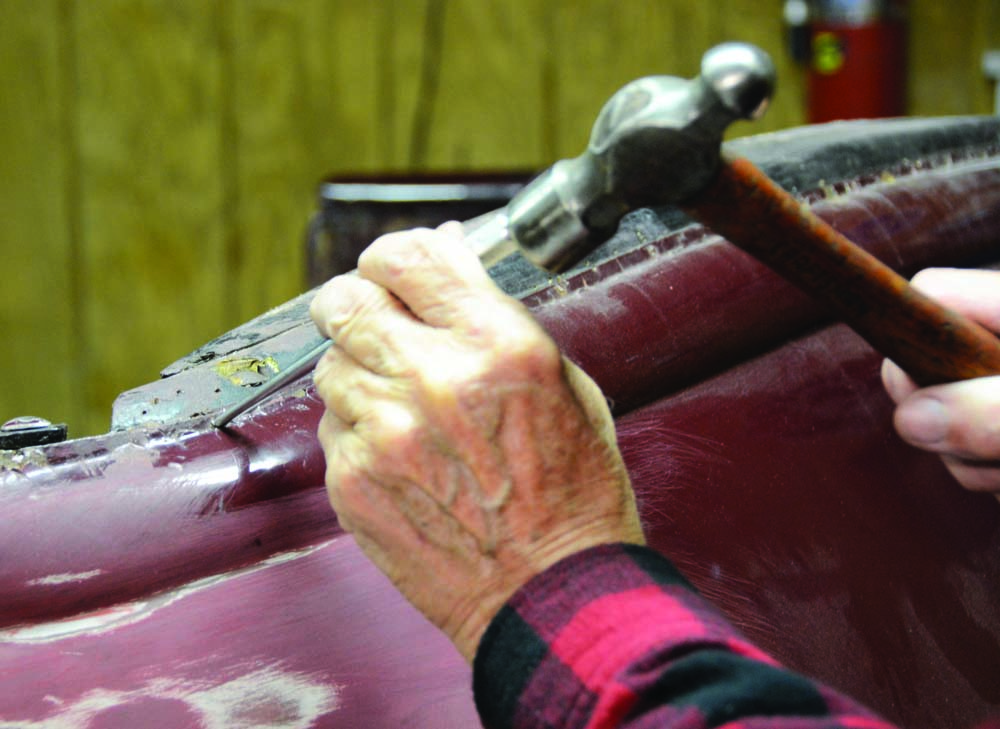
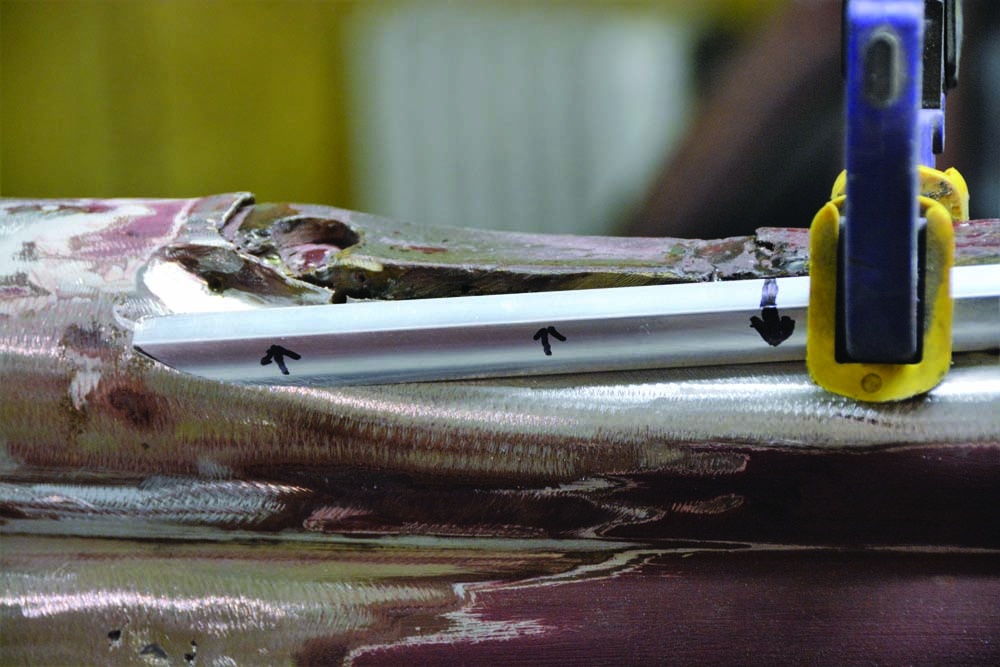
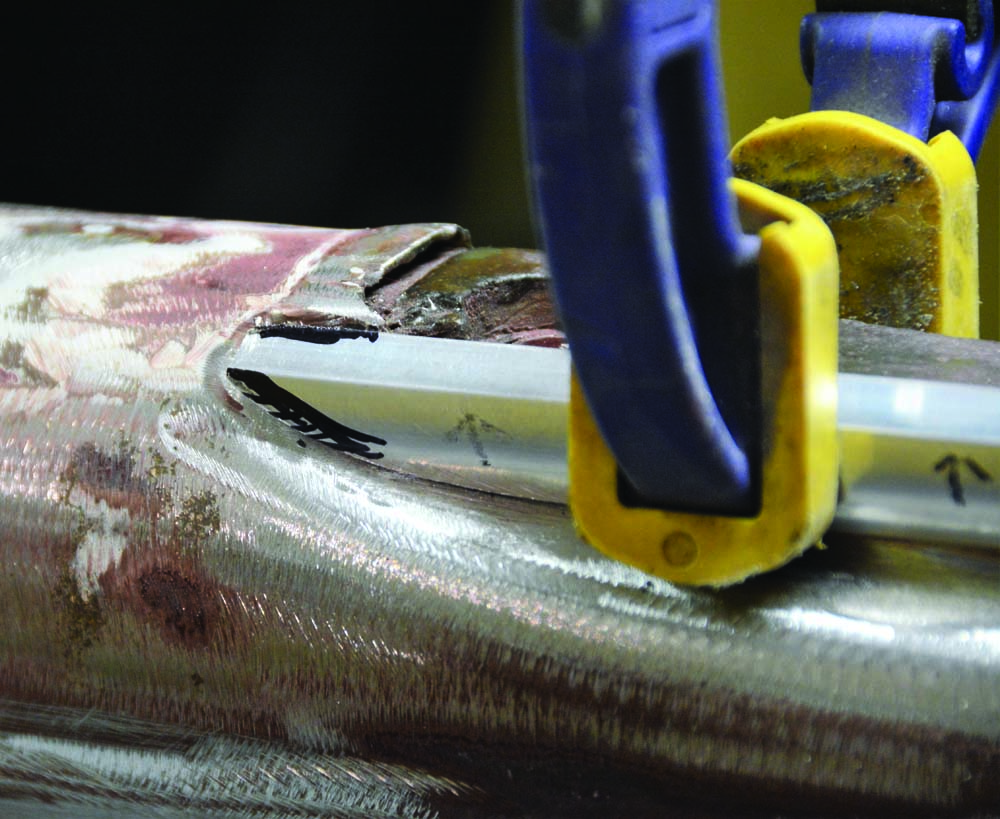
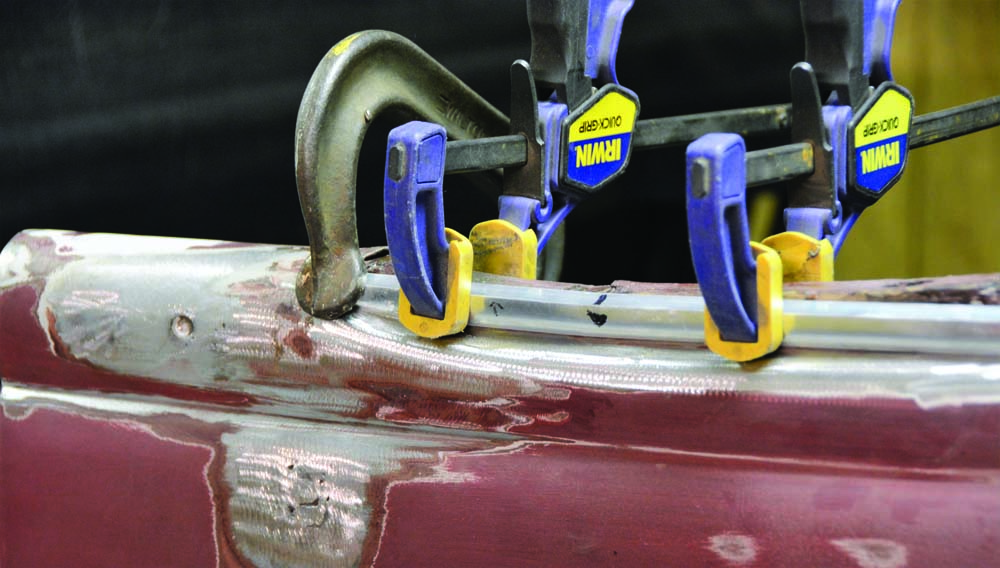
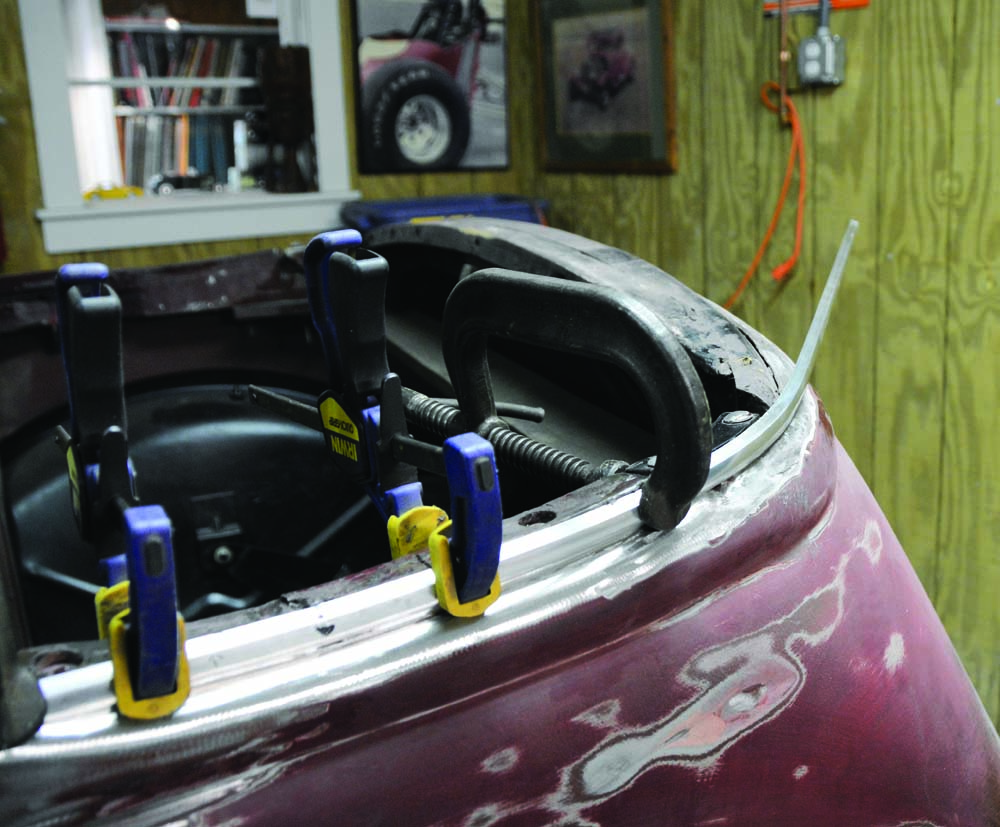
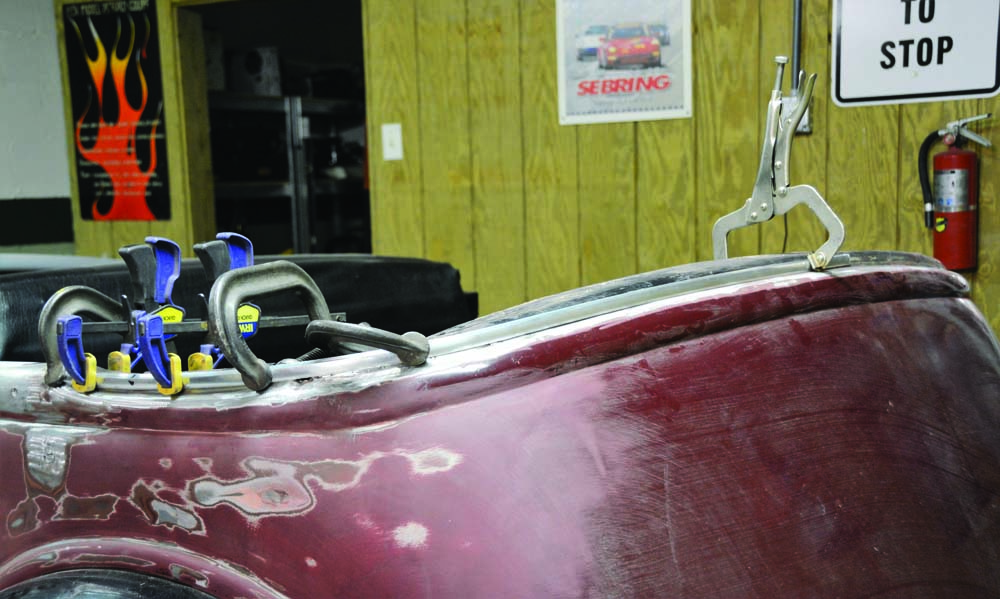
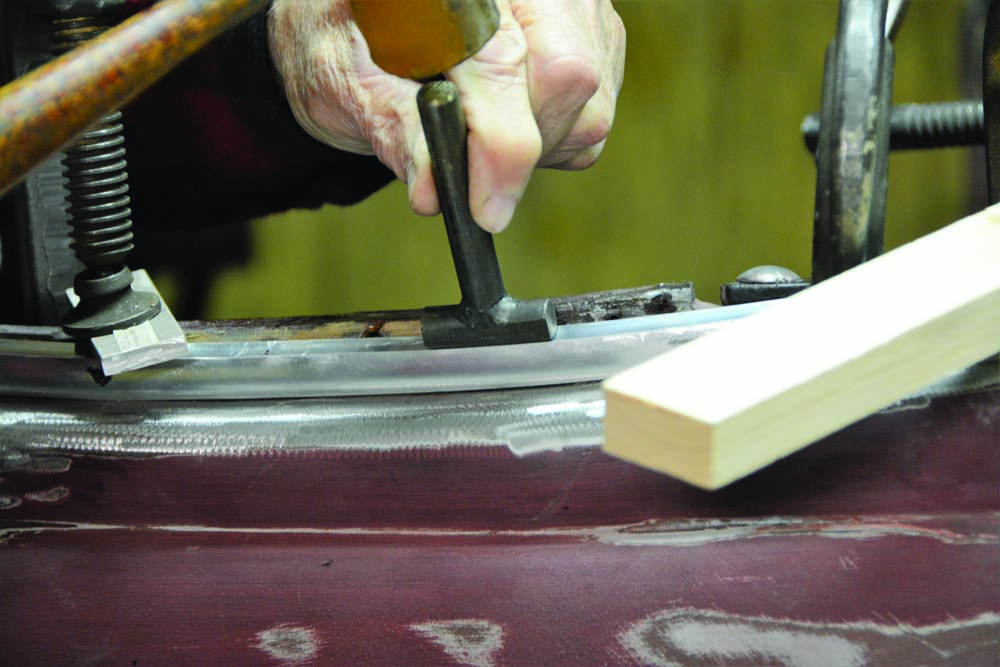
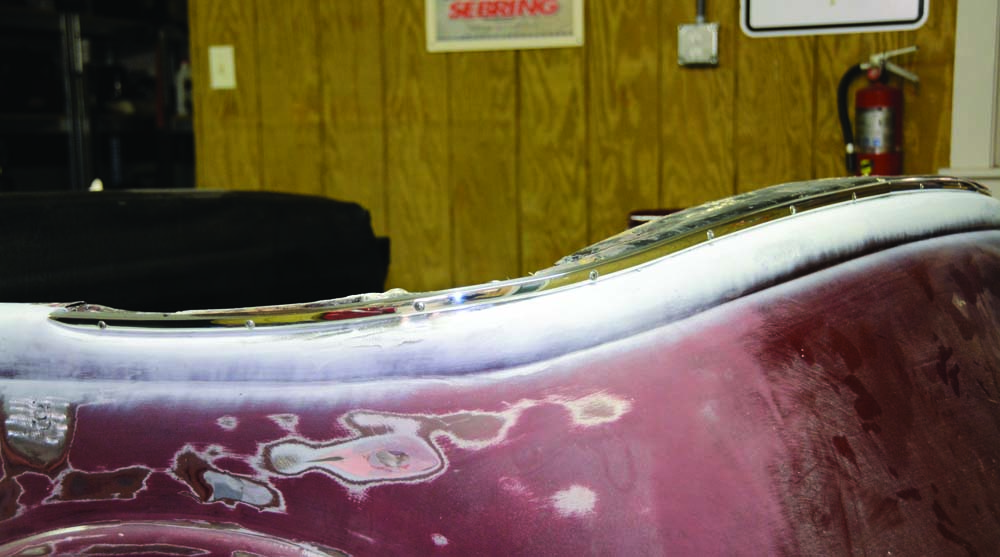
With the leading edge shaped we used a series of clamps to hold the front edge of the trim in place, then we carefully formed the trim to follow the line of the body, adding more clamps as we shaped the trim. As we rounded the corner of the body, we needed the trim to climb upward and also go around a bend. This compound curve took some time and patience but the aluminum trim willingly formed to the contours. A C-clamp and a block of wood helped to gently push the trim down to seat properly on the body. We also made a small T-dolly out of round stock and used that to gently tap the trim down in places. We cannot emphasize the word “gently” enough; tapping too hard can result in a low spot in the aluminum trim that can be difficult to remove and few things look worse on a car than wavy trim.
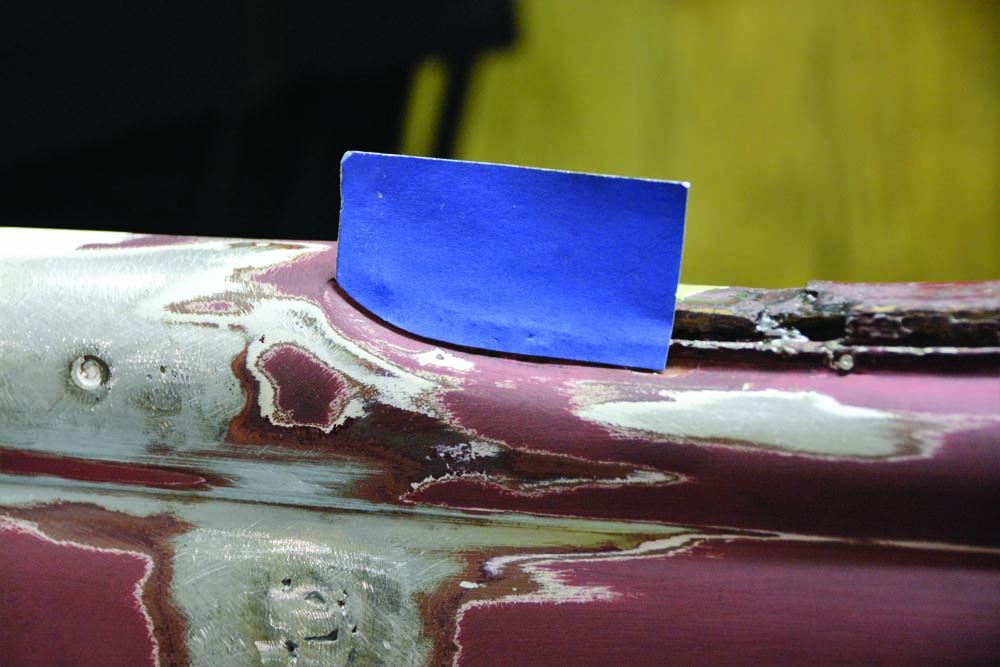
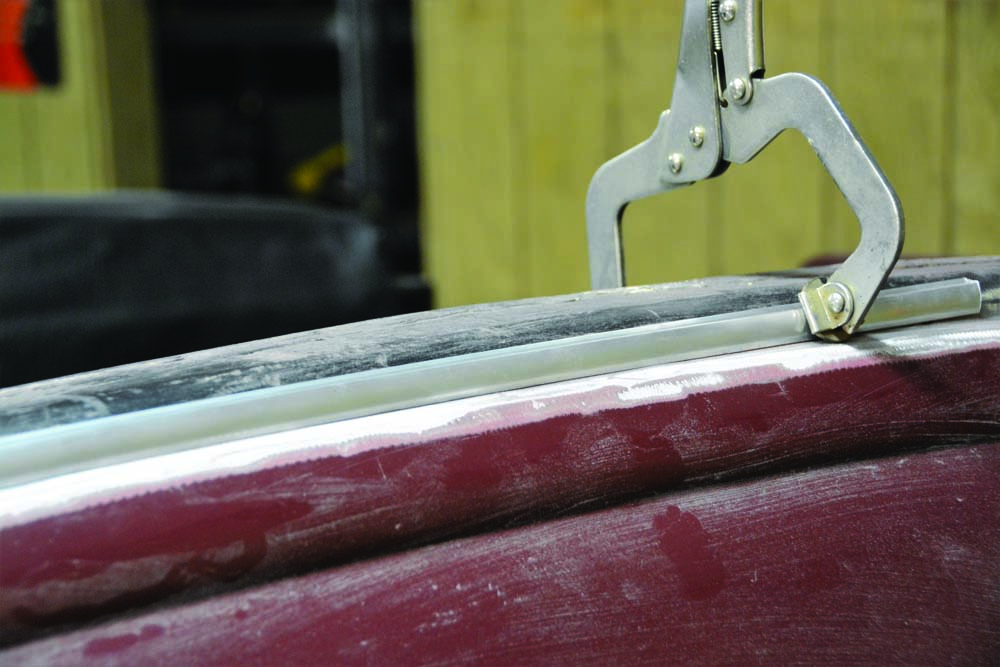
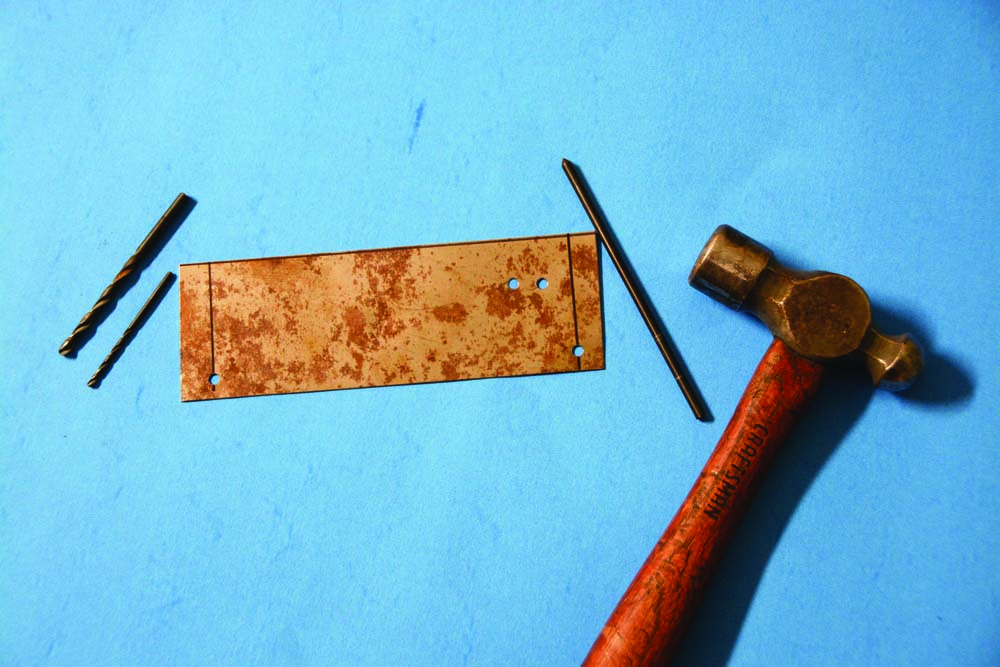
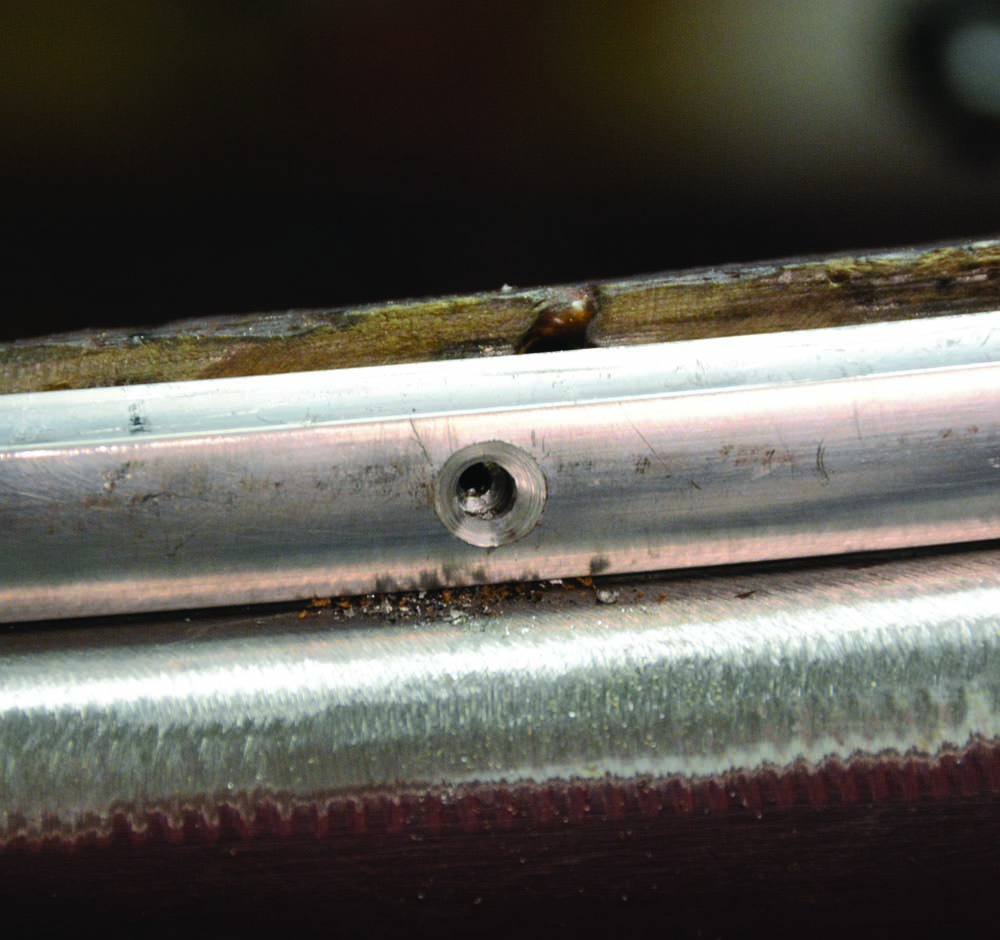
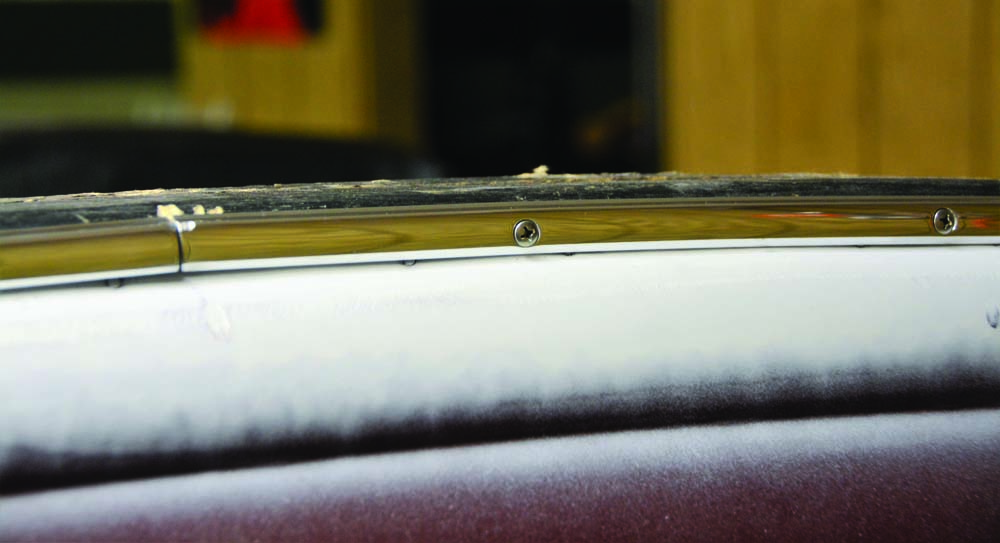
With the driver side piece of trim formed and clamped in place it was time to do the final fastening to the body. A wise man once told me, “Only measure things as a last resort.” He was referring to spacing holes, as he preferred templates to a tape measure. A quick template was made from 22-gauge mild steel, with two holes drilled 6 inches apart. We used the template to mark the holes; the sheet metal was flexible enough to give us exact spacing as we marked holes around the bends. Working carefully from the front we drilled and countersunk a hole and attached the trim with a screw. Then we moved to the next mark and repeated the procedure until the entire piece of trim was attached to the body. The passenger side was a repeat of the driver side and then both pieces were cut so the single seam would be exactly in the center of the rear panel.
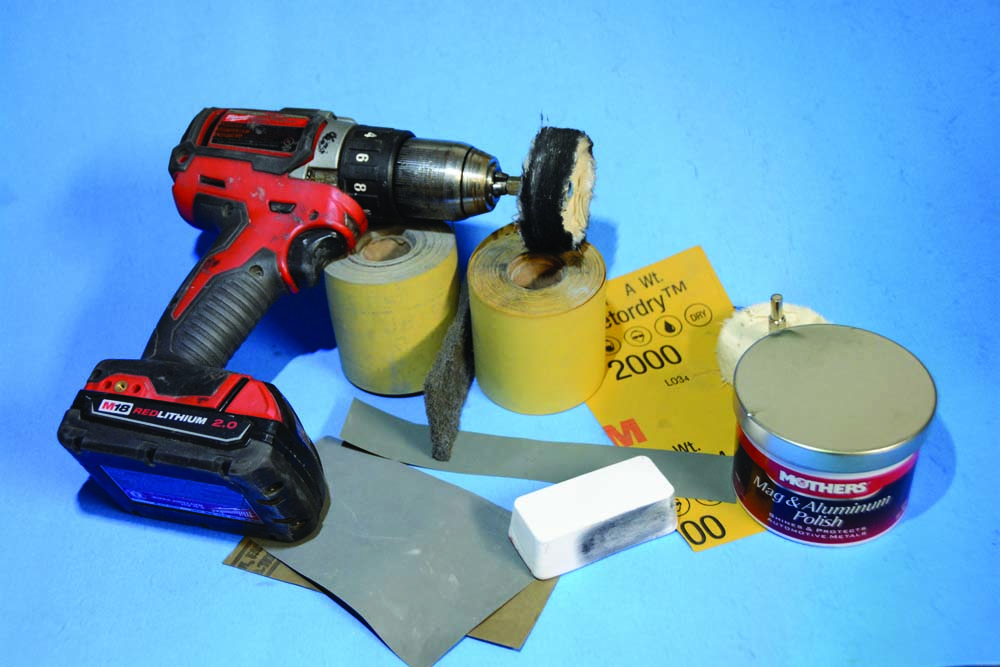
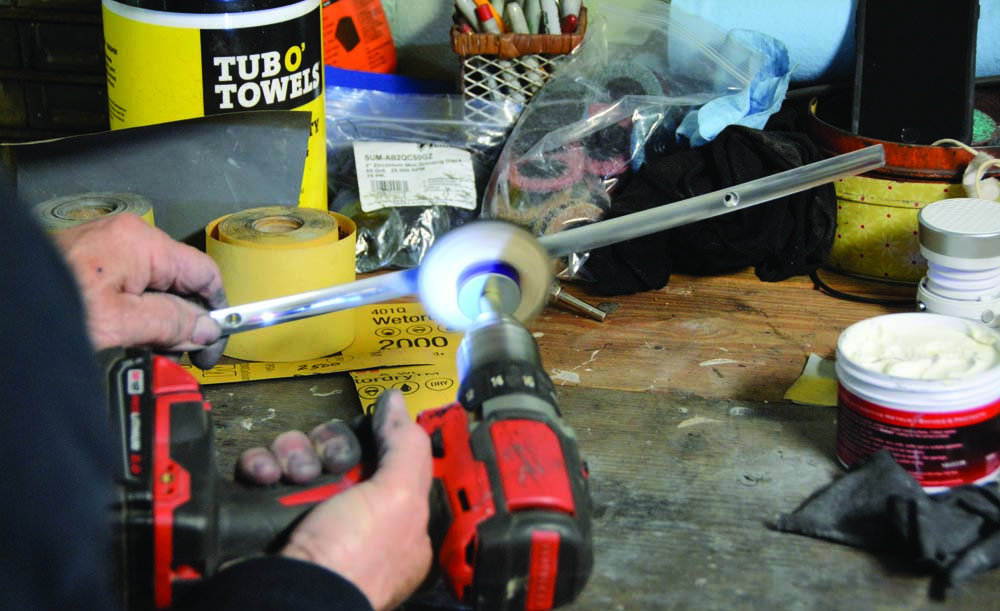
With the Clayton Machine Works trim formed and mounted to the body our next big decision was how shall we finish the trim? We could put a very nice brushed finish on the trim with a piece of Scotch-Brite, but decided that did not fit the theme of the car. We could also sand, prime, and paint the molding body color, and as nicely as the piece fit it would blend perfectly and make the trim appear to be a part of the body stamping. In the end we opted for option three and polished the aluminum trim to a chrome-like finish. In this polished finish it will provide a nice separation between body and the wood header that will be part of the interior. The header will be covered with leather grain vinyl and the screwed-on aluminum trim will work perfectly to hold that fabric in place.
Read More: Hot Rod Model T: 1926 Ford Tudor Sedan

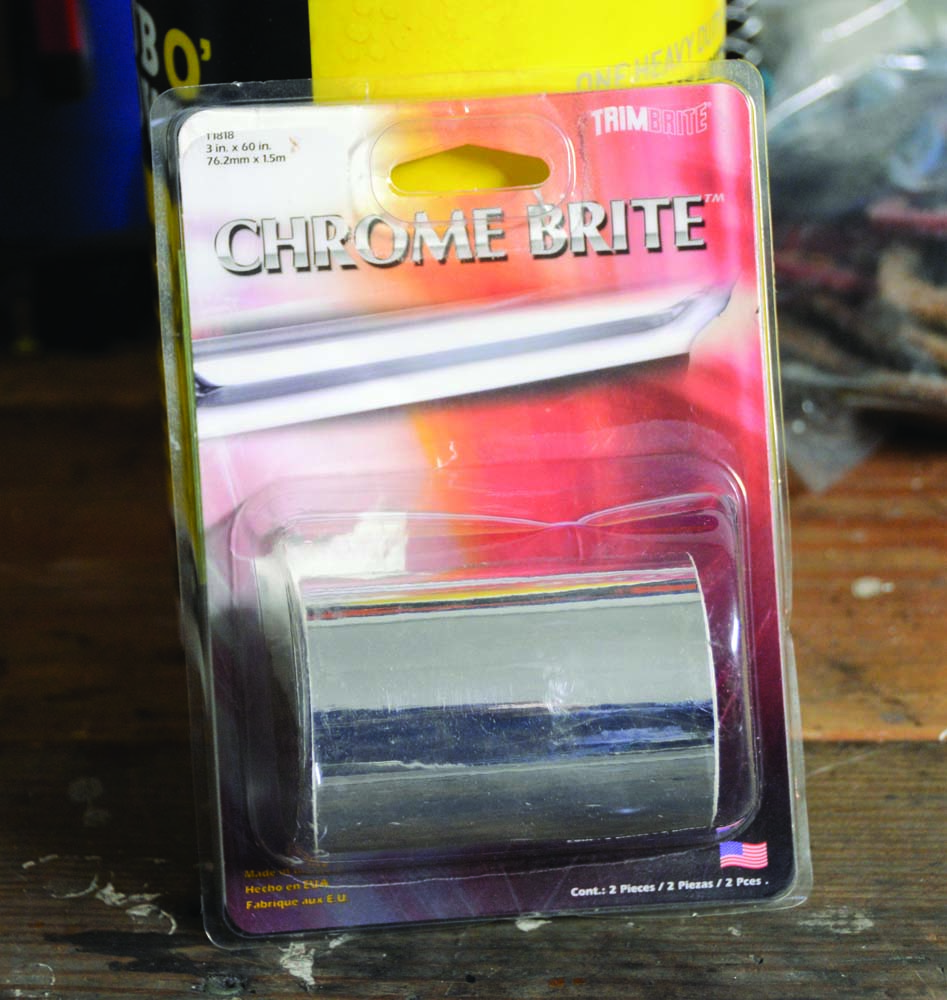
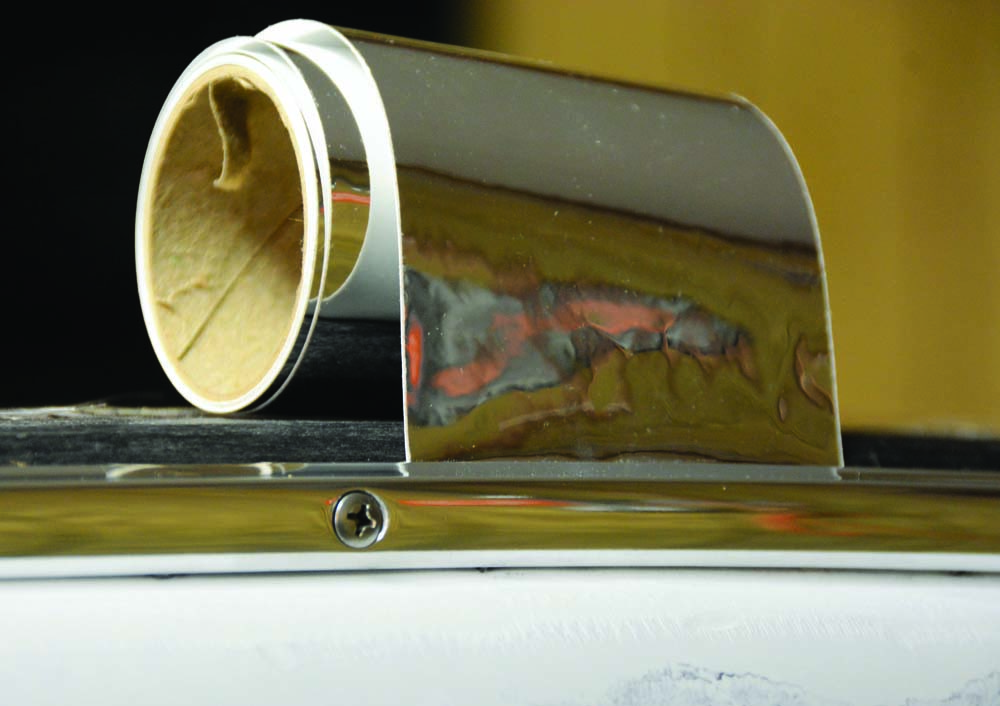
The final piece of the puzzle was covering the single joint in the aluminum trim. I contemplated making a small aluminum cover that would snap over the joint for a factory look. Sometimes it pays to take the easy route. I had a roll of chrome tape on the shelf and since the aluminum trim polished to a chrome-like finish I simply cut a small piece of the tape to go over the trim seam. It worked out nicely and went virtually unnoticed. Of course, the trim will have to be removed and stored until the bodywork and paint are complete but we feel like we have solved our transition problem in high style. MR


SOURCES
Clayton Machine Works
(877) 469-7440
claytonmachine.com
Harbor Freight
harborfreight.com
Lokar Performance Products
(877) 469-7440
lokar.com


