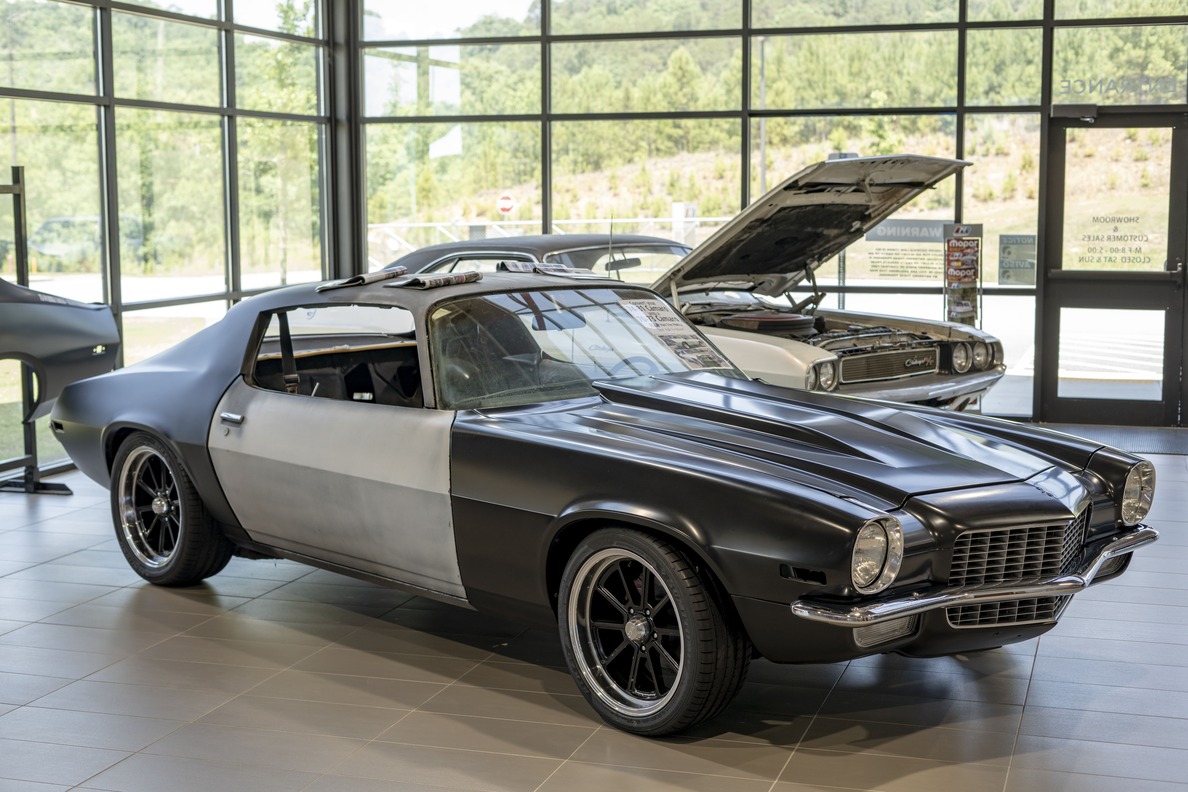
We are back for our final installment with Craig Hopkins and Wesley Kennedy of The Installation Center and this Auto Metal Direct (AMD) second-gen Camaro conversion. In the September issue we covered converting the front end of this ’78 Camaro into the ’71-73 steel bumper version.
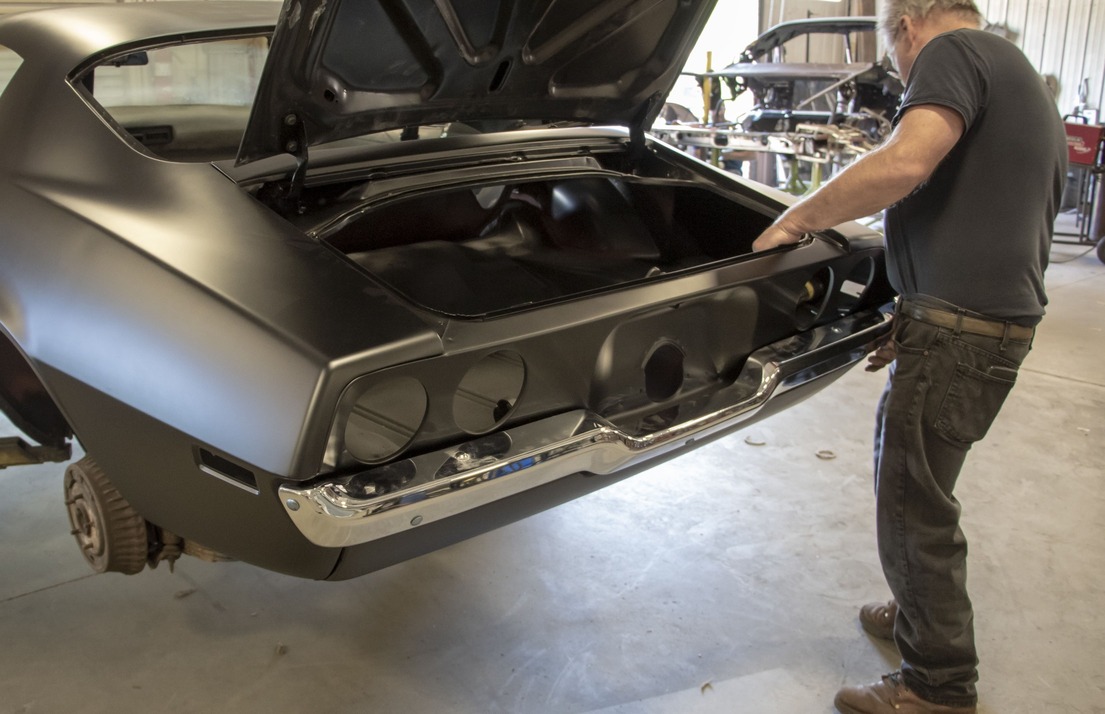
We test-fitted the bumper when the panels were set up prior to welding, so installation should be a breeze.
We removed the entire front end and everything bolted right up without any heavy modifications. From the hood and fenders to the grille and bumper, we showed you just how easy this is.
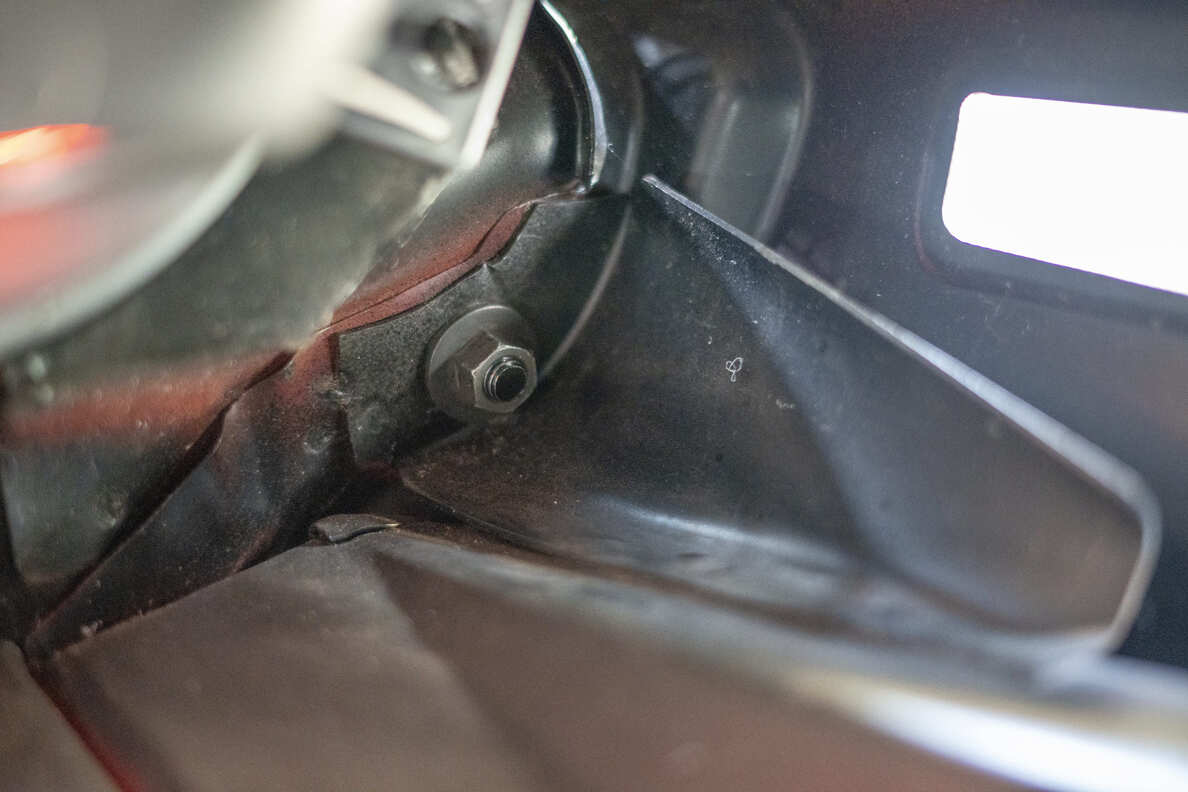
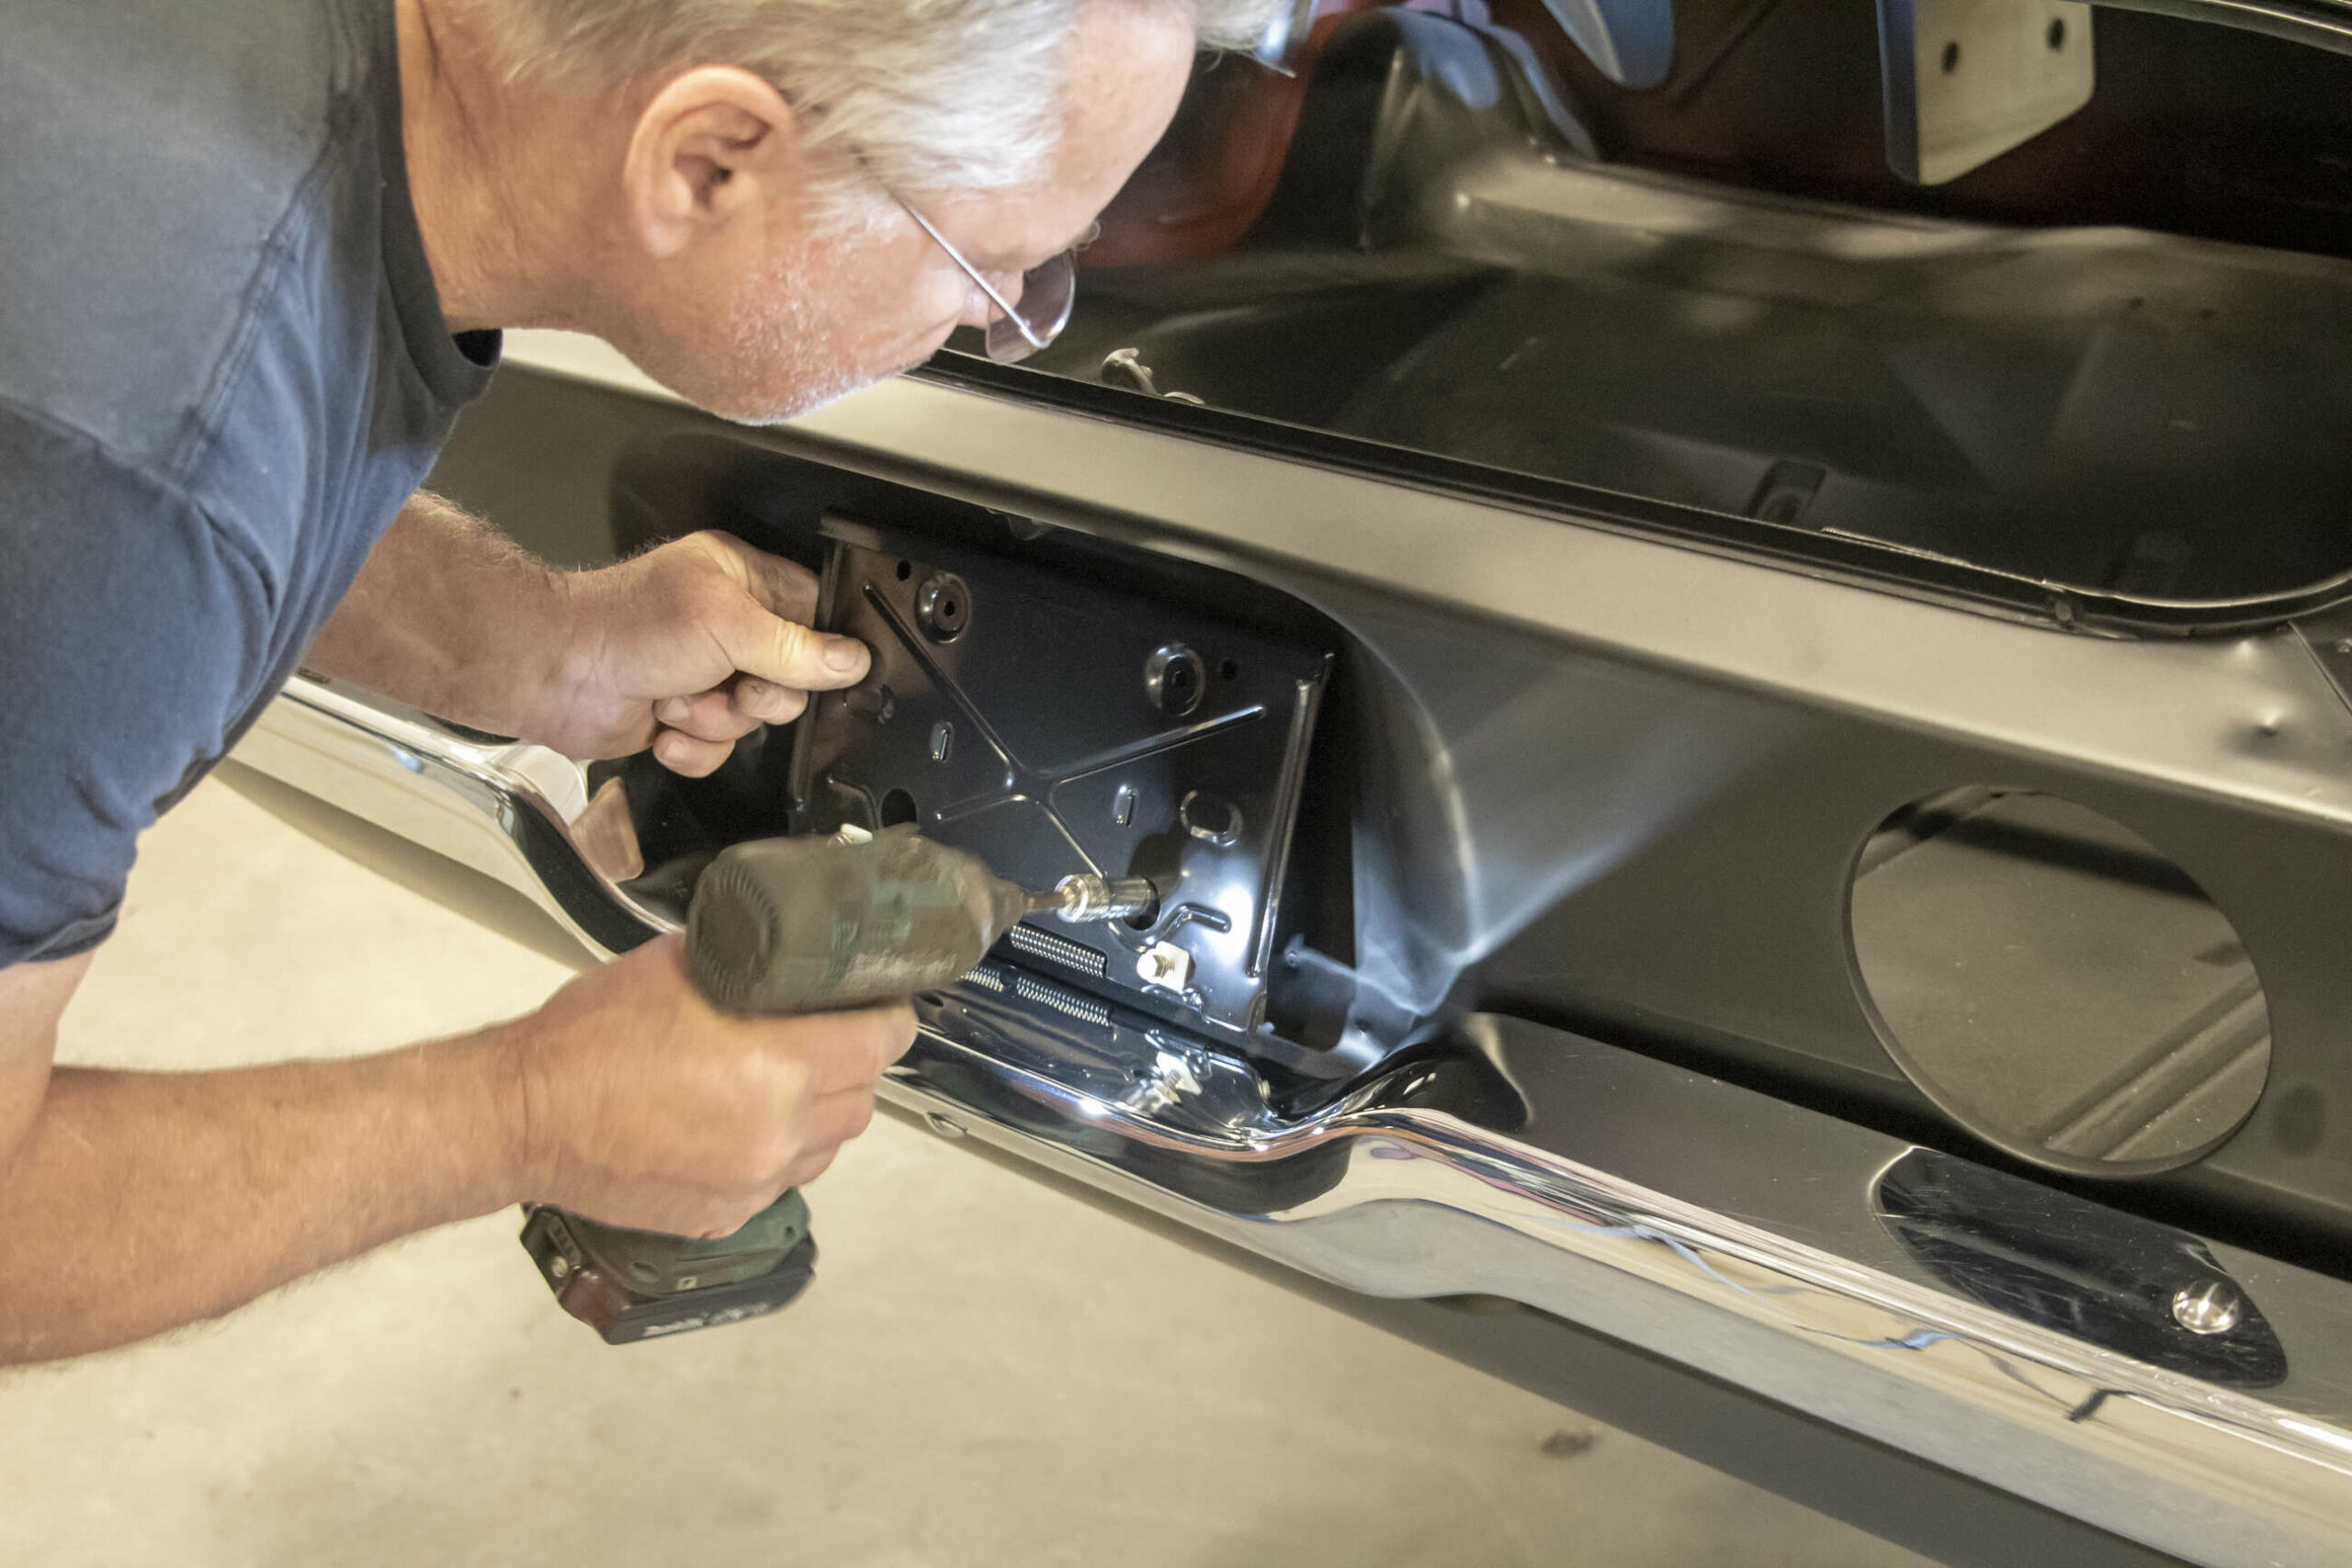
Wesley Kennedy lines up the bumper and secures it using all-new fasteners to the brackets.
Our go-to restoration parts supplier, AMD, has everything you need to do this conversion. With top-quality parts, this project can easily be done in your home garage.
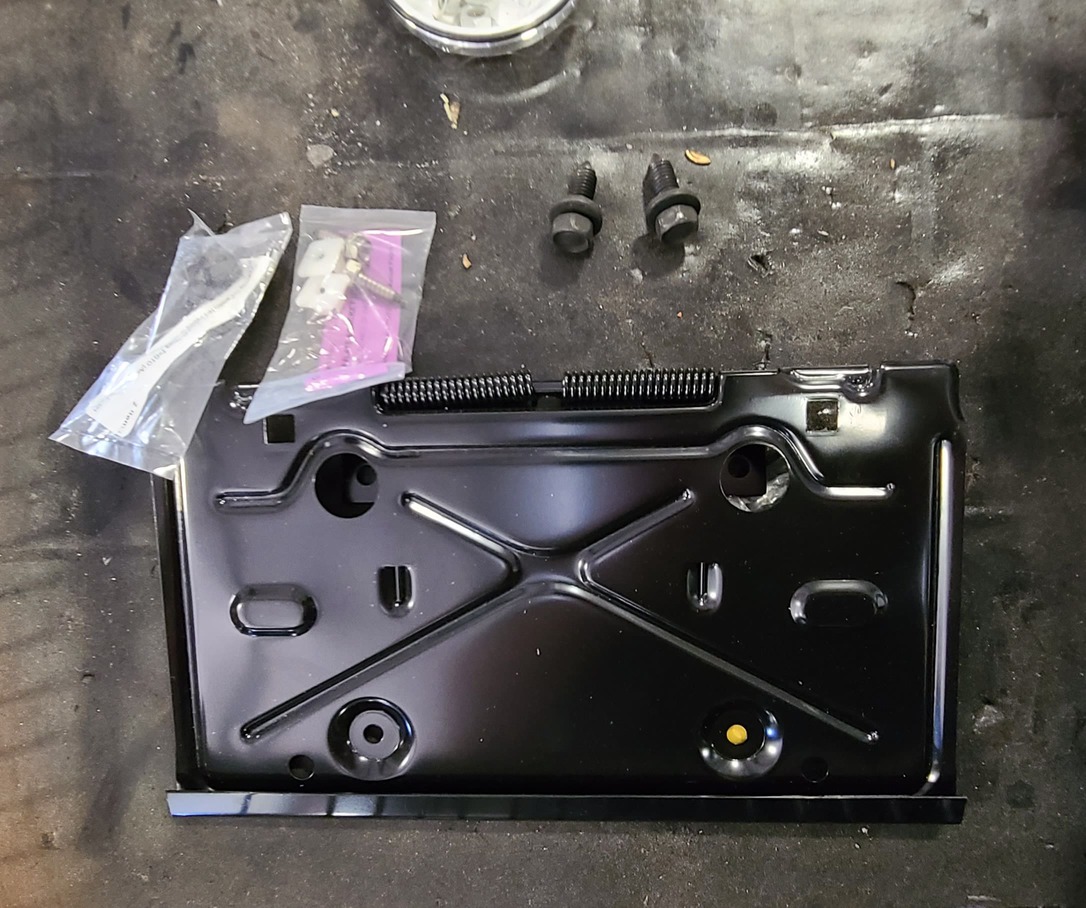
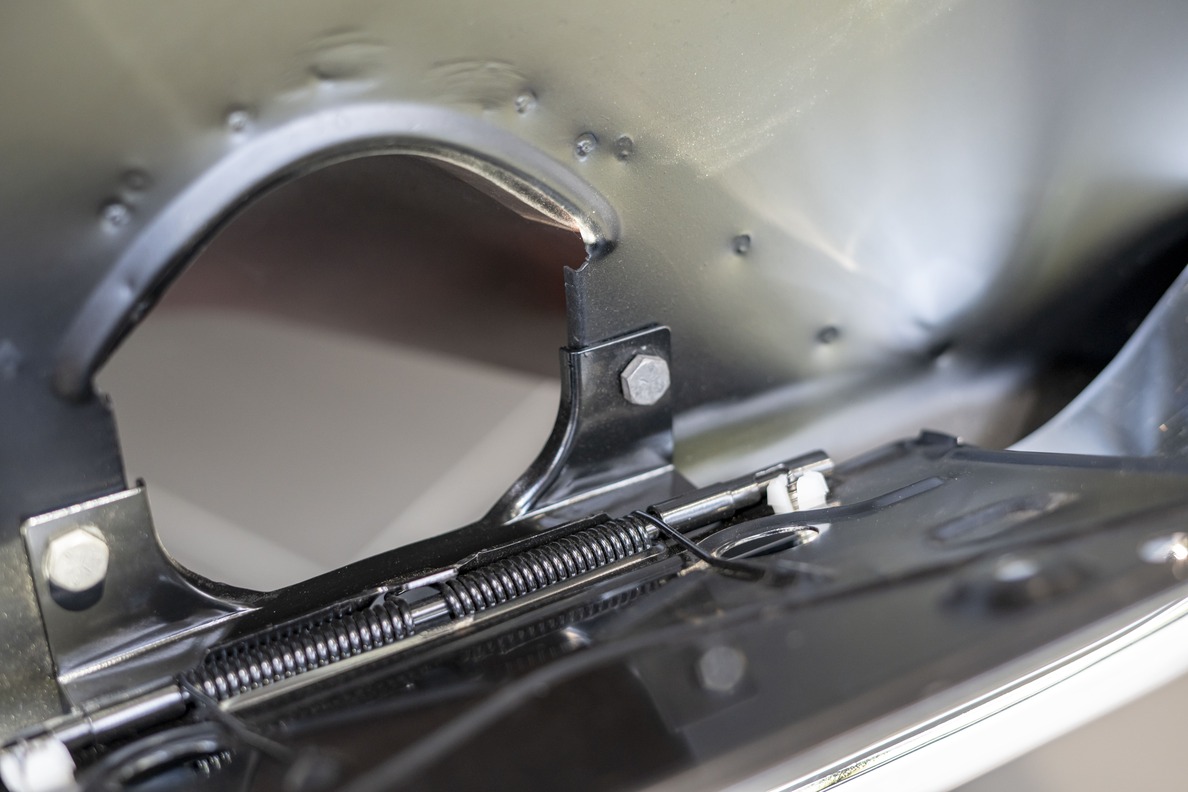
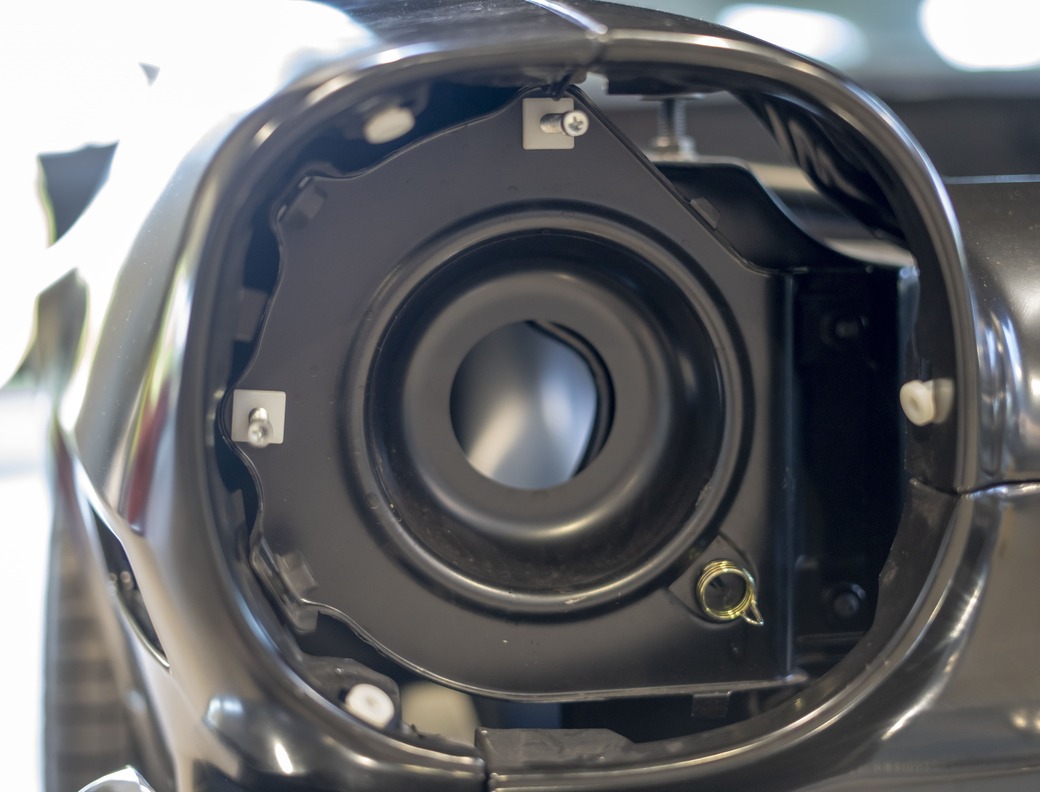
An all-new flip-down tag bracket and hardware is installed in the tail panel.
In the final segment, we’ll get the bumper and a few other final pieces installed to top off our second-gen sheetmetal conversion. If you missed anything along the way, you can always purchase back issues or find the articles online at allchevyperformance.com.
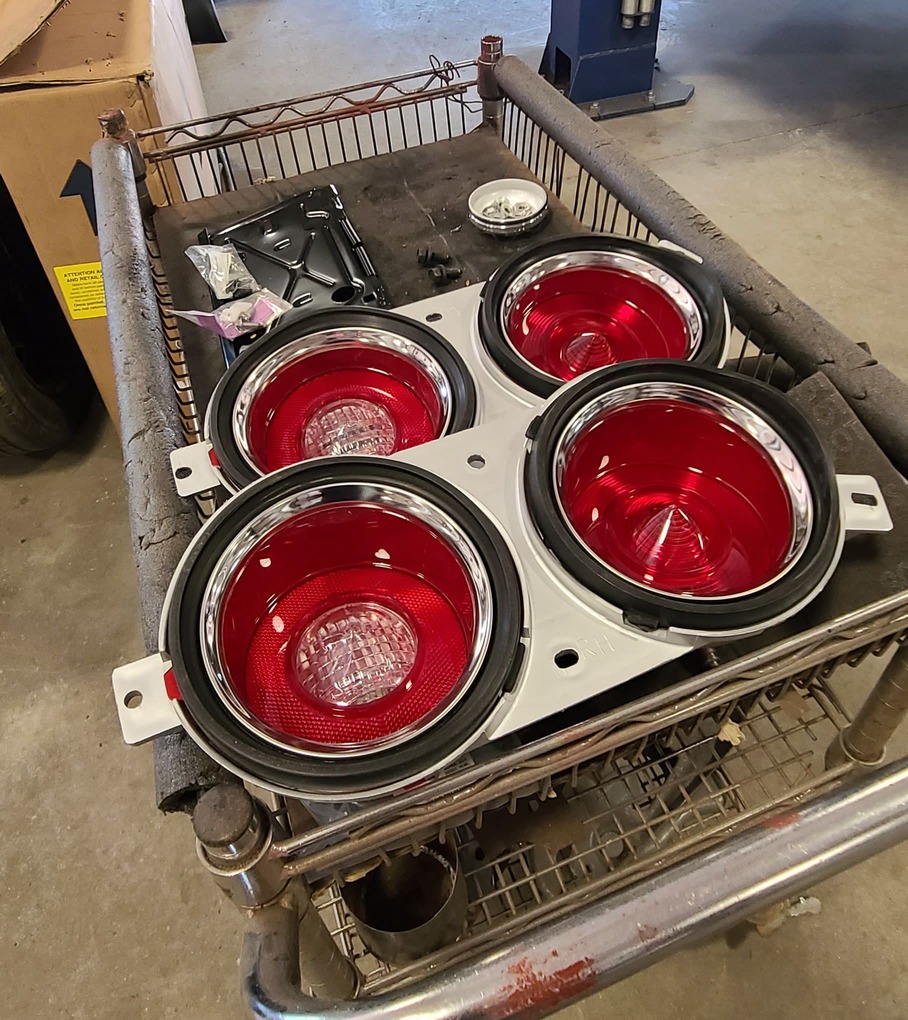
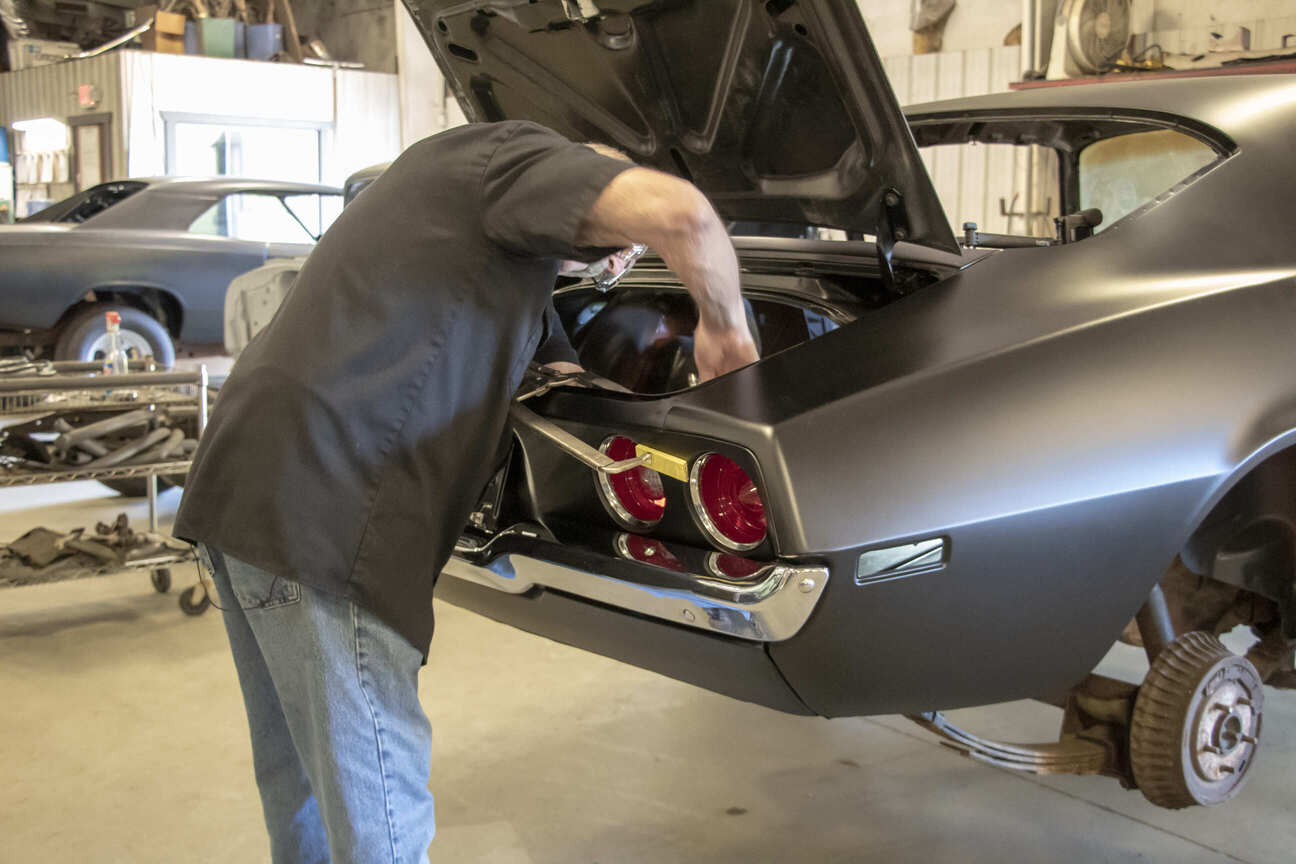
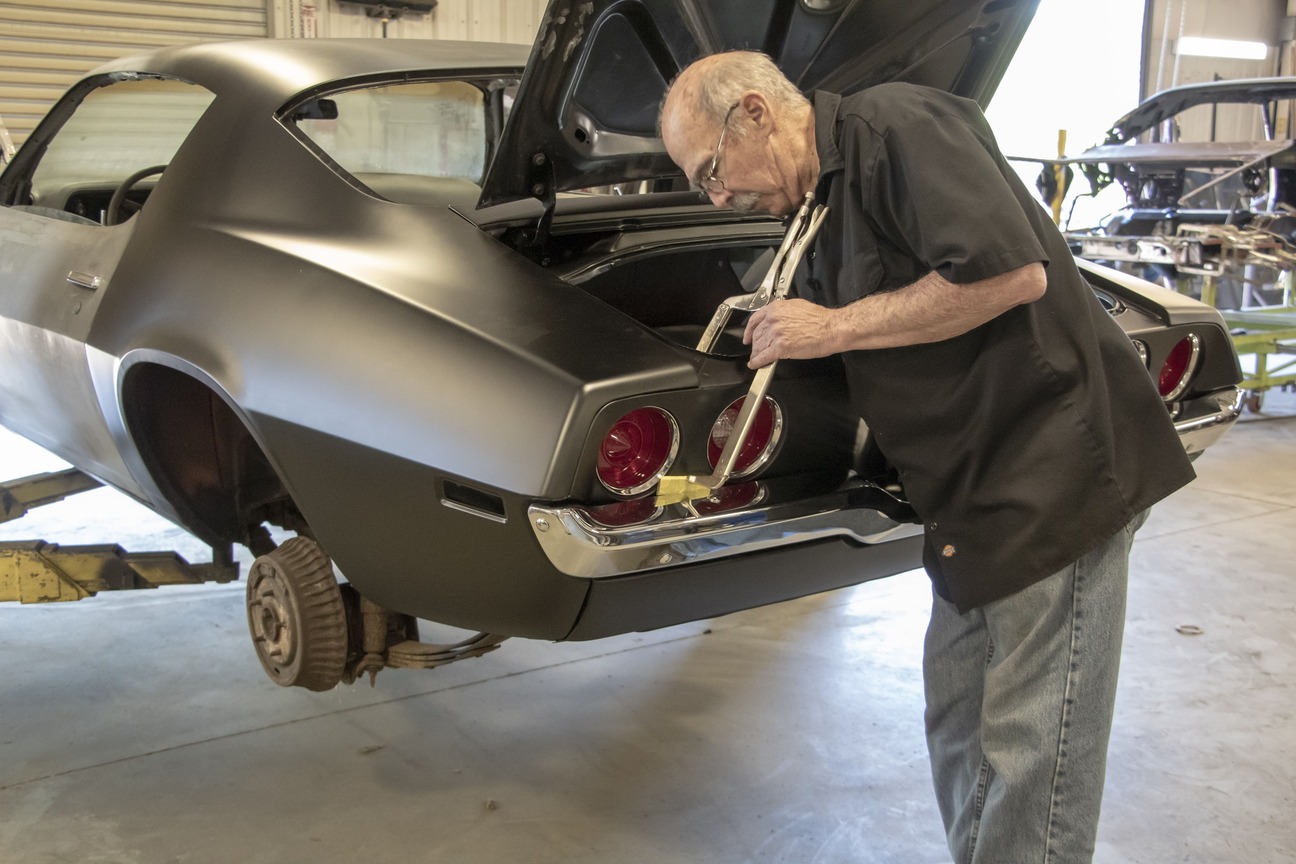
The tag bracket comes with access holes, making installation a little easier.The iconic taillights make this conversion. The taillights come complete from Auto Metal Direct (AMD) with lenses, trim rings, seals, and housing all together.Craig Hopkins lines up the taillight housing with the studs that come on the taillight bracket with the new AMD tail panel.
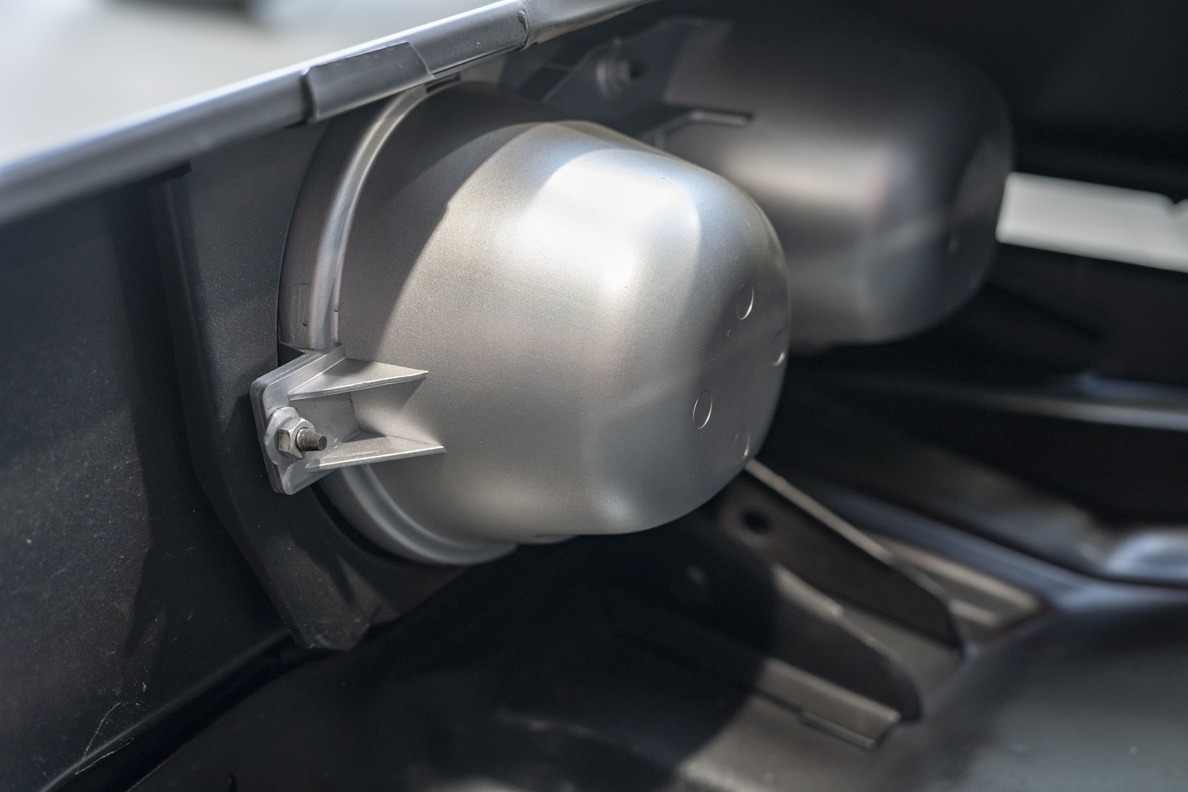
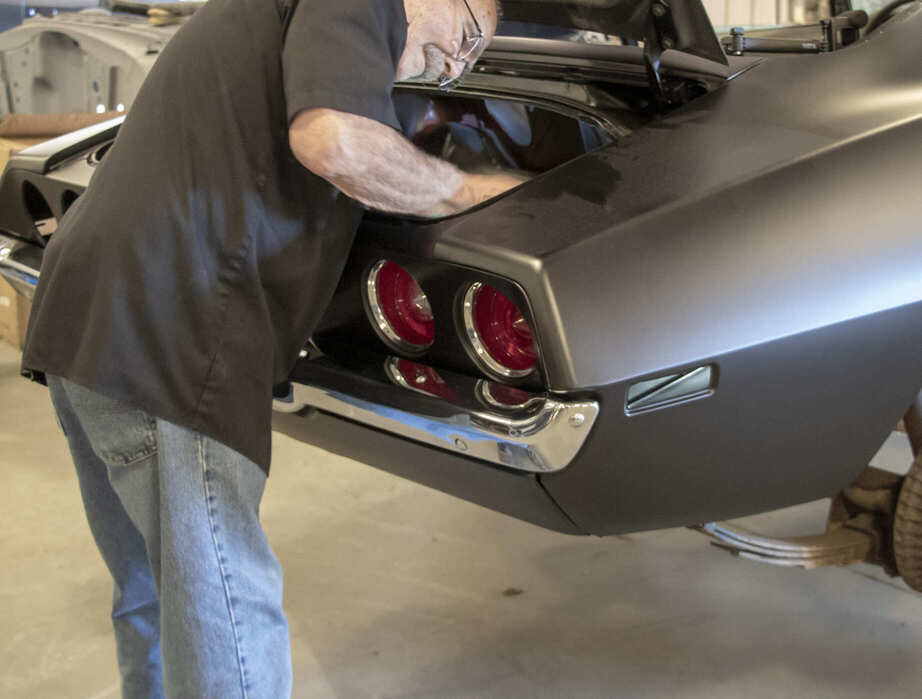
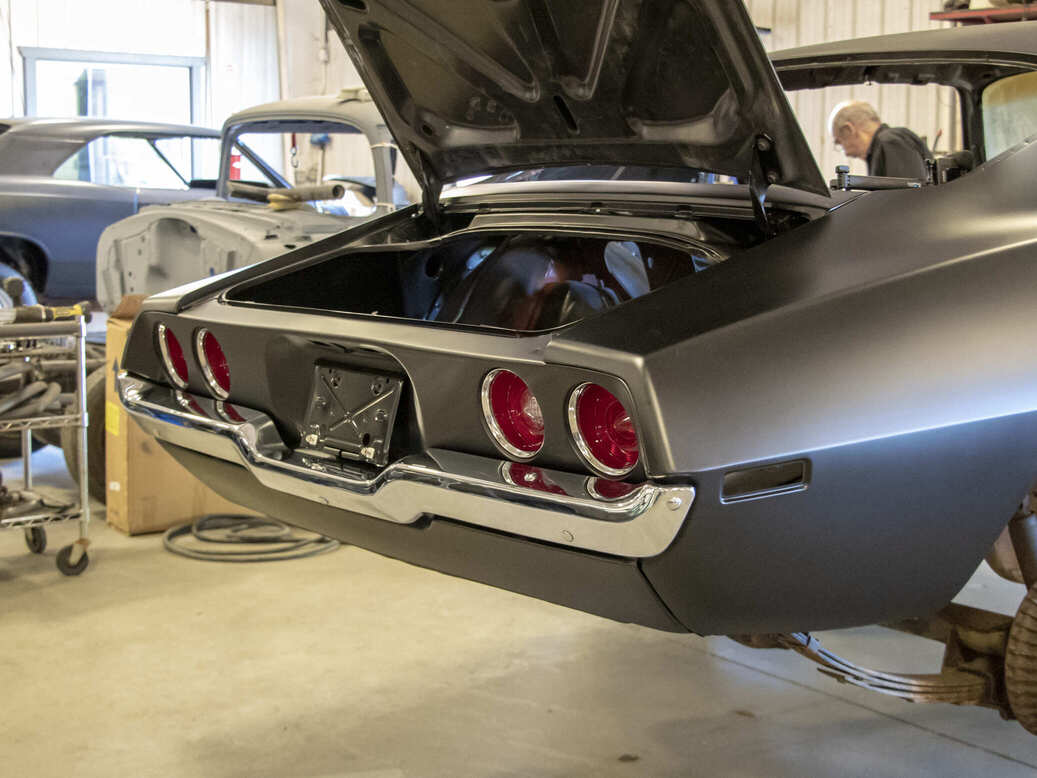
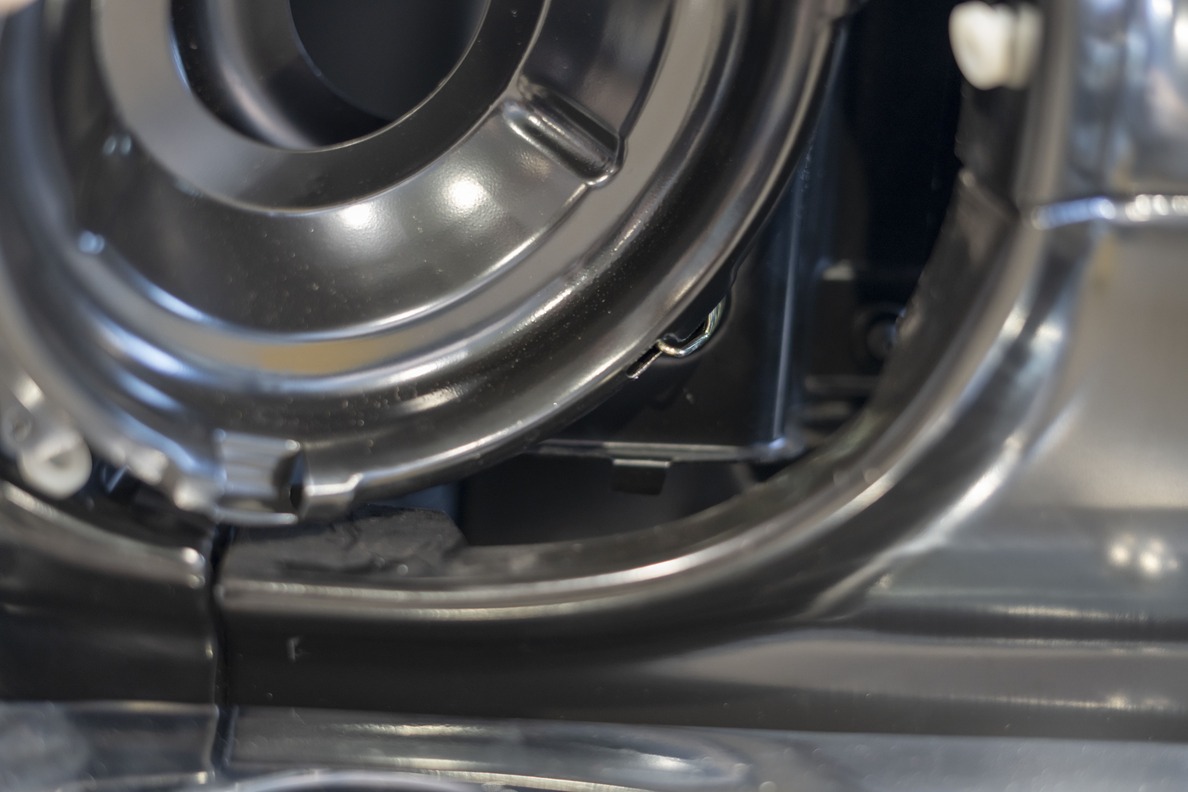
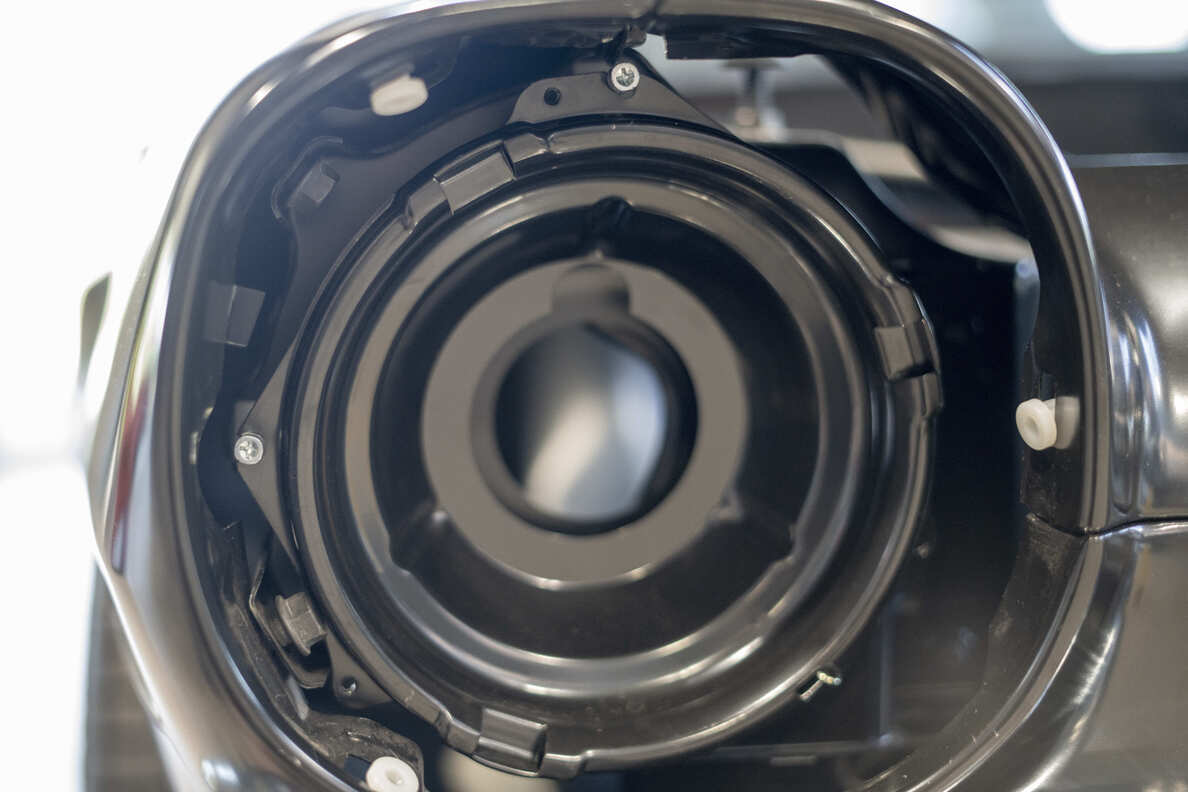
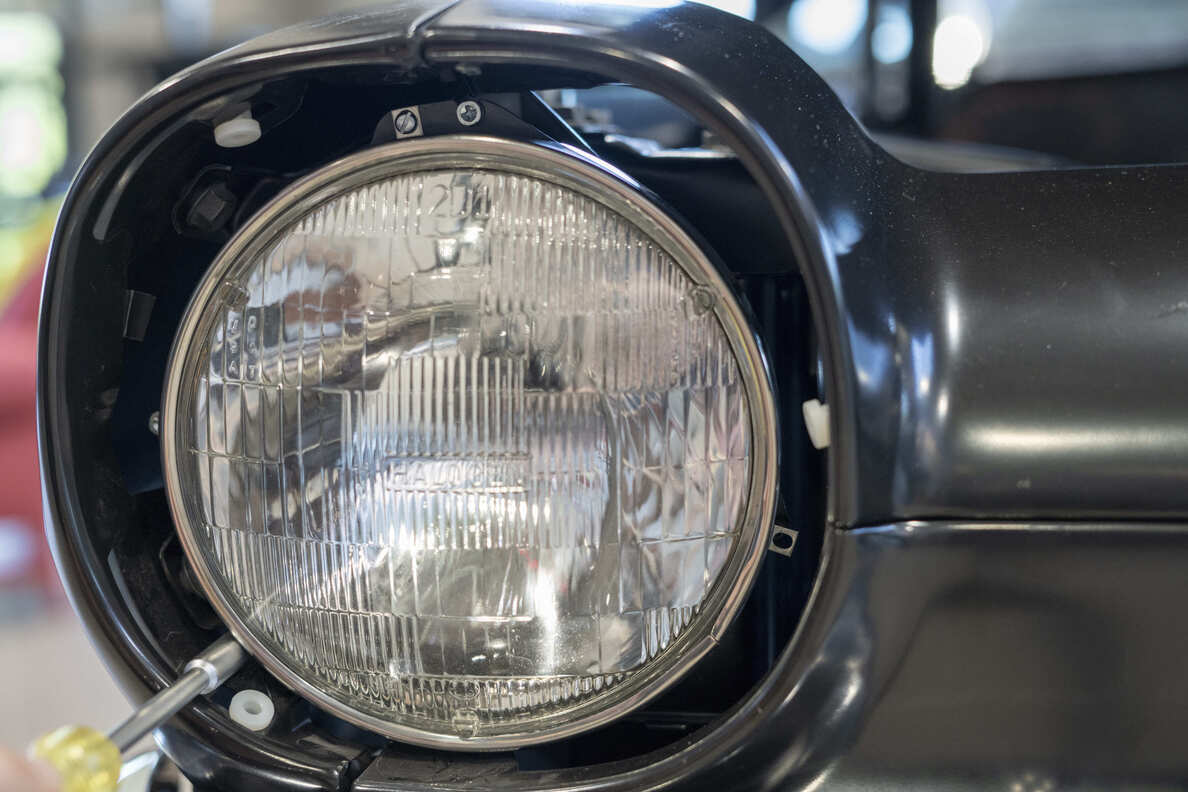
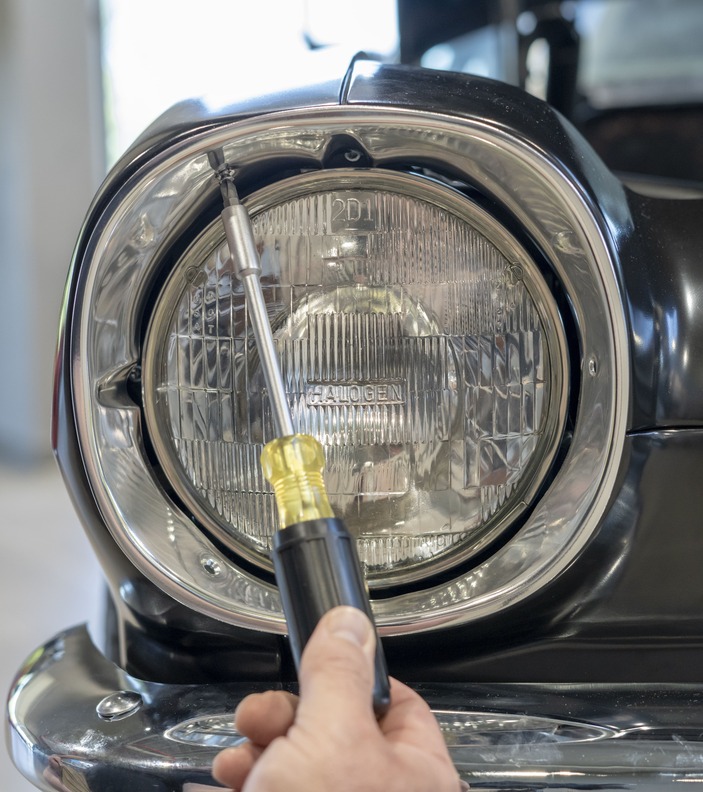
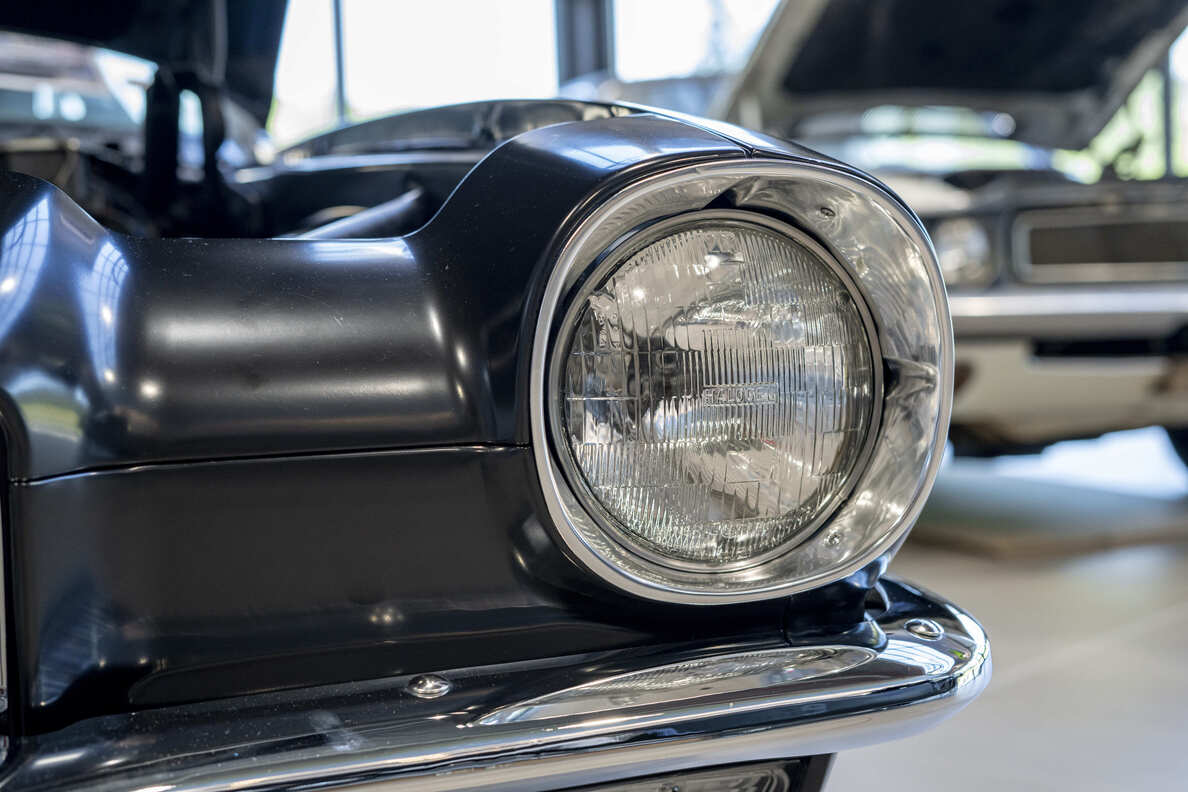
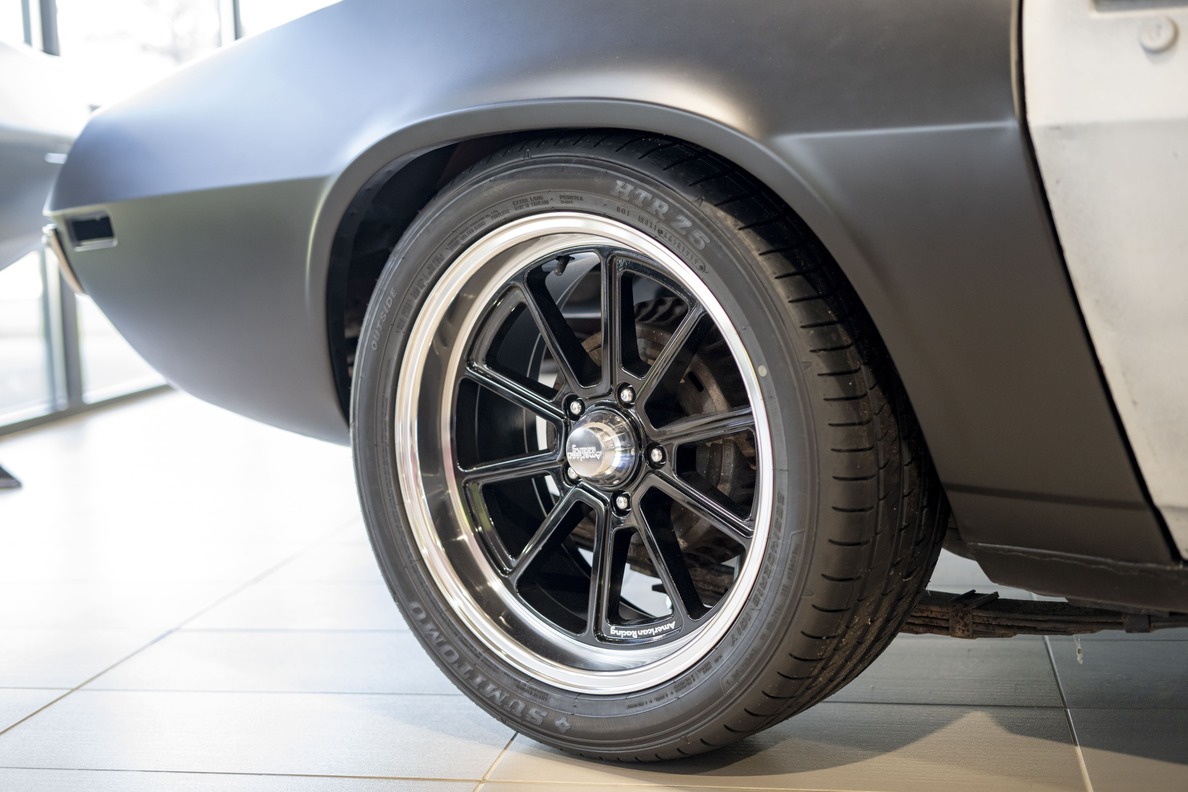
Hopkins knows all the tricks of the trade. Using these 18-inch locking C-clamps, he can apply just the right amount of pressure to get the seals in the tail panel without damaging either piece.The same technique is applied to the driver side taillight. Be sure to use something to protect the finish on the tail panel like Hopkins’ tapped covered paint stir stick.Just like that the rear end is trimmed out and really looking like that iconic second-gen we always wanted.To finish out the front, Hopkins previously installed the headlight adjuster hardware and trim ring insert, speeding up the headlight bucket install.When installing the headlight bucket, make sure the retainer spring hooks to the bucket in the provisioned slot.Maneuver the headlight bucket into position with the two headlight adjuster screws, starting with the top adjuster then moving to the side.With the bucket secure, install the 7-inch halogen bulbs with the new headlight retaining ring. The parts line right up; having the new AMD hardware is a smart choice.With a little adjustment on the headlight to get it centered, the headlight bezel is installed utilizing three Phillips head screws.The process is repeated on the opposite side.A beautiful set of 18-inch American Racing Draft wheels are added to give this conversion just a little something extra running a 265/40R18 out back …… and a set of 235/40R18 tires up front.With some know-how from Hopkins and his crew at The Installation Center, a few parts from AMD, some straightforward modifications, and a lowering kit, this ’78 Camaro is well on its way to being a showstopping, steel-bumper car.
We use cookies to ensure that we give you the best experience on our website. If you continue to use this site we will assume that you are happy with it.