By Ron Ceridono – Photography by the Author
After installing some suspension components we’ve often heard our classic truck–building buddies sigh and say, “Well, if it was easy everyone would do it.” Recently we found something that came very close to fitting that description: Heidts’ 1953-1956 Ford F-100 bolt-in four bar rear suspension kits are so easy to install anyone with basic skills really can do it.
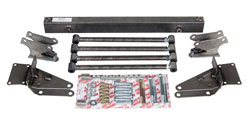
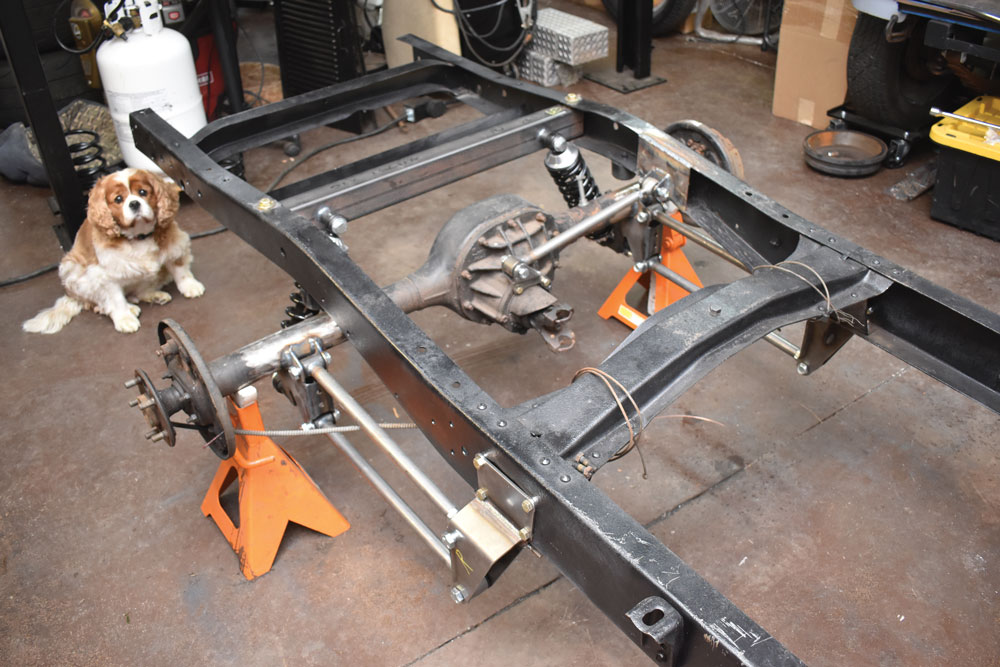
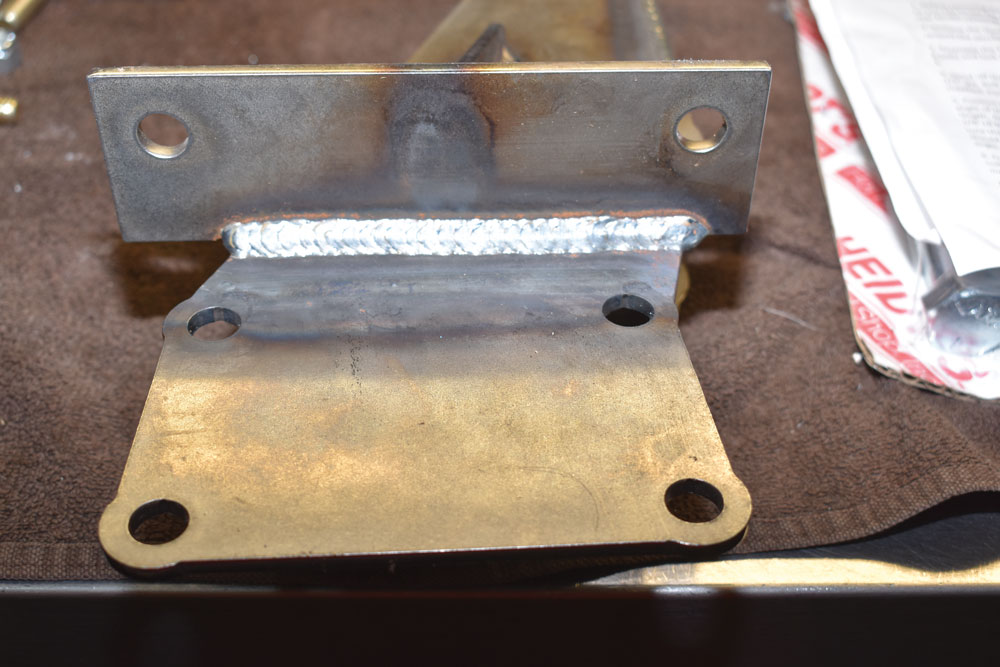
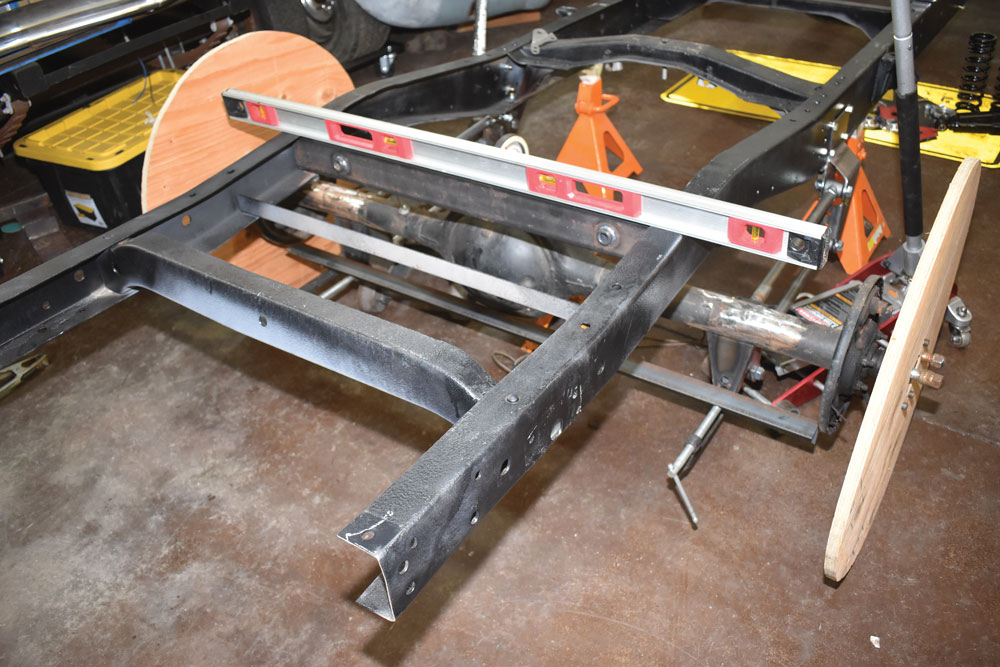
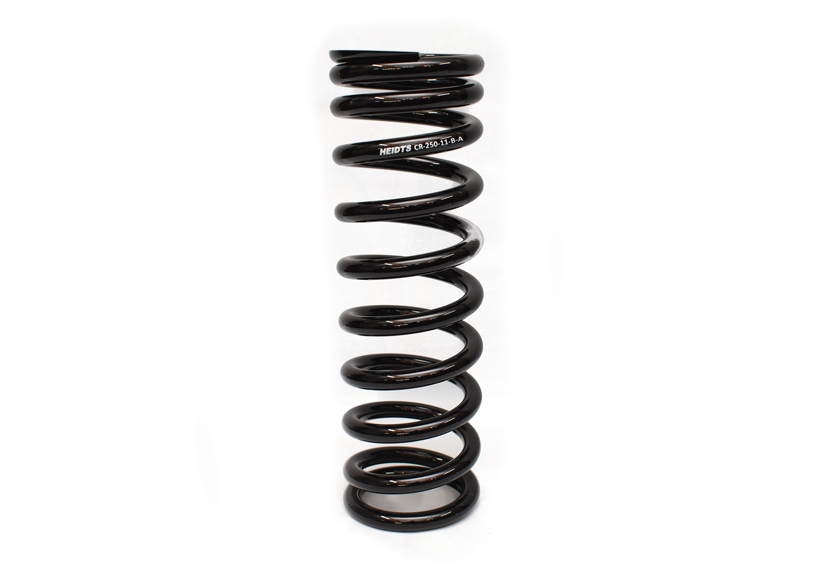
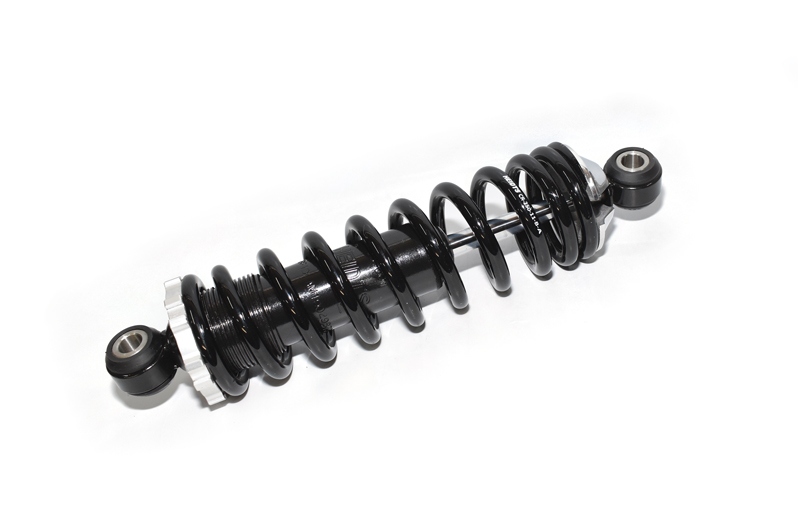
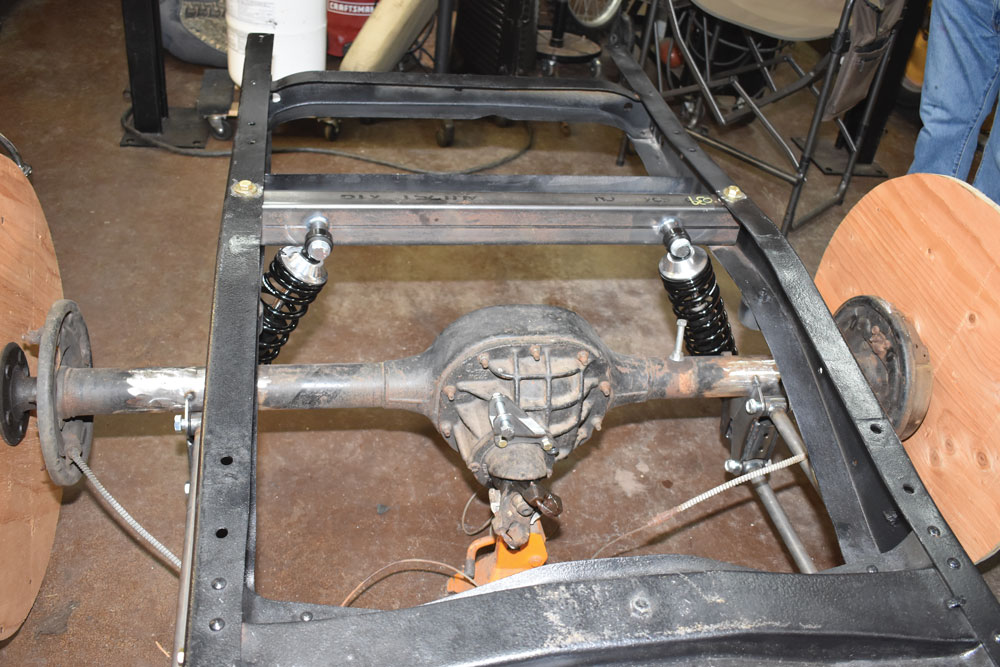
We install a new crossmember, coilovers, four-bars, Panhard bar, and all the necessary brackets and hardware–everything included in the Heidts rear suspension kit. For the most part this is a bolt-in kit, although some welding is required to attach the four-bar linkage brackets to the axle housing and the Panhard bar bracket to the frame. For those who don’t have the ability to weld, those chores can easily be farmed out after the bolt-in parts are in place.
Read More Suspension Upgrades: Upgrading Worn Brass Bushings on Early Ford Kingpin Suspension
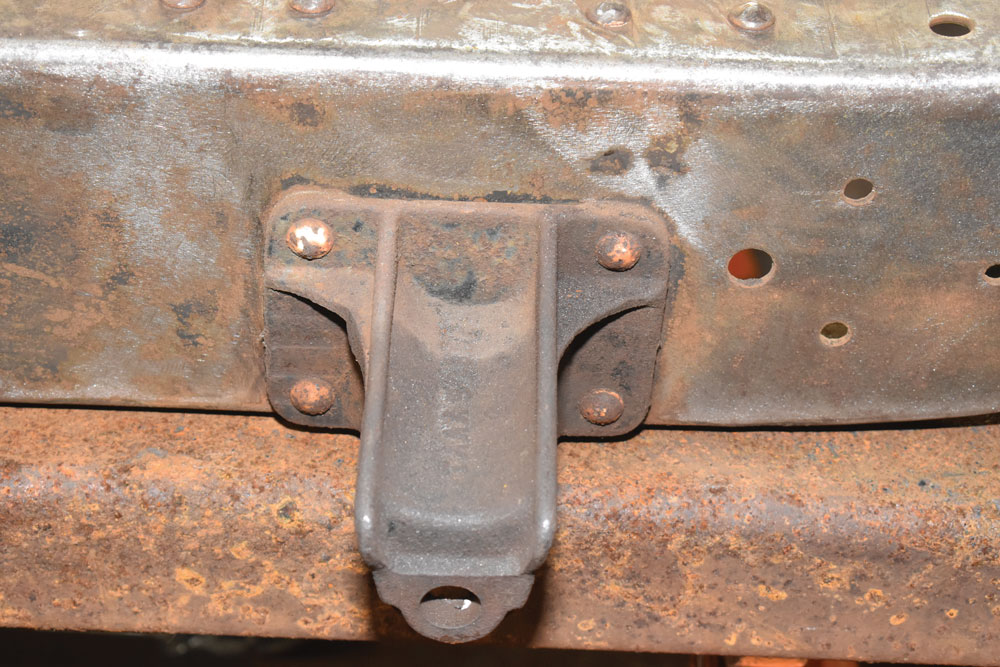
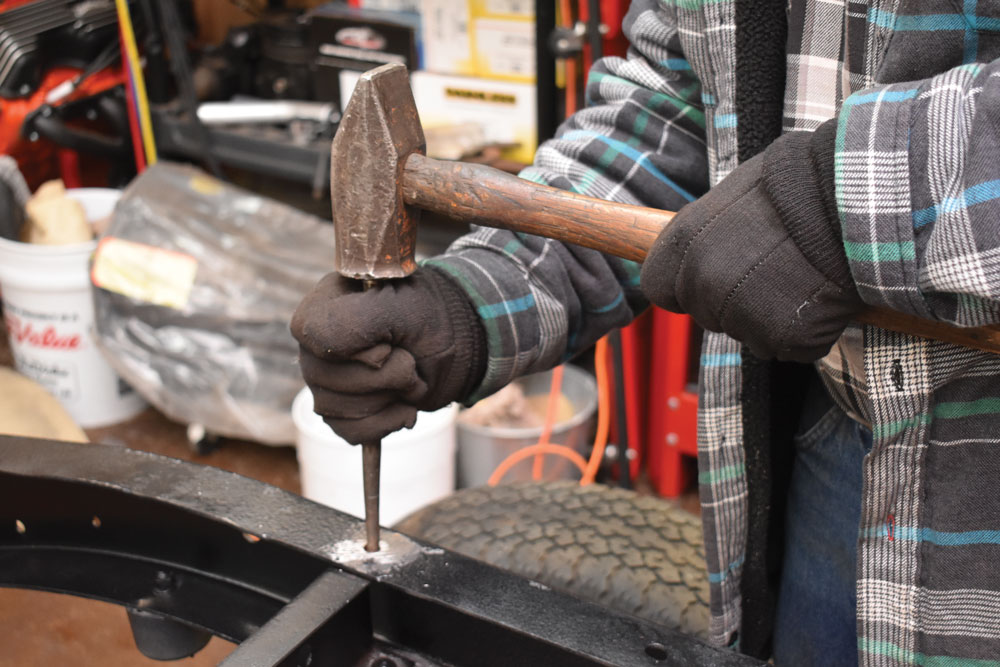
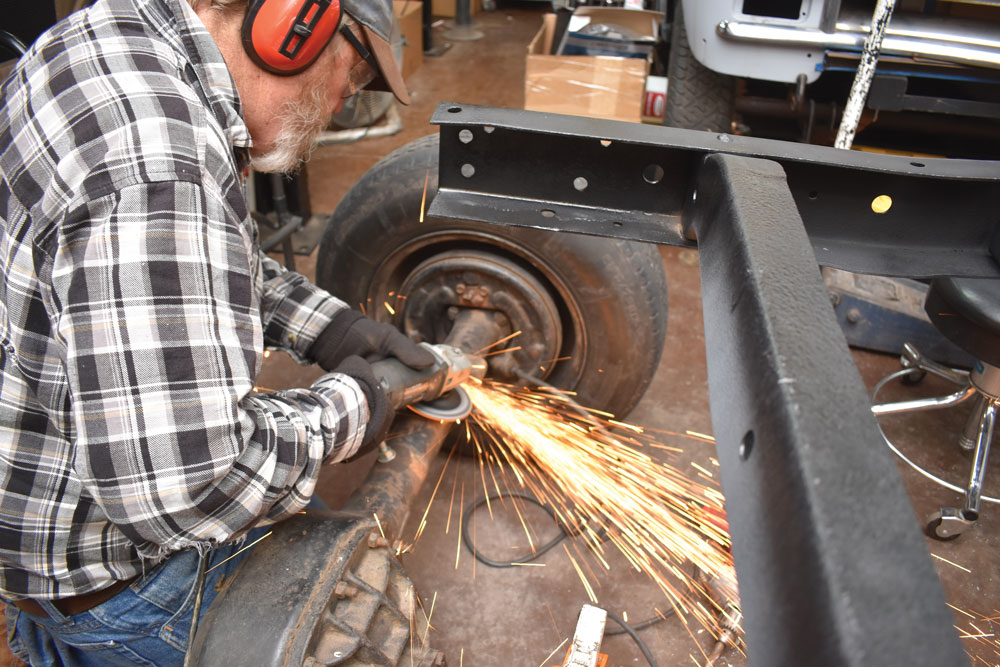
One of the most time-consuming parts of installing this kit is the removal of the original components. Once the springs and shocks are gone, the four spring hangers and the original crossmember with the upper shock mounts have to be removed by taking out the factory rivets. While that can be challenging, we’ve found that a combination of grinding, drilling, and a big hammer gets the job done.
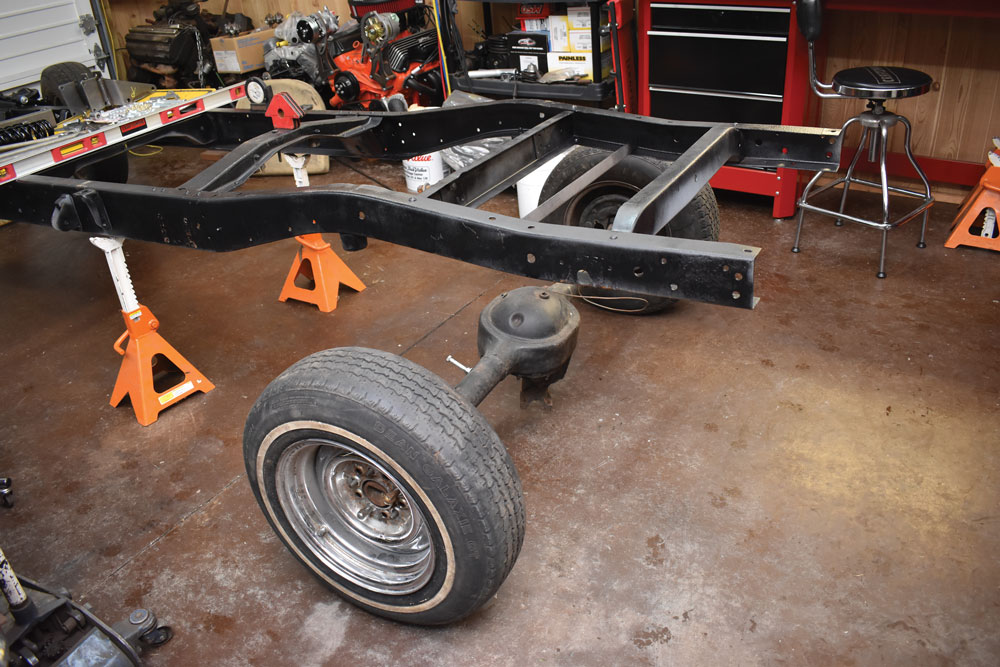
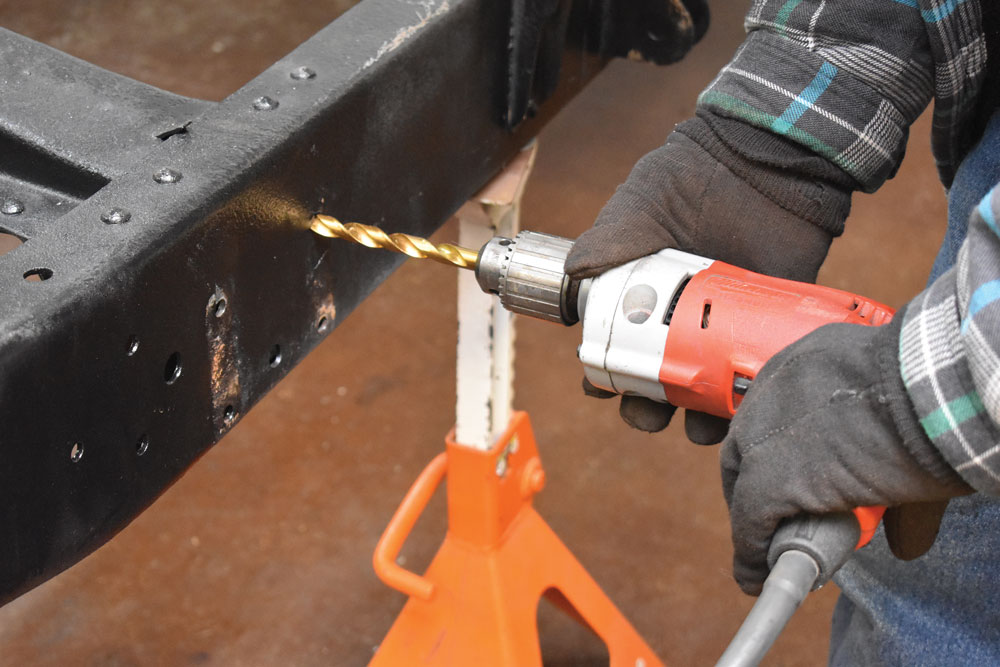
With the front spring hangers removed, the original holes are enlarged and the four-bar linkage brackets are bolted in place. The same holds true for the new crossmember that mounts the coilovers. Using the factory holes eliminates any possibility of positioning the brackets and crossmember incorrectly.
Read More F-100s: How to Build a 1955 Ford F-100 in 300 Days
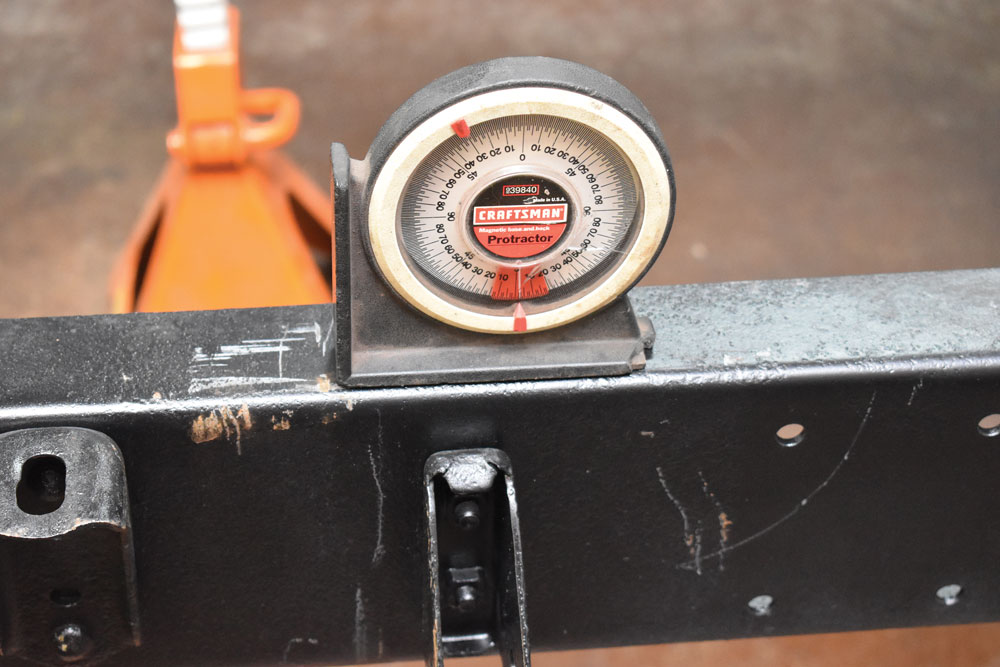
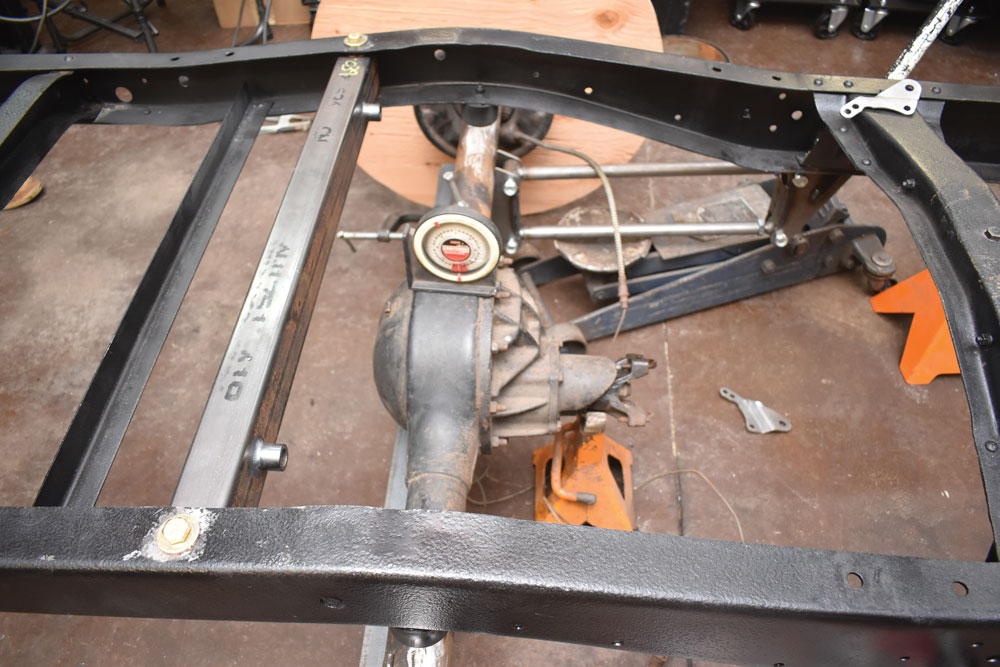
As we said some welding will be required to complete the installation of heidts rear suspension kit. In our case we rolled the rear end into place then approximated the correct pinion angle before welding on the axle brackets. Of course the threaded ends on the four-bar linkage provides the ability to dial in the pinion angle perfectly once the engine and transmission are in place, as well as making minor wheelbase adjustments to center the wheels in the fenders.
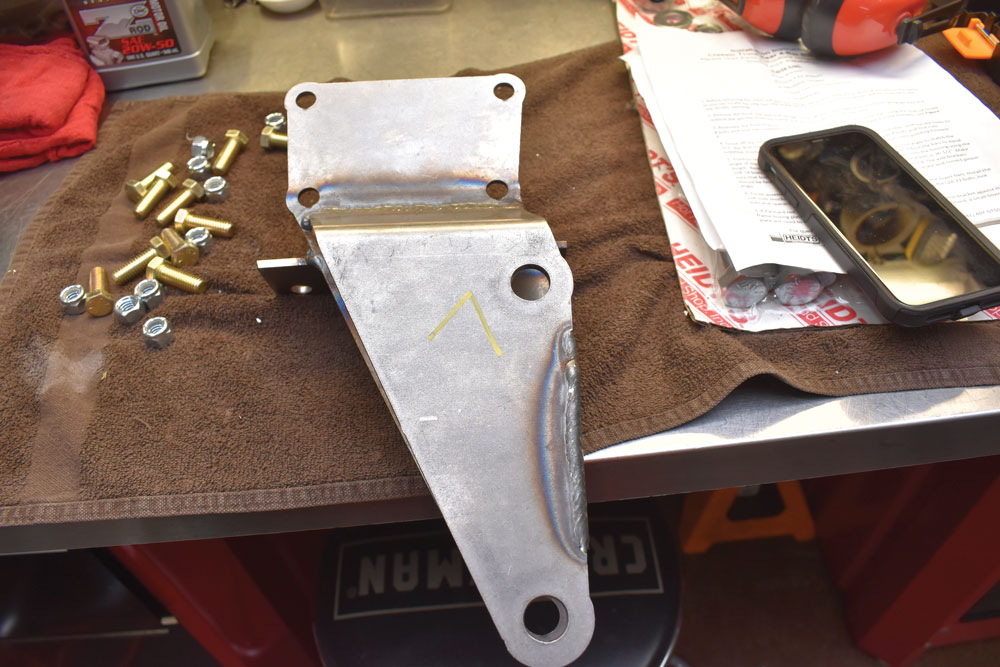
With the four-bars in place we boxed a short section of the frame to provide an attachment point for the Panhard bar bracket. On the axle end of the bar bolt-on brackets were supplied. Once in place the adjustable end on the Panhard bar allows the rearend to be centered precisely.
Read More: How To Draw an Old Pickup Truck
Heidts has made installing a rear four-bar linkage system in a 1953-1956 F-100 quick, easy, and foolproof. Think of it as a four play for classic truck lovers.
Source:
Heidts Hot Rod & Muscle Car Parts
(800) 841-8188
heidts.com


