It’s hard to believe just how popular the GM ’88-98 OBS trucks and ’92-99 Tahoes have become, especially since a few of us in the office recall covering these trucks when they were new! Back then it was all about stance, the right wheels, a few billet accessories, and graphics or color choices. Come to think of it, that’s not too far off from what we’re seeing these days, either!
The good news is that there are a lot more aftermarket components available to upgrade an OBS truck than ever before, ranging from coilover suspension systems to LS swap kits and new instrument panels. Since there were so many of these trucks and their SUV counterparts built, there are also plenty of replacement mechanical parts to help keep your OBS truck rolling, or in our case, stopping!
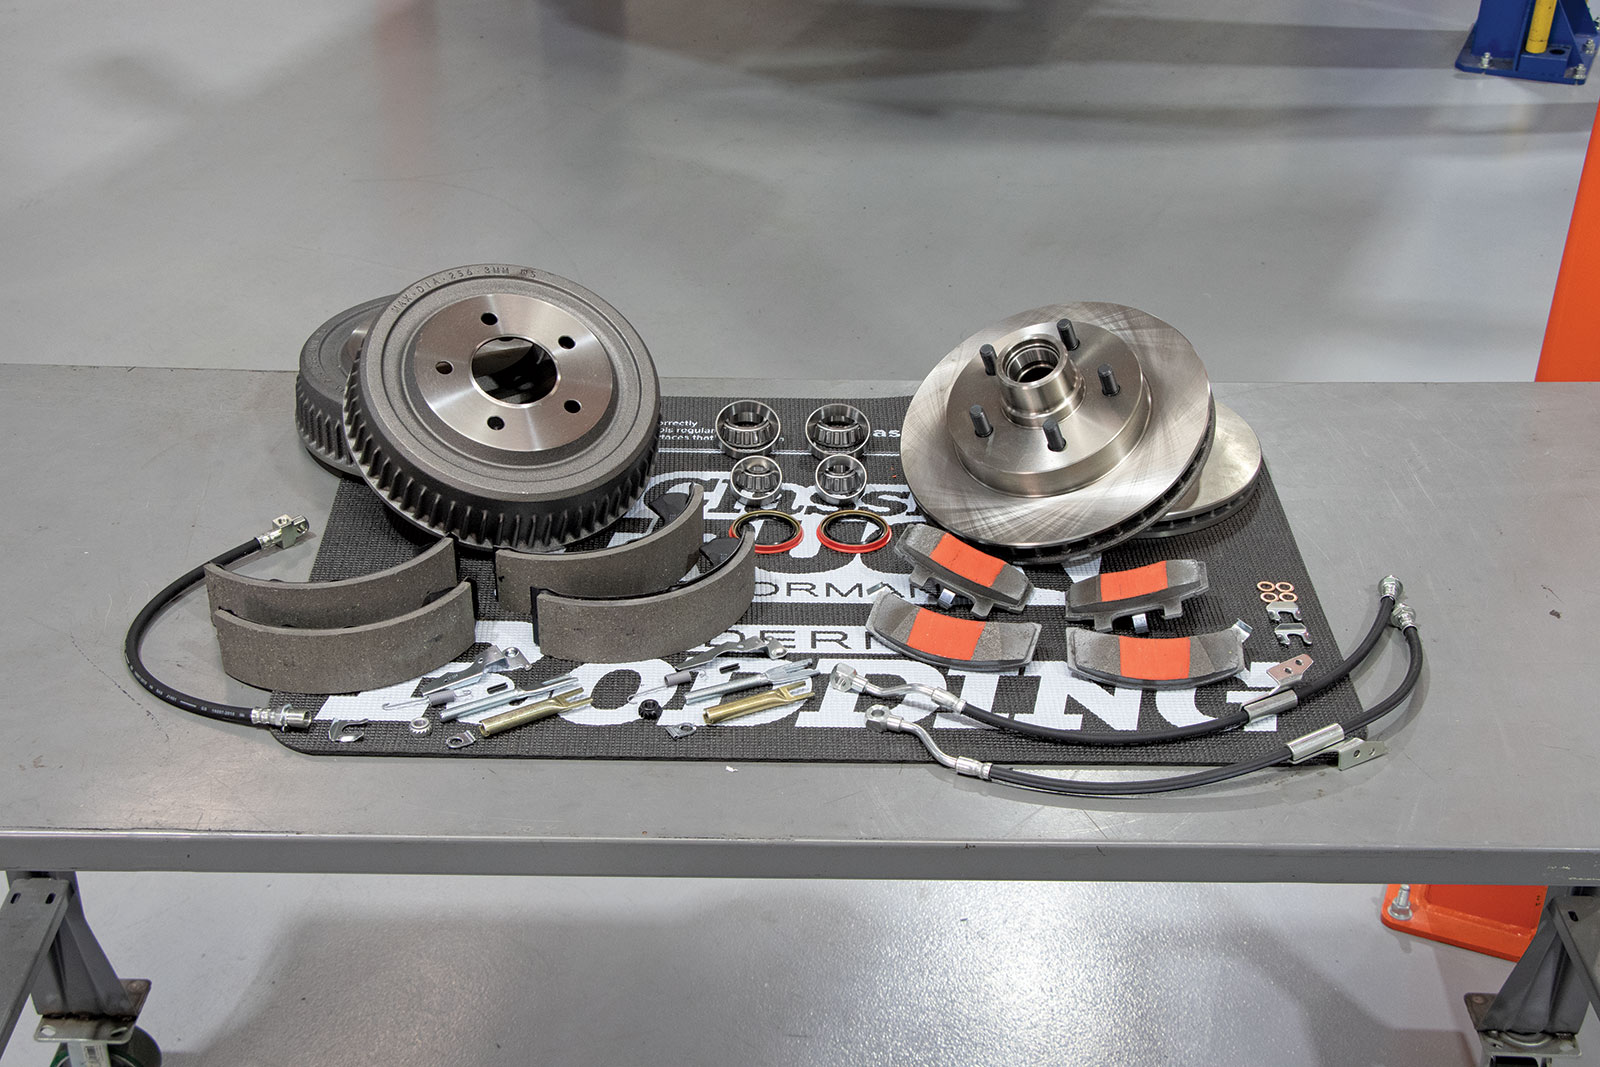
To get our OBS Tahoe stopping like new again we dialed up AutoZonePro.com and ordered new brake rotors, drums, hoses, bearings, and Severe Duty pads. Duralast engineers and manufactures their parts to meet or exceed the factory components, so you know they’re going to bolt right in place and perform as expected.
The brakes in our ’98 Tahoe have been in need of some maintenance and TLC for a while, but for our application, stepping up to a larger four-wheel disc system just wasn’t necessary. Instead, we planned to update the original disc/drum combination with new components from Duralast.
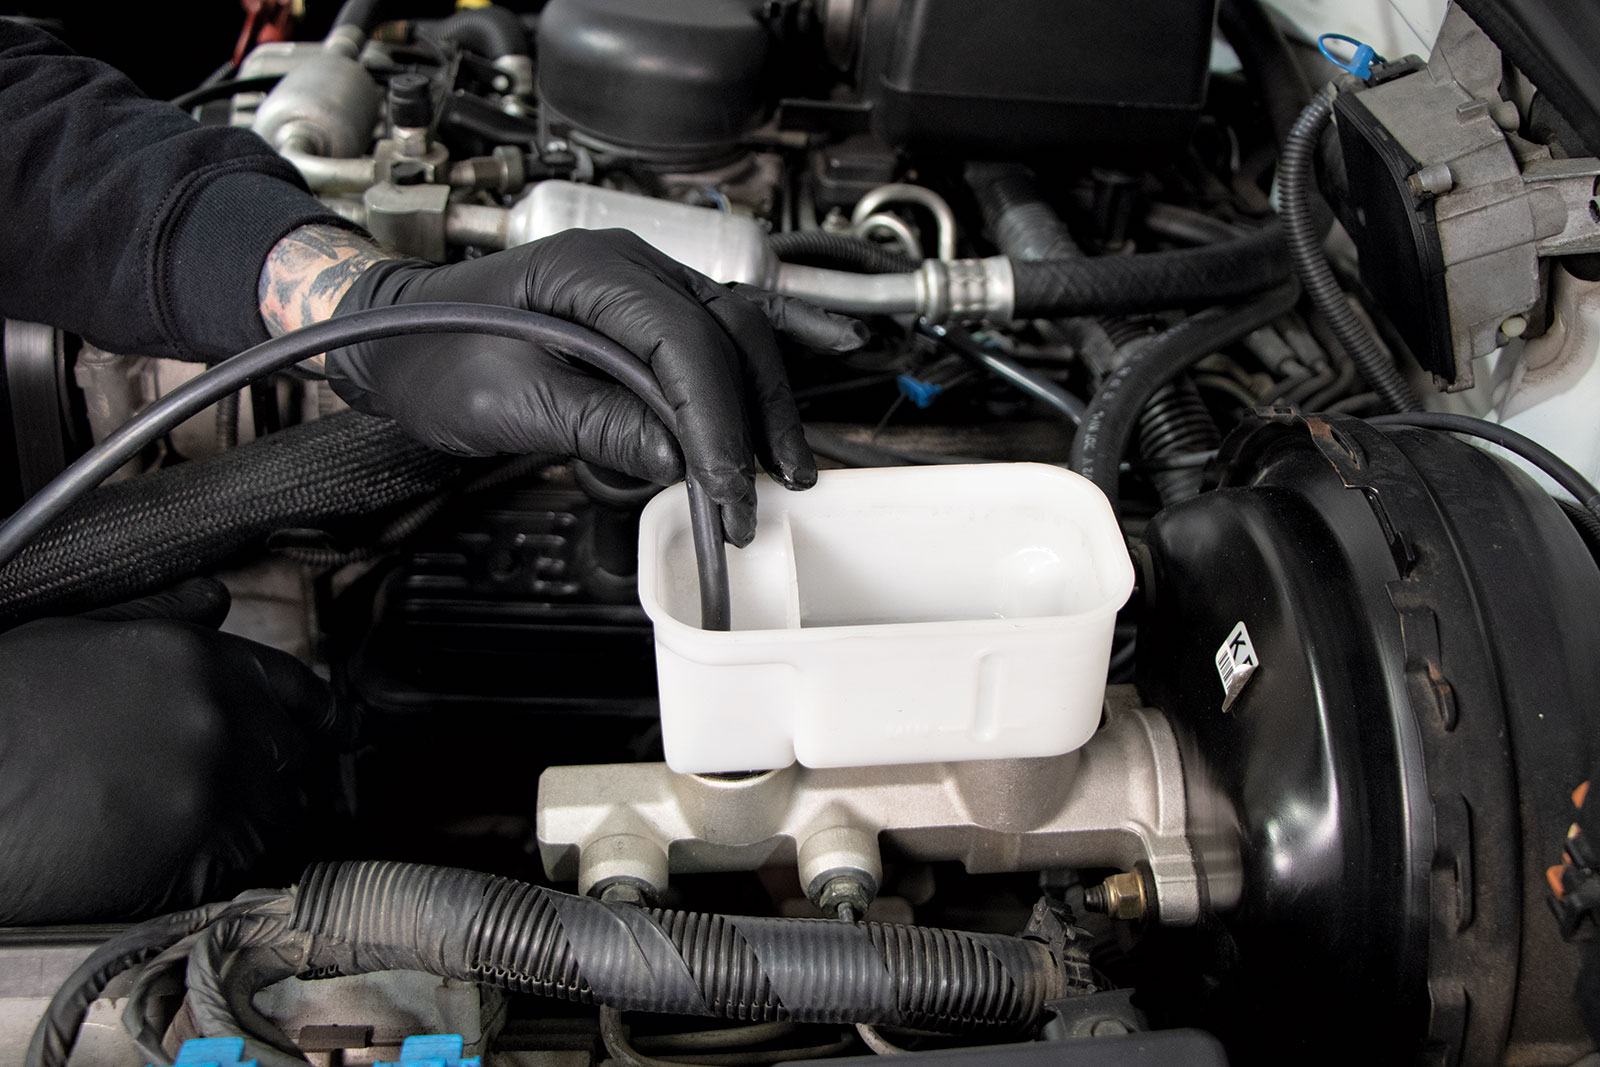
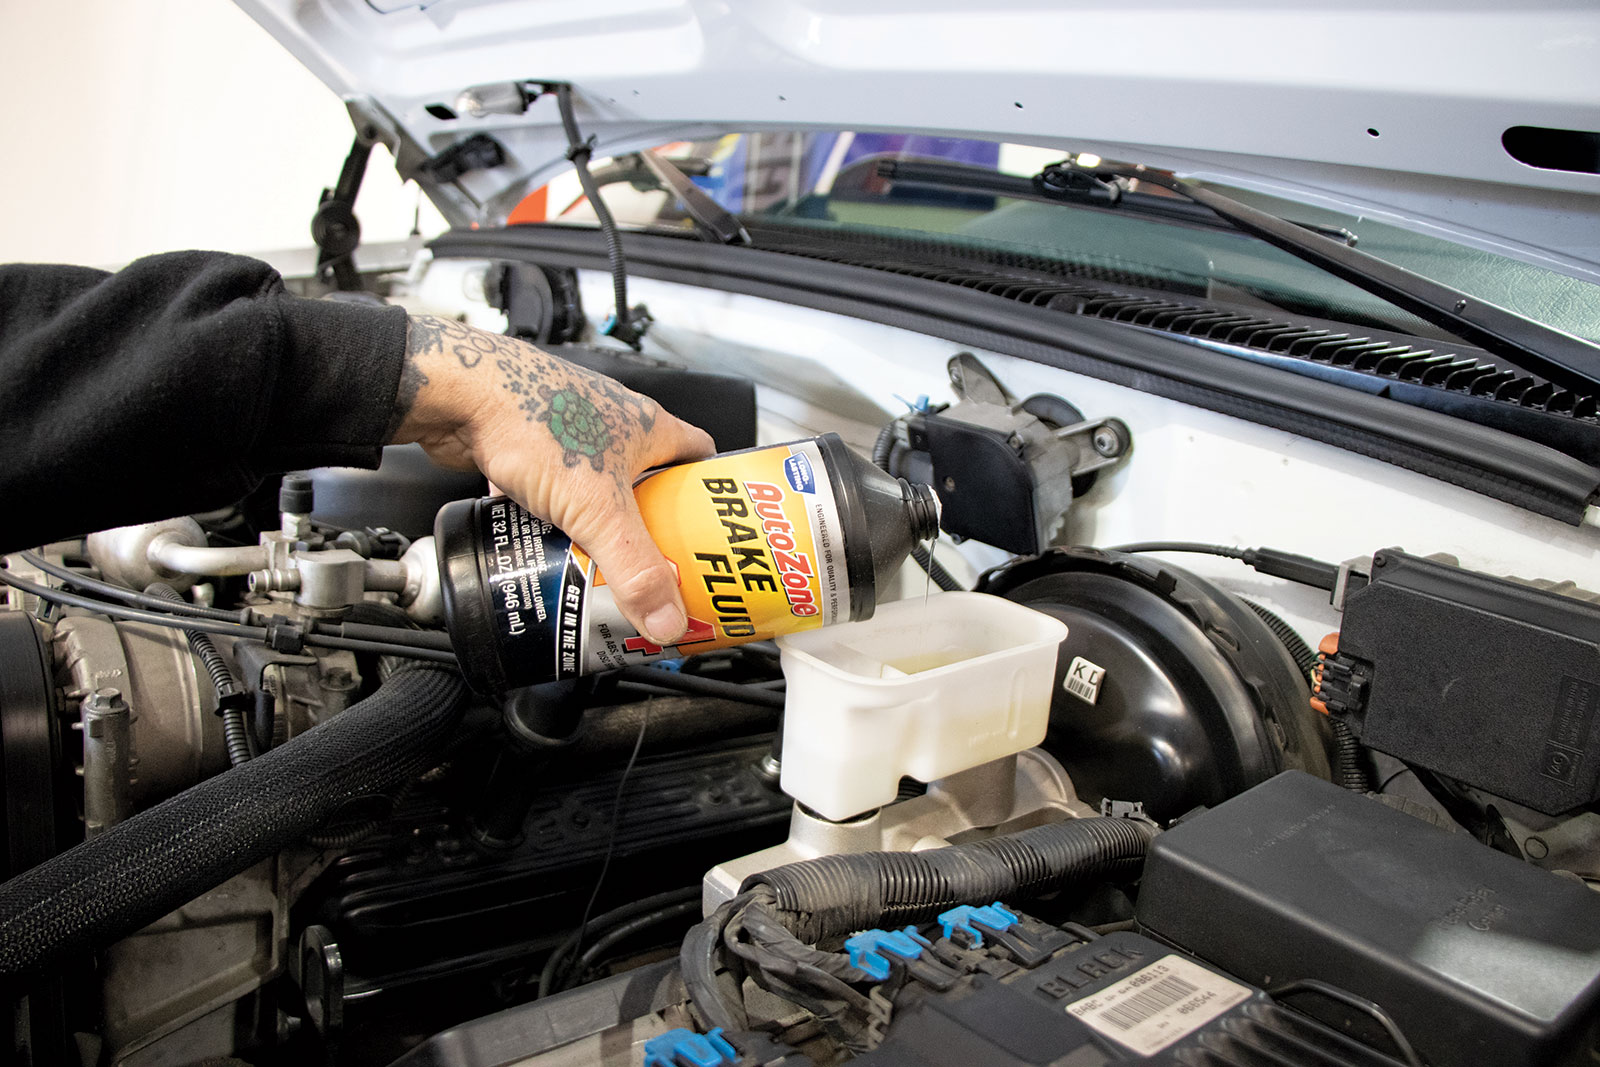
We have no idea when (or if) the brake fluid had ever been changed and since we’re updating the flex lines, it was the perfect time. We siphoned out as much brake fluid as possible from the reservoir and will drain the hardlines when replacing the hoses. By the time we bleed the four corners, there will pretty much be fresh fluid throughout the entire system.
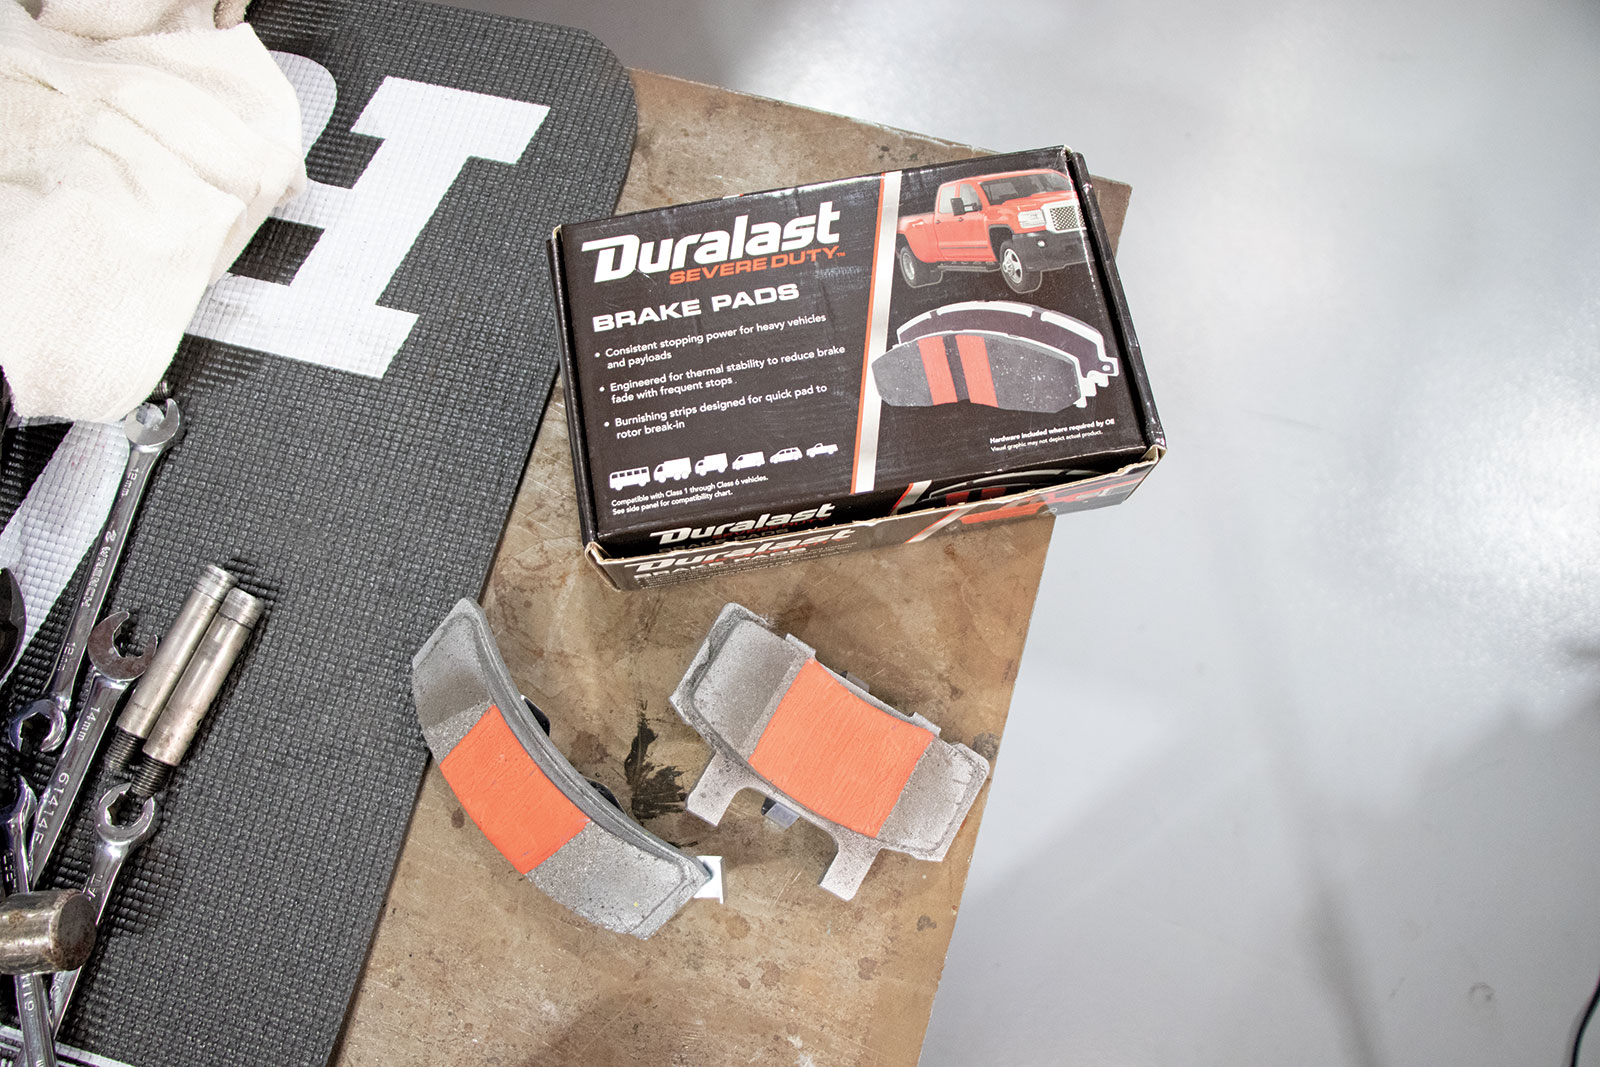
Duralast manufactures their replacement components to meet or exceed the original equipment specifications, plus they offer several upgrades as well. We opted for their Severe Duty brake pads (PN D369SD) and rotors (PN 5595SD), which are engineered for improved thermal stability to resist brake fade in heavier vehicles. This consistent braking performance will be aided with all-new Duralast drums brakes (PN 8972) and shoes (PN 8972).
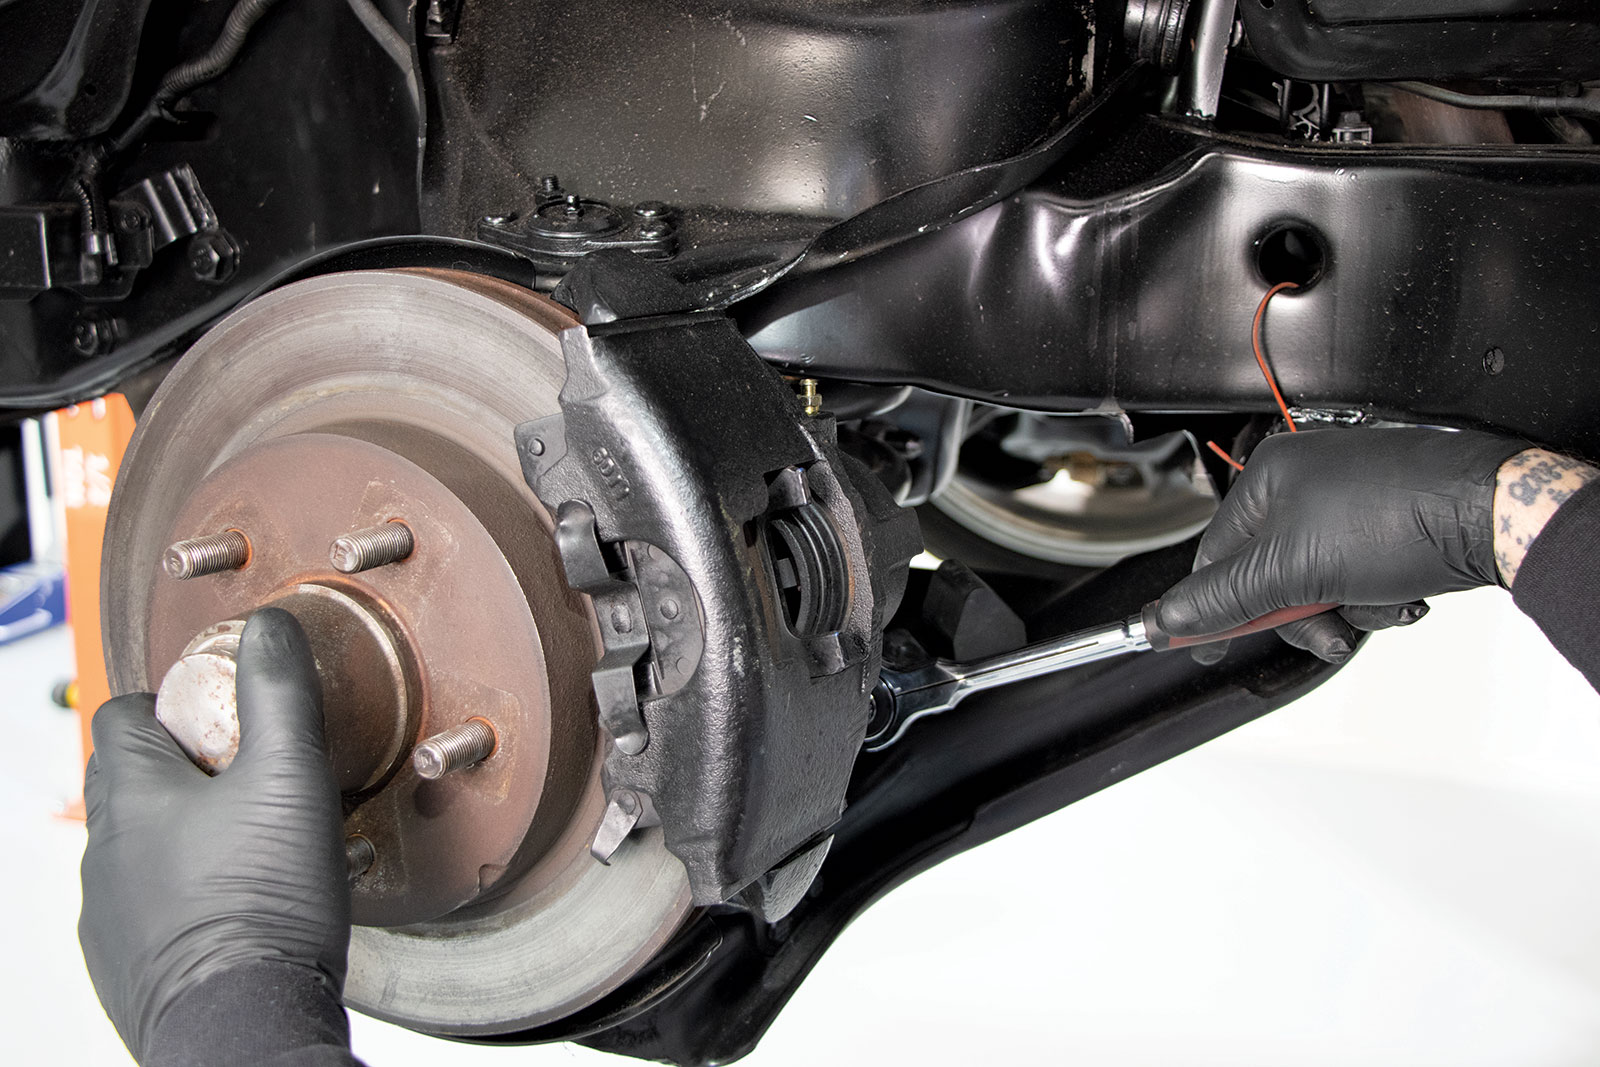
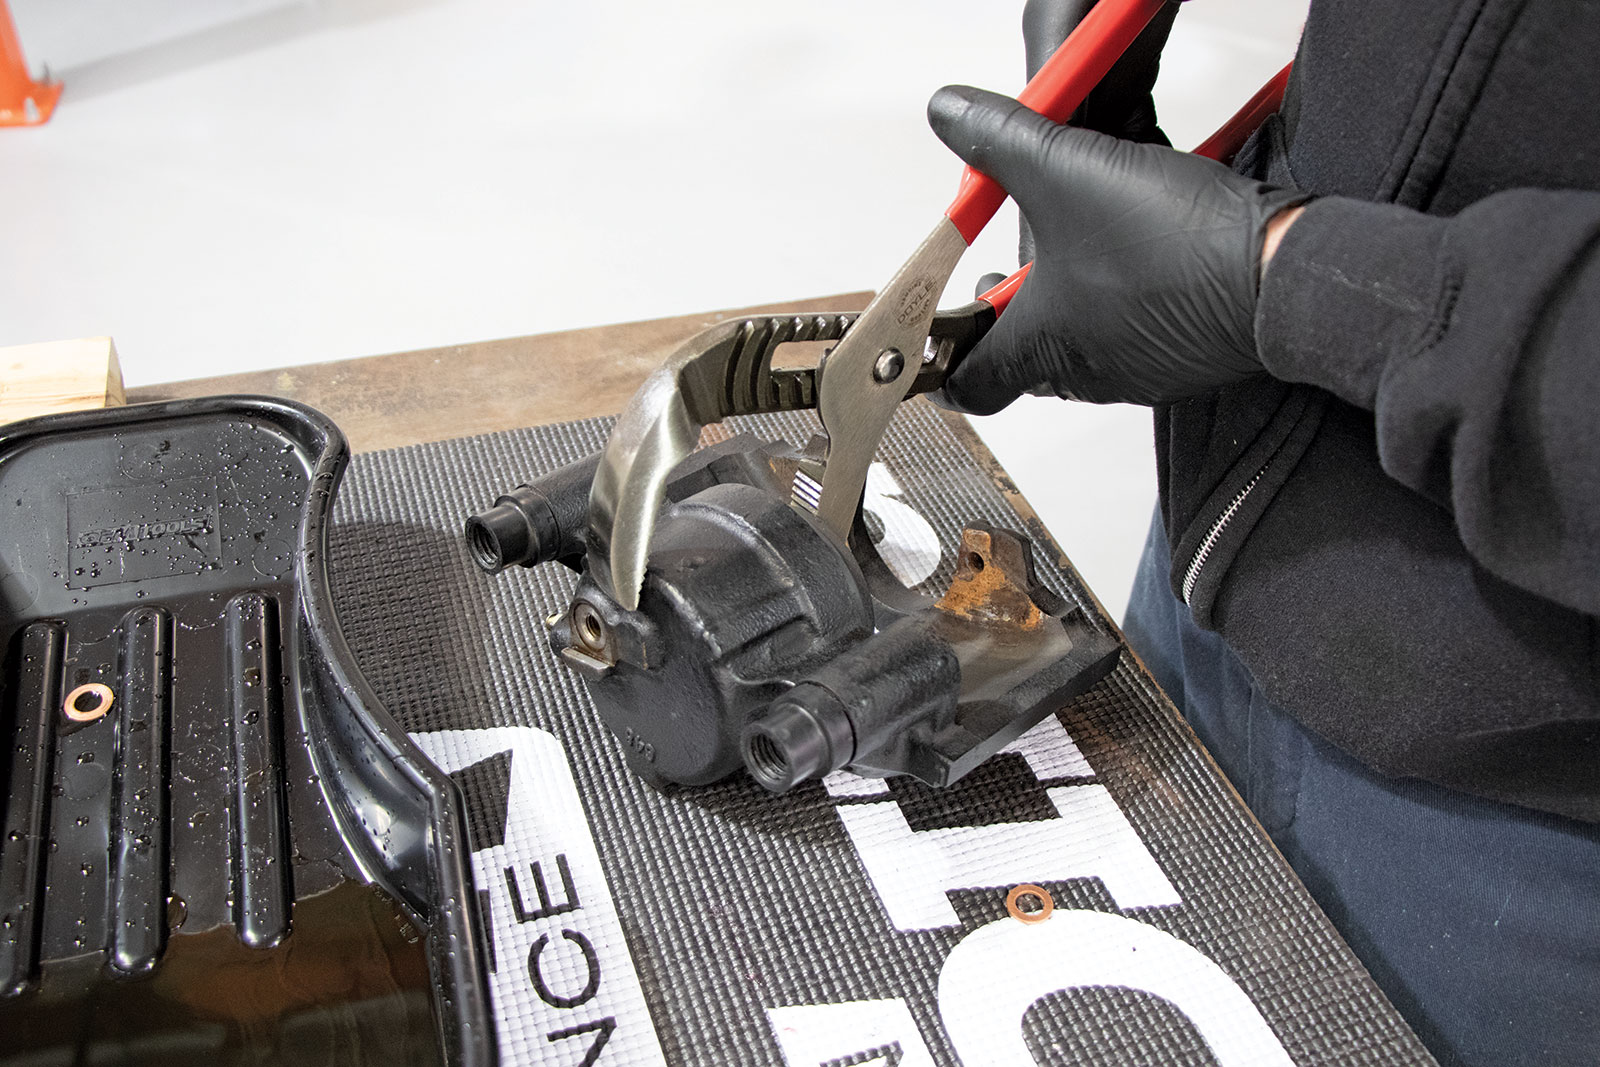
The caliper is easy to take off by removing the two bolts with a 3/8-inch Allen socket. These unique bolts should be easy to clean up with a wire brush and used for reassembly. Since we’re replacing the hoses, the caliper was completely removed to inspect, clean up, and prepare for the new pads.
It’s a breeze to find your Duralast parts as well. We simply went online to AutoZonePro.com, easily found our replacement components via the handy year/make/model lookup and ordered the parts right up. While we were there, we also added new front bearings and brake hoses to replace the originals.
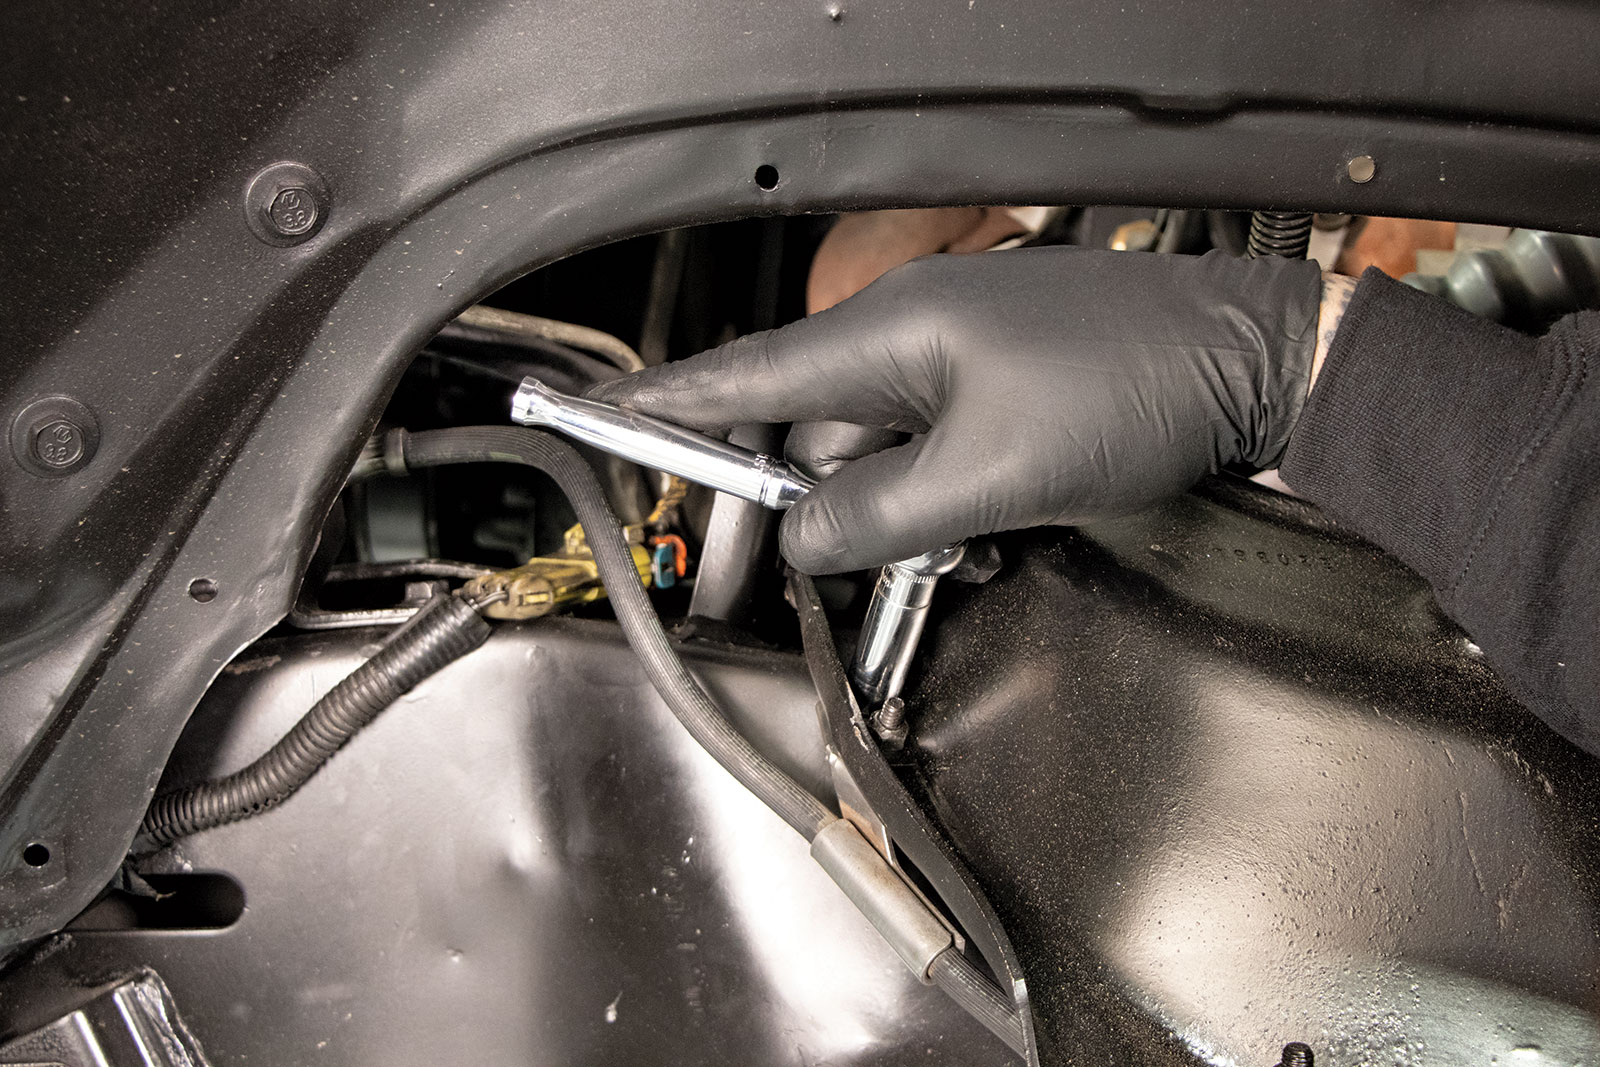
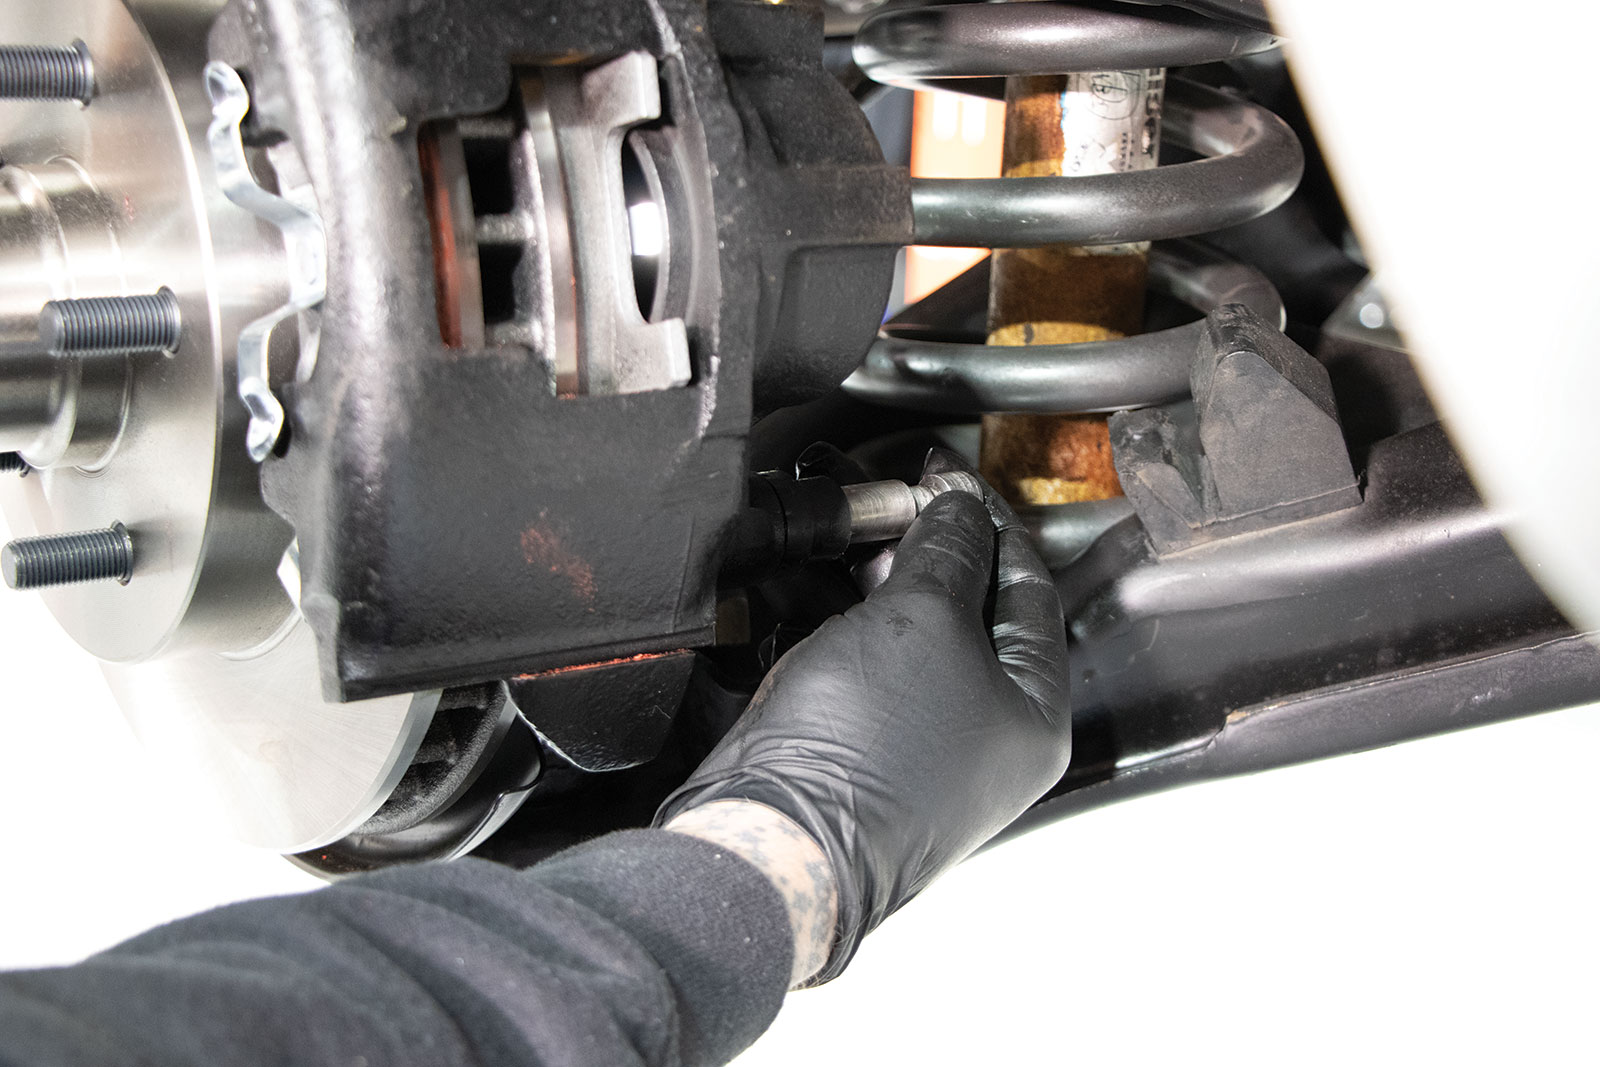
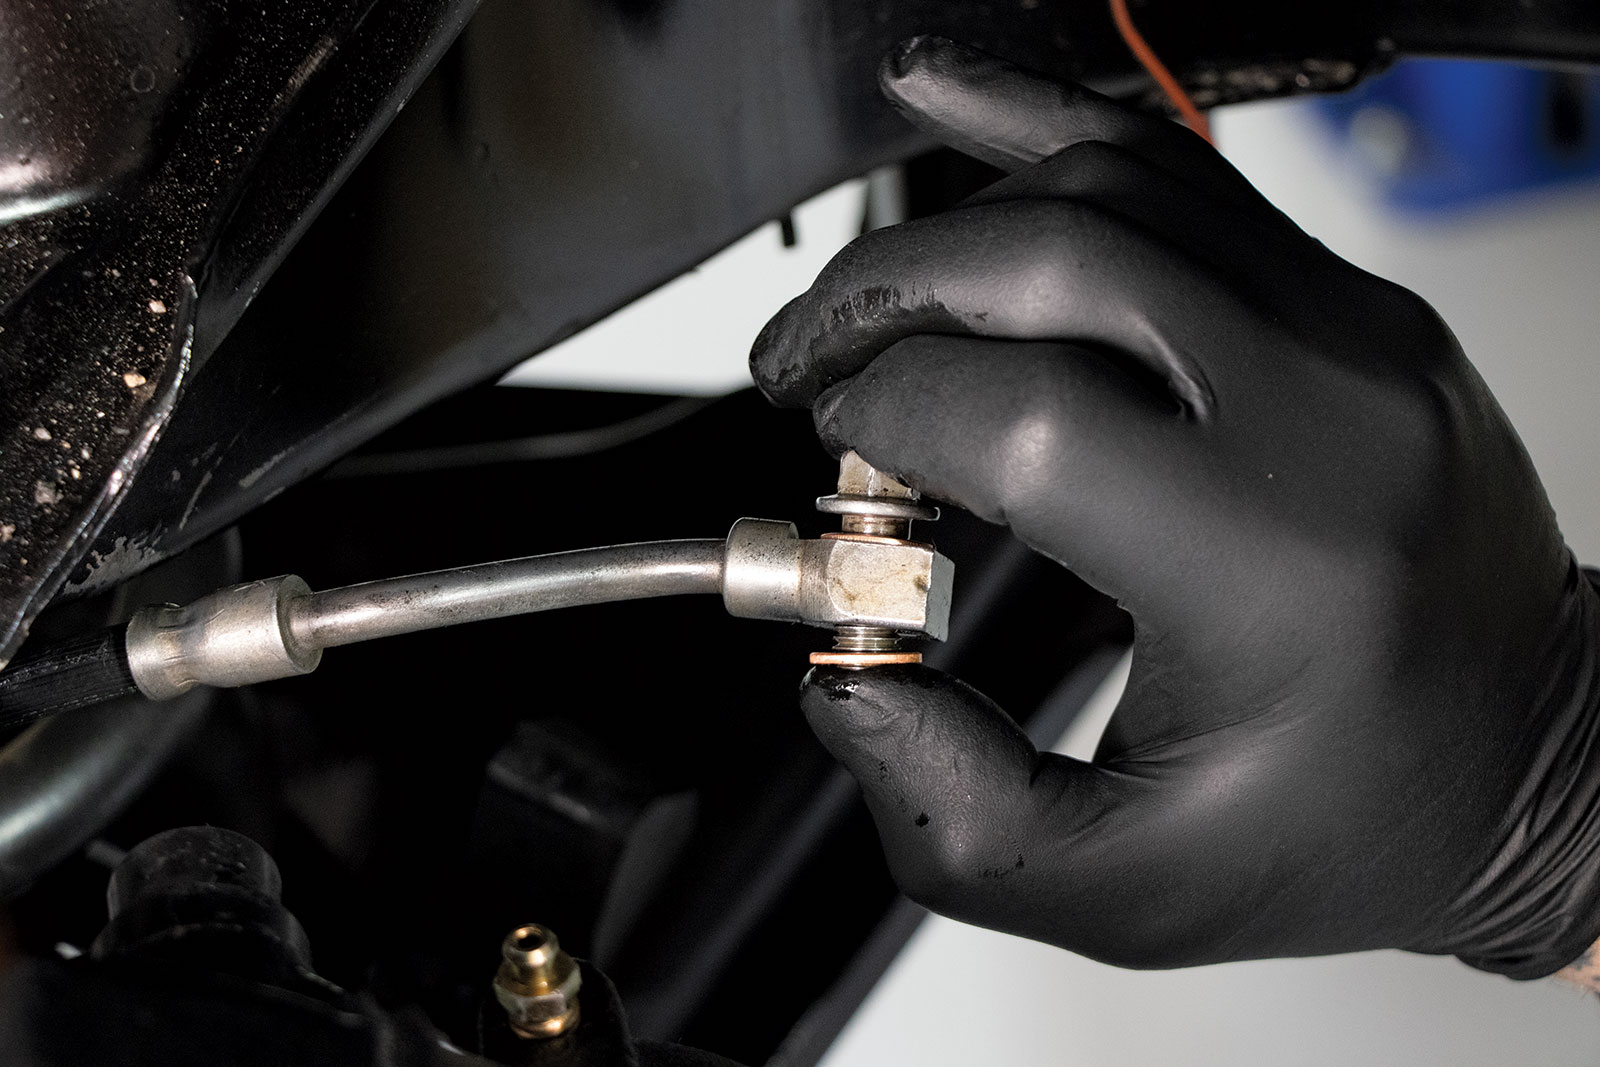
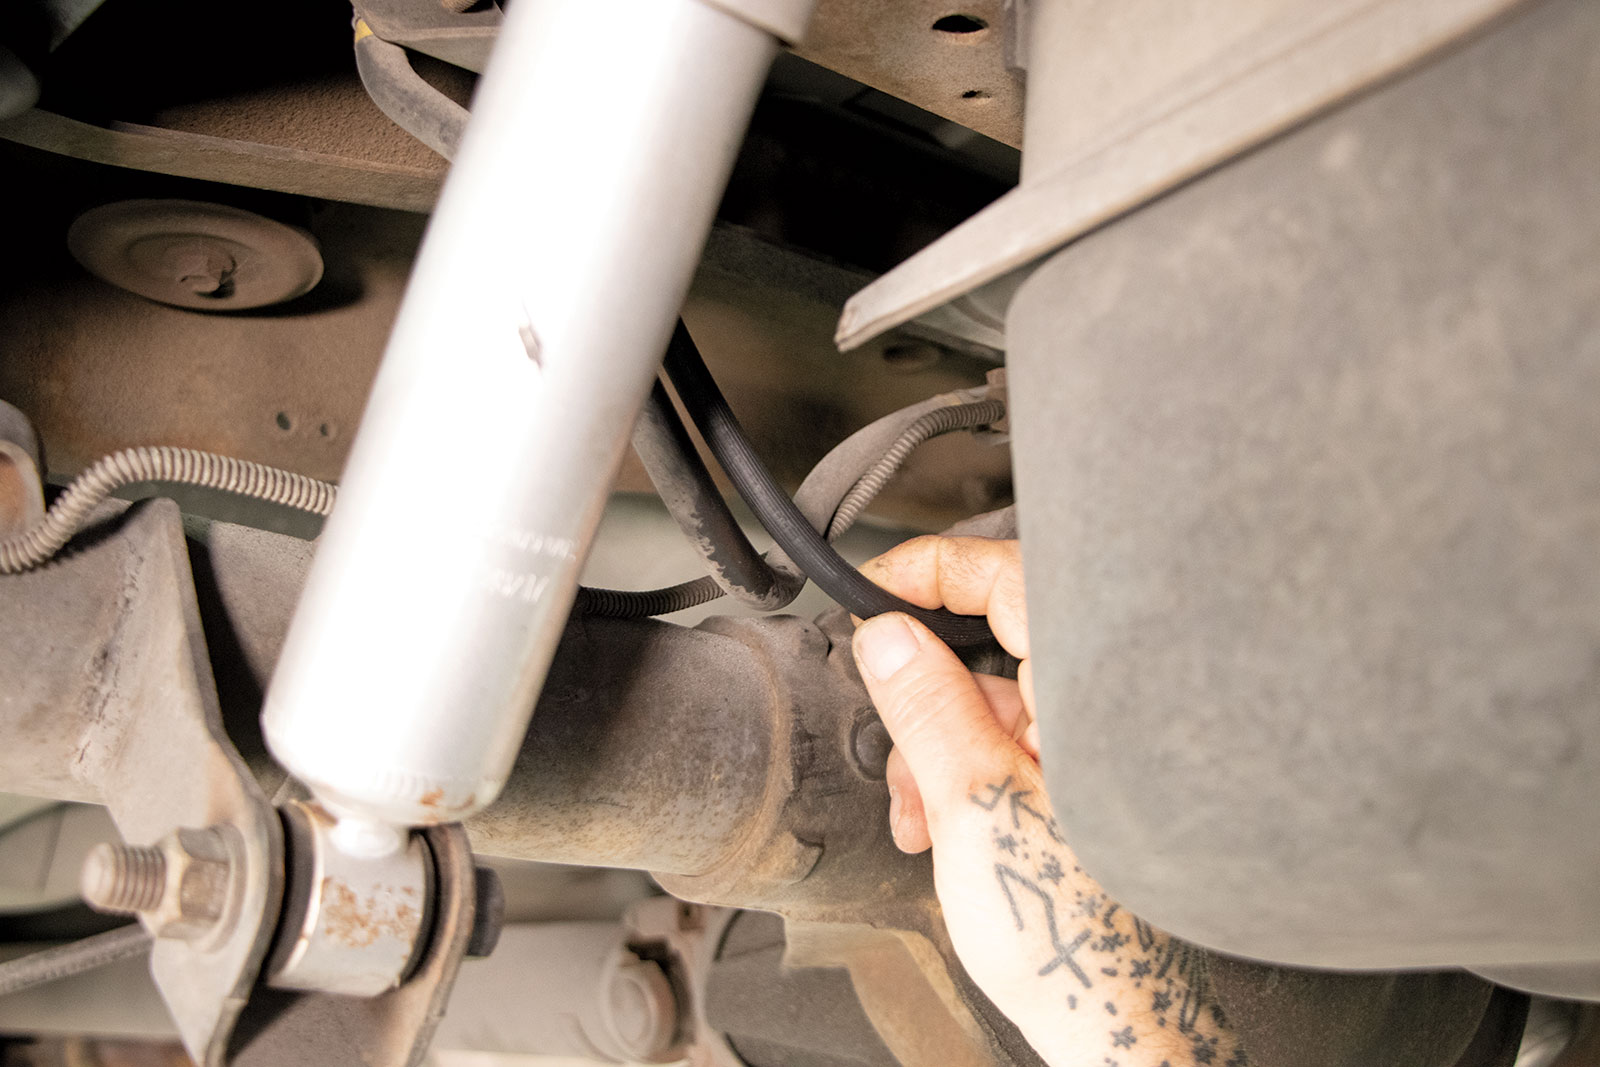
After 25 years of use, it’s a good idea to replace the flex lines. Duralast offers replacement lines that even have the same mount that secures the line to the upper control arm just like the OEM parts. When removing the lines use care with the ABS wiring.
As for the installation, one extra step we highly recommend for these older trucks is to drain and flush out the old fluid. We honestly had no idea how long the fluid had been in our Tahoe so we siphoned the fluid from the master cylinder and when we replaced the Duralast flex lines we let the fluid drain from the hard lines. Once everything was reassembled, the brakes were bled and fresh fluid was pumping through the entire system.
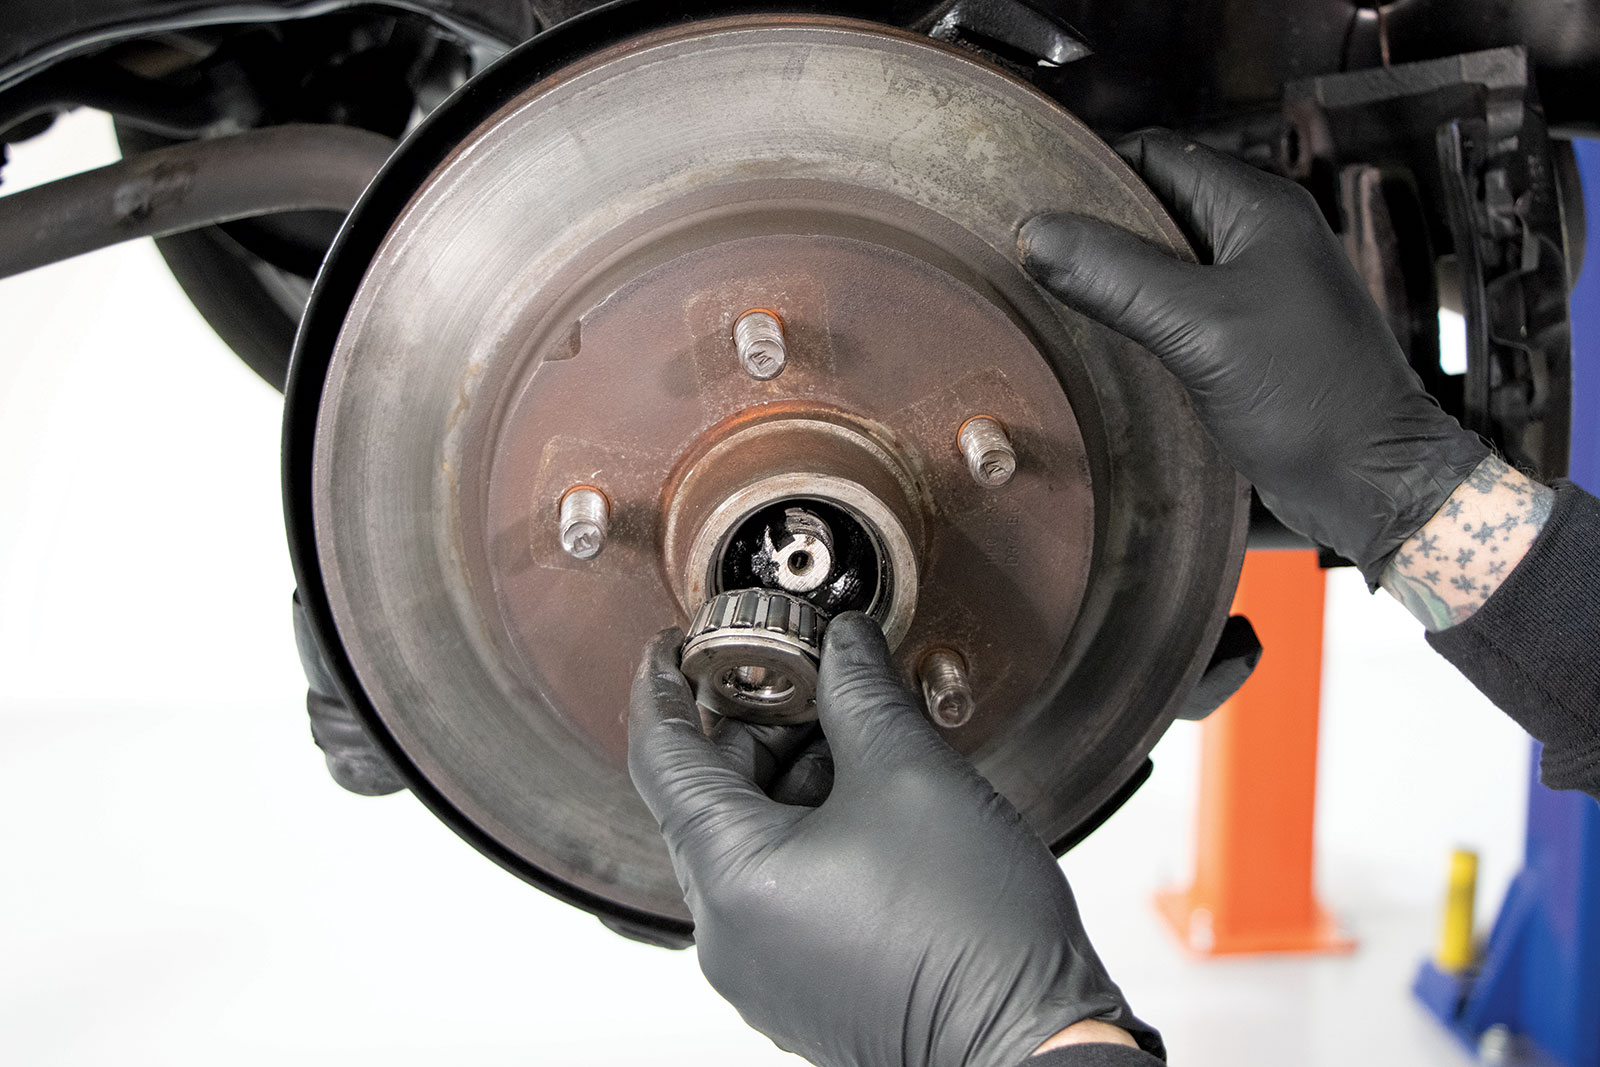
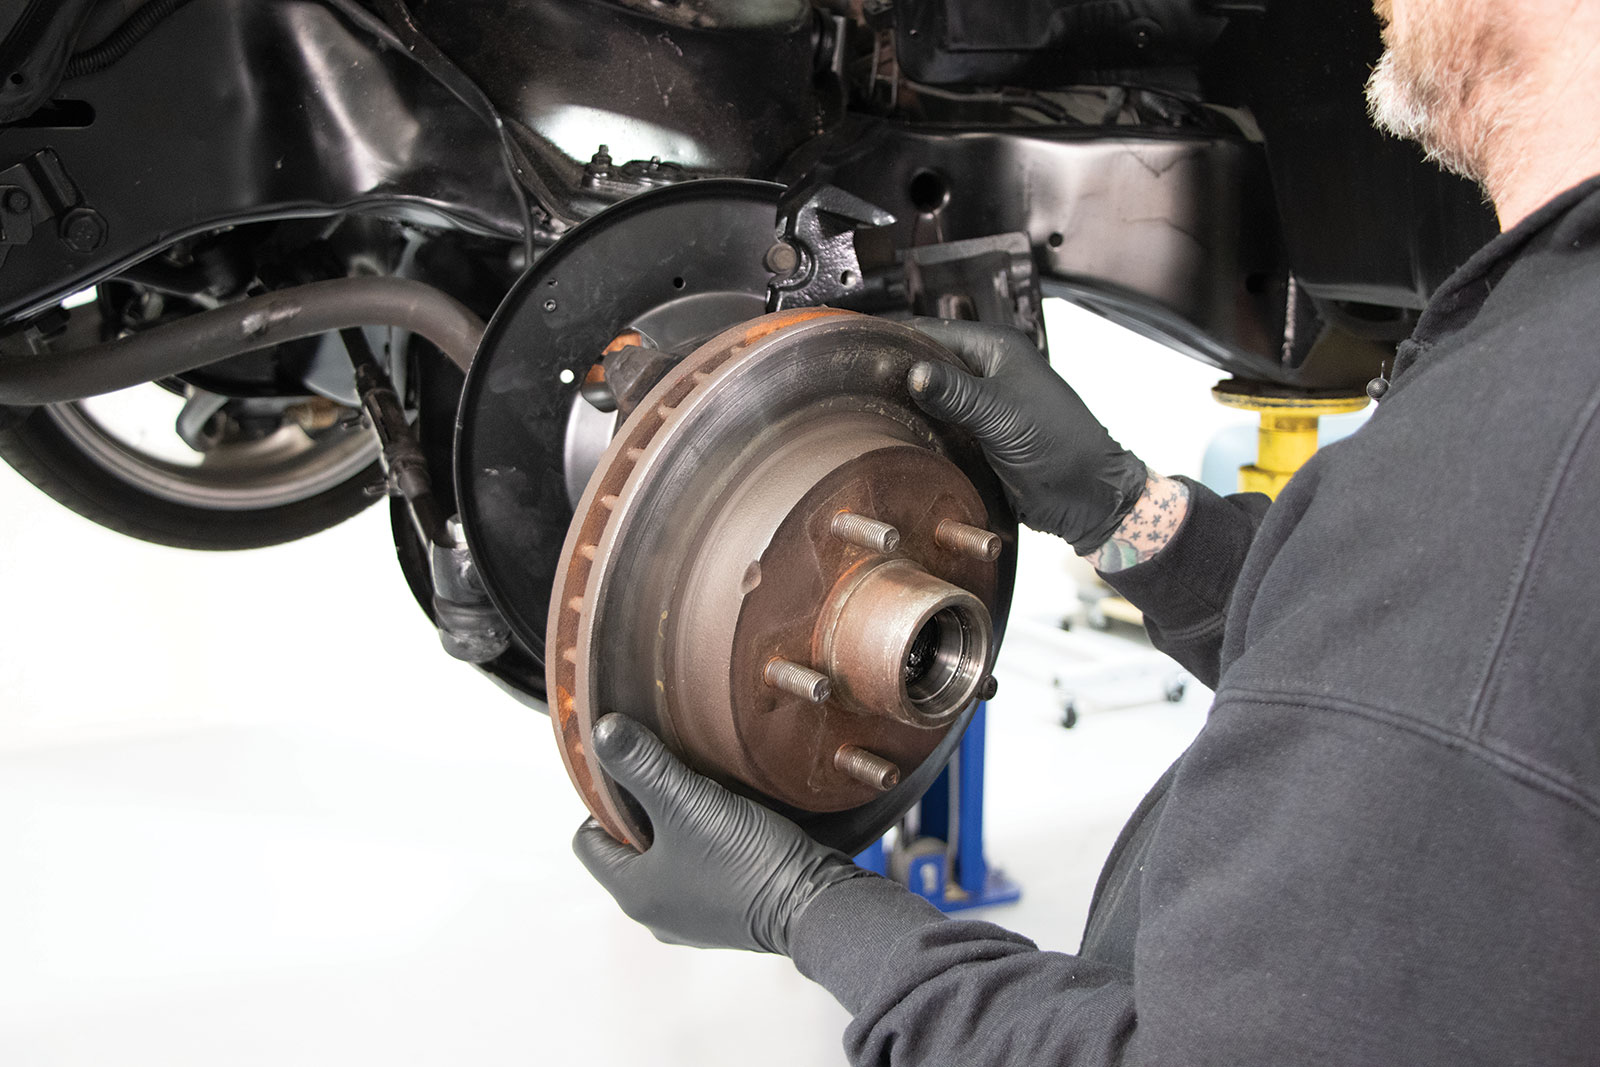
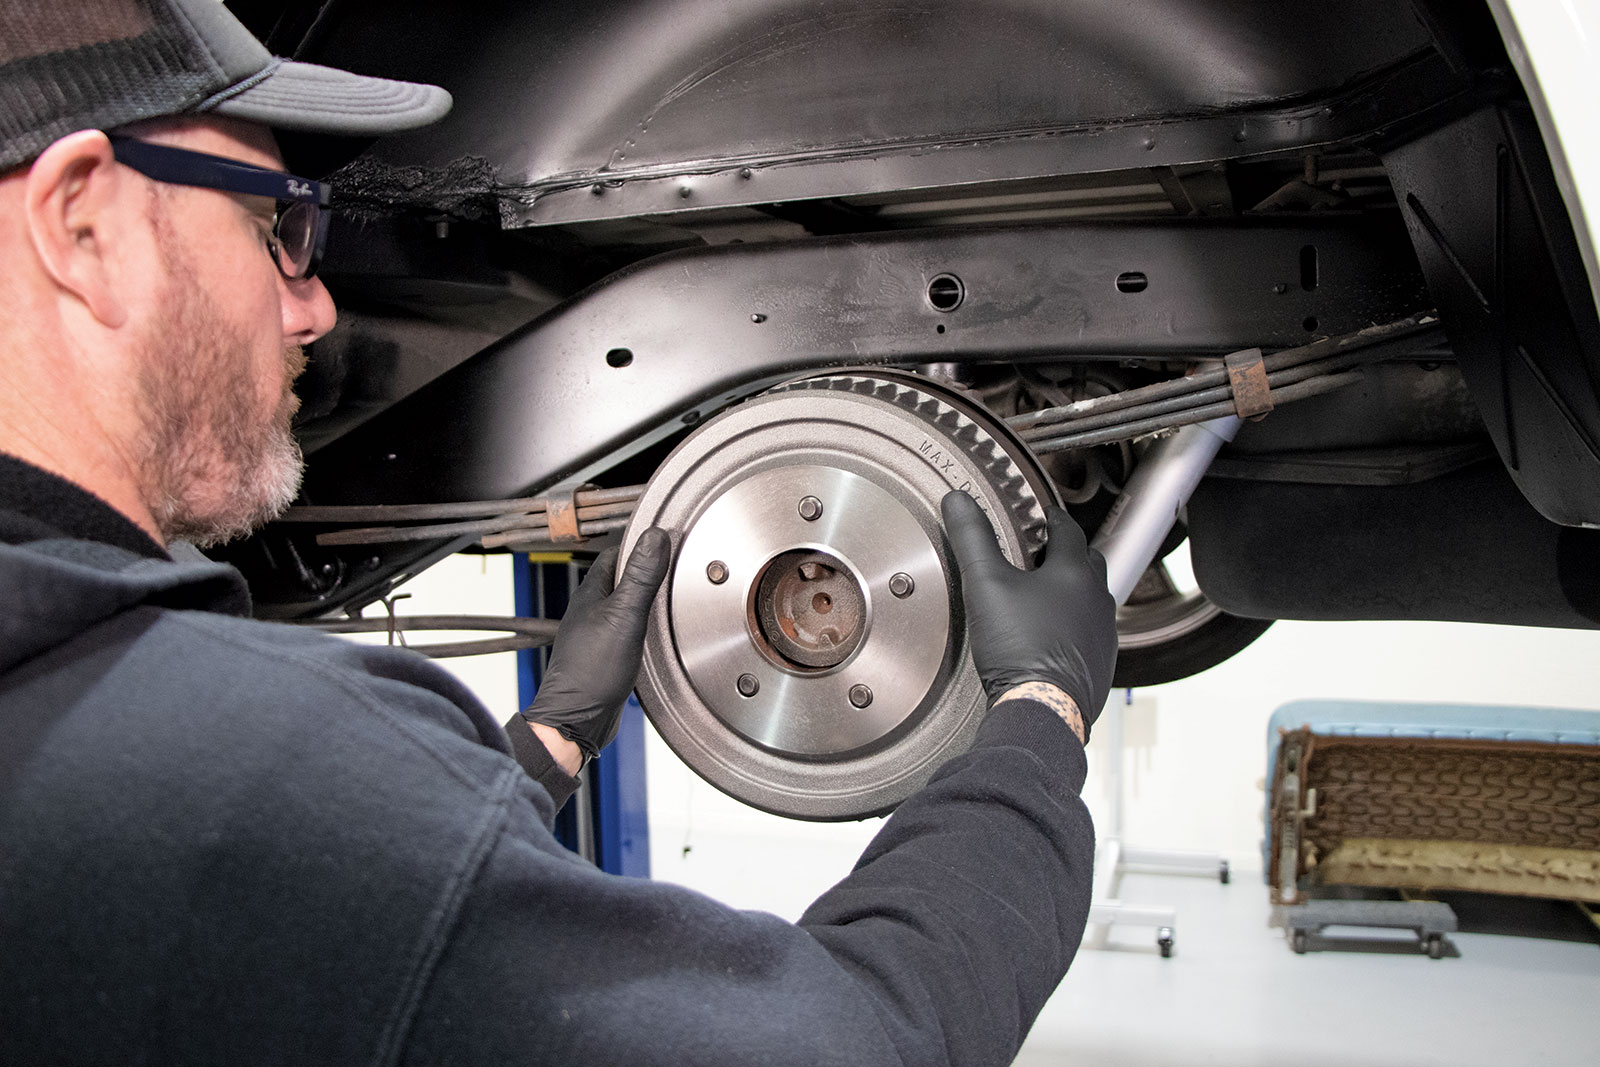
The well-worn rotor was removed by pulling the cotter pin, castle nut, and outer bearing. To our surprise, there wasn’t a lot of grease in the bearing but we planned to replace them anyway, along with new rotors from Duralast.
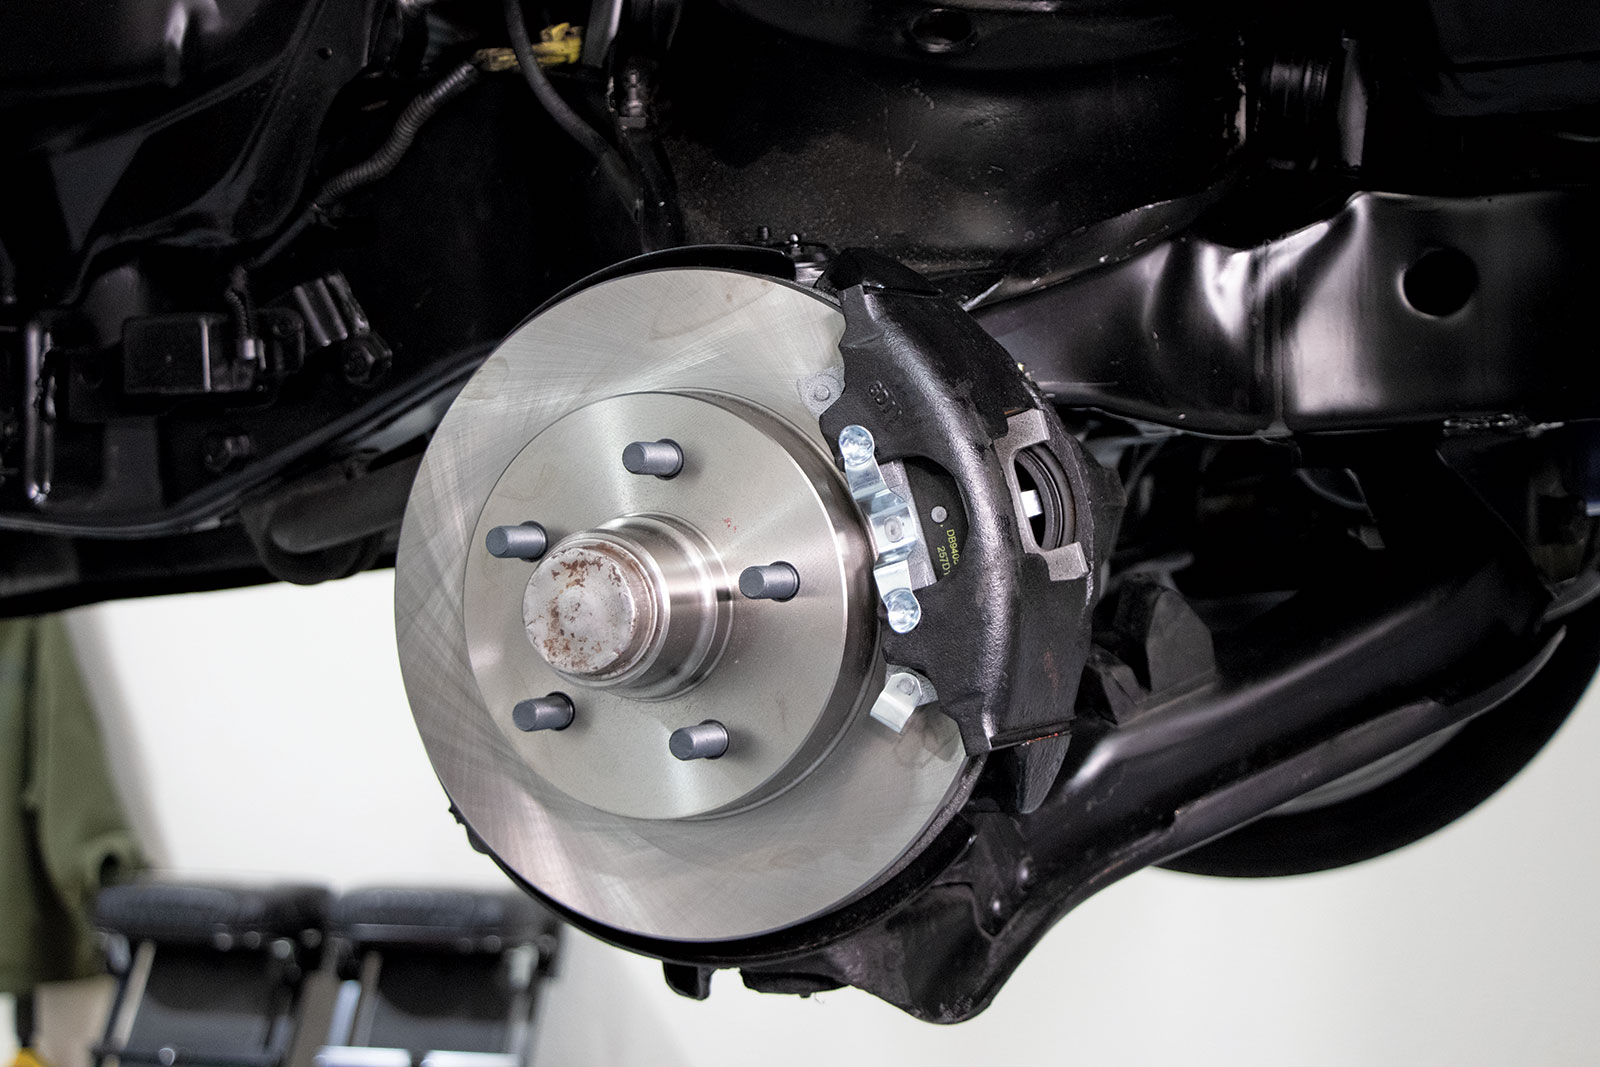
Thanks to Duralast and their emphasis on fit and function, our Tahoe is stopping safely and better than new. Follow along as we run through the process.
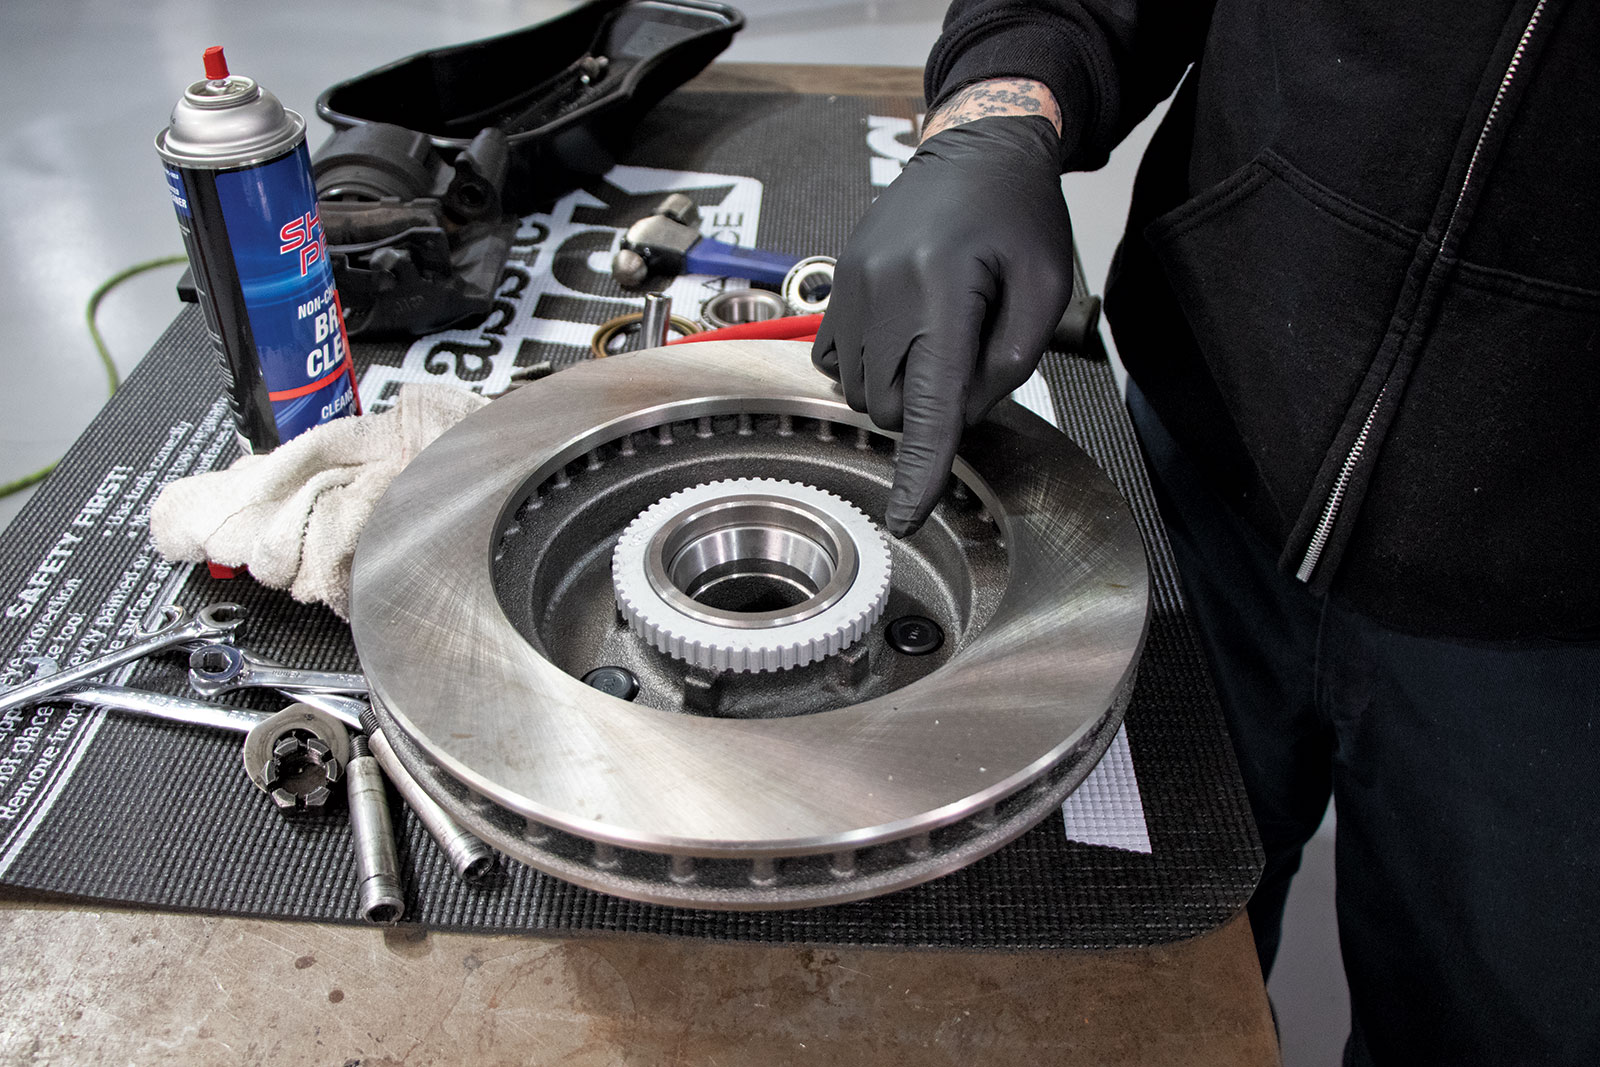
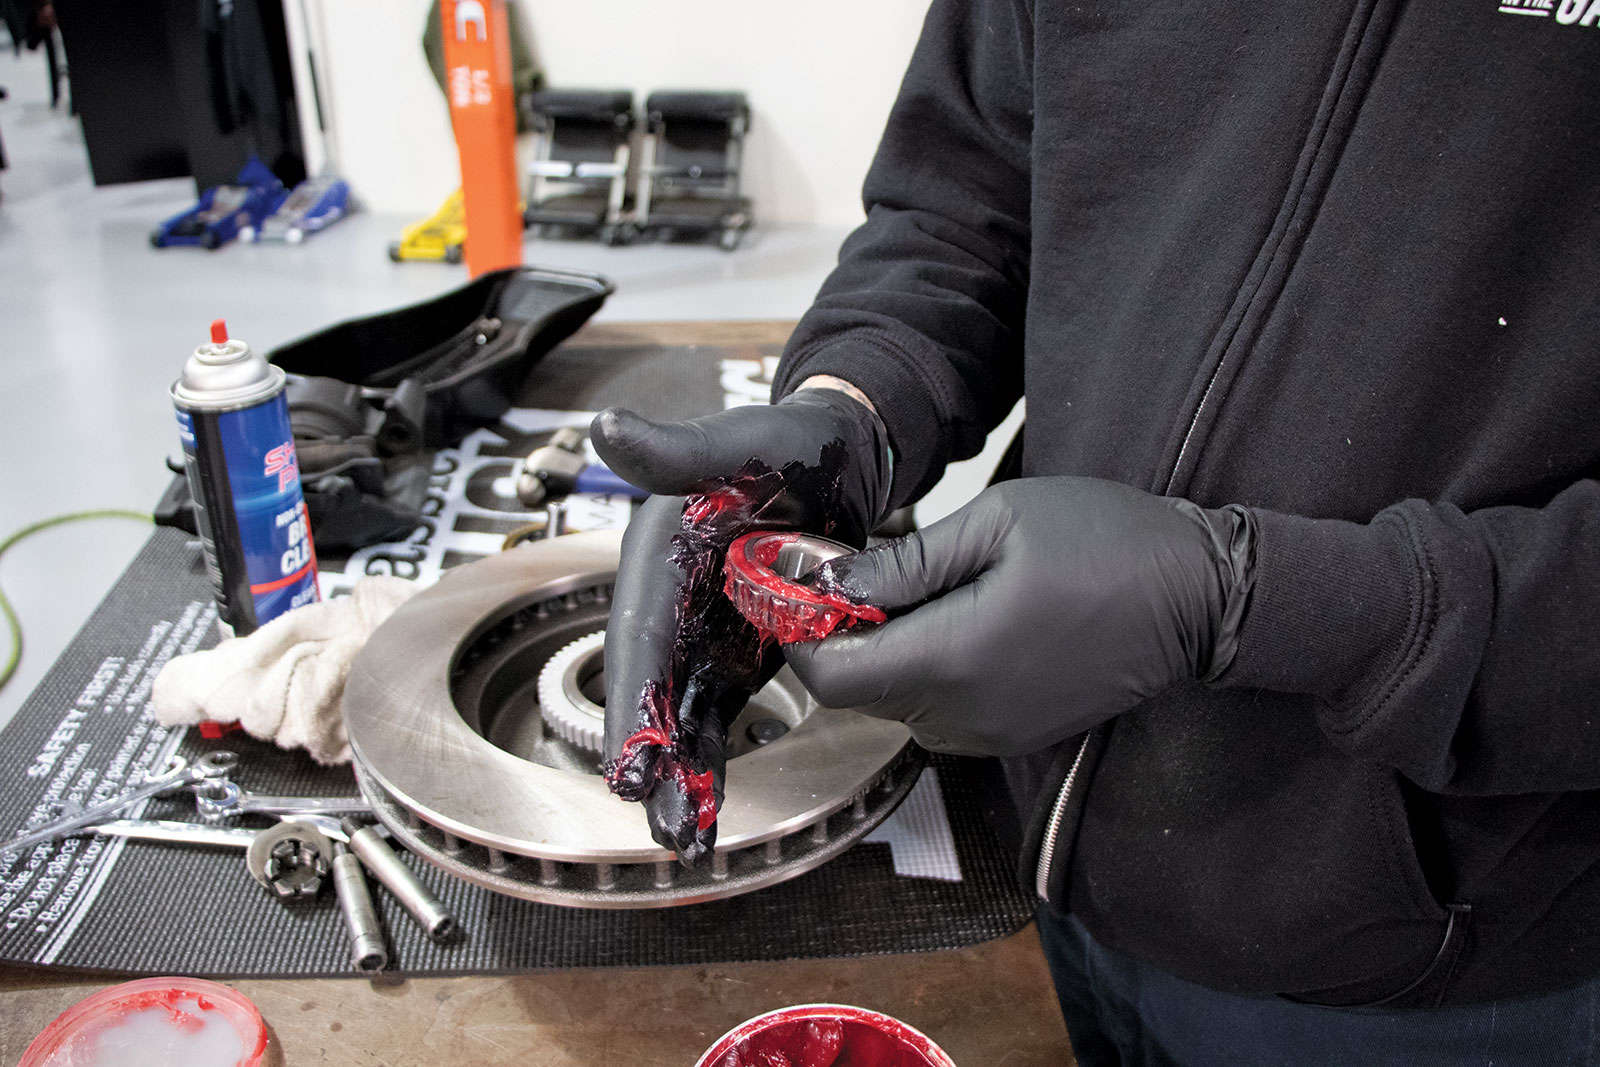
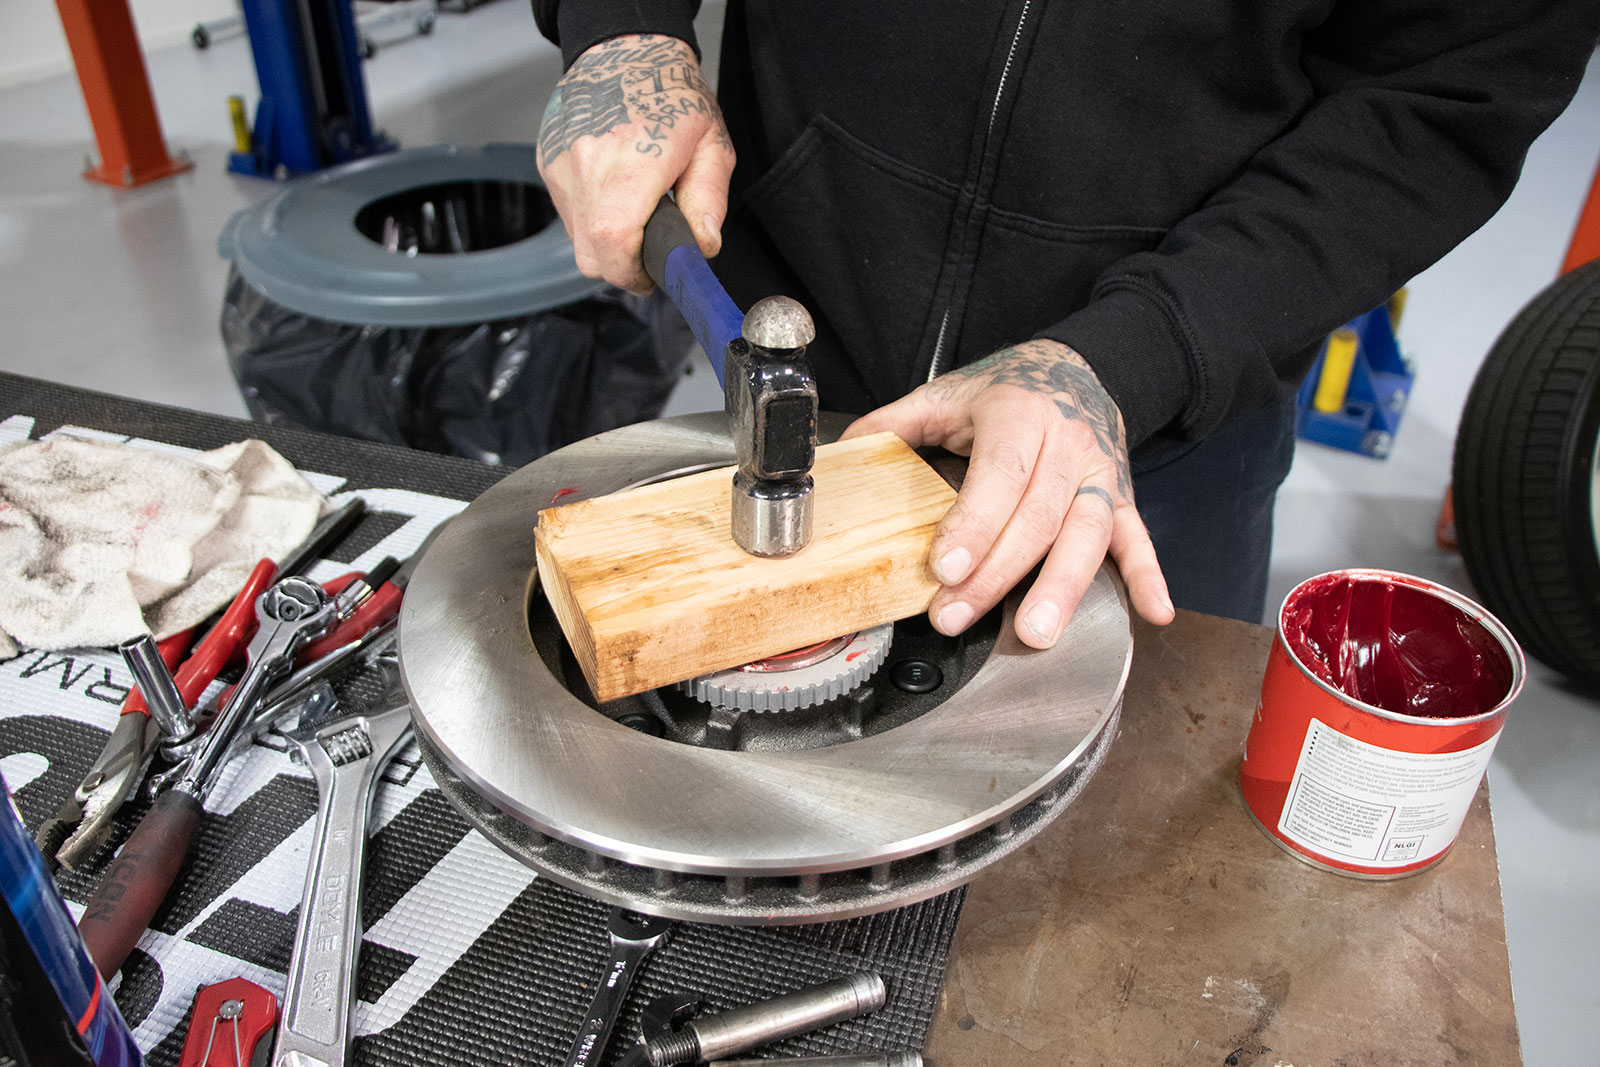
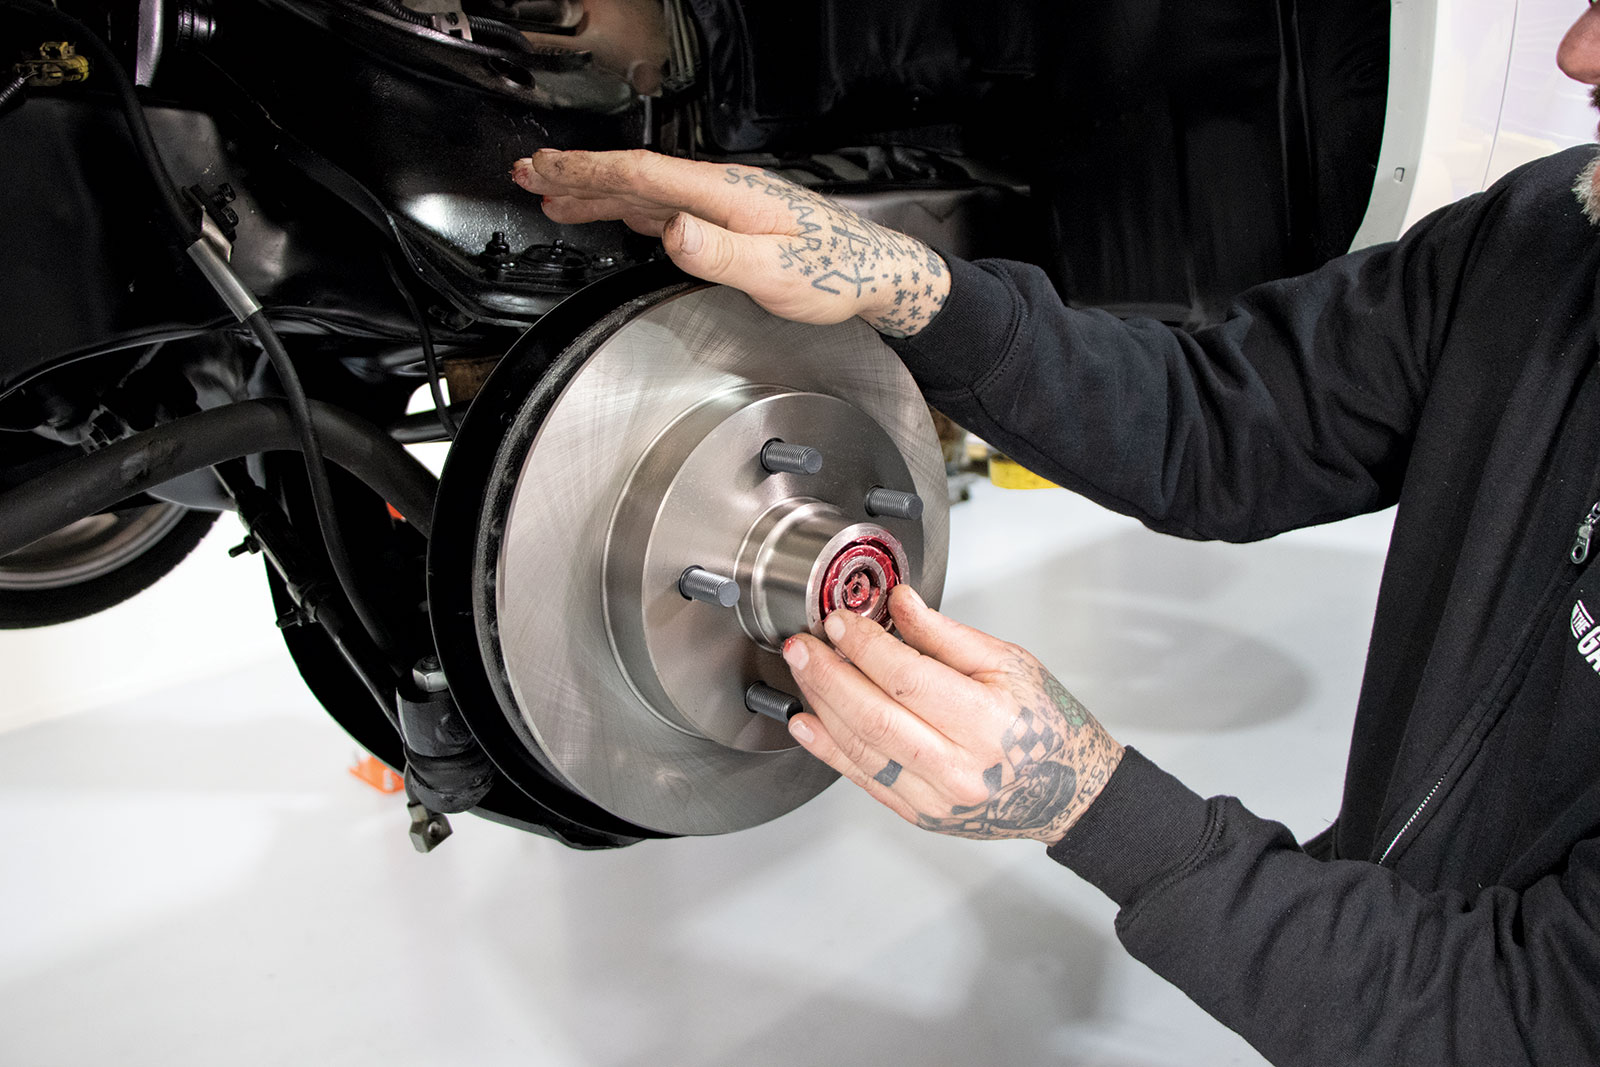
The new rotors already have fresh bearing races installed as well as a replacement ABS ring to retain the function of the factory anti lock brake system.It’s always a good feeling to see that fresh high-temp grease squeezing into every crevice of a new bearing! Always replace the inner seal and be sure to seat it squarely into place.
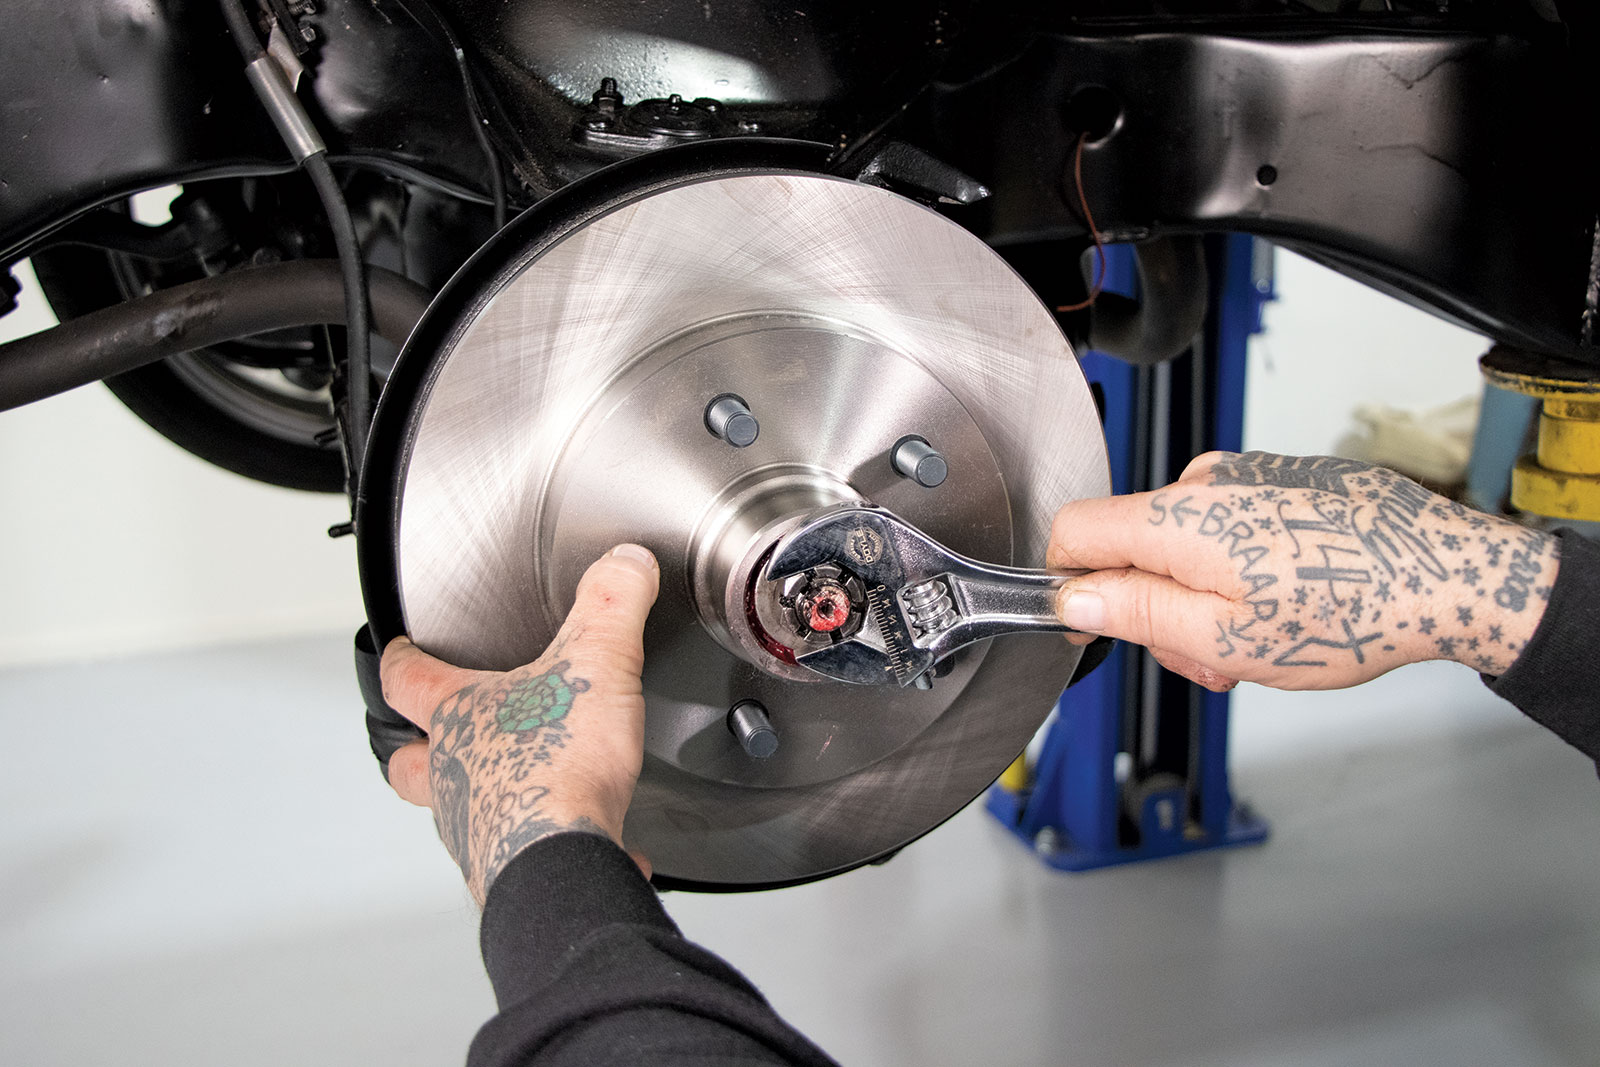
After applying a bit of grease to the cleaned spindle shaft, the new spindle was slid into place, followed by the washer and castle nut. As the nut tightens, rotate the rotor to get the new bearings to seat and settle before setting the preload and installing a new cotter pin.
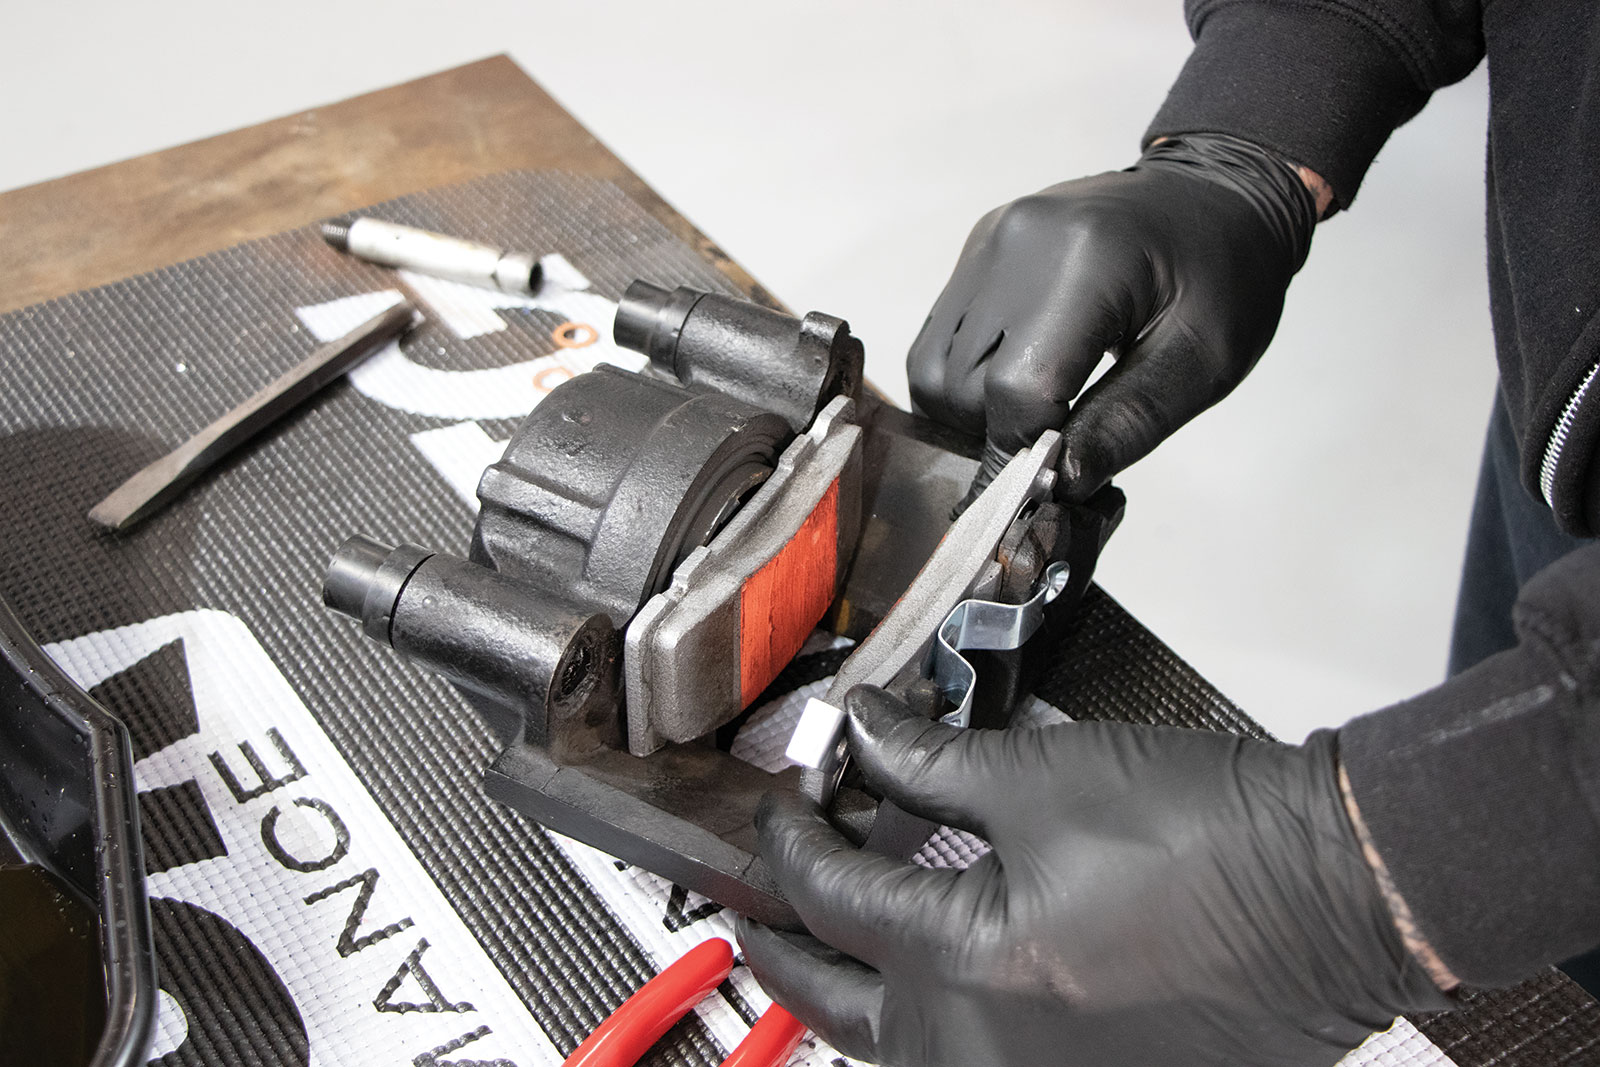
We opted for a set of Duralast’s Severe Duty brake pads. The friction compound is designed for heavier vehicles and trucks to promote consistent stopping performance and resist fade. The pads feature a unique burnishing strip to improve break-in and bedding.After draining the fluid and cleaning up the calipers, we installed the fresh brake pads. Each pad has a powder coated shim attached to help quiet the braking action.
The original caliper bolts were cleaned up and a dab of grease was added to each one before being installed. As expected, the new flex lines fit right in place and new brass washers were installed on both sides of the caliper banjo bolt.
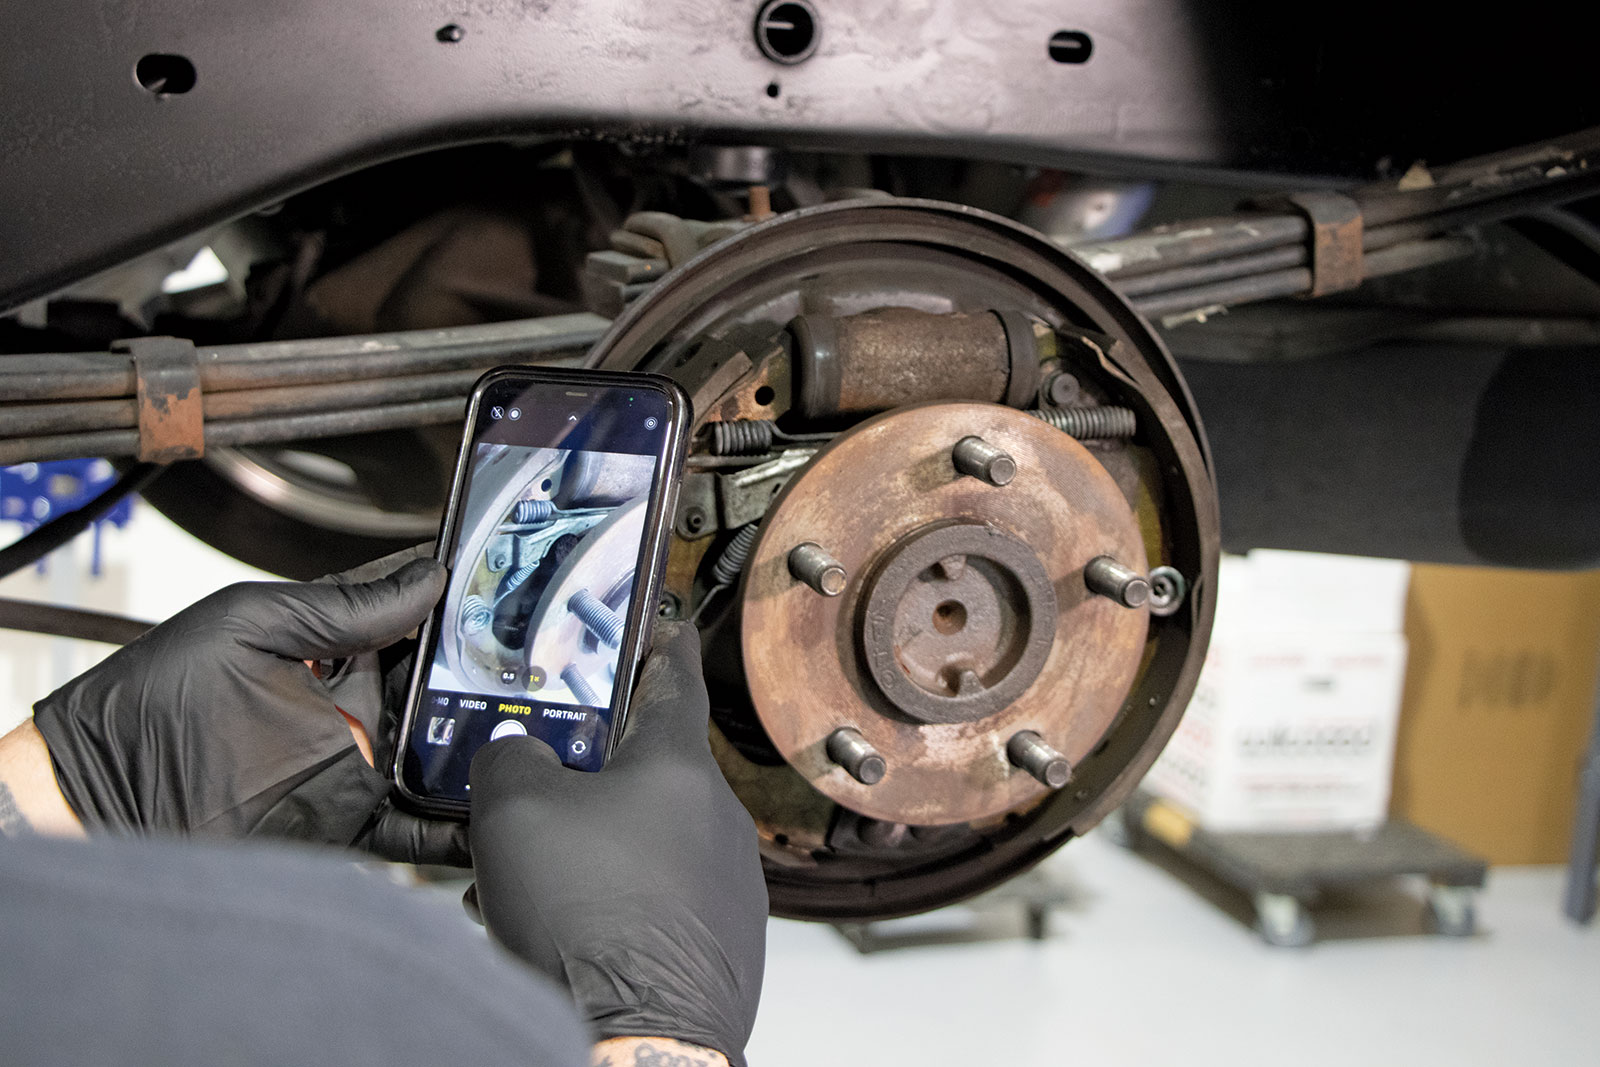
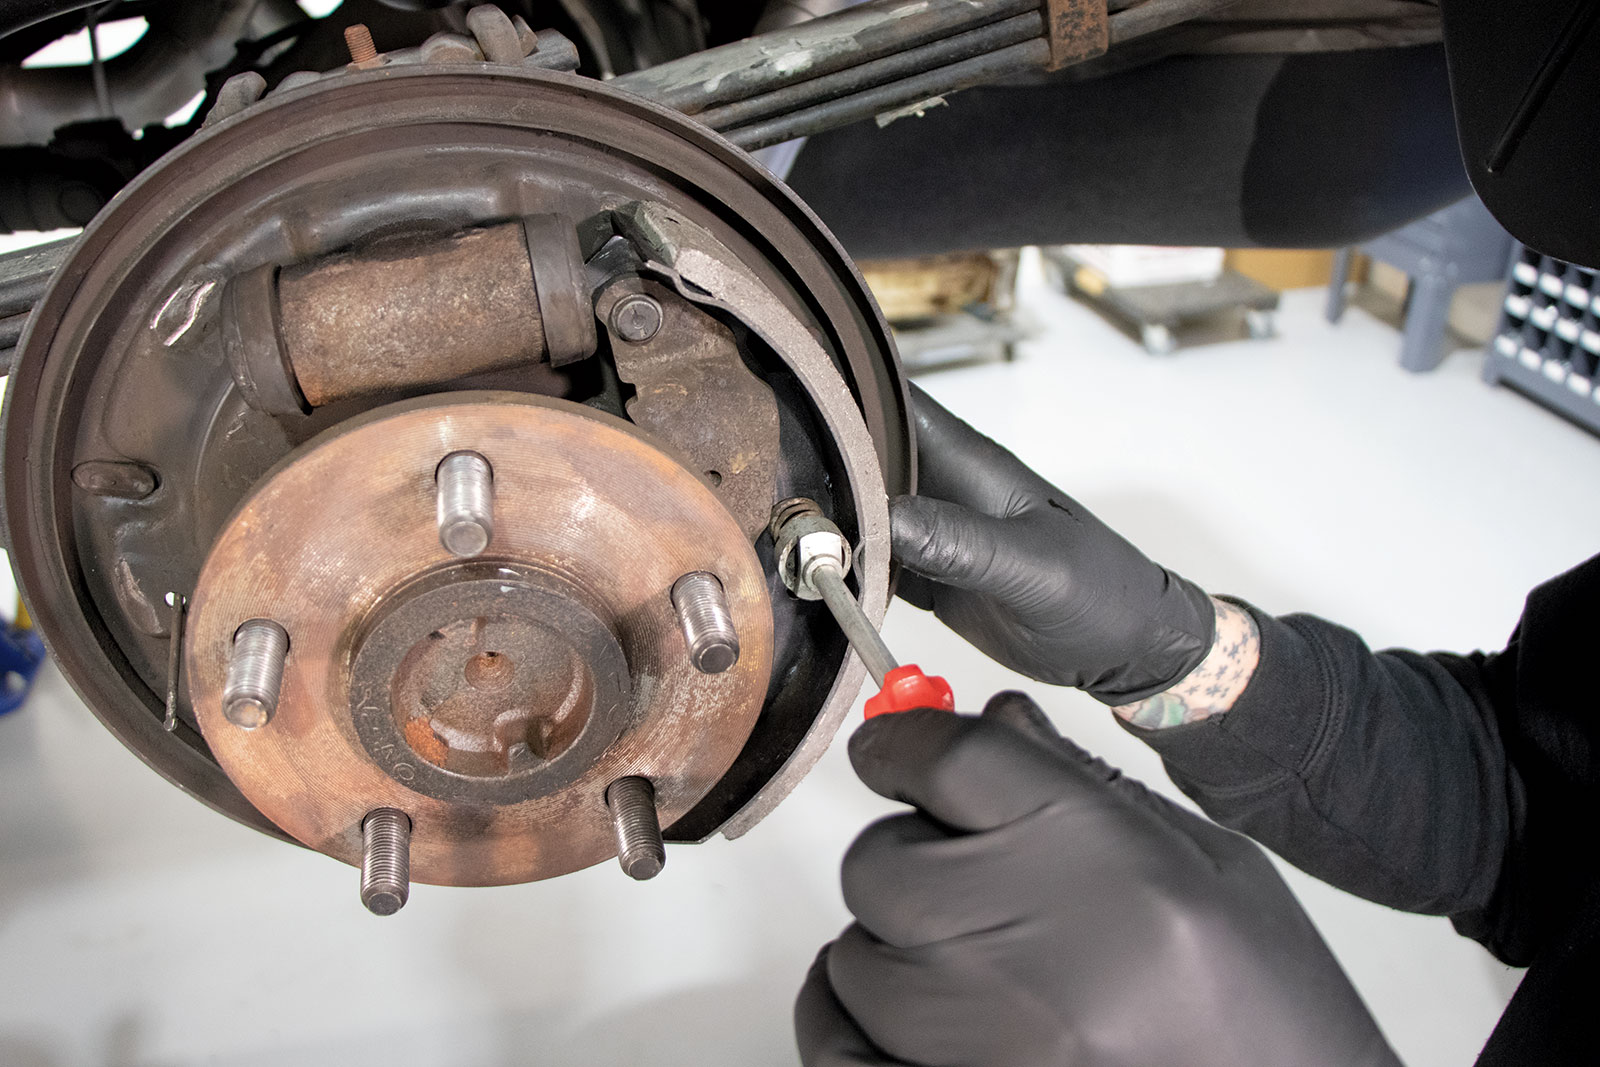
Time to play with drums—as in the rear drum brakes. After pulling off the drum, do yourself a favor and snap a picture or two of the rear brake mechanisms. This could come in very handy as a reference during assembly.
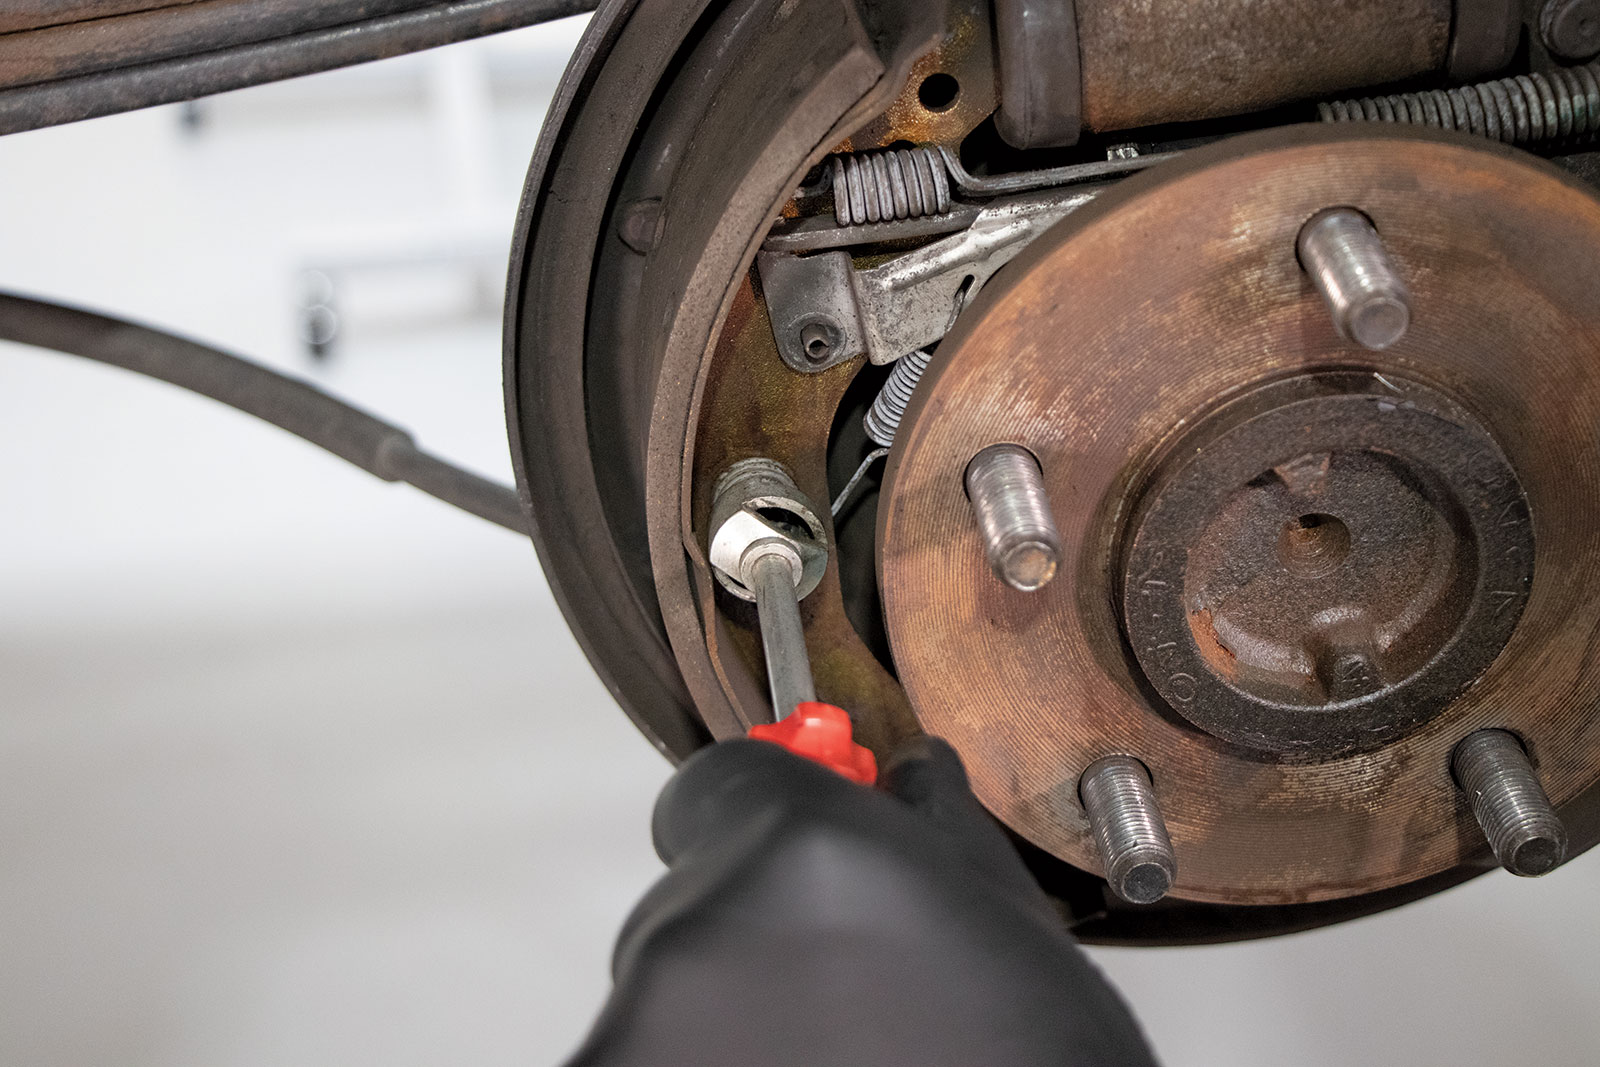
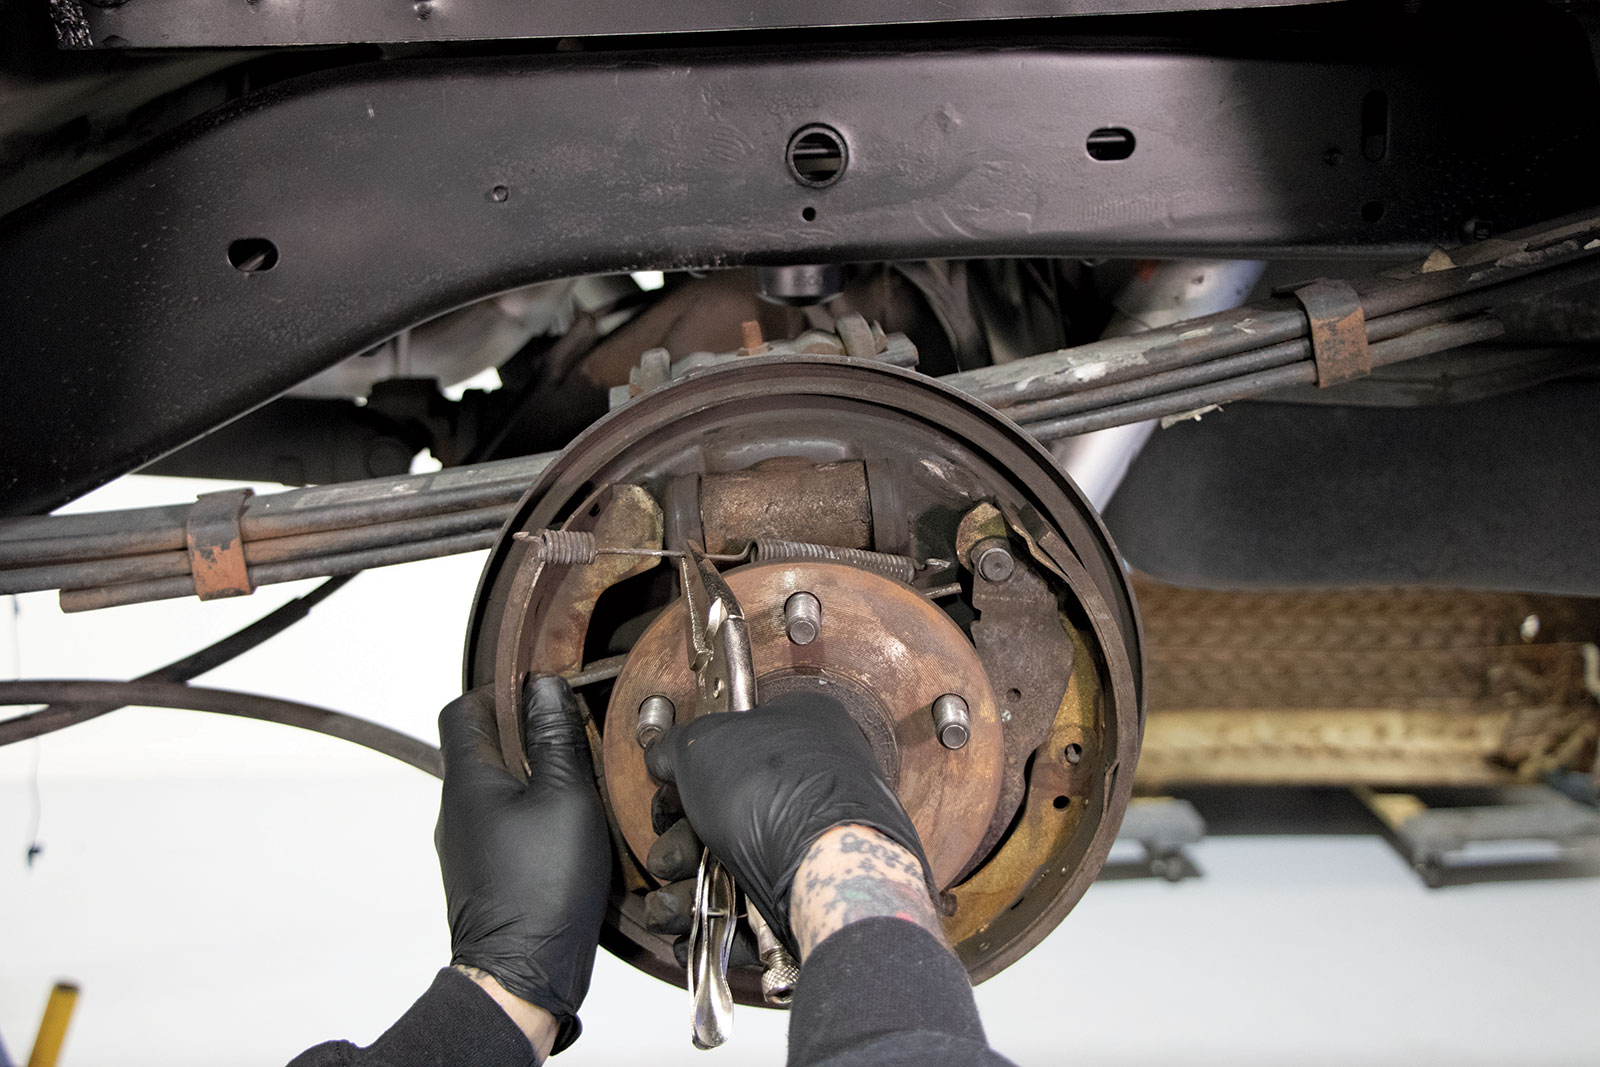
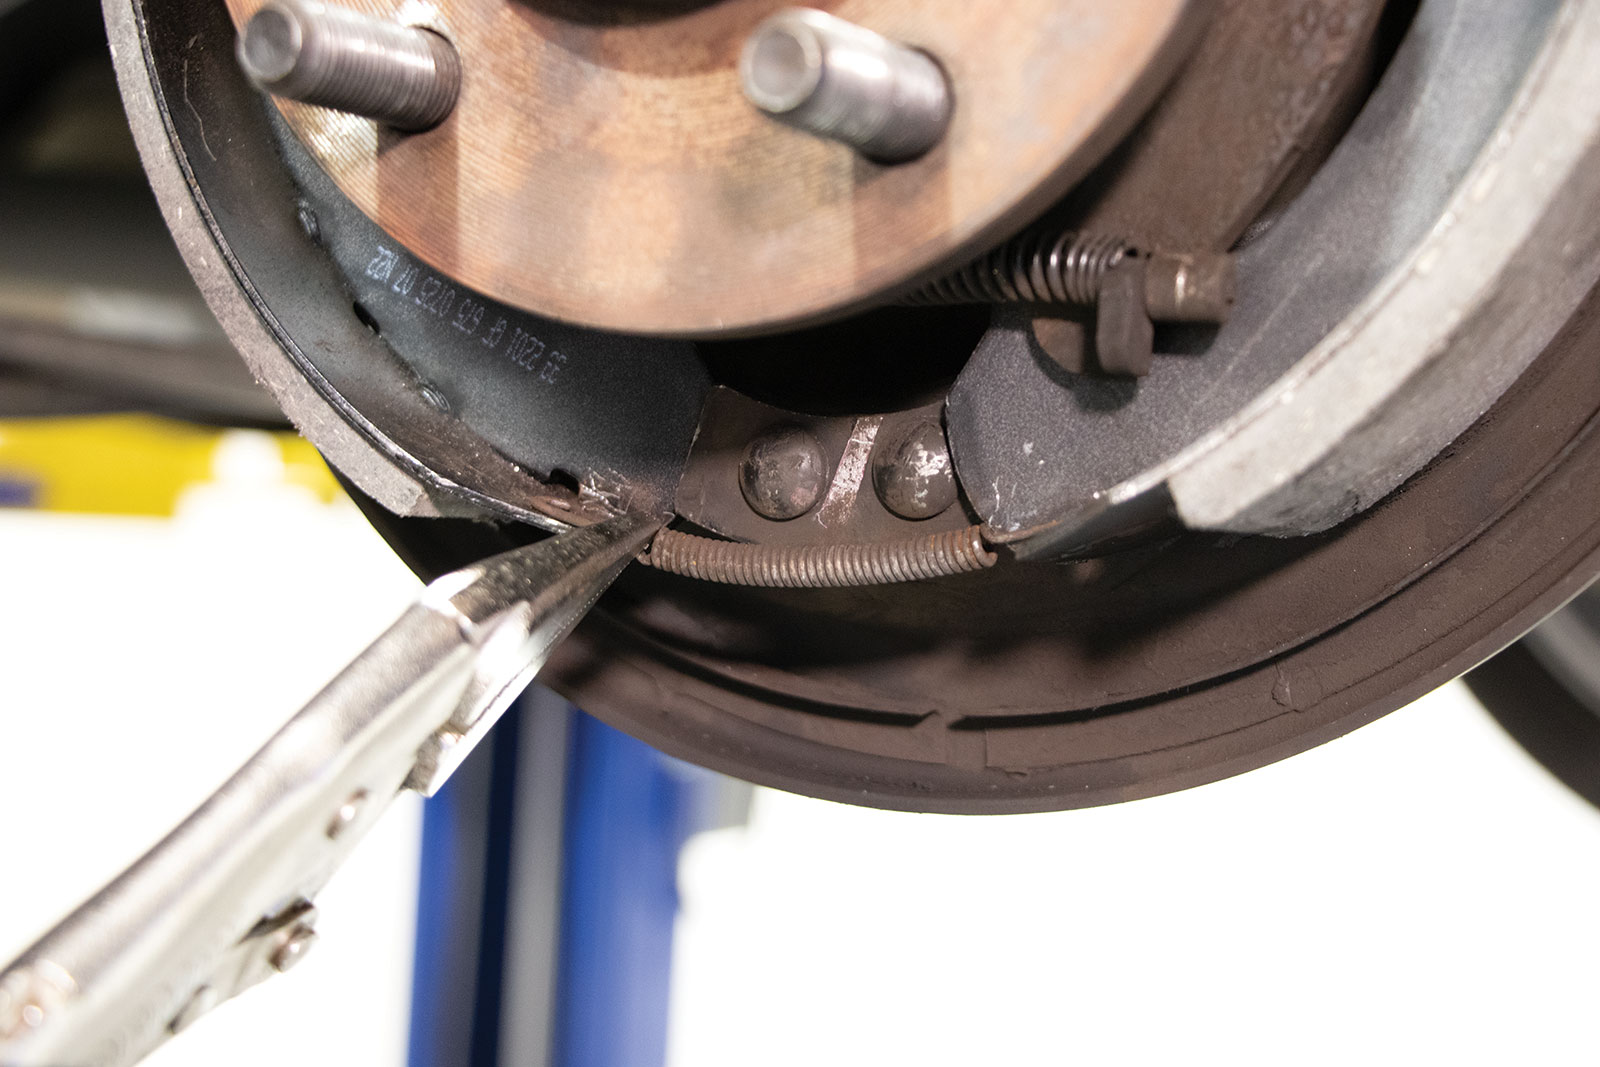
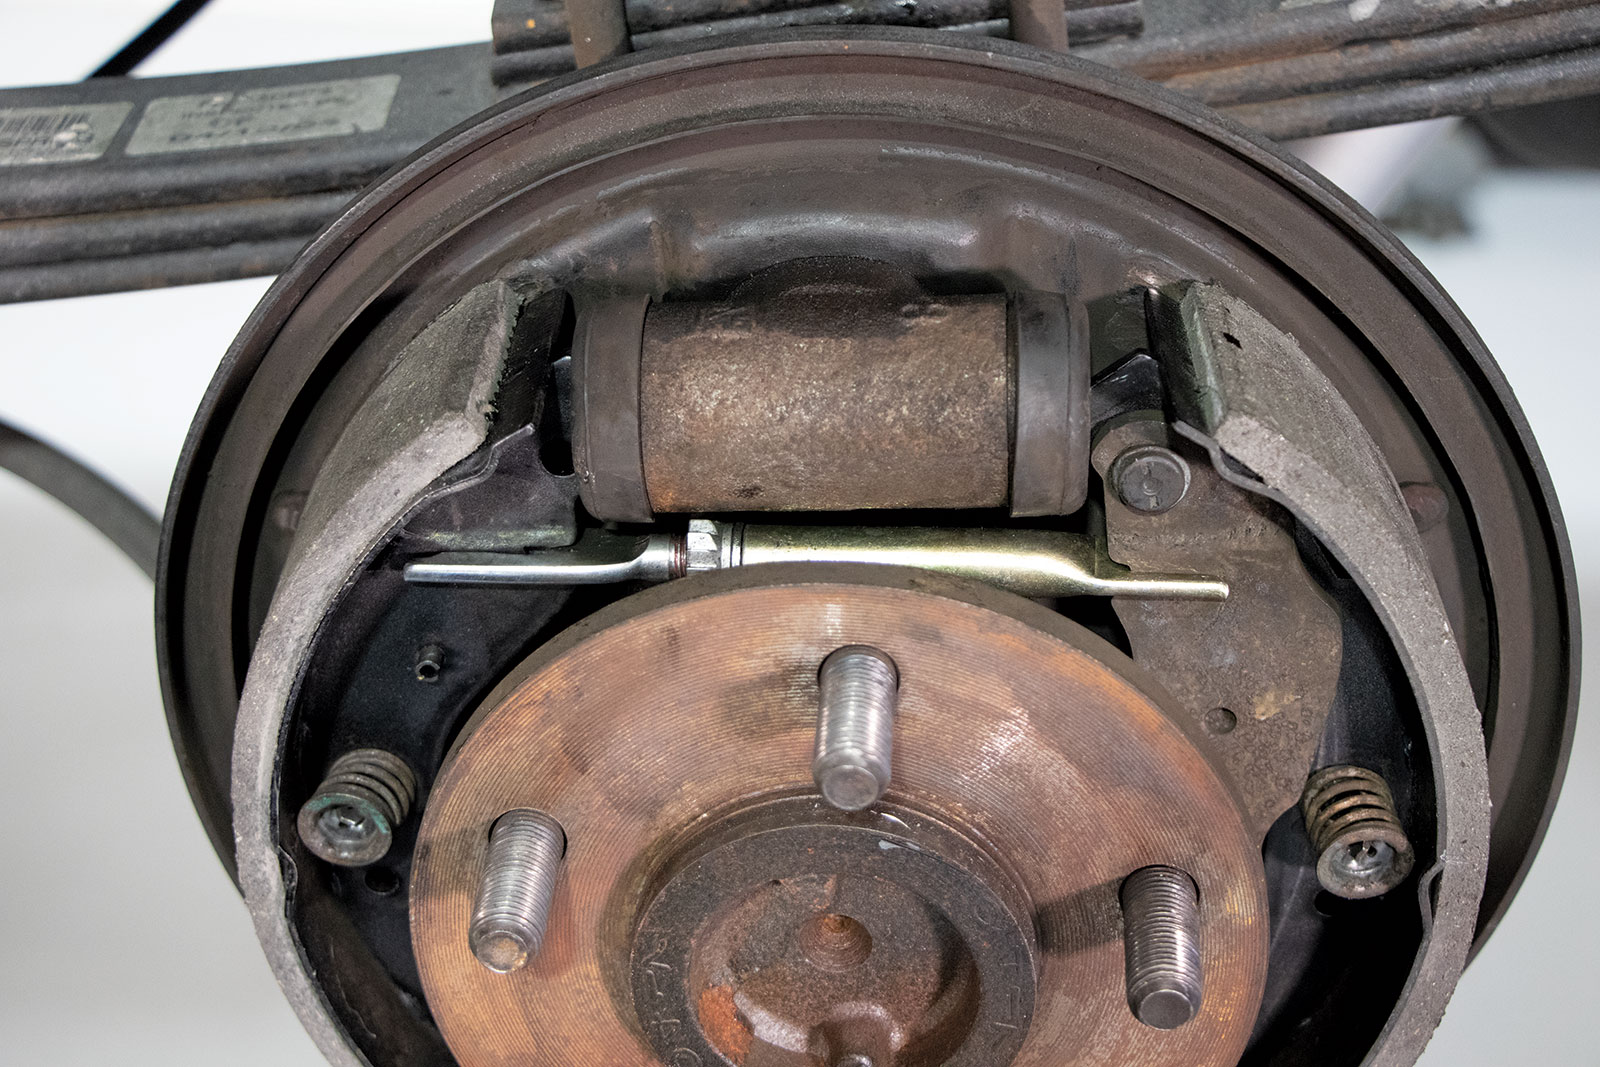
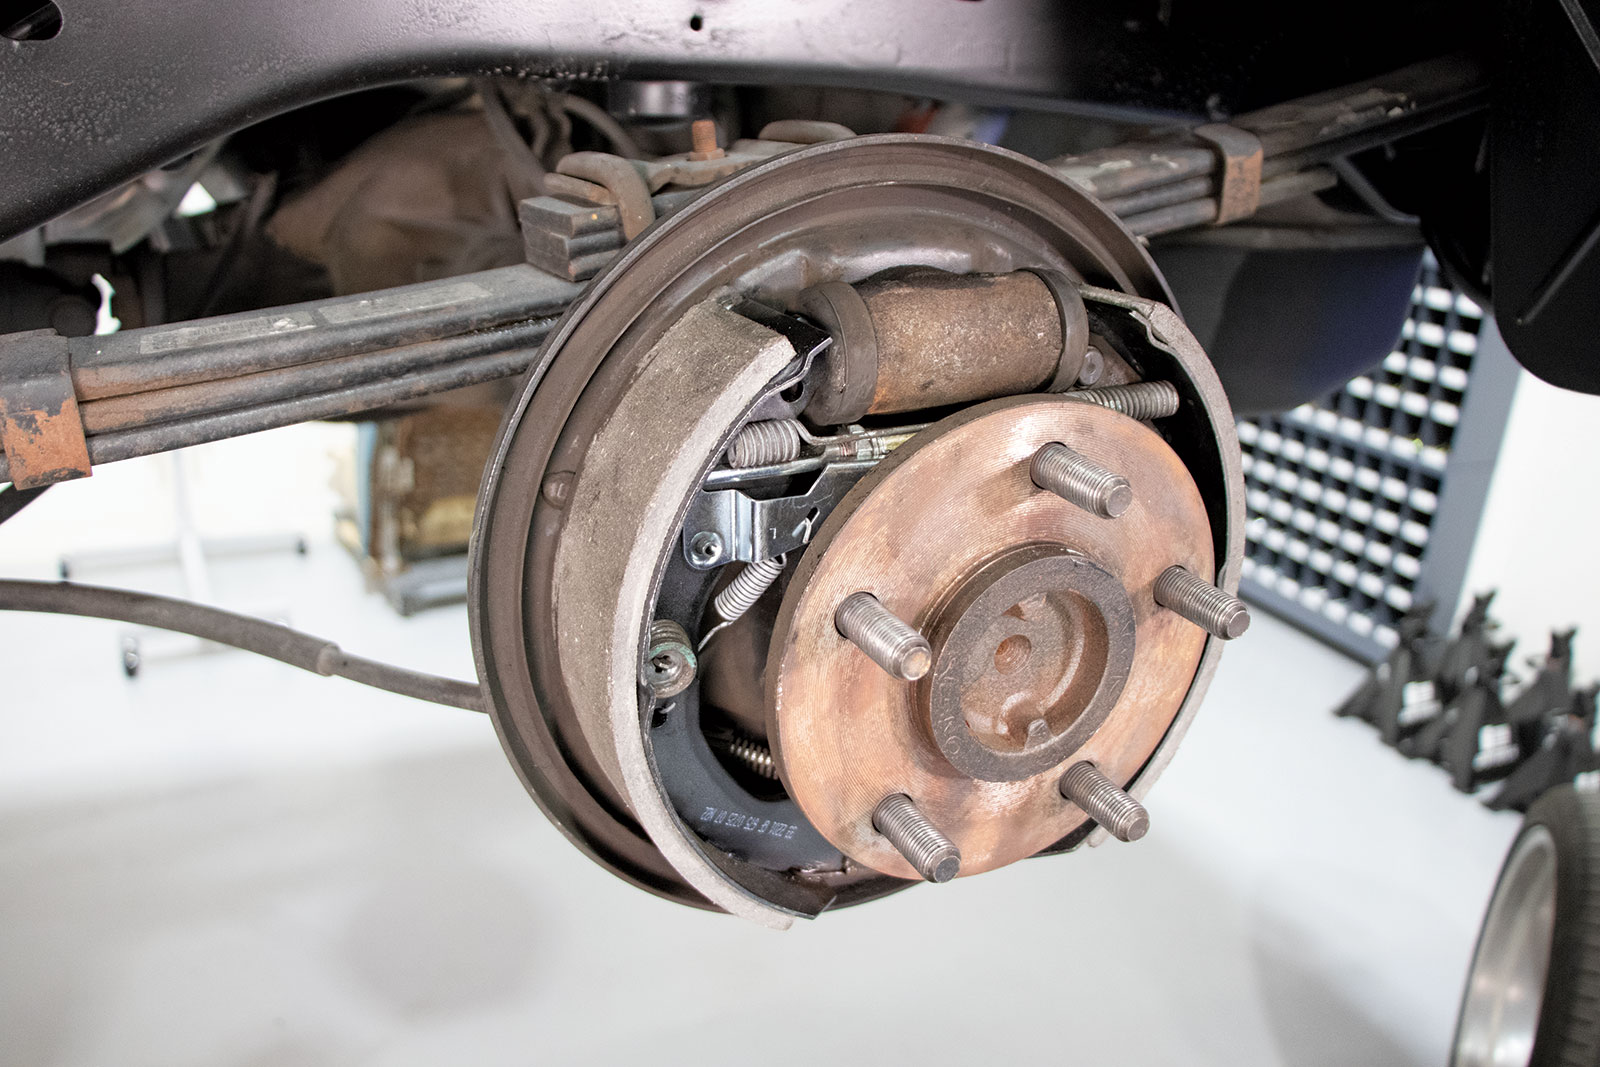
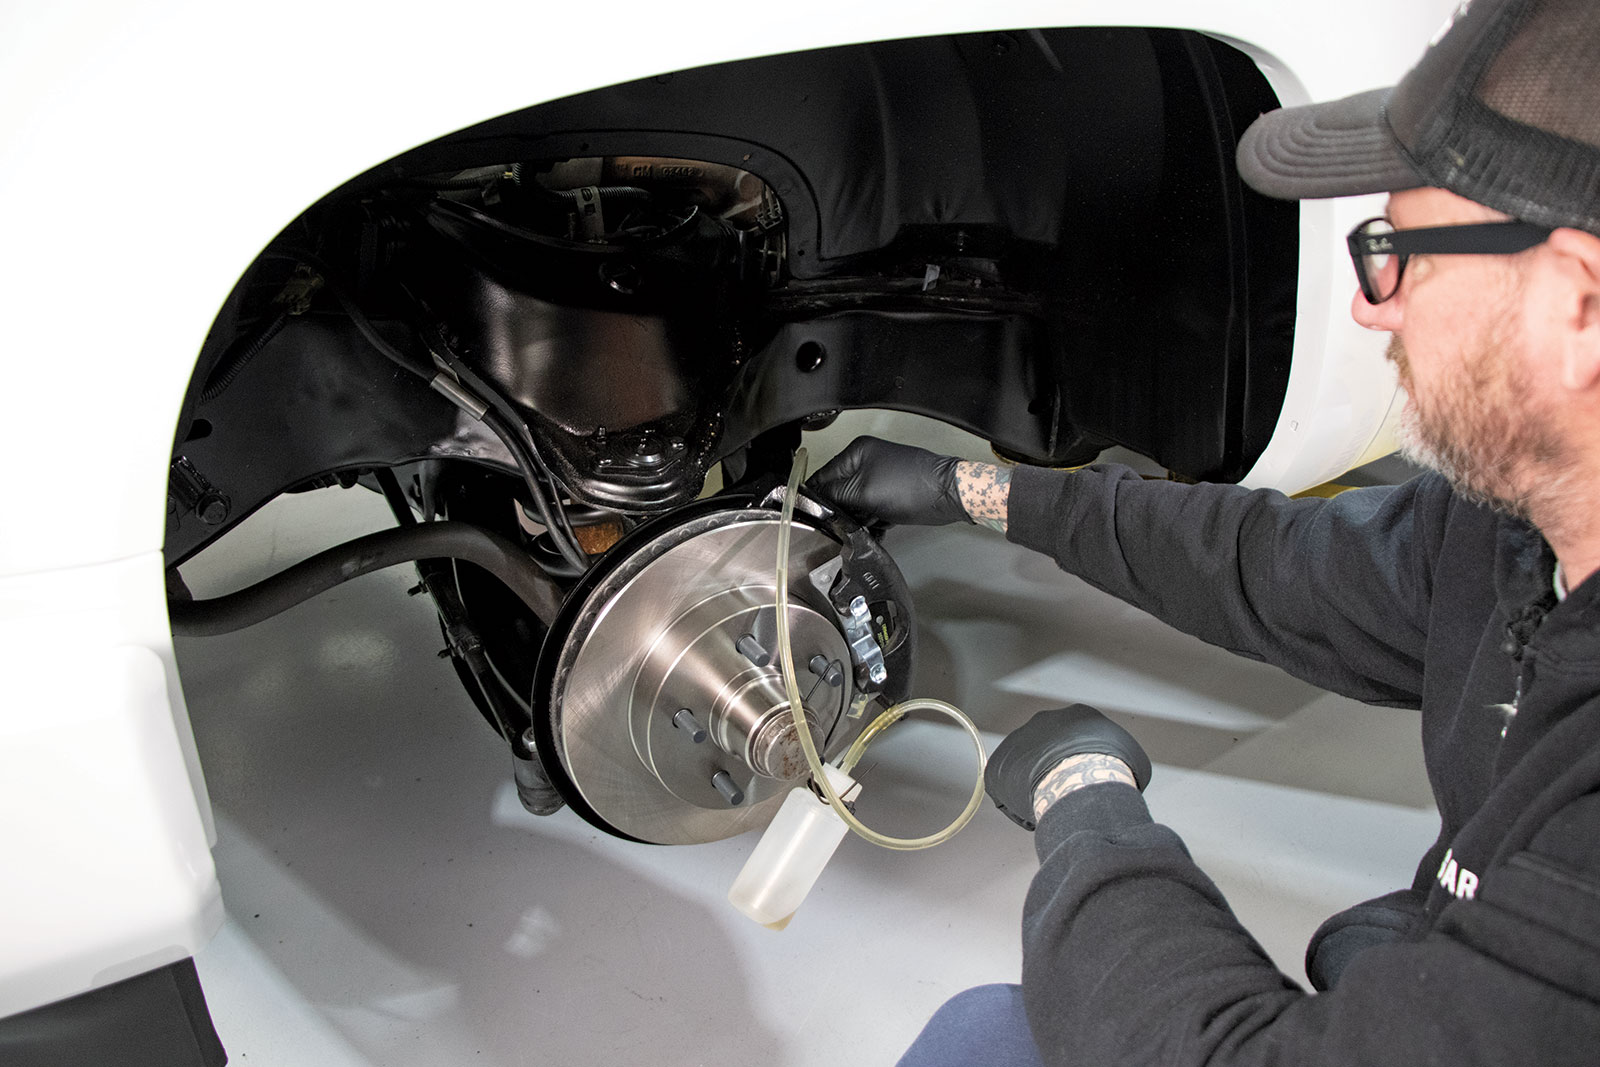
Having the special tools to remove the spring pins and the springs themselves will come in handy for years to come and they’re pretty inexpensive to pick up at any auto parts store.If you don’t have a special tool to remove the springs, a set of vise-grips and a little muscle will do the trick.The rear pad is connected to the parking brake mechanism with a C-clip. Close inspection of the wheel cylinders showed no signs of leaks, so they were retained.Since Duralast builds their parts to OEM specs, the new brake shoe accepted the parking brake pivot connection and was installed right into position on the backing plate.The new front shoe was mounted to the backing plate and connected via a skinny spring to the rear shoe at the bottom of the assembly.The self-adjustment mechanism was replaced with a Duralast assembly that fit right in place between the two shoes. As the friction material of the shoes wears away this mechanism pushes the shoes out to maintain proper braking action.Just look at those beefy new shoes! There’s plenty of friction material on the new Duralast shoes coupled to the new adjusting hardware so our drum brakes are good for thousands of stops and safe cruising miles ahead.A good practice is to install the drum, rotate the assembly, and judge for a slight amount of drag. If not, pull the drum brake off and adjust the shoes out a touch and try again until there’s a smidgen of shoe to drum friction.Since we replaced the two front brake lines, it was only right to replace the one rubber line that connects from the hard line on the frame to the rear axle hard line.We cracked the seal on a fresh bottle of Duralast DOT 4 fluid to fill the system. Always use a new bottle when filling the system as brake fluid is hygroscopic, meaning it absorbs moisture when exposed to air, which you don’t want in your system. When bleeding the system, always start at the farthest point away from the master cylinder and work your way in.
We use cookies to ensure that we give you the best experience on our website. If you continue to use this site we will assume that you are happy with it.