


Part 2: How to Use Short Strain Reinforced Body Filler
By “Rotten” Rodney Bauman – Photography by the Author
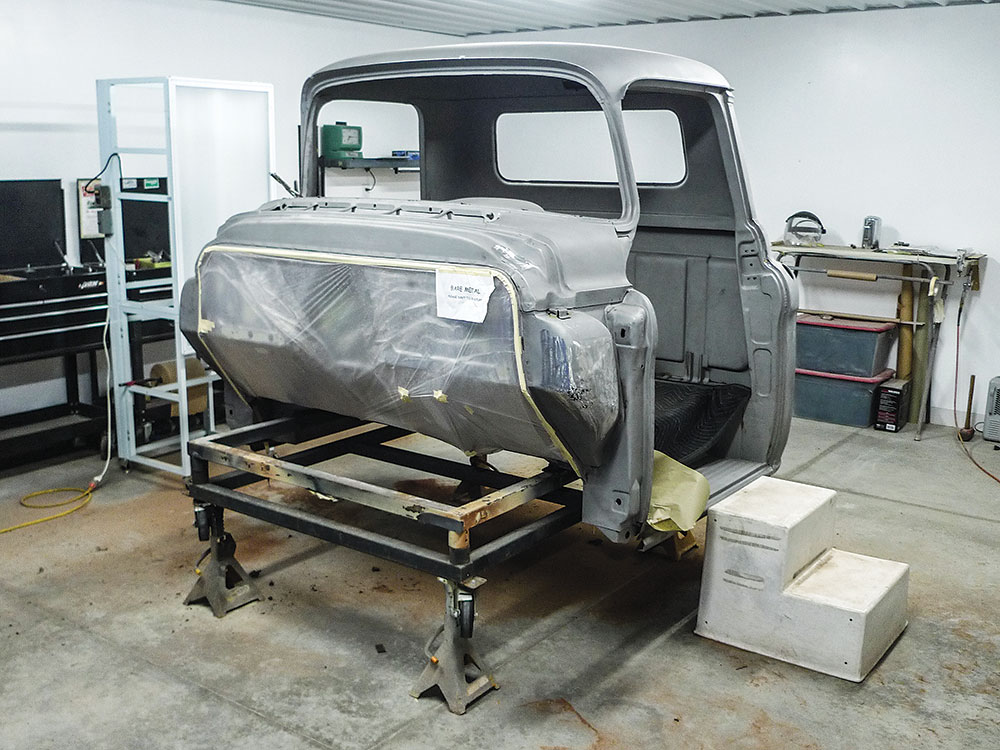
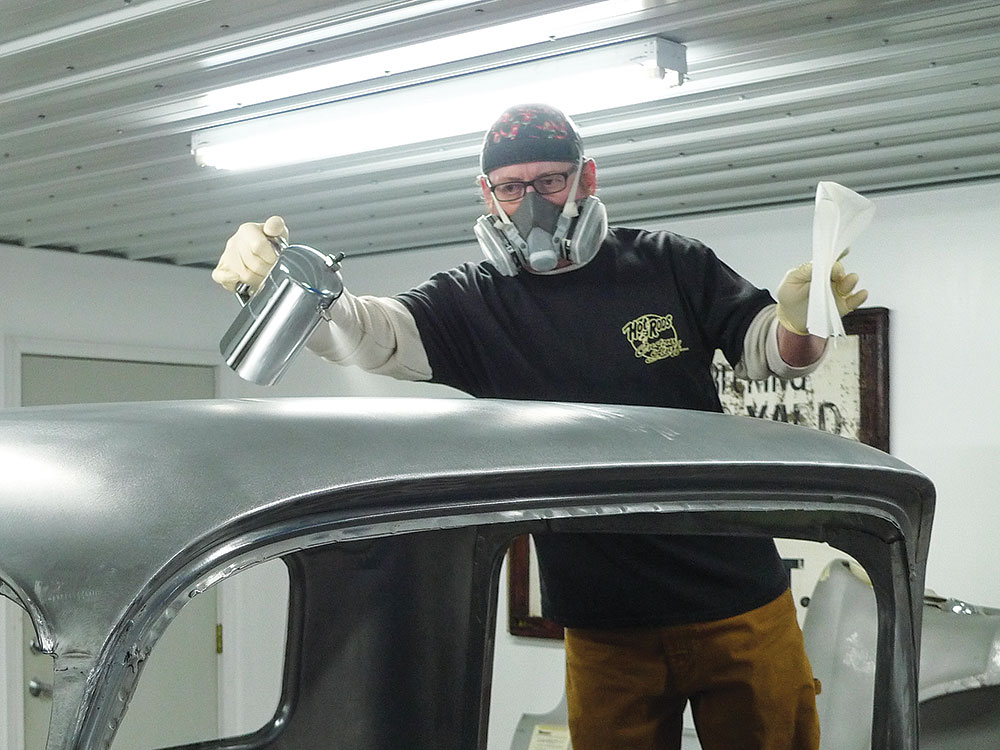
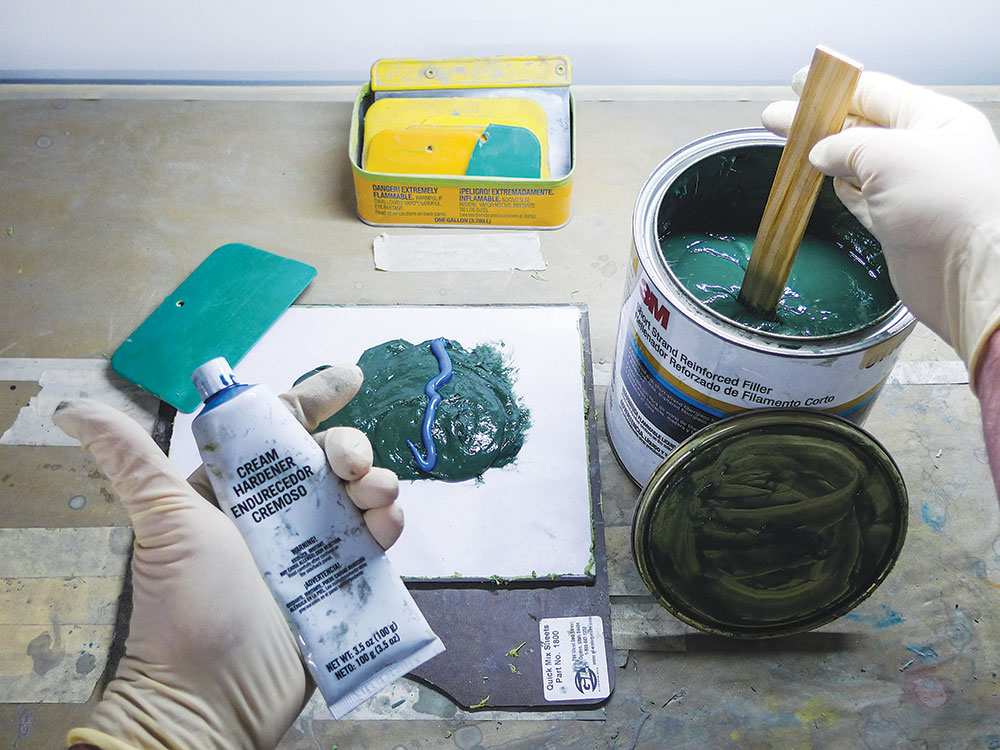
With metalwork finished, as it’ll be, our 1955 Second Series Chevy project’s Unisteel cab is ready for necessary fillerwork. Having the truck mocked up as it’s been for so long makes it harder (at least for me) to focus on the little things. Lately, since we’ve been working on just a bare cab, we’ve backed up to weld up more cracks from old collision damage. Now, we’re getting to work with fiber-reinforced filler, because it’s easy to work and cures stiff. Fiberglass body filler is high strength, high build, and waterproof which makes it excellent for body seams, repairs, and a base for final body refinement.
Read More: This ‘72 Chevy C10 Gets A Second Chance
But, let’s talk about fillers first. White Star, Black Magic, if we go back any further we’ll be talking about lead. When we think of lead fillerwork today we’re likely thinking of famous ’50s customizers, or the same-era craftsmen of the autobody trade.
Bet you’re not thinking of autobody butchers. The ugly truth is: Before polyester body fillers caught on, butchers used lead, too. I know because I’ve ground and melted liberal applications away for fresh starts numerous times during my own career.
Back in California, around the middle of the ’70s when I was, oh, in training, leadwork autobody was still a part of Riverside Community College night school curriculum. But afterward, in the collision repair field, I can’t recall using lead one single time. Polyester fillers were improving, and by then insurers wouldn’t pay the difference for lead anyhow.
Granted, there are still some old-time craftsmen—no, let’s call ’em artists—who know how to lead. This story, however, won’t be about that, as we’ll be using fillers that are commonly used and available today.
Using Fiber-Reinforced Body Filler

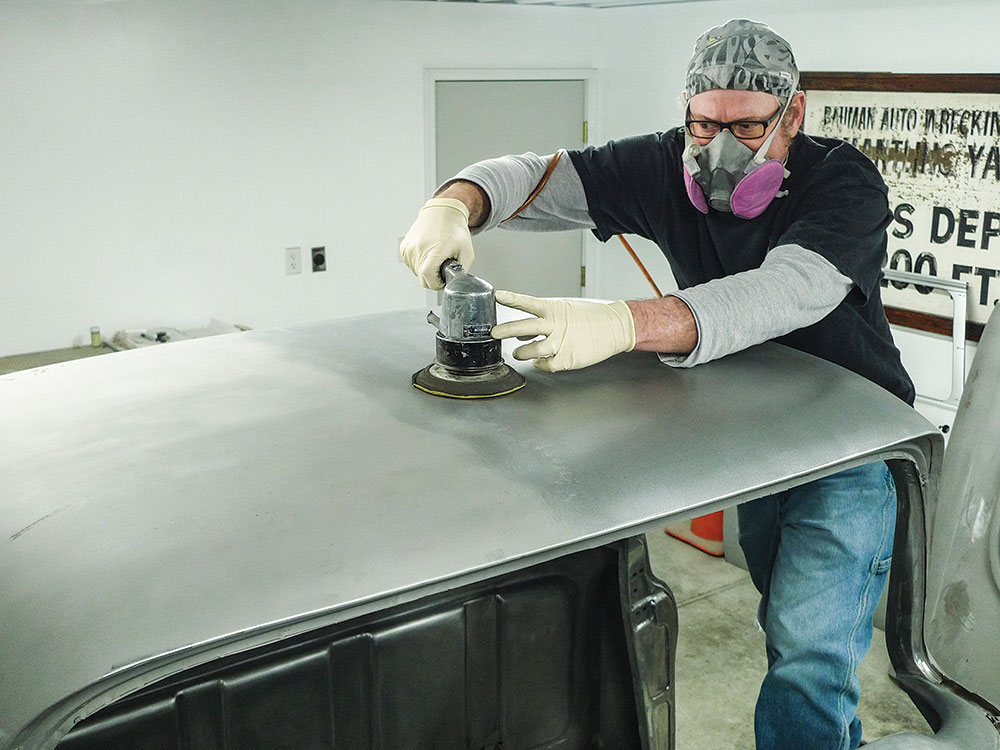
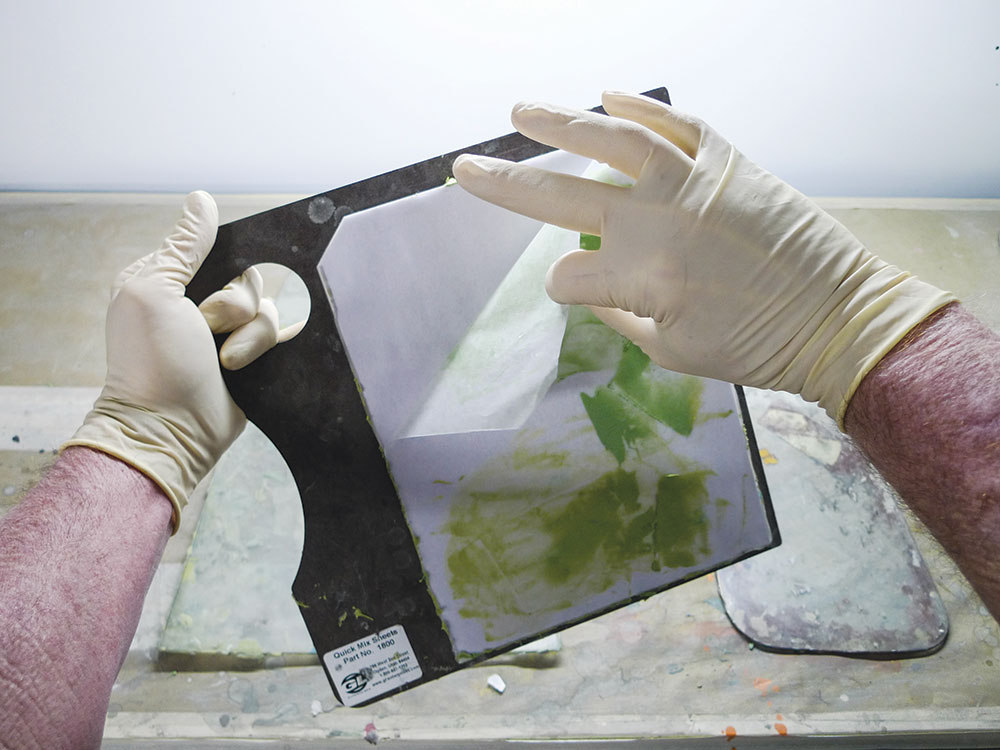
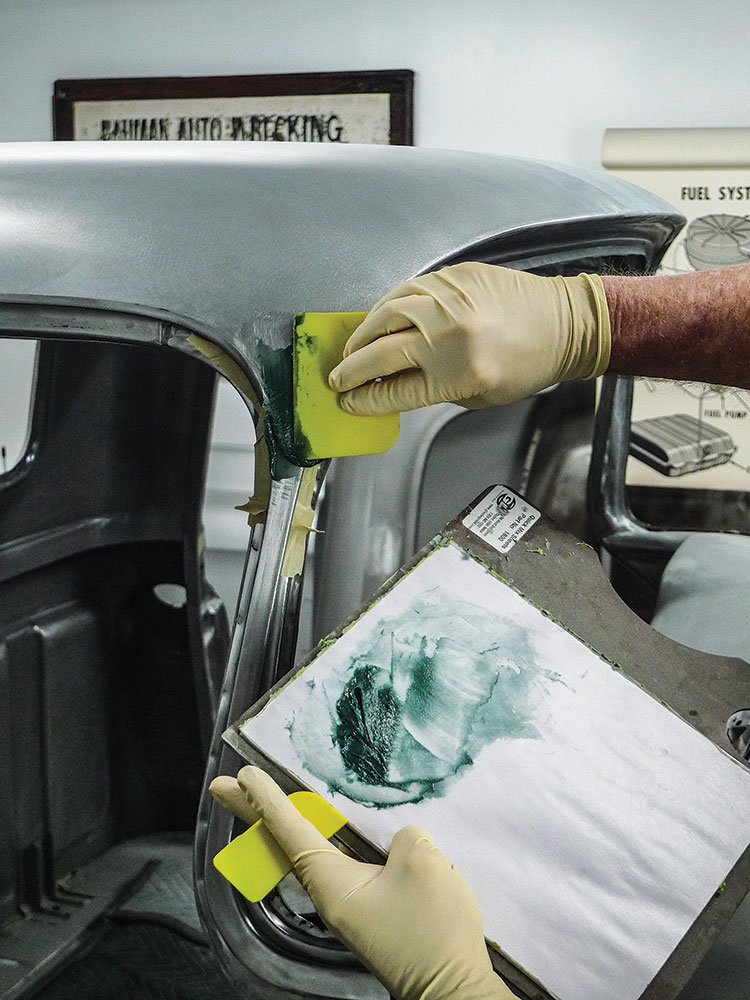
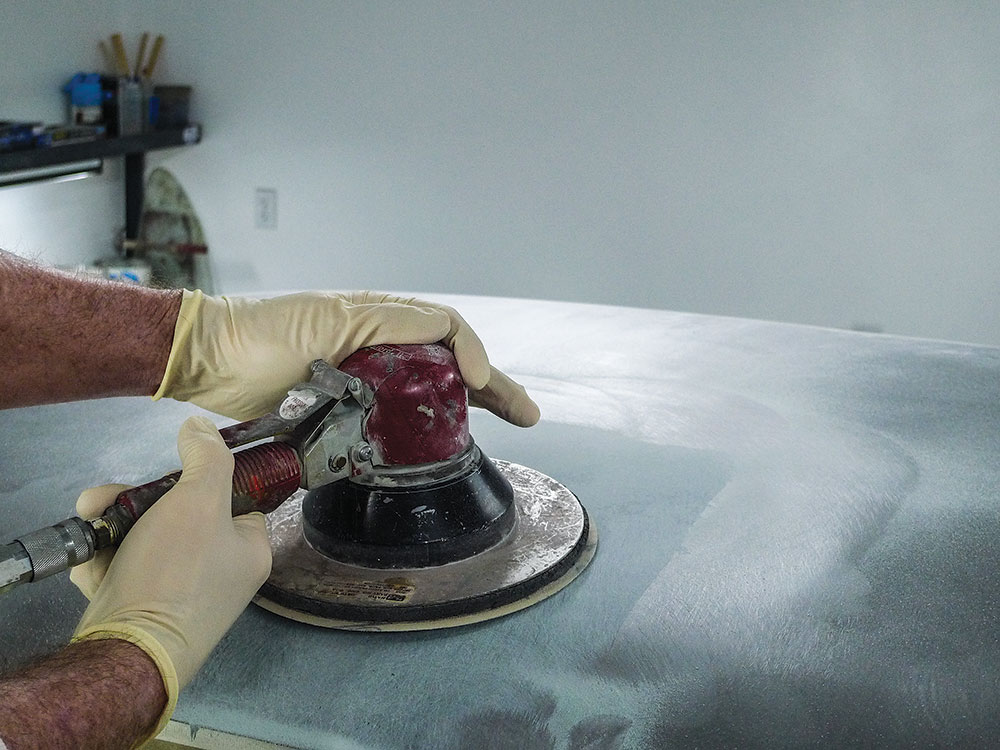
Only because it’s necessary, every cab panel will receive some degree of fillerwork. At this stage, the firewall is finished to 120-grit. It’s now covered for protection, and interior fillerwork is pretty much done as well. By taking this phase panel by panel, it should be a little easier to concentrate on details.
Read More: Part 1 Corner-Carving Components: Tubular Control Arms, Coilover Shocks, and Big Brake Kit
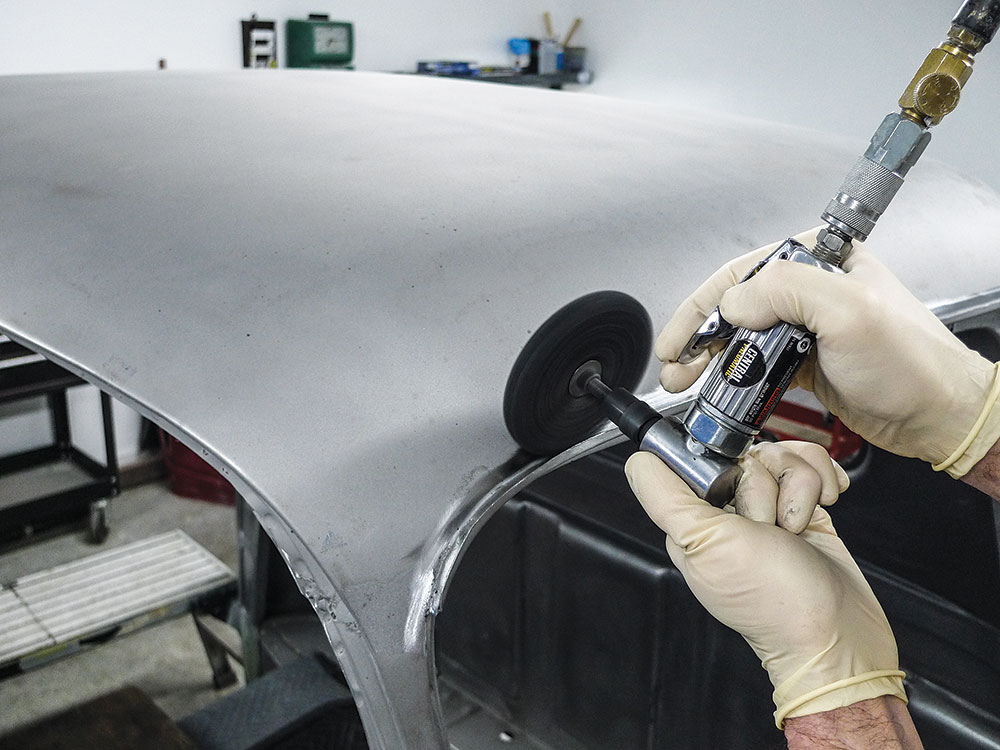
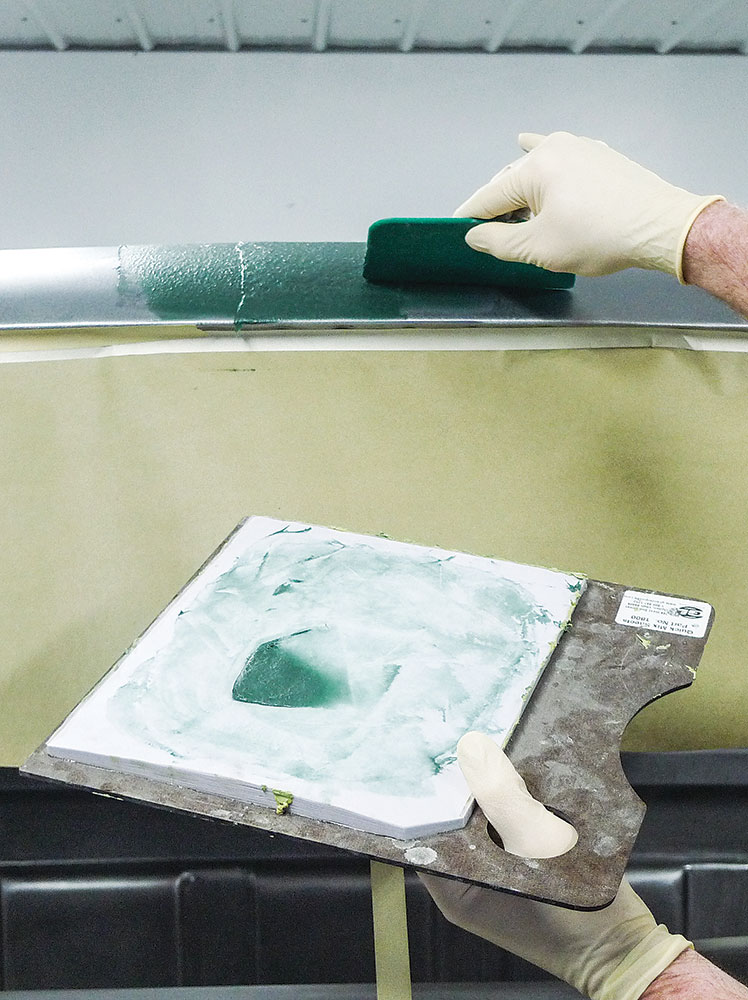
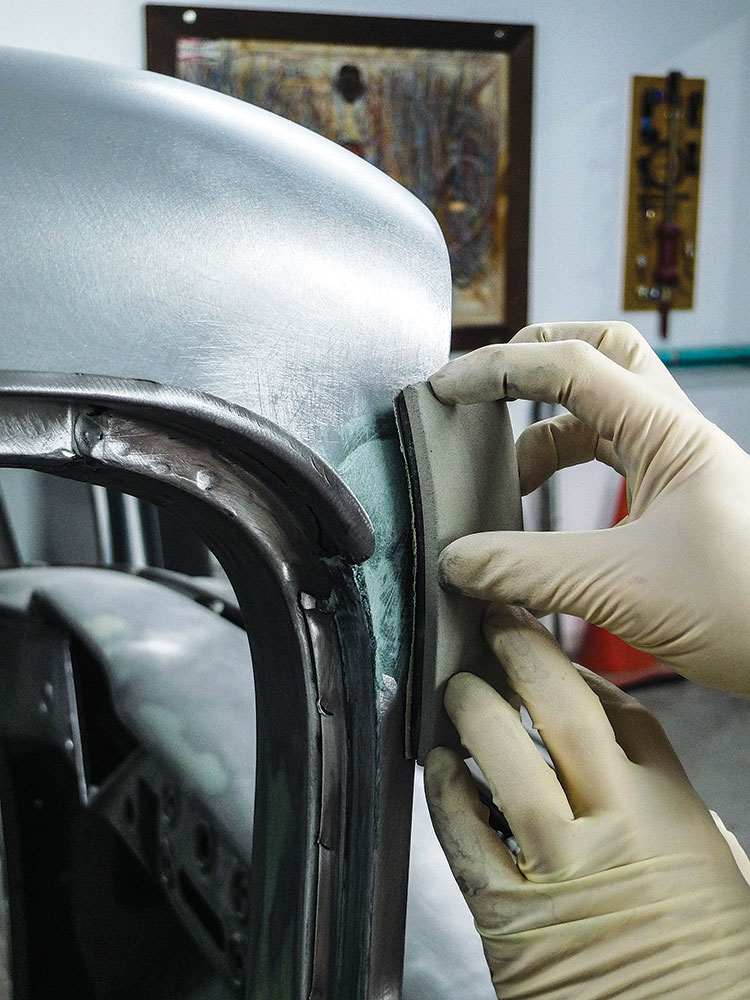
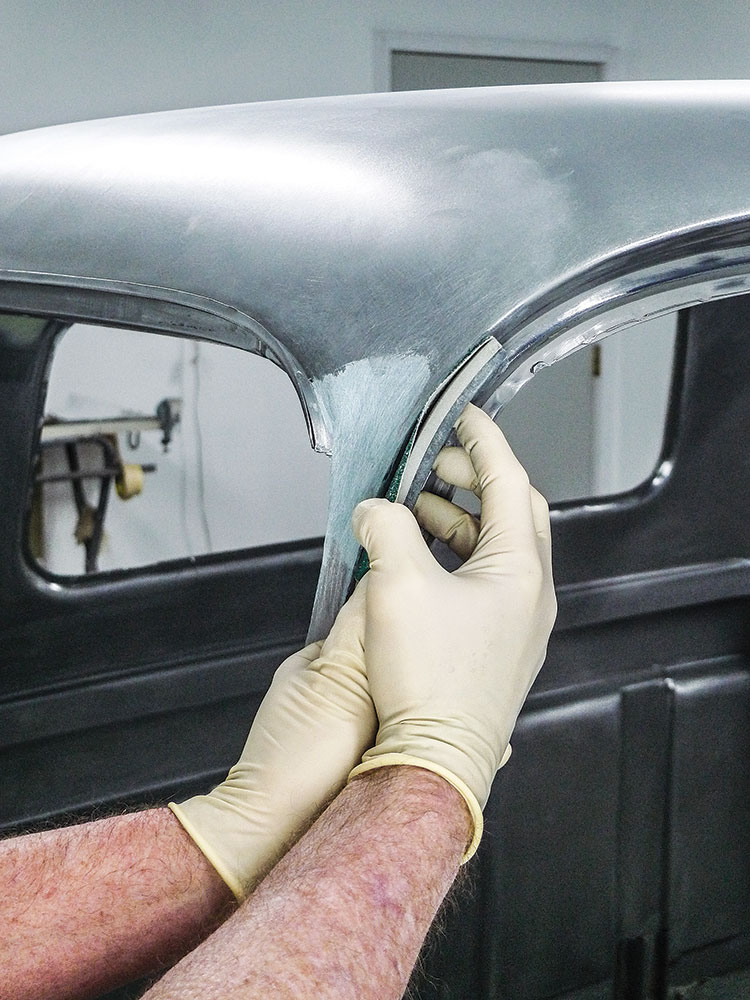
The next panel up will be the roofskin. Like the other panels, it’s taken its lumps and bumps. As a result of some obvious crash testing, the passenger-side roof pillars were both pushed forward. Making use of a Porto-Power, body clamps, and a ratchet strap, we corrected the affected pillars but afterward the roofskin seemed a little loose, as it would oilcan under pressure. Sure, we can heat and beat as necessary to shrink this sheetmetal as we were taught to years ago, but through modern chemistry we have a time-is-money option.
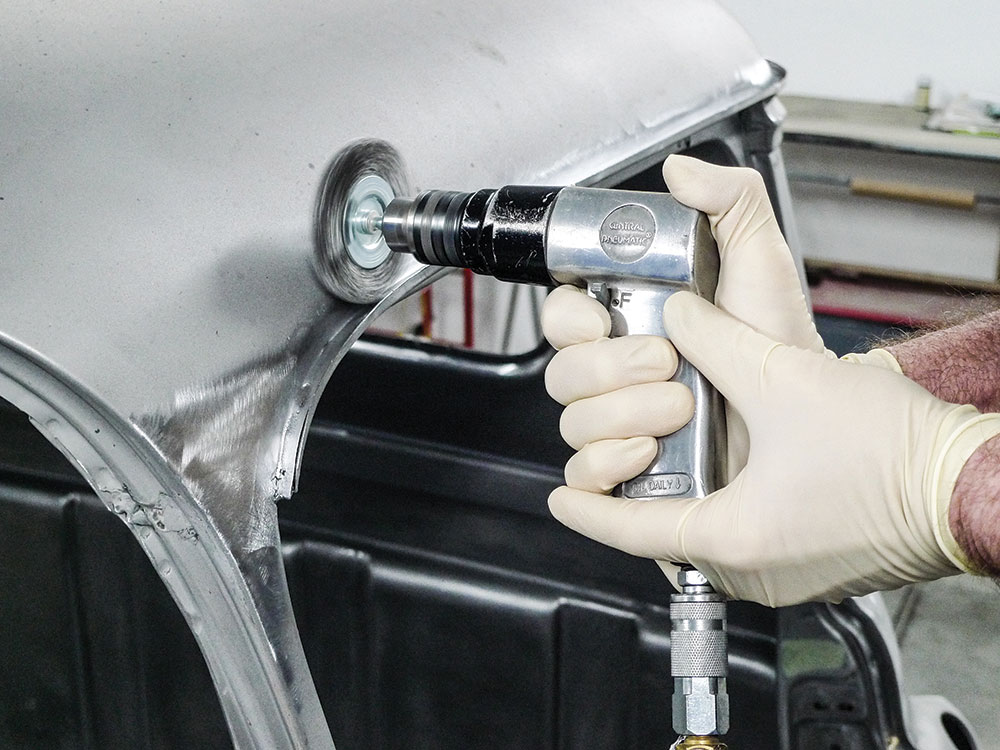
Today for body seams, patch panels, or wherever body sheetmetal has been welded, it’s good to begin vehicle fillerwork with fiber-reinforced filler. As polyester body fillers go, the fiber-reinforced variety is pert near structural once cured. Since this cab’s oil-canning roofskin will require the use of filler anyhow, beginning with fiber-reinforced filler could go a long way to stiffen the unsupported panel.

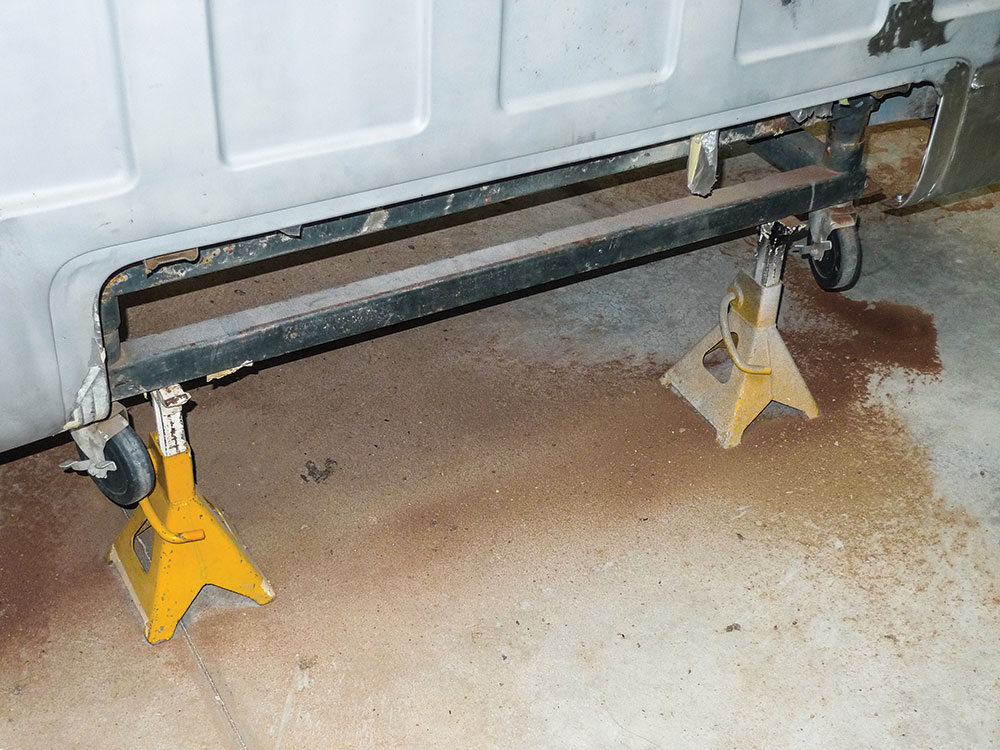
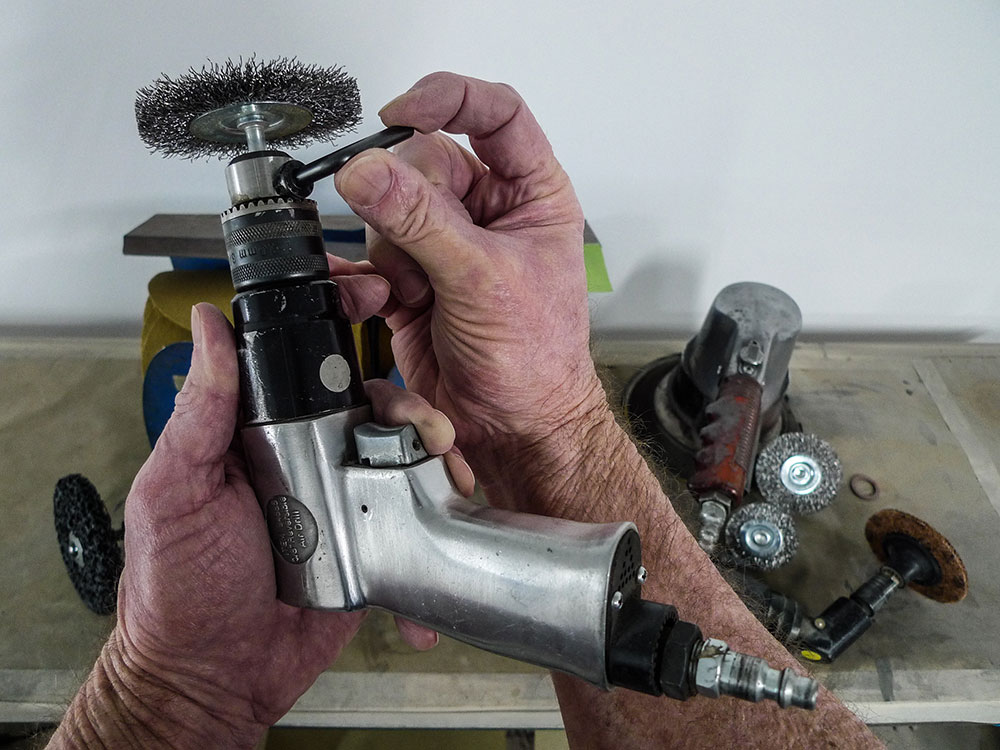
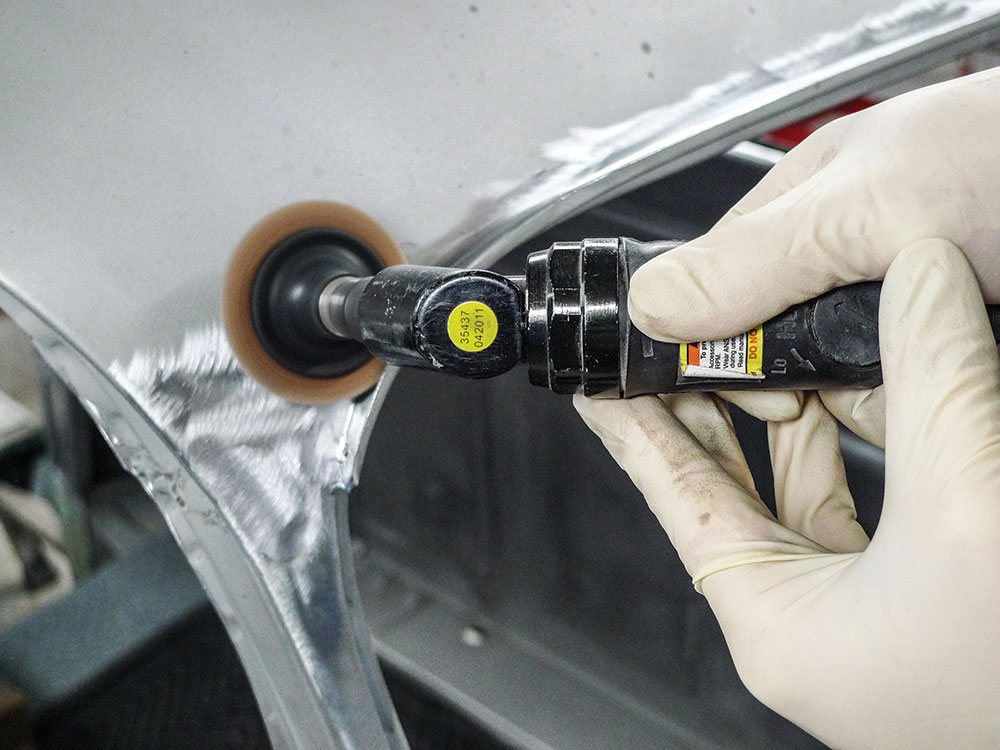
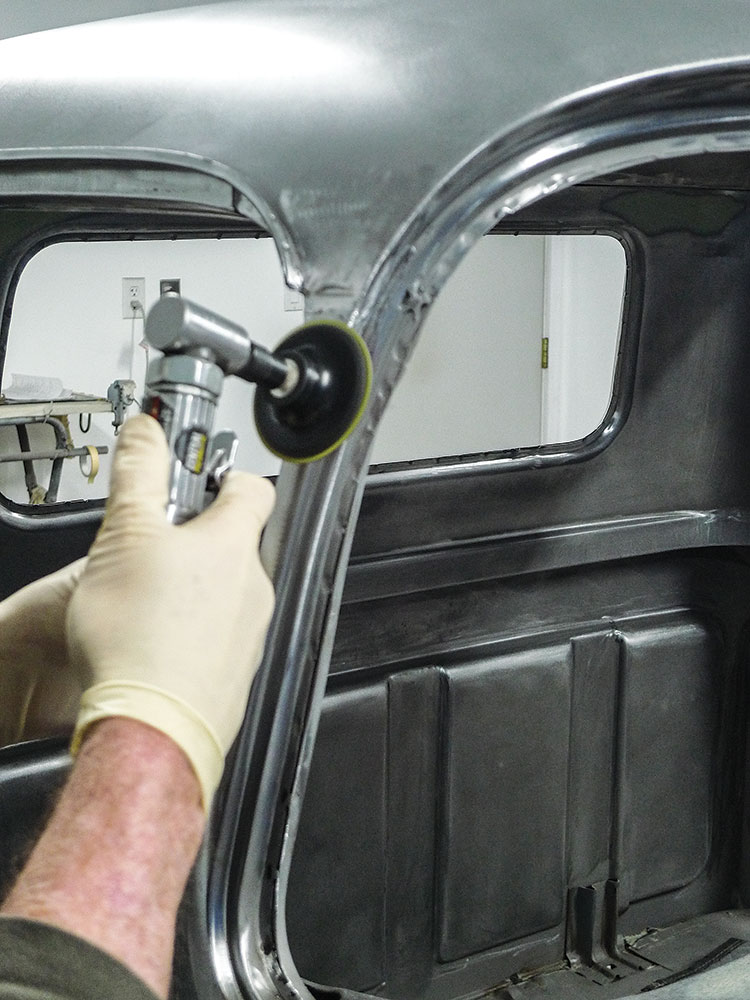
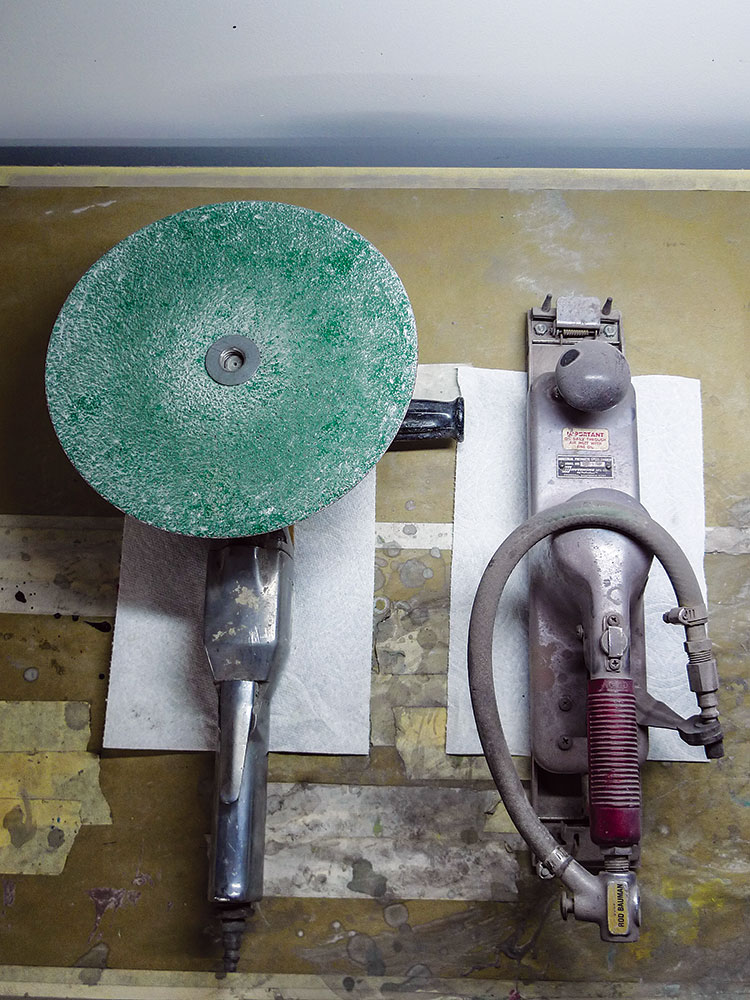
First things first, before we take a single smear we’ll need to prepare the steel. Before we do that, we’ll need to rid this cab’s crooks and nannies of remaining garnet blasting media. Back in Escondido, California, at Hot Rods & Custom Stuff (HR&CS), Zach the blaster did a bitchin job, as always. Of course there’s always trapped abrasive. Blowing, vacuuming, vibrating, rolling down the road in trailers, or rolling on a cab cart across the shop floor—all help to shake the stuff loose, but still, there’s more in there.
Read More: Ford Truck Enthusiasts Take Over the Grand National F-100
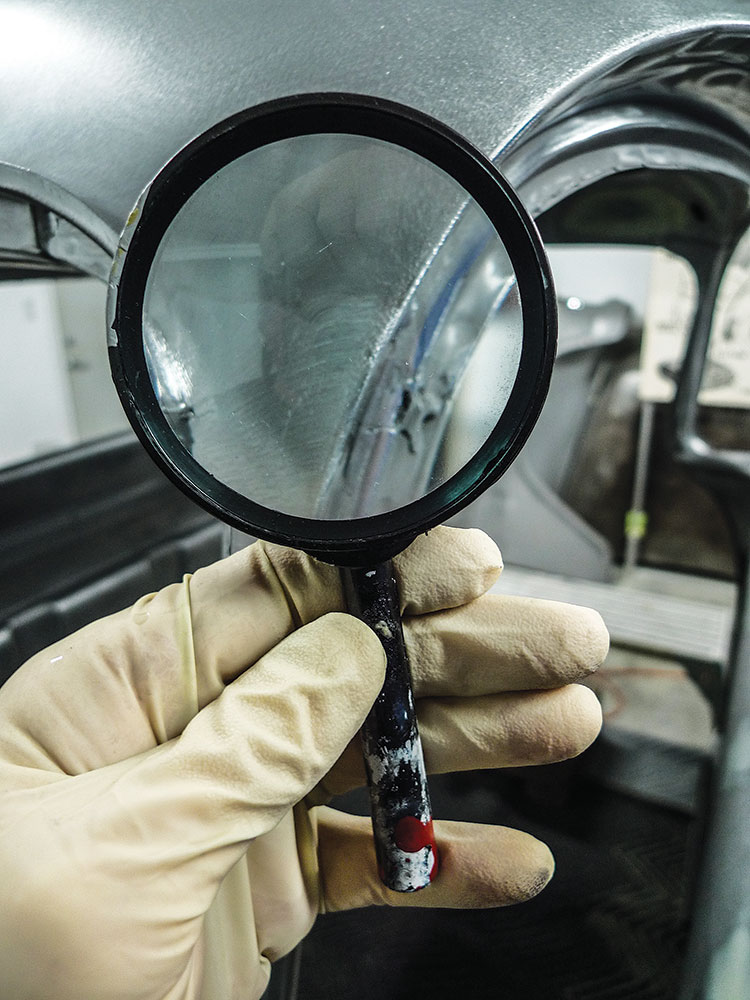
Earlier, along the way, we also discovered a crack in the passenger-side A-pillar’s factory-leaded seam. Our own instinct was to grind away lead and refill with fiber-reinforced polyester filler. Still open for suggestions, we called upon our go-to guru Dave Symcox of nearby Restorations Limited. When a job truly demands it, Symcox uses lead. We knew that, but we didn’t know the old-time factory lead is incompatible with the lead that’s obtainable today. Since remaining traces of the old may not mix well with the new, we’ll just go with our own instinct.
Here, as usual, there’s more than one way to achieve the end results we’re after. Today it’s a pretty common practice to apply a coat or two of epoxy primer ’tween prepared metal and body filler. We do it here, too, but not every time. Since Montana winters are cold, and since our non-heated paint booth draws outside airflow, initial curing of epoxy primer wouldn’t be all that it should. Under the right conditions, epoxy primer is a good option. This time, quite fortunately, it’s not an absolute necessity.
If you’ve been with us for any length of time, you know we don’t downplay our mistakes. If you can learn from ours, you might not make as many of your own. This time we’ve set our own new record, by making only one.
Read More: Deeply Rooted Passion: Bagged F100
When preferred materials aren’t available locally, or when we just don’t like the prices, we’ll ordinarily call Summit. This time we drifted and sort of fell for a wannabe competitor’s fake free shipping offer. In the end we paid for that, as we waited, and waited, for higher-priced materials that arrived damaged—in an undamaged package.
One more thing, before we begin, let’s just touch on terminology. For the job at hand, the word “straight” should not apply. Task Force trucks, after all, are really rather shapely. With that in mind, let’s just use the words “fair” or “uniform” to describe our main objective. On that note there, let’s make us some dust, shall we?
Down to the Short Strokes
So, what about the larger, previously oil-canning expanse of roofskin? Well, beginning with short-strand fiber-reinforced filler has certainly stiffened the panel. In fact, it can now withstand the pressure required for accurate longboarding. That part’s yet to come.
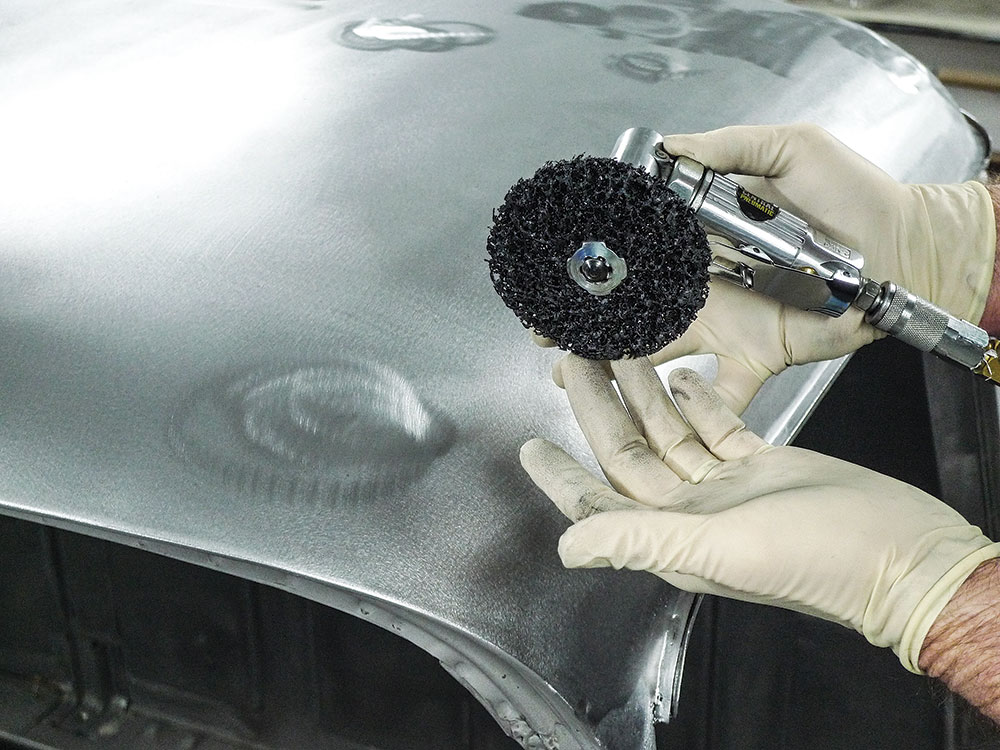
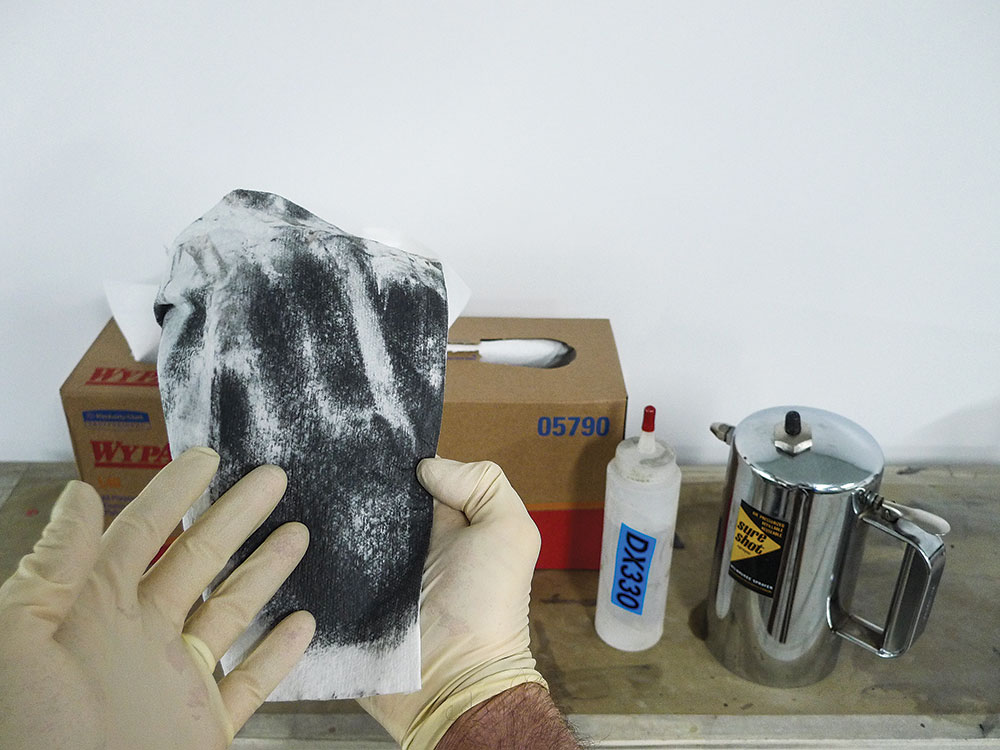
For now let’s have a look and get the feel of what we’ve accomplished so far. In the final photo you’ll likely see telltale outlines denoting different applications. Although it might be slight, manual catalyst squeezes do tend to vary. That with time ’tween smears causes sanding rates to vary. We’ll cover that in our next installment—with a skimcoat application of resin-reduced Rage Gold.

Harbor Freight Tools
(800) 423-2567
harborfreight.com
Hot Rods & Custom Stuff
(800) HOTROD-5
hotrodscustomstuff.com
Summit Racing Equipment
(800) 230-3030
summitracing.com


