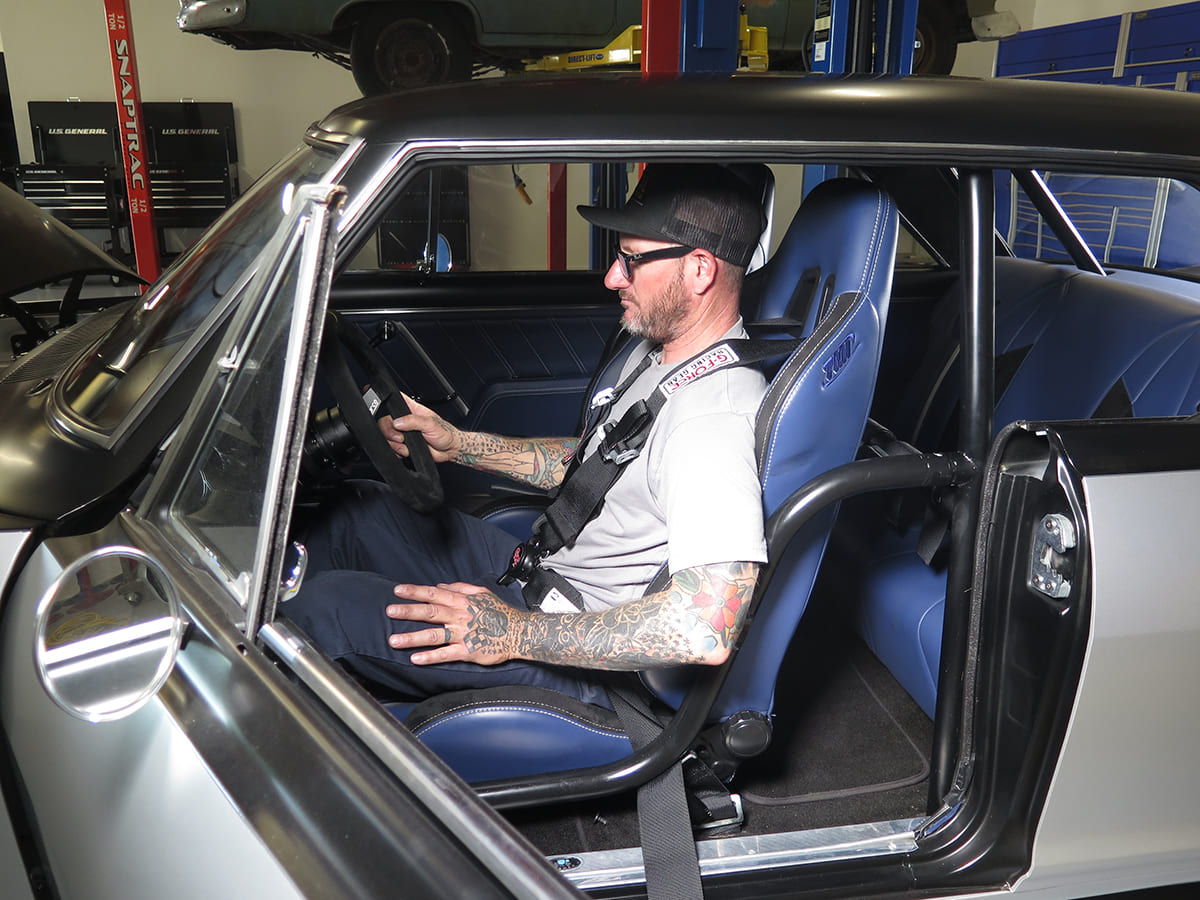
When it comes to safely securing the human cargo in a pre-’70s Chevy, it’s rare to find an option that improves upon the basic lap belt. Vehicle designs of the time were more based on styling than safety, so when it comes to upgrading the restraint system in a vintage Chevy, one’s often faced with some daunting decisions. Such was the case when Jason Scudellari was bolting together a 1963 Chevy Nova for his wife, Randi. The lack of Bb-pillars in the hardtop meant even something as simple as mounting a traditional three-point shoulder restraint was out of the question. One of the motivations behind the build was to take it to track days and autocross events, pushing the supercharged LS engine through it’s rev range and around the course. That said, Jason decided that the safety of it’s precious cargo would be paramount, and a pair of lap belts just wouldn’t do.
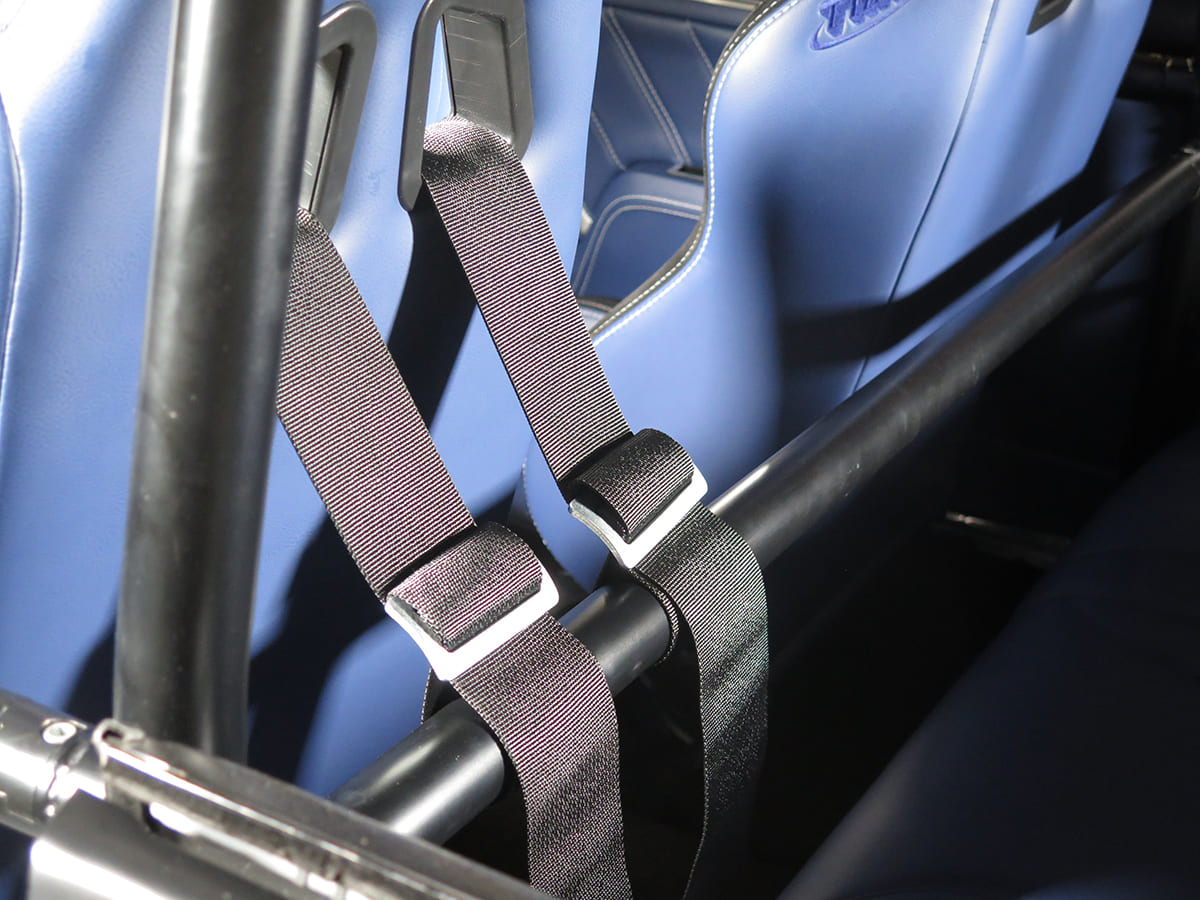
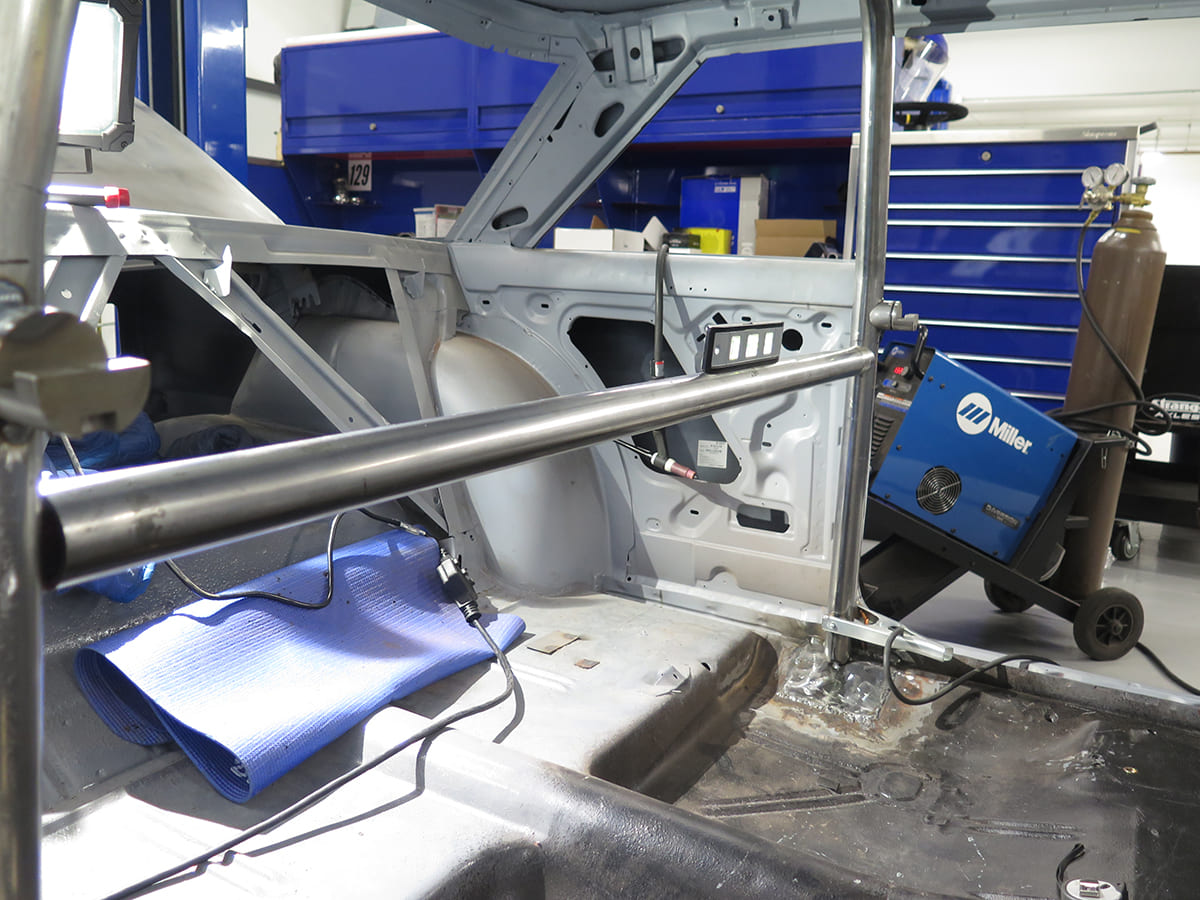
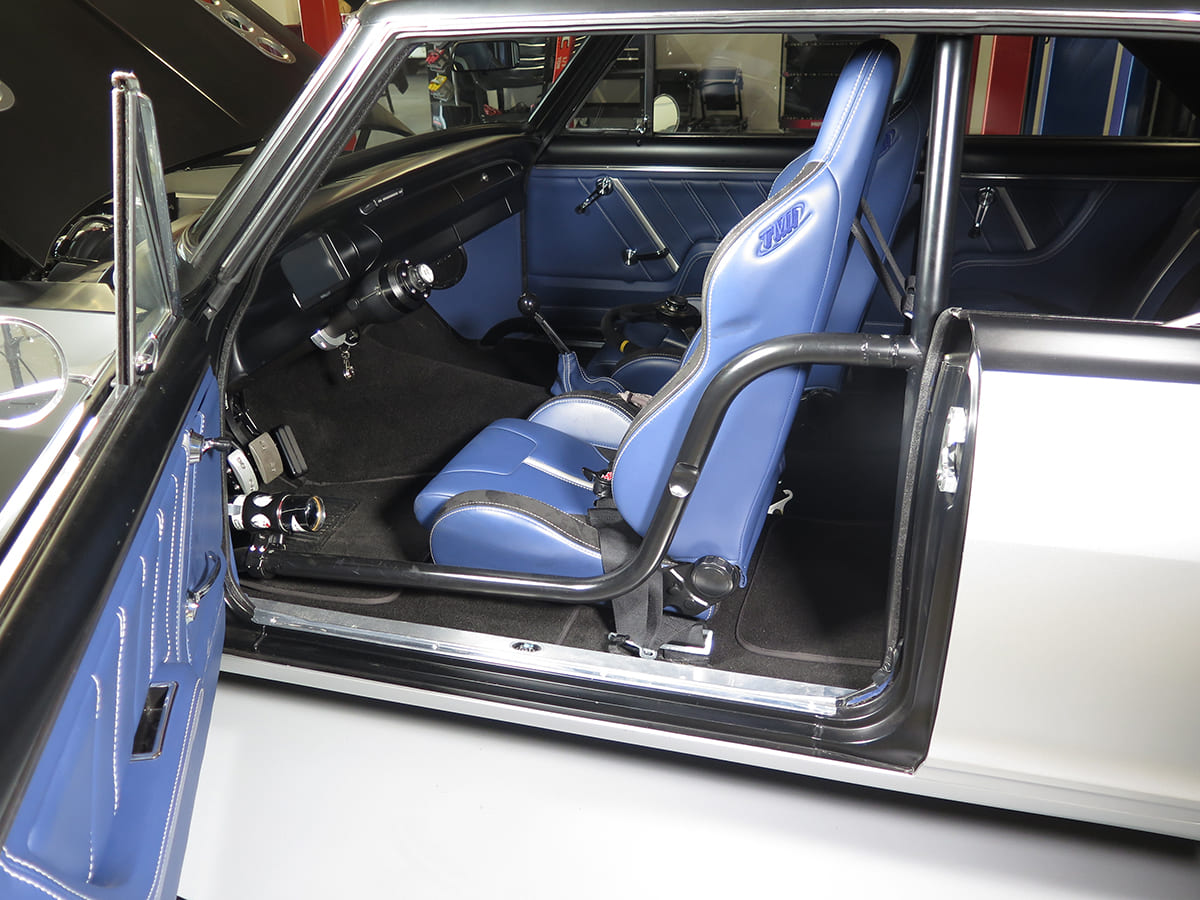
A G-Force Racing Gear Four-Point Harness is used to keep both the driver and passenger safely strapped to the TMI seats. The lack of any kind of shoulder restraint in the hard top Nova makes it hard to use anything other than a simple lap belt without similar modifications to what Jason has made.While perusing his interior options with TMI Products, Jason spotted their Pro-Chicane Series bucket seats. Knowing that the provided bolster support would be perfect to keep the occupants planted, it was the shoulder harness cutouts that got the wheels turning. A separate conversation with Craig Morrison at Art Morrison Enterprises and Jason had the solution to his safety problem. Jason mentioned his idea for a simple harness bar, mounted to the floor behind the front seats to act as the upper mounting point for a four-point harness system from G-Force Racing Gear. Morrison recommended taking things a step further by incorporating the harness bar with a full rollbar that will span the entire height and width of the interior of the car, providing further safety for the occupants. To support the rollbar, a pair of removable door bars would be incorporated, as would a pair of rear support tubes, connecting the top of the rollbar with the rear floor of the Nova’s body. It should be noted that while this setup definitely adds a degree or two of safety to the vehicle, building a full rollcage that met the specs of any sanctioning body was not the intention.
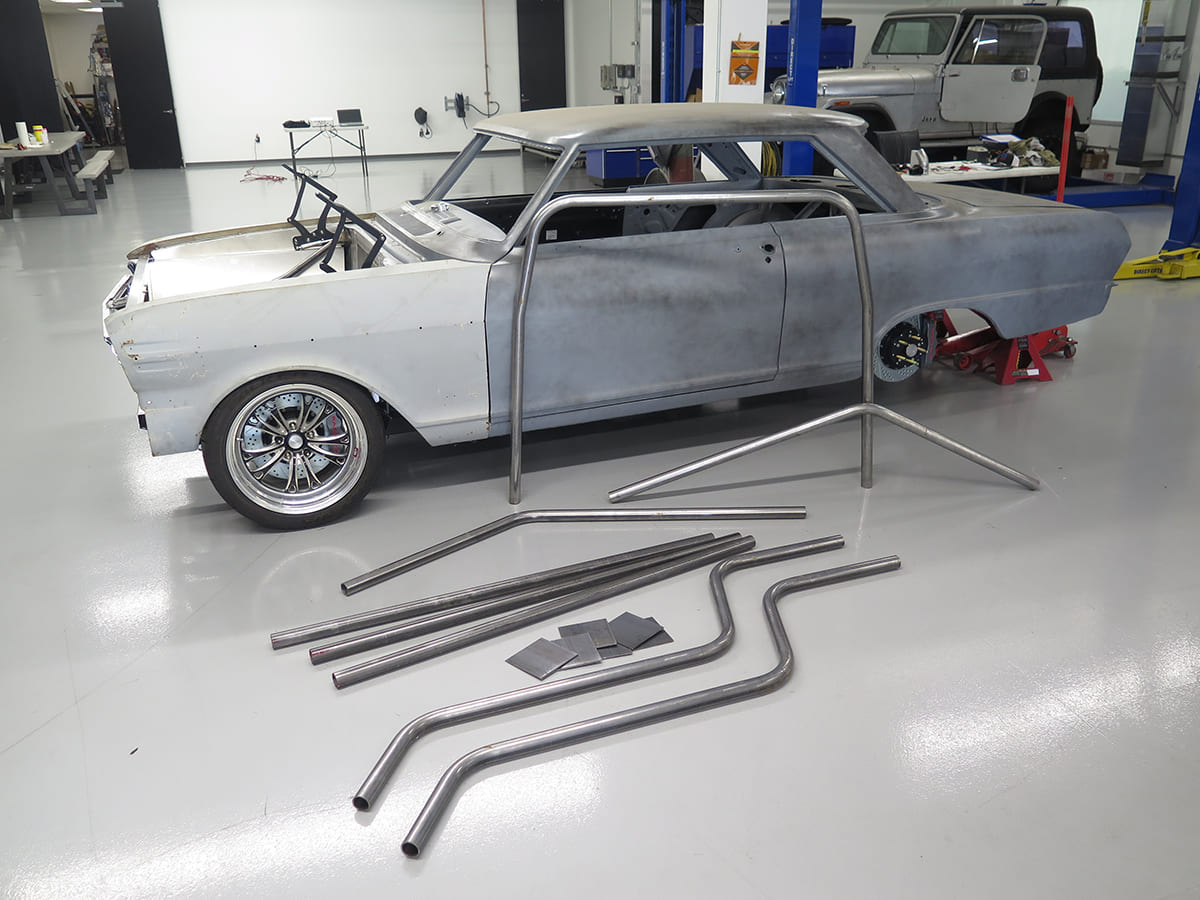
Jason Scudelleri gave the crew at Art Morrison Enterprises. a handful of measurements from the Nova so the guys could bend up some 1 3/4-inch diameter 0.134-inch wall mild steel tubing. The harness bar will also double as a roll bar with additional support tubes tied to the rear of the body as well as a pair of door bars to provide some side-impact protection.
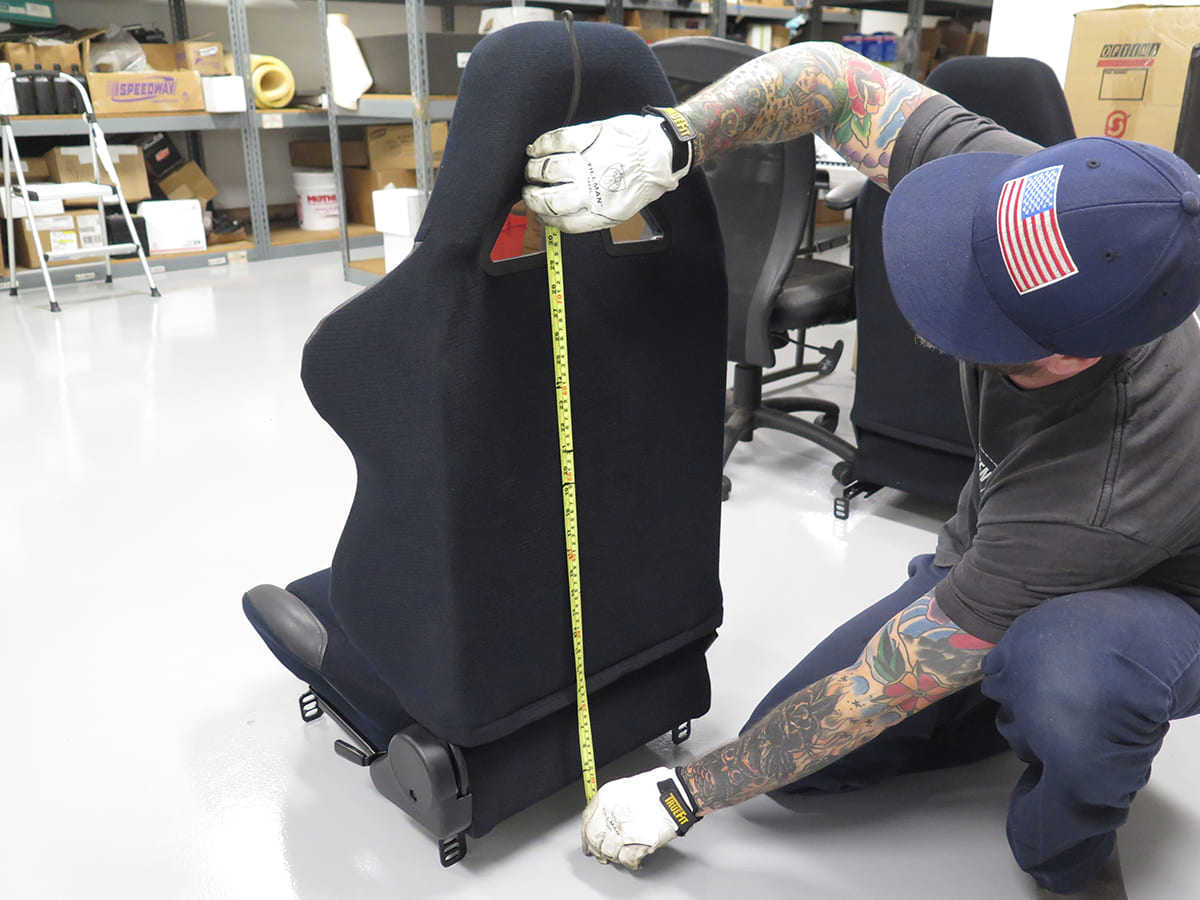
With a plan in place, Jason then headed to the shop, measuring tape in hand to get a laundry list of dimensions from the Nova to Morrison and the crew at Art Morrison Enterprises so that they could bend up the necessary tubes for the harness bar-cum-rollcage design. The guys then took those dimensions and bent up the tubing, leaving things a little long so that Jason could trim each piece of tubing to fit nice and snug inside the confines of the 1963.
Attachment of the shoulder straps to the harness tube is accomplished by simply wrapping the straps around the bar and securing the ends, as per G-Force’s instructions.
Upgrading from a simple set of lap belts to a four-point harness with a rollbar ended up transforming Randi’s Nova from ’60s-era safety appointments to a more aggressive, performance-minded design. The side and thigh bolsters of the TMI Pro-Chicane seats, combined with the security of the G-Force Racing Gear four-point harness, provides the ultimate race-inspired upgrades to ensure the occupants stay safe and stay put no matter how hard the Nova is pushed through the turns. ACP
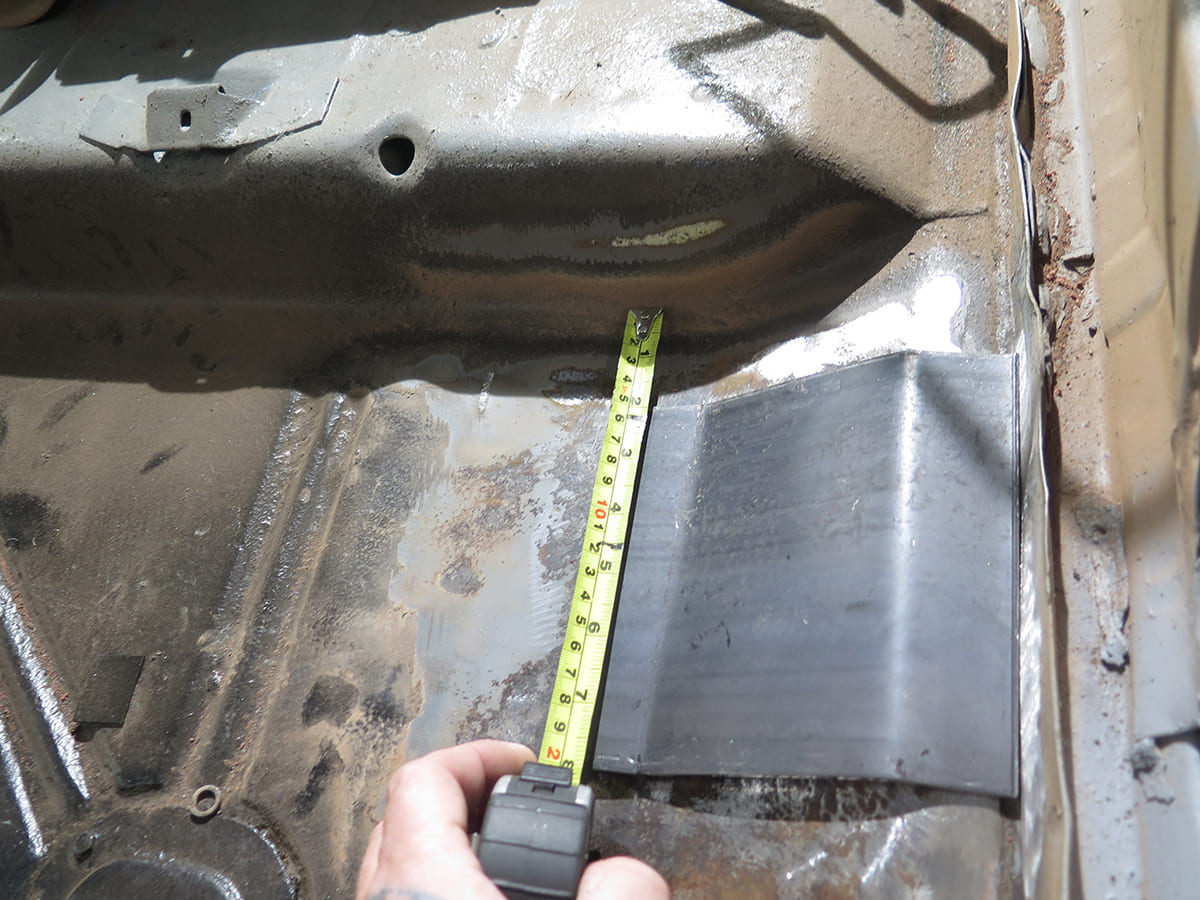
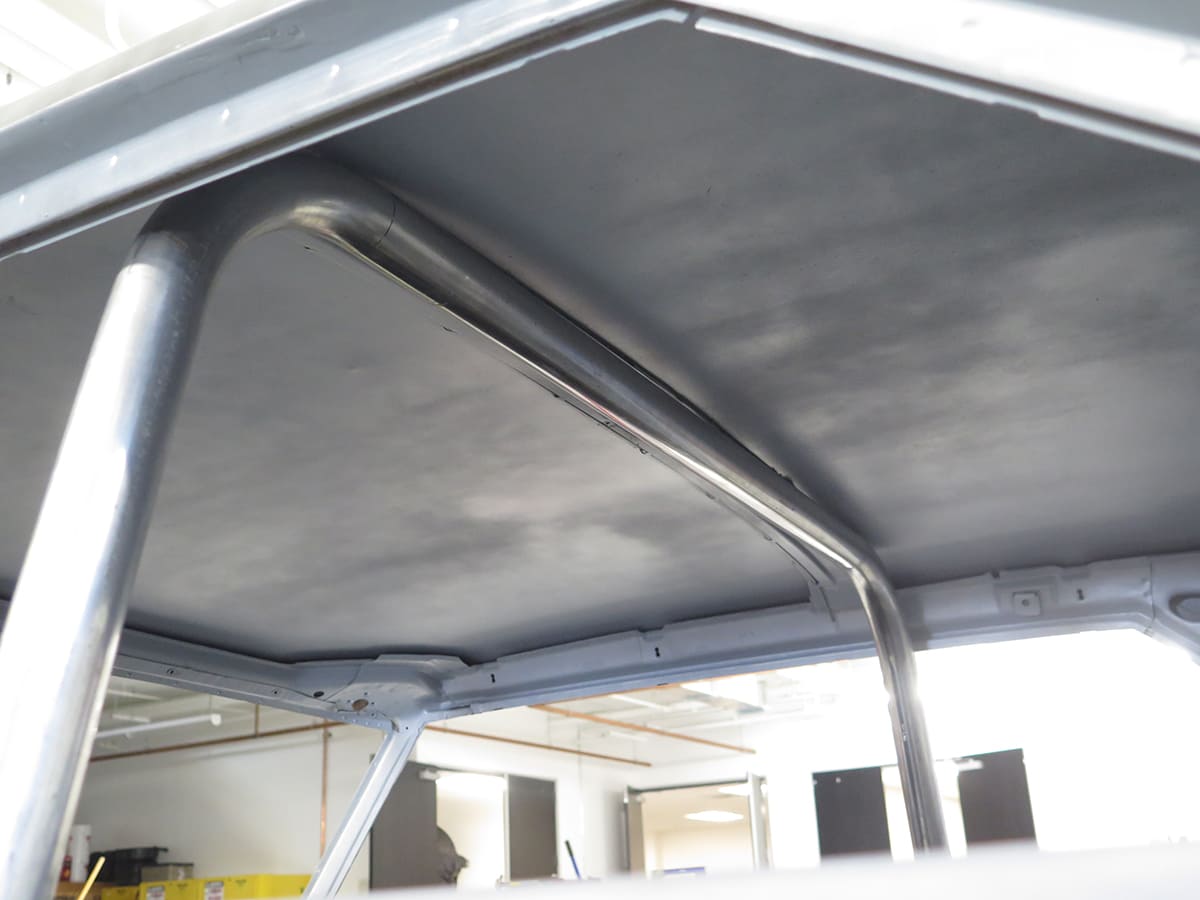
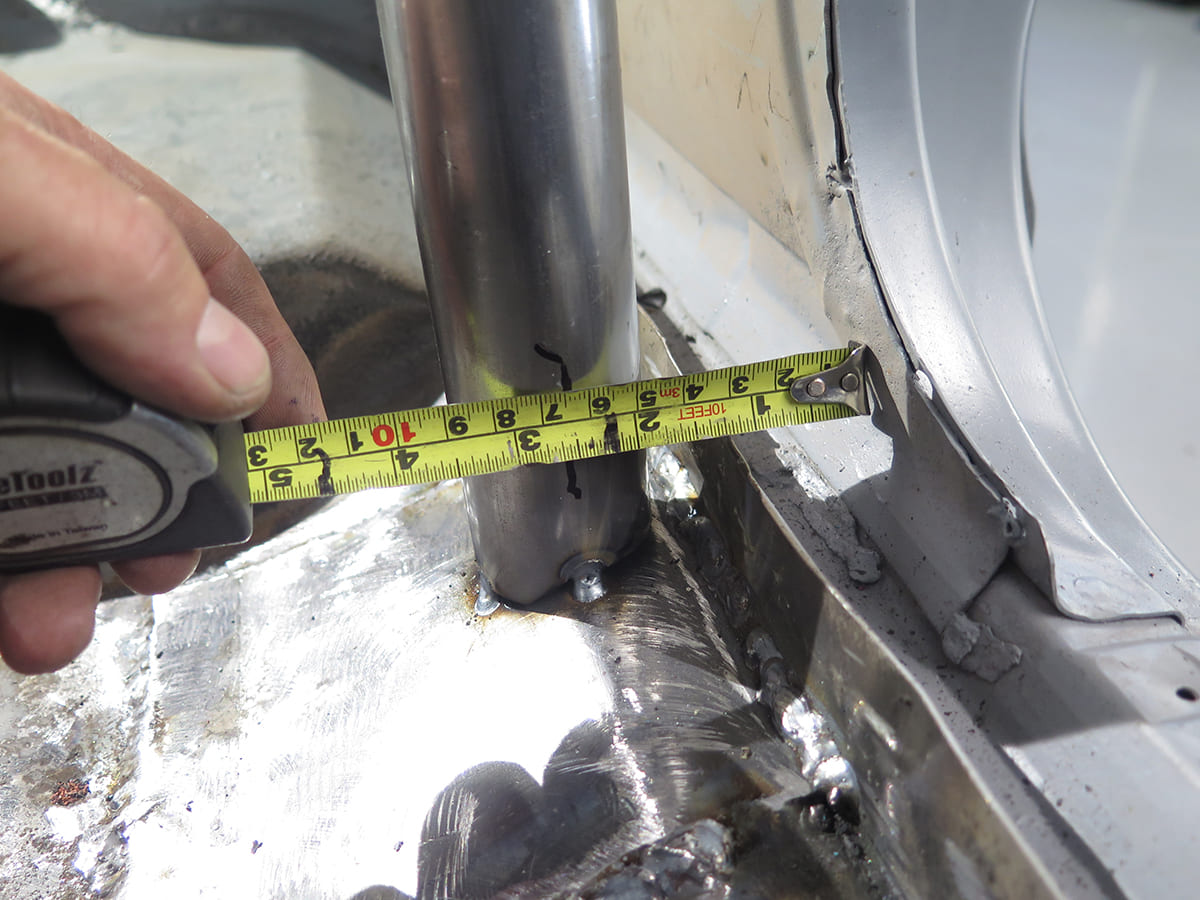
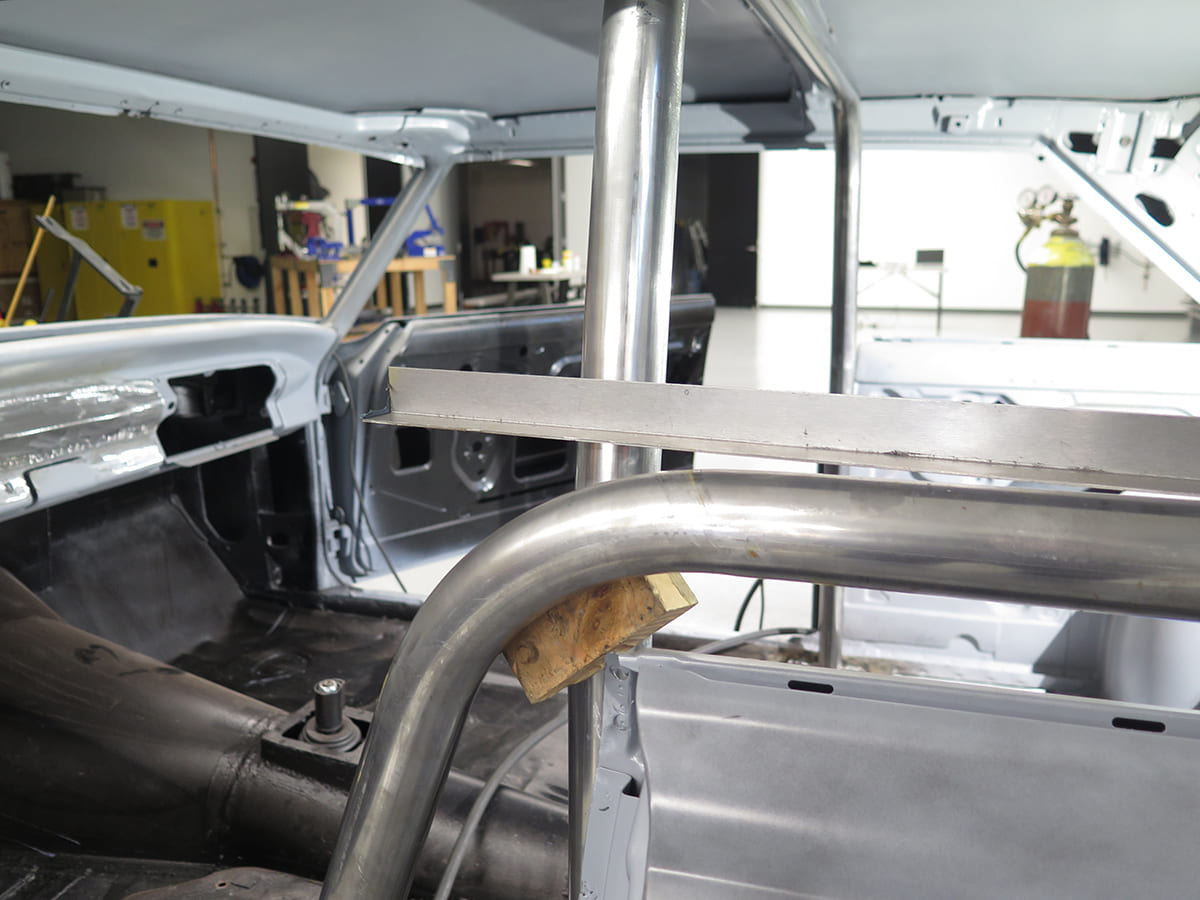
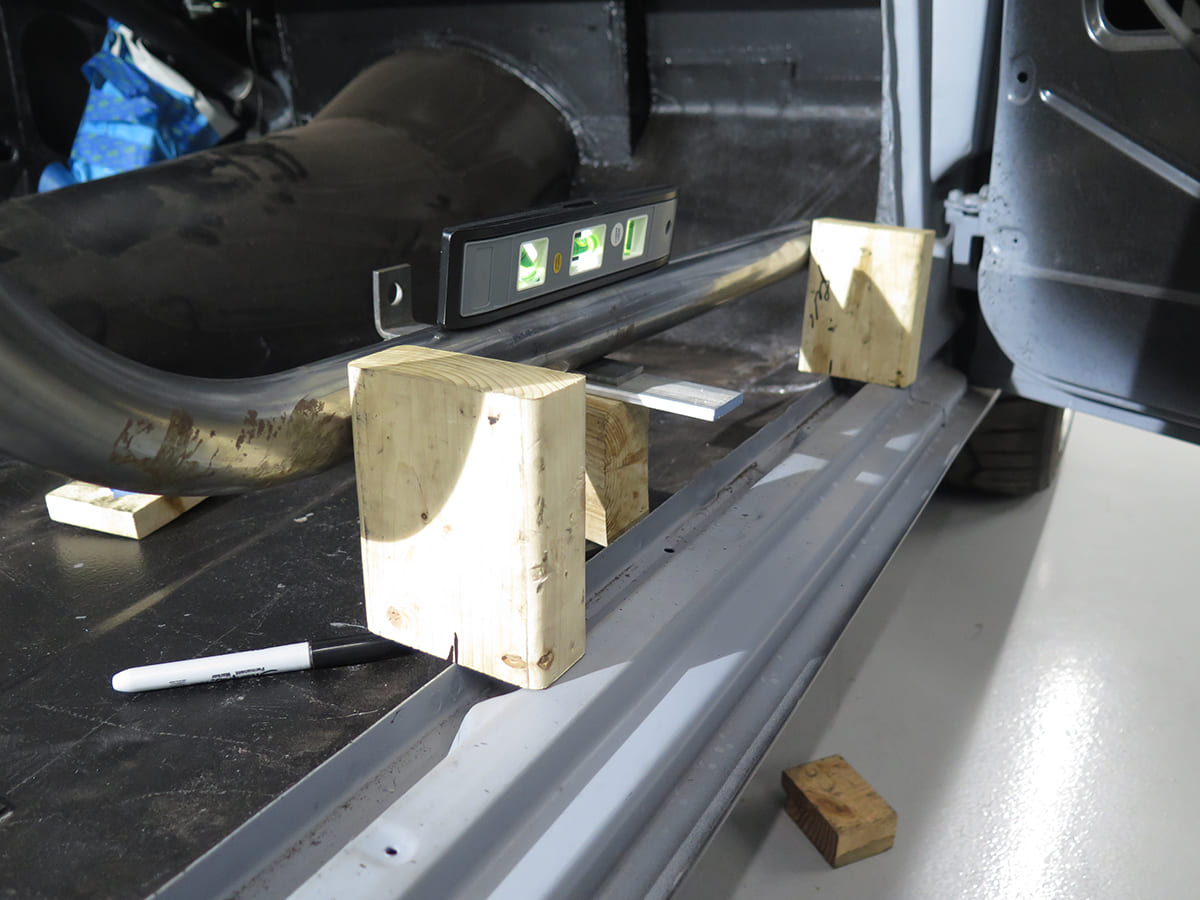
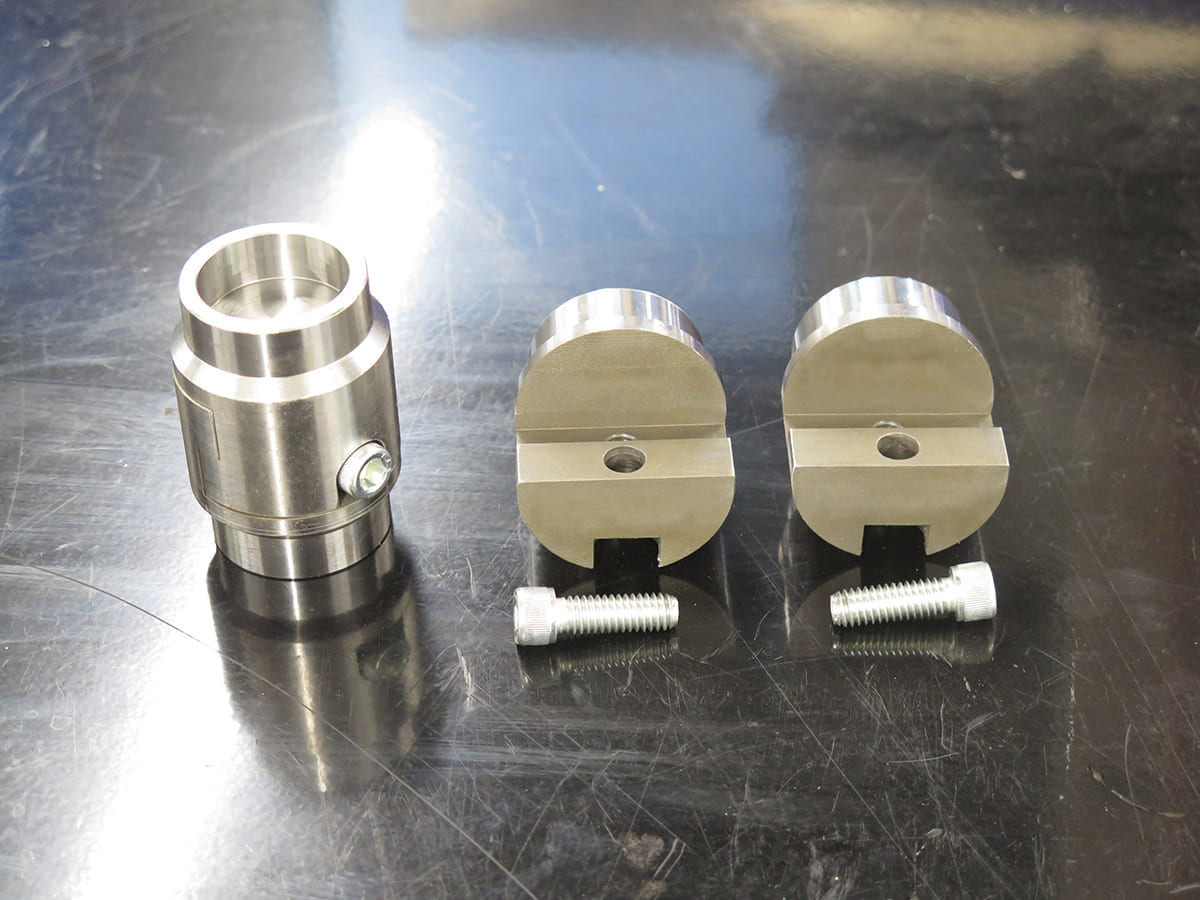
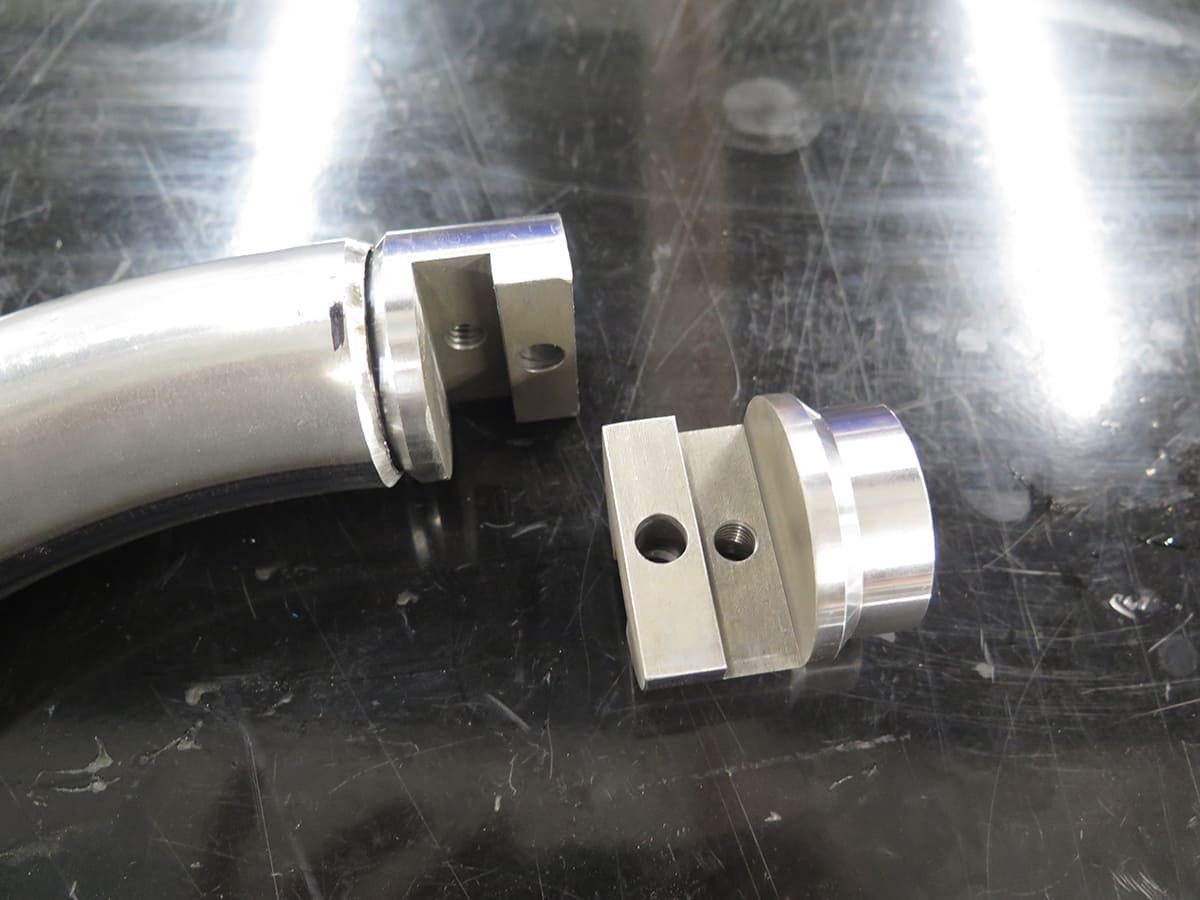
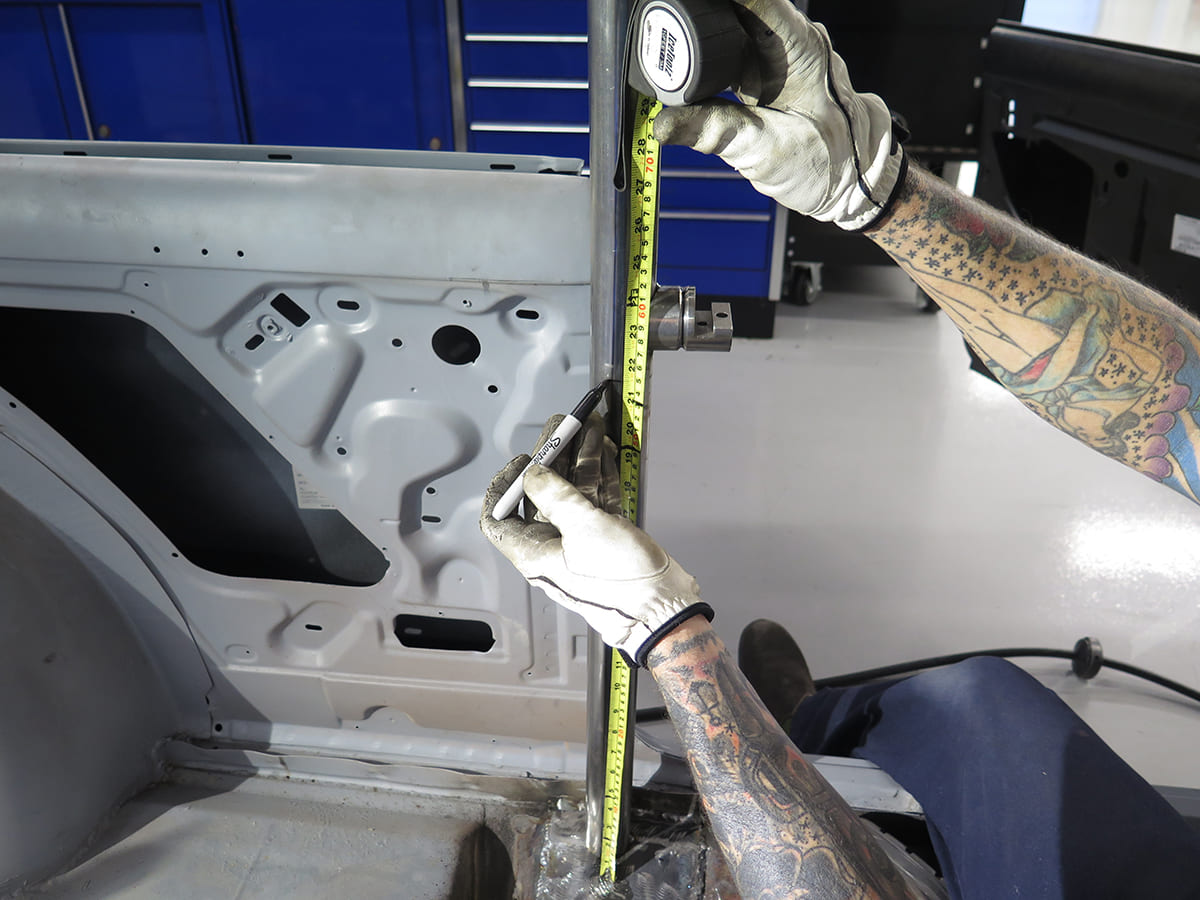
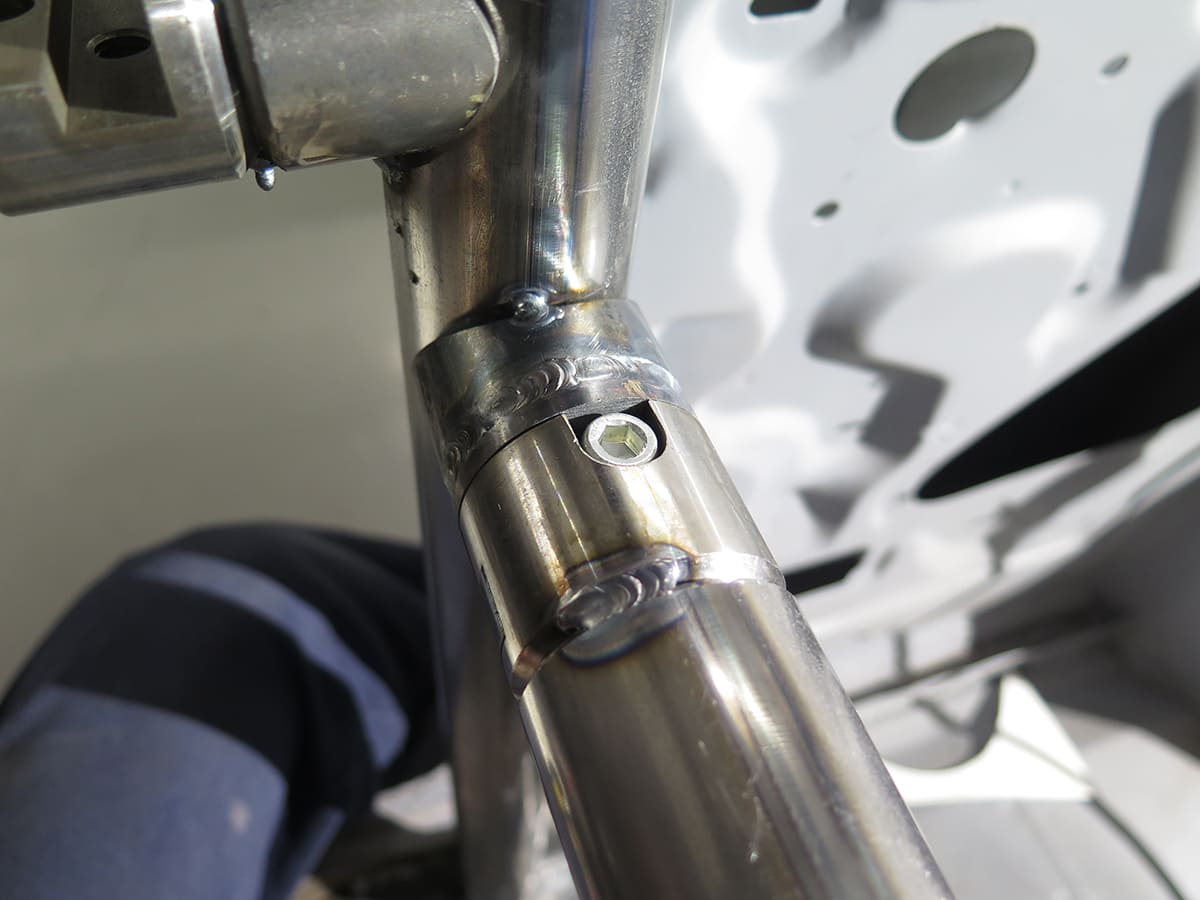
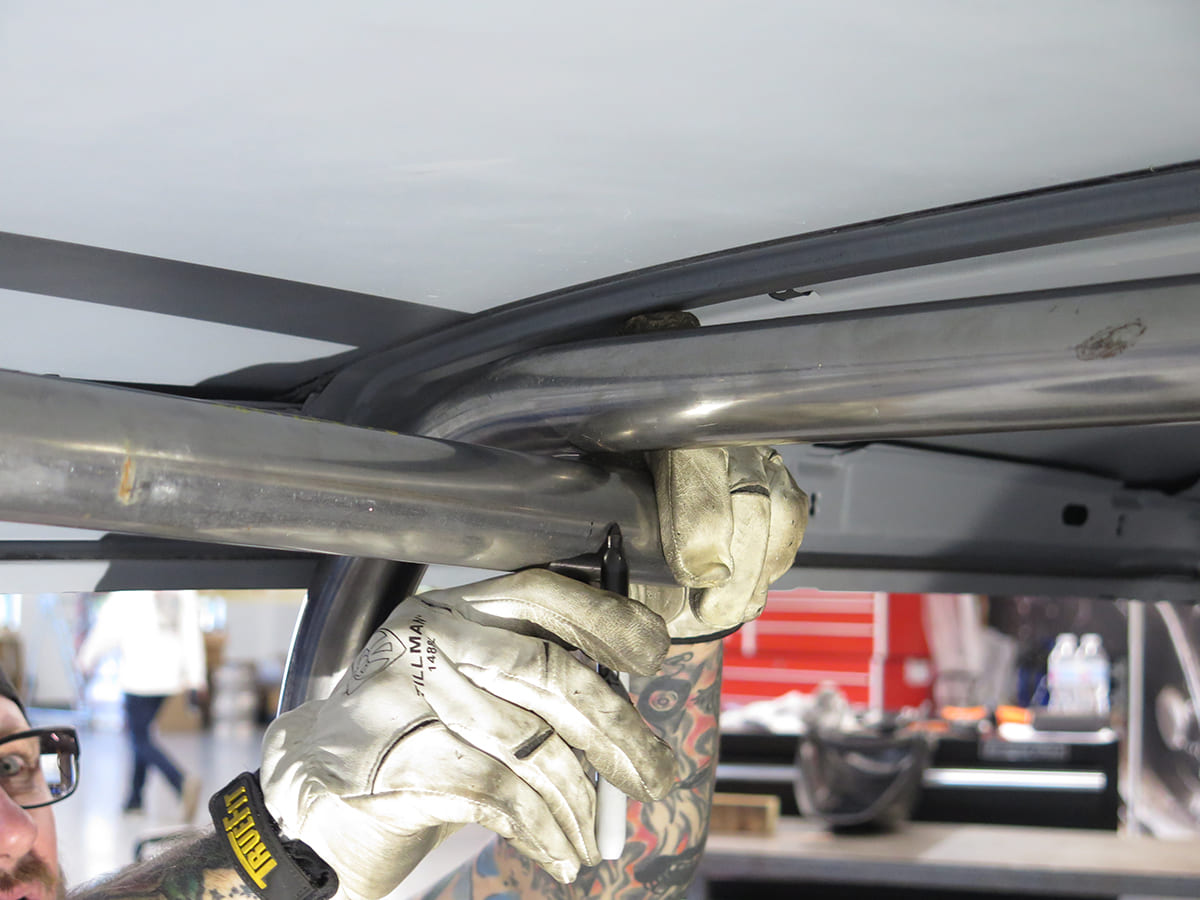
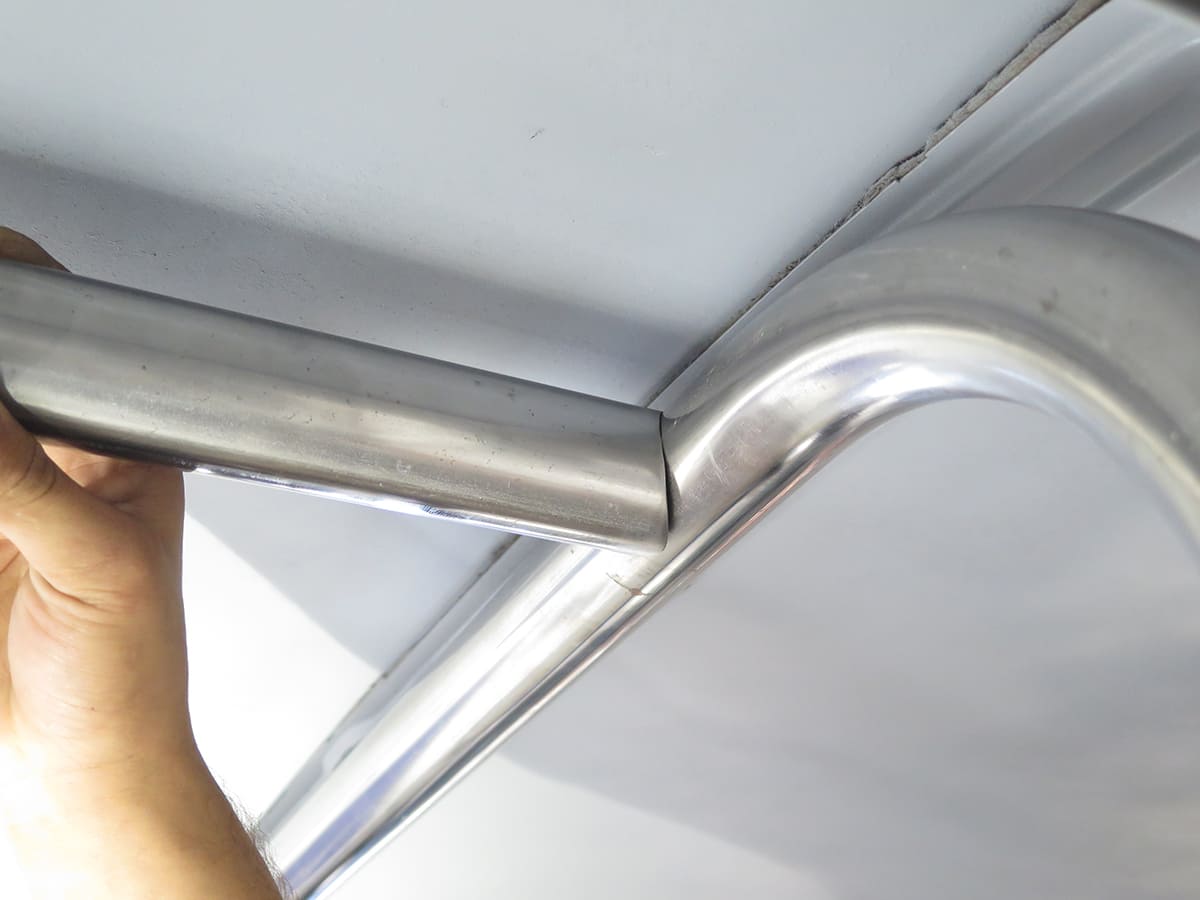
There are six attachment points for the harness bar assembly, all using the provided plate from Art Morrision Enterprises. Here, one of the plates has been modified to fit the contours of the Nova’s floor and is being positioned to fit prior to being welded in place. These plates offer a stronger connection between the tubing and the car’s sheetmetal to prevent separation in the event of a crash.The roll bar/harness tube will be installed first. A few careful measurements are made before the main hoop is trimmed and checked for fitment.The hoop is also checked for level.Satisfied with the fit, the bottom of each tube is then tacked to the mounting plates on the floor.Next, Jason turns his attention to the door bars. These need to be trimmed to fit by about 8 inches so as to inhibit ingress and egress as little as possible.The top of each door bar will also need to be trimmed to meet the roll cage.With the door bars trimmed, it’s time to mock things up and get them tack welded together. Care is taken to ensure the lower section of each bar is level with the floor of the car.While the door bars will be relatively free and clear when it comes to the driver and front passenger, access to the rear seat will be challenging with the door bars in place. The solution is to make the door bars removable by using these tube connector weld-in bungs at both ends of the bar.While the door bars will be relatively free and clear when it comes to the driver and front passenger, access to the rear seat will be challenging with the door bars in place. The solution is to make the door bars removable by using these tube connector weld-in bungs at both ends of the bar.Here, the upper door bar tube connector is installed in place and ready to be welded. Note the short section of coped tubing that will be welded to the roll bar hoop.The floor end of the door bar will receive the same treatmentHere are the finished door bars fully welded and bolted in place.With the roll bar securely attached to the car, Jason is now ready to install the actual harness restraint bar behind the TMI front seats. TMI’s Pro-Chicane series seats feature extensive side and thigh bolsters, perfect for keeping your body firmly planted while tearing up an autocross course, but even better for Jason’s application are the shoulder belt cutouts that allow a more aggressive, racing-style harness where a simple lap belt won’t suffice.The shoulder belts need to be mounted level to a maximum of -20- degrees past horizontal for proper effectiveness. Using this information and the height of the seat harness cutouts, the location for the harness tube can be determined and the roll bar tube marked.Trimmed to fit, here’s the harness tube clamped in place and checked for level.Once again, access to the rear seat is inhibited by the new harness bar, so another pair of tube connectors will be used here as well.Two more sections of tubing and the harness bar/mini roll cage is complete. The guys at Art Morrison Enterprises. recommended adding a couple sections of tubing for added safety over what was to originally be a simple roll bar/harness tube. This last pair of tubing will connect the roll bar with the rear trunk floor of the Nova.A must-have tool when it comes to working with tubing is a hole saw that corresponds to the diameter tubing you’re working with and a good tubing notcher, both of which are available from Art Morrison Enterprises.The importance of a properly coped tube is apparent here where one of the trunk bars mates to the roll bar.From this angle, it’s easy to see how the simple door bars add some side-impact protection with minimum cabin intrusion, while also adding further support to the roll- /harness bar.
Sources:
Art Morrison Enterprises
(800) 929-7188 artmorrison.com
We use cookies to ensure that we give you the best experience on our website. If you continue to use this site we will assume that you are happy with it.