There’s nothing worse than the hot—and loud—interior of an old Chevy truck. Now that I’m an expert in the field of interior thermal-acoustic control dynamics (insert nerdy emoji), after recently equipping my ’48 three-window’s inner cab sanctum accordingly, I can fully attest to the importance of having the proper materials applied in the cab of your truck (no matter the year/make) BEFORE you begin laying any carpet or upholstery.
Design Engineering’s complete interior kit for 1967-72 Chevy/GMC C10s includes pre-cut Boom Mat vibration damping material and their “topcoat” Under Carpet Lite sound absorption insulation—all you have to do is install, which you’re about to get schooled on here!
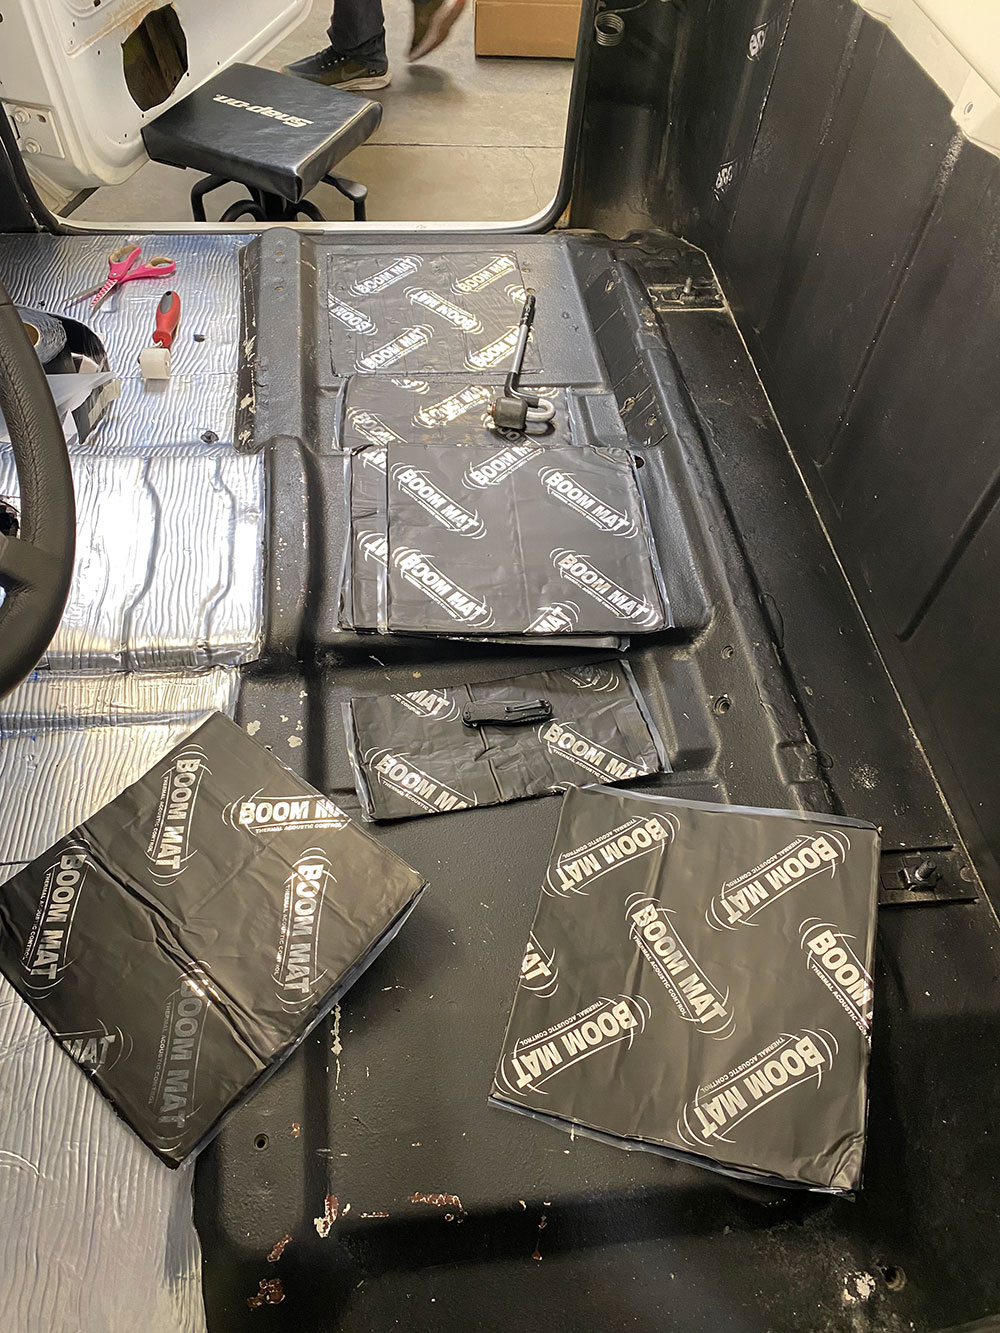
This month, I got the pleasure of showcasing Design Engineering Inc. ‘s pre-cut Boom MatUnder Carpet Lite kit for 1967-72 Chevy and GMC trucks using my own 1969 C10 as the volunteer. Now, when I say “pleasure,” I mean that in a literal sense, as the installation was as straightforward as they come. Since my Chevy is pretty much OE interior floor space-wise (with the exception of a poorly cut hole in the transmission tunnel for an automatic shifter), having a “pre-cut” kit took all of the guesswork out of both the initial and secondary product placement process. Having a high-quality (i.e., VERY sticky) adhesive transfer tape in lieu of spray (i.e., MESSY) adhesive to use for attaching the secondary noise/vibration control product was a much-welcomed feature.
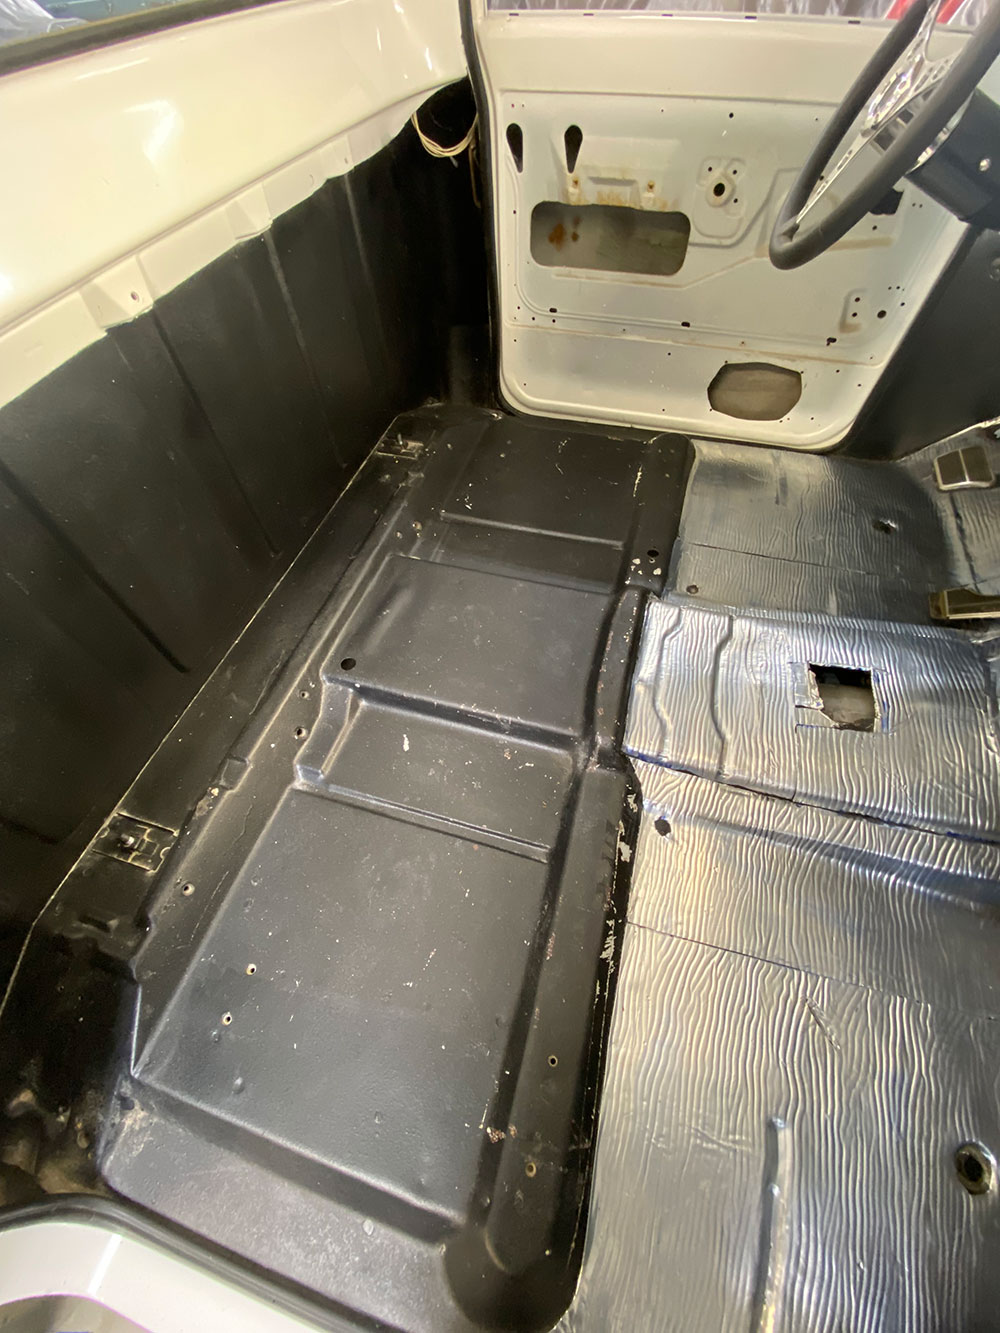
The job began with the complete removal of all interior items: seat, carpeting, and so on. Now, the one drawback I immediately encountered had nothing to do with the Design Engineering products, rather, a previously installed “Brand X” foil-back insulation from the front of the bench seat forward. Initially, I tried to remove that layer, but as anyone who’s ever tried can attest, it was near impossible to peel off. That said, after thoroughly cleaning all exposed metal surfaces, I focused on installing the Boom Mat beneath the seat as well as the rear cab panel; the Under Carpet Lite installation was not affected.
As with anything involving adhesion, proper surface preparation is a must. After removing everything from the toeboards to the back cab panel (carpet, seat, and so on) down to the metal, thoroughly clean all metal surfaces accordingly. (Any rust should be repaired beforehand; Boom Mat’s Prep Spray can be obtained and used to seal any minor surface rust.)
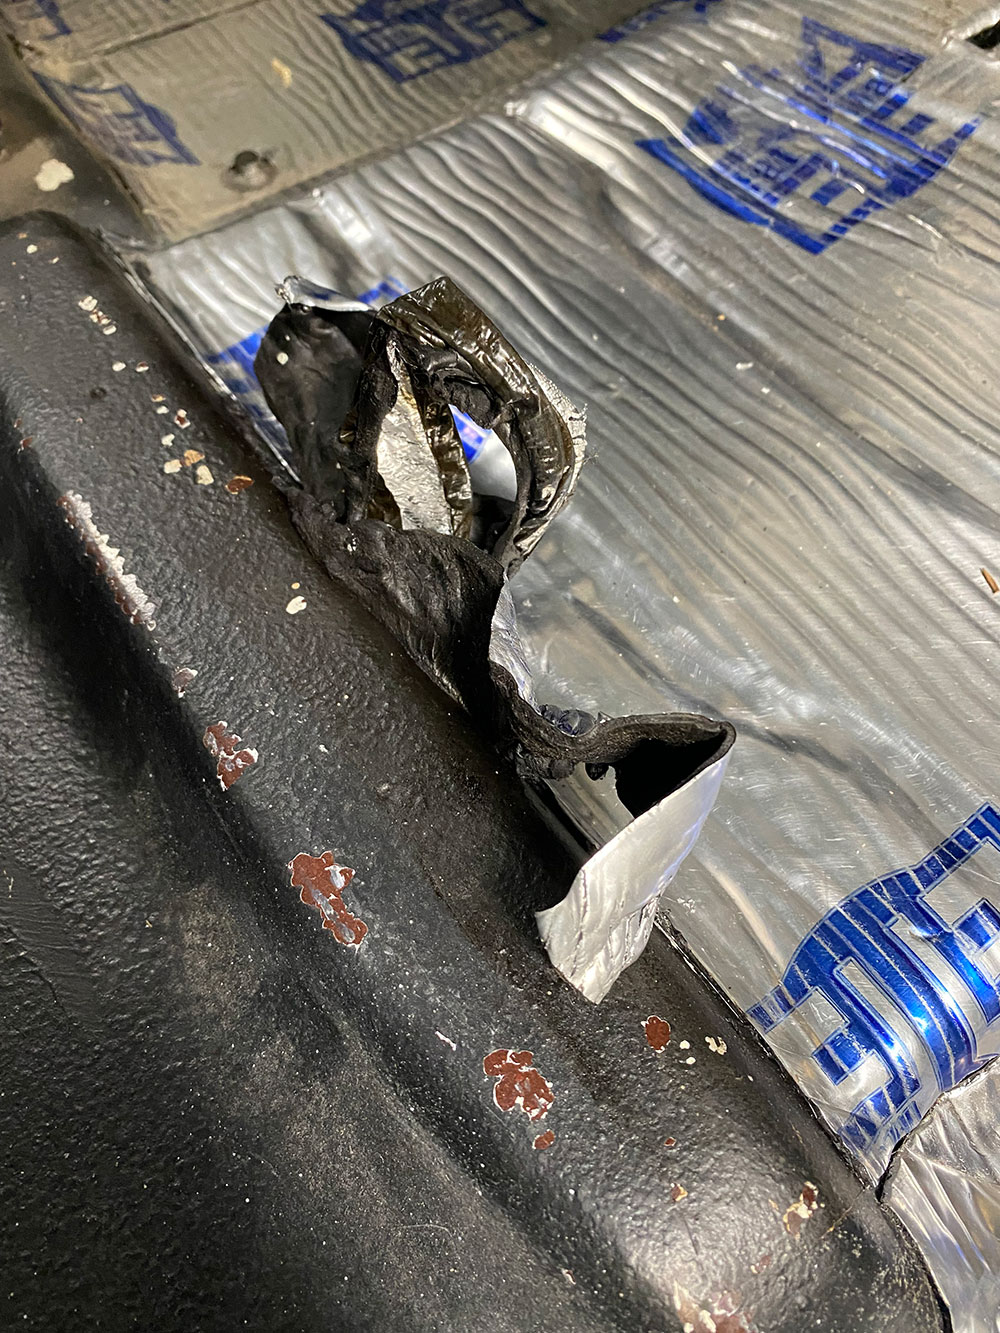
As mentioned in the story, the previous owner had previously installed a foil-backed material on the floor from the seat forward—an attempt was made to remove said product, but the pain and effort was to little avail. Instead, a nice, clean edge was made at the transition where the Boom Mat would be installed beneath the seat rearward.
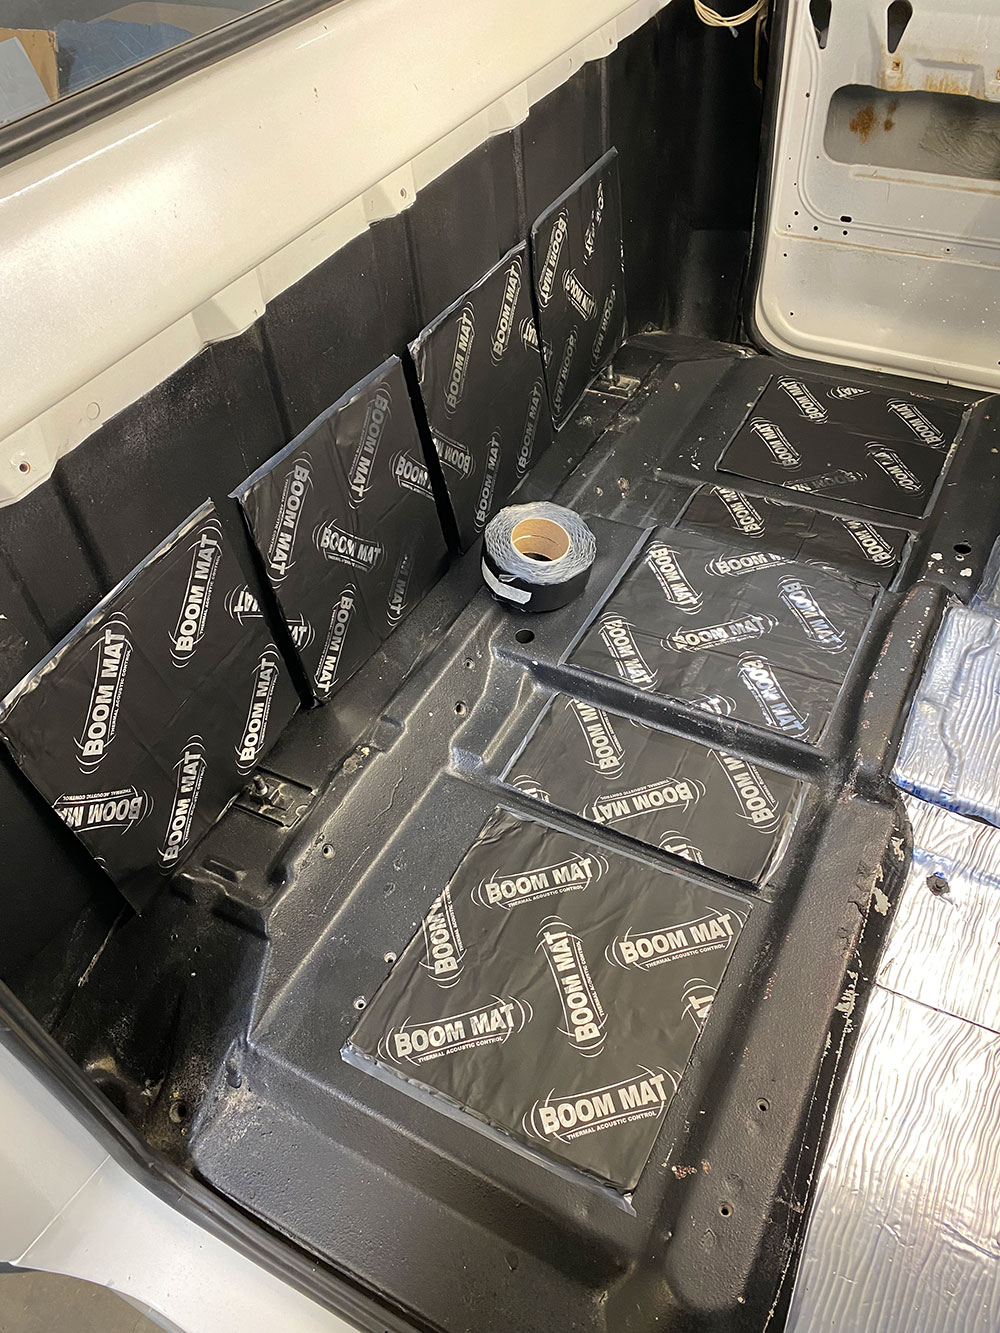
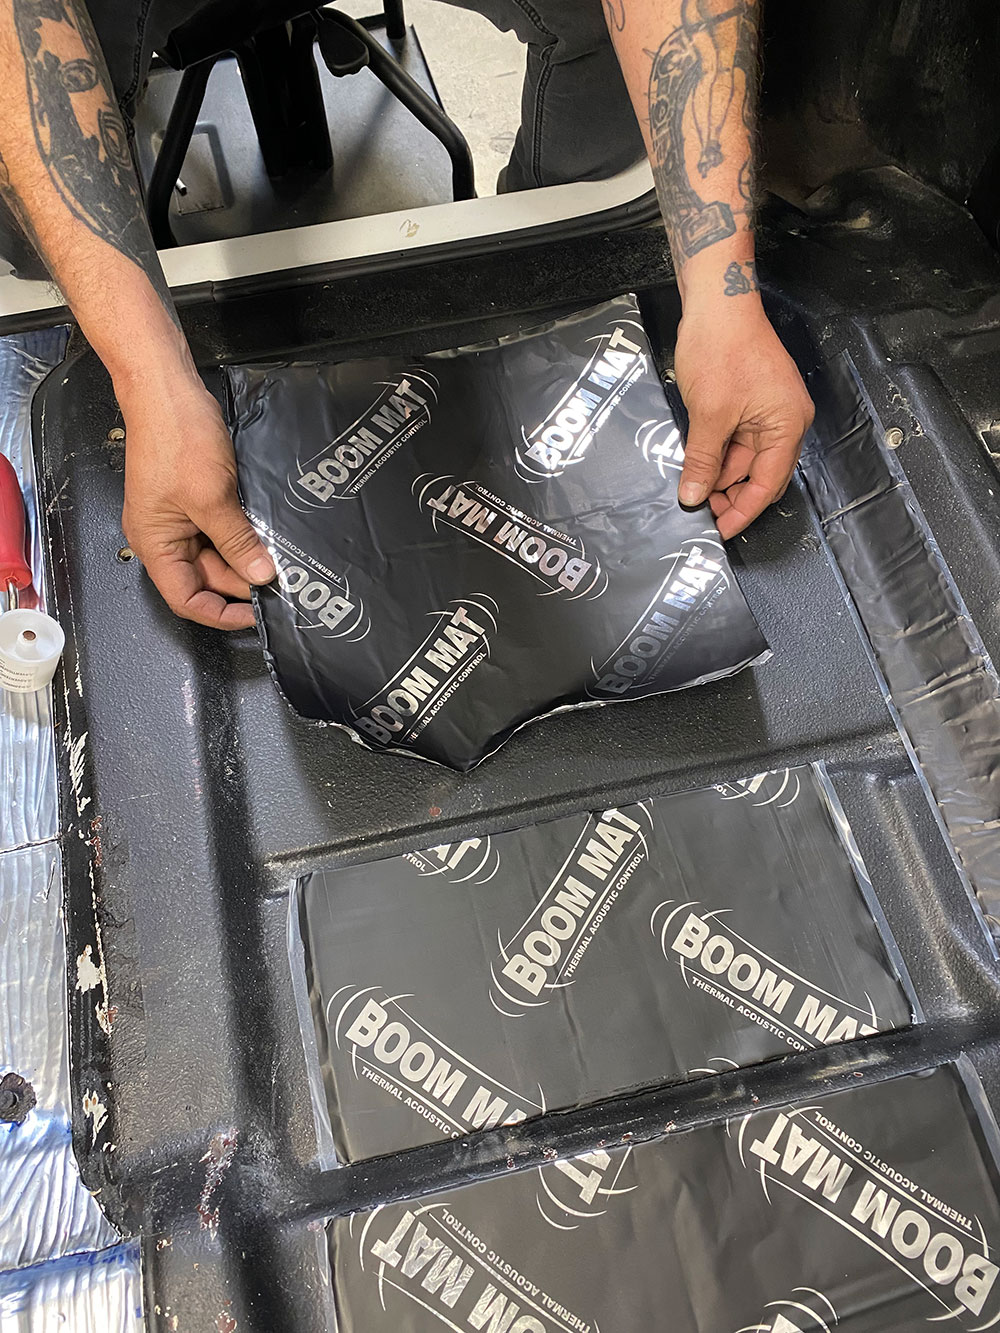
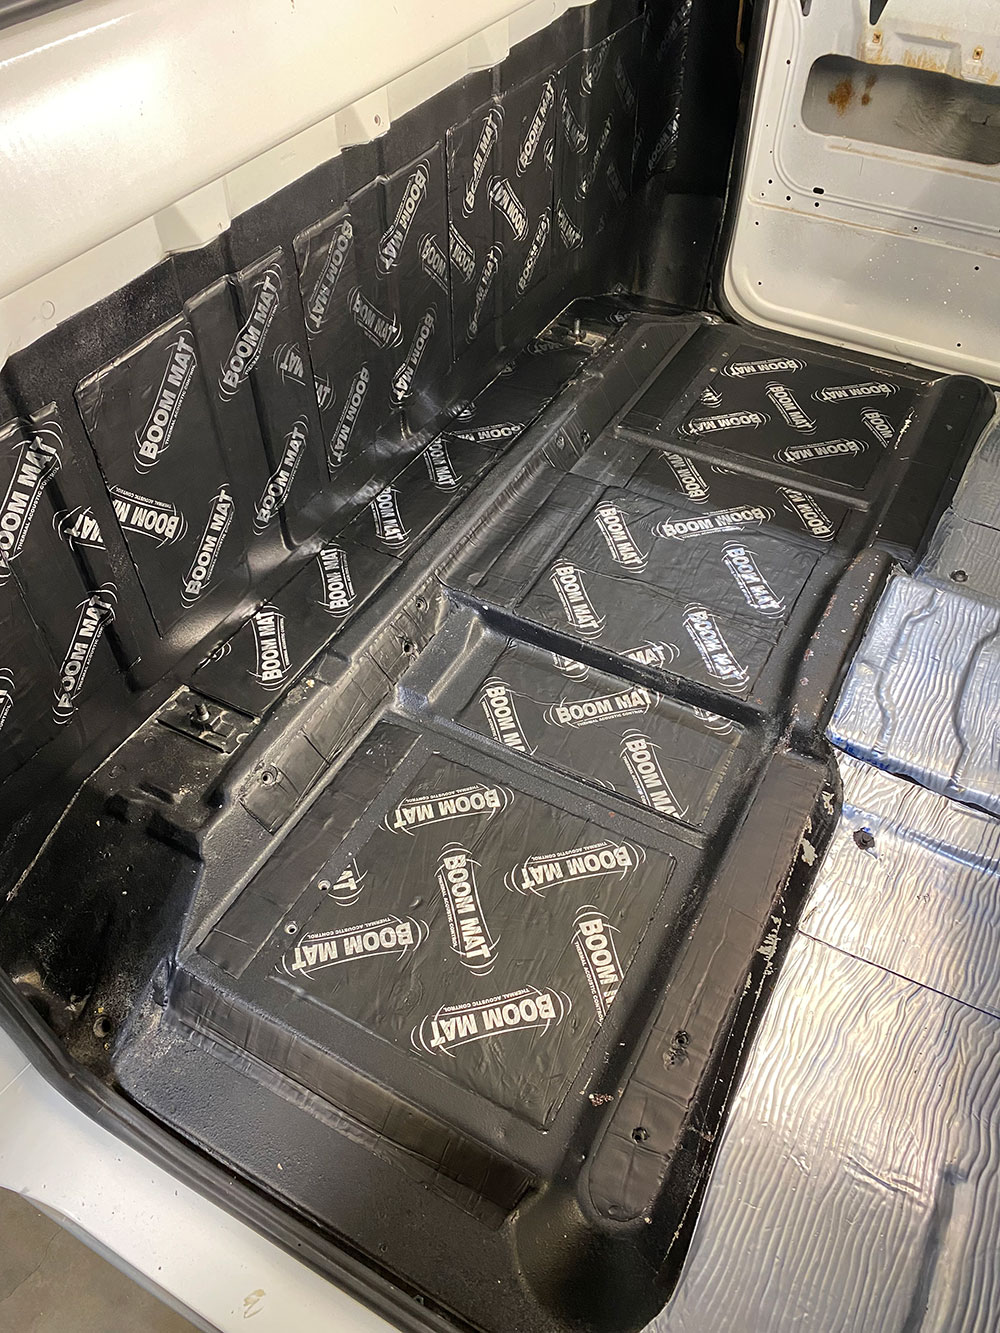
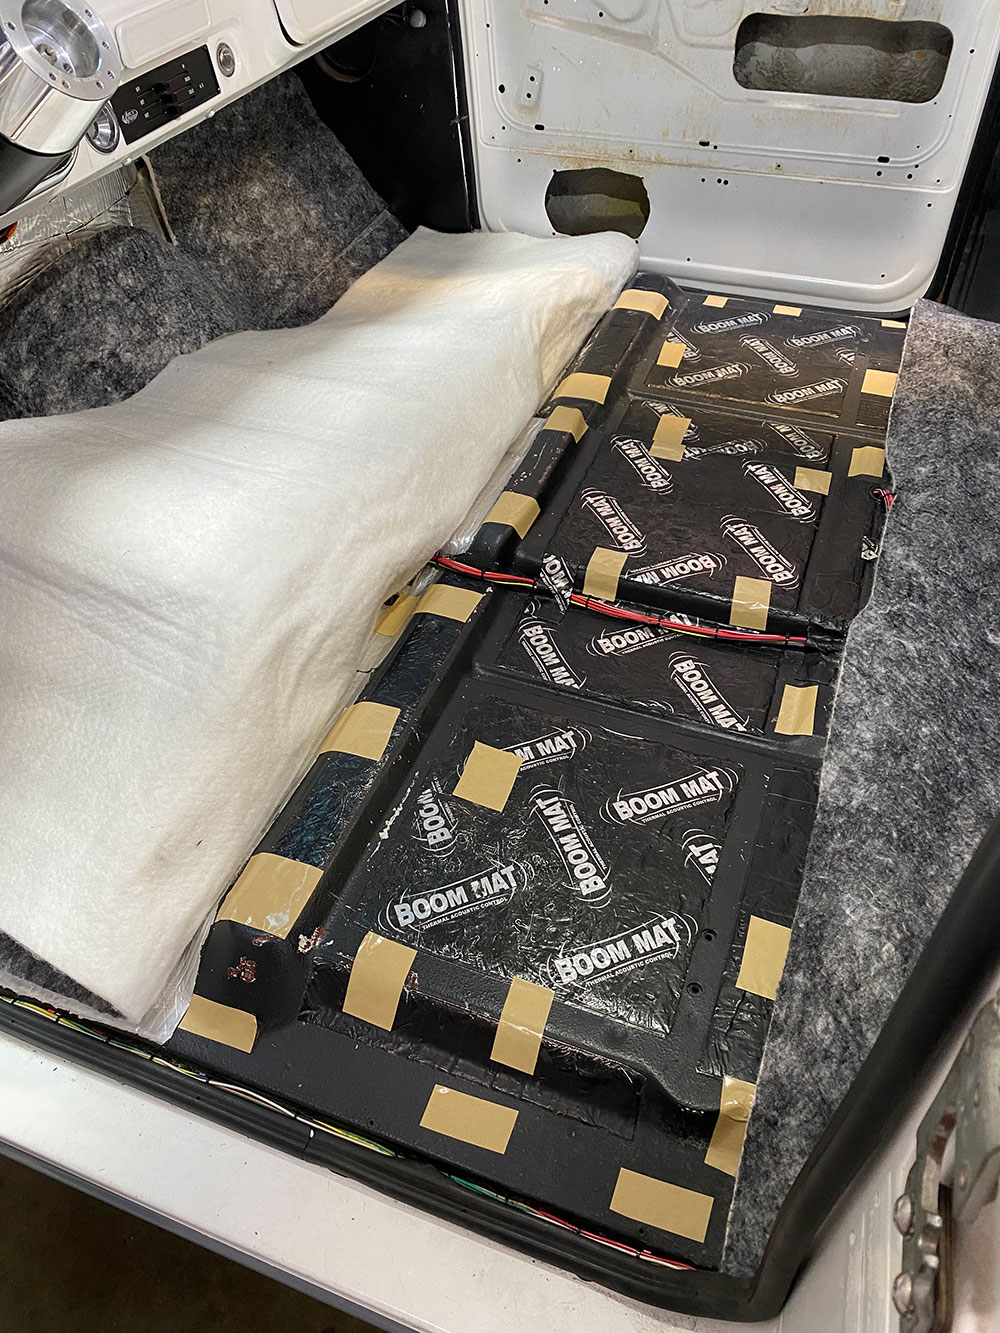
Here’s how the pre-cut Boom Mat material is basically intended to go. But since we’ll have extra material to work with by not having to install the forward-most floorboard pieces, we’ll improvise and add a couple extra to the back wall.
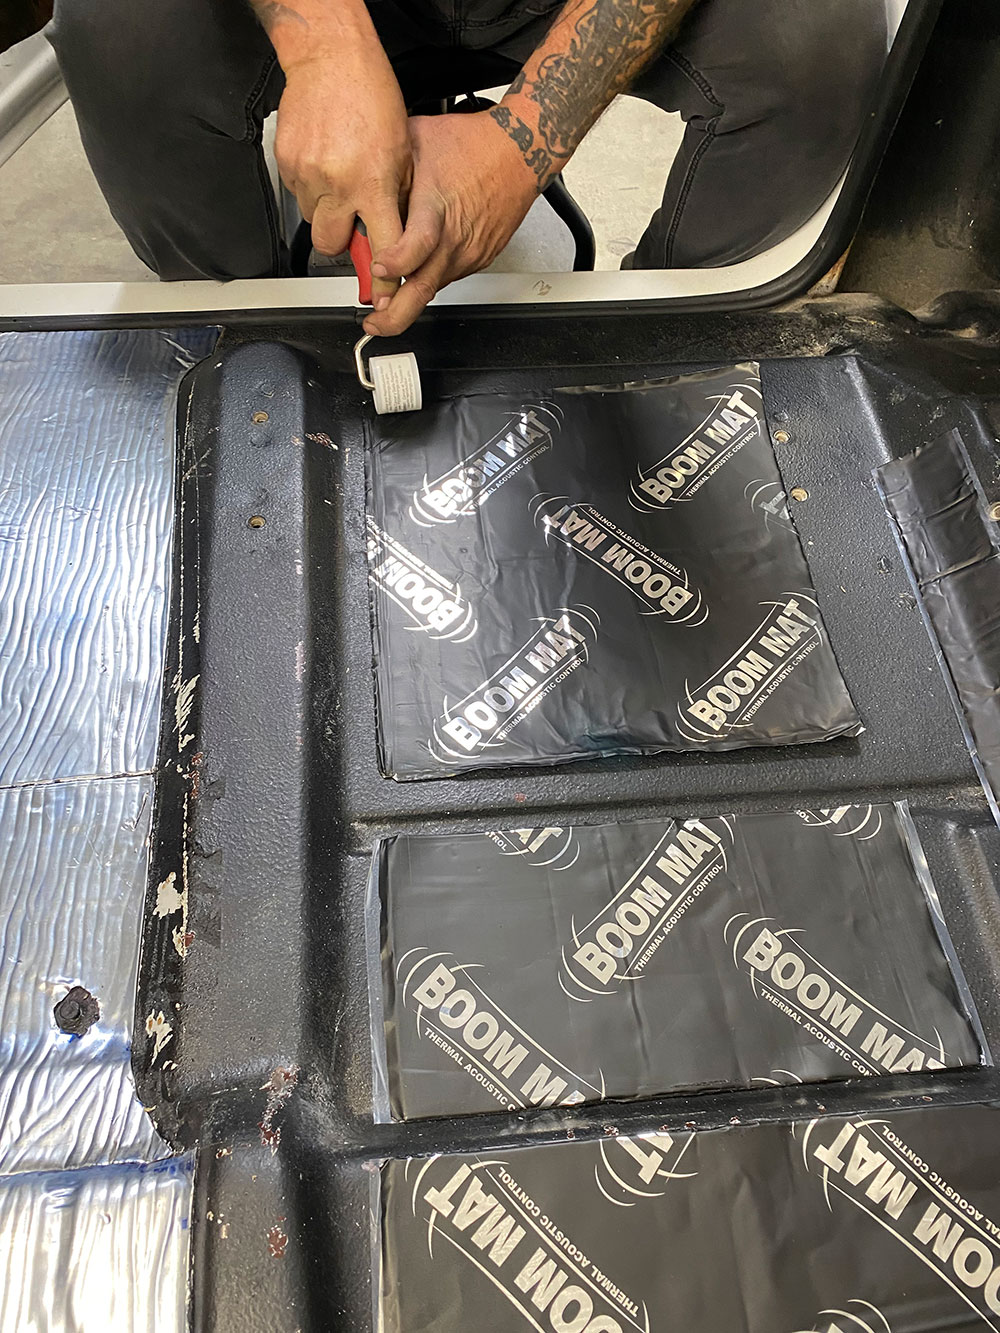
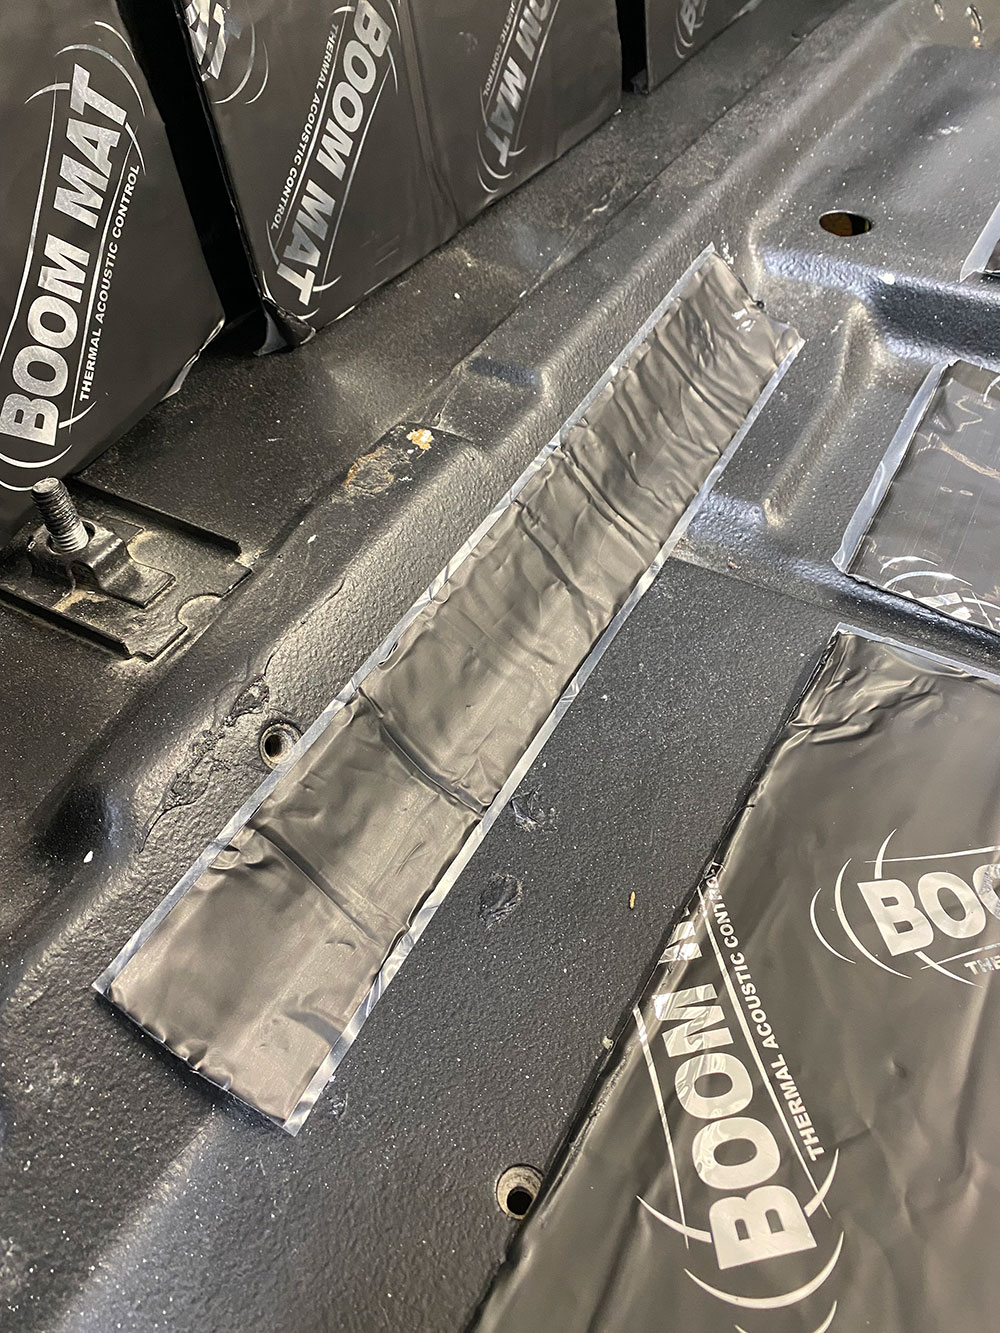
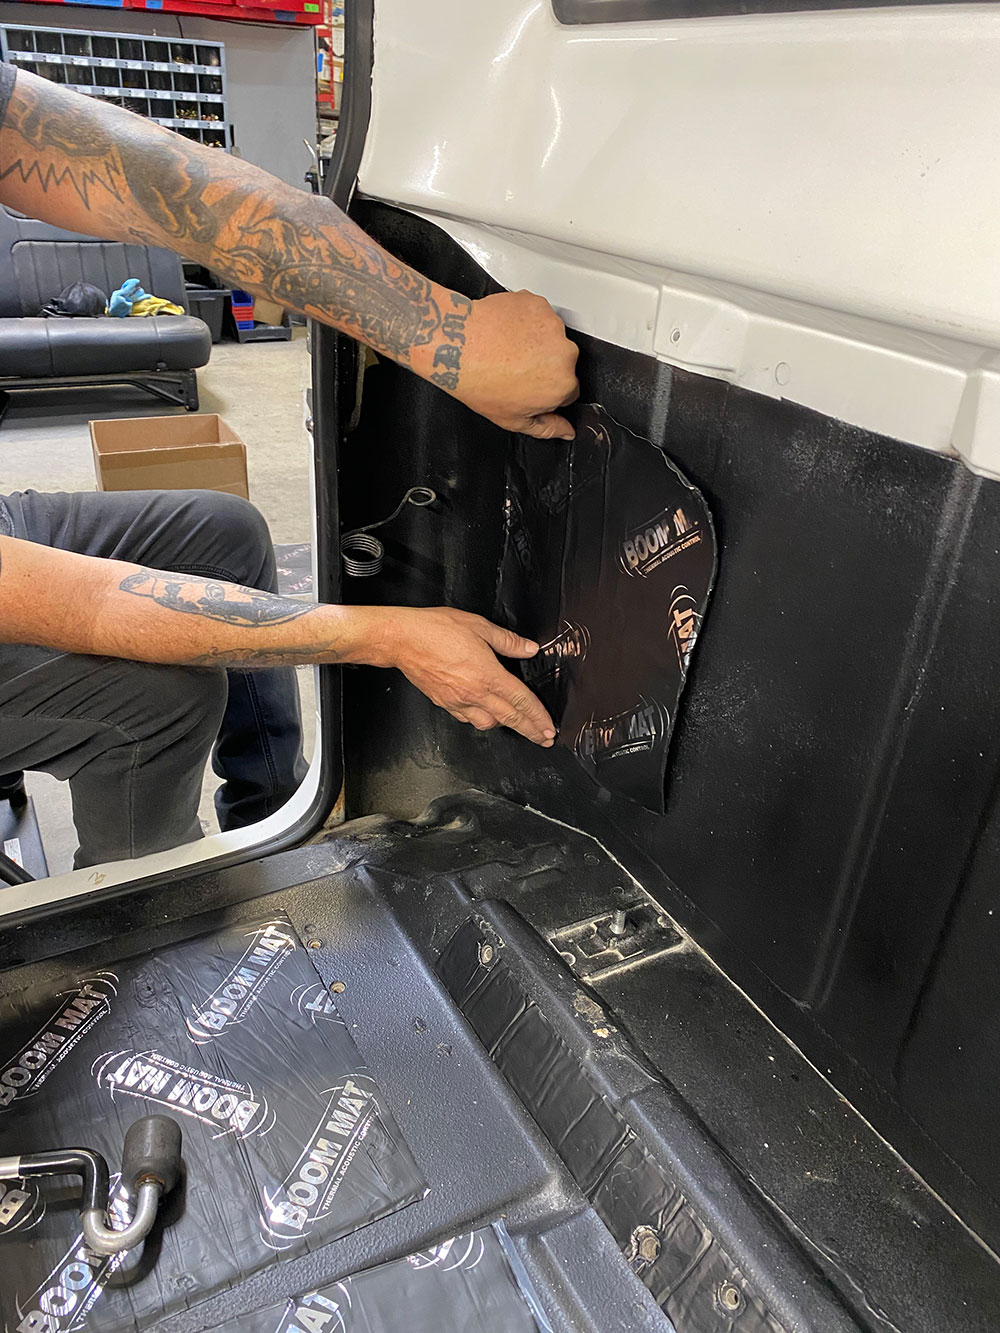
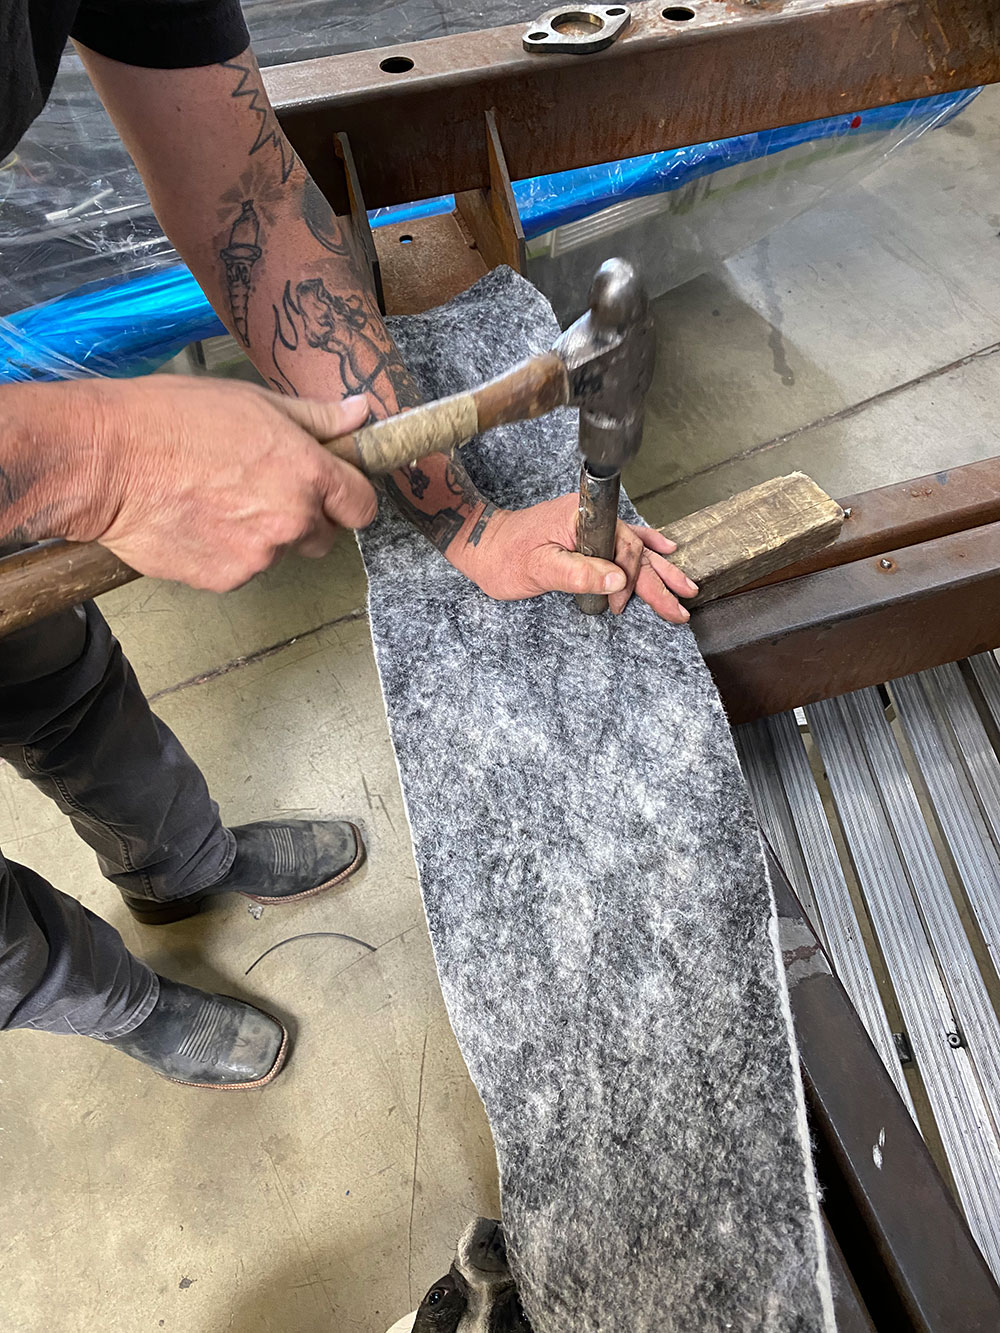
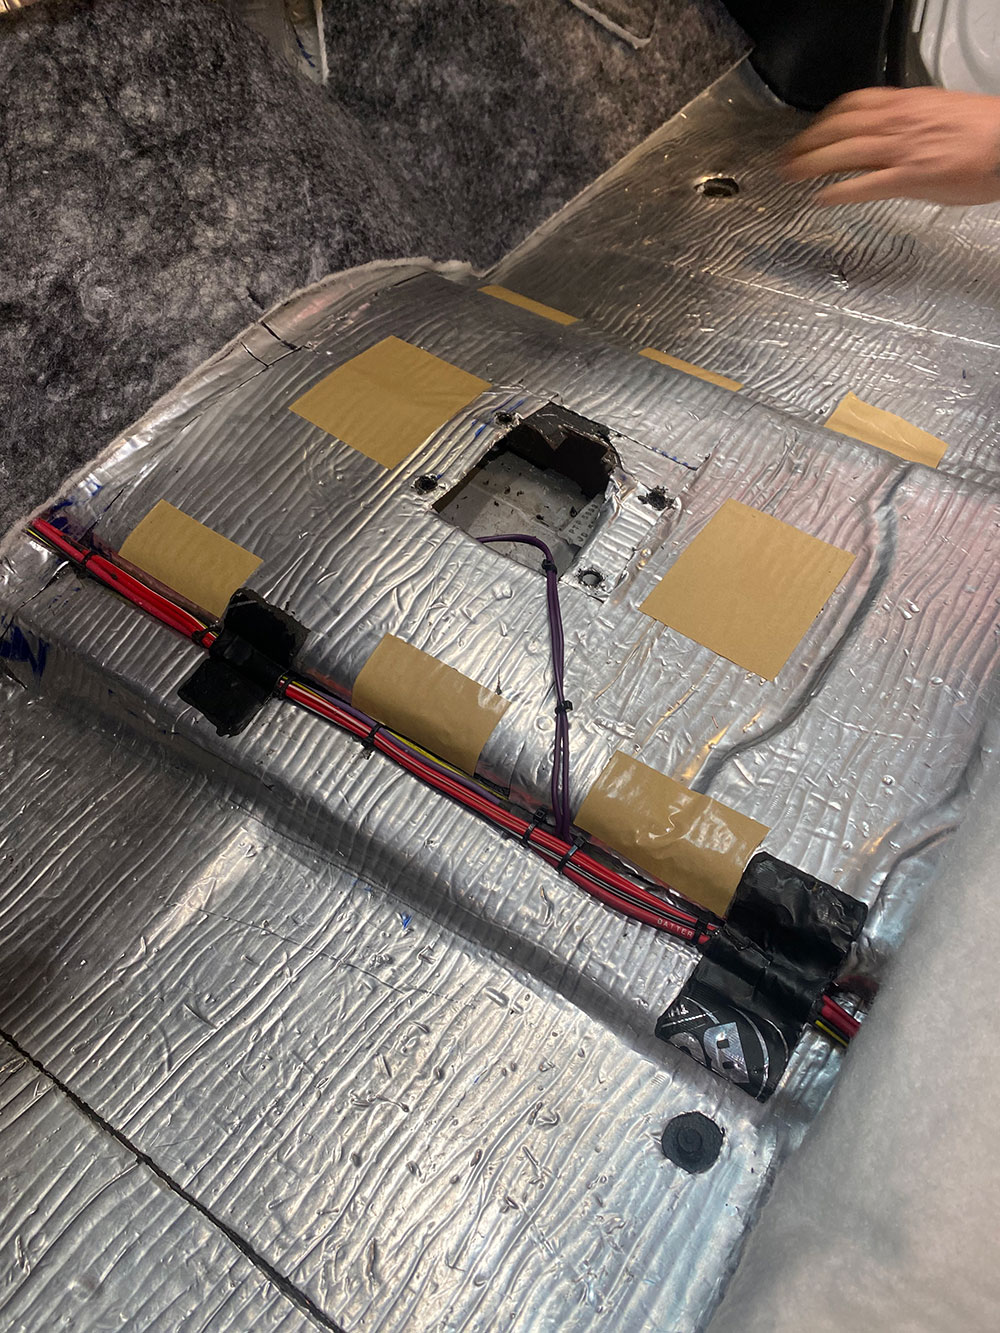
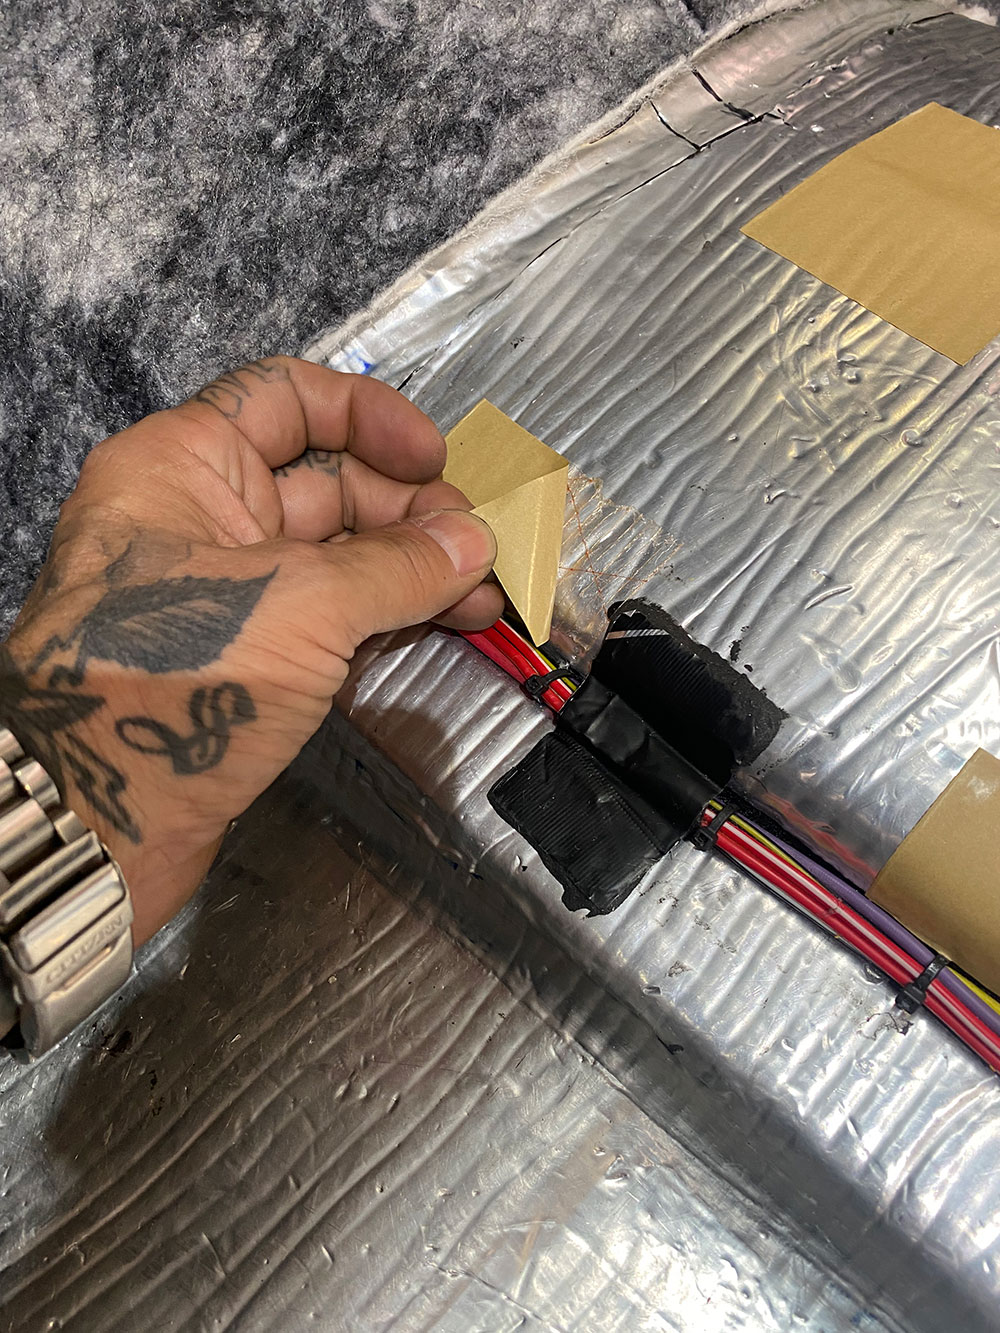
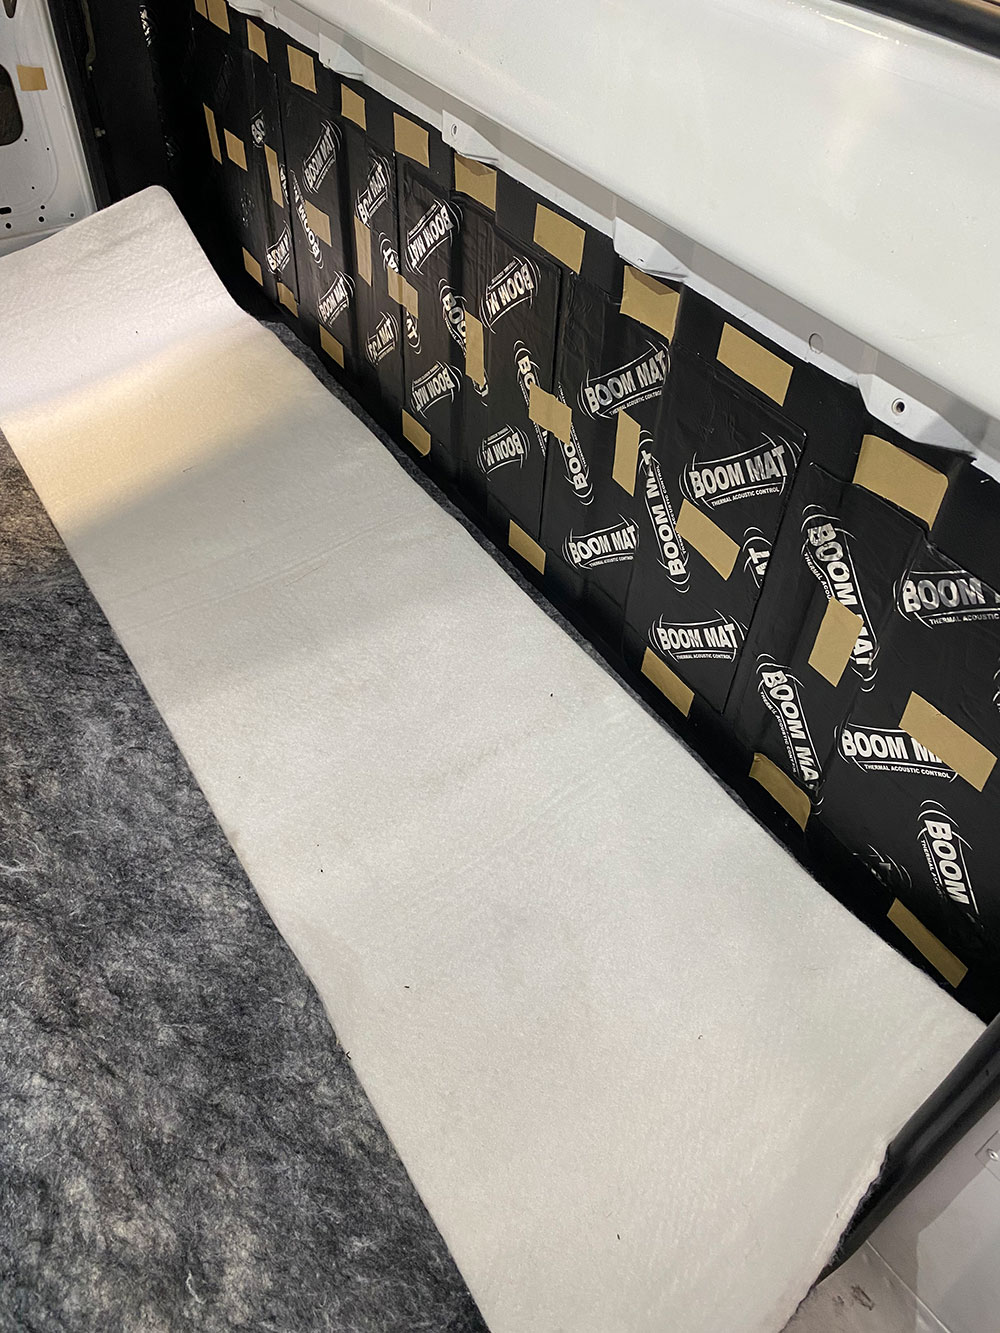
When applying, simply remove the self-adhesive backing (either completely, or partially if you’re not super confident with your application skills at first) …… and stick just as you would a decal: squared up where you want it to go, starting from one side working your way to the other, pressing down as you go to prevent air bubbles as much as possible (any resulting ones can be “popped” with a knife tip and pressed out).Once each piece is in place, finalize the adhesion using the supplied roller tool, ensuring the Boom Mat is completely “stuck” to the underlying surface.For the narrower areas, Design Engineering provides a roll of 2.5mm 2-inch damping tape (20-foot roll), which is applied in the same exact manner as the sheets of Boom Mat. Notice the holes for the seat/seatbelts were cut prior to application.
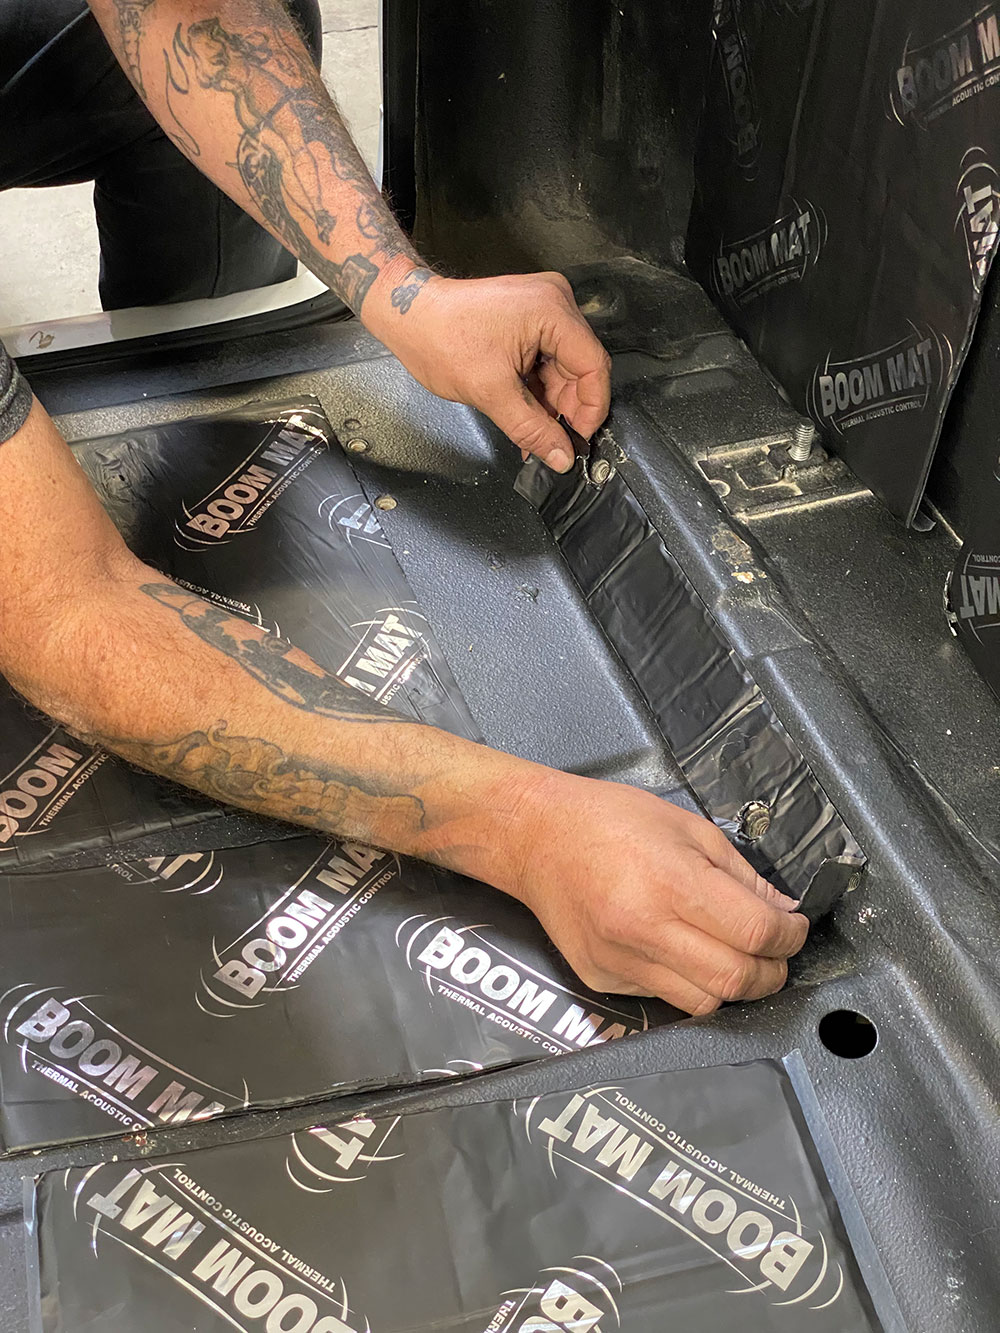
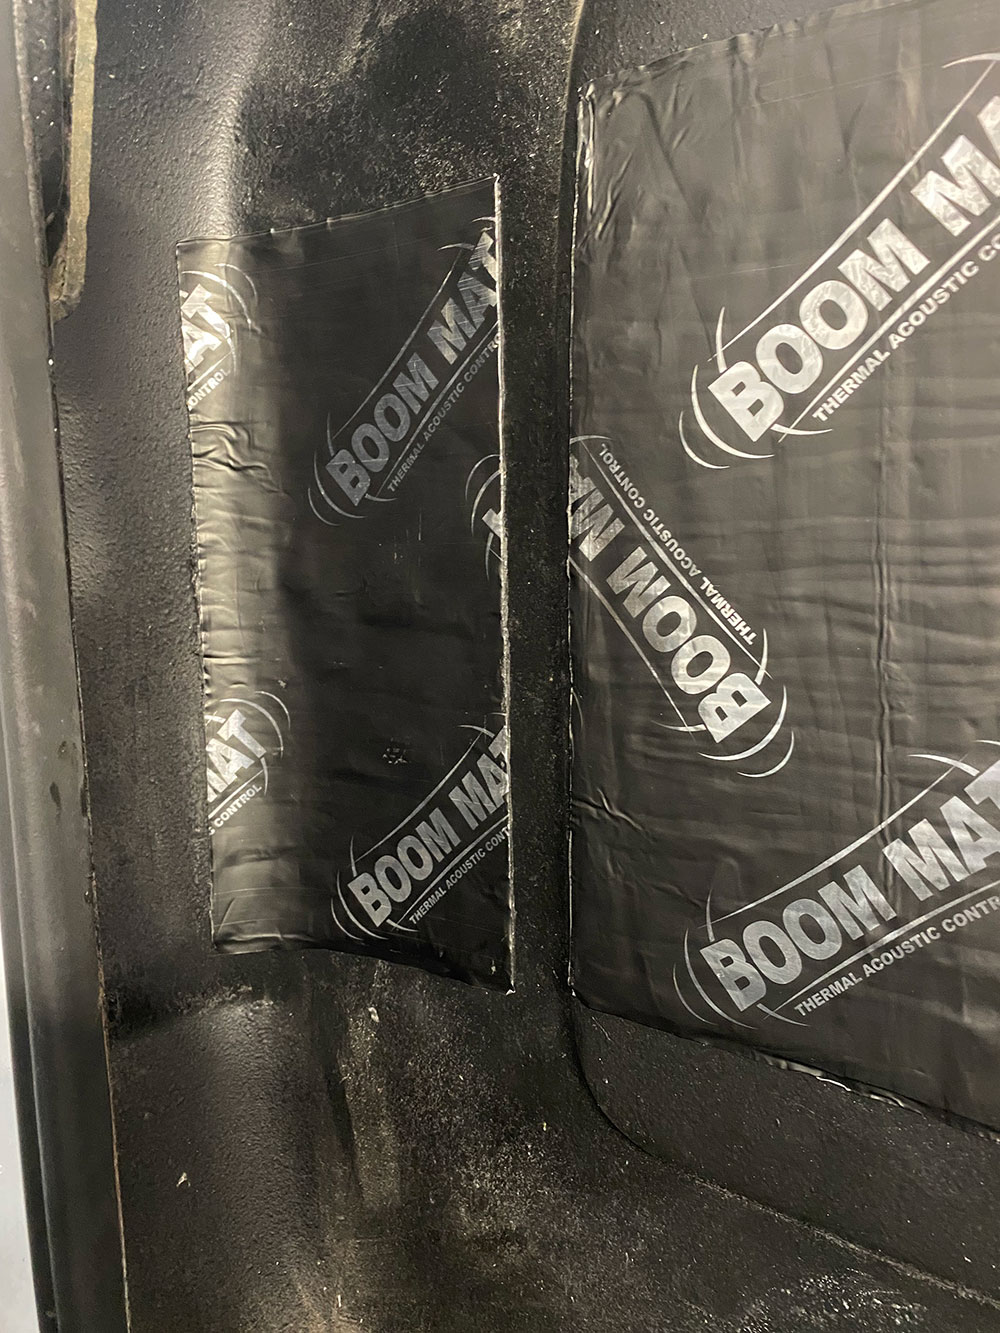
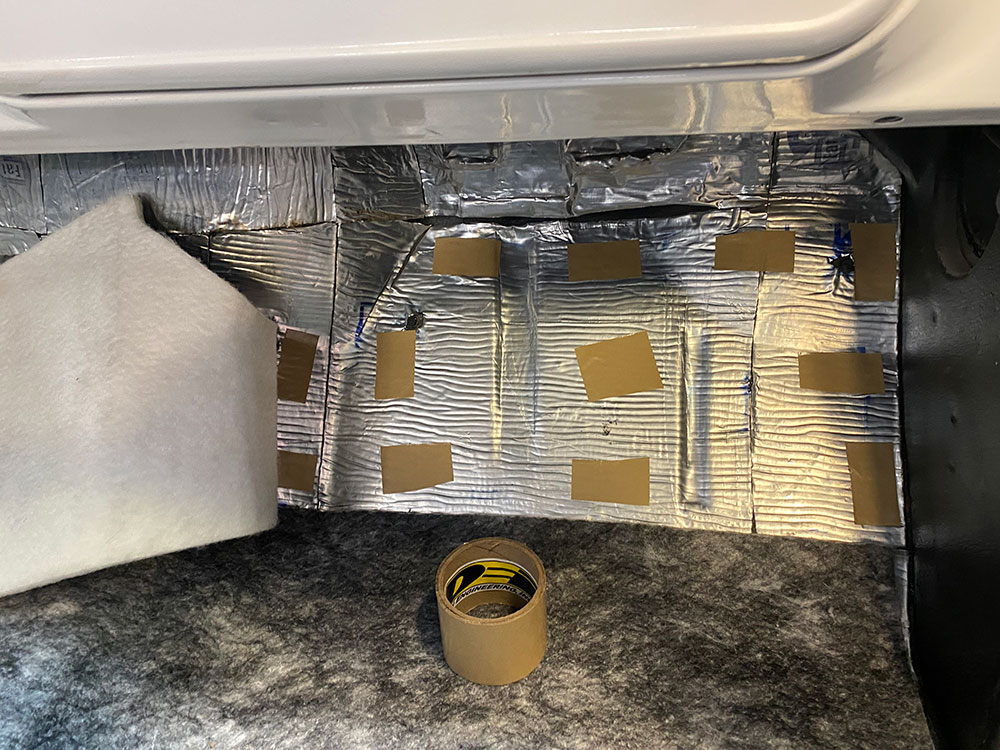
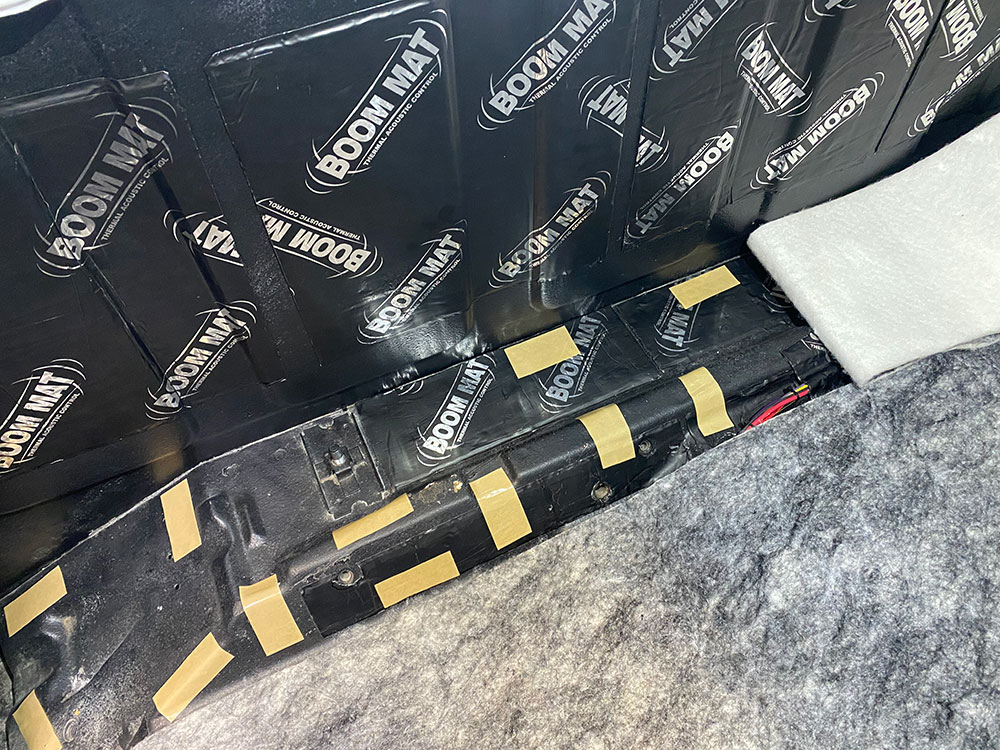
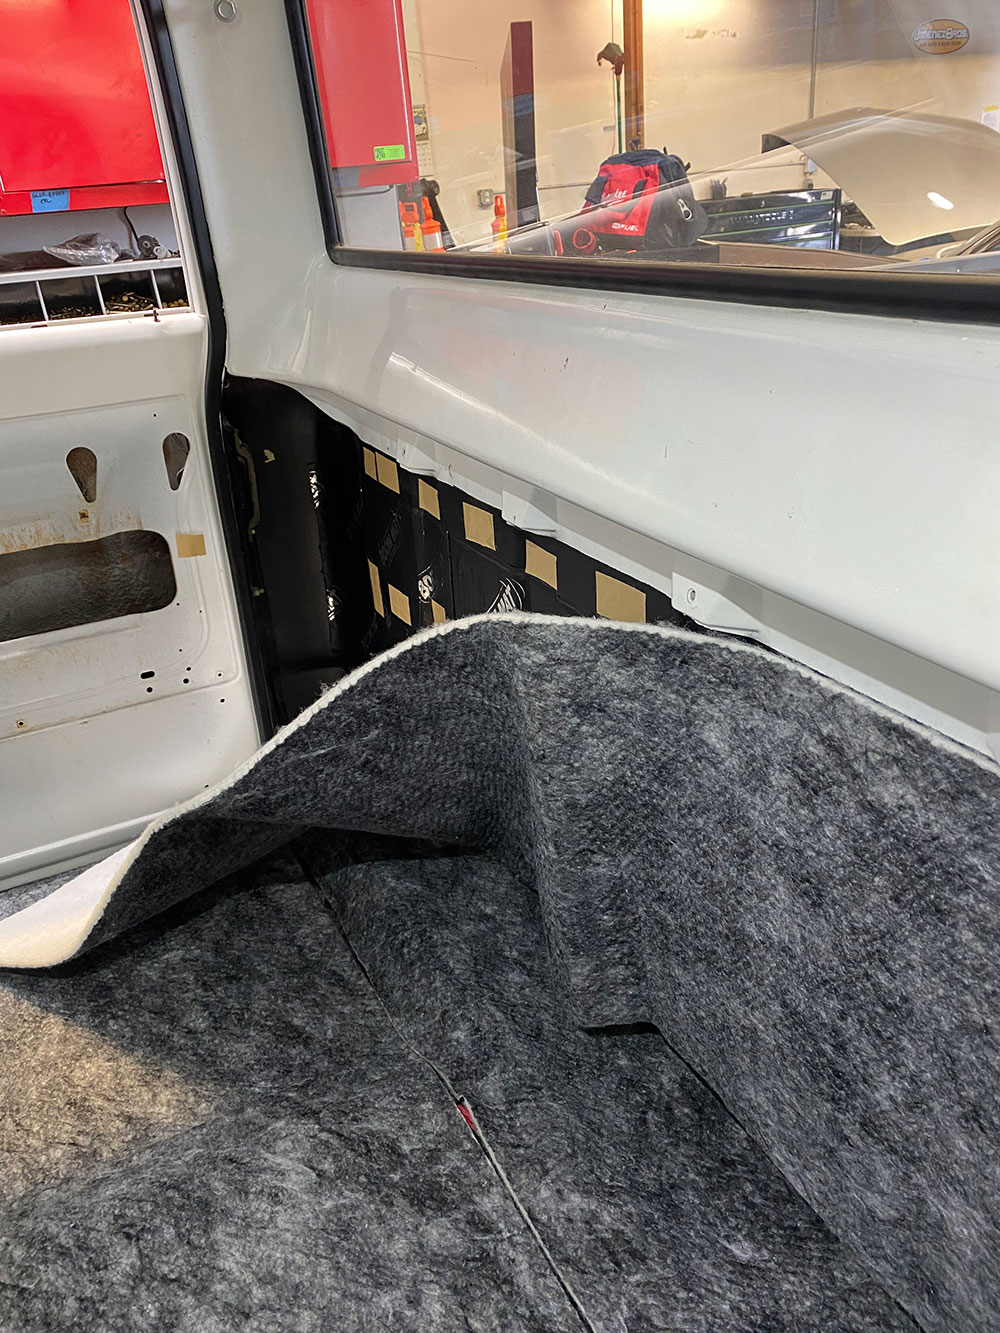
The back cab panel gets treated the same way with the Boom Mat installation. Take extra care to form the pieces to the contours to avoid large air bubbles by carefully forming the damping material as you apply it.
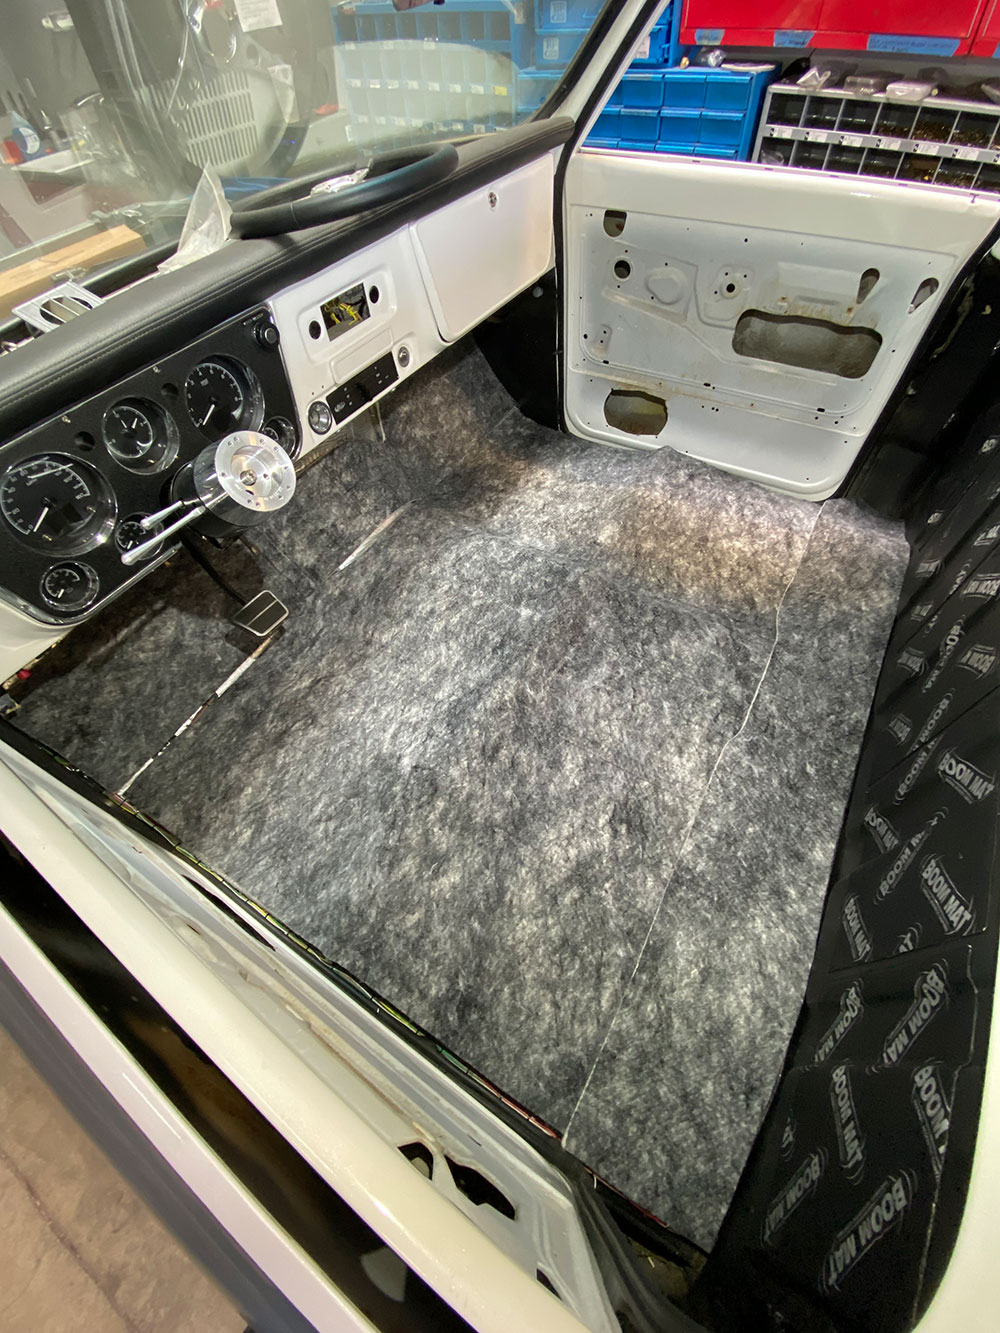
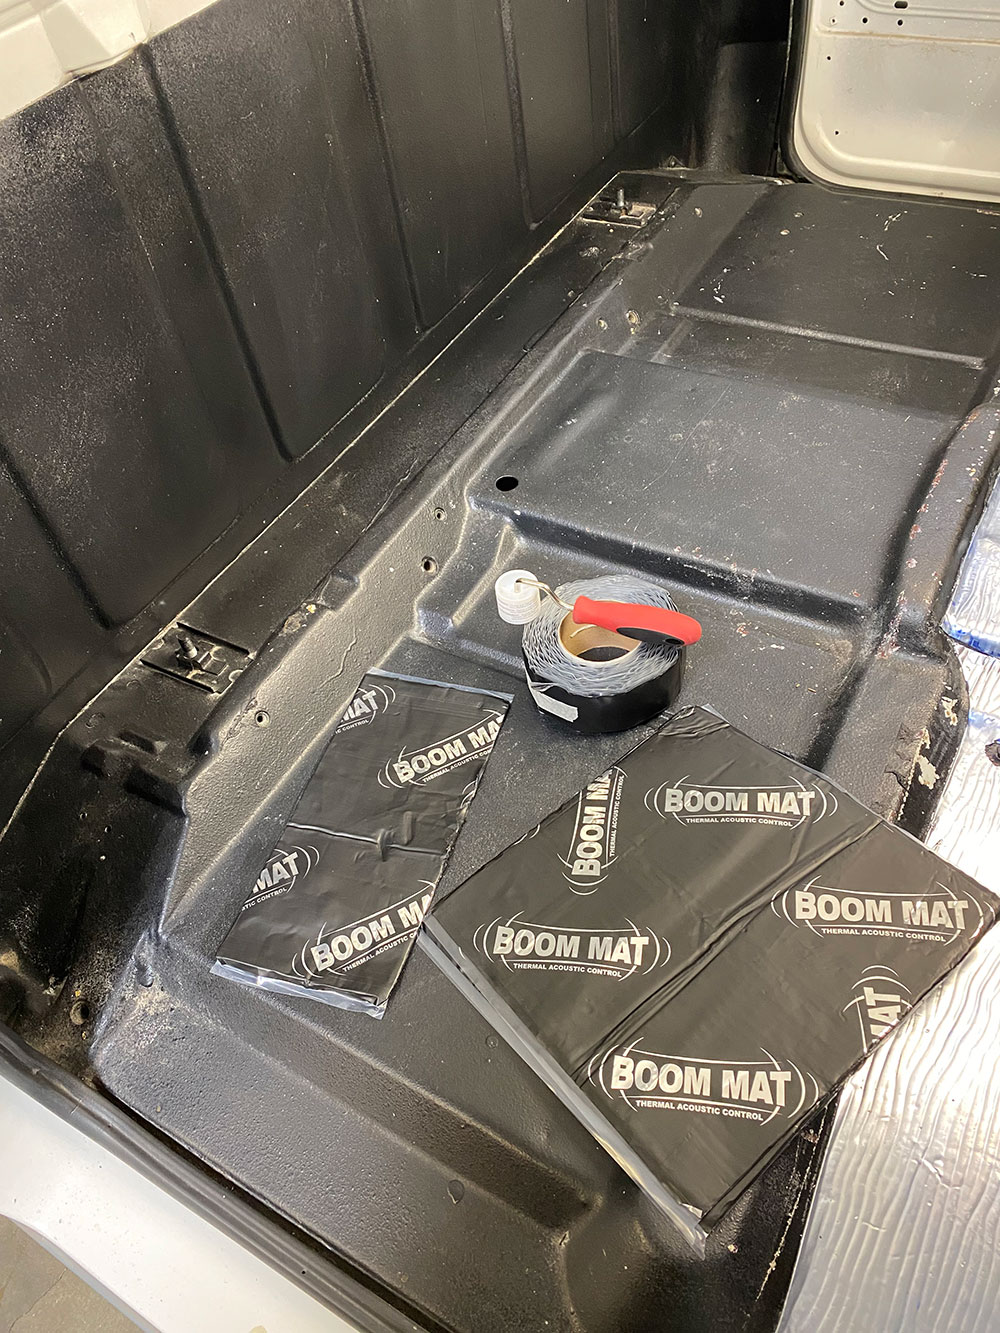
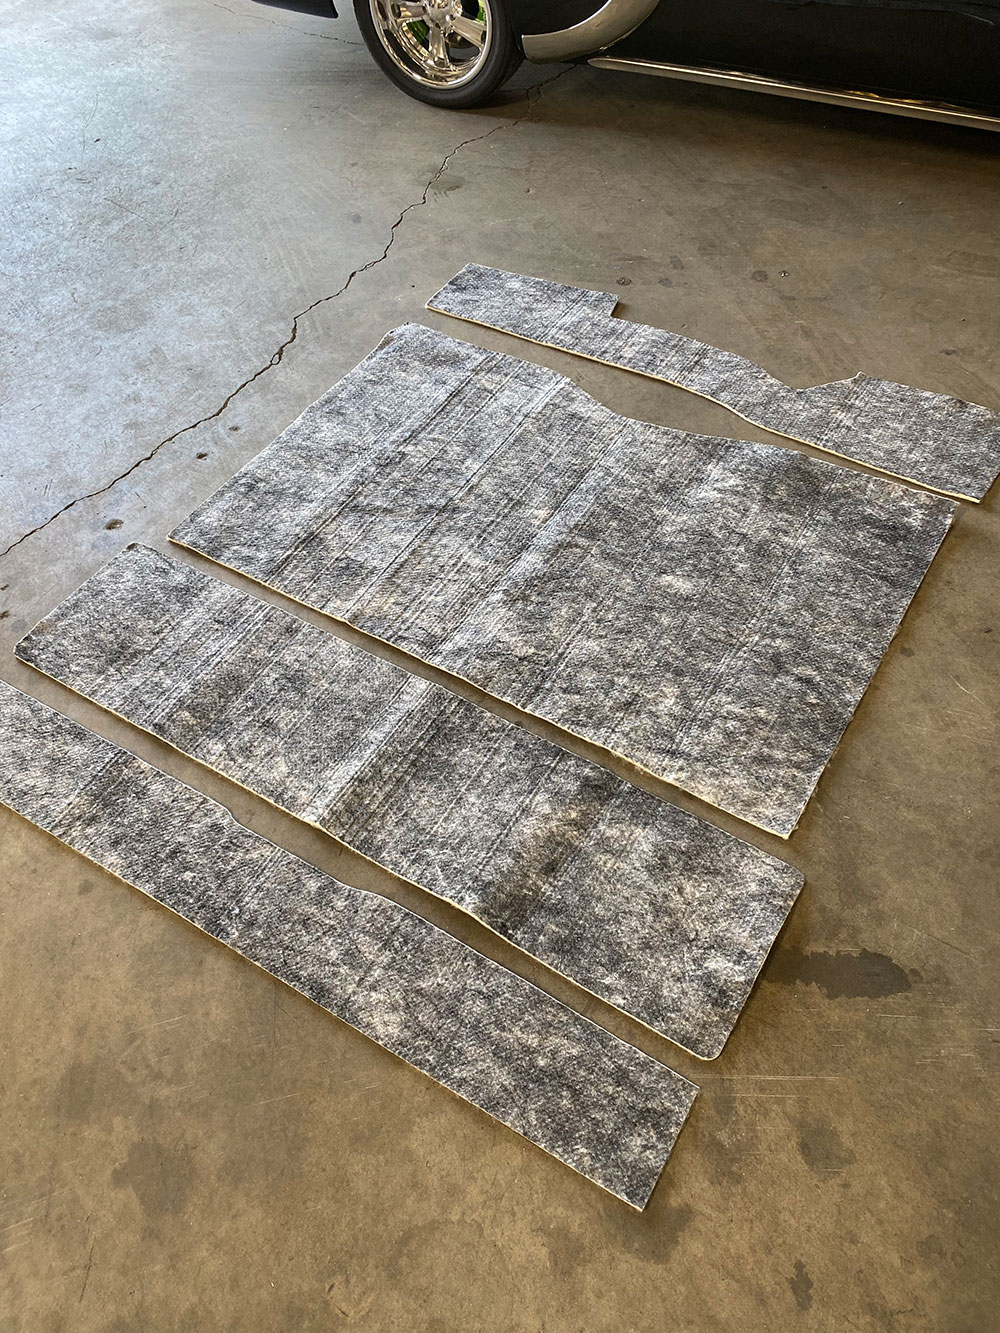
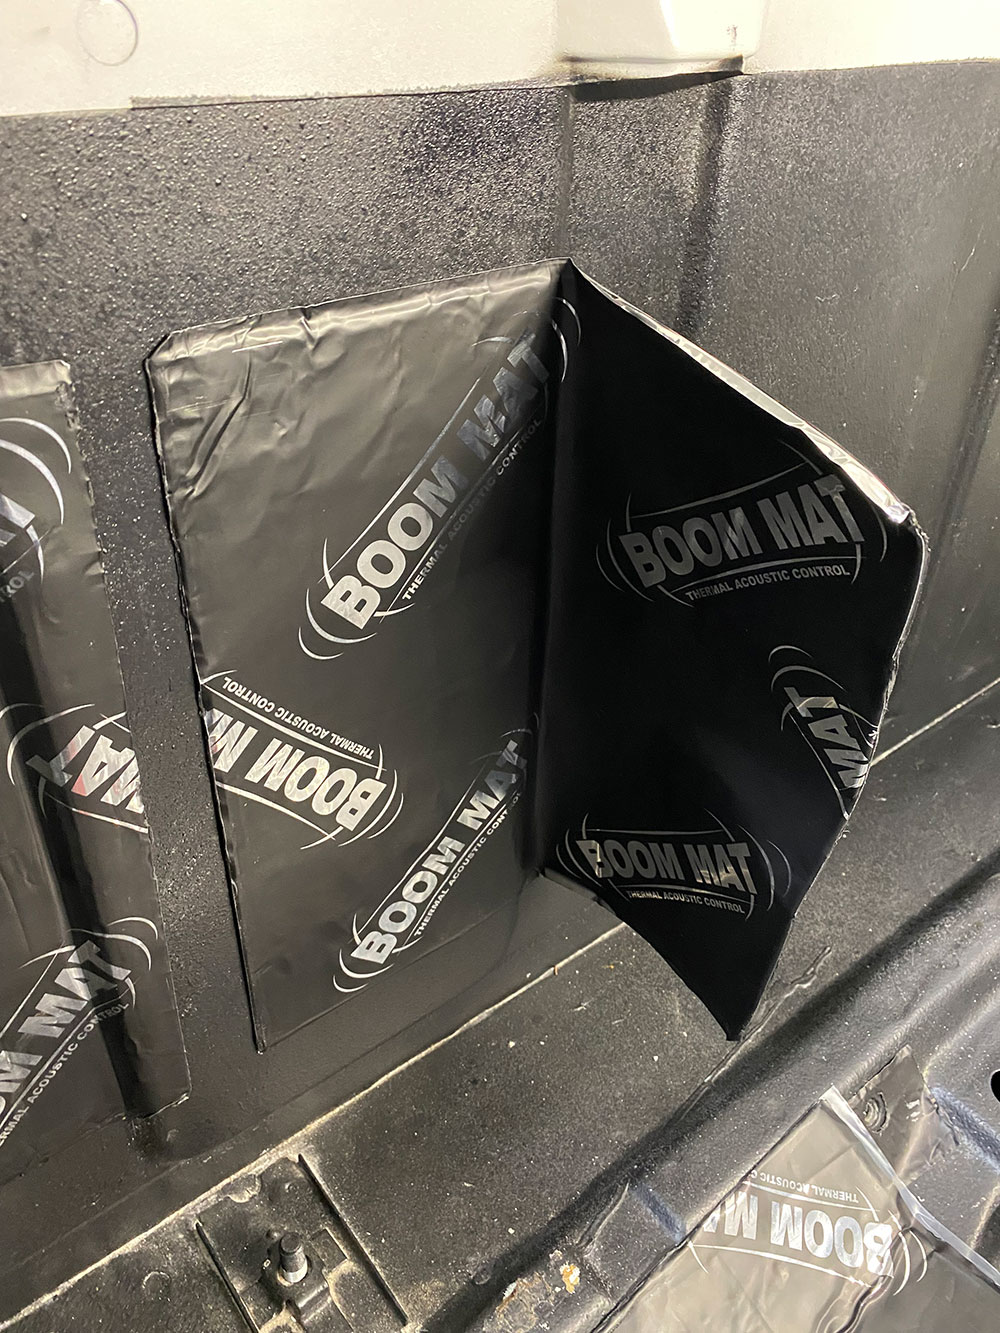
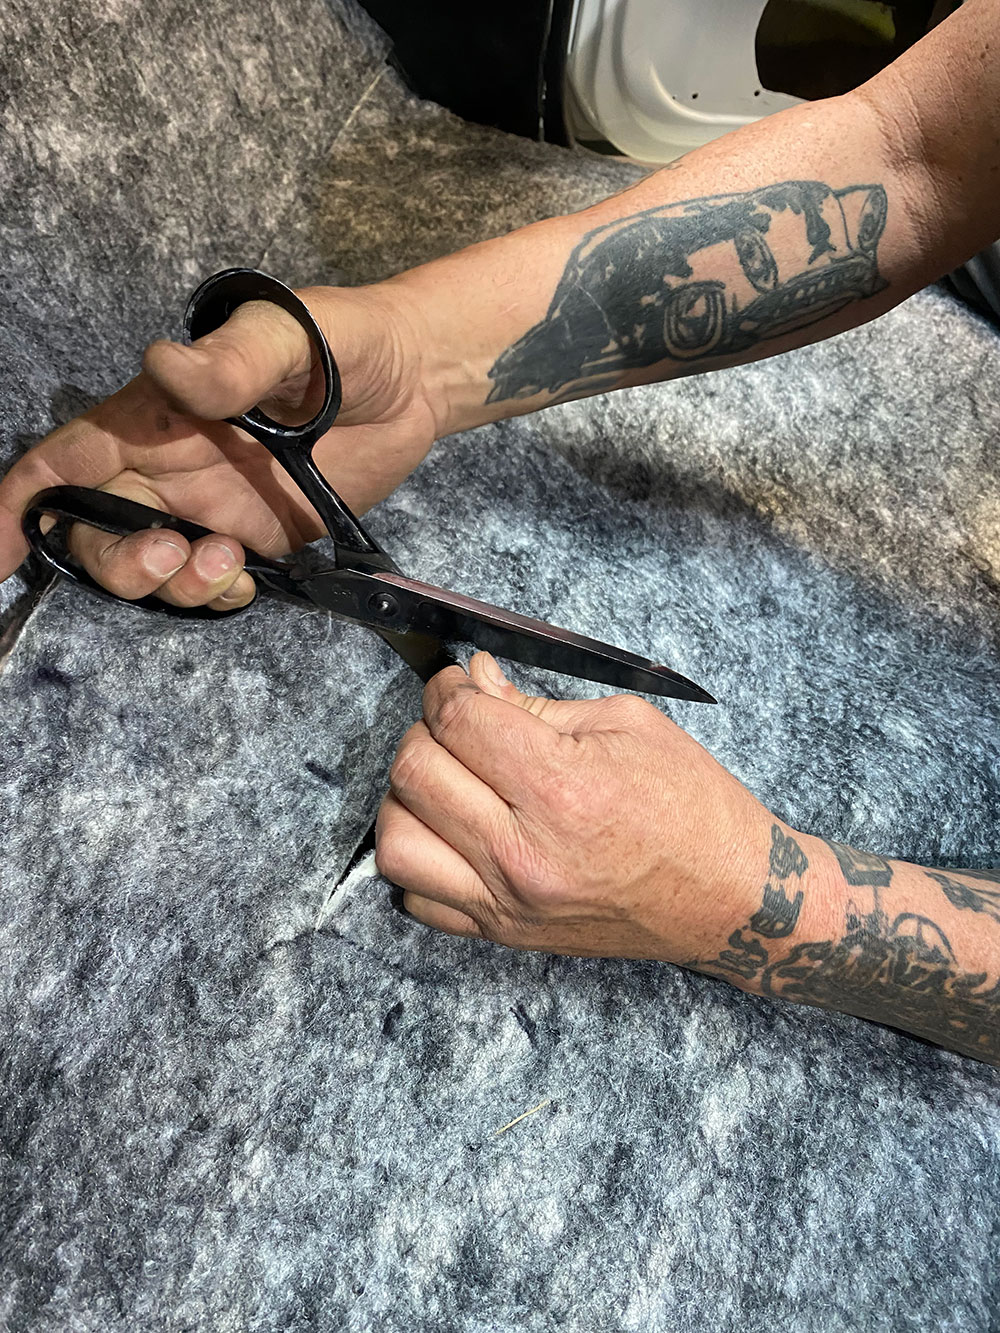
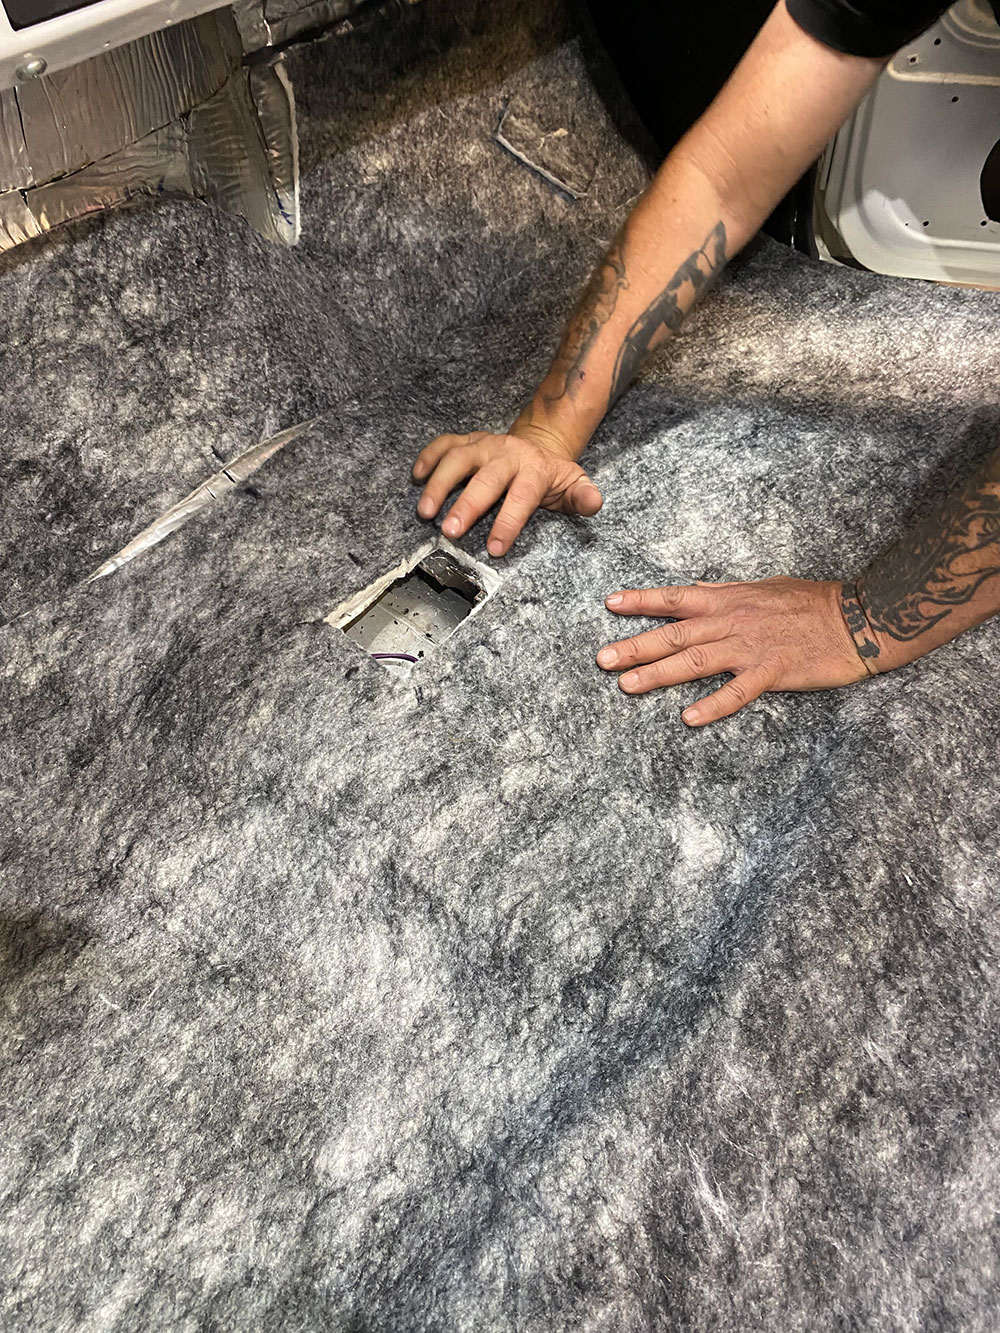
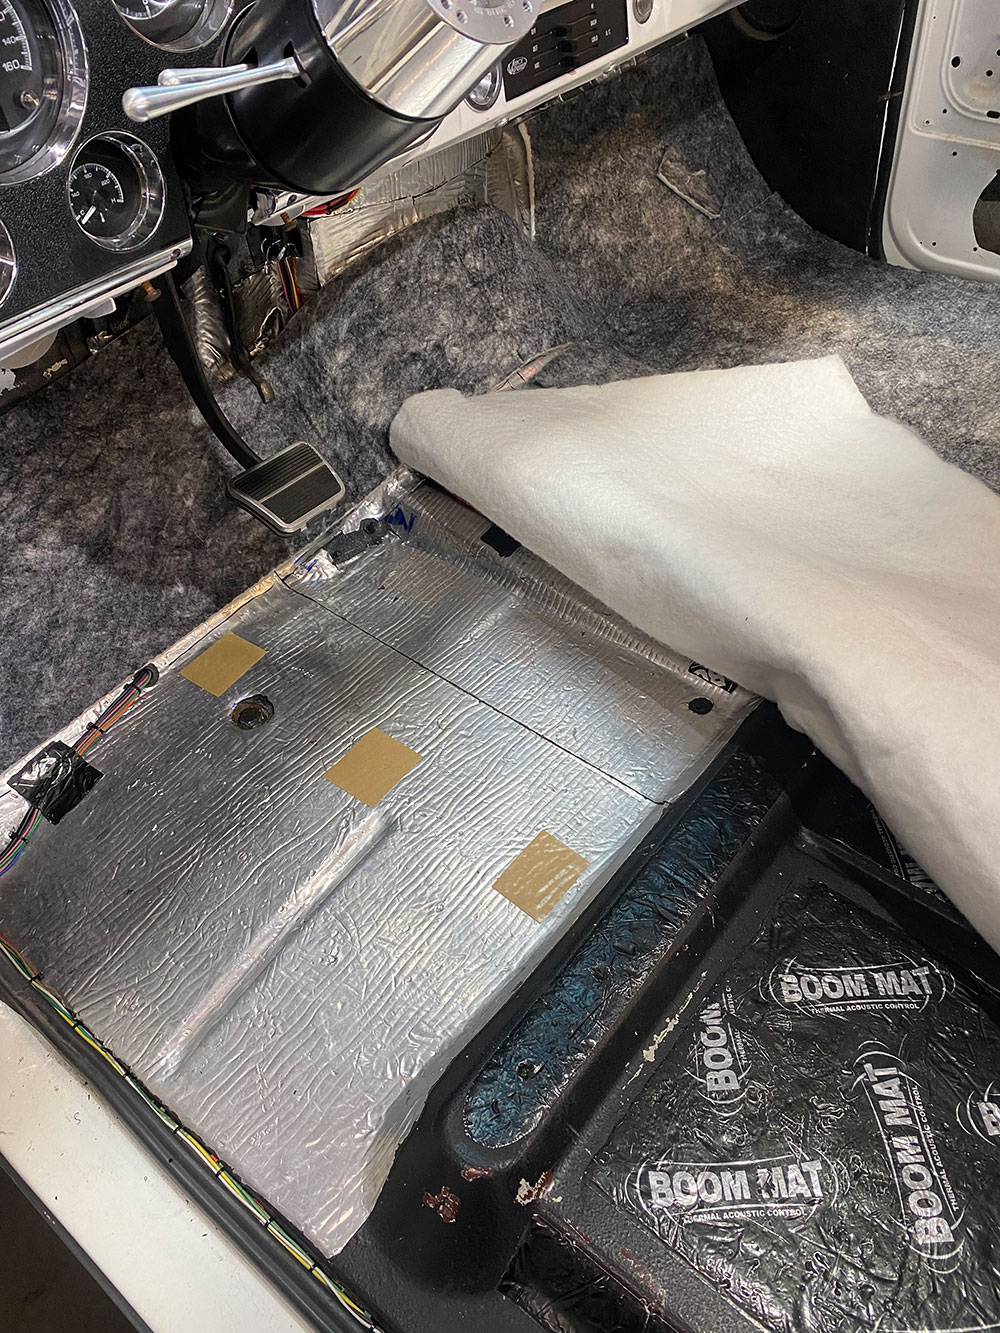
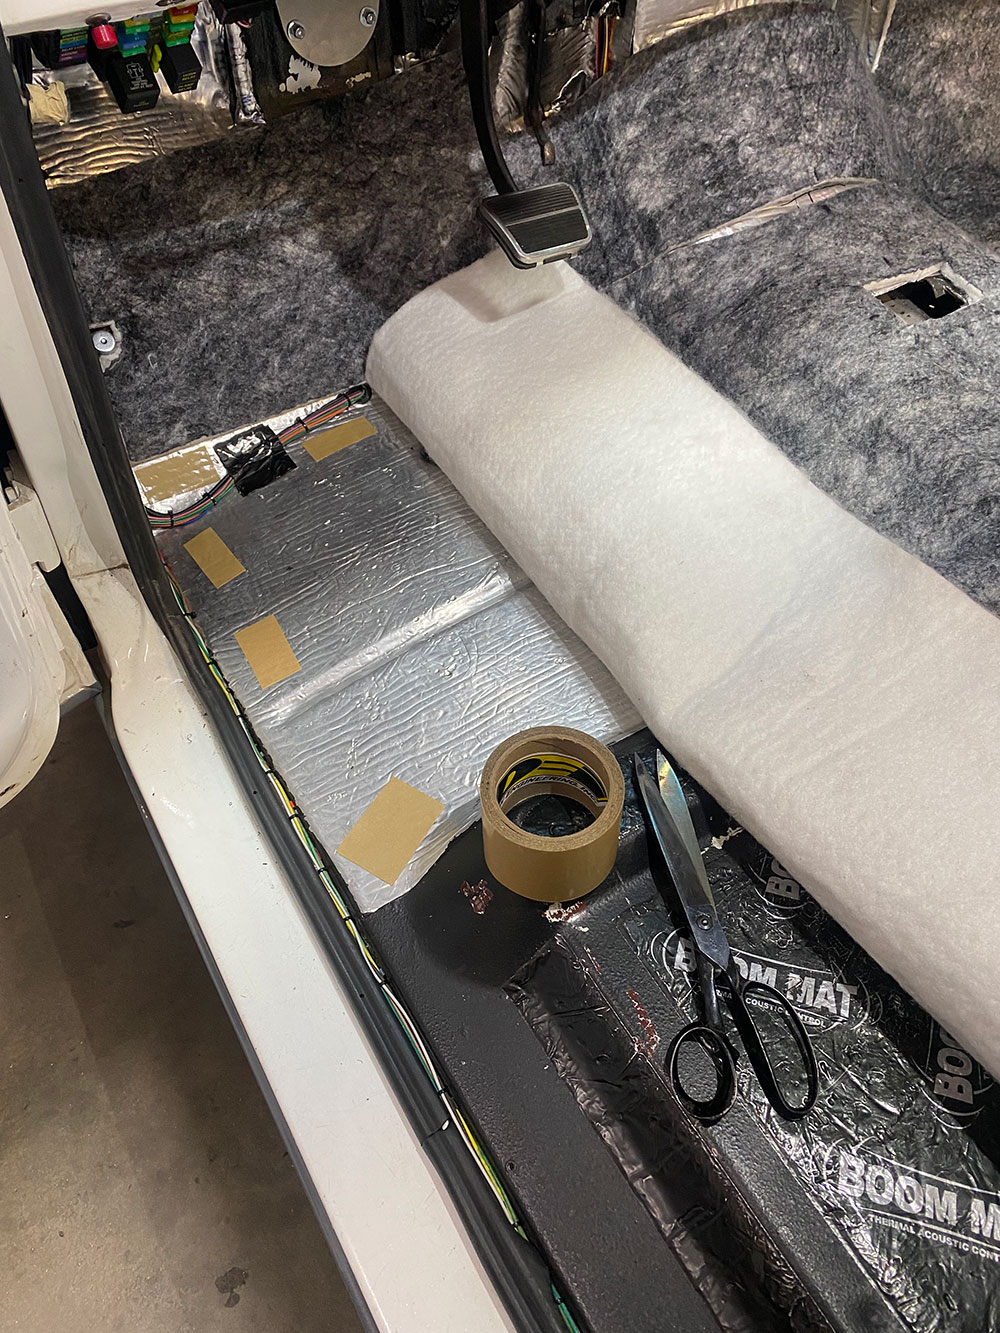
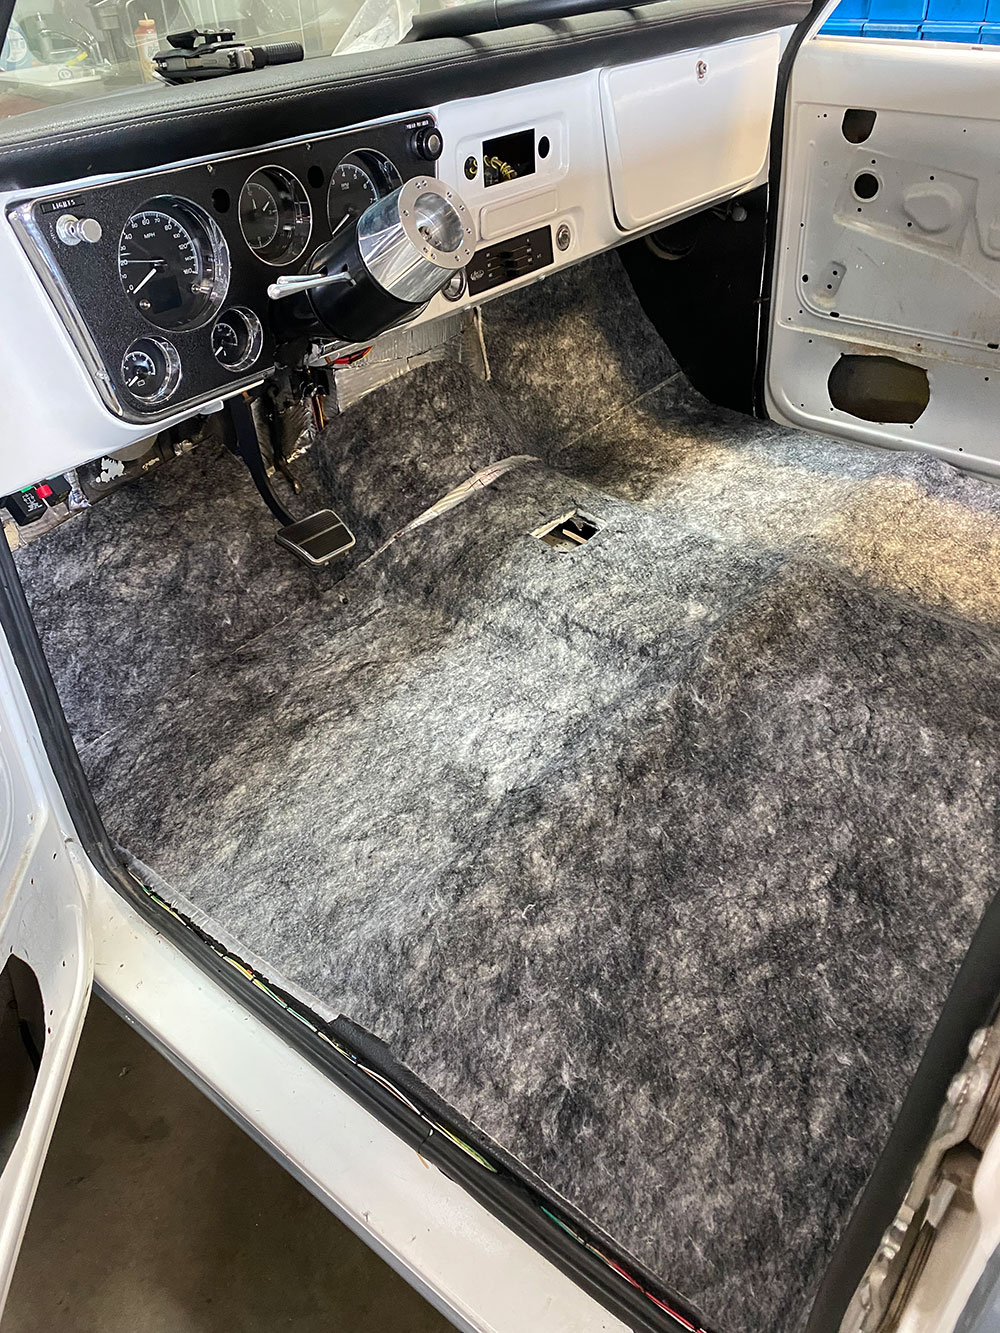
As mentioned, pieces not used on the forward portion of the floorboard were used elsewhere, such as the corners of the back panel, as shown here.That concludes our Boom Mat install in the 69 C10. (In real time, we completed the American Autowire Highway 22+ harness wiring before moving onto the final Under Carpet Lite portion to prevent having to lift and/or remove any of the sound deadener in the process.)The first step in the Under Carpet Lite application process is to lay the material inside the truck, mark any areas that will require access (shifter, seat/seat belt holes, and so on) and trim out accordingly. Heavy-duty scissors (sharp, of course) suffice for any larger holes …… but for the smaller ones, a (very sharp) hollow hole punch was used.
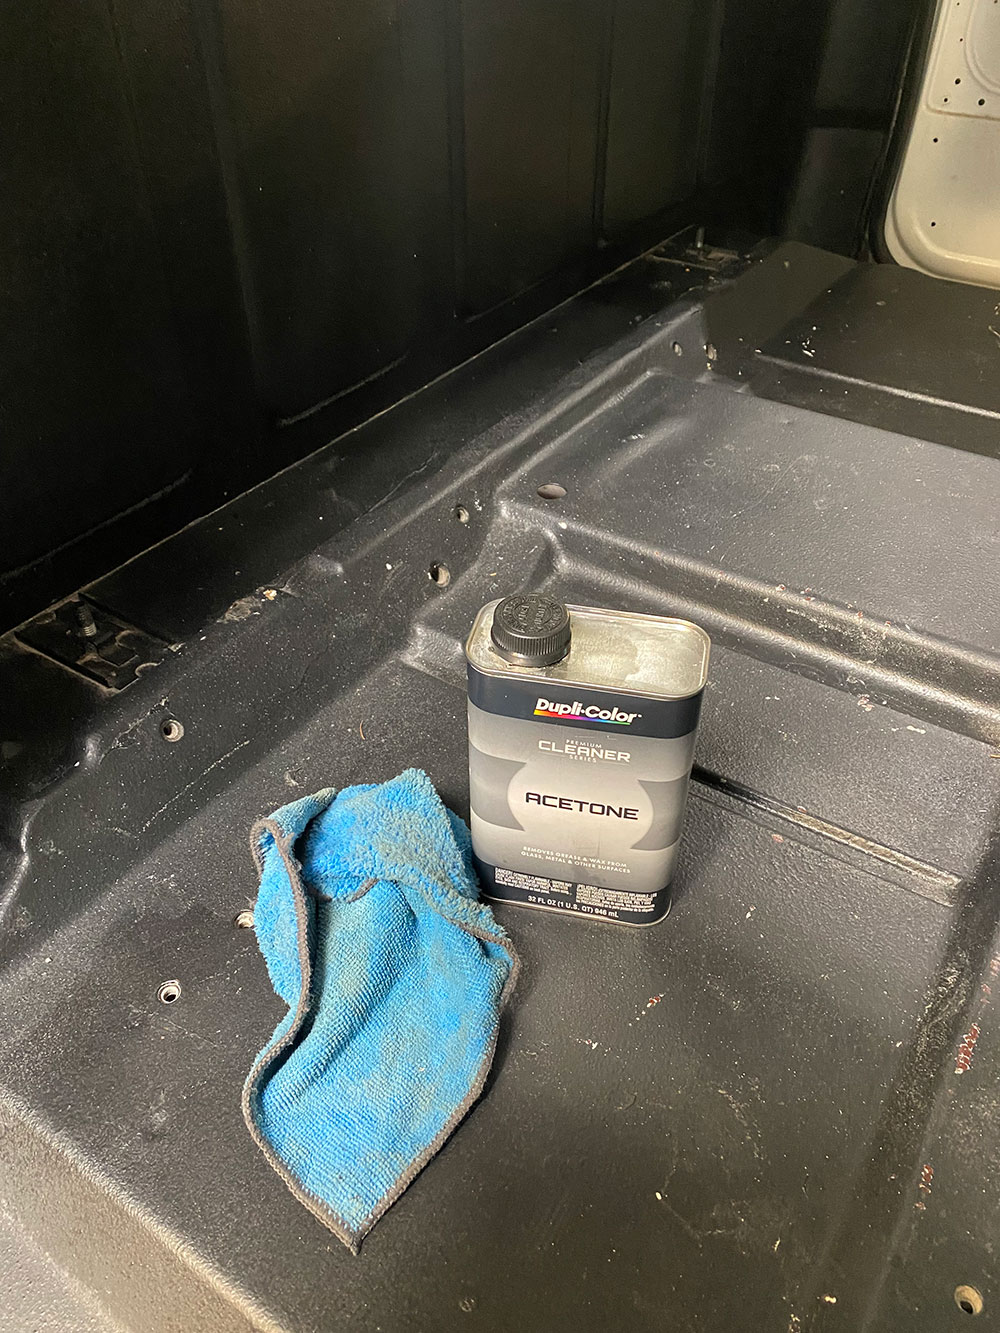
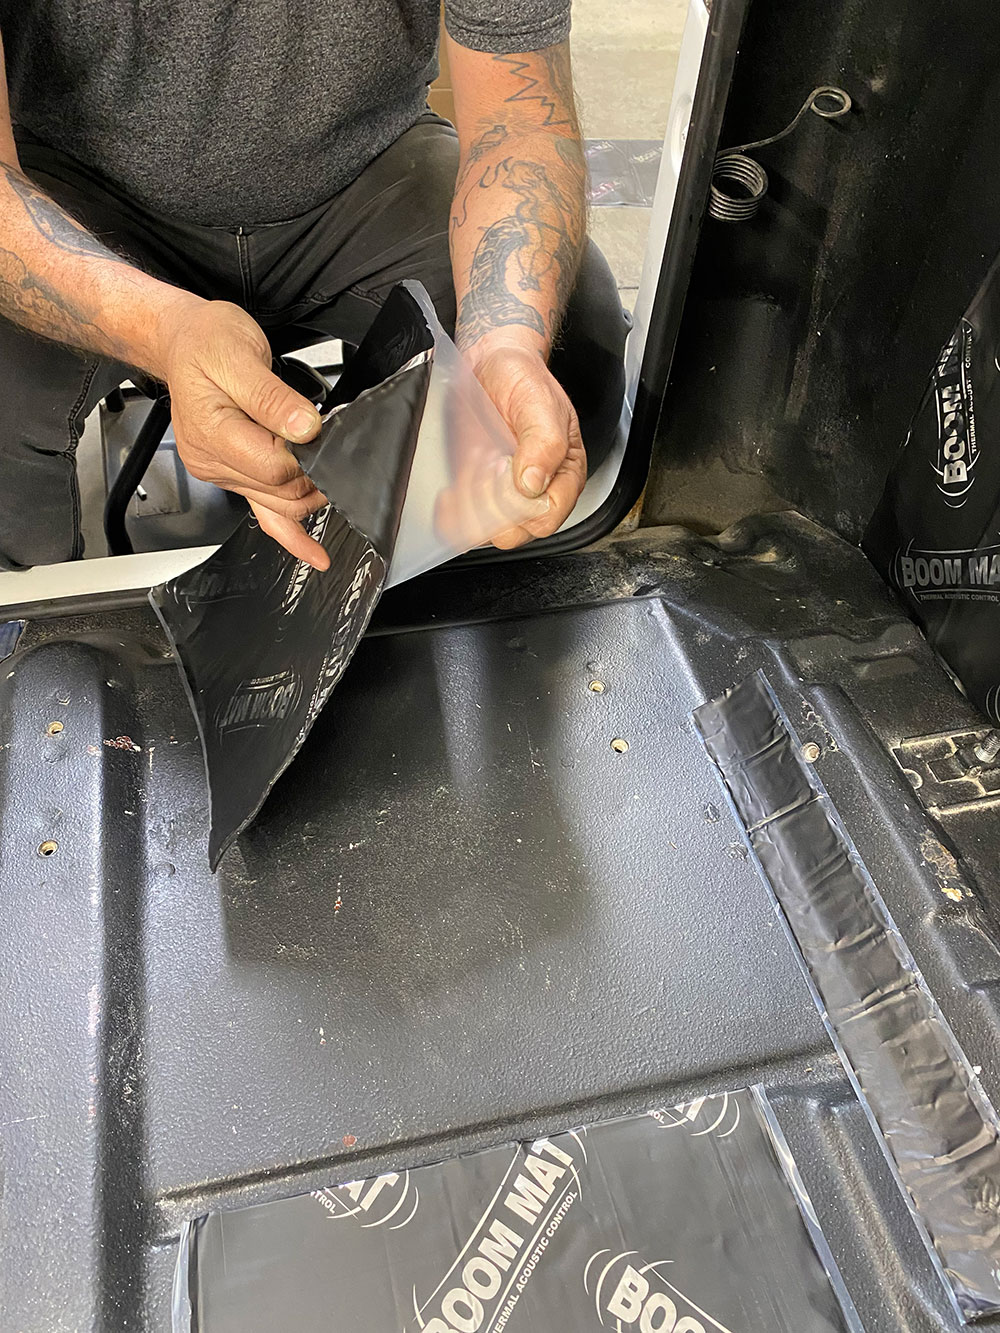
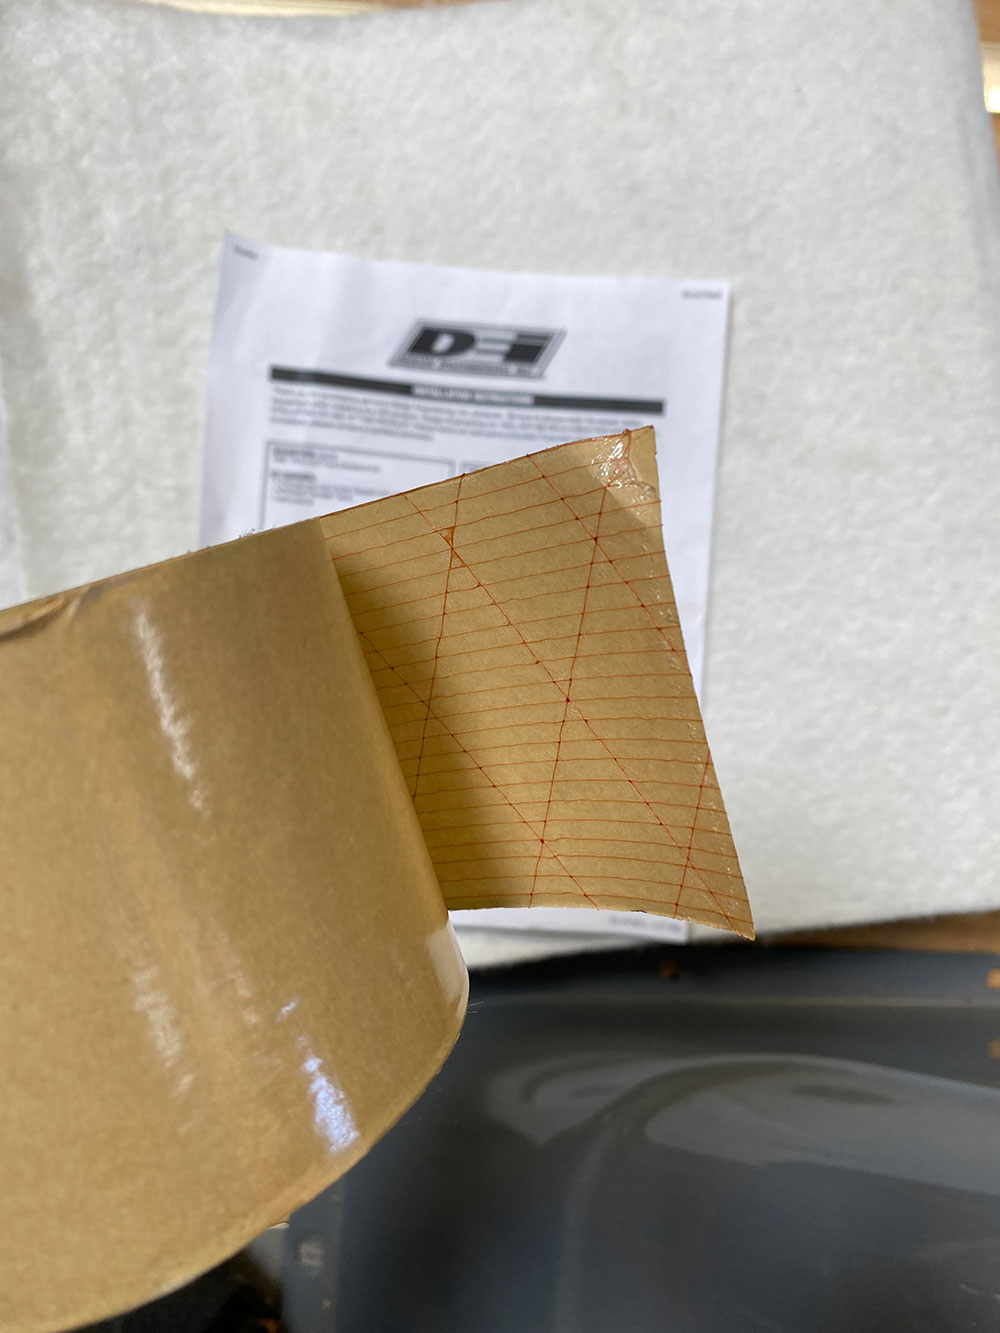
After configuring the Under Carpet Lite logistically, remove from the cab and prepare yourself for a rather sticky situation—i.e., the adhesive transfer tape application.You’ll want to use the sharpest scissors possible when cutting the individual pieces of transfer tape—and keep that can of acetone or wax and grease remover close, just in case you get a little careless and things get a lot stickier!As Design Engineering states in the instructions provided, you only need to use small sections of the transfer tape—and we strongly suggest using them in areas that are critical to forming the Under Carpet Lite to the floor, such as the contours of the transmission tunnel. (We also left some areas open to allow any future audio system wiring to be routed beneath without having to lift the material up.)
For each section, we began in the center and worked our way outward (with the exception of the rear portion of the main centerpiece) when attaching the Under Carpet Lite to the transfer tape—that way seemed the most logical as far as keeping the individual pieces centered when shaping to the contours of the transmission tunnel.
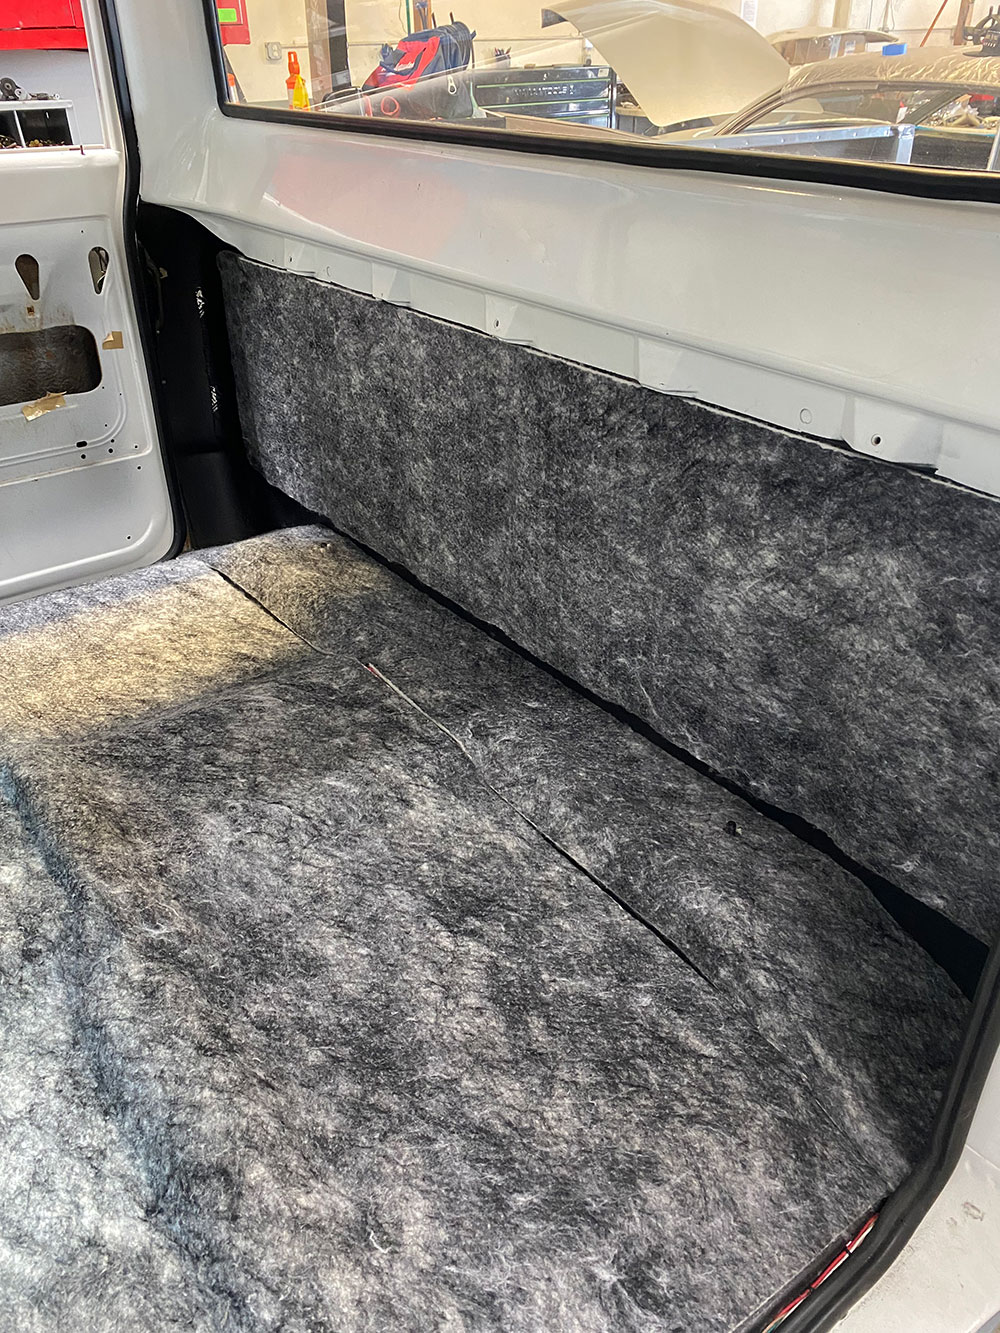
The toeboard piece was installed in the same manner—working from the center outward to each kick panel with small pieces of transfer tape.Since the rear portion of the main centerpiece had horizontal contours in which to conform to, we left that section to attach from the front of the seat backward, so as to shape accordingly, even though that area will never get seen once the seat’s installed.With the rearmost floor piece, we reverted to our side-to-side application method!The floor portion of the Under Carpet Lite installation is complete. If you have any doubts about using the transfer tape as opposed to a traditional spray adhesive (which Design Engineering offers in a high-temp/high-strength 13.3-ounce aerosol), trust us when we say the tape is more than sufficient! We had to lift and redo one area and had a real good time removing the tape from the floor!The last step of course is the vertical rear cab panel. We used more pieces of transfer tape here, especially in the recessed areas to both better form the insulation as well as better secure it considering it doesn’t have gravity on its side like the floor does!This piece could definitely use a second set of hands to not only help with centering but to keep it level as well. In this case, that wasn’t the case, however …… but the “me” in we managed to get the last section of Under Carpet Lite hung straight AND securely! Now the C10’s ready for some new interior … or interior, period!
We use cookies to ensure that we give you the best experience on our website. If you continue to use this site we will assume that you are happy with it.