Followed step by step, Kev Elliott’s clever technique for installing new cab corners produces perfect results, ending without need of polyester body filler.
Kev’s Rod & Custom’s Method Makes Cab Rust Repair Easy
The difference between a person who likes to sit and watch classic trucks being built on a TV show and one who reads a magazine for the tech articles is the magazine reader is a hands-on person who loves to do the work himself. That said, there can be pitfalls related to undertaking a DIY project without knowledge on how to do the job right. One of the easiest DIY projects to get wrong is installing replacement sheetmetal body panels, especially if fabrication is required to complete the job.
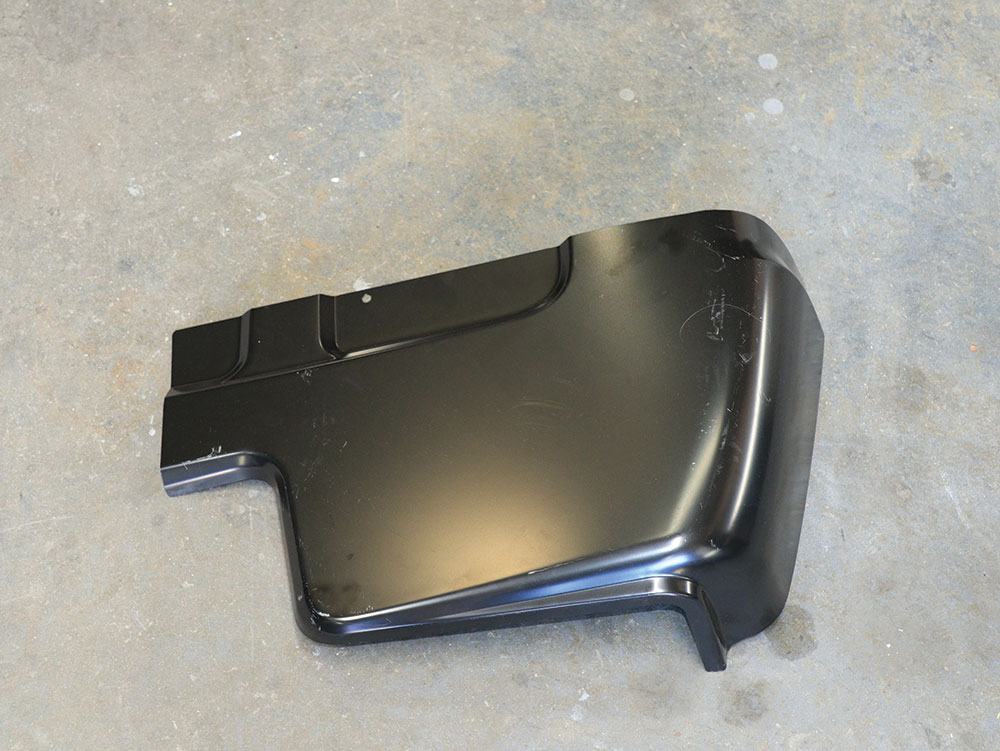
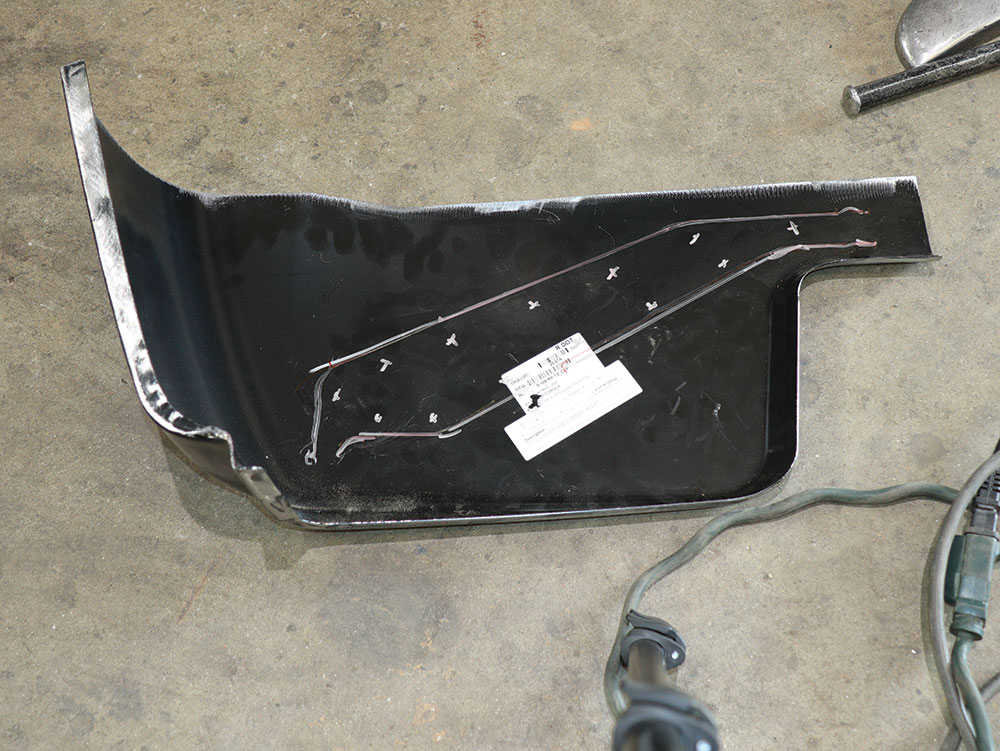
Brothers Truck was the source for the driver and passenger side cab corner replacement panels and replacement passenger side door and front fender.
Our subject vehicle is a ’69 Chevy C10 and is a great example of body panels that were replaced by an incompetent body man before it landed in the hands of its current owner.
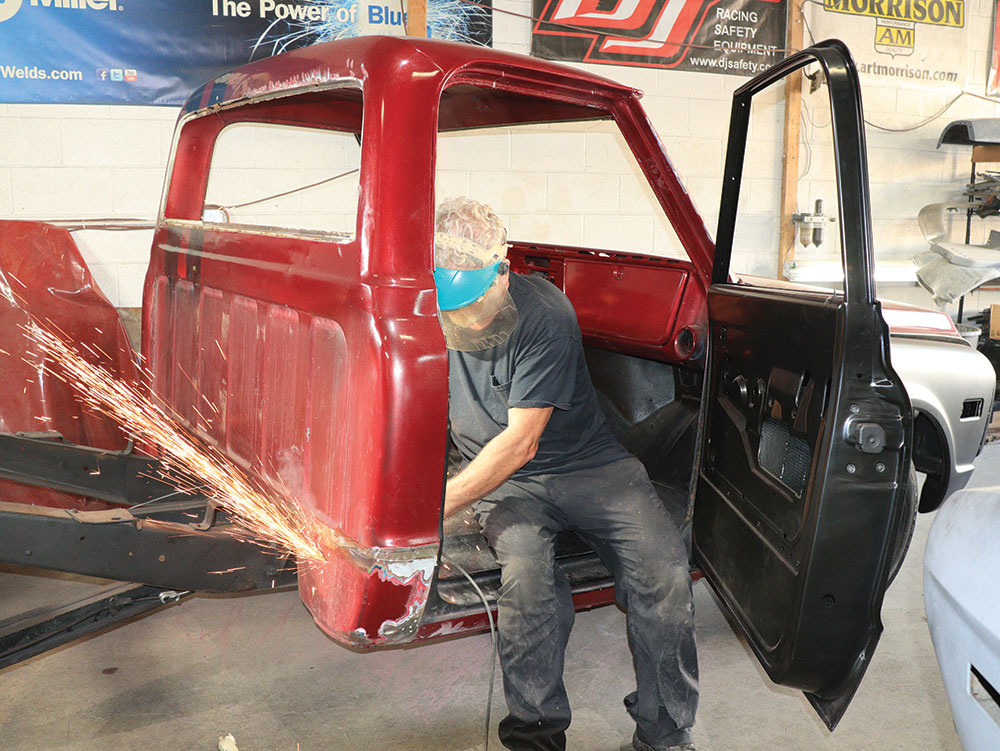
For the DIY guy wanting to advance his fabricating and bodywork skills, replacing the cab corners on a classic truck is a good basic place to start, and we have the perfect person to reveal all the tricks needed to do it right. Meet Kev Elliott of Kev’s Rod & Custom in La Habra, California. Originally from London, England, Kev served as the editor of Custom Car magazine before moving stateside to Southern California where he joined Rod & Custom magazine as a tech editor.
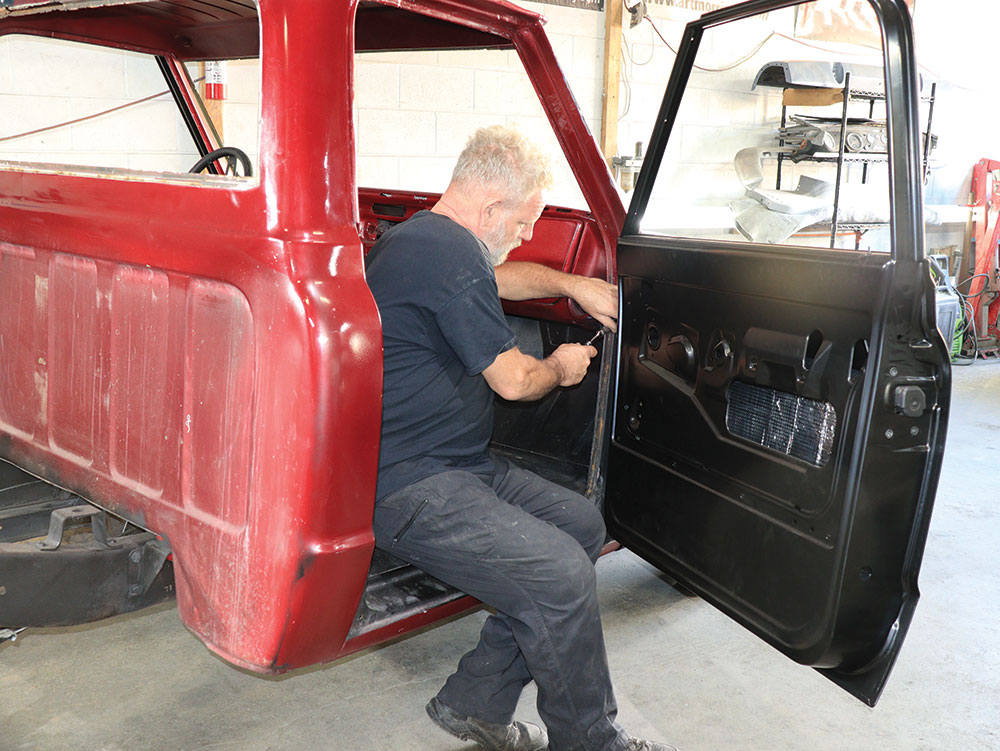
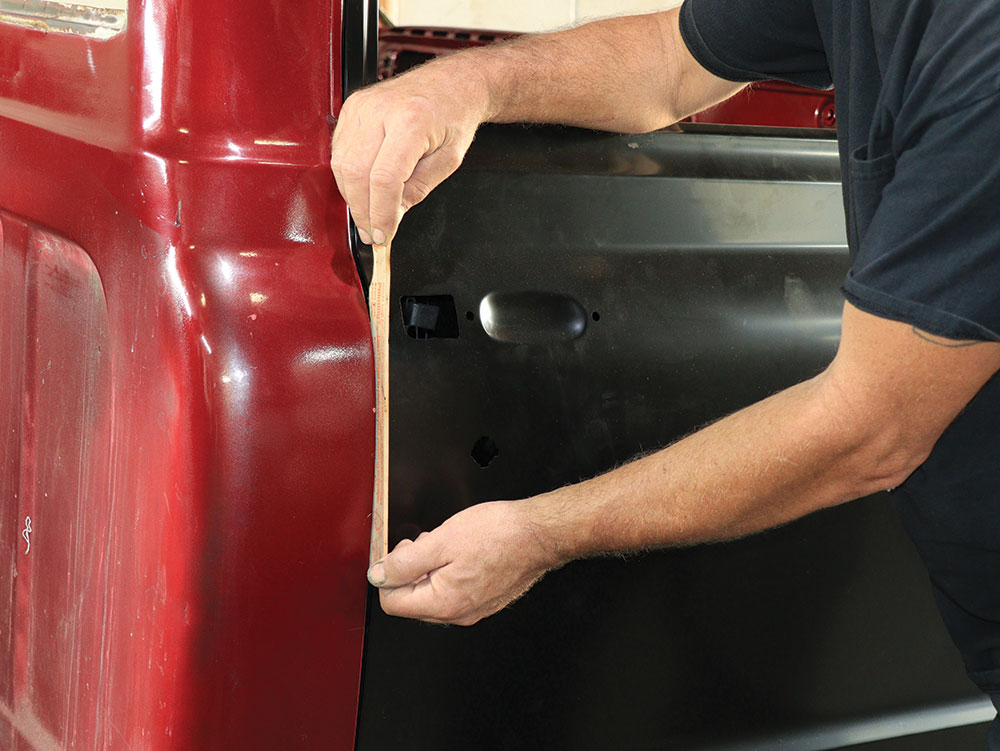
The gap from the C10 fender to the door and gap between the door and the rear of the ’jamb should be gapped (adjusted) first.
Throughout the years truck magazines have published a variety of tech articles on how to install new cab corners and not all of the methods used were exactly the same. Some articles illustrated cutting the replacement panel to fit the hole left by removing the rusty cab corner and matching the new cab corner to the hole. This method works fine for a master fabricator capable of producing an exact gap to butt weld, but for the novice fabricator that will leave uneven gaps. The overlapping and then cut method Elliott developed for installing cab corners is perfect for the novice and pro alike because if followed step by step it will deliver perfect results.
After adjusting the C10 fender and door hinges to obtain a gap, Elliott used a paint stirring stick to measure if the gaps were equal.
The purpose of a tech article isn’t just for the hands-on DIY guy, a good tech article serves to inform the person looking to have work done and question a prospective shop to determine if they know what they’re doing. When Rod & Custom magazine ceased publication in 2014, Elliott switched his career to being a shop owner and opened the doors to Kev’s Rod & Custom and has been producing world-class quality builds ever since.
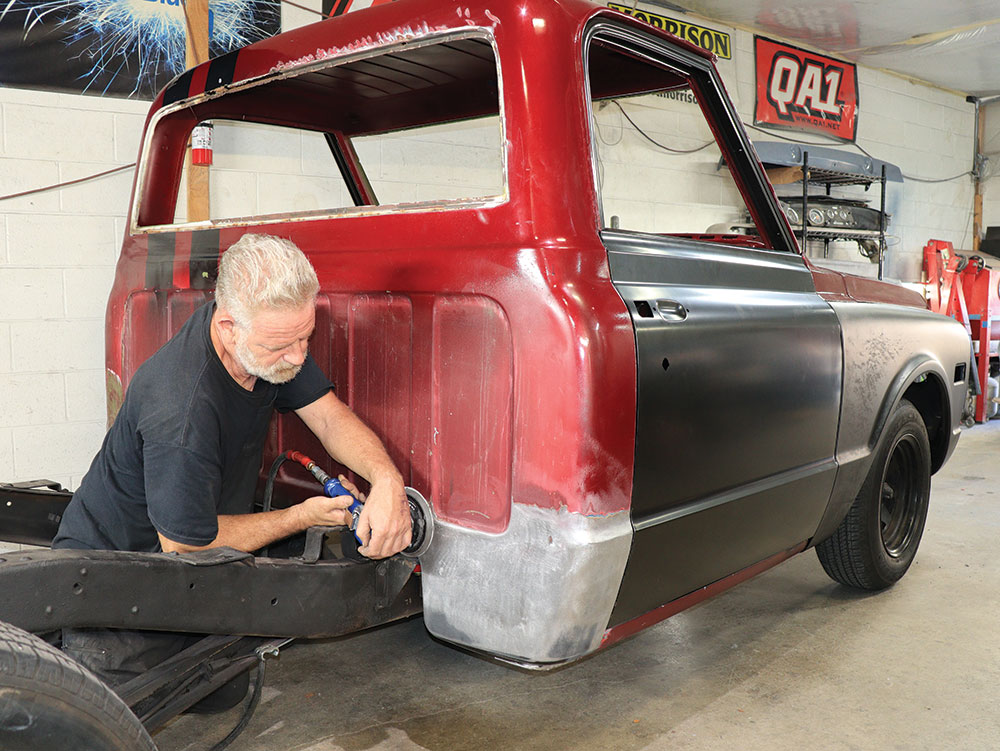
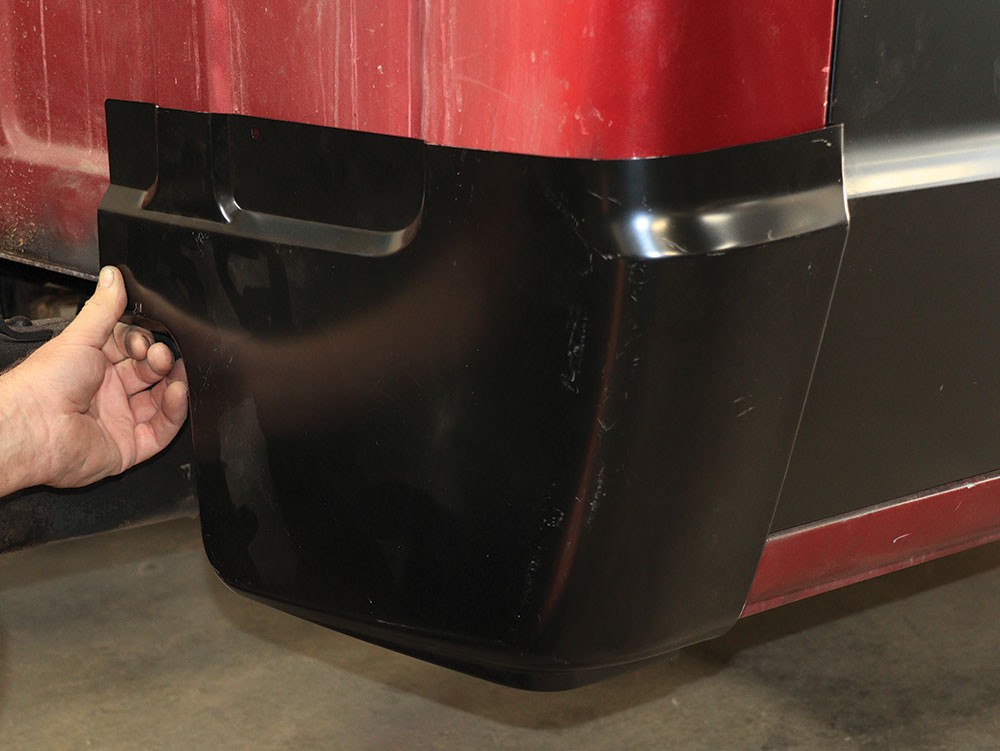
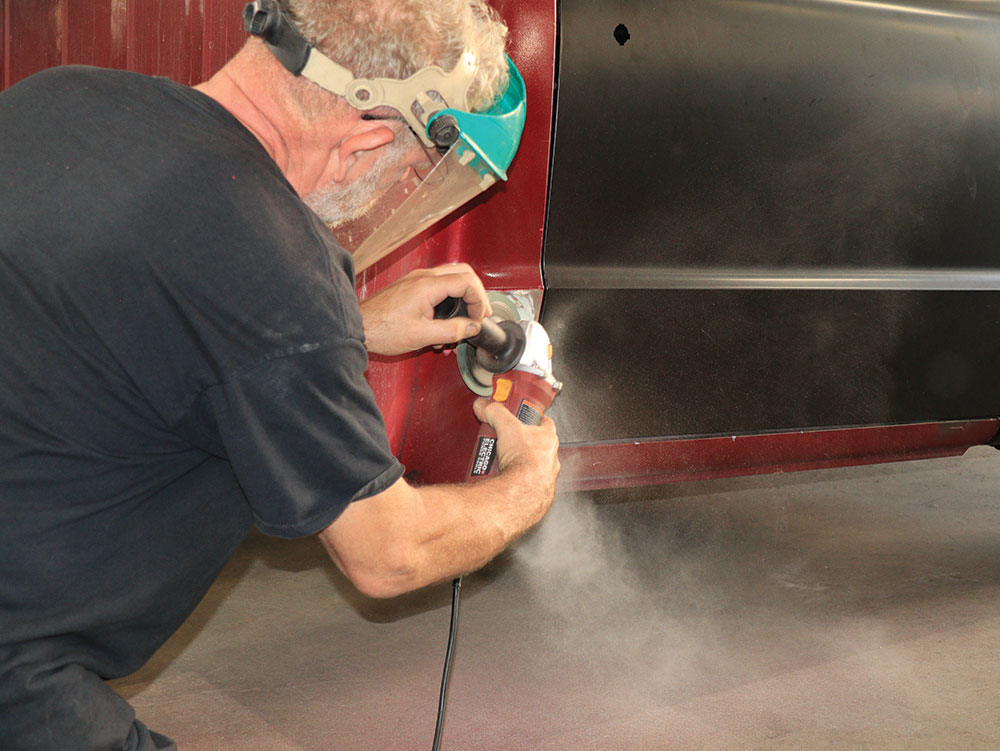
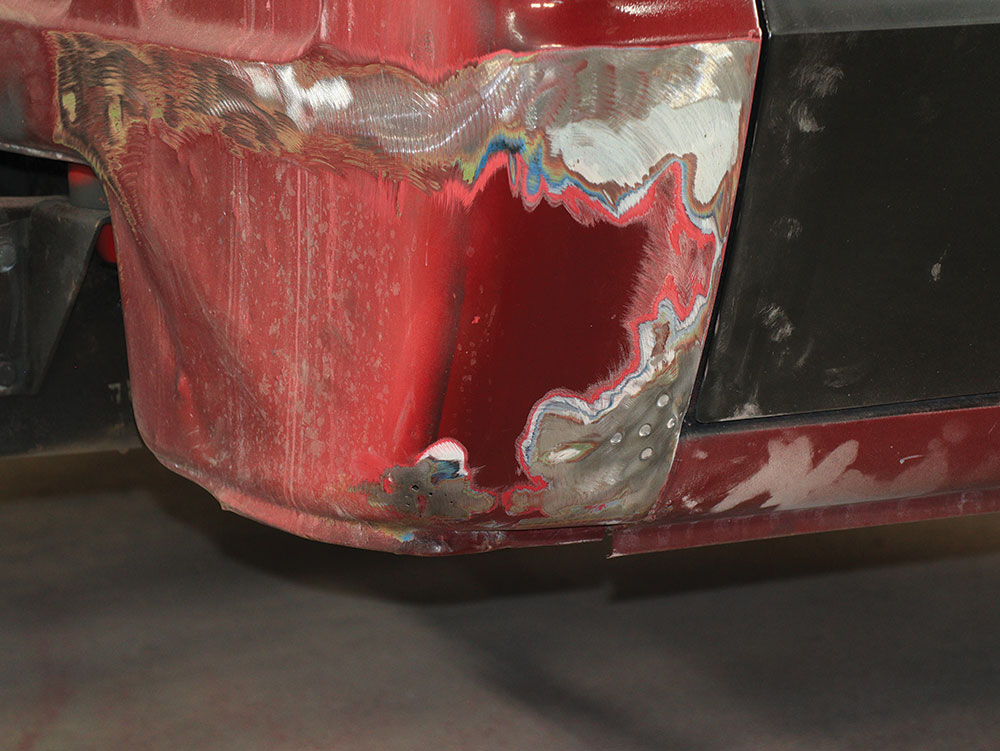
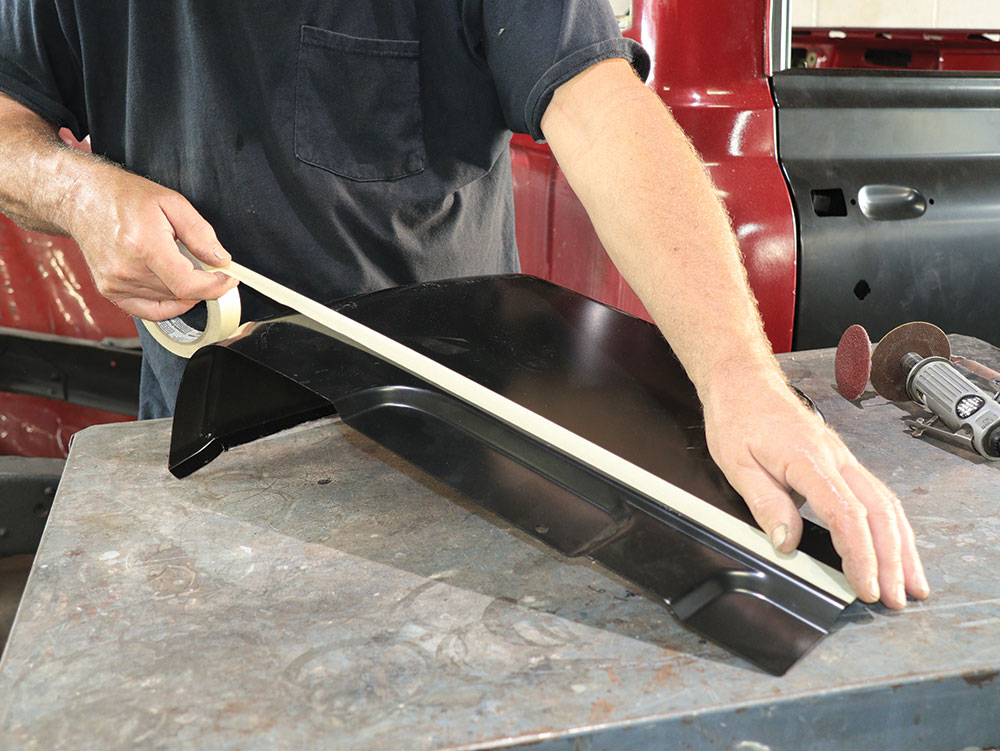
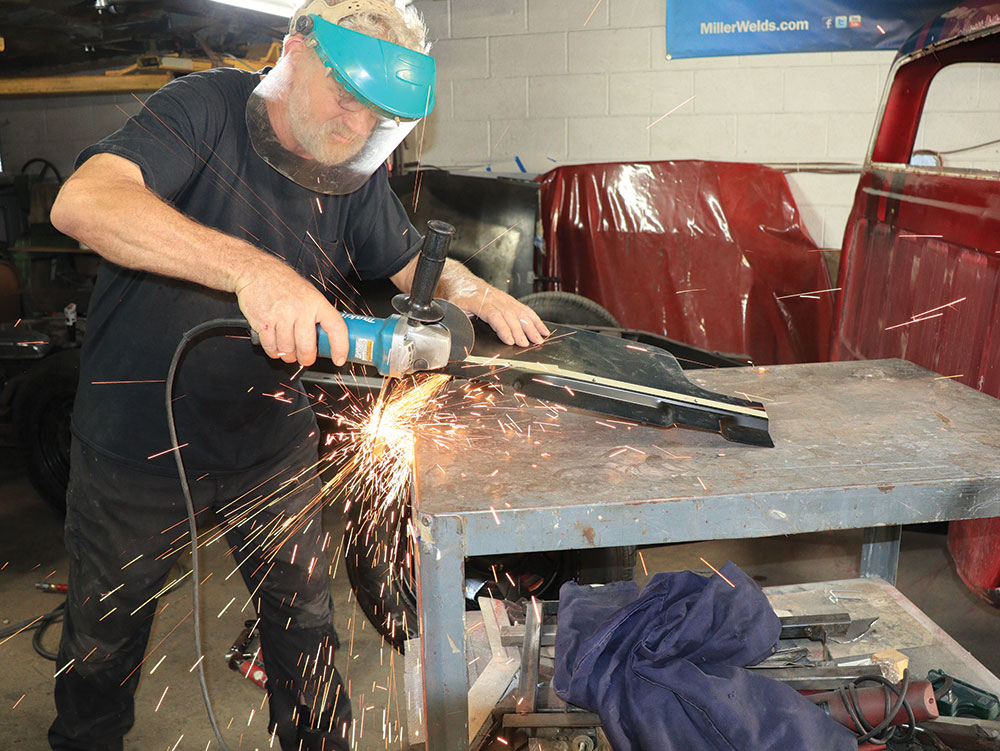
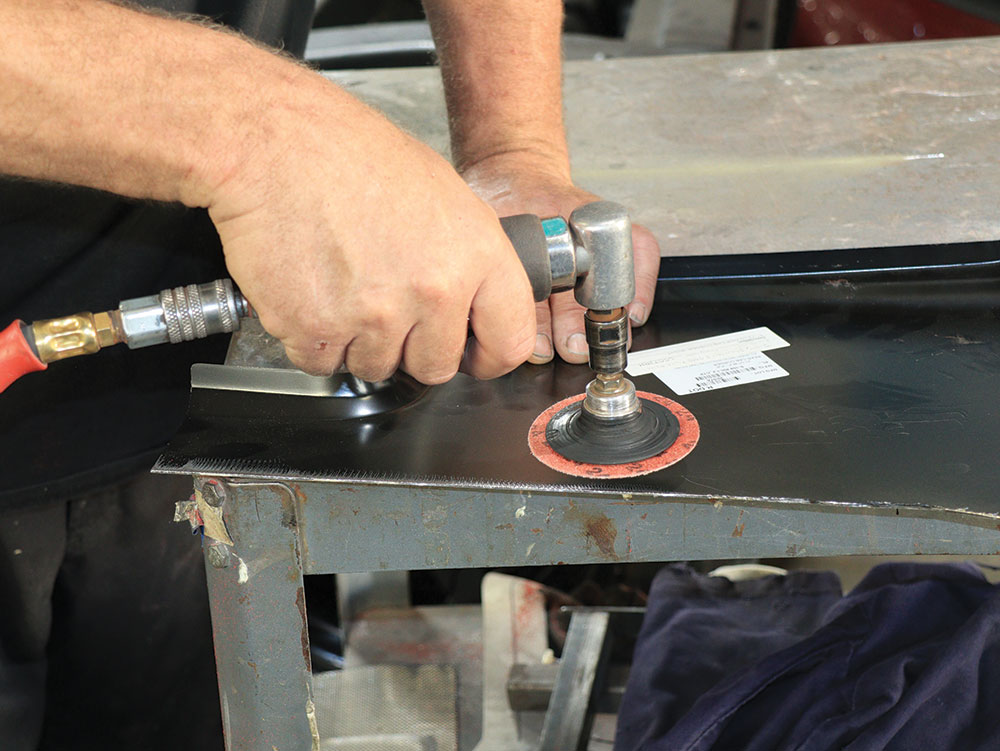
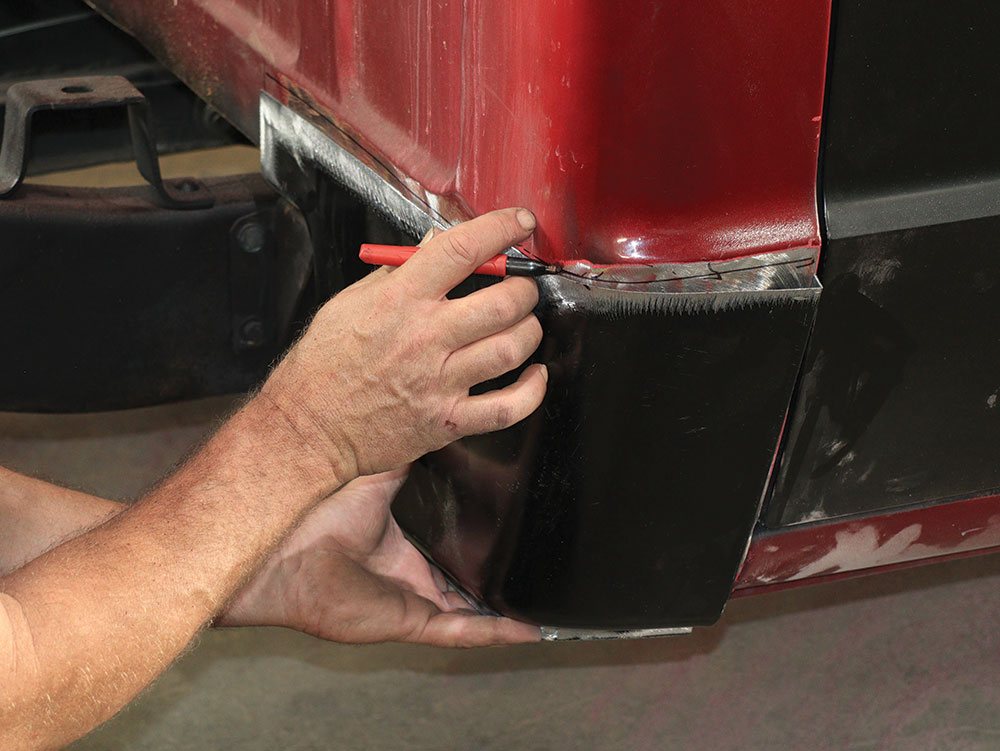
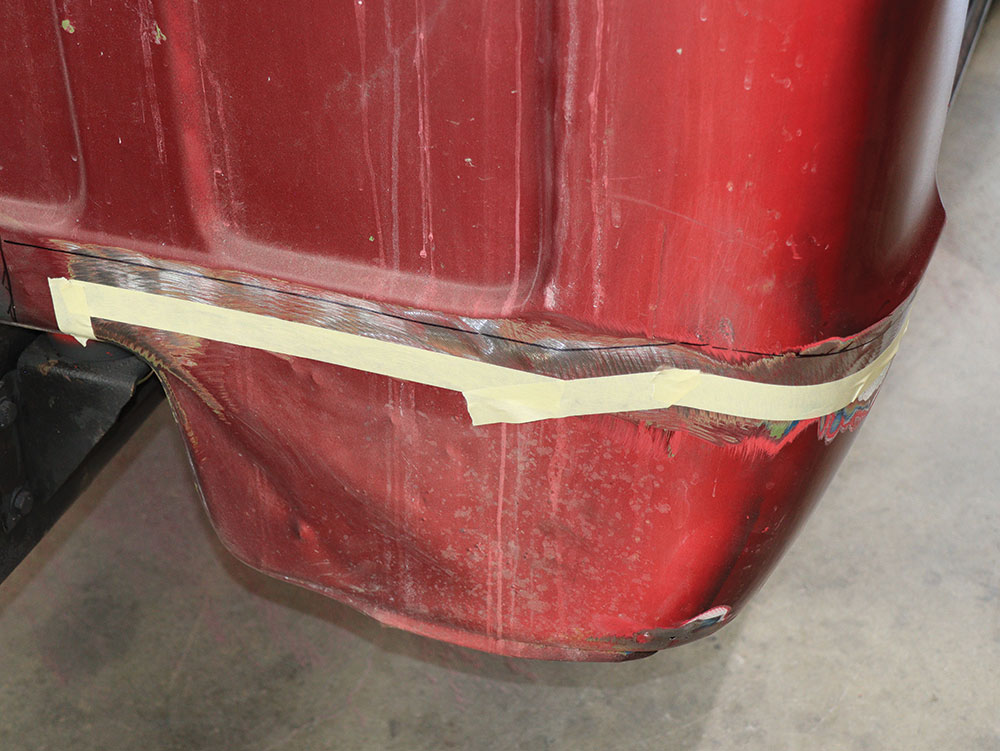
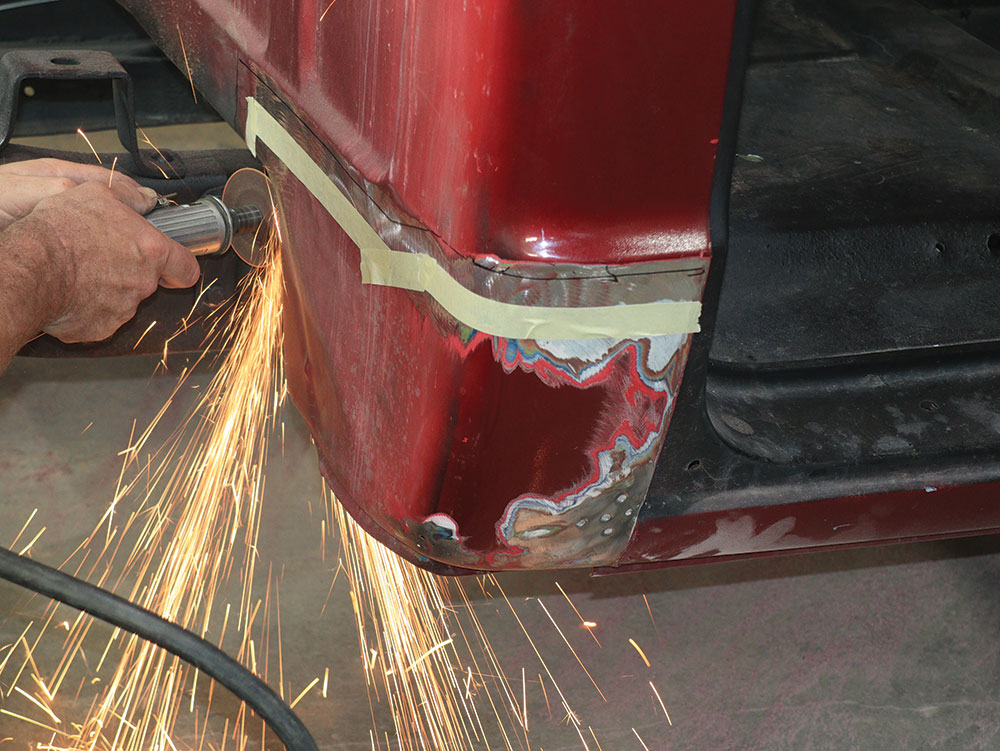
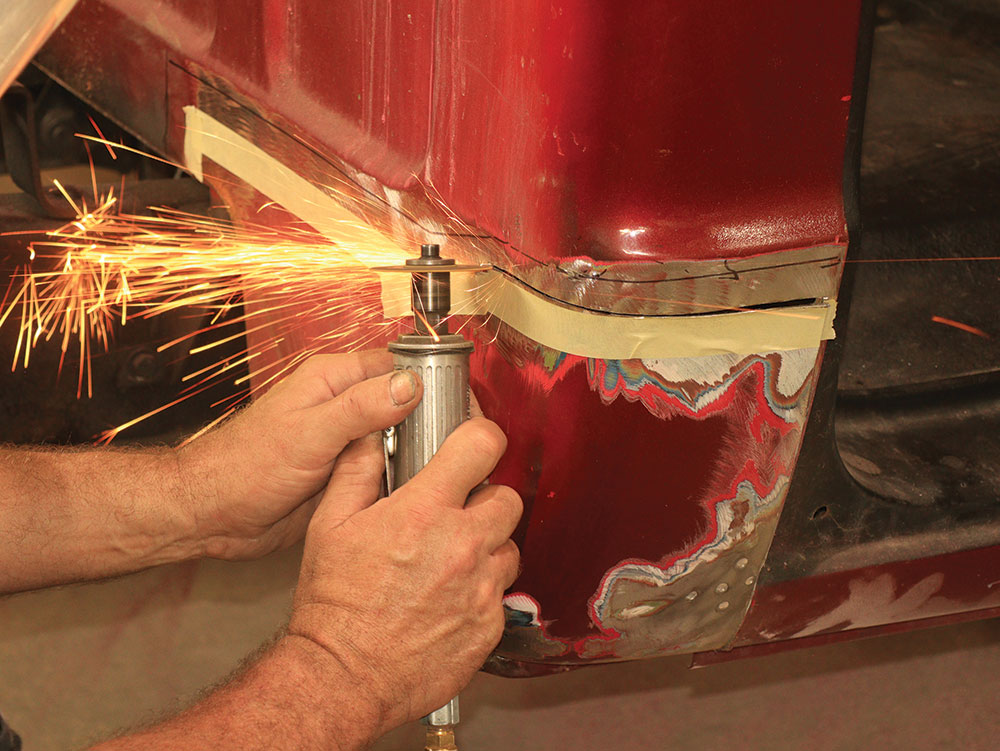
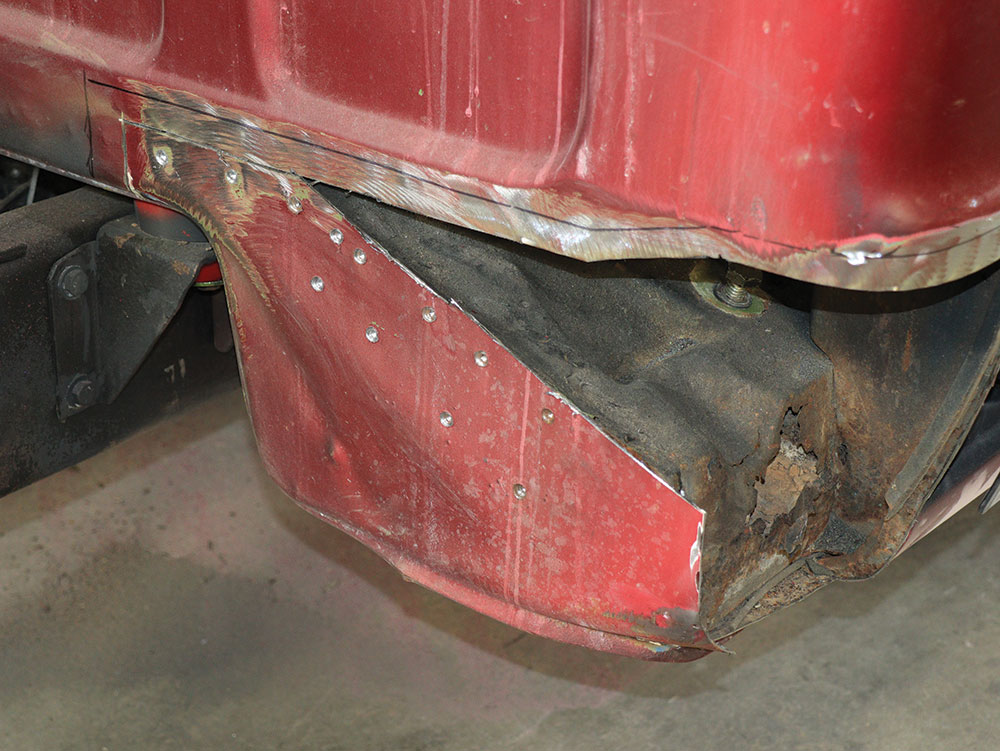
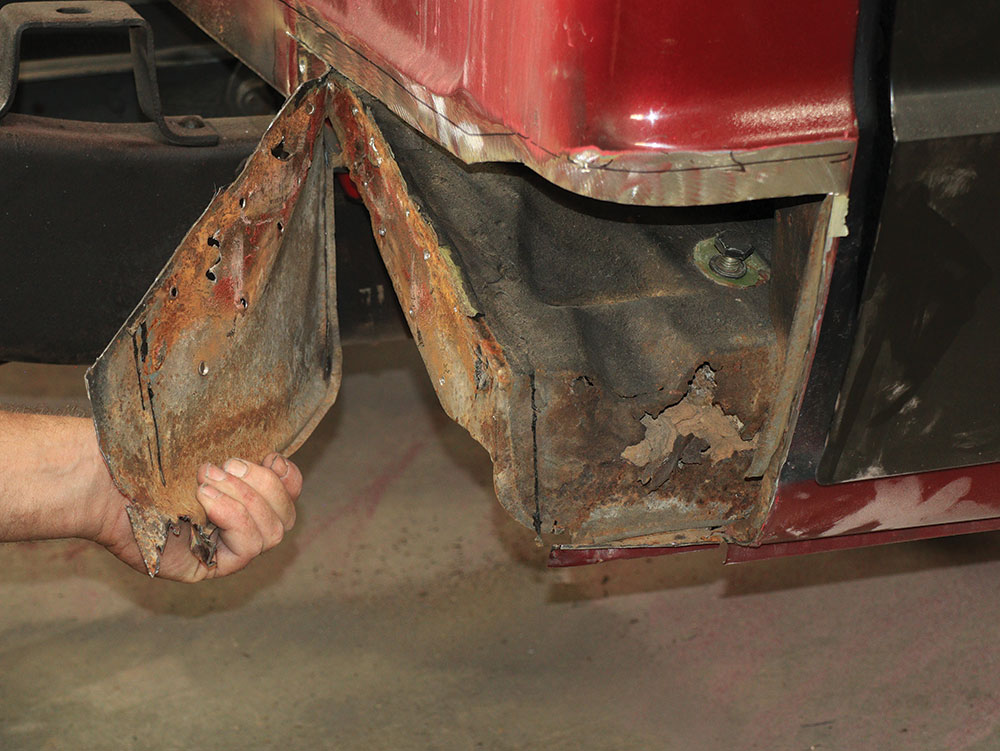
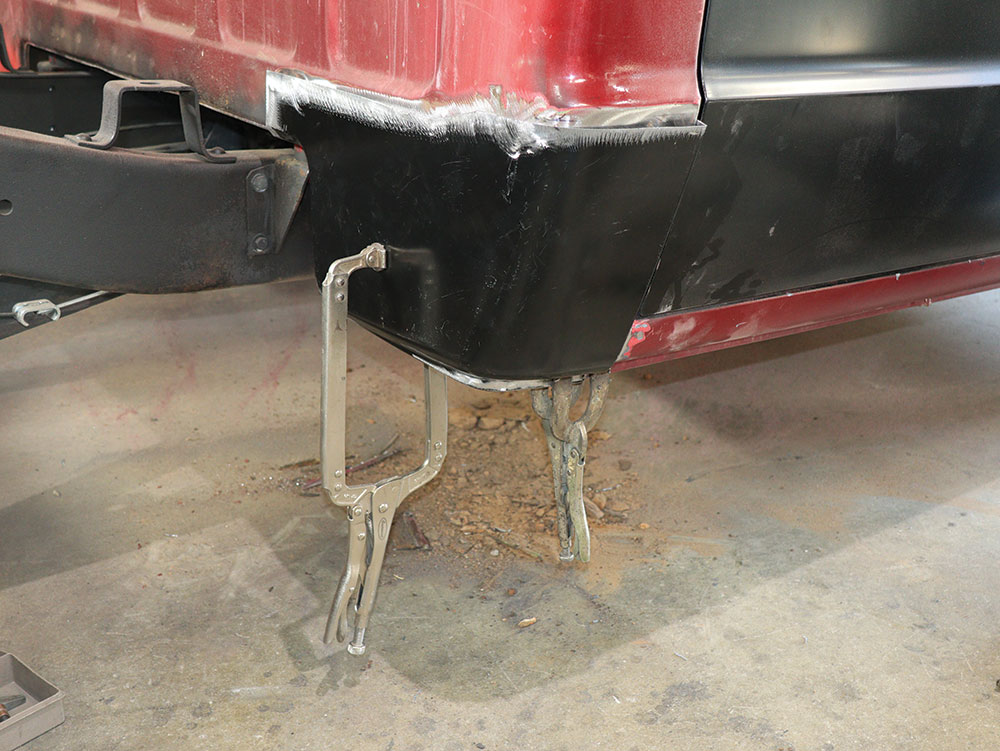
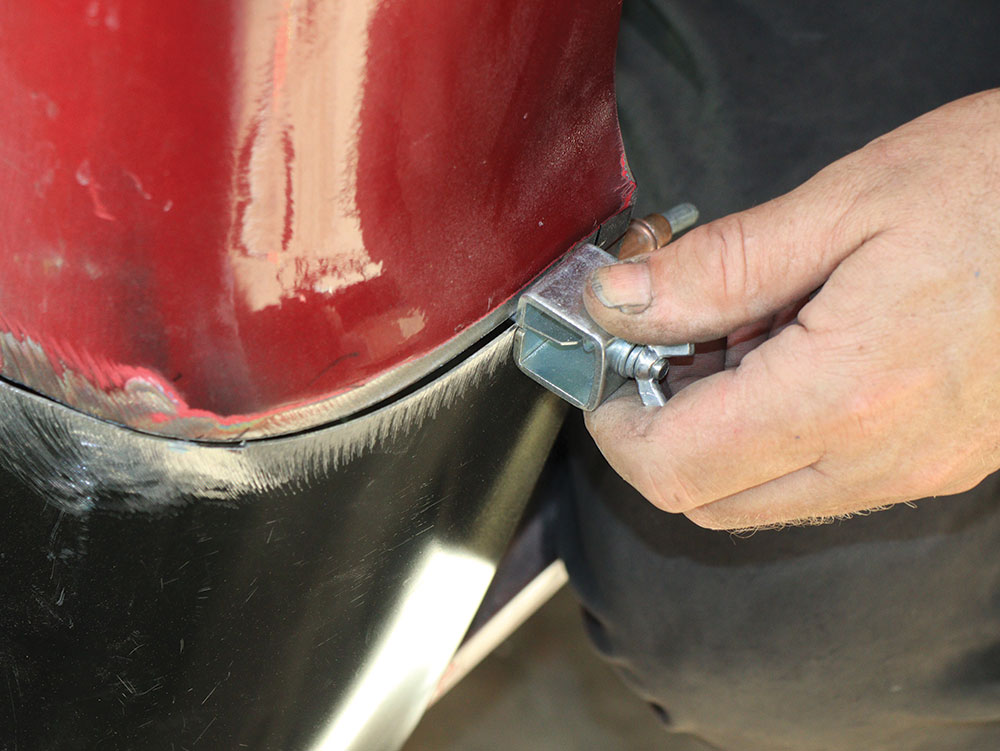
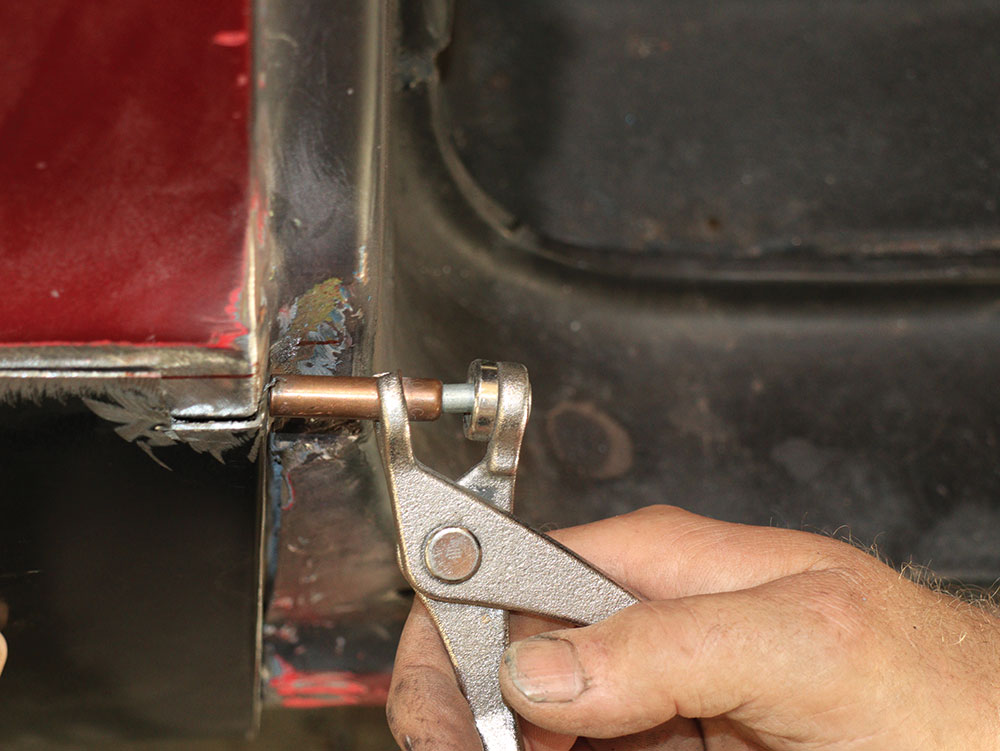
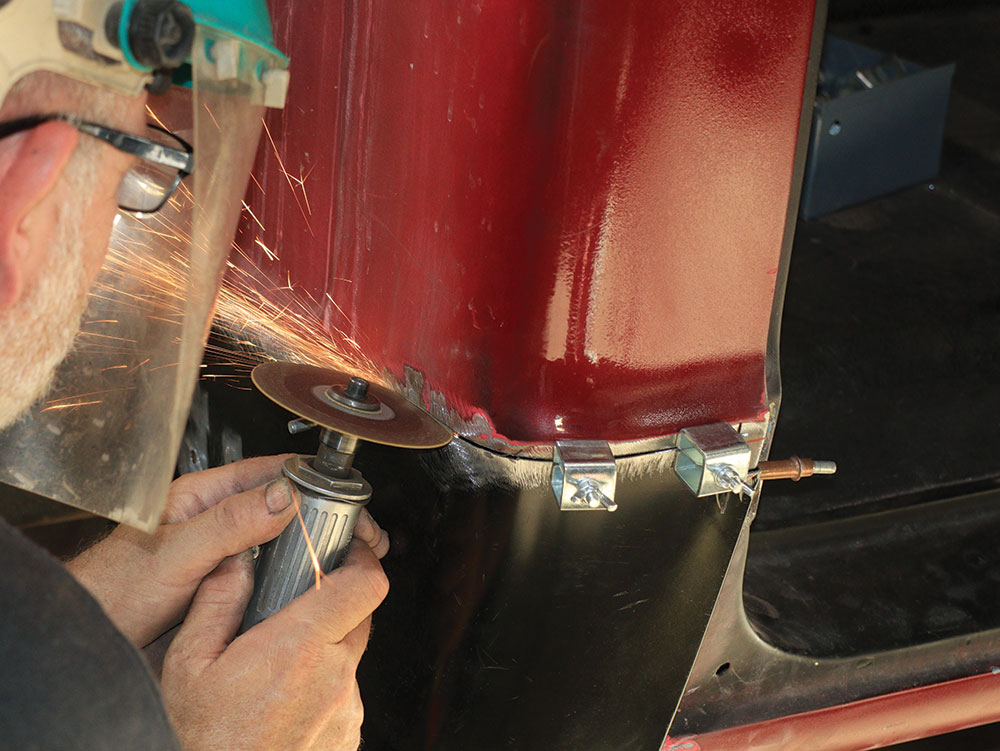
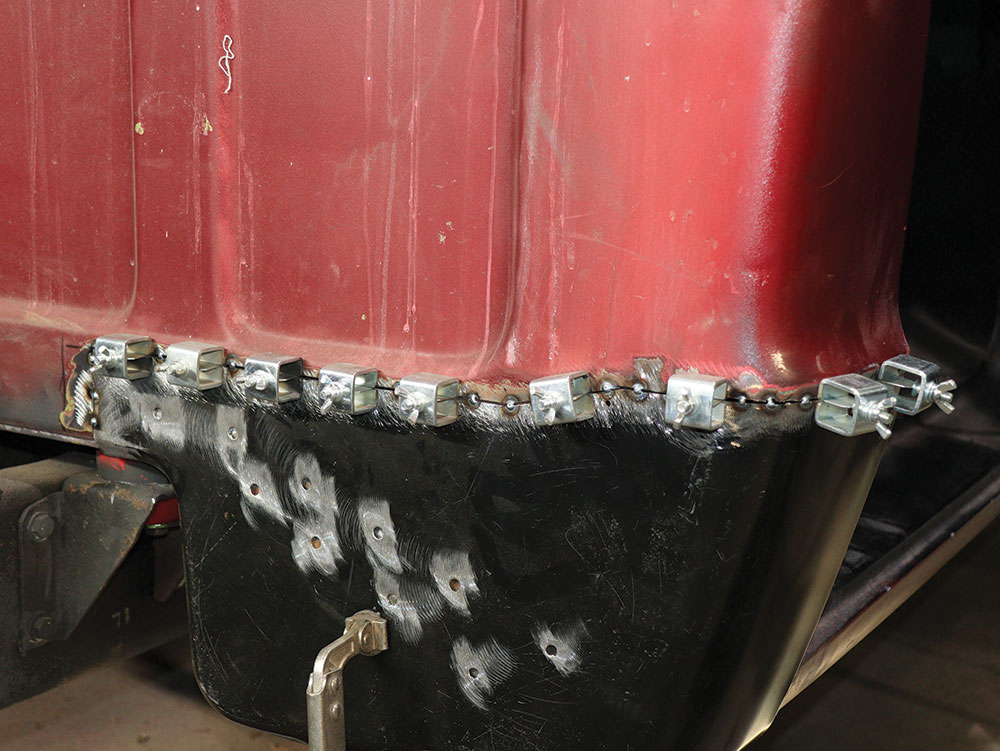
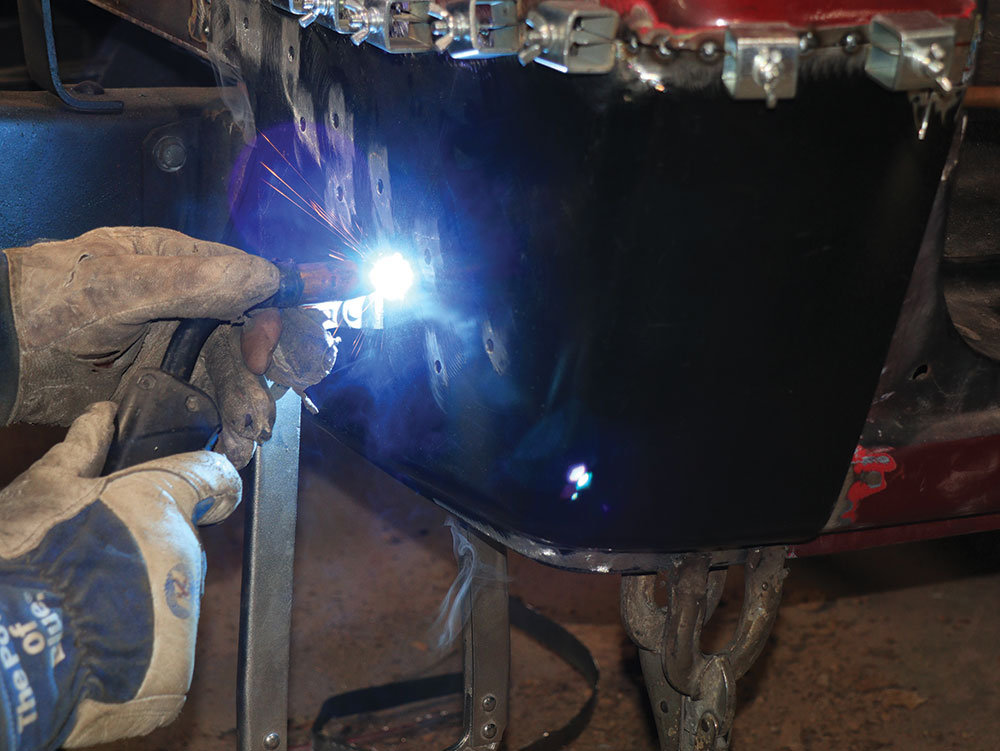
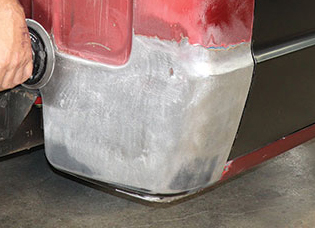
Rust holes appearing with blisters and bubbles in the paint are strong indications the rust damage is more severe than it appears.Step one is to place the cab corner replacement panel over the top of the existing cab corner to test for fitment.Next, Elliott ground off the paint, exposing body filler from previous repairs and determined how much bad metal needed to be replaced.Elliott climbed underneath the cab and detected the previously installed replacement rocker panel was fitted improperly and hung below the cab corner.Taping off a cut line on the new cab corner to meet up with the strongest edge of the body line.Maybe not the safest way to use a body grinder with a 6-inch abrasive cutoff wheel but using it cautiously Elliott got results.Arrows indicate the side of the line to cut. Patch panels are typically oversized and cut down to the right size needed to fit.After cutting the cab corner patch panel to size, Elliott used a 24-grit sanding disc to smooth the metal’s rough edge.Elliott held the trimmed cab corner patch panel positioned exactly into place and marked a legible alignment line with a black Sharpie.For the cut line to remove the original cab corner 1-inch masking tape was placed 1 inch below the alignment line.First step in cutting the cab corner off was using a die-grinder with a 3-inch cutoff disc to cut open the end seams.The stock corner is spot welded into the doorjamb. Elliott cut just behind the ’jamb, making removal of the remaining piece easier.Cutting at the lower line leaves 1 inch of lip left to clamp the new cab corner in place to meet alignment marks.Skipping ahead a few steps here’s what peeling back the 1-inch lip looks like as Harbor Freight butt welding clamps are inserted.As part of cutting out the original cab corner and removing it, the factory spot welds must be drilled out.By the time rust damage appears on the exterior of a cab corner the damage is already more extensive on the unseen interior structure.Above and beyond a normal repair, Elliott felt the seat belt anchor bolt area was compromised by rust and fabricated a repair patch.Clamping the replacement cab corner into place exactly where it belongs is the first step to begin Elliott’s method of installing a new cab corner.Cleco fasteners used to pin the cab corner patch panel into place. Notice the notch cutout to view the Sharpie alignment line flush with the cab corner.At the doorjamb a cut was made along the top edge of the new panel just long enough to peel back the excess metal inside the cab and insert a butt weld clamp.Elliott continues the cut on the cab using a 3-inch cutoff disc, peeling back the trimmed metal inside the cab every 3 inches and installing a butt weld clamp to align the old and new steel perfectly.Elliott spot-welded (tacked) the cab corner replacement panels in between the butt welding clamps, keeping the heat down to prevent warpage.At an earlier point in the job a line was traced around the projecting area where the factory spot welds were located.Holes 5/16 inch were drilled in the location where the factory spot welded the panel to the inner structure. Elliott replicated these using plug welds.With the heat zone kept to a minimum while welding the odds are much better to not have to repair warped sheetmetal.
We use cookies to ensure that we give you the best experience on our website. If you continue to use this site we will assume that you are happy with it.