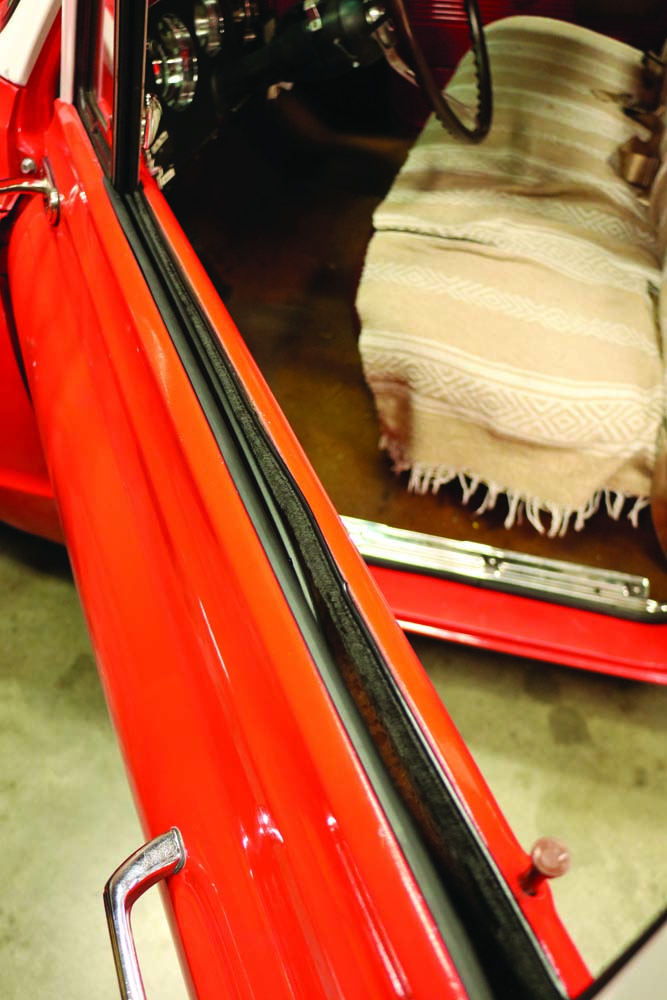
There’s nothing worse than driving a noisy old truck—that’s inherently loud to begin with—with rattling door glass and excessive wind noise. When that rattle bucket happens to be a 1967-1972 Chevy & GMC, however, it’s a relatively simple fix. We install the Brothers Trucks’ Window Channel Replacement for 1967-1972 C10.
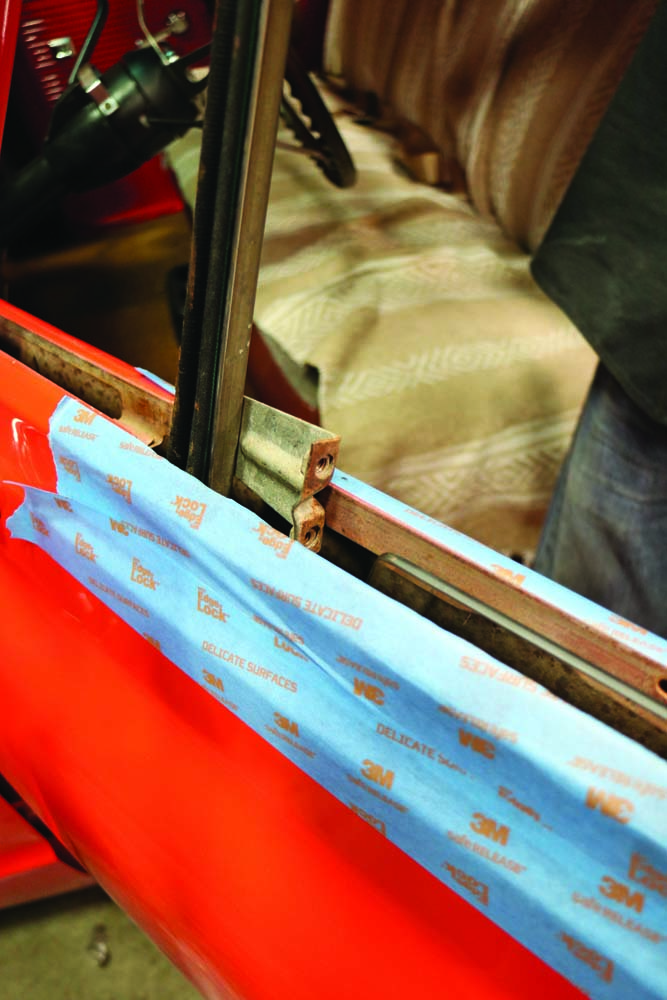
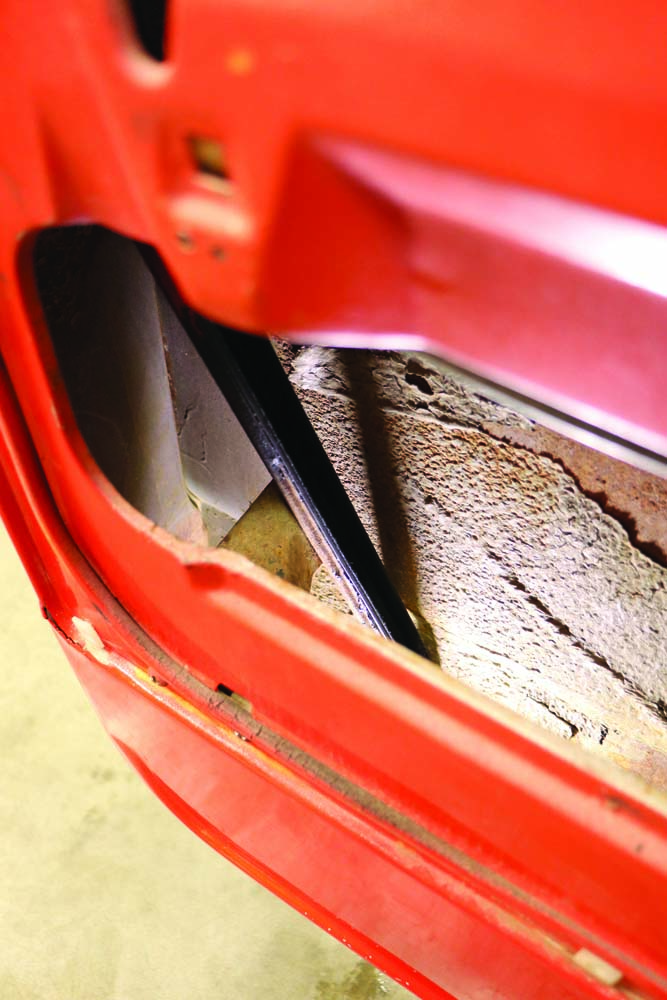
Typical decades-long wear from exposure to the sun and the elements, these C10 anti-rattle (or sweeper) felt are beyond ready for replacement. The same can be said for the door glass felt channel as well as the division bar felt.
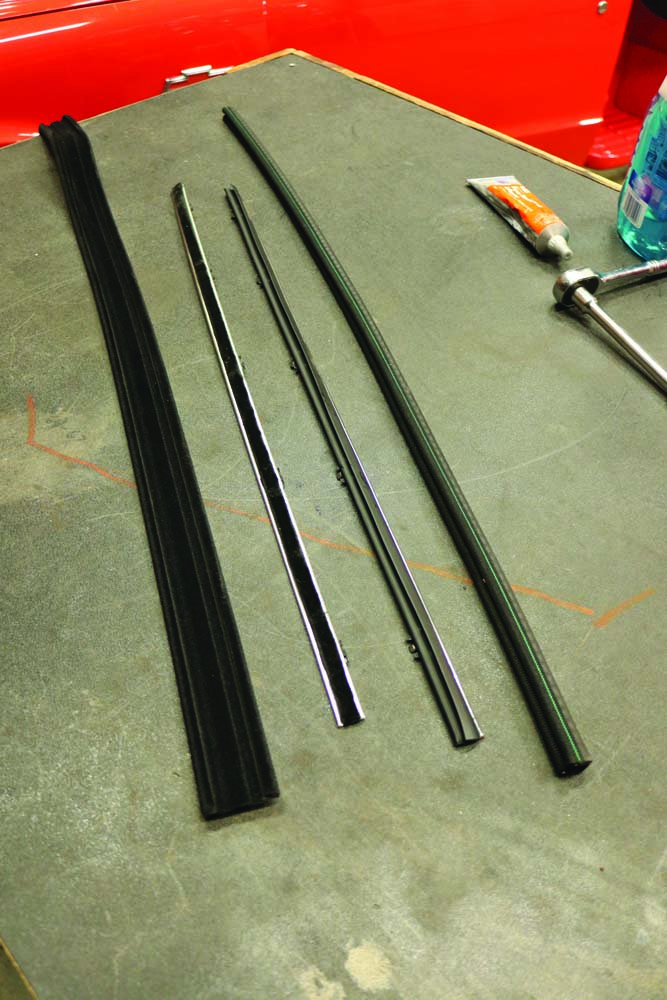
When it comes to all things C10 related—and we mean pretty much ALL things—Brothers Trucks has you covered … or in this case, sealed up tight! Available in complete kit form or individual pieces, their replacement rubber and felt window channel balance components (door glass run channel, division bar lining, scrapers, and belt molding) will definitely do the trick of eliminating door glass rattling and that pesky howling wind that the old, worn-out/rotted pieces are allowing in to annoy your driving experience! Furthermore, the new window seals will go a long way toward keeping water from getting “inside” your doors, which, if gone unprotected for any decent length of time, will cause the lower portion of your doors to rust—not a good thing by any means.
Fortunately, Brothers Trucks has all of that in one complete window channel kit for 1967-1972 Chevy/GMC trucks, which we’re about to install.
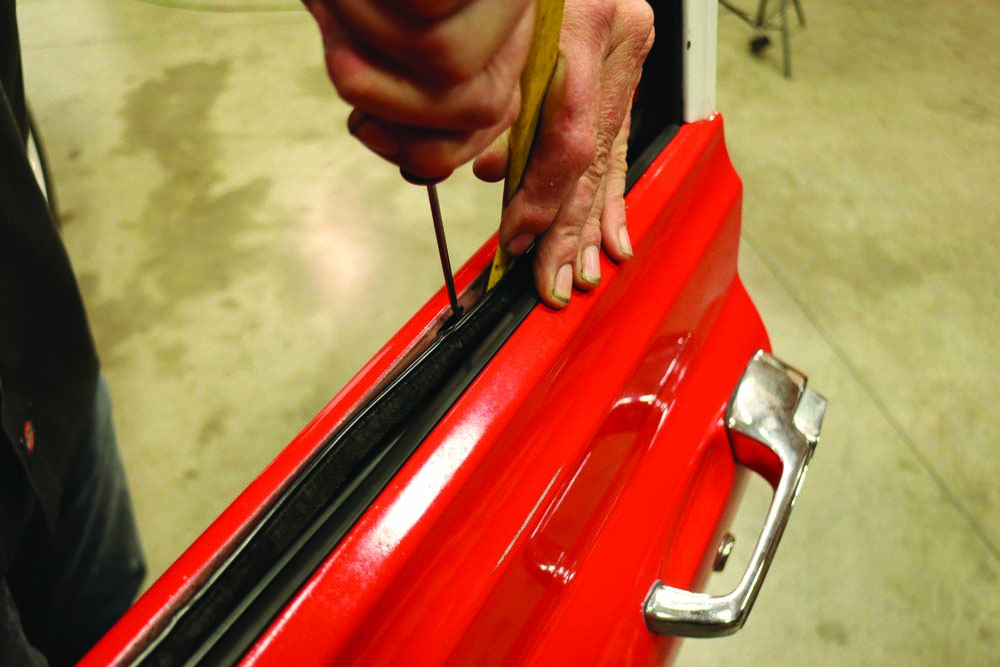
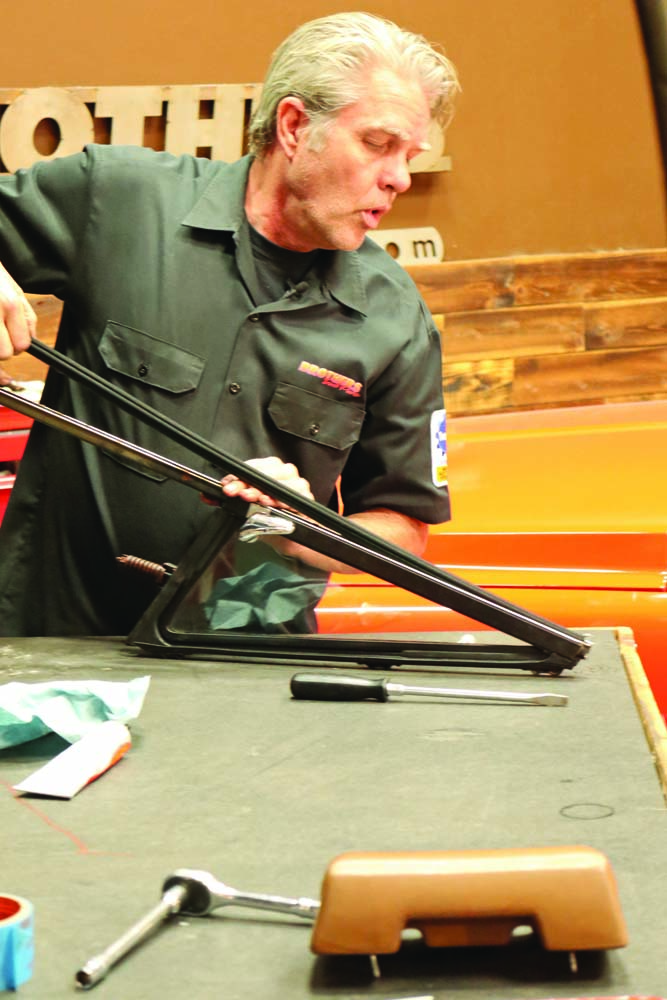
Of course, you’ll have to actually replace said components in order to take advantage of those improved ride qualities—and that’s what we’re here to help guide you through. Other than a plastic trim tool, which you can obtain from the local auto parts store, there are no specialized tools required. Replacing the door window rubber and felt doesn’t require a second set of hands, for that matter, though it never hurts to have them (or the accompanying eyes!) to help guide you through any potential unforeseen or tight situations! We happened upon Brothers Trucks one day as their YouTube how-to guru, Dave Welch, was about to undertake the R&R process, so we did our due diligence and photographed the procedure for you.
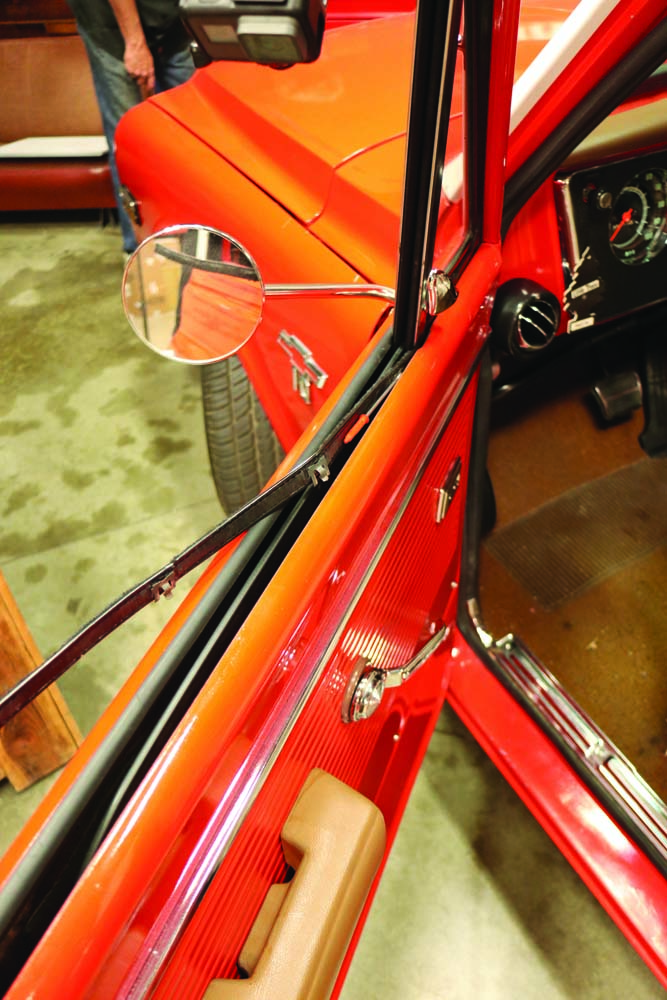
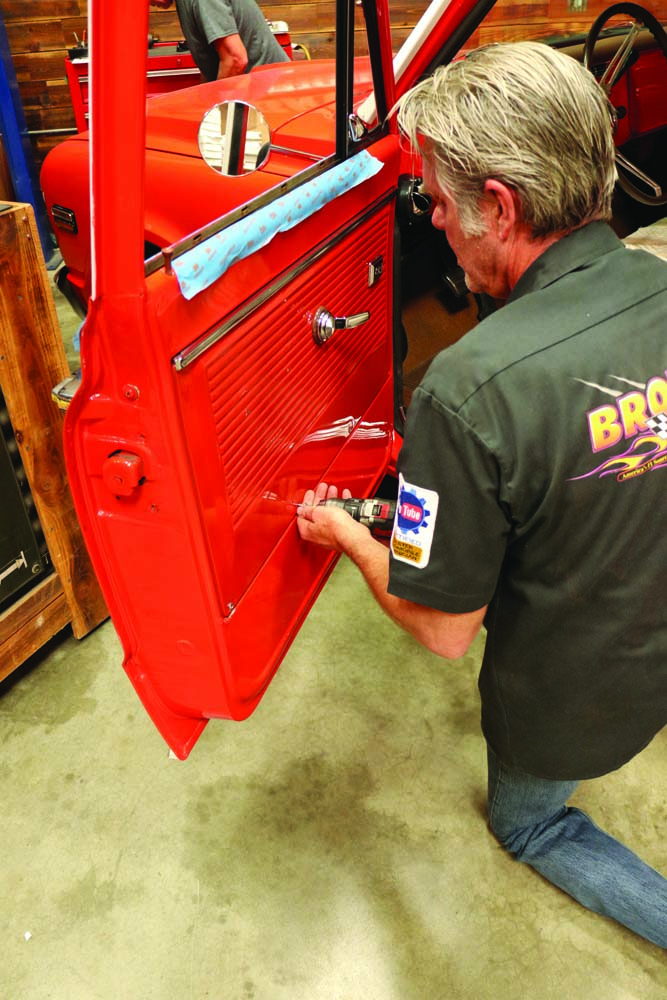
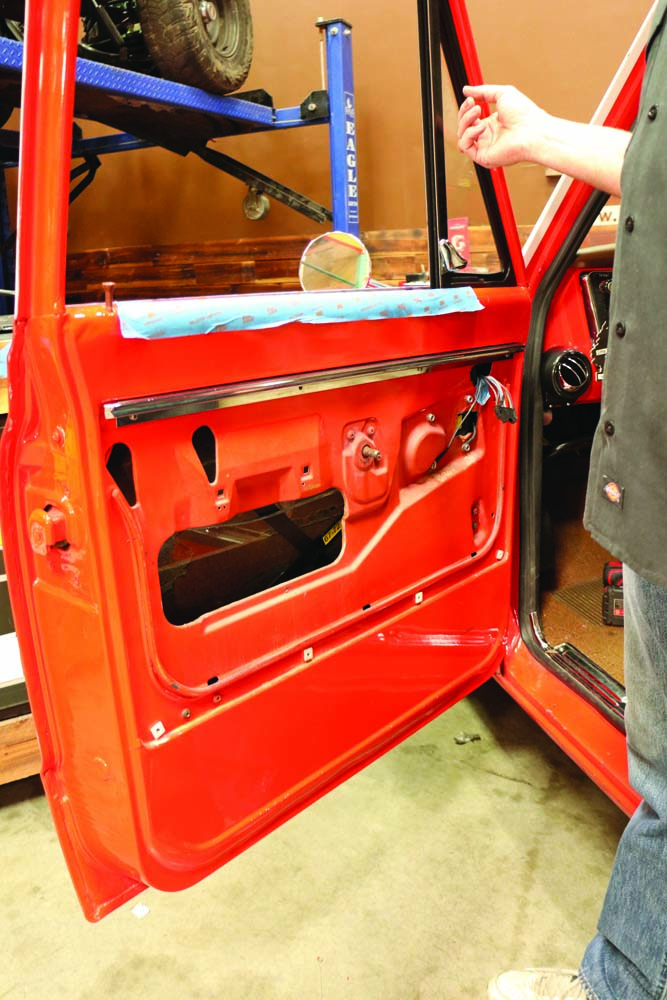
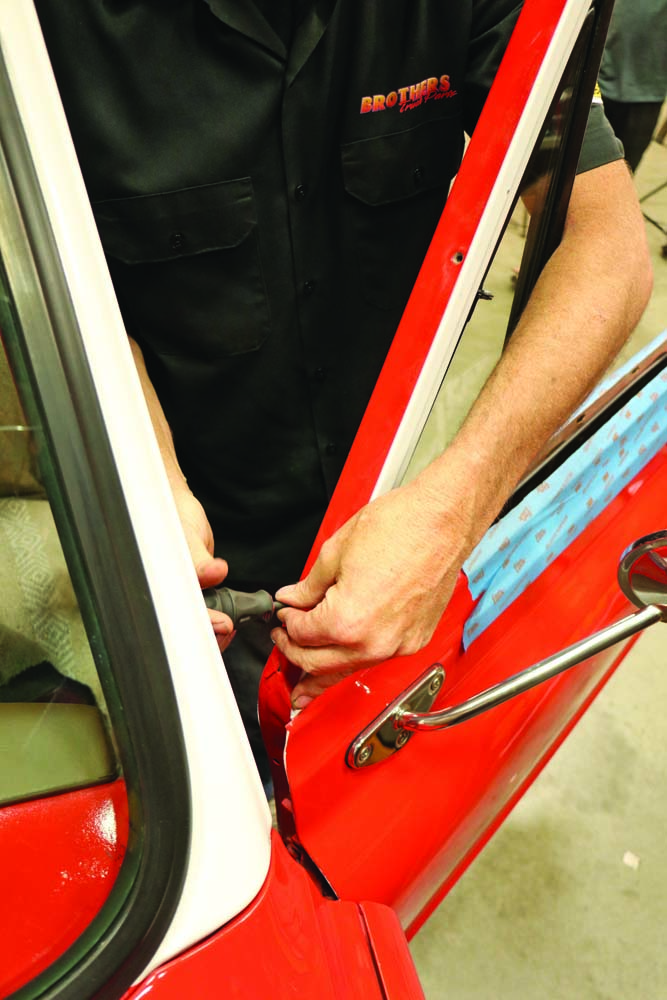
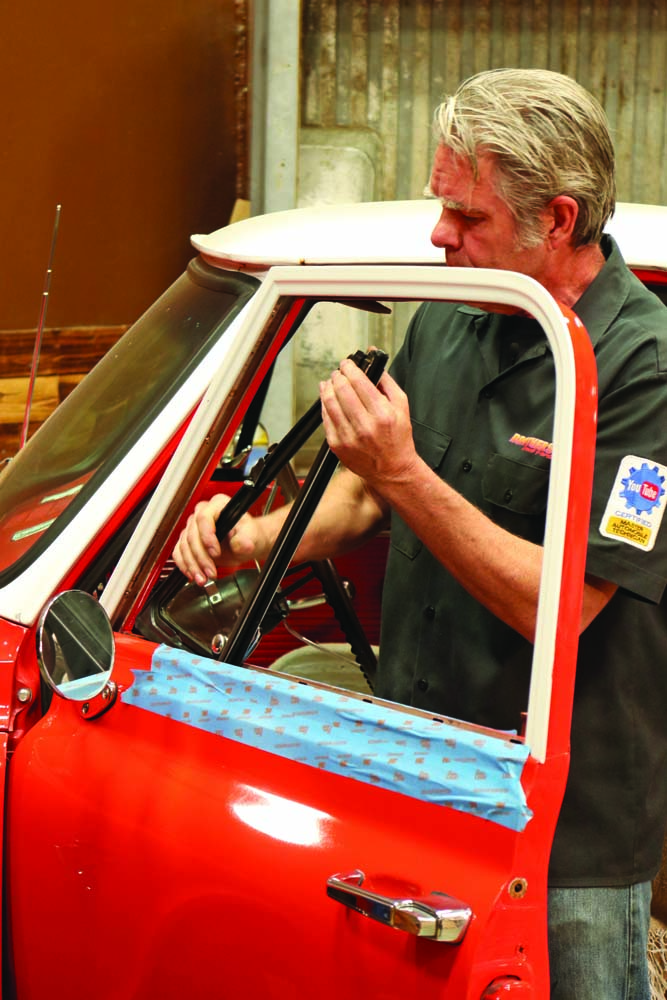
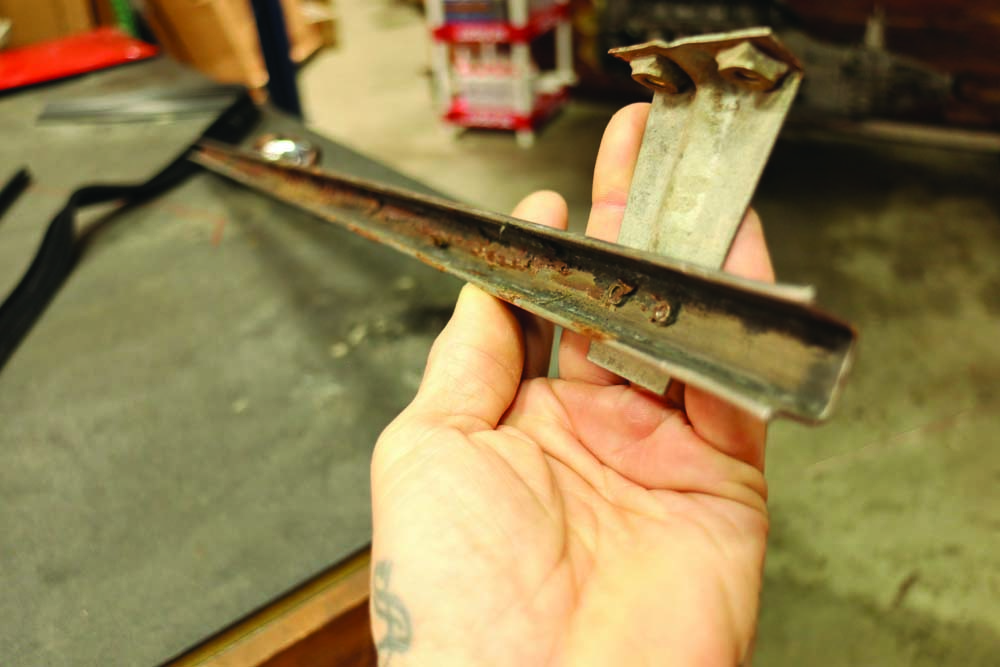
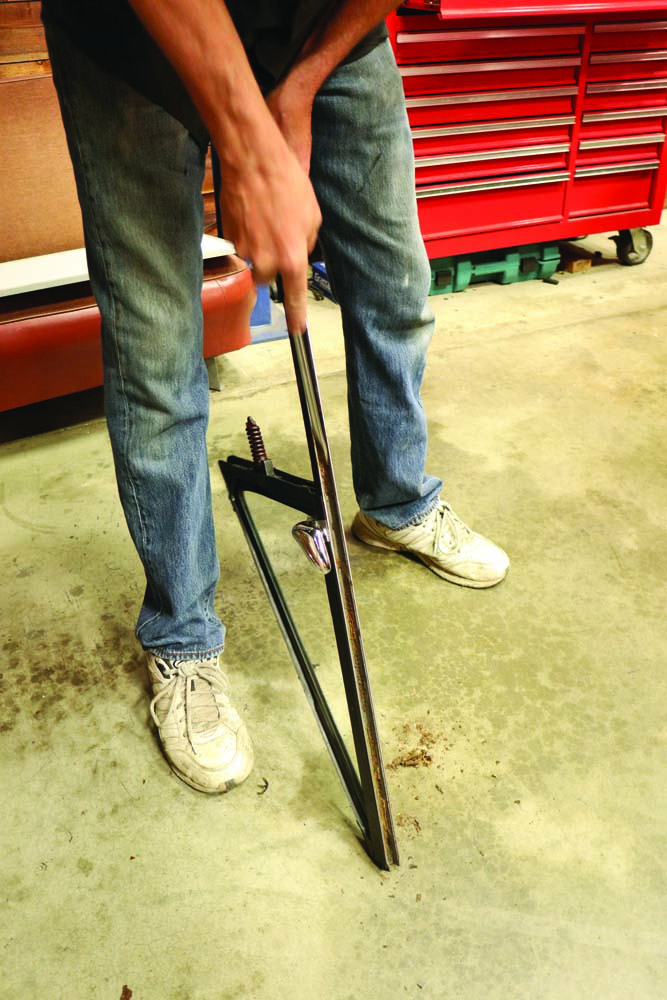
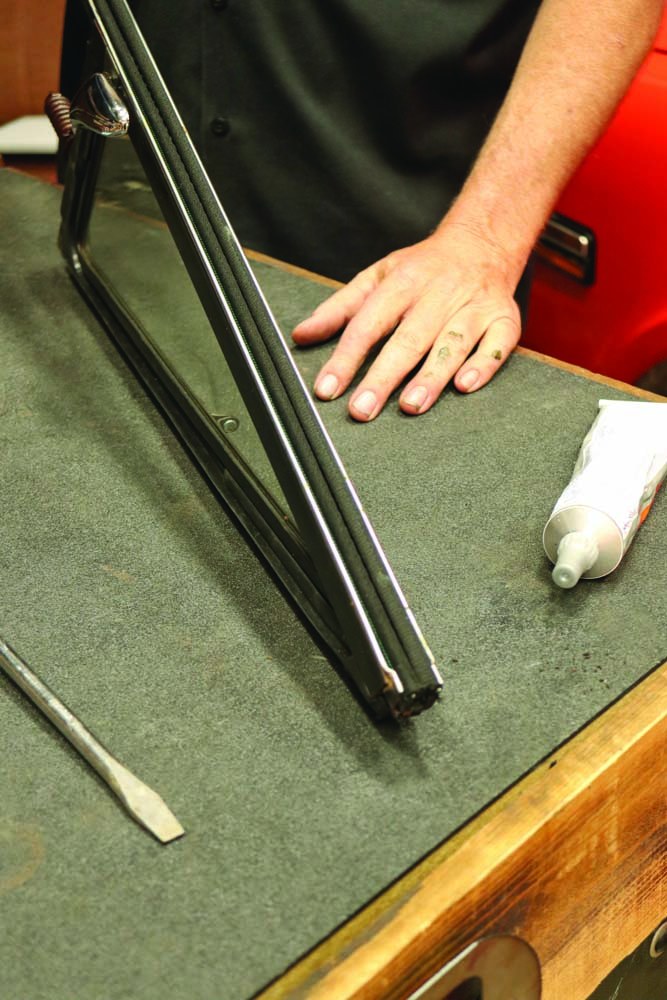
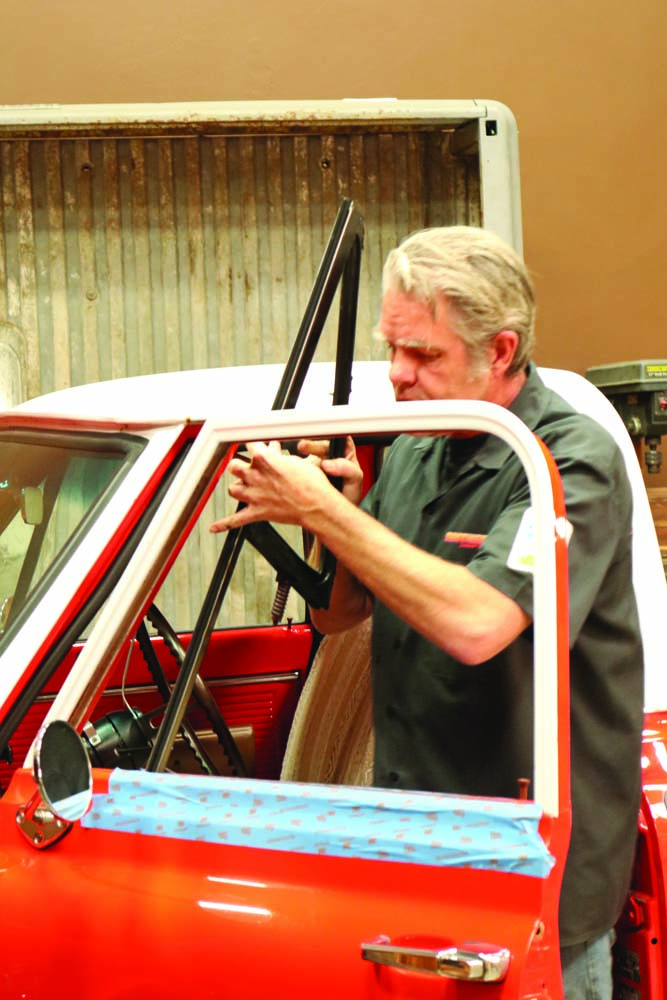
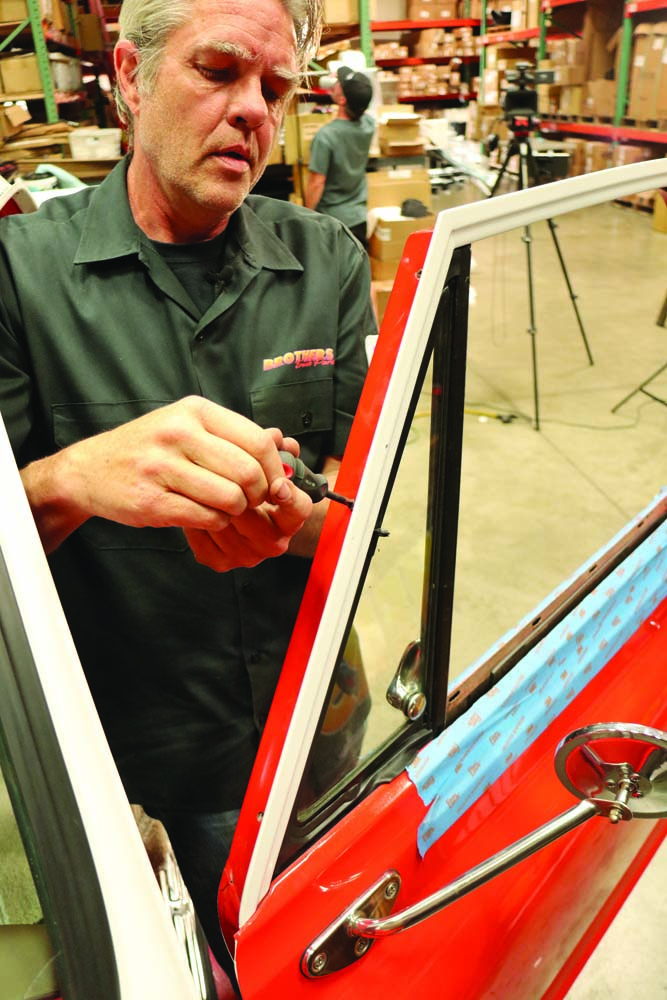
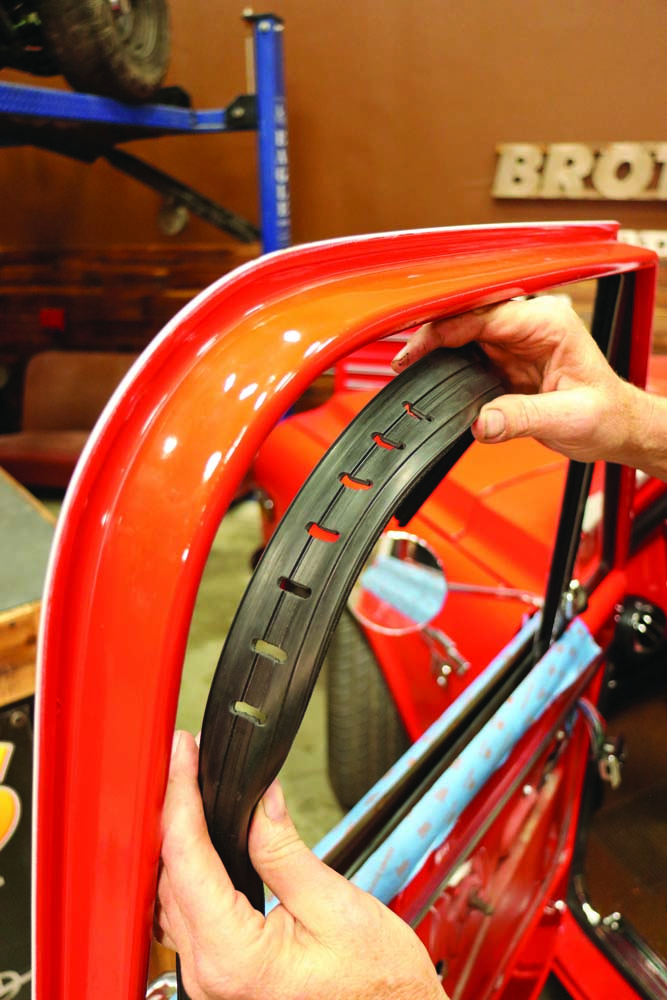
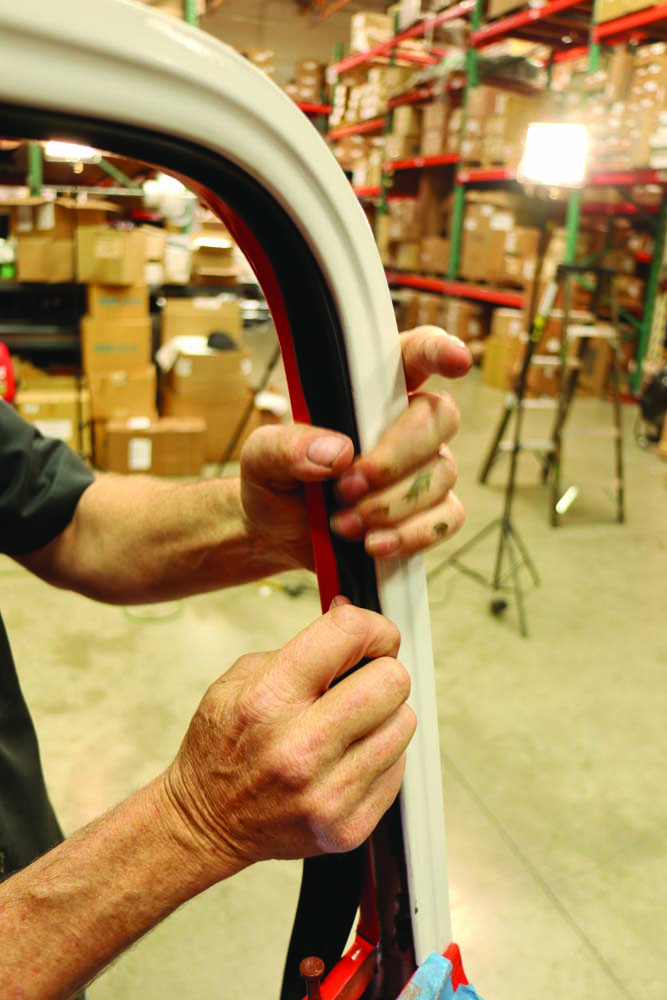
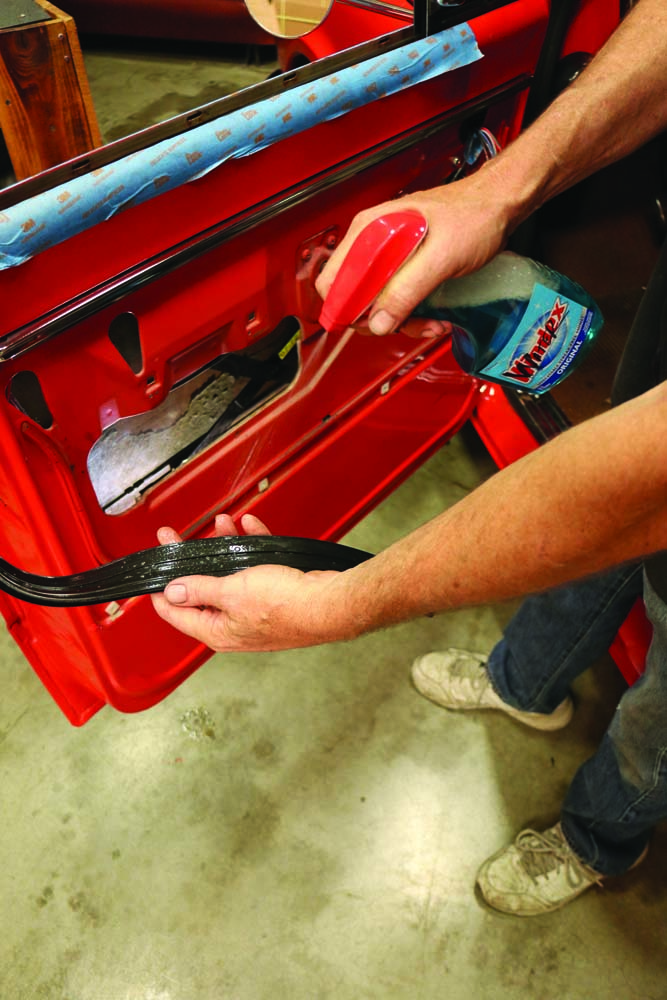
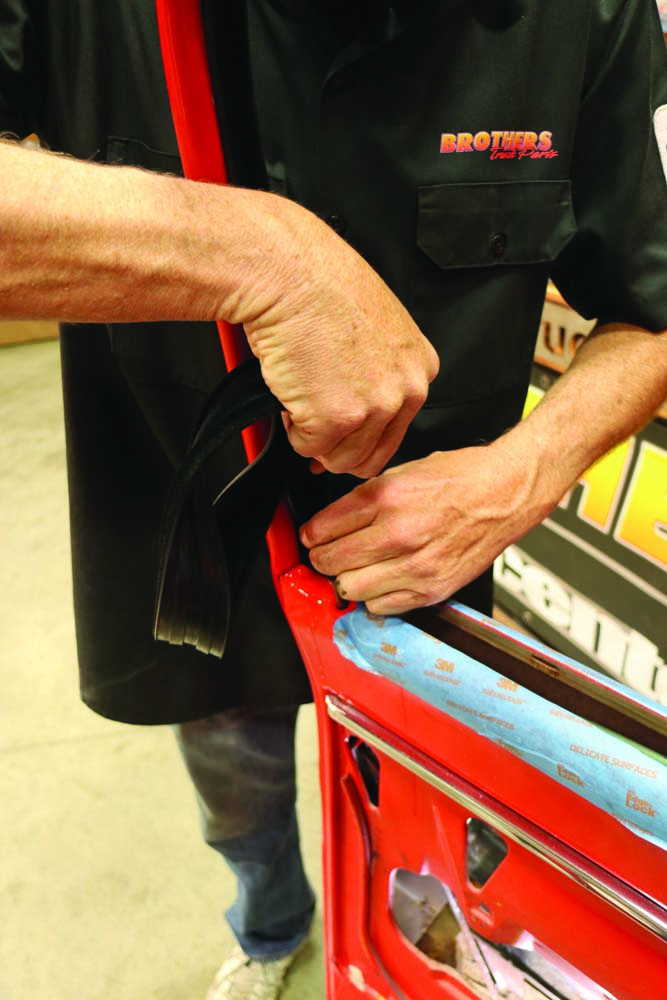
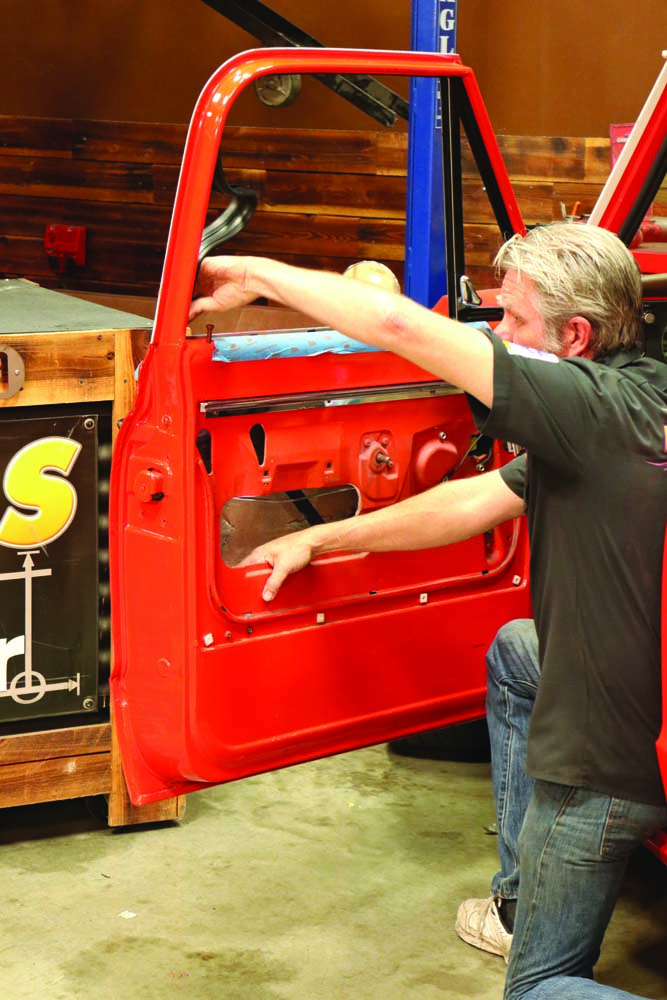
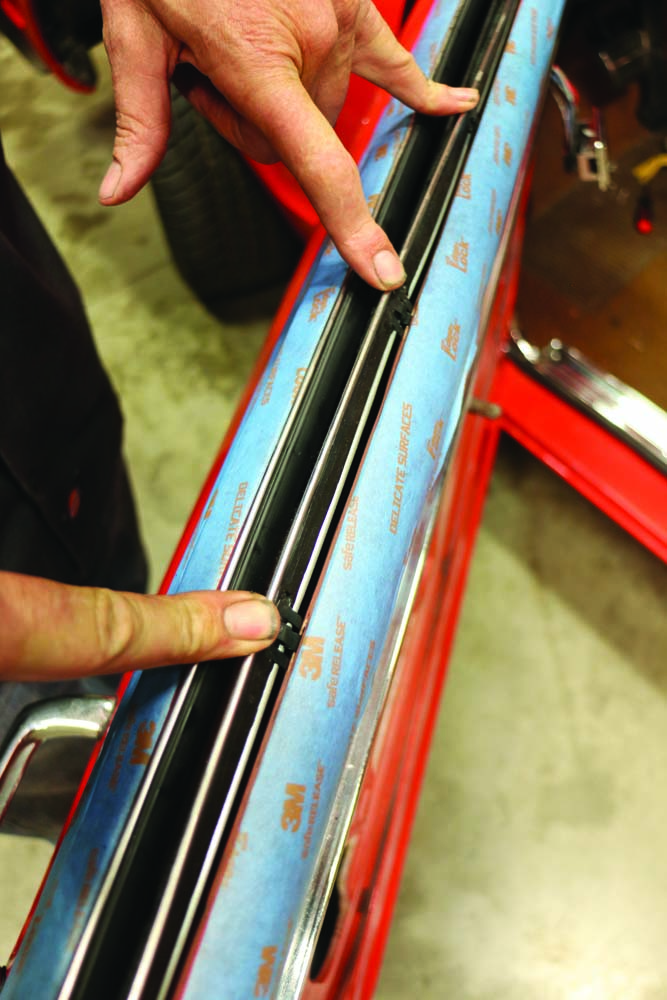
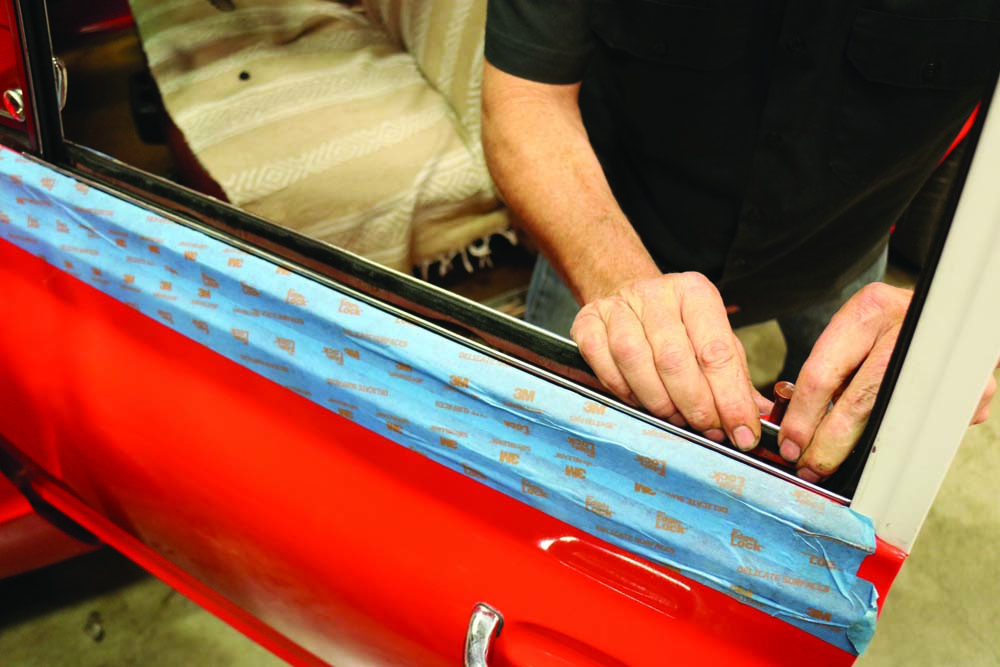
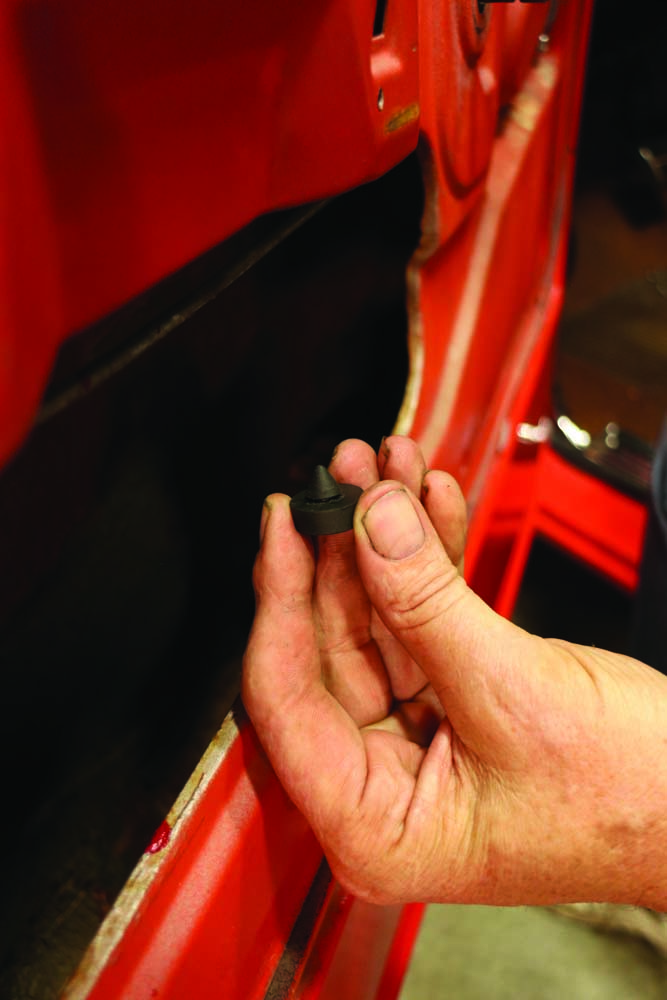
Removal of the window sweepers is simple: With one hand, pry the channel out with your plastic trim tool and with the other, using an electrician’s blade screwdriver or O-ring remover (or similar), release the spring steel tabs, holding them in place.Removal of the window sweepers is simple: With one hand, pry the channel out with your plastic trim tool and with the other, using an electrician’s blade screwdriver or O-ring remover (or similar), release the spring steel tabs, holding them in place.In order to access the run channel and vent window/division channel, the C10 interior door panels must be removed. Carefully remove the door glass and set it aside in a safe location.In order to access the run channel and vent window/division channel, the C10 interior door panels must be removed. Carefully remove the door glass and set it aside in a safe location.The vent wing (which in and of itself is a whole ’nuther how-to in regard to replacing rubber!) is held in place with hardware located within the door shell as well as forward exterior doorframe. Once free, carefully work the vent window assembly out. (It’s much easier to R&R the division bar channel with the vent removed.)The vent wing (which in and of itself is a whole ’nuther how-to in regard to replacing rubber!) is held in place with hardware located within the door shell as well as forward exterior doorframe. Once free, carefully work the vent window assembly out. (It’s much easier to R&R the division bar channel with the vent removed.)With the vent wing/division bar safely out, the rear run channel can be removed. Clean out any remaining sealant or adhesive, as well as any scaly rust.With the vent wing/division bar safely out, the rear run channel can be removed. Clean out any remaining sealant or adhesive, as well as any scaly rust.Once everything is free and clear of the door, take the time to straighten out the notches in the door where the anti-rattle (sweeper) channels clip to—a pair of pliers and a flat blade screwdriver oughta do the trick.Using that same screwdriver, or a narrow gasket scraper, prepare the division bar for the new felt channel.Carefully press the metal-embedded window channel felt in place, ensuring it seats fully into the division bar; once installed, running the glass up and down a few times will help further seat the felt.Carefully press the metal-embedded window channel felt in place, ensuring it seats fully into the division bar; once installed, running the glass up and down a few times will help further seat the felt.Next, remembering (and reversing) the manner in which you removed the vent window assembly, reinstall it in the door. (Remember, your door glass is still in there, so take caution in the process.)Next, remembering (and reversing) the manner in which you removed the vent window assembly, reinstall it in the door. (Remember, your door glass is still in there, so take caution in the process.)The new felt run channel is perforated in one area—those indicate the portion that goes in the rear upper corner.Start your run channel rubber installation from the vent window/division bar and work your way back.Once you get to the interior run channel, give the backside of the rubber a healthy dose of window cleaner to aid with the install and prevent the rubber strip from bunching up.With one hand, feed the window rubber down into the door; with the other, pull down, all the while making sure it stays fully seated within the channel guide.With one hand, feed the window rubber down into the door; with the other, pull down, all the while making sure it stays fully seated within the channel guide.Using the blunt end of the trim tool, run it up and down in the run channel as well as the division bar channel before reinstalling the glass.The new window sweepers can (should) be installed without any tools; simply pop them in place and use your fingers to straighten out.The new window sweepers can (should) be installed without any tools; simply pop them in place and use your fingers to straighten out.Lastly, don’t forget to install the window bumpstop! Your door glass will be a bit snug when first rolling them up/down—make sure you lube your window regulators before reinstalling the door panels. Now, enjoy your “quieter” ride!
We use cookies to ensure that we give you the best experience on our website. If you continue to use this site we will assume that you are happy with it.