


Metalwork is one of, if not, the most demanding projects any of us can undertake when working on our hot rod project. It can start out as a sheet metal repair, patch panel replacement, right on up to rear quarter-panel replacement, which is one of the more ambitious projects to undertake.
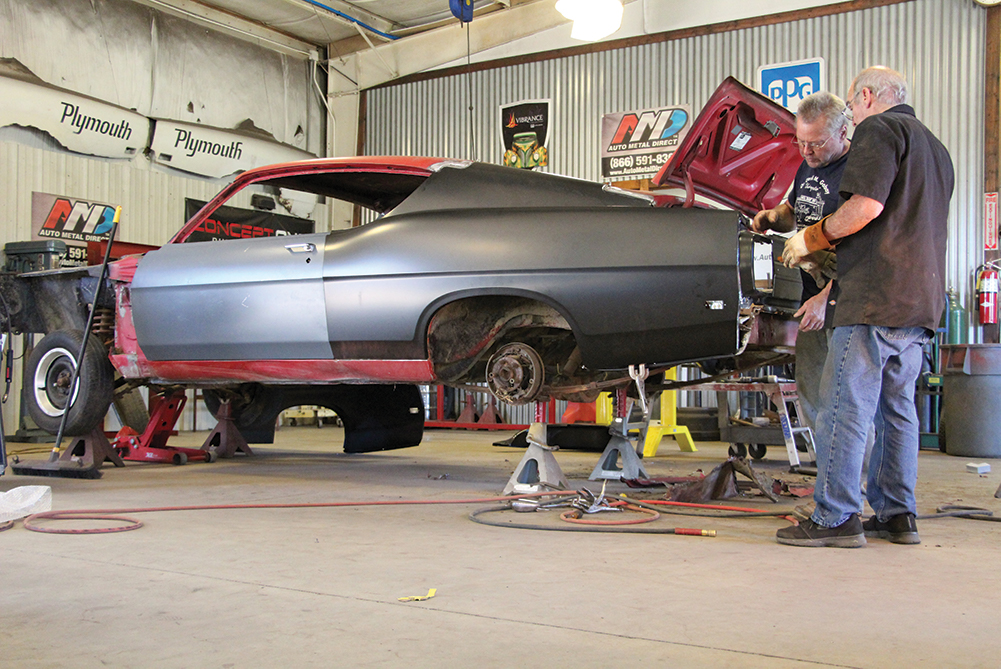
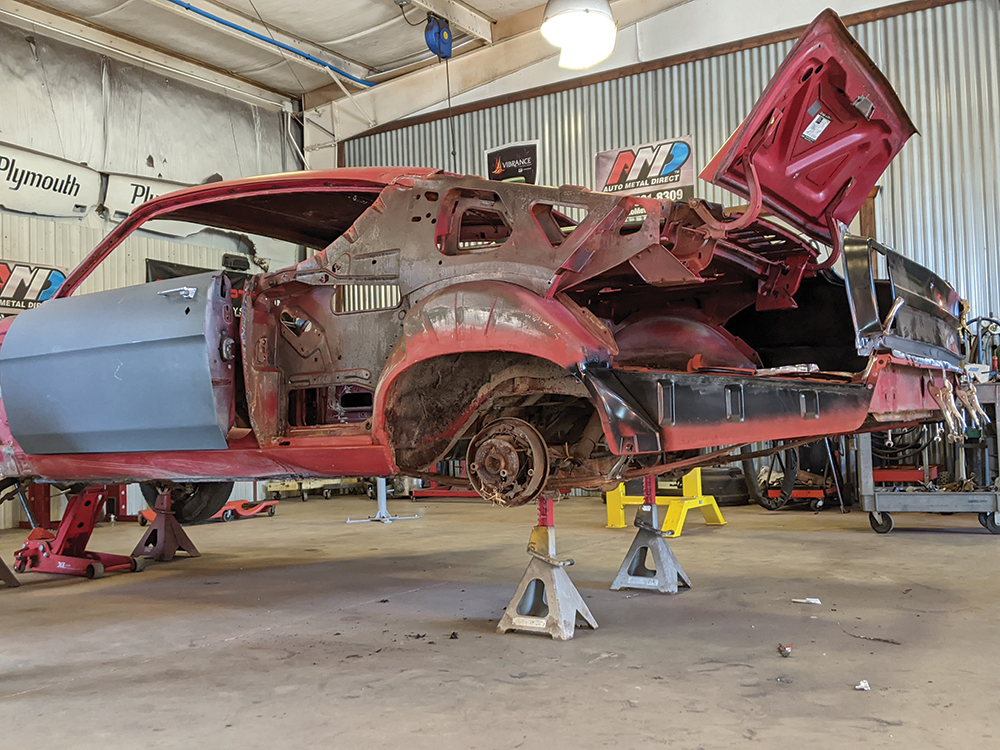
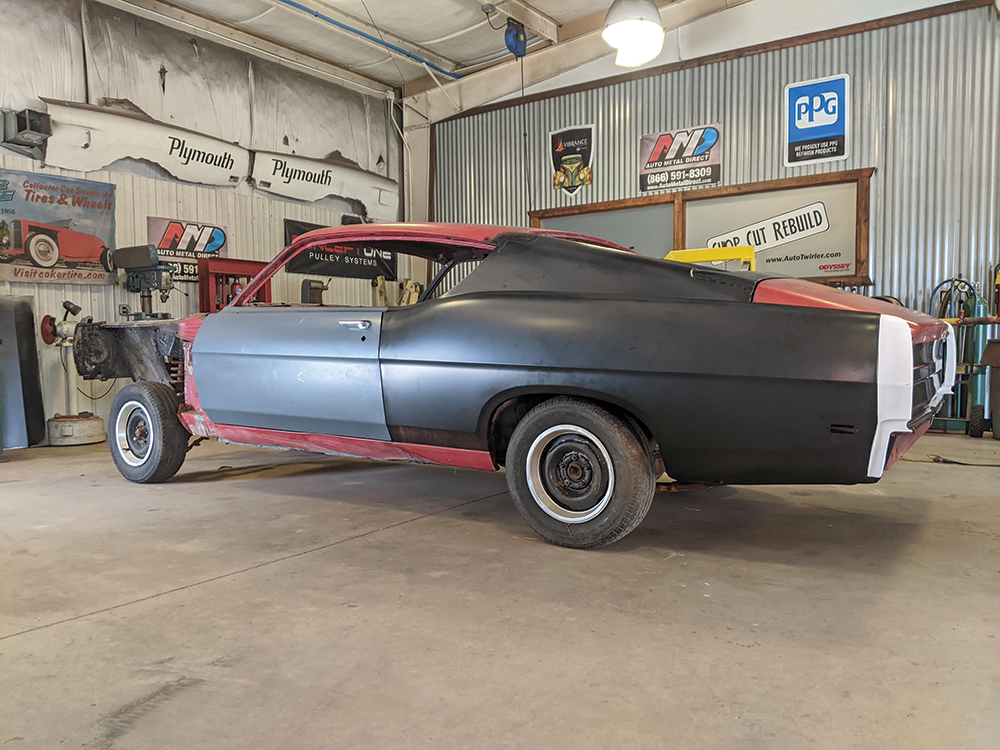
On a recent visit to The Installation Center, we checked in with Craig Hopkins as he and Wesley Kennedy were about to undertake a massive sheetmetal project on a 1969 Ford Torino Sportsroof (fastback). In fact, this particular project was on a highly desirable 1969 Ford Torino 428 Cobra Jet car, making it advantageous to perform whatever sheet metal work it took to bring this body back to life.
Check Out: Embossing Sheetmetal Panels
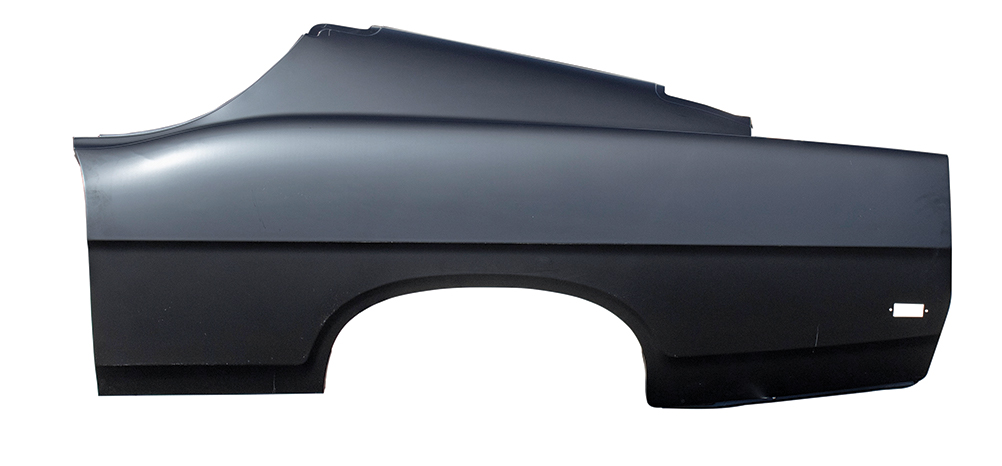
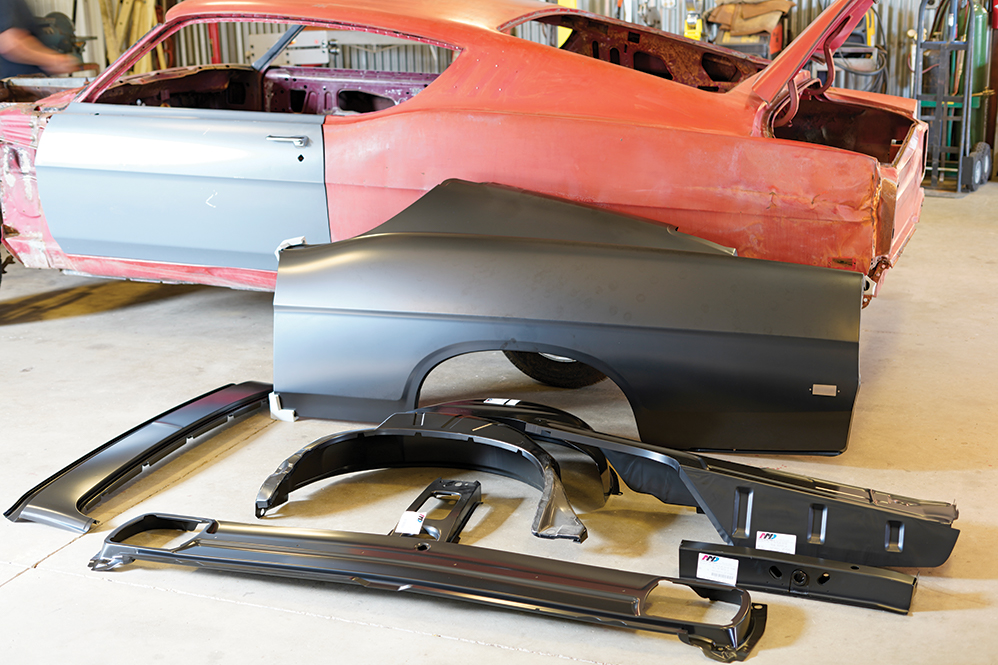
The Installation Center had on hand all of the common panels required for a 1968-1969 Torino Sportsroof, such as the quarter-panels, tail panel, inner fender panels, and a few others, all from Auto Metal Direct, commonly known as AMD. For our story we zeroed in on the rear quarter panel replacement (PN 700-8469-L, driver side; PN 700-8469-R, passenger side). Also, the 1968 Torino and 1969 Torino are similar sheetmetal with the discernible difference being the side markers. (It should be noted that Auto Metal Direct has replacement sheet metal for the 1970 and 1971 Torino as well, but this is a different body style.)
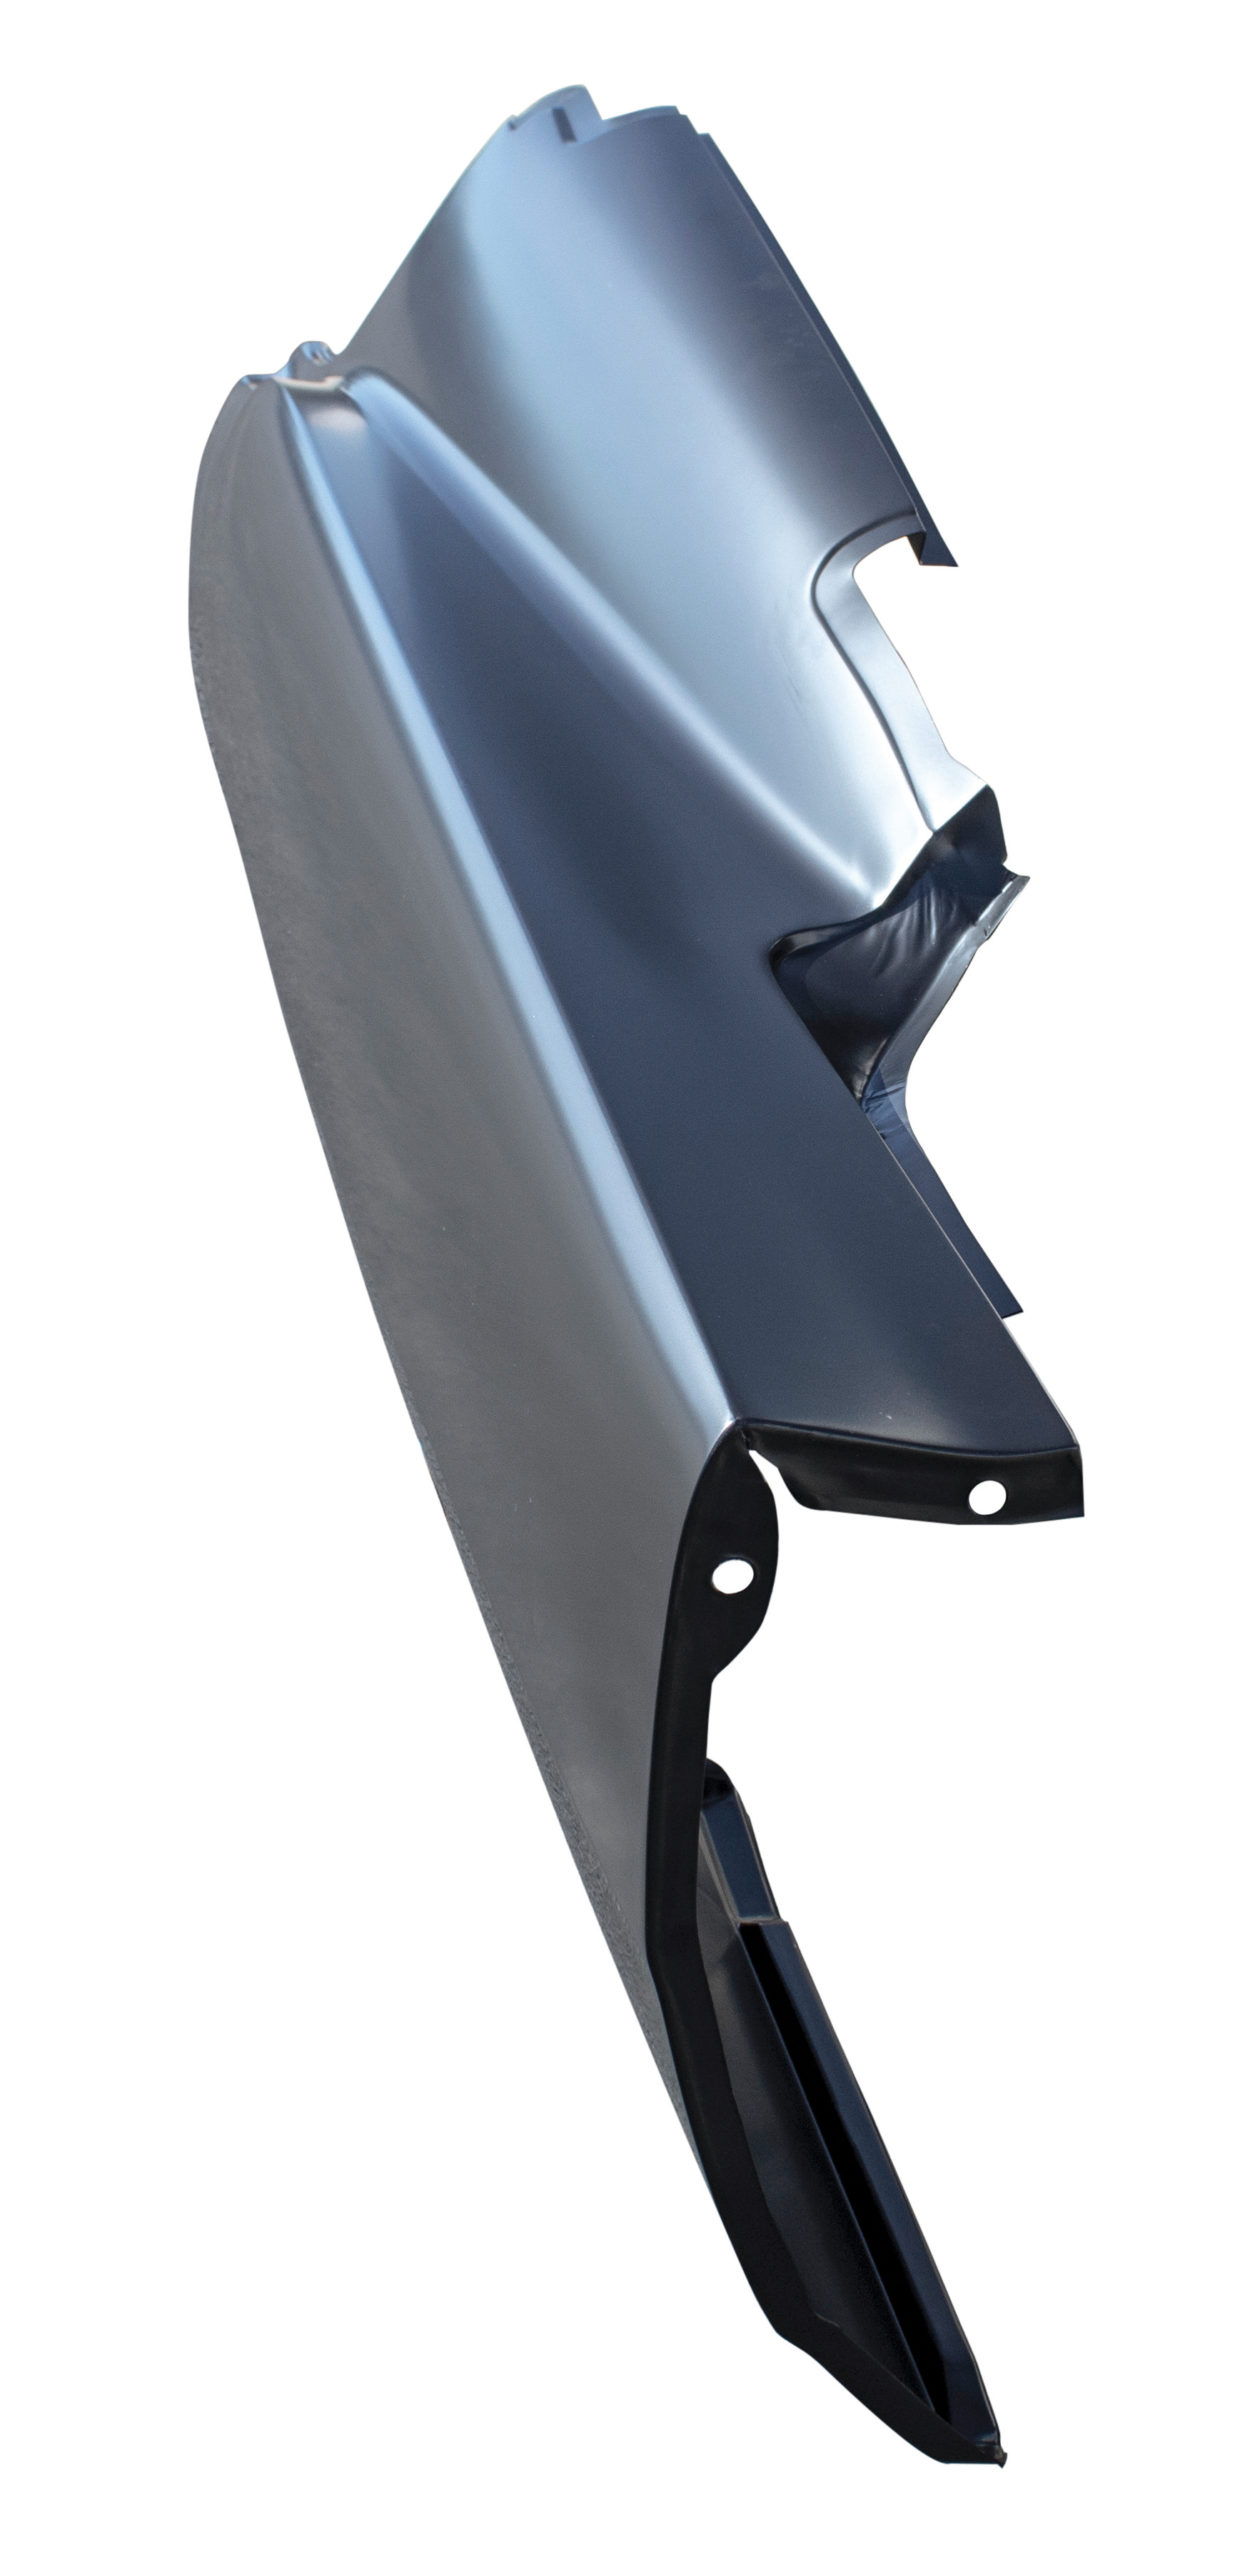
The AMD sheet metal is known for its OE condition, meaning that it’s stamped from high-quality OE gauge steel on Auto Metal Direct’s own tooling. Each quarter-panel displays features that are as correct as original shape, size, bends, curves, and body lines. Like all Auto Metal Direct parts, these items arrive EPD coated to help protect against rust and corrosion. (EPD stands for electrophoretic deposition. It’s an industrial process that includes electrocoating. E-coating, as it is commonly referred to, is an immersion wet paint process that uses electrical current to attract material, paint, to the metal surface.)
Check Out: Floored…1940 Ford Gets Much Needed Sheetmetal Repair

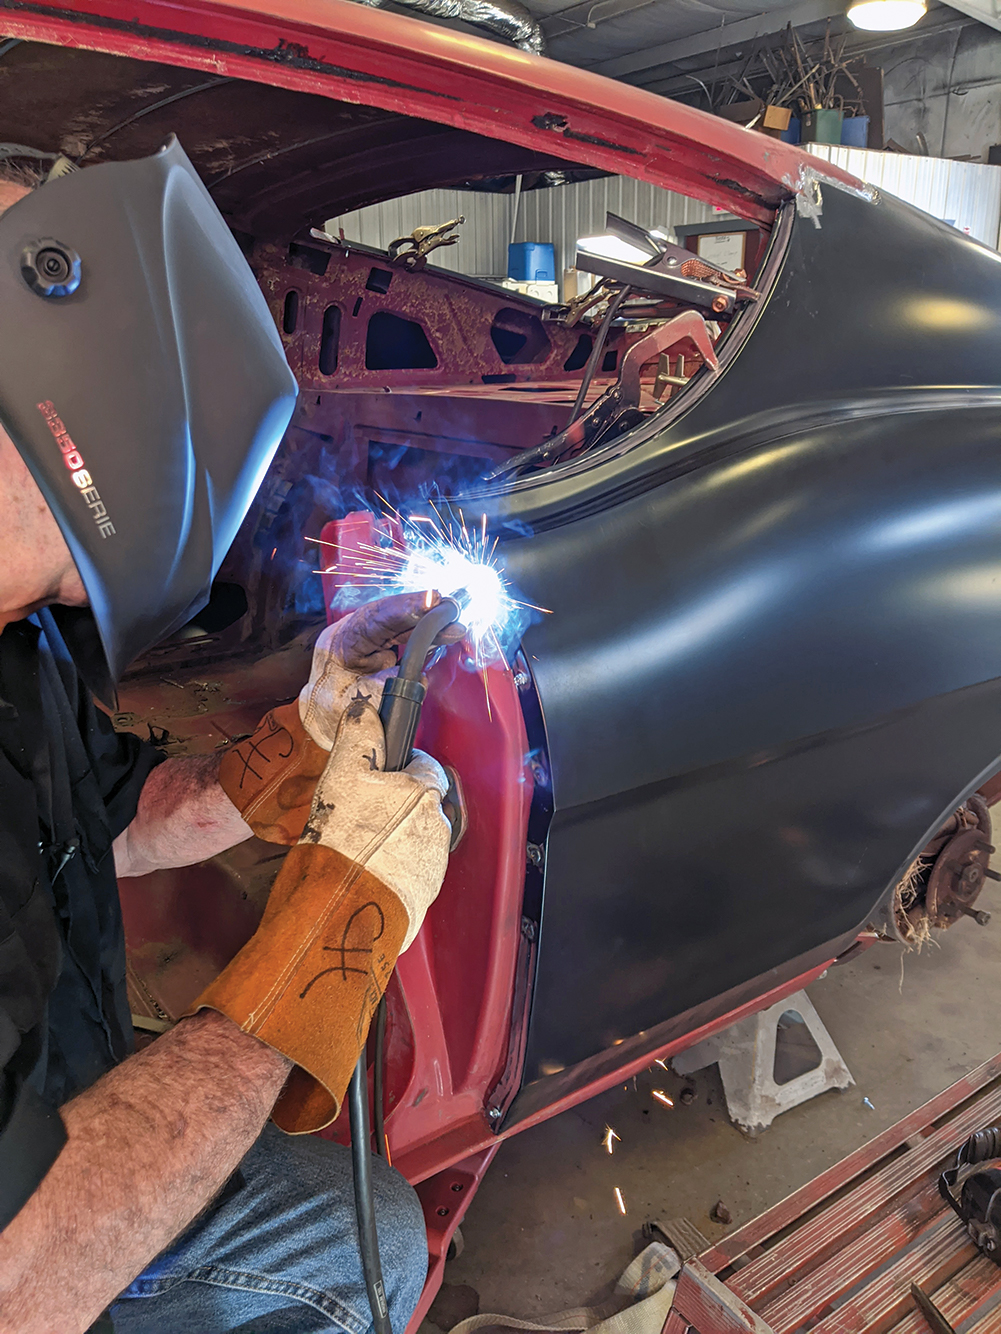
This is the type of project best left for those with copious amounts of metalworking experience. You will need to be proficient in MIG welding as well as the removal of lead, an air chisel, and spot welding. The topic of MIG welding alone can fill a book, a library, and in time we will be getting into welding techniques and how to go about gaining this skill.
How to Remove Sheet Metal Filler
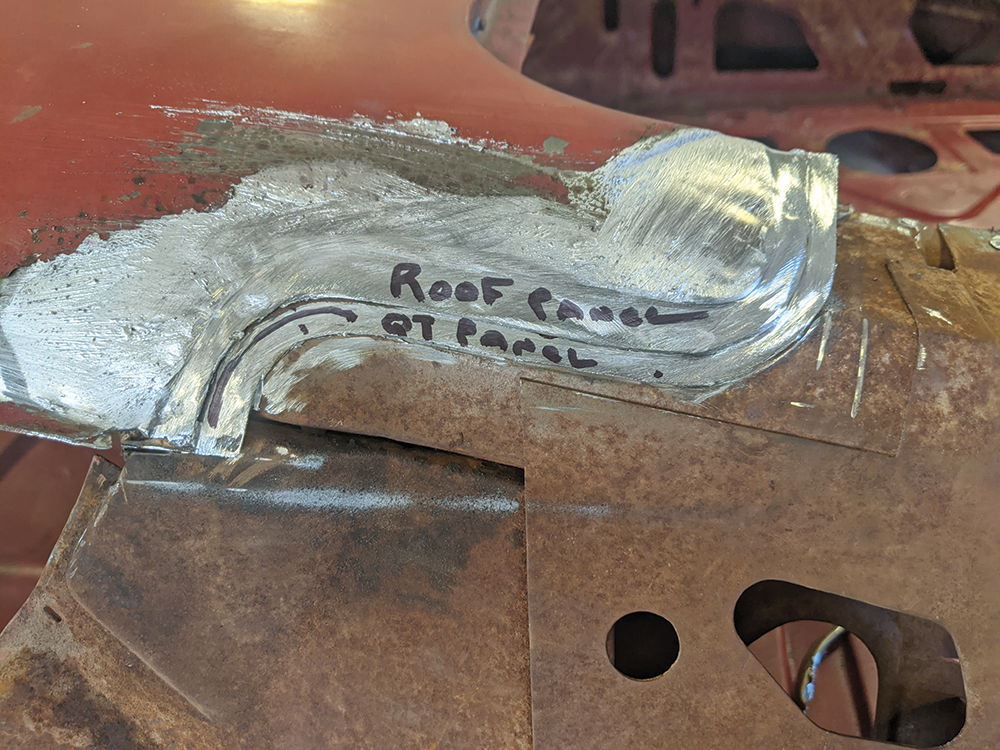
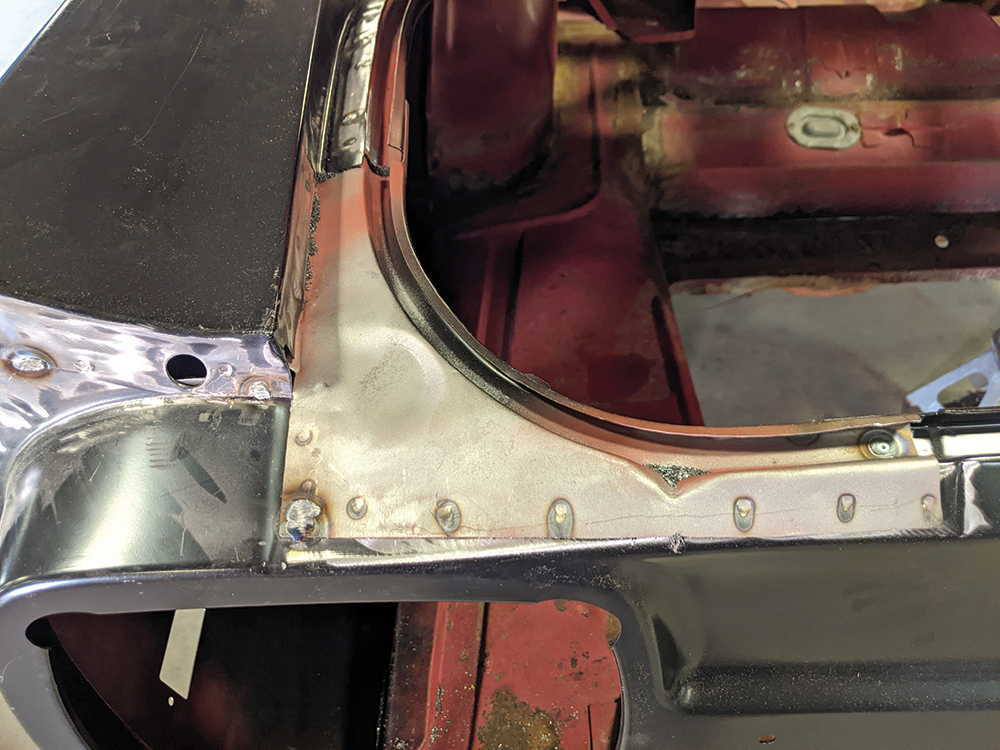
Remember, we said this was a major project and as such you will be removing sheet metal panels that are joined to other sheet metal panels from the factory. The cars of the ’60s had their major body panels joined by welding the panels together, then lead was used to fill the weld area, and then from this process it would go through the body- and paintwork process.
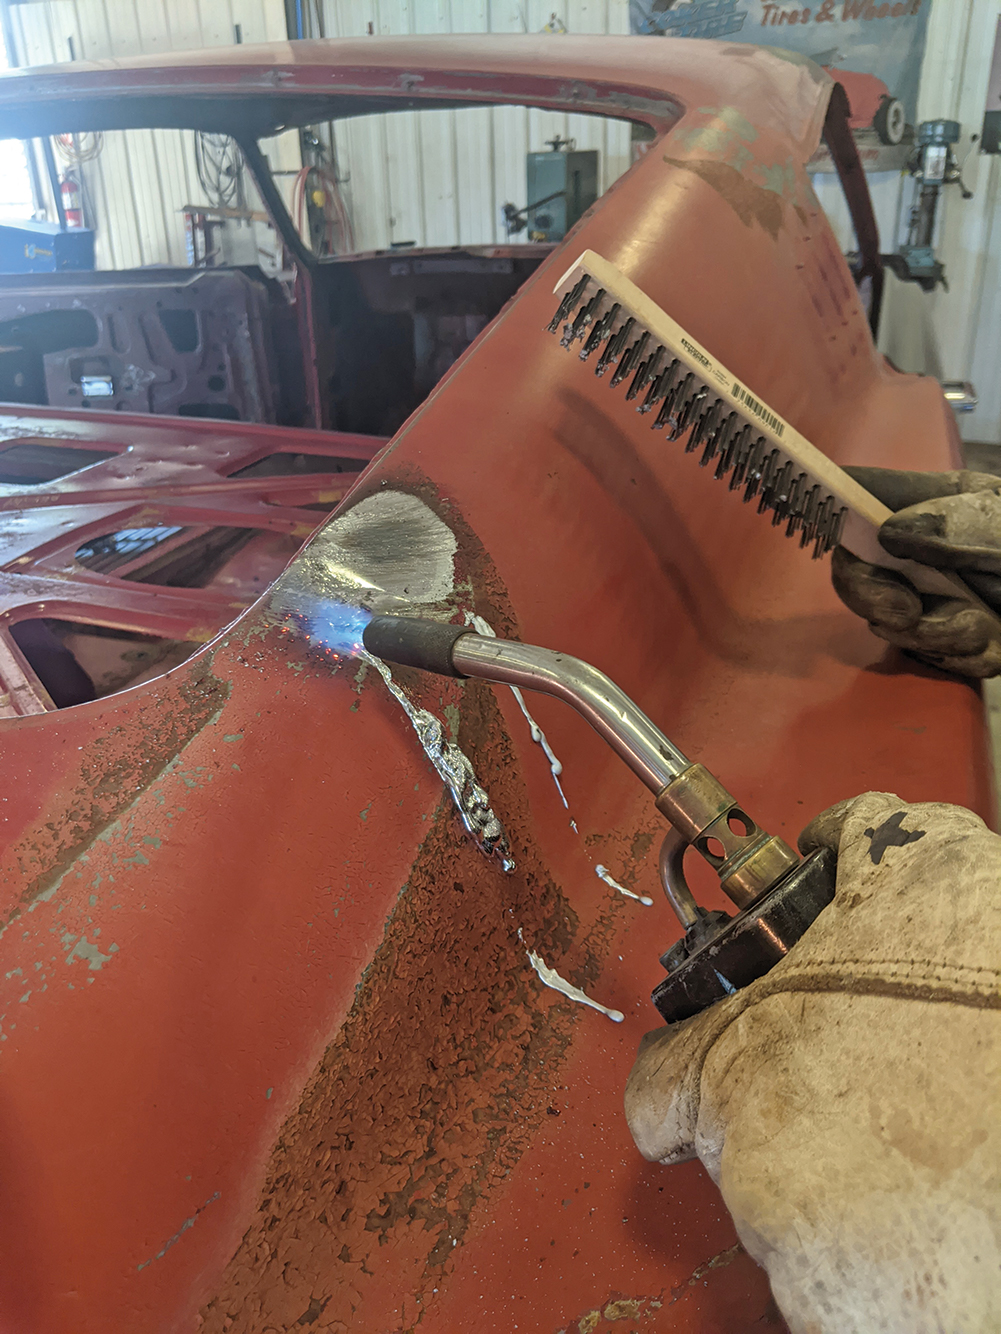
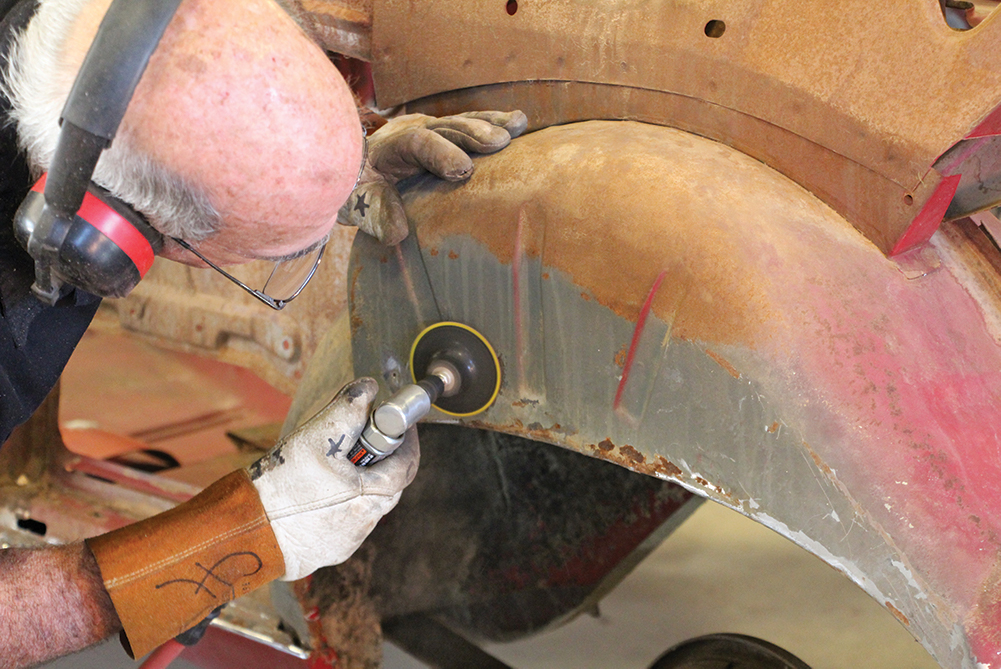
To remove the factory lead you will first want to strip the body of all paint, primer, and fillers. There are a number of ways to do this, such as sandblasting, dipping, or the old fashion way—by hand. It’s always recommended to remove lead via heat rather than grinding as the lead particulates are unhealthy to breathe into your lungs.

Check Out: Chevy Concept: A 1964 Corvette Rendering
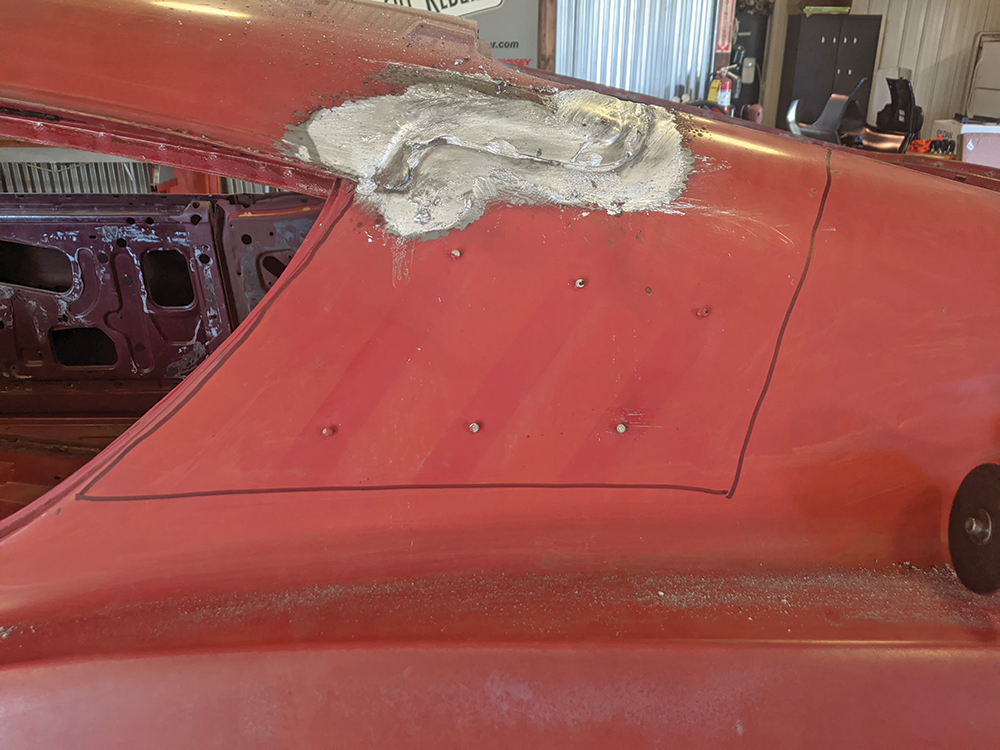
Once you have the joint exposed you will see the original factory lead. At this point you will need a torch. Hopkins recommends a handheld propane model to heat the original material and then follow up with a wire brush to remove the lead. When using the torch remember to use the “tail” of the flame and methodically move the flame over the old lead. The lead will melt out. One of the time-honored ways to clean up the area is to then take a clean rag soaked in baking soda as this will neutralize the flux. You will want to use a second clean rag to wipe the surface clean.
We have learned a great deal about hazardous materials since the ’60s, so suffice it to say, be careful! Act accordingly by wearing a respirator and gloves, at the very least. You should also protect your body, especially your eyes, by wearing protection to cover any exposed skin.
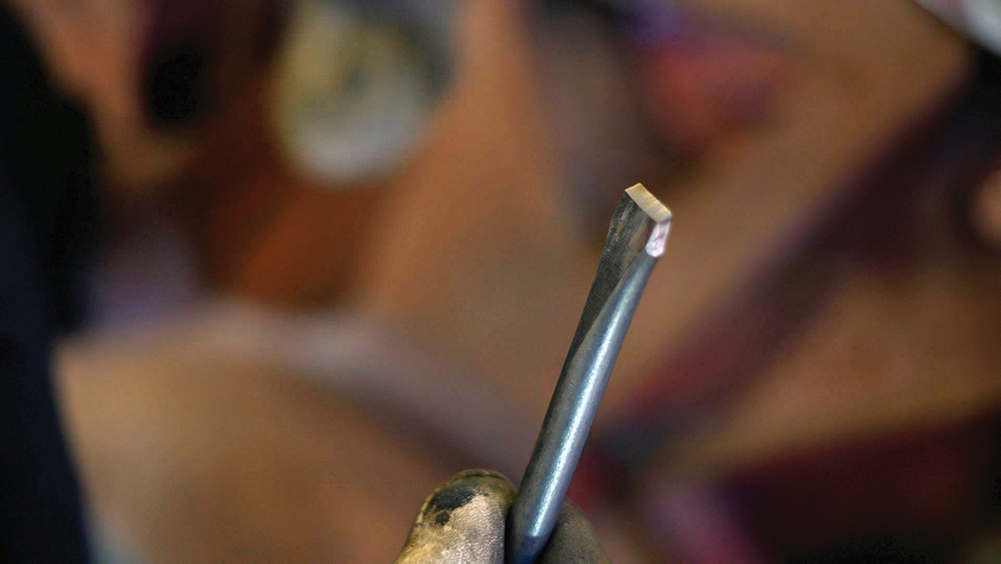
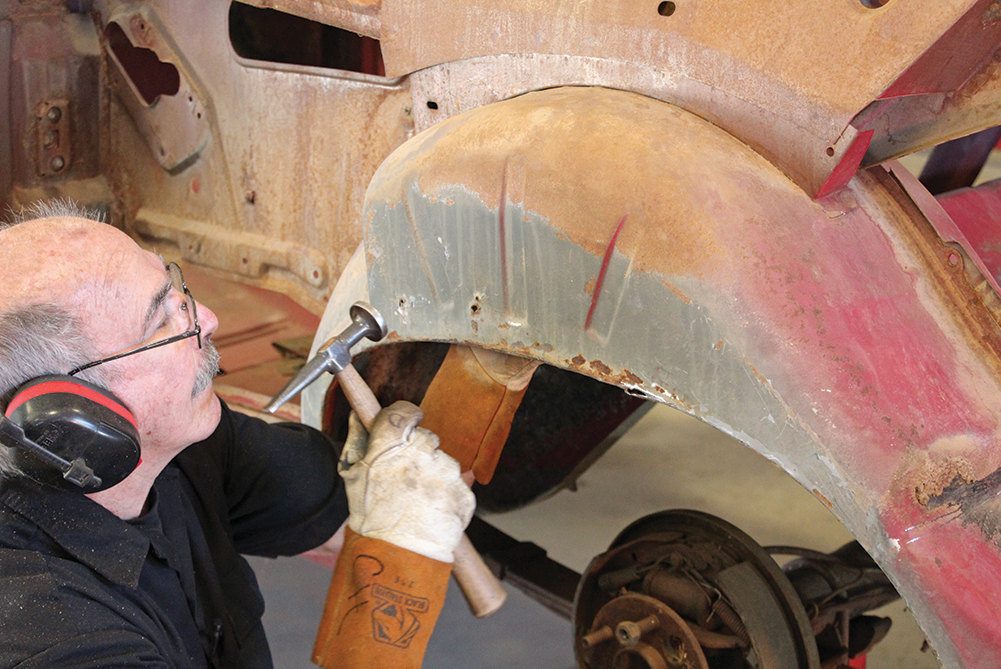
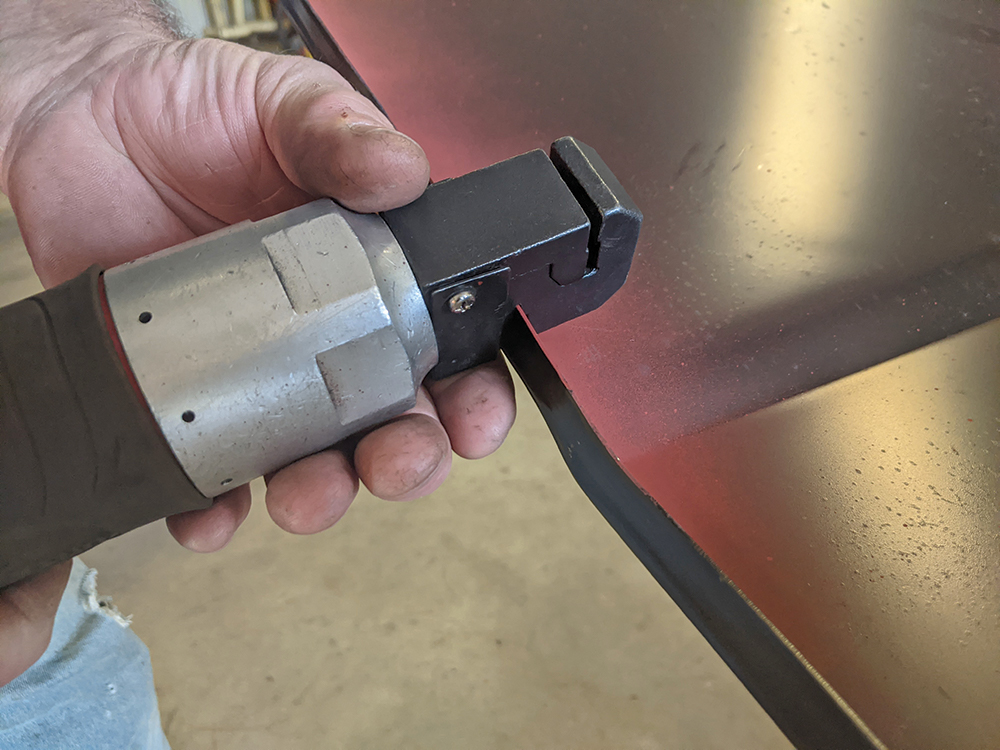
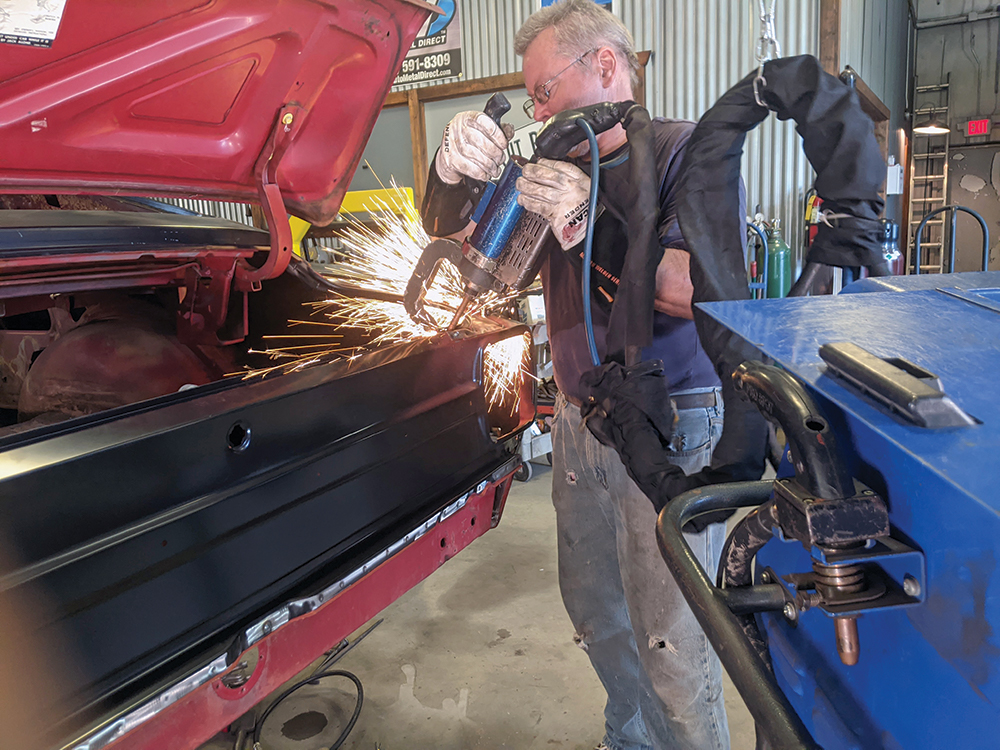
Using An Air Chisel
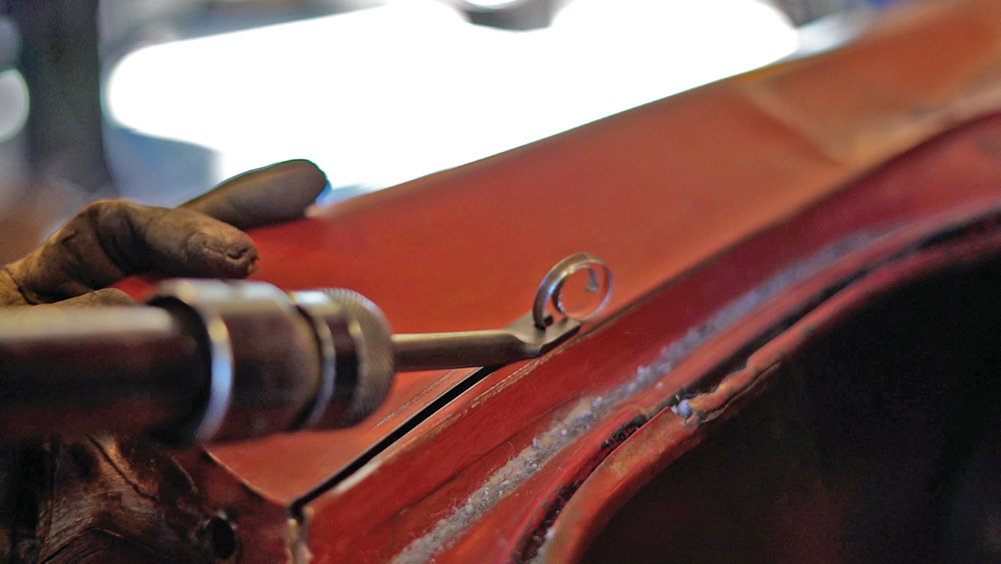
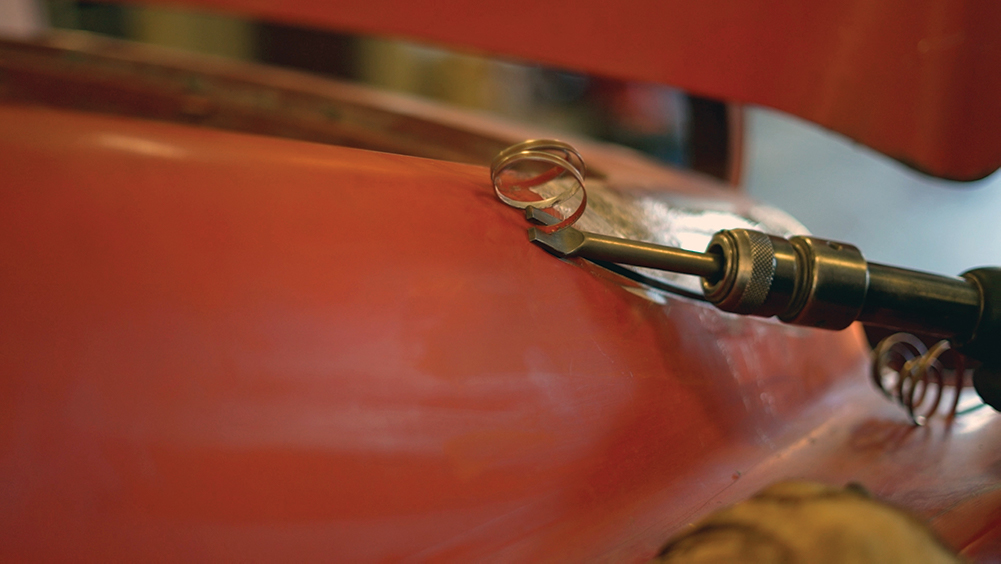
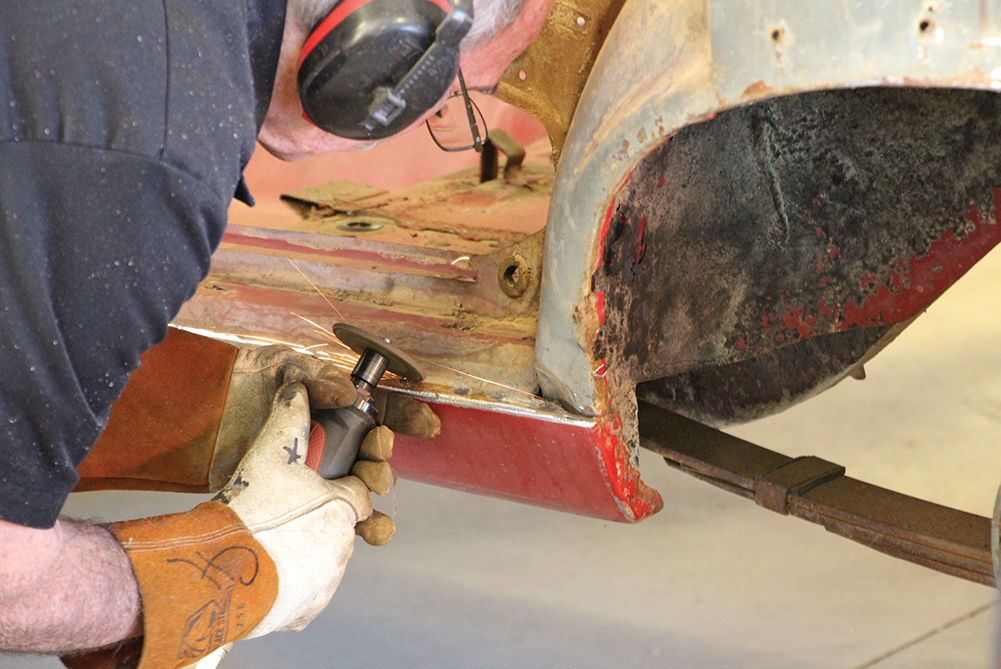
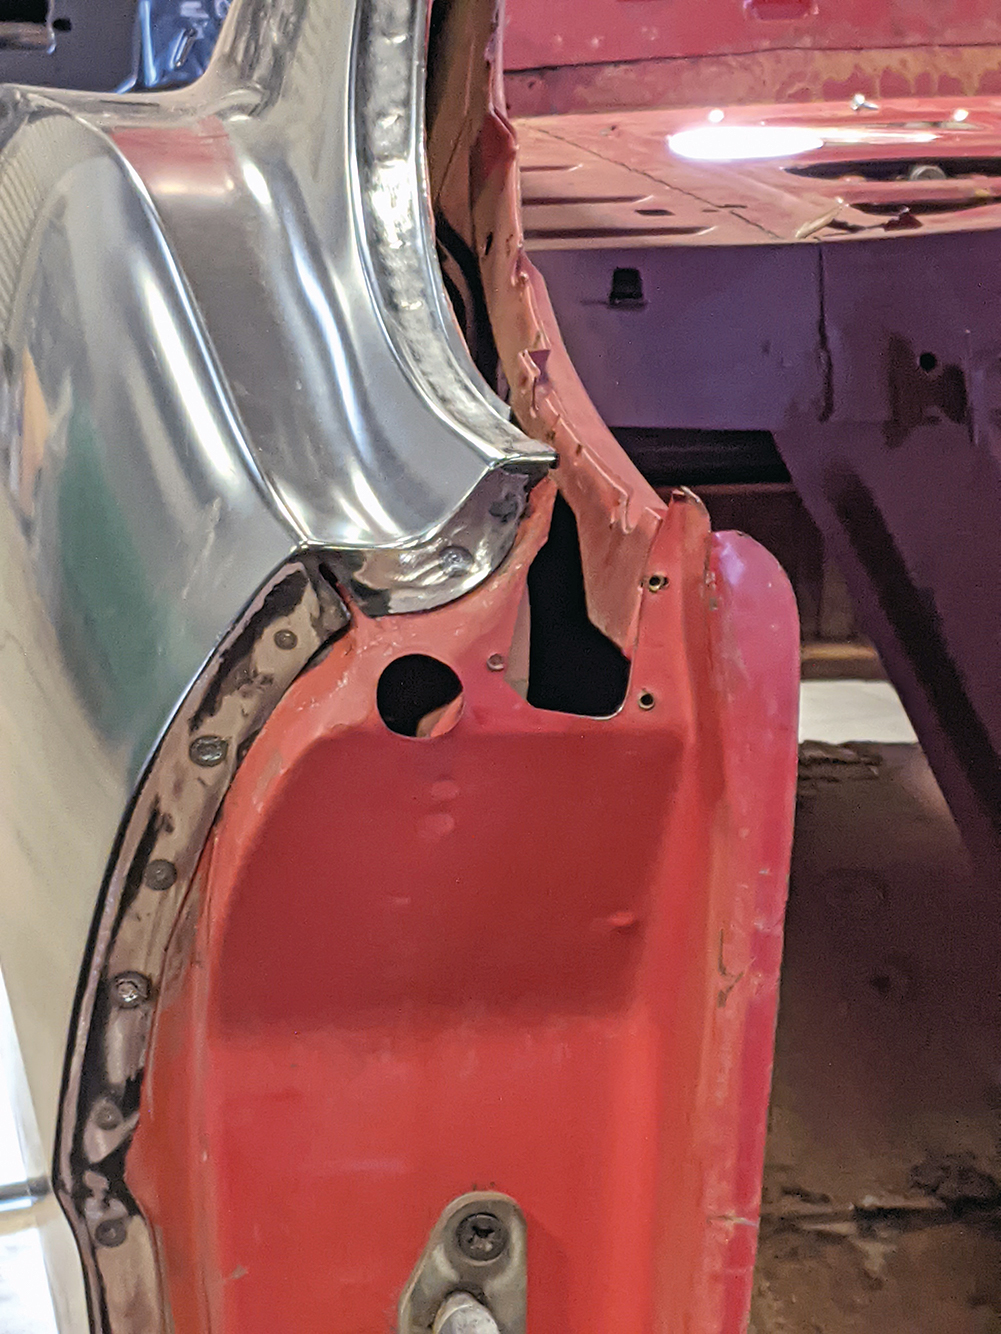
You may have to remove some material from the original body when fitting your new replacement panel, especially if the area in question was, at one time, involved in a fender bender. Here’s where an air chisel, a tool easily found at Harbor Freight, typically comes with an assortment of tools, and it turns out to be a handy one to have. In our case you will use your air chisel with the appropriate tool to “nibble” a clean strip of metal away. It’s at this fresh-cut edge that you will match the new quarter-panel and MIG weld together.
What is a Plunge Cut?
The plunge cut is called the most difficult of saw cuts with any tool. It requires an oscillating tool that can cut quick, clean holes and finish off plunge cuts started by other tools in tougher materials. This type of cut also takes a great deal of practice to get them right—clean cuts that don’t burn or overshoot. Ideally once you have this skill down you can make cuts that used to require a hammer and a hand chisel.
Check Out: How to Install a Detroit Speed QUADRALink Suspension on 1973-1987 Chevrolet C10 square body…
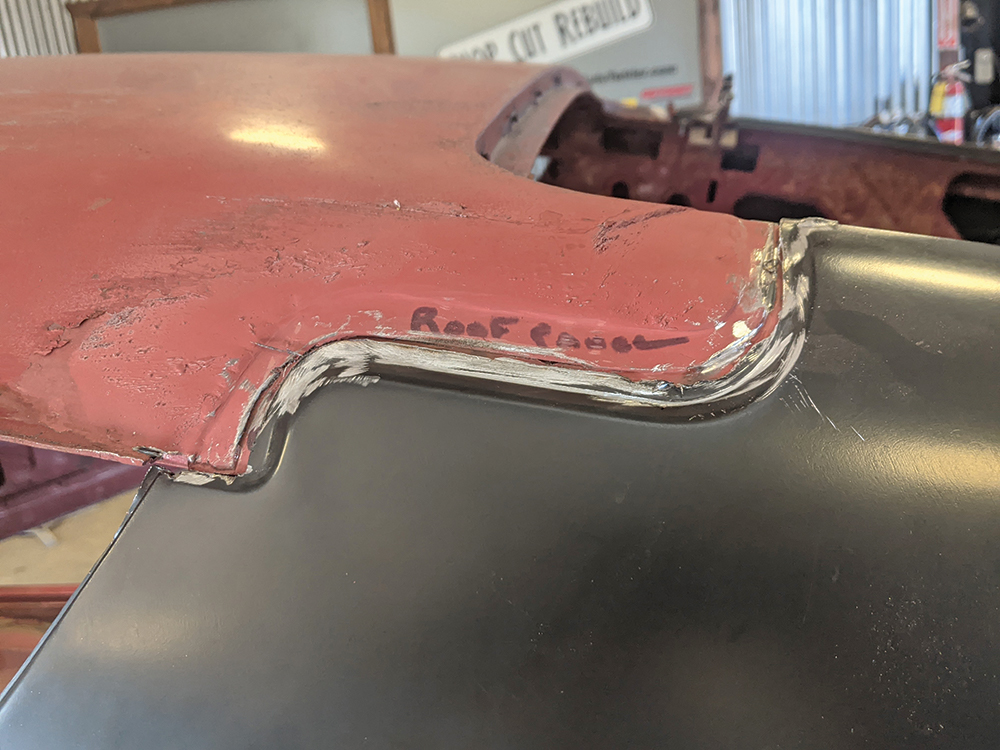
What is Spot Welding?
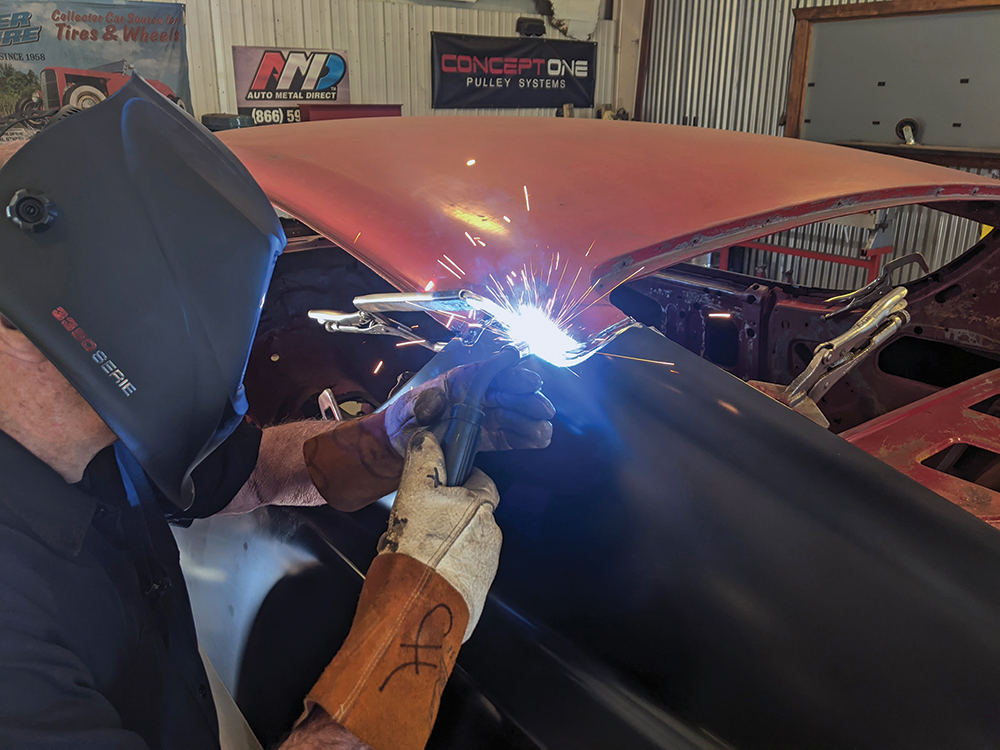
There are a handful of spots (no pun intended) where you will need to spot weld. It’s a form of resistance welding that’s one of the oldest welding forms whereby two or more metal panels are welded together without a filler material. It works by contacting copper alloy electrodes to the metal surface and then electrical current is applied, now generating heat. Hence, the spot is now melted together, or spot welded, and forms a solid bond.
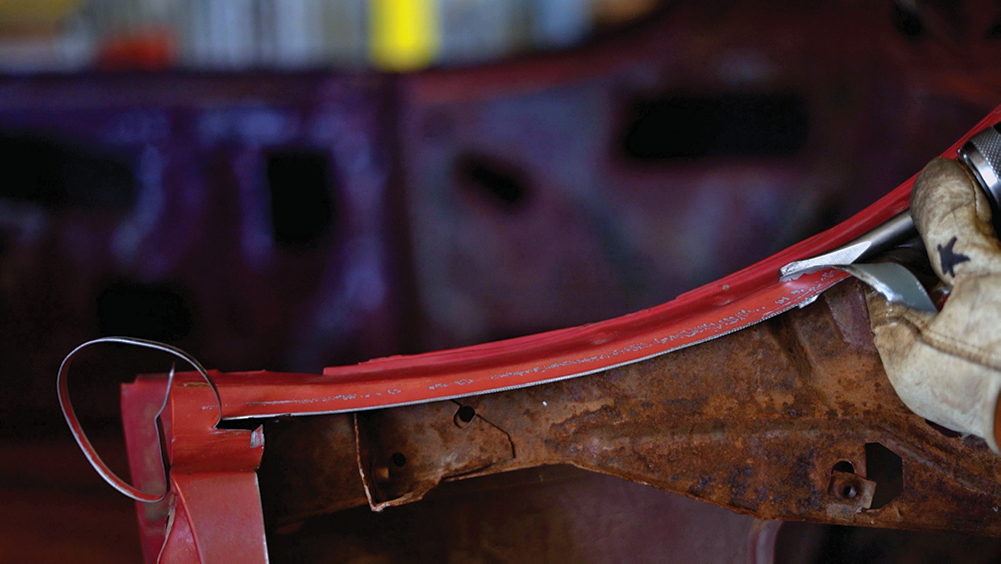
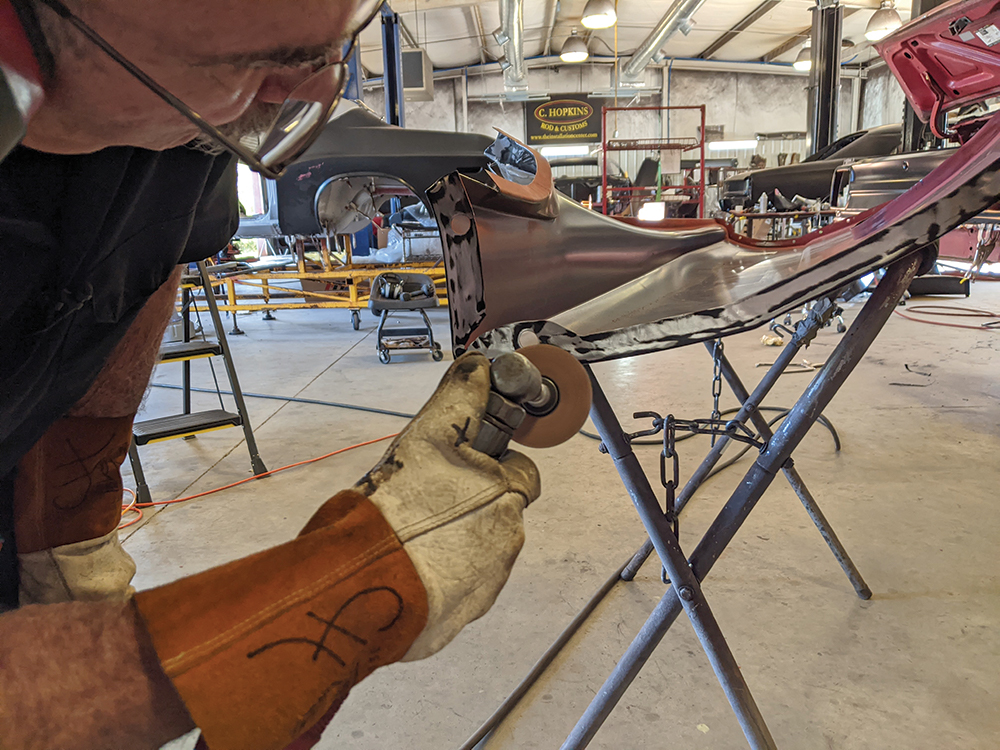
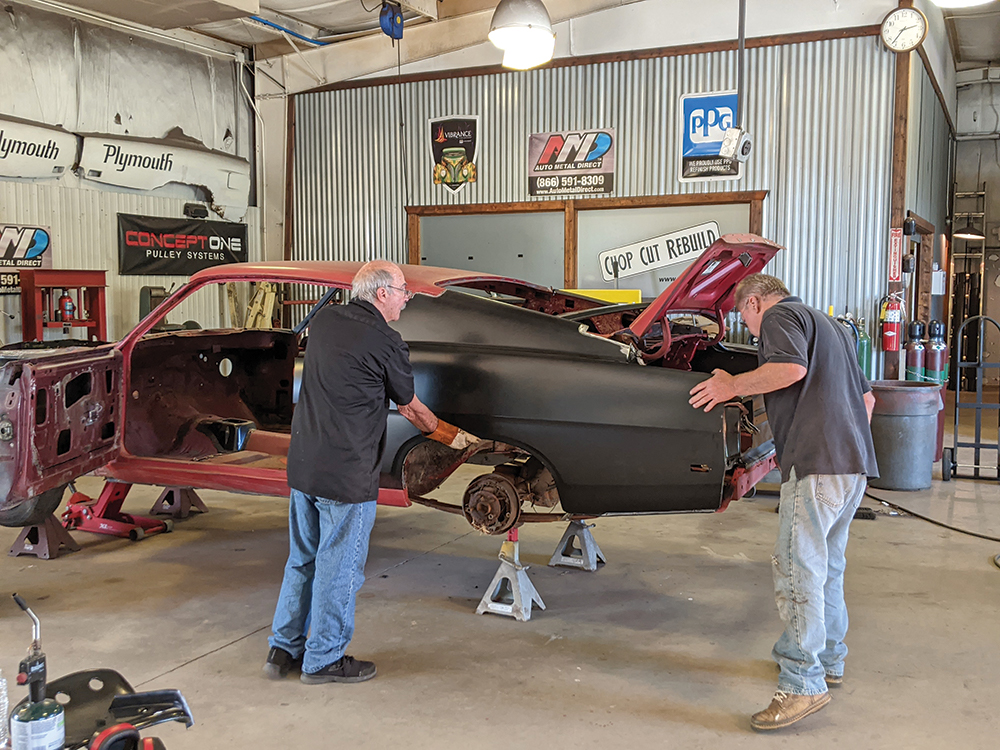
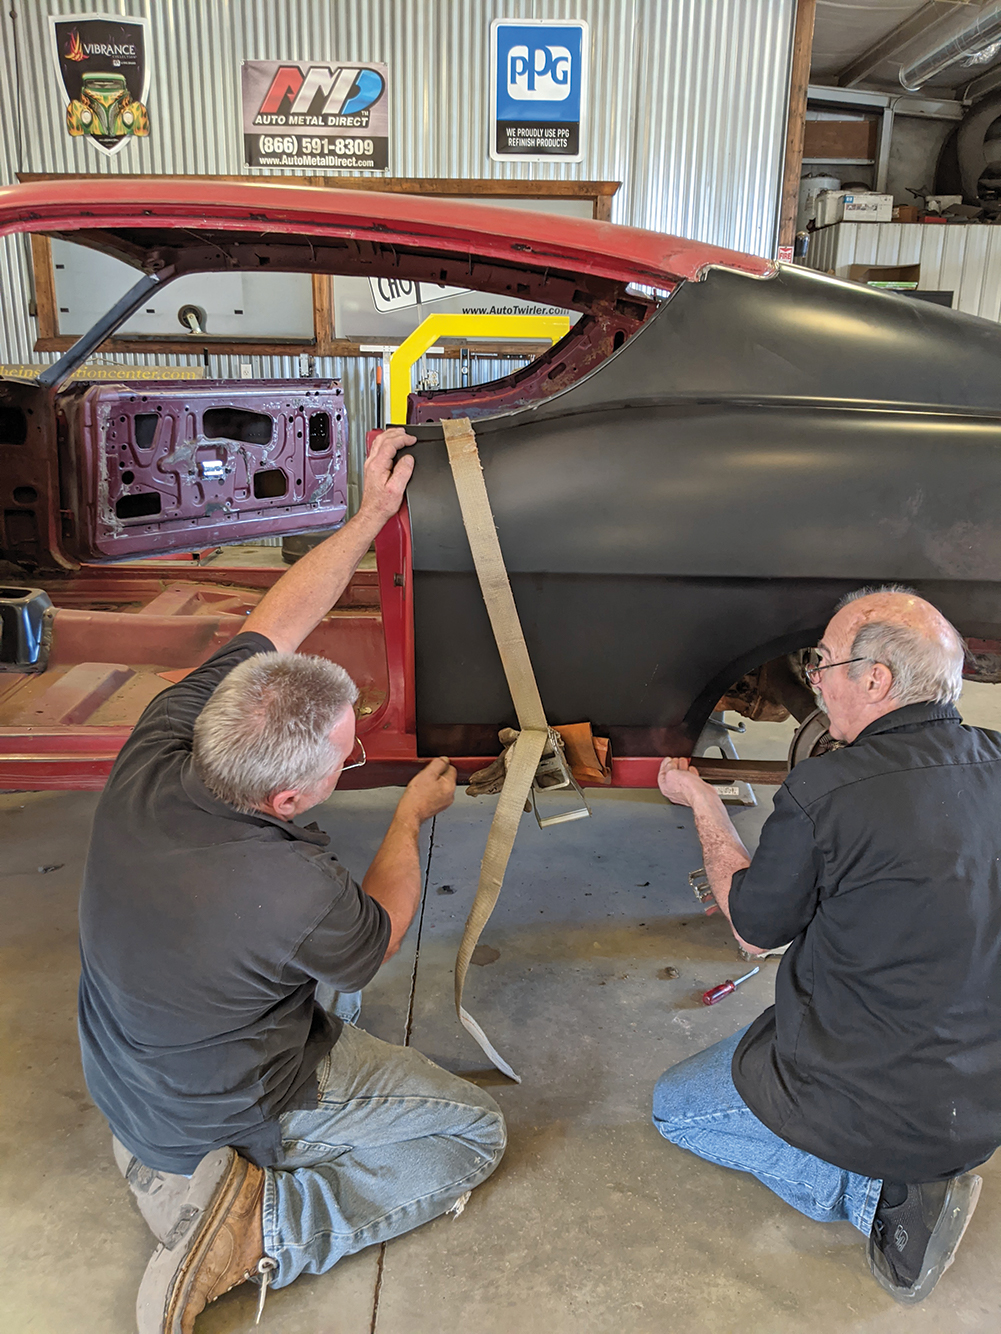
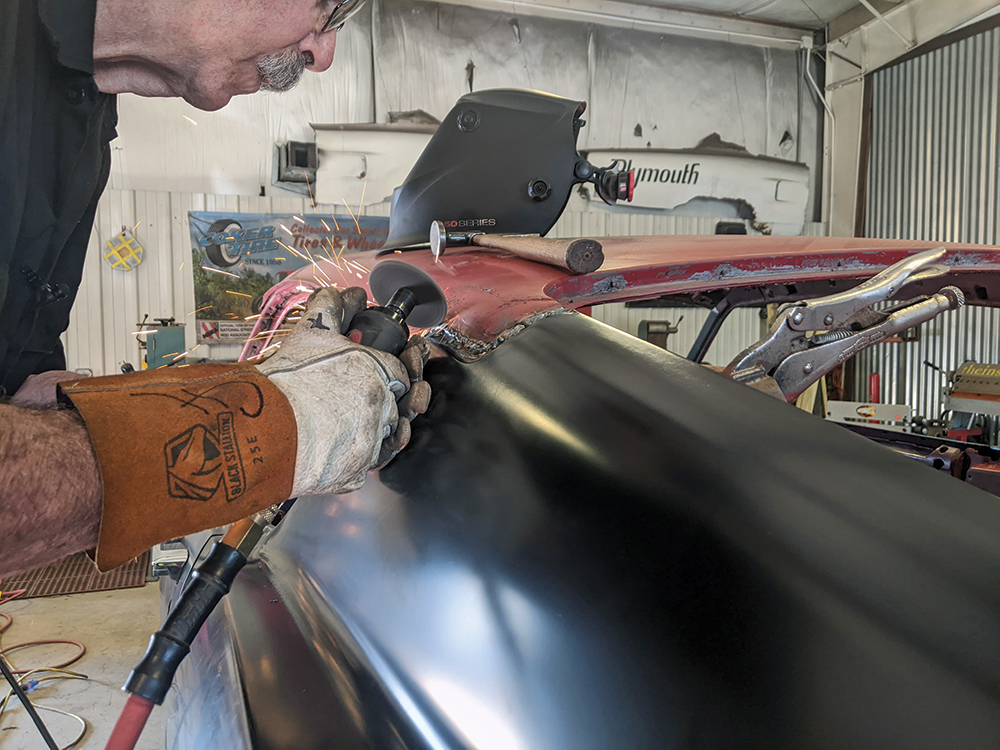
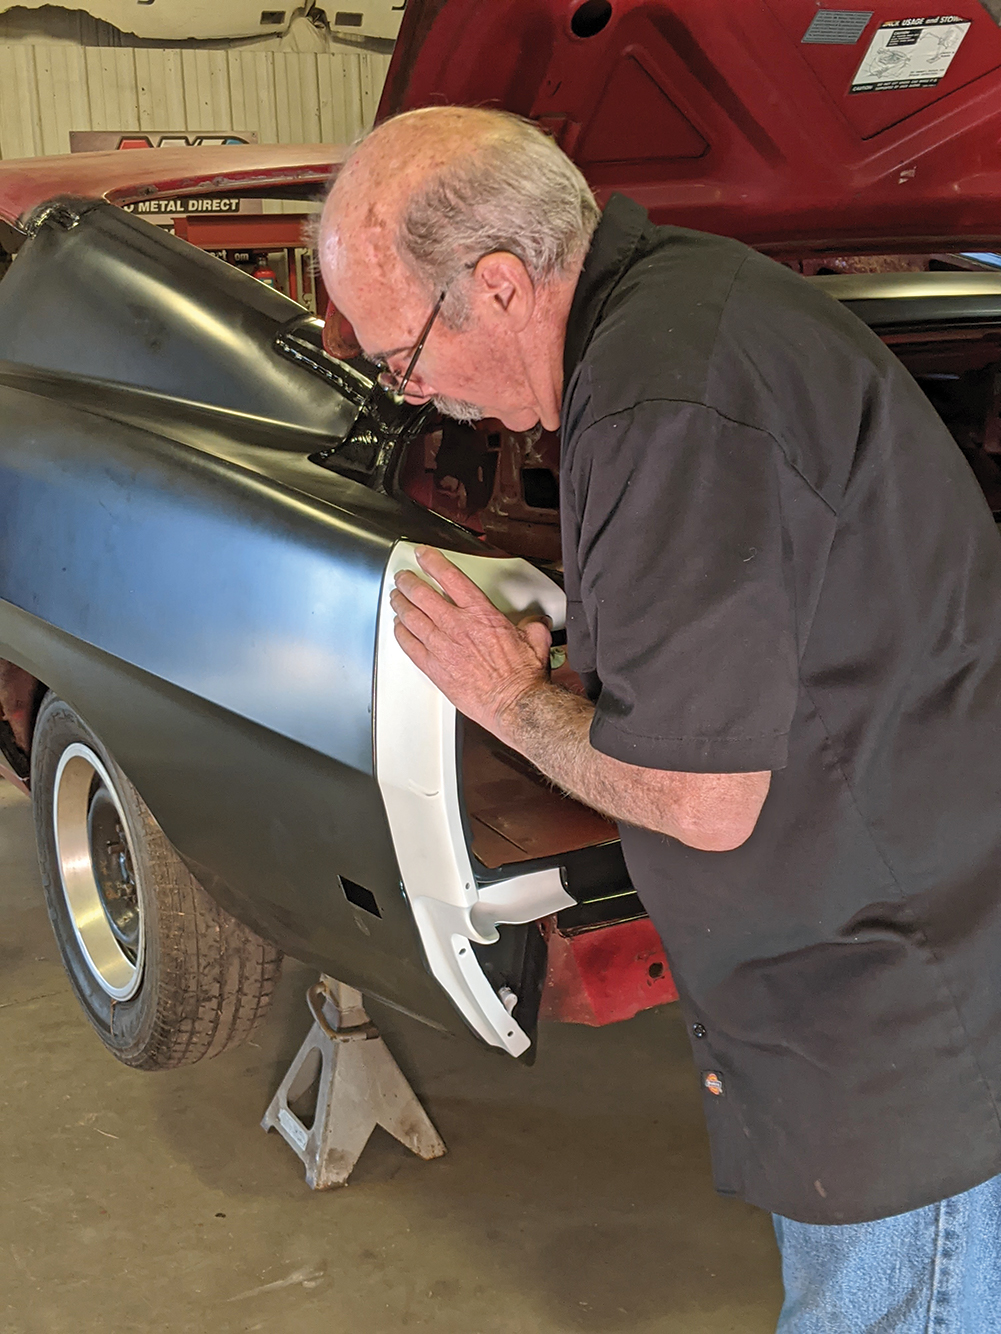
Replacement Sheet Metal Fitment
Fortunately, the AMD panels are known for their shape, size, bends, curves, and body lines that match OE sheet metal and, therefore, fit very well. That still doesn’t mean you won’t be moving panels about to get the fit, including gaps, that you wish.
Follow along with the photos and let’s watch Hopkins and Wesley Kennedy as they go from start to finish to bring back this 1969 Ford Torino Cobra Jet 428 Q-code Sportsroof.


Sources
Auto Metal Direct
(877) 575-3586
autometaldirect.com
The Installation Center
(706) 348-6653
amdinstallation.com


