


Swapping Your Classic Car’s Fuel System to Accept Fuel Injection or Upgrading Your Fuel System is a Worthwhile Project
By Brian Brennan -Photography By the Author
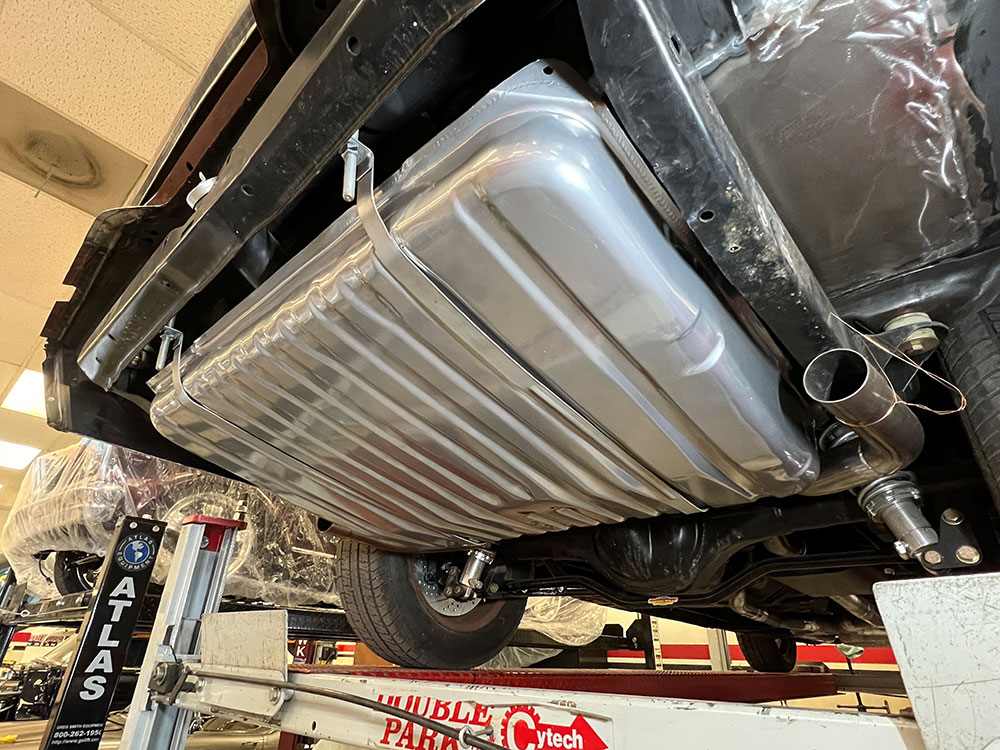
Maintaining a clean fuel system is imperative to keeping your hot rod running. Whether you are looking to clean up your fuel system or upgrade to keep up with an LS swap, this kit will cover you. In our case, we have a 1965 Chevelle in need of a fresh tank and one that will handle the performance demands going forward. (This tank will also work on ’64-67 A-body cars.)
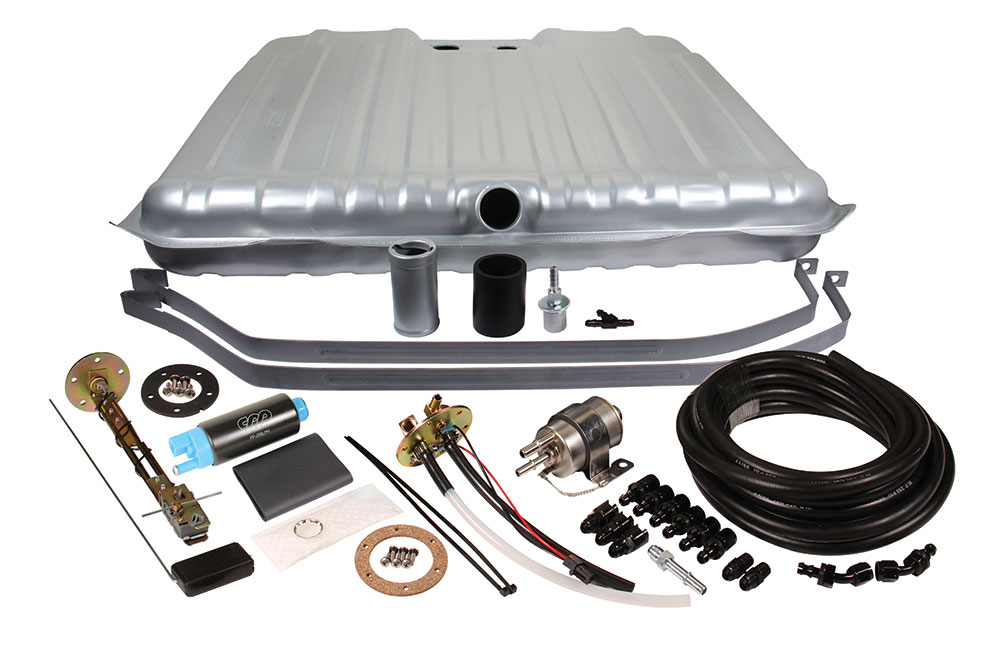
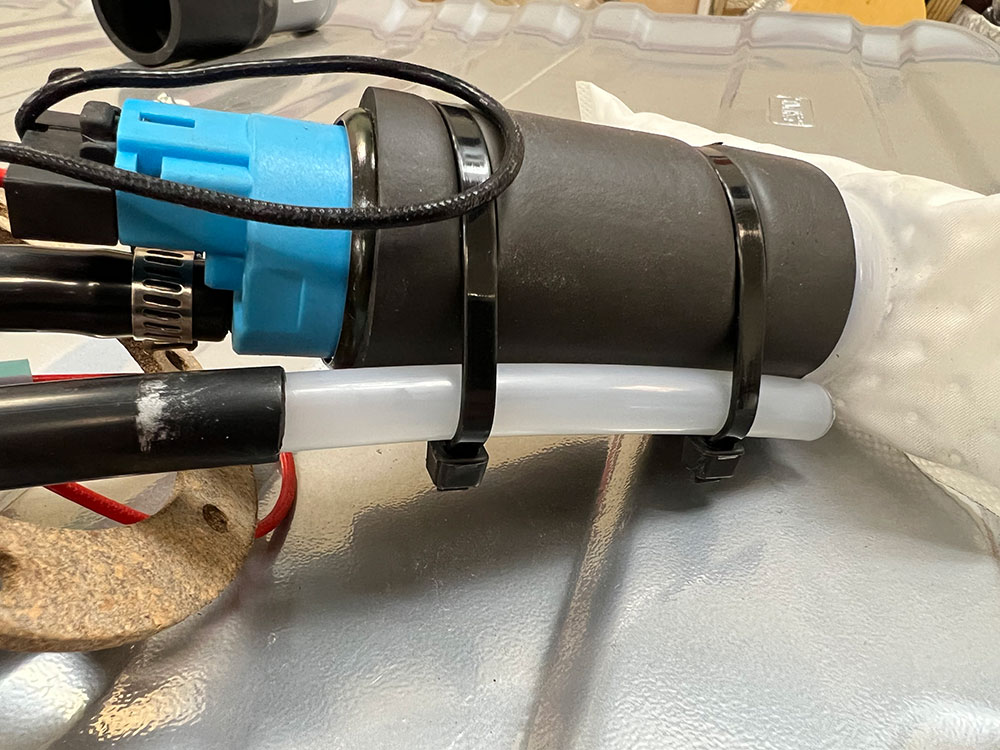
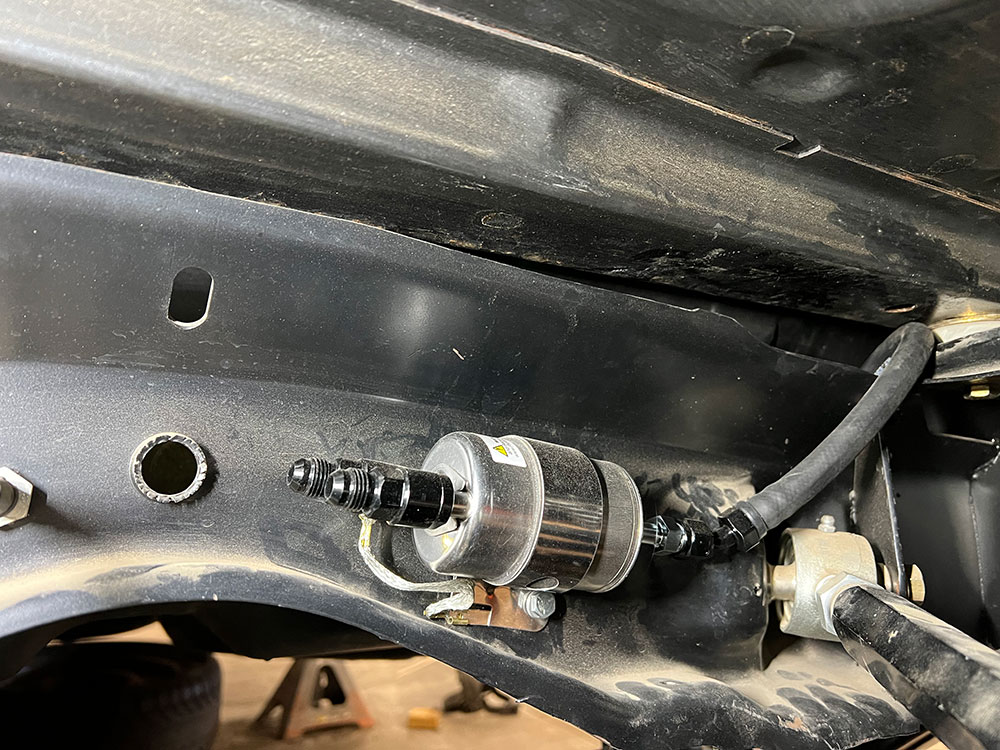
One of the major fuel system components is the gas tank. It’s here we incorporated a Complete Fuel Injection Ready Fuel Tank Kit with a 24-gallon tank (PN MS6467CFIT-K) from Classic Performance Products (CPP) that will be up to the demands of our EFI-equipped motor. The CPP fuel tank kit includes a 255 l/h in-tank pump that supports up to 600 hp. You can also order an optional high-flow fuel pump with the proper installation components ready to handle your higher horsepower needs. Something else to keep in mind as this fuel tank system will work very well with your Chevy small-block or an LS engine. It should also be noted that should you have a carburetor this CPP fuel tank will work just fine. However, to make the system work properly you will need to use a different filter/regulator setup. The main issue here is to regulate the fuel pressure down from approximately 35 psi to something along the lines of 5-7 psi. Additionally, the adjustable-external regulator would be accompanied by a separate inline fuel filter. (Should you be wanting to run one of the LT family of engines there’s a separate system required because of the fuel delivery demands. We will come back and visit this same CPP fuel tank, but this time set up for an LT engine later.) Next stop was onto Hot Rods By Dean to work with Geoff Jones to take care of the installation.
There are four major components to a fuel system responsible for delivering fuel to the engine as needed:
- Fuel Tank,
- Fuel Pump,
- Fuel Filter/Regulator
- Fuel Injectors/Carburetor
Each component must perform flawlessly to achieve expected vehicle performance and reliability. Something to keep in mind. Before installation the fuel tank should be checked for internal cleanliness. It is always a good idea to visually inspect the tank. Since you are starting with a brand-new tank this should be quick and easy. Where we hot rodders get into trouble occurs when we paint or polish the tank before use. Should you do either you need to carefully inspect the inside of the tank for metal debris or anything left over from the painting process.
Why Upgrade Your Fuel Tank?
It’s not as unusual as you may think, this “failure to launch” because of a fouled fuel system. After all the effort, time, and money the last thing you want is to pollute the new EFI with contaminated fuel. Most of us understand that if you take a running hot rod and swap the carb for an EFI the odds are you will need to modify your existing tank, or replace it with an EFI-appropriate tank.
Read More: Back In Style: Chevy Panel Truck
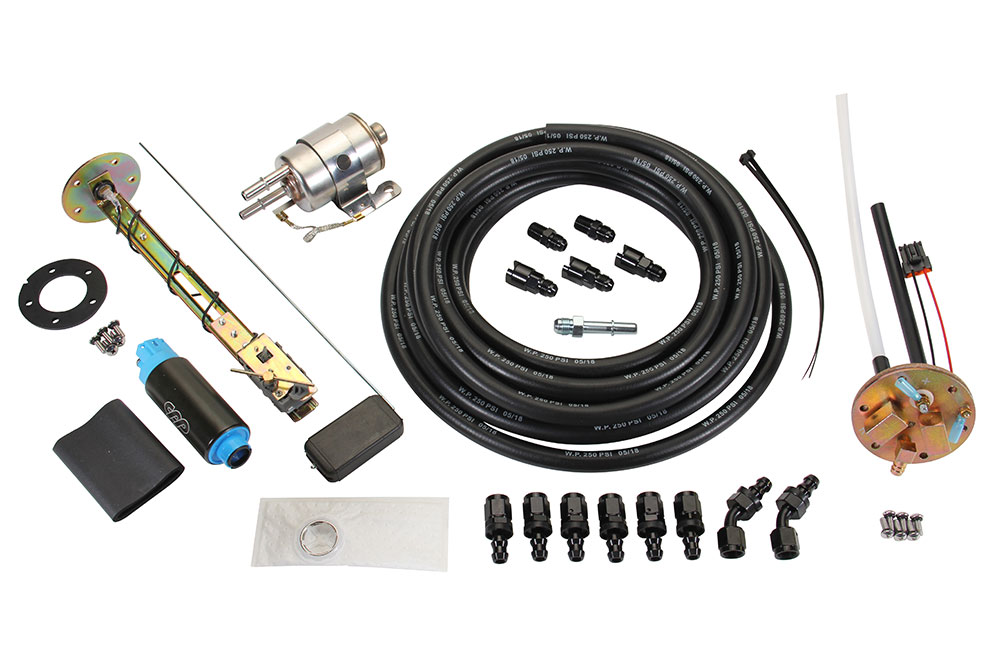
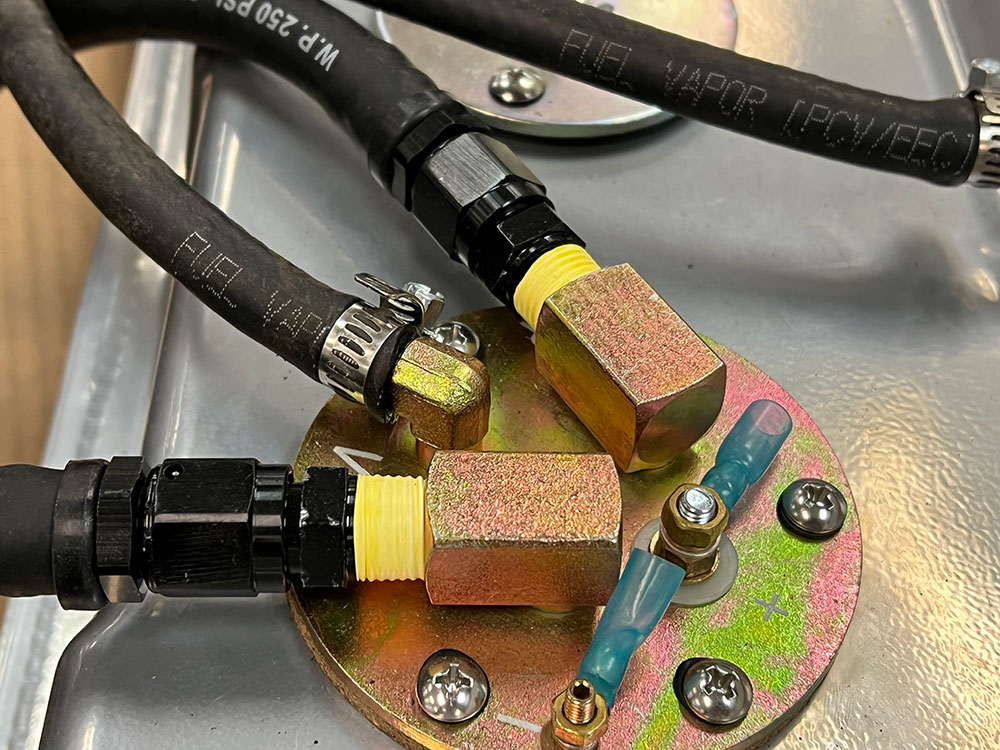
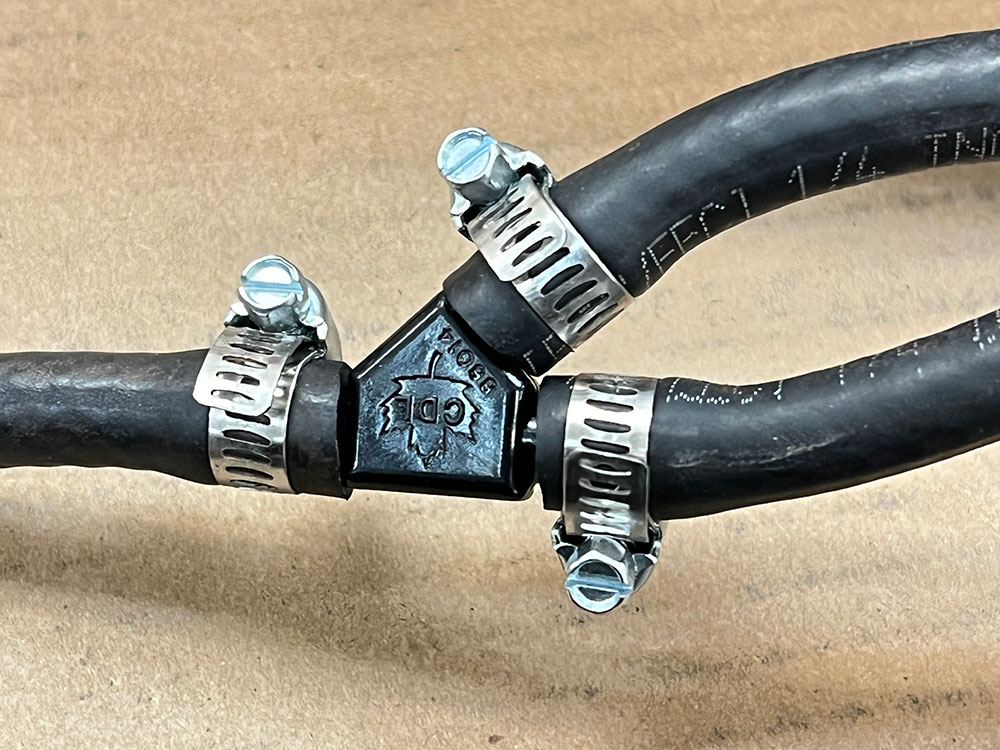
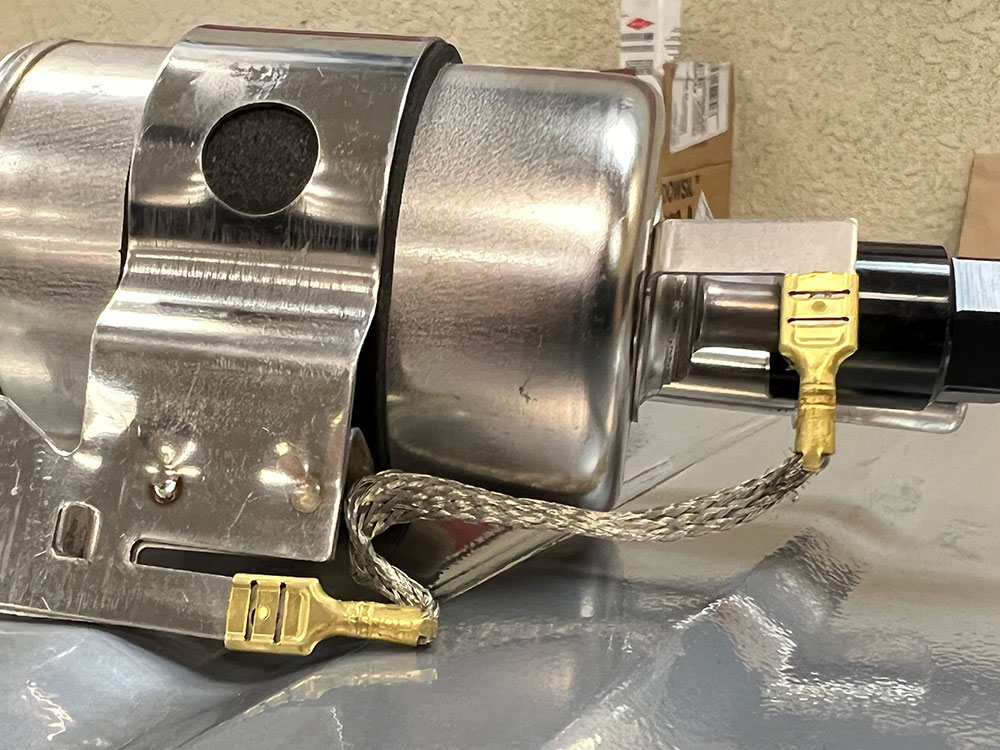
Fuel Filters

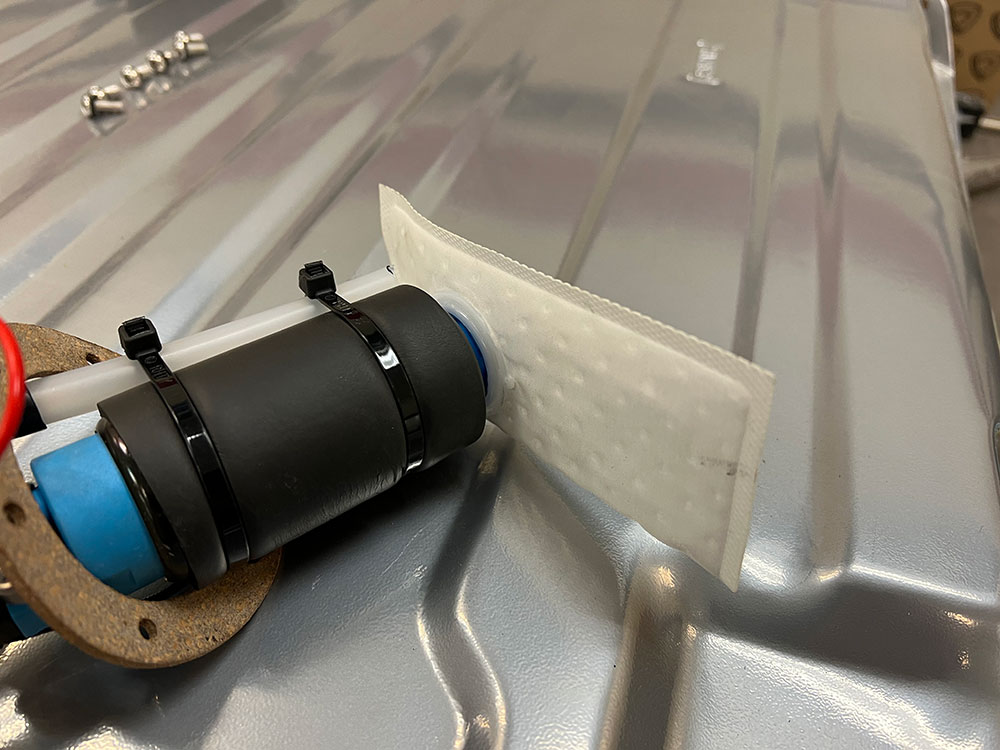
Aside from the tank, get ready to have two fuel filters. One will be in the tank and one will go after the pump and before the EFI. (There are fuel pumps designed to be external, but we have found the internal pumps have advantages, so we went with the internal pump.) Most modern vehicles with fuel-injection systems use filters rated between 10 and 30 microns.
How Big is a Micron?
Very fine sand is 62 microns (0.0025 inch). If you have a coffee maker, think of its paper filter, it’s approximately 20 microns. This may vary but you get the idea. Typically, an in-tank filter (before the pump) should be in the range of 25 to 400 microns. This filter is protecting the pump from damage. Next up is the final filter (after the pump), which is 1 to 40 microns. (If you have a high-performance EFI system you may be looking at filters that are capable of 10 microns or finer filters.
Fuel Tank Pre-Installation

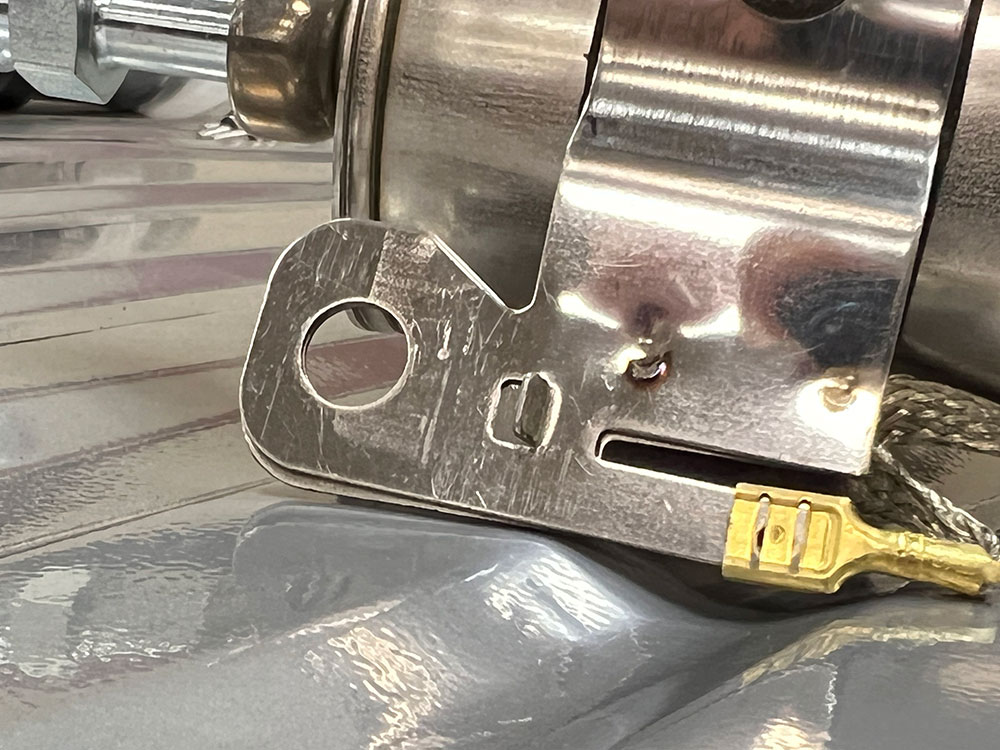
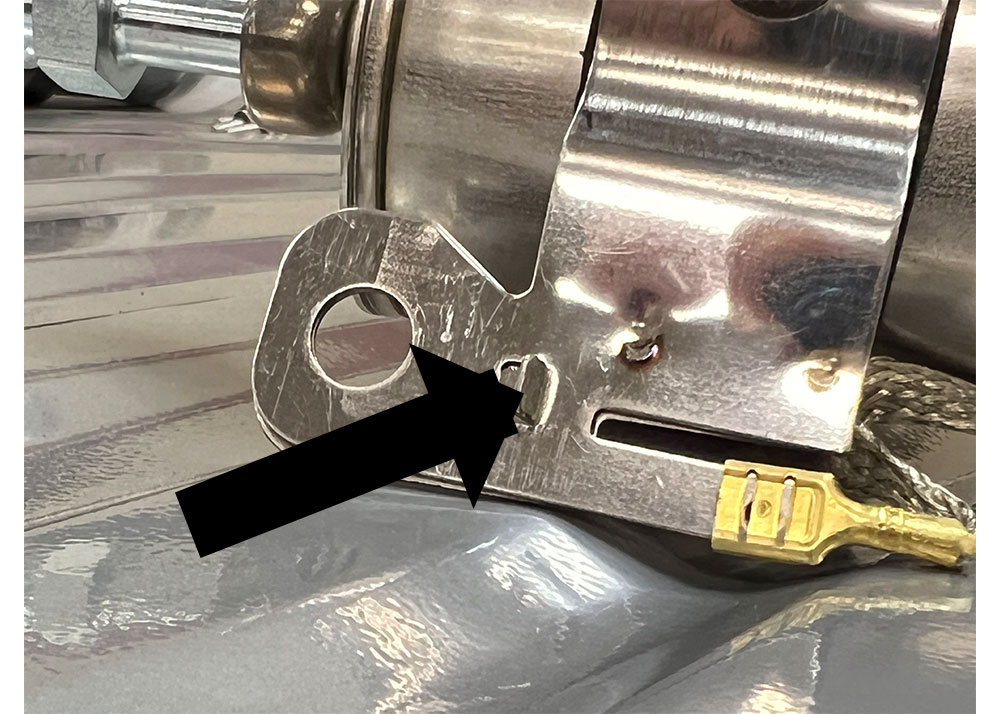
You will want to test-fit your CPP fuel-injection ready tank; make sure it is properly grounded to the frame and be prepared to install an inline fuel filter/regulator. Once the installation is complete keep in mind not to overfill the tank. You will want to leave room for fuel to expand when it warms up via raised ambient air temperature.
Check Out: Junkyard LS Sensors and Wiring Harness Install
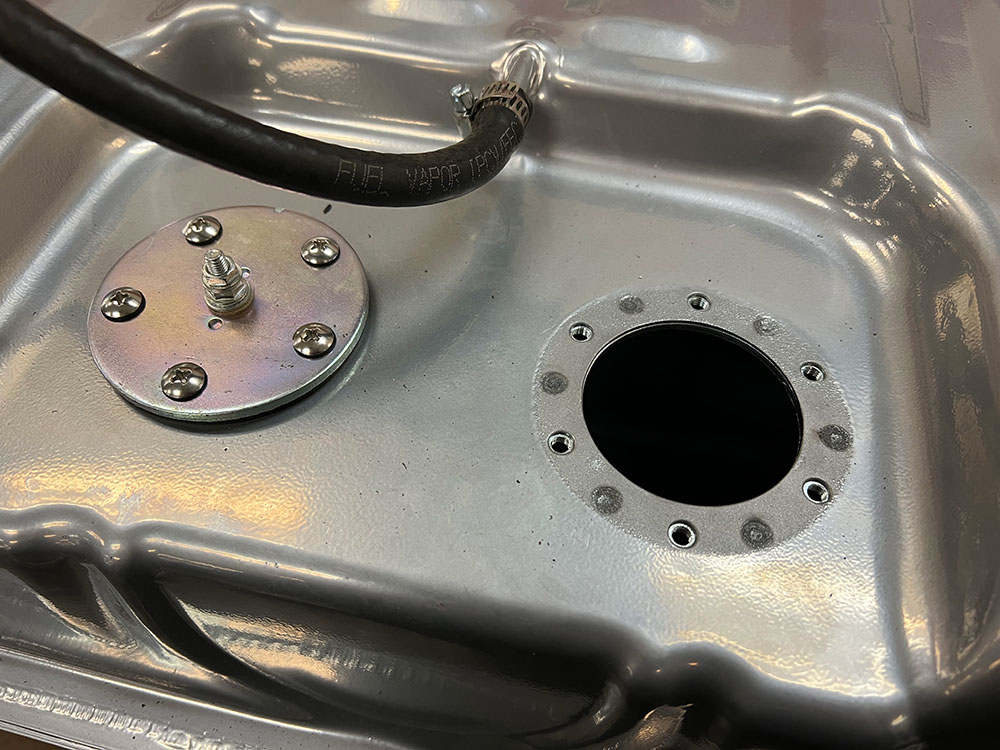
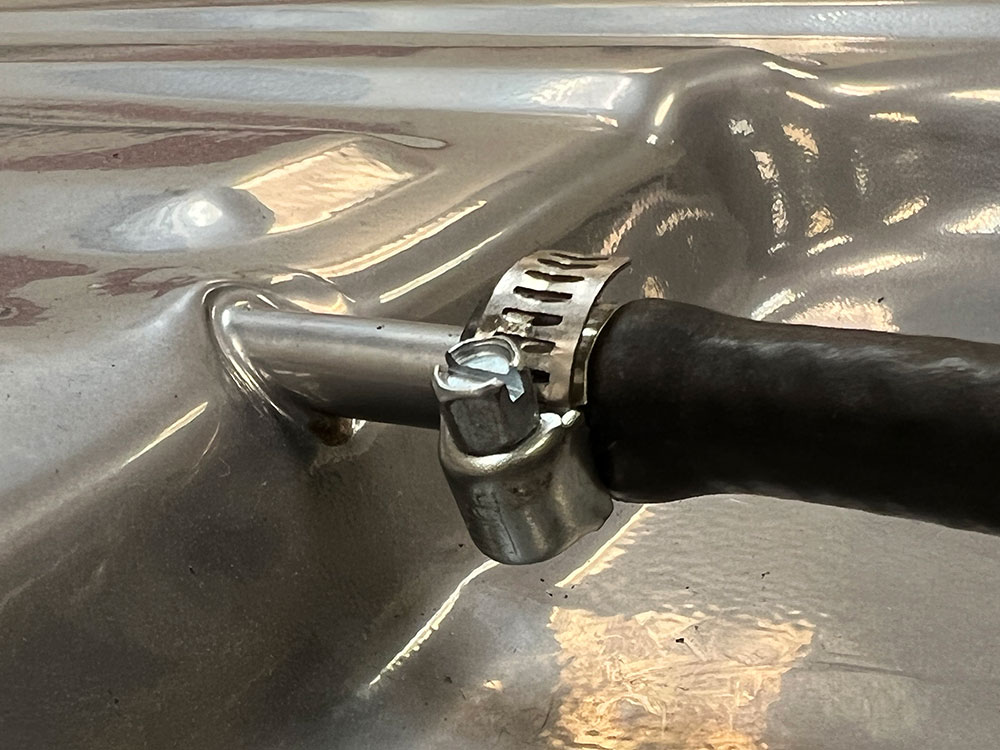
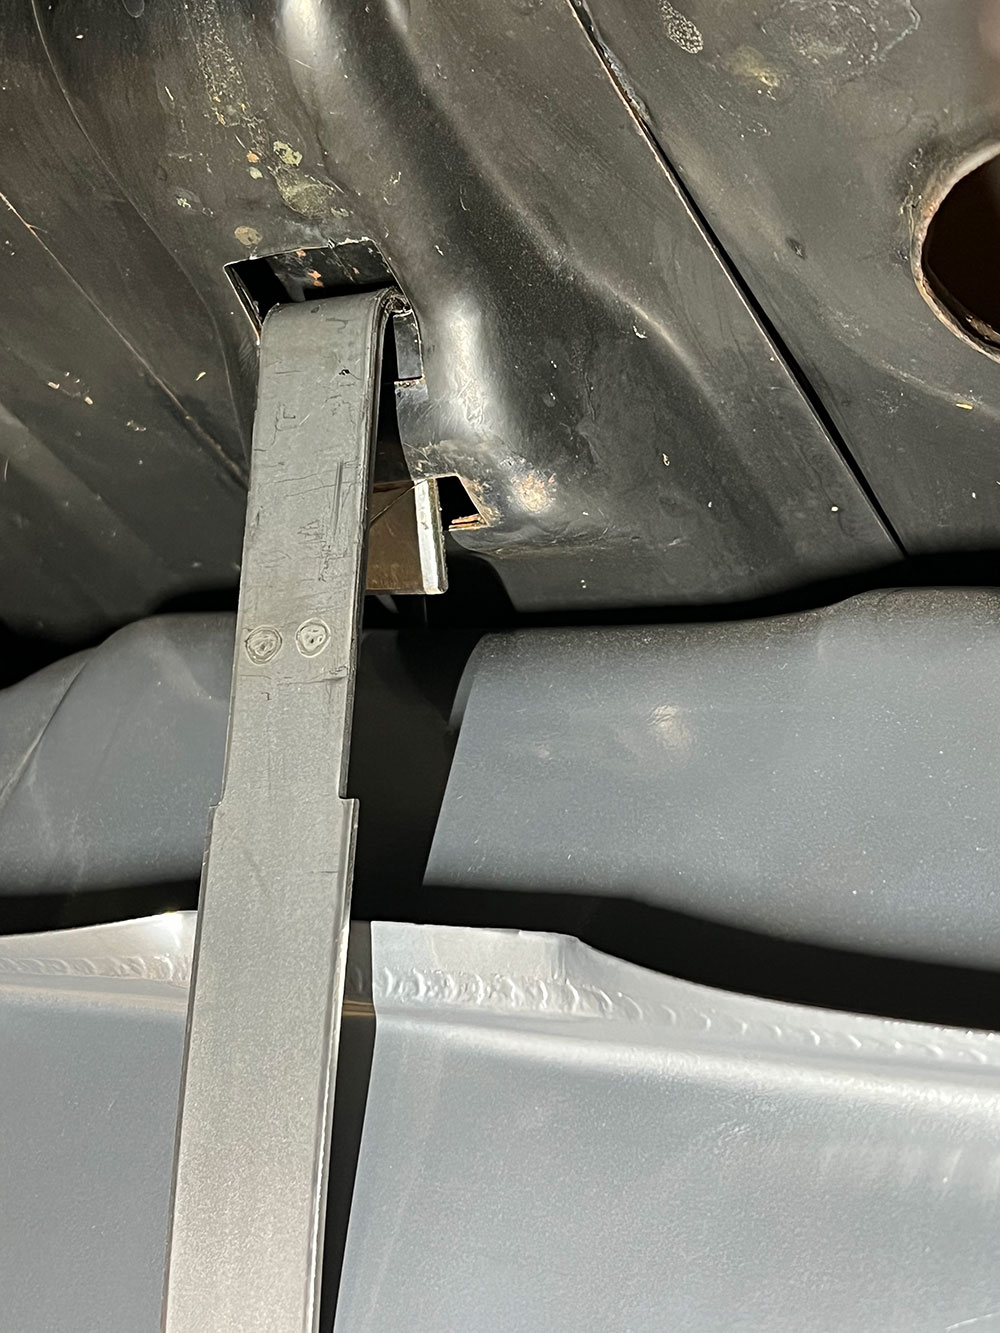
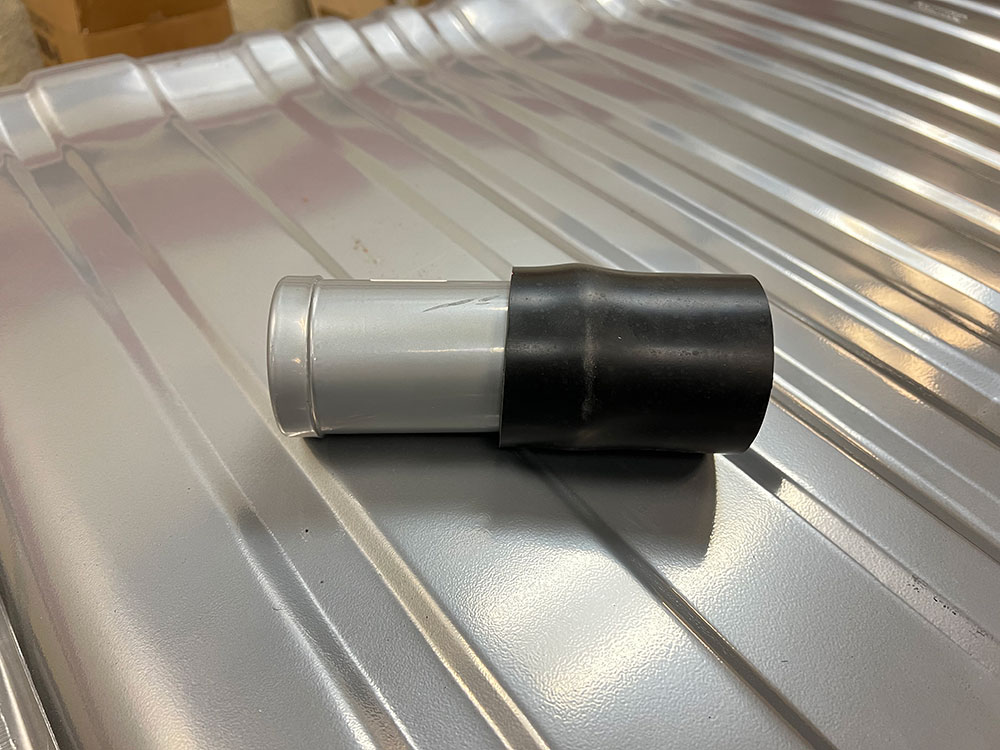
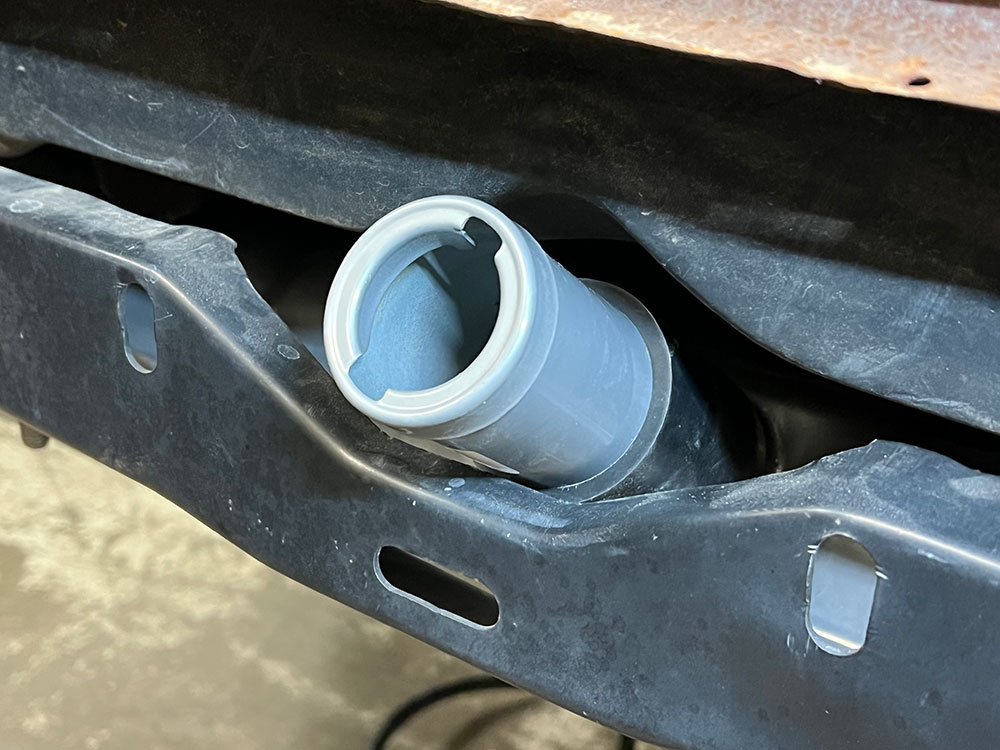
Should you be using a non-vented cap, as we did, you will need a vent on your tank or filler neck. In our case, the vent is in the tank. The vent should be as high as the highest point on the tank, which includes the filler neck. Make sure there are no dips in the vent line, otherwise you have introduced the possibility of trapping fuel or condensation.
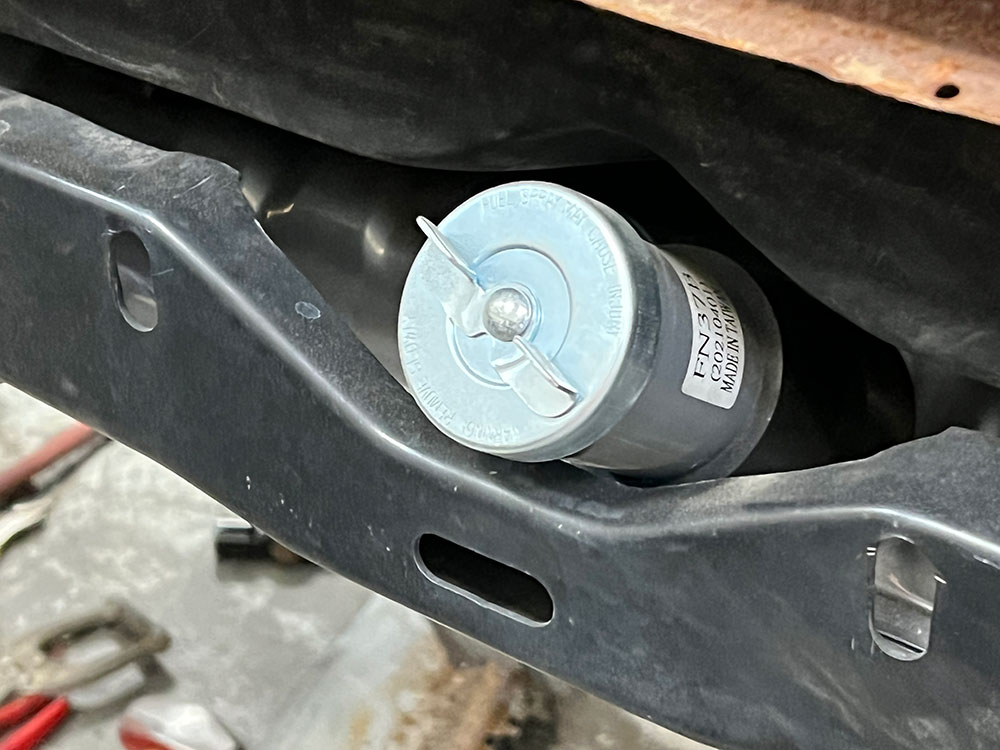
Vent Valve
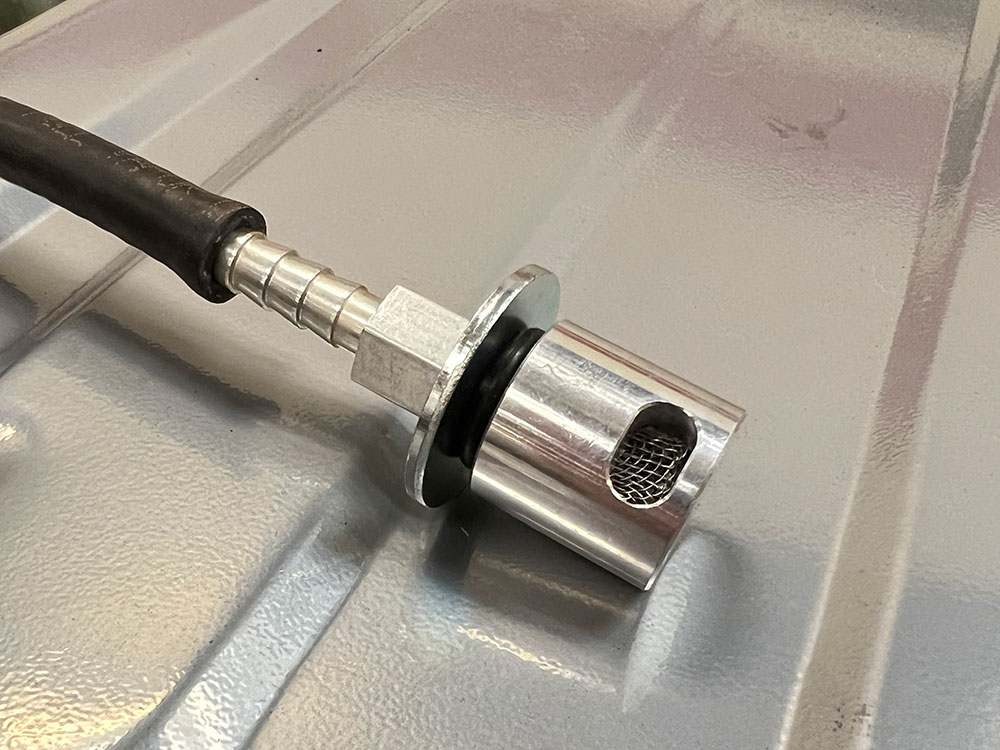
Part of the CPP kit is a remote-mount rollover vent valve, which performs two vital functions. As part of the gas tank’s vent system, it will allow the gas tank to breathe and not build up pressure or vacuum during operation. The second, and arguably a more important function, is to prevent gasoline from flowing onto the ground from the tank resulting from a rollover incident. A check ball inside the valve will close to prevent gas from running out. Note there are two types of rollover valves: in-tank and remote. The remote-mount rollover style is provided with the CPP fuel system kit. It comes with a screen to assist in keeping out contaminates from your line and tank. It should be noted that not all rollover vent valves come with this feature.
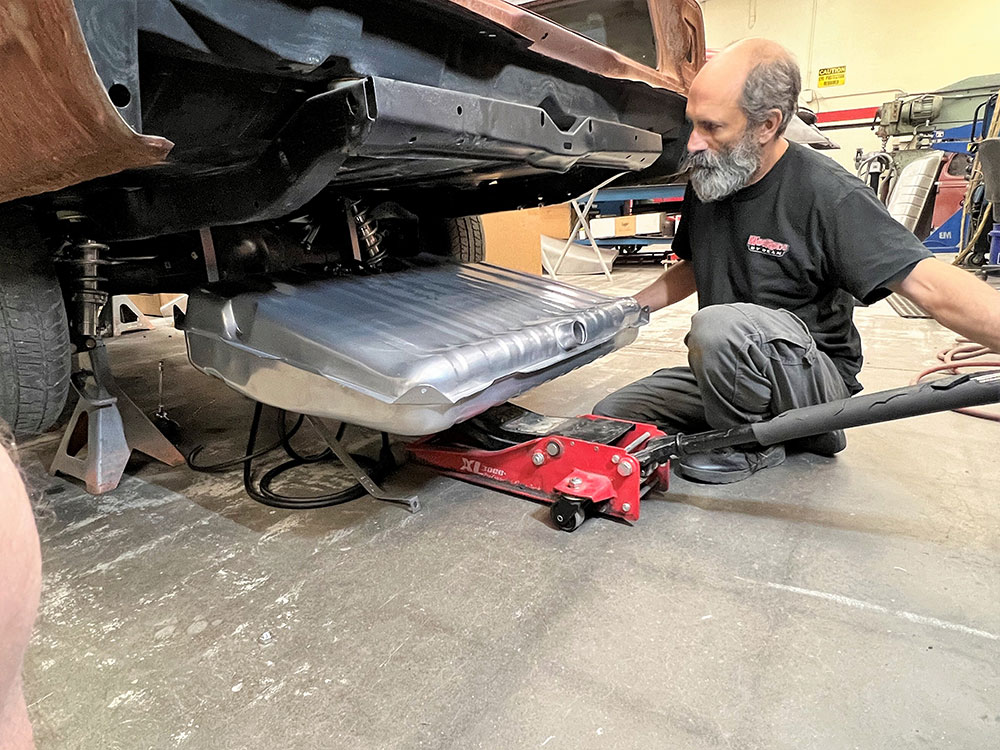
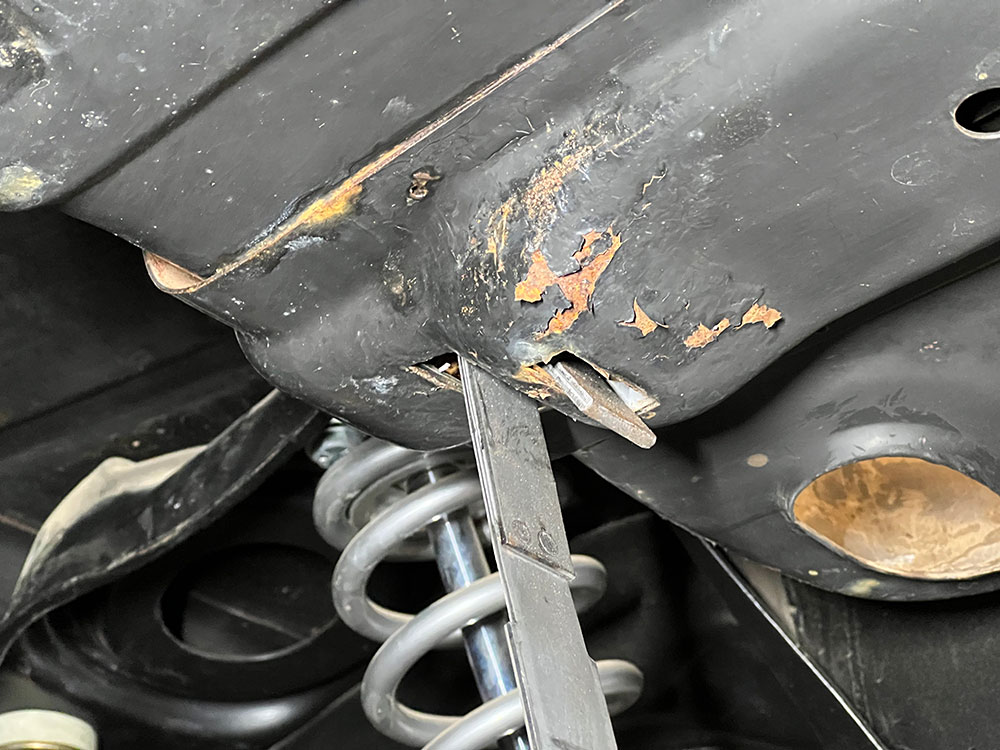
Fuel Tank Installation
As for the actual installation of the tank itself it’s quite simple. The factory tank and your replacement tank should mirror each other’s installation. You will find two tank straps provided in the kit, as they are longer than the stock straps. You can use the gas tank’s original hardware to hold the new longer straps in position. (El Caminos can maintain the use of the original factory straps.)
Fuel Gauge
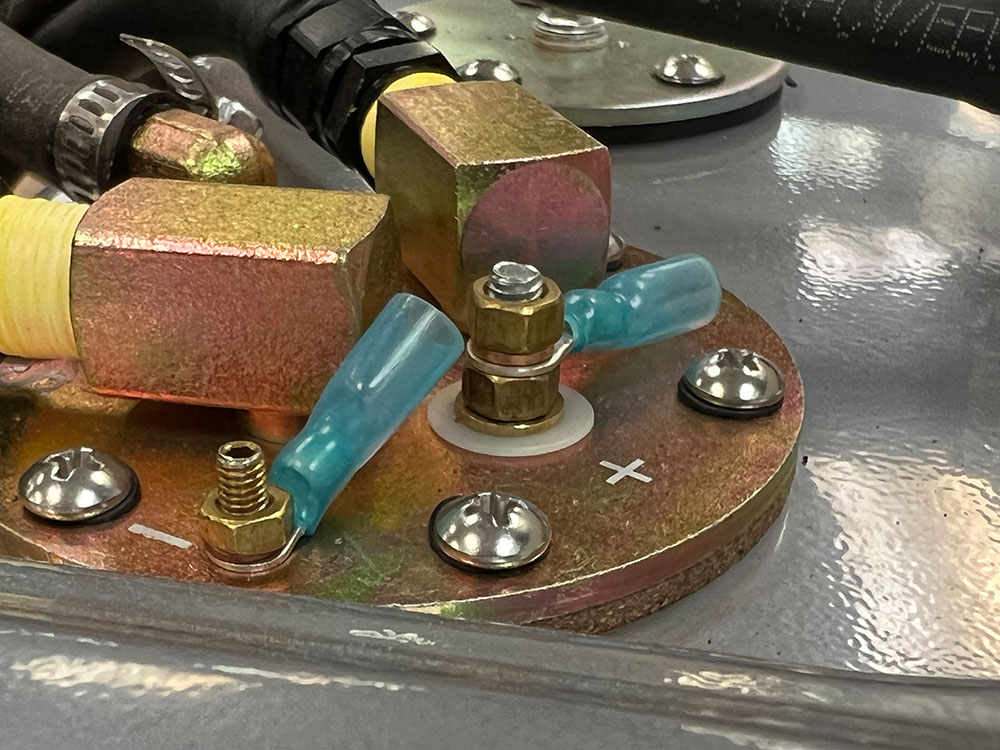
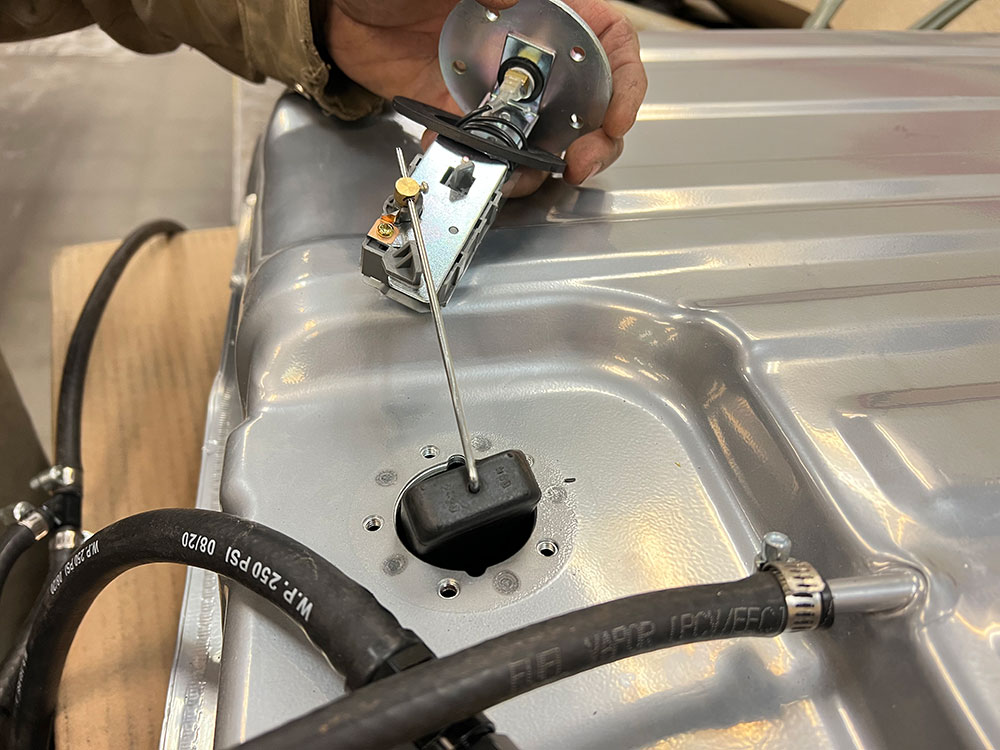
As an aside you will want to note the ohm reading of your gas gauge. For instance, should your gauge be stock, such as our ’65 Chevelle, we ordered the CPP VSU-3 sending unit that handles 0-30 ohm. (If you have a ’65 Chevy factory gauge you will need to check. This-year-only gas gauges came with either 0-30 or 0-90 ohm. Clearly a production change at some point during the year.) If you were to have an aftermarket gas gauge such as a set of Classic Instruments standard round universal gauges, then you would order a CPP VSU-240 that handles 240-330 ohm reading. FYI on stock gauges: GM ’64 and earlier the reading would be 0-30 ohm; in 1966 and later the reading would be 0-90 ohm. Ford 1987 and later gauges would be 16-158 ohms; Ford 1986 and earlier would be 73-10 ohms.
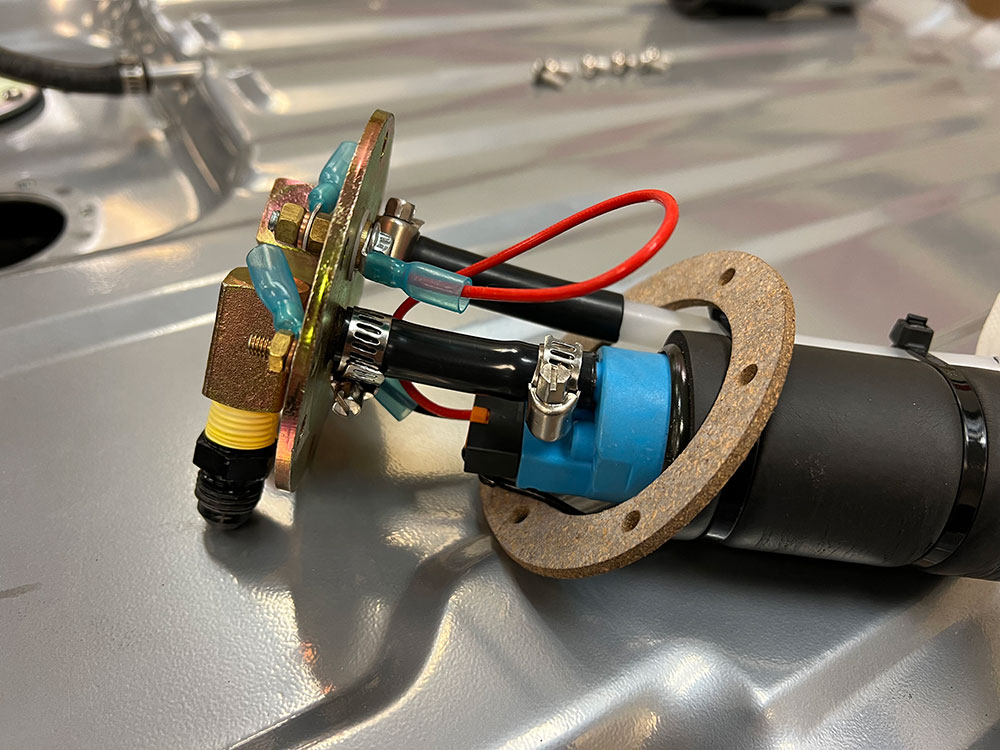
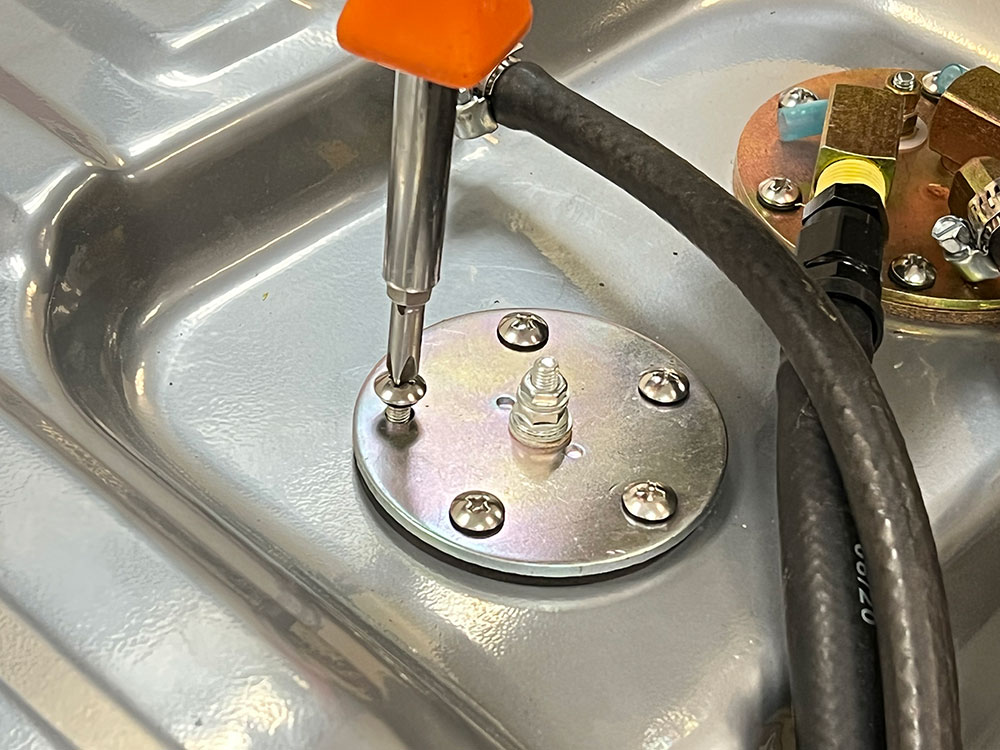
Sending Unit
You will always want to test your sending unit before tank/sending unit installation to make sure it correctly corresponds with your gas gauge. Make sure to follow the CPP directions closely when setting up the in-tank fuel pump assembly.
View: The Metalwork Behind The GNRS 2022 Al Slonaker Award Winning Highboy Coupe
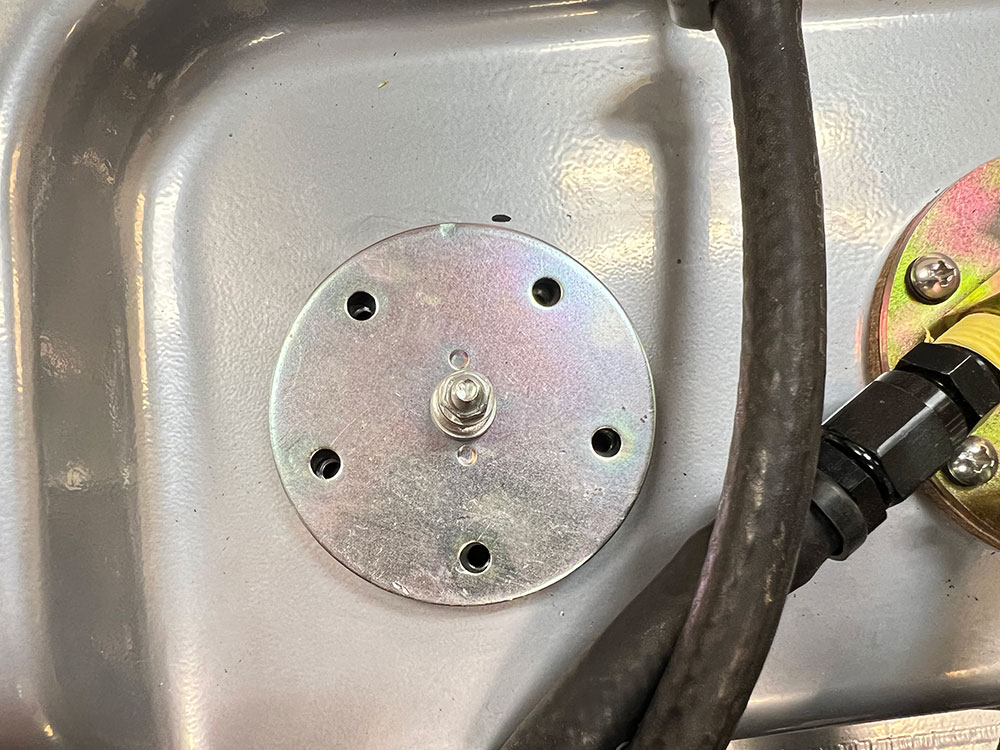
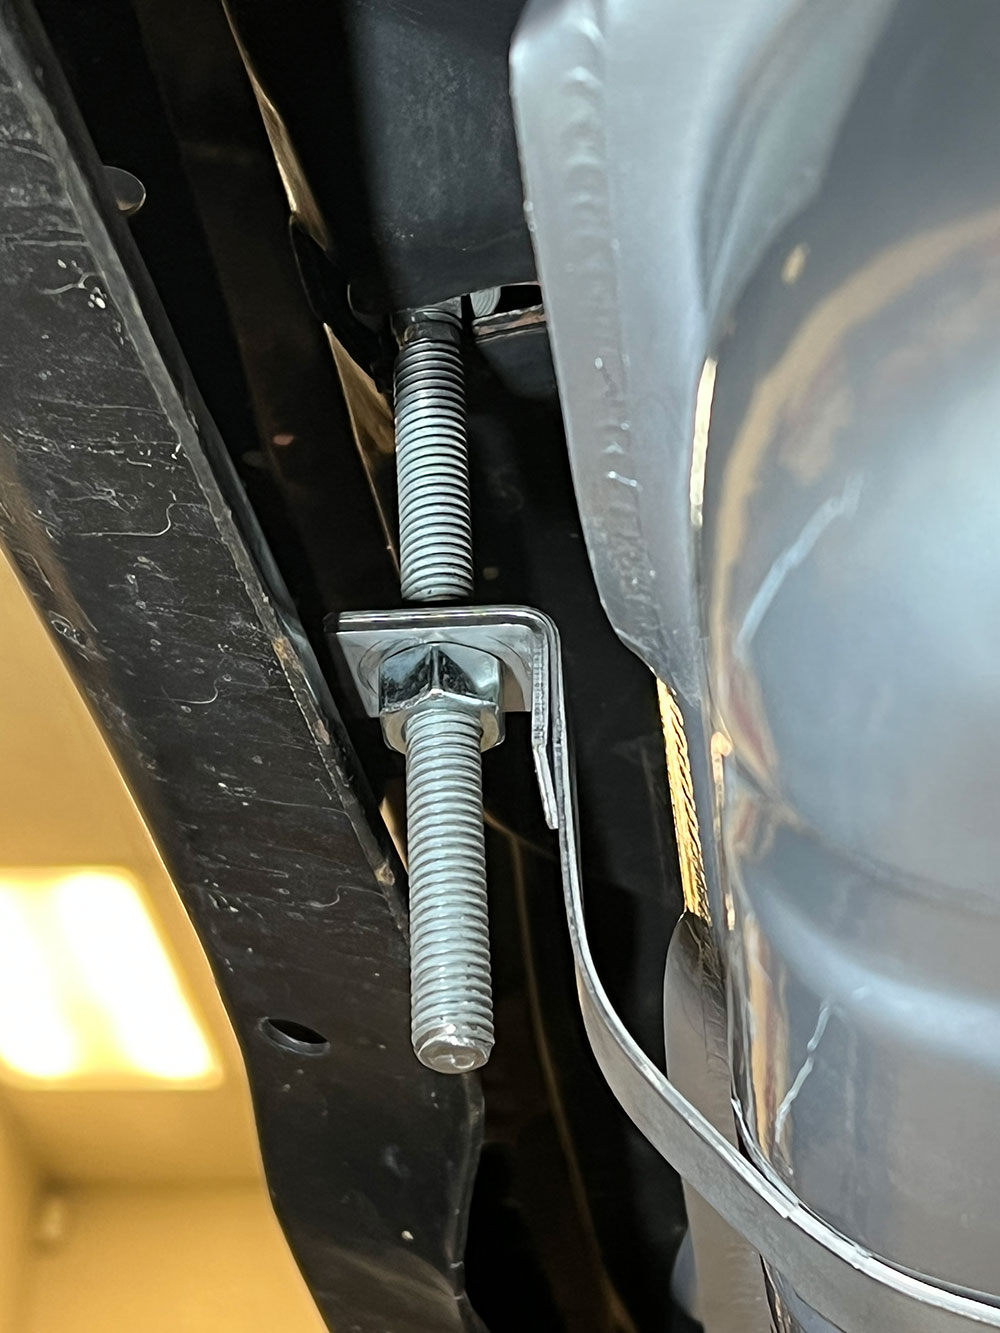
The tank itself is mounted via the two lengthened straps. The kit comes with all the necessary hardware and components, such as the fuel pump and both in-tank and external fuel filter/regulator. There is ample hose (intended to be used with today’s gasoline) and push-to-lock line fittings, remote rollover valve, the filler neck, and gas gauge sending unit. When mounting the remote rollover valve make sure that it is mounted to the frame or bracket that places it higher than the top of the tank. The tank should also be mounted vertical to the rollover valve.
Follow along with our Project 1965 Chevelle and see how easy it is to install the CPP Complete Fuel Injection-Ready Tank Kit. This 24-gallon tank will match up well with the demands of our Chevelle going forward. Stay tuned, there is lots more to do on our Chevelle. MR

Sources
Classic Performance Products
(714) 522-2000
classicperform.com
Hot Rods by Dean
(623) 581-1932
hotrodsbydean.com


