The All American Billet Chevy LS Serpentine kit includes everything necessary for an easy, drama-free installation, including all the hardware and easy-to-follow, detailed, step-by-step instructions.
All American Billet’s LS Drive System Turns Ordinary into Extraordinary
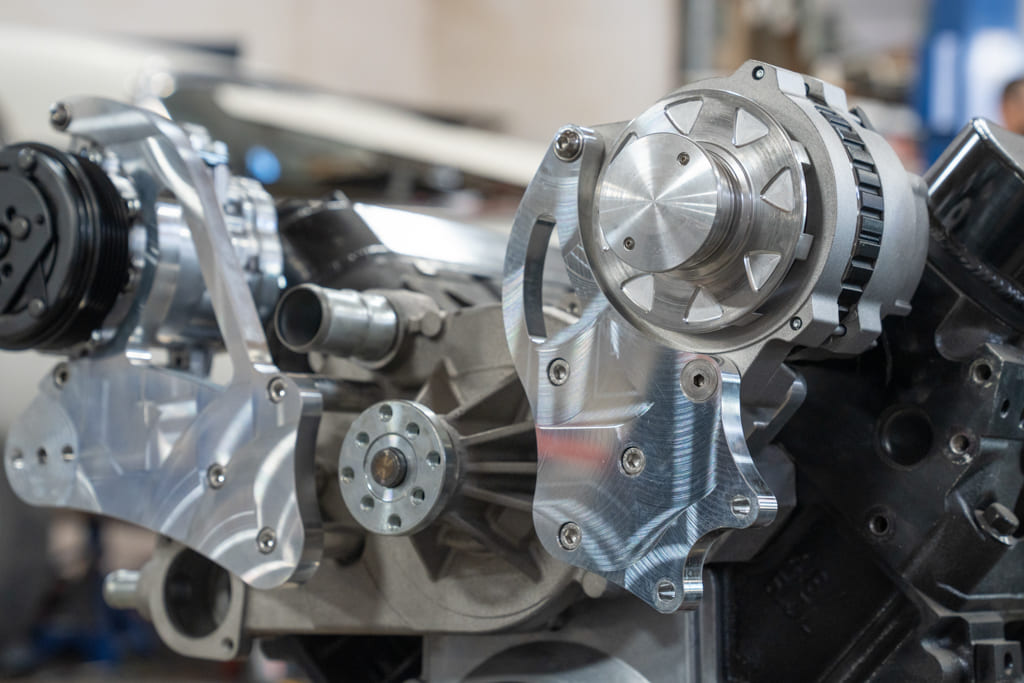
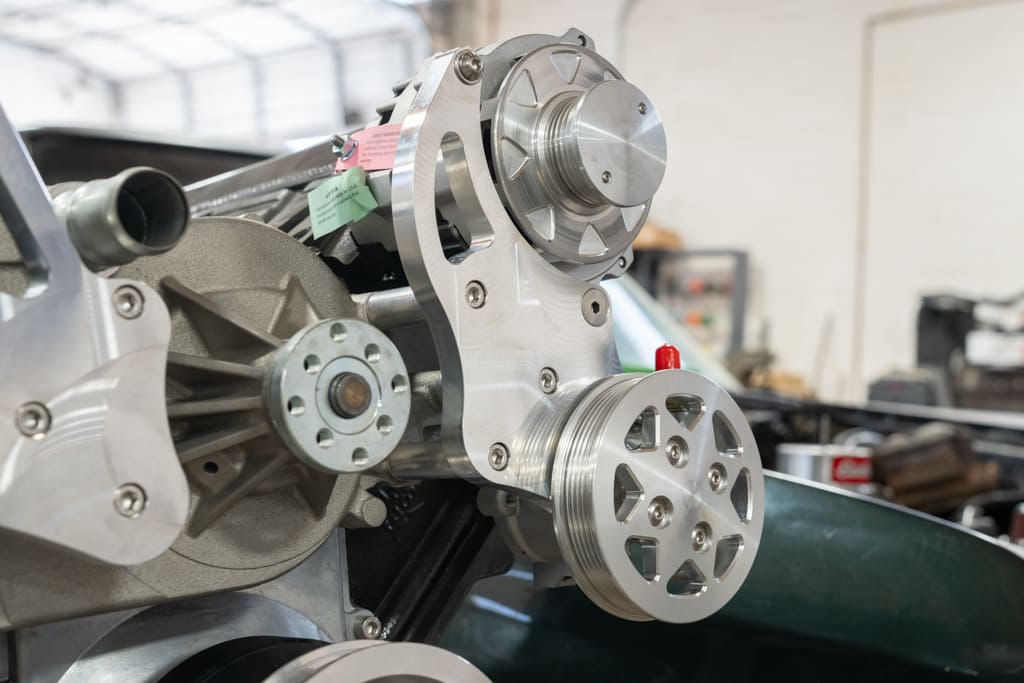
Aftermarket LS accessory drive systems are nothing new, but they play an important role in making our engines look better and perform better, especially when increased horsepower is part of the equation. No doubt we all want our engines to look as good as possible and the fine folks at All American Billet offer front drive system kits for a variety of engines, but for this article we’ll be focusing on their billet serpentine system for LS Gen III- and Gen IV-style engines. While All American Billet offers machined, black anodized, and Silverline Series, this particular system is the polished kit for those wanting to liven up the front end of their LS engine with a little pizazz.
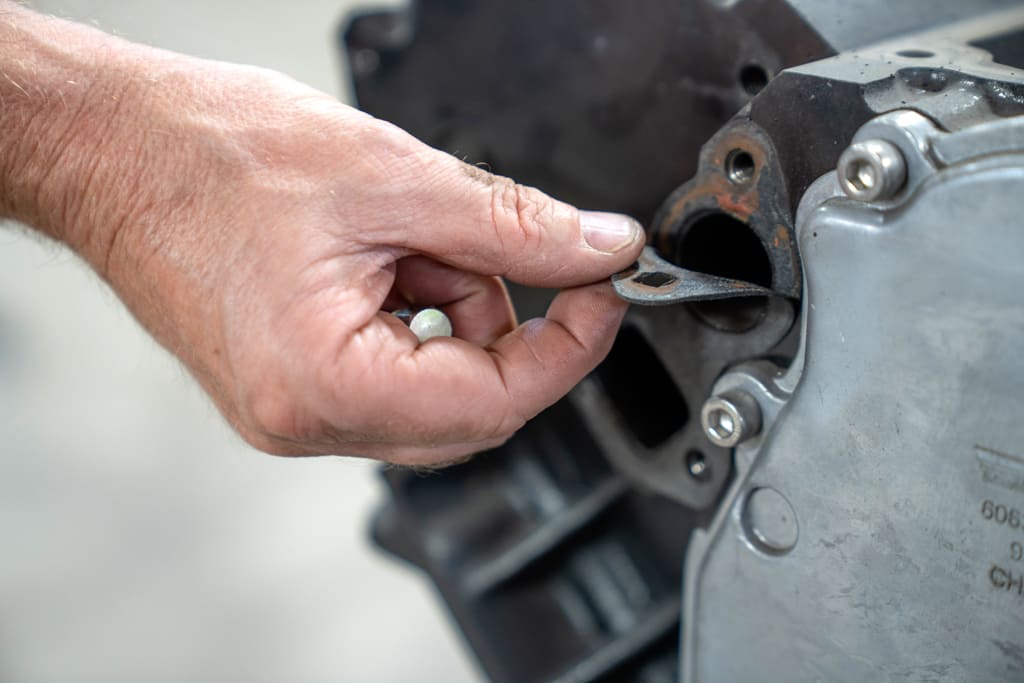
Prior to getting started, remove all old gaskets and be sure to clean the entire mating surface with a gasket scraper and brake cleaner to ensure the new gasket will seal properly.
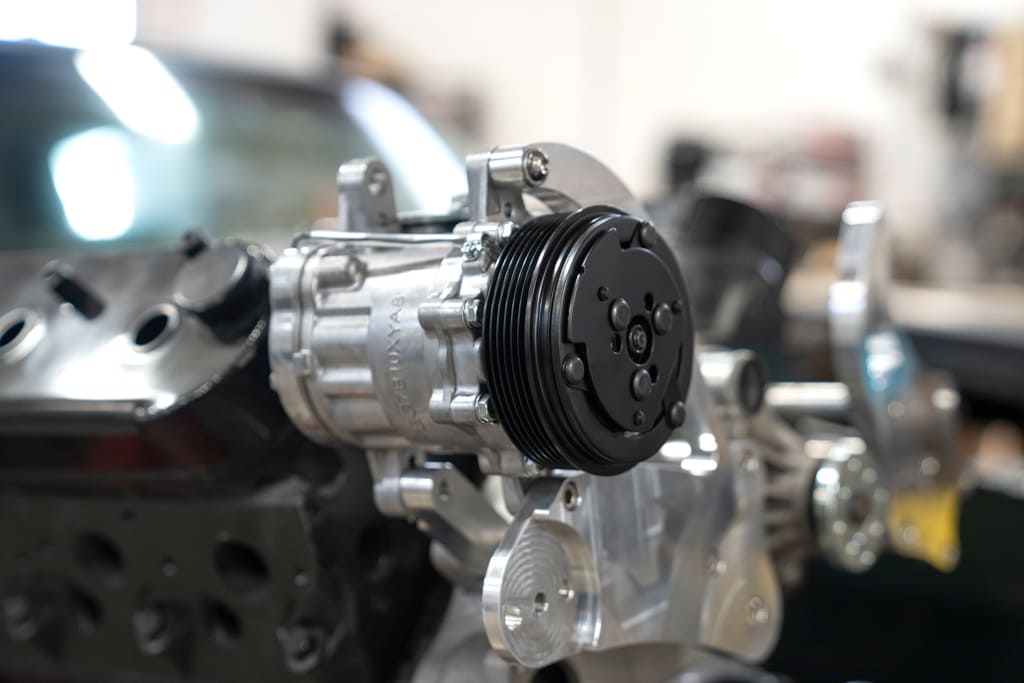
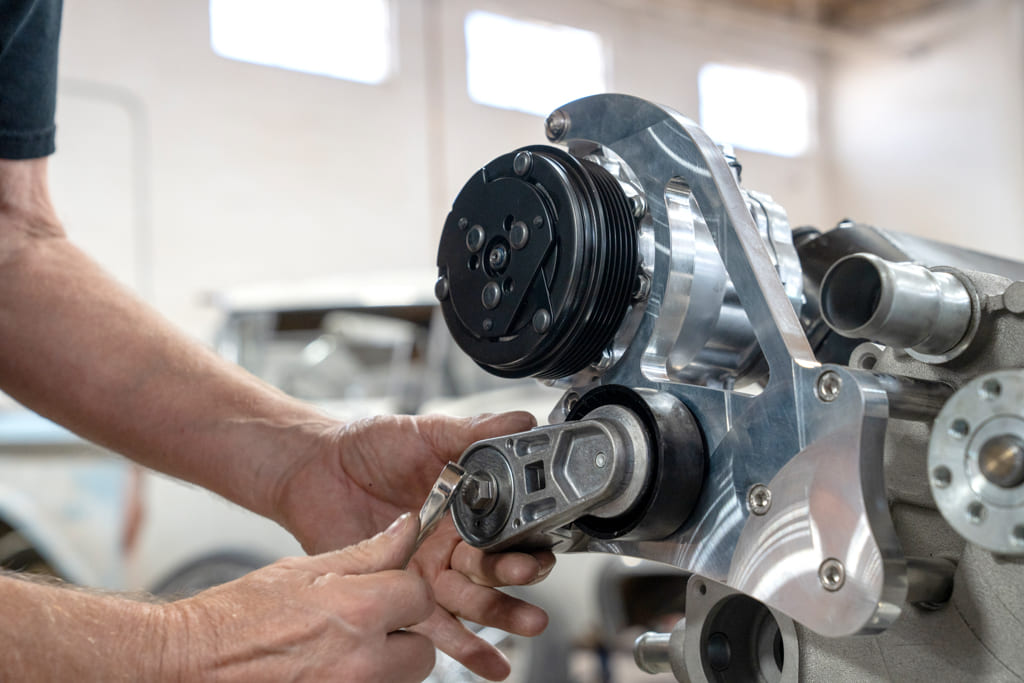
While it looks 100 percent more attractive than the stock GM system, the six-rib Gates belt system offers the ability to handle that extra horsepower you’ve added without belt slippage that is common with high-performance engines.
As mentioned, American Billet offers systems for Chevy small- and big-block as well as systems for Ford and Chrysler engines. With a variety of finishes, there’s sure to be something to fit the style you are after for your ride.
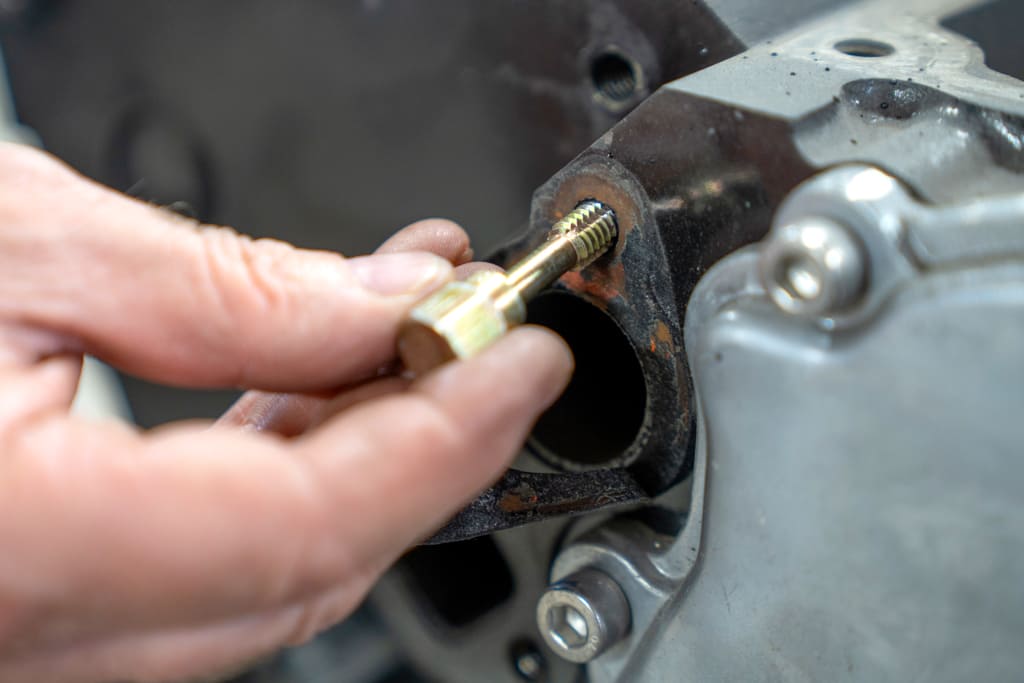
It’s a good idea to chase all forward-facing mounting holes with a thread chaser to clean out any old sealant or debris.
The All American Billet LS Serpentine Kit comes with all the necessary hardware and detailed instructions for a drama-free installation. All you need is some basic mechanical skills, a decent set of tools, a free afternoon, and good buddy to lend a hand when needed.
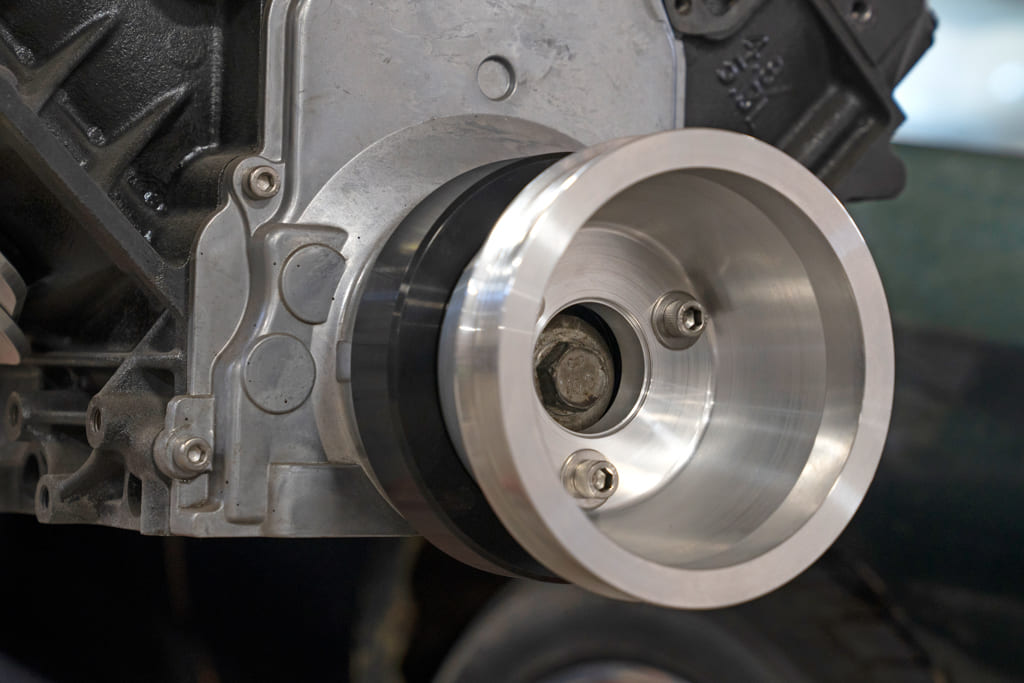
To get started, install the new supplied damper on the crank snout as far as possible and make sure it’s square to the front cover of the engine.
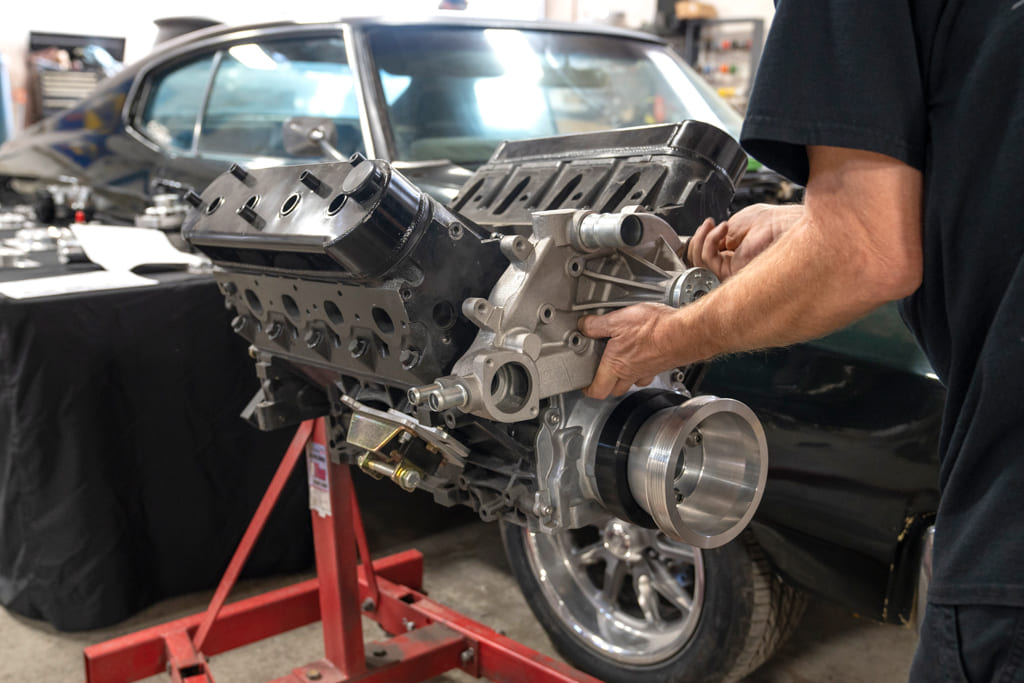
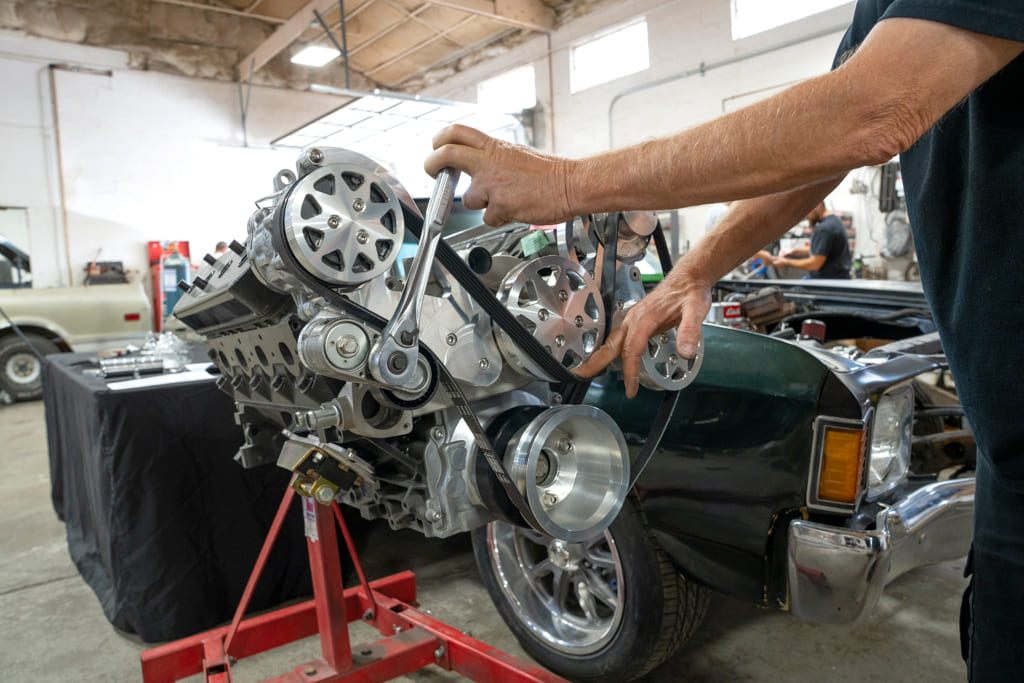
For visual clarity, we’ll be performing the install with our LS on an engine stand, but this can be done with your engine bolted in your engine bay, too. Follow along as we illustrate how to bump up the looks and performance of your LS engine in just a few hours. Remember to follow the included highly detailed instructions to make sure your installation goes exactly as planned.
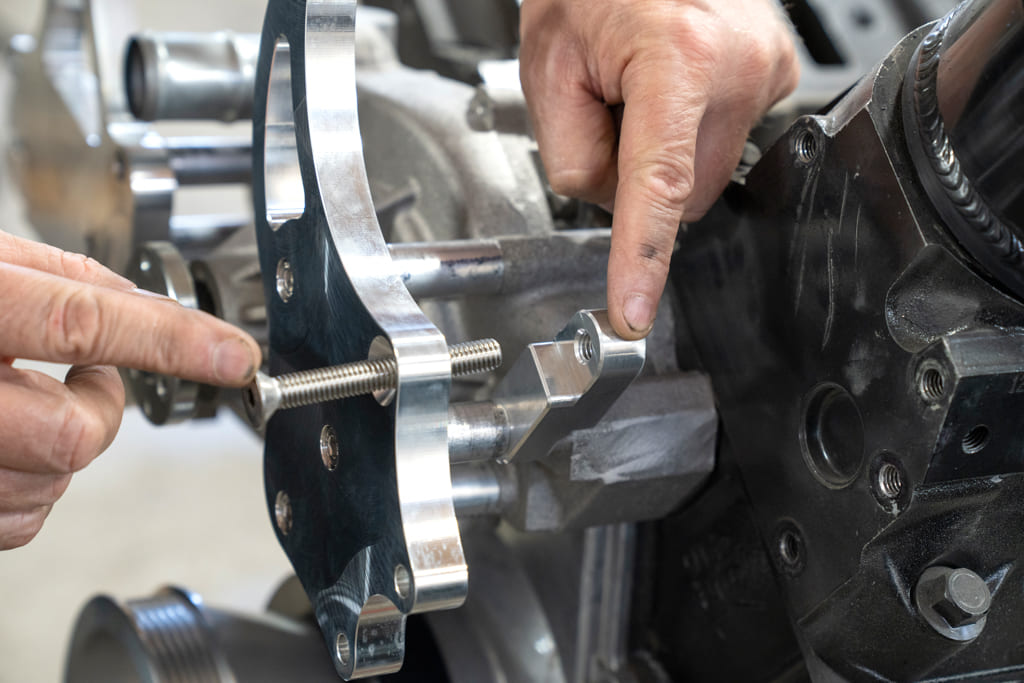
Next up is to fully seat the balancer onto the crankshaft snout using the proper installation tool. Install the old balancer bolt and tighten to 240 lb-ft.We then installed the new crankshaft pulley using a 5/16-inch Allen wrench, supplied socket head, capscrews, and washers.Prior to installing the new water pump, we cleaned the surface with a scraper and brake cleaner.Mount the water pump using the supplied bolts through two of the driver side water pump mounting holes. At this point, you’ll finger tighten only. Trust us on this, we’ve done it the wrong way before … once.Use the supplied Allen bolts to install the rear A/C bracket to the water pump. Once again, these will be just finger tightened for now. Then mount the passenger side main bracket using the supplied 2.25-inch spacer and bolts through the water pump. Use a little antiseize on all the threads and tighten just enough to hold in place.
Remove the two temporary bolts from the driver side of the water pump, then use two of the 2.25-inch spacers and bolts through the driver side bracket and water pump. Once again, use some antiseize on the threads and tighten enough to hold in place.
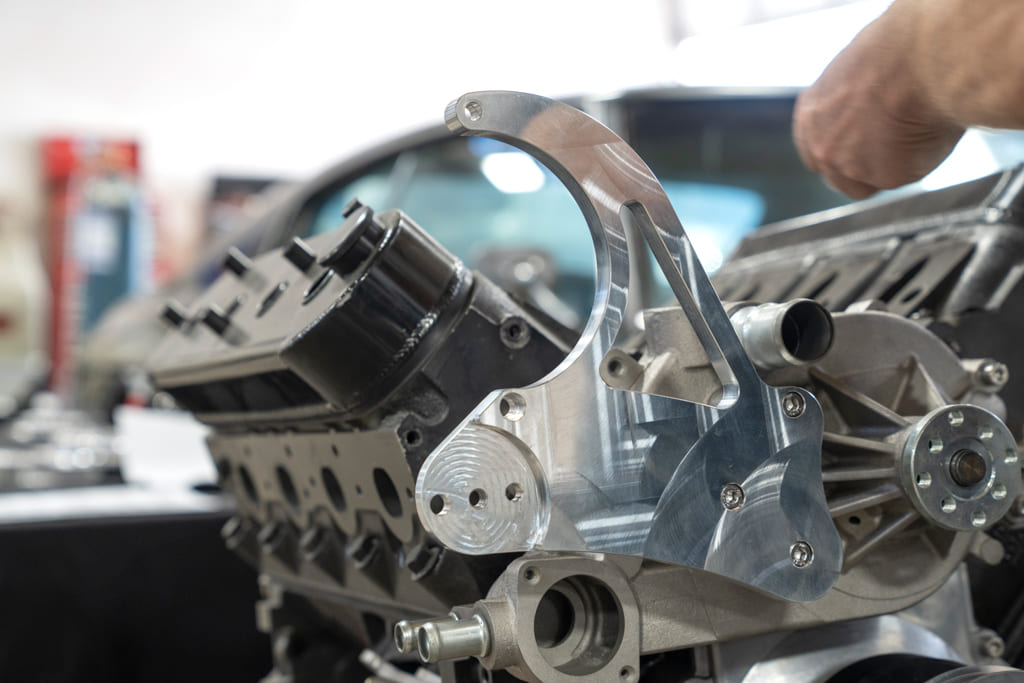
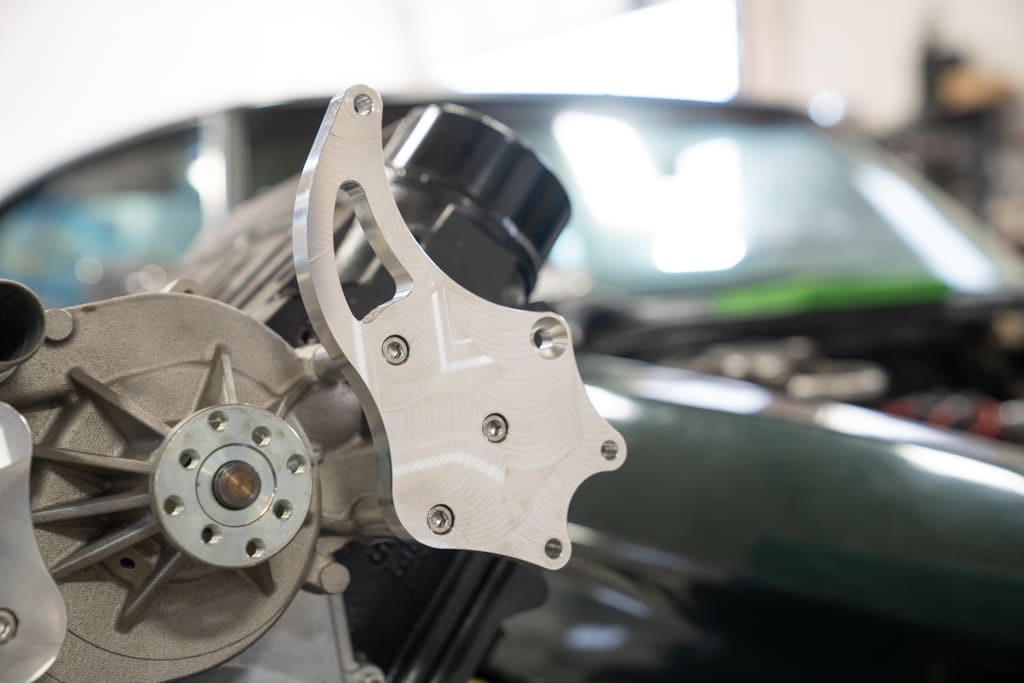
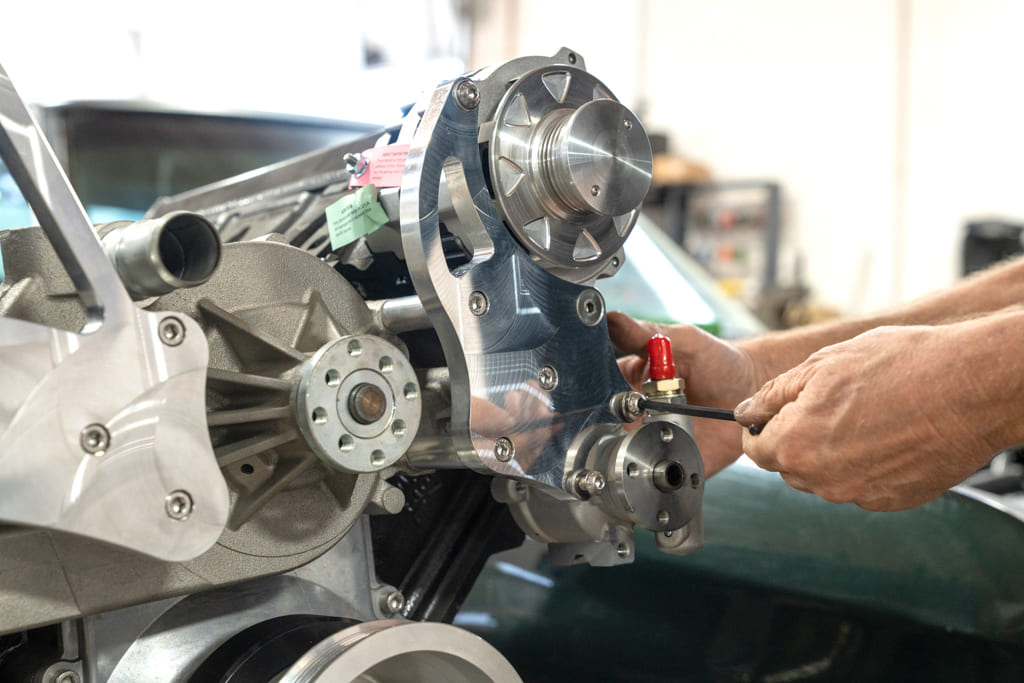
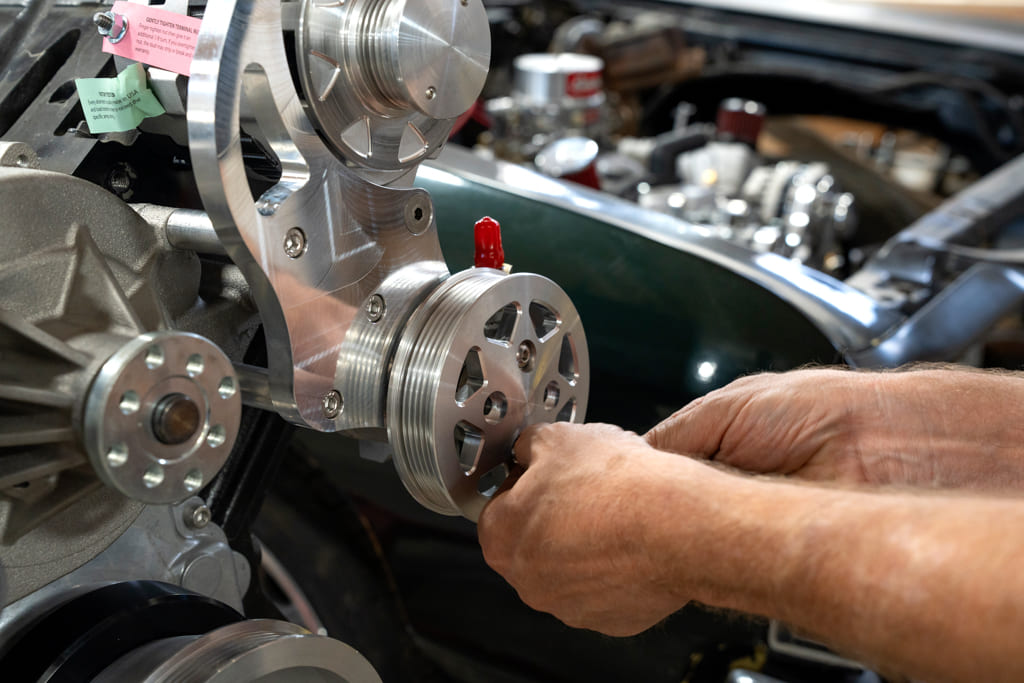
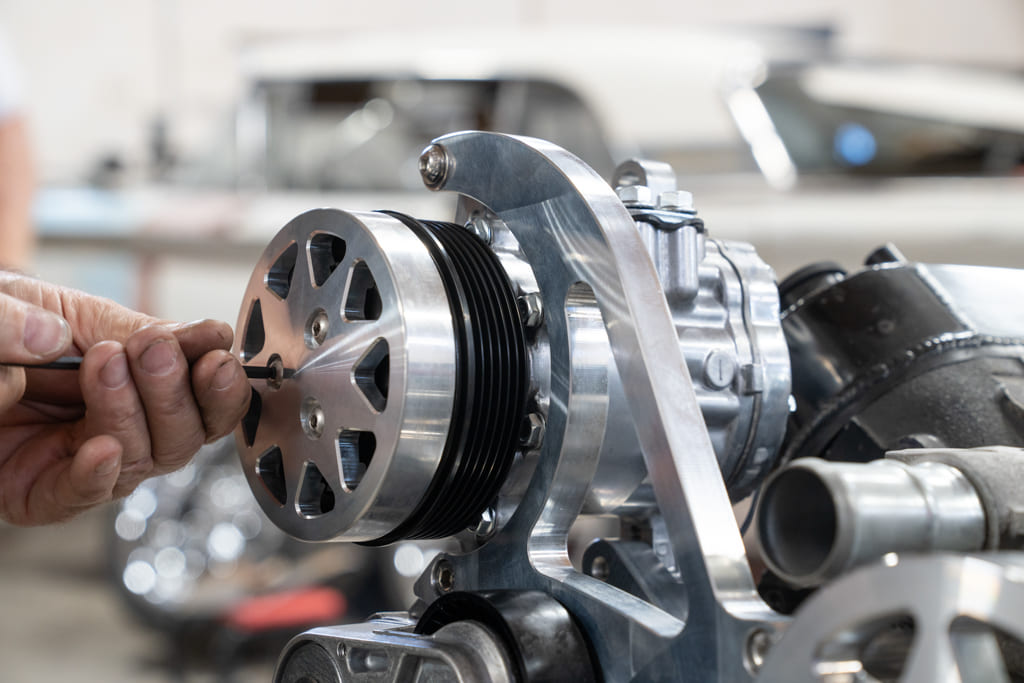
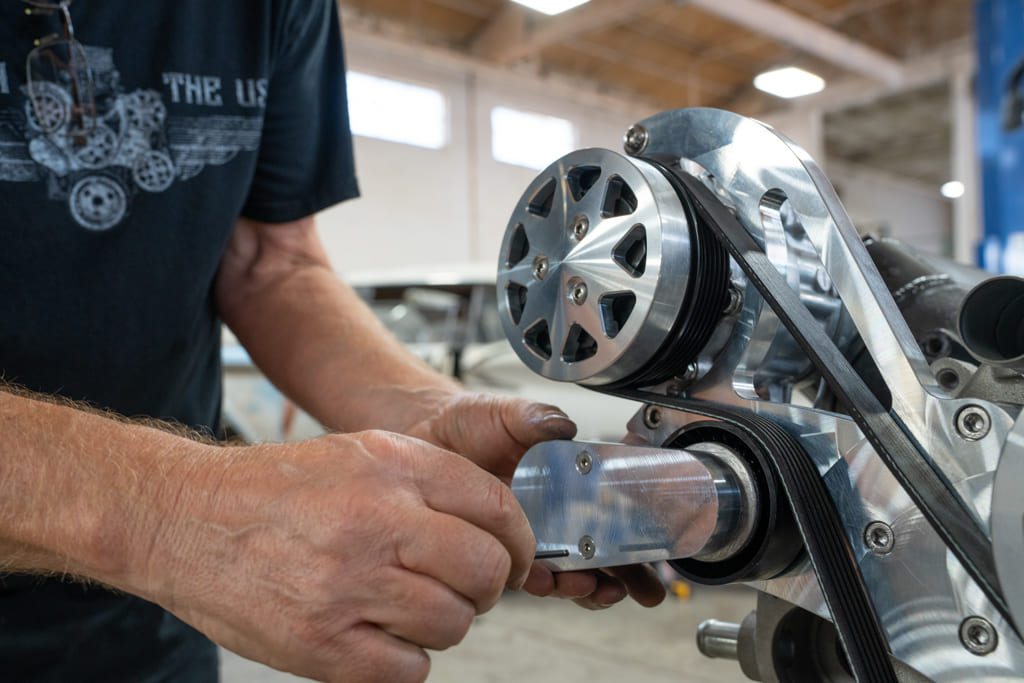
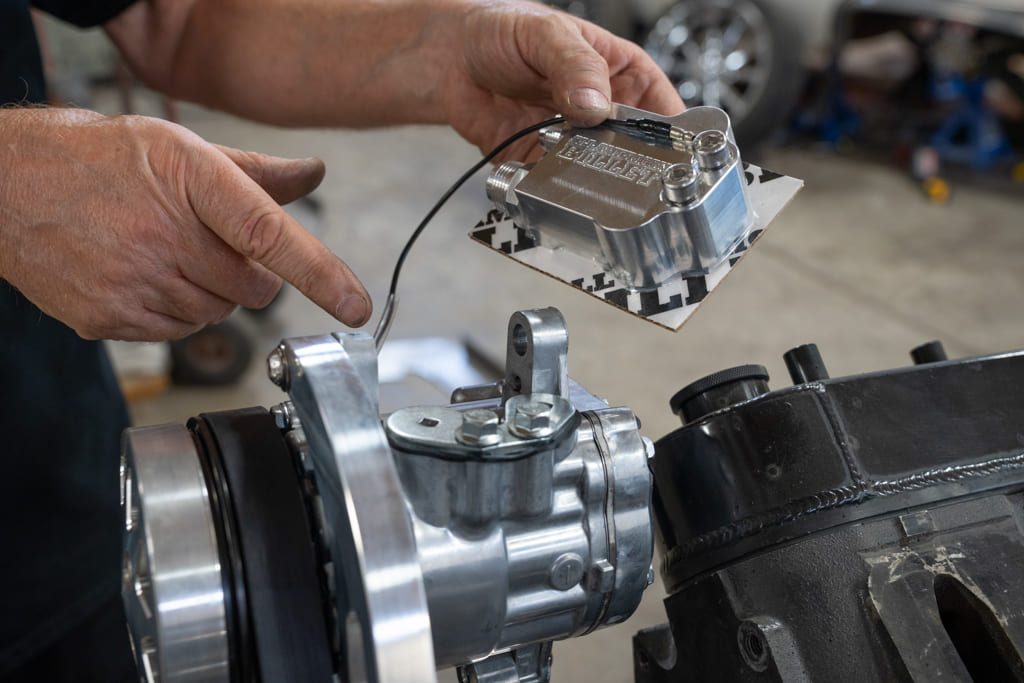
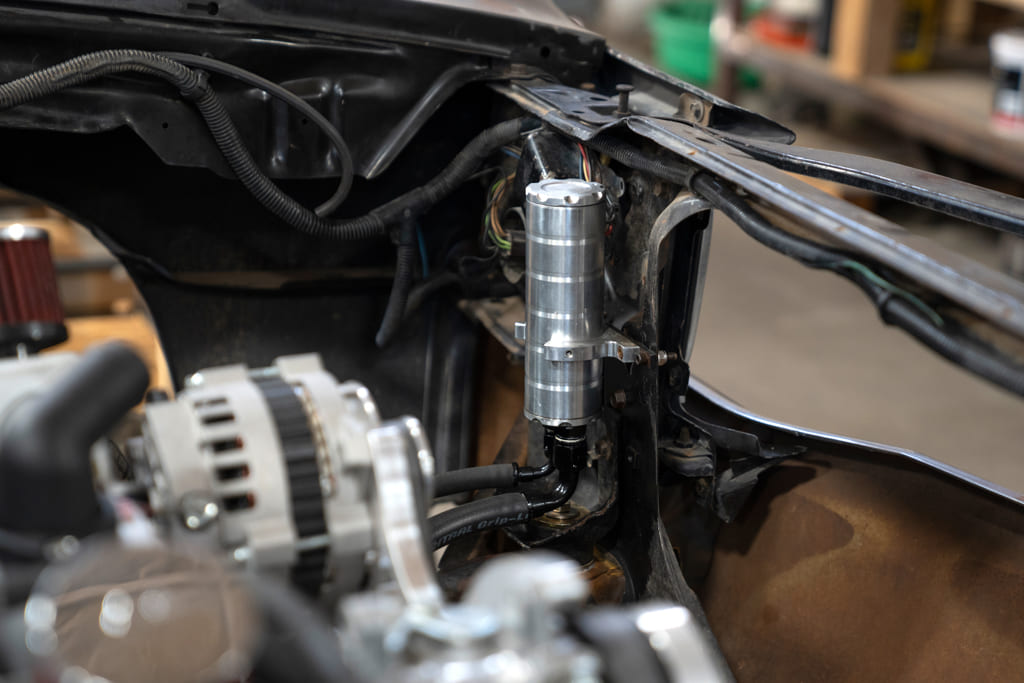
Next the alternator bracket and 1.6-inch spacer and suppled bolt goes through the driver side bracket. Repeat the process of using a little antiseize on the threads and hand-tighten only.With that completed, the A/C compressor goes on the top passenger side of the main bracket as shown. Use a dab of blue Loctite on the threads.Here’s a side view of how it should look.Next, bolt on the alternator and All American Billet pulley and fan attachment. After that, it’s time to tighten the main bracket/water pump, alternator, and A/C bolt what were only finger tightened earlier. Tighten to spec per the instructions.From there, install the Type II power steering pump. Be sure to use a dab of blue Loctite on the threads.Using the supplied hex head bolts and a small amount of blue Loctite, the tensioner goes on next.Follow up by installing the serpentine pulley on the steering pump.It’s starting to look pretty sweet.Now install the water pump pulley …… and the billet A/C pump pulley cover.Next up is to install the provided serpentine belt. Use a ½-inch drive ratchet or breaker bar to preload the tensioner. Loosely route the belt around the pulleys except the power steering pump. Insert the square boss in the front of the tensioner and pull upward, routing the tensioner downward in a clockwise direction until it stops.Finish that up by installing the billet tensioner coverInstall the A/C manifold. Be careful and make sure the gaskets are properly seated. Install the hose fittings, making sure the smaller diameter fitting goes on the back.Here’s the LS looking good and ready to bring your engine bay to life. The appropriate power steering and high- and low-pressure lines and fittings will need to be assembled by a shop that specializes in high-pressure lines and hydraulic hoses. Remember to follow All American Billet’s detailed instructions regarding your connections and fluid filling instructions.All American Billet offers two types of power steering reservoirs: an onboard reservoir and a billet remote reservoir (shown). It will need to be located somewhere higher than the power steering pump and sit upright for proper operation; illustrated in this photo shows where we installed ours.
We use cookies to ensure that we give you the best experience on our website. If you continue to use this site we will assume that you are happy with it.