With the propagation of crate engines over the last 30 or so years, it’s hard to believe that anyone would bother building a mild street engine from the ground up. Yet here we are, doing exactly that. Why, you may ask? Simply put, we find it to be both rewarding and challenging—two traits not typically associated with a crate engine build (unless you count the unboxing portion!). For those of us wealthy in the time department, taking a couple days (OK, weeks) to build an engine might make sense. Those of us with only a couple hours a week to spare on our project might look at the crate option with a little more regard. Either way, there is no wrong or right, just what works for you.
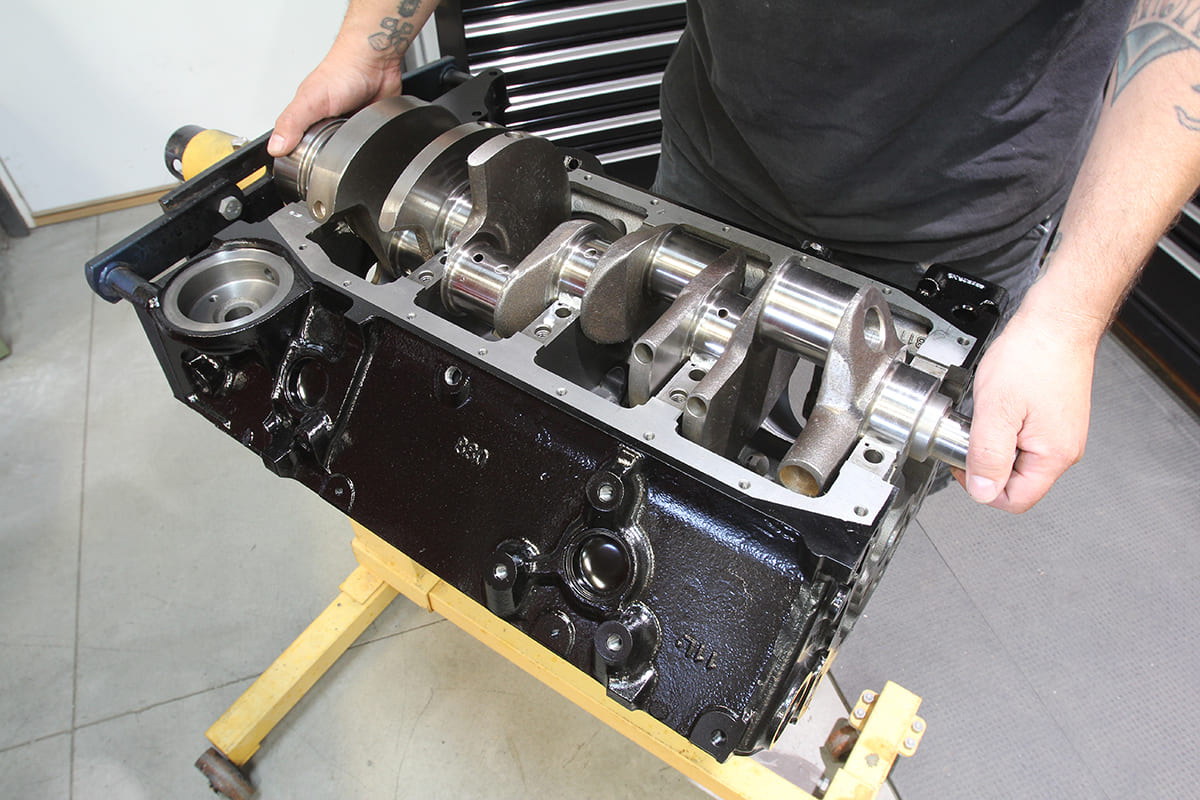
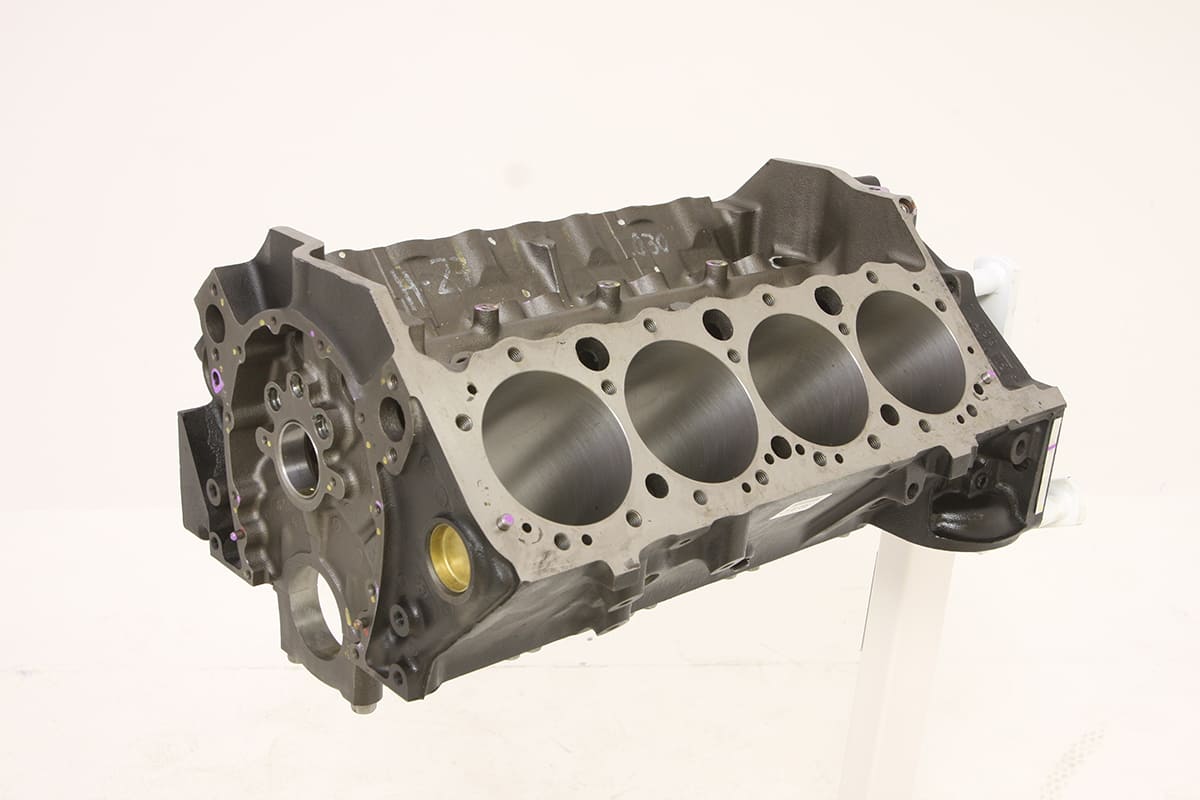
The foundation for our stroker is this new GM block (Summit Racing PN NAL-88962516). These blocks provide a great jumping off point for everyone from the novice engine builder to the pro shop as they show up fully machined, featuring a 4-inch finished bore (capable of overbores up to 4.060 inches), installed cam bearings and freeze plugs, and line-bored, four-bolt main caps. Based on the later (1986-plus) small-block Chevy design, these bare blocks also feature a one-piece rear main seal and come ready to accept a modern hydraulic roller cam.
Something that has gained in popularity thanks to suppliers like Summit Racing stocking a myriad of options is to build an engine from the ground up using an aftermarket block, machined and ready to go. We’ve done a couple builds in the past based around these blocks with great results. Machined to a finished bore, these blocks can be mated with turnkey components without any further machine work.
During a recent conversation with our buddy Zane Cullen at Cotati Speed Shop, the discussion turned to the built-not-bought crate engine topic. We both agreed that in a shop setting, it makes perfect sense to drop a crate engine in a project vehicle when time and labor is such a precious commodity. But given the opportunity, it would be fun to build an engine from the ground up, selecting the components and fitting things together. It was decided to shift gears on one of his current projects, setting aside the GM 350/350 crate engine he’d procured, instead having us build a stroked 350 based on a Chevrolet Performance bare engine block and components from Summit Racing, with the purpose being a budget-friendly, naturally aspirated, mild street engine, in the 400hp neighborhood, similar to that 350/350 combo that Cullen had his eye on originally.
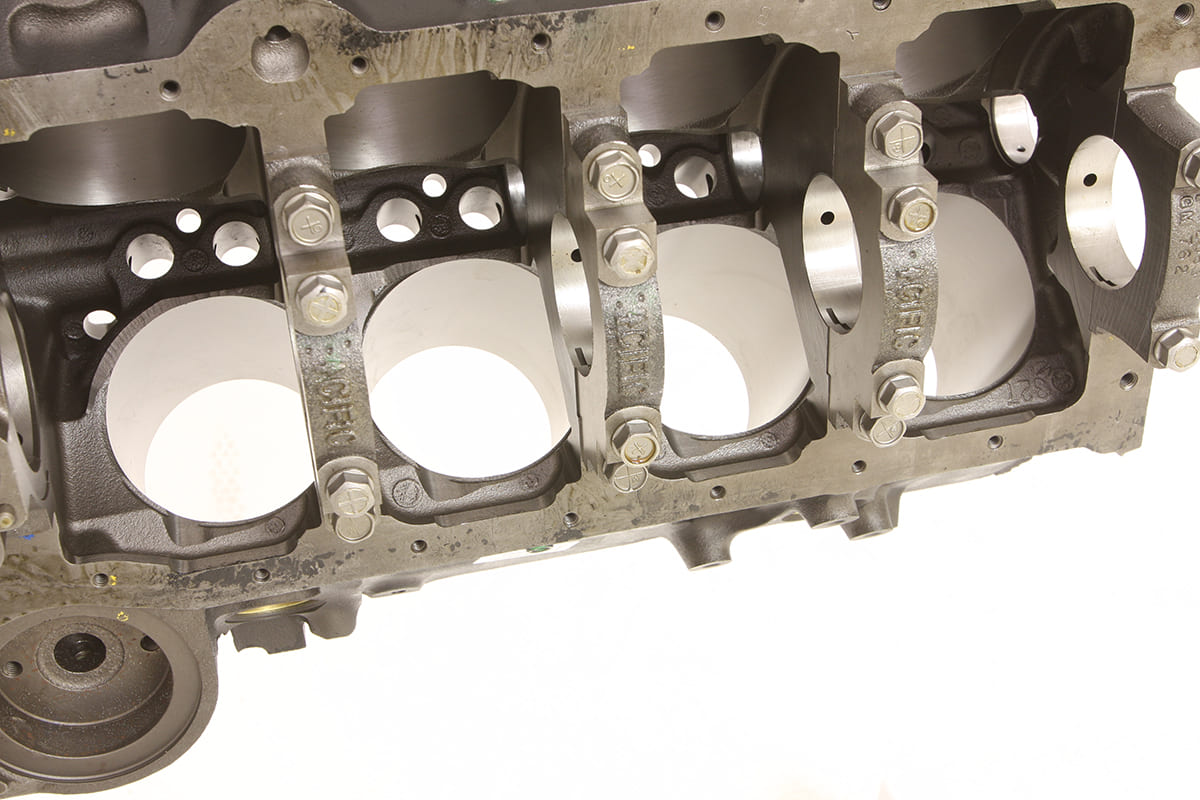
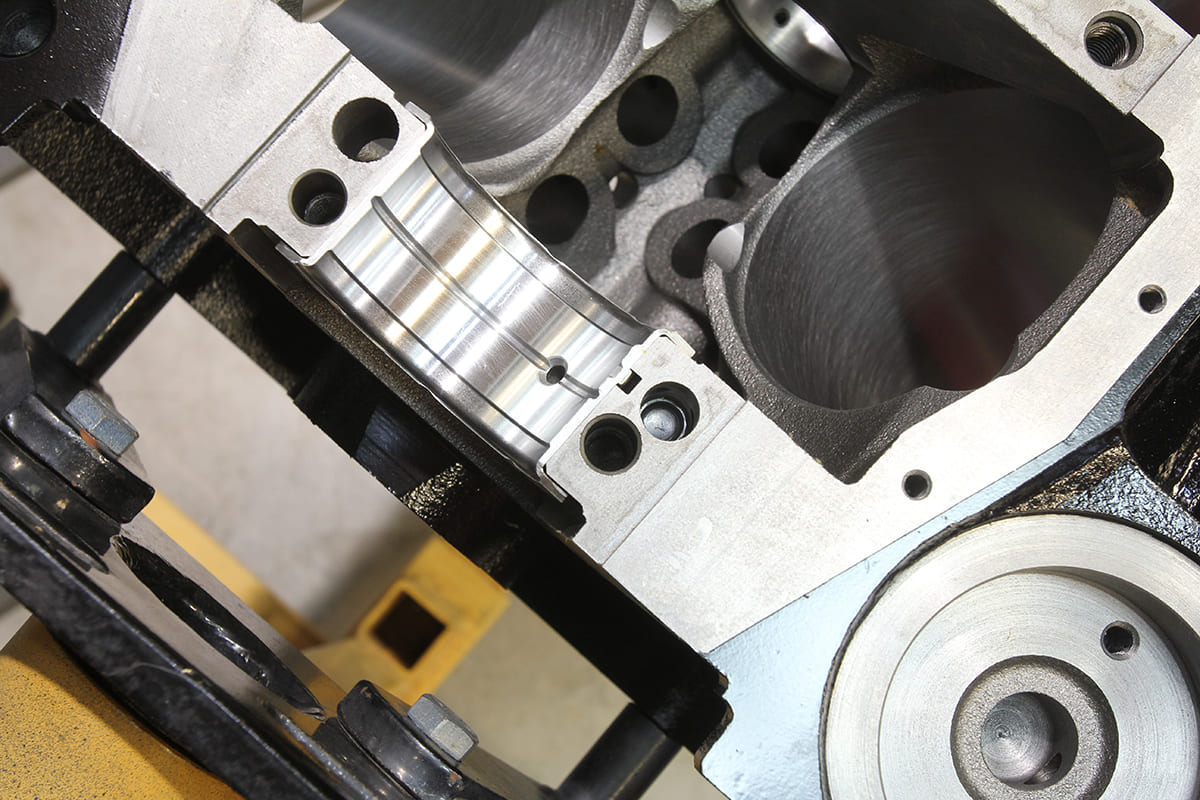
Since these blocks were designed with the engine builder in mind (as opposed to a factory replacement block), they come machined to accept a maximum stroke of 3.80 inches. Here, we can see the factory machine work on the oil pan rail as well as the bottom of the cylinder bores, a common area that needs to be addressed on a typical stroker application due to potential connecting rod interference.
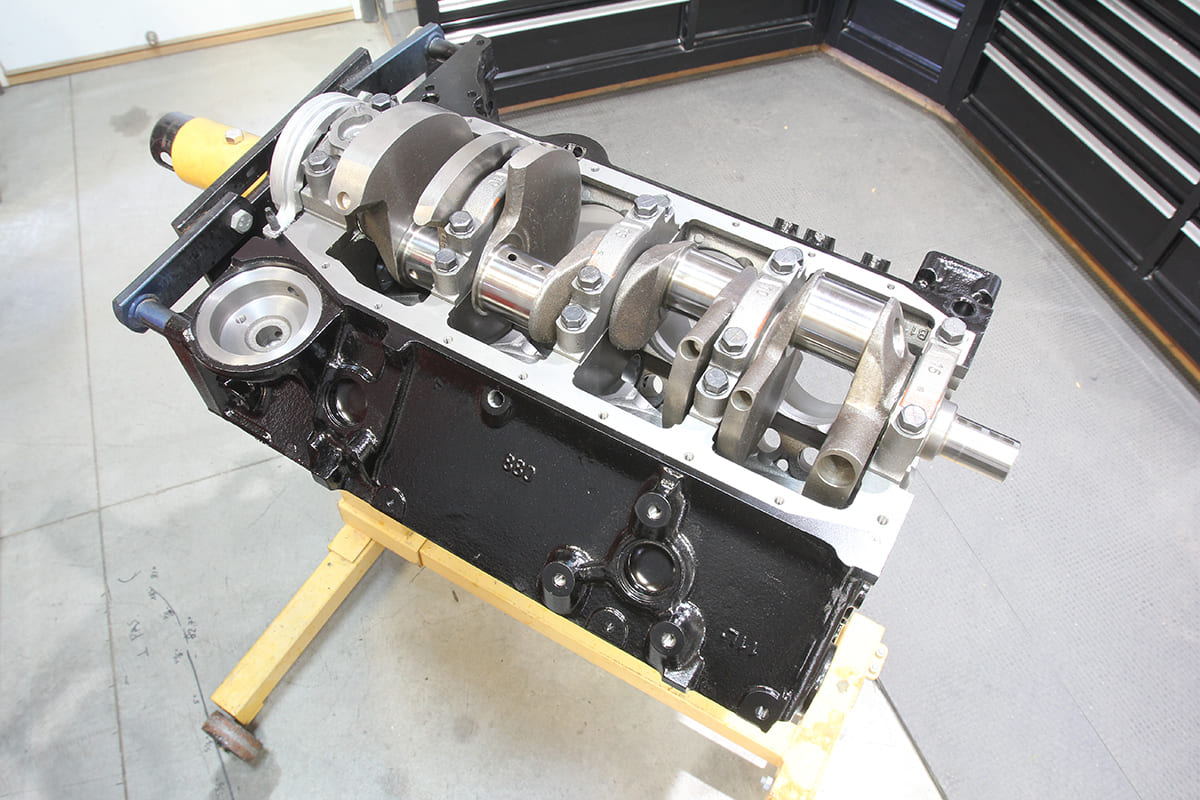
Based around the later 1986-plus architecture, these blocks come equipped with a one-piece rear main seal and provisions for a modern, hydraulic roller camshaft setup. Shipped with a 4-inch finished bore, line-honed mains, and installed cam bearings, these blocks come ready to be filled with your choice of internal components, from mild to wild. To complement the GM block, we’ll be using a Summit Racing cast steel crankshaft with Eagle I-beam rods and Speed Pro Hypereutectic pistons along with a set of Summit’s Vortec heads and a Summit hydraulic roller cam kit.
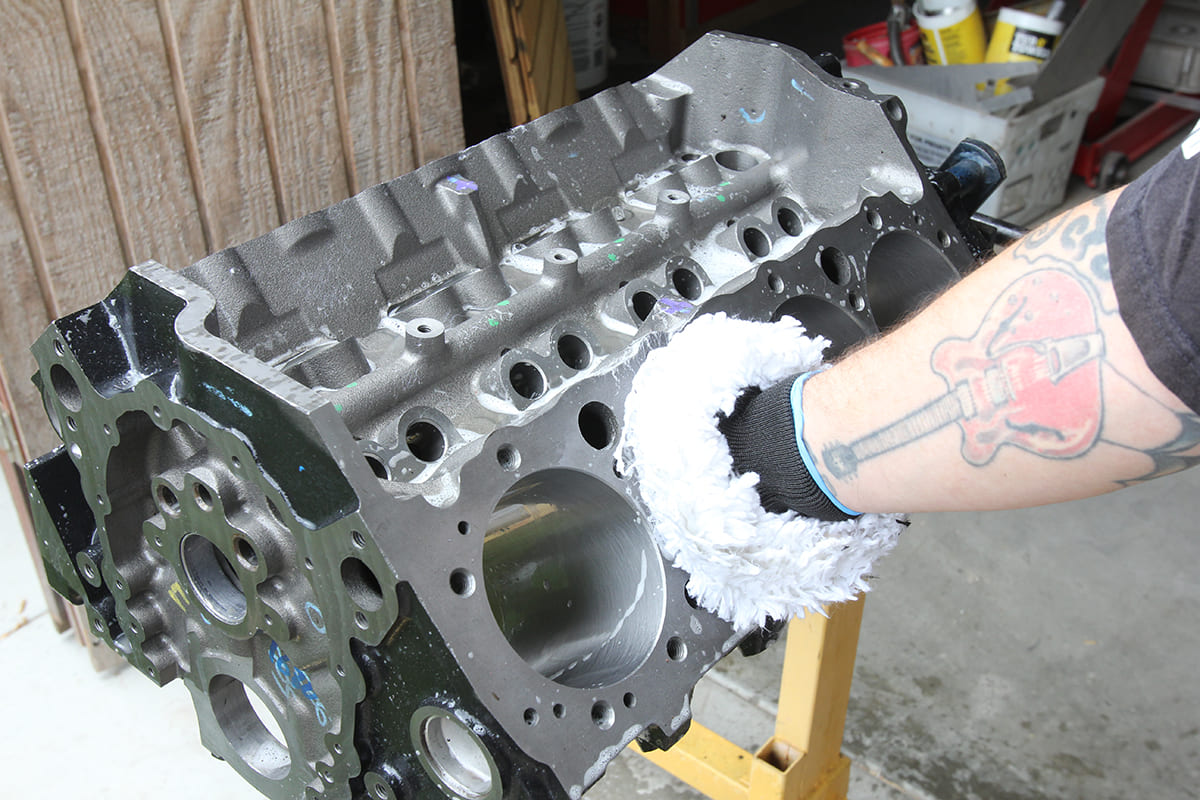
Before we install a single component, there are a handful of measurements that need to be made to double-check the compatibility between all the components we’ve selected. Before that happens, however, we need to prep the block, and that means a thorough cleaning using dish soap and water to remove any leftover machining or shipping oils from every square inch of the block.
This month, we’re going to cover prepping the block along with the installation of a Summit cast steel crankshaft, setting the foundation for the rest of the engine build. With a drawer full of hand tools, a handful of measuring tools, and a measure of patience and attention to detail, we’ll prove that anyone can build an engine that will be reliable and powerful to boot! ACP
Sources:
Automotive Racing Products (ARP)
(800) 826-3045 arp-bolts.com
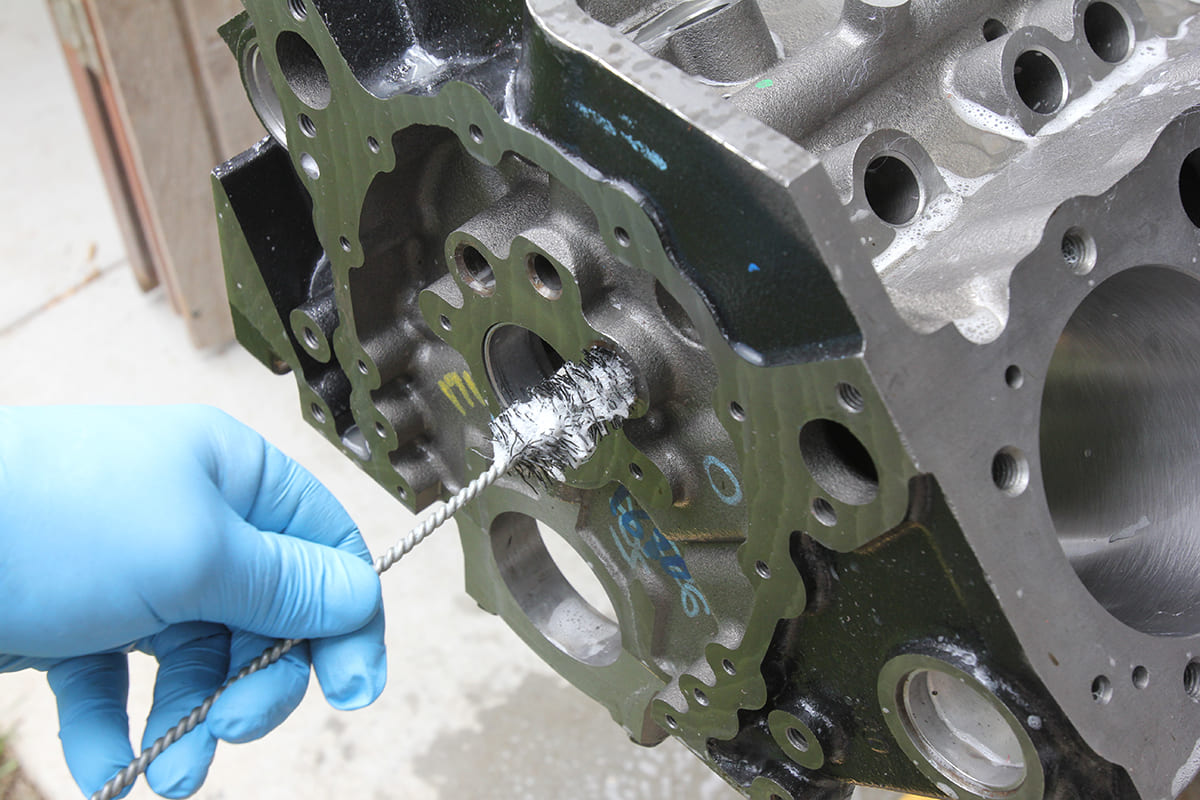
Before we install a single component, there are a handful of measurements that need to be made to double-check the compatibility between all the components we’ve selected. Before that happens, however, we need to prep the block, and that means a thorough cleaning using dish soap and water to remove any leftover machining or shipping oils from every square inch of the block.
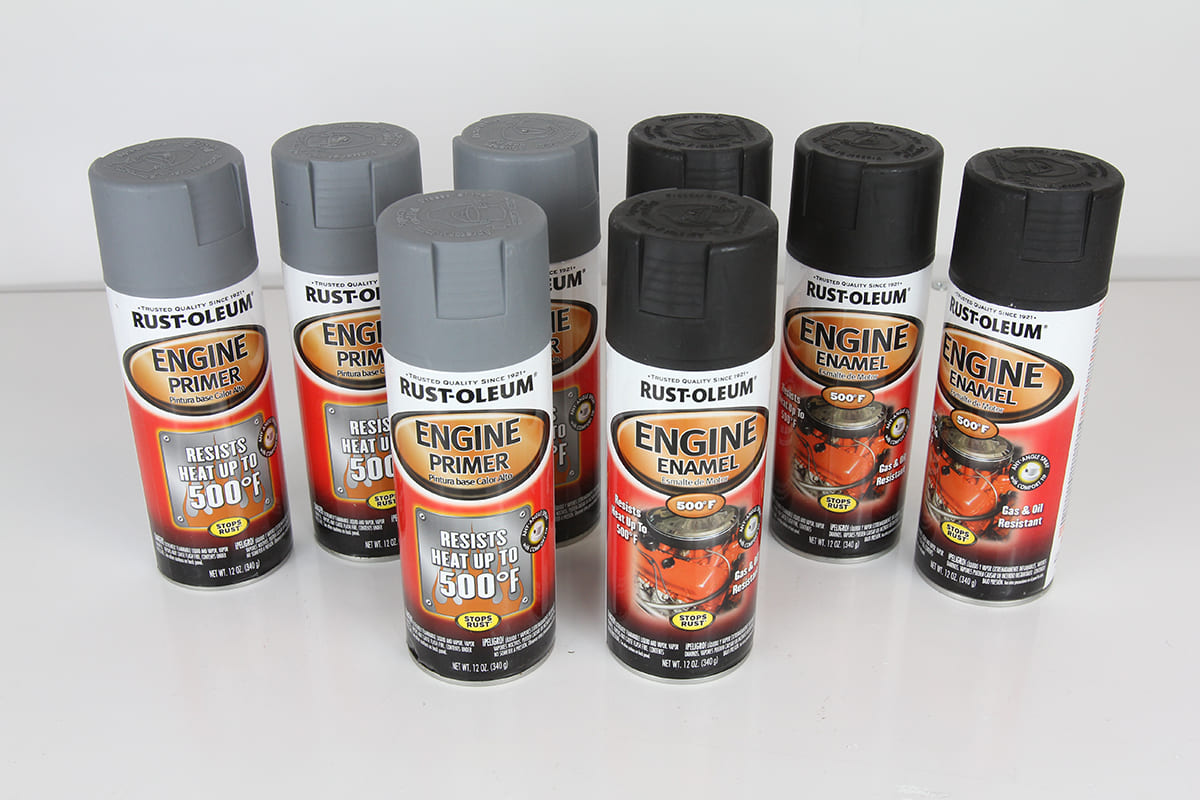
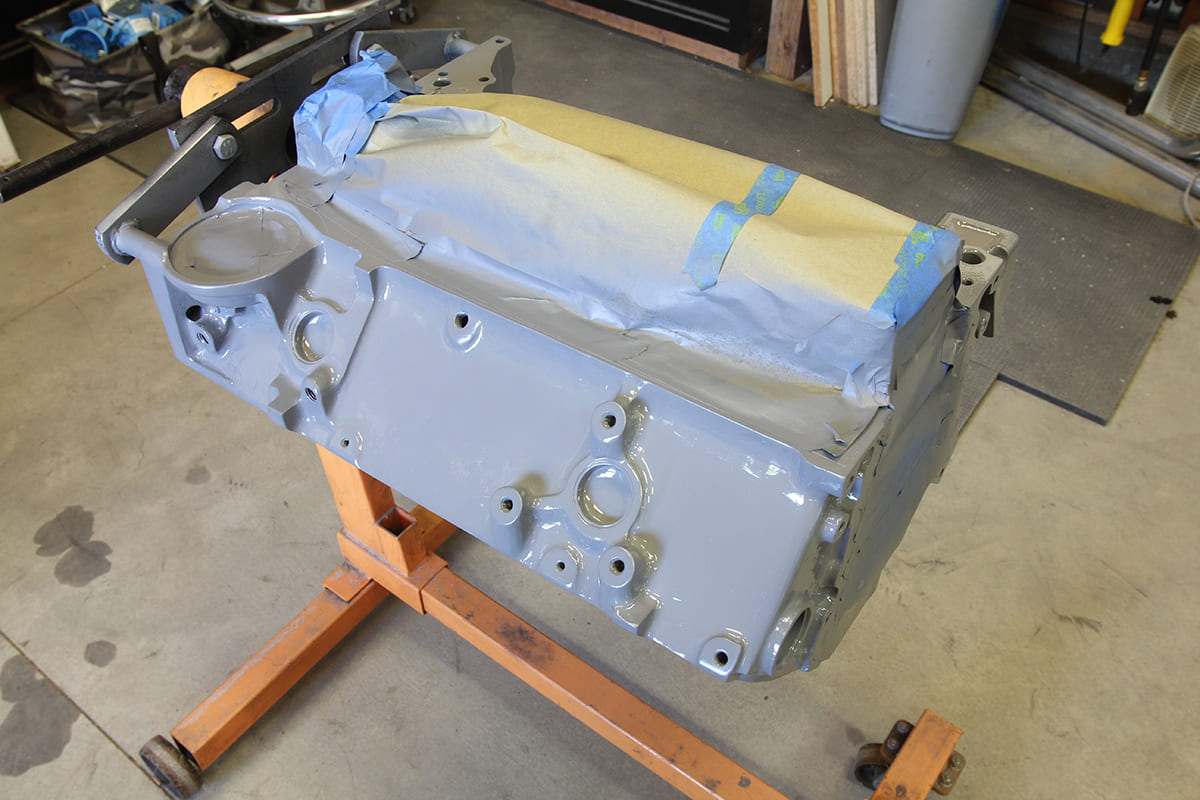
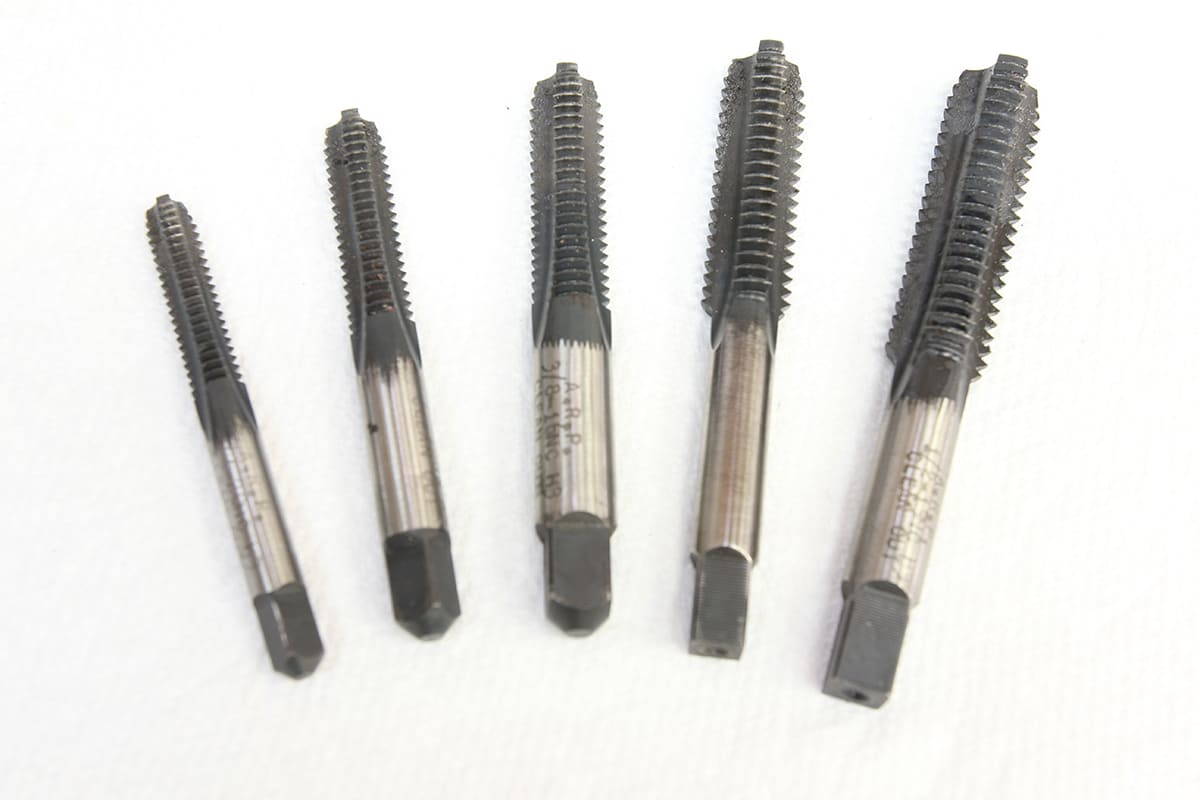
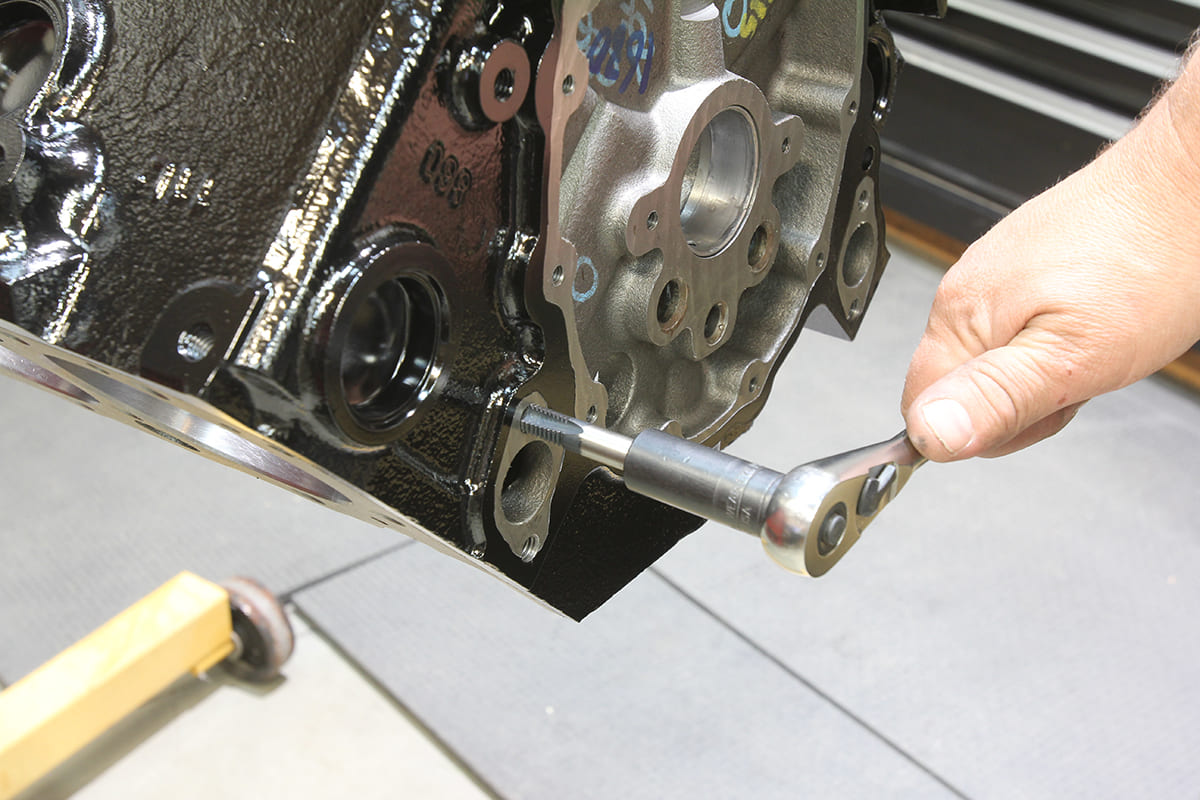
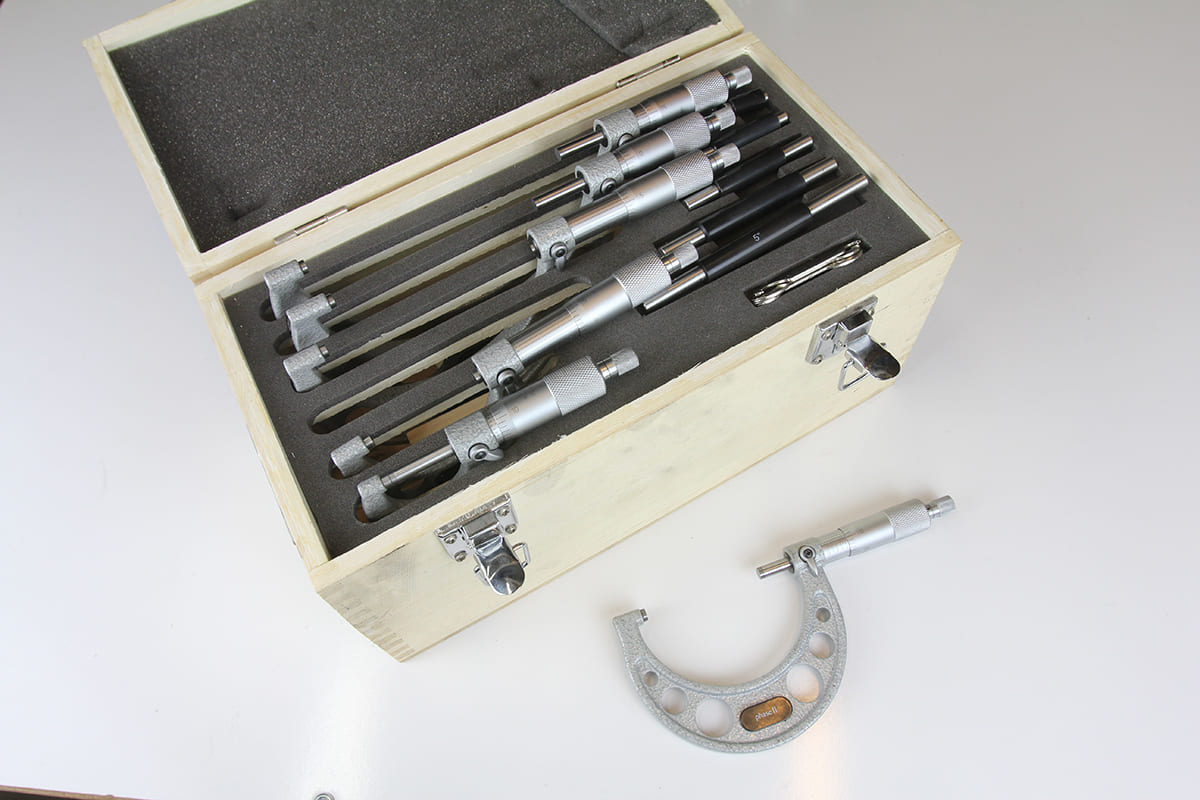
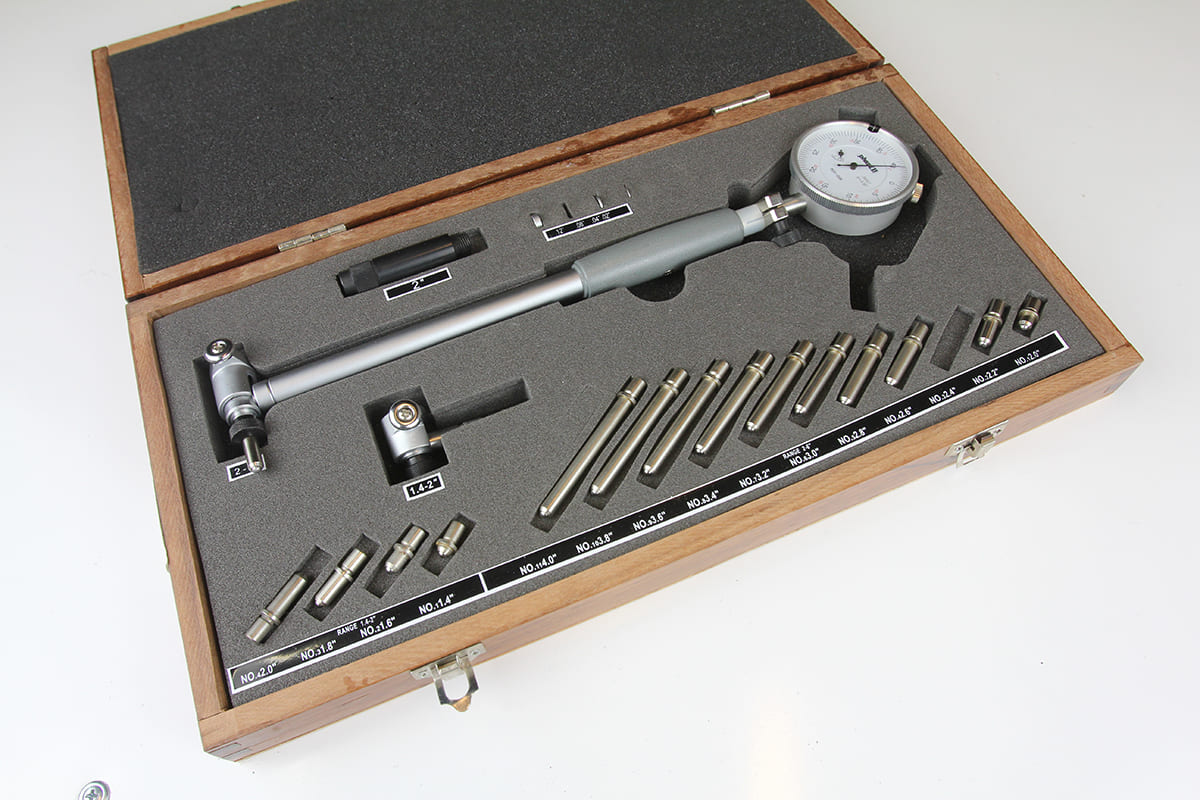
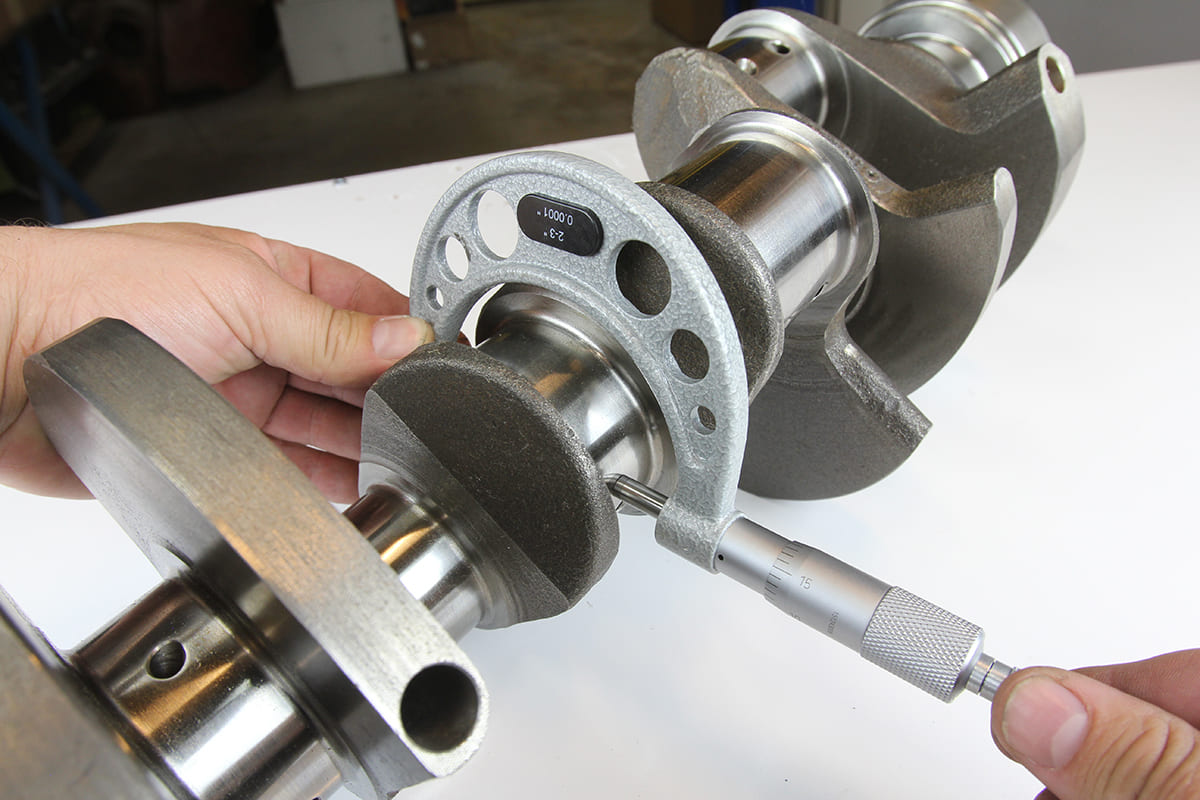
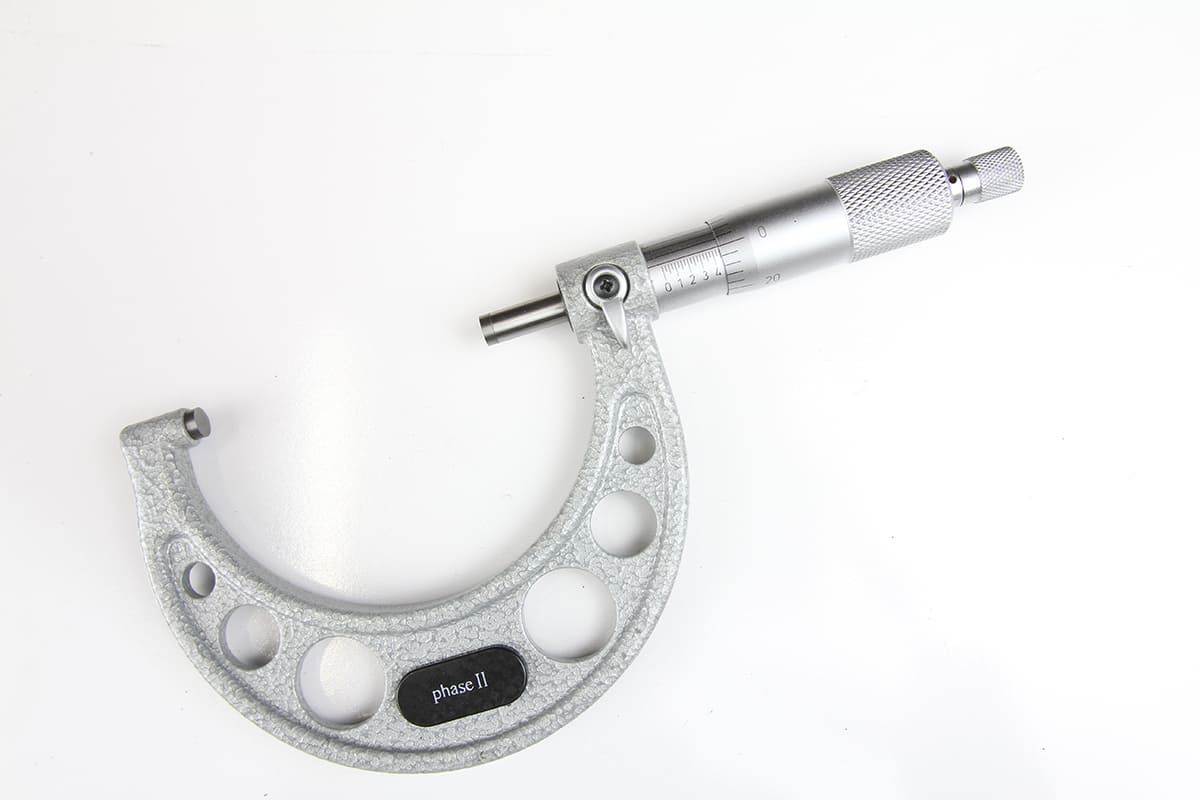
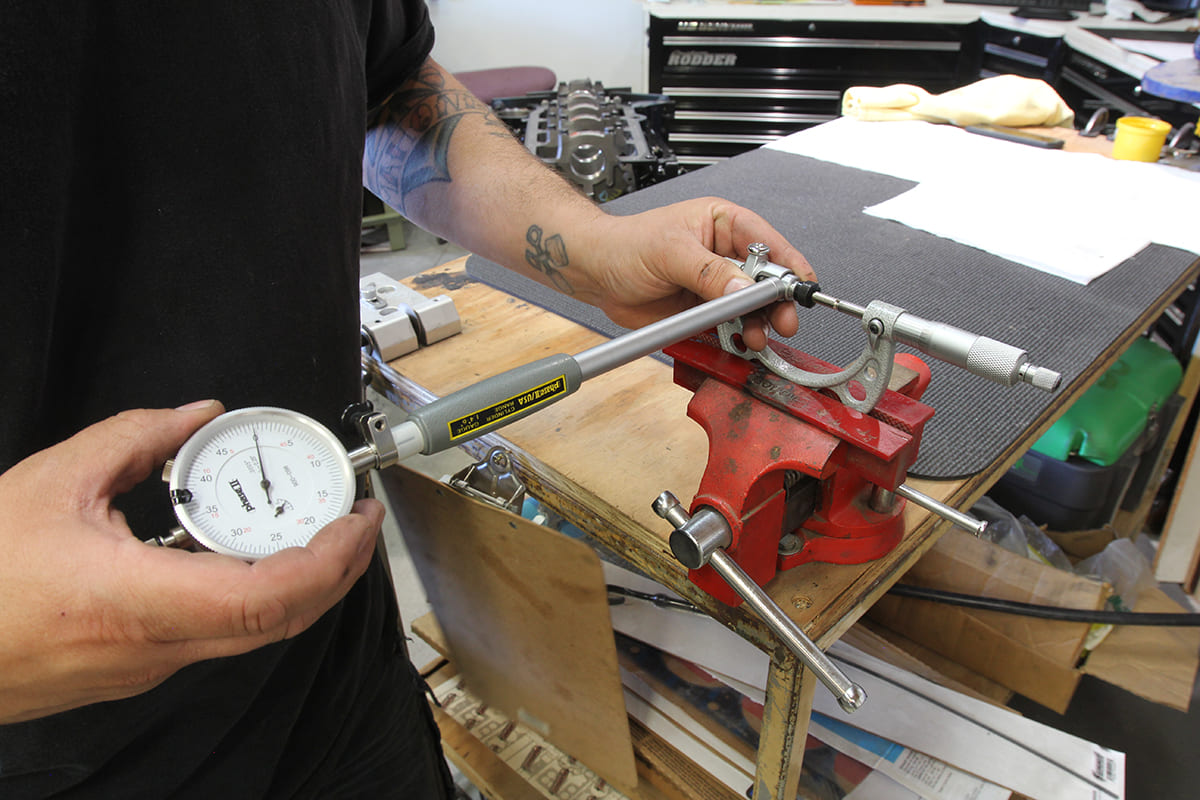
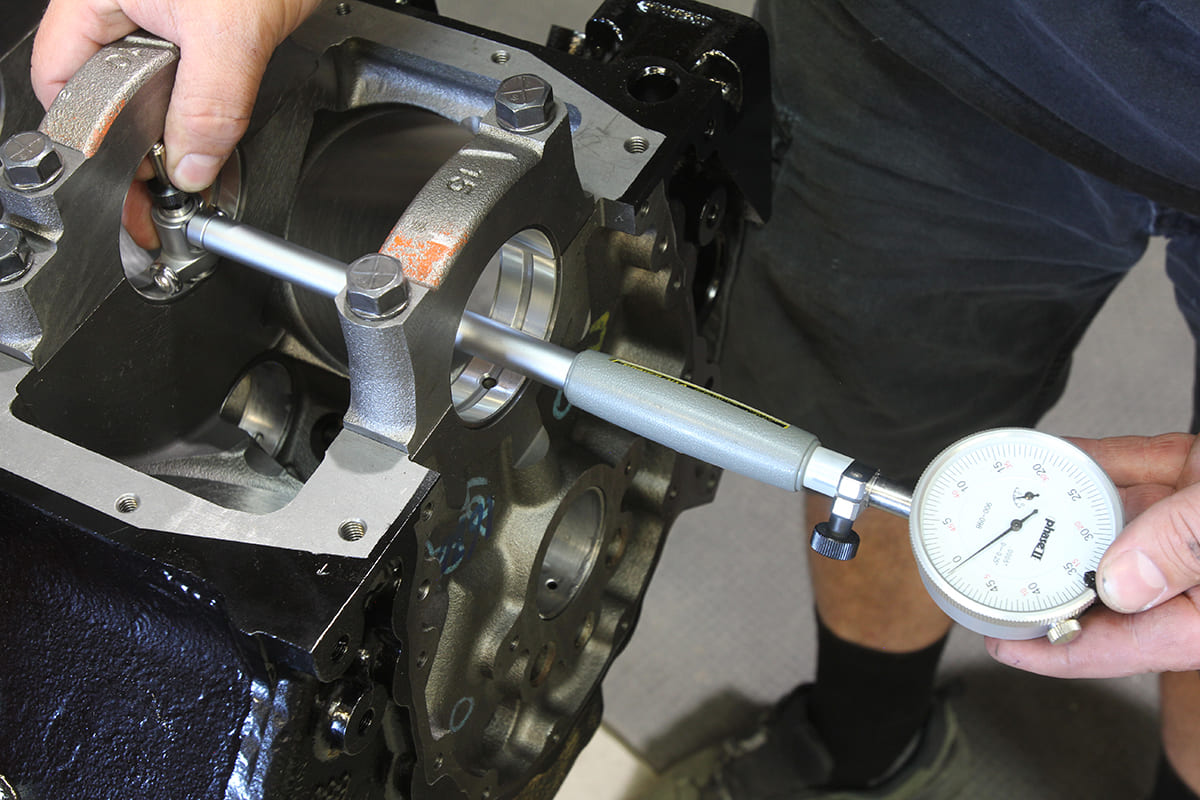
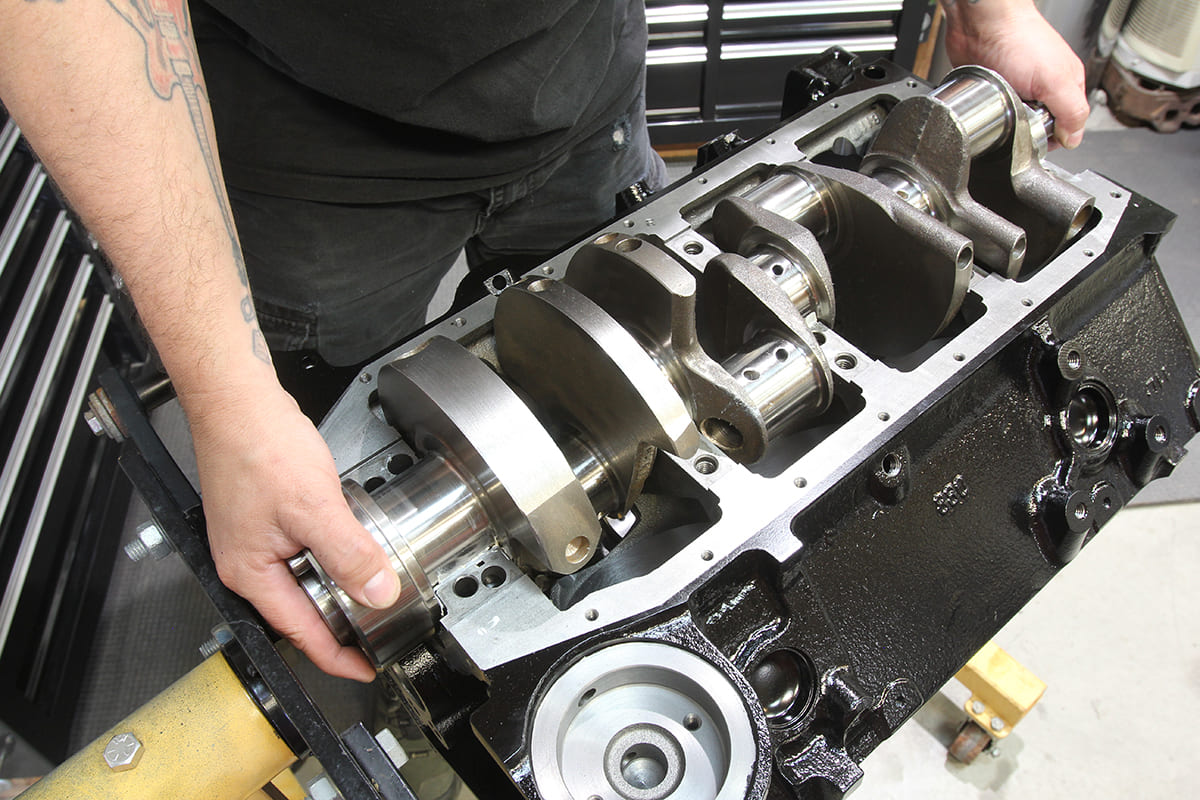
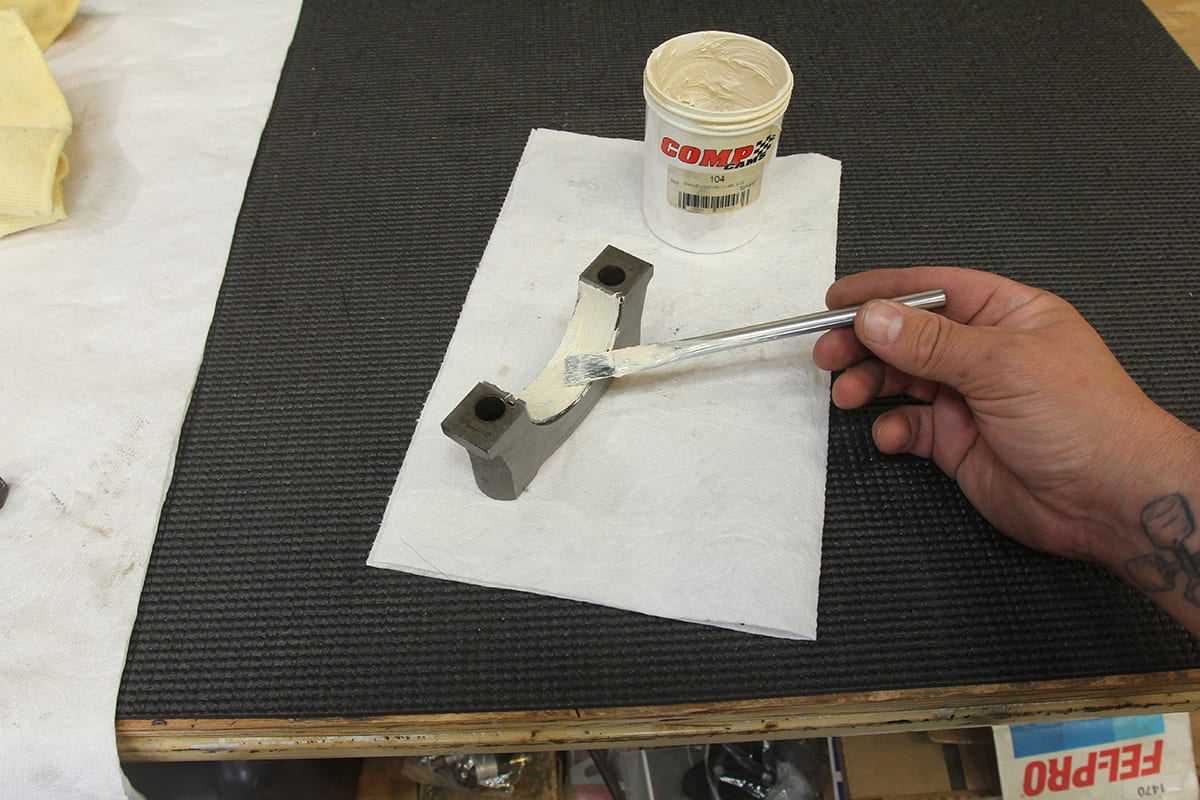
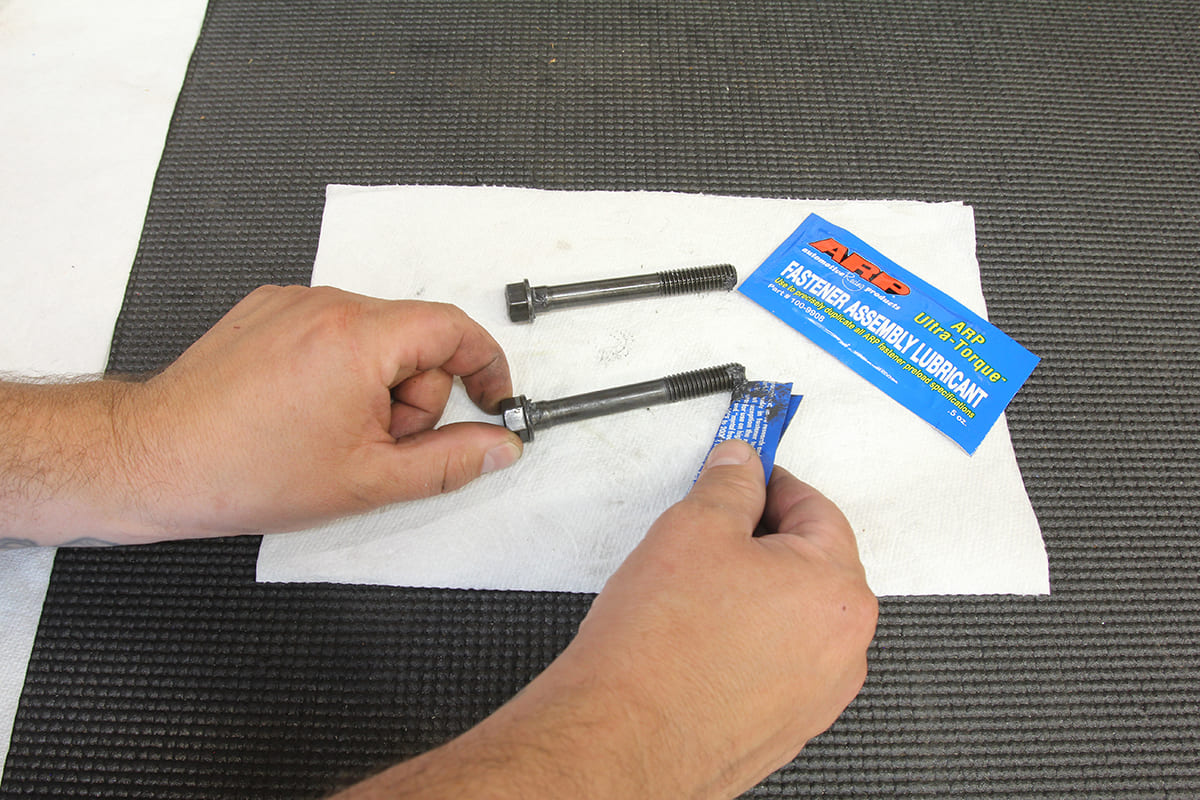
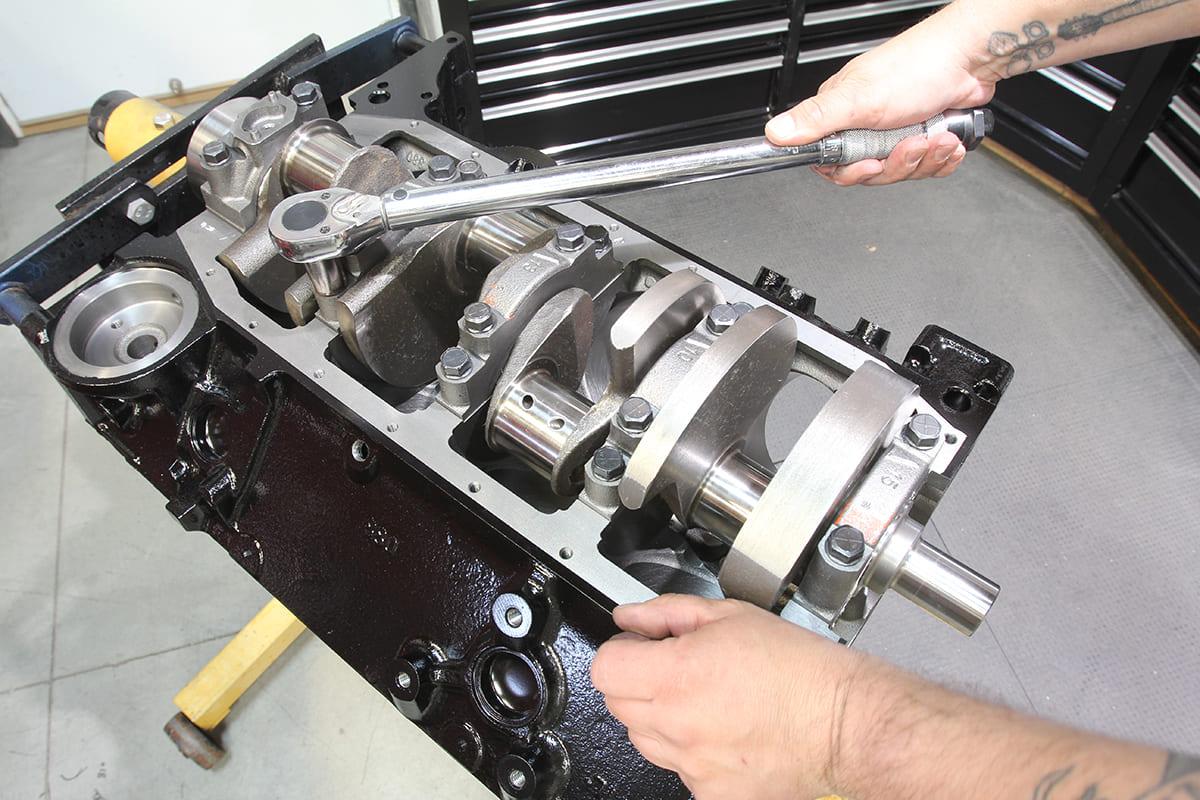
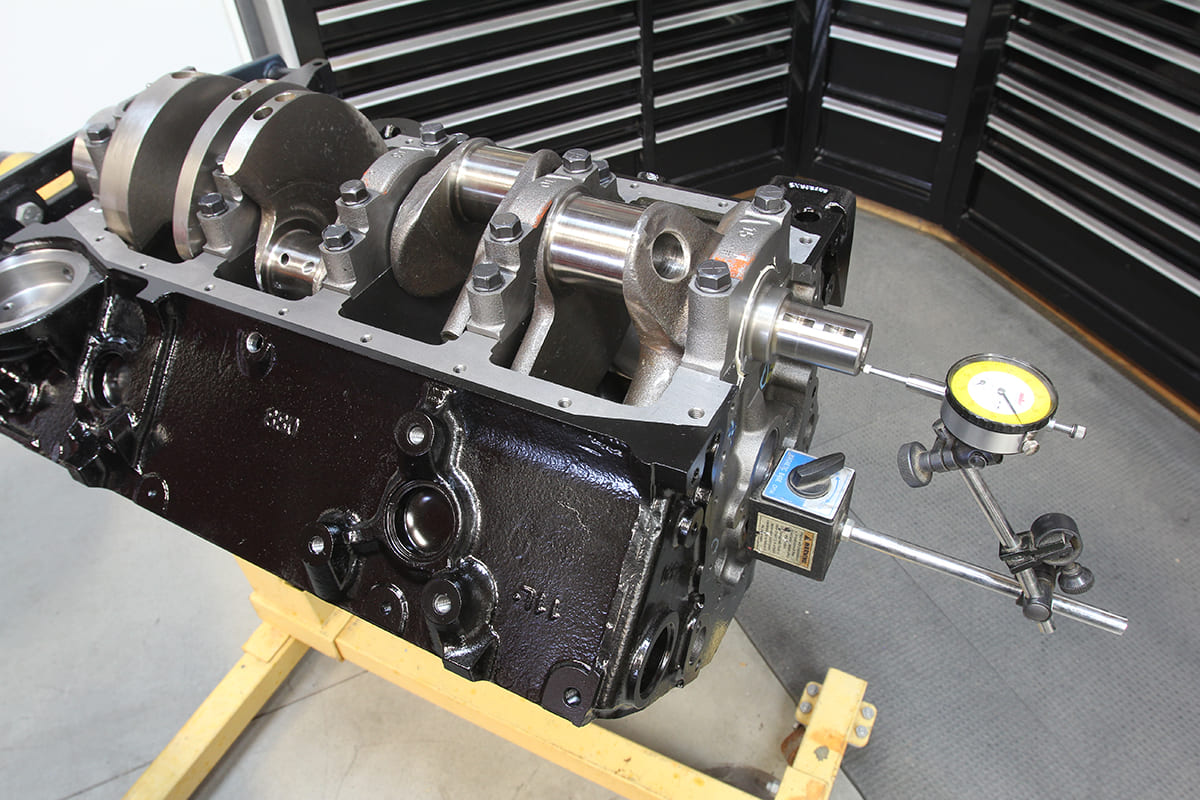
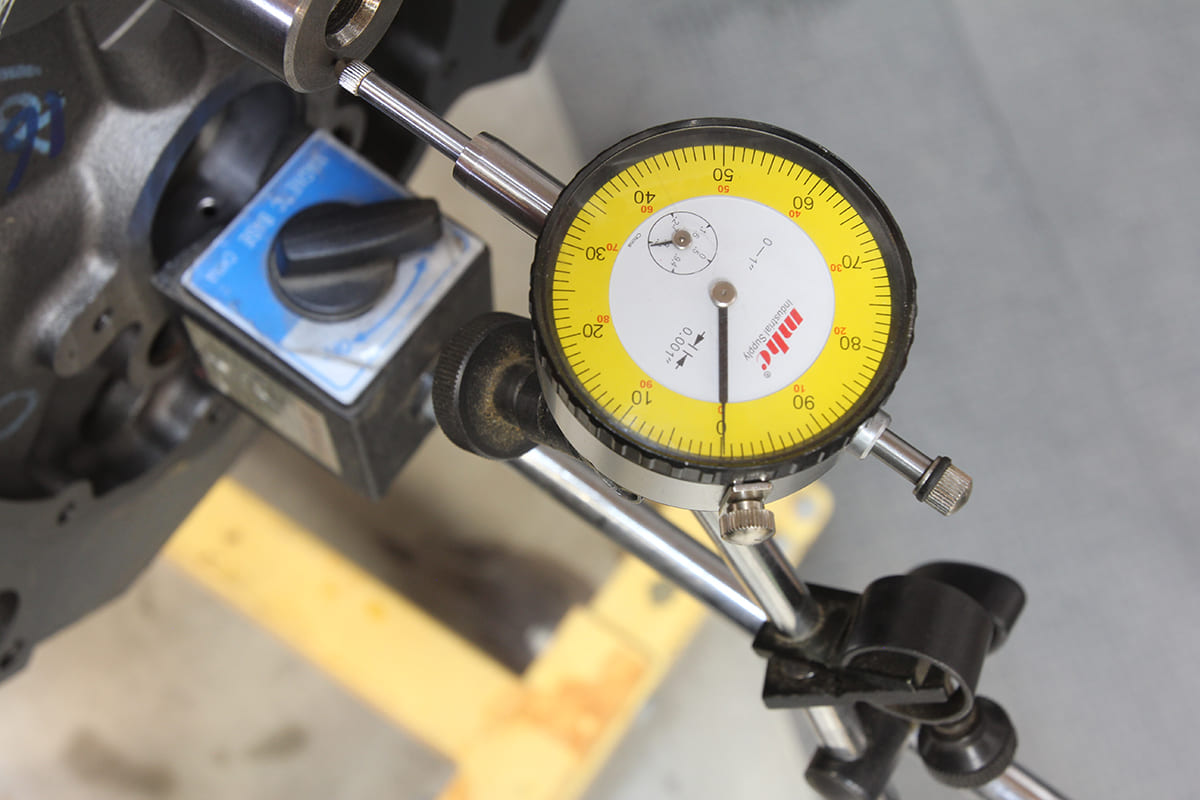
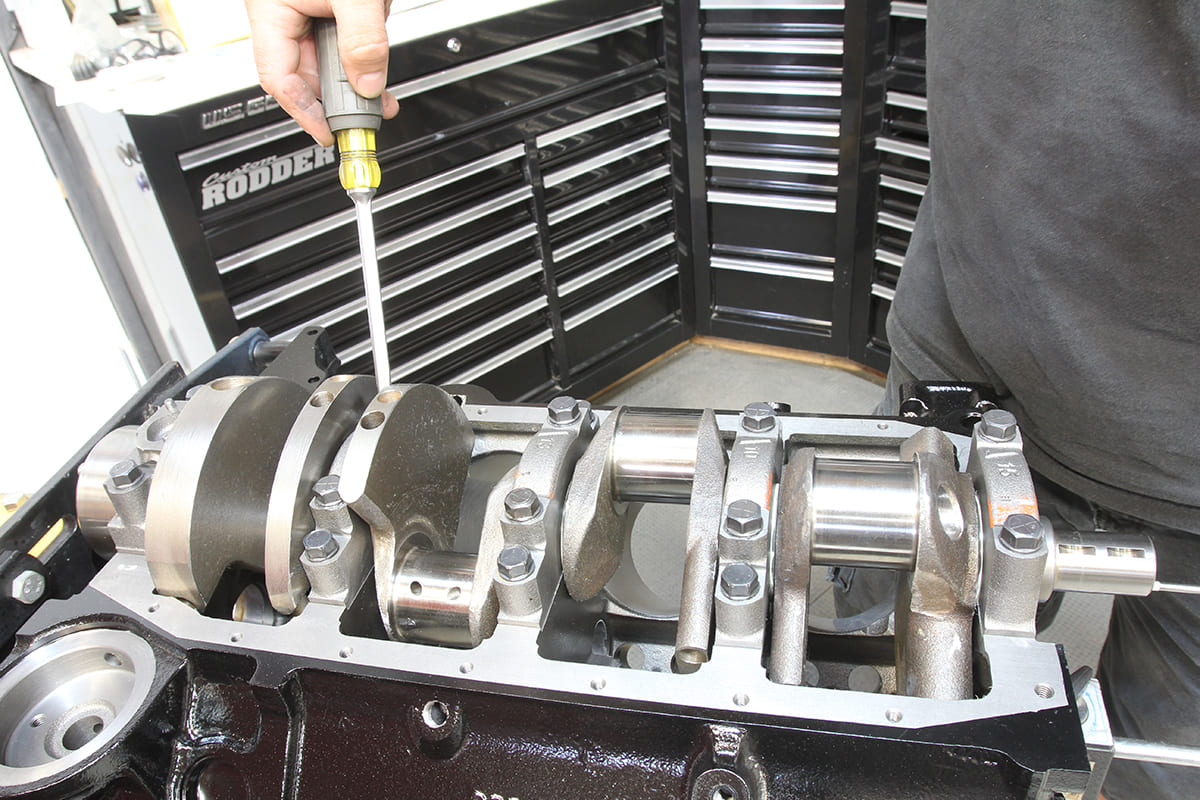
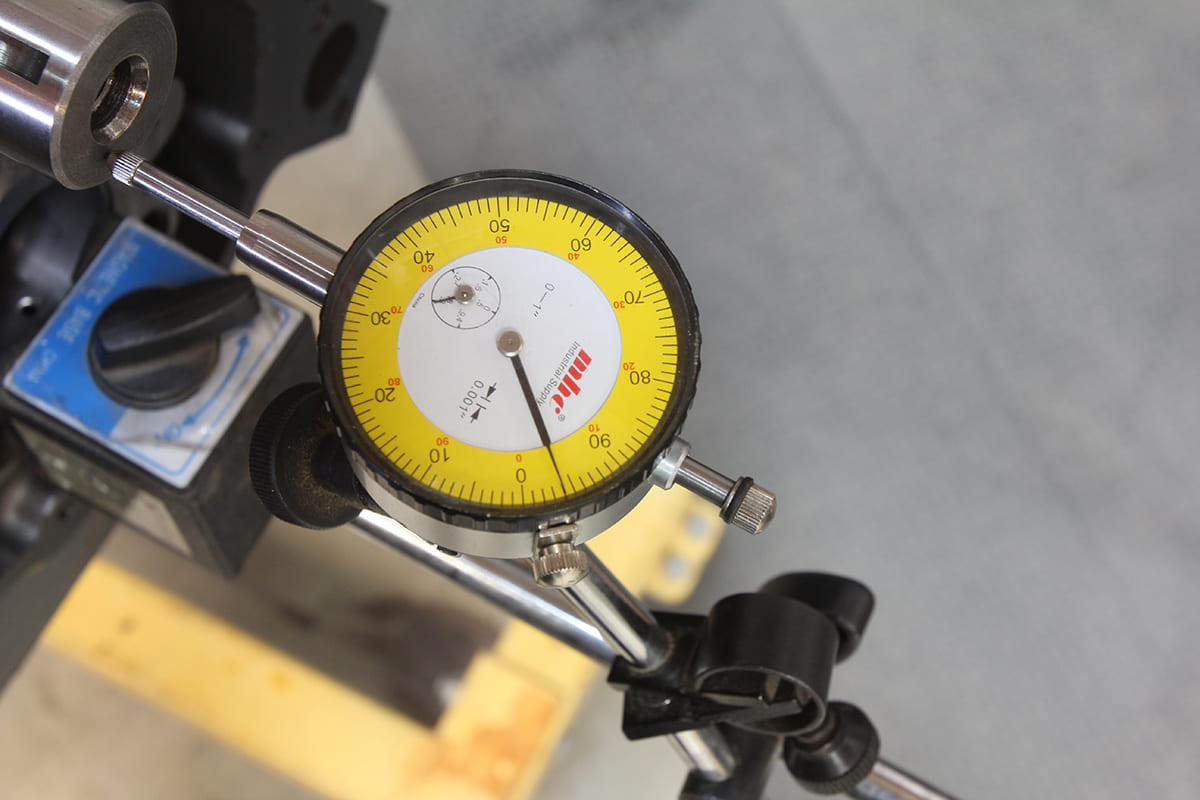
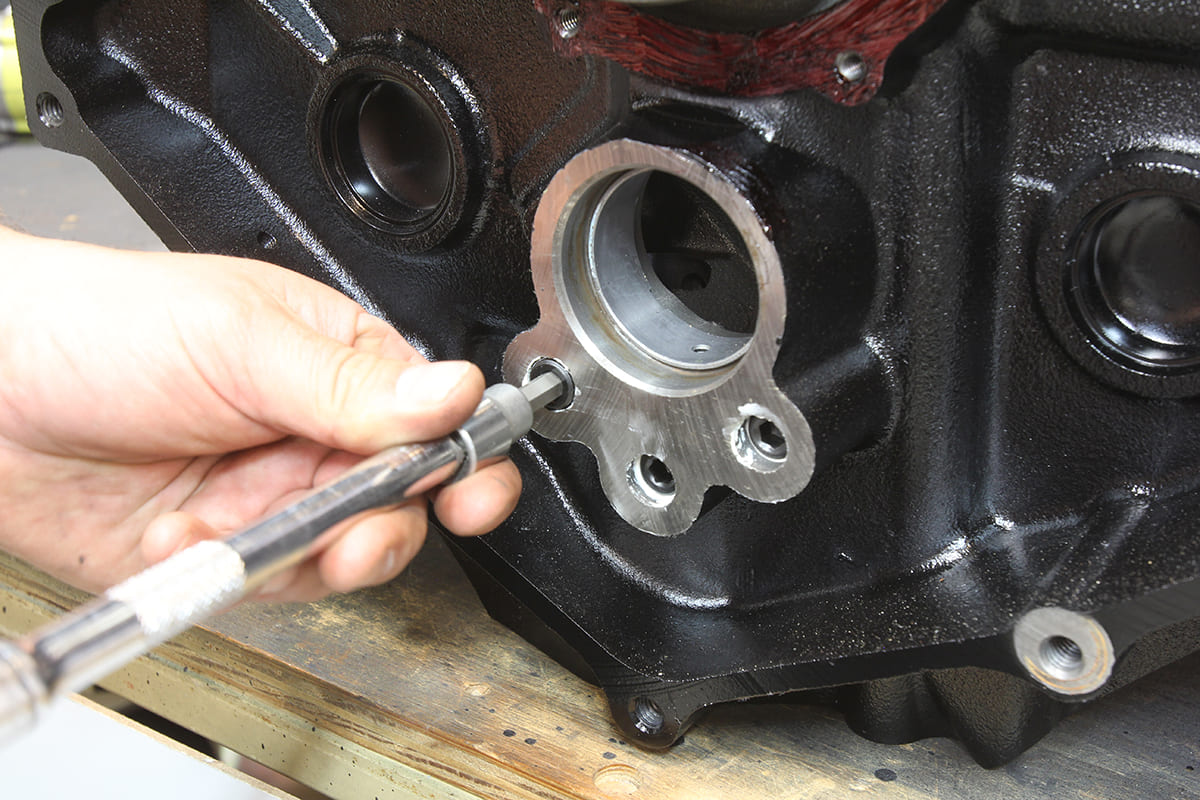
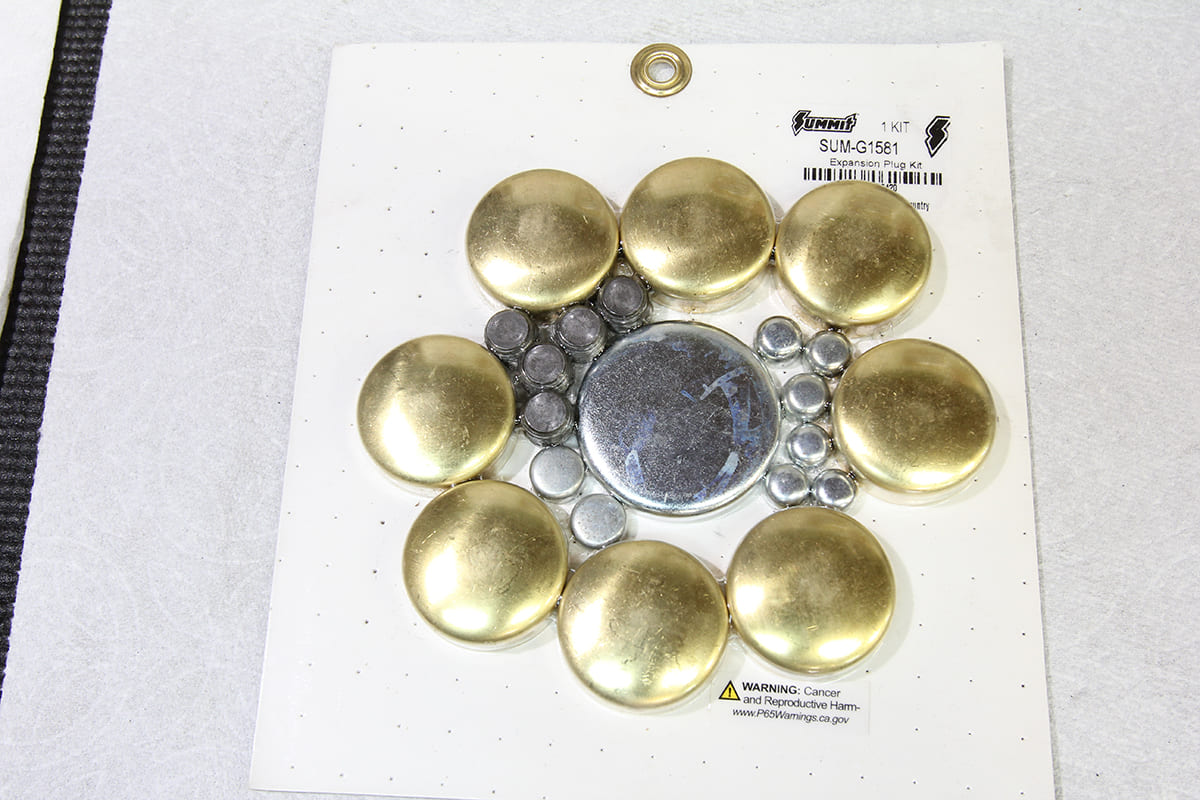
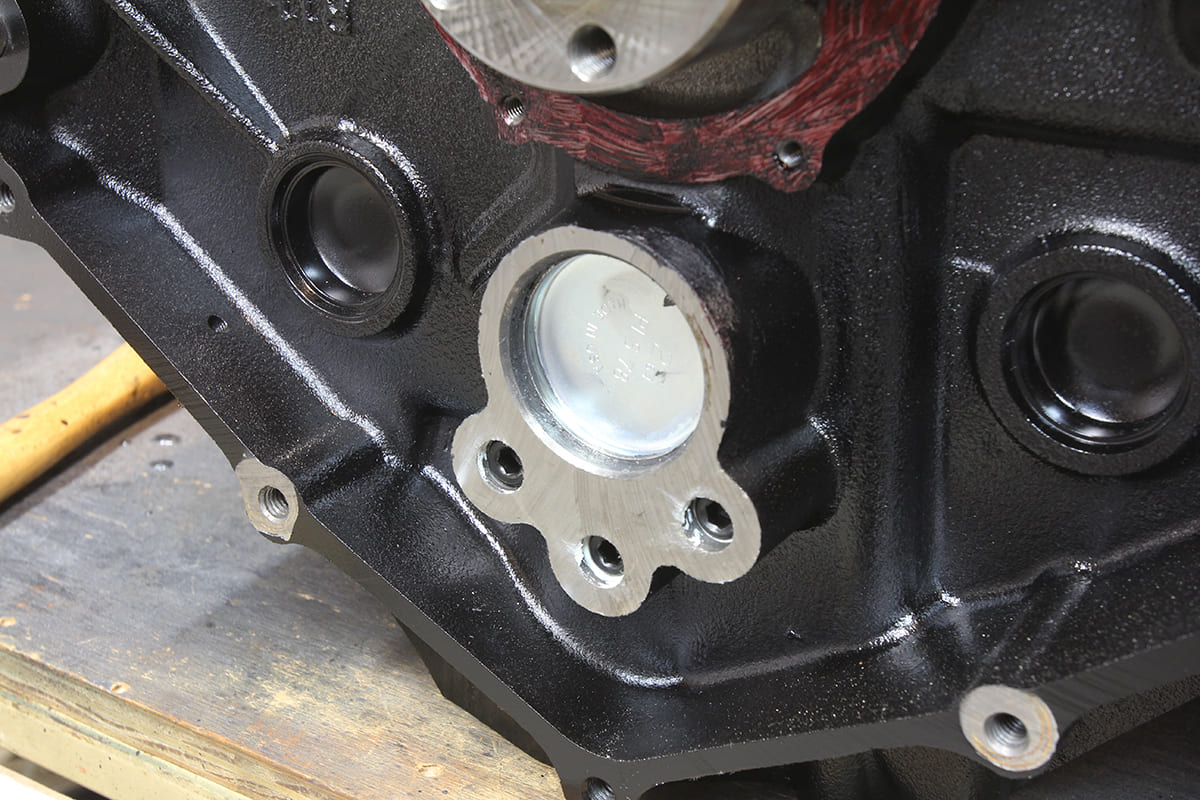
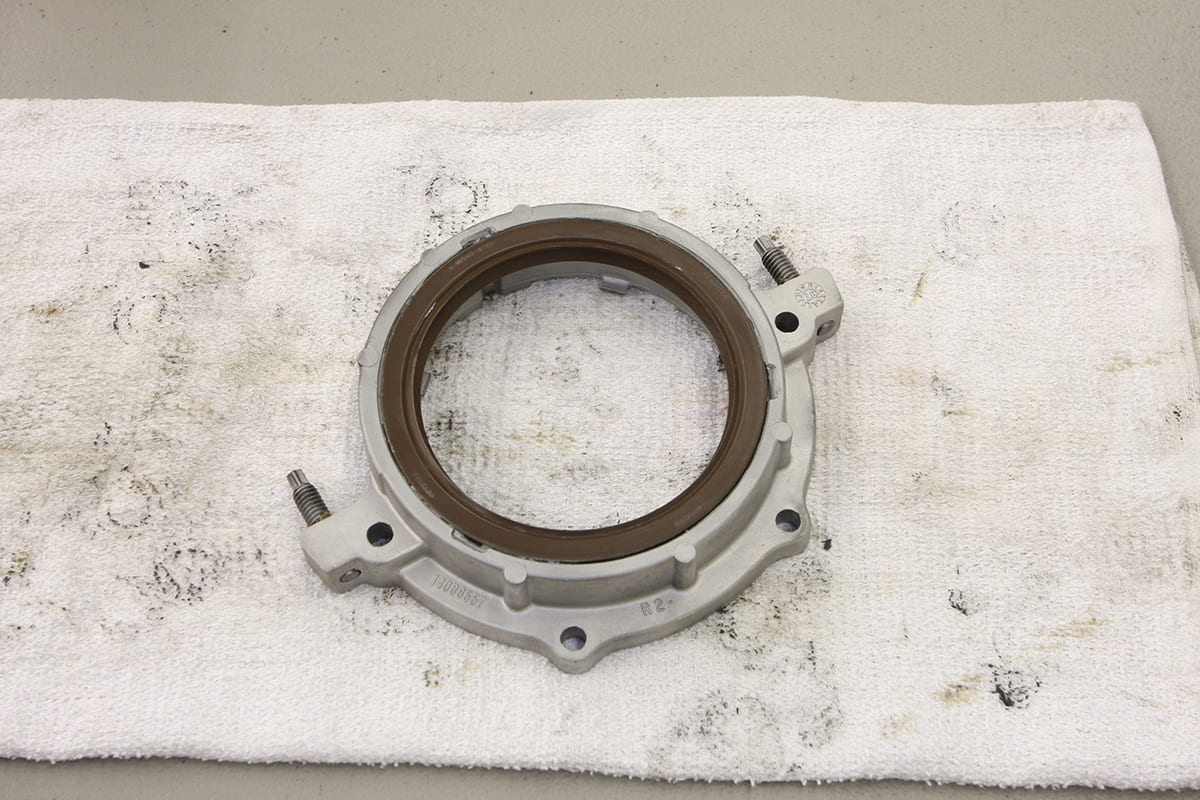
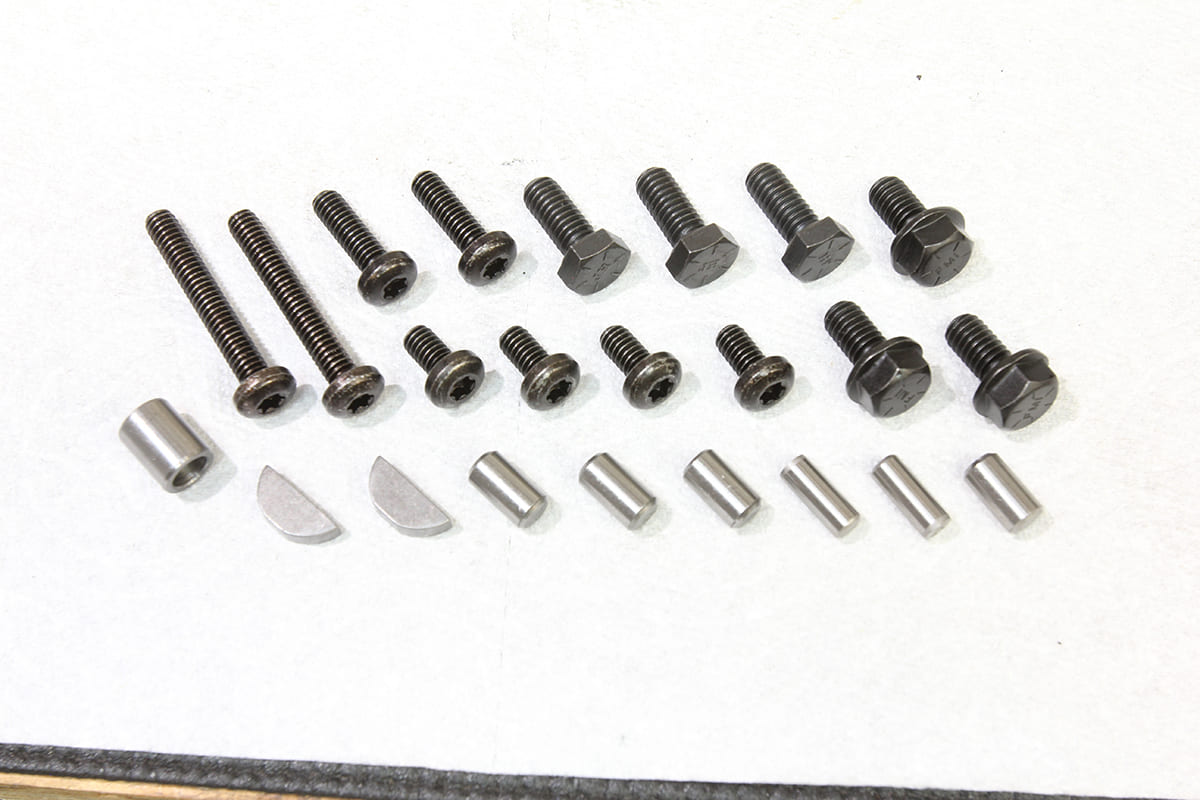
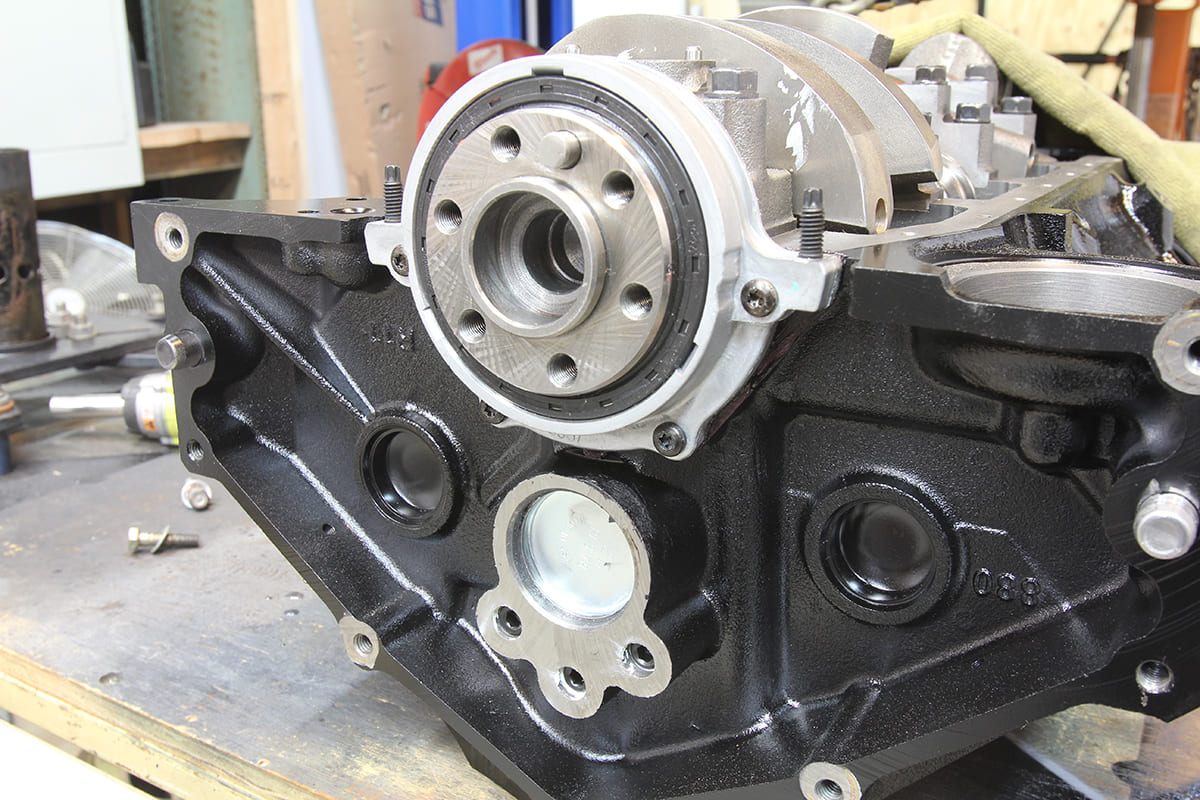
“Every square inch” means just that. If you can get a bottle brush or other cleaning tool in the hole, it’s a good idea to run it through now so as to ensure there’s no leftover debris, oil, or other contaminants inside before we button up the engine.Painting our bare block is necessary, even though it shows up partially painted from the factory. While the obvious finish for most SBCs would be Chevy Orange, we decided to go a more conservative route, choosing satin black as the final color. We’ll be painting the block and heads in a two-step process, applying two to three coats of primer followed by a similar amount of color coats using Rust-Oleum engine paint from Summit Racing.After a liberal bath, the engine block is blown as dry as possible using compressed air and then left to further dry out in the sun. Satisfied that the engine is nice and dry, it’s given another cleansing, this time with a clean shop towel and a good paint prep product before the internals are masked and the block is ready for paint. A final quick wipe down ensures our finish will be blemish free.The next step in the cleaning process involves an SAE Thread Cleaning Chaser five-pack from ARP (PN 911-0006). This kit includes a tap for the common SAE sizes found on most domestic engines from 1/4-20 to 1/2-13.At this point, every threaded hole on the block is chased to ensure no debris from the machining process has been left behind. This also yields more accurate torque readings since the threads are nice and clean and the fastener isn’t obstructed by any foreign objects in the hole. I like to do this step after I’ve painted the block as it also cleans out any paint that may have found its way into any of the threaded holes.With the prepwork complete on the block, it’s time to check our crankshaft against the installed bearings on our block to ensure the clearances are in the ballpark. To do so, we’re going to need two sets of tools, both available from Summit Racing—the first being a set of outside micrometers (PN POW-POW152006) capable of measuring from 0 to 6 inches …… as well as a dial bore gauge set (PN CCA-5605).The goal here is to determine the amount of clearance between the outside diameter of the crankshaft’s main bearing journals and the inside diameter of the block’s main bearings, as installed and torqued to spec. First, an outside micrometer with a range of 2 to 3 inches is used to measure each crankshaft main bearing journal.The mic gives us a journal diameter reading of 2.450 inches.Next, the dial bore gauge is set up with the proper anvils to give us a reading slightly larger than our journal diameter, 2.480 inches in this case. With the business end inserted inside the micrometer, the dial indicator is set to 0.To properly measure the main bearing clearances, we’ll need to install all five of the main bearings (PN SUM-172000) in our block and torque the fasteners to spec. It’s worth noting that the intended fasteners need to be used at this point to determine the proper clearances as they can have an effect on the final number, for example, stock rod bolts versus ARP main studs.For our naturally aspirated example, the stock main bolts will suffice, so the bearings are installed in their respective location and the main caps torqued to spec (70 lb-ft for the inner cap bolts and 65 lb-ft for the outers). The dial bore gauge is then used to read the id of each main cap assembly in the vertical plane, with the difference from zero as read on the dial indicator the resulting clearance. For most applications, 0.00075 to 0.001 inch (three-quarters to one thousandth of an inch) of clearance per inch of crank journal diameter is a reasonable starting point. That said, we’re looking for a reading between 0.0018 and 0.00245 inches. Here, you can see the dial indicator reads a difference of 0.002 inch, which is the measured clearance between the od of the crank journal and the id of the bearing assembly—well within our predetermined clearance range.With our main bearing tolerances checking out, the main caps and bearings are removed, wiped down one final time, and the final assembly of the crankshaft can begin. We’re using a Summit cast steel crankshaft (PN SUM-180368) featuring a 3 3/4-inch stroke.We’ll be using Comp Cams Assembly Lube throughout the build (Summit PN CCA-104), applied here to both the top and bottom main bearings shells before assembly.Before the main cap fasteners are installed, a small amount of ARP Assembly Lubricant is applied to the threads as well as under the head of each bolt. This ensures proper thread engagement as well as accurate torque readings without the interference that could be caused by galling between the head of the bolt and the main cap.The front four main caps are torqued to spec, with the rear main cap slightly snug (10-15 lb-ft) so we can check the crankshaft endplay.The rear main bearing controls crank thrust or endplay and needs to be checked before we proceed. First, a light tap on the back of the crank moves it forward, aligning the two bearing shells. A dial indicator mounted on the front of the engine block will be used to measure the amount of endplay (movement of the crank fore and aft in the block).The dial indicator is installed and set to 0 …… the crank moved aft in the block using a large screwdriver to gently pry between the crank webs and the main caps …… and the resulting difference displayed on the dial indicator (0.004 inch). The recommended clearance range for a small-block Chevy is between 0.003 to 0.011 inches, so while we’re on the tight side of things, we’re still well within spec. If we wanted to open up the endplay, it’s a simple matter of removing the necessary amount of material from the front thrust face of the two rear bearing shells. With the endplay noted, the rear main can now be torqued to spec and the crank checked for smooth operation.The final bit of business related to the installation of the crank is to install the one-piece rear main seal. Oftentimes, this can be difficult to install with the engine bolted to an engine stand as the back side of it can be hard to access. To that end, we removed our engine for the moment and placed it on a workbench so we can install the rear main seal retainer as well as the camshaft end plug and the three oil galley plugs at the back of the block.We found Summit’s Expansion Plug Kit (PN SUM-G1581) has everything needed to plug these holes and more when it comes to reassembling a bare block.Here, the three oil galley holes are plugged and the camshaft end plug installed. Note the gasket adhesive that has been applied to the area where the one-piece rear main seal retainer will be located.One of the benefits of using a later block is the one-piece rear main seal design that will hopefully prevent any potential oil leaks. The one-piece rear main seal retainer (PN NAL-14088556) is installed using a gasket between it and the block and features a one-piece seal around the crankshaft.Another helpful item of note is this Dura-Bond Hardware Finishing Kit from Summit (PN DUR-FKC-1A) that features a handful of useful dowel pins, fasteners for the rear main seal retainer, cam bolts, cam thrust plate, and Woodruff keys.With the backside of the block addressed, our engine can go back on the stand and progress can continue.While on the subject of plugs, it’s worth pointing out the plug that should be in place under the rear main cap (seen here) to ensure that the oil is directed through the oil filter. If your block came with one already installed, it’s a good idea to remove it prior to cleaning, just remember to replace it before the crank goes in!And with that, our crank is in, meets spec, and is ready to mate up with the rotating assembly next month!
We use cookies to ensure that we give you the best experience on our website. If you continue to use this site we will assume that you are happy with it.