Adding Stainless Steel Trim To The Ford Phaeton’s Old Dashboard

Do-It-Yourself Art Deco Dash On Our 1936 Ford Phaeton

By Gerry Burger      –     Photography by the Author

- Advertisement -

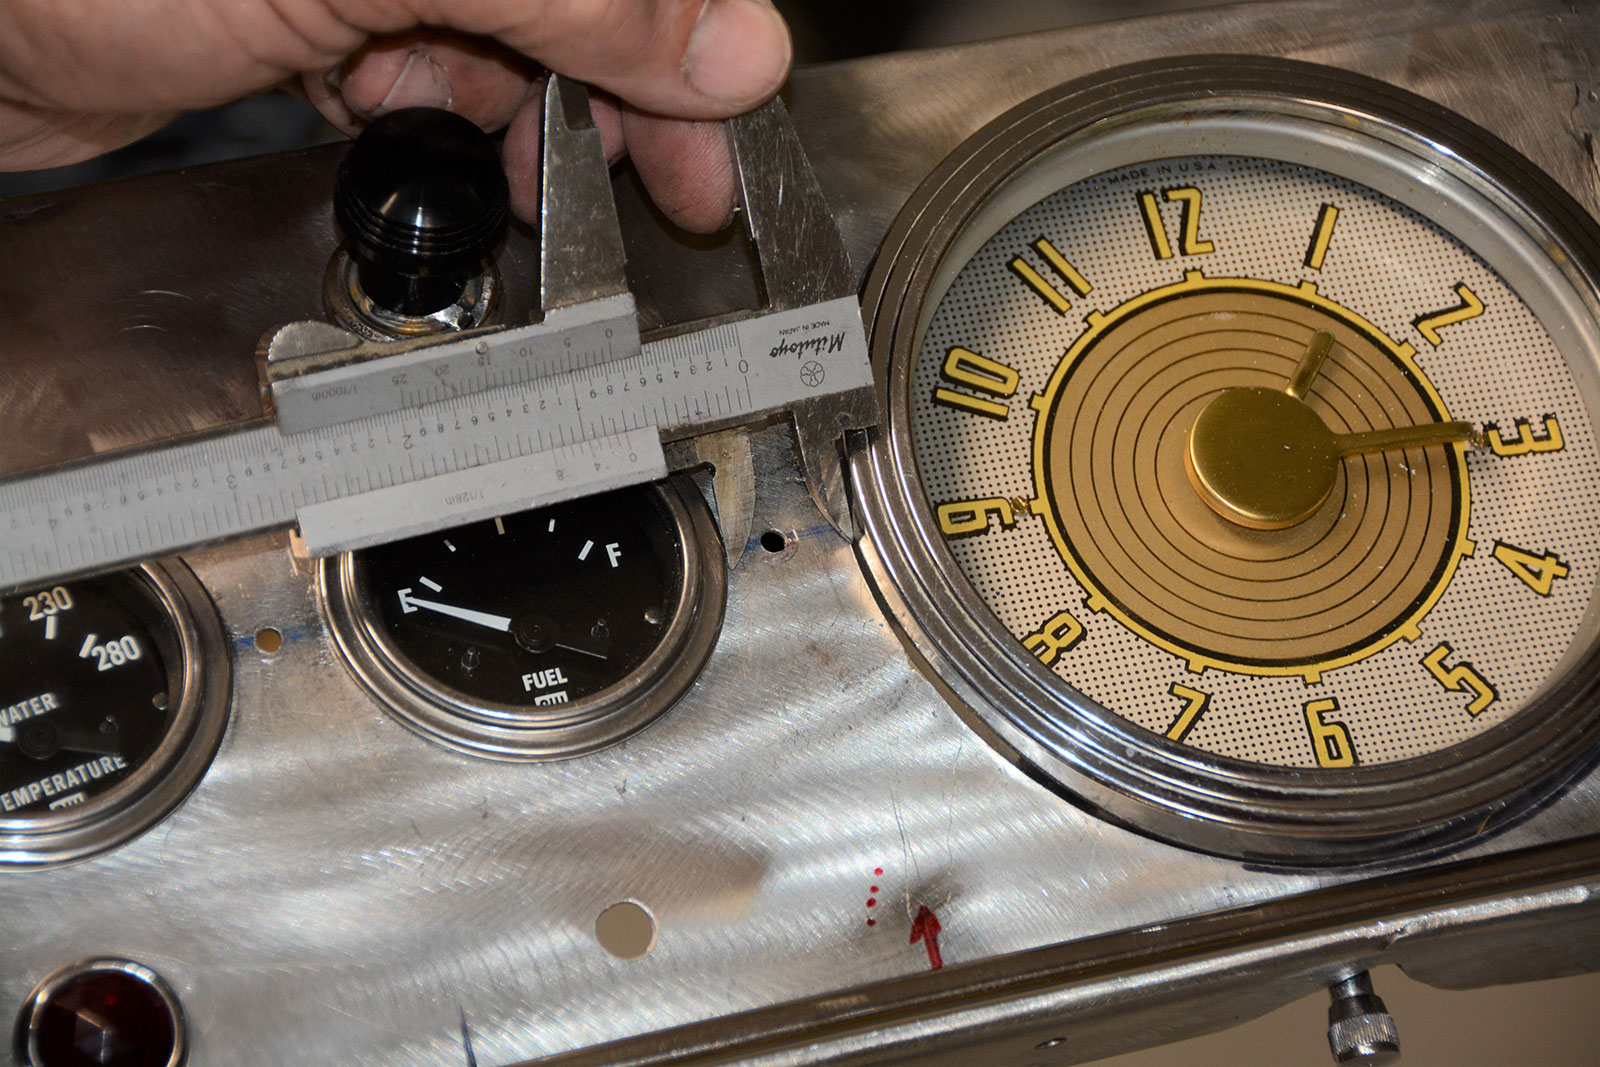
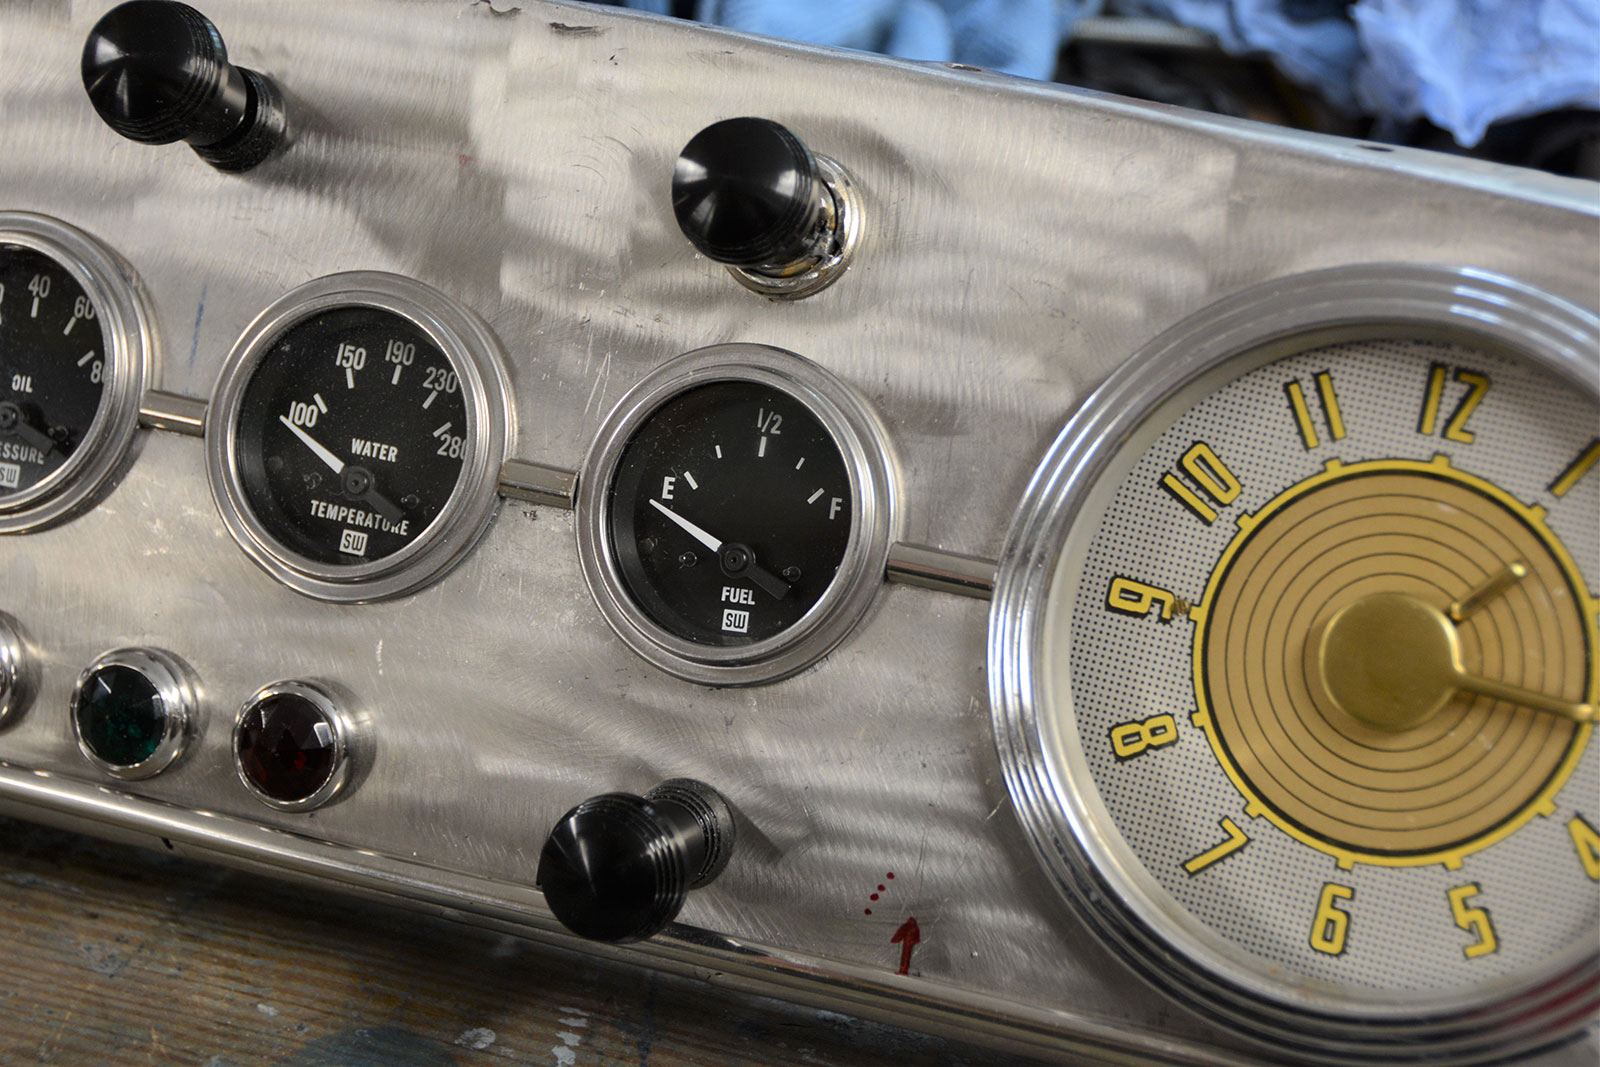
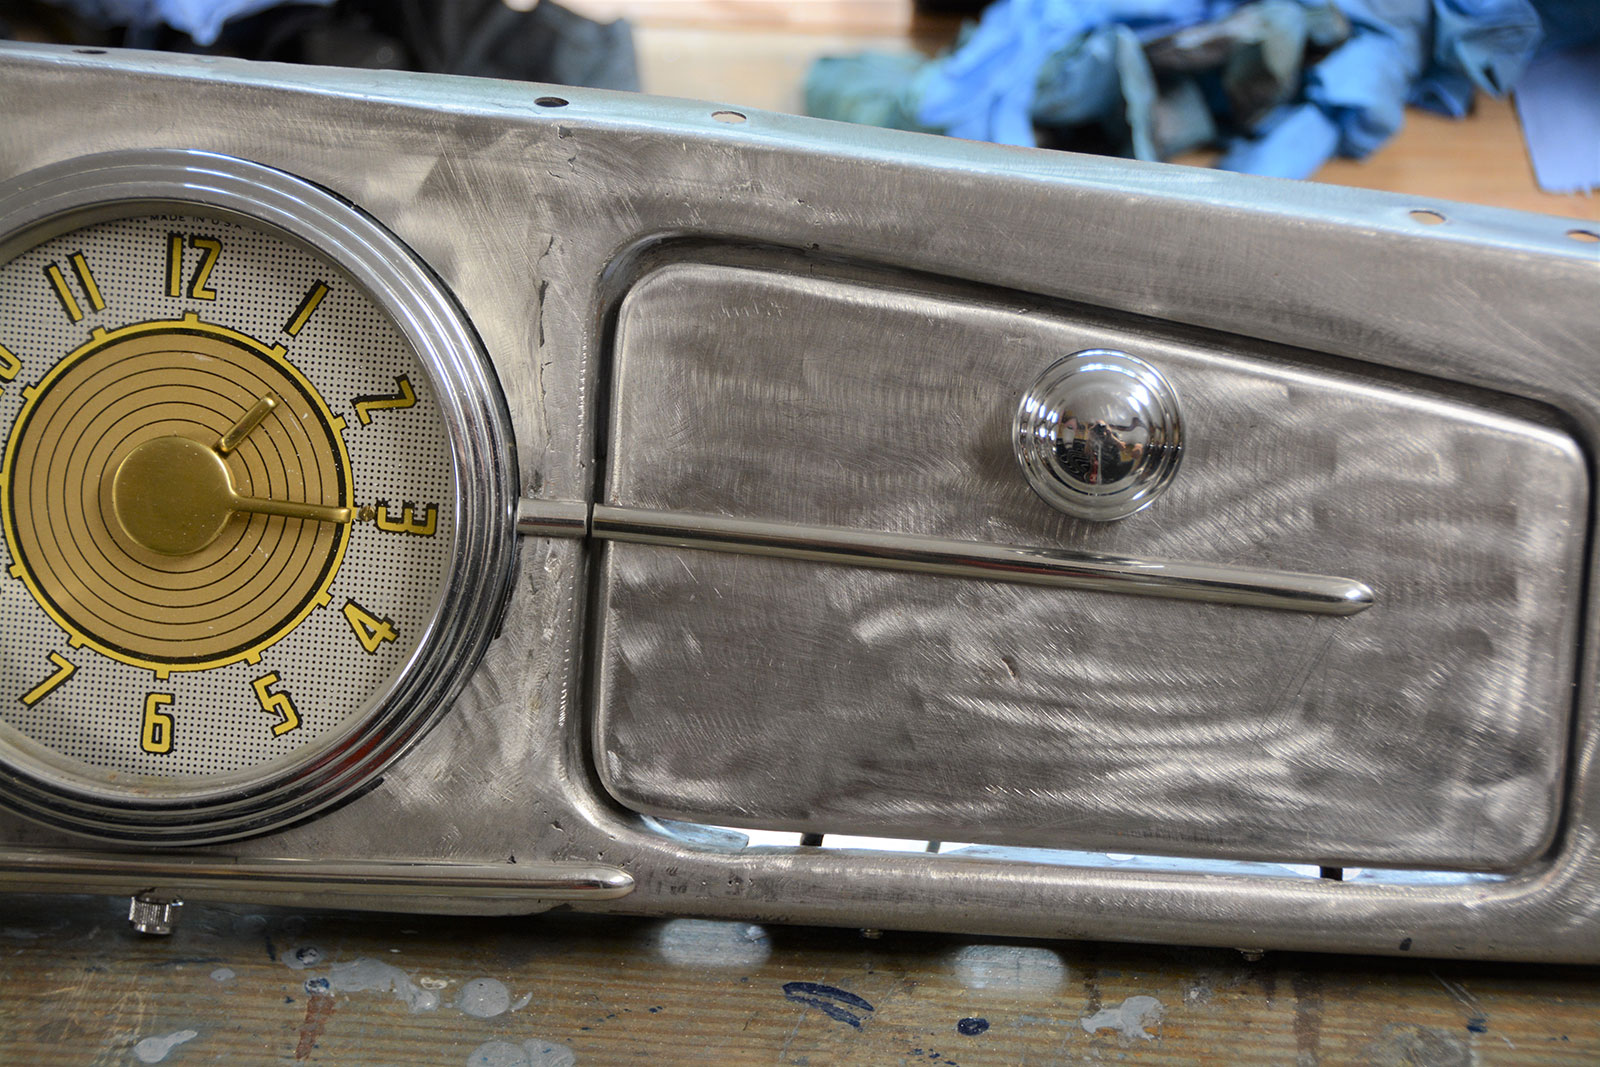
Our 1936 Ford Phaeton project car is making steady progress. Reshaping and modifying the dashboard has been a fun project that has been involved and has also evolved. One example of this was putting the final touches of detail on the dashboard. We had already mounted our ’47 Ford speedometer and clock, then we hit Speedway Motors to order up some super traditional black Stewart Warner gauges. Once all the gauges were mounted we thought the dash could use a bit more sparkle, so we are searching for some small stainless steel moldings for the dashboard.

02 Most hot rodders have these things in the shop if not one quick trip to Harbor Freight will get the tools
This is all it takes. Most hot rodders have these things in the shop, if not, one quick trip to Harbor Freight will get the tools. Also shown is the trim and the attaching bolts, and the original-style mounting clips for “blind fastening” the trim.

Read More: Everything You Need To Know About a Ford 9 Inch Rear End

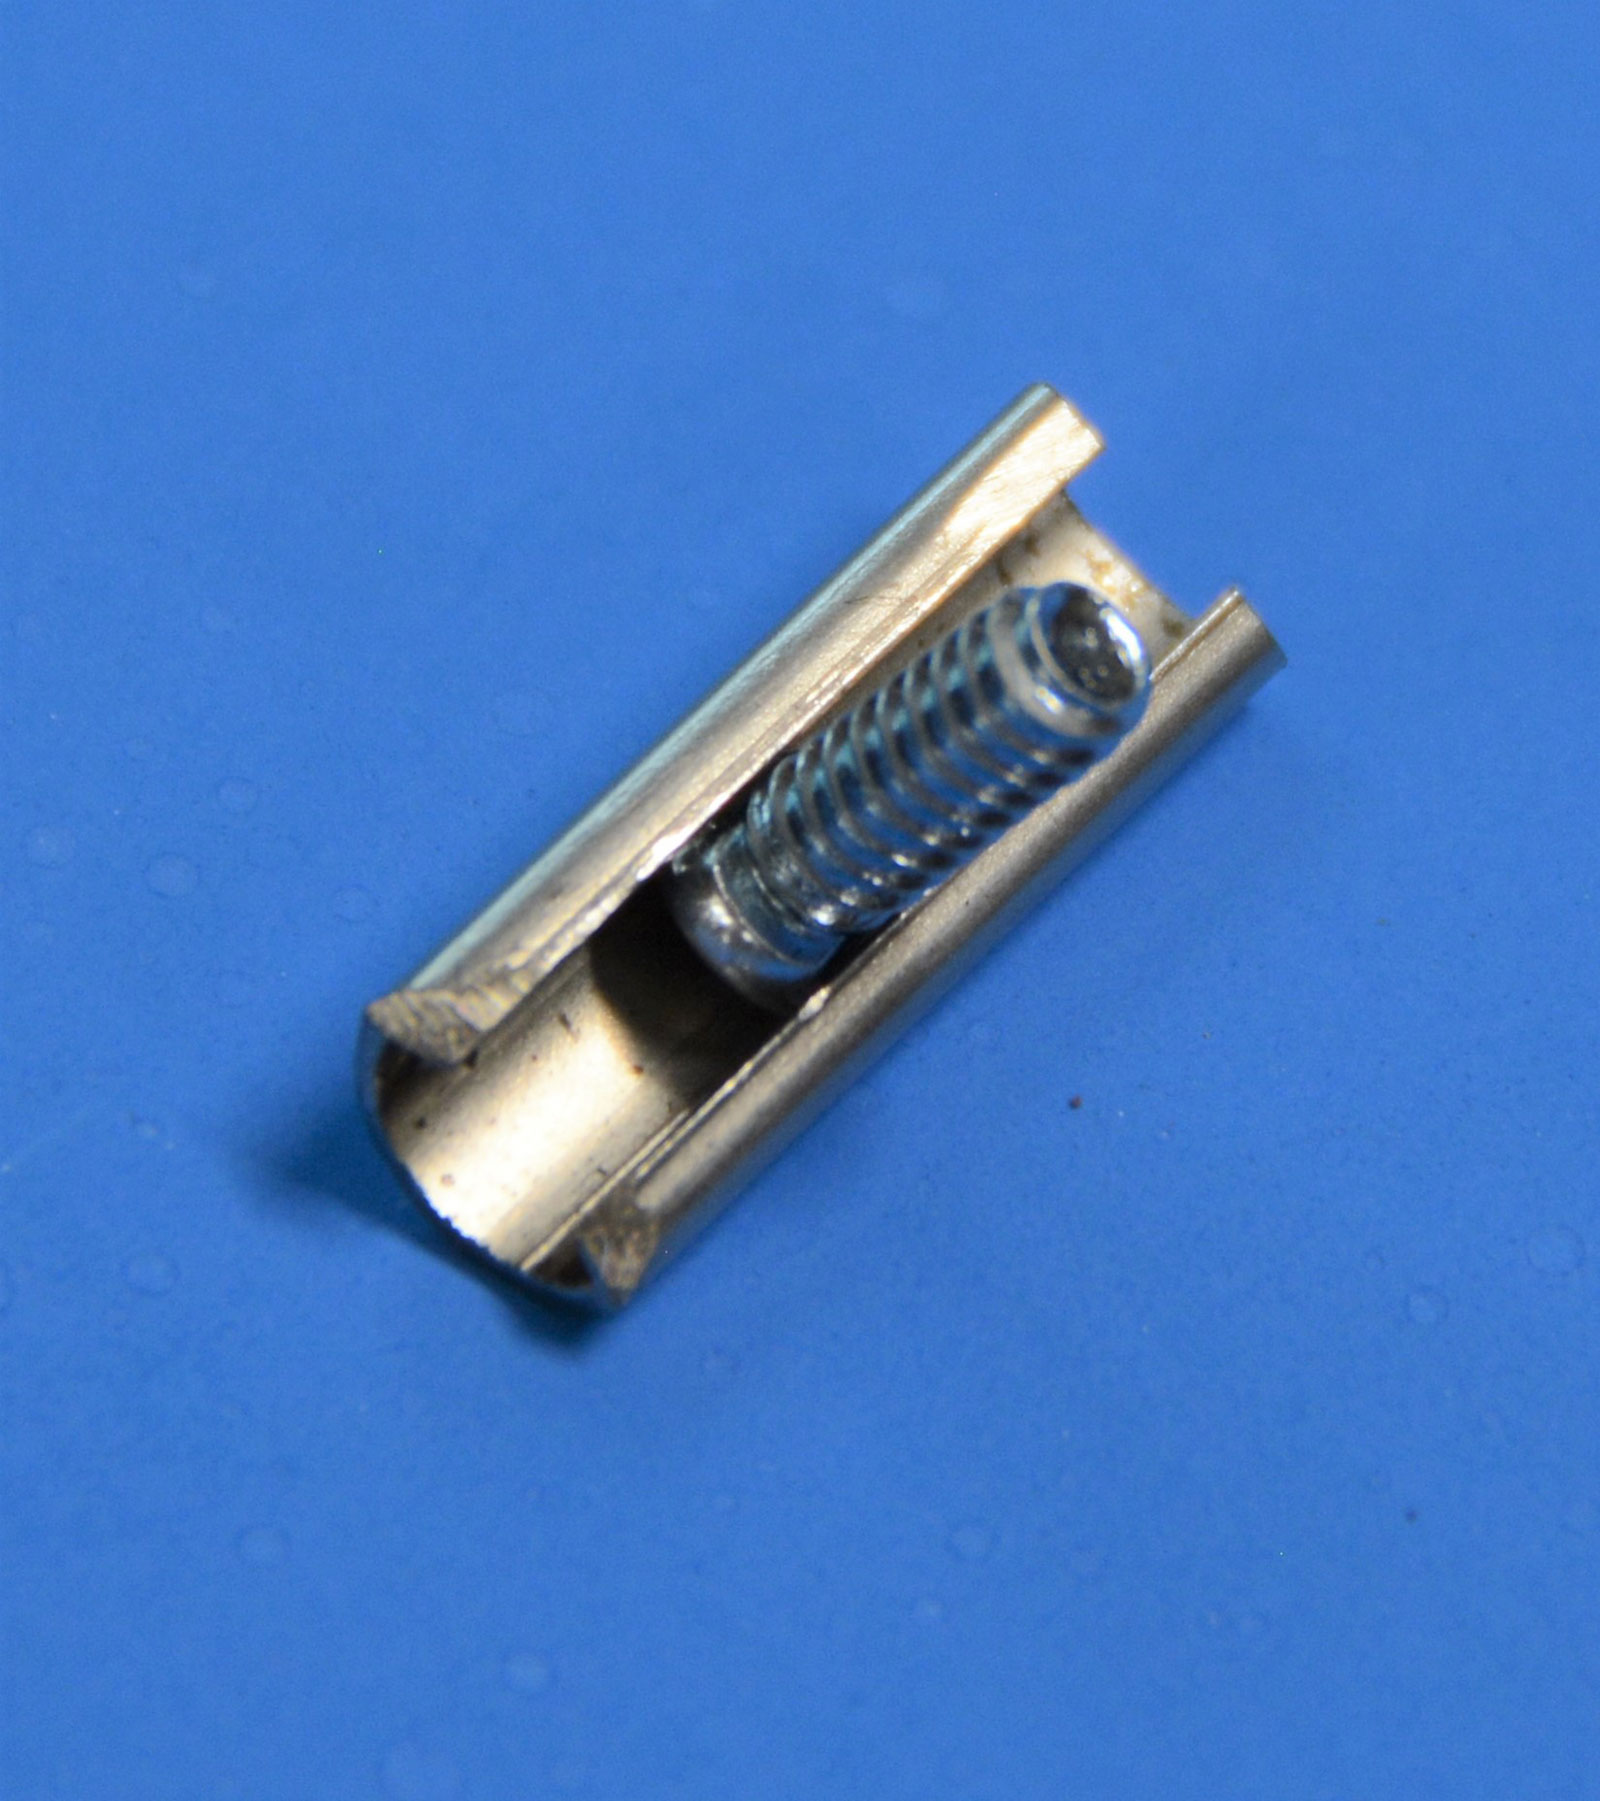
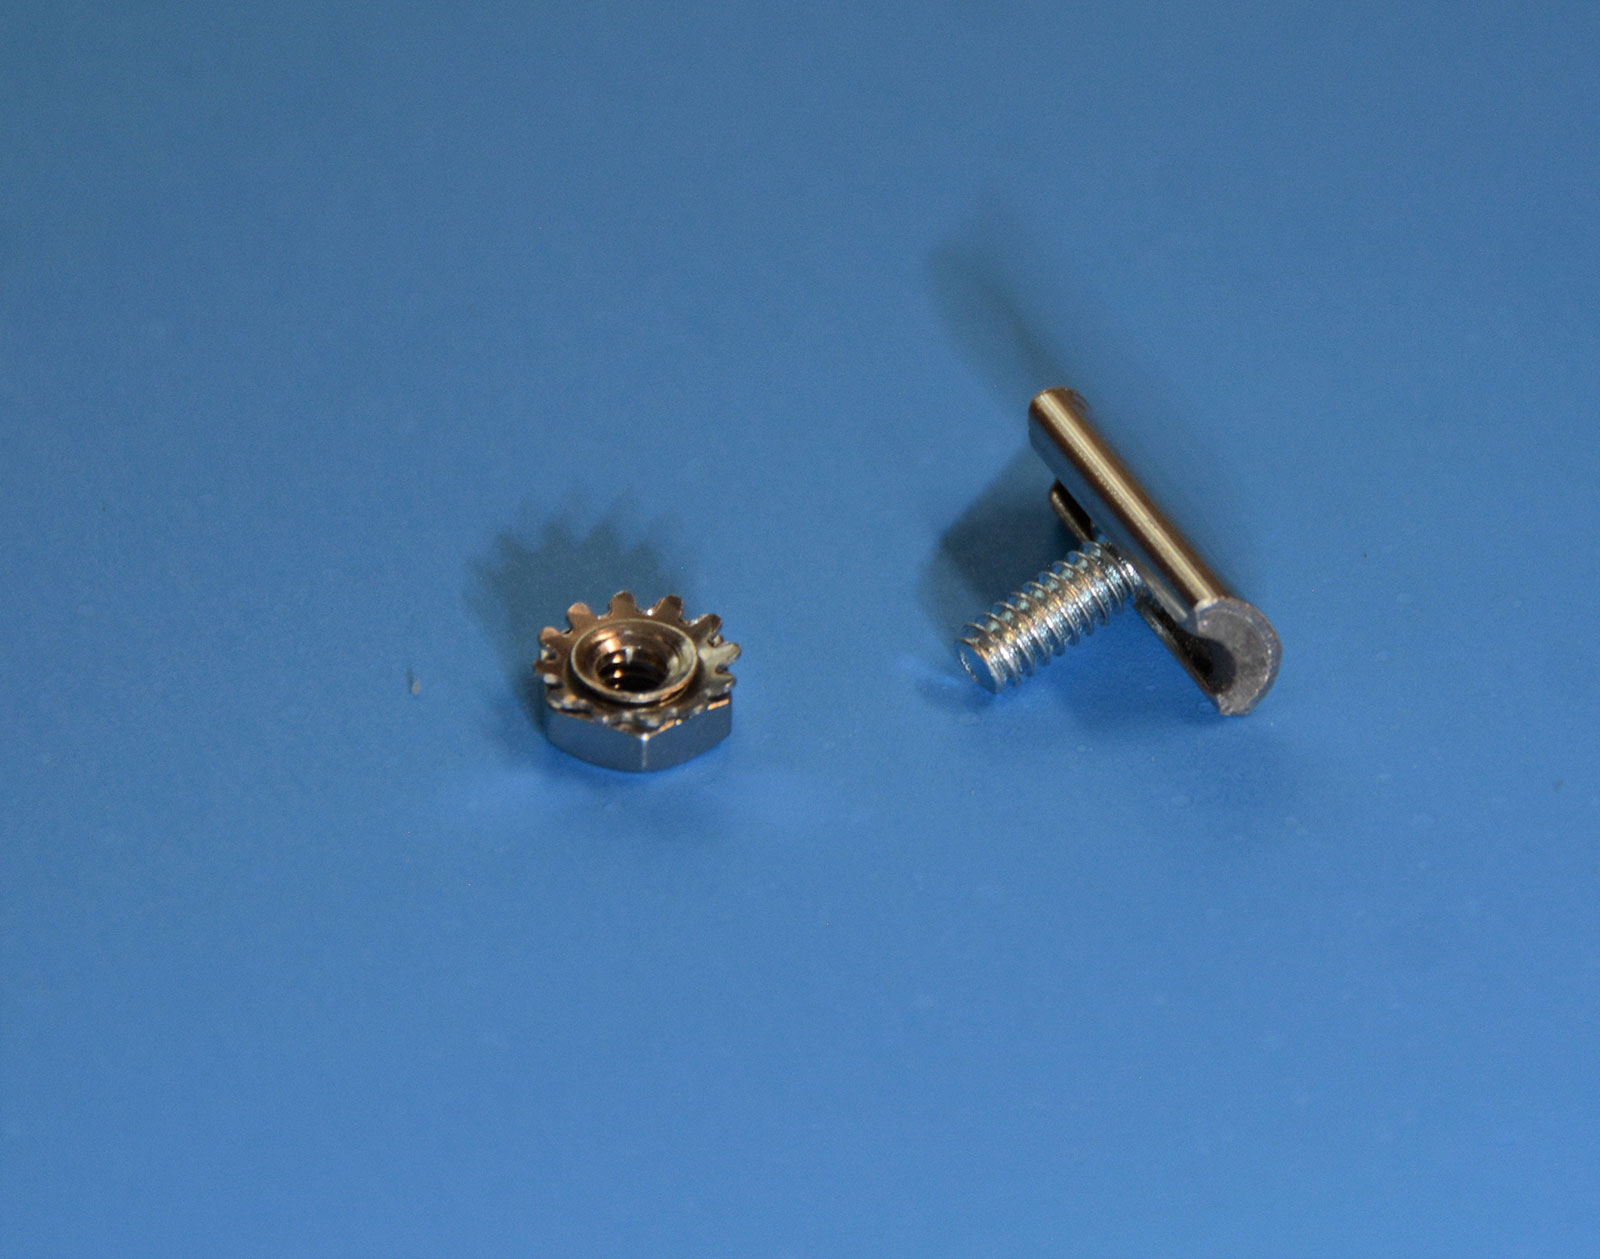
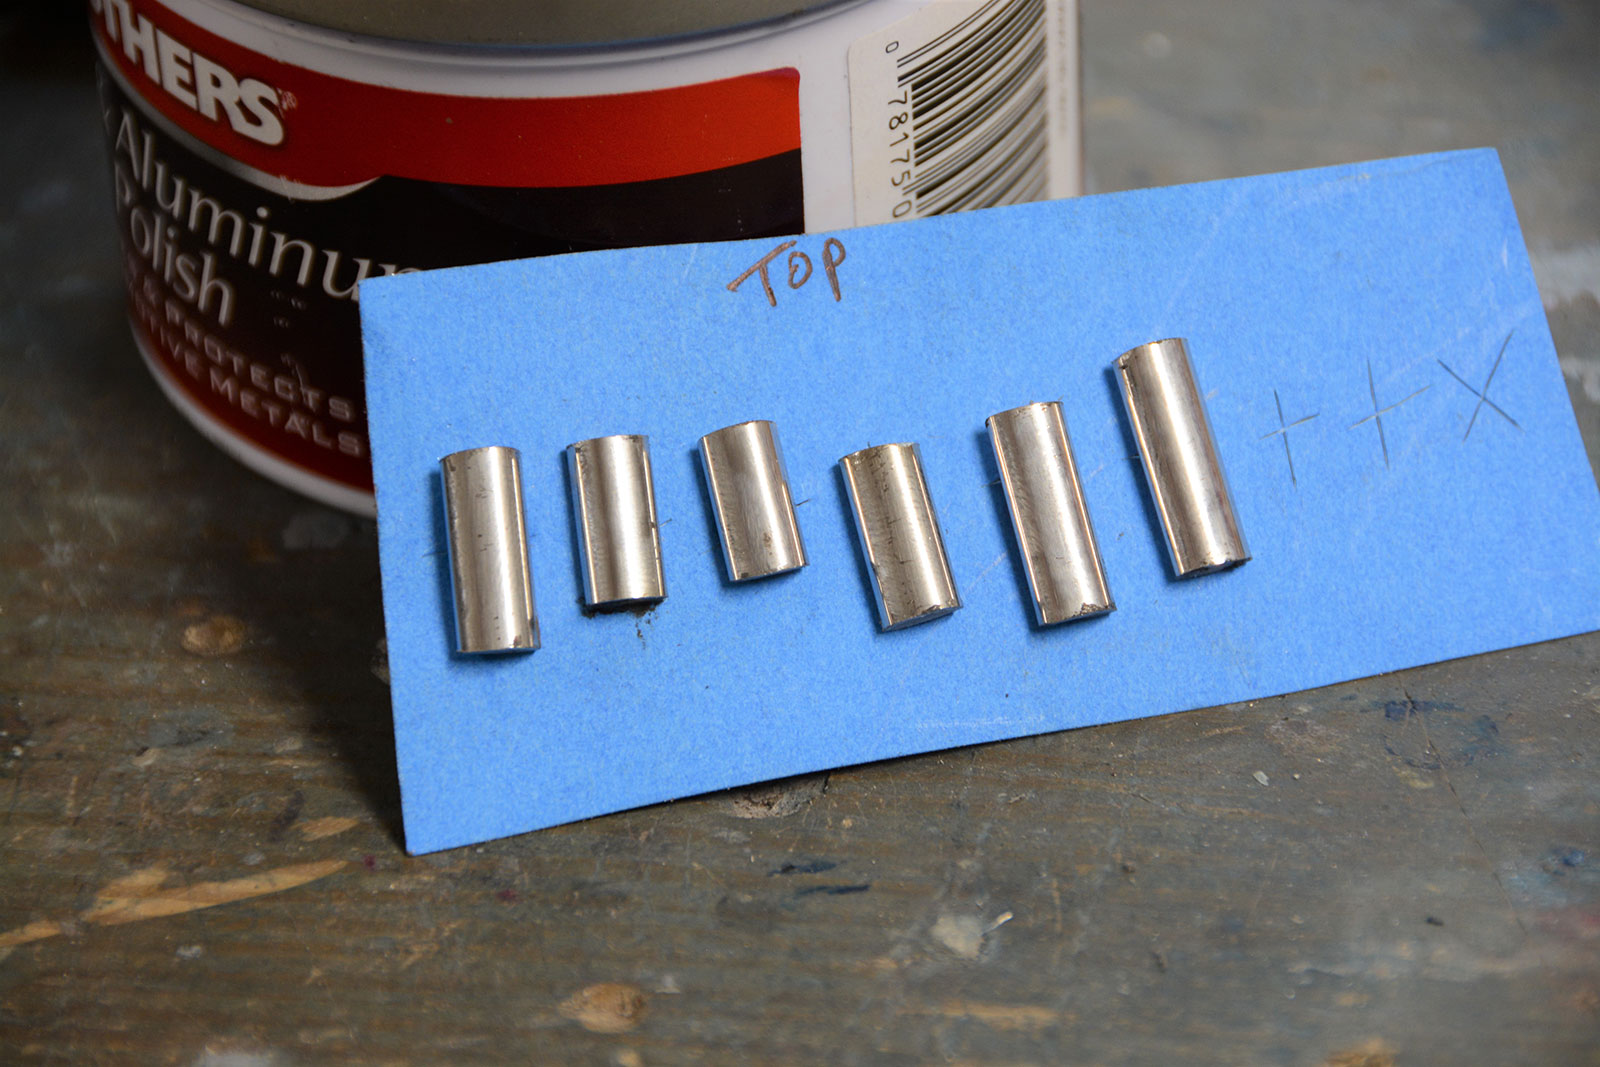
After a bit of research, we discovered 1935 Ford hood trim was 9/32-inch wide, making it the perfect width for our application. We also found the stainless steel 1935 Ford hood trim to be affordable. As an added bonus, the reproduction pieces come with a new mounting system involving small bolts that slide in the trim, as opposed to the original push-in clips.

- Advertisement -
03 We used ¼ inch fine line tape to locate the centerline of the long piece of trim on the bottom of the dashboard
We used ¼-inch fine line tape to locate the centerline of the long piece of trim on the bottom of the dashboard. This is a simple method to locate hole centers on a curved panel.

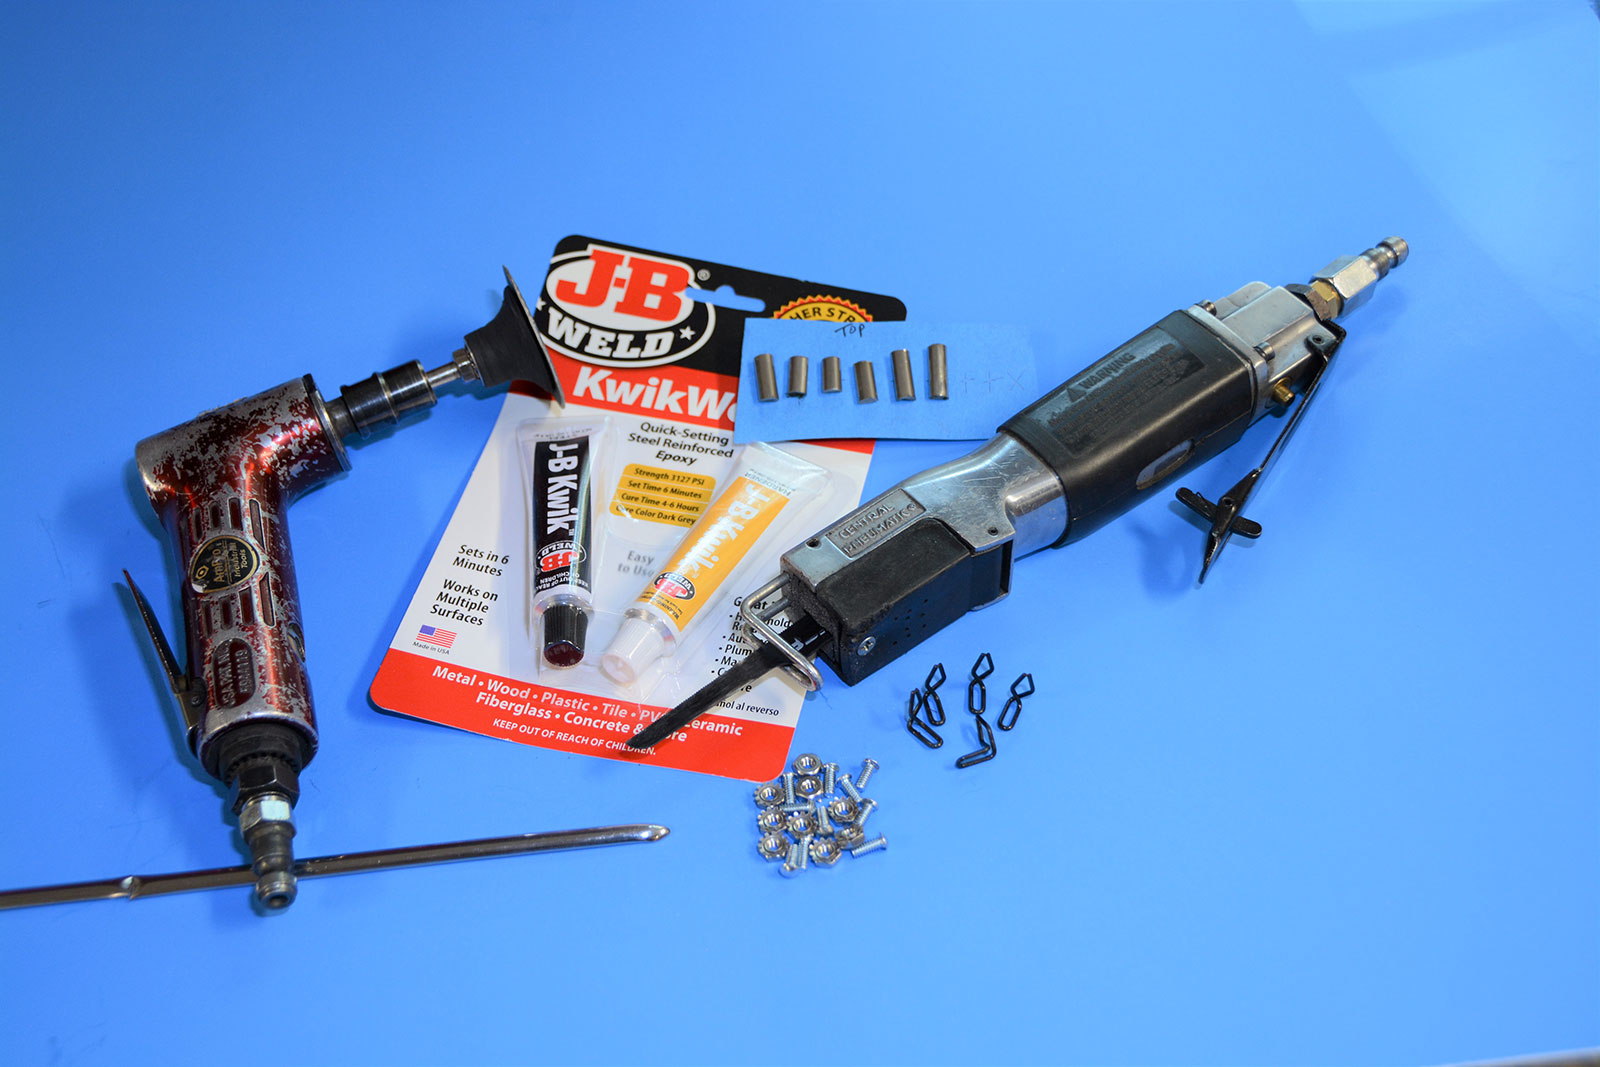
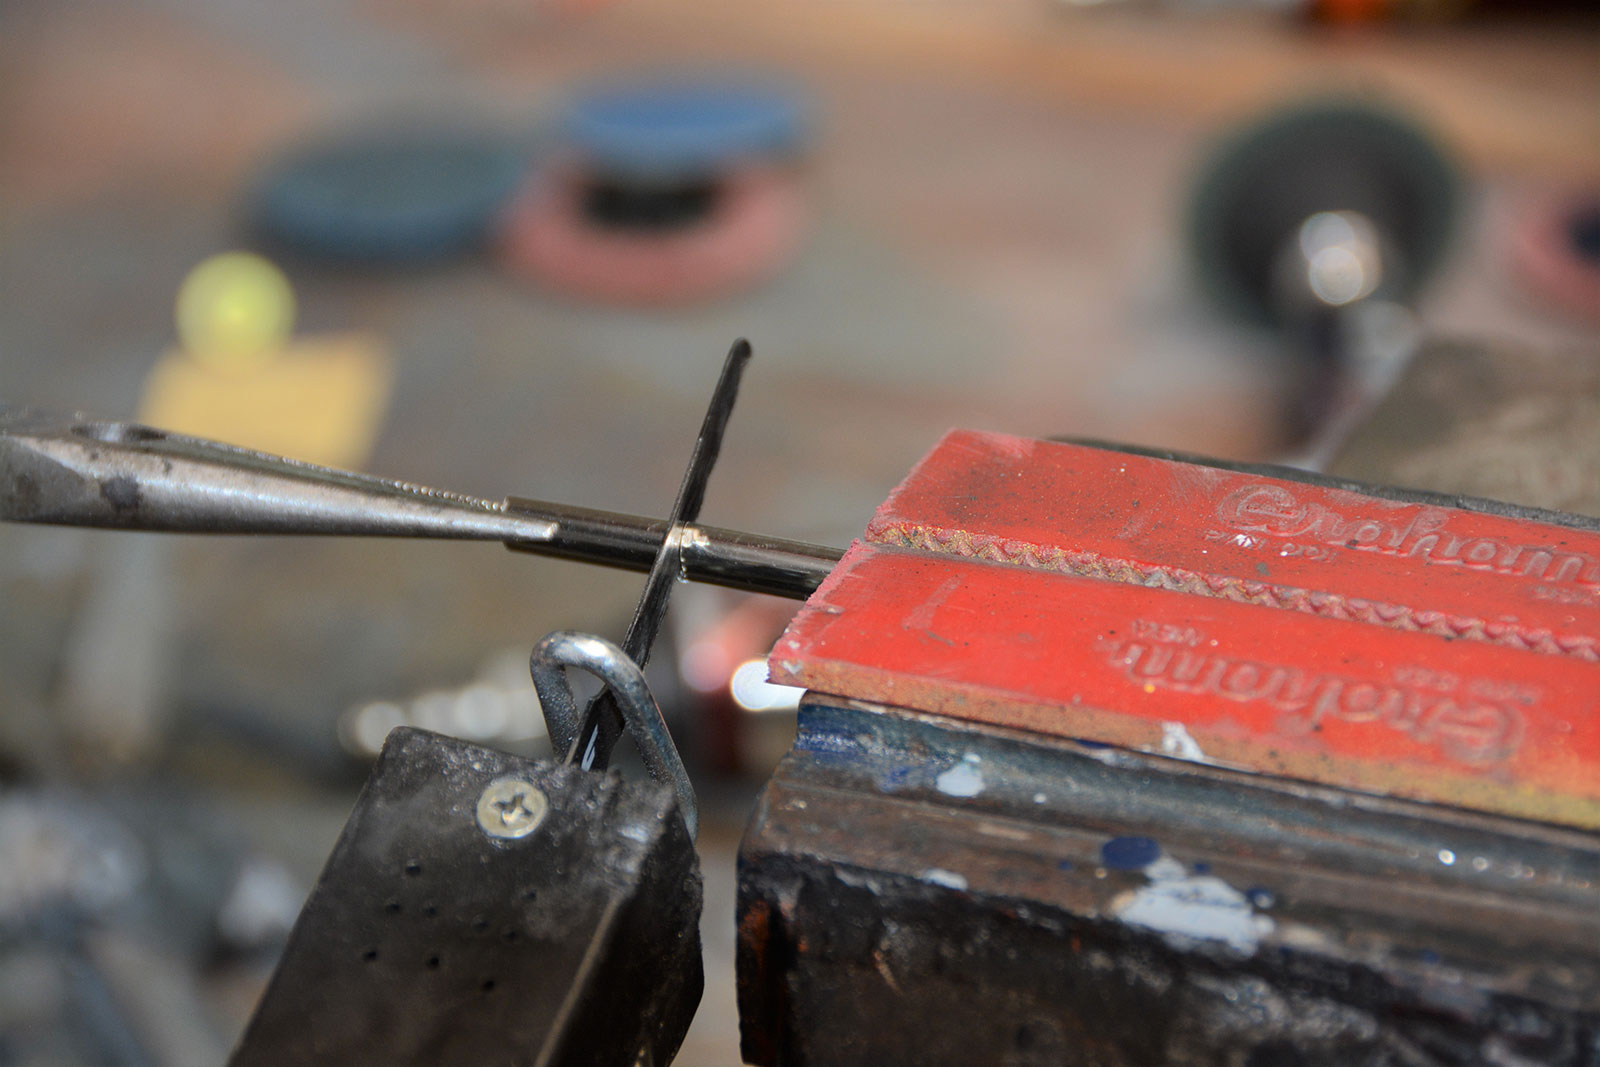
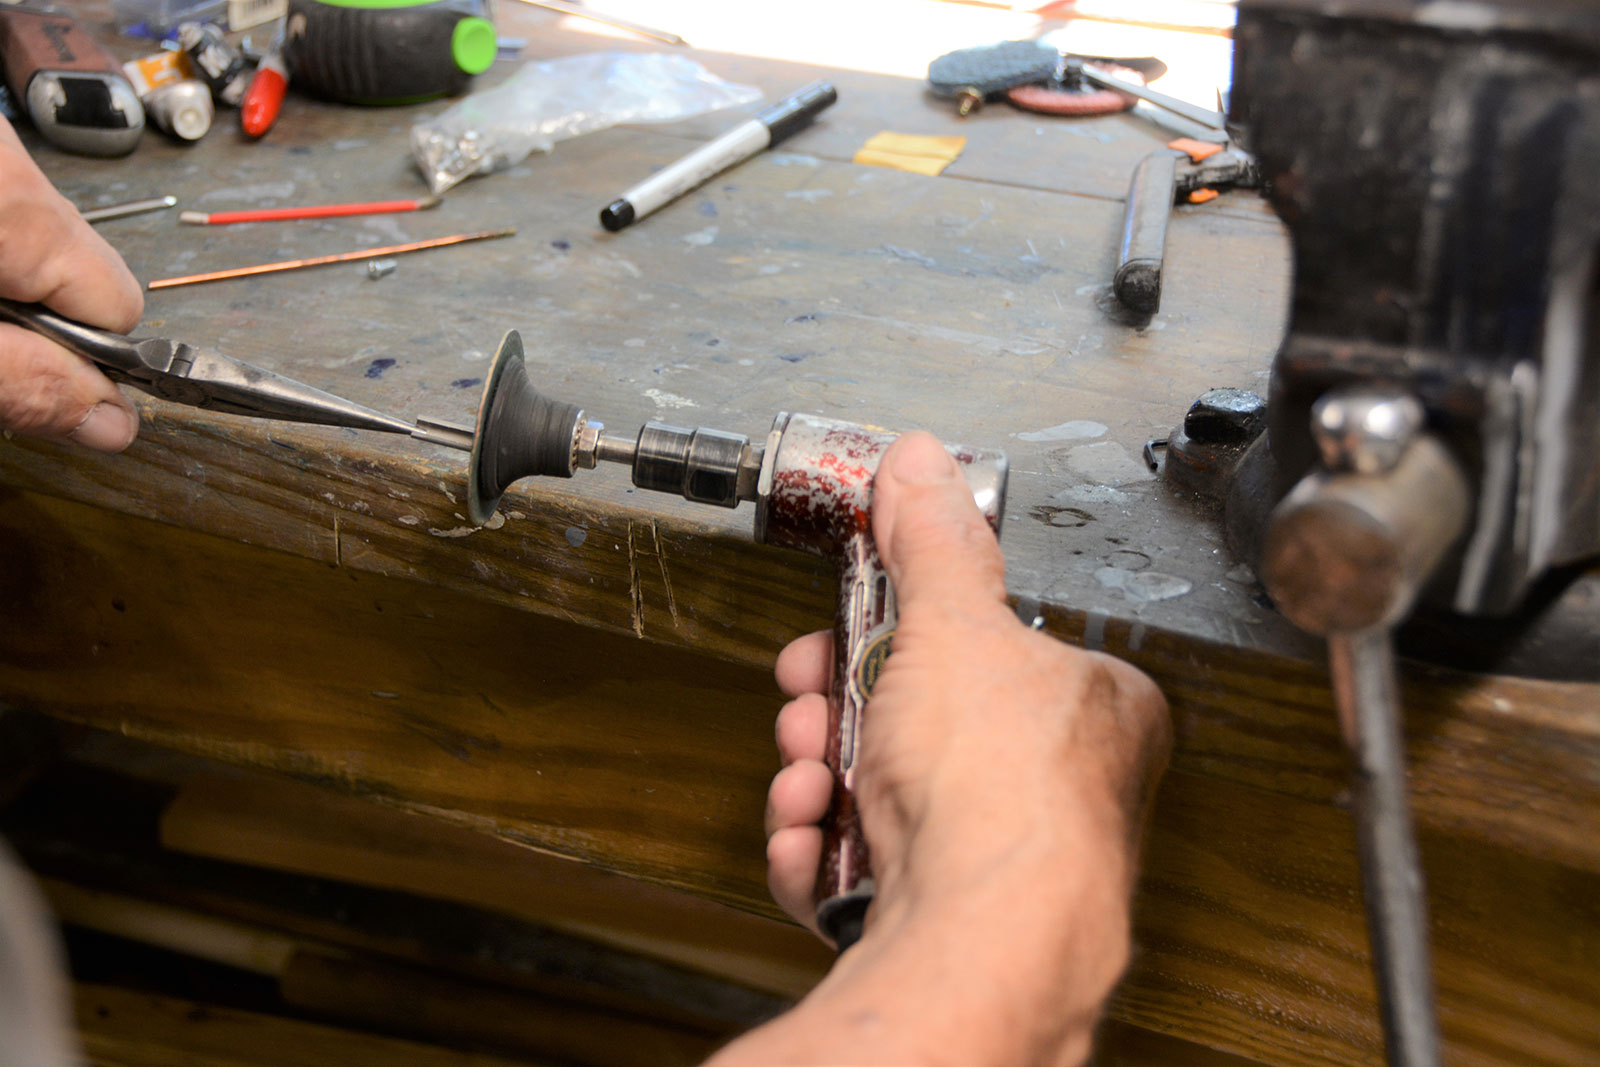
We experimented with several ways to cut the trim and in the end we used our trusty Harbor Freight pneumatic saw fit with a fine-tooth blade. It made nice, clean cuts on the small trim.

04 We used a caliper to measure between the Stewart Warner gauges
We used a caliper to measure between the Stewart Warner gauges. Since this gap varies ever-so-slightly between gauges we measured each gap individually.

Read More: How to Install Heidts’ 4 Link Suspension On A Tri-Five (1955-1957) Chevy

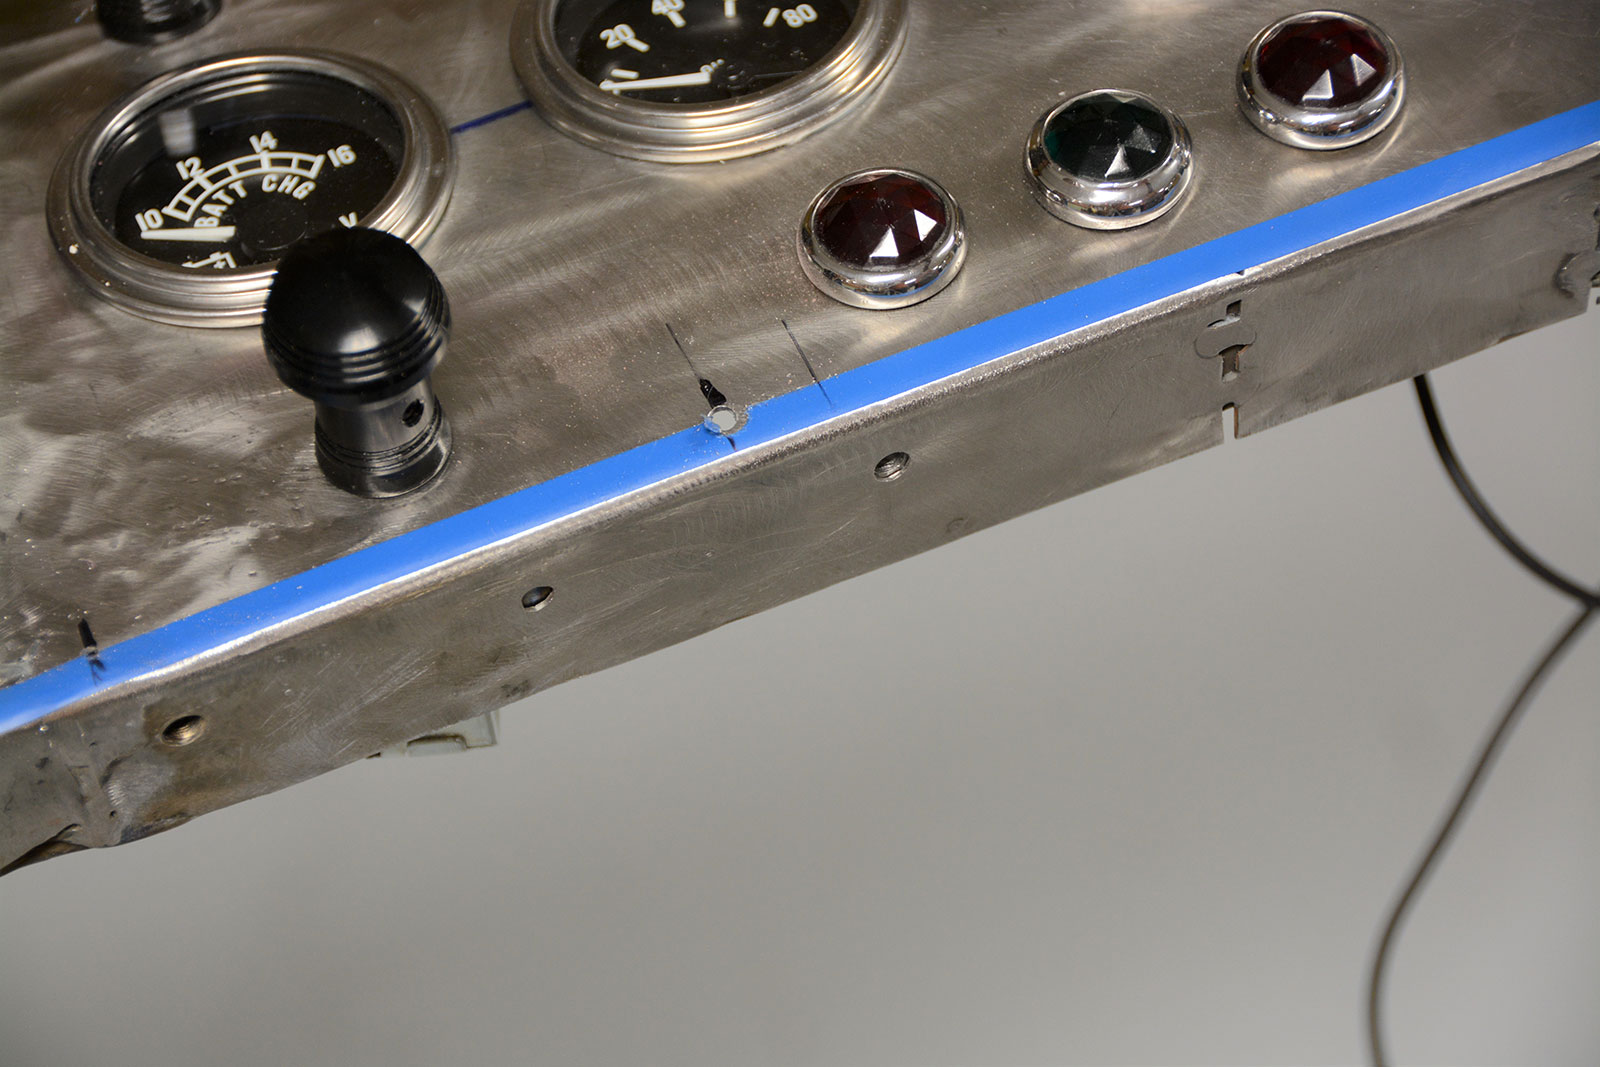
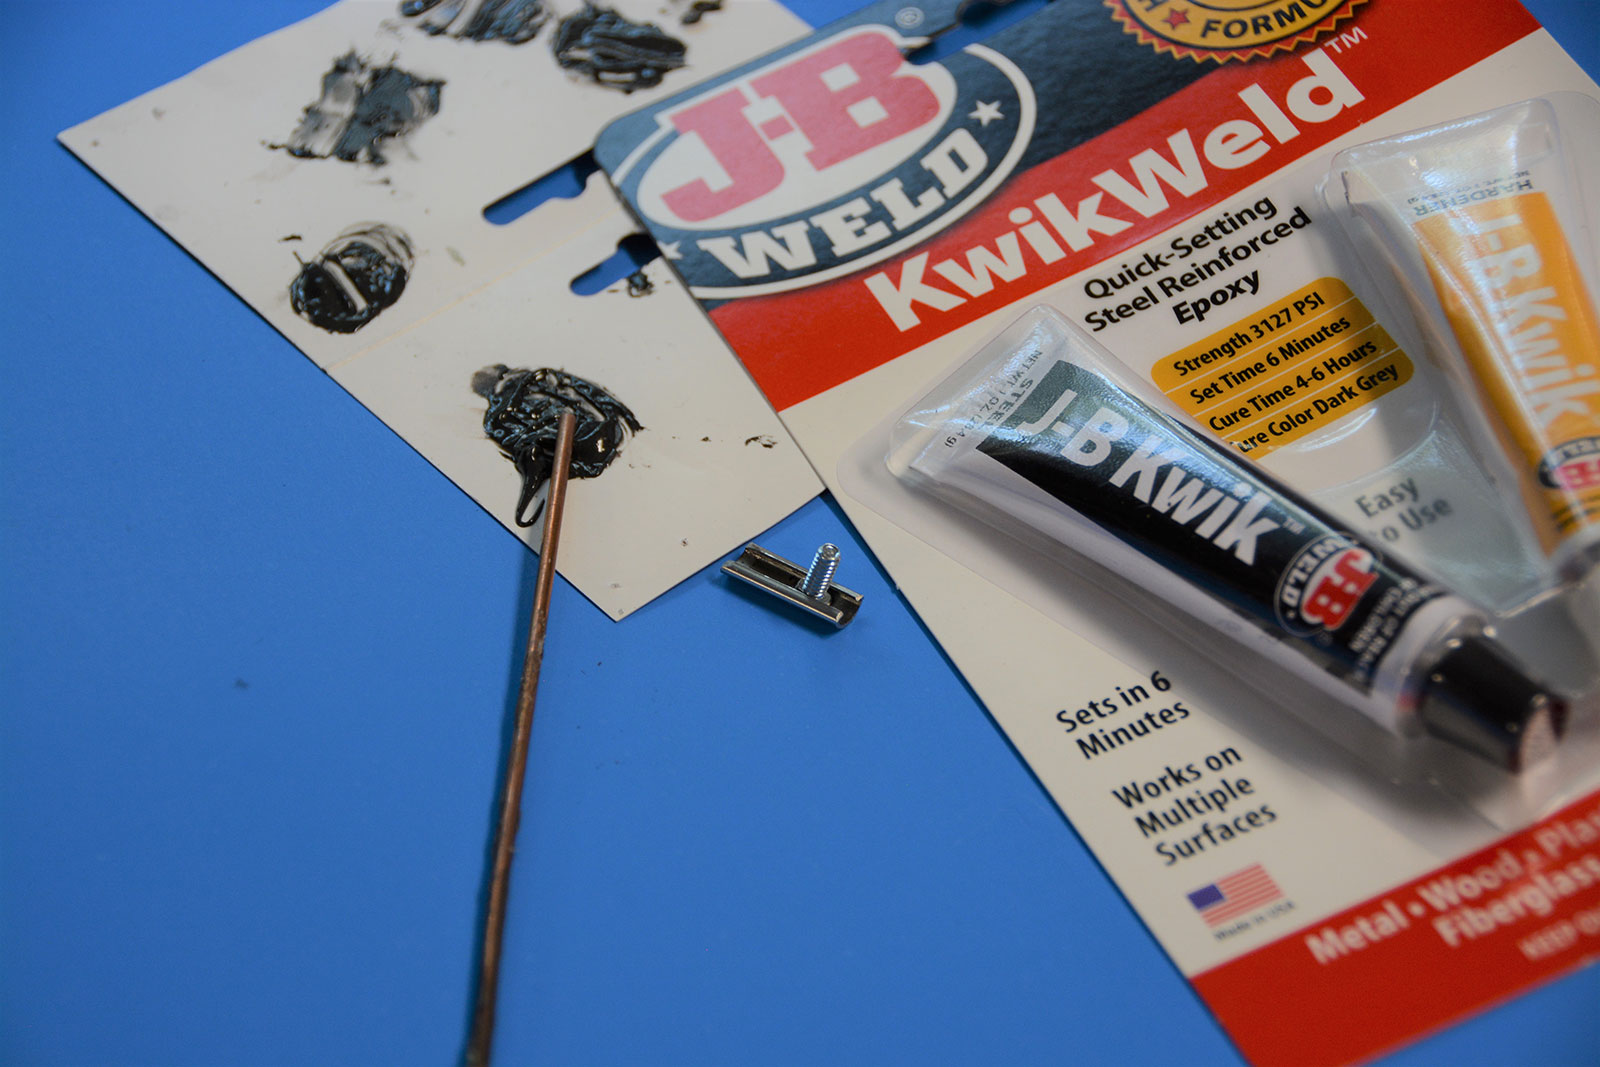
Mounting the trim involved drilling a hole on the centerline between each gauge, then cutting a piece of trim to fit the gap between the gauges. Each gauge gap is minutely different, so cut and fit each piece individually. Remember this must fit perfectly since you will be staring at this every time you drive. Once the pieces were cut, we slid a mounting bolt into the trim and filled the ends of the trim with a small dab of JB Weld. We extended the molding onto our glove box door to add a bit more sparkle. This is one of those fun little projects that makes a big difference in the overall appearance of the old dashboard. MR

05 the Harbor Freight saw and a fine tooth blade made neat clean cuts
“Soft jaws” in our vise held the trim without hurting it, while the Harbor Freight saw, and a fine-tooth blade, made neat, clean cuts.
06 We marked each piece slightly oversized and then gently trimmed each piece with a fine disc on our angle grinder
We marked each piece slightly oversized and then gently trimmed each piece with a fine disc on our angle grinder. Work slowing, “sneak up” on the piece until you have the desired fit.
07 These studs come with the reproduction trim but you could also grind down the head of a small screw
After the piece fits perfectly, slide a stud into the trim. These studs come with the reproduction trim but you could also grind down the head of a small screw.
08 A piece of welding rod works well as both a stirring stick and an applicator for the JB Weld
A piece of welding rod works well as both a stirring stick and an applicator for the JB Weld.
09 After the JB Weld cured we dressed it off flush with the end of the molding
After the JB Weld cured, we dressed it off flush with the end of the molding. Be careful not to shorten the molding.
10 Here we can see the small pieces of trim between the Stewart Warner gauges have a big impact on the overall look
Here we can see the small pieces of trim between the Stewart Warner gauges have a big impact on the overall look of the Ford Phaeton’s dash … small touches, big results.
11 The Lokar shift knob is the finishing touch
We ran a longer piece of trim onto our shortened glove box door. Notice we have slid the trim to a smaller gap than the door. This visually closes the gap of the original glove box opening. The Lokar shift knob is the finishing touch.
12 After we fit and filled all the pieces we made a simple card to hold them in proper order
After we fit and filled all the pieces, we made a simple card to hold them in proper order. This will make final assembly of the dashboard much easier.

SOURCES
Harbor Freight
(888) 444-3353
harborfreight.com
Lokar
(877) 469-7440
lokar.com
Speedway Motors
(800) 979-0122
speedwaymotors.com

- Advertisement -

Related Articles

Search Our Site

More Classic Truck Performance

Our Pick of Performance Parts For Your Classic Truck 2023

Aeromotive’s New Gen II Stealth Fuel Tank for ’67-72...

Stretch Marks

Extended Cab ’56 Ford Fits Tasso Romnio Just Right By...

Presto-Chango!

Old Anvil Works Their Magic on an International Fender By...

Loose Change

A Hill’s Hot Rods–Crafted ’74 K5 Blazer By Fuelish Media Owning...

CHANGES FOR THE BETTER

Joe McGlynn’s “Dream Stude” By Ron Covell   -   Photography by...

Fully Loaded

Leslie Moore’s Slick Suburban Hides a Surprise Underhood By Tommy...
More Classic Truck Performance

This 1971 Chevy C10 Comes Back to Life

Rutterz Rodz Revitalizes the Shop Project Truck By the CTP...

F100 Grand Nationals 2023

Ford Truck Enthusiasts Takeover Pigeon Forge, Tennessee By Solomon Lunger  ...

Legacy Series: Pat Ganahl’s ‘56 Ford F100

The History Behind Pat Ganahl & His Iconic 1956...

The 2023 C10 Fall Revival

Photos by Jesse Kiser Gather round, and let's hear the...

Tre5 Customs-Built OBS Chevy Truck

Former NASCAR Driver Wendell Chavous’ Rosa Red Slammed Silverado By...

Premier Street Rod Shop Tour

Road Trip for Chevy Task Force Truck Parts By “Rotten”...