ITGMw
SUBSCRIPTIONtext
ProgressArrows
digital issues
ProgressArrows
online store
ProgressArrows
SUBSCRIPTIONtext
ITGMw
ACPnew header logo
CTP LOGOs
all cars

TMI Products’ Classic Interior For Your 1967-72 C10 Truck

Hassle-Free Solution To Transform Your Classic Truck With Aftermarket Interior

By Rob Fortier   –   Photography by Taylor Kempkes

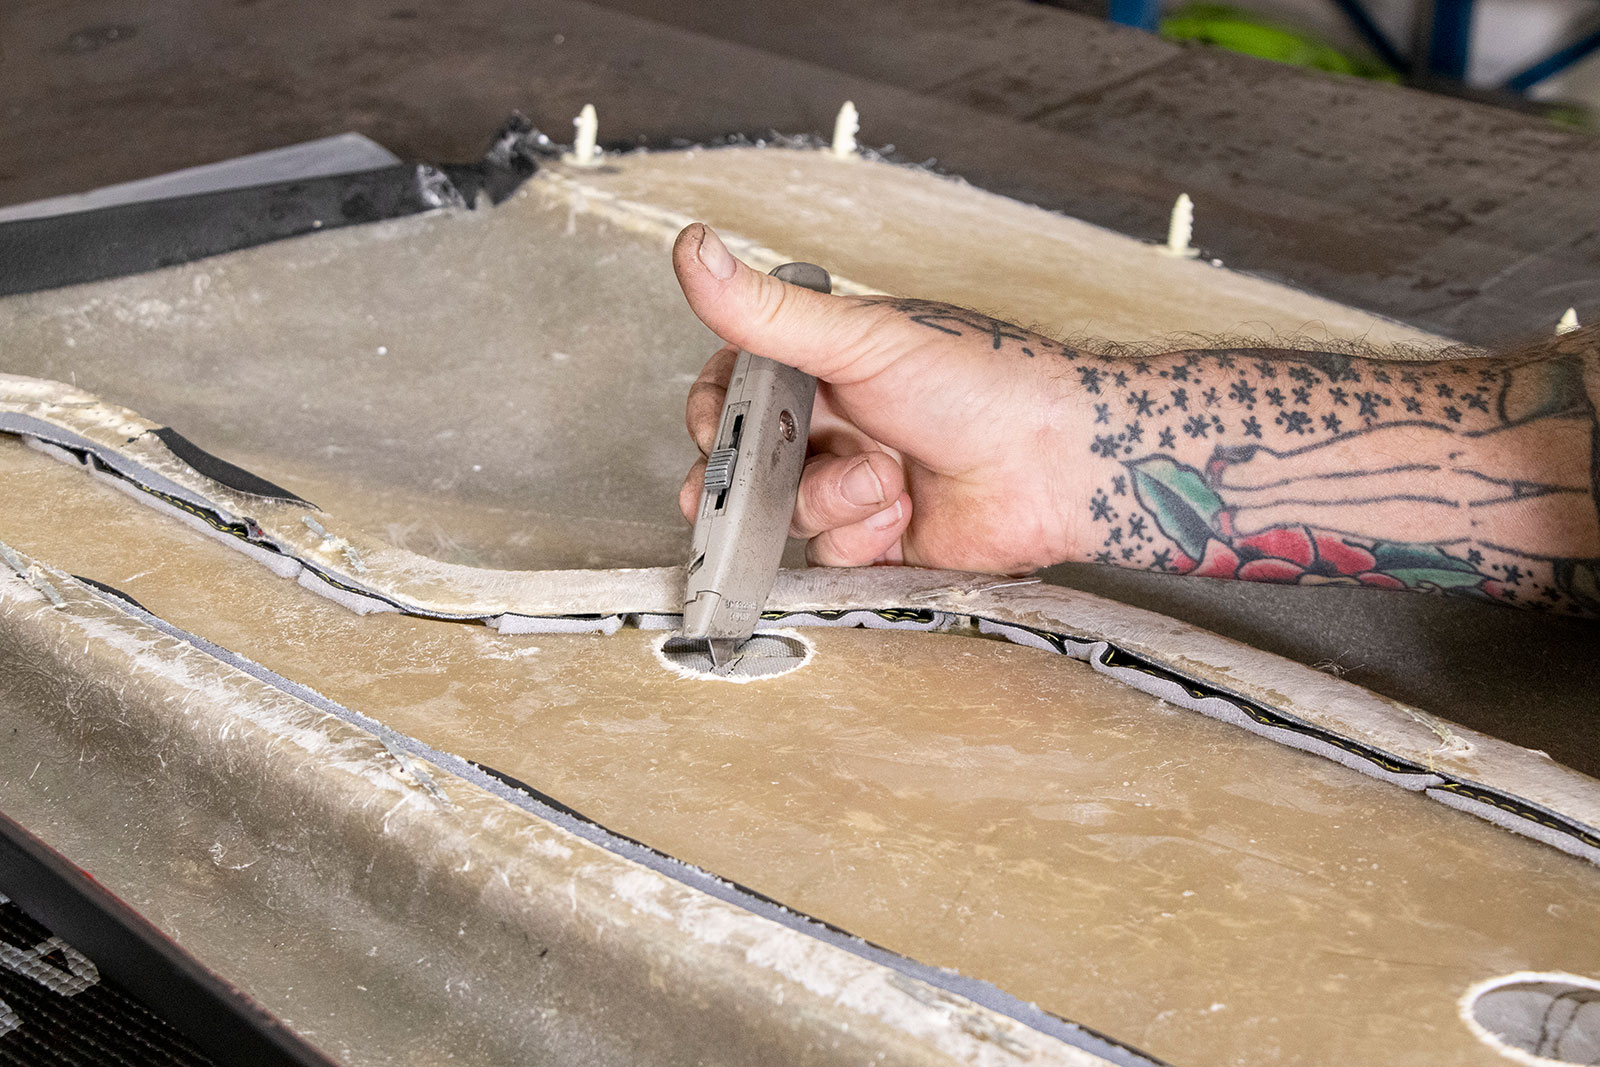
There are two things that can—and will—severely stonewall the progress of a truck project, regardless of the level of the build: body/paint and interior. (They don’t call it ”paint/upholstery jail” for nothing!) Unfortunately, unless you’re the proprietor of a paint and body shop, which more often than not causes even more delay, there’s really no way around the lengthy time frame of that portion of the overall build process. The interior, on the other hand, is definitely something you can take full control over with one simple phone call or a few clicks of the mouse. (Note to upholsterers reading this: we know you’re not all like that!)

- Advertisement -
002 With the old well used interior removed down to the base carpet
With the old, well-used interior removed down to the base carpet, the first order of business is to install the supplied TMI bucket seat bracket.

Read More: Twisted 1976 GMC Jimmy

TMI Products, located a stone’s throw from where I grew up in SoCal’s Inland Empire, has become a leader in aftermarket interior for their reputation of manufacturing top-of-line bench and bucket seats, center consoles, door panels, and dash pads for not only classic trucks but muscle cars, hot rods, and so forth—ALL in-house! I’ve had the luxury of touring their Corona facility on more than one occasion and I’ve seen start-to-finish not only the level of quality put into each product but the design process behind developing and creating new products (including their all-new Pro-Series Universal Sport deluxe bench seat, which I’ll be installing in my 1969 C10 here very shortly).

003 the first order of business is to install the supplied TMI bucket seat bracket

- Advertisement -

Read More: Auto Metal Direct to the Rescue: Building a Better (Squarebody) Bed Box!

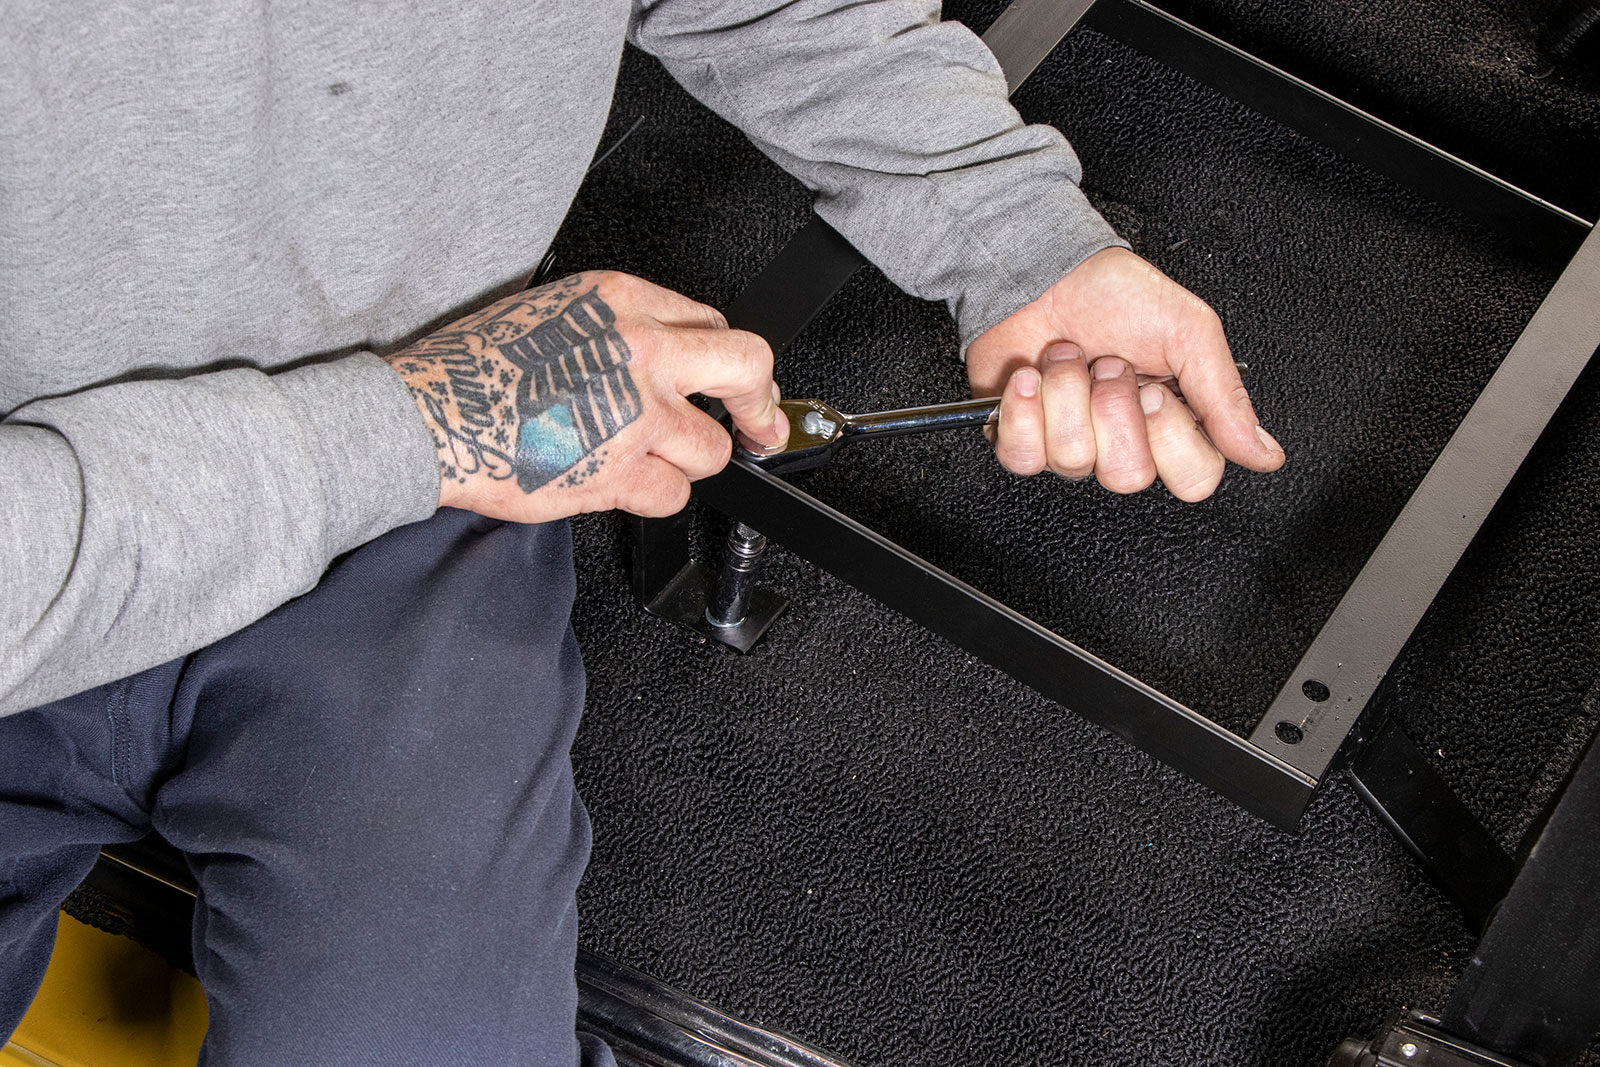
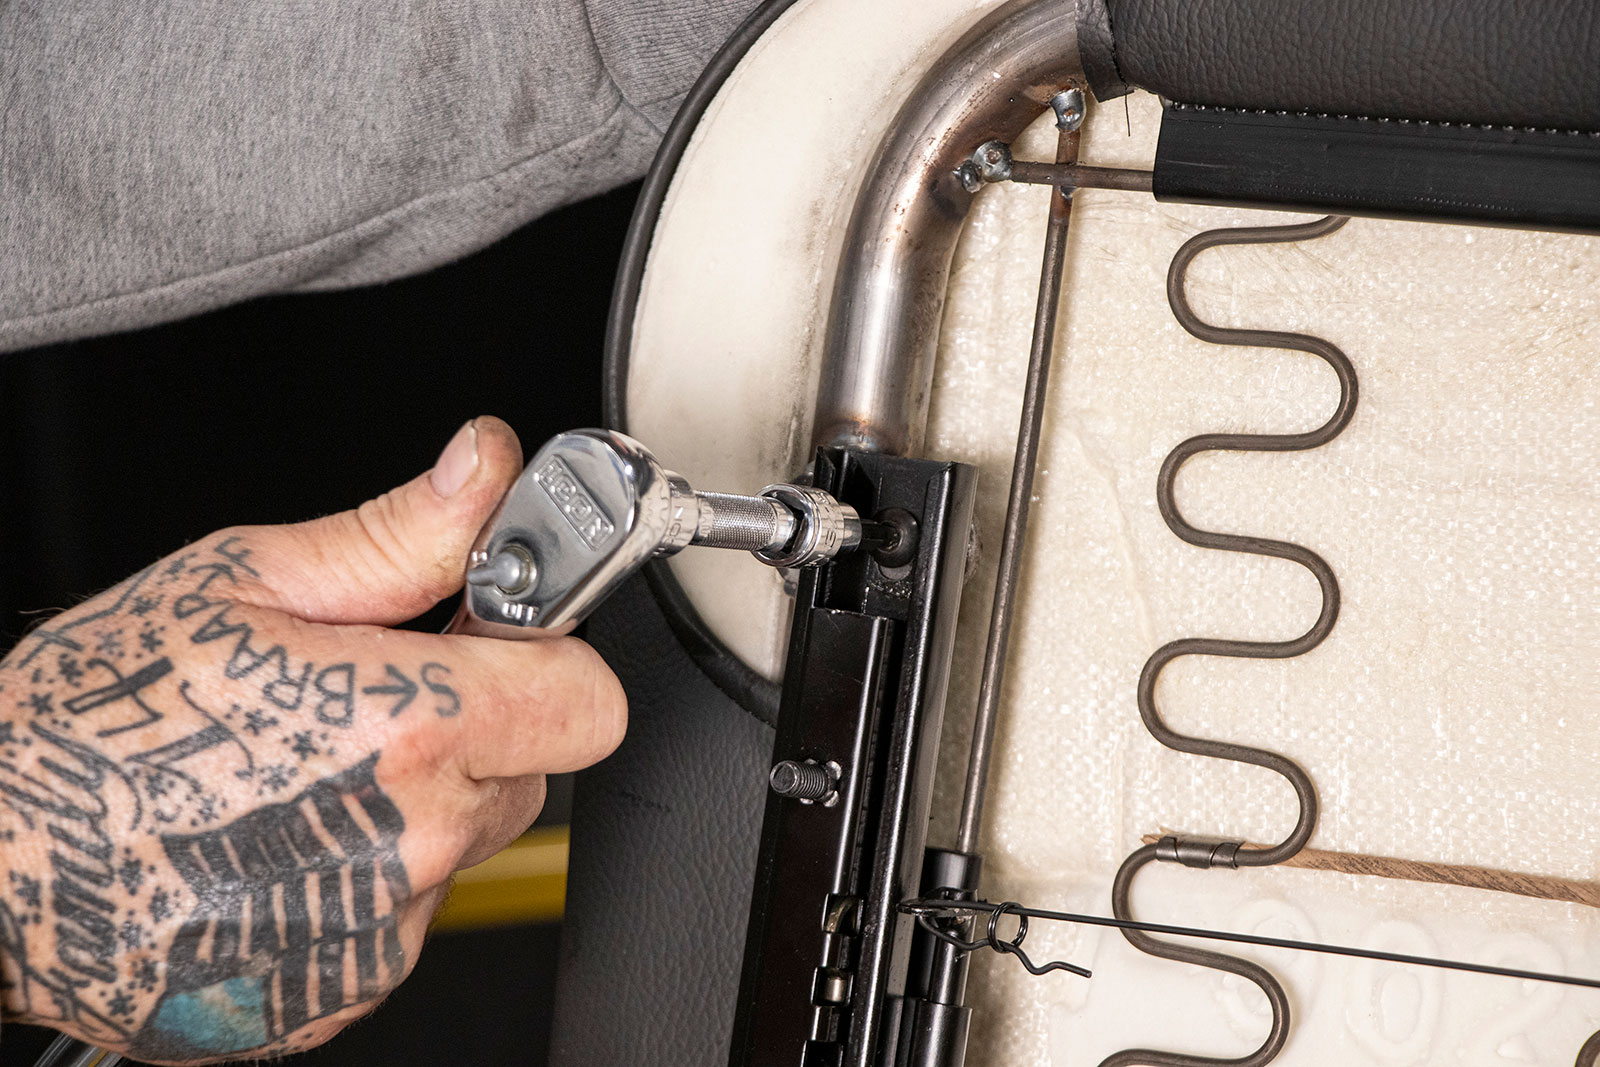
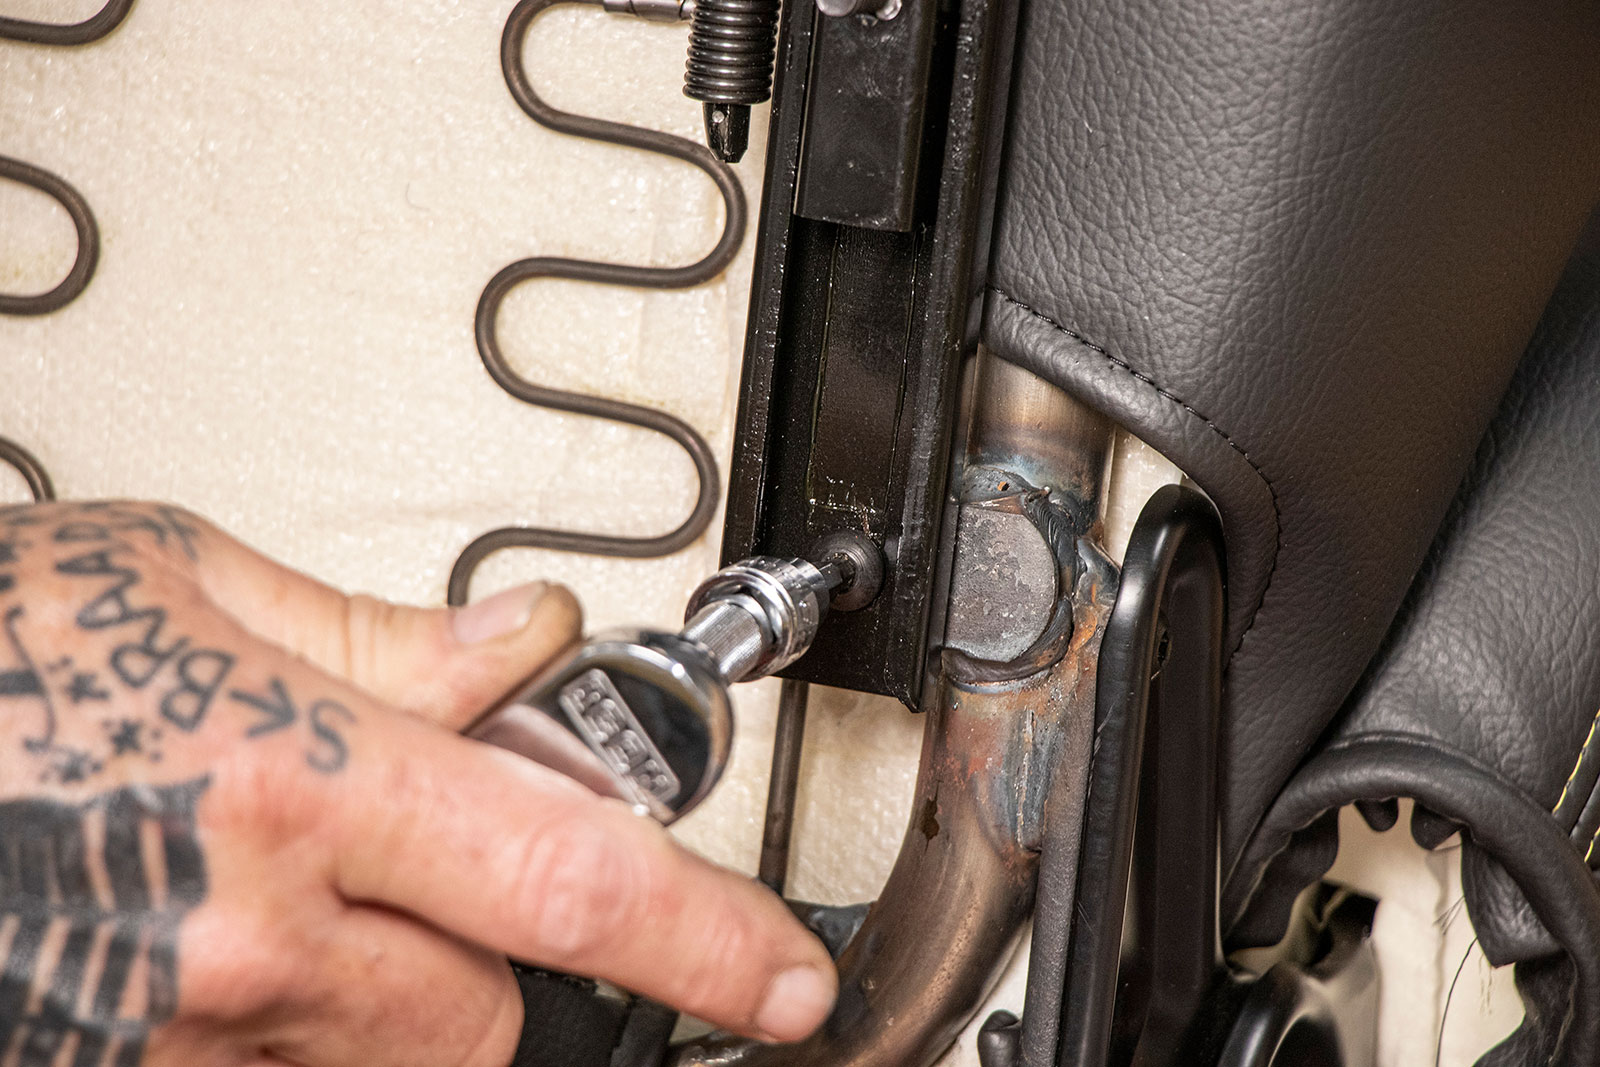
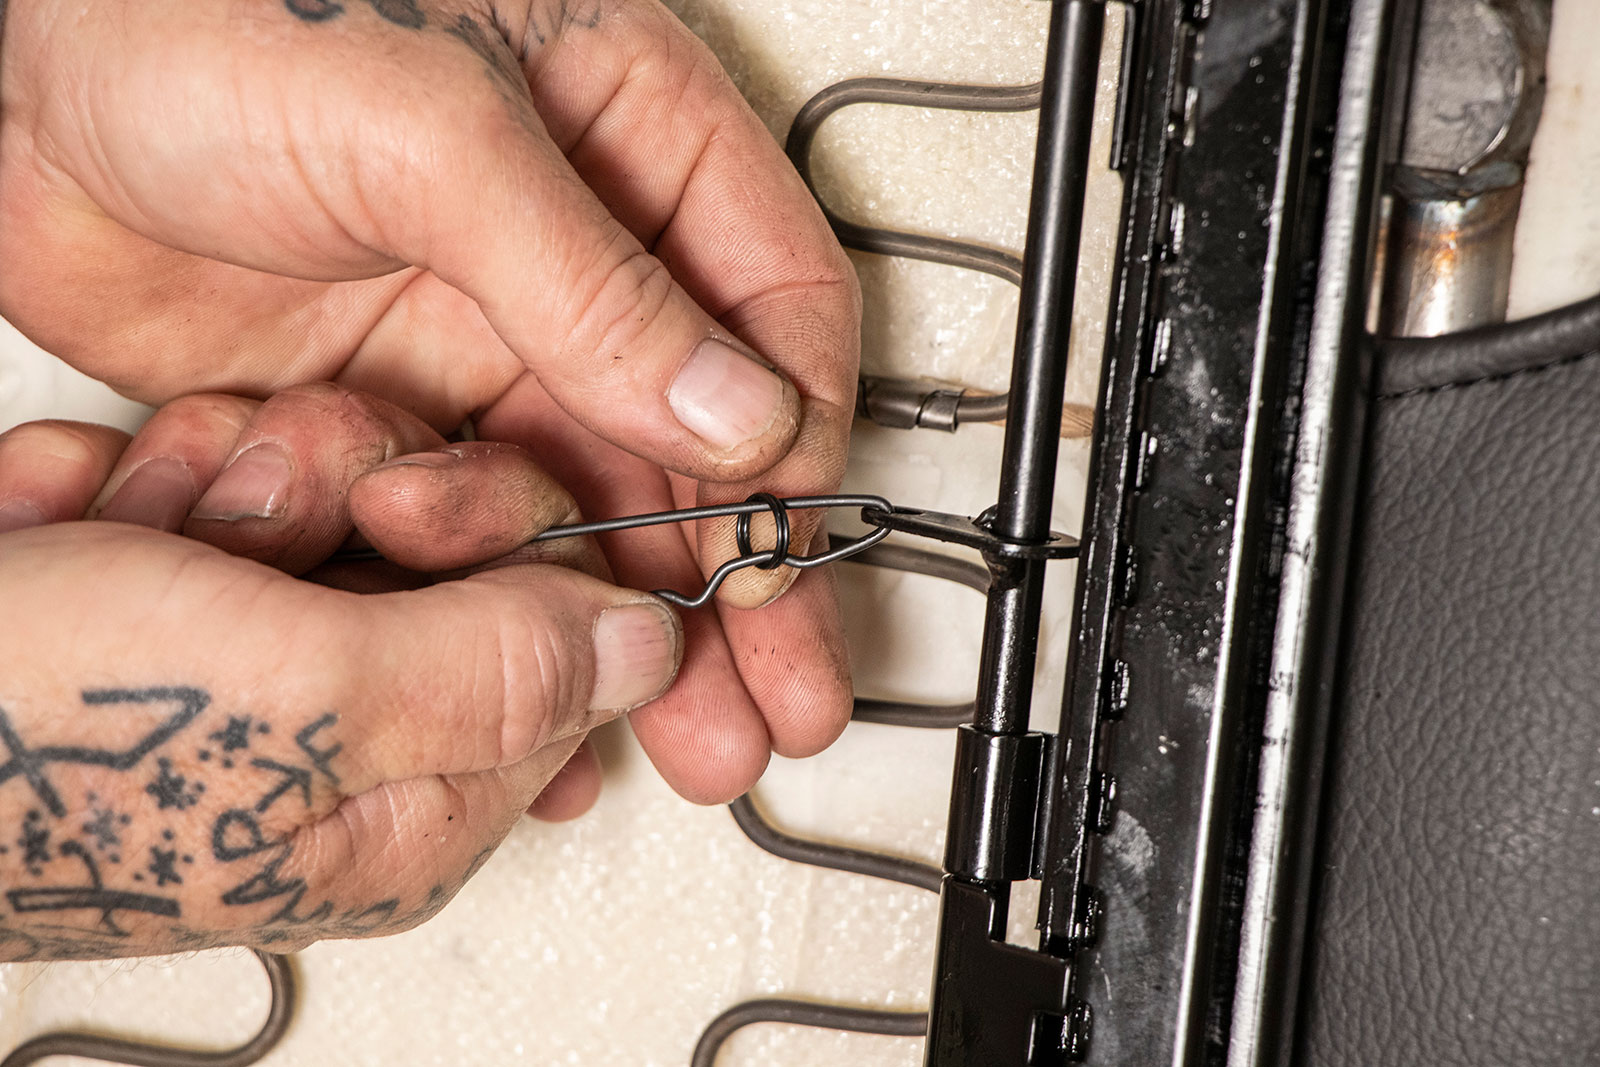
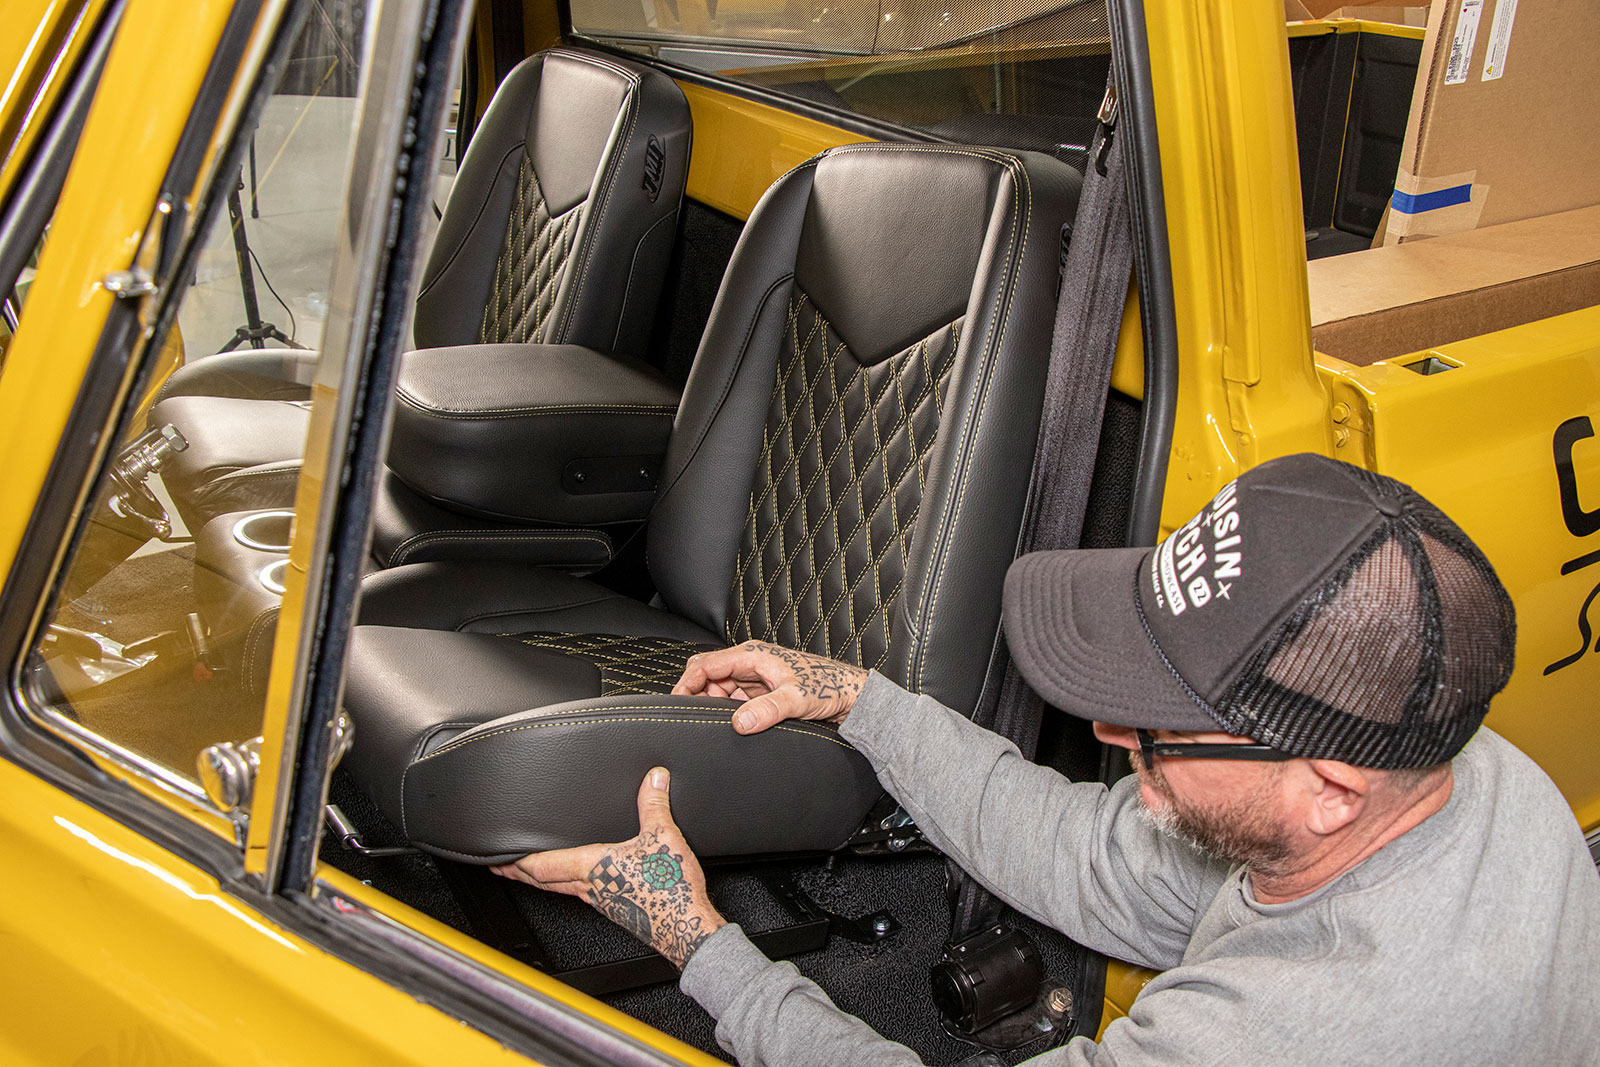
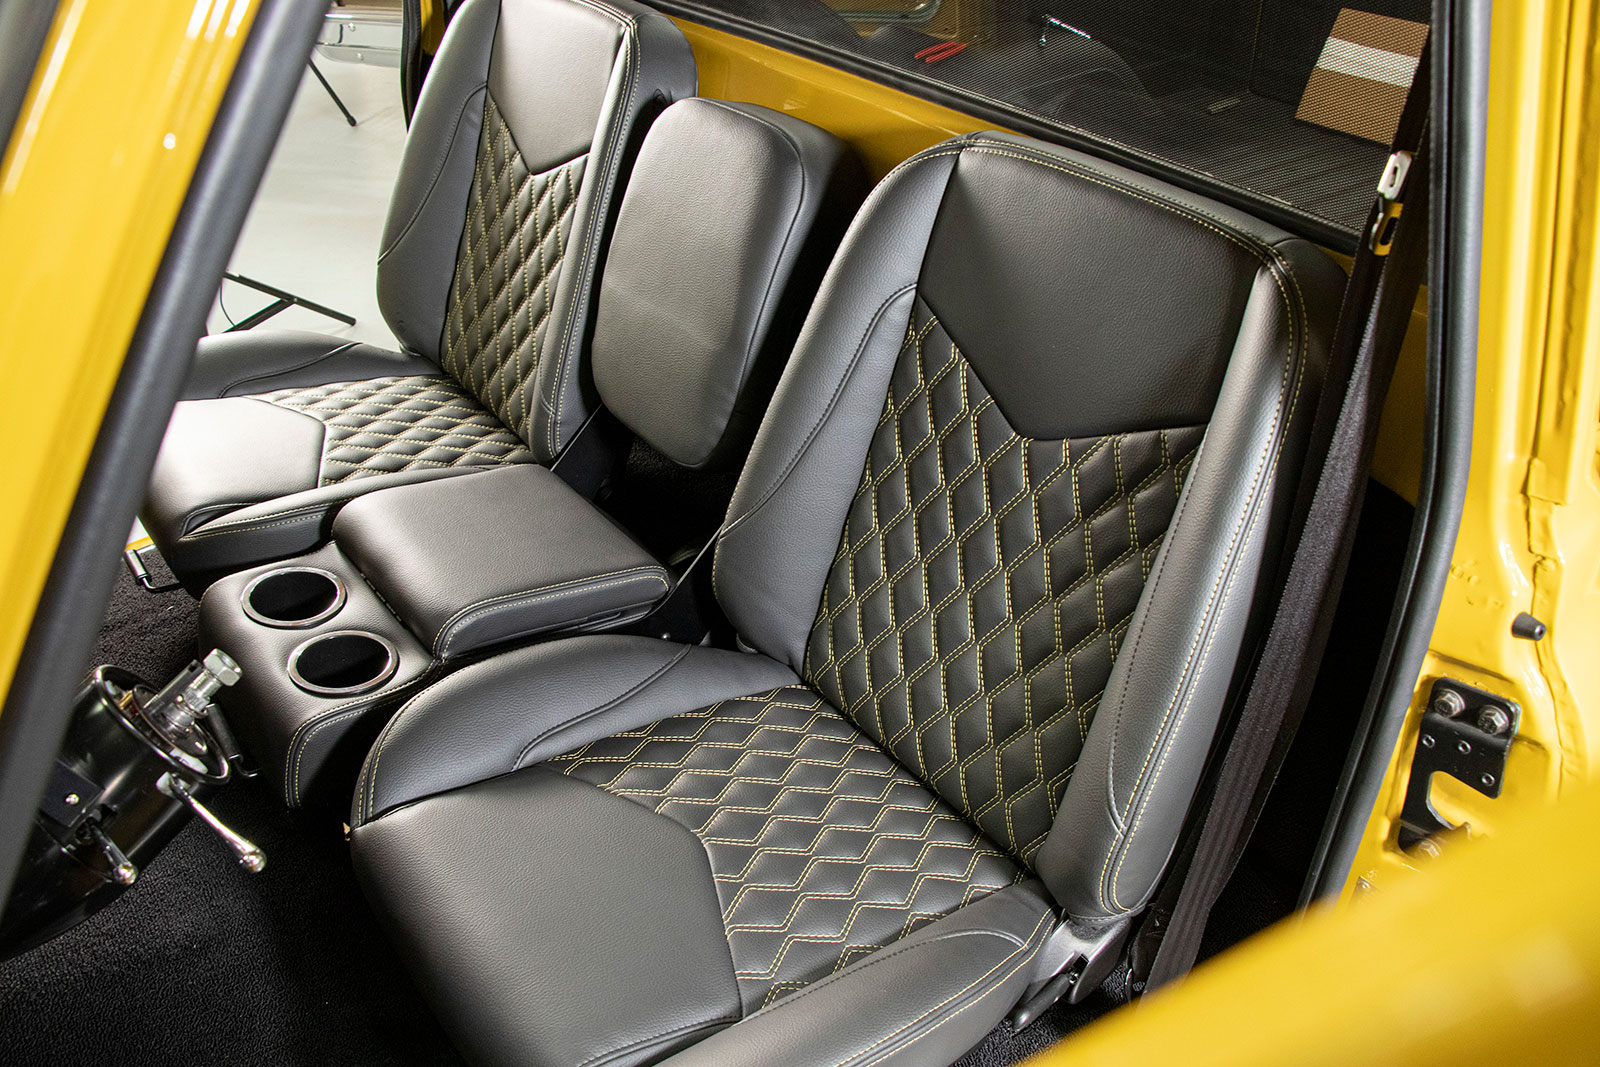
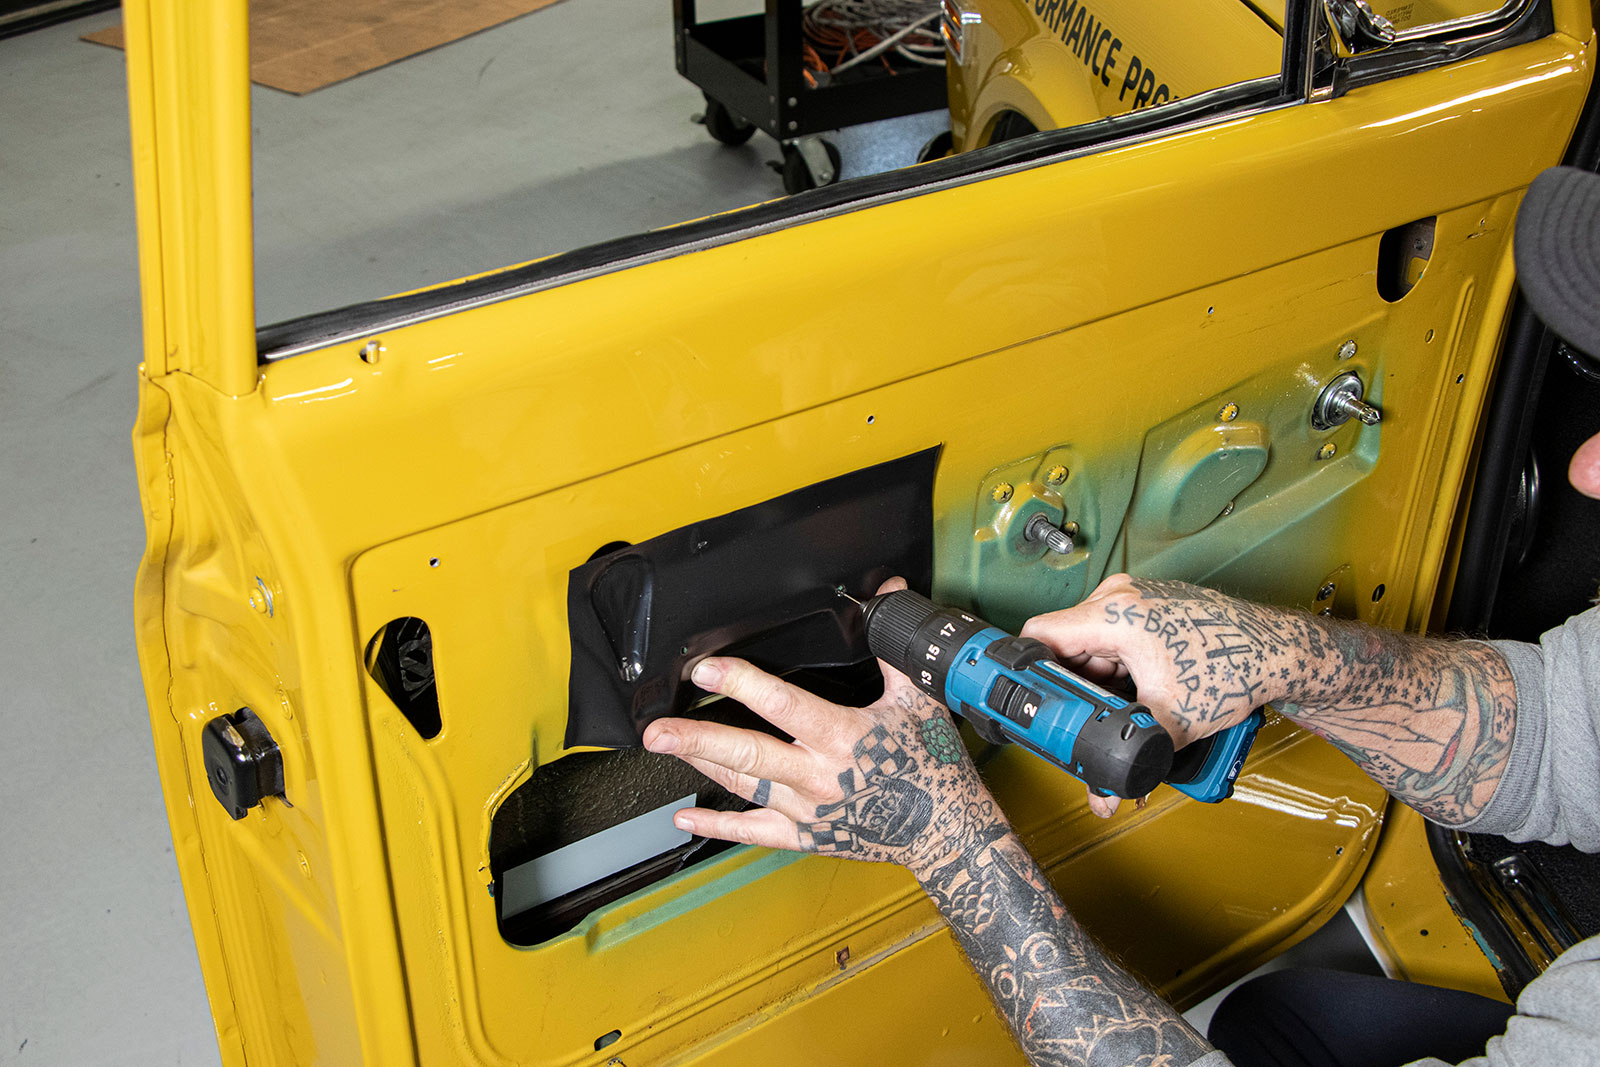
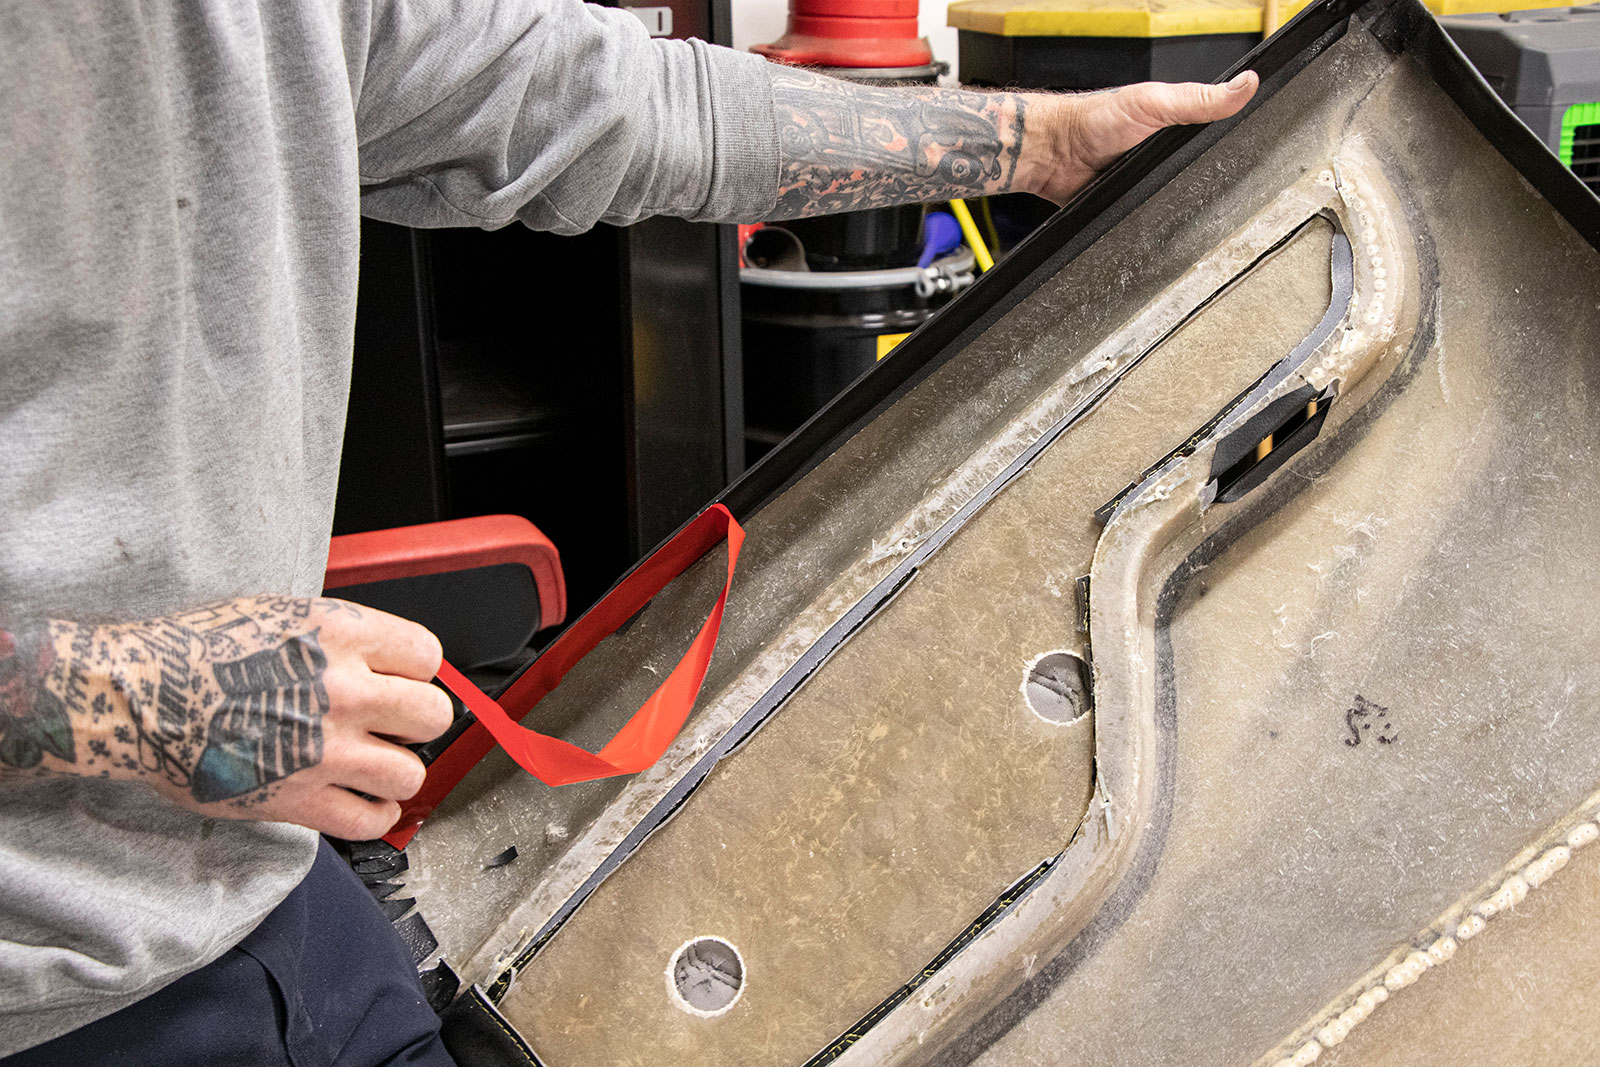
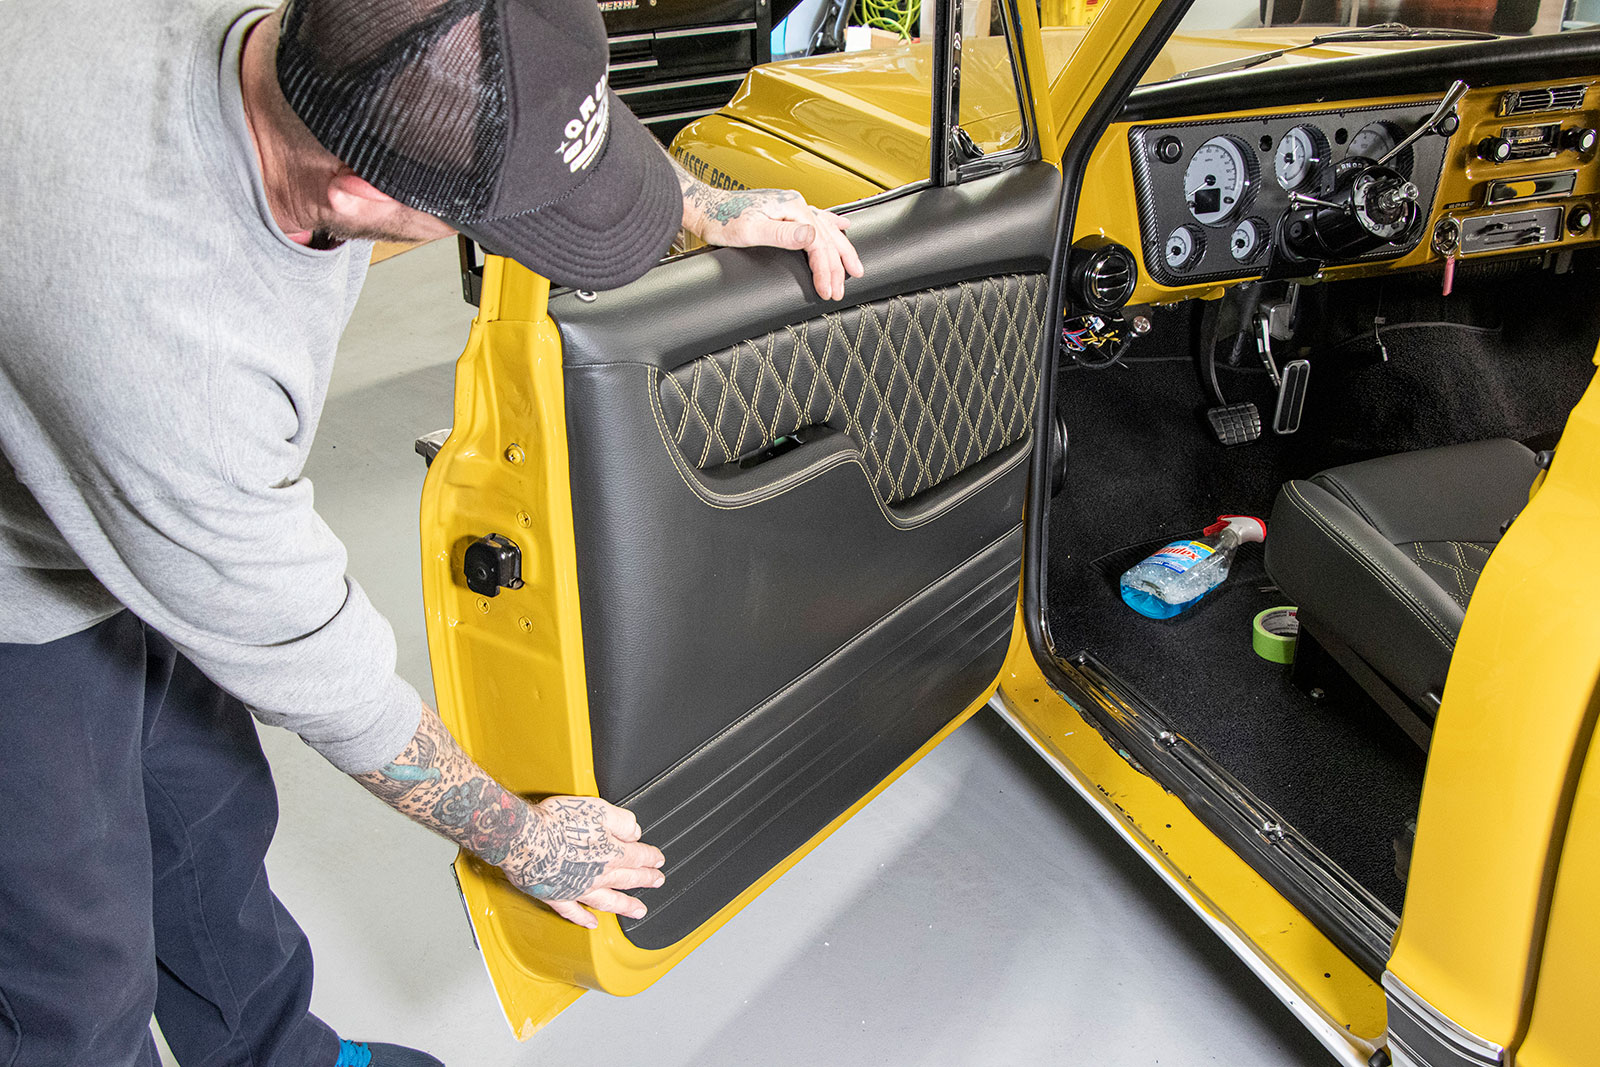
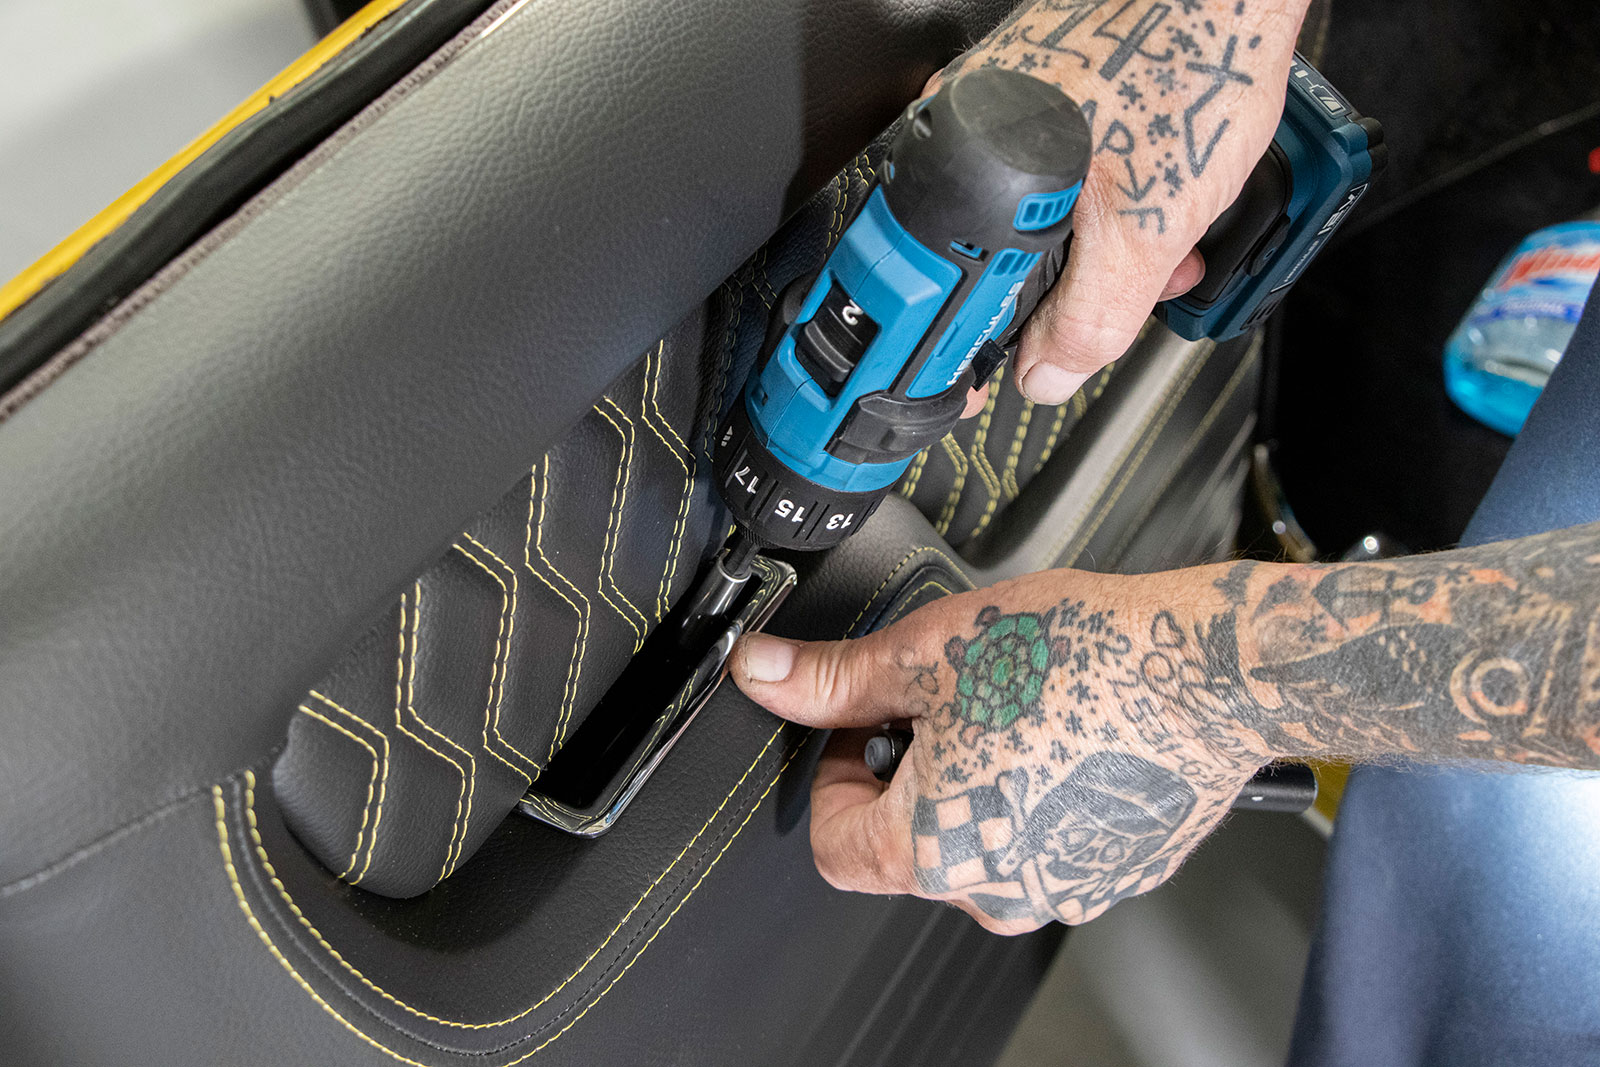
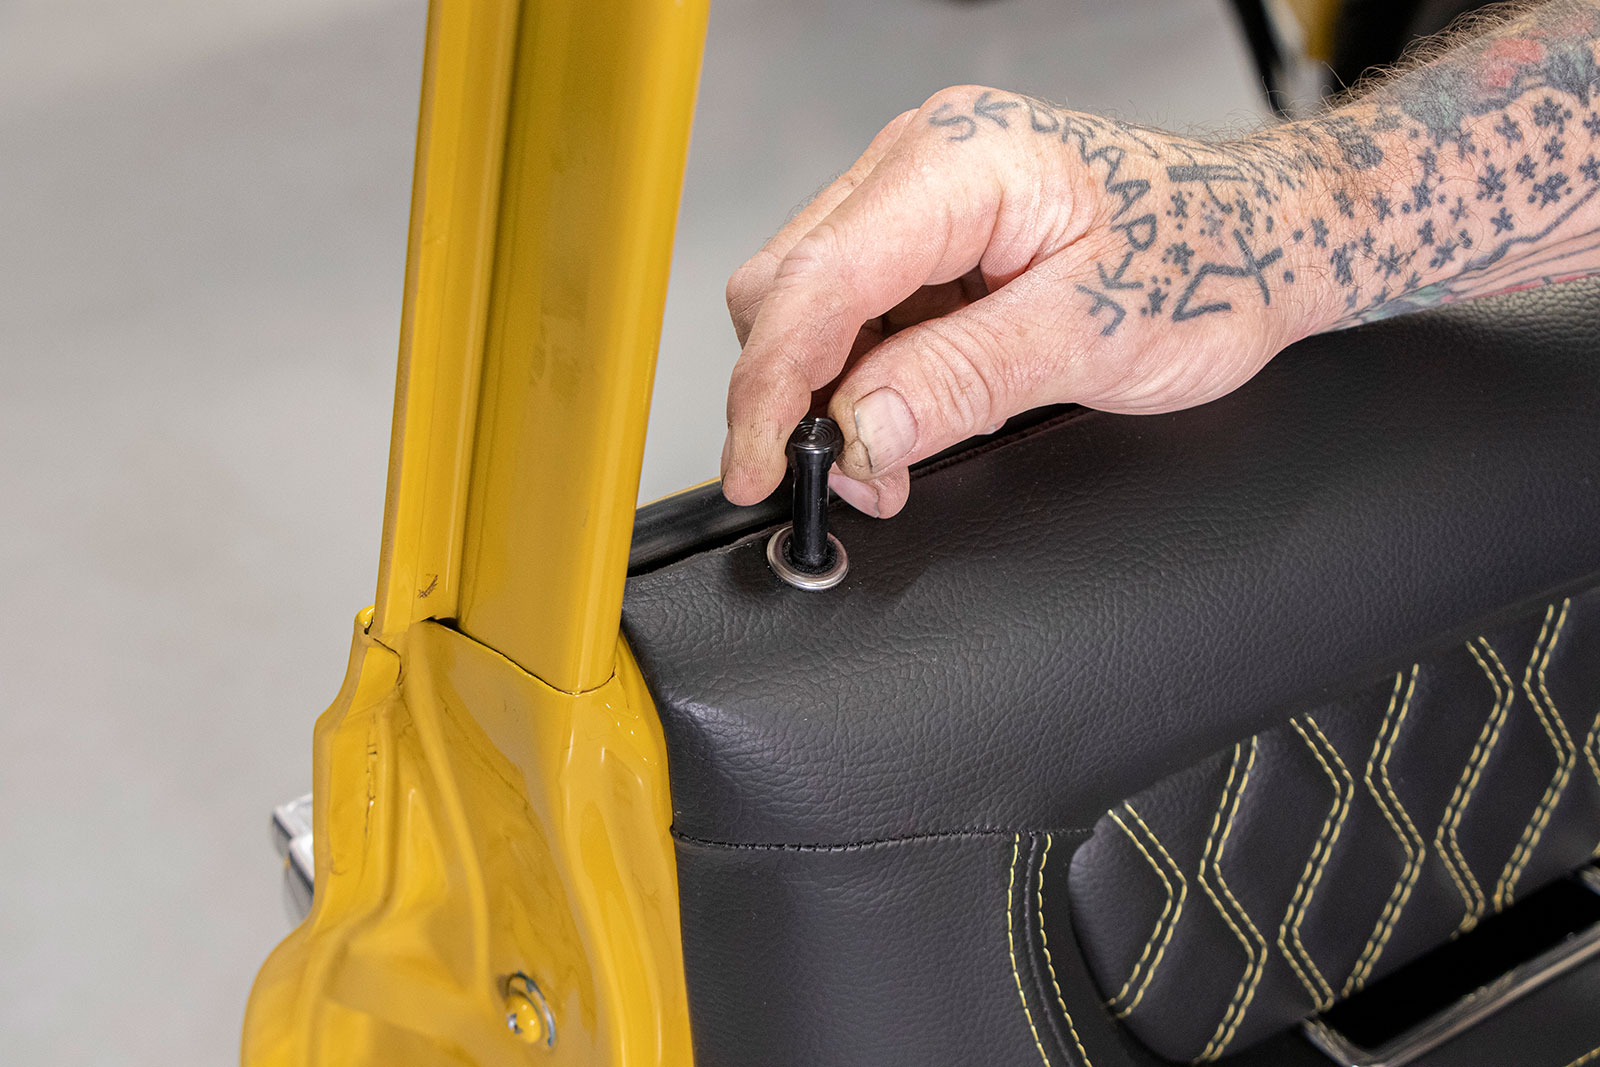
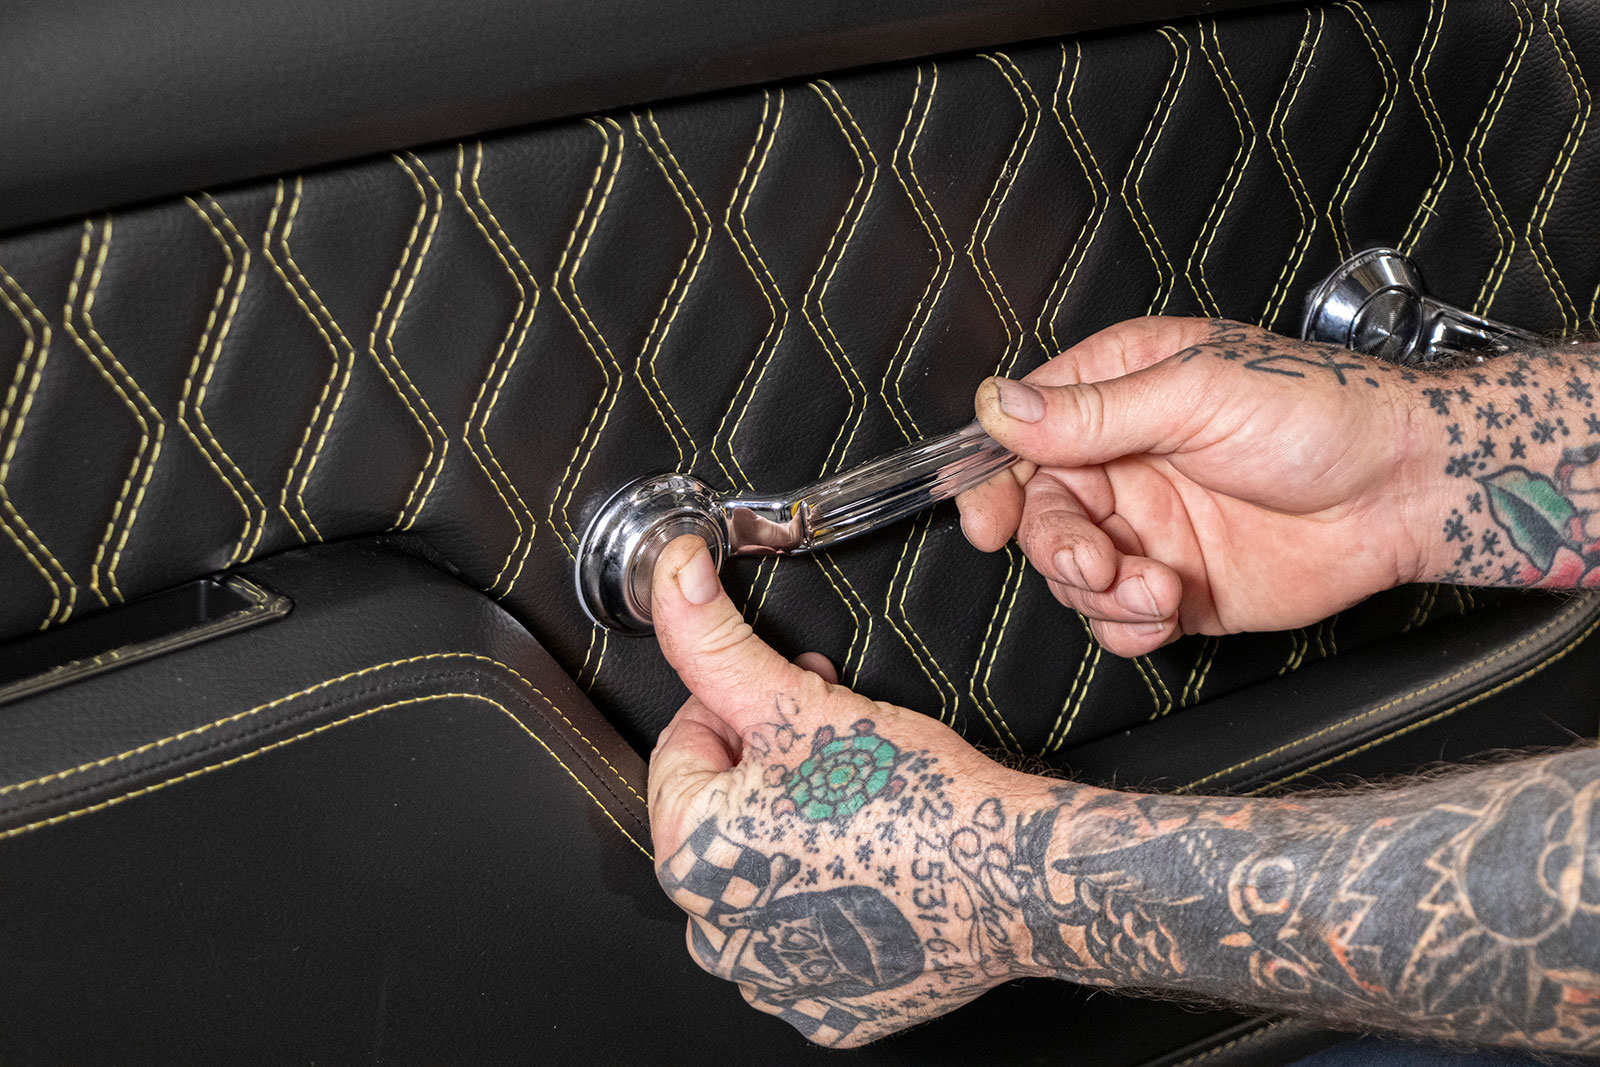
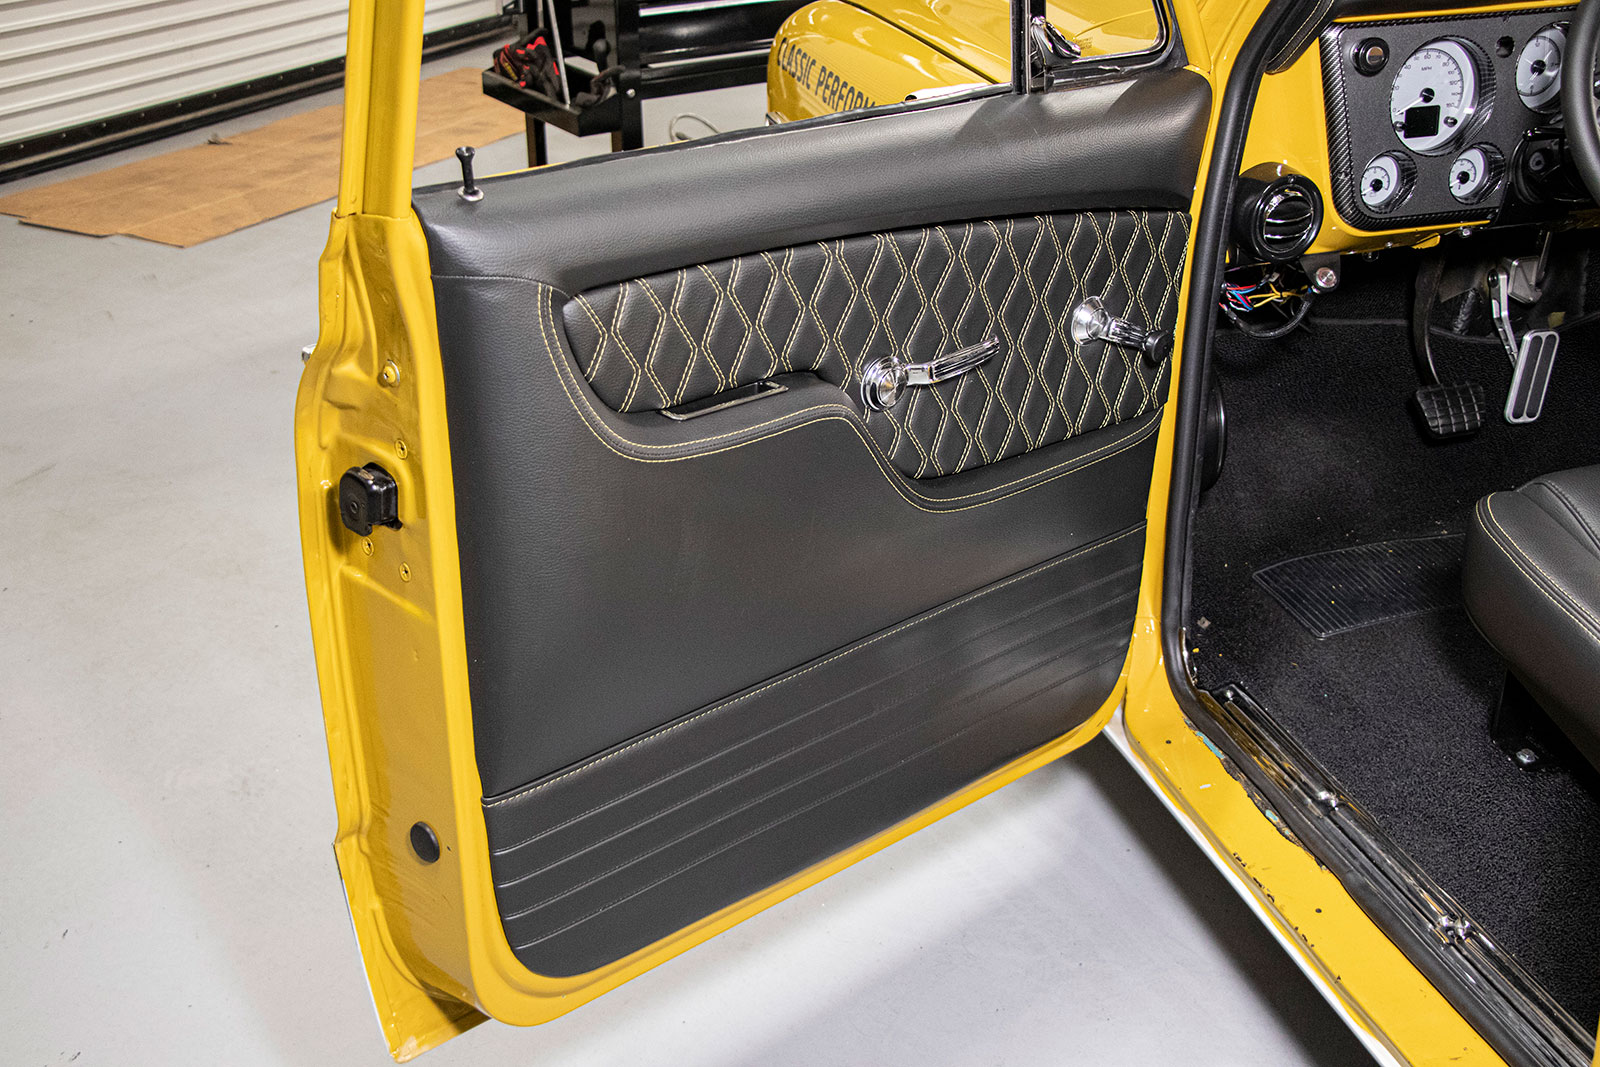
From TMI’s Pro-Classic and Pro-Series bucket seat options to their Pro-Series bench options with matching panels and accessories already upholstered (in your choice of a wide array of material/stitching color combinations) you can literally order ready-to-install upholstery and avoid any potential delays and, ultimately, have a new interior in a day!

004 With the base securely fastened to the truckΓÇÖs floor the buddy seat console is installed first
With the base securely fastened to the truck’s floor, the buddy seat/console is installed first.

Read More; Killer Gold Squarebody GMC Sierra

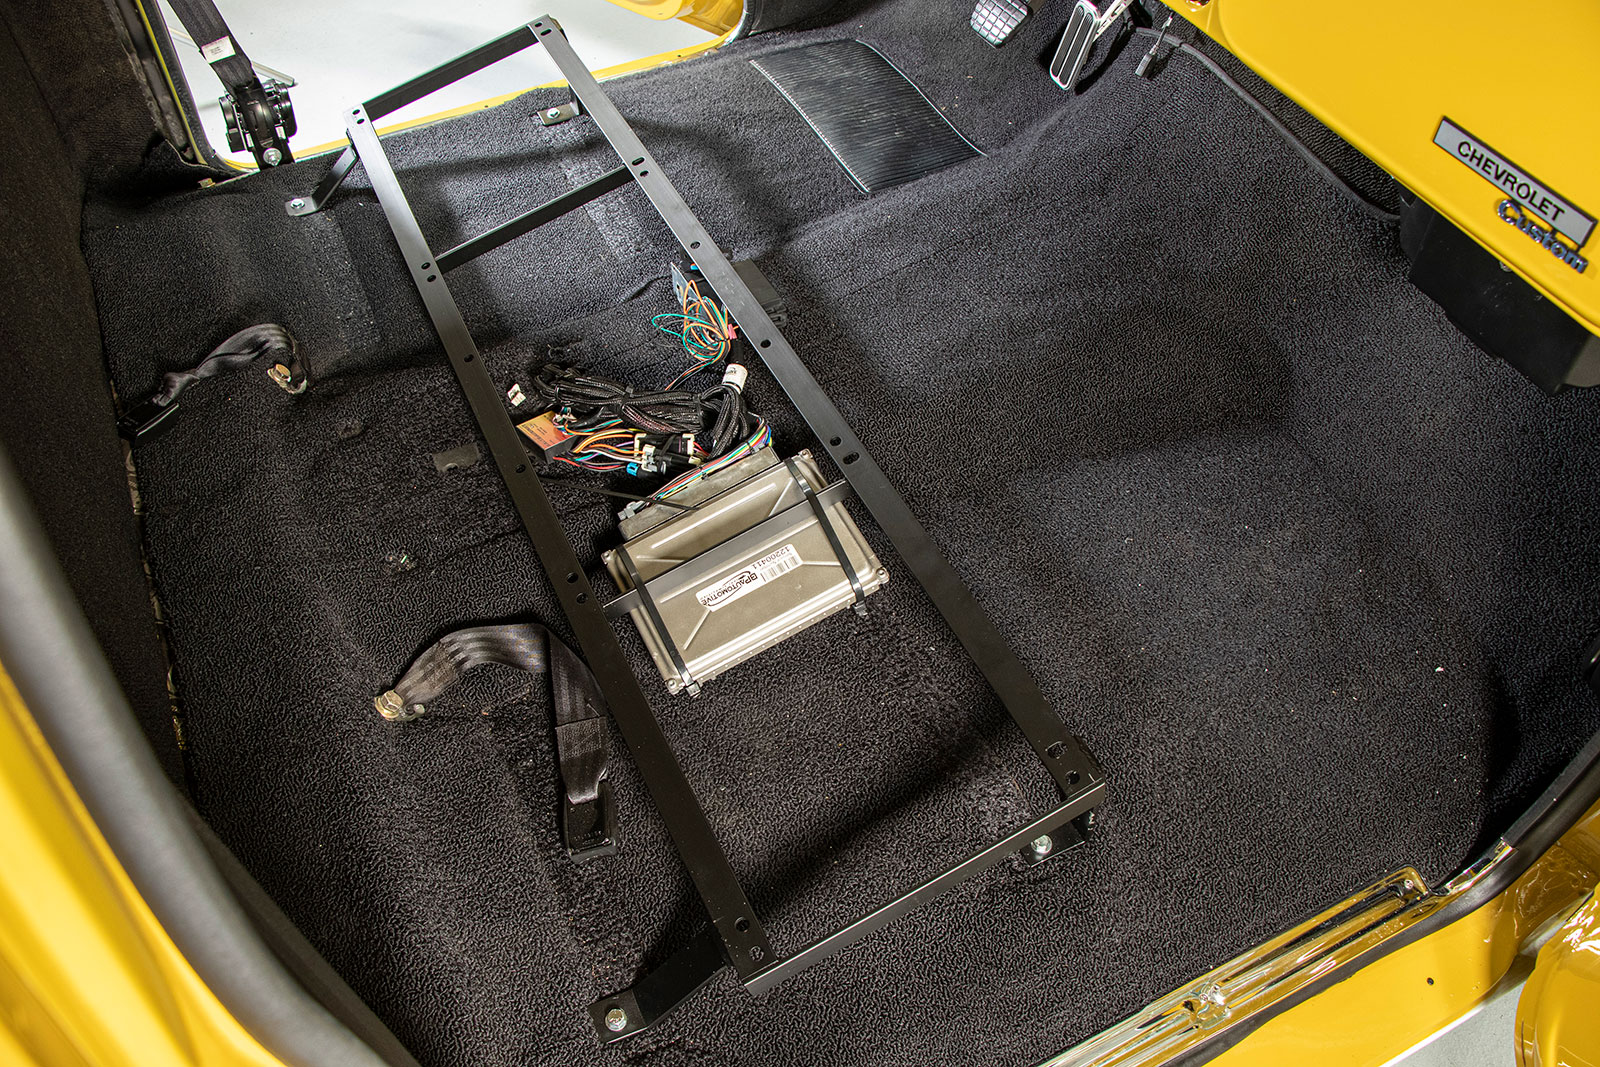
Follow along as Jason Scudellari gives his namesake truck, the very first Week to Wicked C10, a whole new interior outlook on life with TMI’s Pro-Classic Sport Double Diamond bucket seats and matched center console, door panels, and dash pad.

- Advertisement -
005 Before the bucket seats go in slider tracks need to be installed
Before the bucket seats go in, first the supplied slider tracks need to be installed onto the seat frames, as shown.

006 First the supplied slider tracks need to be installed onto the seat frames as shown

007 Next the adjuster pull wire is connected and secured
Next, the adjuster pull wire is connected and secured.
008 Now the bucket seats can finally be installed onto the fabricated steel bracket
Now the bucket seats can finally be installed onto the fabricated steel bracket.
011 Being that TMIΓÇÖs door panels cover the entire inner door they supply a handy paper template
Being that TMI’s door panels cover the entire inner door, they supply a handy paper template for locating and drilling the mounting clip holes.
012 Same for the integrated door handle
Same for the integrated door handle, which uses its own mounting bracket (shown).
014 Prior to mounting the door panels first locate and provide access for the door handle
Prior to mounting the door panels, first locate and provide access for the door handle and window crank (or electric window switch).
015 With the door panel prepped and ready to install peel the backing off the two sided tape
With the door panel prepped and ready to install, peel the backing off the two-sided tape along the inside of the upper edge, and …
016 attach to your willing and ready door
… attach to your willing-and-ready door!
017 Secure the pull handle armrest with the provided chrome trim piece
Secure the pull handle/armrest with the provided chrome trim piece.
018 Then attach the window cranks door handles of your choice
Then attach the window cranks/door handles of your choice (now would definitely be the perfect time to upgrade!).

019 now would definitely be the perfect time to upgrade

020 Door panel installation complete now to wrap up the job with the new dash pad
Door panel installation complete, now to wrap up the job with the new dash pad.
021 In order to gain full access youΓÇÖll need to remove the gauge panel cluster glovebox and just to be safe the steering wheel
In order to gain full access, you’ll need to remove the gauge panel/cluster, glovebox, and, just to be safe, the steering wheel—then reinstall everything a few minutes later!

022 reinstall everything a few minutes later

023 When allΓÇÖs said and done this is the new interior outlook of your C10 will have on life with a fresh new TMI Products interior
When all’s said and done, this is the new interior outlook of your C10 (or F100 or?) will have on life with a fresh, new TMI Products interior … without waiting on anyone but yourself and the parcel delivery person!

024 Hassle Free Solution To Transform Your Classic Truck With Aftermarket Interior 026 TMI Product Dash Pads update the interior 027 TMI products overhauls the interior of this classic C10

TMI Products
(888) 460-0640
tmiproducts.com

TECHCENTER

- Advertisement -

Related Articles

Search Our Site

More Classic Truck Performance

THE 41st ANNUAL F-100 WESTERN NATIONALS

By the CTP Staff   -   Images by Fuelish Media Since...

Custom Autosound 1967-1972 Slidebar Radio Install

By Rob Fortier   -   Images by the Author Retro-looking sounds...

Rick Clutter’s Premier Street Rods Built 1961 Ford Unibody Custom

By Fuelish Media There’s a high road, a low road,...

The Speedway Motors 1968 C10 Part 5: The Interior

By Joe McCollough   -   Images by Jessica Coleman &...

The John Lamb/Tin Man’s Garage Triton V10-Powered 1961 Ford Unibody

By Brian Limberg (Excerpts from his Build Book)    -  ...

Mike Schott’s 1992 Chevy Silverado

By Tim King   -   Images by the Author 1988 welcomed...
More Classic Truck Performance

Our LS-Powered C10 Goes Into Overdrive With Gearstar’s Bulletproof 4L60E

By Ron Ceridono When overdrive automatics came on the scene...

Walker Zeigler’s First-Gen 1965 Chevy C10

By Rob Fortier   -   Images by NotStock Photography Up until...

Steele Rubber 1955-1959 Chevy Task Force Master Cylinder Access Holes

By “Rotten” Rodney Bauman   -   Images by the Author When...

A New Approach to Building an Old 1971 Chevy Truck

By Fuelish Media You hear the term “back in the...

Speedway Motors’ 1968 C10 Build Part 2: Chassis & Suspension

By Joe McCollough   -   Images by the Author In the...

Paul Close’s Y-Block Powered 1956 F100 is Layered with Custom Cool

By Chuck Vranas   -   Images by the Author As the...