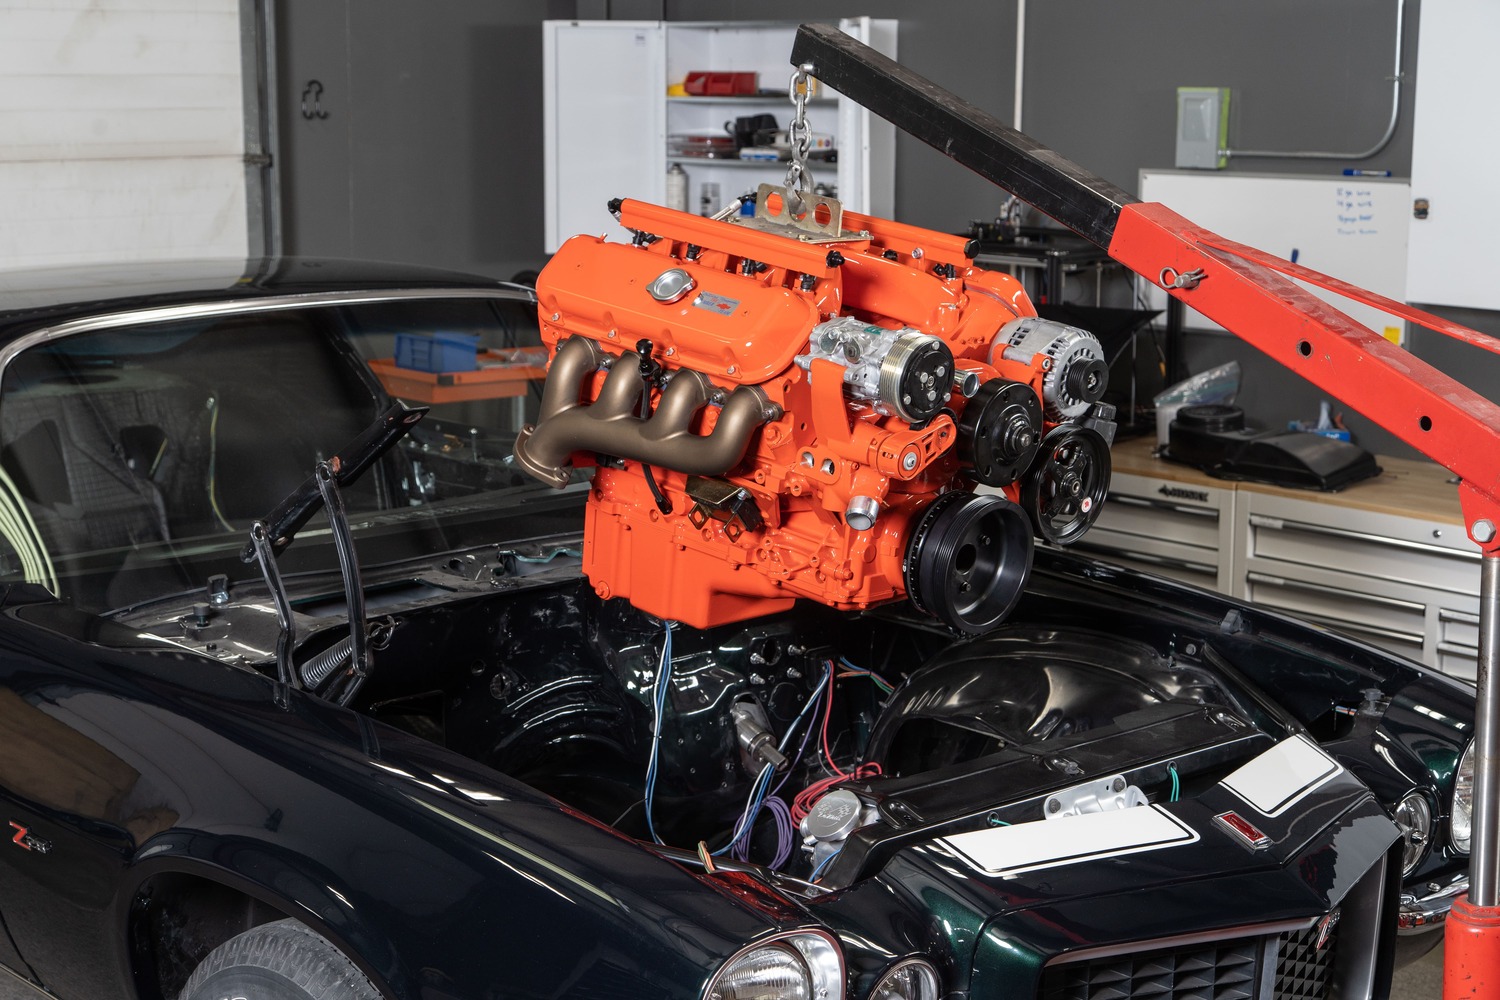
We stopped into one of our choice Midwest builders, No Coast Custom & Rod Shop (NCC&RS) in Lincoln, Nebraska, to check out one of their latest projects. They are well-known for their work in custom fabrication and high-performance applications. On this latest build, they’ve packaged a stout 6.0L LS crate with some performance add-ons that will usher this ’71 Camaro into the new era.
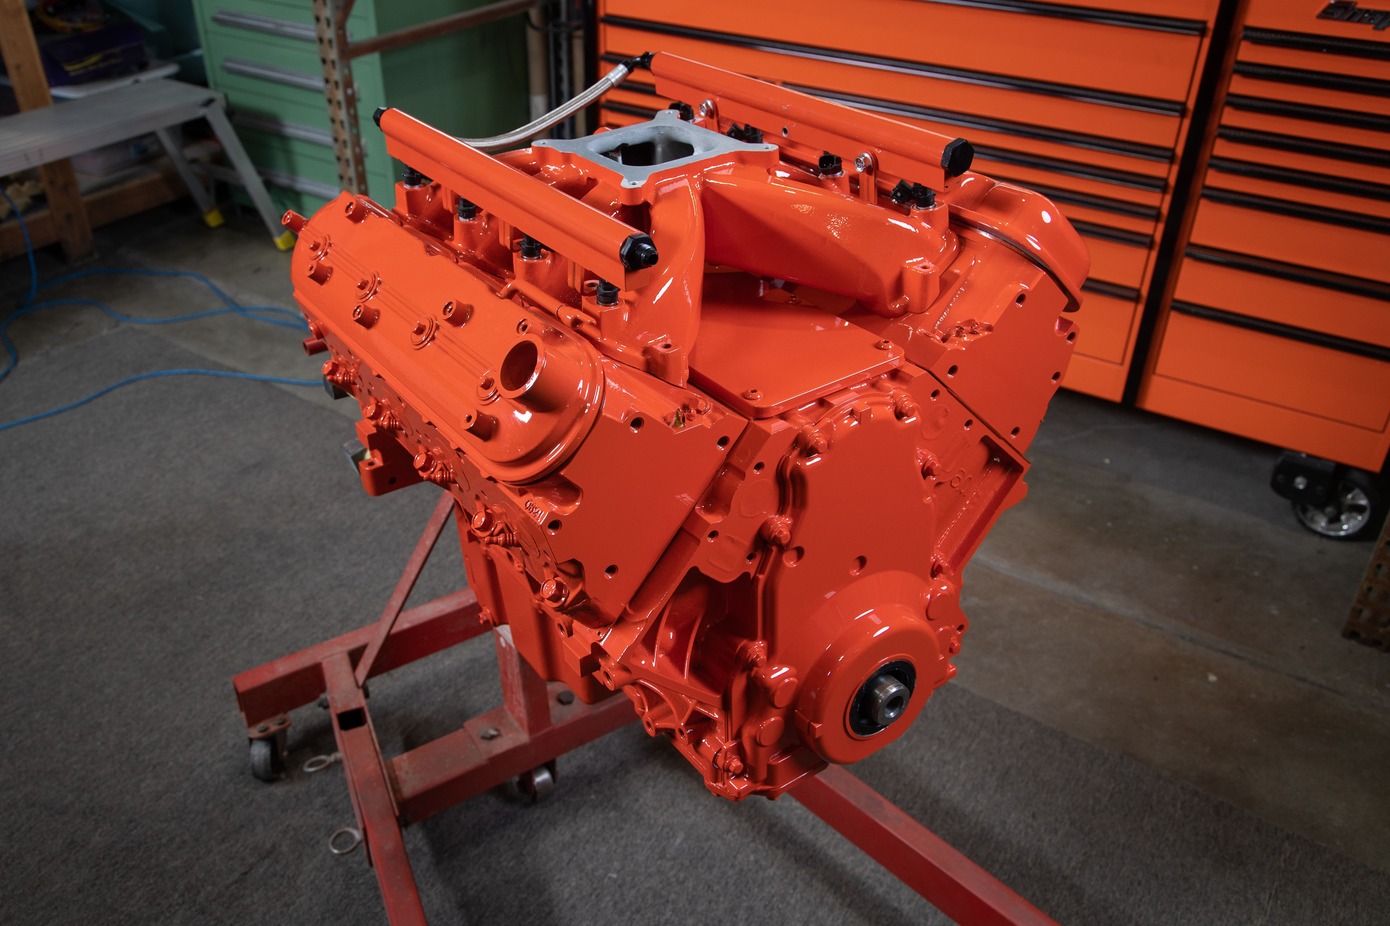
A freshly painted 6.0L LS long-block direct from Chevrolet Performance (PN 19432690) is fitted with LS3 heads and a Holley oil pan (PN 302-2) to obtain the proper subframe clearance.
We dove in just after the factory small-block had been shelved. NCC&RS had also just finished up some prepwork and tidying the engine bay. There’s a myriad of ways you can easily swap an LS into an F-body Camaro, especially when the factory engine bay needs no major modifications. Overall, bolting up the right final touches on this long-block came down to performance and reliability without sacrifice to aesthetics.
After paint, we started by installing a set of Lokar’s LS Classic big-block–style valve covers (PN GMLS1003) supplied with the required spacers. These also utilize O-ring–style OEM rubber seals and come with the correct classic Chevrolet decals.
There are plenty of “swap-in-a-box” options out there, but our piecemeal approach got us exactly what was needed without any fluff. Major hurdles can be avoided with a little foresight. Consider the typical vintage muscle clearance concerns, like the oil pan, steering linkages, and the accessory drive system.
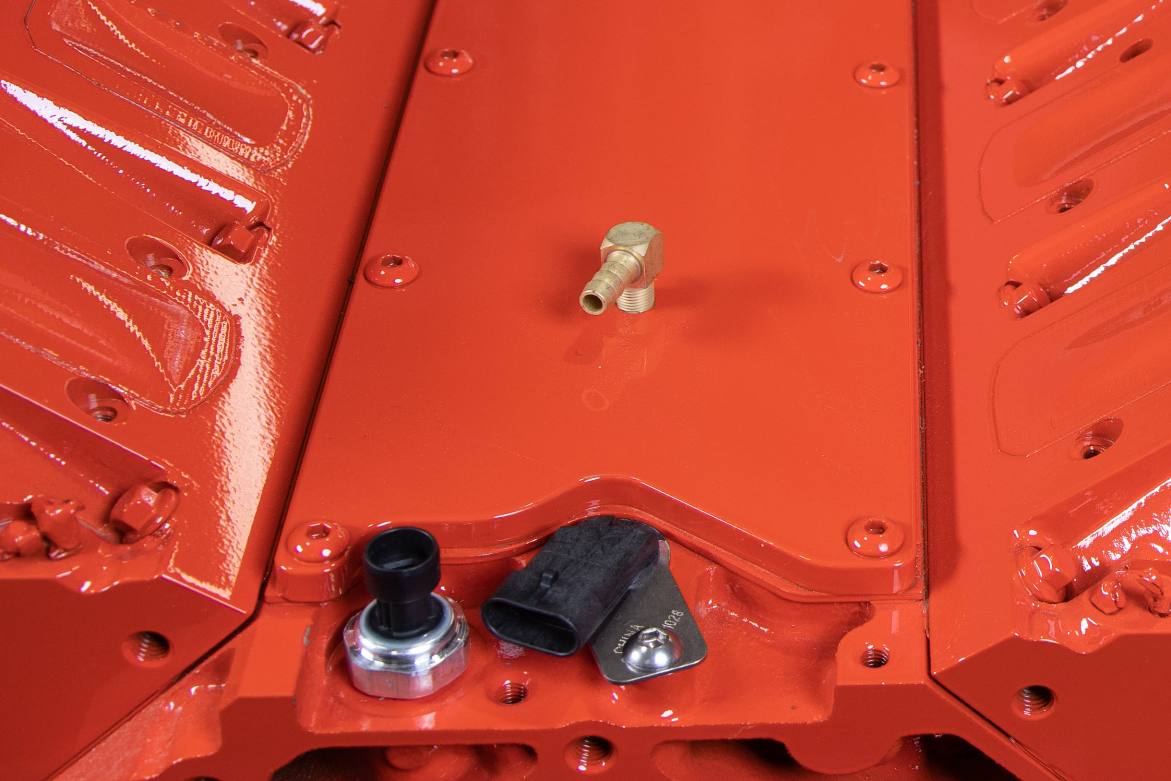
We also installed Lokar’s Gen III valley plate cover (PN GMLS2003M) that comes pre-tapped for the PCV system. Note that an inline PCV valve will need to be installed to complete the system.
Luckily for us, Holley, Lokar, Speedway Motors, and a few other vendors have put in the time to develop some tried-and-true offerings to help the cause. Holley’s mid-mount front drive system tucks the drive components inward, making the front of the engine compact and clean. These slick drive systems come black, cast, or polished, complete with all-new premium quality belt drive components.
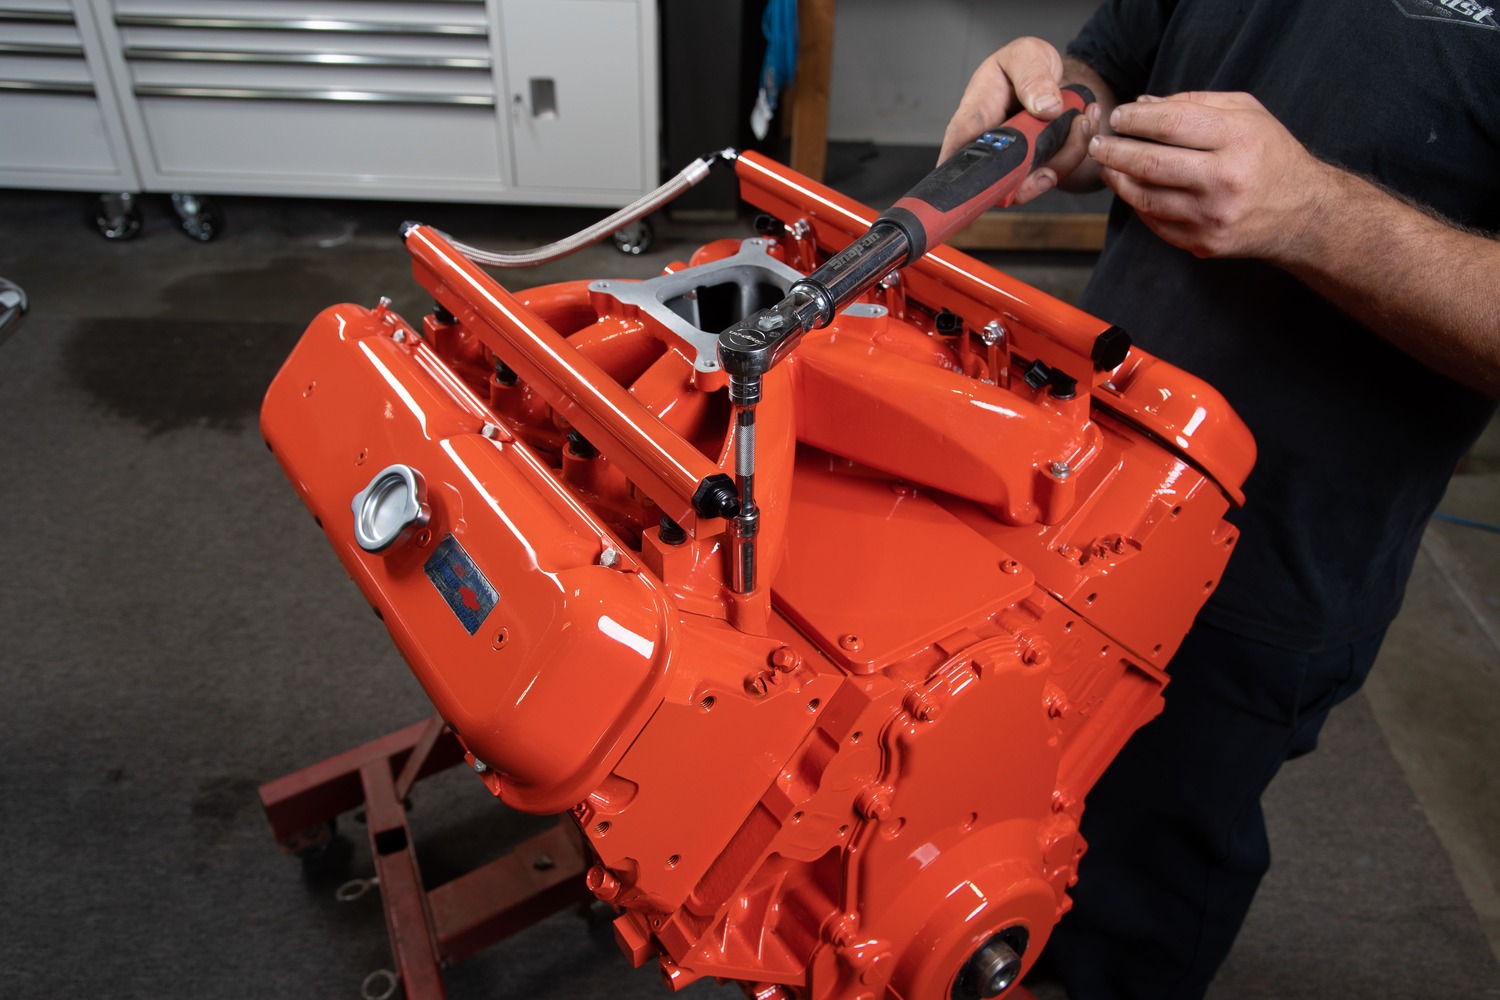
Next, we installed a Holley mid-rise single-plane intake and fuel rails sourced from our local speed shop, Speedway Motors (PN 9100369). For fuel distribution, it will be running LS3 injectors. The intake uses O-ring–style gaskets that were installed prior to installing and torquing to spec.
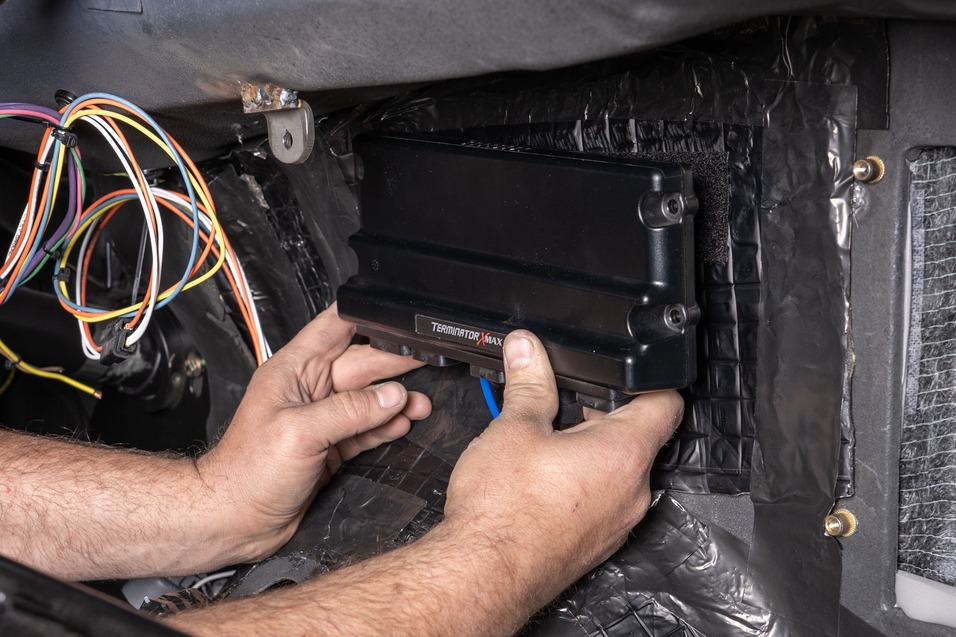
To control the EFI, we’ll be installing Holley’s Terminator X Max kit. It delivers everything needed to base tune and fine-tune AFRs and data logging, with self-learning features and onboard diagnostics. The Max kit also includes a transmission control unit that allows for optimized shift points, which will be needed on the 4L80E that will be used in this Camaro.
A set of Hooker 2 ½-inch manifolds (PN 8502HKR) were bolted up after the castings were smoothed and coated with Cerakote Bronze sealer.
Builds vary, but when it comes to the details, ask yourself what you want to stare at when you pop the hood. A classic big-block appearance fit the bill, so we looked to Lokar’s Classic lineup of LS offerings to round out the look of the engine. We’ll include the major elements (and some minor) that should help smooth the process for any likeminded builders.
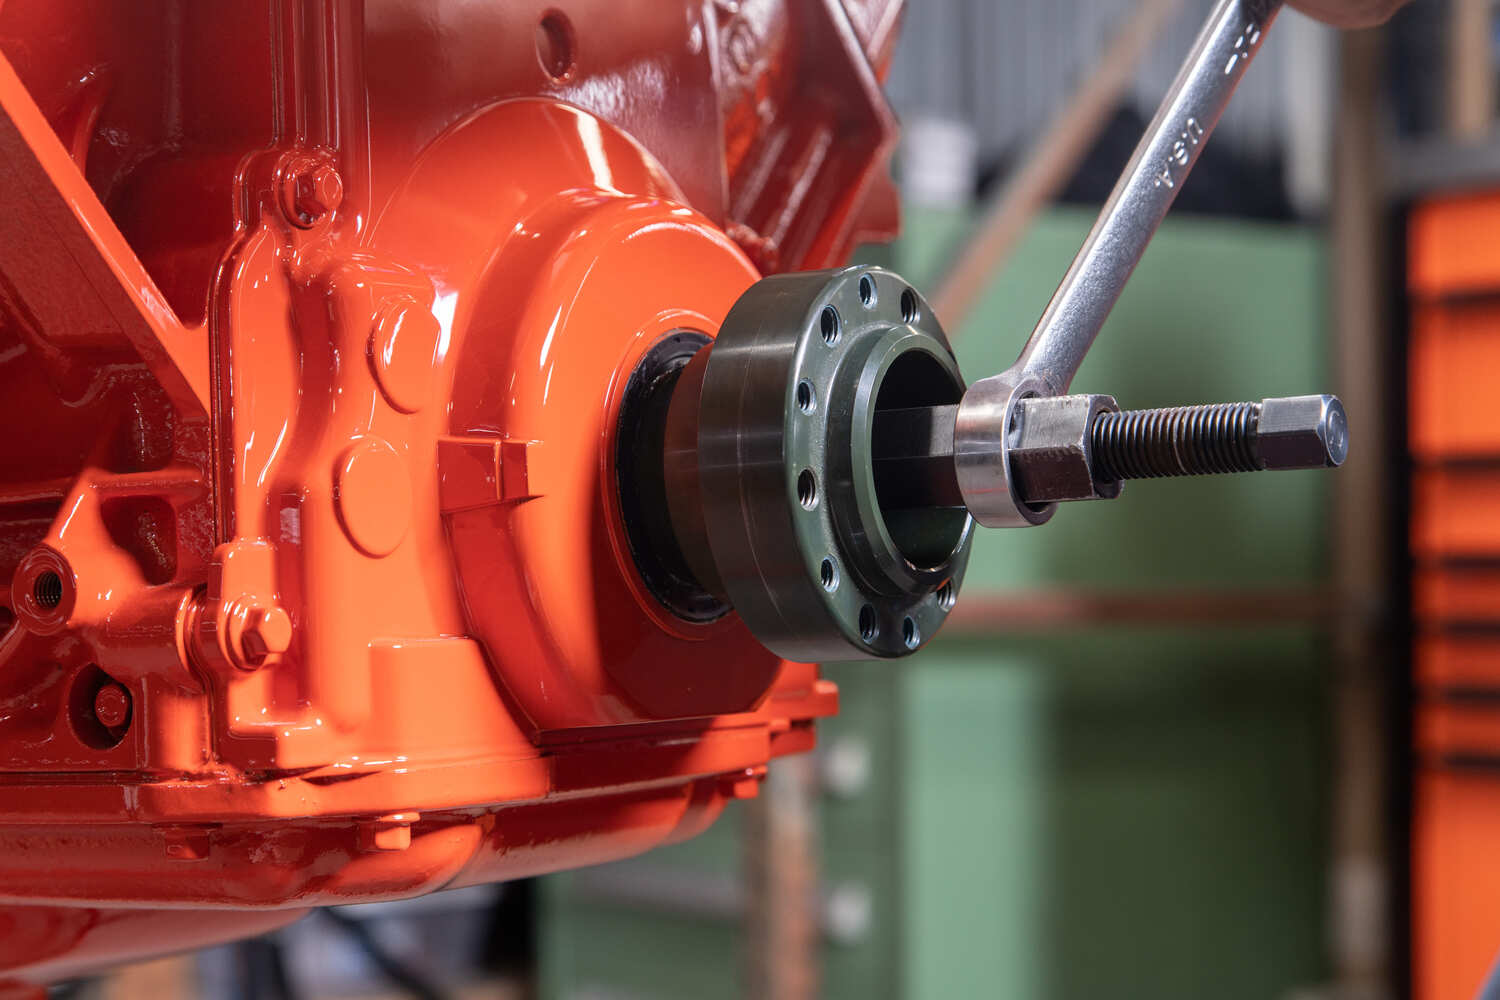
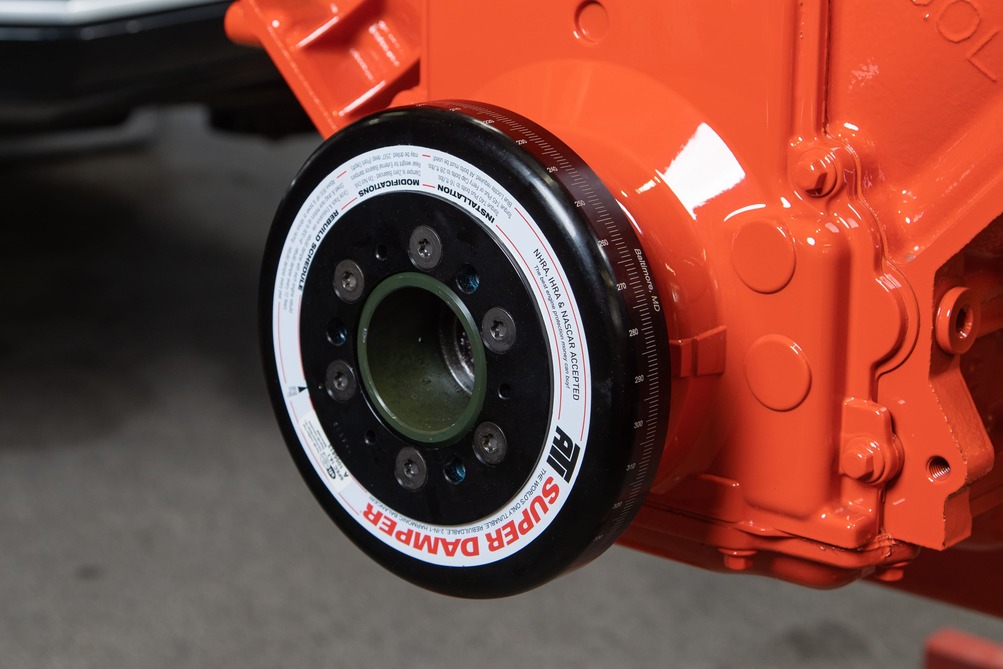
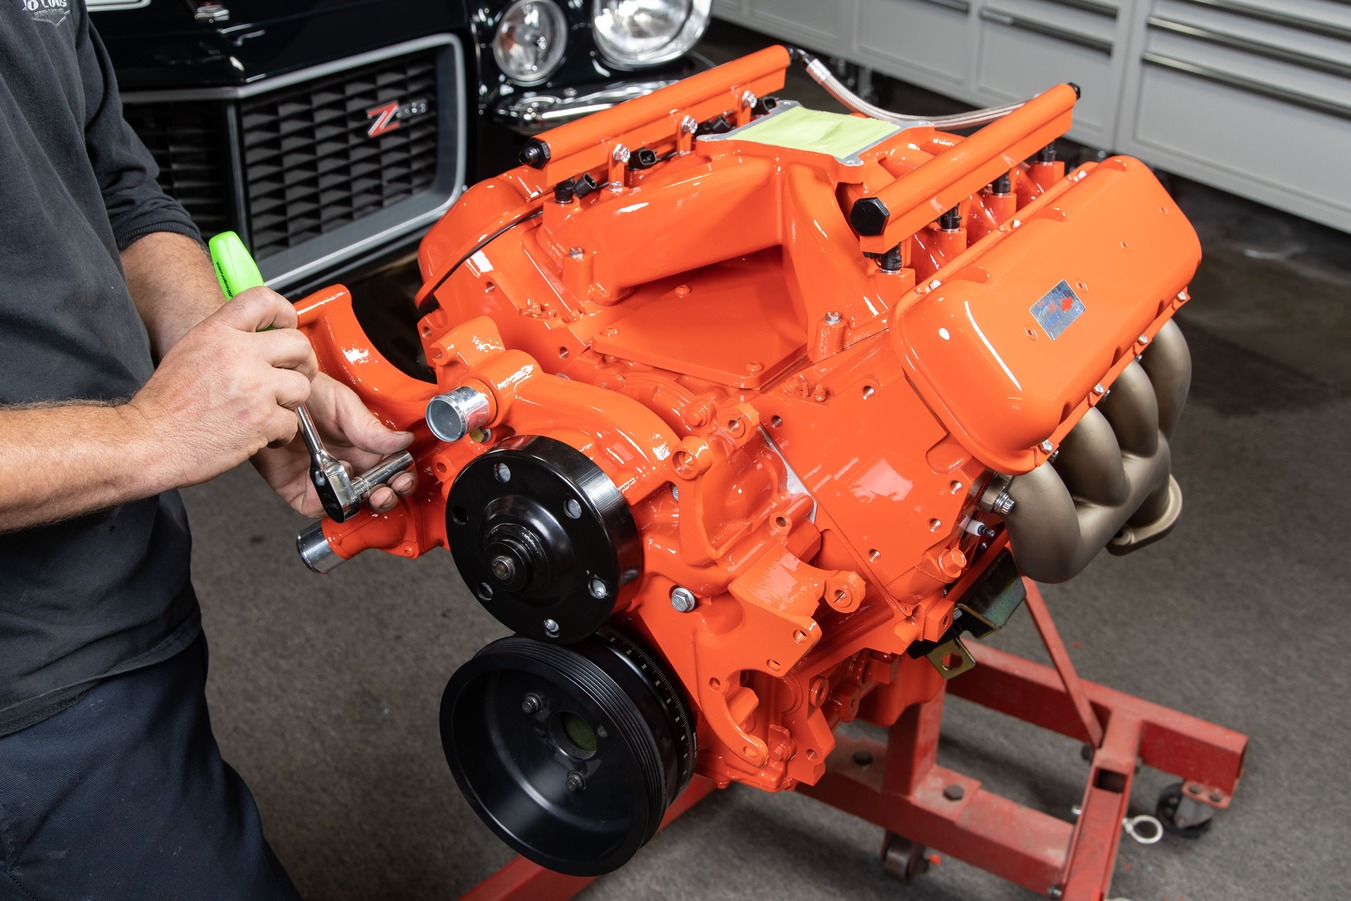
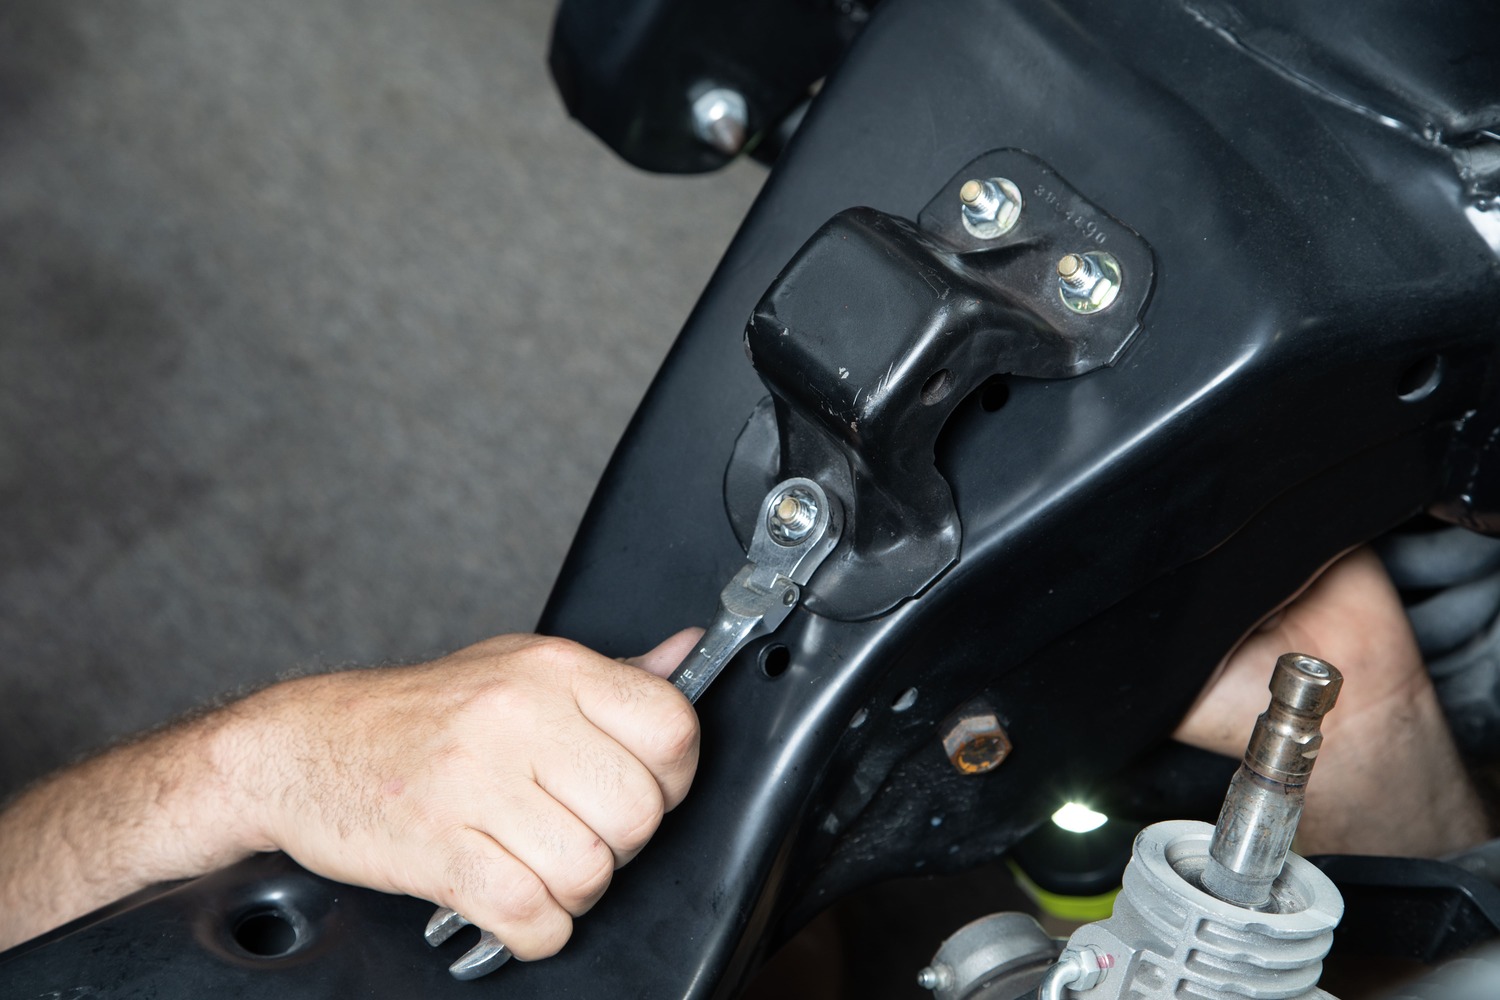
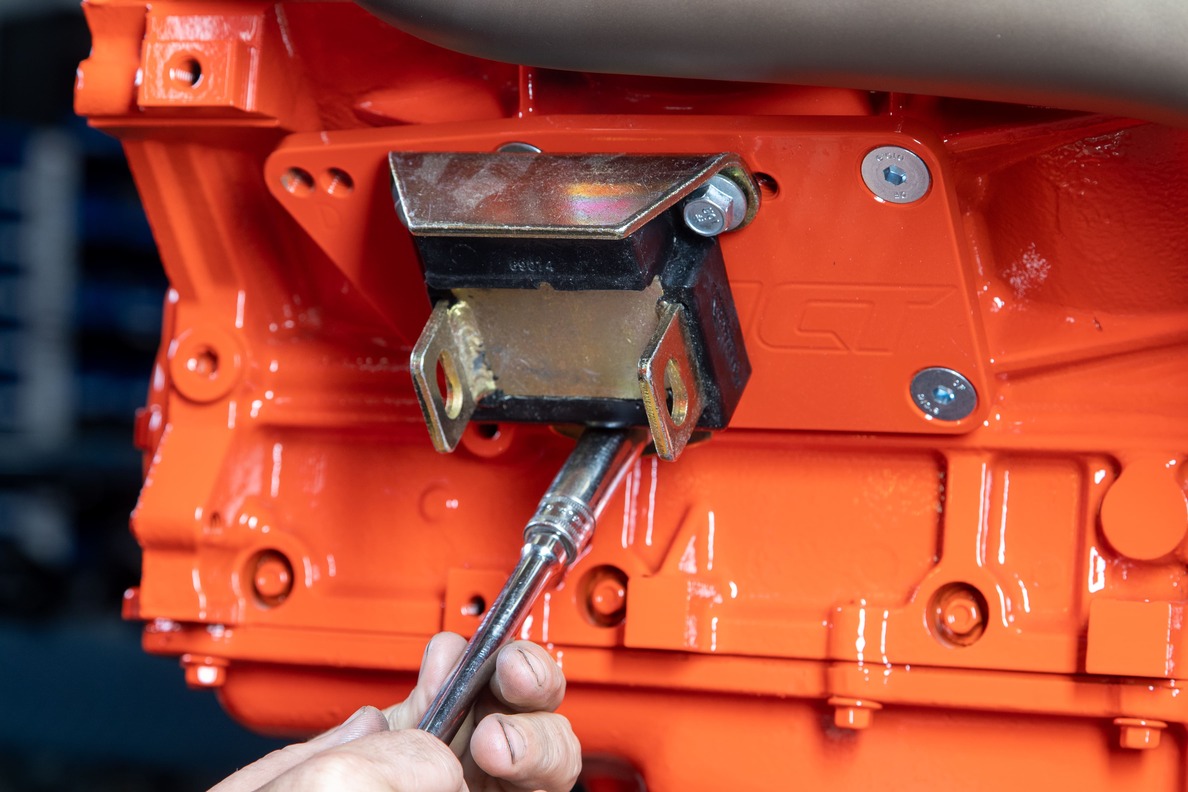
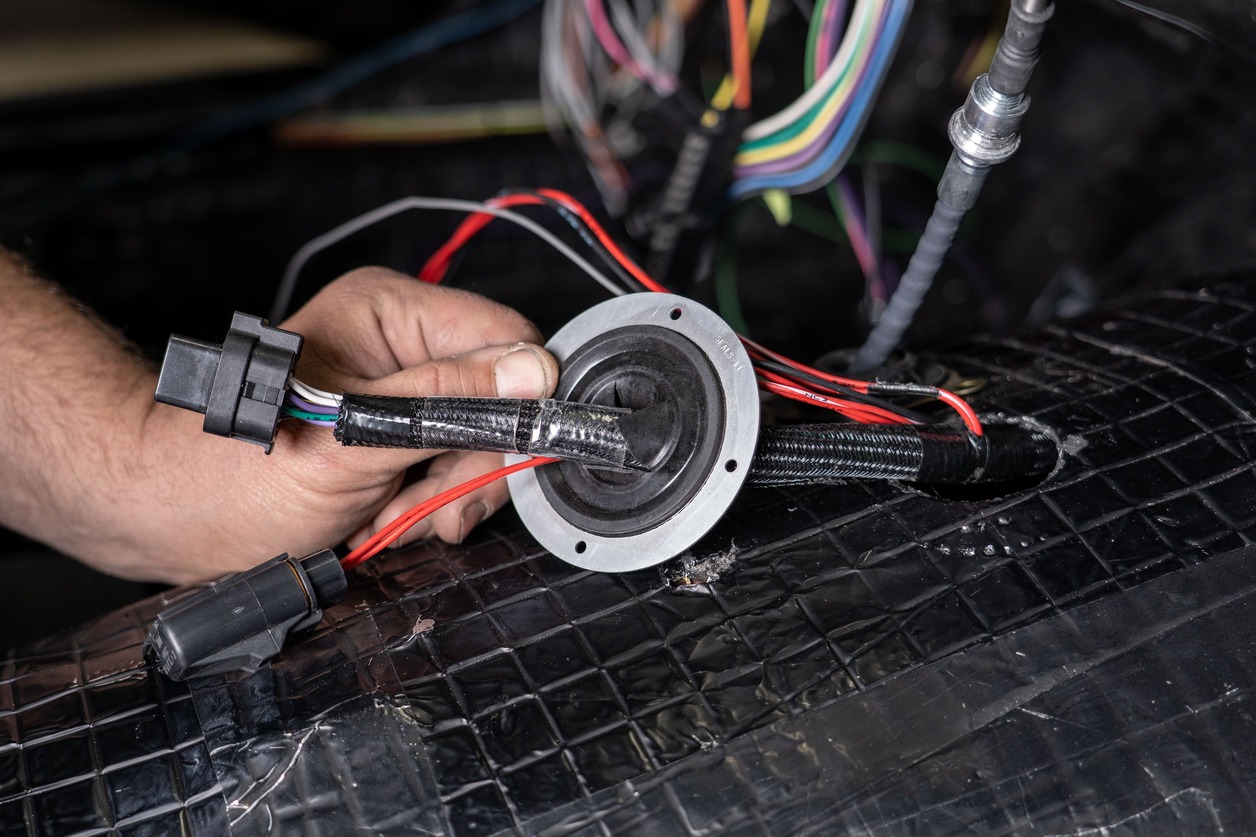
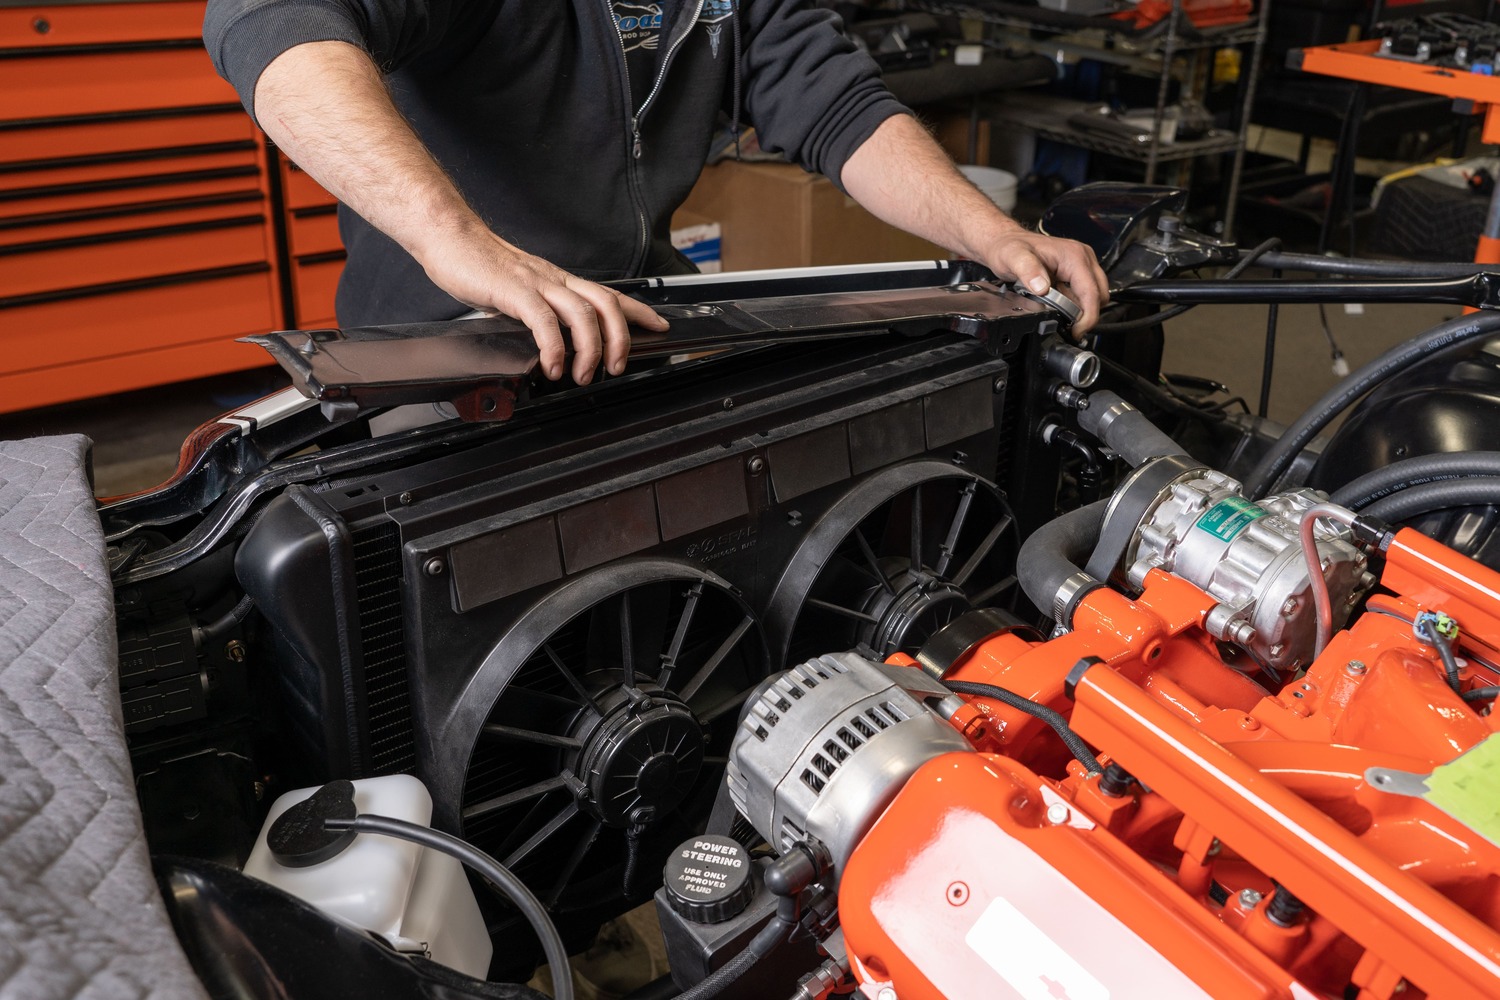
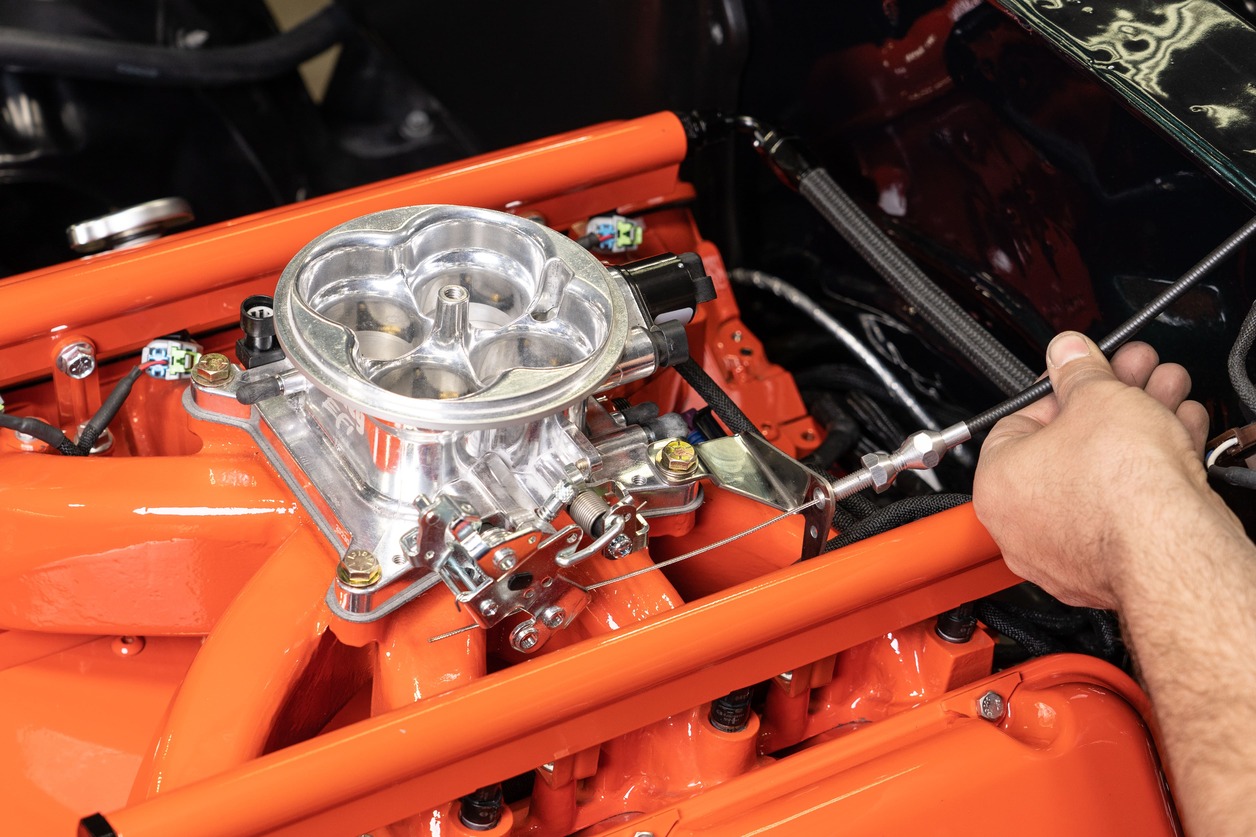
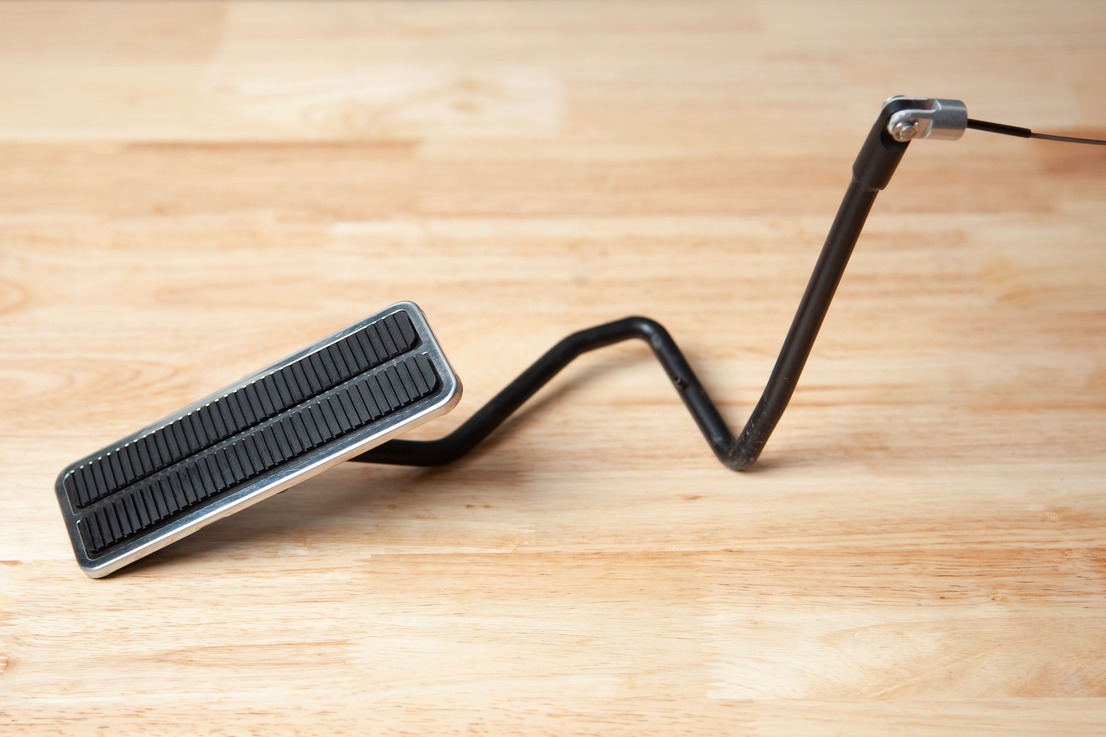
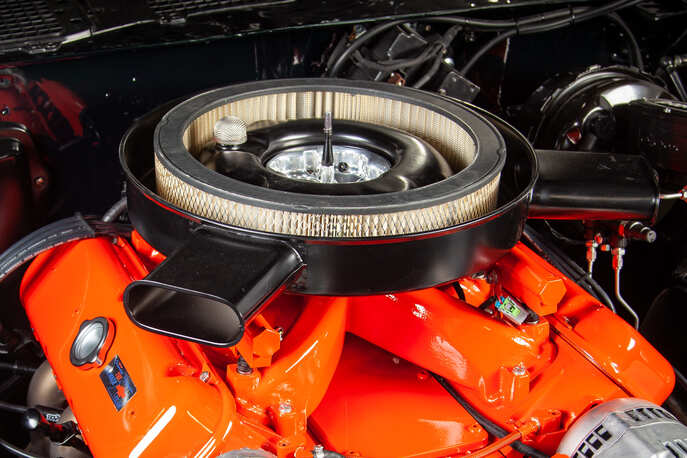
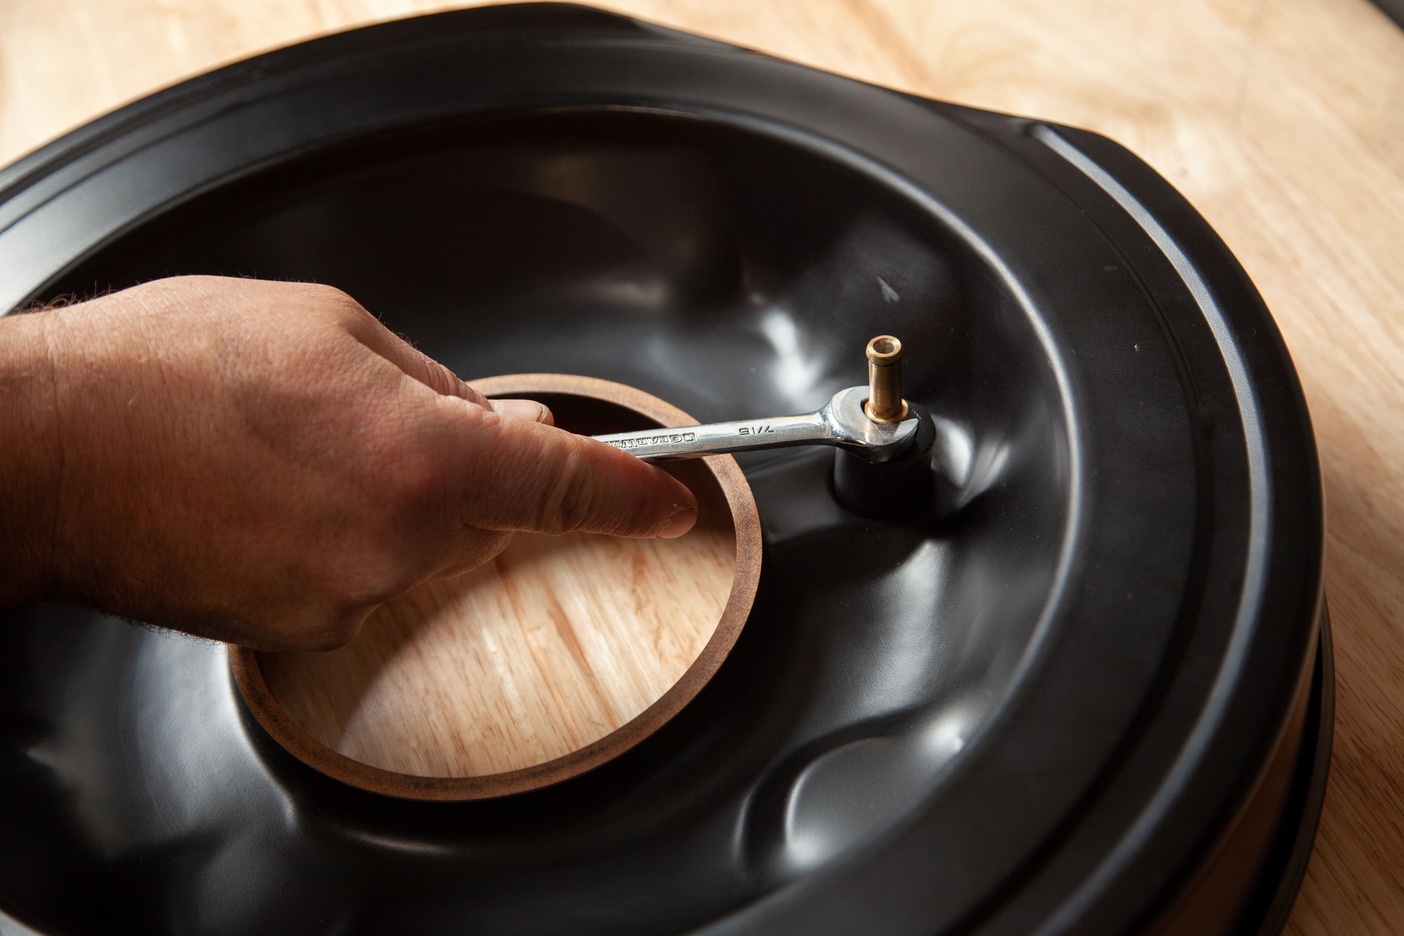
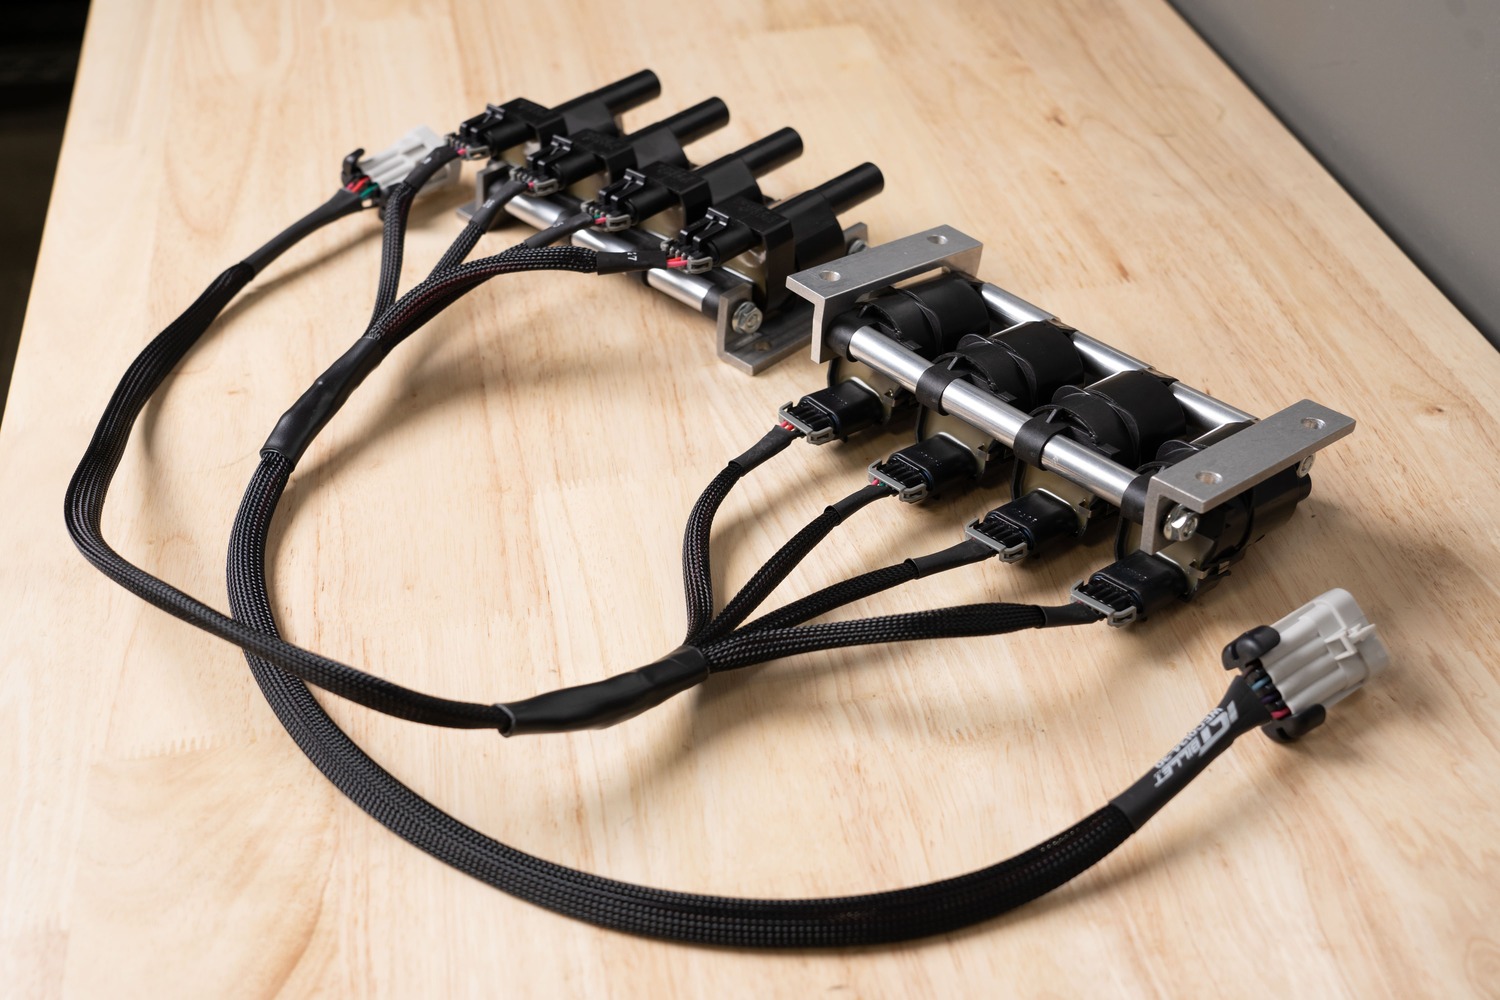
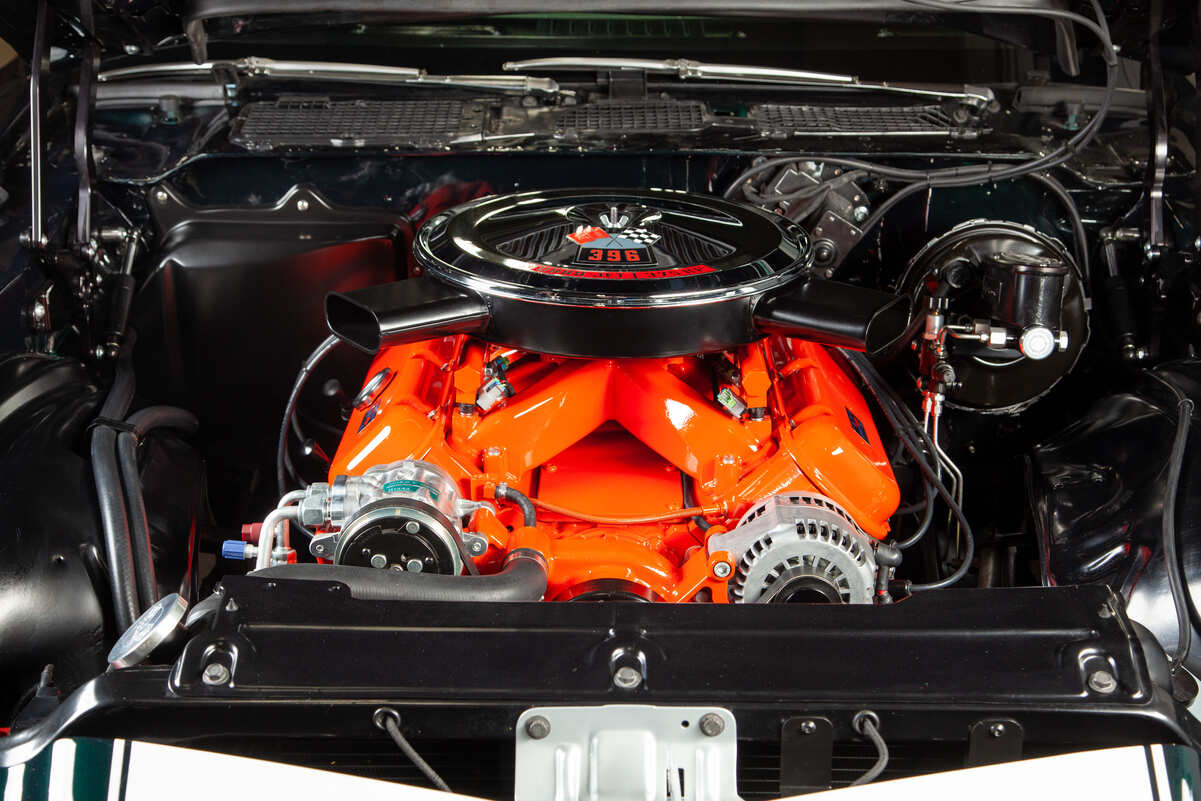
Supplied in the Holley front runner kit, we spun on the crank hub adaptor with a handy install tool after applying some all-purpose grease to the crank snout.Also supplied, we secured the ATI SFI-rated dampener to the crank hub with the supplied hardware and torqued to spec.Next, the crank pulley and the water pump housing assembly were installed. Additionally, Holley’s heater outlets are designed with 90-degree offset locations for varied applications.Factory motor mount perches were reinstalled and ready to accommodate the new engine.A set of ICT adjustable billet motor mount adaptors were installed with Energy suspension polyurethane SBC mounts. These adaptors are the perfect answer to adjust engine/drivetrain geometry as well as engine-to-firewall clearance. Prior to the final install, a mockup block was installed to verify the proper motor mount location.With the 4L80E transmission, the main wire harness is routed through a 2-inch predrilled hole in the transmission tunnel. To finish, a firewall gromet (296001ERL) was secured in place.Prior to install, the engine wiring harness was roughly plumbed through the firewall and the computer was mounted in place. Industrial-strength Velcro was applied to mount the Terminator housing to the firewall, which eliminates any unneeded holes in the firewall.Plug-and-play: A look at Holley’s Terminator engine harness; these kits save time and simplify wiring with pre-labeled sensor connections.Before dropping the engine in, the remainder of the front drive system was bolted in place, including the AC compressor, alternator, power steering pump, and tensioner pulley. Finally, the engine was lowered into place, the motor mounts and bellhousing hardware were secured.Next, we installed a DeWitts LS conversion direct-fit radiator from Speedway Motors (PN 6139005A) that’s complete with premium dual SPAL fan/shroud combo rated at 2,780 cfm. We found some trim-to-fit style upper (1 ¼-inch) and lower (1 ½-inch) radiator hoses from our local auto parts store.A Holley universal 1,000-cfm throttle body was installed (PN 112-588) along with a Speedway Motors universal cable bracket (PN 4914000) to connect a trim-to-fit–style Lokar throttle cable.To use the factory gas pedal mounts and assembly, NCC&RS machined and welded a female-end clevis to accept the Lokar throttle cable end. This could be achieved with a simple angle grinder and piece of round bar stock from a local hardware store.A factory-style, four-barrel, dual-snorkel air cleaner from Classic Industries (PN KW724) was the perfect fit atop the Holley throttle body with plenty of hood clearance.Note, NCC&RS trimmed, drilled, and tapped the bottom of the air cleaner to accept a male end hose barb that attaches to the clean side of the PCV that runs to the passenger valve cover.Coil mounting will need to be considered prior to final engine install, especially when space is at a premium. One option considered here was ICT Billet’s coil brackets that can be located in a variety of places on the firewall or in conjunction with other custom brackets.The view says it all. Clean and compact with more than enough power to lay down some fresh tire.
We use cookies to ensure that we give you the best experience on our website. If you continue to use this site we will assume that you are happy with it.