Sometimes it’s largely the little things that’ll separate a custom creation from a restrained restoration. As we might’ve mentioned last time, our ongoing 1955 second series Chevy truck project won’t be heavily customized. There’ll be a few custom touches here and there, however, which we’re hoping might take Chevy Task Force authorities by surprise. If we can just trigger some head scratching, we’ll consider that part of our mission accomplished.
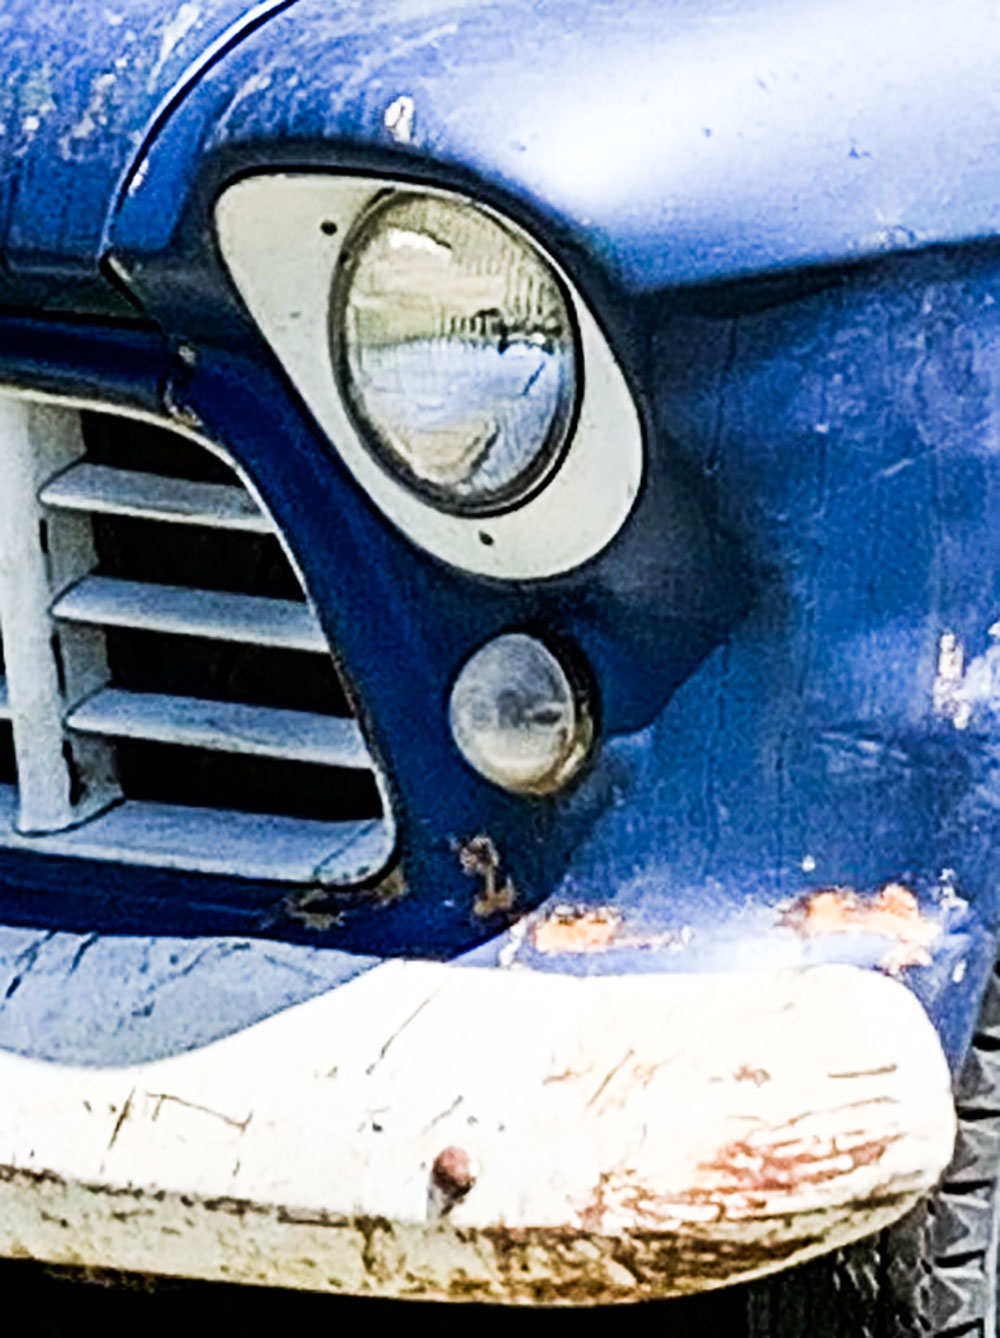
There’s nothing really wrong with the stock bullet-shaped parking lights. We know that Brothers Trucks stock new ones but this time that might be too easy.
To catch us up, we’re still in the body working phases of the build. With the cab in first-round primer we’re focused on a mix of original-equipment and reproduction panels with front fenders receiving attention at this time. While we’re working on fenders anyway, let’s go on and add another little custom touch.
For now we’ll borrow bits and pieces from our own 1955 Olds. We’re thinking its reverse lights will flow nicely with the eyebrows of early Chevy Task Force fenders.
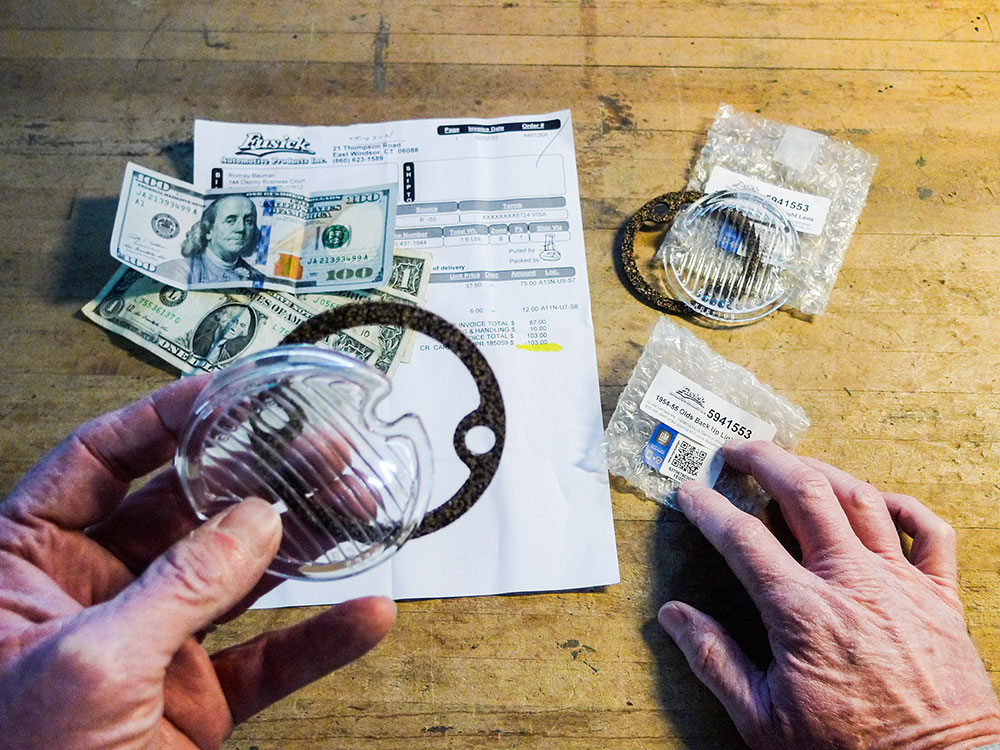
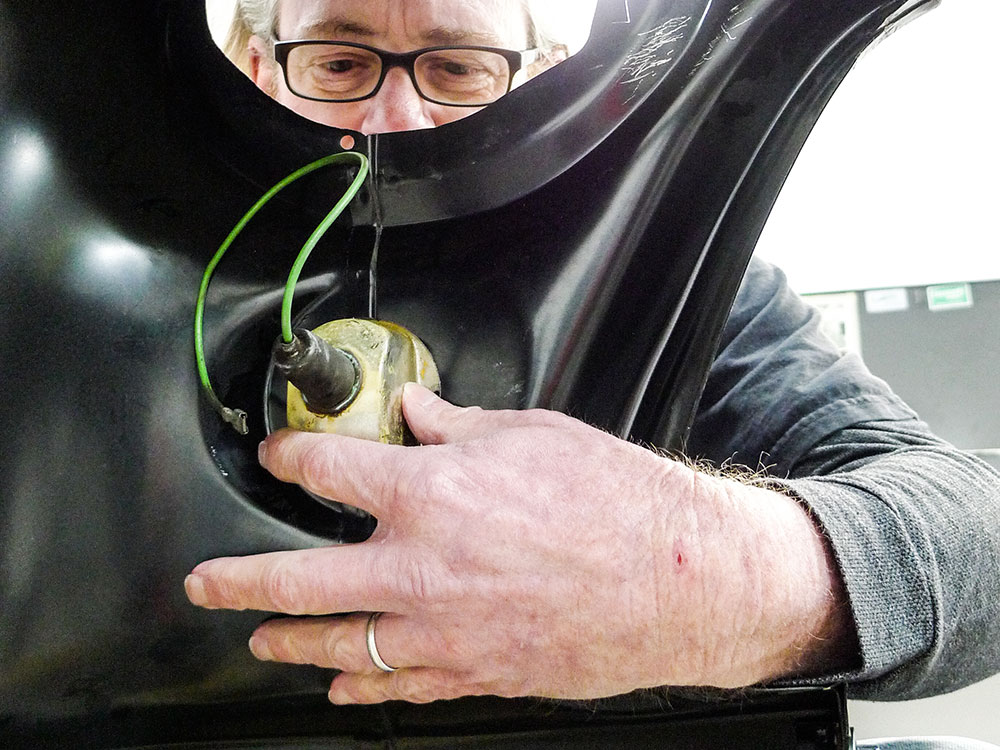
Apart from two tiny glass lenses and their two related gaskets, we’ve already got the makings for smoother-appearing, less-recognizable parking light assemblies. If you’ve put in your time scrounging through older wrecking yards you might identify these as 1954-1955 Oldsmobile lights. If by chance you know them also as 1958 Chevy station wagon or sedan delivery, you’re good.
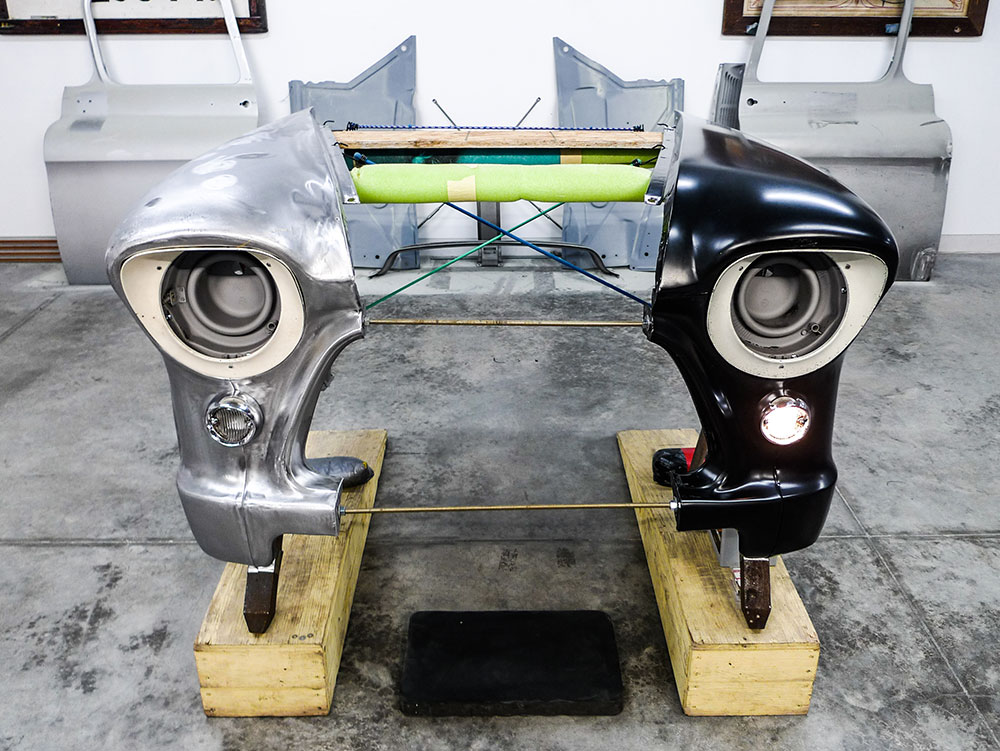
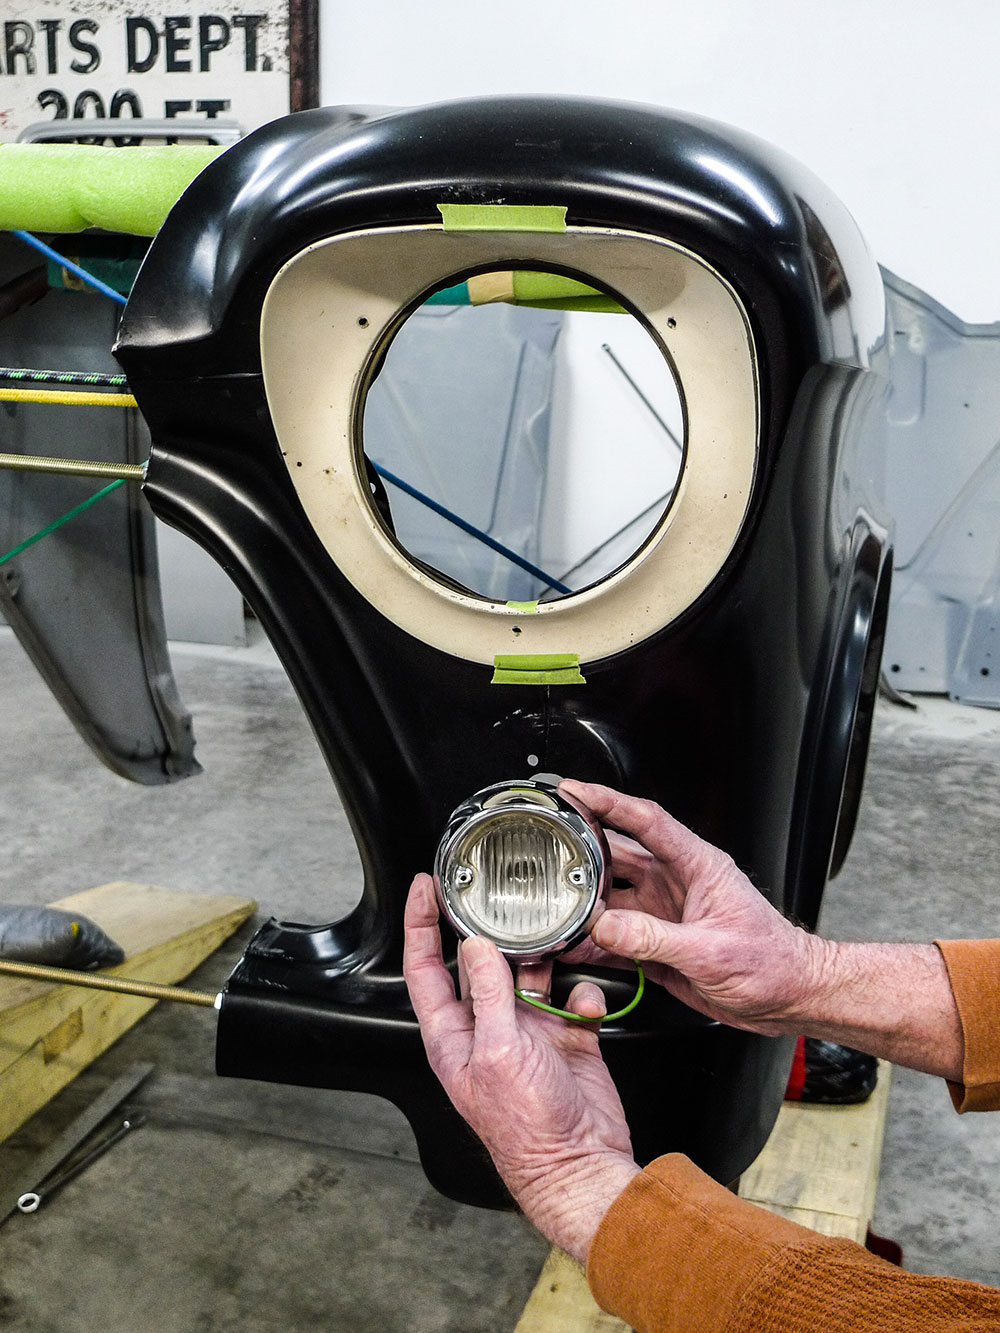
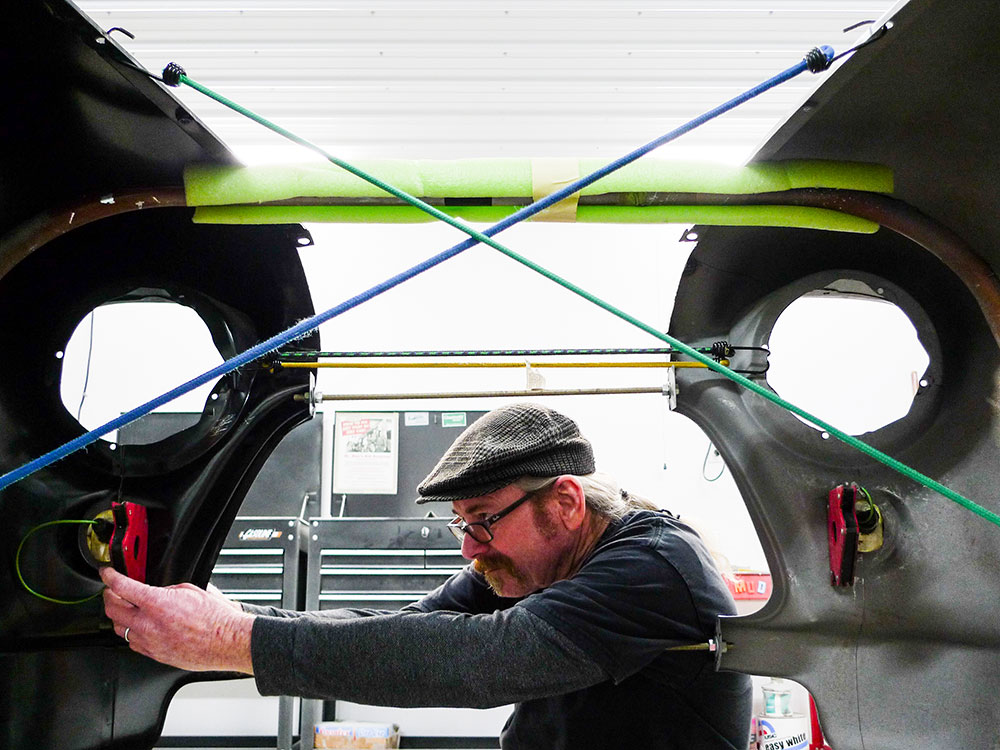
To this point we haven’t shared our plan with the project truck’s owner. Partly for a visual presentation of sorts, we’re rigging a temporary fender fixture.Here’s the photo we used for the pitch—and it worked! We’ve got the green light, but we’re still lacking lenses to complete our assemblies.
Being about the same outside diameter as the stock-type 1955-1957 Chevrolet truck parking lights, our pieced-together Oldsmobile assemblies should swap in fairly easily. Still, this might work best on a mocked-up truck.
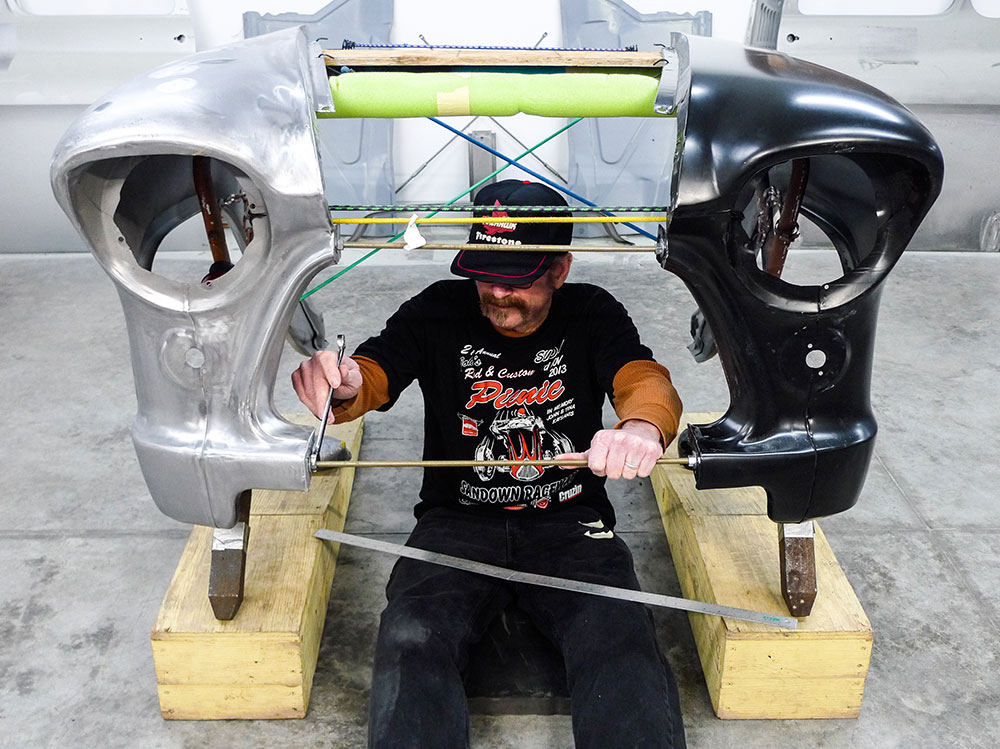
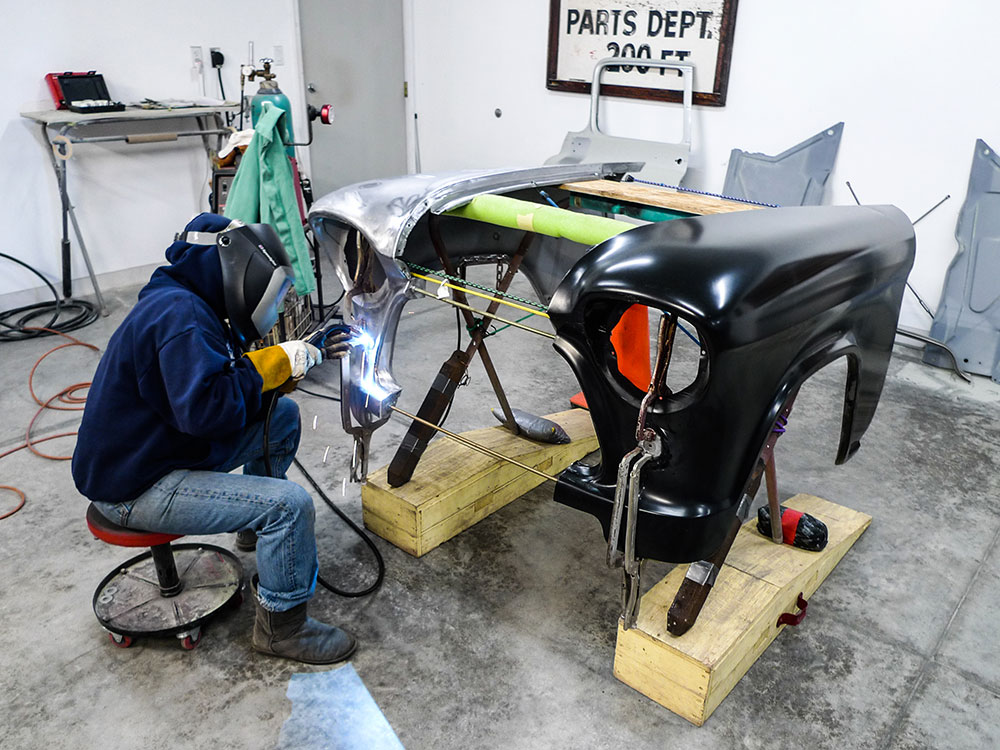
Here our project is in pieces. It’s not a good time to bolt the front group back together, but we can fashion a fender fixture for what we’ll need to do. With fenders aligned, at least with one another, this’ll begin as a matter of enlarging two holes.
“Bauman’s to the circuit, 1955 Olds a pair of reverse light lenses!” Well, that’s how we used to locate parts, anyway. Today it’s kind of like I’m talking to myself.
Not to change it too much, but let’s head this off before we commence with the step-by-step portion of our story: A short while or two back, a reader fired off a newfangled electronic letter. Toward the end of the letter he pointed out that yours truly had “dropped” the name of one particular sponsor three times in one tech story. Now I’m here to testify, that’s not true. It was four times!
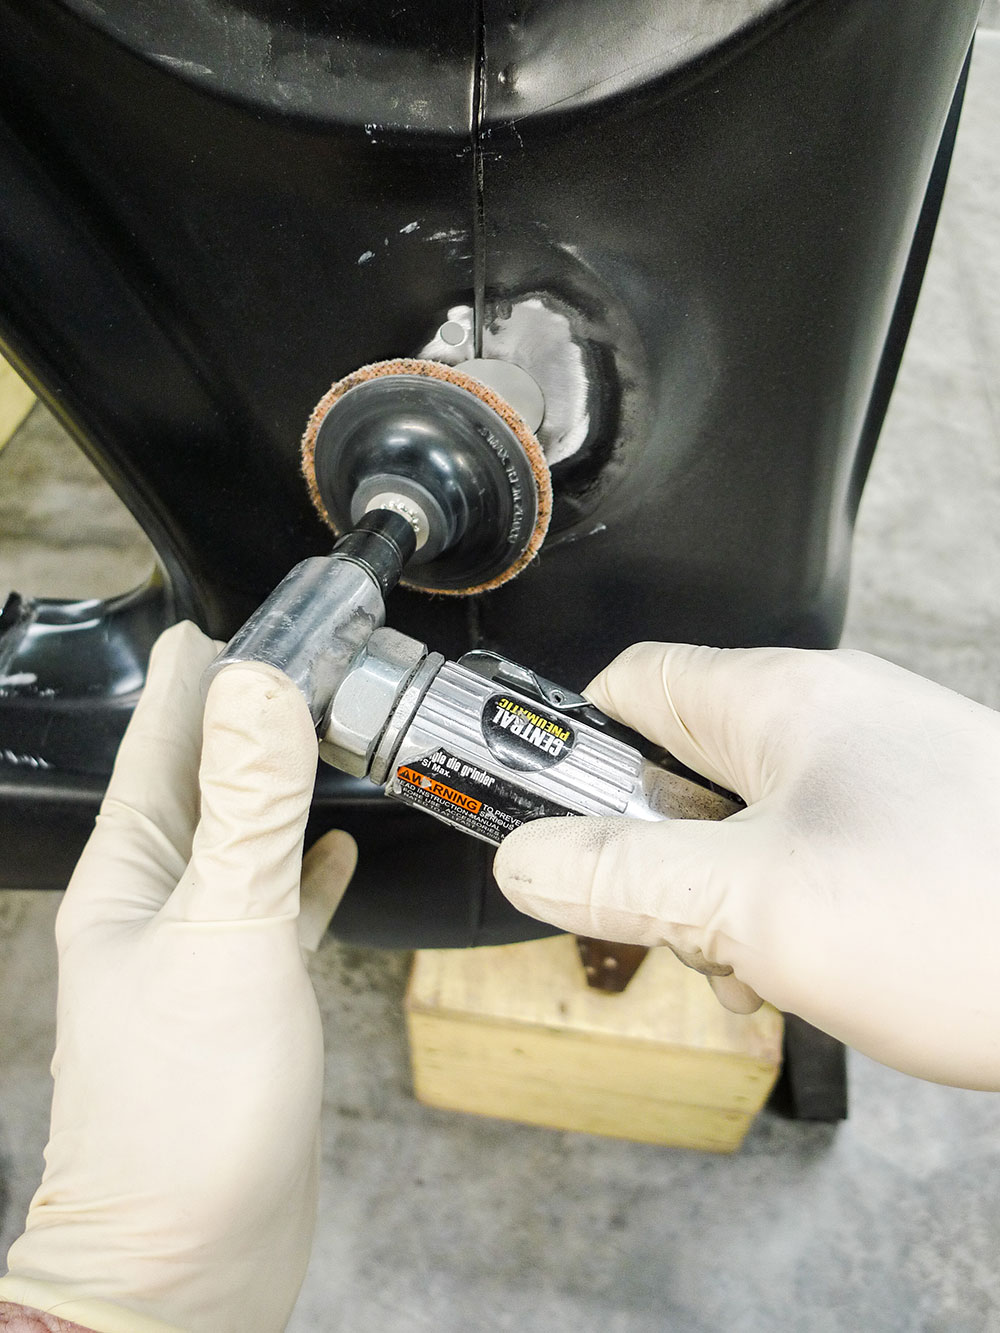
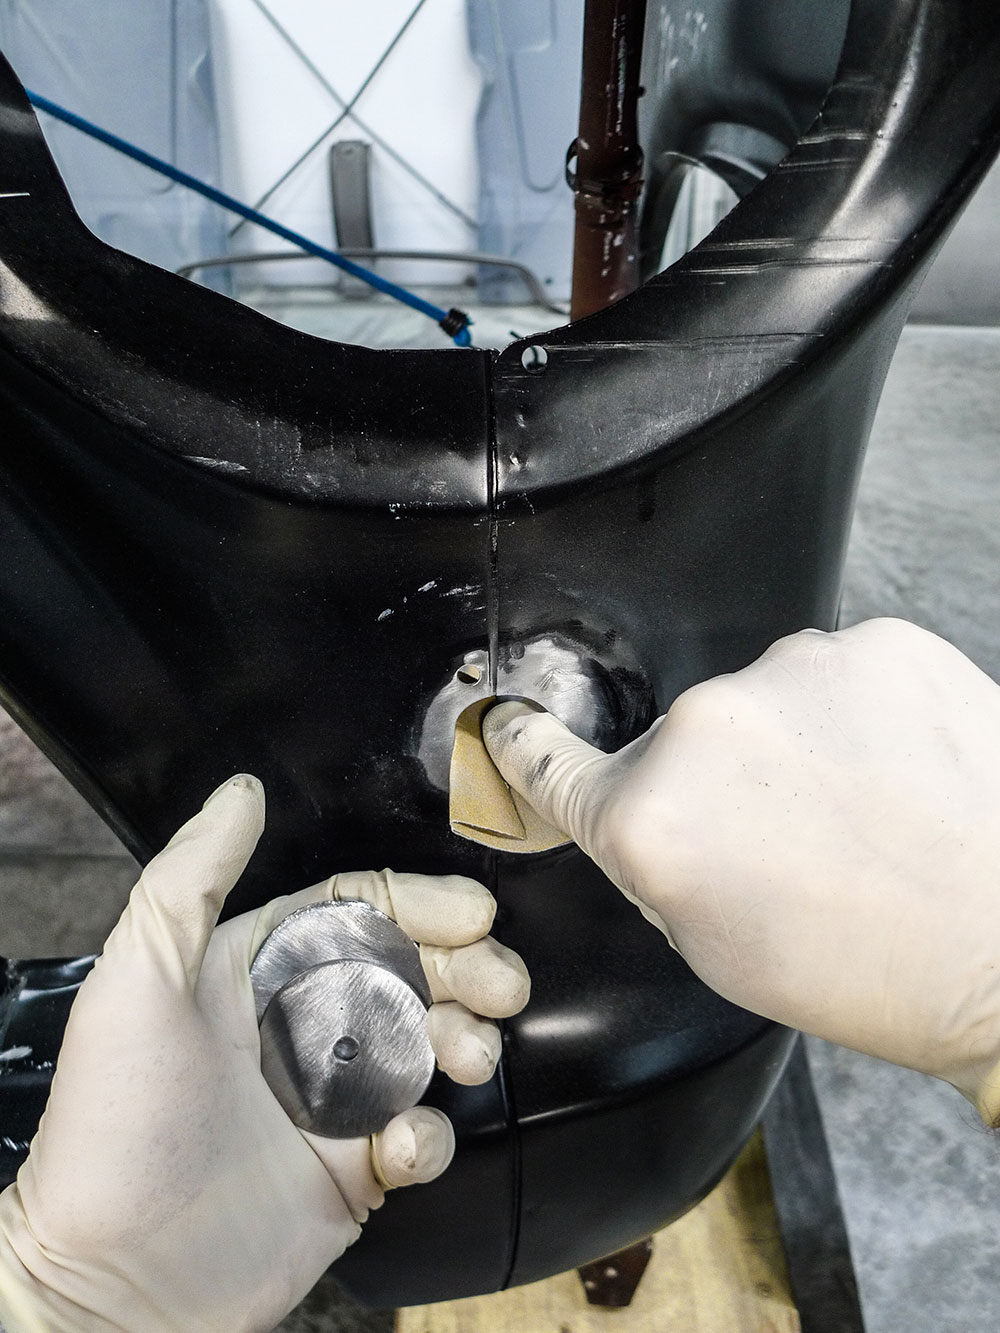
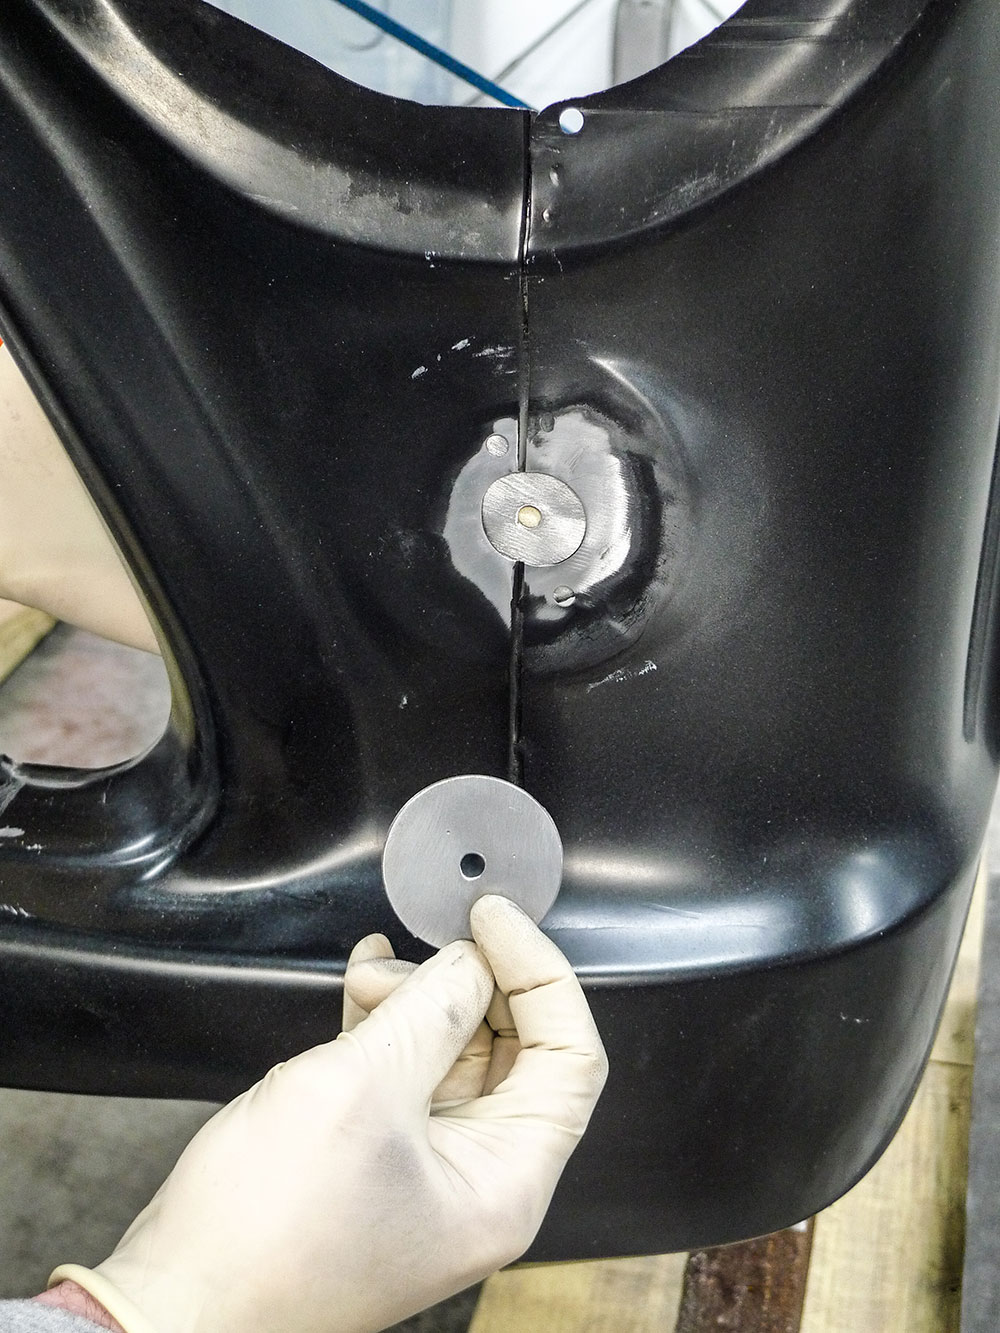
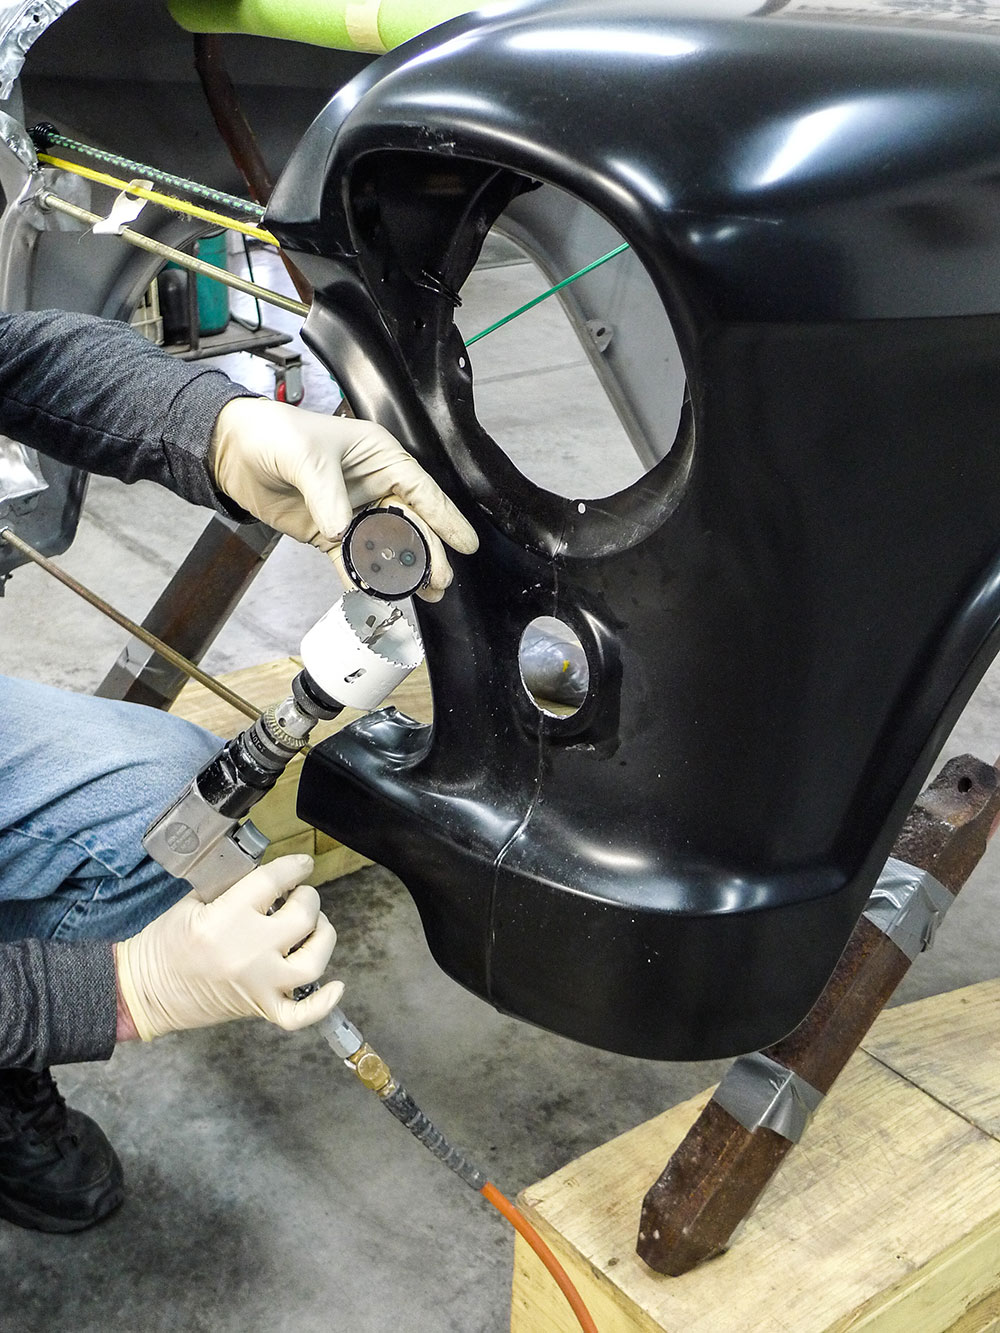
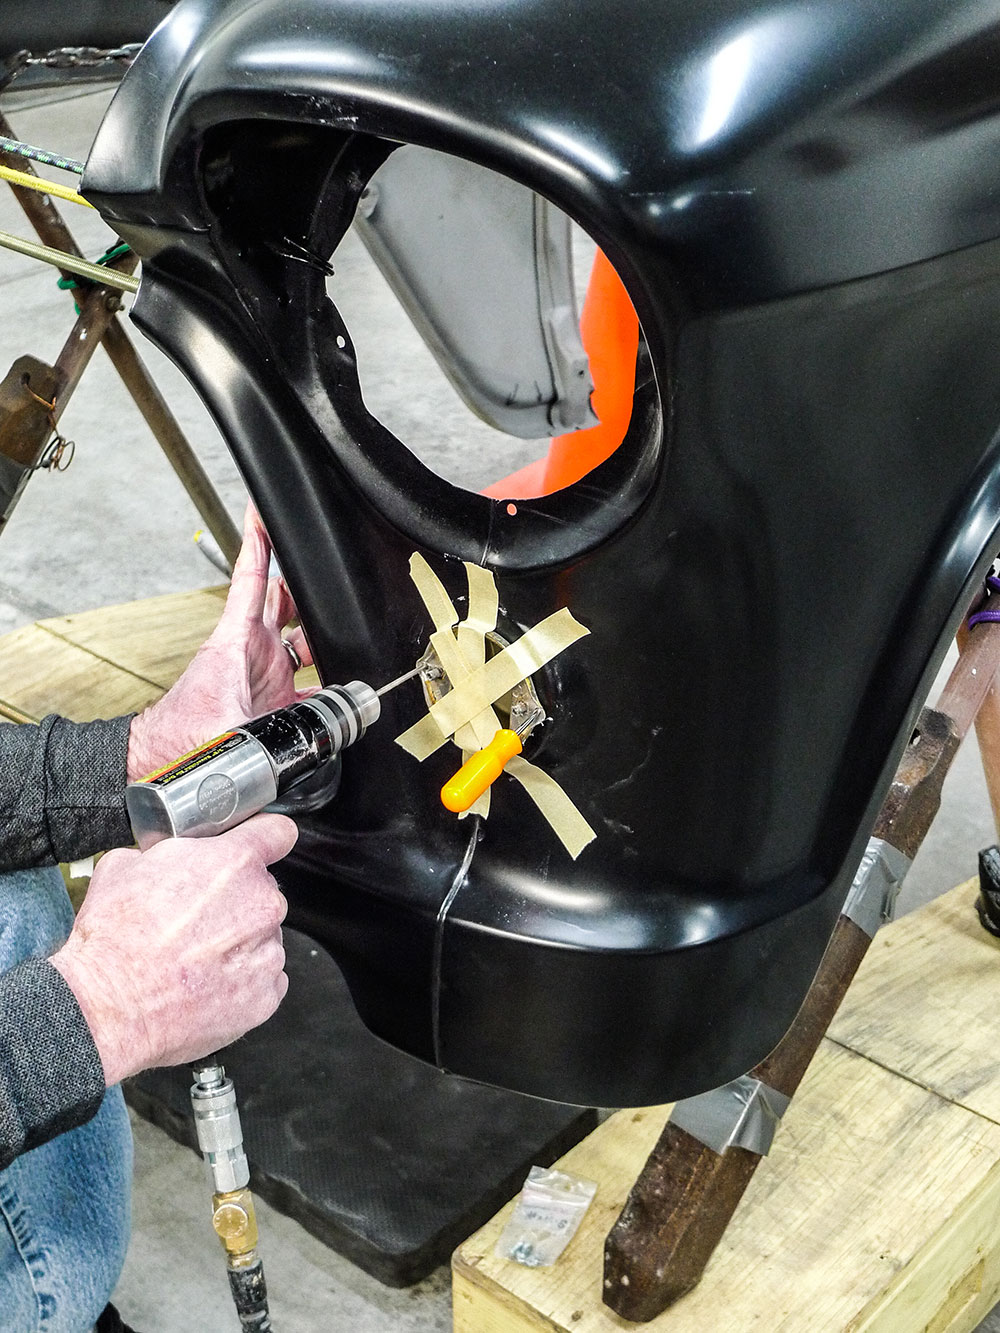
Of course we’ve known the source for reproduction Olds parts. For two tiny lenses and related gaskets we’ve stepped up, but we’re mostly just glad we could get them.To guide a hole saw with a 1/4-inch pilot bit we’ll be tack-welding something to the backside. First, for the new Brothers Trucks fender we’ll remove this bit of EDP coating.A 3-inch Scotch-Brite Roloc disc on a house-brand angle die grinder has stripped this spot in seconds. For the less-accessible area we’re removing the coating in a manual manner.
Way out here in Northwestern Montana we’re not exactly the first to receive much of anything. So, when Harbor Freight came to nearby Kalispell, it was just what the car enthusiasts were clamoring for. On that note, especially for my newest potential pen pal who’s literally counting on me, I’ll be using Harbor Freight (this shop’s house brand) items darn-near exclusively throughout the following procedure. Our subject truck’s new left fender, however, is from Brothers Trucks.
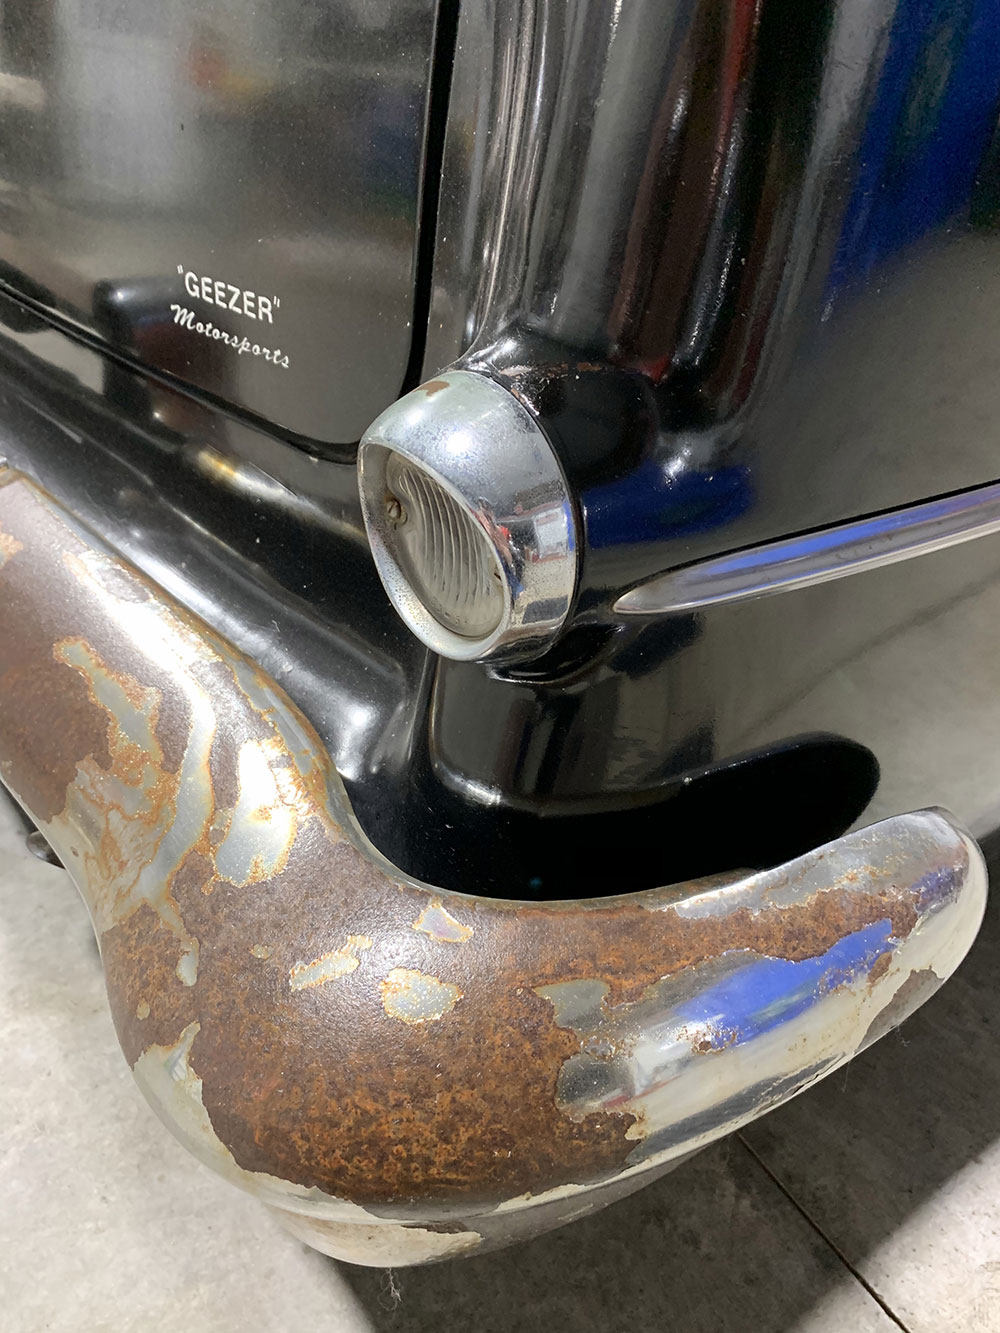
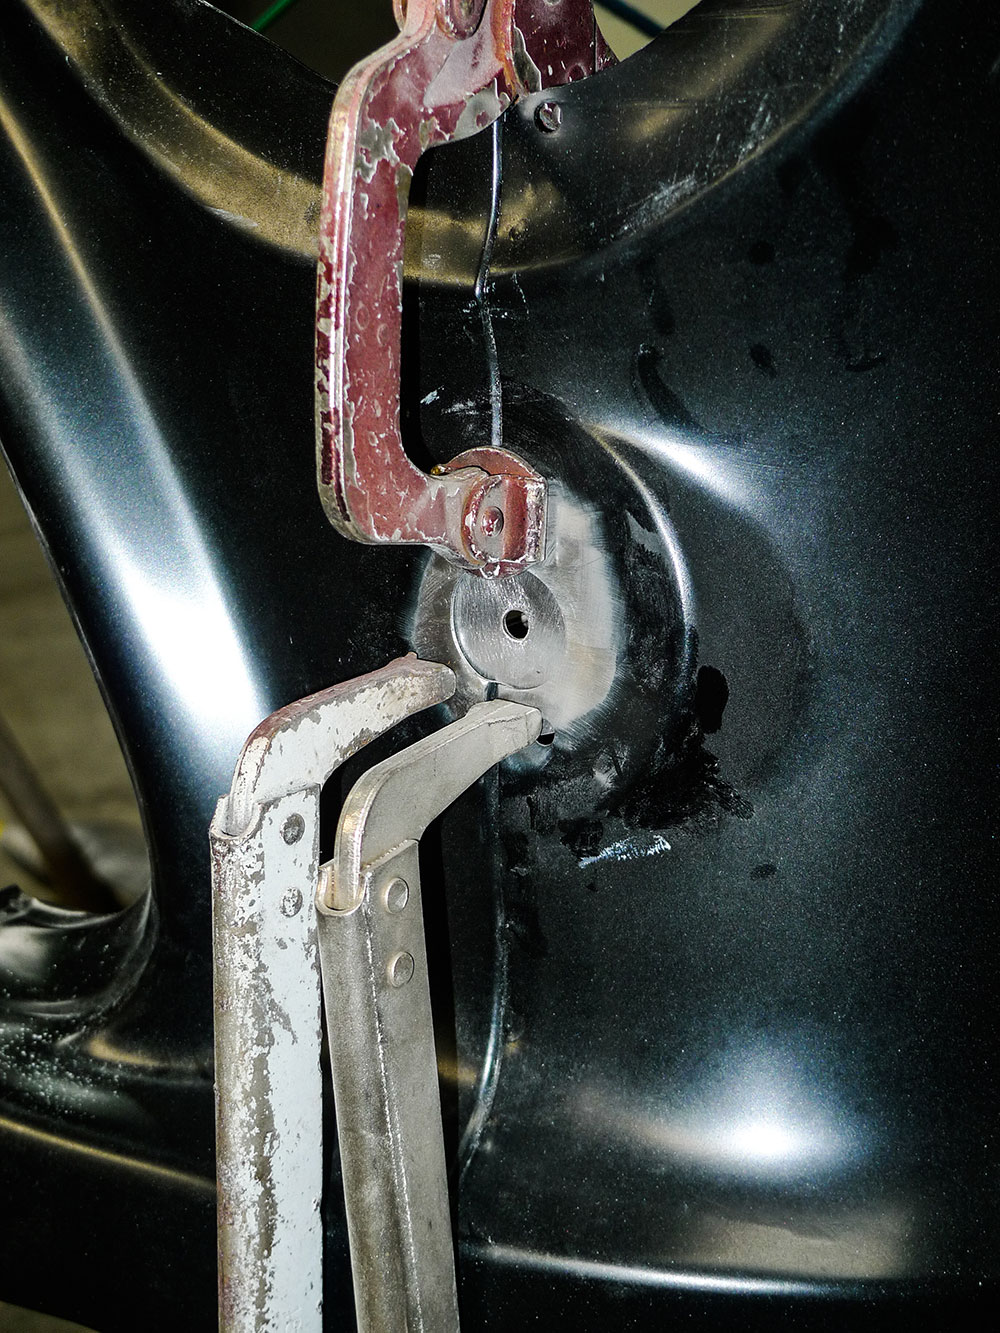
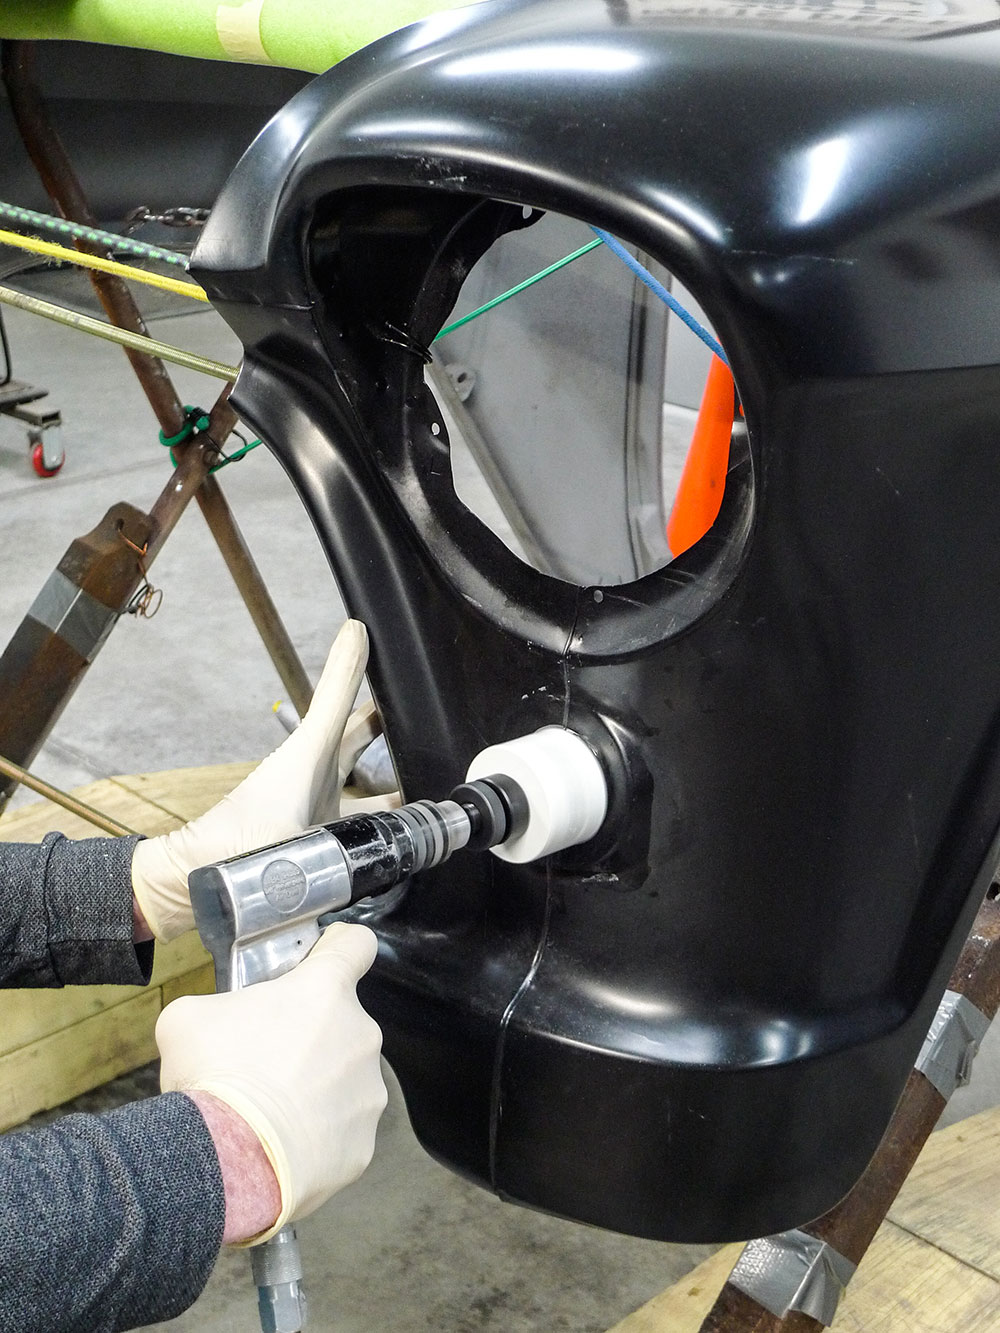
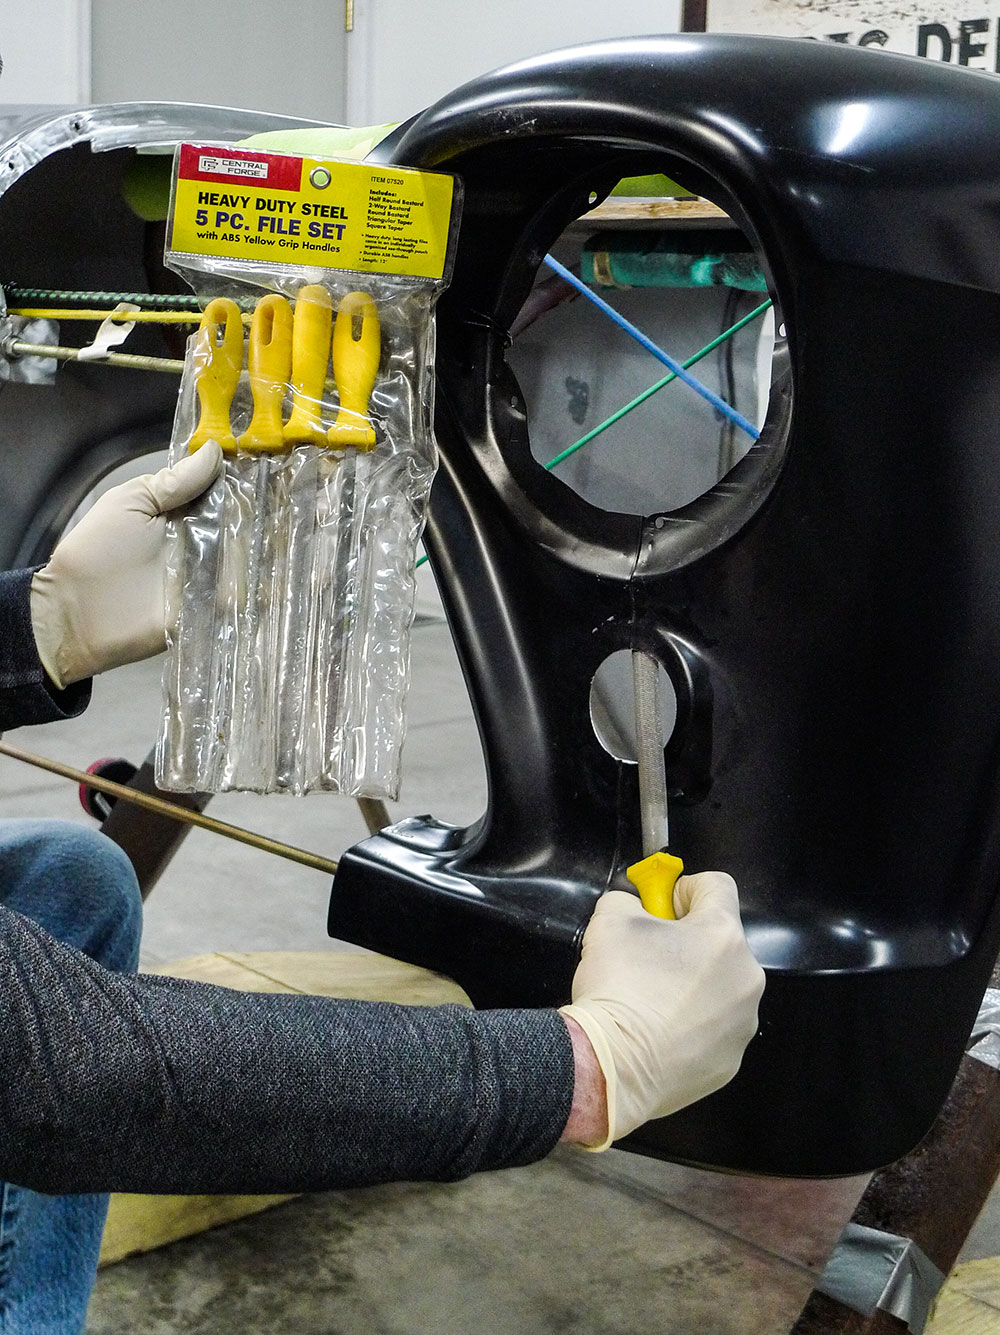
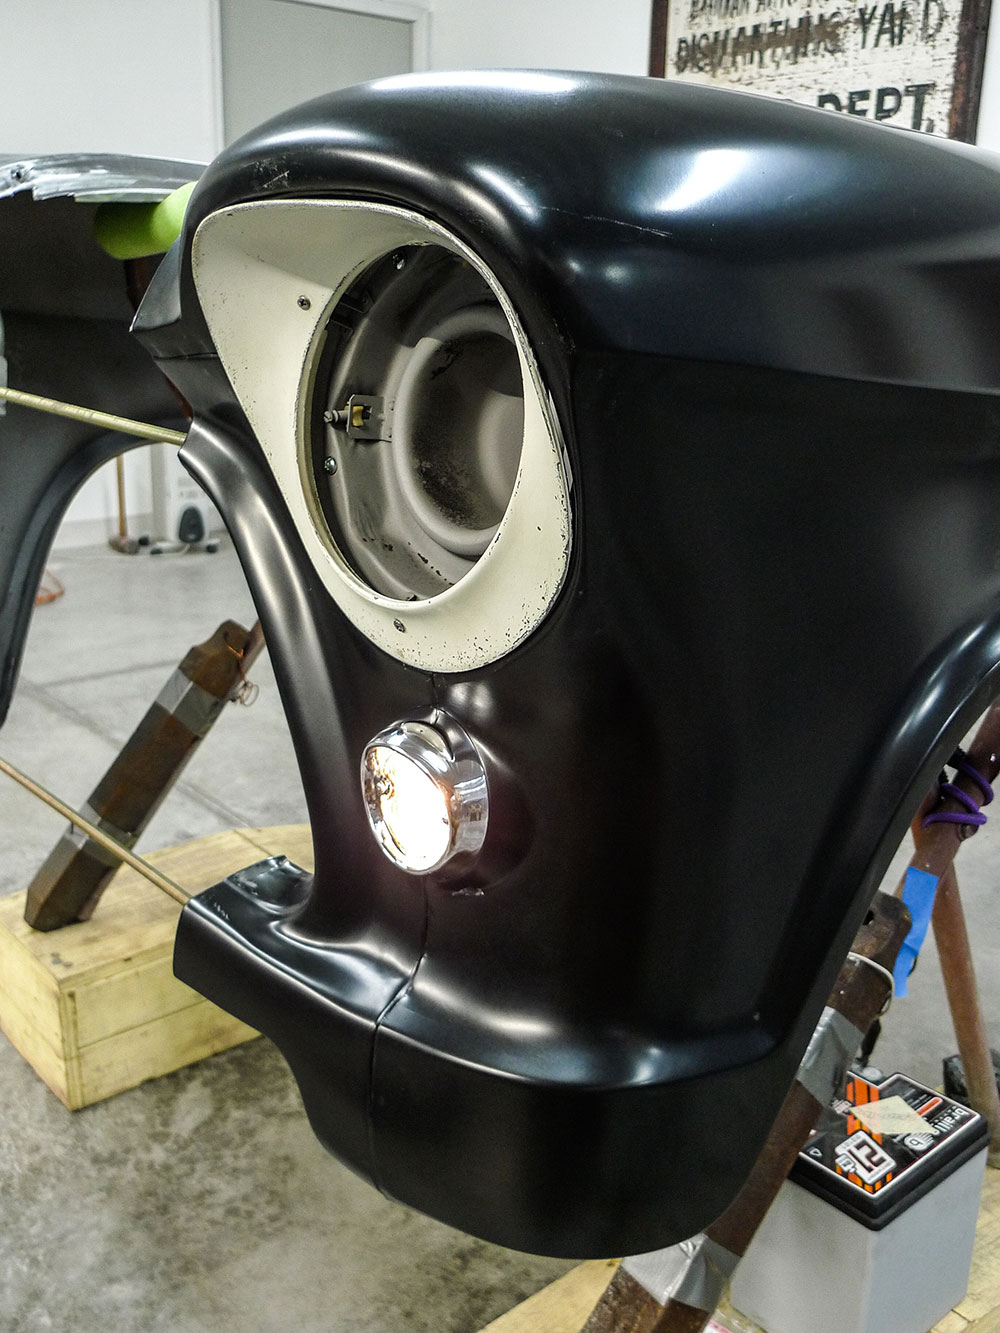
These aren’t fender washers. They’re leftover slugs, perhaps from the last time we used a hole saw. For proper guidance their existing holes are a tight 1/4 inch.Once we’re satisfied that we’ve got them centered, the guide slugs are firmly clamped into position.This is a job for the designated welder, Mrs. Rotten. “Oh honey, just give me three tack-zaps per hole.”At times like these it’s good to have a fairly new, sharp set of house-brand hole saws. For this it looks as though the 2 1/2 incher will be just about right.All chucked-up in a compatible pneumatic drill, the hole saw takes a spin. Since our guide slugs have pre-drilled 1/4-inch holes, we can’t hardly go wrong here.One more hole to cut. This guide slug has done its job, but it does look as though we’ll have some sharp edges.There’s an actual deburring tool here, but lately I tend to favor this house-brand file set. With a half-round bastard let’s deburr (bastardize) our sharp edges.Four more holes to drill. For proper clocking we’ll need to secure our new Olds parking light housings in line with our fender fronts’ vertical seams.In this instance, familiar-looking house-brand welding magnets just might do the job on their own.Even so, we’ve gone on to waste some masking tape. With light housings secured, let’s now drill our mounting holes—about 1/8 inch at a time.As we loosely snug our new Olds parking light assemblies down for a look, we’re pleased. To make these dual-purpose we’ll convert for dual-filament 1157 bulbs.The bulb conversion won’t be so technical, so let’s move toward the point. In the end we believe we’ve gained a smoother visual flow between headlights and parking lights.
We use cookies to ensure that we give you the best experience on our website. If you continue to use this site we will assume that you are happy with it.