IF THE QUESTION IS “HOW TO BEST UPDATE YOUR CHEVELLE’S SUSPENSION?” ALDAN’S GOT THE ANSWER!
By Ron Ceridono – Photography by Nick Licata
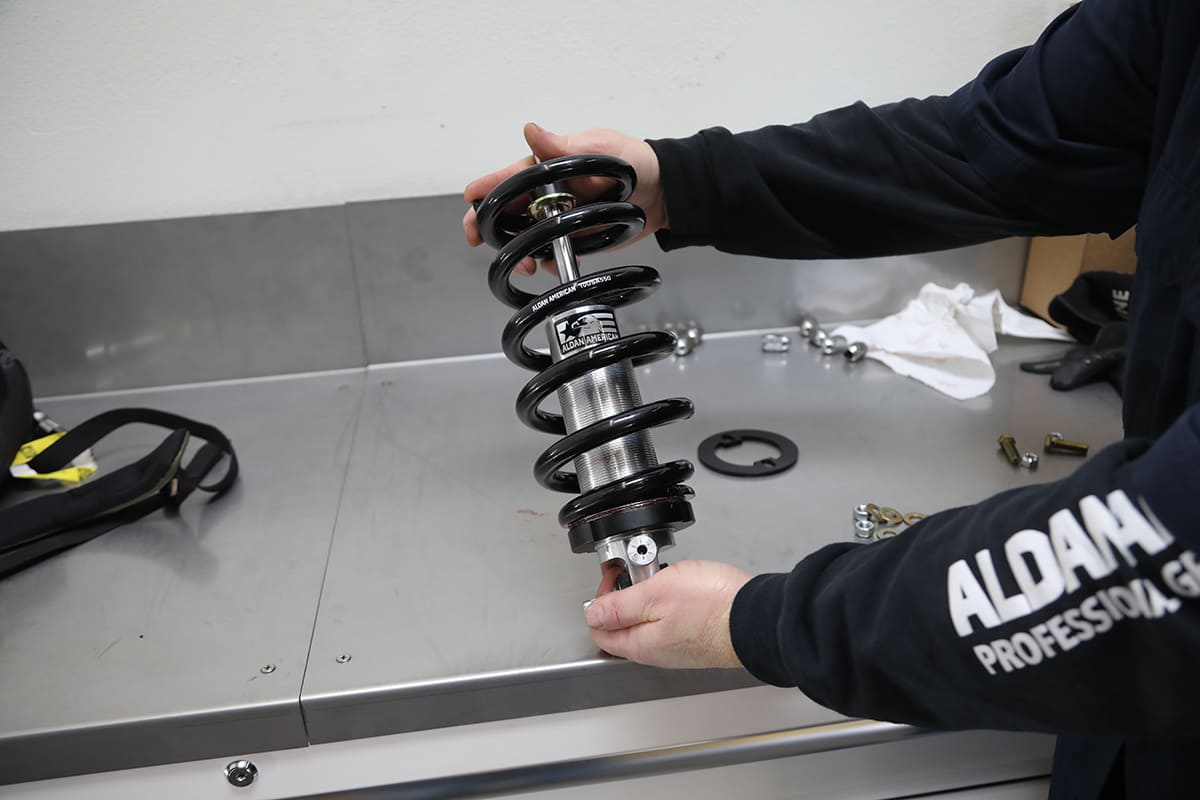
One of the most innovative developments on the automotive aftermarket suspension scene was the introduction of coilover shock absorbers. Among the first to offer billet aluminum coilovers for street performance and drag racing was Aldan American. Forty years later they’re still producing quality products that are made entirely in the U.S.
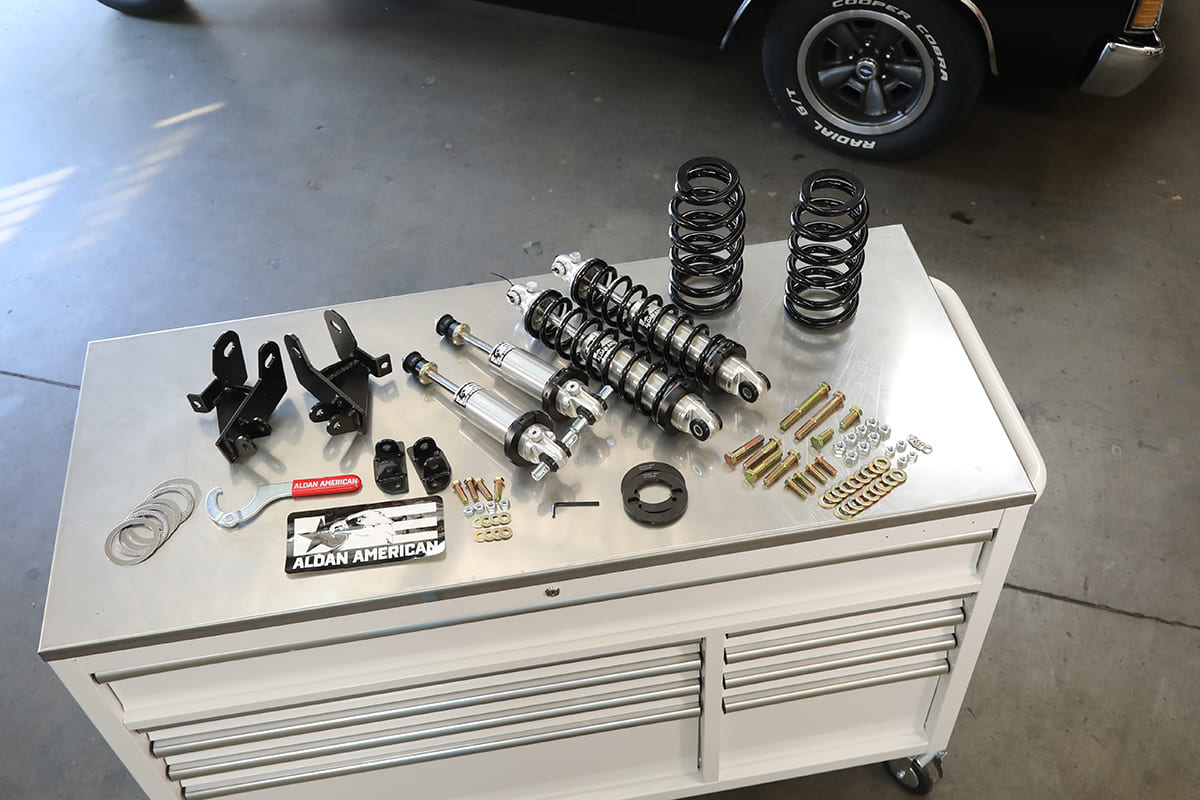
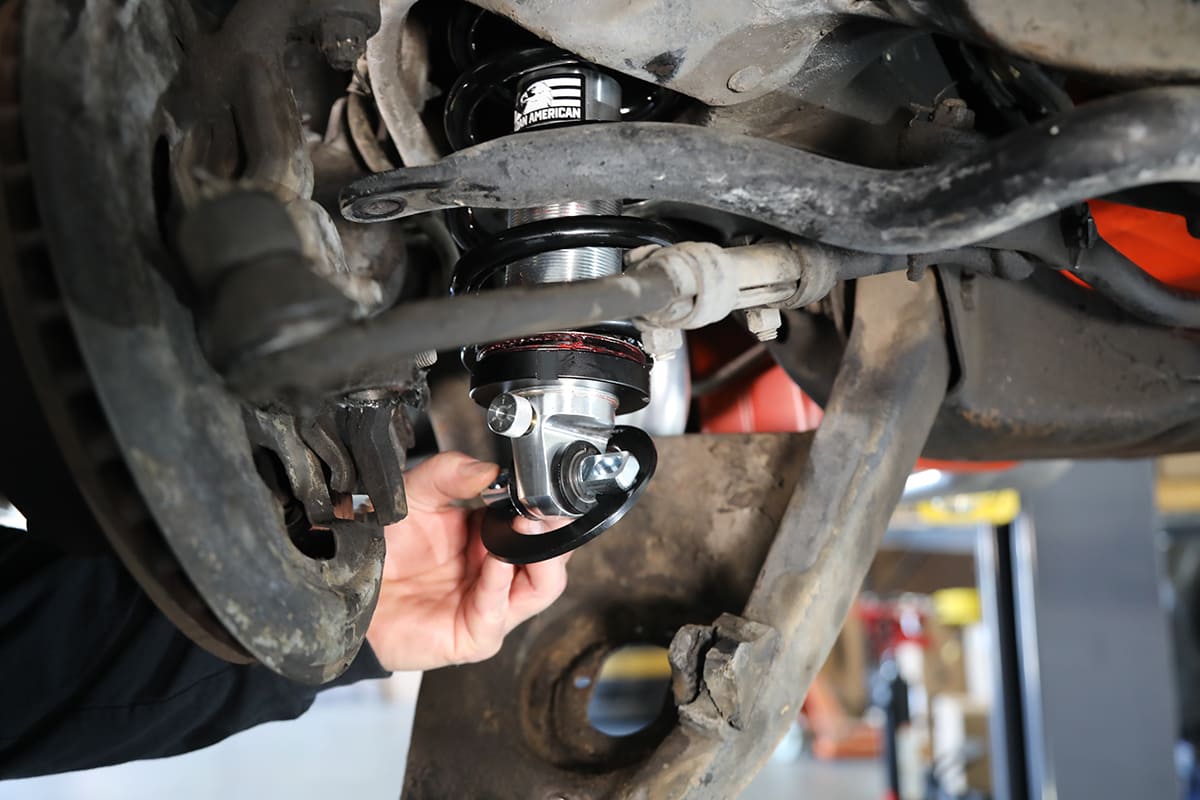
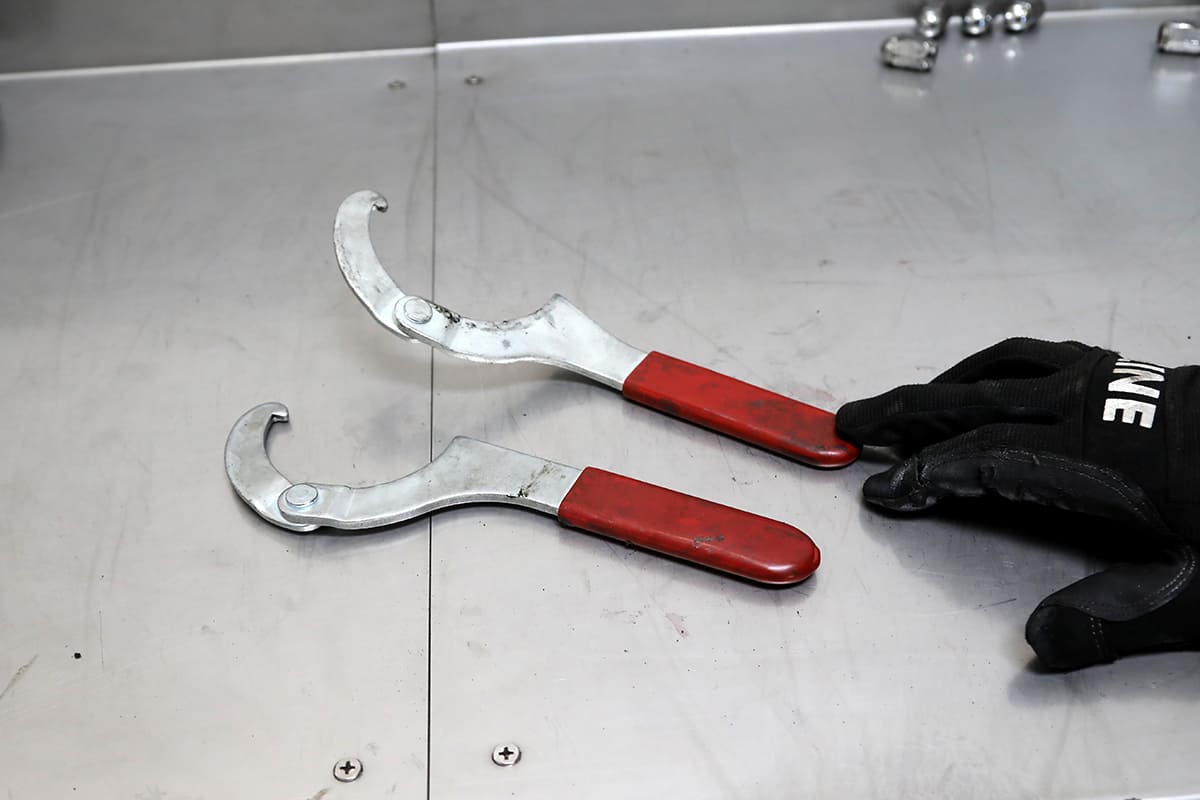
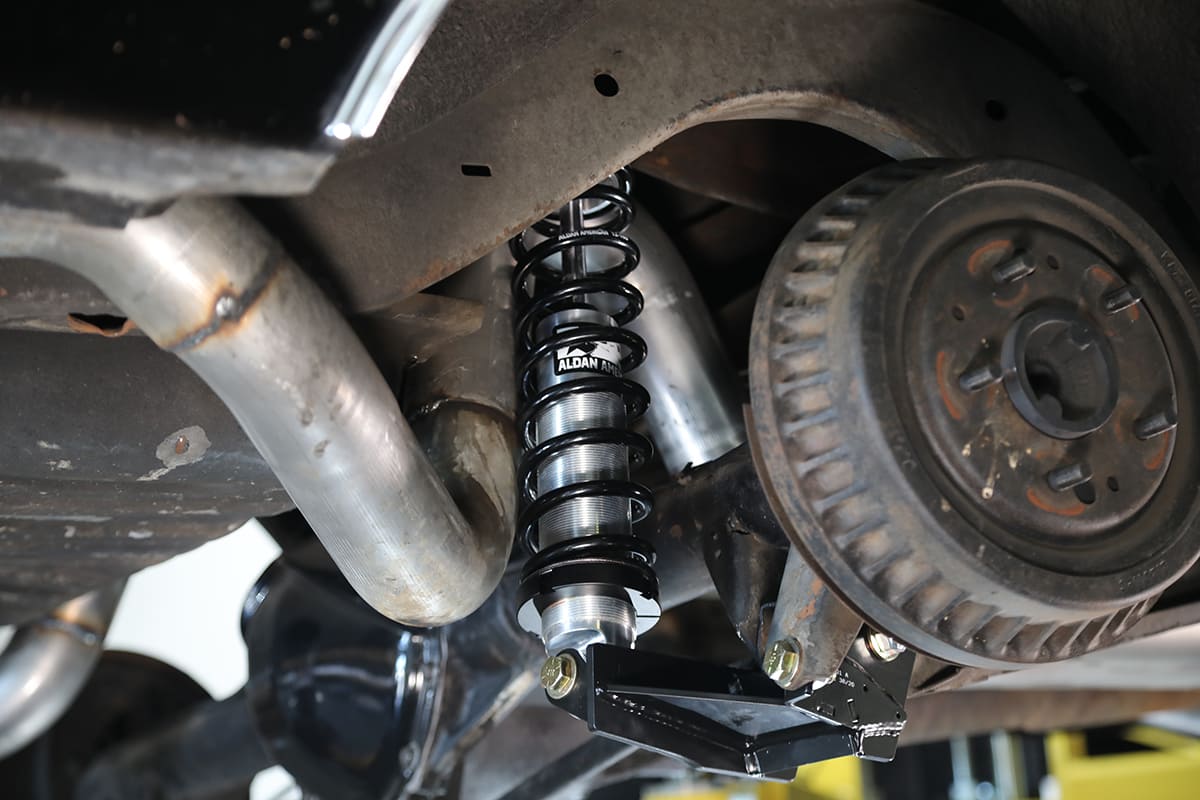
The obvious advantage to coilovers is that wrapping the springs around the shock absorber makes an extremely compact suspension system, and there are other advantages as well. Tuning the suspension by altering the spring rate is simply a matter of swapping the replaceable coil springs. As coilover springs they are available in a wide range of spring rates, finding the right one for any application is easy, quick, and affordable. In addition, altering ride height is just a matter of turning the threaded adjuster on the shock absorber body.
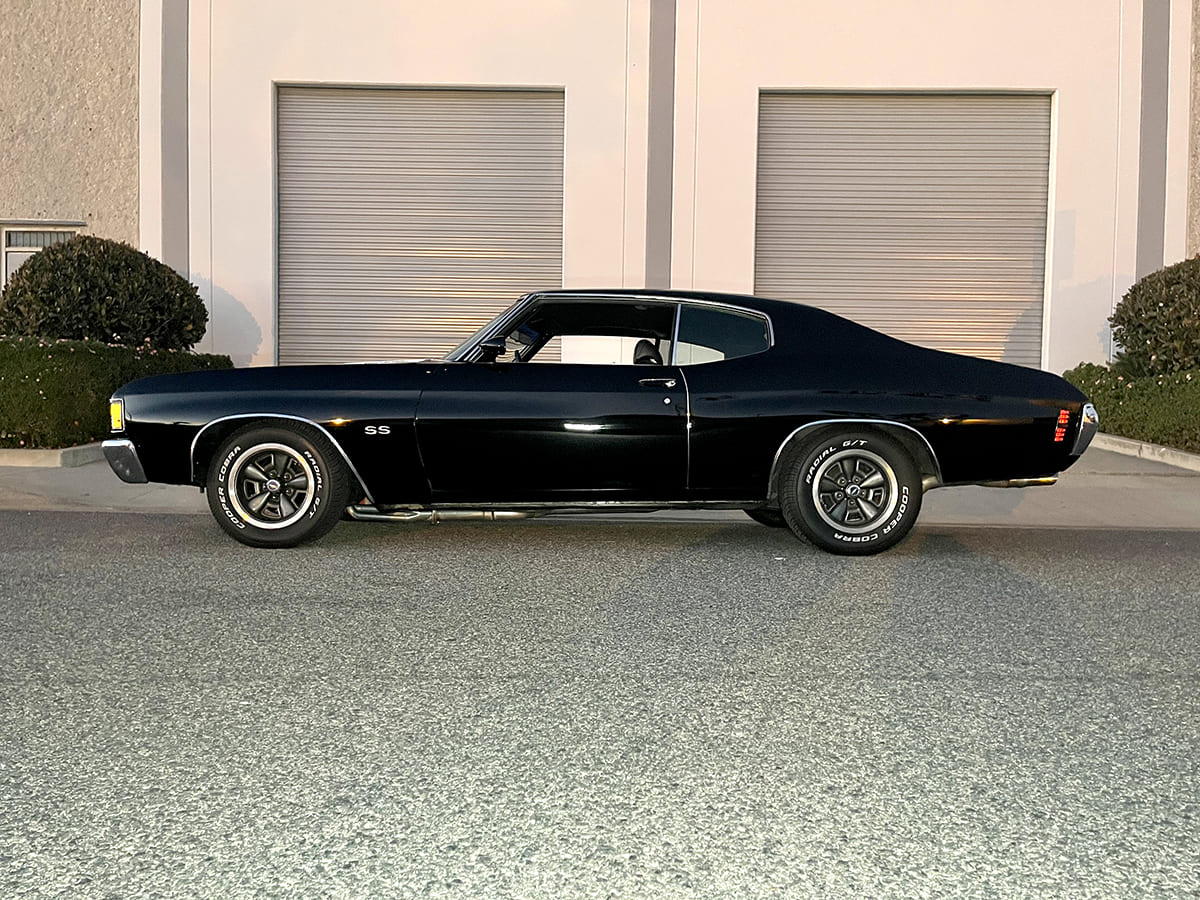
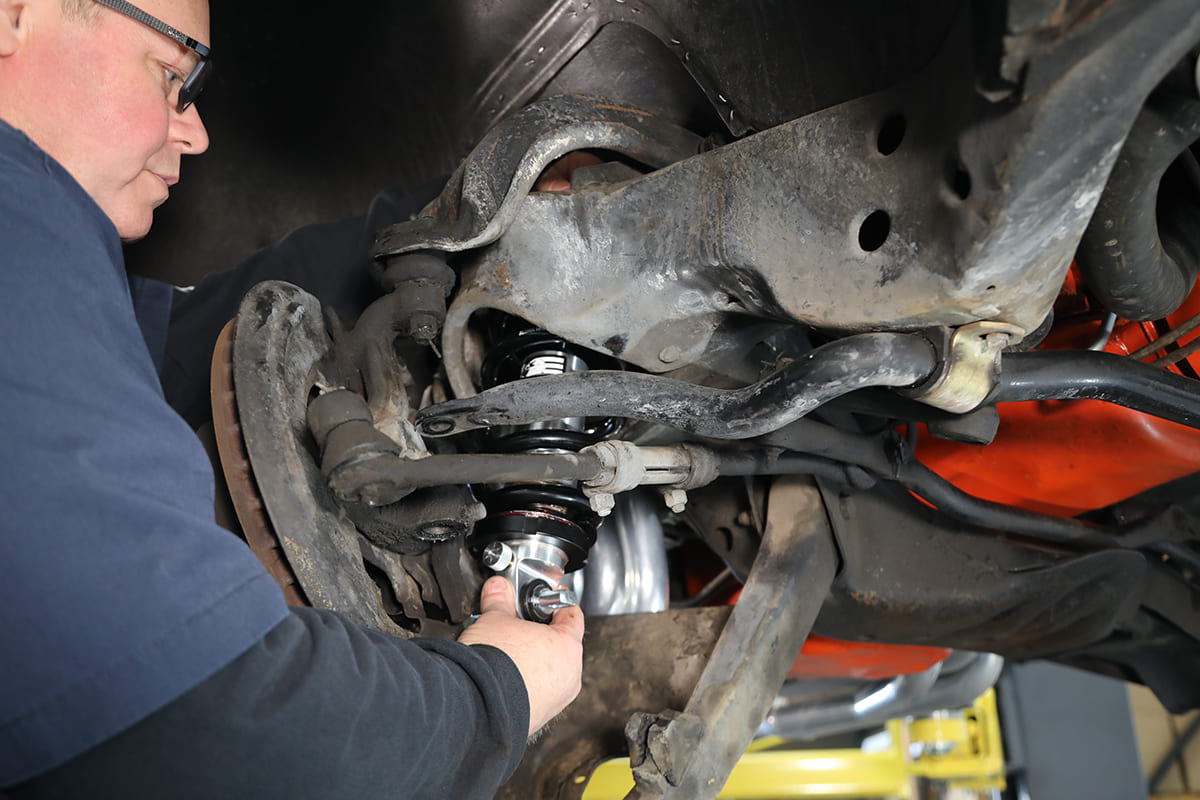
While coilovers have commonly been found on sports cars, hot rods, and other cars with custom chassis for a long time, converting larger vehicles with essentially stock suspension to coilovers was difficult and expensive. However, now there is an easy-to-install, affordable method to incorporate all the advantages of coilover suspension in a variety of GM products, including 1964-1972 A-body cars (the example we’re showing here is a 1972 Chevelle but the installation procedure for the others is basically the same).
Aldan’s direct-fit line of Road Comp adjustable coilover kits are bolt-on, direct-fit suspension upgrades that will improve handling and ride quality and provide a stance up to 2 inches lower than stock.
Shocks
At the center of Aldan’s coilover conversion, literally and figuratively, are the shock absorbers.
The British call shock absorbers dampers, which is actually a more accurate description of what they do. The shocks dampen the action of the springs as they are compressed, from hitting a bump as an example, and dampen the springs’ rebound when they try to return to “normal” ride height. By effectively controlling the compression and rebound of the springs the tires are better able to stay in contact with the road for the best possible steering and traction when accelerating or braking.

To ensure accuracy and quality control, all Aldan shocks are made in-house. To provide the ultimate in strength, the shock bodies are machined from solid bars of 6061-T6 billet aluminum. For a long service life, Viton seals and O-rings are used throughout and the shocks’ shafts are heat treated and chromed to reduce friction, which also extends the life of the seals. If necessary, these shocks can be rebuilt, re-valved, or serviced if desired.
Coilover Springs

The engineers at Aldan choose coil springs manufactured in the U.S. as they have found them to be among the highest quality springs available today. The springs Aldan uses are made from chrome silicon steel—the latest material being used in spring technology. Springs made from this material perform consistently over time and are less prone to bending or twisting under hard cornering and acceleration. Chrome silicon steel is lightweight and higher strength than basic types of spring material.
While springs seem simple there are features to look for. Aldan springs are ground flat on both ends so they seat properly on the retainers at the top and bottom of the shock. To make suspension tuning easier Aldan labels their coils with the spring rate (the number of pounds it takes to compress the spring 1 inch). Of course, appearance is important, so Aldan offers springs in two finishes, long-lasting black powdercoat or polished hard chrome.
Installation Tips From Aldan’s Gary Nelson
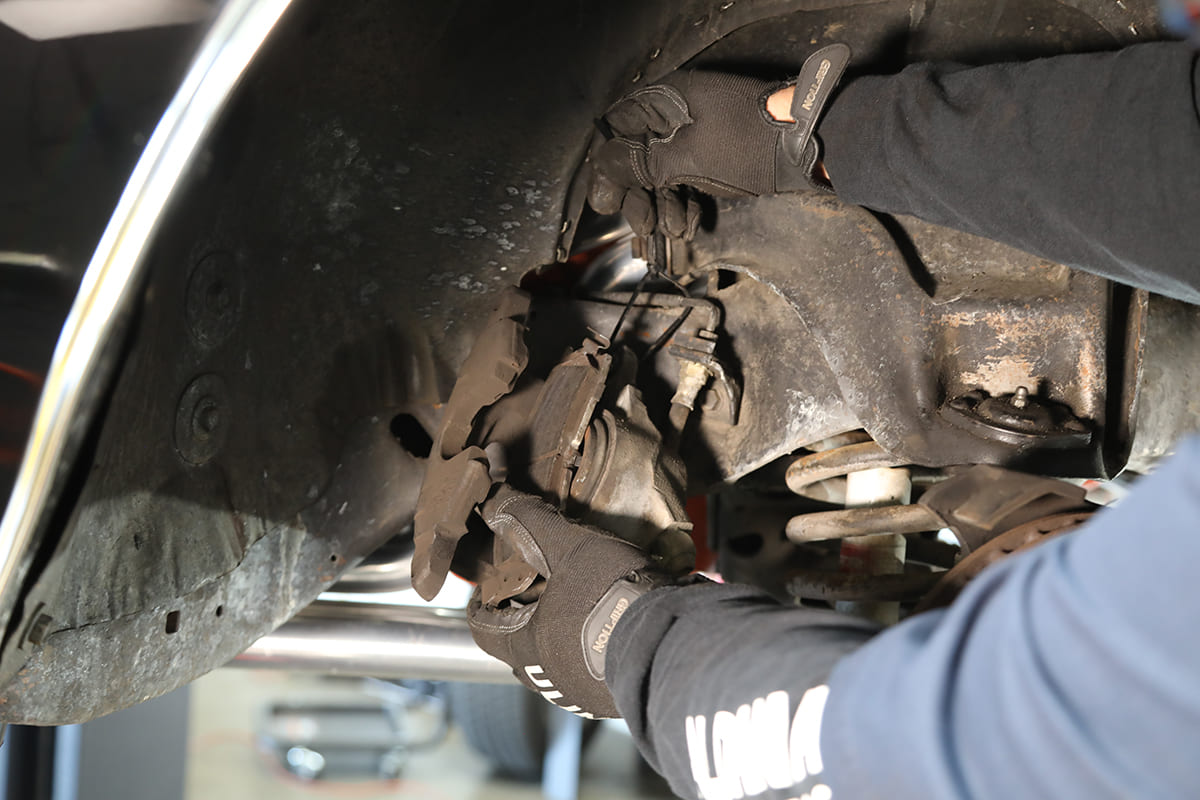
“Aldan American recommends measuring and recording the ride height prior to disassembly. It is common to find that even though the car appears level it is not. When a car is lowered, the tires are closer to the fenders and any discrepancy is more noticeable. It is common that the OEM springs have lost tension and have sagged some. Some cars may have been crashed and not repaired correctly, or at all. If the car is crooked, now is the time to determine what the cause of it is.
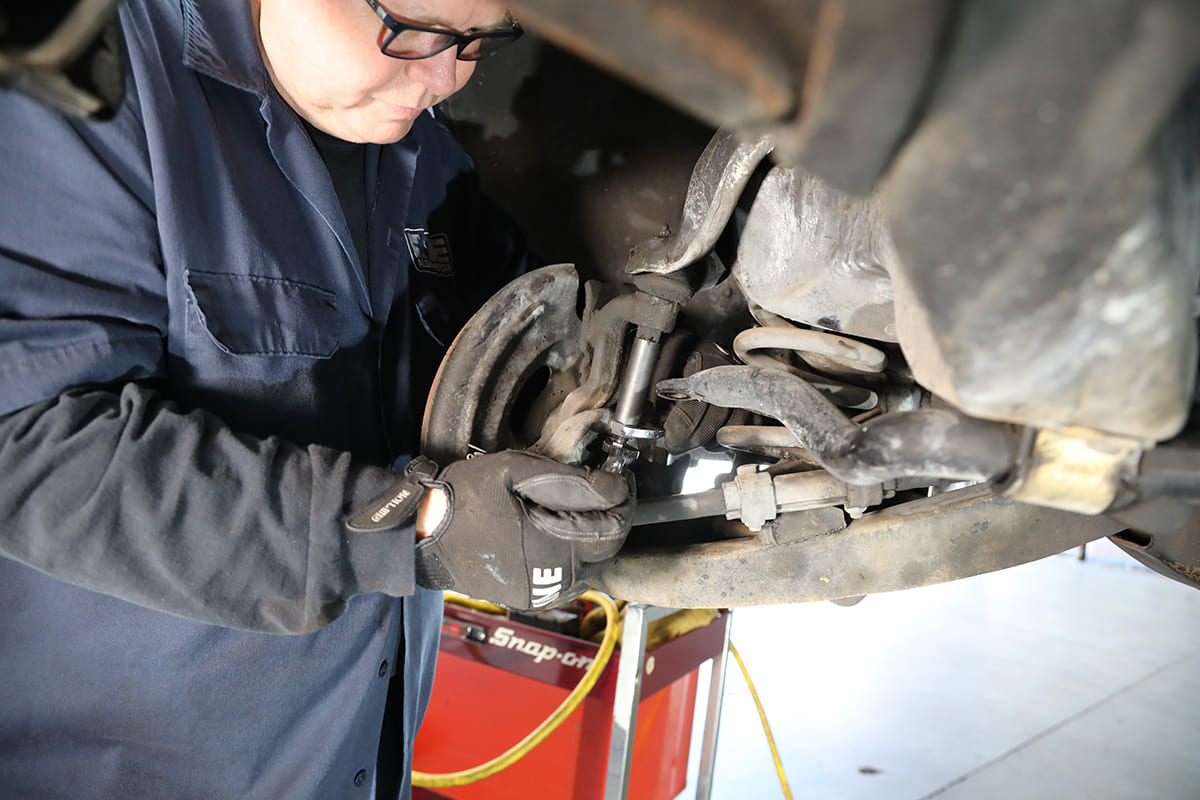
“The first thing that you should do before disassembling your car is to record the baseline measurement. The car should have a minimum of a half tank of gas, although full is best. Tire heights left and right must be the same and inflated equally to achieve an accurate measurement. Drive or roll the car on a level surface with the steering wheel straight ahead to settle the suspension. Record and save these measurements as oftentimes older cars are less than perfect. It is important to establish the baseline prior to modifications.
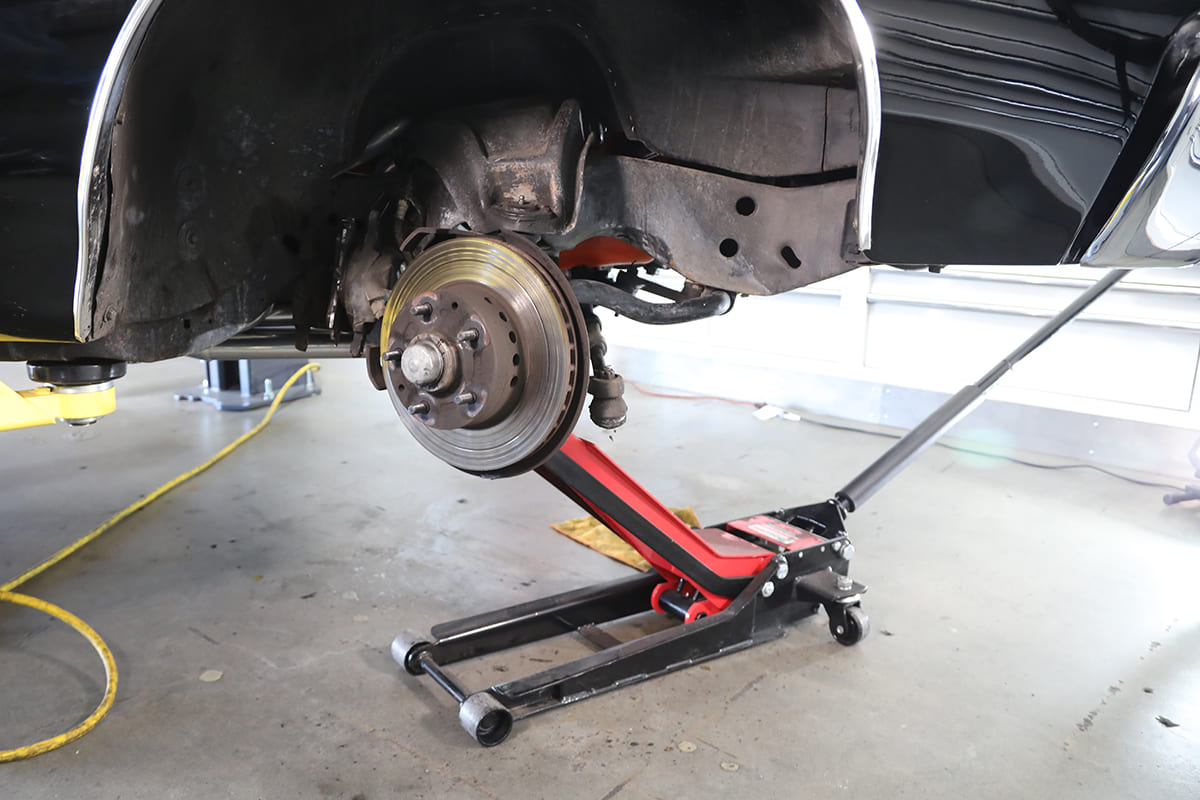
“If your car measures more than a ¼ inch variance, a couple of areas to look at first is are the tires the same diameter side to side? While the car is still on the ground, measure the distance from the suspension bumpstop and the frame. Aldan American’s technical department is available to answer questions during normal business hours if you have questions.”
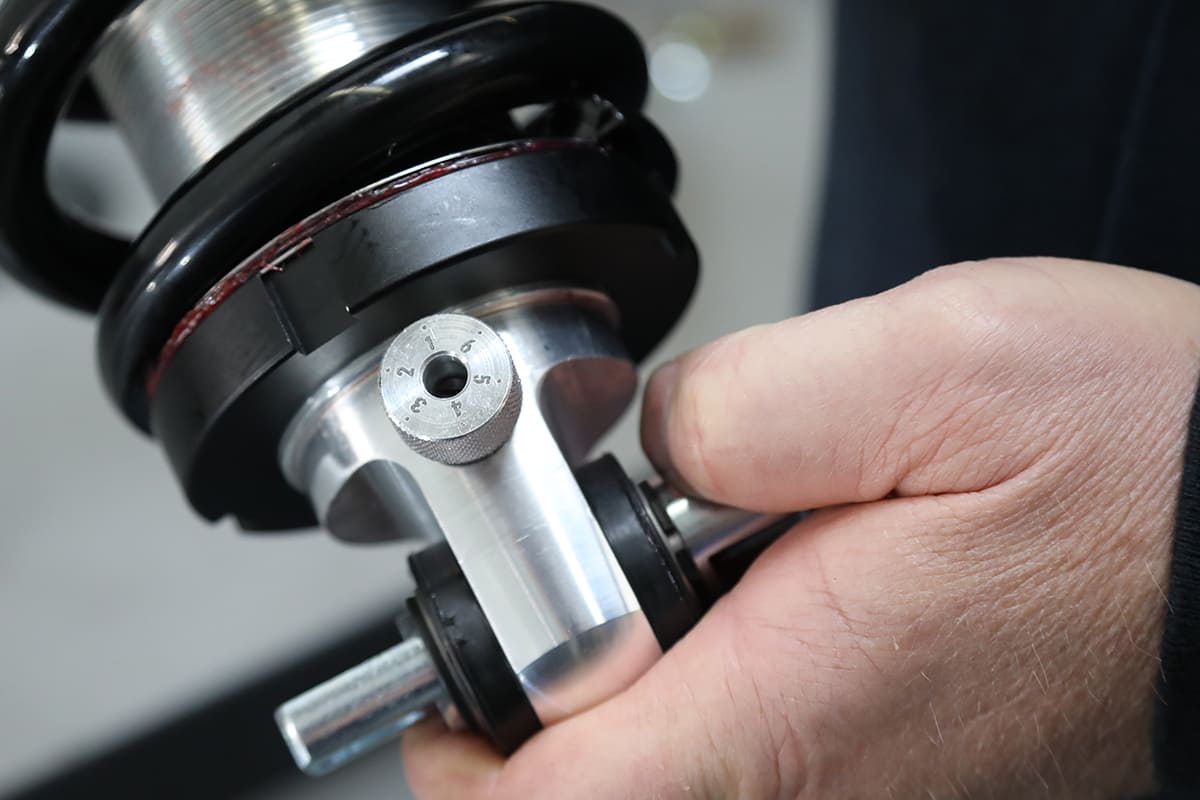
Our Aldan coilover conversion kit came with single-adjustable front shocks (compression only) with double-adjustables (compression and rebound) in the rear. For an initial adjustment, it’s recommended to set the front shocks on the number 1 setting of 6 with the compression damping in the rear at 3 of 11. Turning both knobs clockwise increases the resistance of both functions.
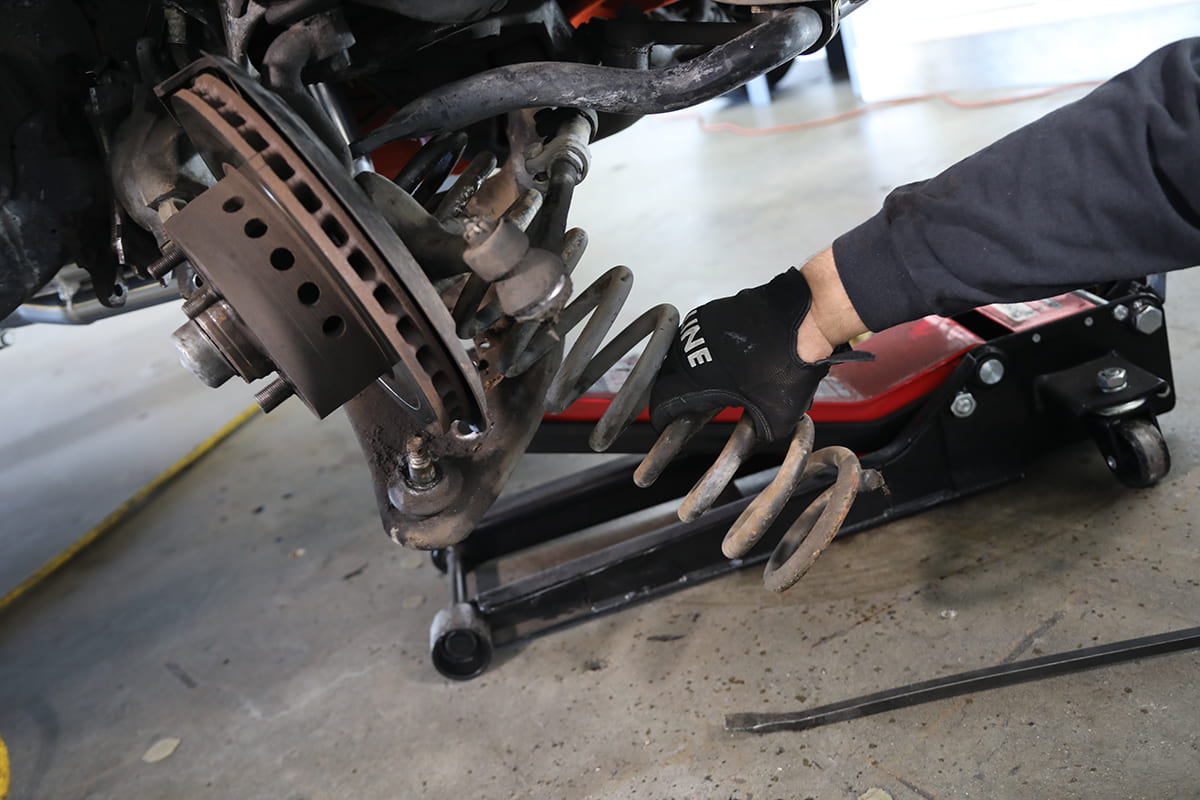
To fine-tune the suspension, Nelson recommends adjusting one end of the car at a time, starting with compression damping up front. Find a stretch of road with a single event, like a dip in the pavement, then at 15-20 mph drive the car through it. Adjust the front damping until any bounce is eliminated, then do the same for the rear. With the compression damping adjusted, the rebound damping in the rear is next. Using the same section of road, adjust the rebound for the smoothest ride.
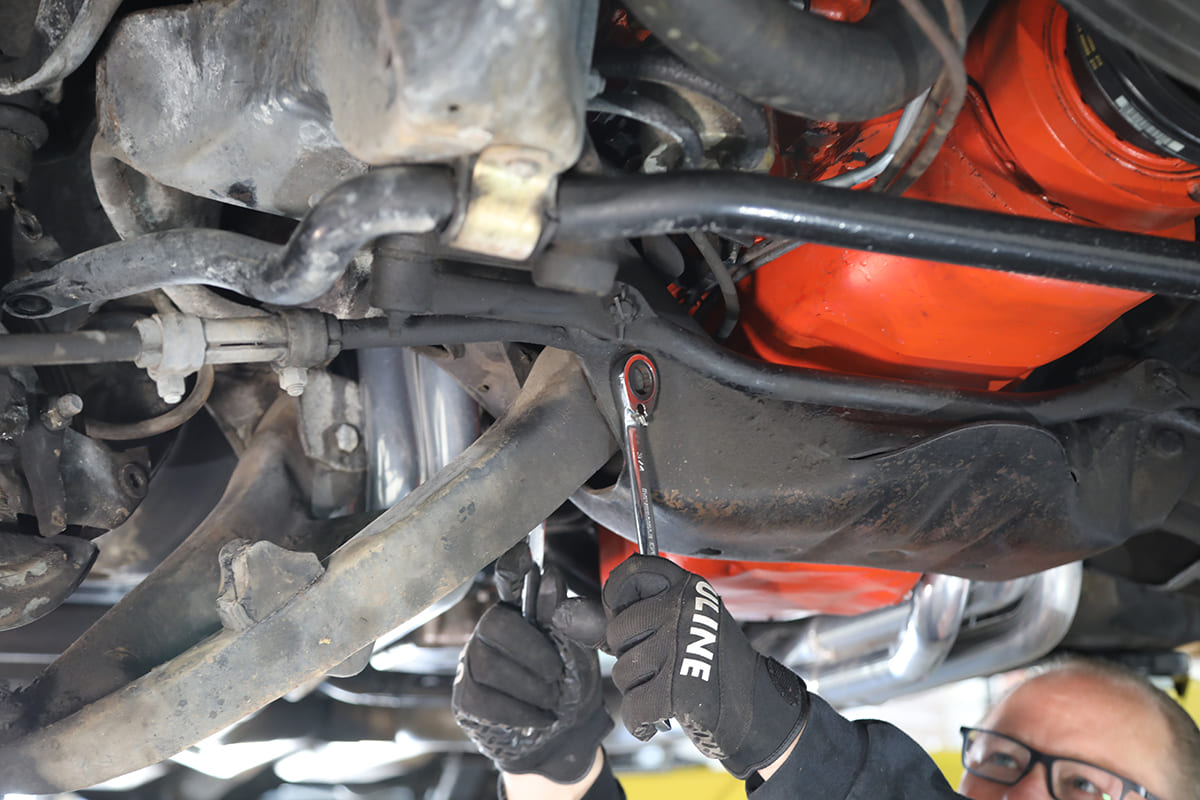
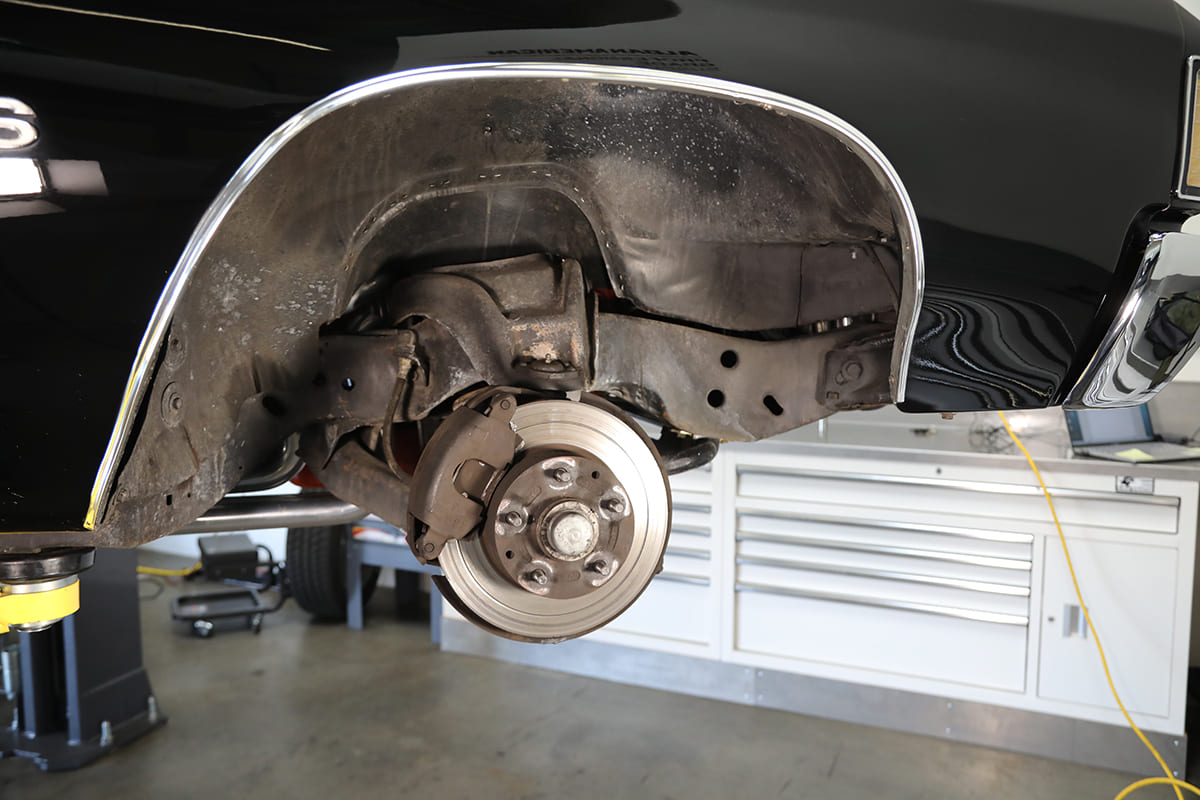
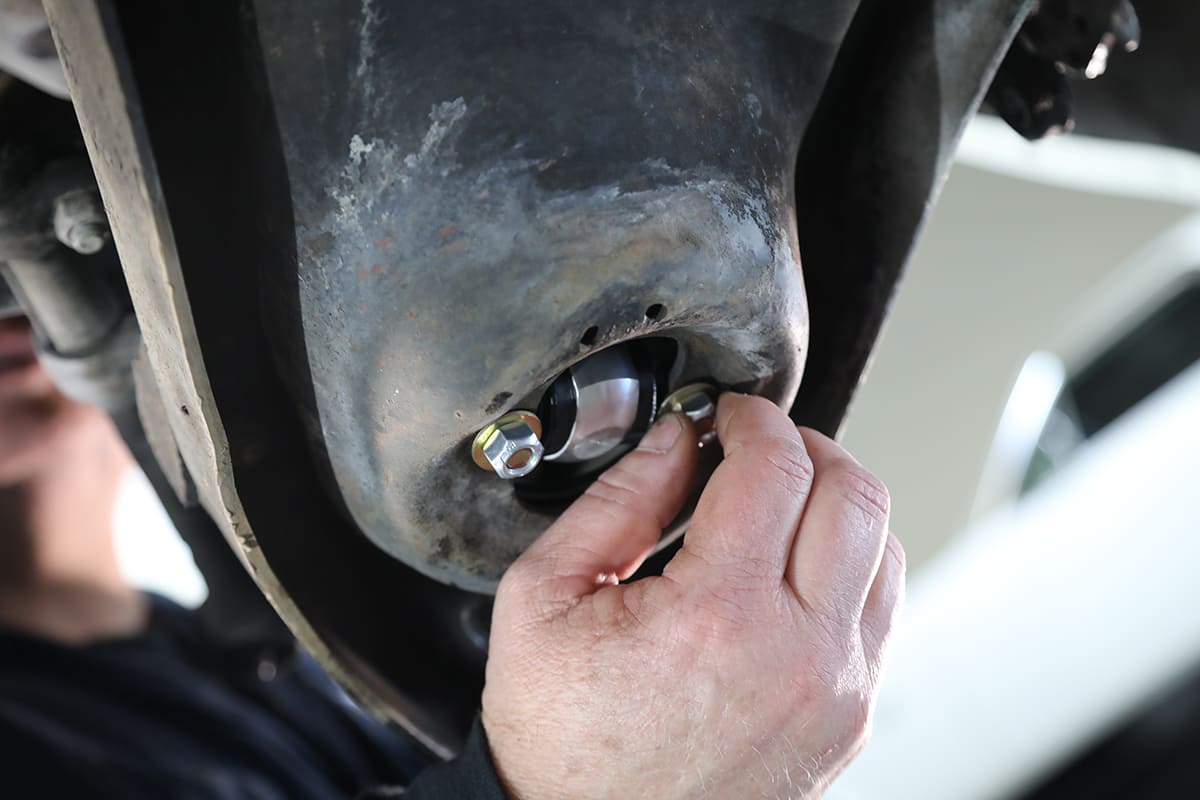
As Aldan’s coilover conversion kit is a direct bolt-in operation installation isn’t particularly complicated, however, the last step in the process is often overlooked—take the car to a shop and have the front end aligned. Then all that’s left to do is hit the road and enjoy your car’s updated suspension system—question asked, question answered.

Driver Impression
We asked car owner Anthony Giroux to give his driving impression on how the car felt with the new coilover shocks compared to the stock shock absorber system he drove on for years.
“Overall, I love the new feel of the suspension. As you probably know, the two most important modifications to a factory suspension on a Chevelle is a bigger front sway bar and adequate shocks and springs. This suspension is so far above what I expected in terms of ride quality and responsiveness. I will say, for me, the height can be raised a bit for header clearance but that can be easily adjusted. Personally, I like a stiffer suspension feel on classic cars, and this is stiff, but it’s not like riding on the ground, which is a very happy medium in most cases. I was so happy with the setup that the day following the installation I drove to San Diego and back (over 160 miles) just so I could drive the car more and get a feel for it. It’s simply awesome!”



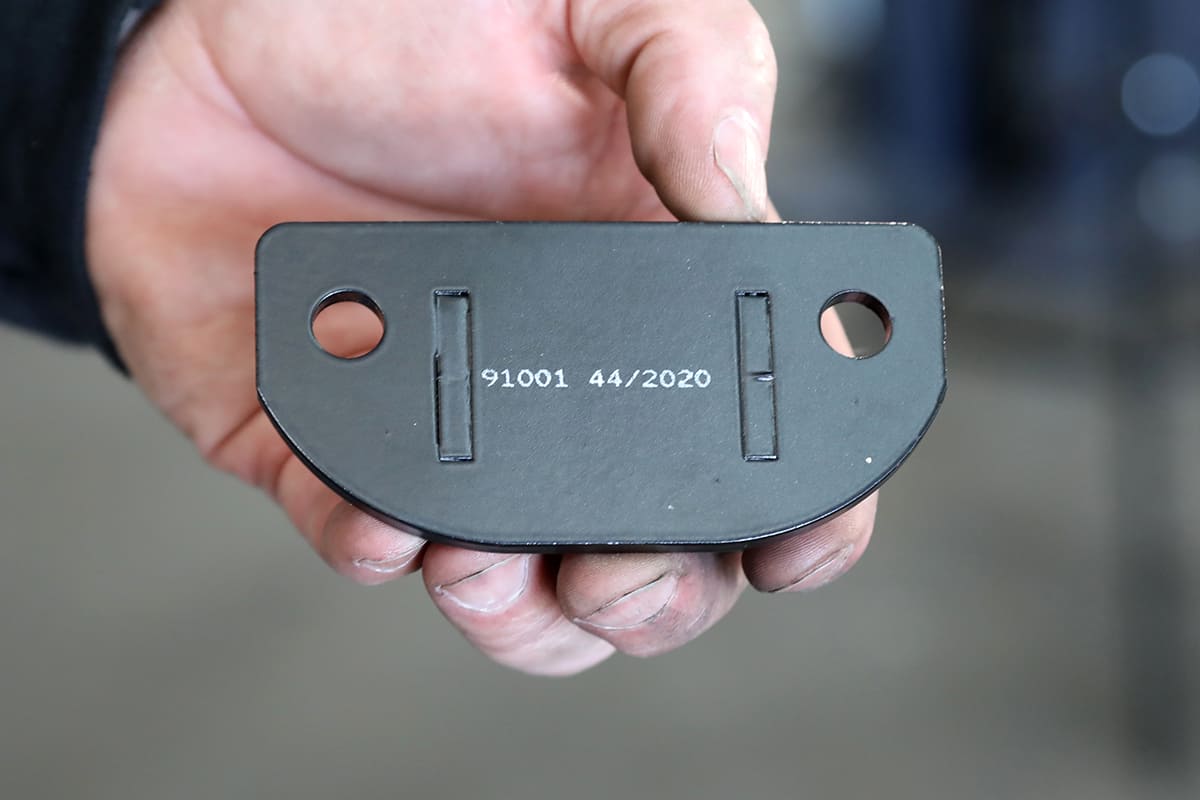
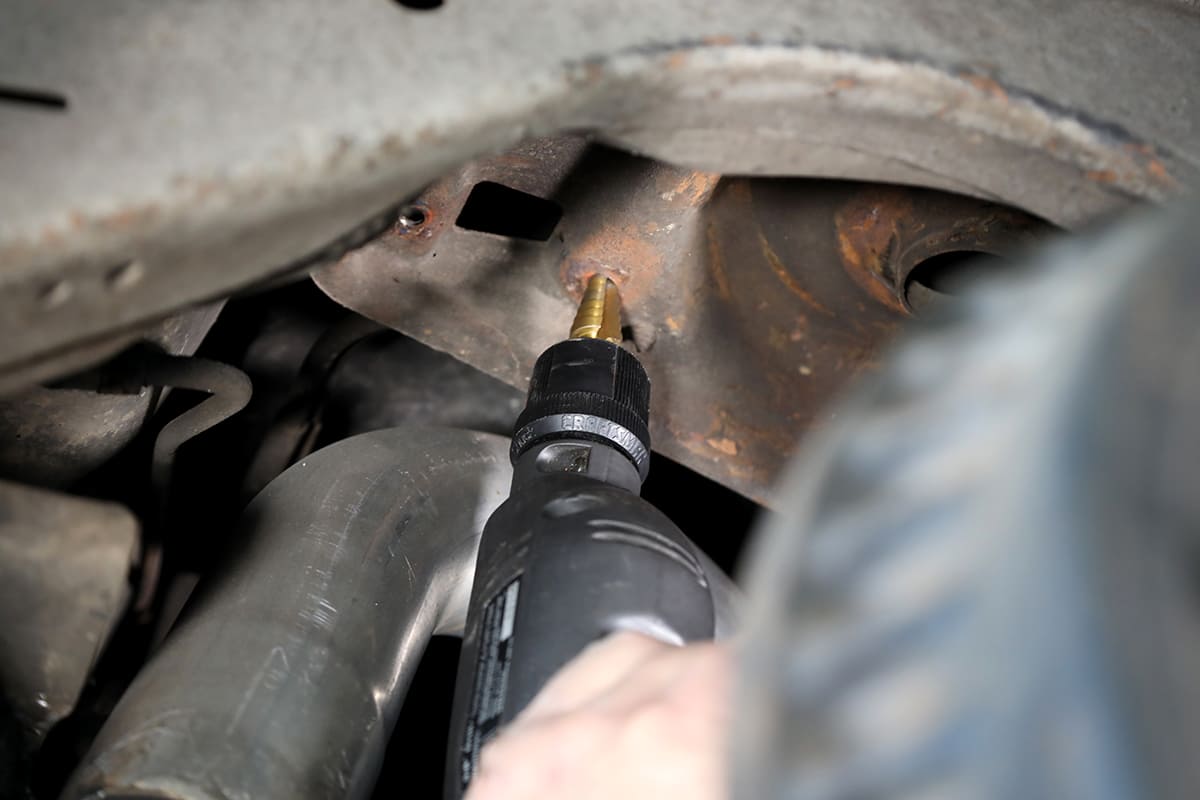
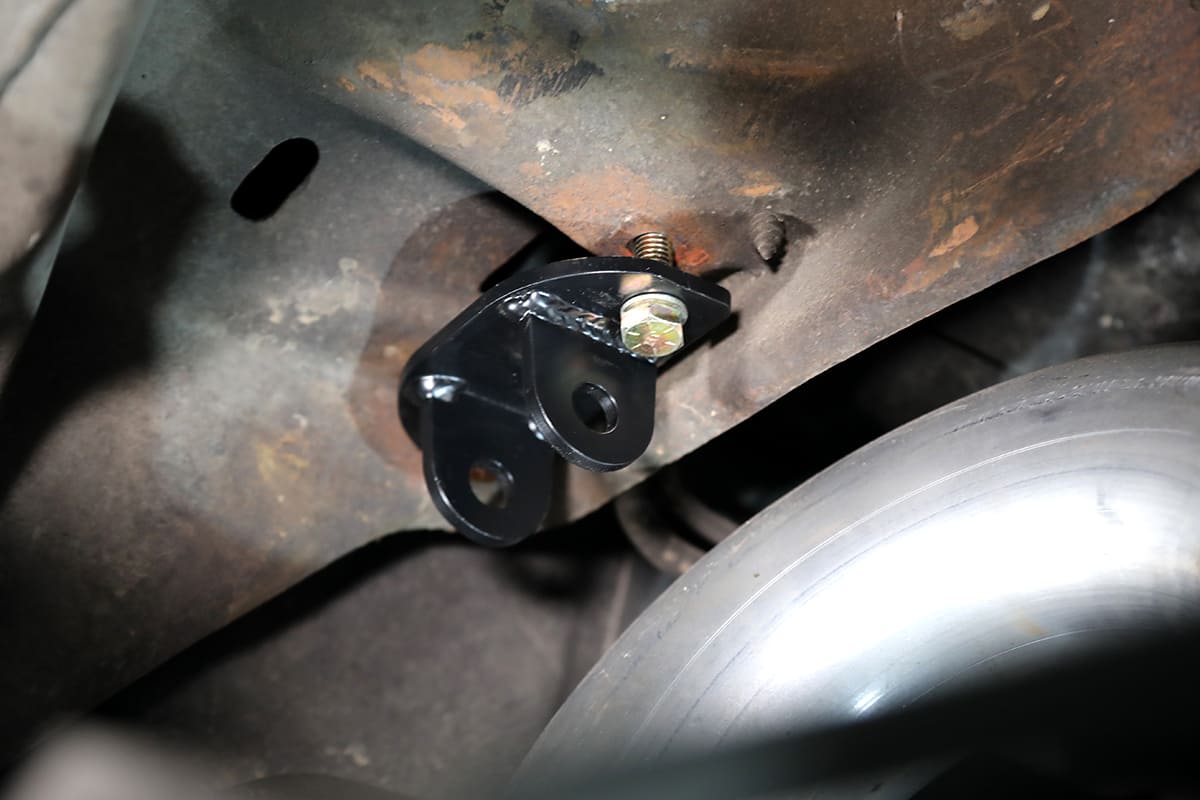
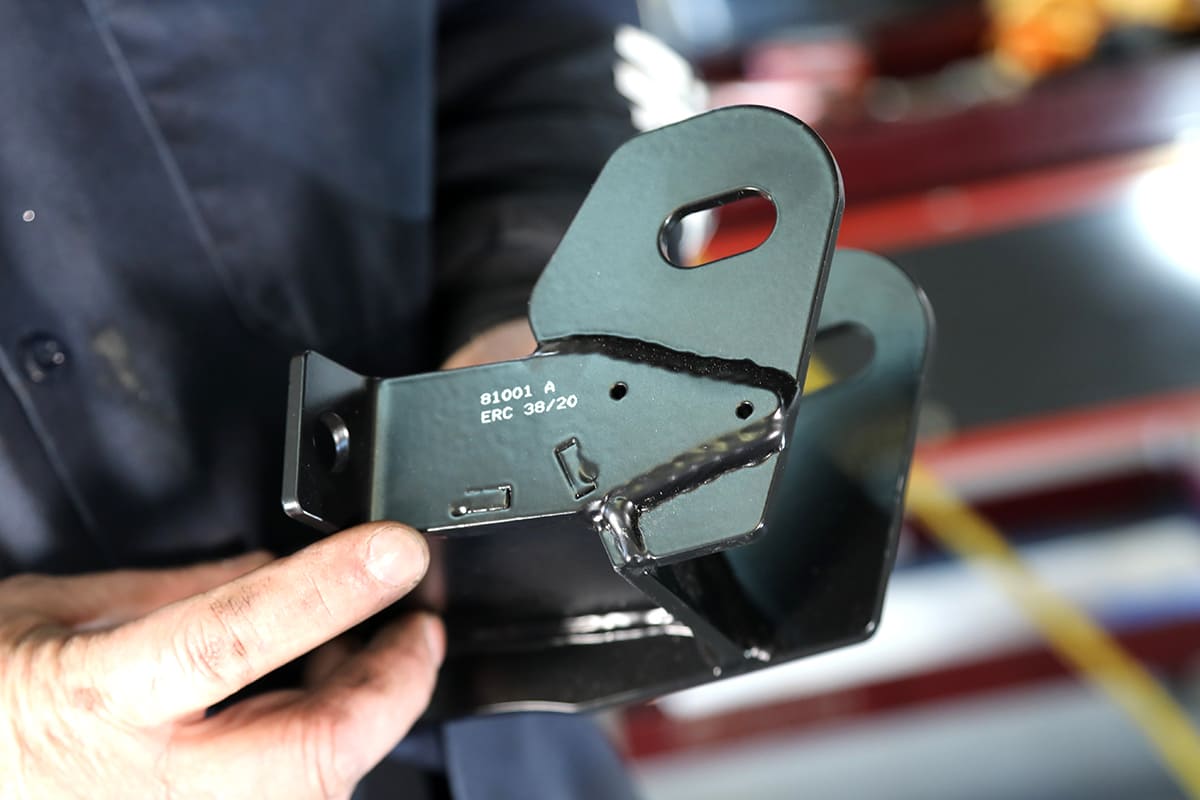
Note locating tabs are again used to ensure the tall pieces are located properly.


Source:
Aldan American
(310) 384-7478
aldanamerican.com
Summit Racing
(800) 230-3030
summitracing.com


