Do classic trucks have B-sides? Once they’re sitting down low enough, folks might not ever notice. Even so, those B-sides deserve some attention during a build—even if it’s only to ensure longevity.
Last time this cab was tilted this way was back at our previous shop. Years later, the job isn’t done, but for what it’s worth, we’re gaining.
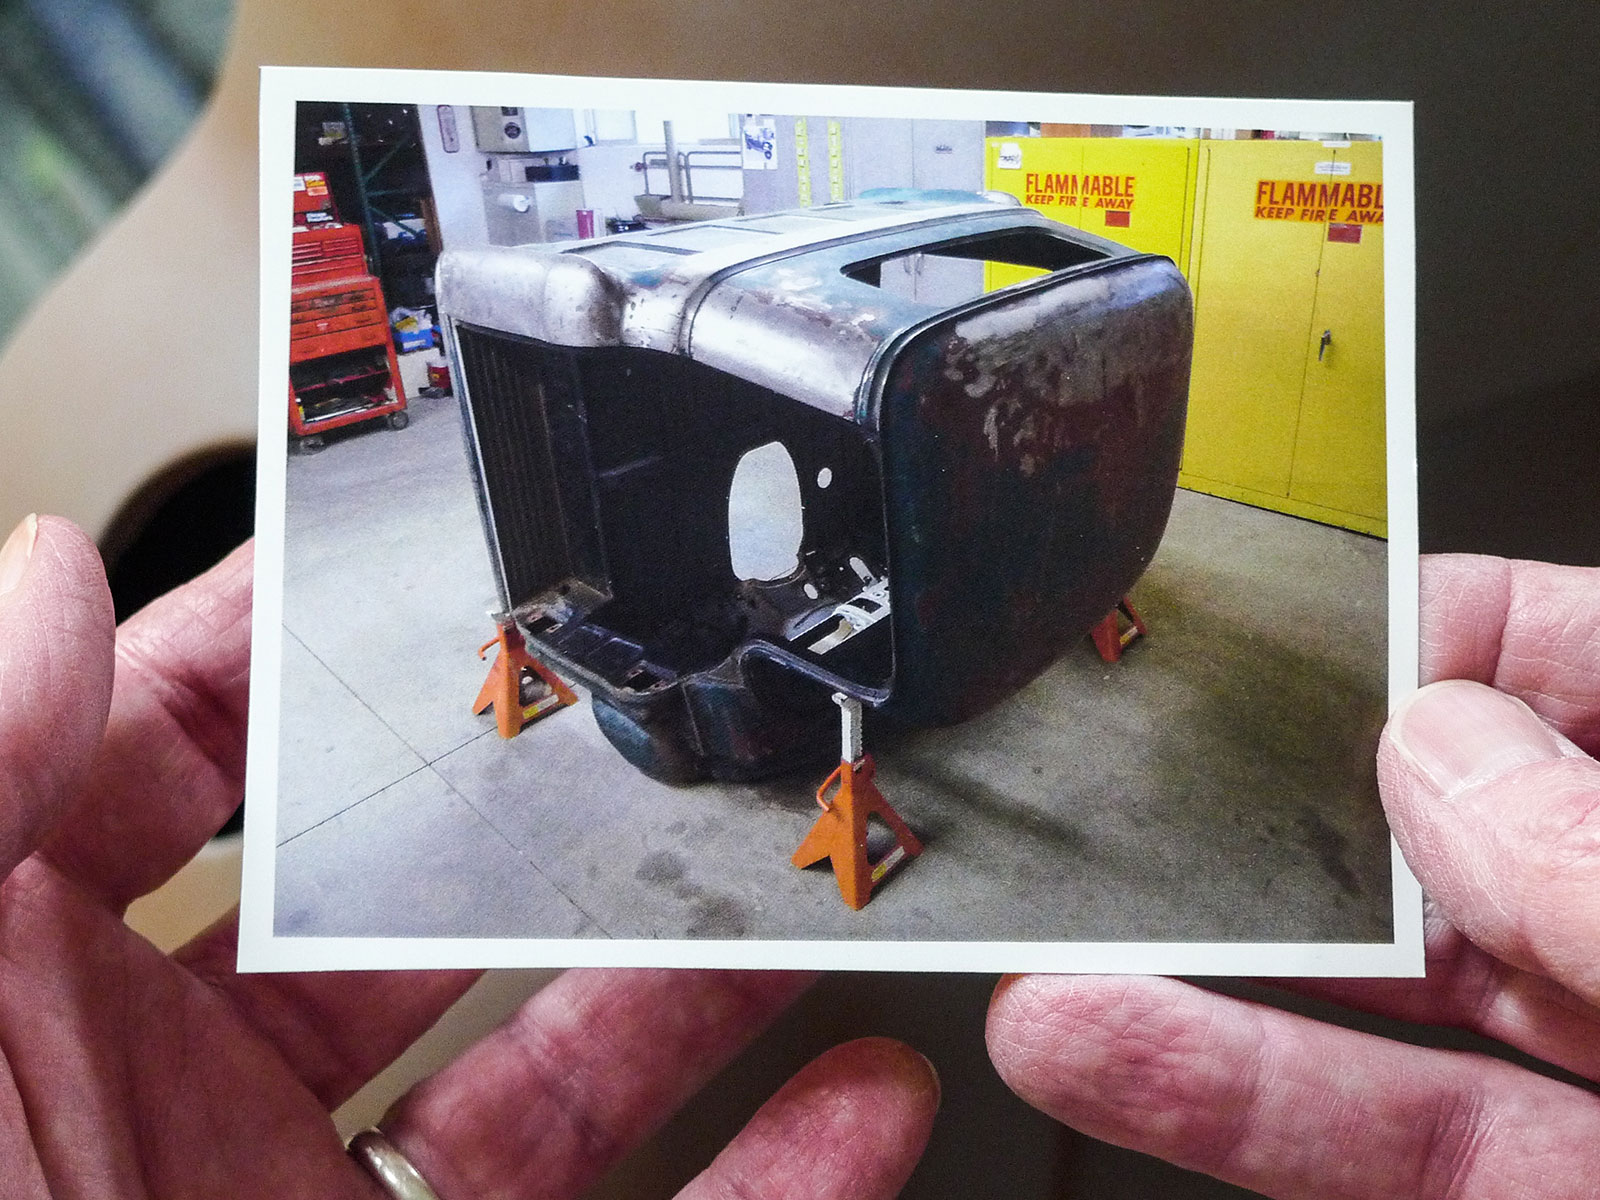
This won’t be the first time this ol’ cab has gone underbelly-up. It’s been tilted cowl-to-concrete before back when we toiled to remove unwanted undercoating. This time we’ll be doing just the opposite as we’re aiming to replace the previously brushed-on goo with something more substantial—and far better looking to boot.
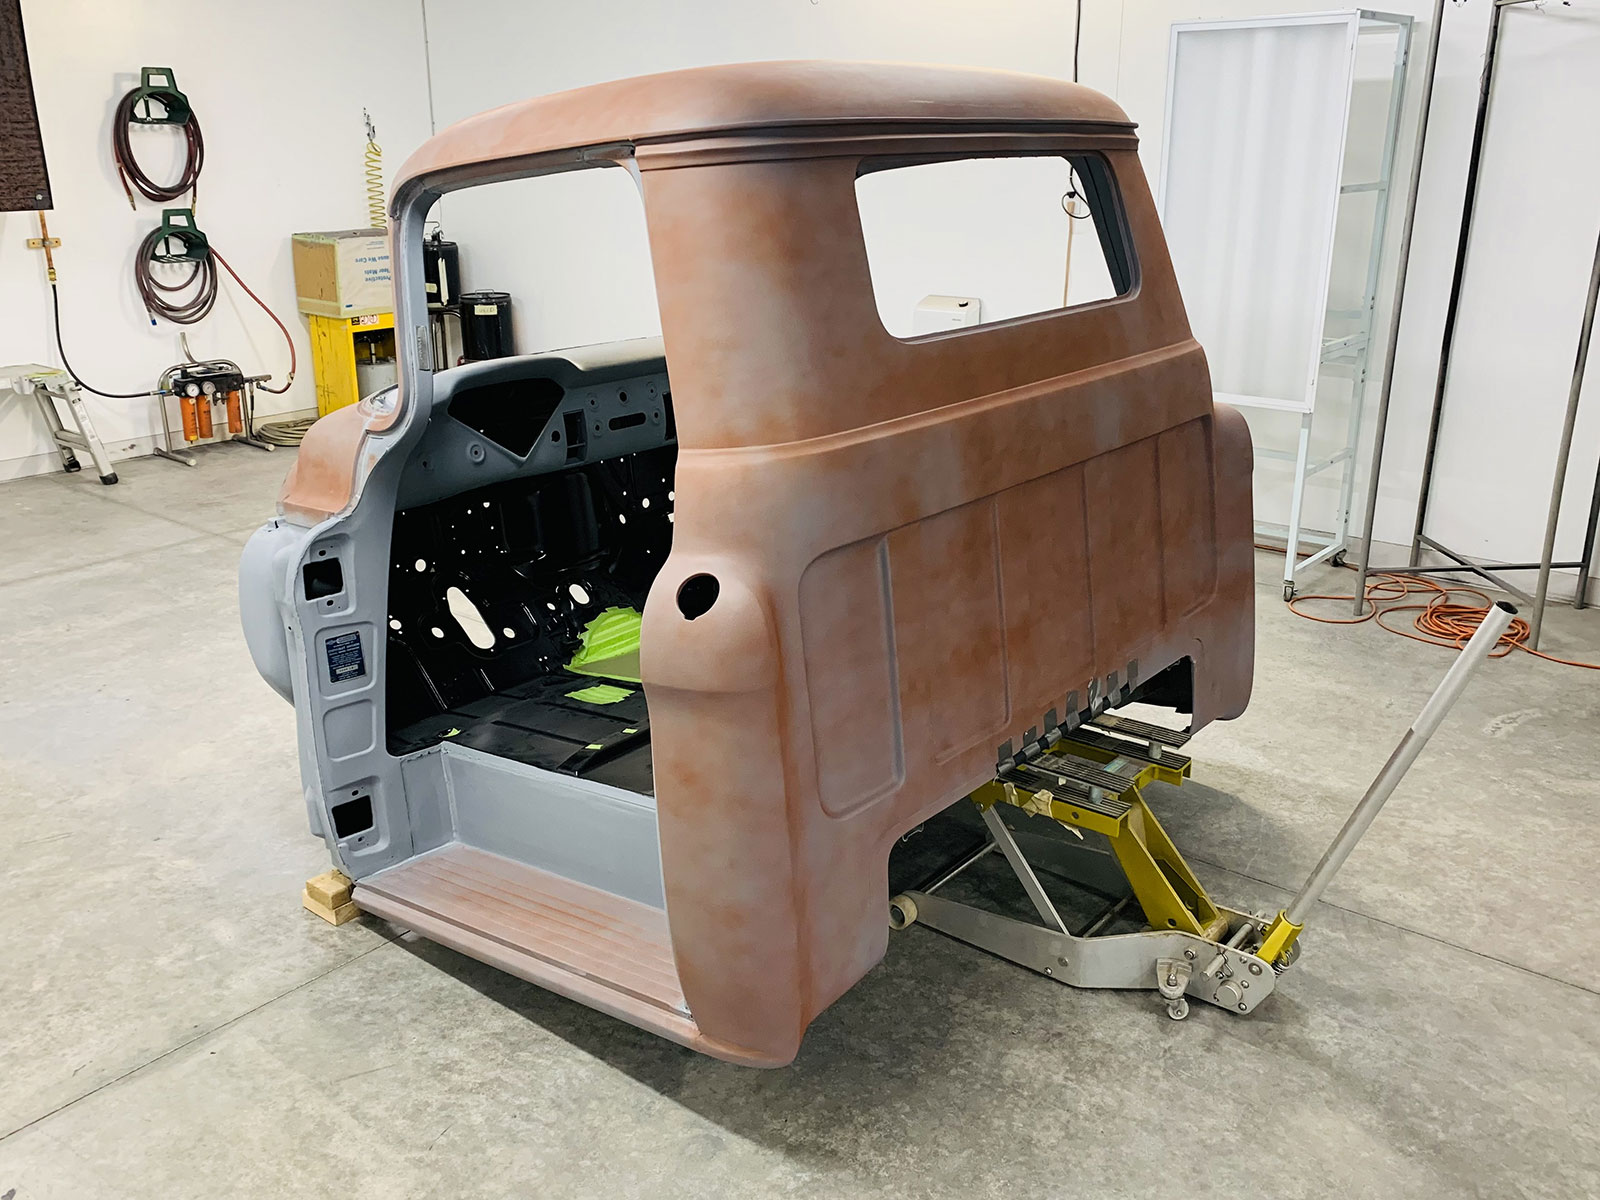
With the cab now off the cart we’ll begin our cowl-to-concrete tilt job with this well-used Harbor Freight motorcycle jack. Around here it’s actually a body shop necessity.
Let’s share some tips ’n’ tricks for B-side beautification. Like most any other body- and paint-related tasks, there’s more than one way to achieve our desired end result. When it comes down to needed materials, we have a number of excellent choices. In certain areas, however, our choices may be limited to what’s acceptable according to law. In this instance we’ll make use of some California-compliant leftovers from the shelves of our previous shop.
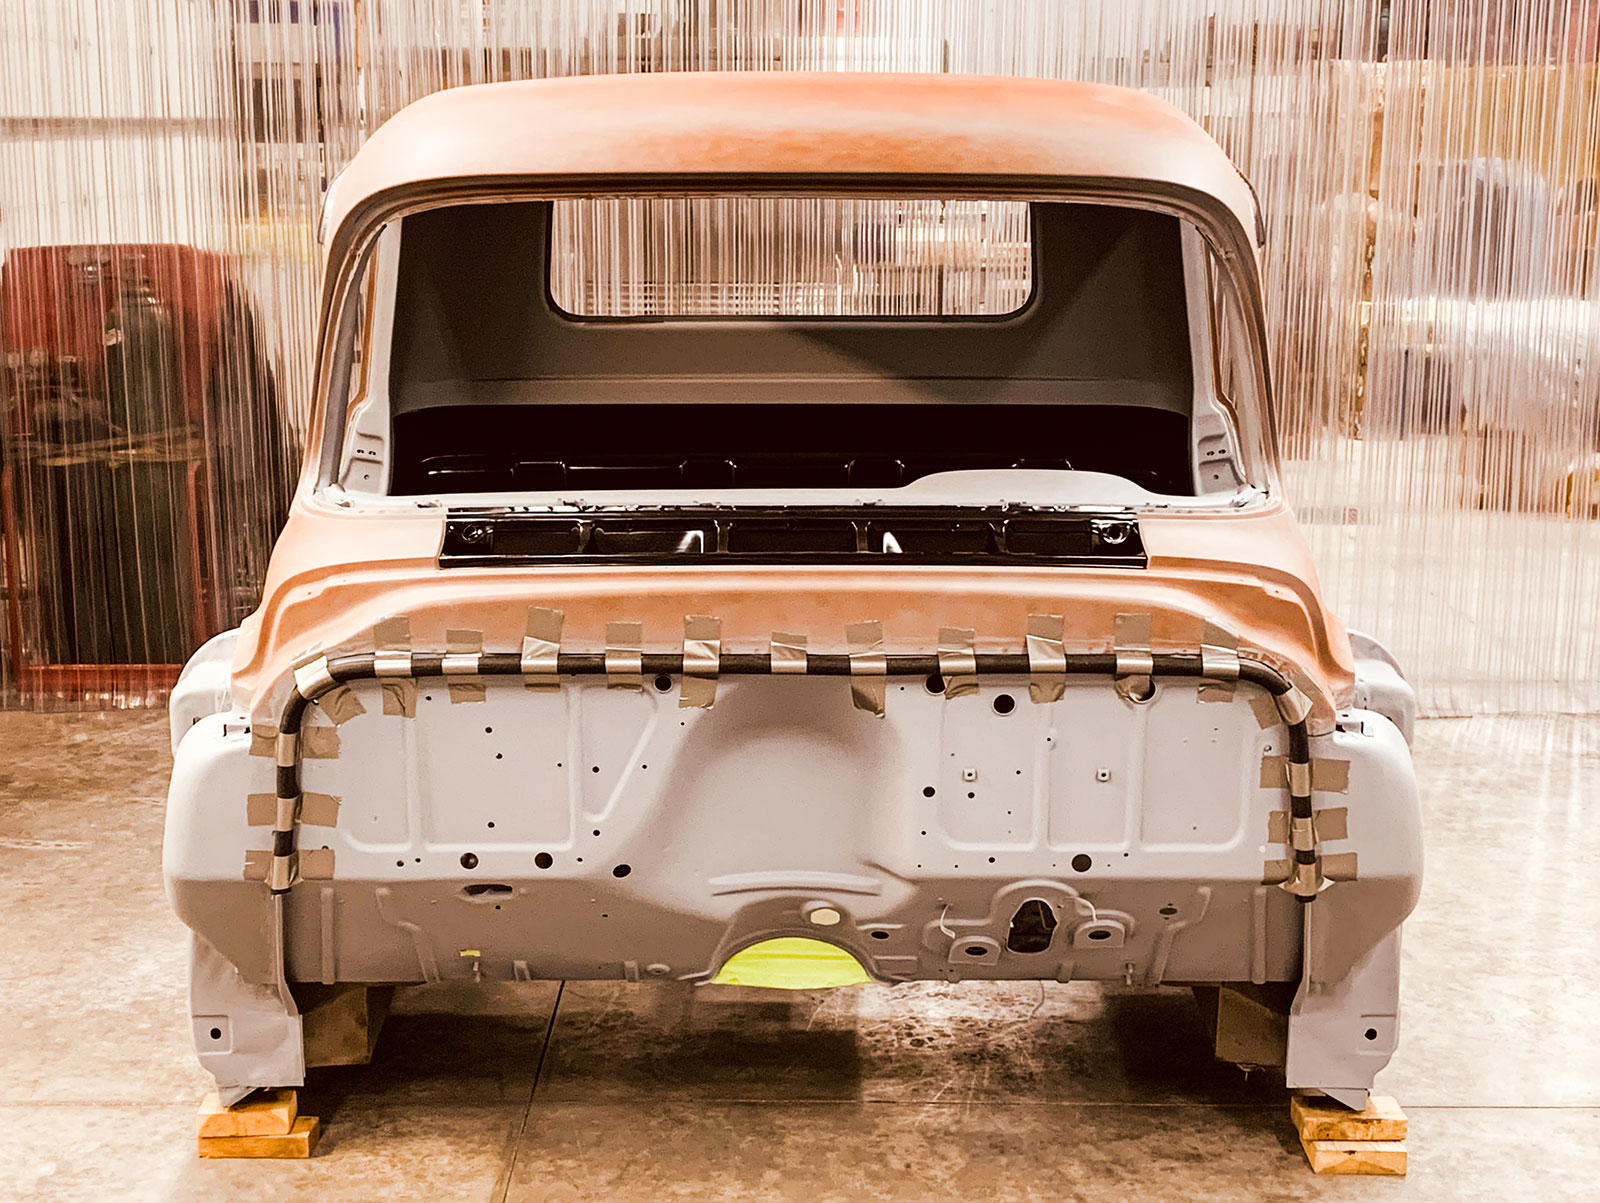
Along this protruding seam we’ve slit a clean section of brand-new heater hose, only to serve as a cushion. The heater hose is expendable. This is all about the cab.
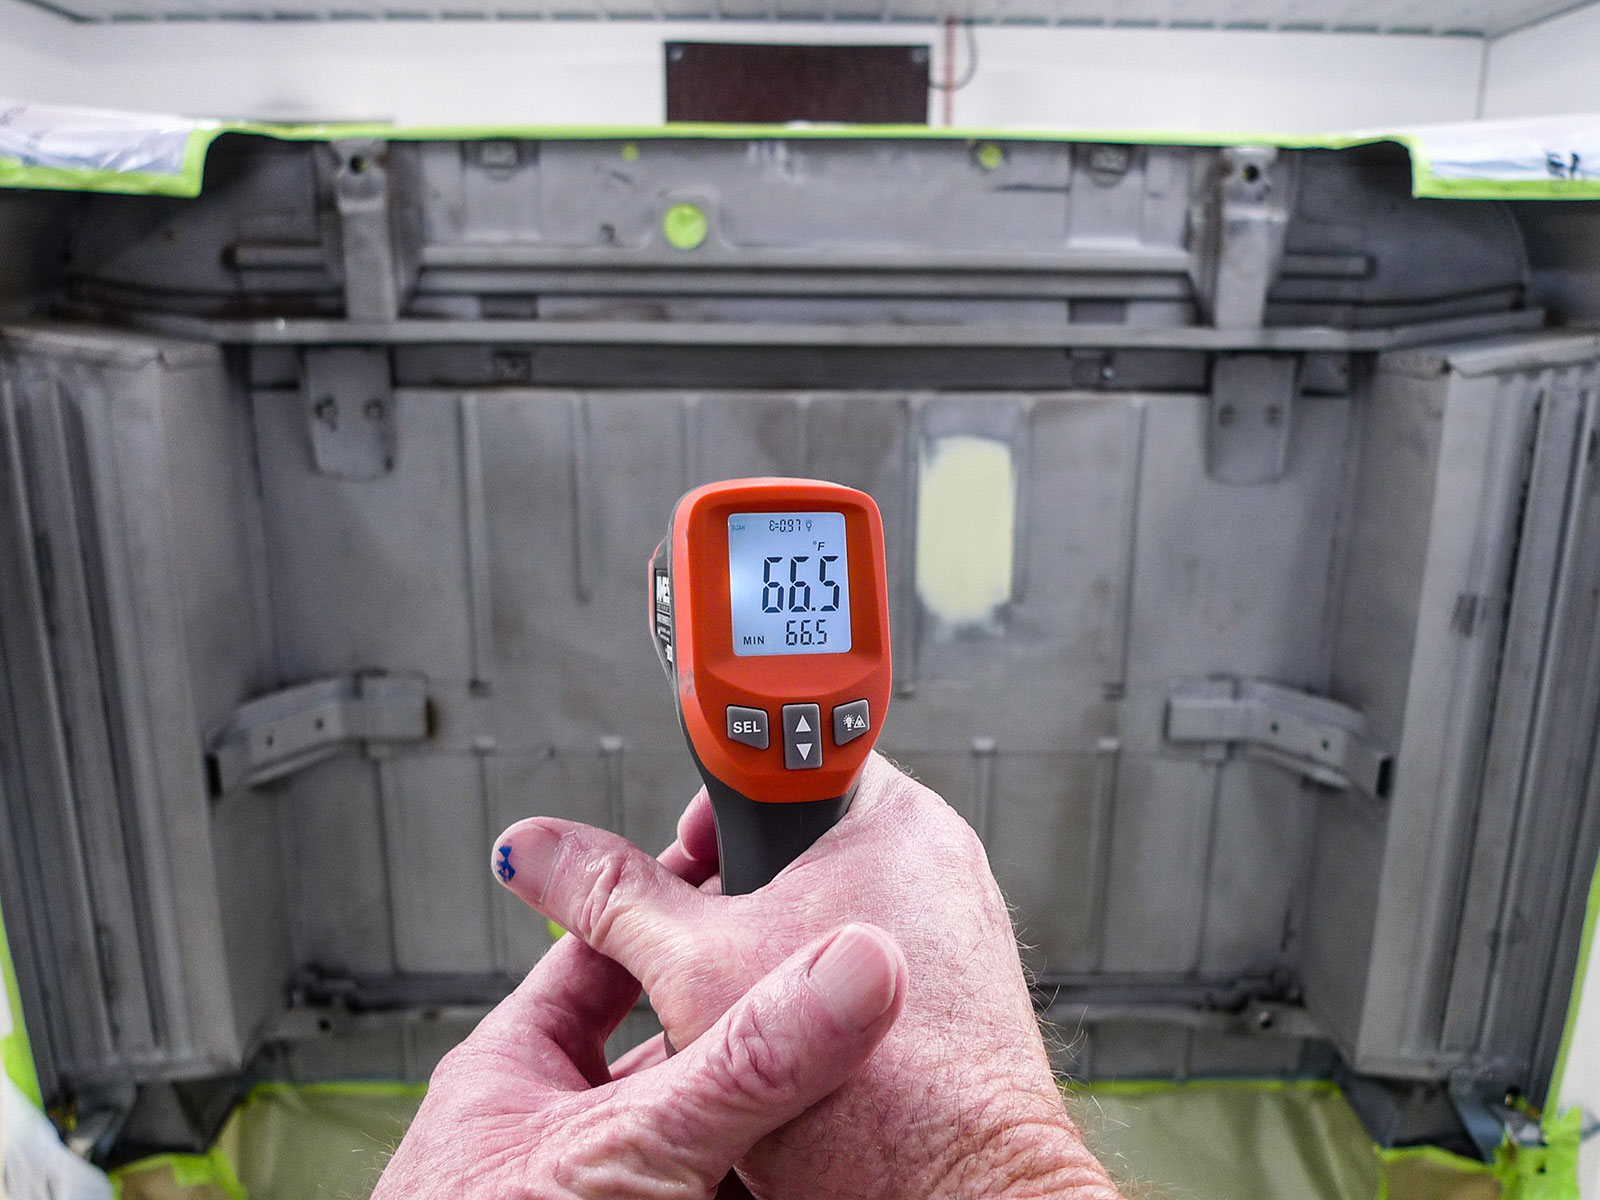
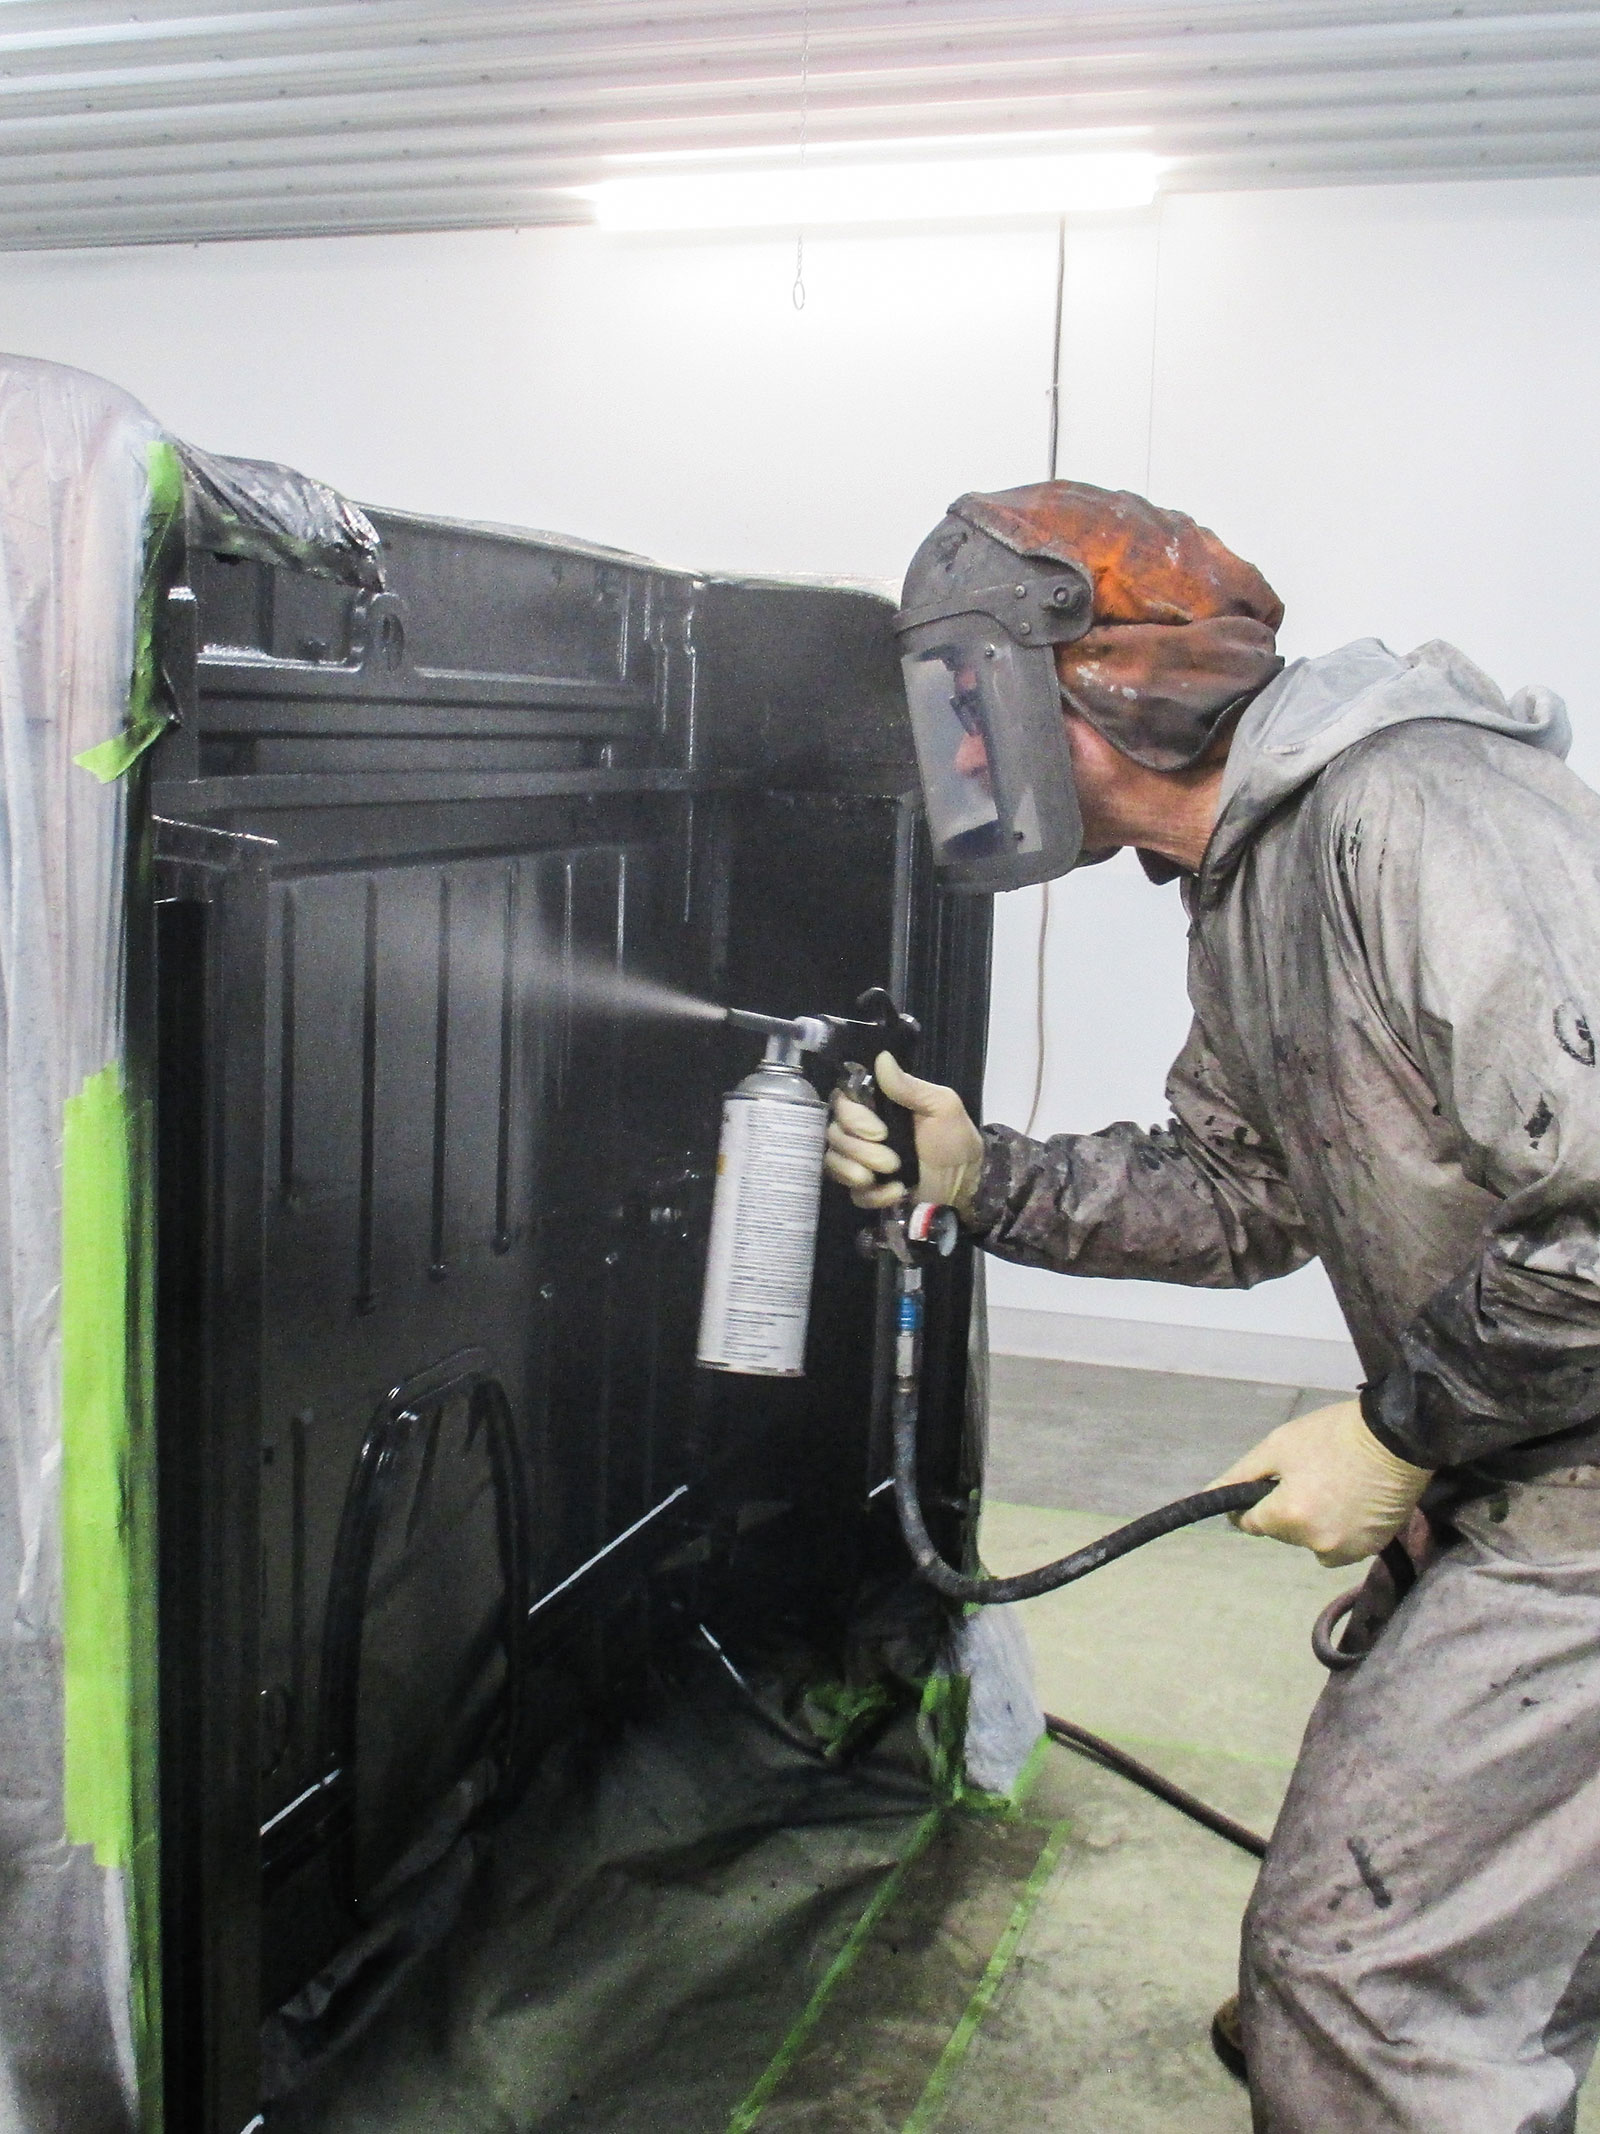
To abrasive-blasted steel we’ll apply a protective barrier of epoxy primer. Ordinarily we wouldn’t shoot more than two coats but on the advice of our go-to guru (an auto-paint chemist we occasionally confer with) we’ll make an exception. This time, over a two-day period, we’ll shoot three coats of epoxy primer, which we’ll attempt to illustrate when we get that far along.
Now that this cab’s bare-metal B-side is exposed, we’re noticing some surprise damage. If you’ve been with us, you may recall this old truck was wrecked.
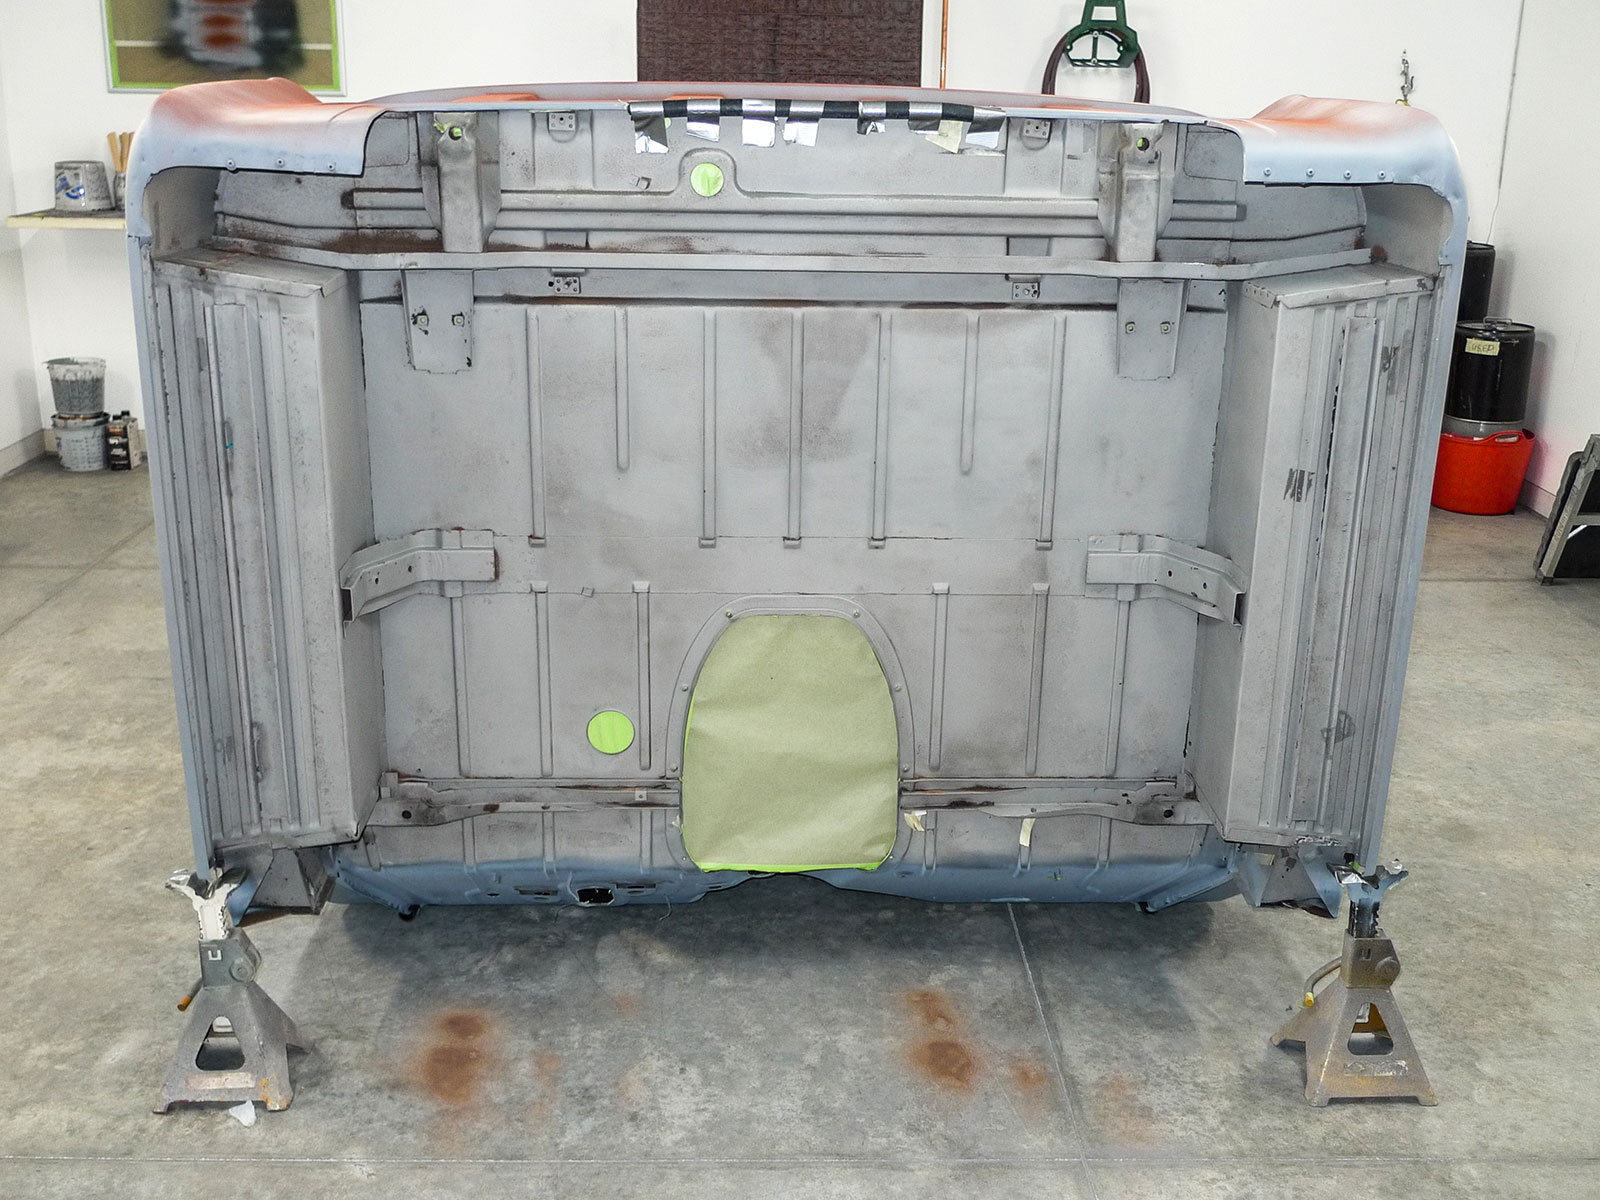
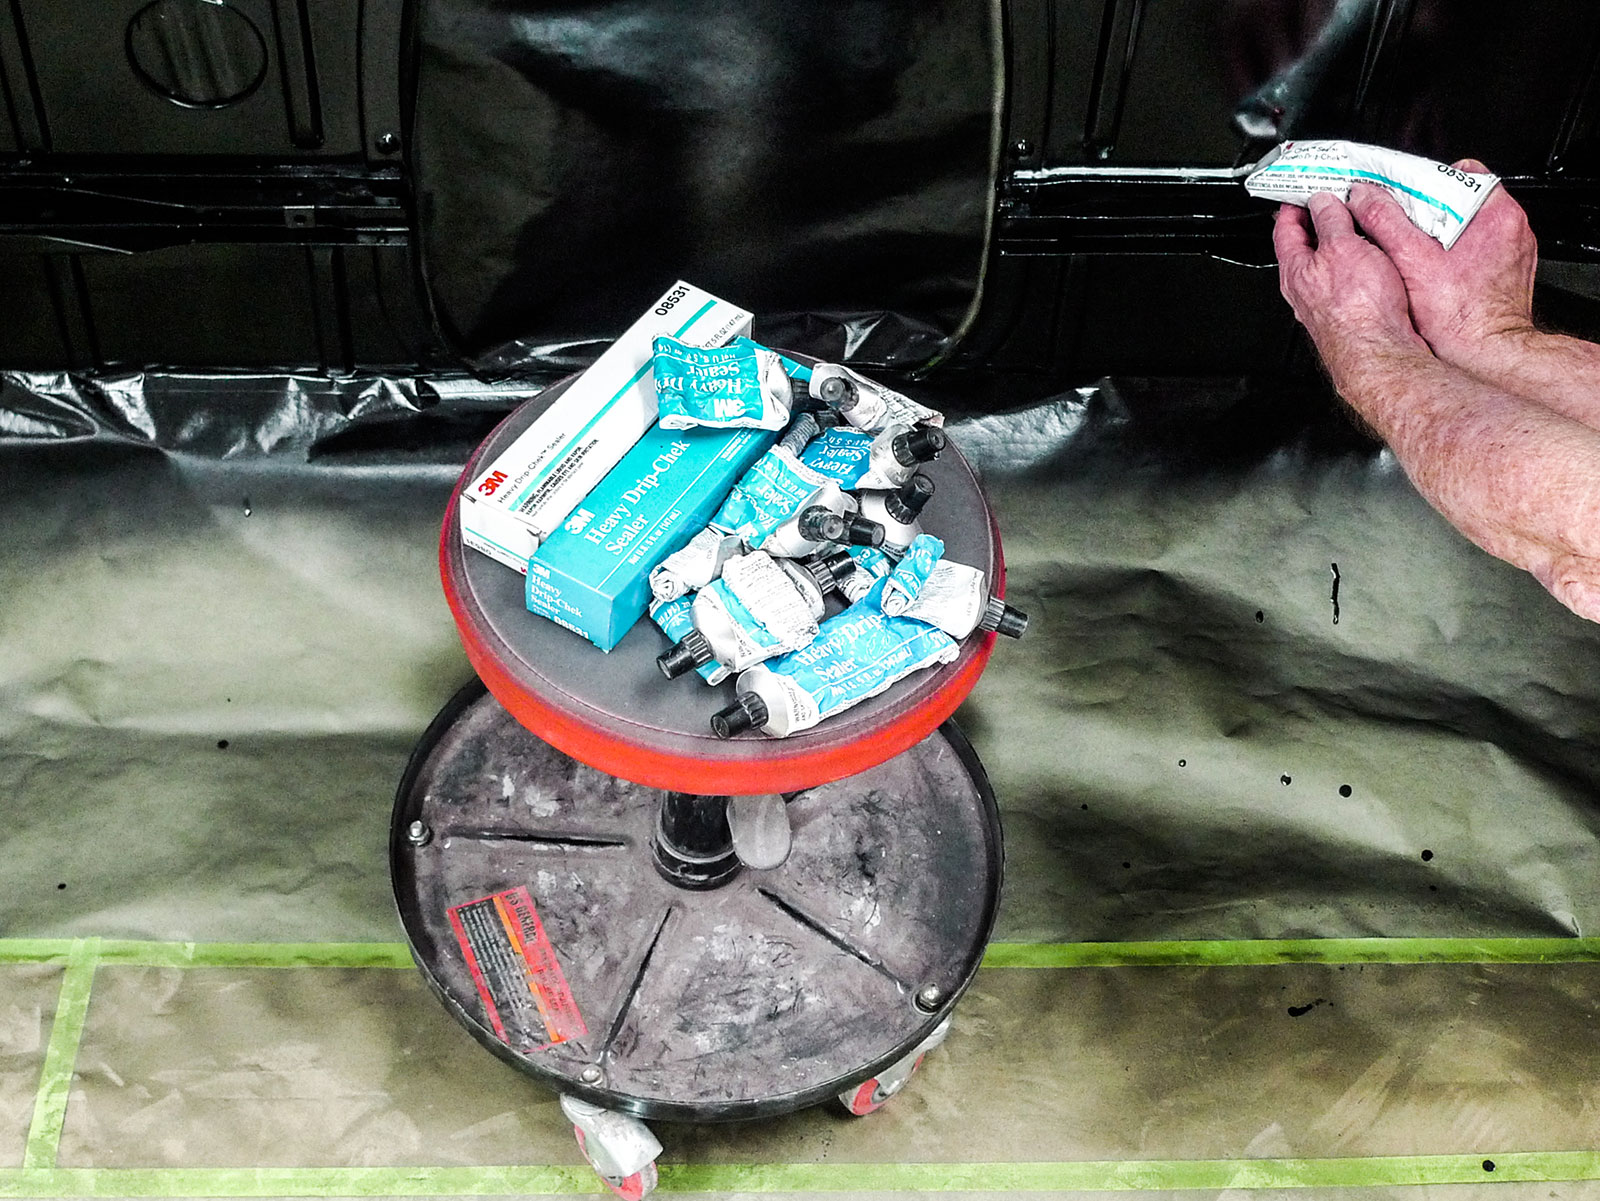
Our preferred epoxy primer can be recoated for up to a week. Once it’s cured enough to touch, we’ll seal any moisture-retentive seams. Then we’re planning to follow that up with a trustworthy rubberized undercoating. It’s nothing new. It’s a product that we’ve worked with since the middle of the ’90s that is still more-than-adequate today.
About the time we think we’ve finally cleared the nooks and crannies of abrasive blasting, out comes a little more. Has anybody seen the vacuum cleaner lately?
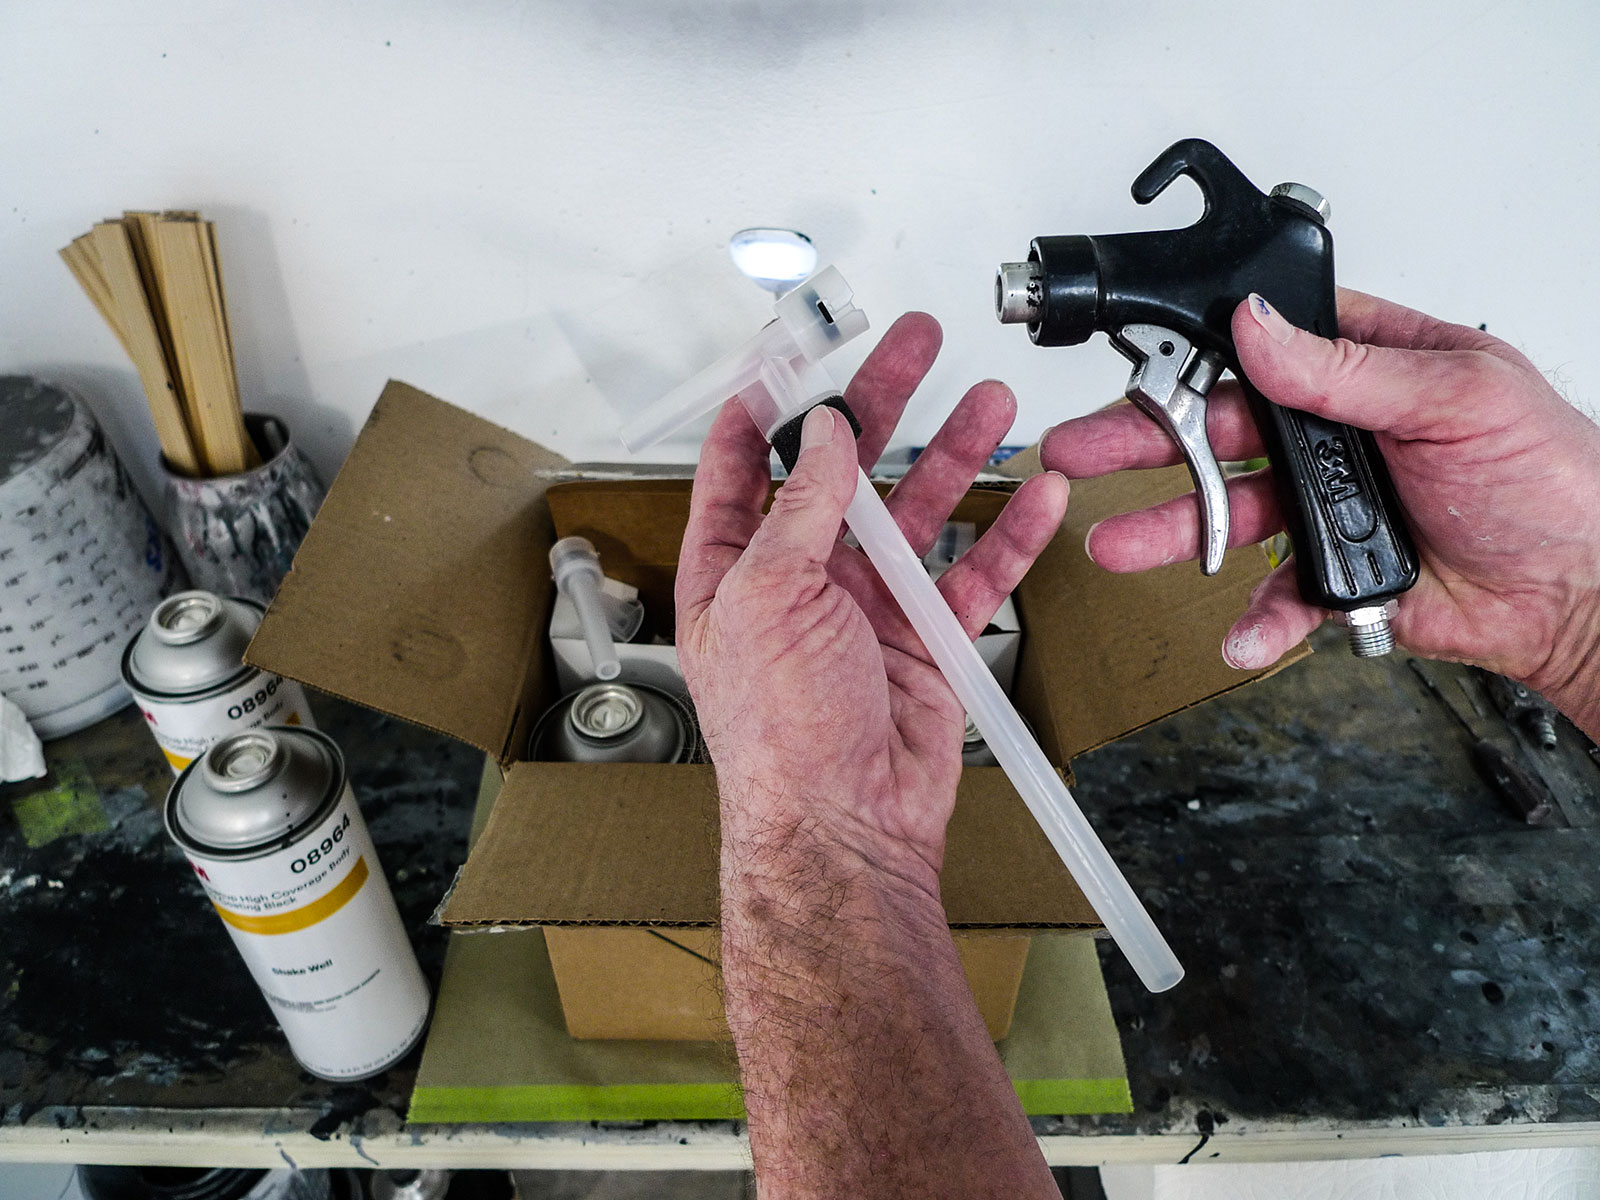
In this shop, our rubberized undercoating of choice is the no-cleanup version of 3M Body Schutz (PN 08964). It’s largely for corrosion protection but it’ll function as a sound-deadener as well. With this system and about a minute of play-around practice, we can dial in and control the texture for that special sort of medium-glump effect that resembles a heavy orange peel once painted.
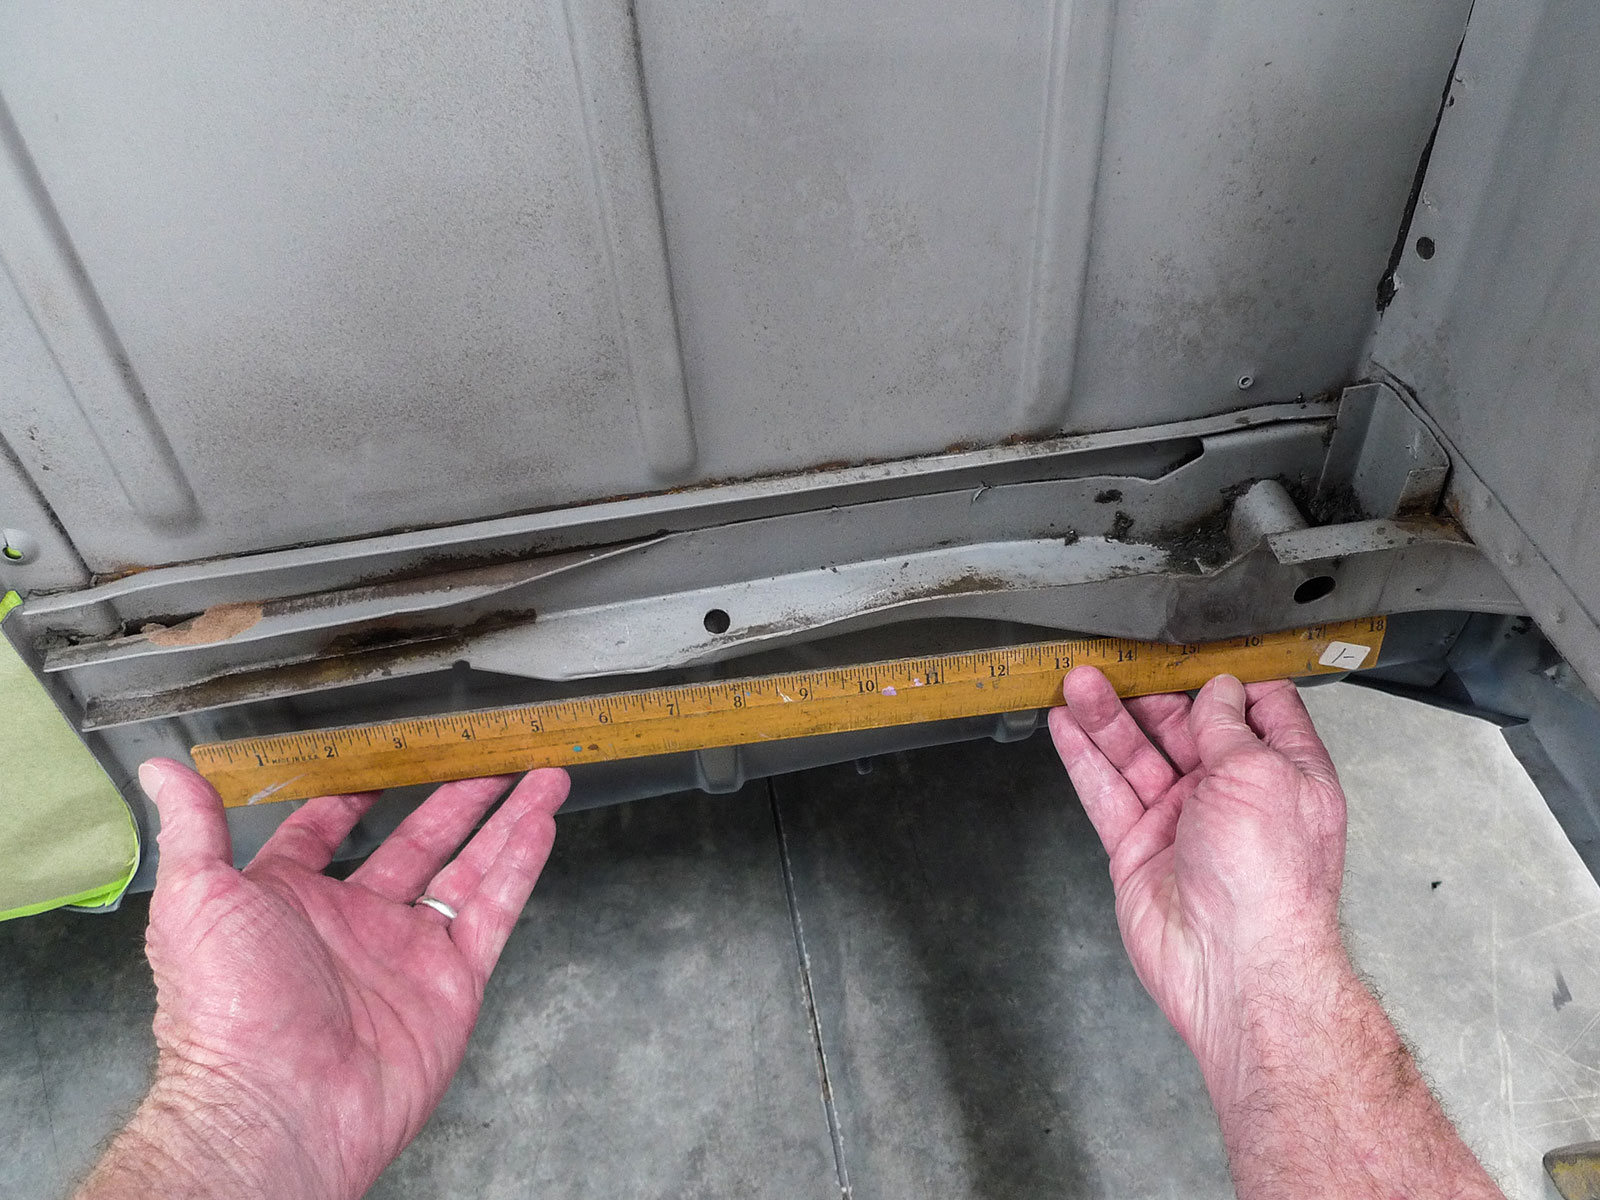
While the cab has been on its cart, these bent-up braces have been hidden. Now, according to this crooked straightedge, indeed there’s something wrong.
Why paint over 3M Body Schutz? Well, we don’t absolutely have to. As a matter of personal preference, I like to topcoat it with catalyzed urethane. With a slick finish, the undercoating’s outermost pores are sealed for strengthened stain-resistance and easier detailing down the road.
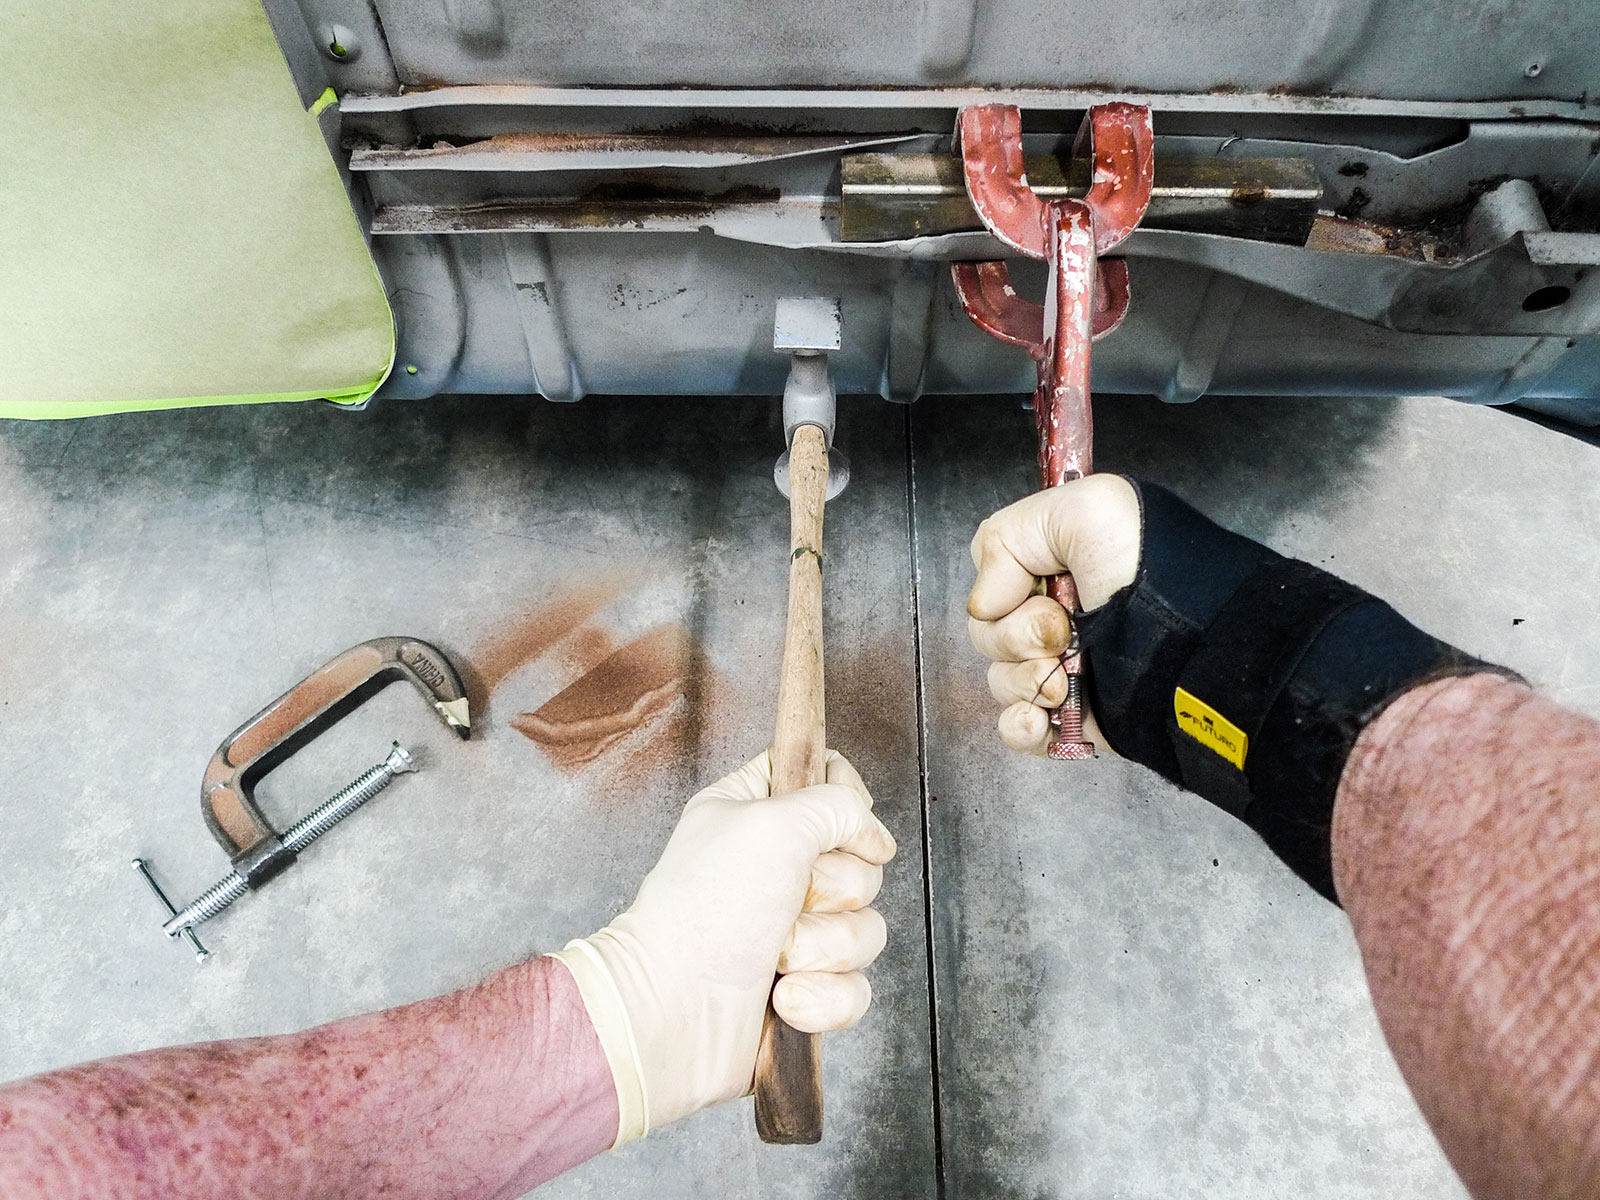
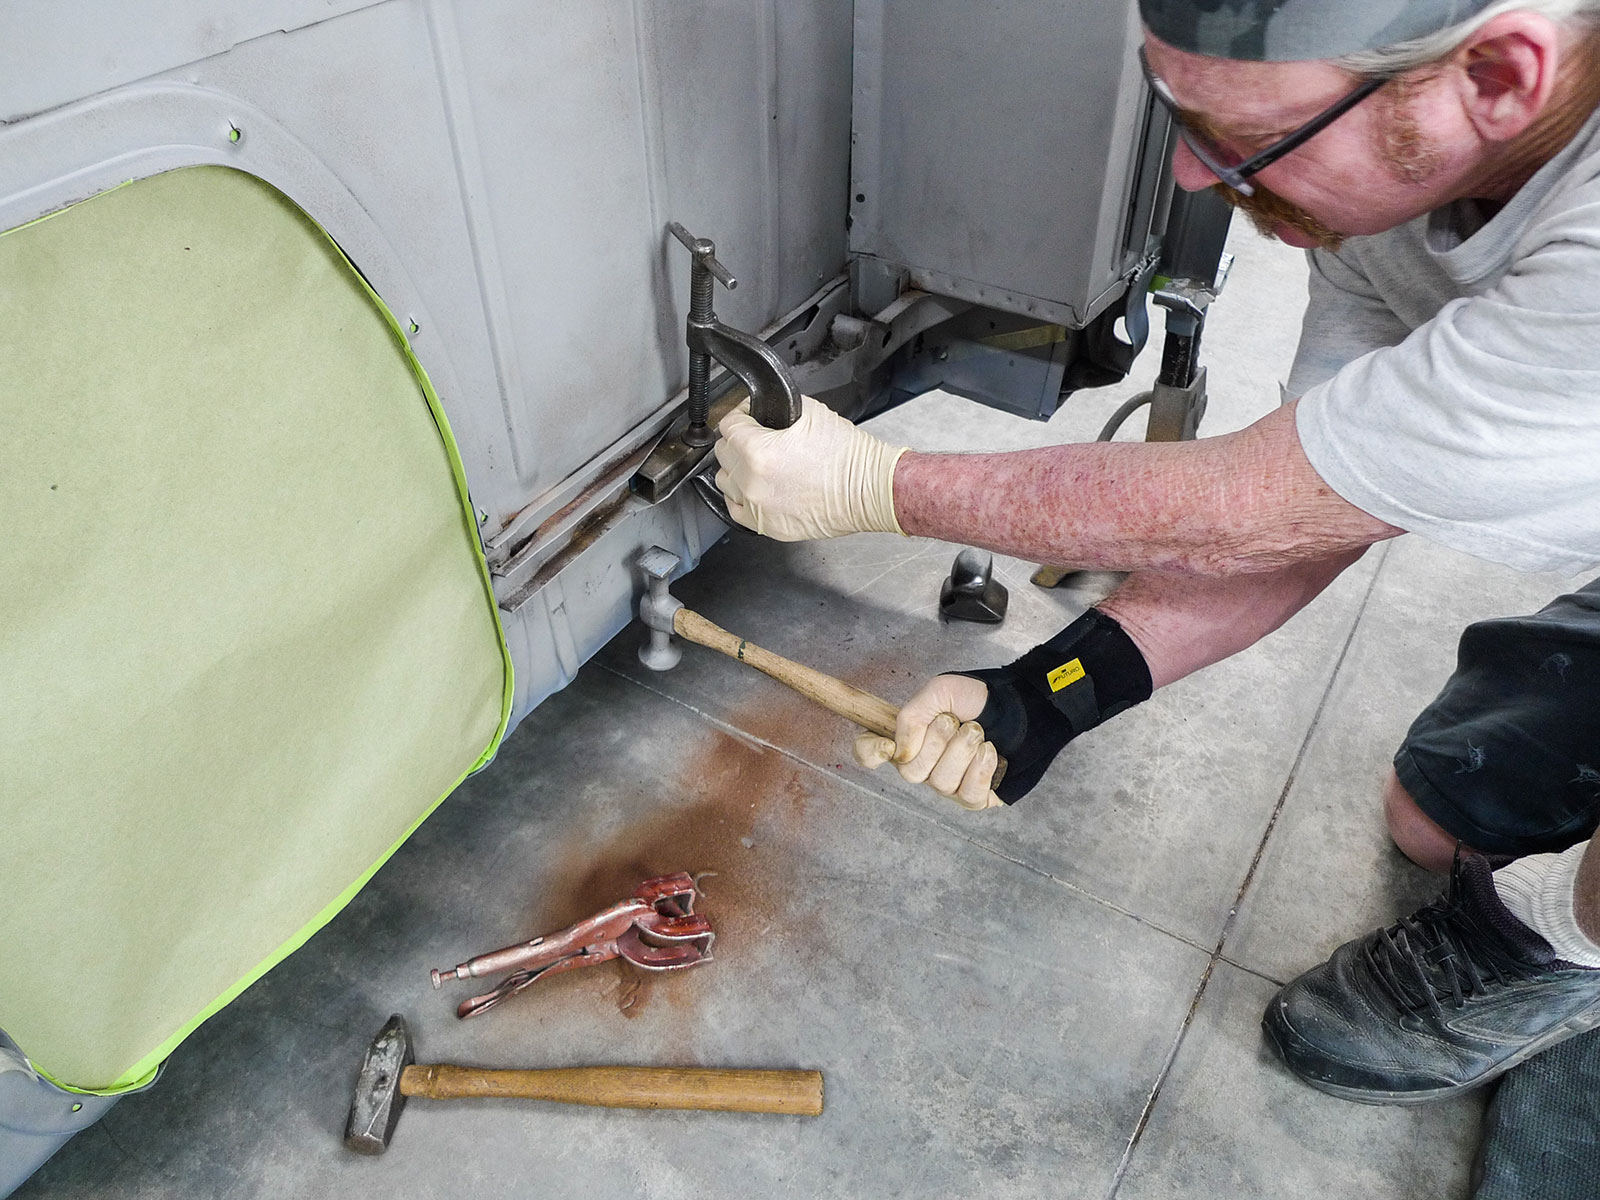
Although they’re bent, they’re still very strong. To get started here, clamps and a section of square tubing are helpful—at least for initial straightening.
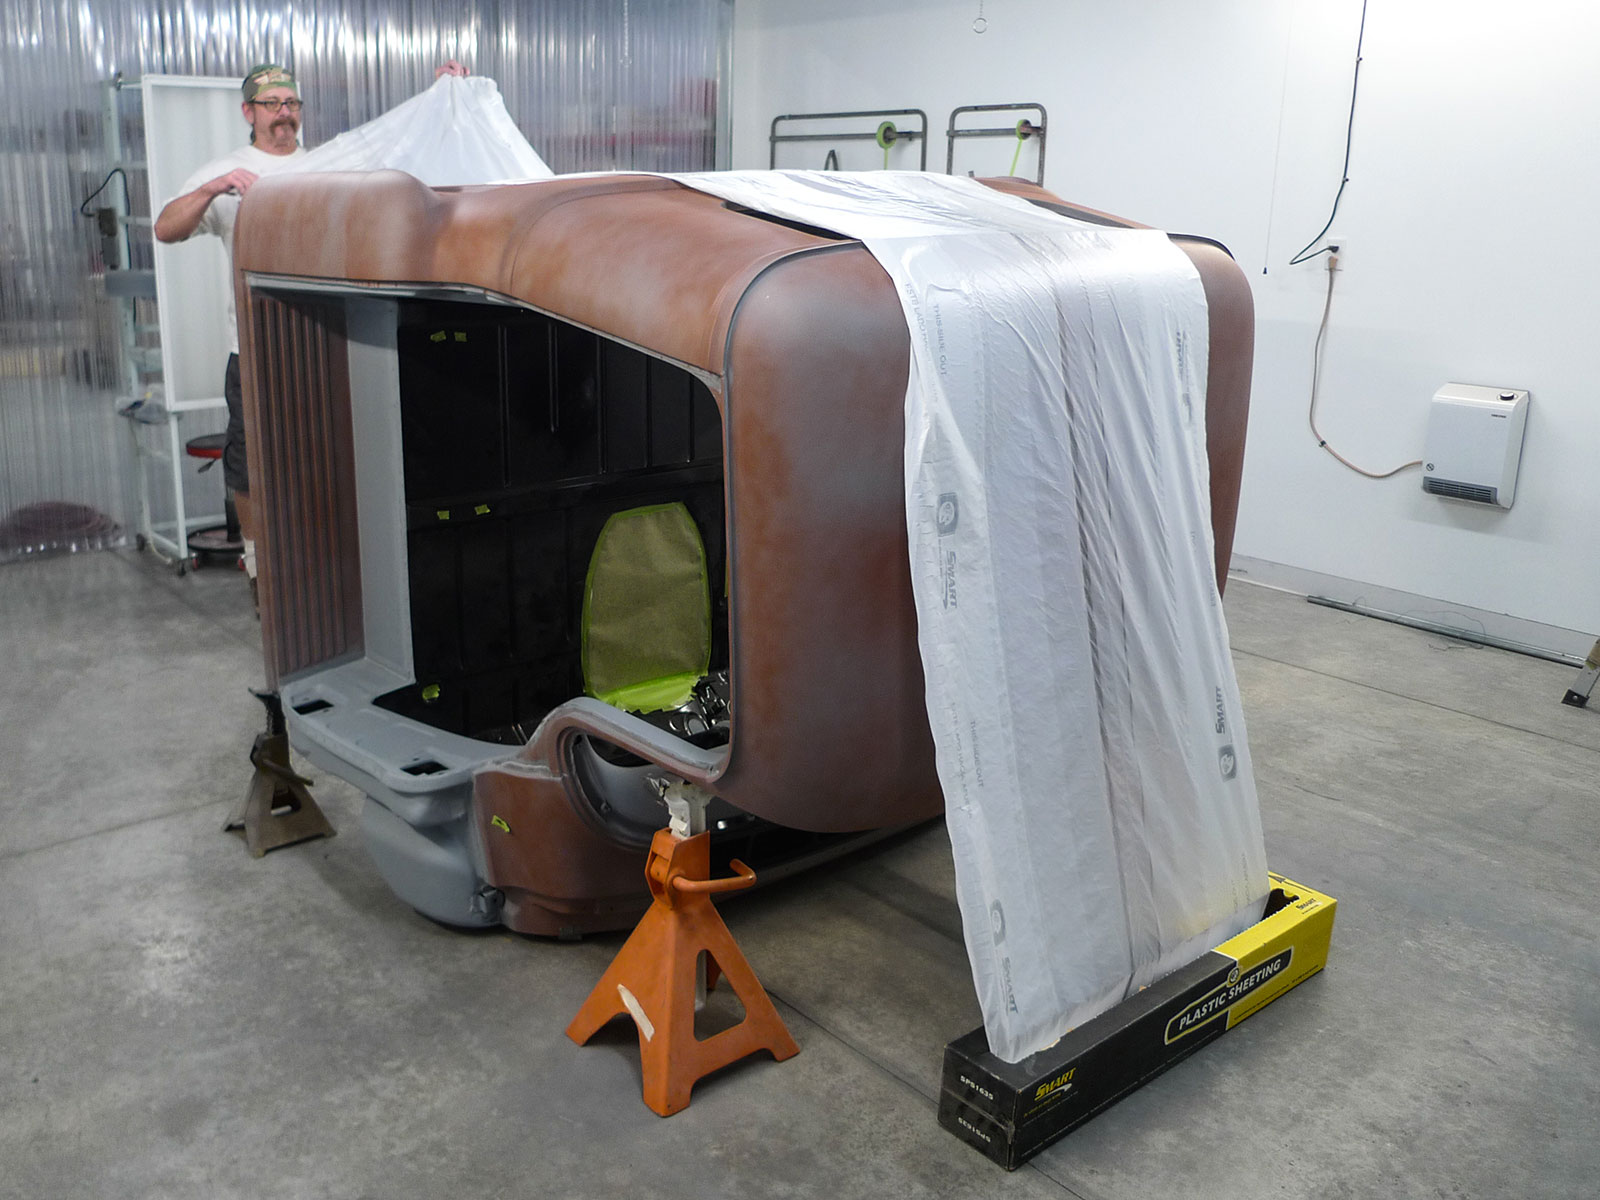
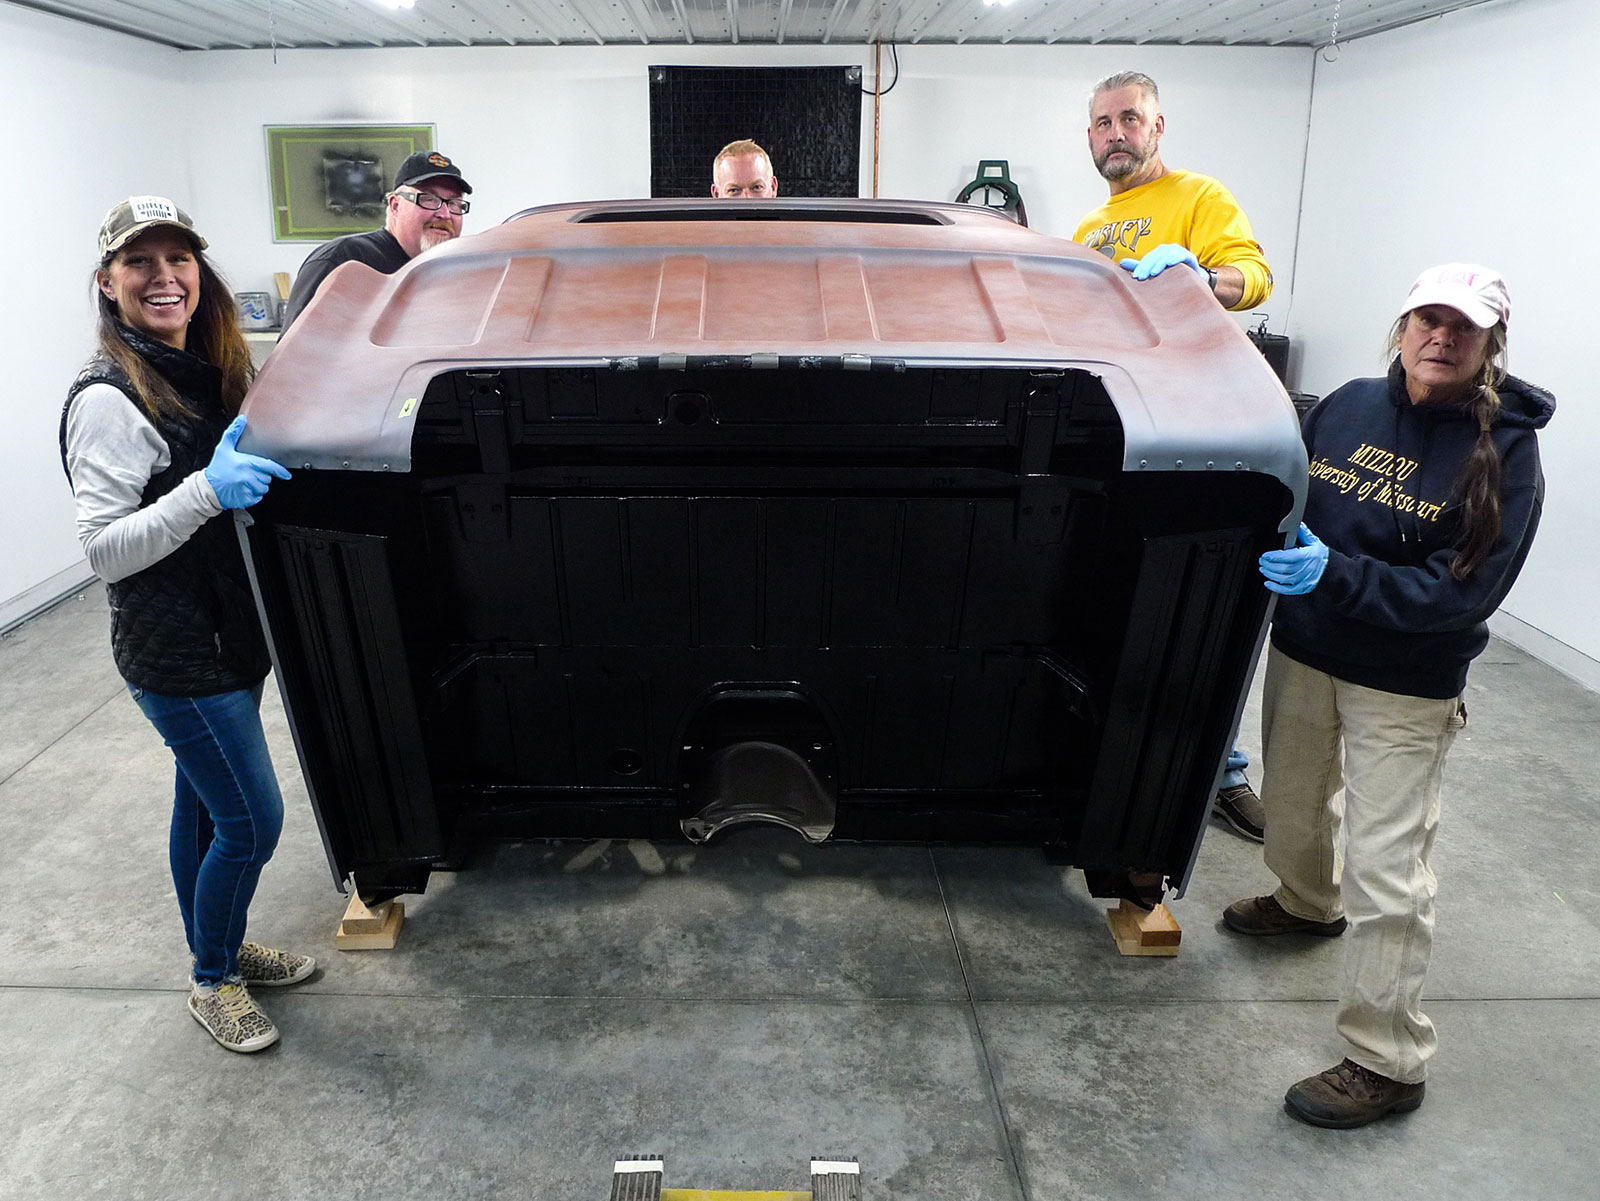
So, to get started, we’ll need padded jack stands, a box of nitrile gloves, and a few extra hands to safely tip this ol’ cab underbelly-up. Apart from a few recognizable items from Harbor Freight Tools, most of what we’ll use here is available from Summit Racing Equipment.
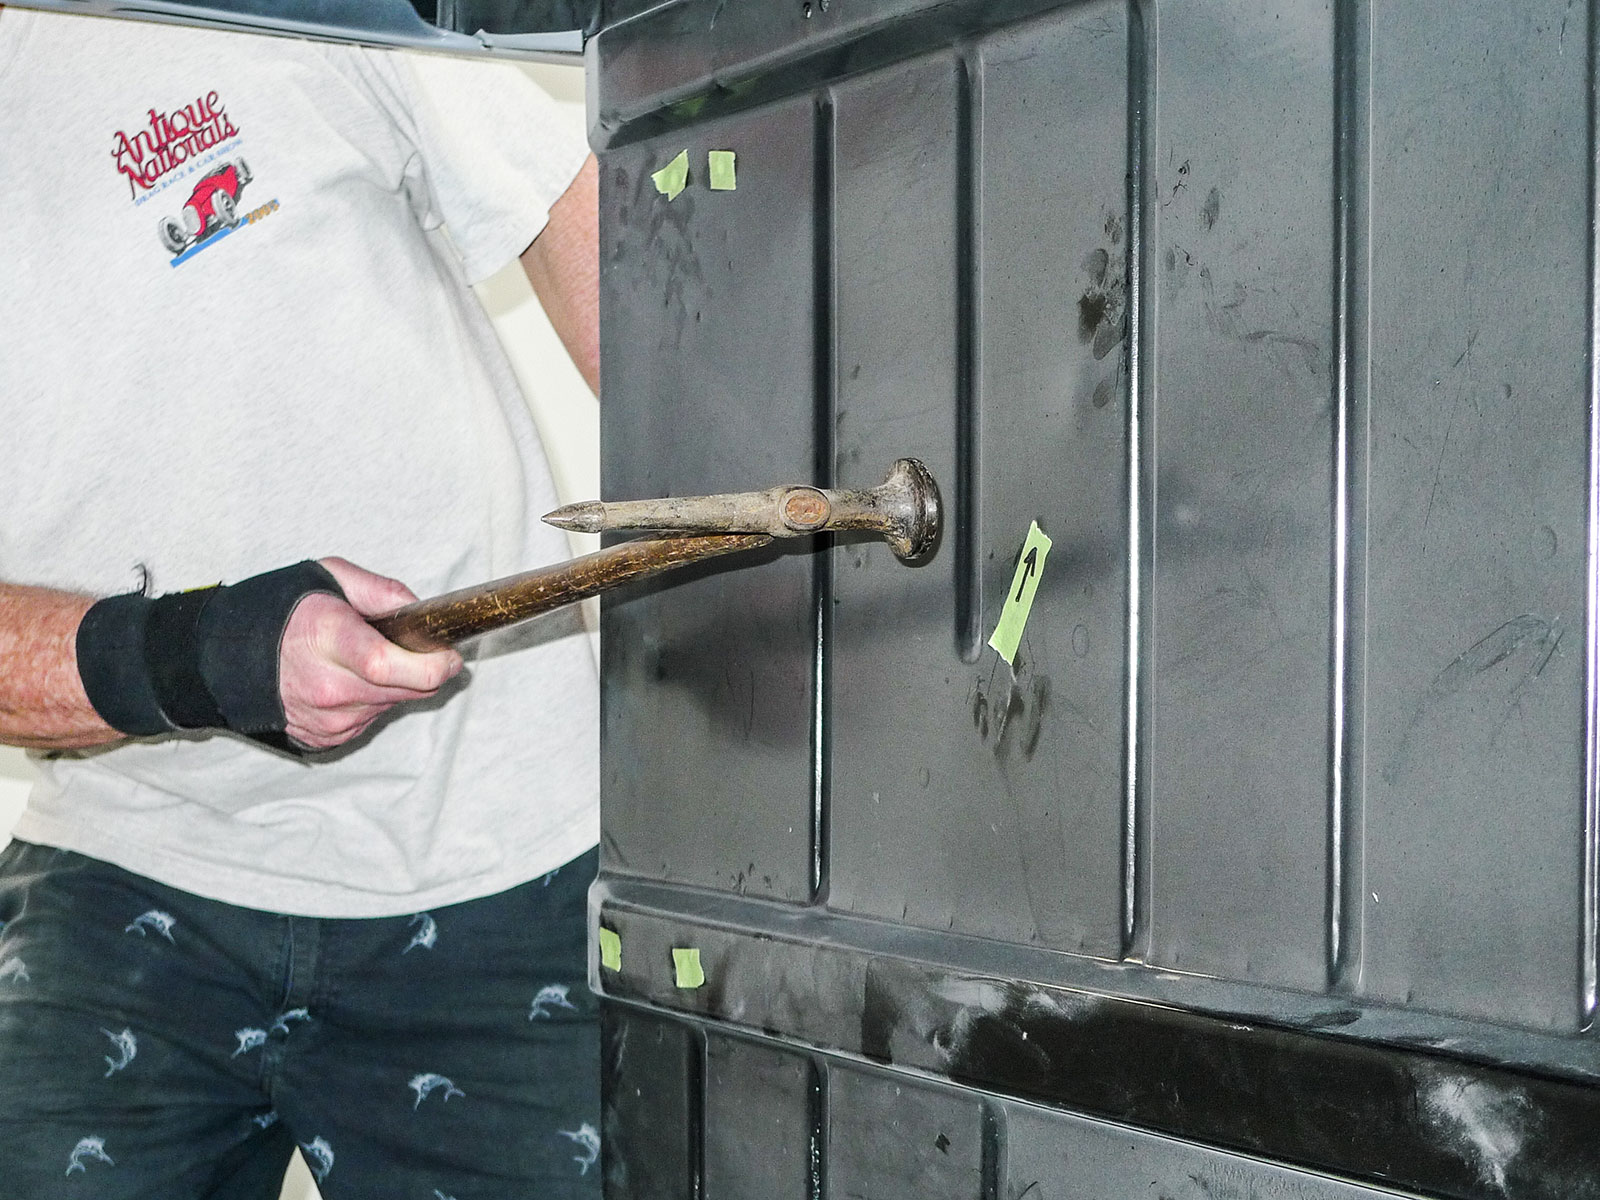
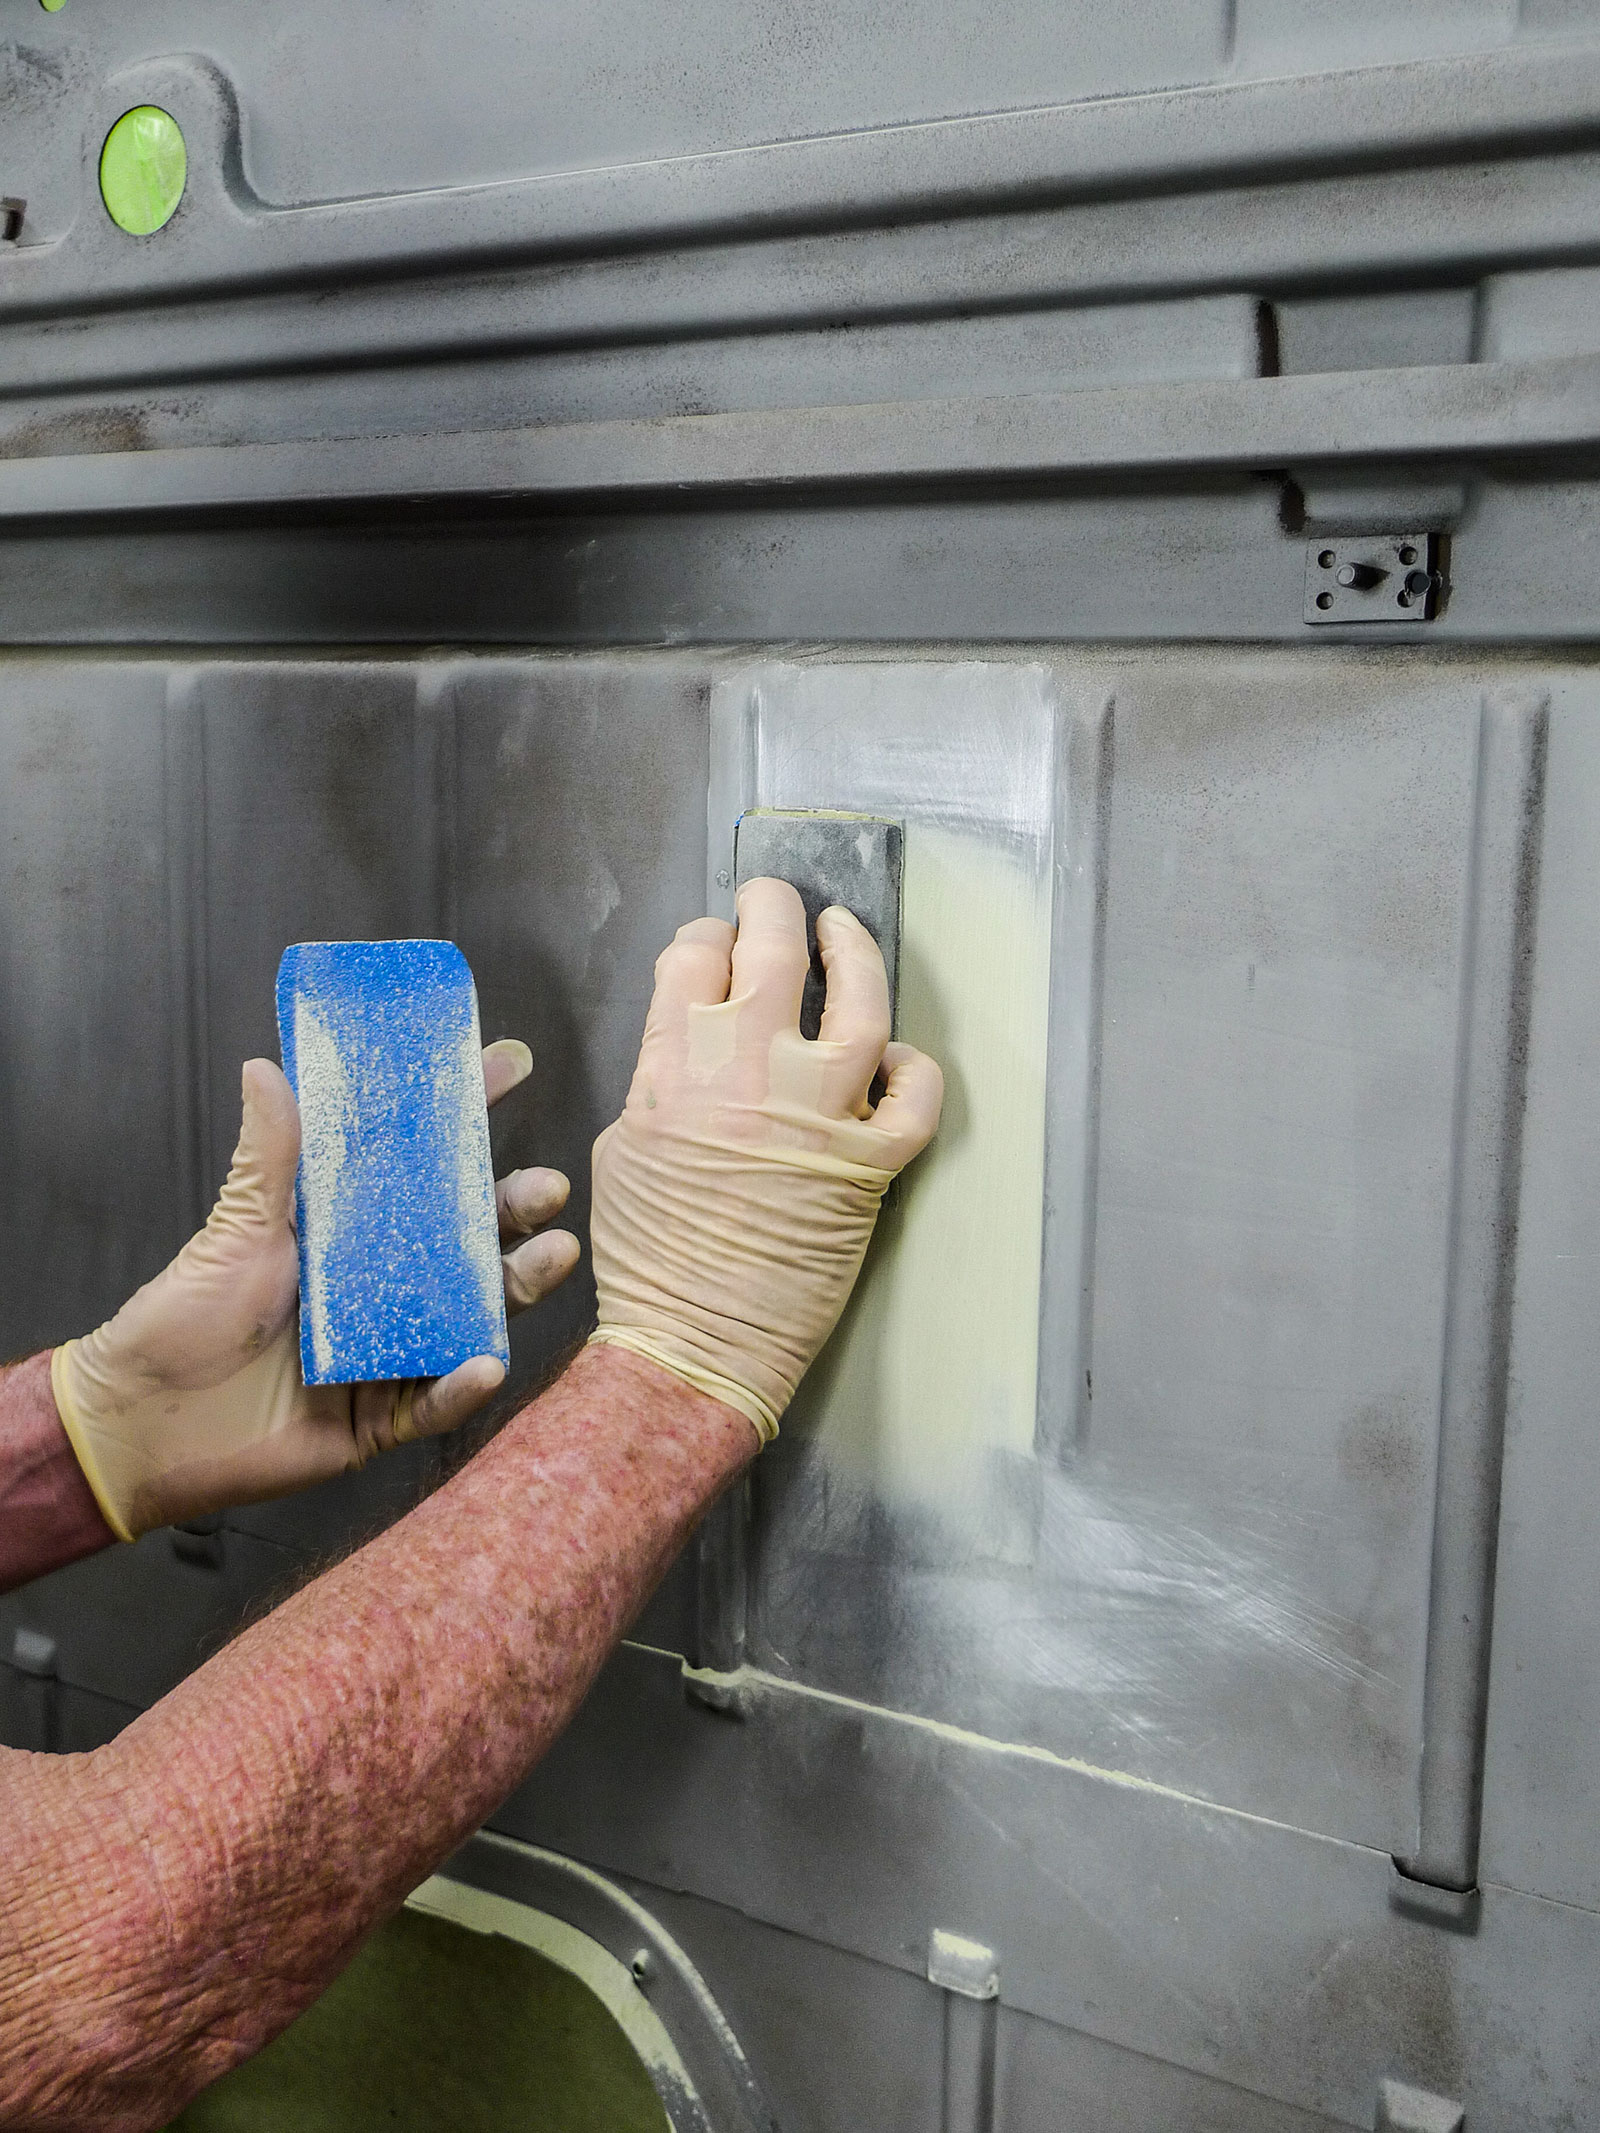
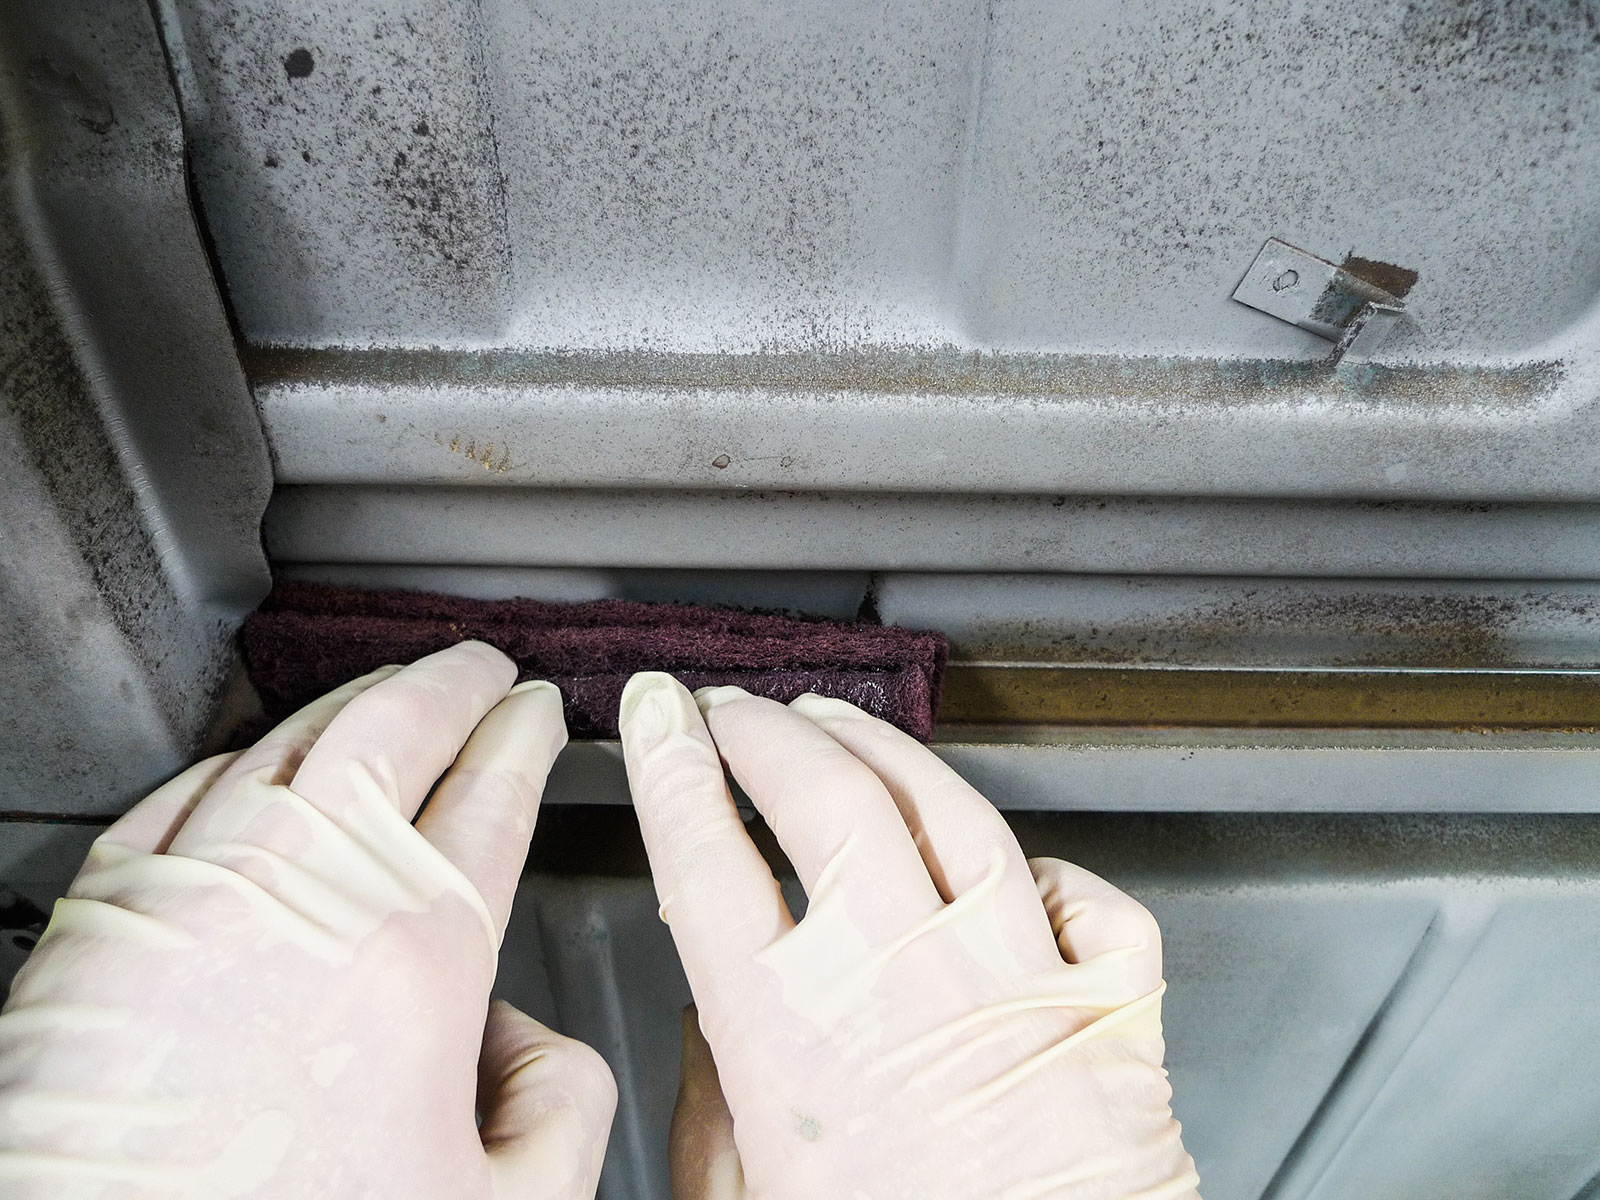
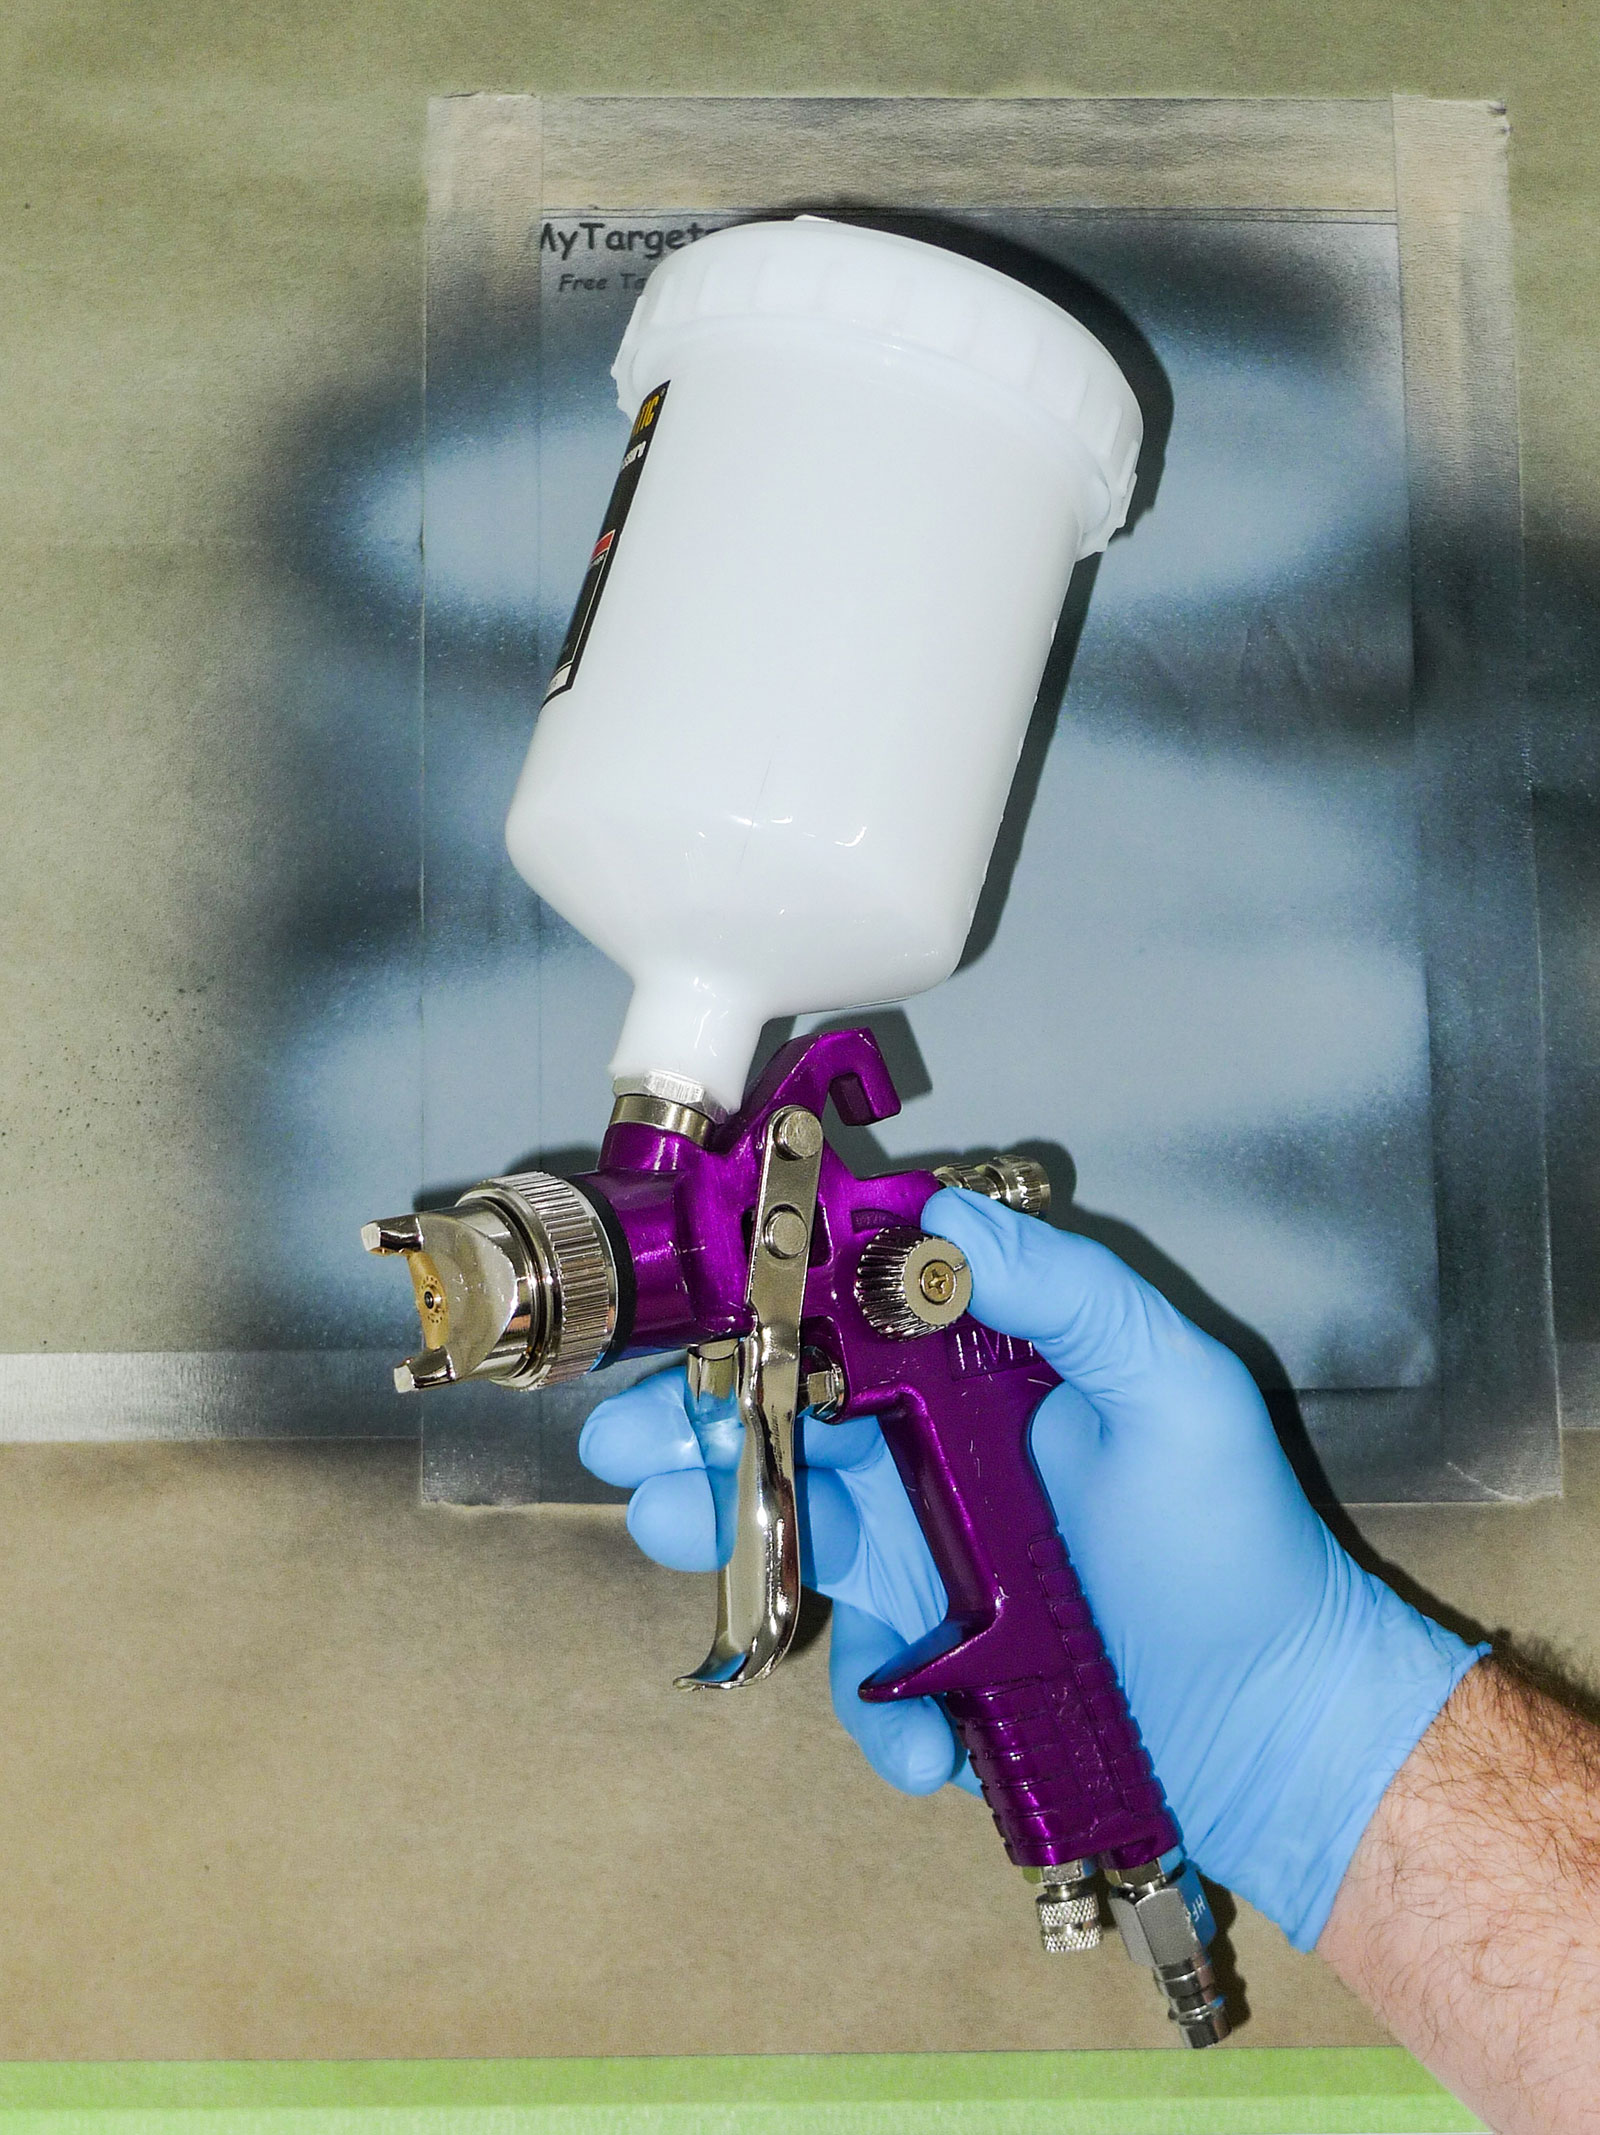
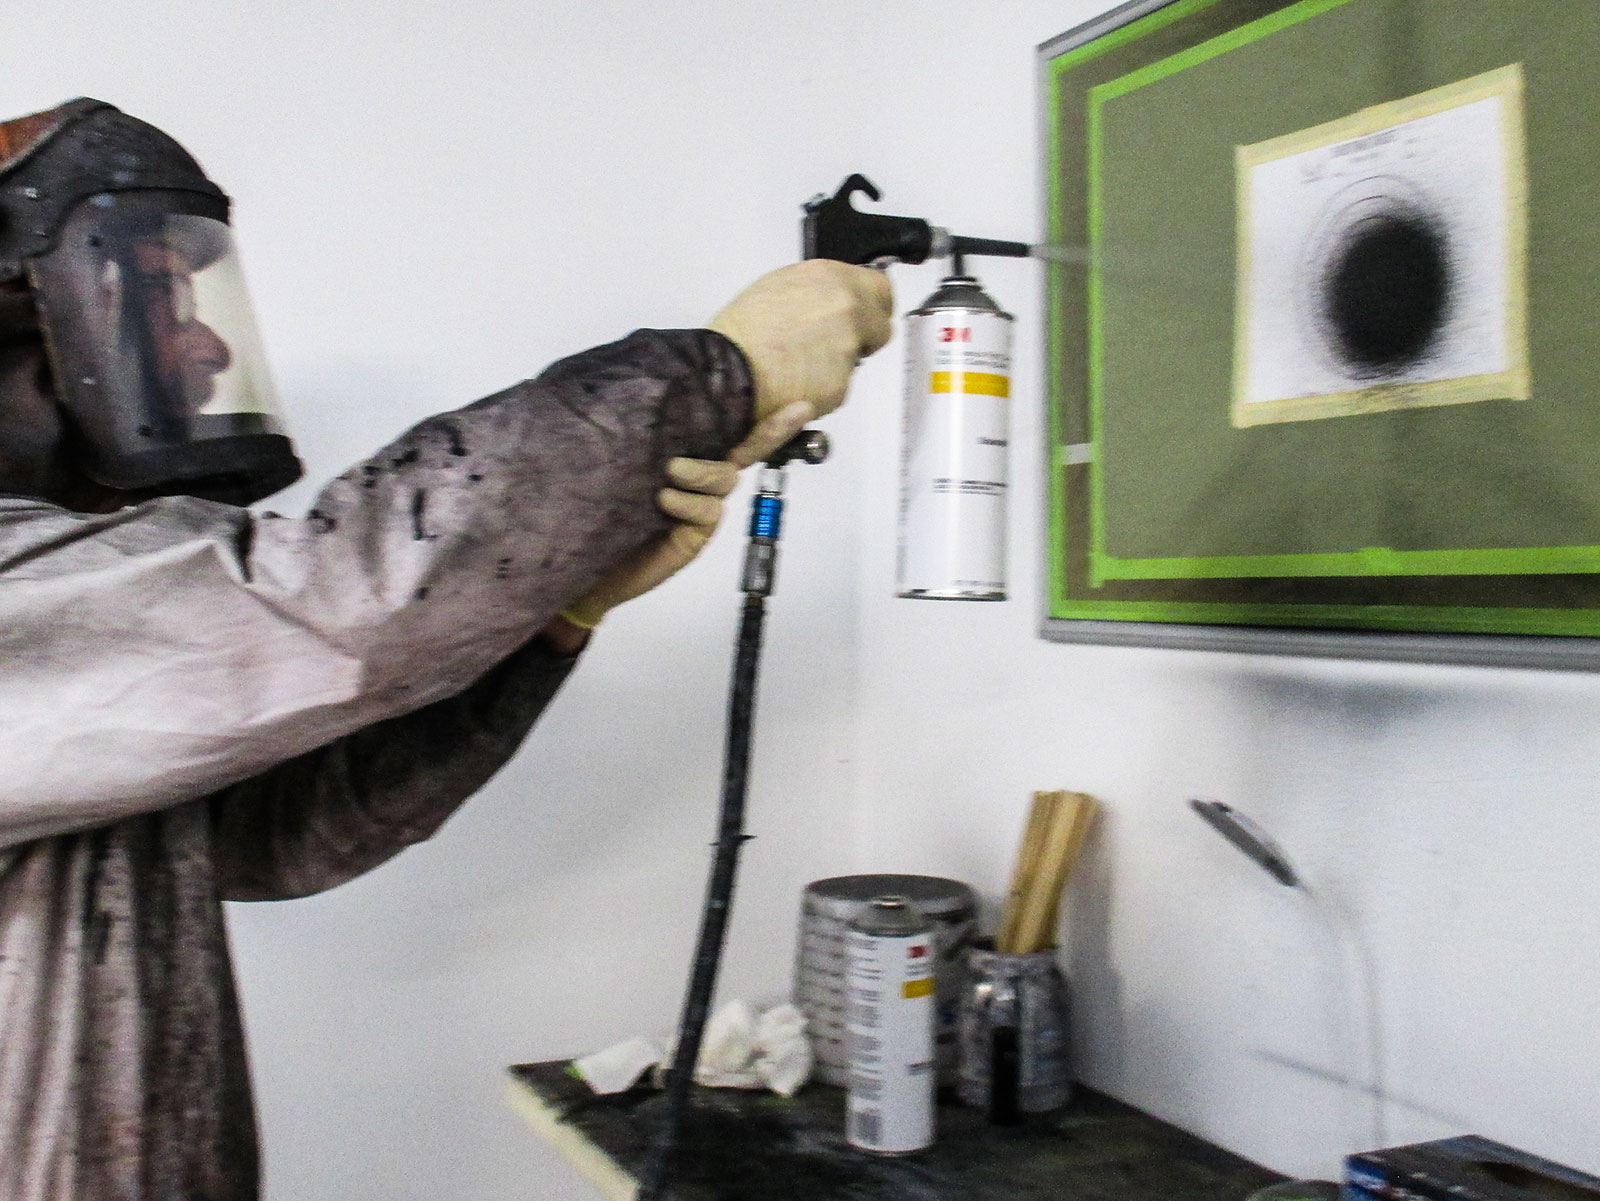
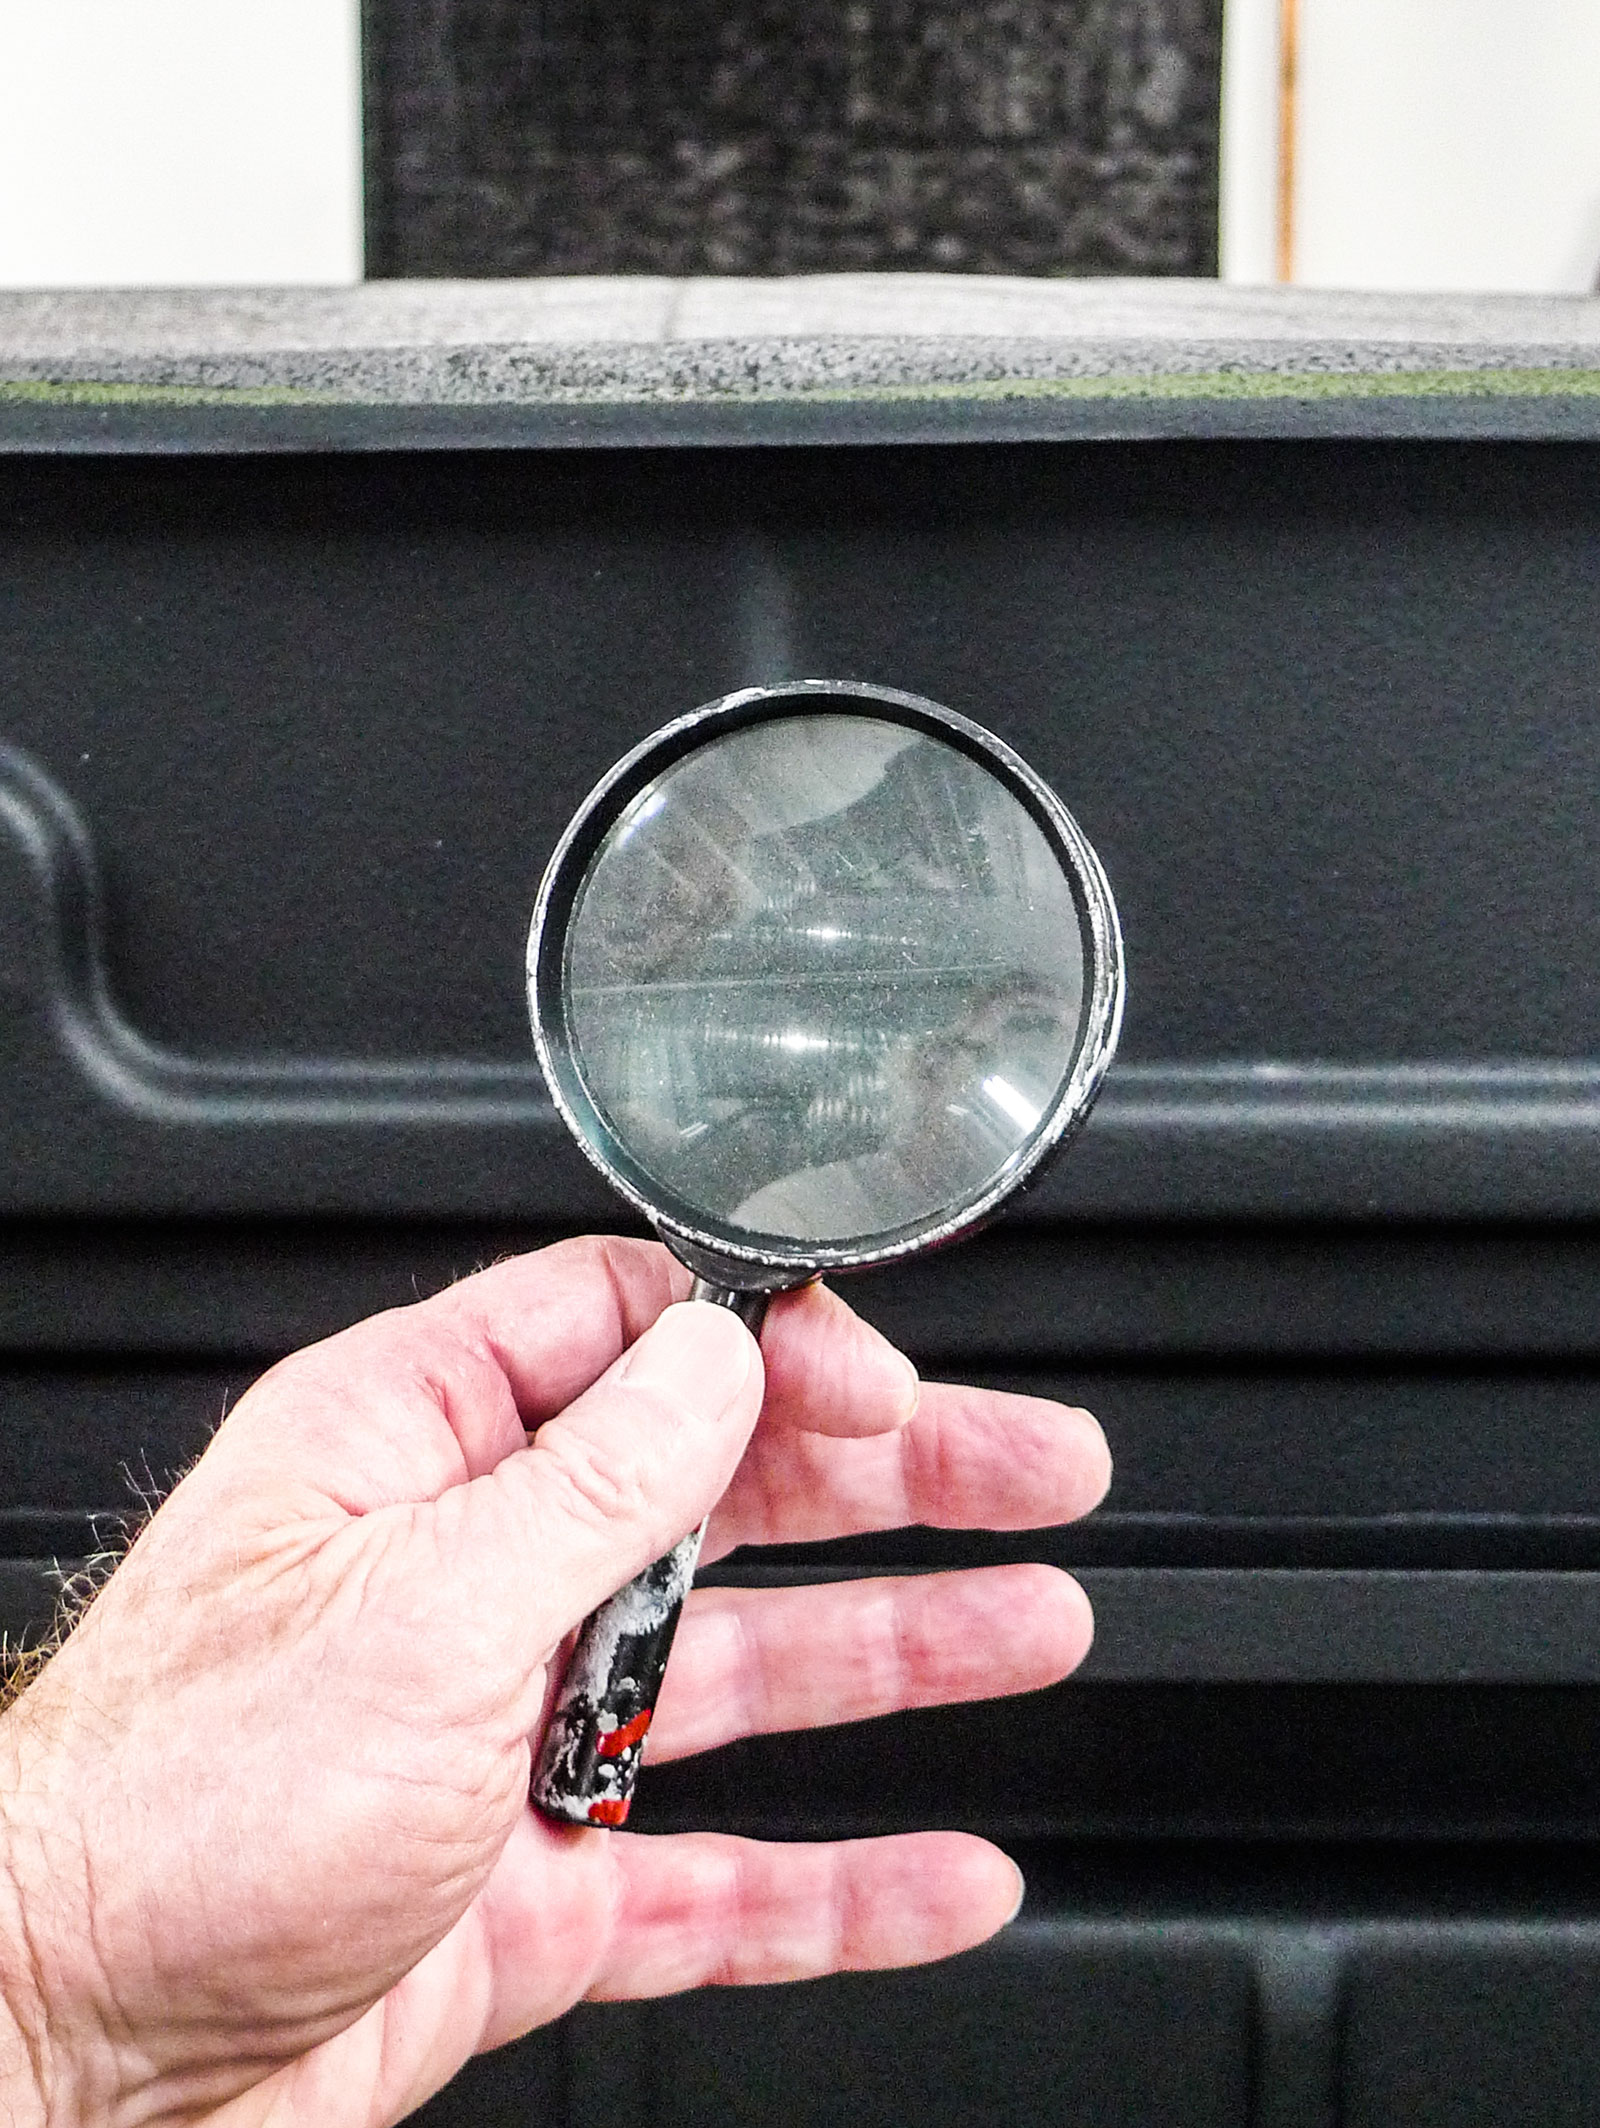
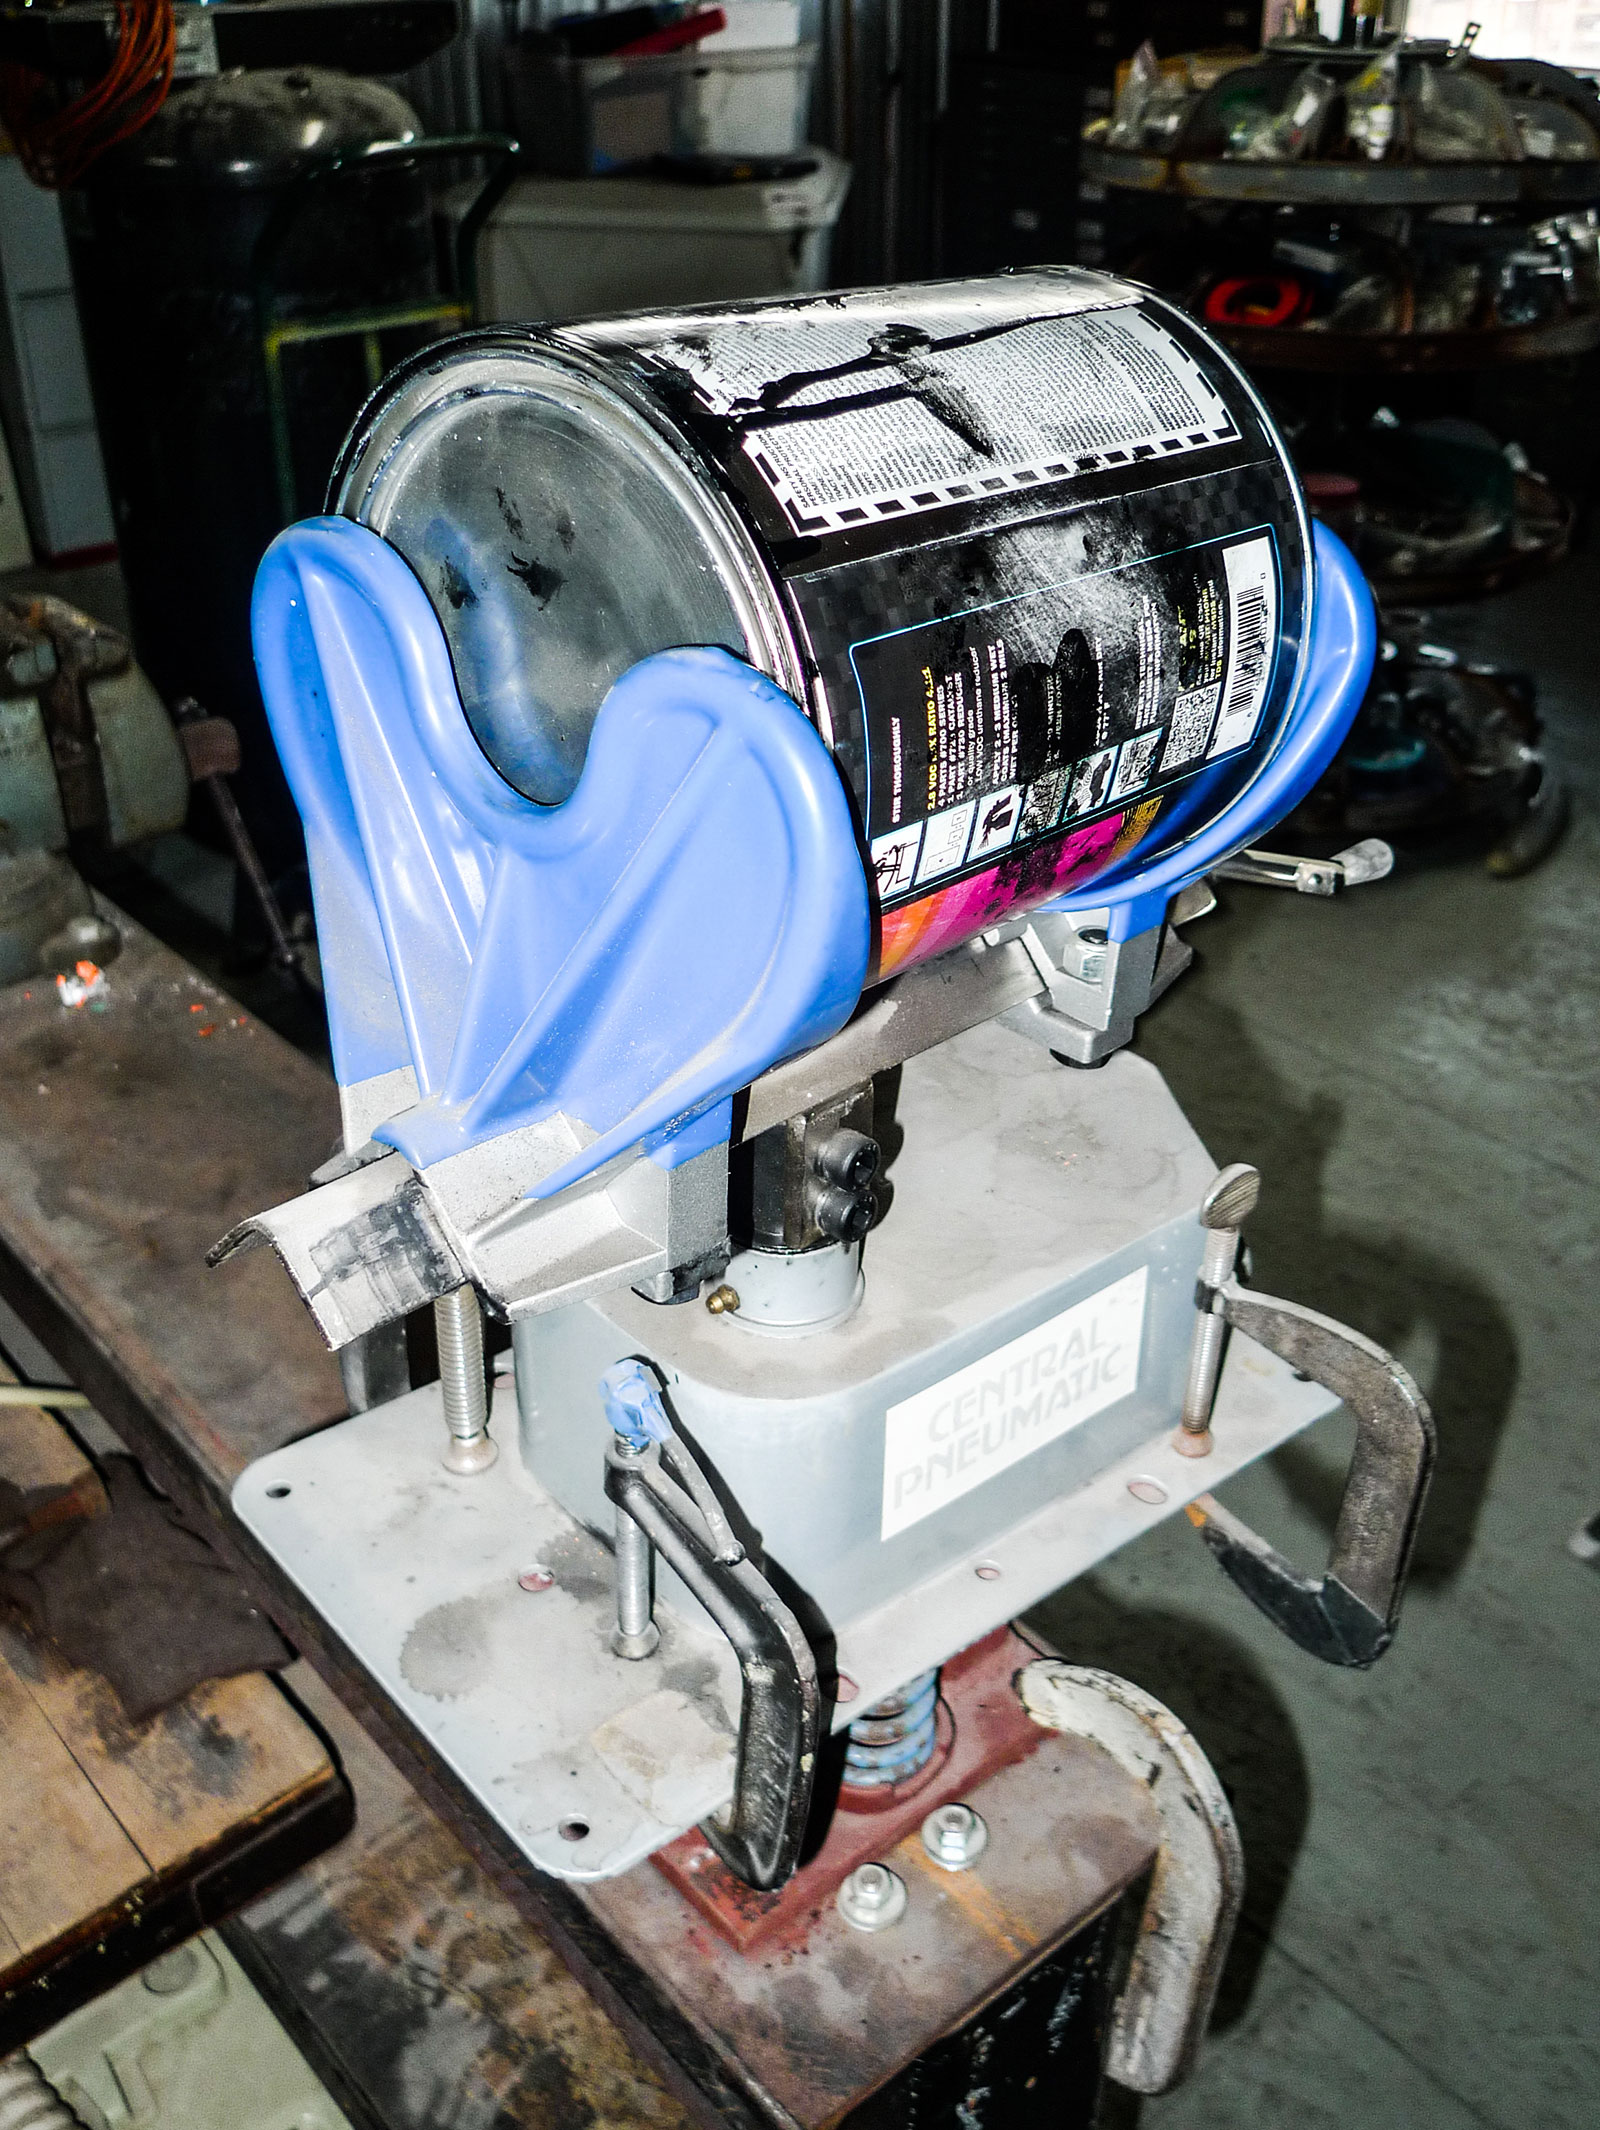
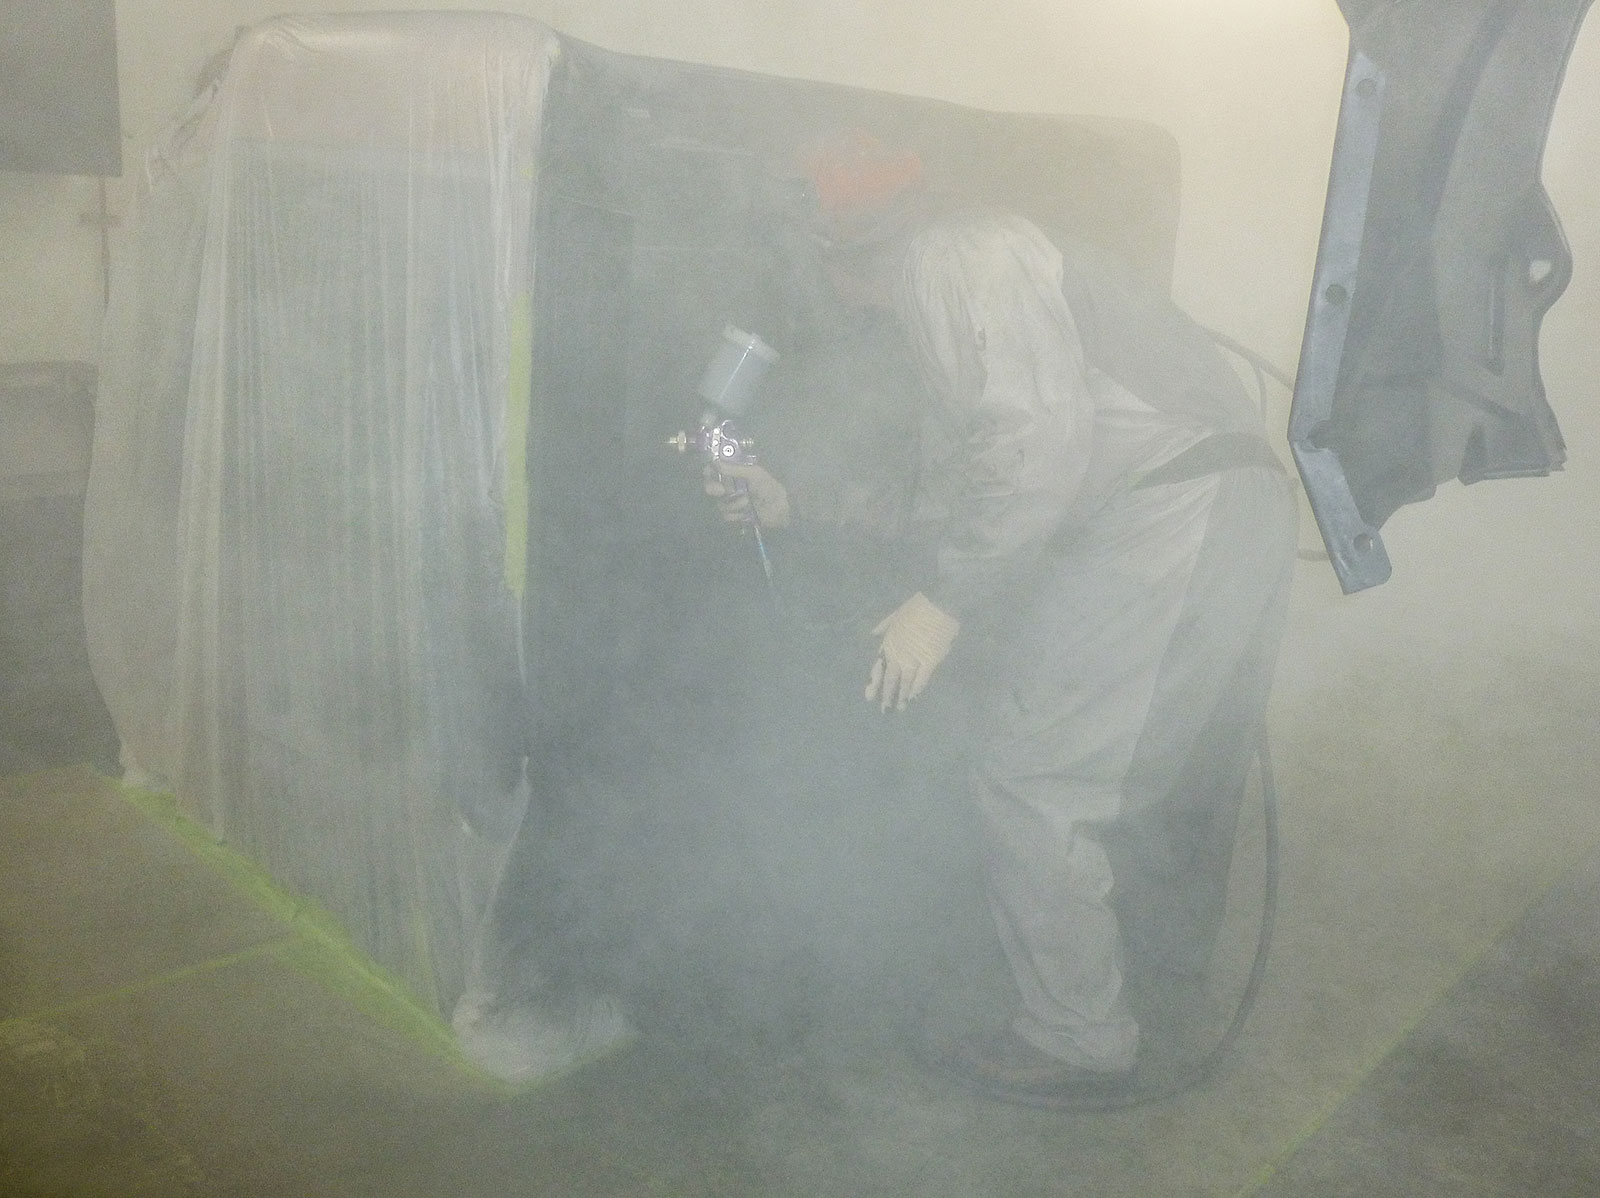
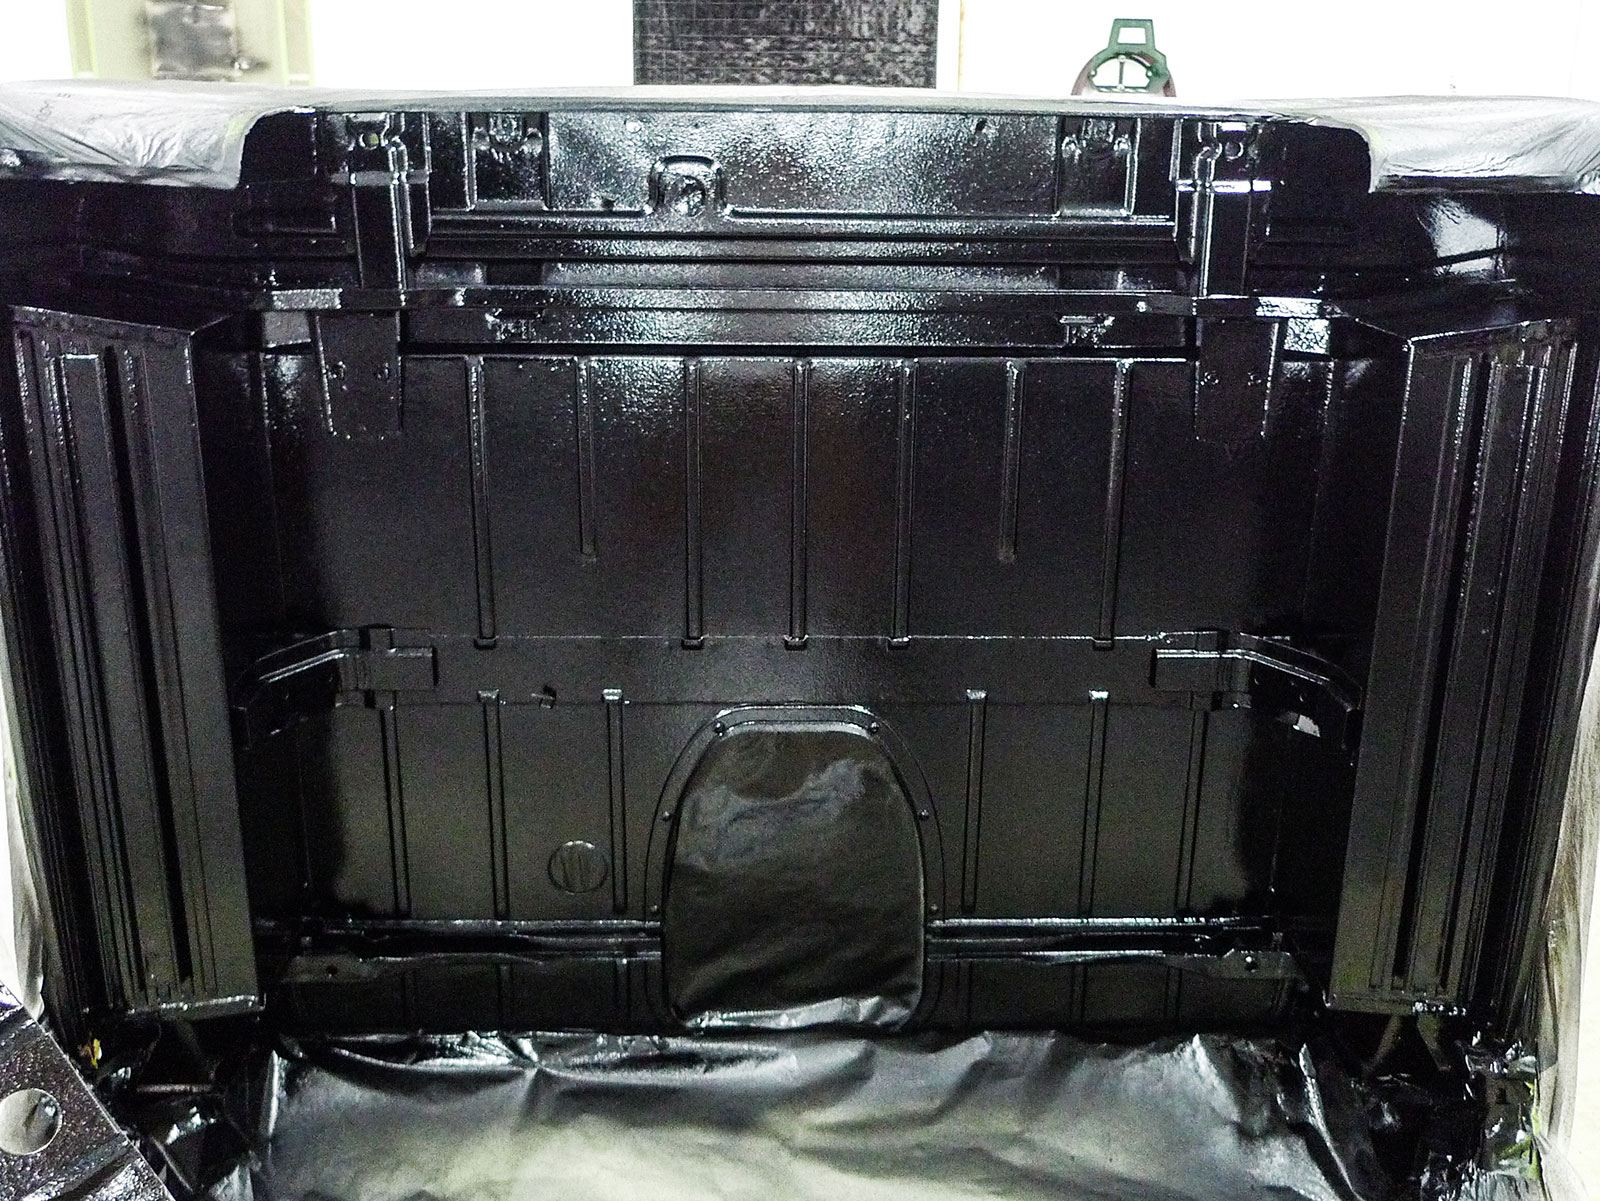
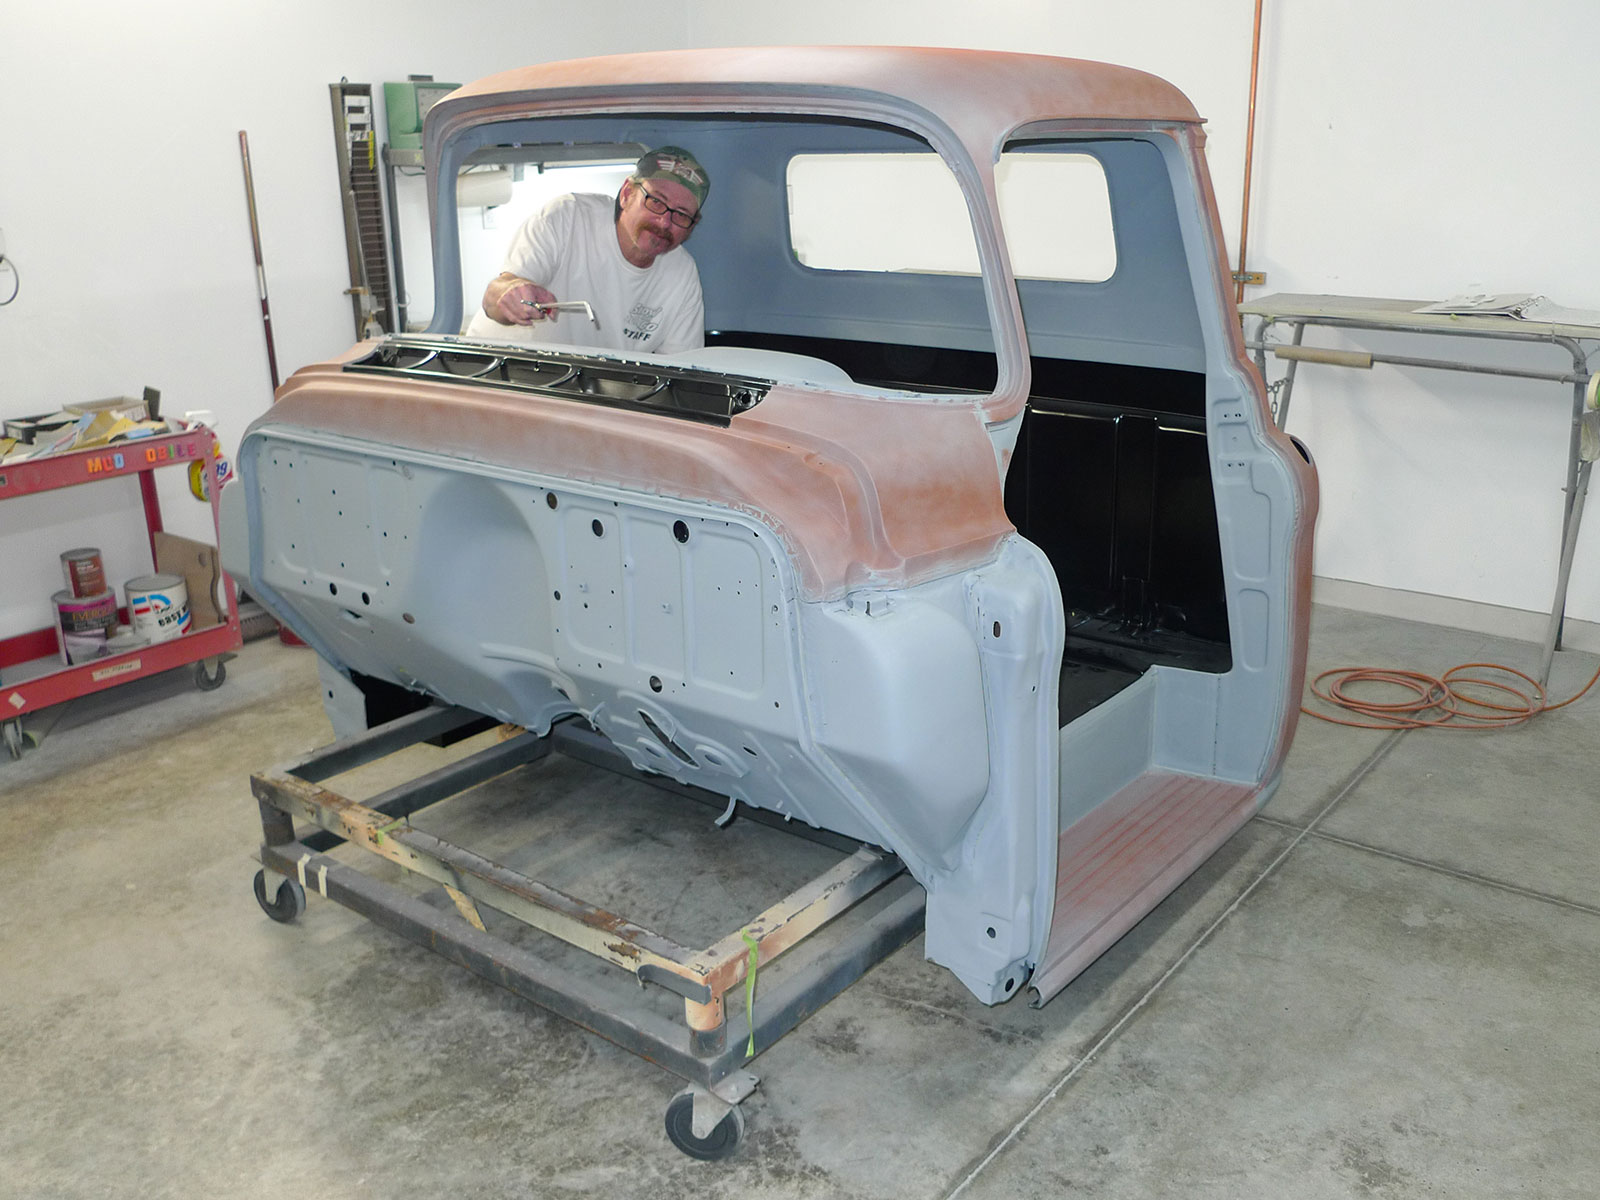
By this time the heaver hammerin’ is pretty much done. As it turns out, our square tubing is an invaluable tool. Clamped in tight, it makes a form-fitting dolly.This little ding has been sticking up and bugging me anyway. To reach both sides is quite a stretch. Out there on the B-side, Mrs. Rotten is backing me up with a dolly.Our hammer and dolly work has left some faint witness marks. When our texture goes on, they might not even show. This little smear of filler will ensure that they won’t.I’d sent a similar photo to a chemist I can call on the phone. This he identified as “early pit rust.” Here, prior to epoxy primer application, let’s employ a scuff pad.These days most painters should be familiar with static-cling masking material. If you haven’t ever worked without it, try that sometime—just for fullest-possible appreciation.Allowing time between, we’ll apply three coats of black epoxy primer. Like some others, our favored brand won’t cure so well in cold weather. Above 65, however, we’re good.For what we’ll be shooting, we won’t need an expensive spray gun. This one surely wasn’t. Years ago it was $9.99 from Harbor Freight. Today, it’s still earning its keep.It’s hard to tell right here but we do have adequate ventilation. The shape of our B-side puts overspray right in the painter’s face, but our supplied air system helps a lot for that.A day or so later, while our epoxy primer is curing, we can tend to necessary seam-sealing chores. In this instance, good ol’ 3M Drip-Check sealer works just fine.Speaking of good ol’ 3M products; here’s a sneak peek at our 3M Body Schutz (PN 08964). The no-cleanup spray gun (right) is the only part we’ll reuse.This won’t require much target practice. It only takes a few test squirts to dial-in our desired texture.Once again, we’re shooting for a sort of medium-glump effect that’ll resemble heavy orange-peel once painted. Here to spray two coats, we’re using all of three cans.Now that our Body Schutz application is pretty much finished, we might as well take a minute to read label instructions. It says right here to spray at 30-50 psi.Guided by my own remaining memory, I’ve tried to maintain 40 psi. Well, apparently, I’d forgotten the splatter factor. Our bright white walls have taken a hit.Here’s the part that matters most. Take a good look. This is the medium-glump texture I’ve been struggling to describe. Now let’s go on and paint it.From what’s in stock we’ll use a black single-stage urethane paint. It’s been shelved for a long time, so this is where our hard-working little Harbor Freight shaker comes in.With the same little spray gun we used earlier for epoxy primer, and again supplied air for survival, two coats of black single-stage urethane paint get this job done.When the overspray settles, and the masking is removed, we’ll have our last clear view of this finished work. At the very least, we’ll know we’re good all under.Last time this cab was tipped, it only took three glove-wearing strongmen. This time there’s a little more help available.Back on the cab cart, it’s time to prep the cab’s interior for paint. That’ll commence just as soon as I’ve blown the last bit of dad-burned blasted abrasive.
We use cookies to ensure that we give you the best experience on our website. If you continue to use this site we will assume that you are happy with it.