1967-1972 Ford F100 Short Bed Conversion Part 2

Long Bed to Short Bed Conversion With Golden Star Classic Auto Parts

By Ryan Manson   –   Photography by the Author

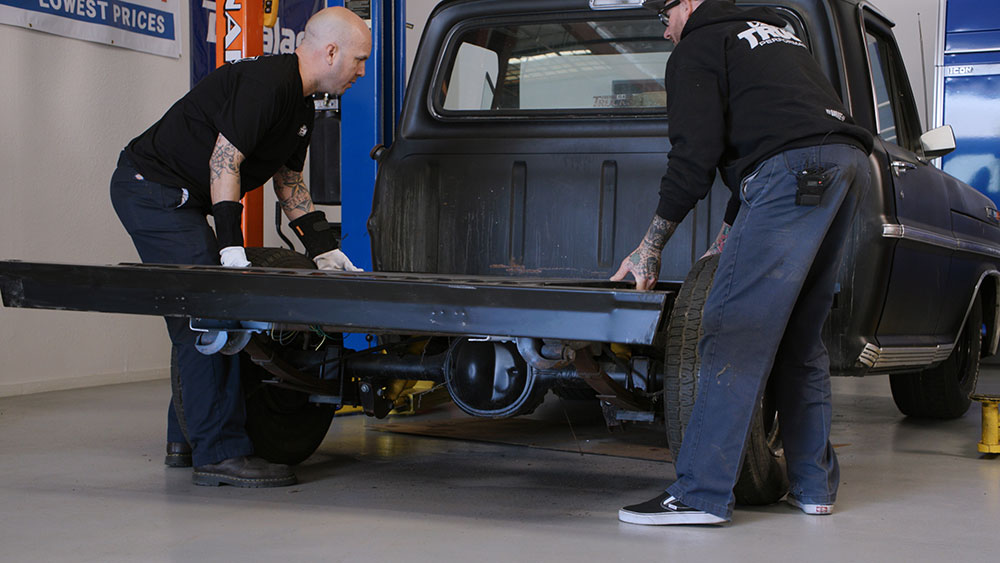
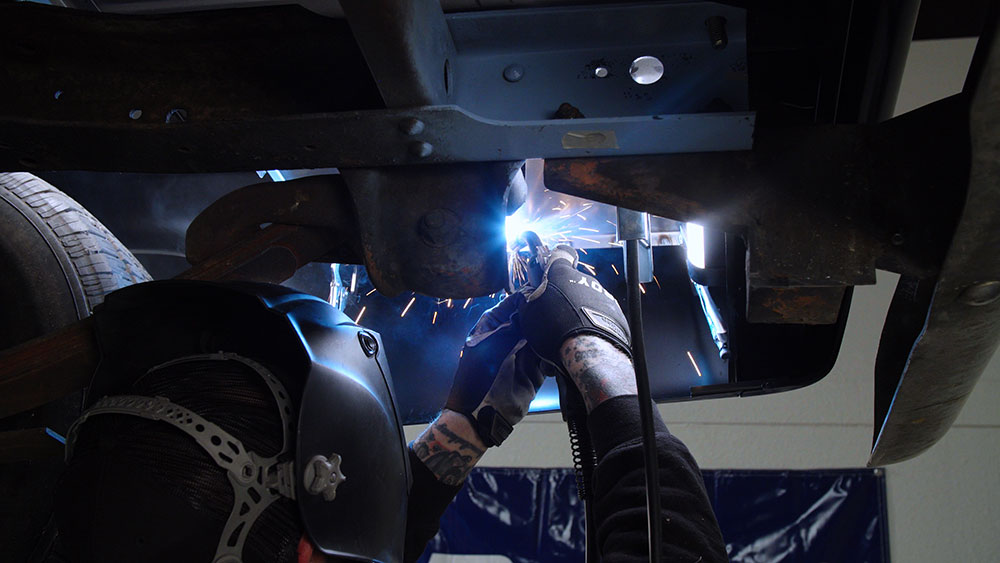
With our longbed-to-shortbed conversion on our 1969 Ford F100 a wrap as far as the chassis goes, it’s time to turn our attention to the part that will really bring to life the transformation, the short bed truck sheet metal. In the past there was no easy way to convert the long bed truck sheet metal down to short bed specs. Slicing a full 16-inch section out of the front bedsides and floor, as well as an additional 4-inch section out back, makes for a ton of cutting and welding, not to mention the grinding and sanding involved to get the sheet metal smooth enough for body and paint. A challenge on the double-walled smooth bedsides to be sure, but grinding the two seams nice and smooth on the corrugated steel floor would be something akin to Chinese water torture. For most home builders this puts the conversion out of reach as far as skill set or budget resources allowed. But thanks to the recent introduction of reproduction steel bedsides from Golden Star Classic Auto Parts, converting that long bed Ford down to a short box Fleetside Ford is a simple matter of swapping a few sheet metal components.

- Advertisement -

Read More: 1967-1972 Ford F100 Short Bed Conversion Part 1

01 We ll start the short bed conversion assembly by inspecting each panel
We’ll start the short bed conversion assembly by inspecting each panel. Laying out each piece in its respective location will also aid in assembly. The new Golden Star short box includes the tailgate (PN TG15-671), left and right bedsides (PNs PB15-67L, PB15-67R), left and right wheelhouse panels (PN WH15-67), complete bed floor assembly (PN PB15-676B), and front bed panel (PN PB15-67F). Not shown are the four intermediate floor panels that will be installed fore and aft of each wheelhouse.

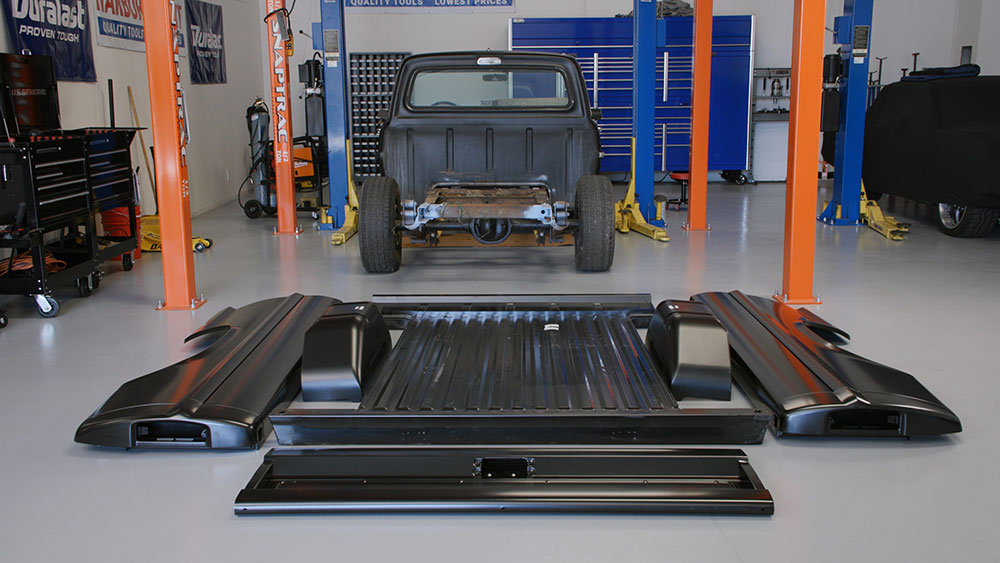
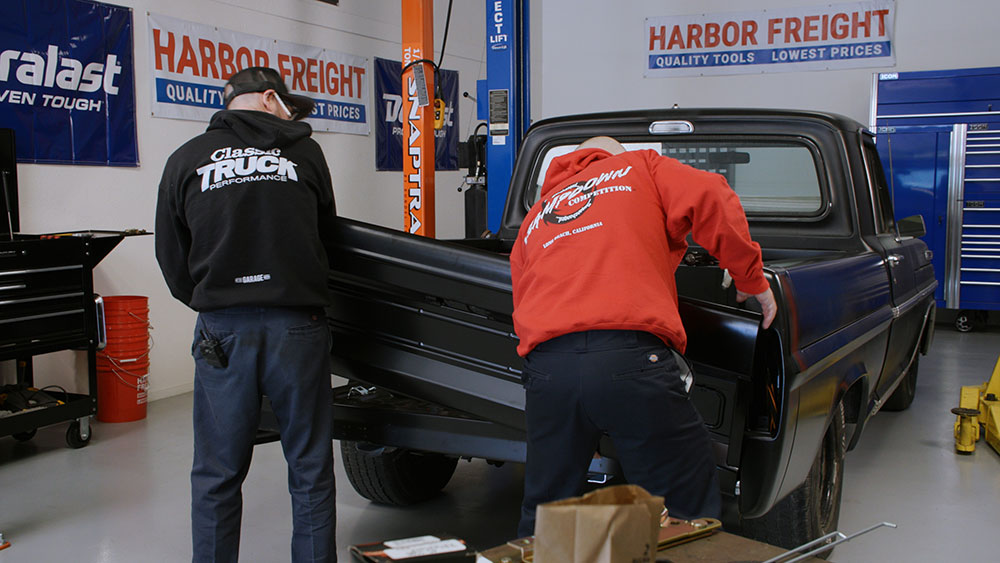
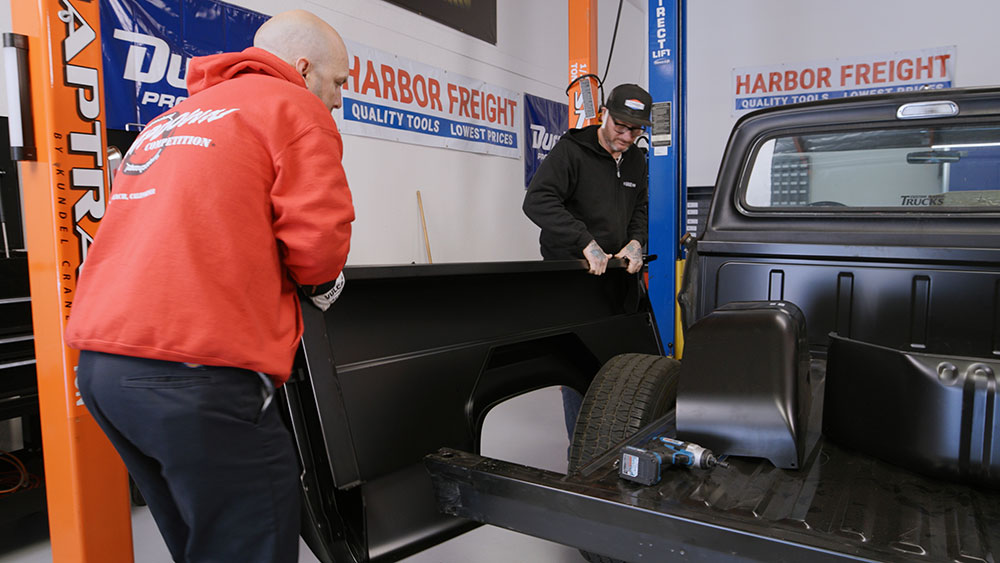
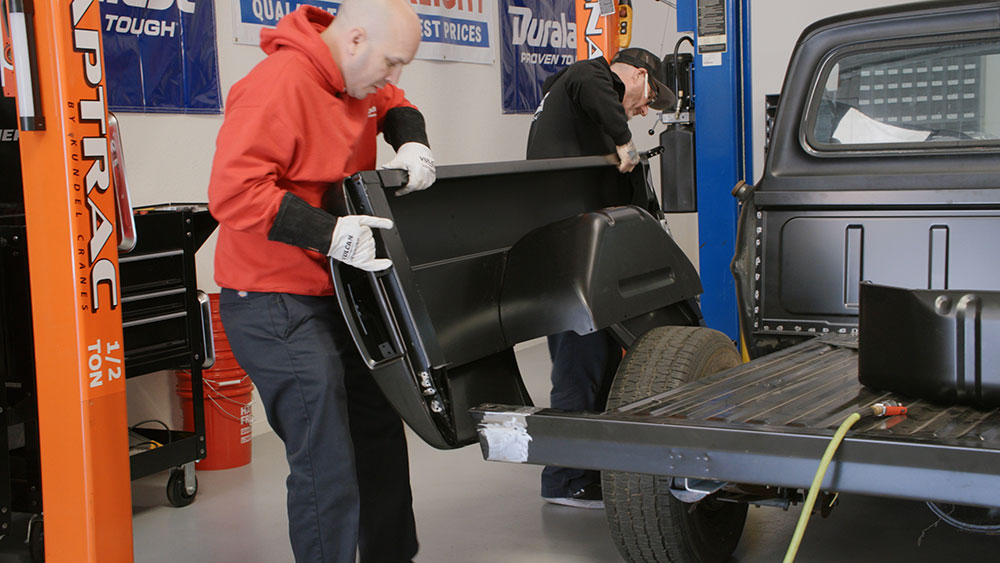
Now, before we get too carried away with the simplicity of this portion of the project, it should be mentioned that unlike the GM trucks of the era, the Ford truck beds were assembled by spot welding multiple sheet metal components, as opposed to GM’s simpler, screwed-together assembly. Due to this fact, we opted to replace our entire bed assembly with new sheet metal, all thankfully available from Golden Star Auto. While this may seem like a large pill to swallow at its onset, after considering the probable shape of the few panels that can be reused in addition to the labor involved in drilling out the spot welds and removing said panels, one is likely money ahead by springing for the entire truck bed package.

02 Assembly begins by placing the complete truck bed floor assembly on our previously shortened frame
Assembly begins by placing the complete truck bed floor assembly on our previously shortened frame, squaring it in relation to the chassis and fastening it in place.

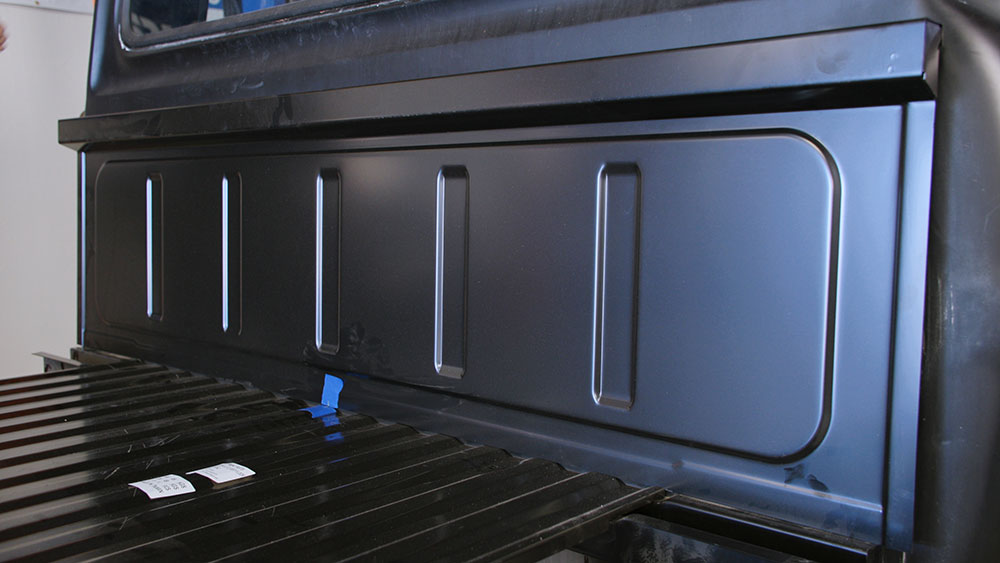
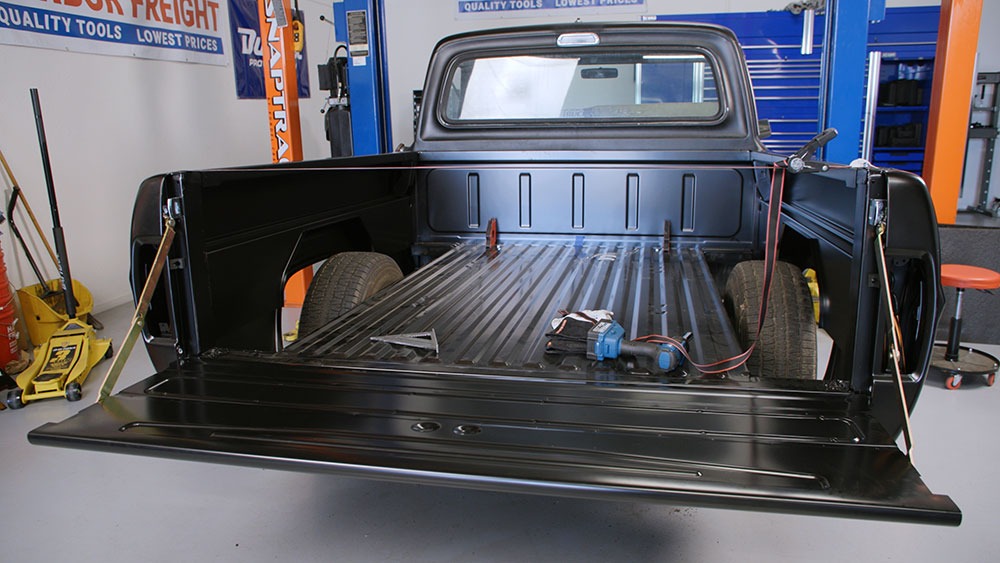
In fact, considering the front bed panel and tailgate being the two panels that are the best candidates for reuse, these are also likely to be the most damaged two panels of the bed, making another argument for complete replacement. Of course, every build is different and swapping out your stock tailgate onto that new bed is completely possible, provided it’s in decent shape. But other than those two and the pair of wheelhouse panels, there aren’t any other panels that interchange when going from a long bed to short.

- Advertisement -
03 Note the center of the bed floor and the center of the front panel have been located and labeled to aid in alignment
Next, the front bed panel is slid in place. Note the center of the bed floor and the center of the front panel have been located and labeled to aid in alignment.

Read More: How Roadster Shop Improved The 1953-1955 F100 Chassis

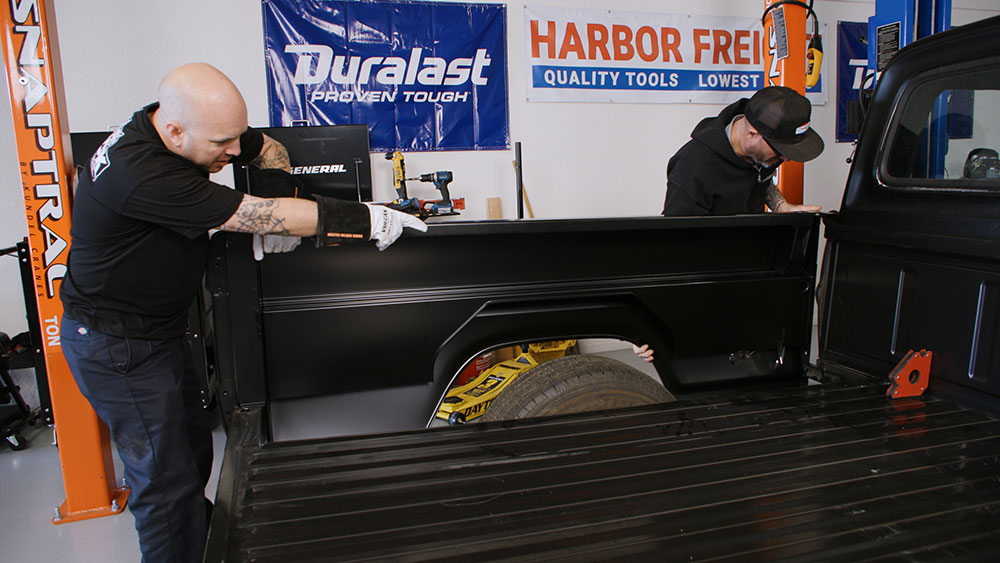
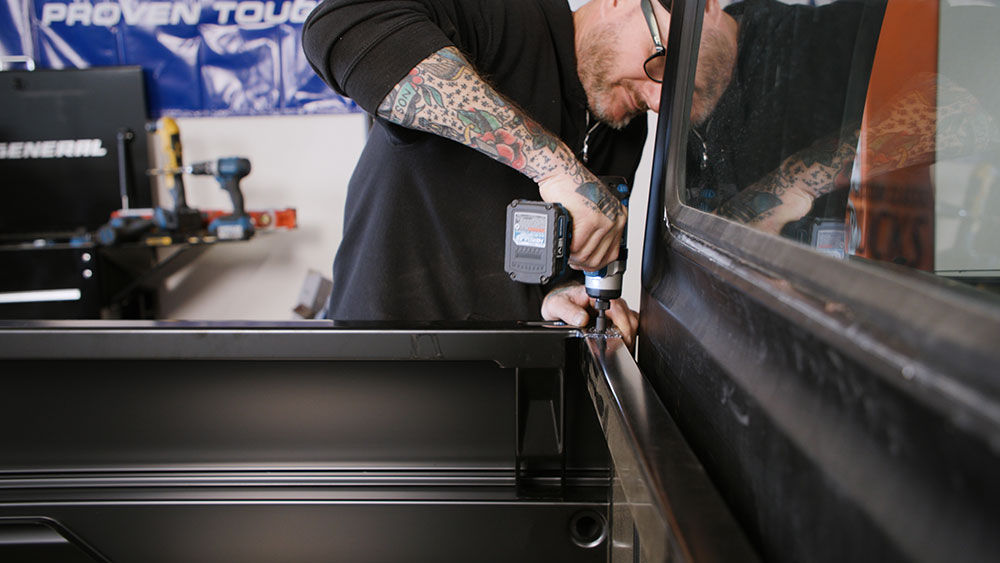
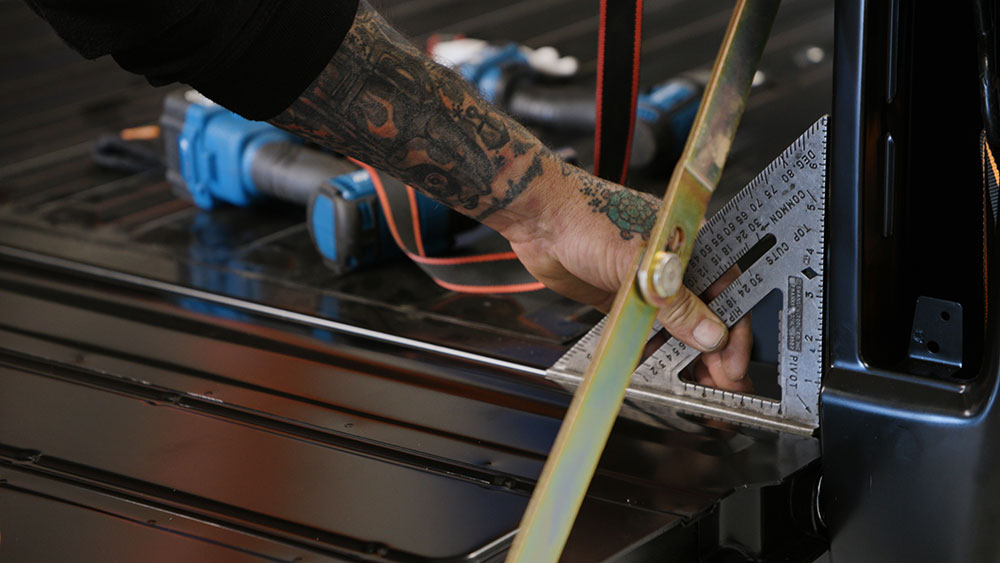
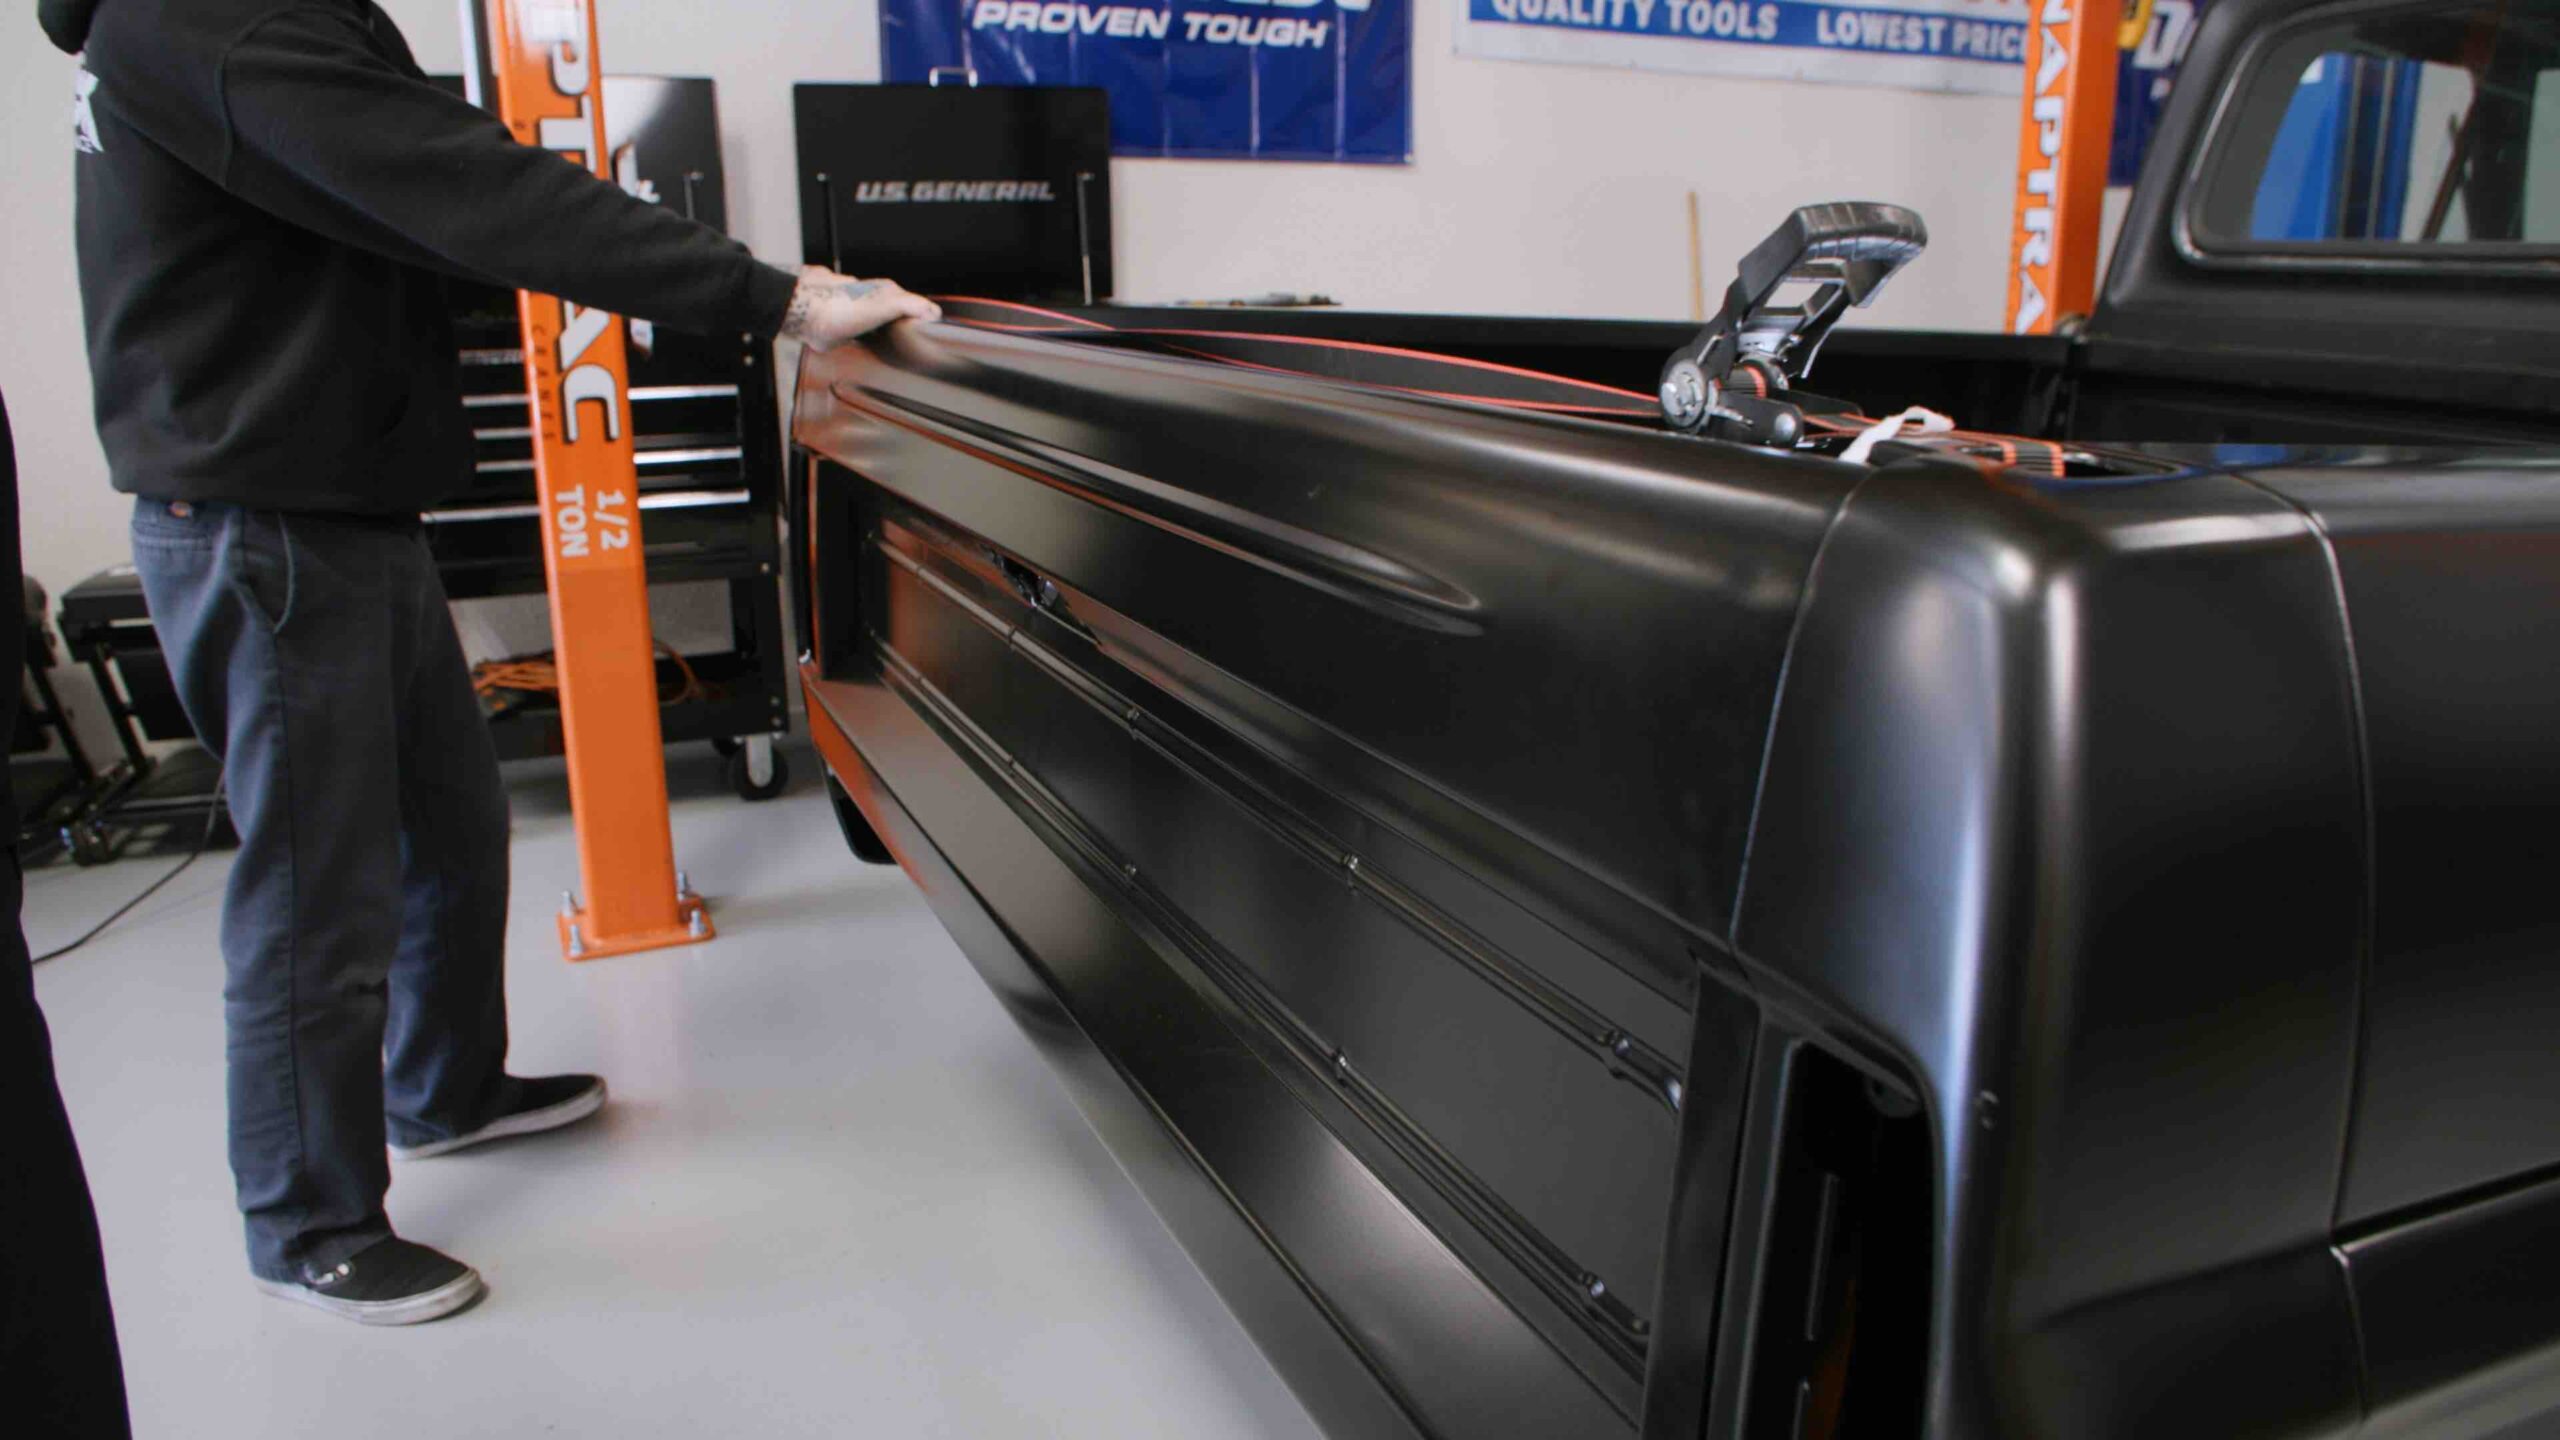
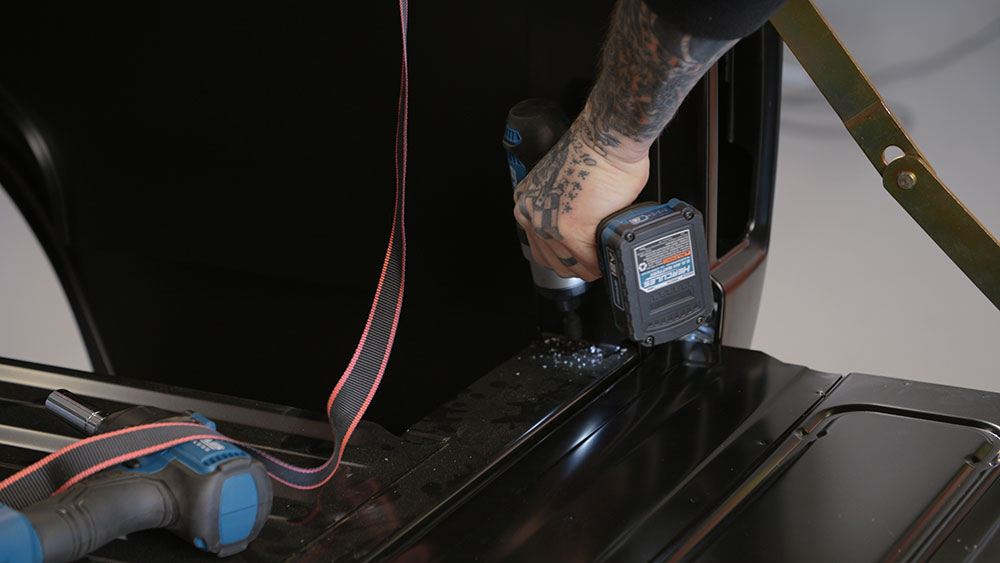
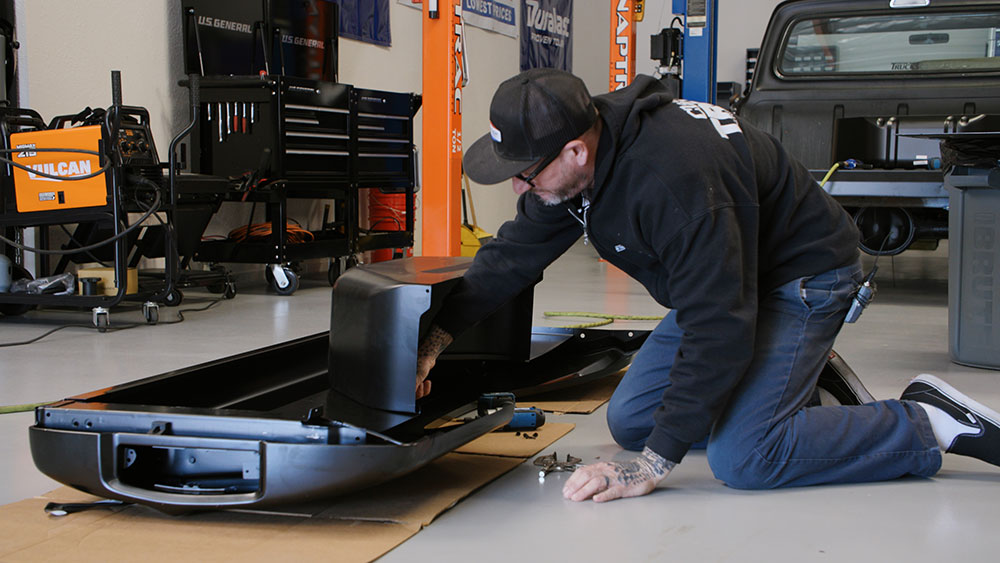
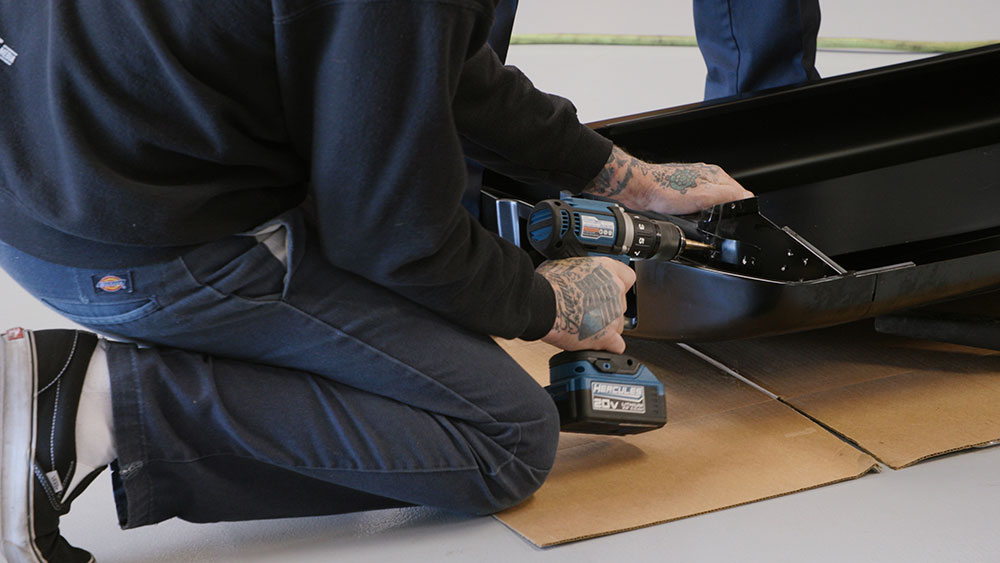
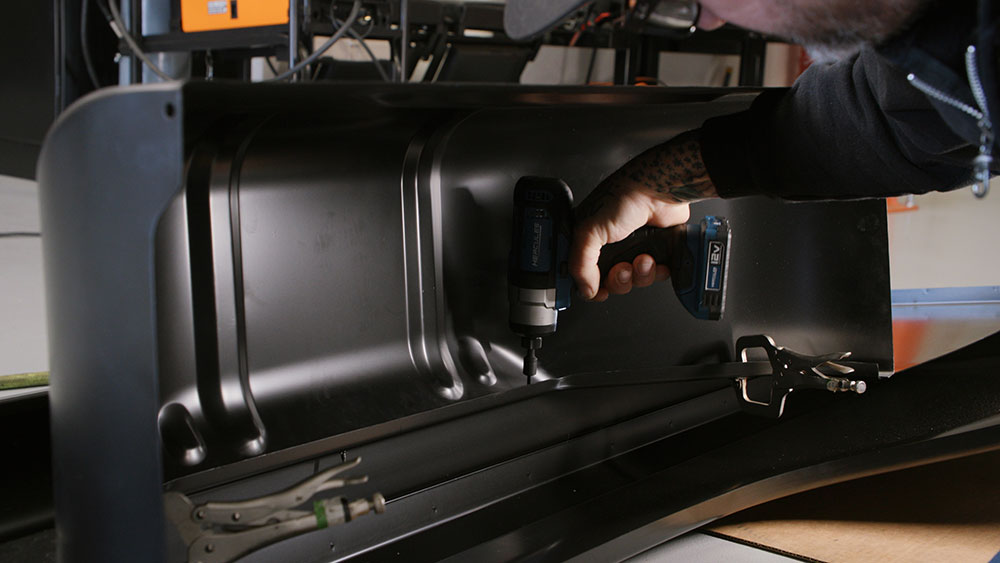
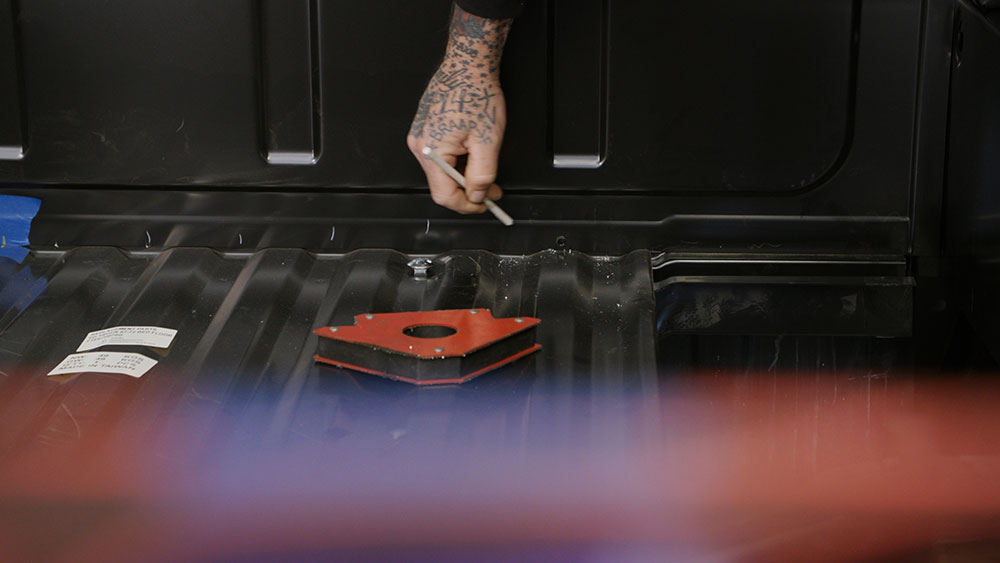
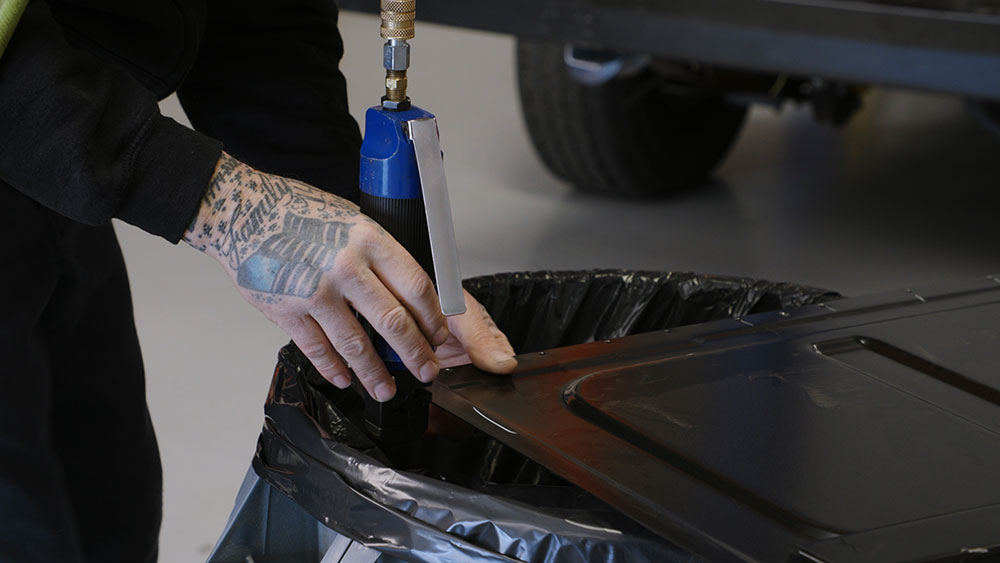
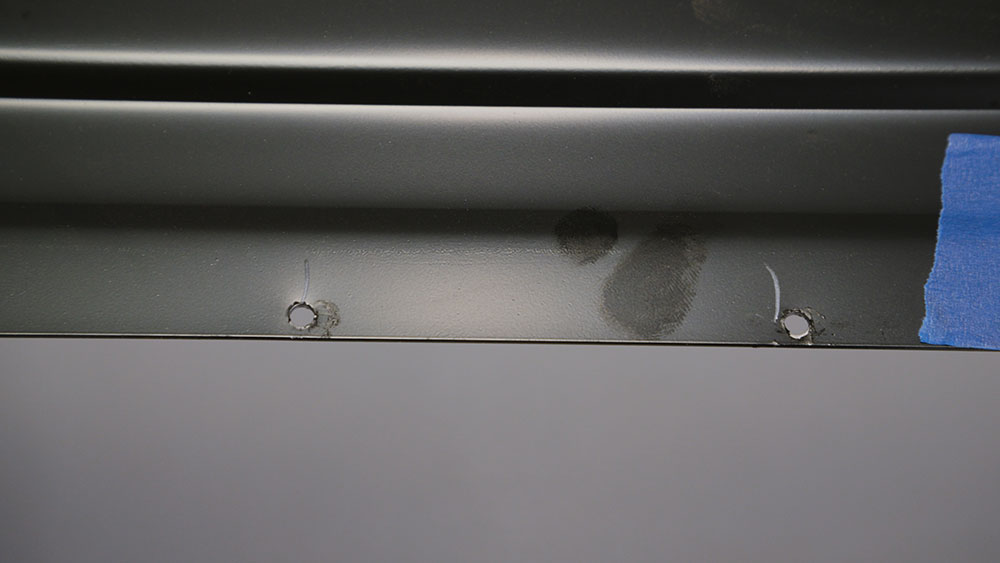
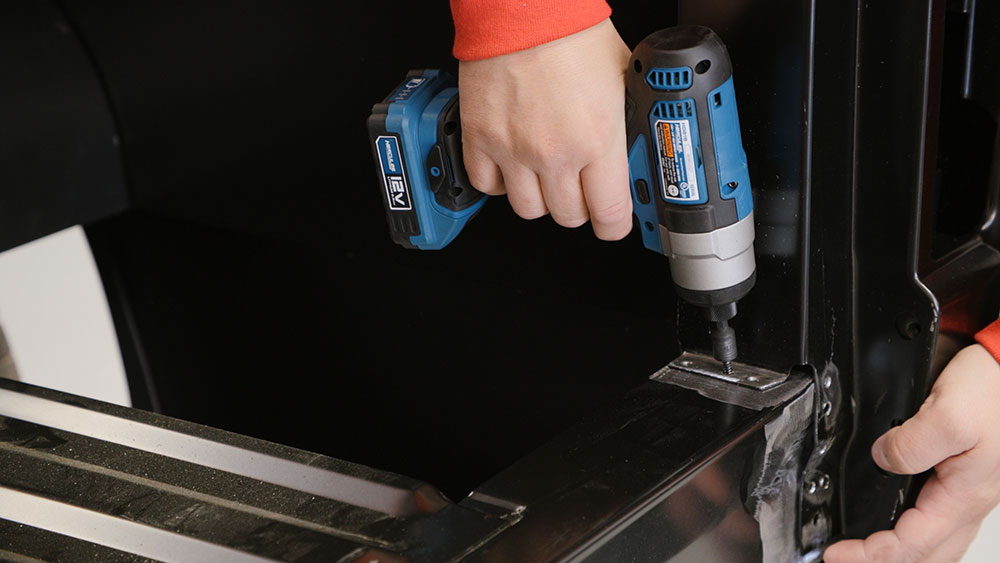
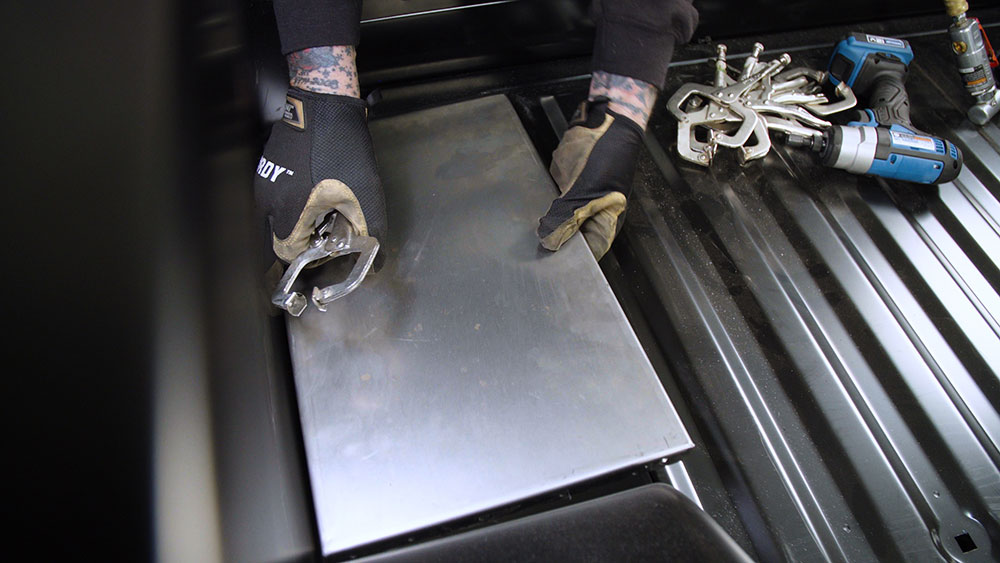
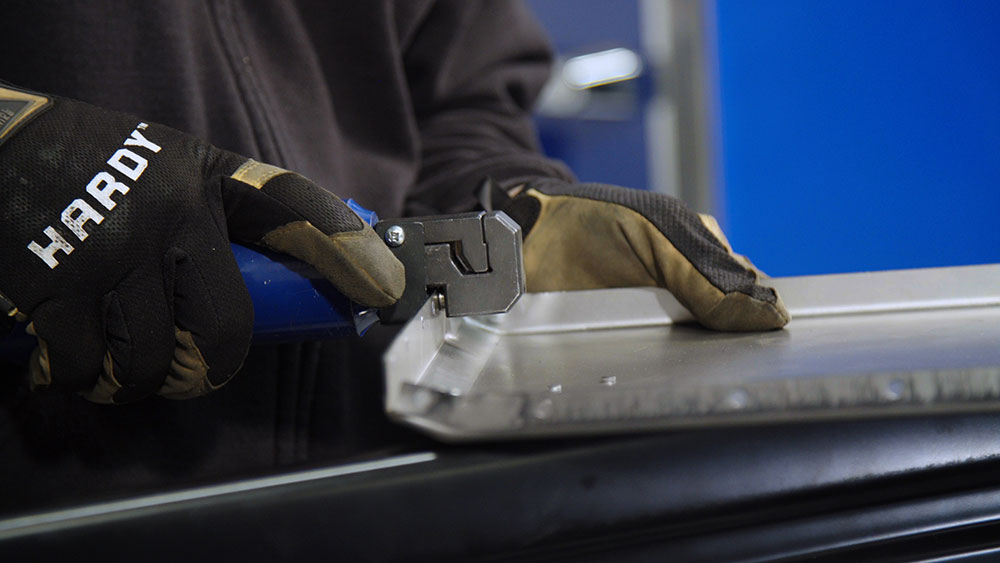
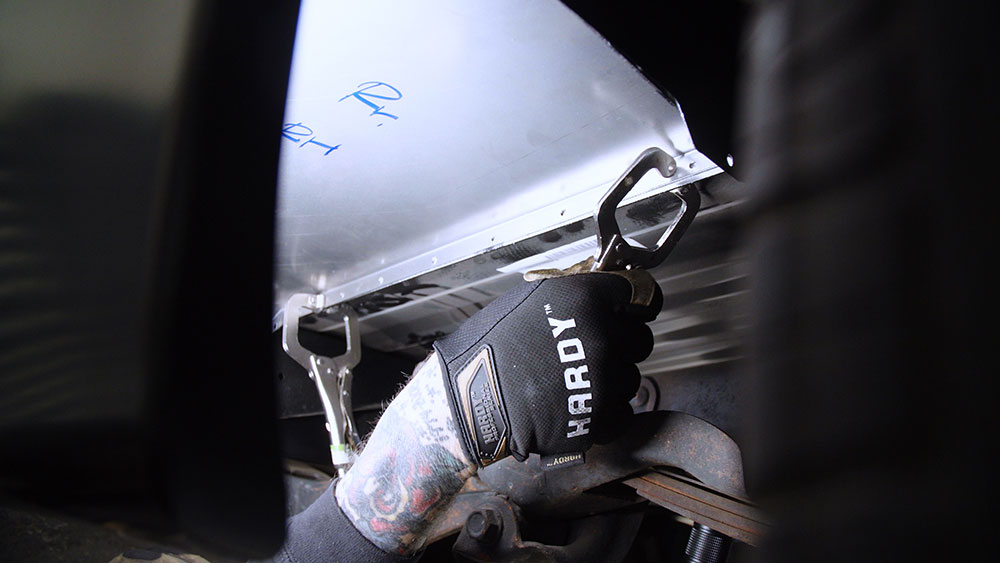
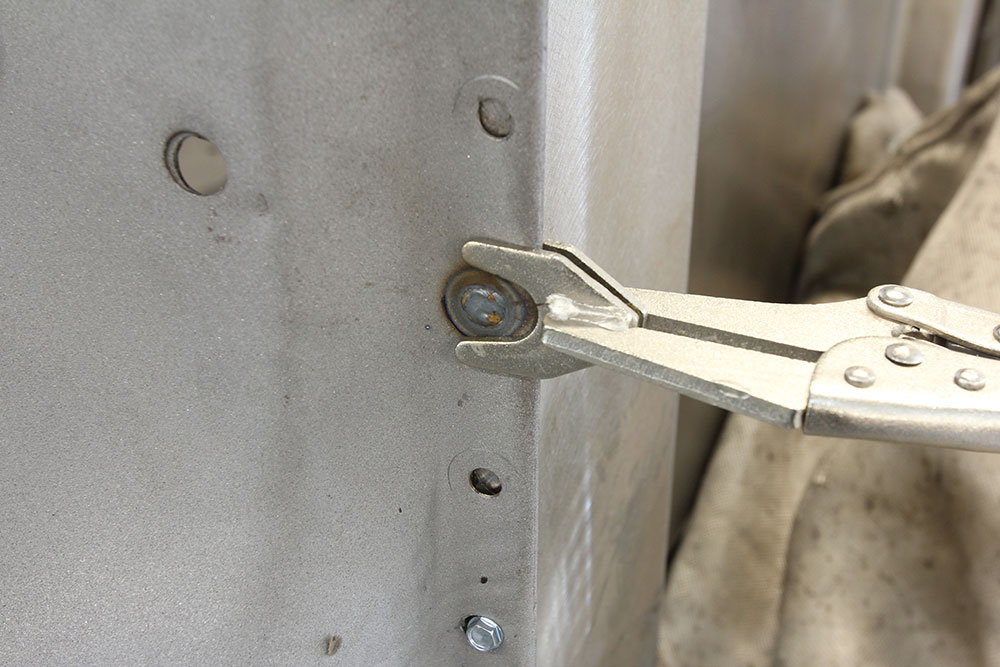
The fact that the Ford truck beds were welded together makes assembly of the new sheetmetal a slightly more difficult task than the assembly of a GM truck bed. Where the GM components may have had a few holes on each panel to aid in lining up said panels during rough assembly, the Ford tin needs to be carefully assembled, first using a series of clamps, followed by a few carefully placed sheet metal screws or Clecos to hold things together as the assembly progresses. This process also requires the complete assembly of the bed panels before any welding can be performed, due to the necessity to check for final fit of said panels, bed square, and proper assembly process and panel overlap. We’ll be mimicking the factory spot weld process by punching holes in the overlying panels and then welding the two panels together. Similar in nature to the factory spot welds, this process is known as rosette or plug welding. To do this, we’ll need to know the precise location of where each panel overlaps so as to not only punch the hole in the proper location, but where to remove the e-coating (the rust-preventing factory coating Golden Star Auto applies to every panel) so a proper, clean weld can be achieved.

04 The F100s two stake pockets slide over the corresponding crossmembers in the bed floor while the top front stake pocket fits over the front panel
The bedsides are tackled next. The F100’s two stake pockets slide over the corresponding crossmembers in the bed floor while the top front stake pocket fits over the front panel. This slip fit provides a pretty good baseline for final assembly specs.

Read More: The Perfect Ford F100?

While this might sound labor intensive, assembling the bed and welding the panels together for our project F100 was accomplished in less than a day. Compared to modifying all the panels that are required to be sliced and diced to take the long bed sheetmetal down to short bed specs, this process is not only much faster, but will result in a product that is ready to send straight to the paint shop, with minimal bodywork required. Spending a little more money up front, while saving a massive amount of time, labor, and money on the back end, makes assembling a new short bed out of Golden Star Auto sheet metal a much more sensible approach. CTP

- Advertisement -
05 a sheet metal screw is installed to temporarily hold the top corners to the truck bed front panel
Once each bedside is slid home, a sheet metal screw is installed to temporarily hold the top corners to the truck bed front panel.
06 Proper alignment of the two bedsides is reliant on the fit of the tailgate
Proper alignment of the two bedsides is reliant on the fit of the tailgate, so we’ll be installing that next.
07 In a perfect world the bedsides should be perpendicular to the bed floor
In a perfect world, the bedsides should be perpendicular to the bed floor. A speed square is used to quickly verify this.
08 To adjust and maintain the gap between each bedside and the tailgate a simple ratchet strap is used
To adjust and maintain the gap between each bedside and the tailgate- a simple ratchet strap is used.
09 Once the gap is consistent and acceptable a sheet metal screw is used to secure each lower bedside corner to the floor
Once the gap is consistent and acceptable, a sheet metal screw is used to secure each lower bedside corner to the floor.
10 A few quick measurements ensures we re on the right path with our sheet metal assembly thus far
A few quick measurements ensures we’re on the right path with our sheet metal assembly thus far.
11 Now that we know how the panels fit together in relation to each other the appropriate panel can be drilled or punched and sanded down
At this point, we’re ready to move onto the next step: weld prep. Now that we know how the panels fit together in relation to each other, the appropriate panel can be drilled or punched and sanded down to bare metal in anticipation of the final welding process. Note the presence of the wheelhouse panels, which were checked for fit before the bedsides were removed.
12 With the bedsides removed ITGM Tech Center manager Jason Scudellari takes a couple measurements before attaching
With the bedsides removed, ITGM Tech Center manager Jason Scudellari takes a couple measurements before attaching the wheelhouse panels via sheet metal screws. These will get plug welded as well during final assembly.
14 While the bed was assembled in its temporary state notes were taken regarding panel overlap and where to best place the required plug welds
While the bed was assembled in its temporary state, notes were taken regarding panel overlap and where to best place the required plug welds. Using these notes, Scudellari drills a handful of 1/4-inch holes in the stake pockets, which will serve to attach each bedside to the floor panel.

13 The wheelhouse panels via sheet metal screws these will get plug welded as well during final assembly

15 Before the front panel was removed it too was marked for plug weld locations
Before the front panel was removed, it too was marked for plug weld locations.
16 A pneumatic punch is used to then quickly and cleanly knock the required holes
A pneumatic punch is used to then quickly and cleanly knock the required holes in the front panel for it to be plug welded to the floor panel.

17 The F100s front panel for it to be plug welded to the floor panel

18 With the panels prepped for welding the bed is then reassembled
With the panels prepped for welding, the bed is then reassembled. Note the sanded areas where any hole was created that will ensure a clean, well-penetrated weld can be made.
19 Sheet Metal screws were once again used to temporarily fasten the bed panels together
Sheet Metal screws were once again used to temporarily fasten the bed panels together.
20 The tailgate is installed along with the necessary latch mechanisms release lever and internal components
The tailgate is installed, along with the necessary latch mechanisms, release lever, and internal components.
21 The wheelhouse panels attach to the bed floor in the same manner as the four surrounding floor panels attach
The wheelhouse panels attach to the bed floor in the same manner as the four surrounding floor panels attach. First, Scudellari checks for the fit of each panel …
22 Before punching holes on the panel s flanges
… before punching holes on the panel’s flanges.
23 The panels are then clamped in place
The panels are then clamped in place …
24 and the punched holes welded up effectively mating the two surfaces
… and the punched holes welded up, effectively mating the two surfaces.
25 Here is a successful plug weld surrounded by a pair of punched holes waiting to be welded up
Here is a successful plug weld, surrounded by a pair of punched holes waiting to be welded up. When done properly, the two mating panels are welded together as one.

26 After a few hours of welding our short bed box is finished and the truck is rolled out so the team can take in the fruits of their labor

Sources
Classic Performance Products
(800) 760-7438
classicperform.com

Golden Star Classic Auto Parts
(972) 315-3758
goldenstarauto.com

Harbor Freight
harborfreight.com

TECHCENTER

- Advertisement -

Related Articles

Search Our Site

More Classic Truck Performance

A Clean Serpentine Package for any LS Motor

By Ryan Manson   -   Photography by the Author One of...

Jack Fillers’ 1971 GMC Stepside has the Perfect Mix of Patina and Practicality

By Tommy Lee Byrd   -    Photography by the Author When...

2024 Grand National Roadster Show: The Classic Truck Perspective

By Rob Fortier   -   Photography by the Author Still reeling...

Our Chevy Pickup Gets a New Firewall, Engine & Transmission

By Ron Ceridono   -   Photography By the Author We’ve been...

Gary & Cindy Giovanni’s ’56 Chevy Modern Pro Street … South City Style

By Rob Fortier   -   Photography by Tim Sutton If you’ve...

Part 6: Custom Header Fab on the Scott’s Hotrods ’N Customs 1951 Chevy

By Kenneth “Stress Ball” DeKissere   -   Photography by Camren...
More Classic Truck Performance

The Arbor Camp Timber Company 1968 Chevy C10

Pete and Leslie Richmond's Tribute to Nostalgia By Ryan Manson  ...

The Harrison’s Rod & Custom ’71 GMC, Part 1

By Bryan Harrison   -   Photography by the Author This is...

THE GOLDMAN TOUCH

Gary Brown’s Full-Attitude ’57 Chevy By Rob Fortier   -   Photography...

Independent Thinking

Part III: C4 Corvette IRS for Early Chevy Pickups By...

Brad Bolves’ ’75 Ford SuperCab

By Eric Geisert   -   Photography by the Author For some...

OBS Steering Box Upgrade with Borgeson Universal Company

By Todd Ryden   -   Photography by the Author  Considering how...