


By Brian Brennan – Photography by the Author
Videography by Ryan Foss Productions
All of us grew up knowing how to change a spare tire or we learned quickly while parked on the side of the road. Odds are we haven’t changed many flats in recent years as a result of tire technology, better roads, and the cell phone that have transformed the way we live. So, what to do with the spare tire well in our ’50s and ’60s cars as they, for the most part, no longer comply with the specs of our new tire sizing and wheels of choice. Of course that doesn’t mean you shouldn’t be prepared, but that’s a story for a different page. Today, we perform a spare-tire delete on our 1955 Chevy wagon.
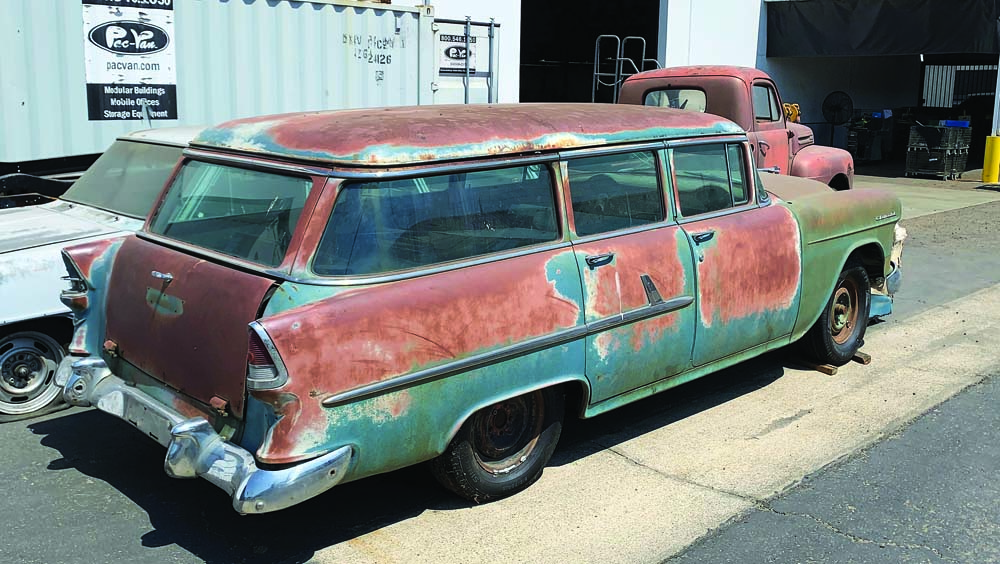
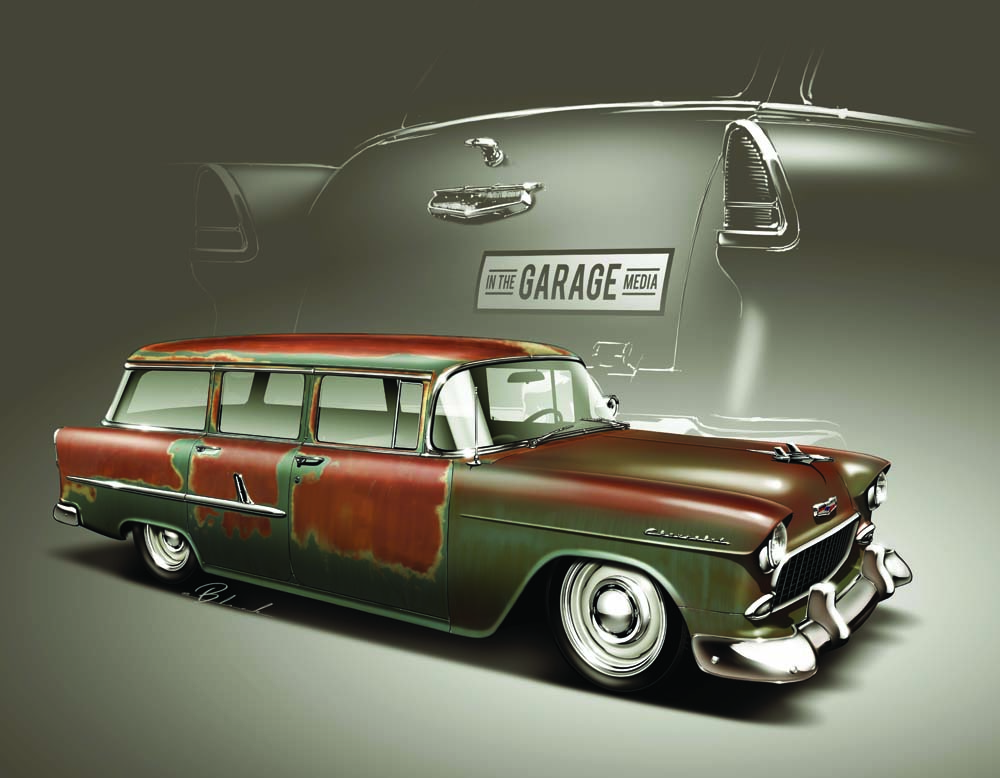
The 1955 Chevy wagon in these photos is Modern Rodding’s very own project car with the work to be handled in our In The Garage Media Tech Center. (We will also be unveiling our Model A roadster in the coming months.) This will be the first of a long string of stories that will deal with everything from spare tire delete that now provides for a larger gas tank mounted underneath to upgrading the tailgate and the surrounding sheet metal.

A little background on the 1955 Chevy wagon as it is offered in both two- (Nomad) and four-door wagons. Our four-door is a six-passenger, seven-window Chevy Station Wagon that’s in need of a lot of help.
Chevrolet made a dramatic change to its body design in 1955 with the new smooth straight panels on the hood and sides. This was a noticeable change from previous years, which was still reminiscent of the prewar styling. Aside from the flatter panels, the wrap-around windshield and rear glass, and the noticeably different taillights, the new look clearly distinguished itself from early models. It was also the first-year style and performance were combined through the introduction of the Chevy 265 V8.
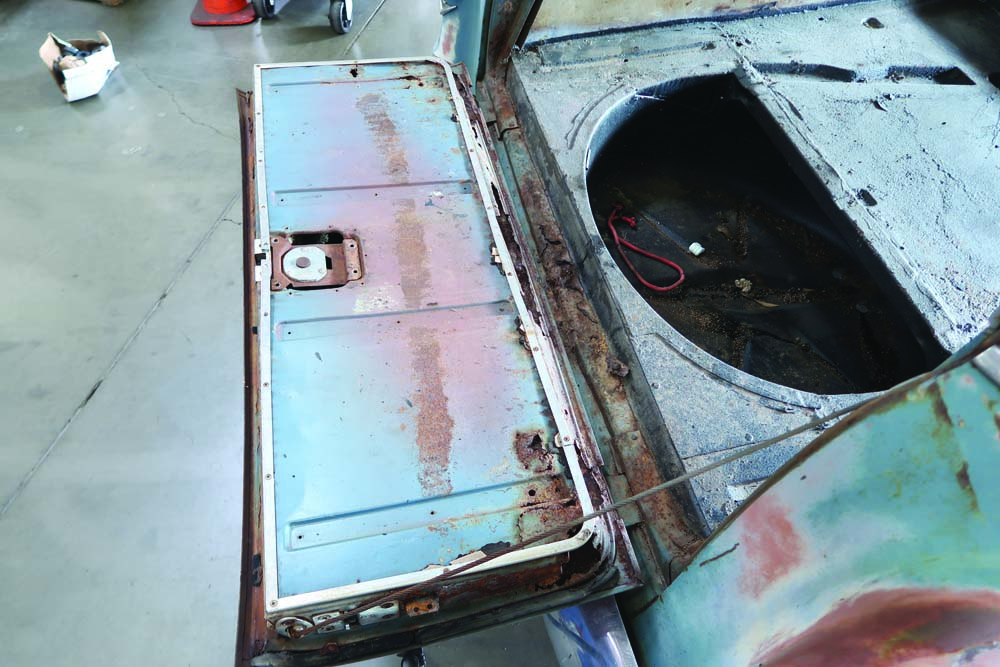
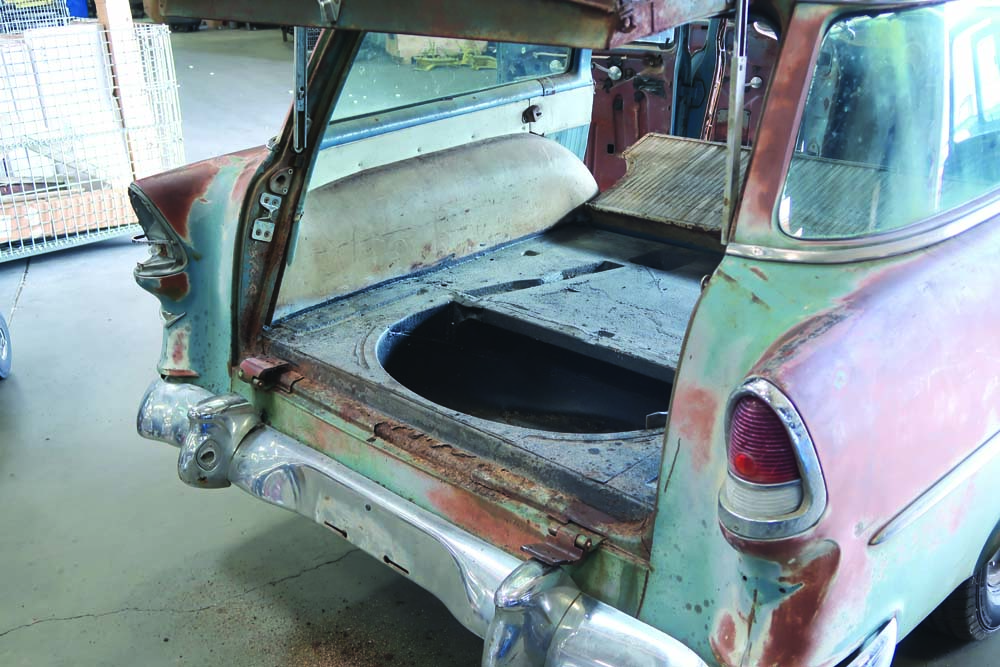
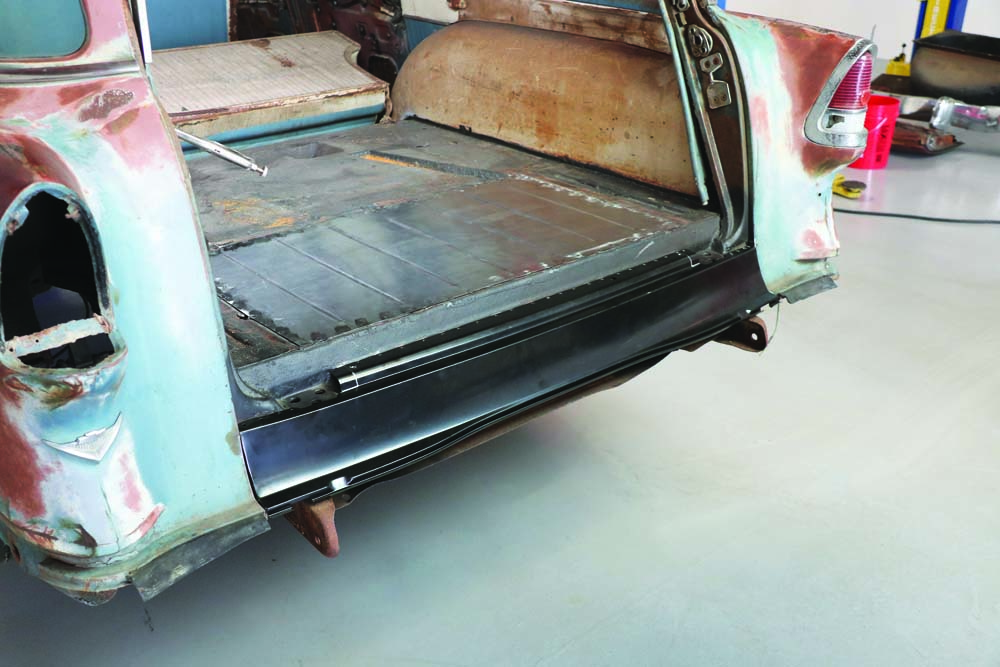
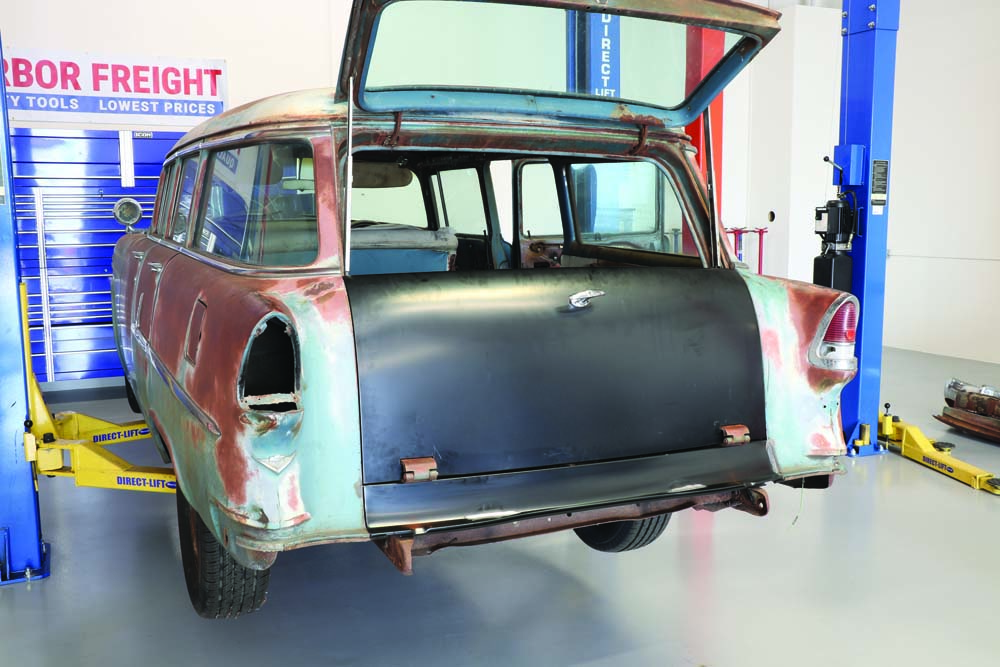
As you can tell from the photos our 1955 Chevy wagon has seen better days. In other words, patina is alive and well and lots of work will be needed to bring our 1955 Chevy wagon back to summertime drivetime specs while keeping the “character” years of use and abuse have produced.
Read More: Dream Build: LS2-Powered 1954 Chevy 3100
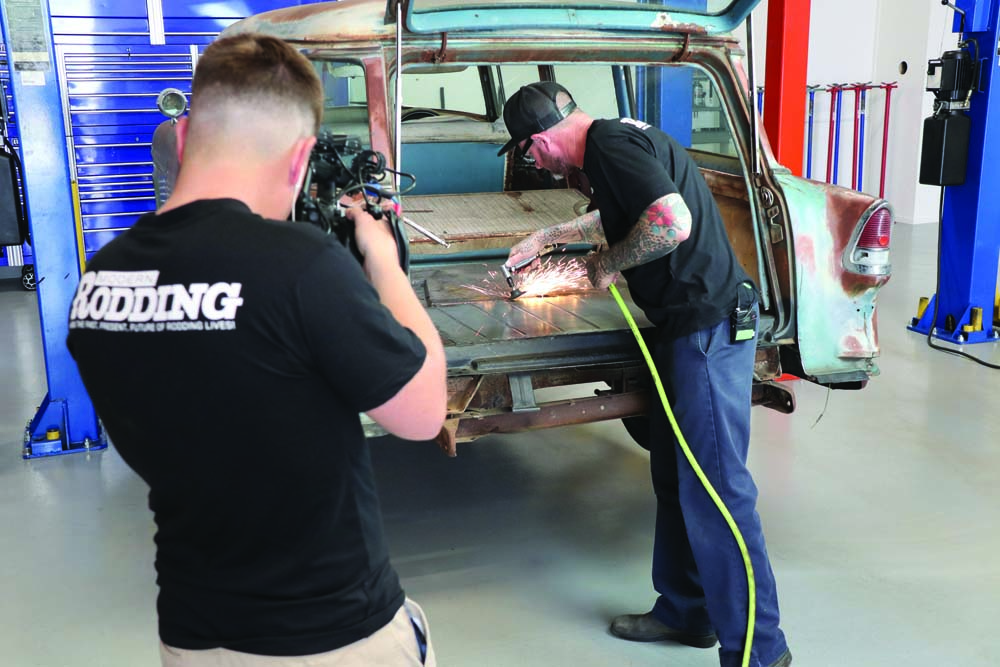
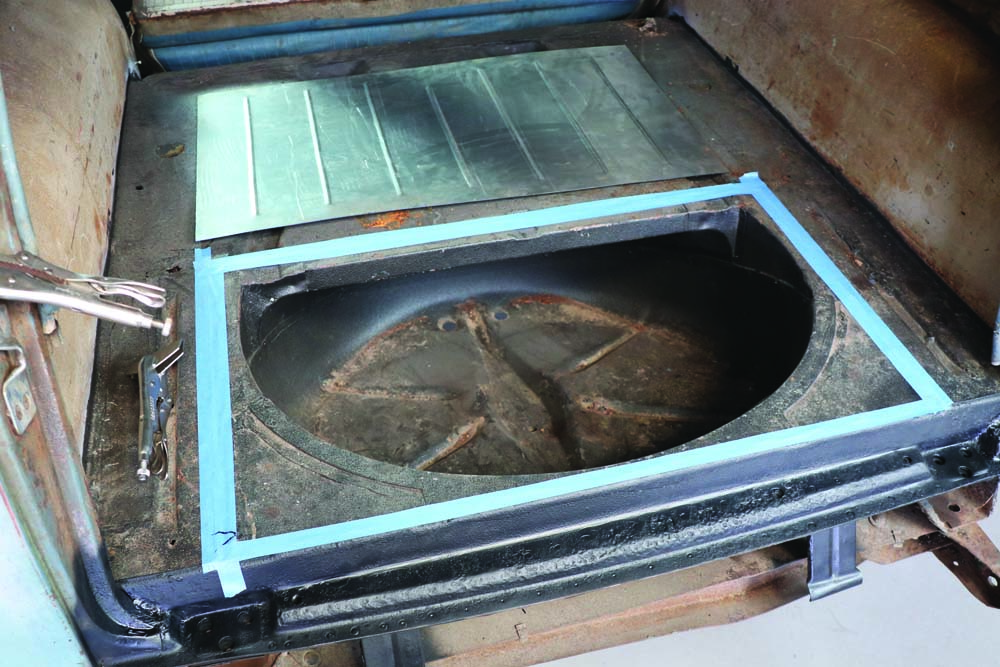
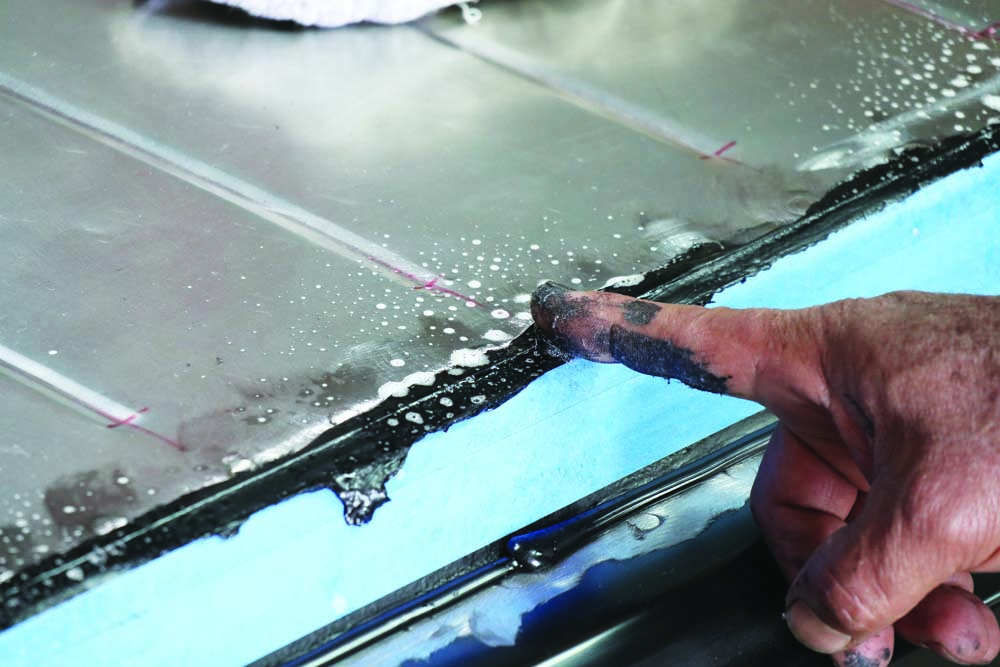
The first step, in our many steps forward, is to remove the spare tire well, as it’s no longer needed and what’s needed is a large gas tank. It just so happens that the space underneath the floorboard via the spare tire well removal will afford us the space required to install a 29-gallon gas tank from Classic Performance Products (CPP), ideally suited for cross-country drives.
Spare-Tire Delete Parts
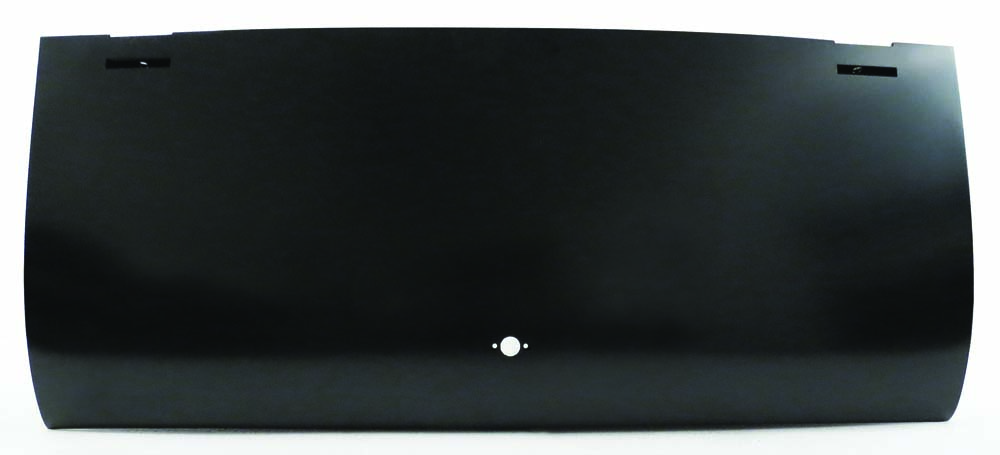
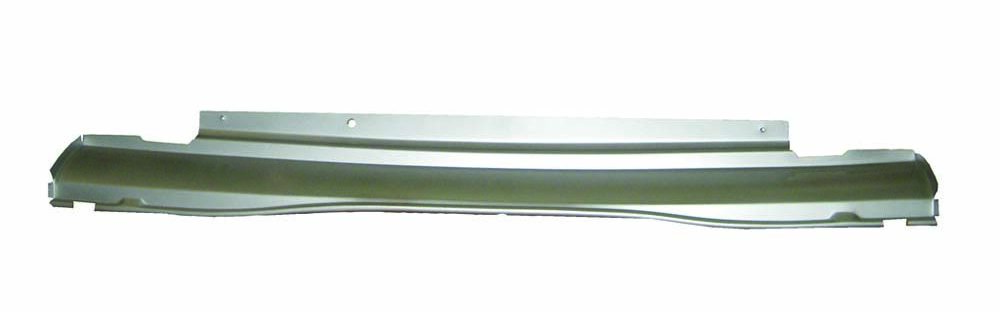
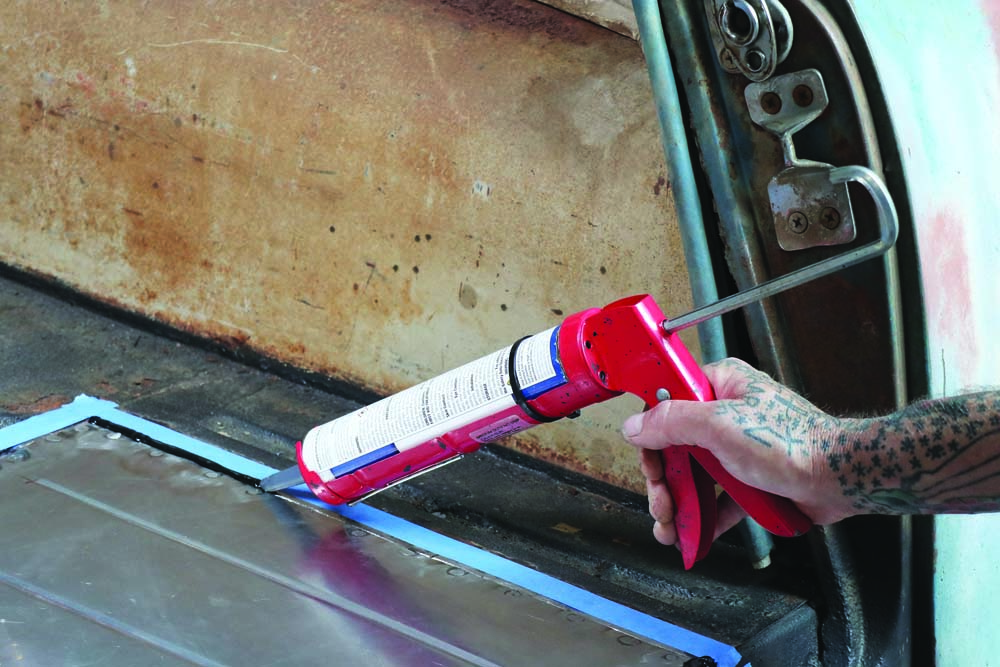
There are three major components to this story; removal of the tirewell and replacement with a Real Deal Steel (RDS) Spare Tire Delete Panel (PN SWNFF-567), a Golden Star Classic Auto Parts (GSCAP) tail pan (PN TP13-553), and a GSCAP tailgate (PN TG13-55). (Next time around we will get into the tailgate and all of the required hardware to make it fully operational, which we gathered from Danchuk.)
Tools Required
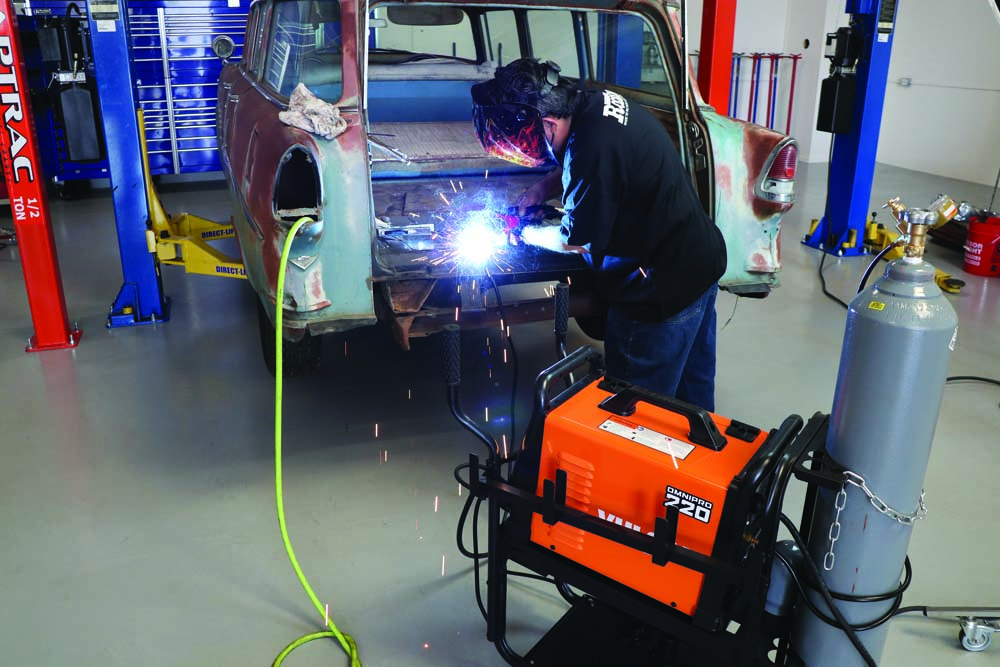
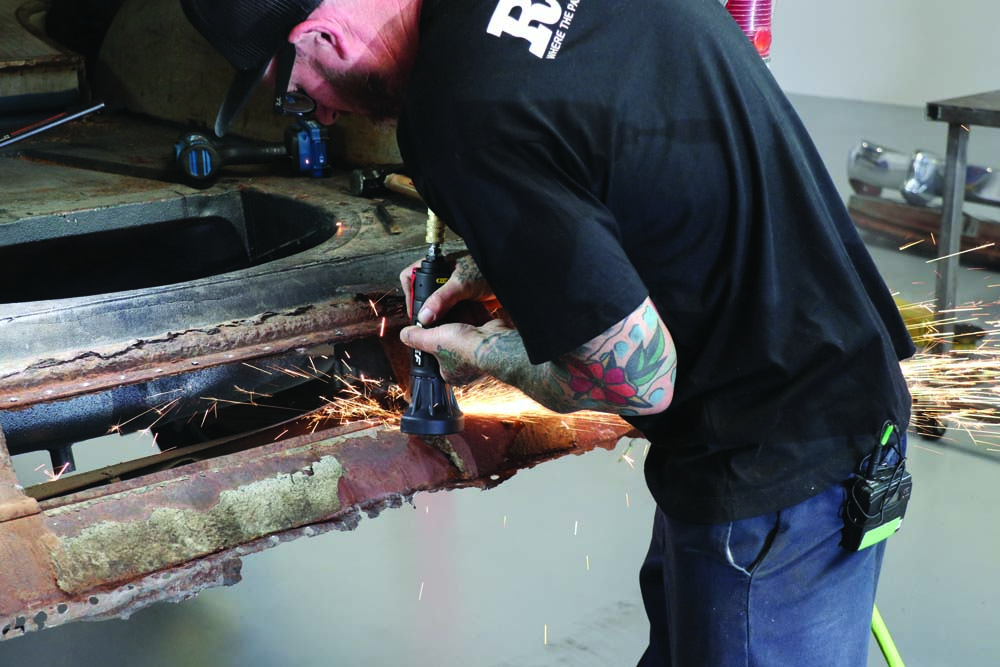
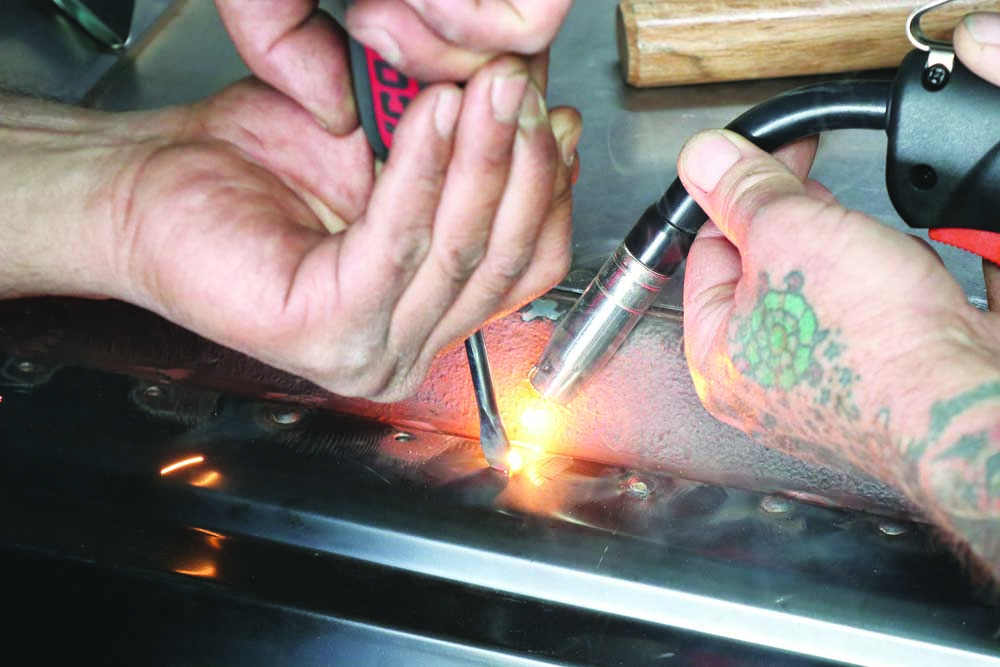
You should have already noticed that there’s a video (scan the QR code) that follows this process step by step, again done in our tech center under the watchful eye of Tech Center Manager Jason Scudellari (we call him “IJ,” short for “Installation Jason”) and Louis Fernandez. First step was to round up the required tools we would use, like the Harbor Freight Vulcan OmniPro 220 multi-process welder with 120/240-volt input. The welder comes with a full-color LCD display that’s very handy and can handle MIG, TIG, and stick welding. In this situation we set it up for MIG.
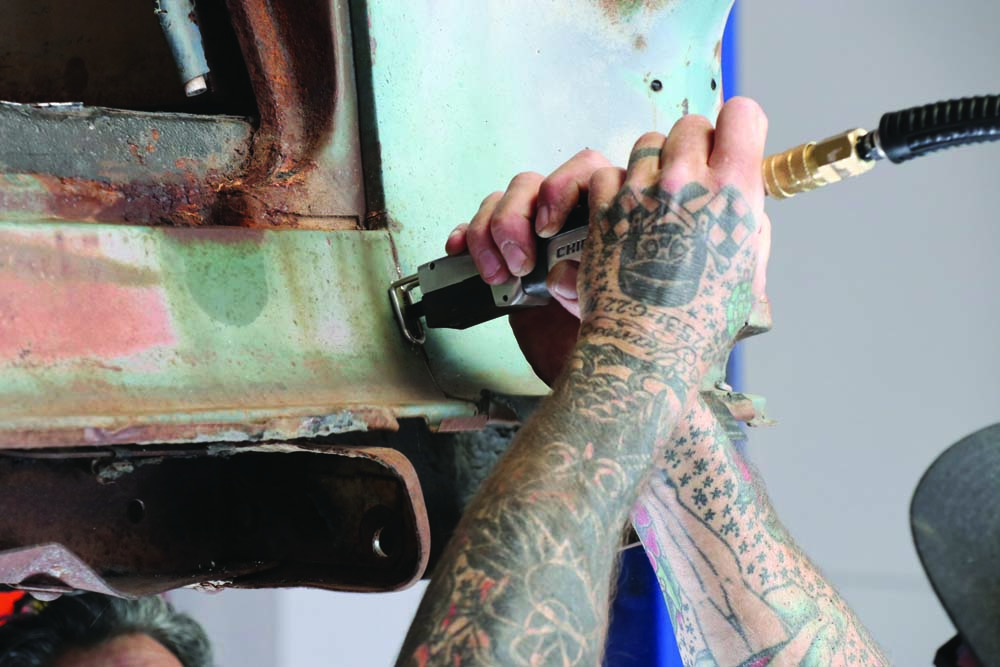
We also brought into service our Harbor Freight Central Pneumatic high-speed metal air saw (10,000 spm), ideal for cutting through plastic and, in our case, sheet metal. It will handle 16-gauge metal.
Read More: A Slice Above: Harbor Freight Plasma Cutter Review
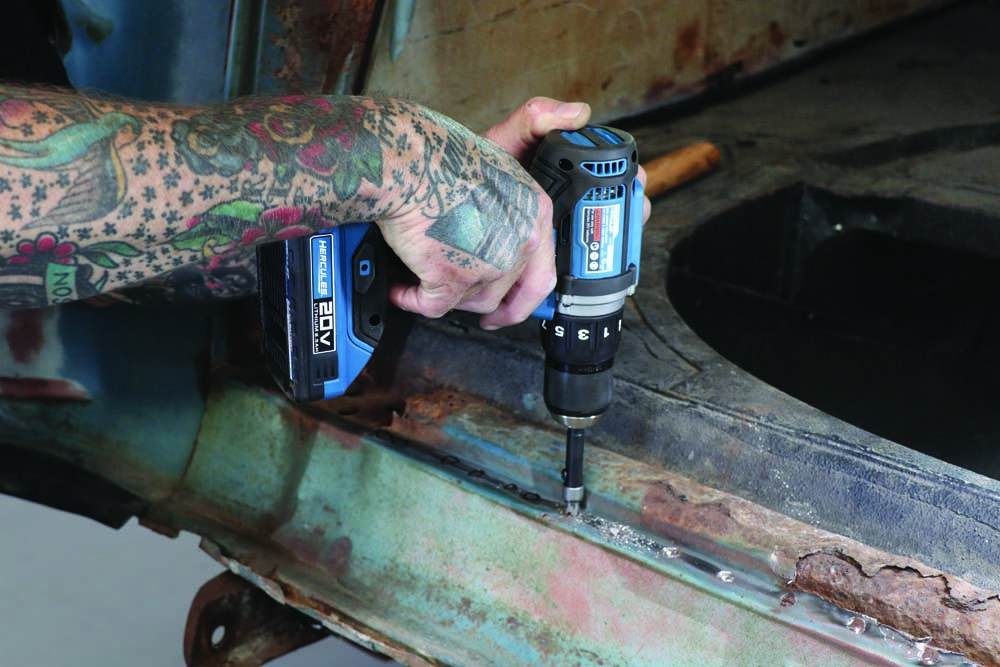
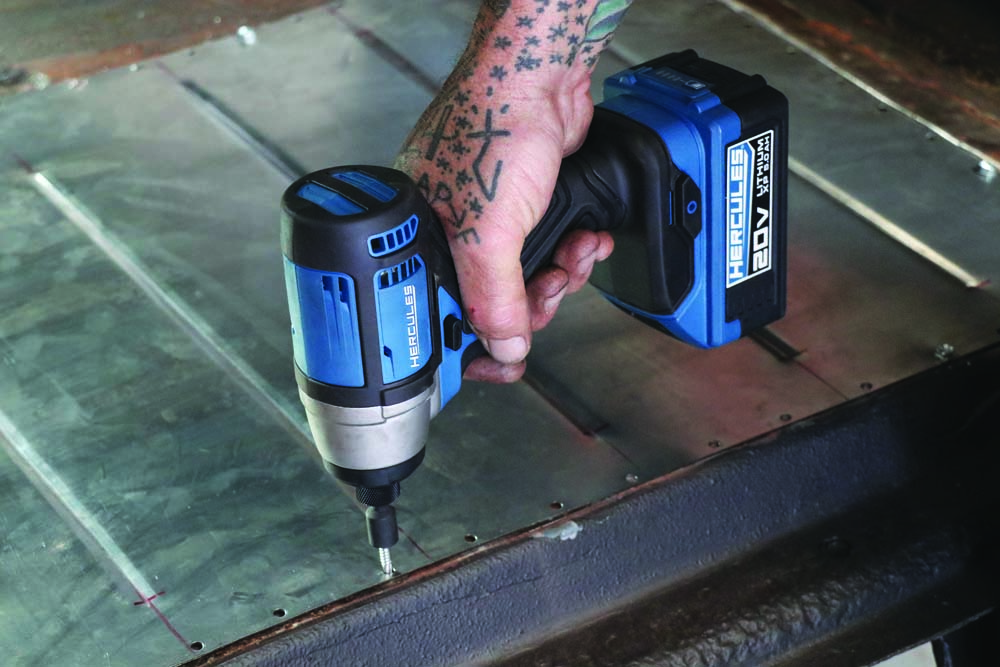
We were also going to need a cordless electric impact driver capable of installing and removing small hardware. In this application we selected a Harbor Freight Hercules 20V lithium battery 20V Lithium-Ion Cordless Compact ¼-inch hex impact driver. It’s capable of 1,500 in-lb of torque and 0-3200 IPM, making it very capable to handle a wide range of fastening.
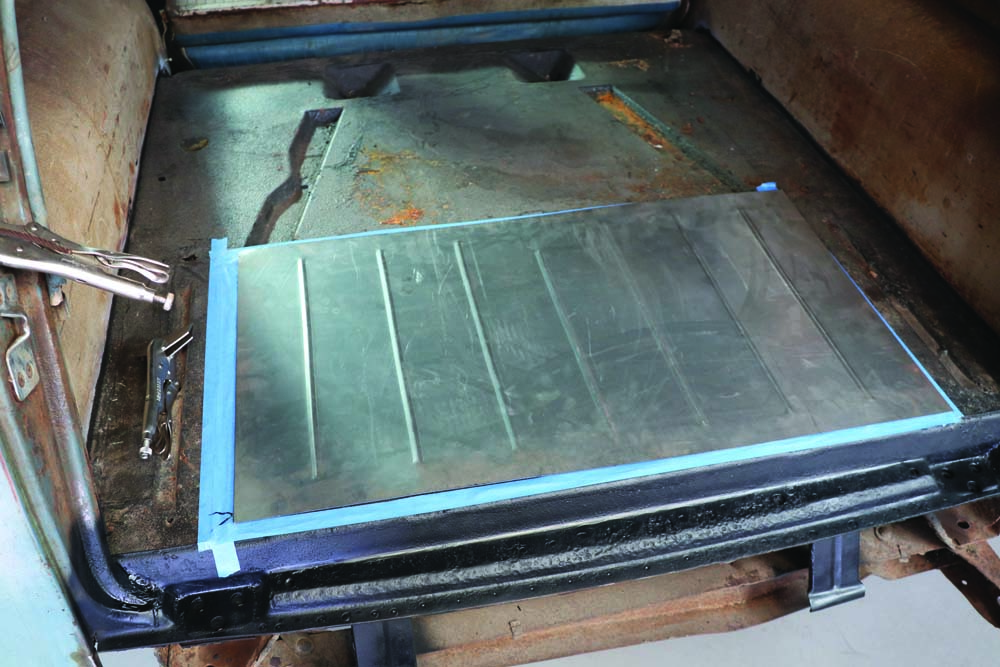
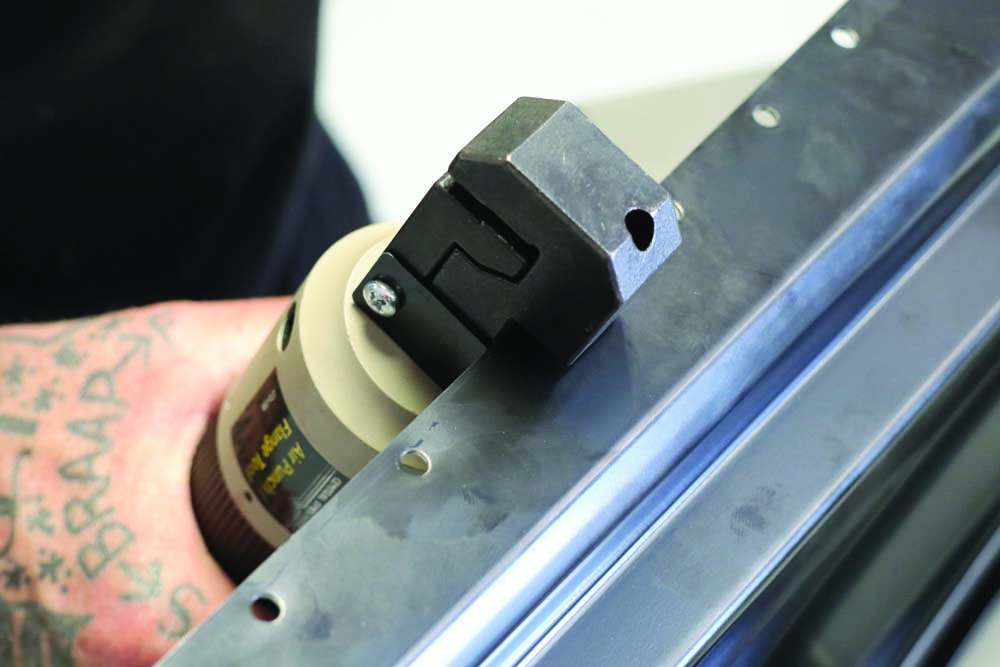
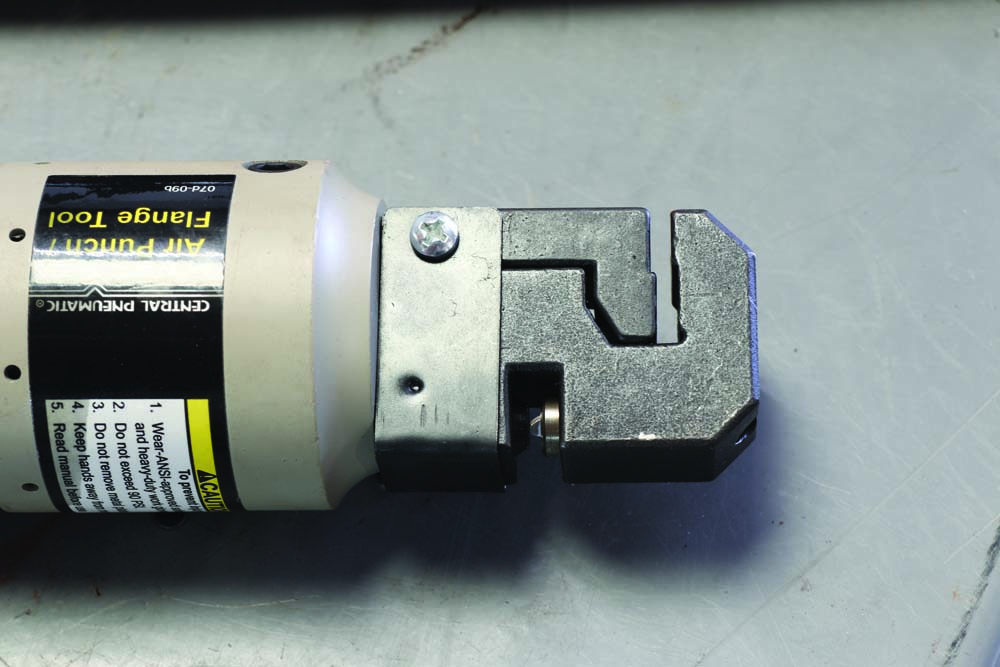
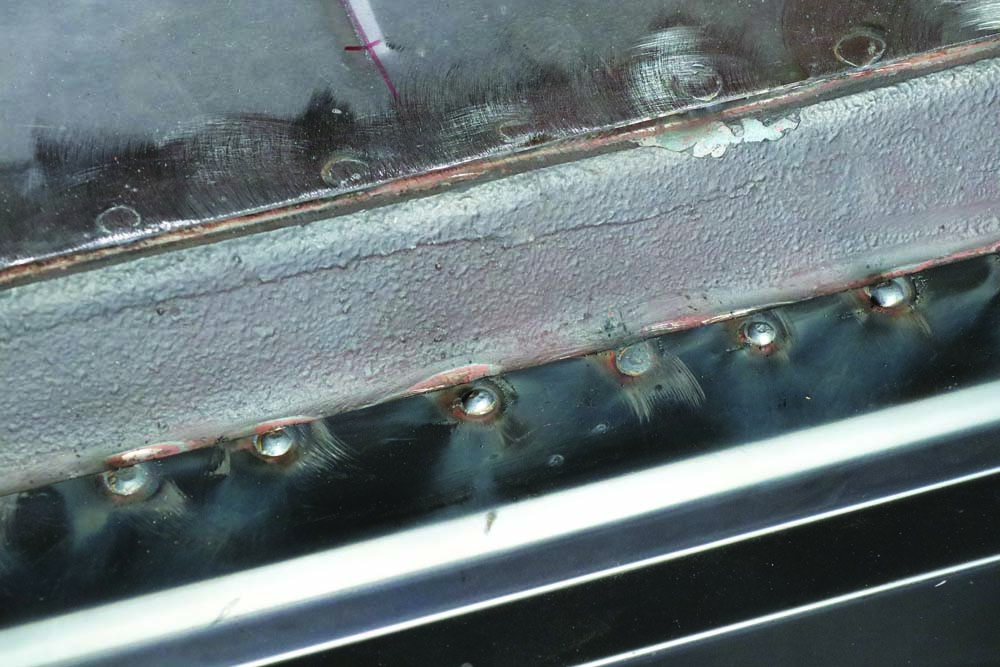
We also found ourselves requiring an air punch and flange tool and this time we selected the HR Central Pneumatic unit that is capable of cutting 16-gauge sheet metal and punching a 3/16-inch hole. We would need these holes punched into the spare tire well panel at precise locations where we would install sheet metal screws for fastening and holes for spot welds.
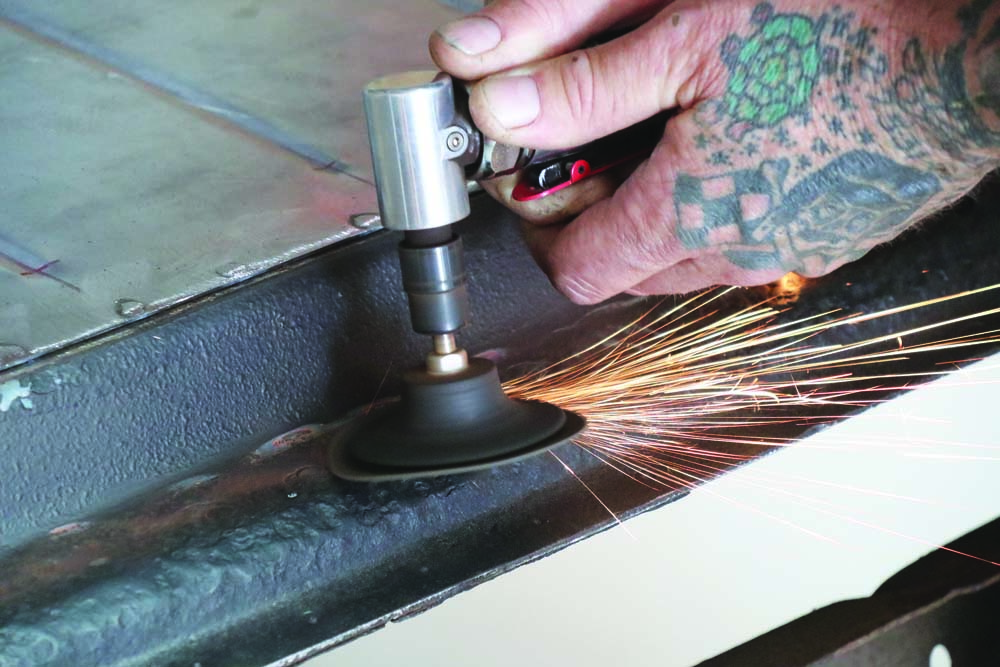
Lastly, of the major tools, we needed an angle die grinder. Here we selected the HR ¼-inch Professional Mini Air Angle Die Grinder. Called the Chief, it has a compact aluminum body for working in tight spaces. It comes with a 90-degree head, again ideal for tight spaces, and front exhaust, which blows debris away from the work area. It’s ideal for grinding, deburring, sanding, and polishing.
What Needs to be Done
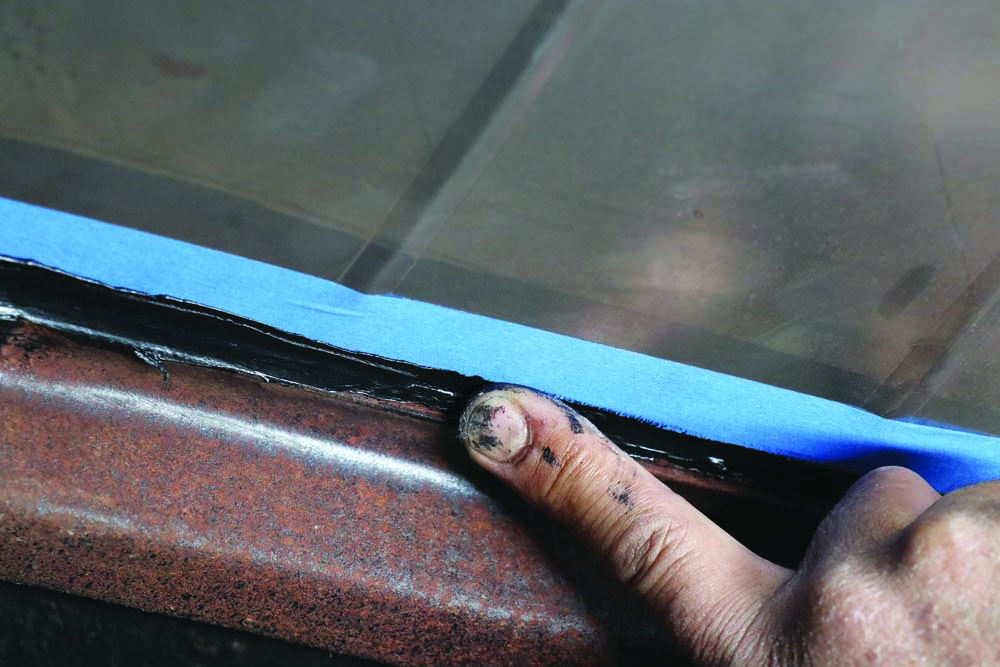
Given the condition of the 1955 Chevy wagon there was no denying that while we would be removing the spare tire well and replacing with fresh sheet metal we would also change out the tail pan that rests beneath the wagon tailgate, and it was perfect timing as it was exposed and easily dealt with.
The wagon tailgate is also in need of changing and while we would perform this task, we will get to the myriad of other items that go along with the wagon tailgate swap, such as the retractor cables, striker plates, rubber seals, and so on the next time around, and that’s where we relied on Danchuk to help us out with our fresh Golden Star Classic Auto Parts wagon tailgate.
Read More: How to Install a Gas Filler Door and Custom Fuel Filler Neck
You can follow along for a step by step on how we removed the spare tire well and installed the new floor pan, tail pan, and swapped out for the new wagon tailgate in the accompanying photos or video. Follow along as we describe how Scudellari and Fernandez get the job done in our In The Garage Media Tech Center. MR


Sources
Danchuk
(800) 648-9554
danchuk.com
Golden Star Classic Auto Parts
(972) 315-3758
goldenstarauto.com
Harbor Freight
harborfreight.com
Real Deal Steel
(407) 585-1957)
realdealsteel.com


