There’s nothing better than dialing in your Chevy muscle car with a serious dose of V-8 power regardless of whether it’s naturally aspirated, supercharged, or packing turbos. As performance enthusiasts, big power always equal big fun—that is unless you get left by the side of the road with a driveline failure caused by a weak link. One of the most important performance upgrades you can make to your ride is making sure you can successfully move the dynamite through the driveshaft when you hit the go-pedal. The importance of a well-designed rearend, suspension, and brakes properly balances out the increase in power for maximum performance and dependability. This holds true for everything from motoring on the interstate, running hard at the dragstrip, and even carving curves through an autocross course.
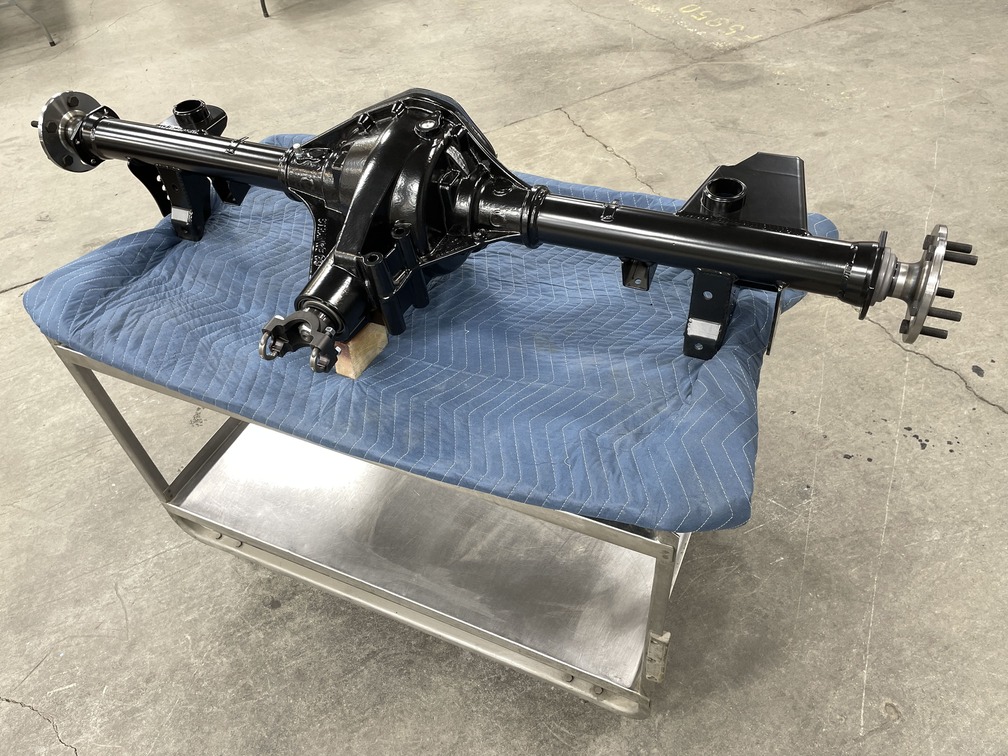
Strange Engineering assembled their ultra-strong Strange S60 rearend with direct-fit GM F-body mounts to replace the worn-out factory unit. Freshly powdercoated in satin black, it packs plenty of performance, including their exclusive S-series nodular iron case, 35-spline alloy axles, Eaton Detroit Truetrac, and 3.54:1 gears.
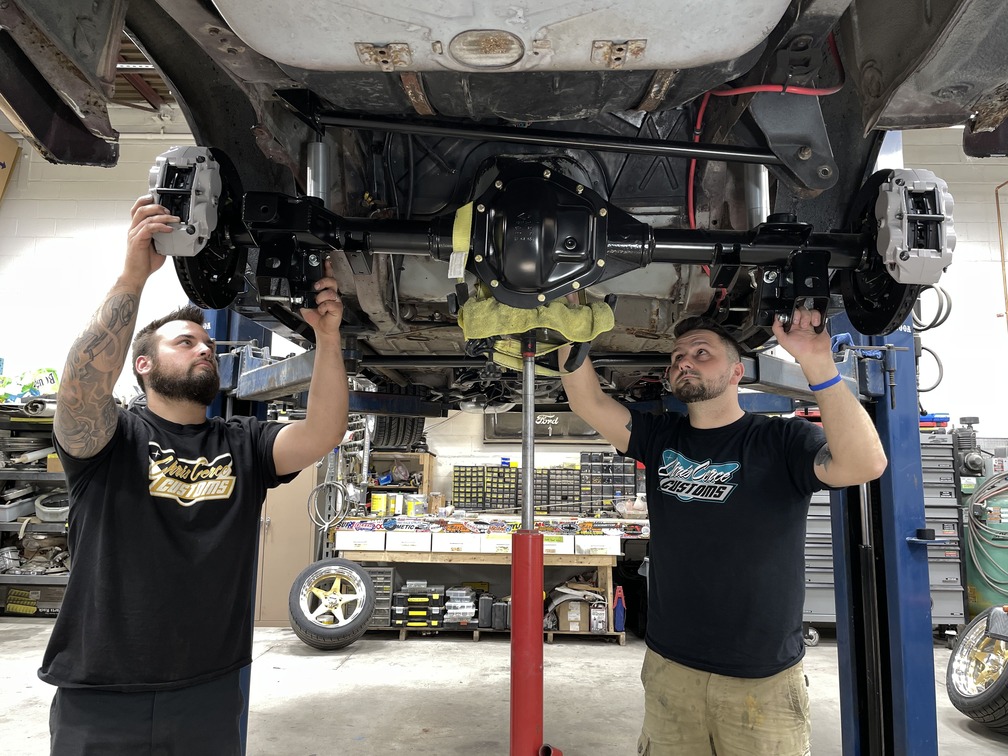
Last month in All Chevy Performance, we visited Chris Cerce Customs (CCC) in Taunton, Massachusetts, where Cerce’s personal ride, a wicked third-gen Camaro, had recently undergone a serious driveline upgrade with an 850hp LS packing a BorgWarner 76mm turbo from Don Hardy Race Cars. Linked to a GM T56 transmission, it was time to focus on harnessing the power beyond the limitations of the factory suspension and brakes.
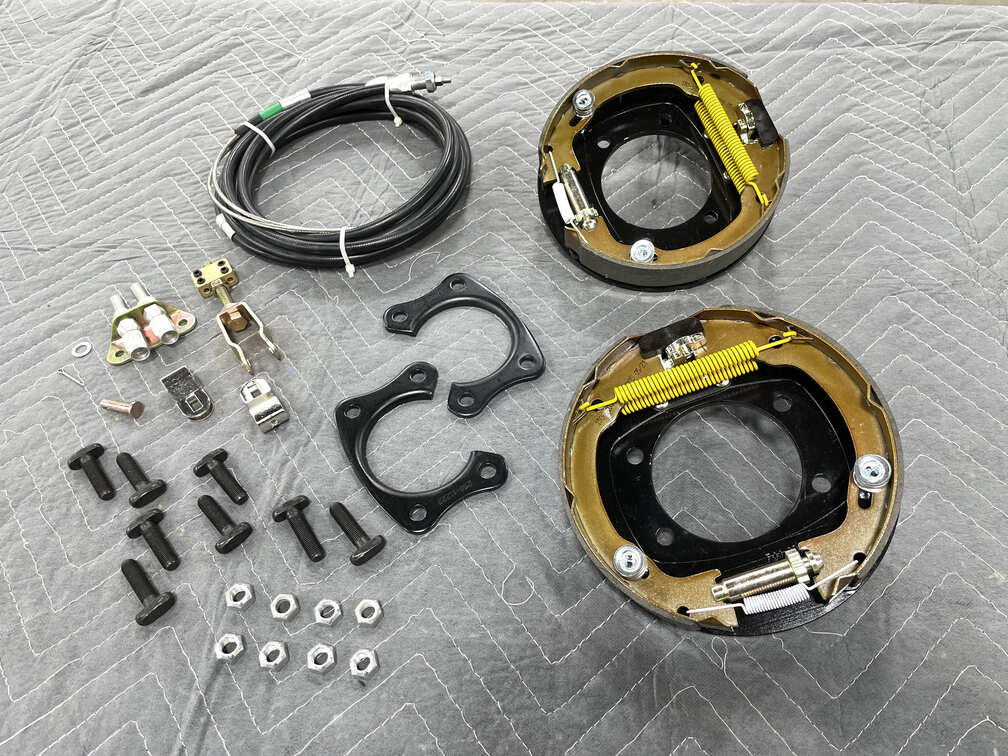
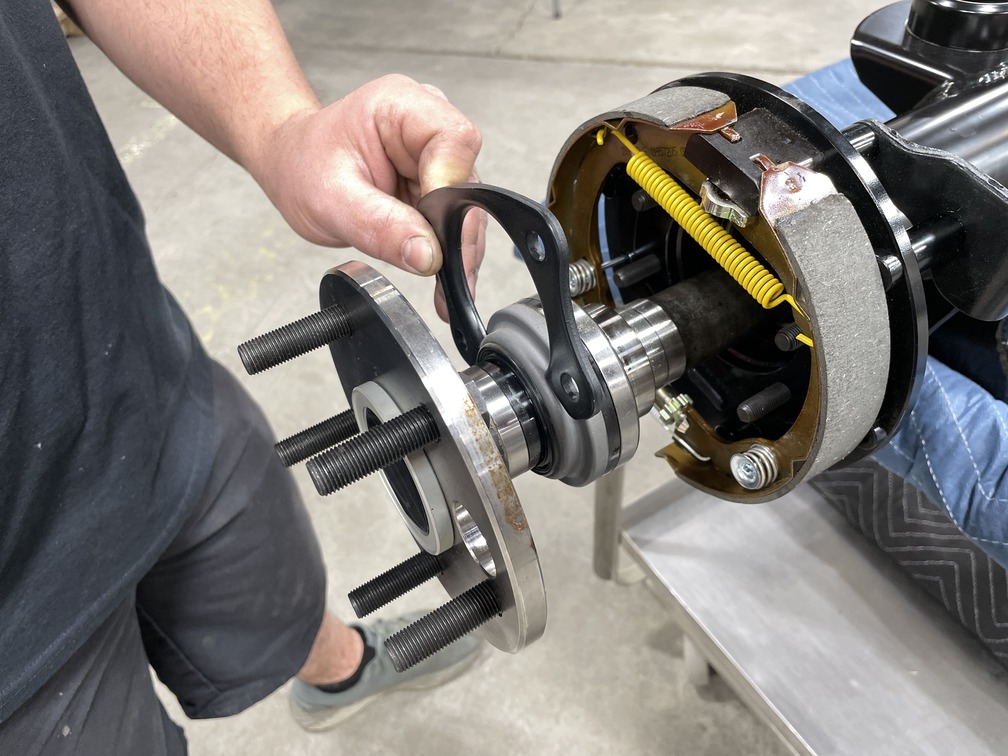
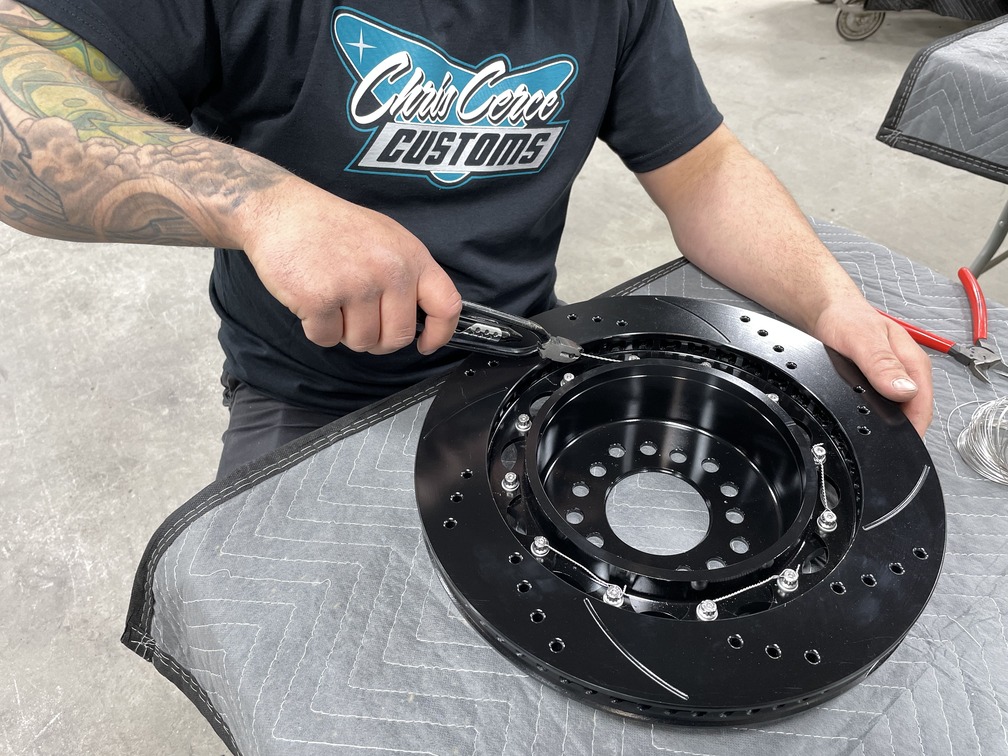
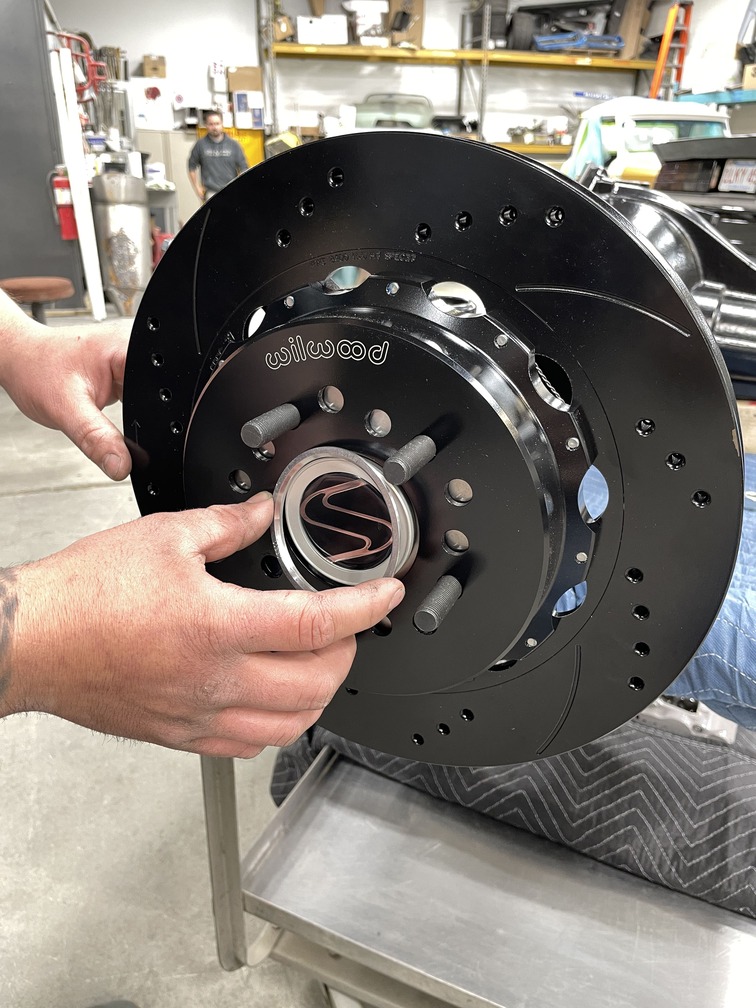
For maximum stopping power, Chris Cerce of Chris Cerce Customs (CCC) selected Wilwood Disc Brakes Forged Narrow Superlite 4R Big Brake Rear Parking Brake Kit. Here you can see the internal parking brake bracket kit assembly—bearing retainers, parking brake cable kit (PN 330-9371), and supplied installation hardware.
With the front upgrades completed it was time to determine the right combination out back where the power meets the pavement to complete the combination. Focusing on the tired factory rearend first, a call was made to Strange Engineering for one of their expertly engineered Strange S60 units with GM F-body mounts, which was custom built for our application. Starting with a premium nodular iron center and main caps with an integral torque arm provision, it features late big Ford ends along with 35-spline alloy axles and Eaton Detroit Truetrac with 3.54:1 gears. The unit also includes heavy-duty coil spring mounts as well as lower control arm mounts with multiple mounting-hole options for a wide range of traction adjustments, S-Series chromoly yoke, and satin black powdercoating for the housing.
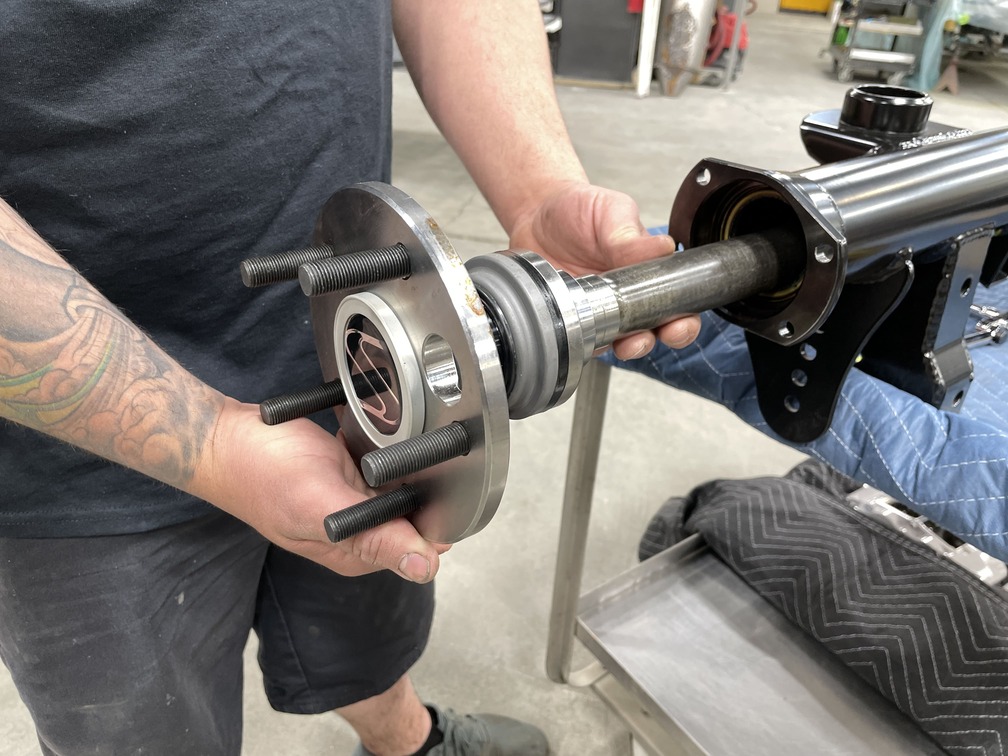
In preparing for the installation of the new Wilwood Disc Brakes kit, we started by first sliding out the new 35-spline alloy axle from the housing.
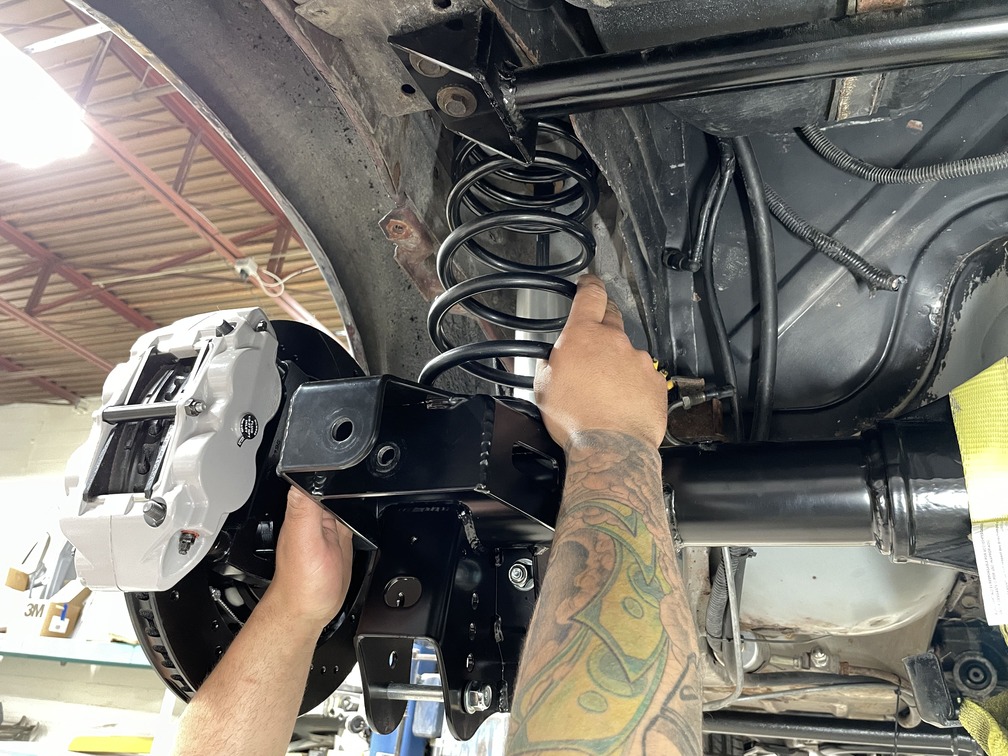
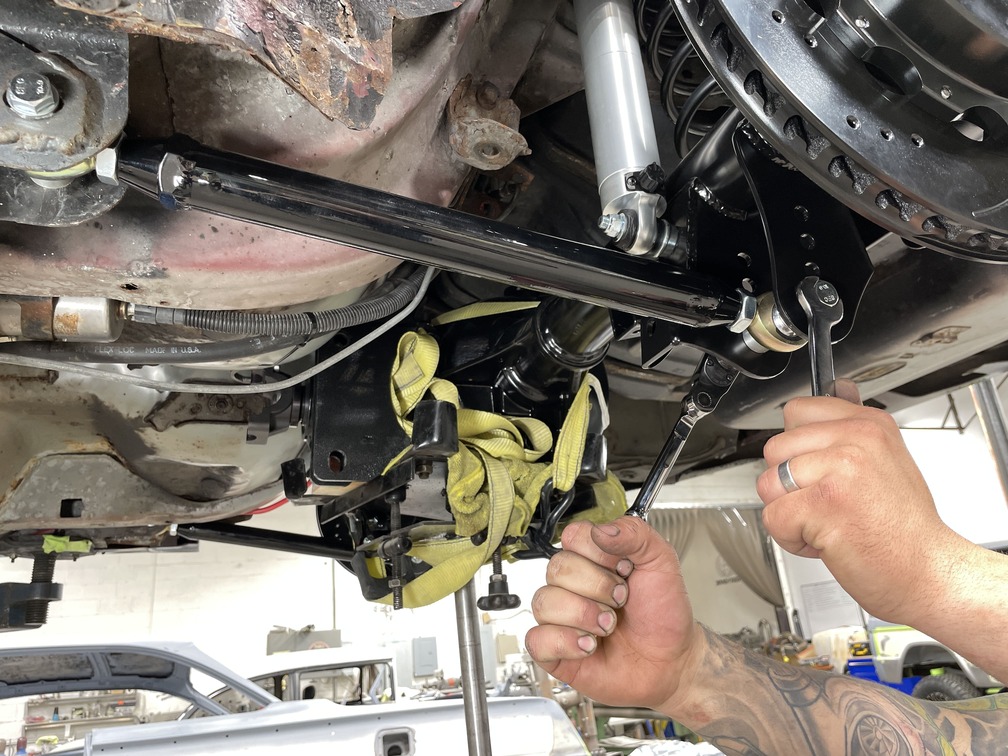
To secure the rearend in place and update the factory suspension, Heidts offers a speed shop full of go-fast goods for the third-gen to increase your handling capabilities and acceleration on both the street and rack. Their exclusive parts include an adjustable Panhard bar and lower control arms, both with available relocation brackets if needed, inner subframe connectors, and tubular torque arm (for factory transmissions) with many of the parts also offered in kit packages for additional savings. For our application, we incorporated the Heidts adjustable Panhard bar and lower control arms while opting for the BMR’s Trak Pak torque arm kit since the car is running a T56 trans. In completing our suspension upgrades, we used a set of Hyperco coil springs and Strange Engineering single-adjustable shocks.
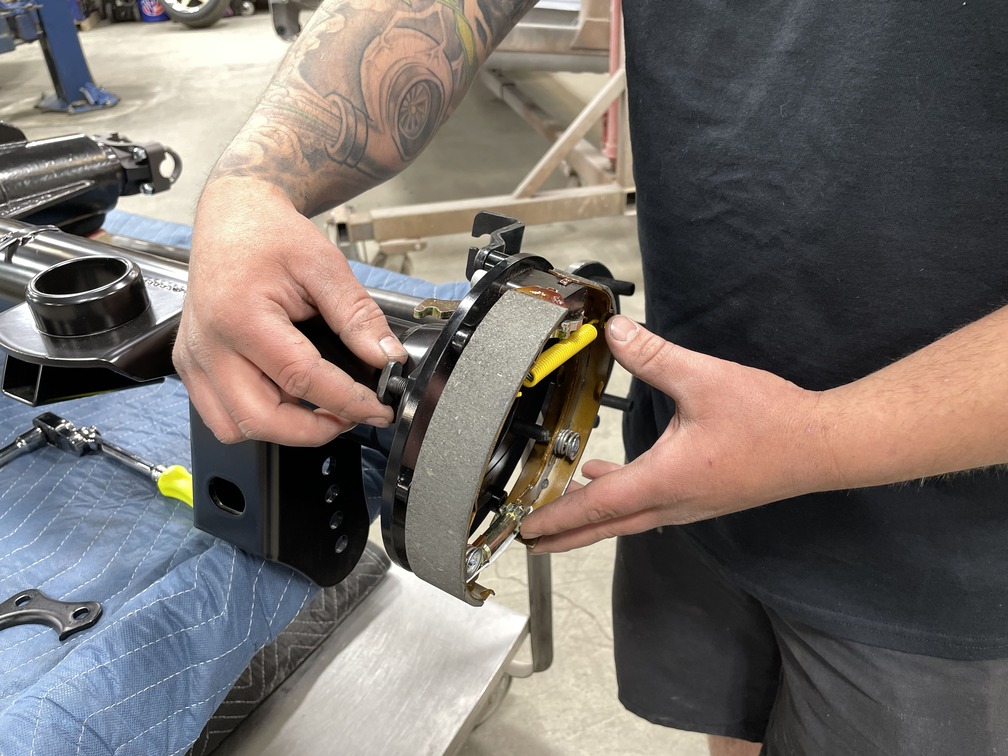
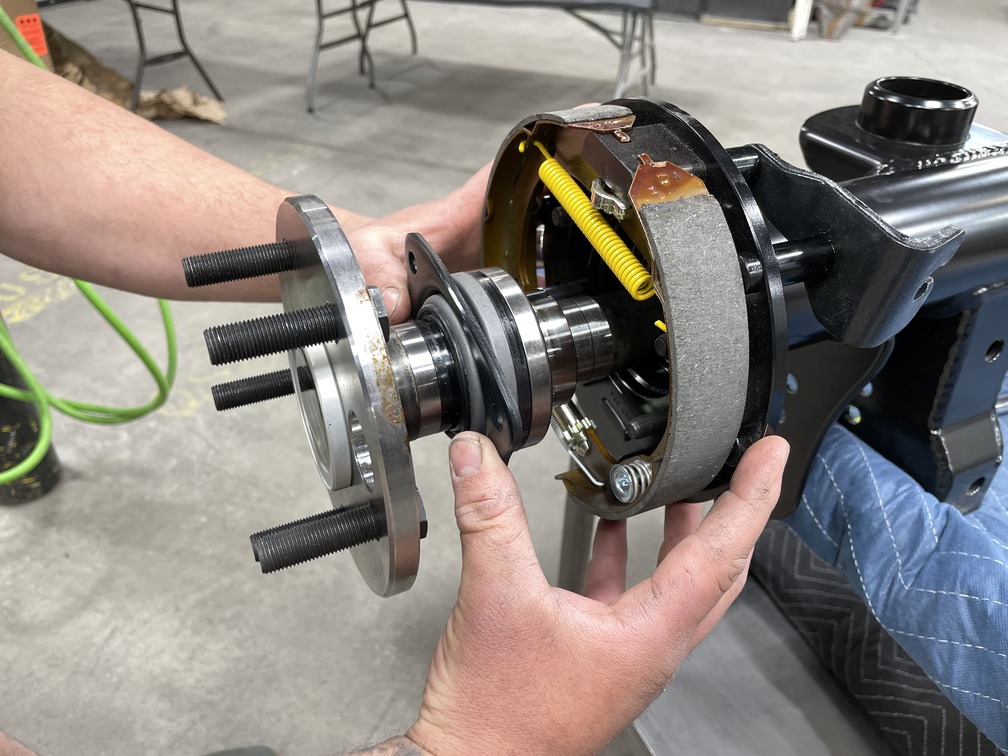
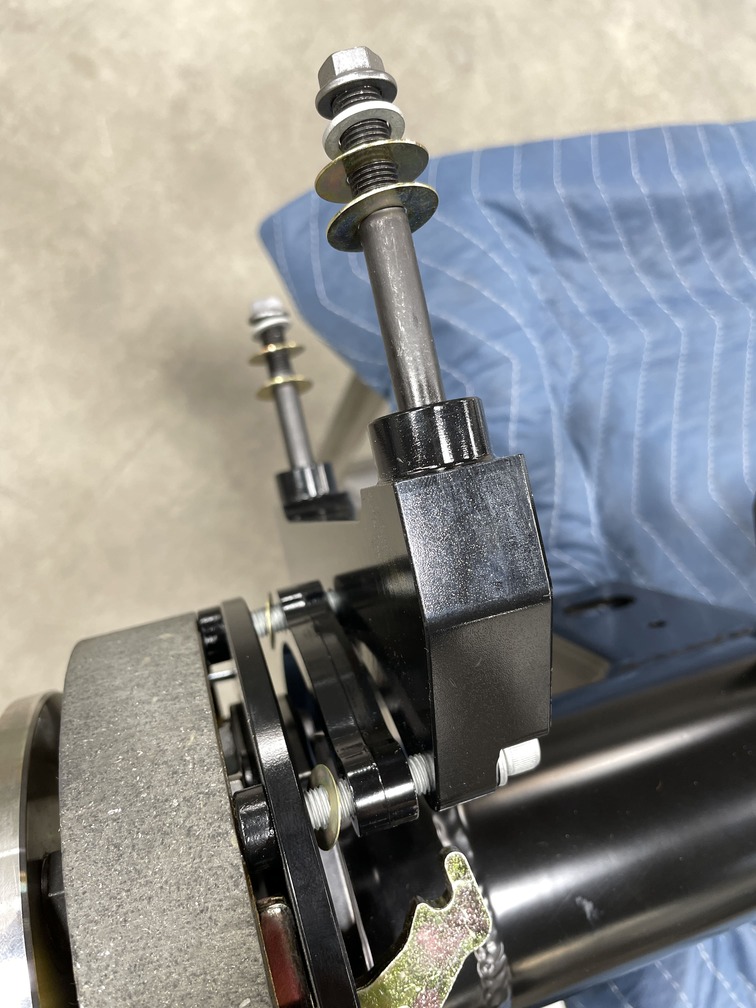
Match the Wilwood bracket kit assembly to the axle housing flange, fitting flush against the flange, and hold in place with the supplied OEM-style T-bolt hardware.
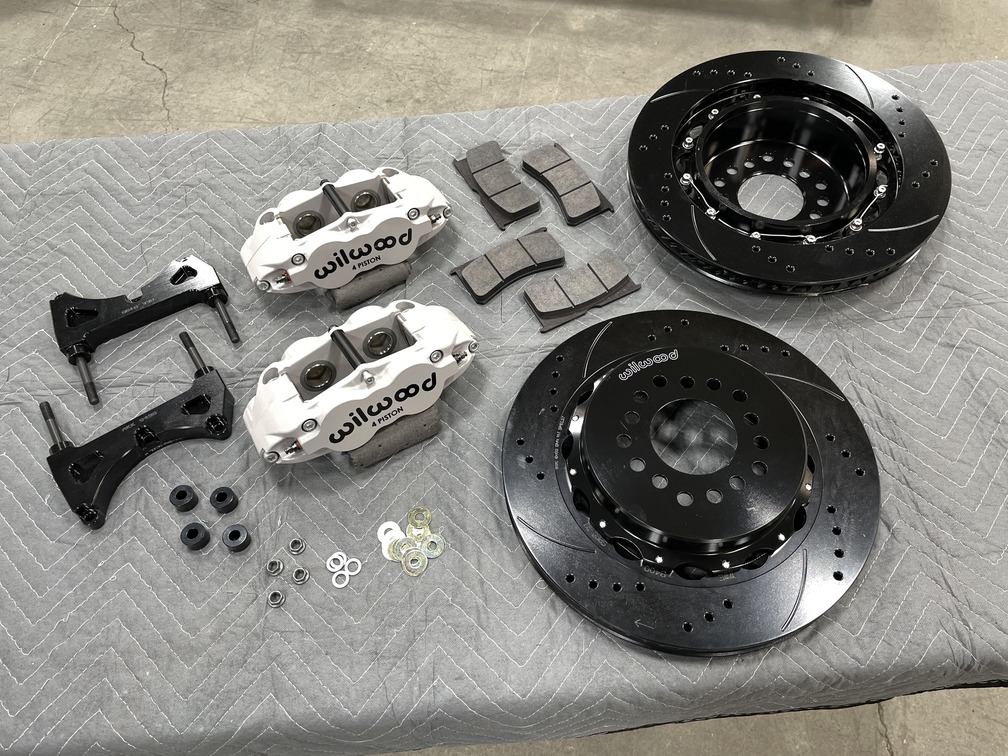
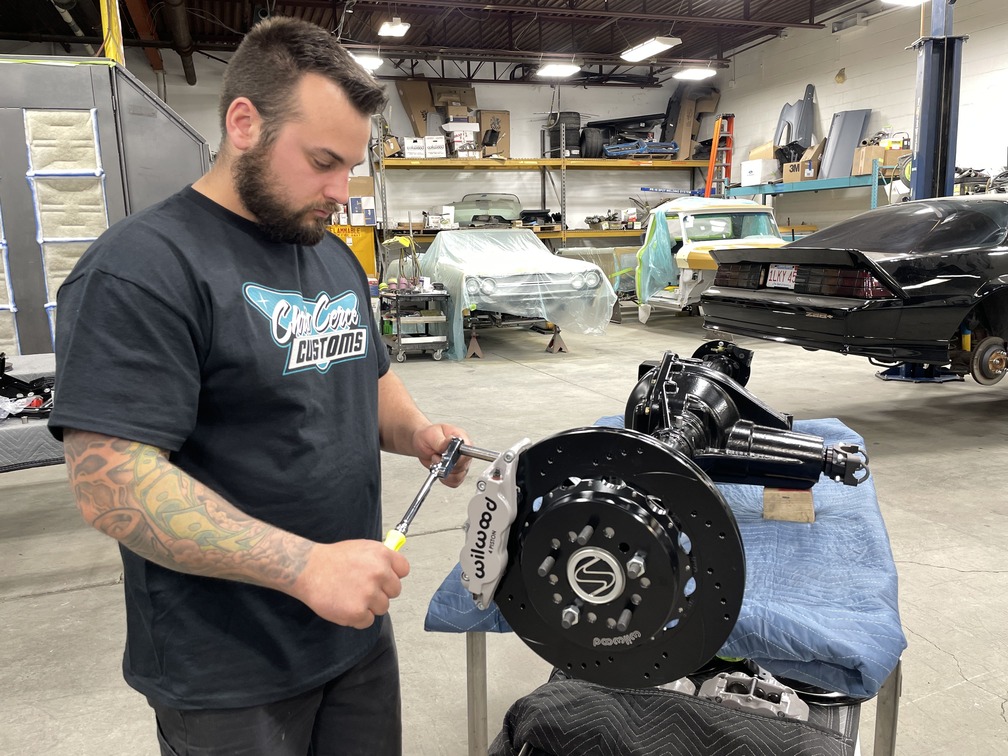
When speed rules, you’d better be able to stop as fast as you got started, and nothing handles it better than Wilwood disc brakes. For the right balance to the Forged Narrow Superlite 6R Big Brake Front Brake Kit installed in our last article, Cerce selected their Forged Narrow Superlite 4R Big Brake Rear Parking Brake Kit. The package included everything needed to get the installation handled, including four-piston calipers with high-performance BP-10 compound pads matched to 14-inch drilled-and-slotted SRP two-piece rotors and all related hardware. Let’s follow CCC team member Marco Martins as he updates the Camaro with plenty of cutting-edge performance.
Slide the axle shaft back into the housing and follow by fitting the bearing retainer in place with the lip facing inward toward the bearing.
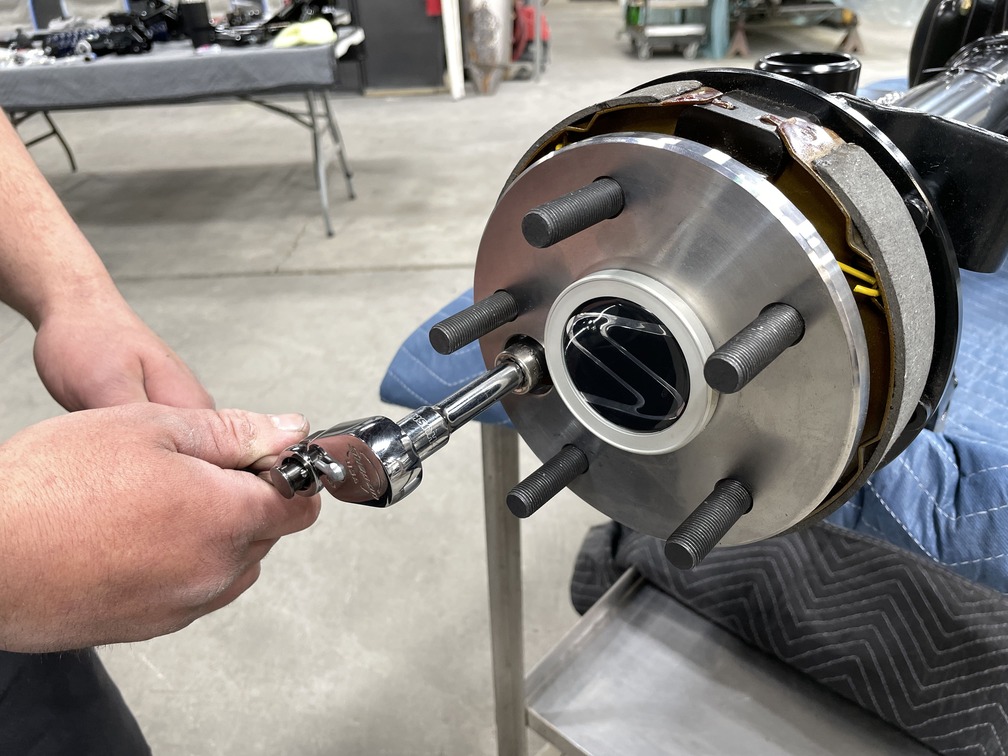
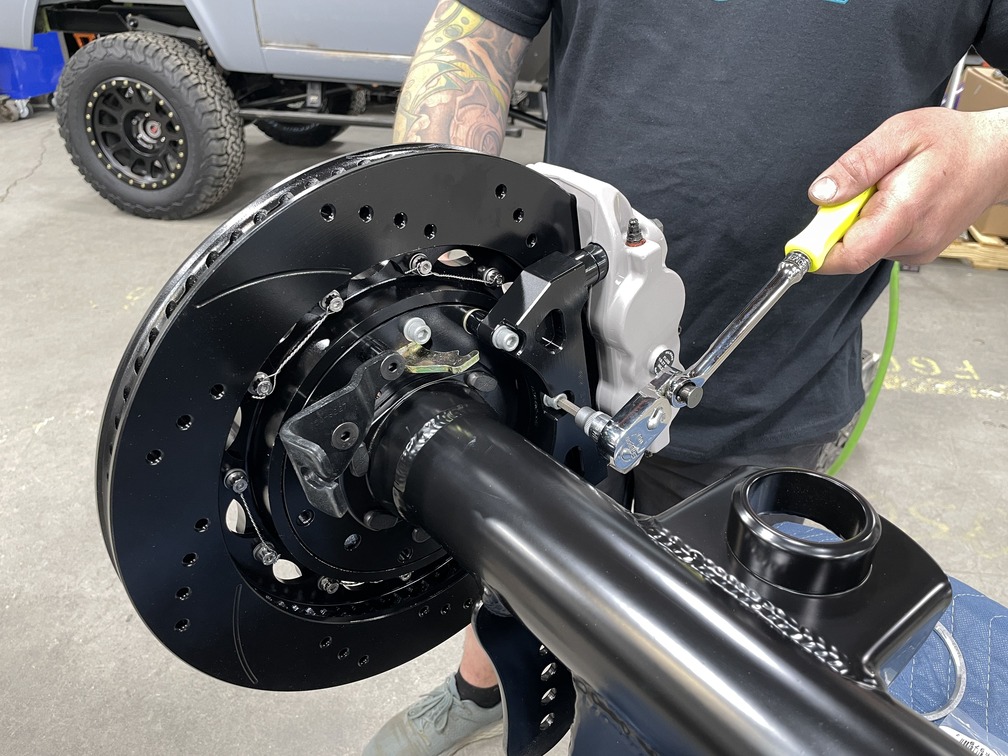
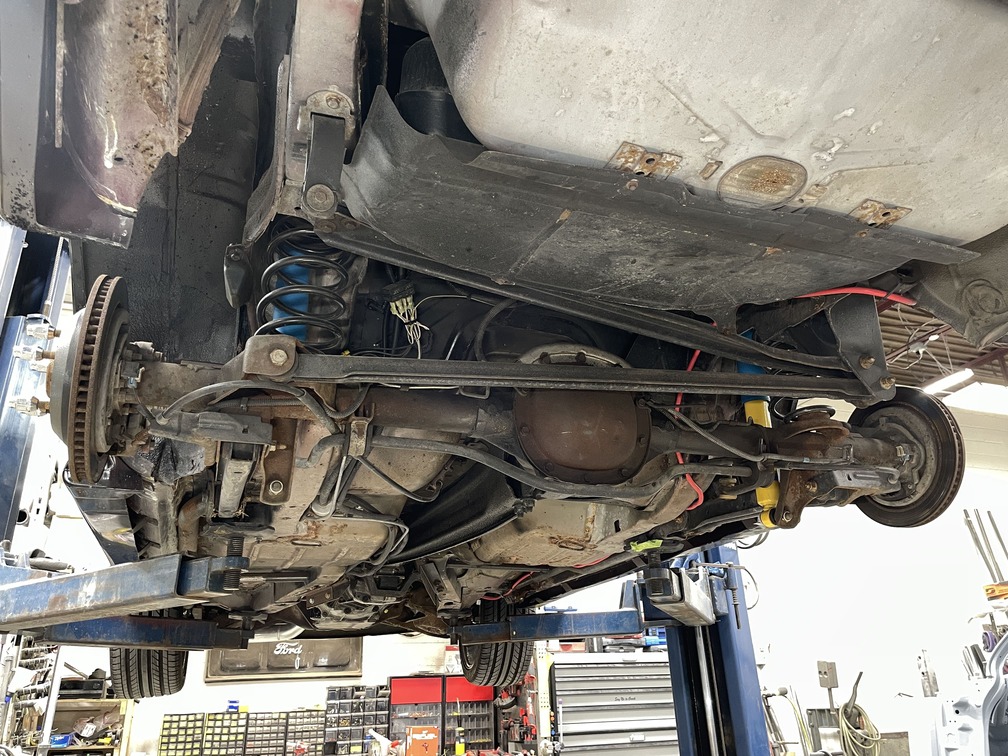
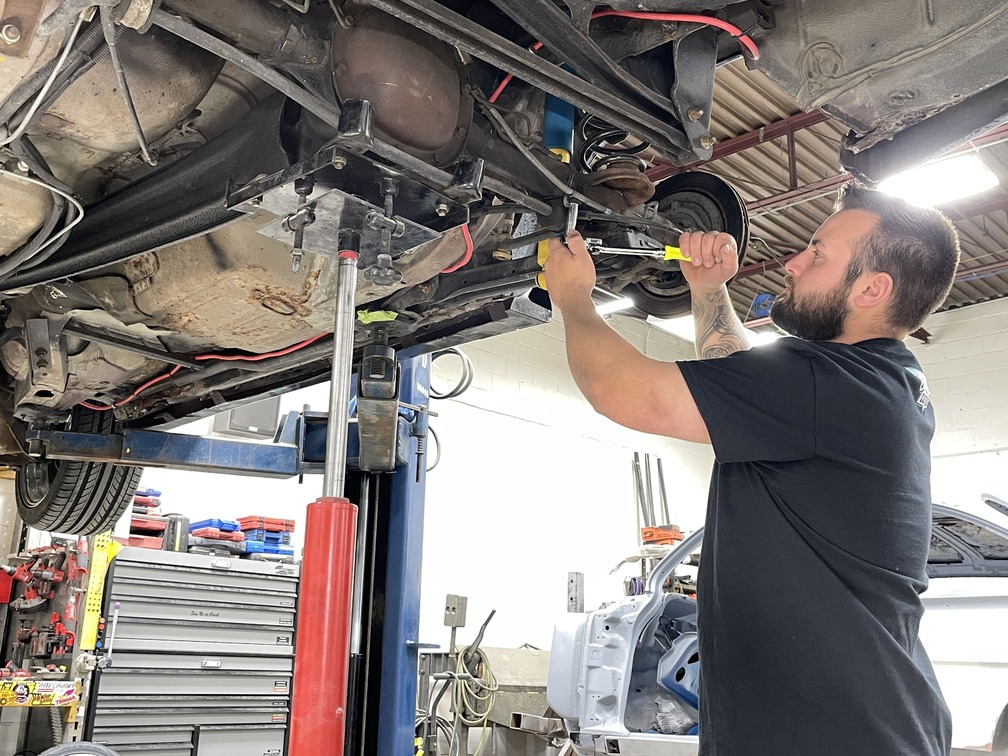
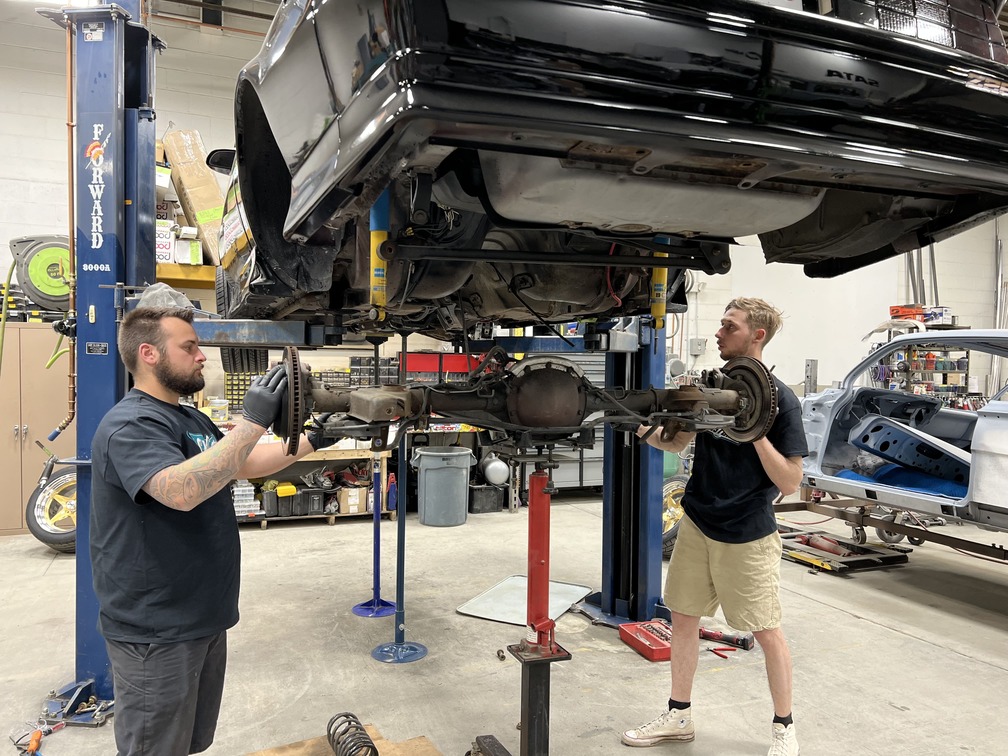
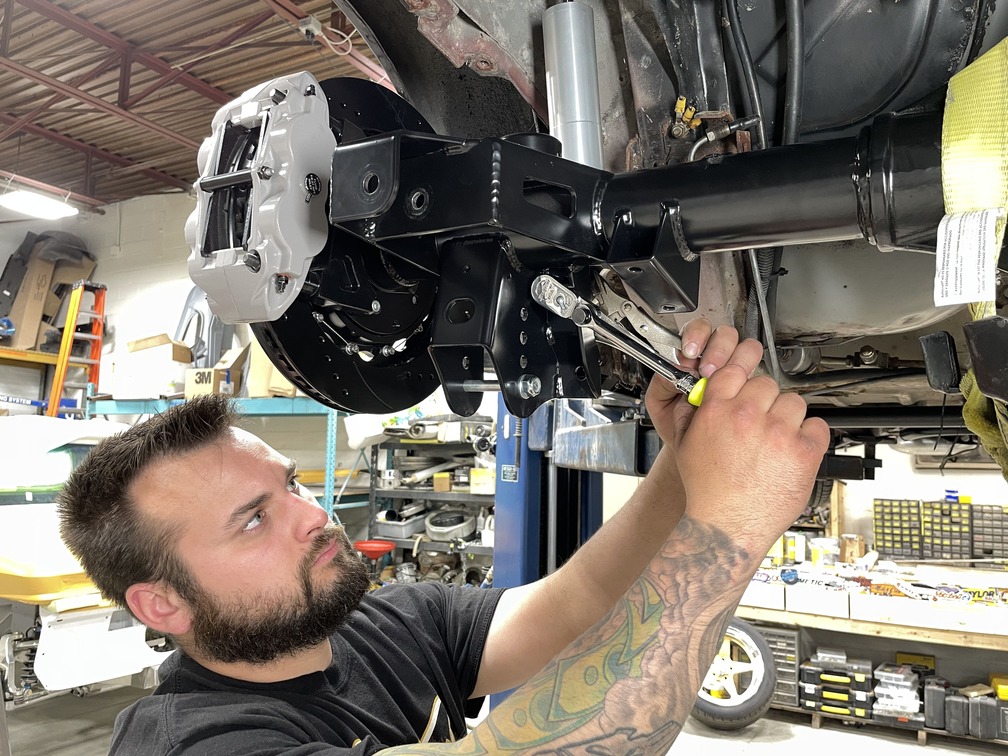
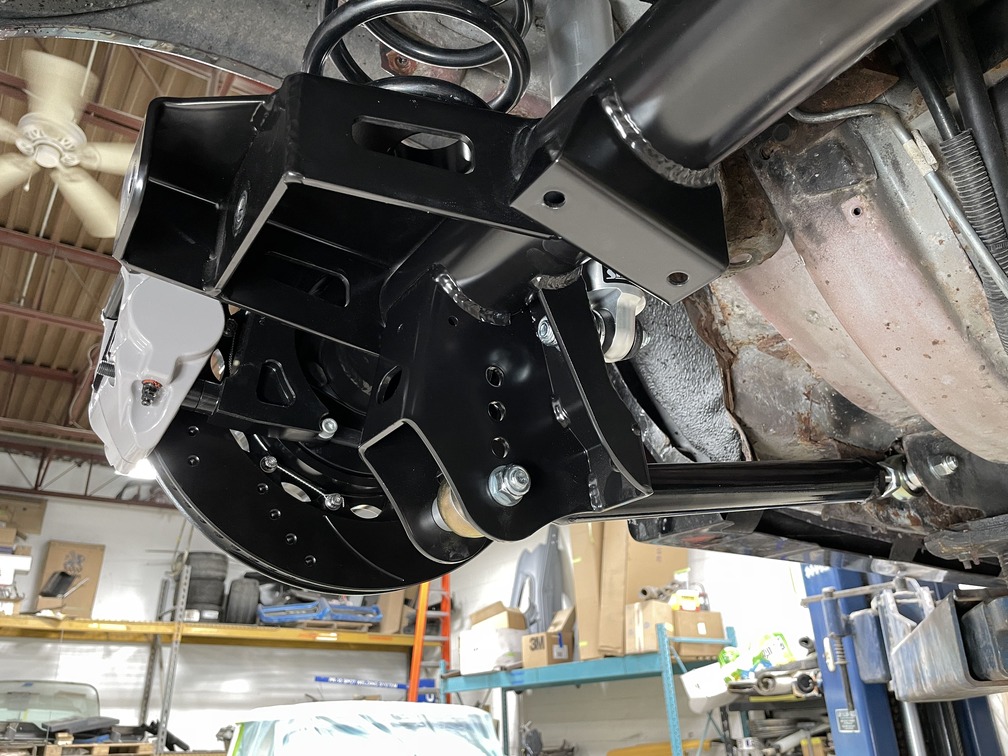
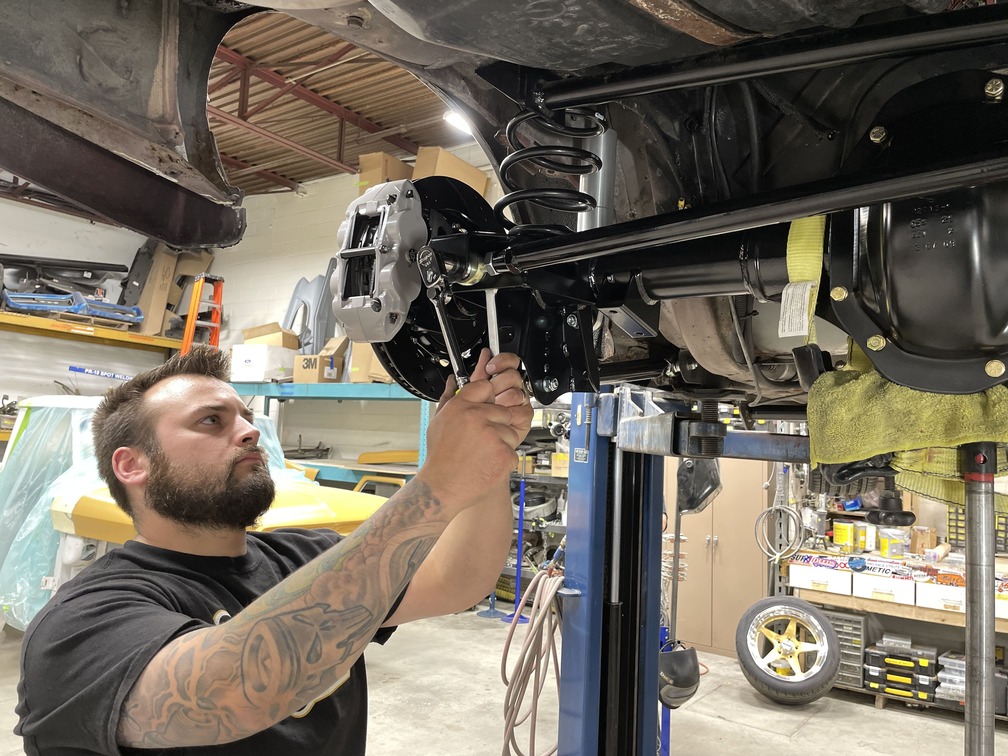
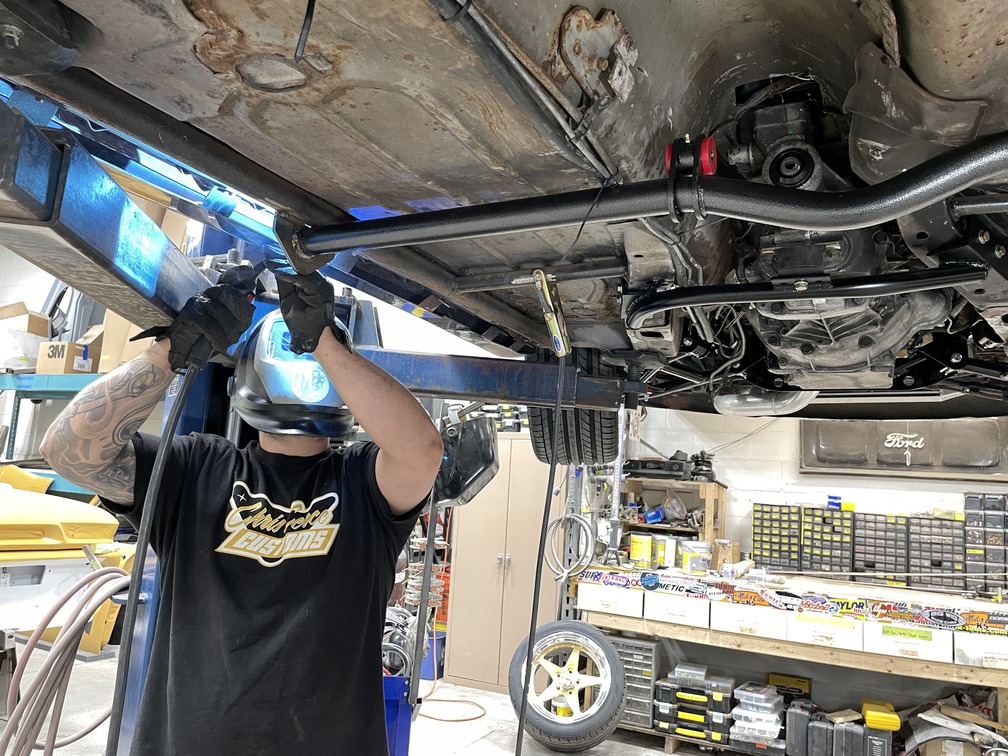
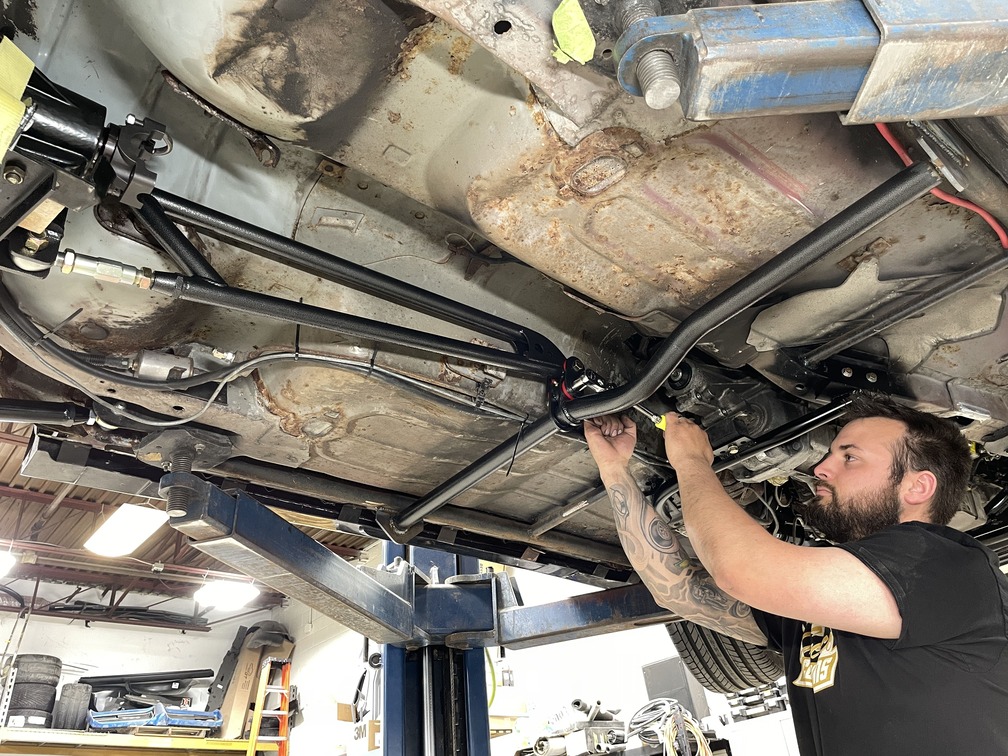
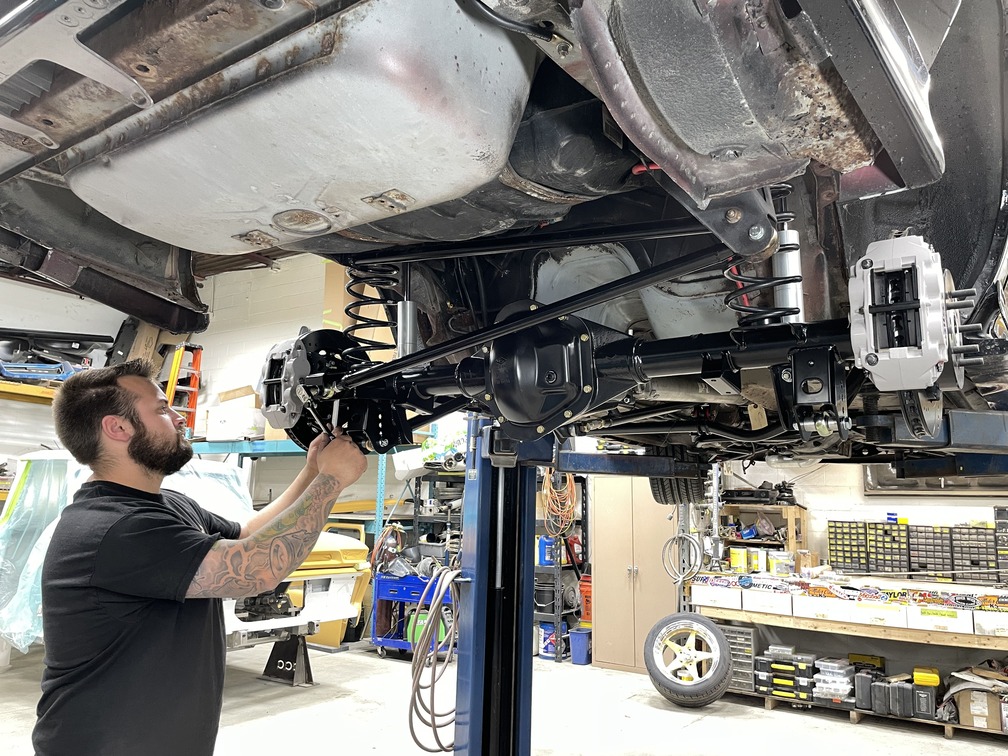
Be sure to properly set the axle back into the carrier.Secure into place with the OEM-style T-bolt and nut hardware, after coating bolt threads with Loctite 271 (red). Make one pass to properly seat into place and follow to set to factory torque specs.The balance of the Wilwood Disc Brakes Forged Narrow Superlite 4R Big Brake Rear Parking Brake kit packs a punch with Forged Narrow Superlite 4R four-piston calipers deftly matched to 14-inch drilled-and-slotted SRP two-piece rotors.Prior to assembling the rotor to the hat with the provided bolts and washers, it’s essential to first apply a coating of Loctite 271 (red) to all the threads and then hand-thread the bolts in place. Follow by tightening them in an alternating sequence and final torque to 155 lb-ft. Finally, for added protection, safety wire the bolts using a standard 0.032-inch-diameter stainless steel safety wire.Secure the caliper mounting bracket to the rear side of the bracket kit assembly, first with clean dry threads on the mounting bolts. Slide each bolt through three flat washers then the mounting bracket, shim (0.035), and finally the spacer, then tighten. Follow by installing one spacer (not pictured) and two shims over the caliper mounting stud for alignment of the caliper.Slide the rotor assembly onto the axle flange and secure in place (finger tight) with three lug nuts. Next, secure caliper to the mounting bracket using the provided lock nuts and washers. Temporarily tighten the lock nuts to confirm alignment of the rotor to the center of the caliper. Adjust alignment by adding or subtracting shims, if needed. Follow by installing the brake pads.With the caliper alignment confirmed, CCC team member Marco Martins removed the caliper bracket mounting bolts one at a time, applied red Loctite 271 to the threads, and torqued it to 180 lb-ft. Reinstall caliper to mounting bracket and final tighten to 28 lb-ft.To complete the installation, the rotor registration adapter was slid onto the axle register on the axle flange with the smaller od facing toward the rotor hat.The factory rearend, suspension, and brakes served the car well over the past 30-plus years, however with a freshly built Don Hardy turbocharged LS pumping out 850 hp to the rear wheels, it was definitely time for an upgrade.To prepare for the removal of the rearend and suspension, disconnect and cap the rear brake lines at the calipers and the main brake line from the rearend. Follow by removing the parking brake cables and sway bar. Next, properly brace the rearend with a transmission jack for safety and proceed with disconnecting the track bar, torque arm, lower control arms, shocks, driveshaft, and exhaust (if in the stock configuration).It’s a good idea to have help when lowering the completed unit to the ground to keep it balanced for safety.Crafted as a direct-fit replacement for the GM F-body by the Strange S60 rearend with Wilwood disc brakes (installed) it was secured with tie-down straps to a transmission jack by Martins (left) and Cerce (right) to bring it into position for installation.Heidts offers a number of rear suspension components for the GM F-body, and for this application Cerce selected their adjustable lower control arms and adjustable Panhard bar matched to Strange Engineering single-adjustable shocks and Hyperco coil springs.To locate the rearend in place, Martins mounted the Strange Engineering single-adjustable shocks with the supplied hardware using a ¾-inch socket and Vise-Grips.Next, the Hyperco coil springs were installed and jacked into place to properly seat the springs.After the supplied spacers were installed in the rod ends of Heidts adjustable rear lower control arms, a ¾-inch socket and wrench were used to tighten them in place with the provided hardware.It’s easy to see how well engineered the updated adjustable rear suspension mounts are on the Strange Engineering S60 rearend, especially with the adjustable lower control arms now in place.Once the included spacers were installed into the rod ends of the Heidts adjustable Panhard bar, the prepared unit was mounted in place.With the crossbrace fitment confirmed for the installation of the BMR Suspension Trak Pak Torque Arm Kit, Martins welded the brace in place to the bottom of the subframe connectors utilizing the provided mounting hardware. For maximum ground clearance the crossbrace should be installed as high as possible without contacting the floorpan.With the crossbrace installation complete, the BMR Trak Pak torque arm was installed to the rear axle and brace using the provided pivot points and hardware. From there, the pinion angle was set as advised in the detailed instructions supplied with the kit, starting with an angle base of 1-2 degrees negative for automatics and 2-3 degrees negative for manual transmissions.As Martins wraps up the installation by thoroughly checking everything you can see just how sturdy and well designed the new rearend, suspension, and brake setup is; ready to take on the power from the hopped-up LS.
We use cookies to ensure that we give you the best experience on our website. If you continue to use this site we will assume that you are happy with it.